


NOTIFY ME WHEN AVAILABLE
We'll notify you as soon as this product or sample is back in stock / available.
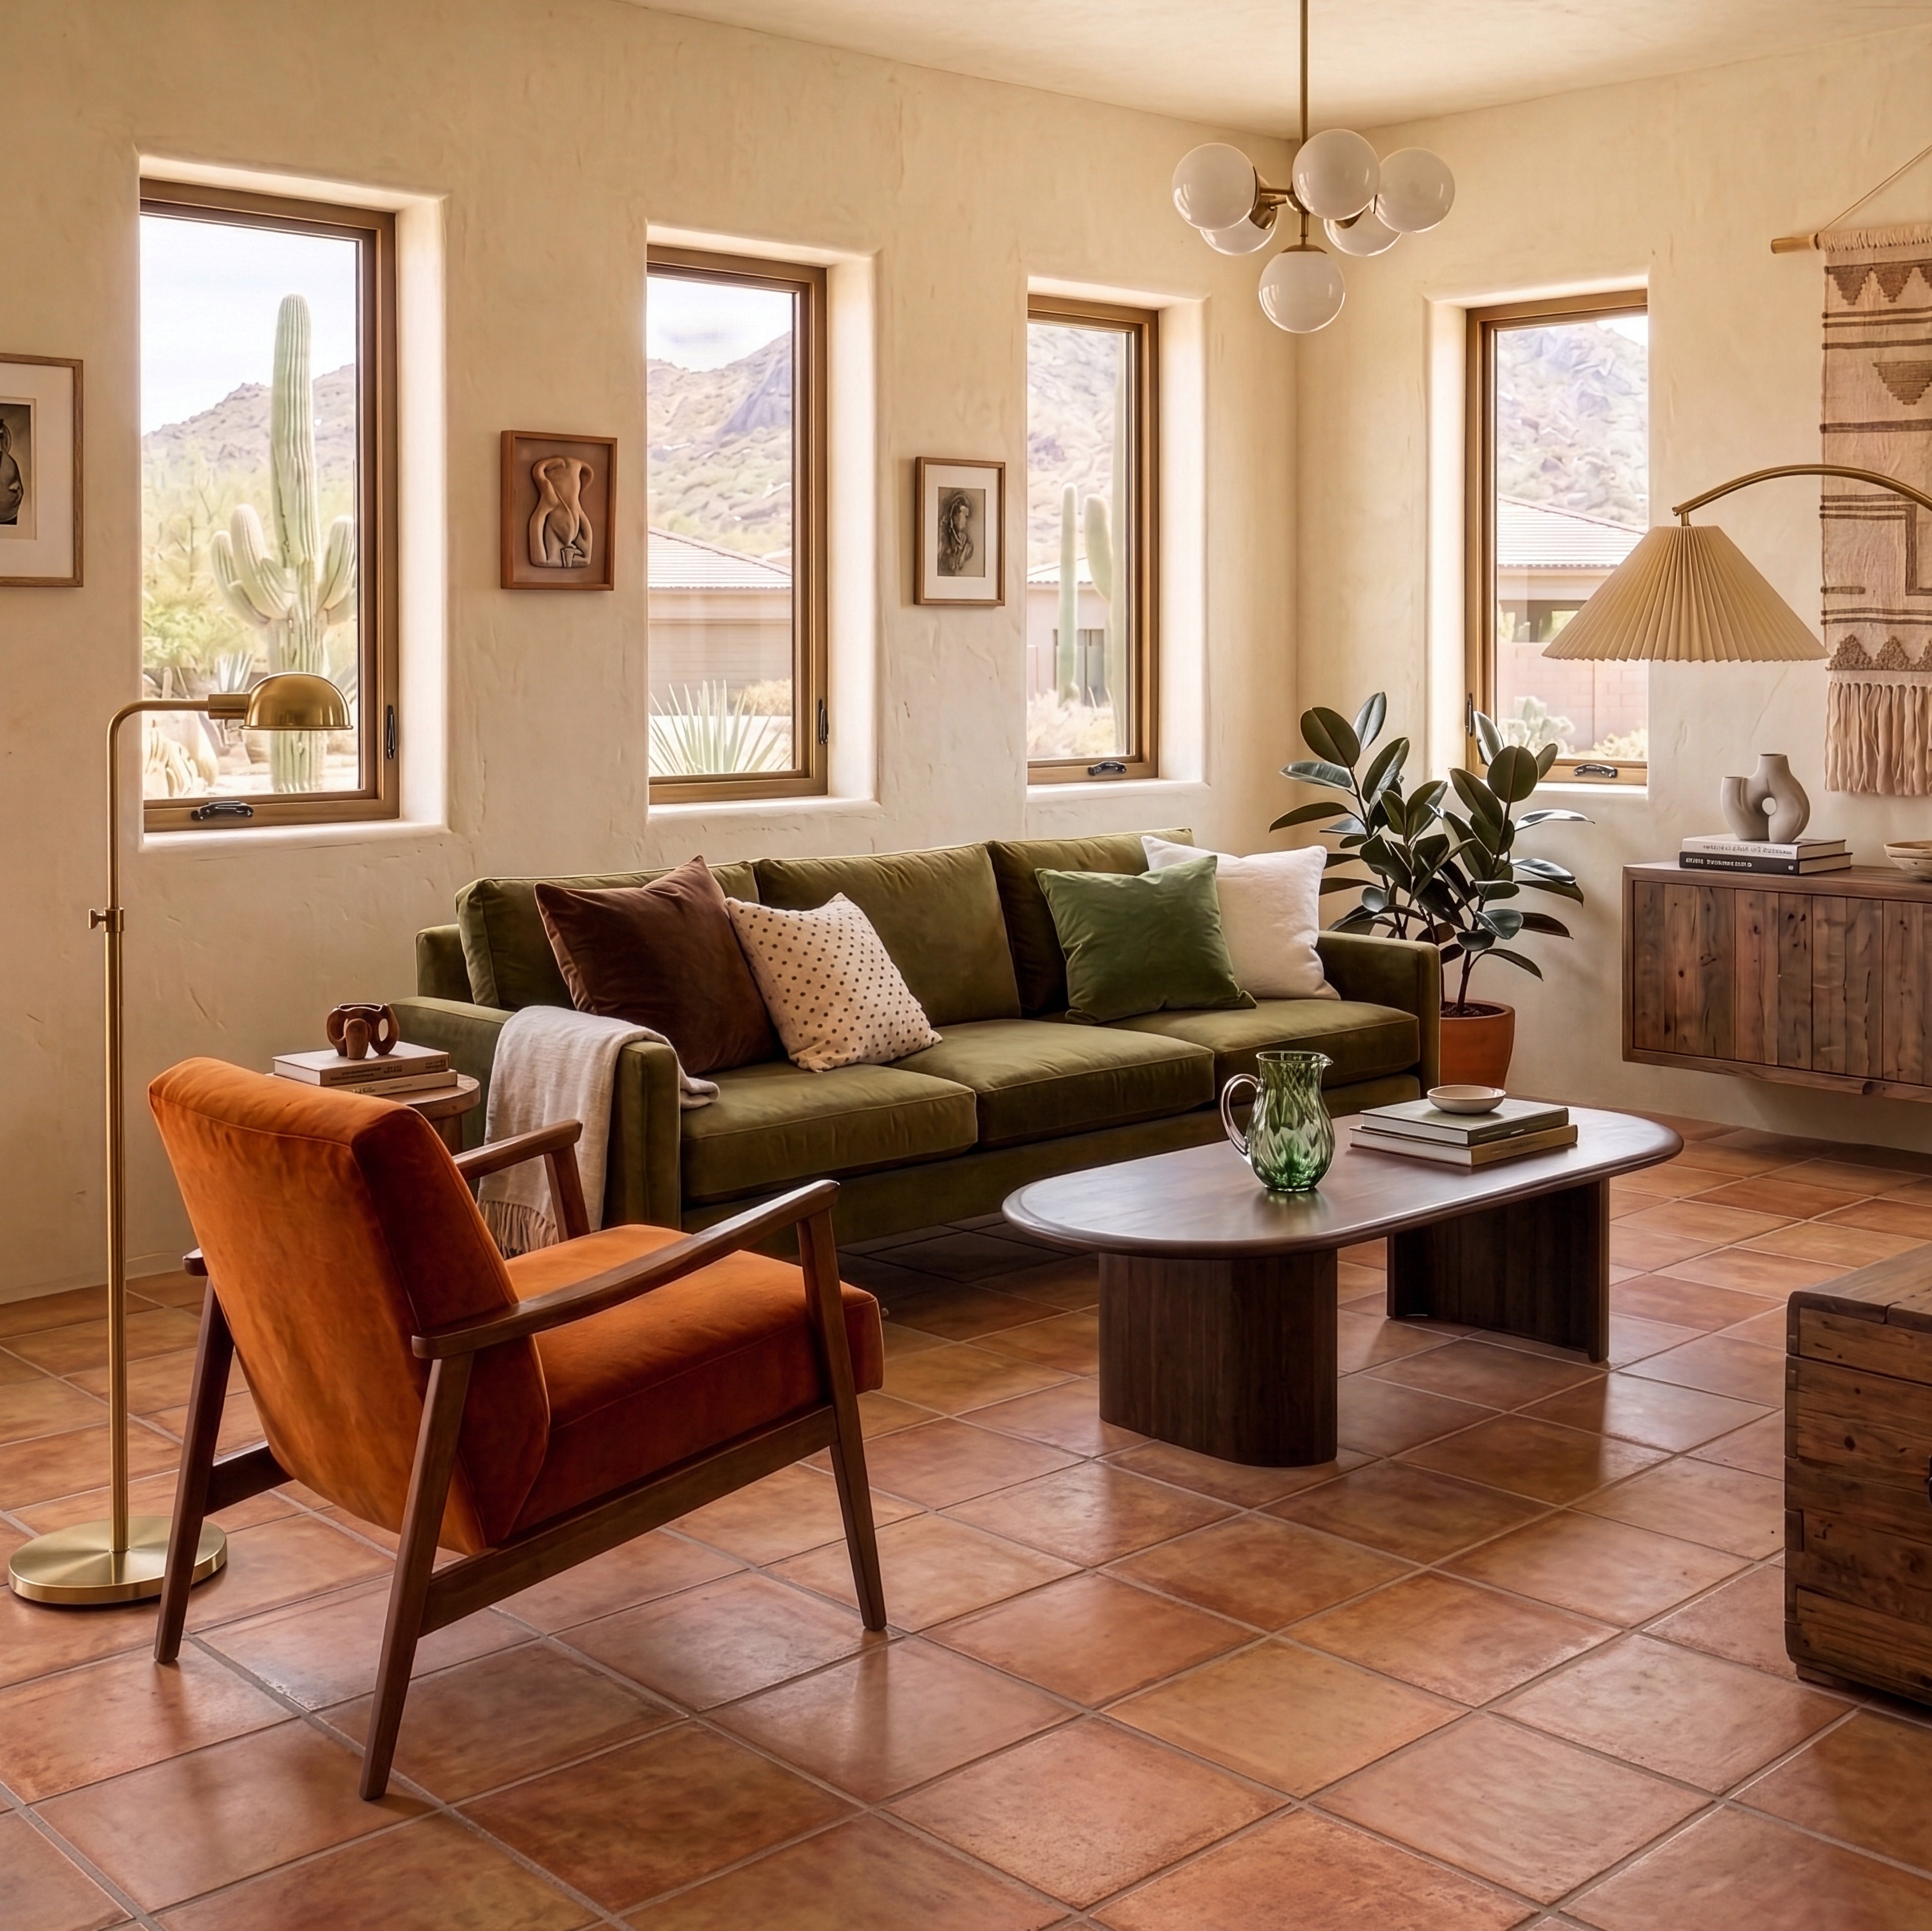
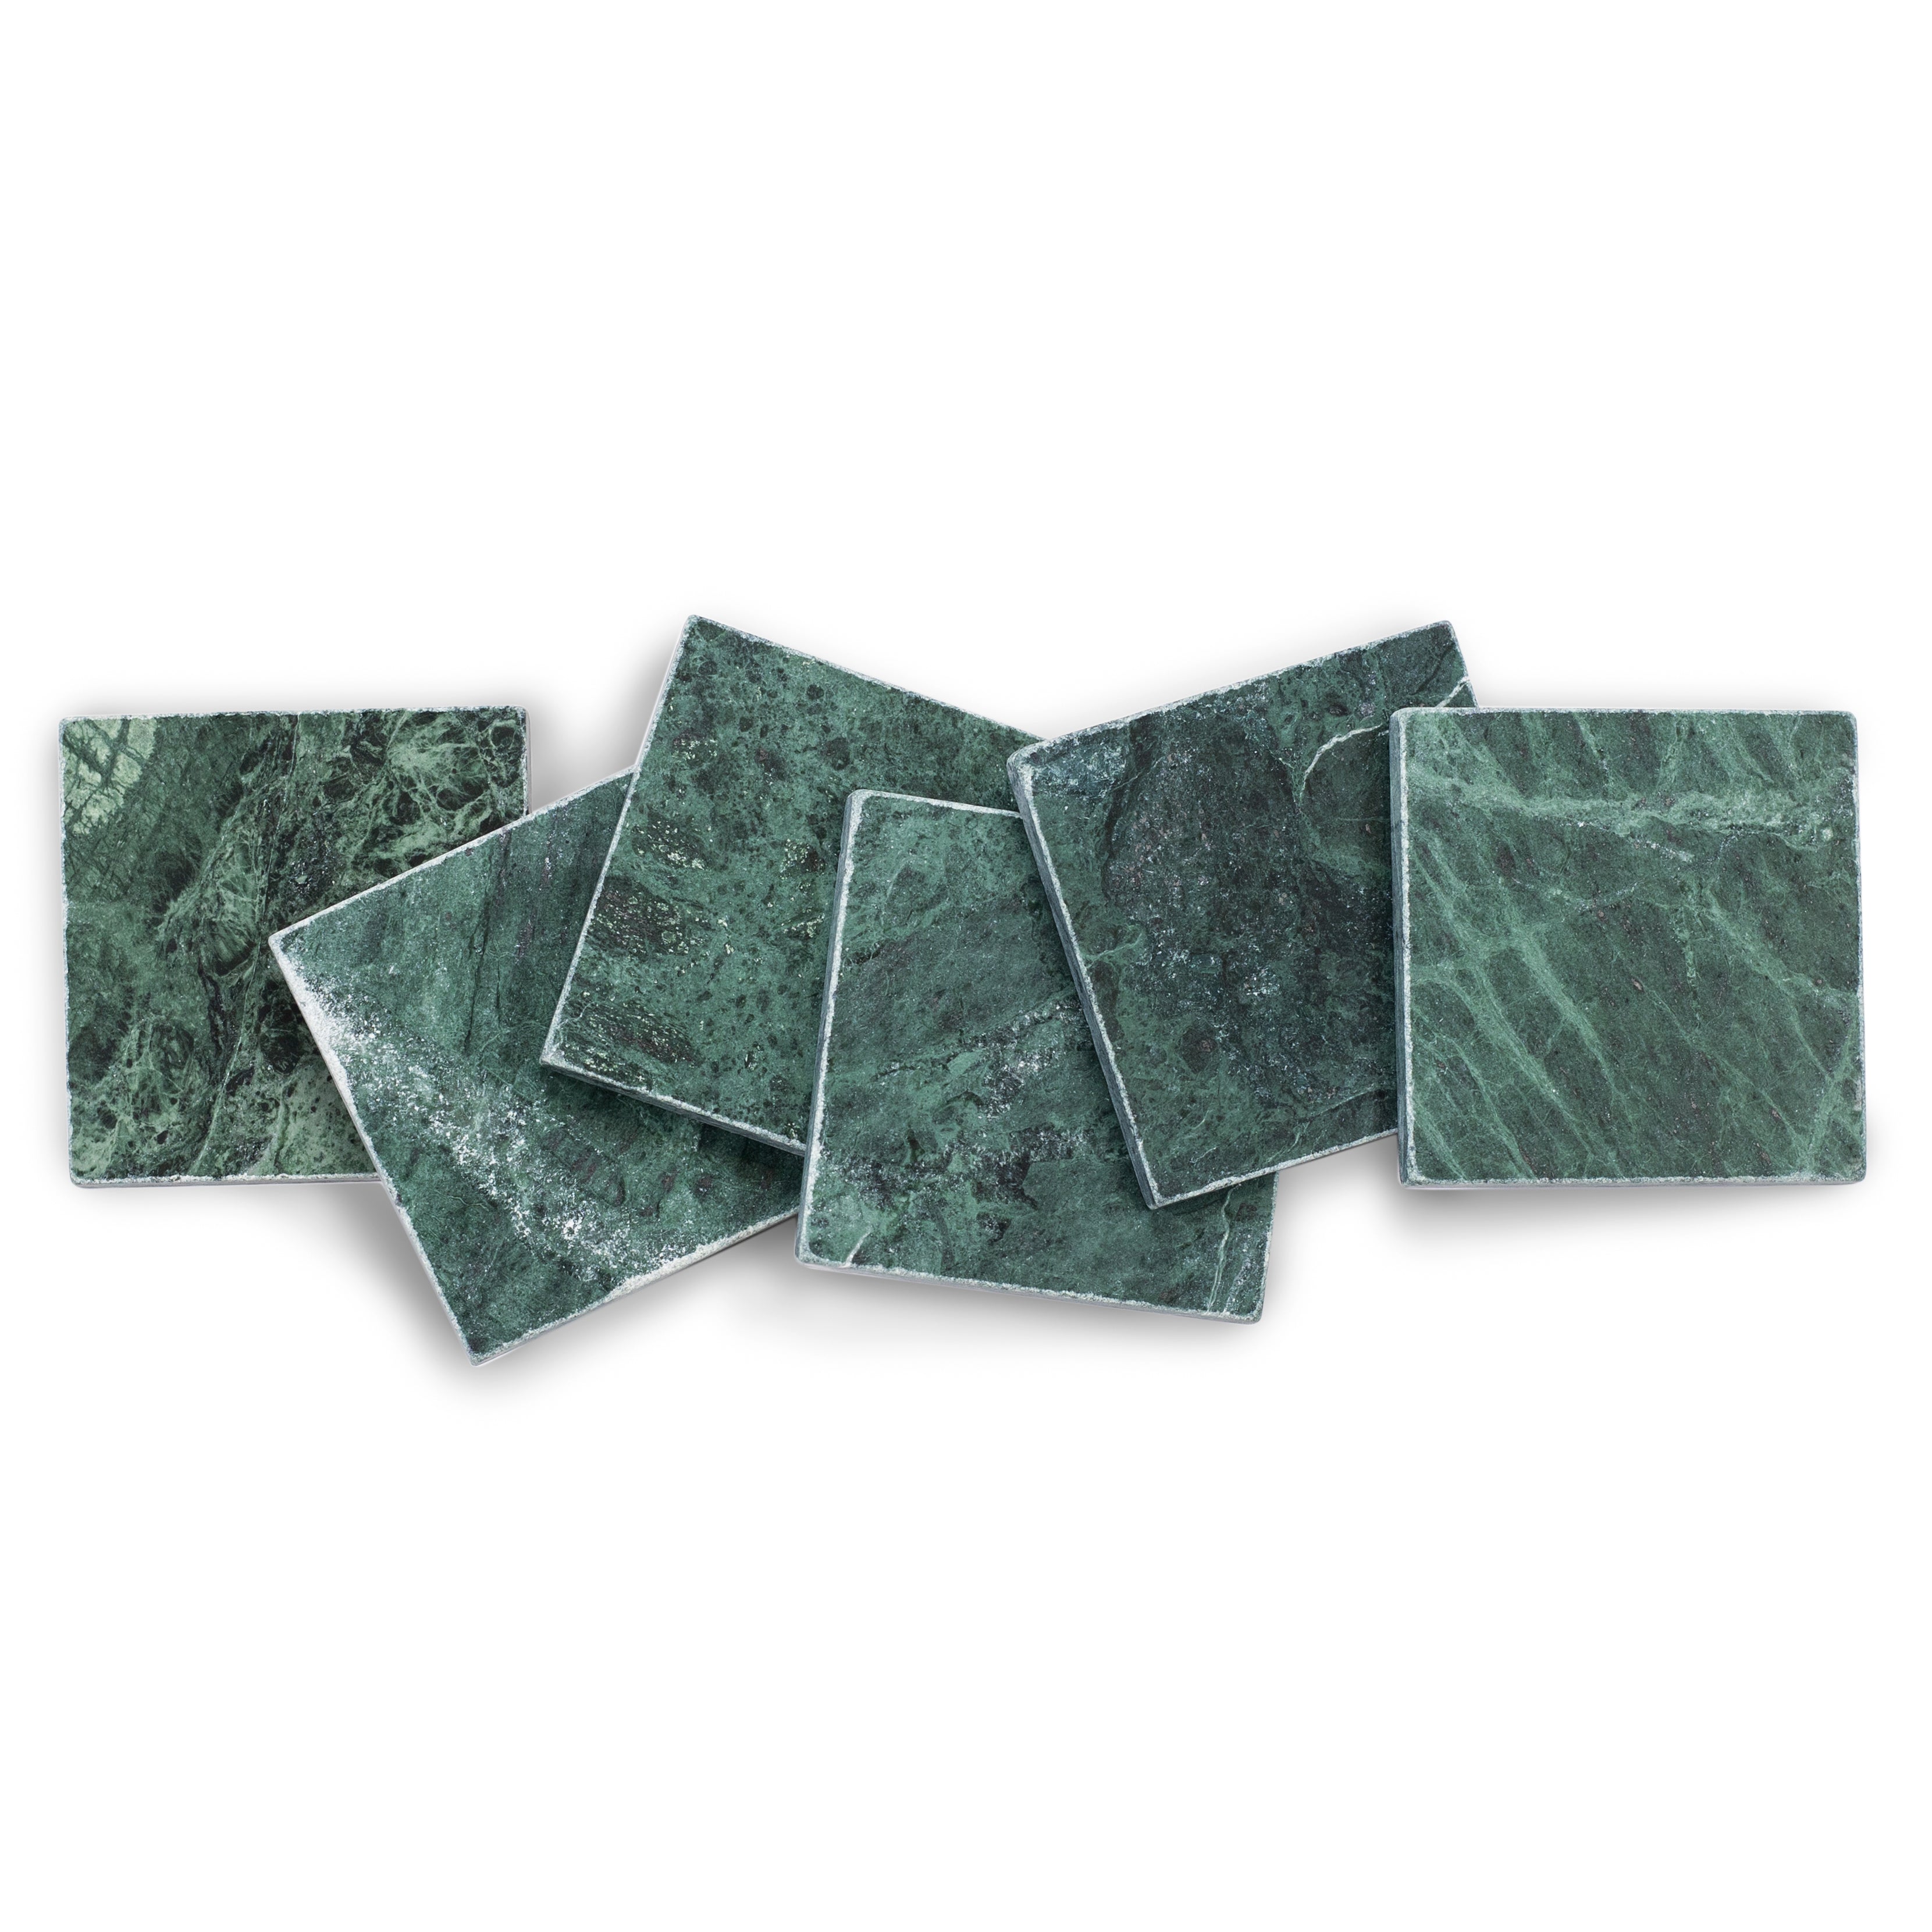
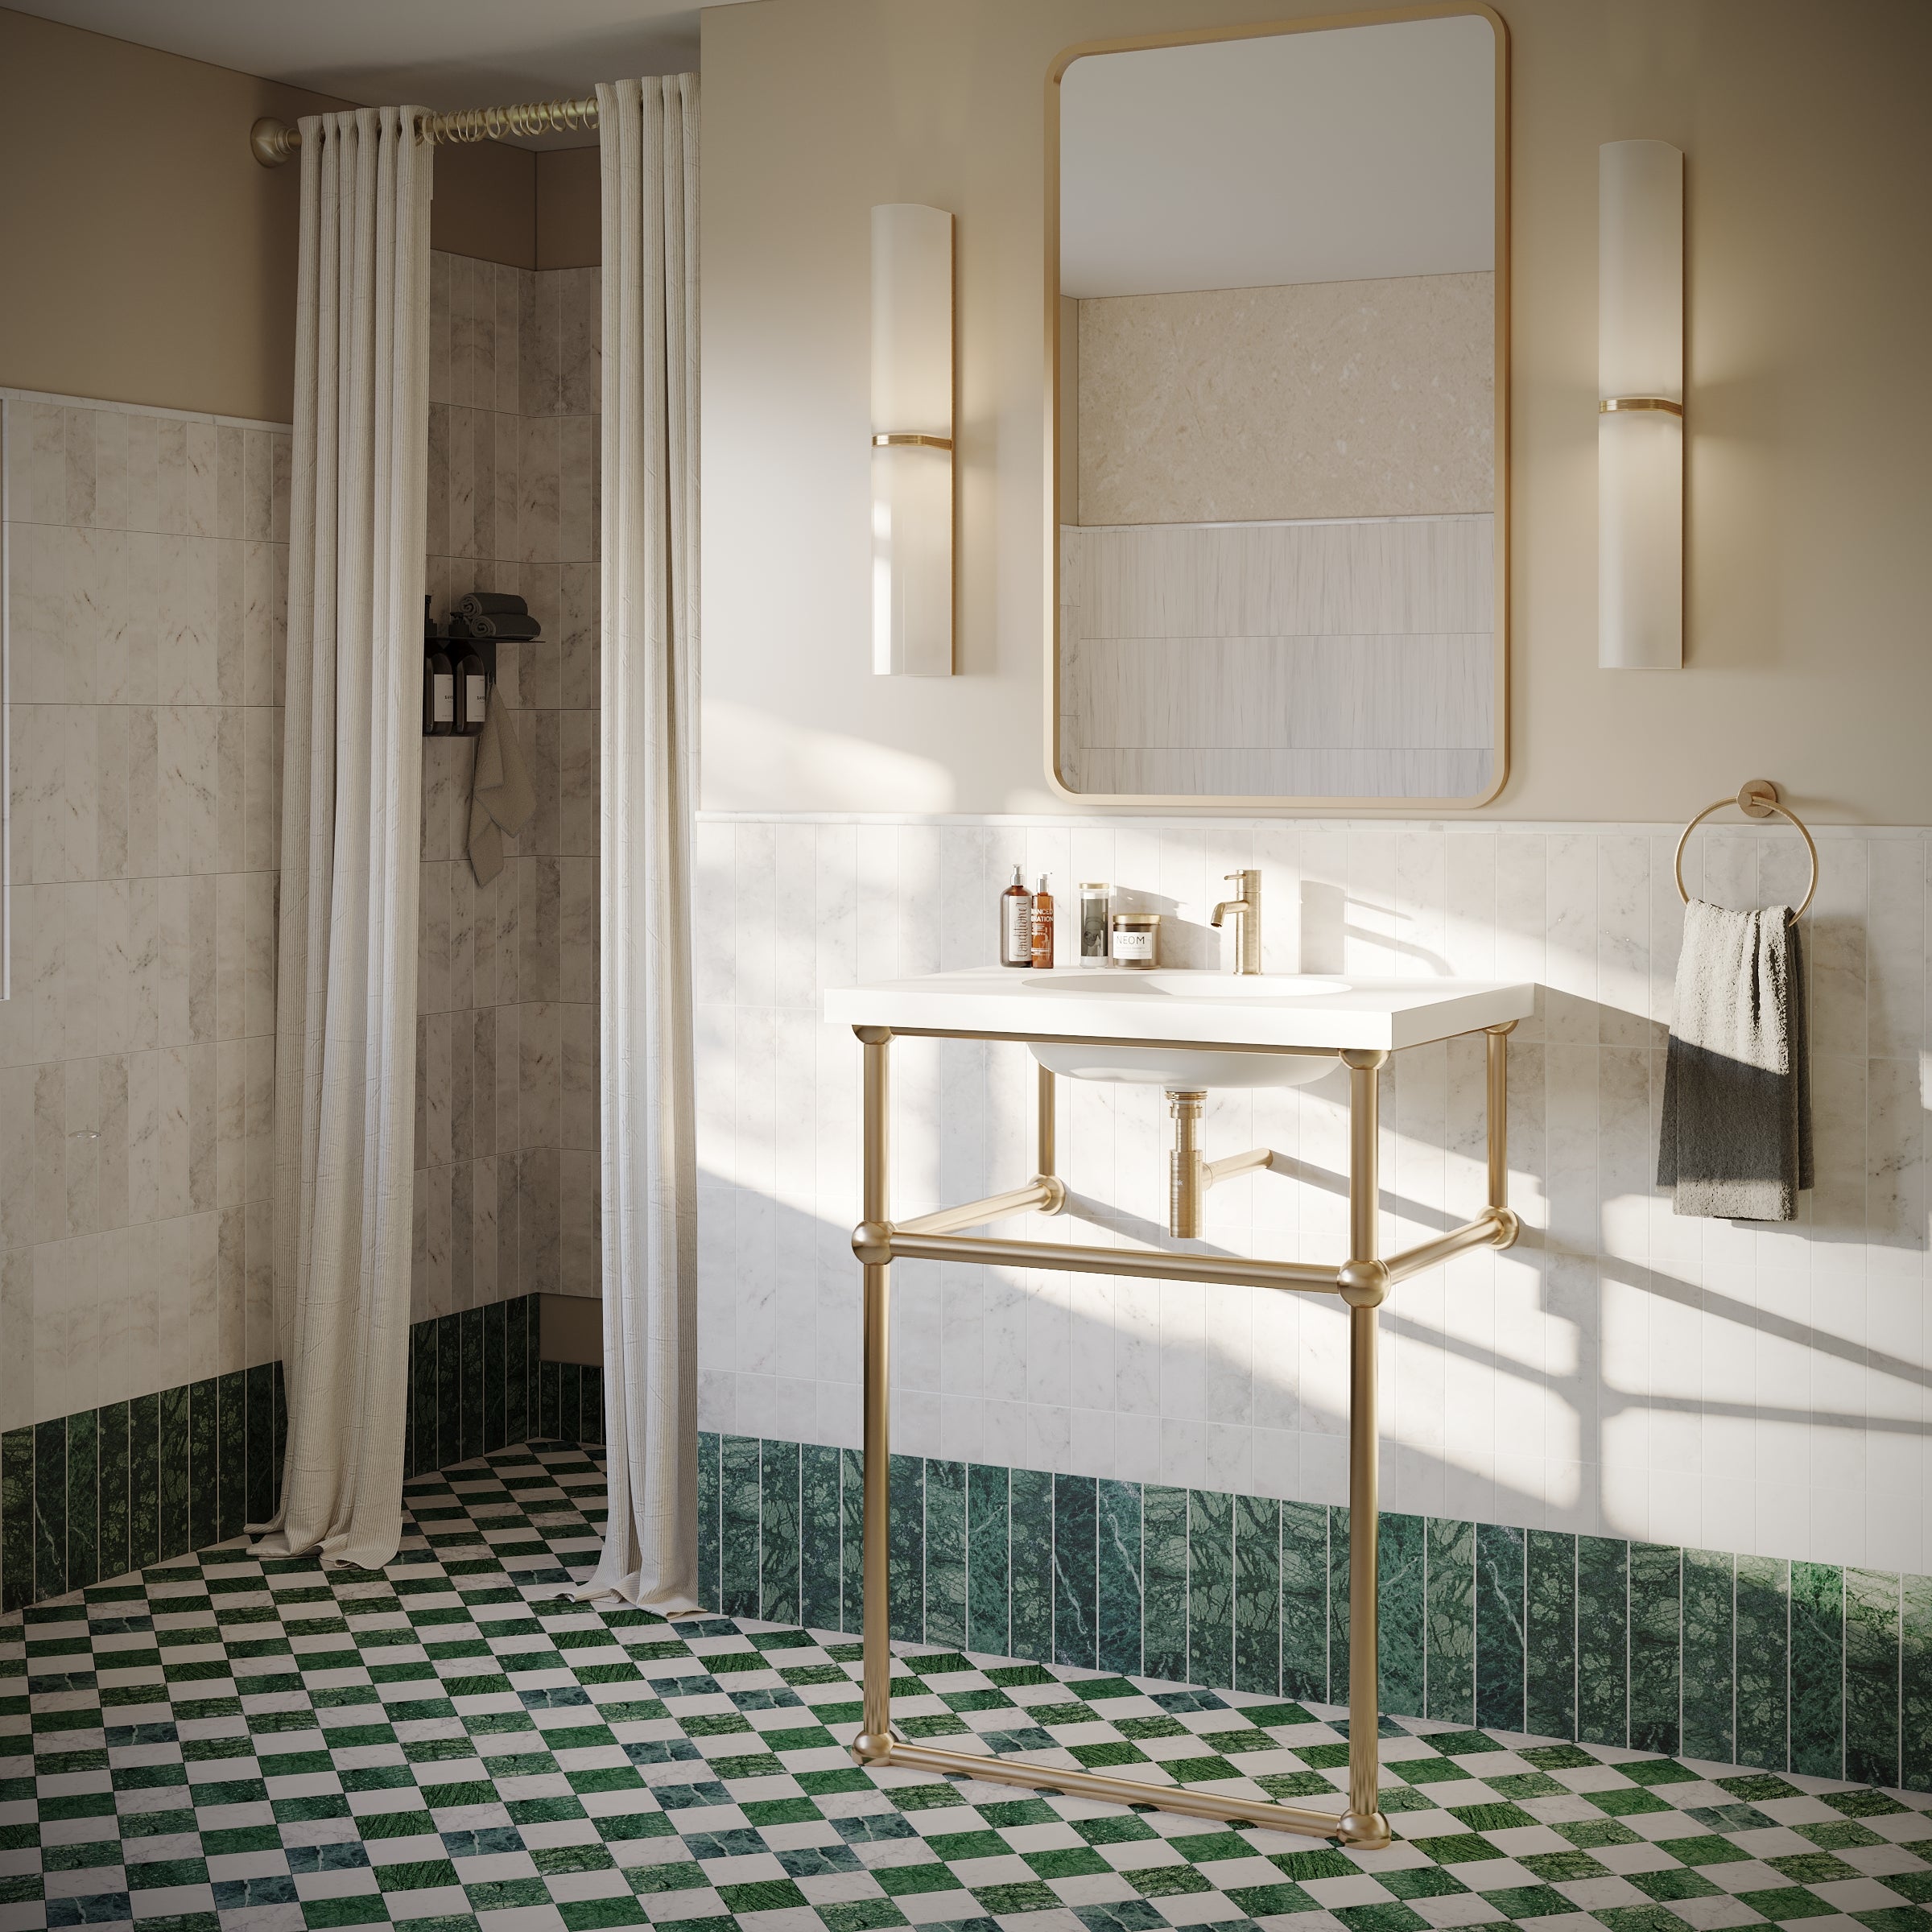
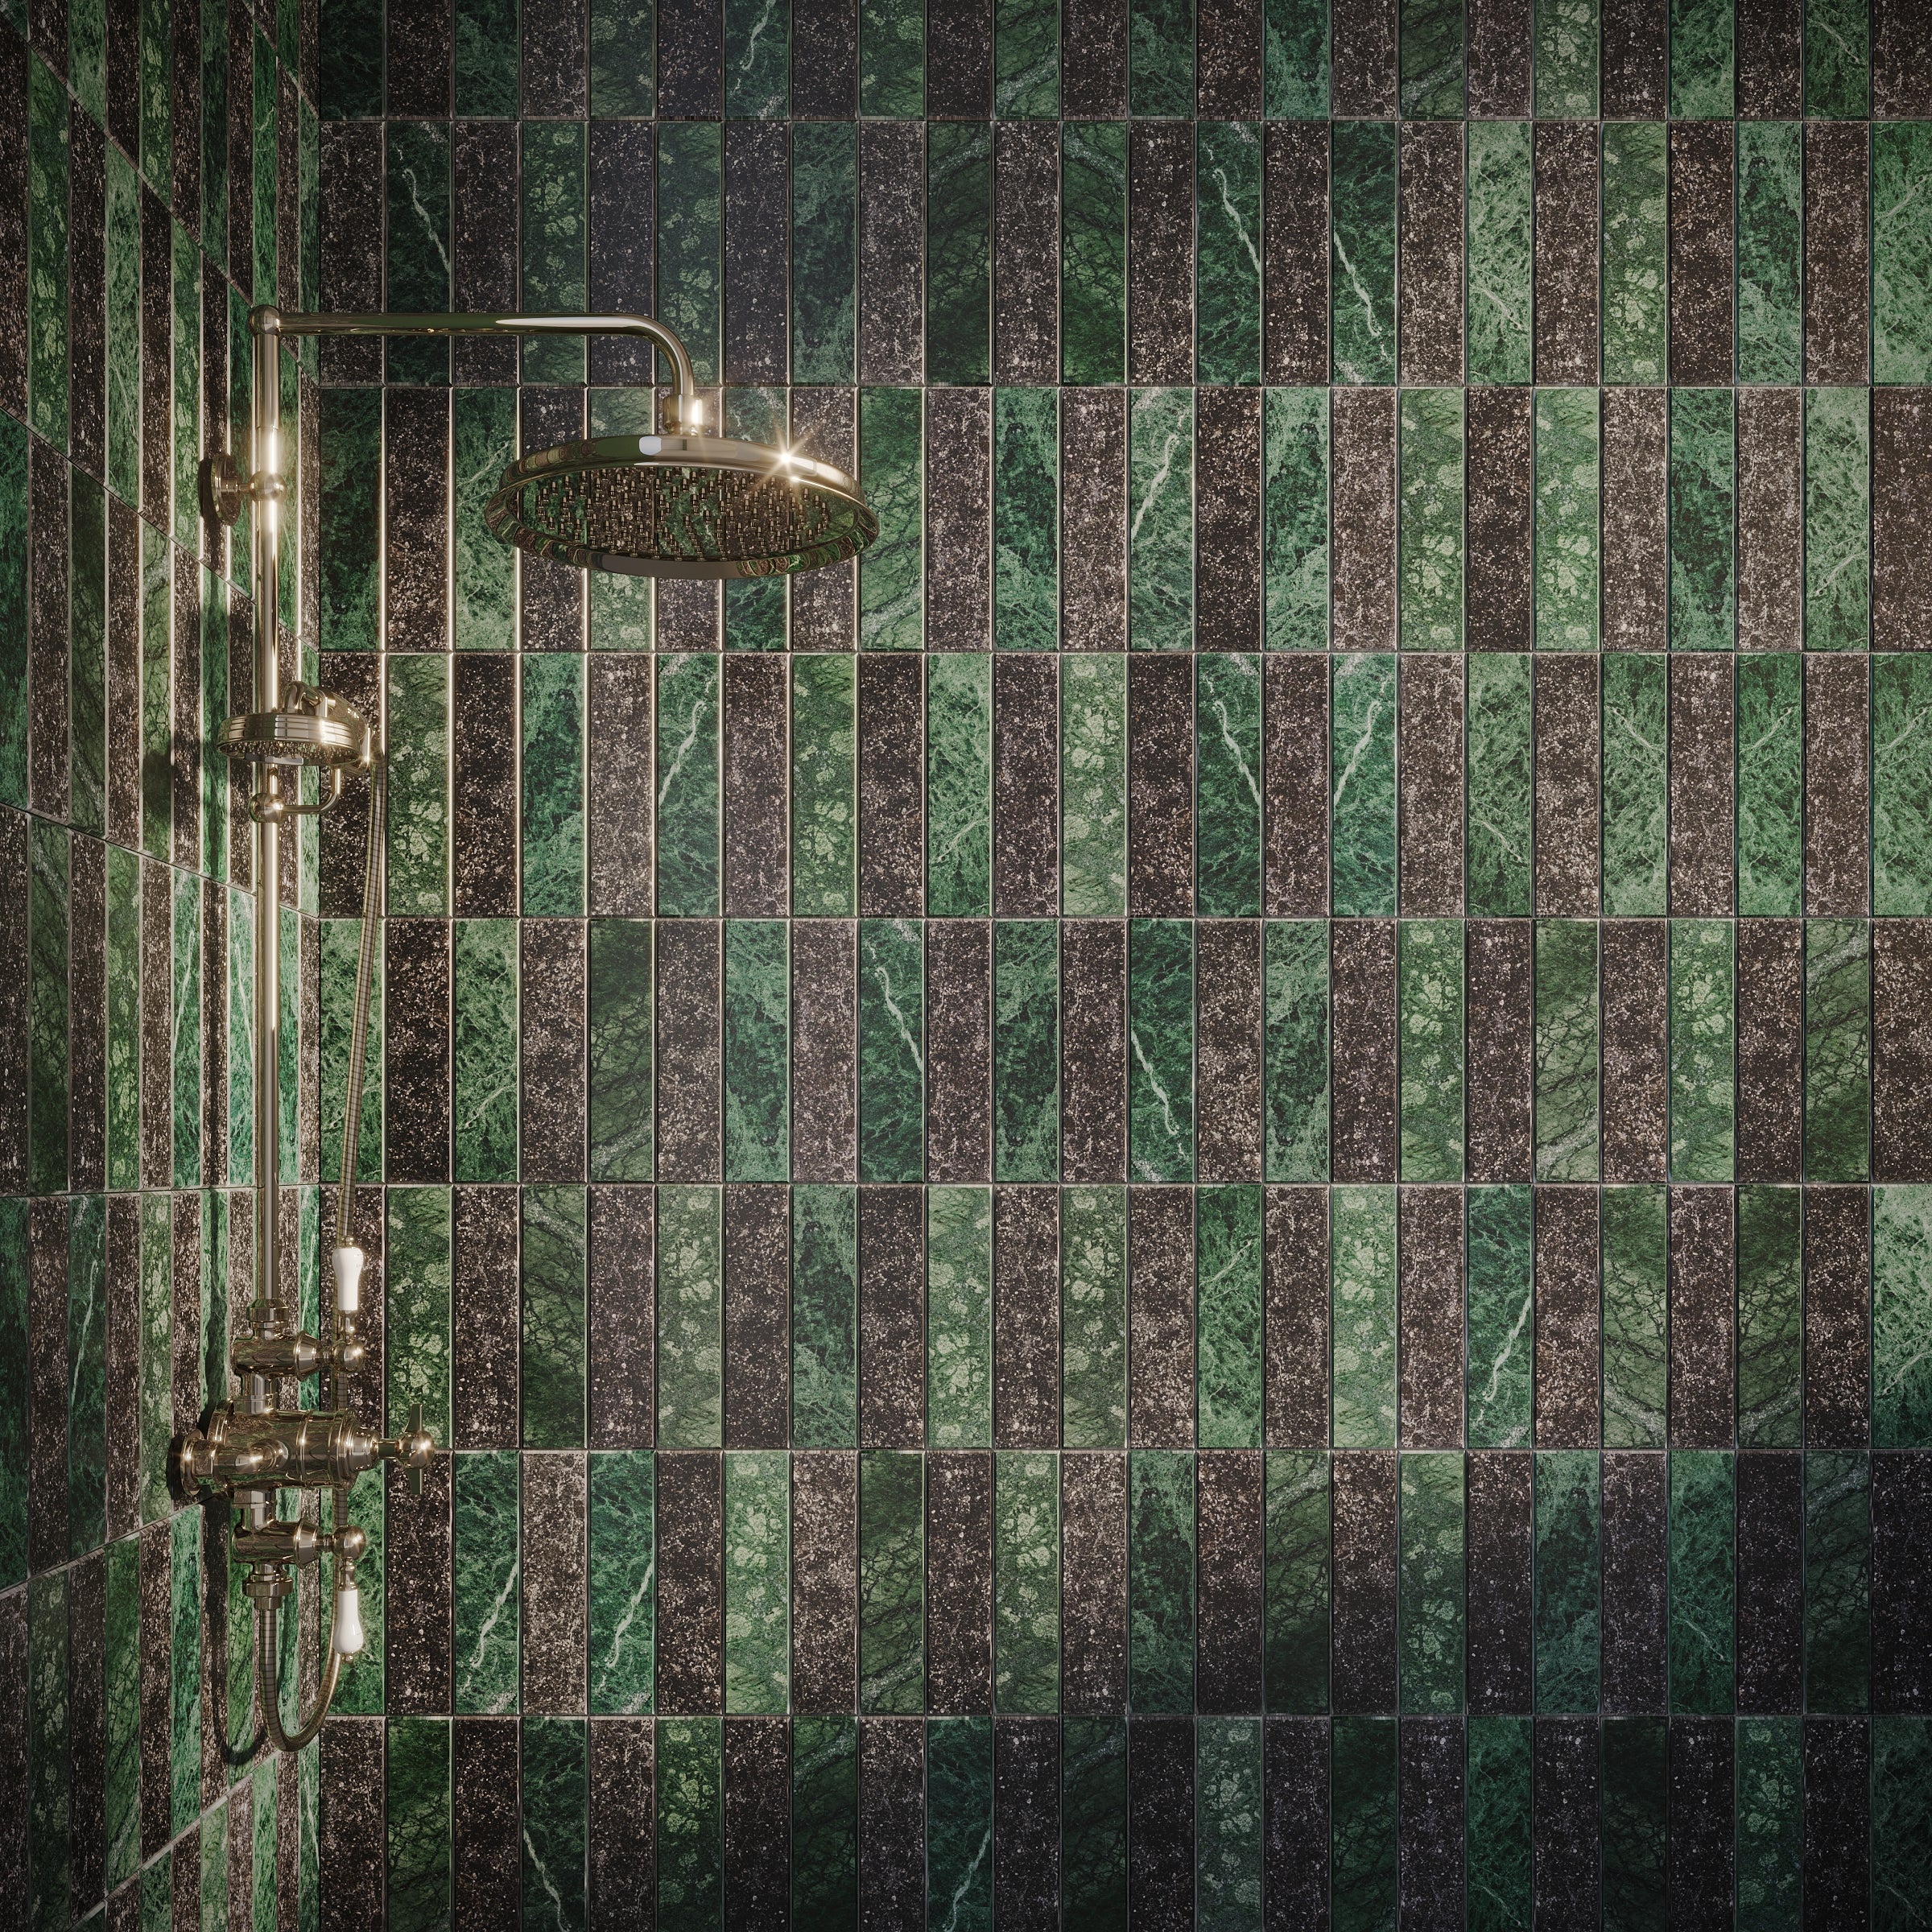
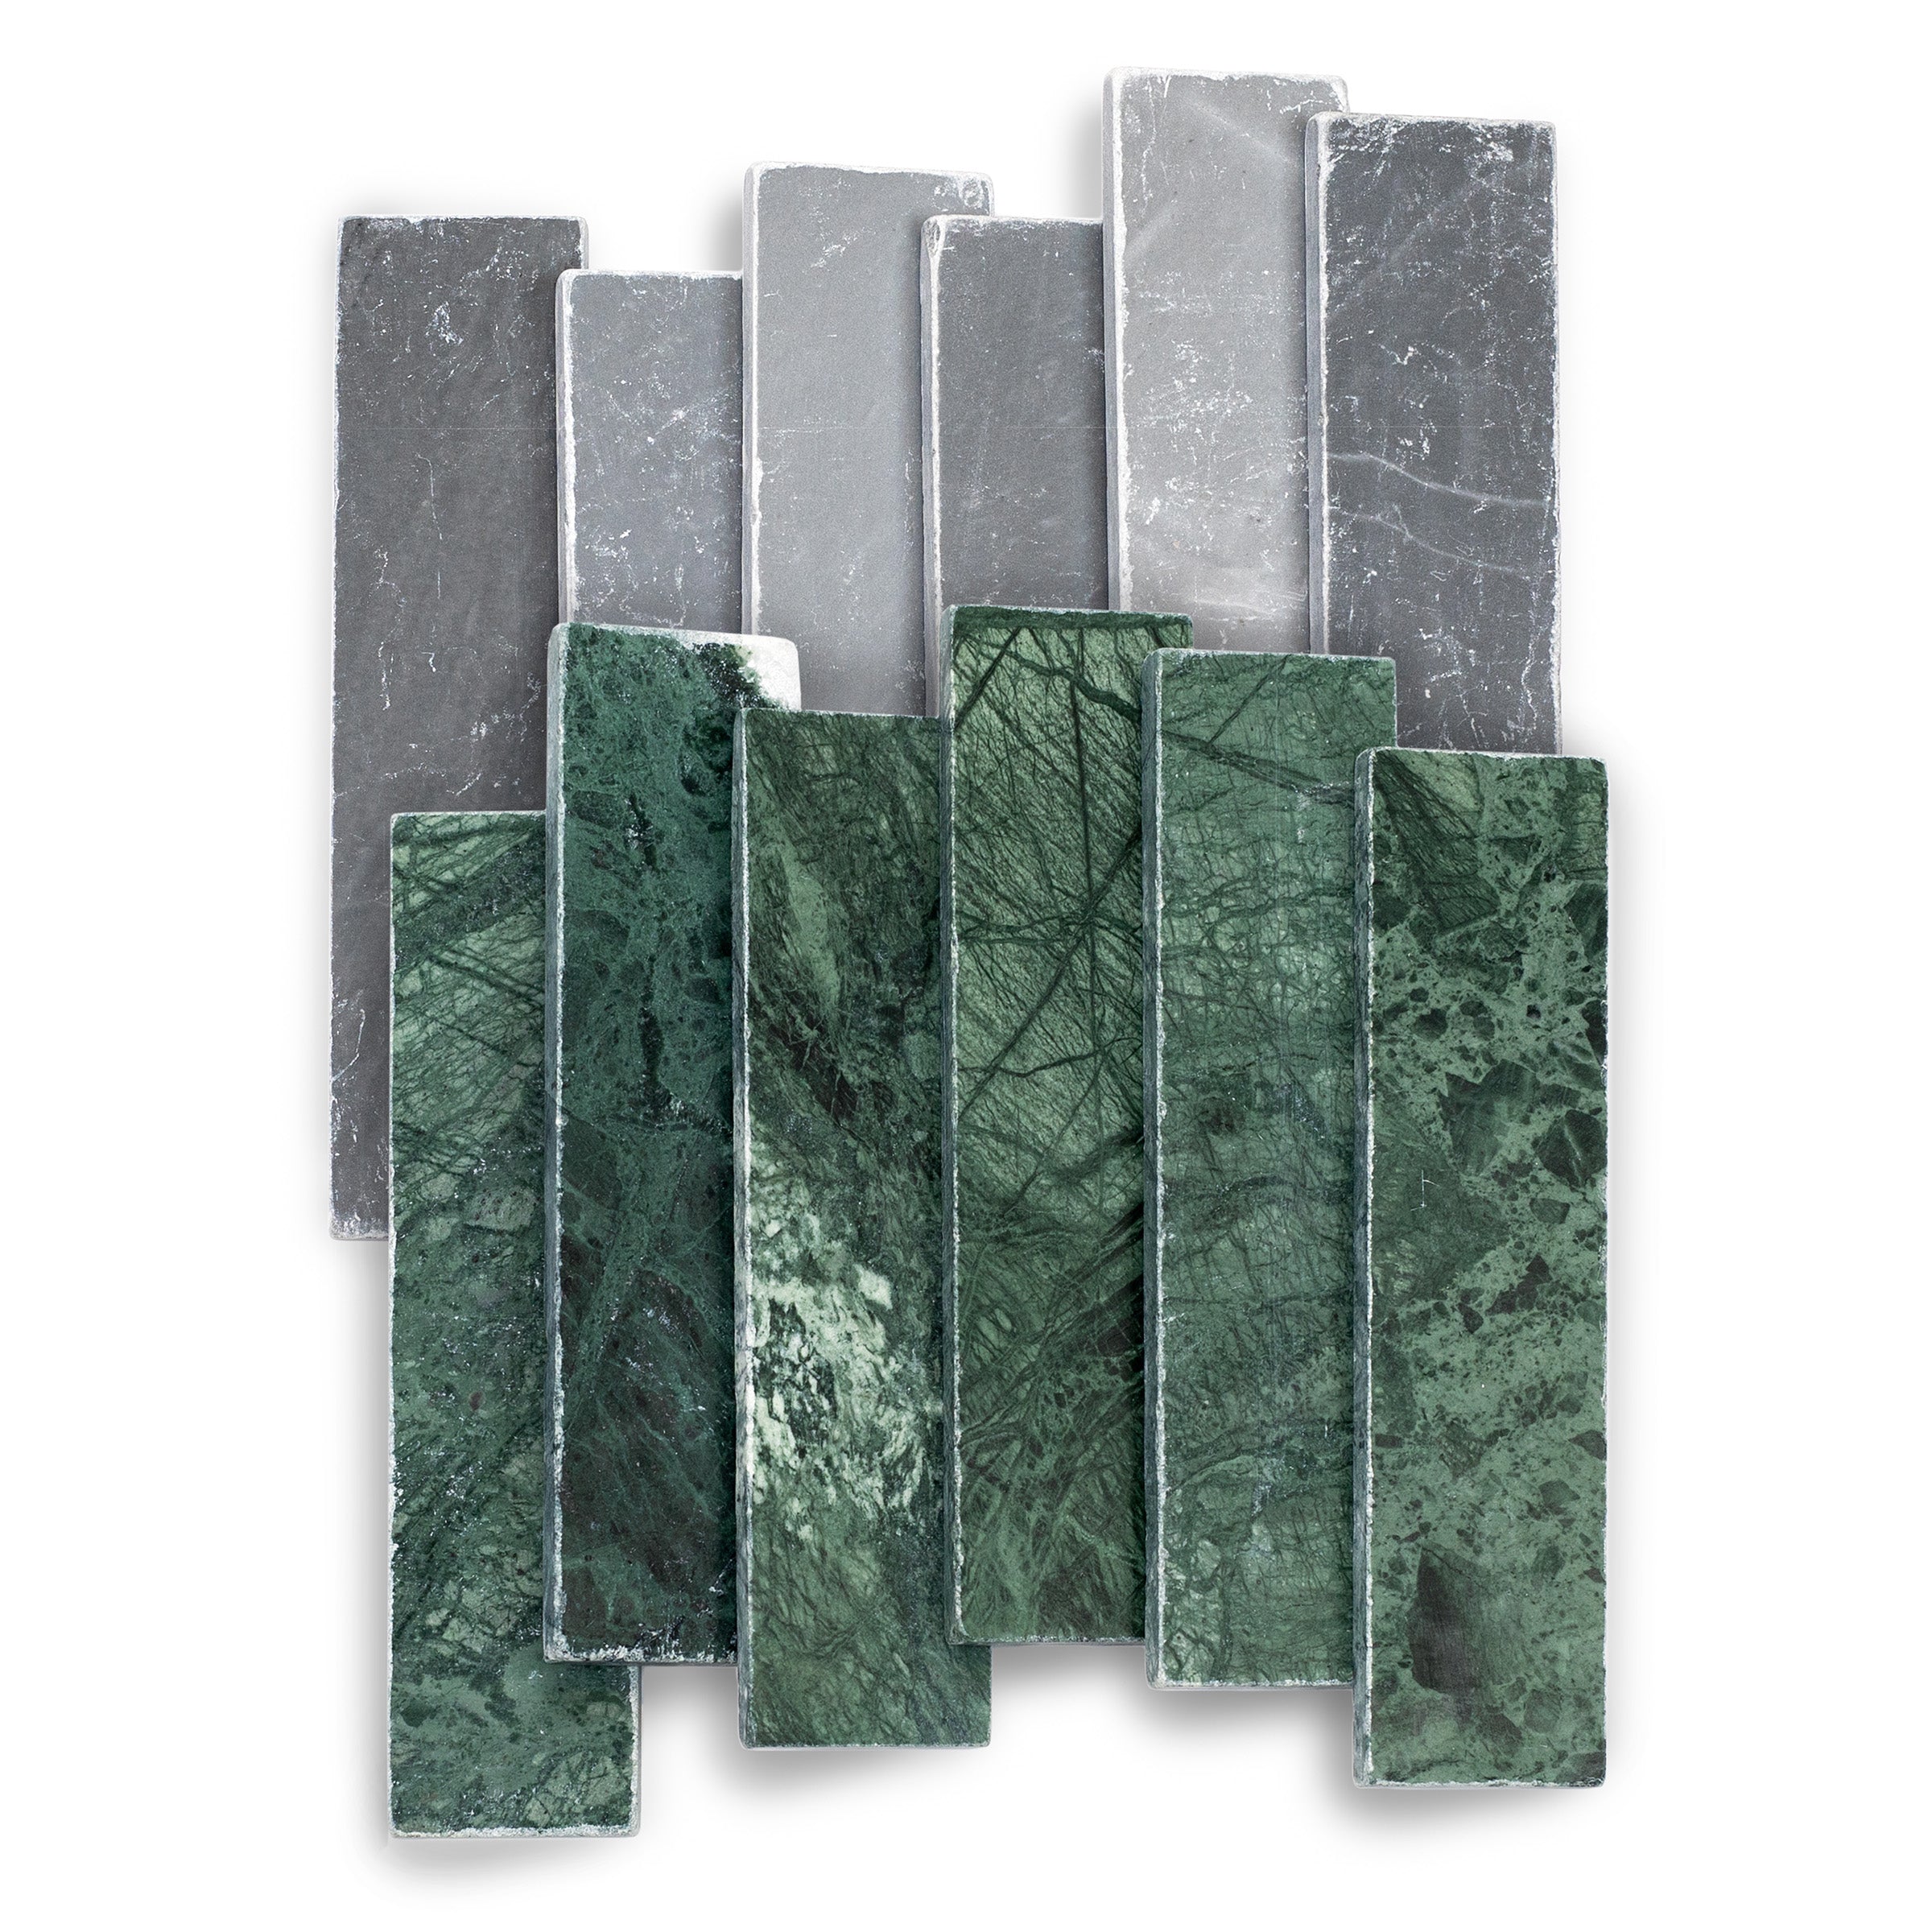
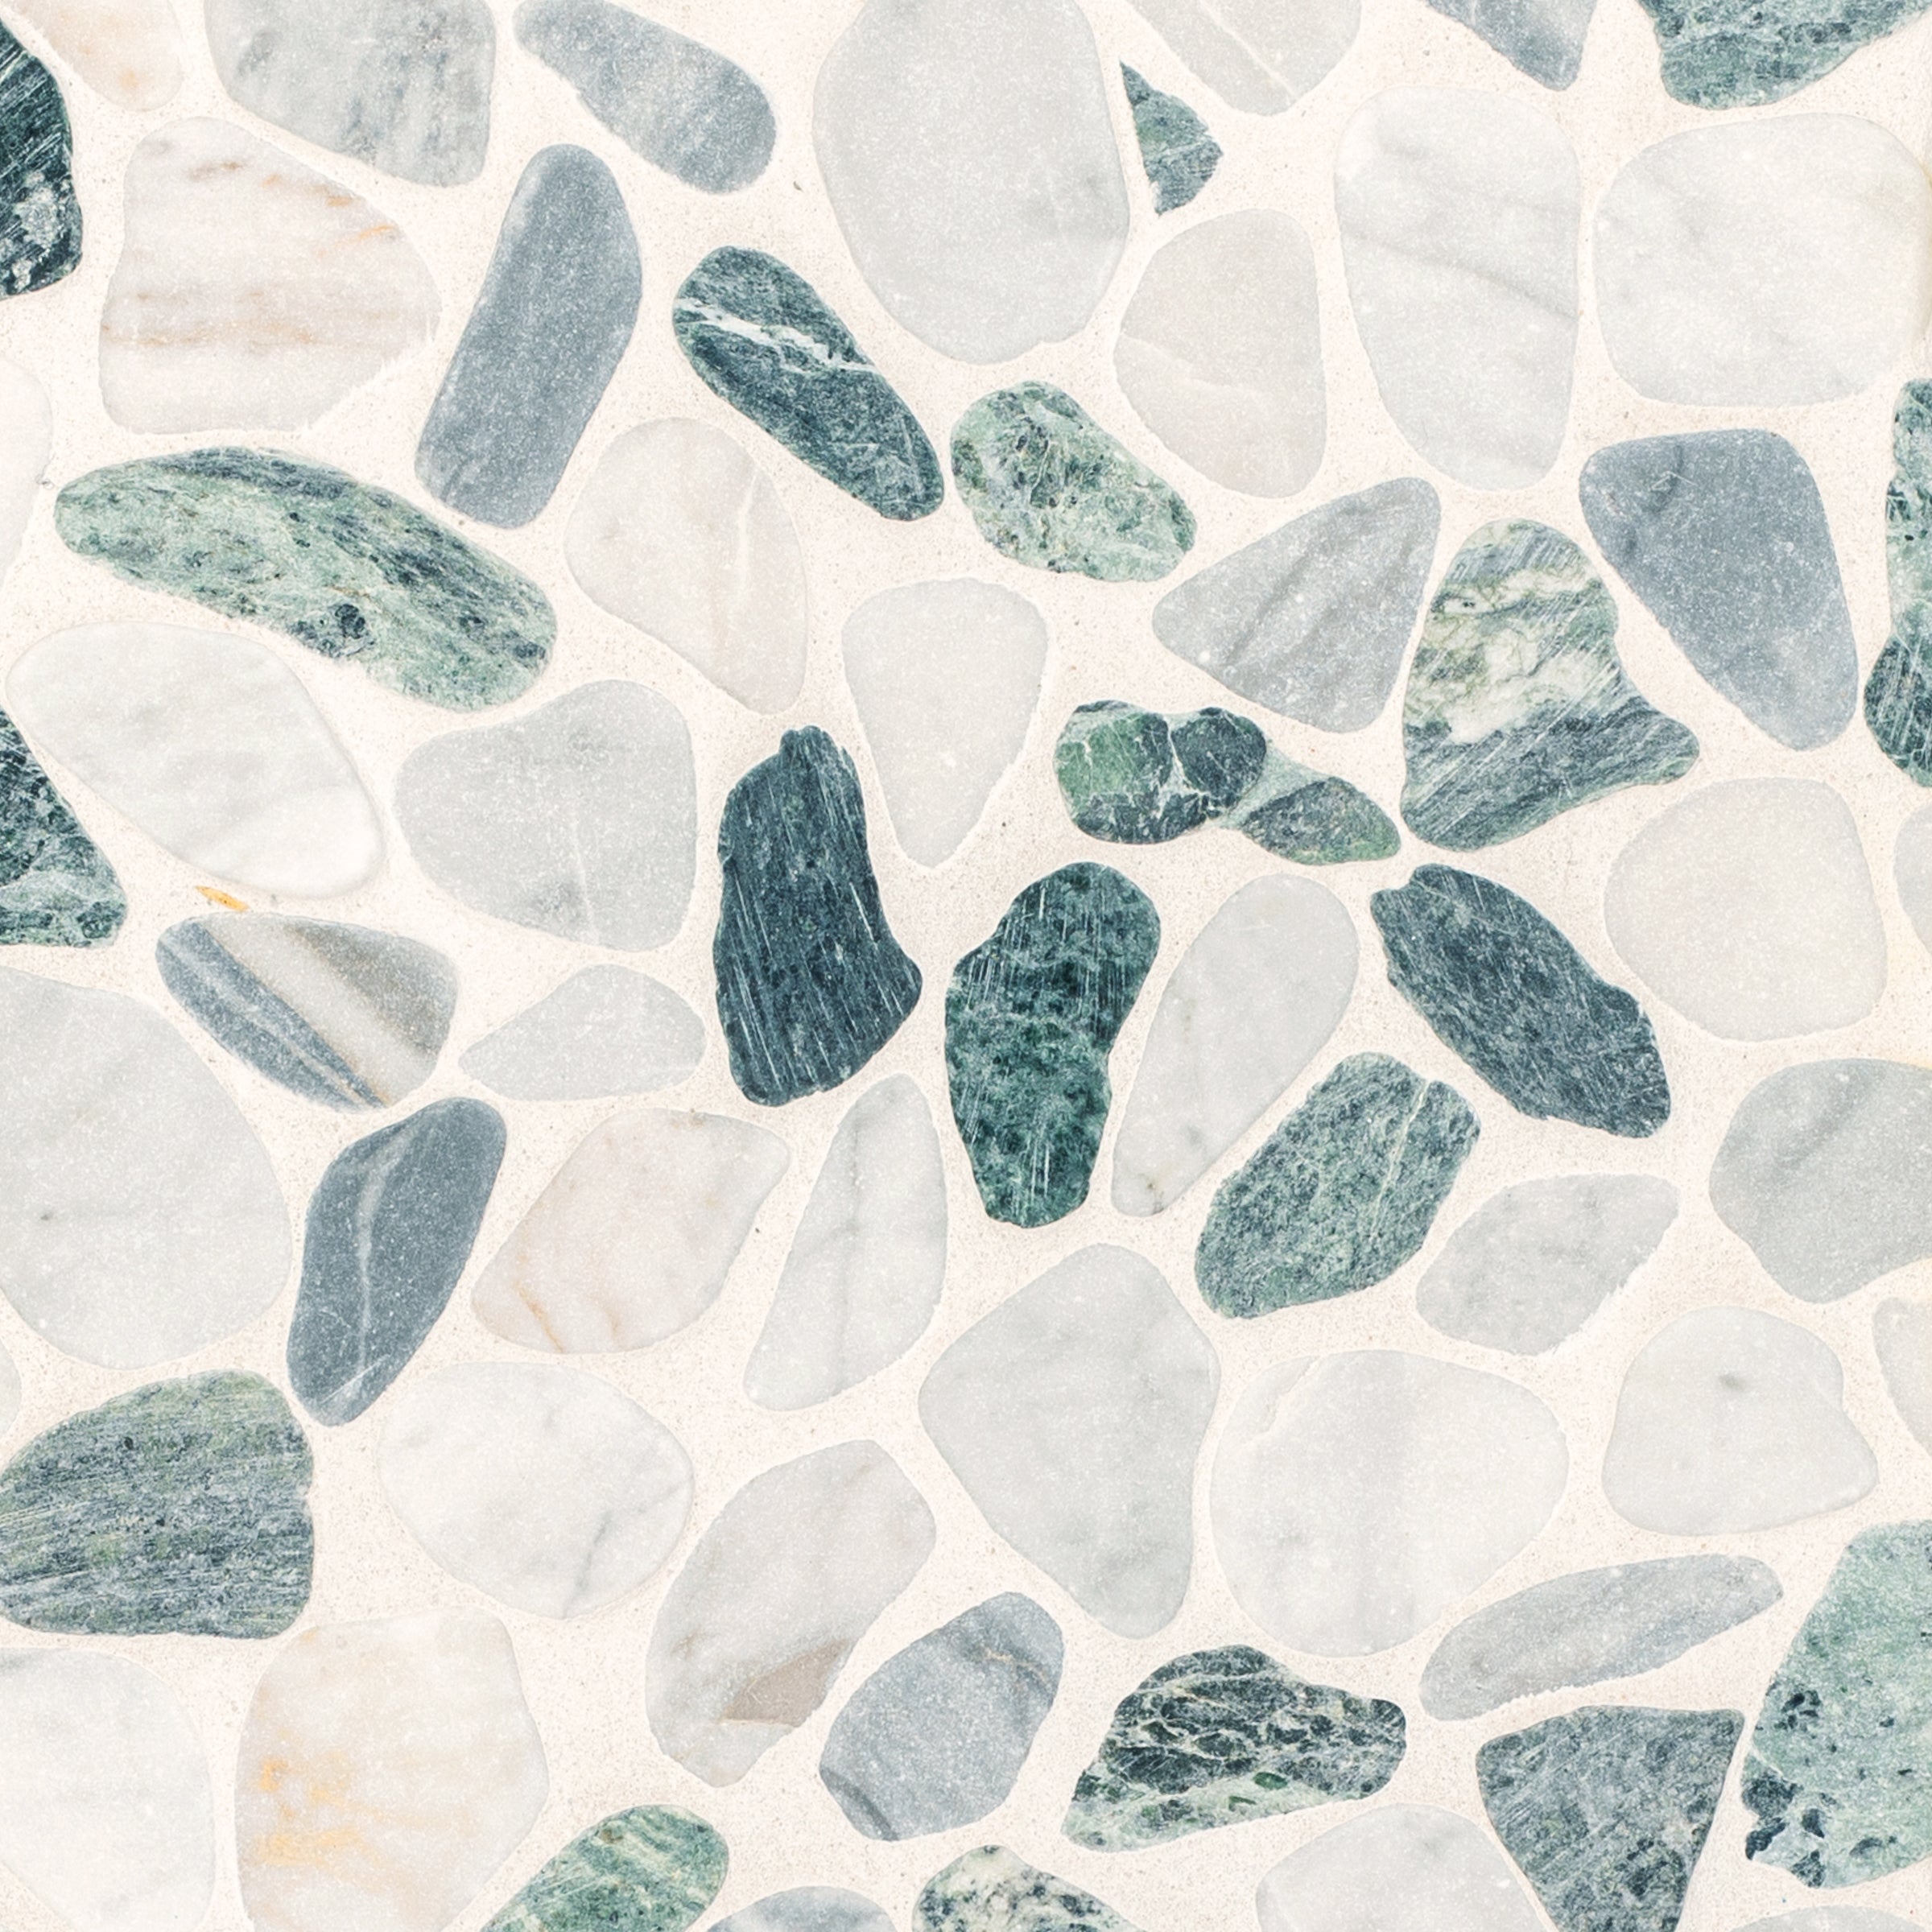
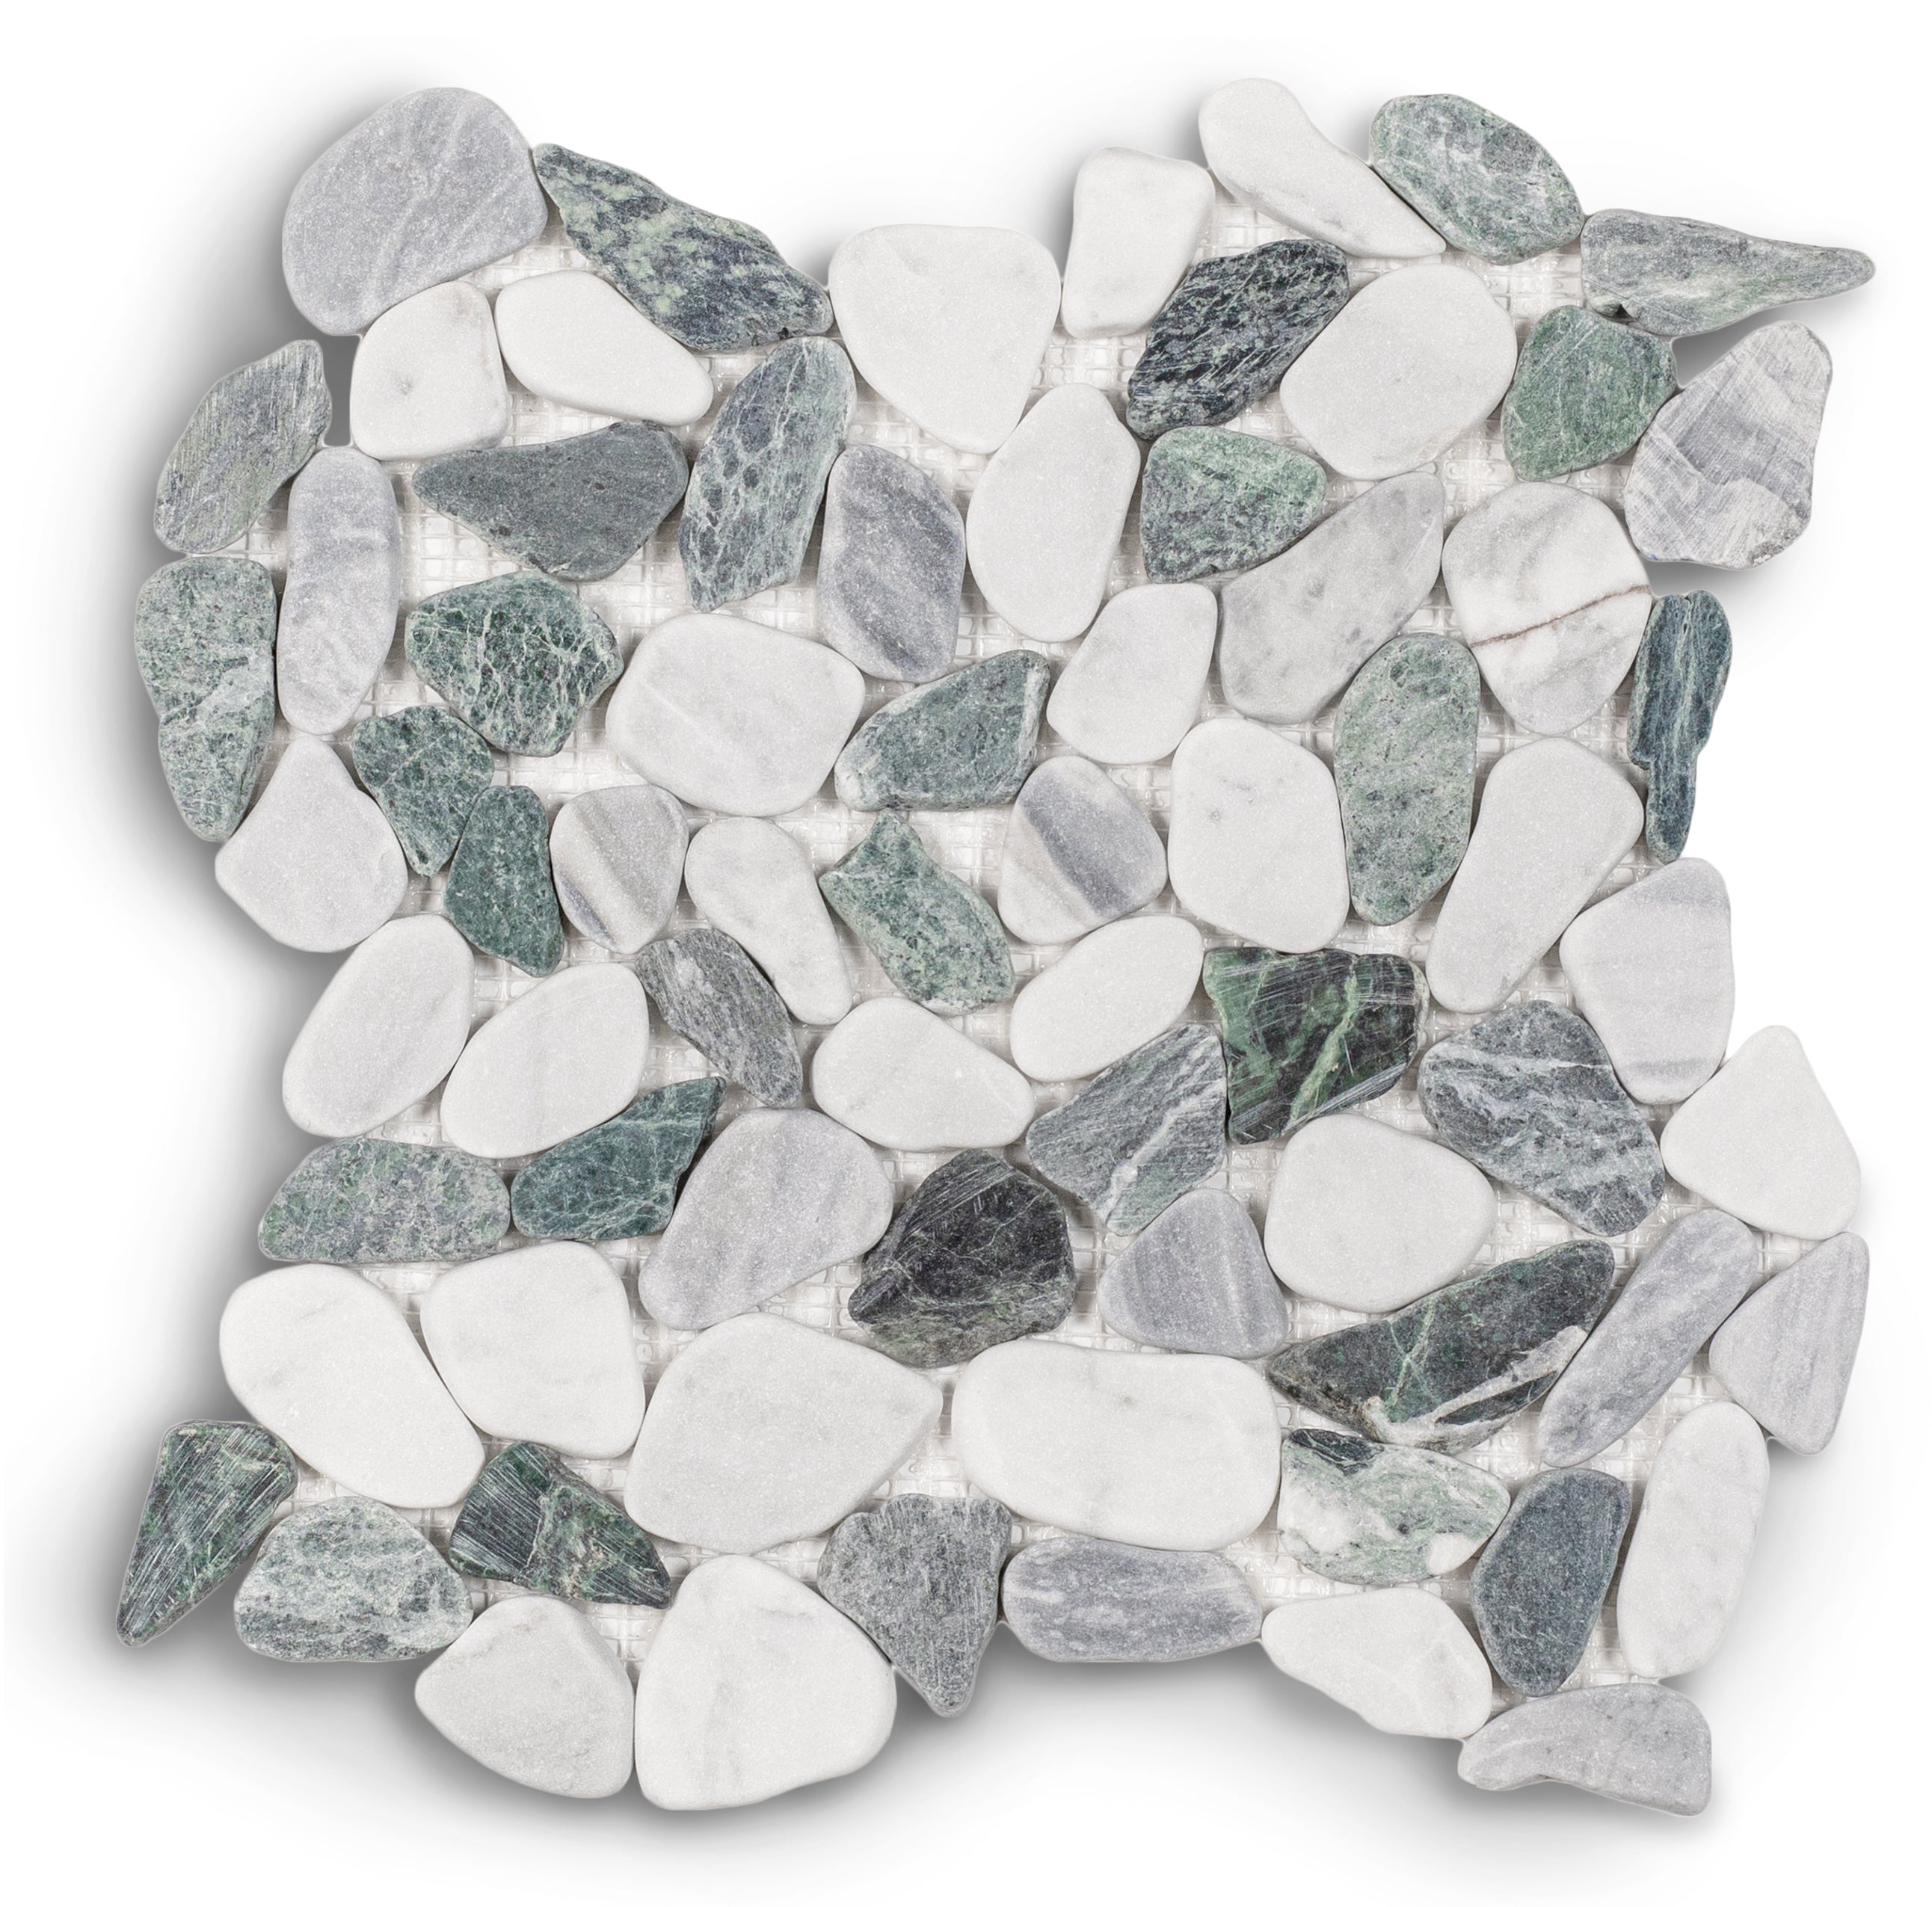
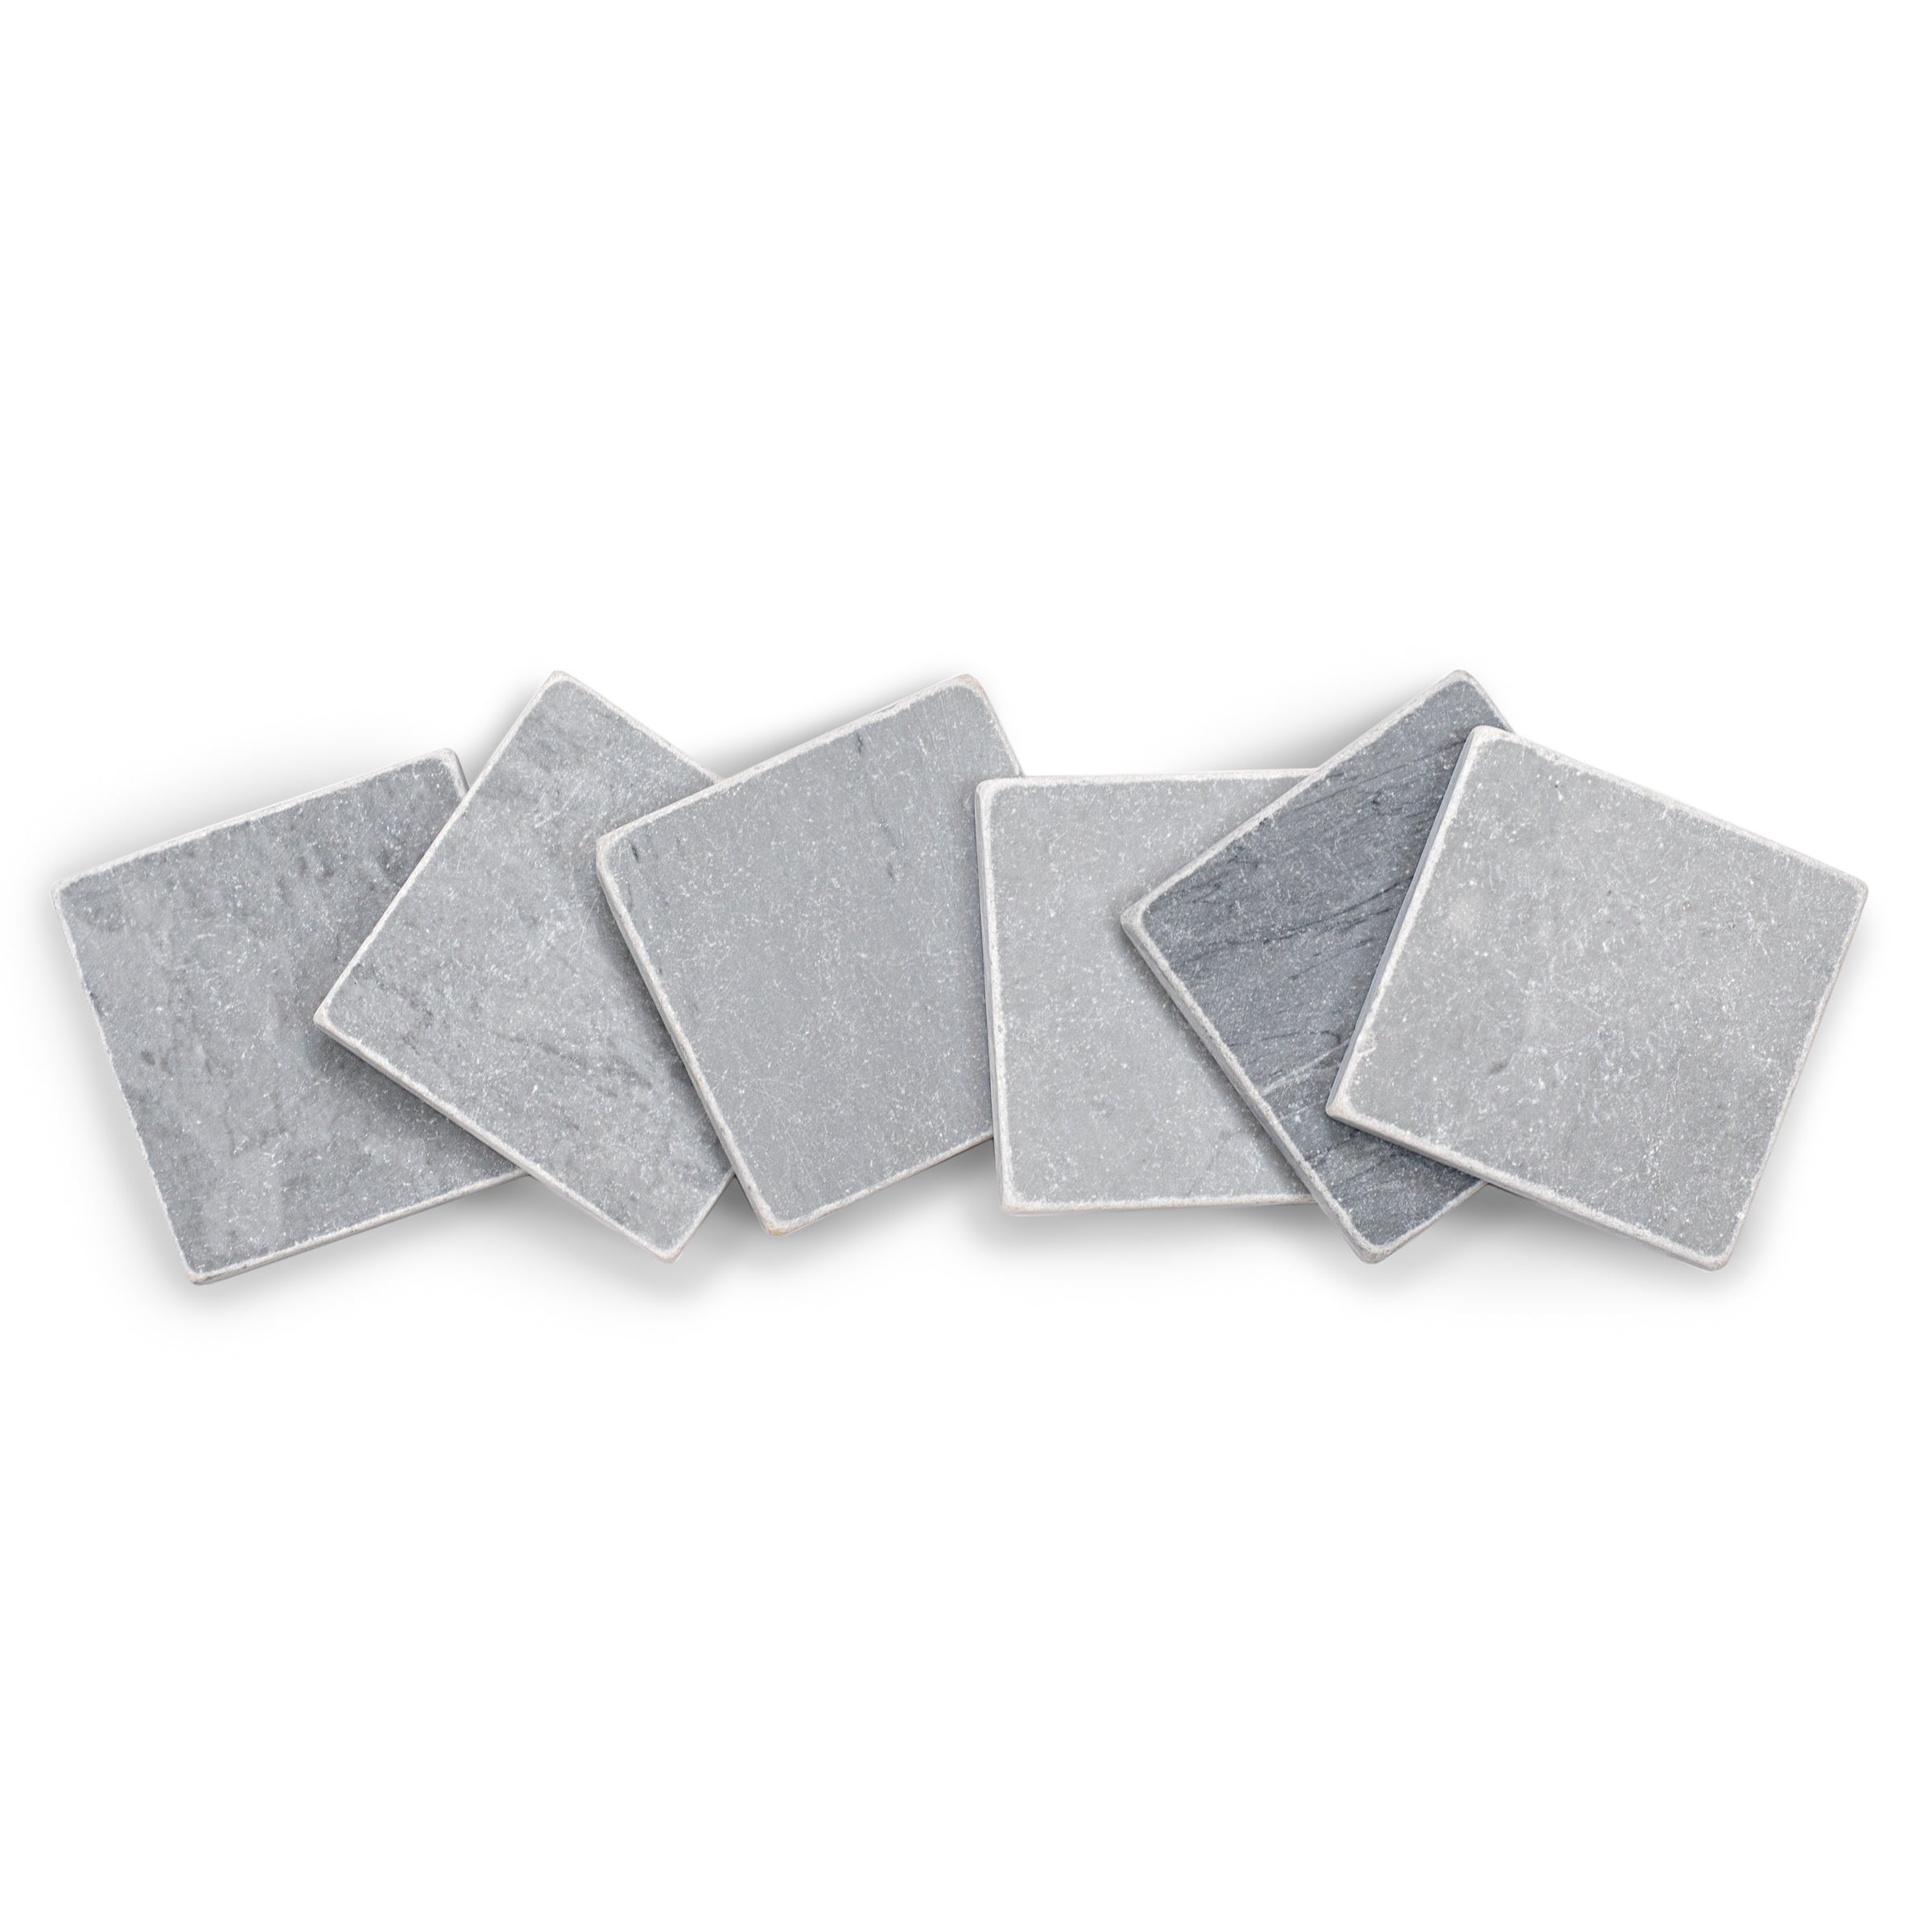
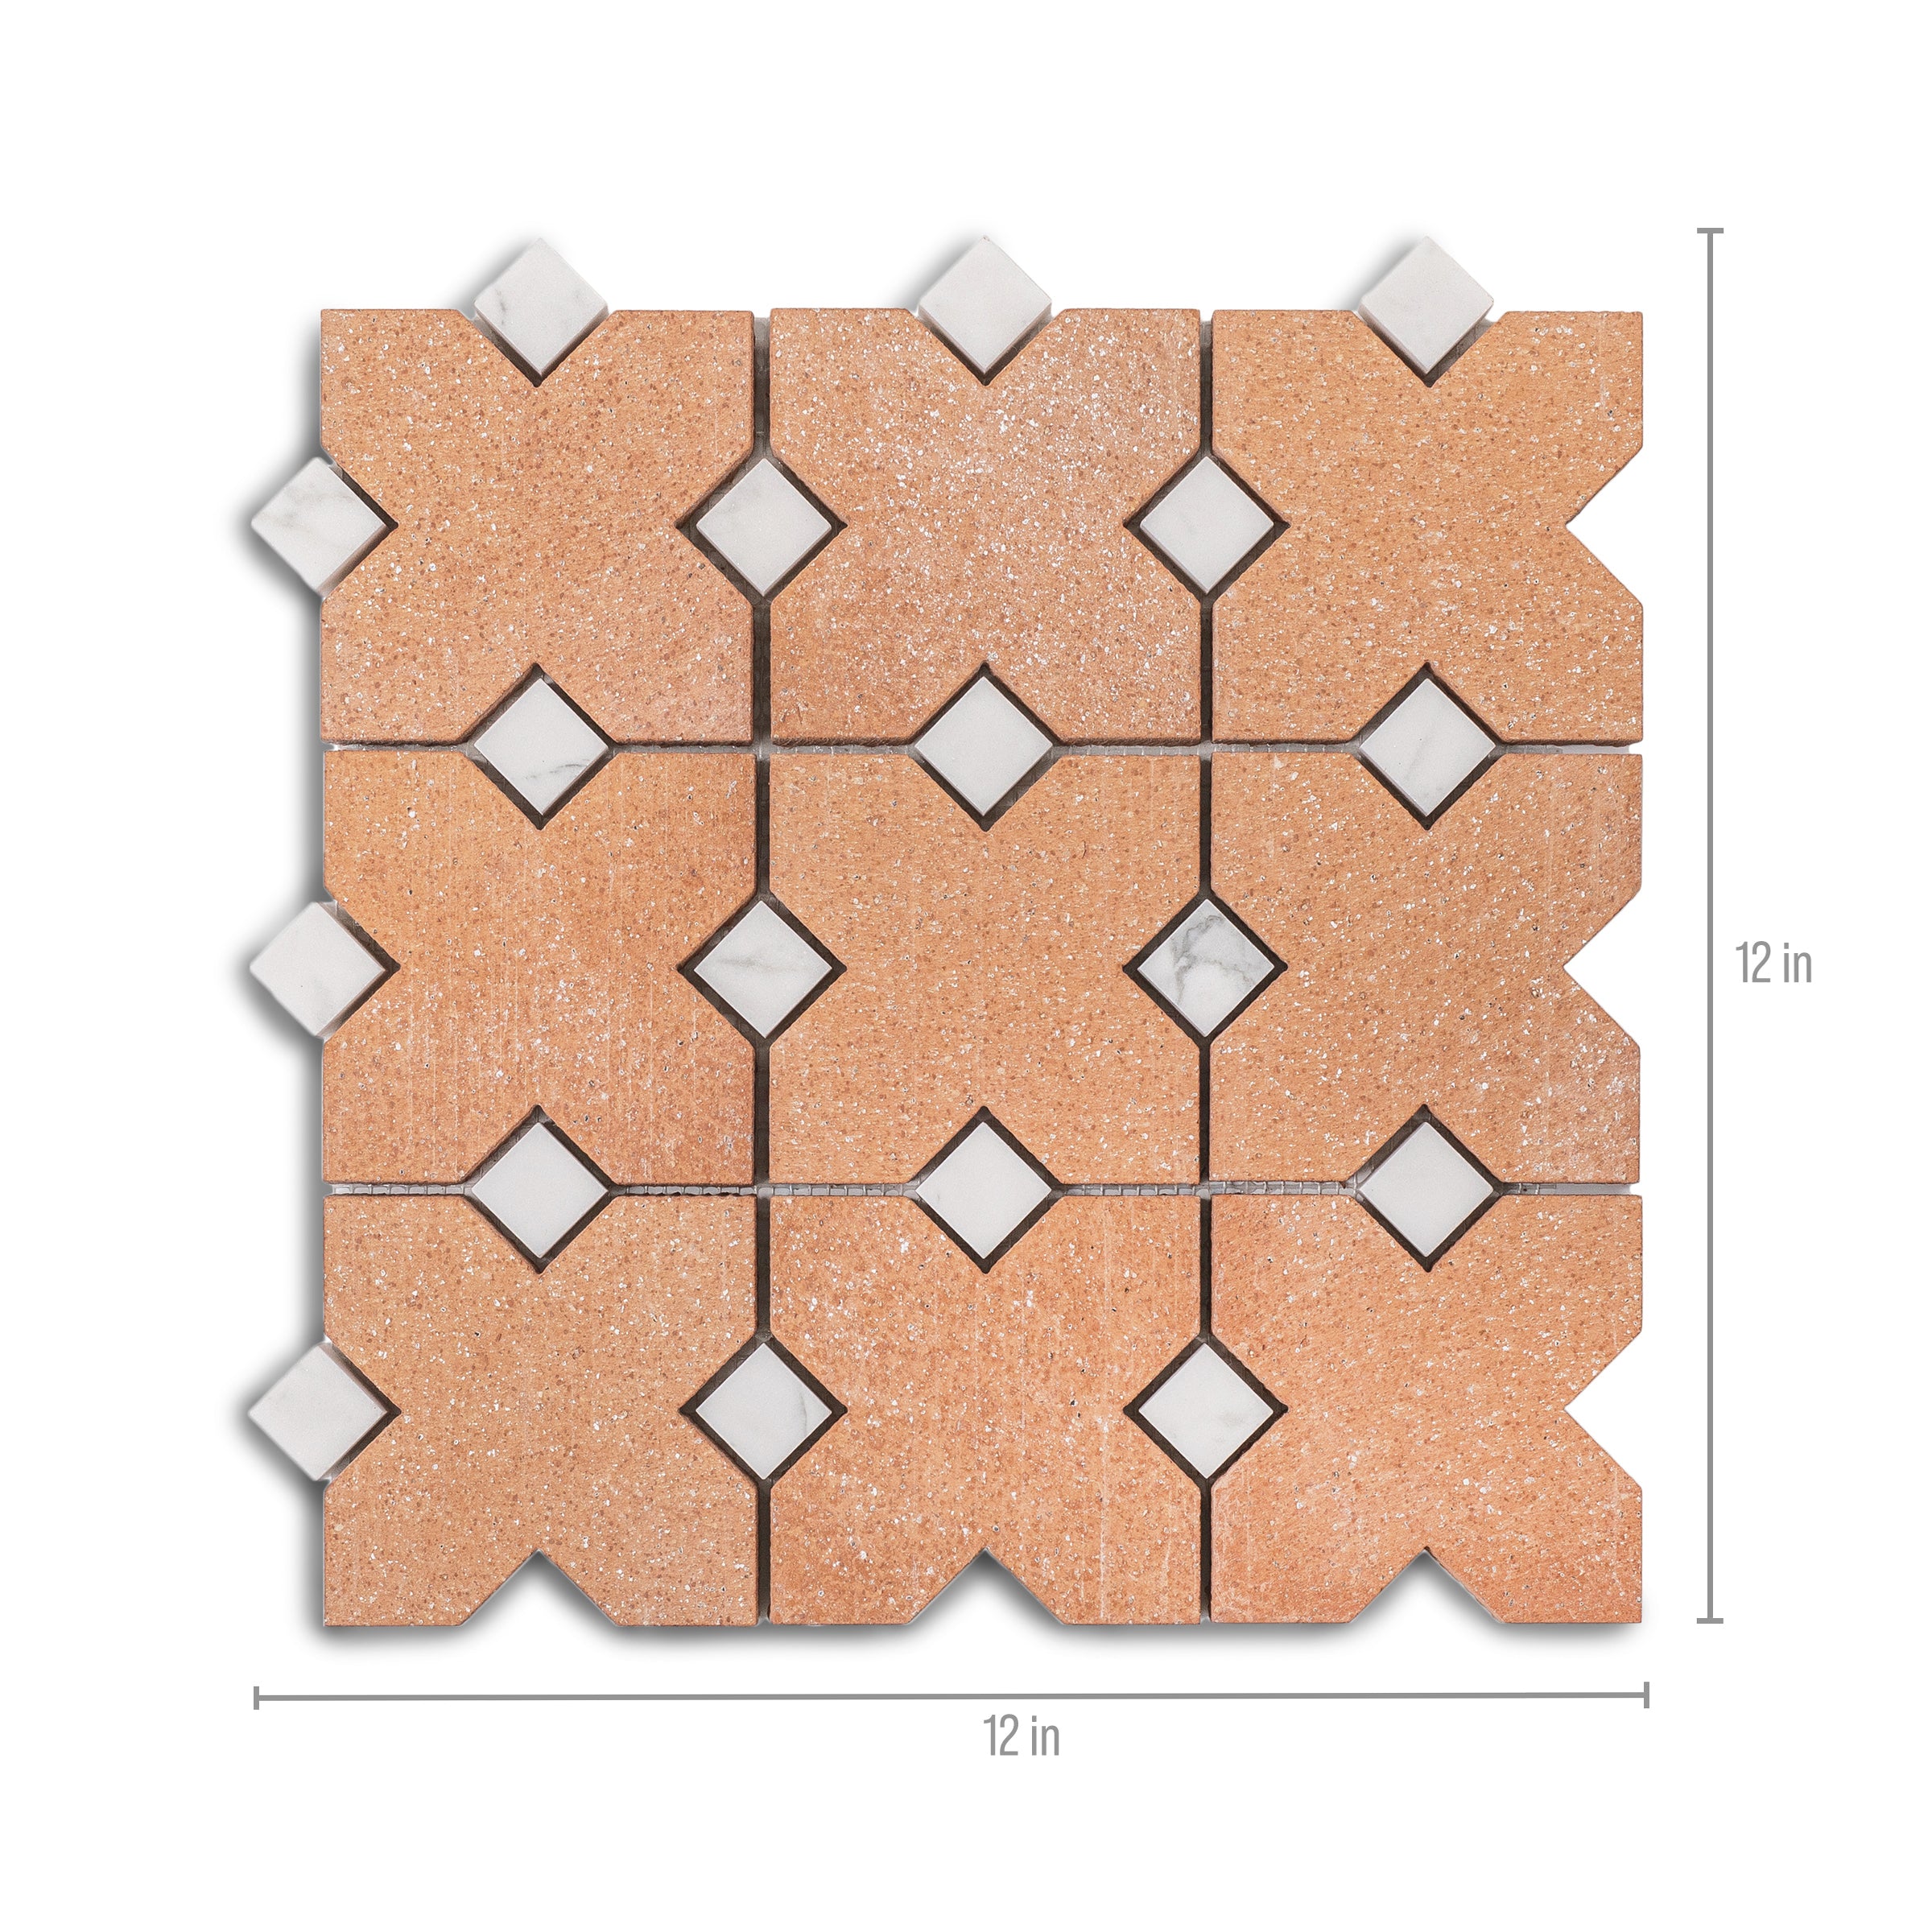
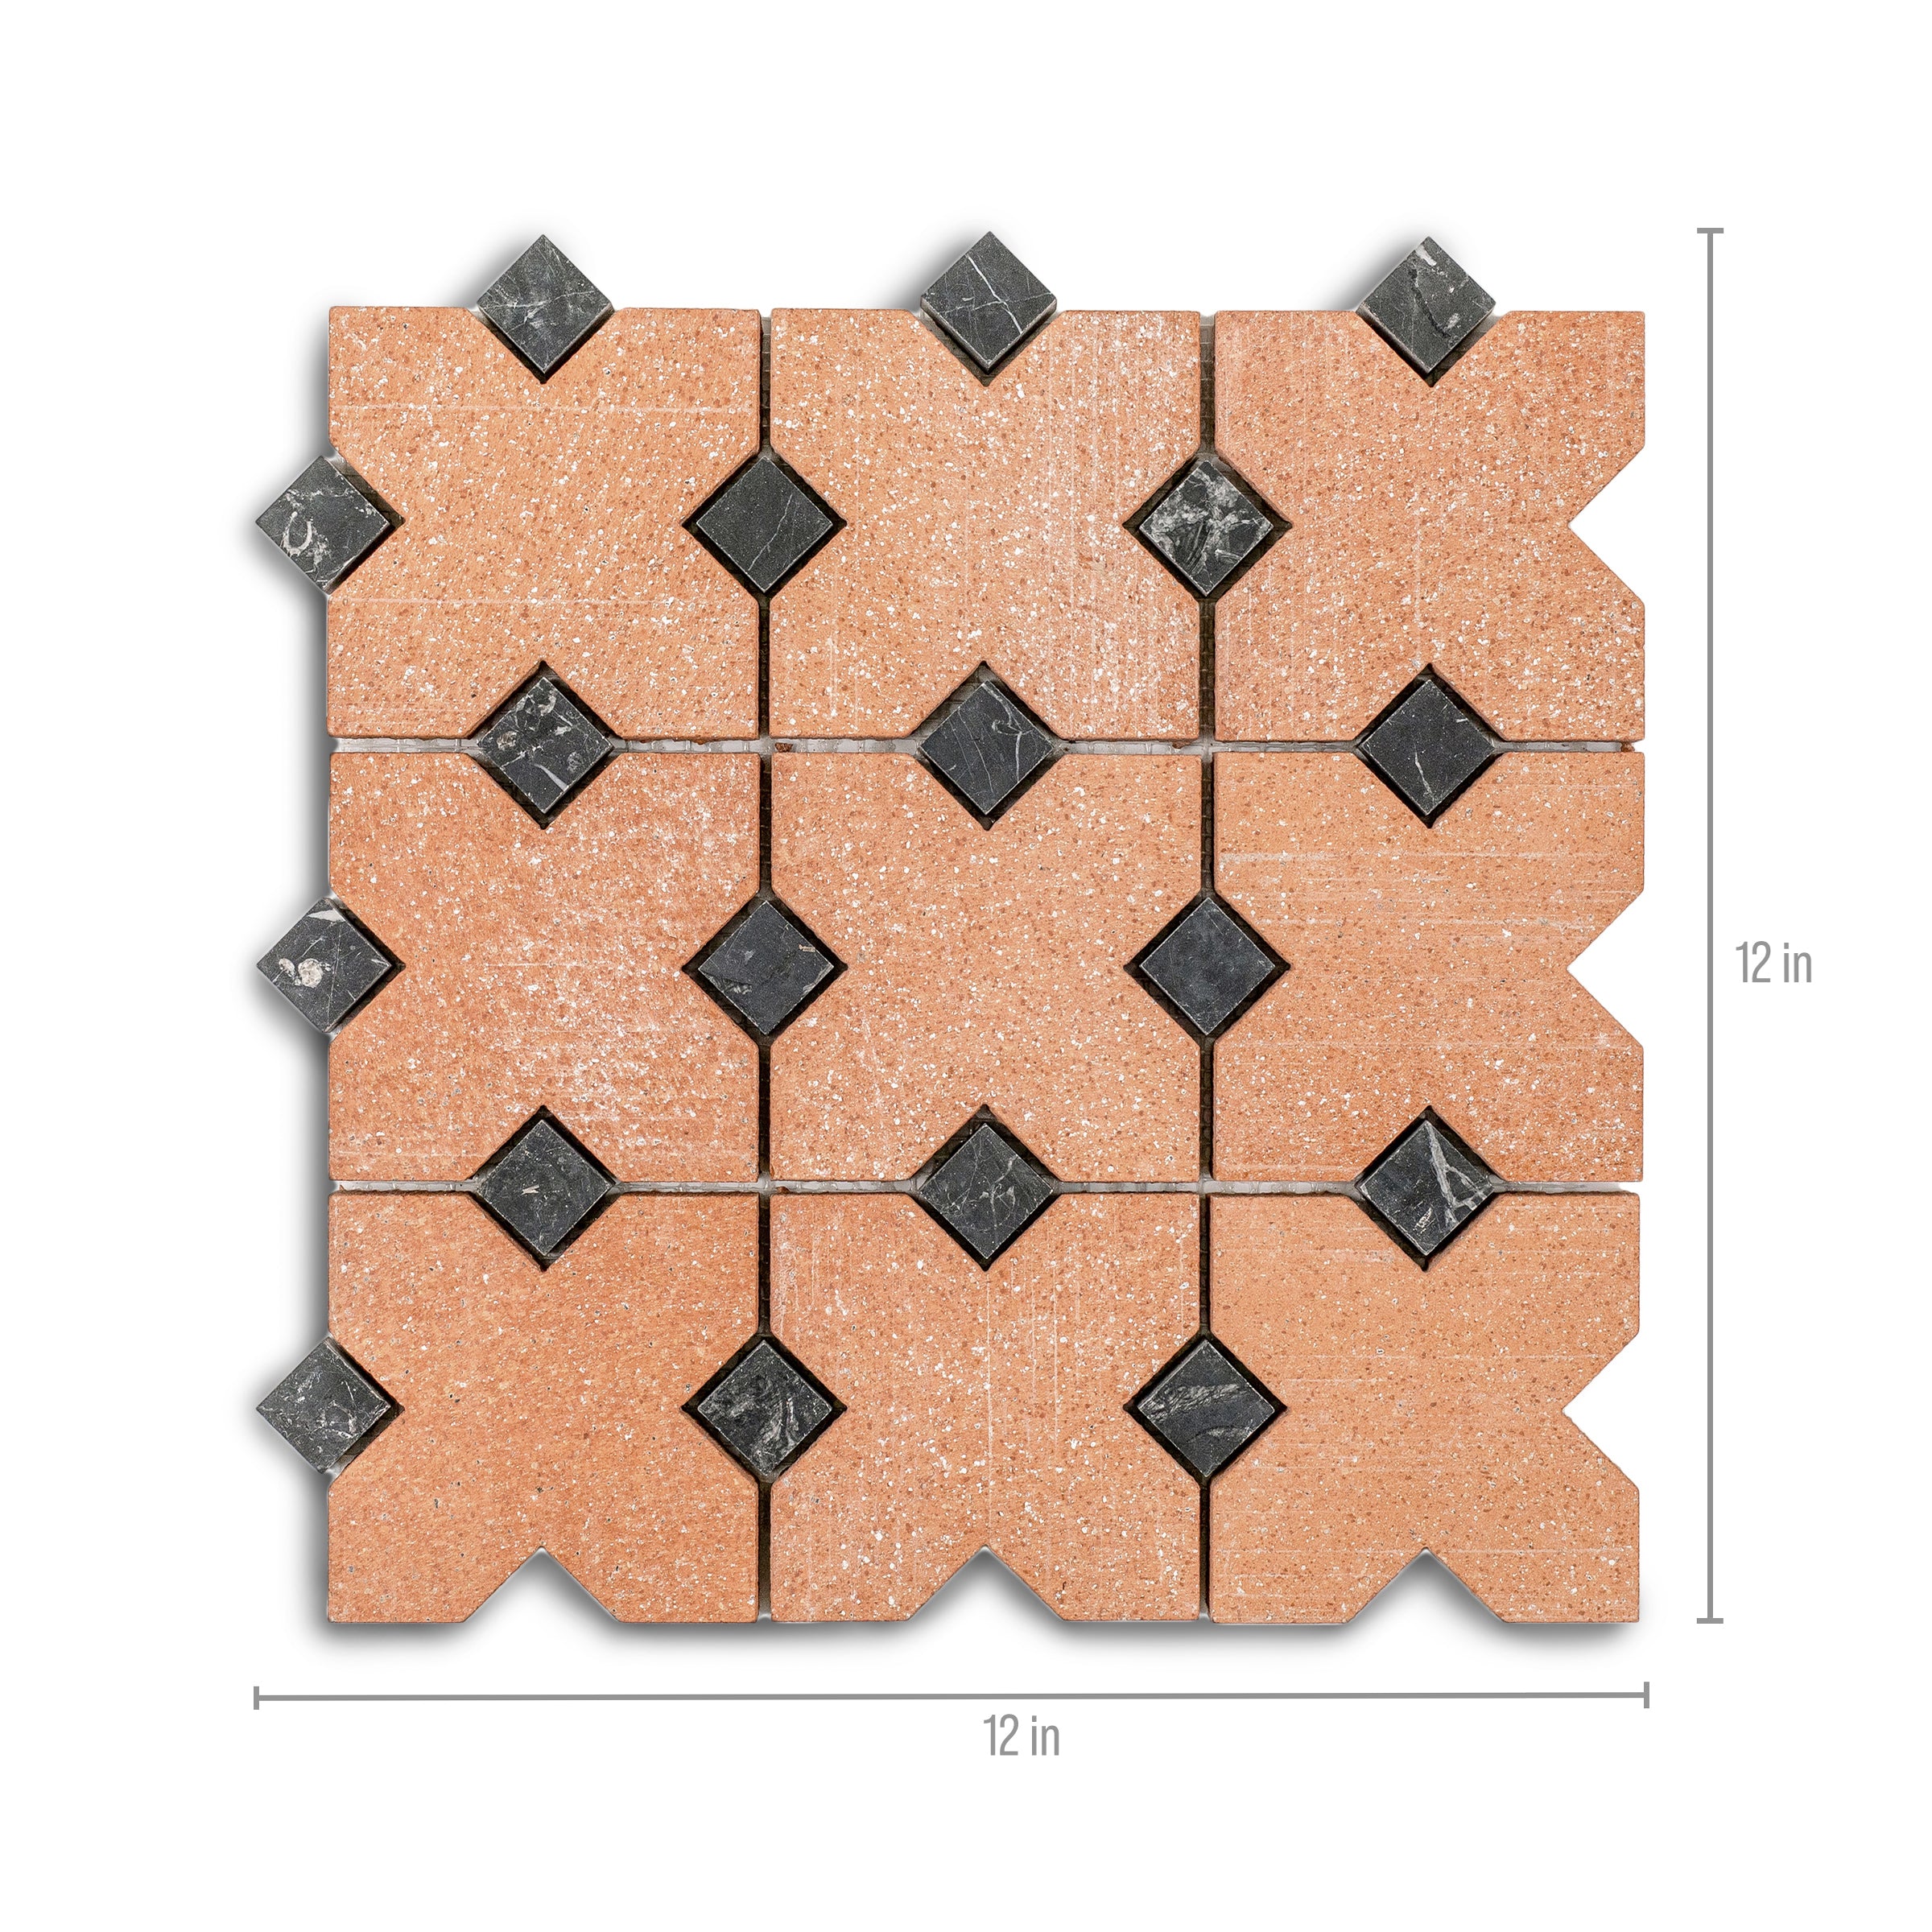
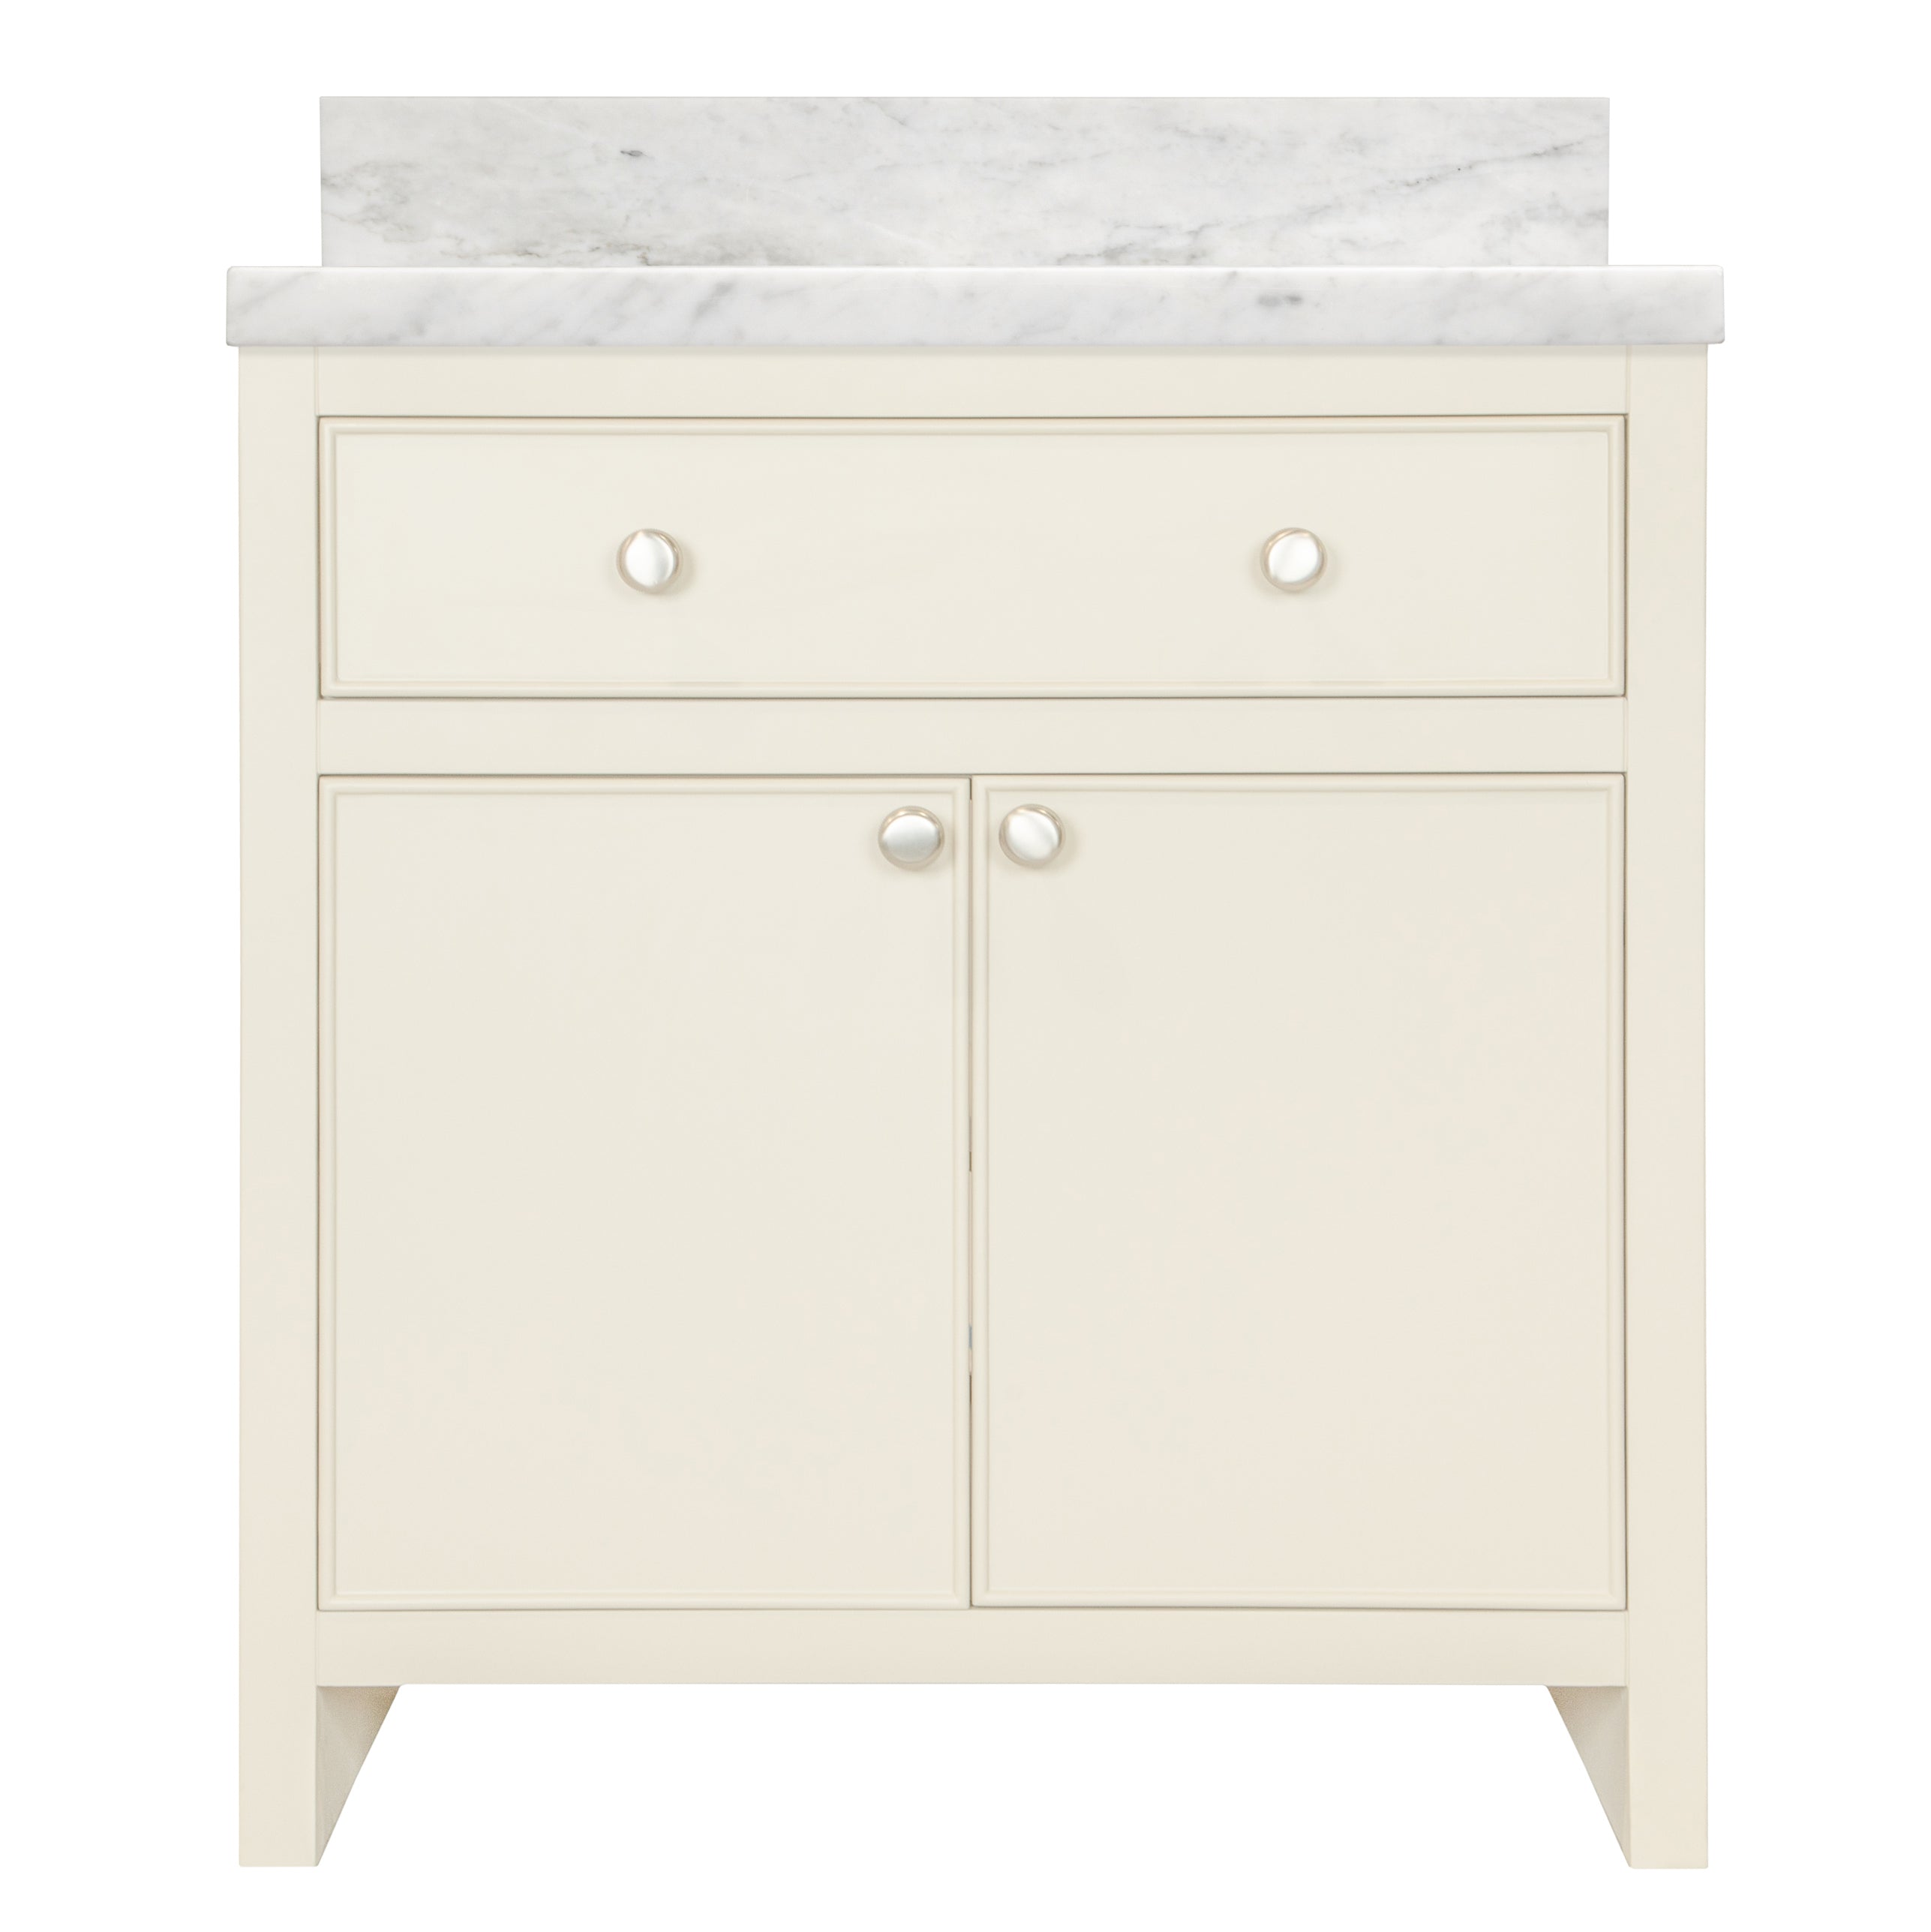
Pair It With


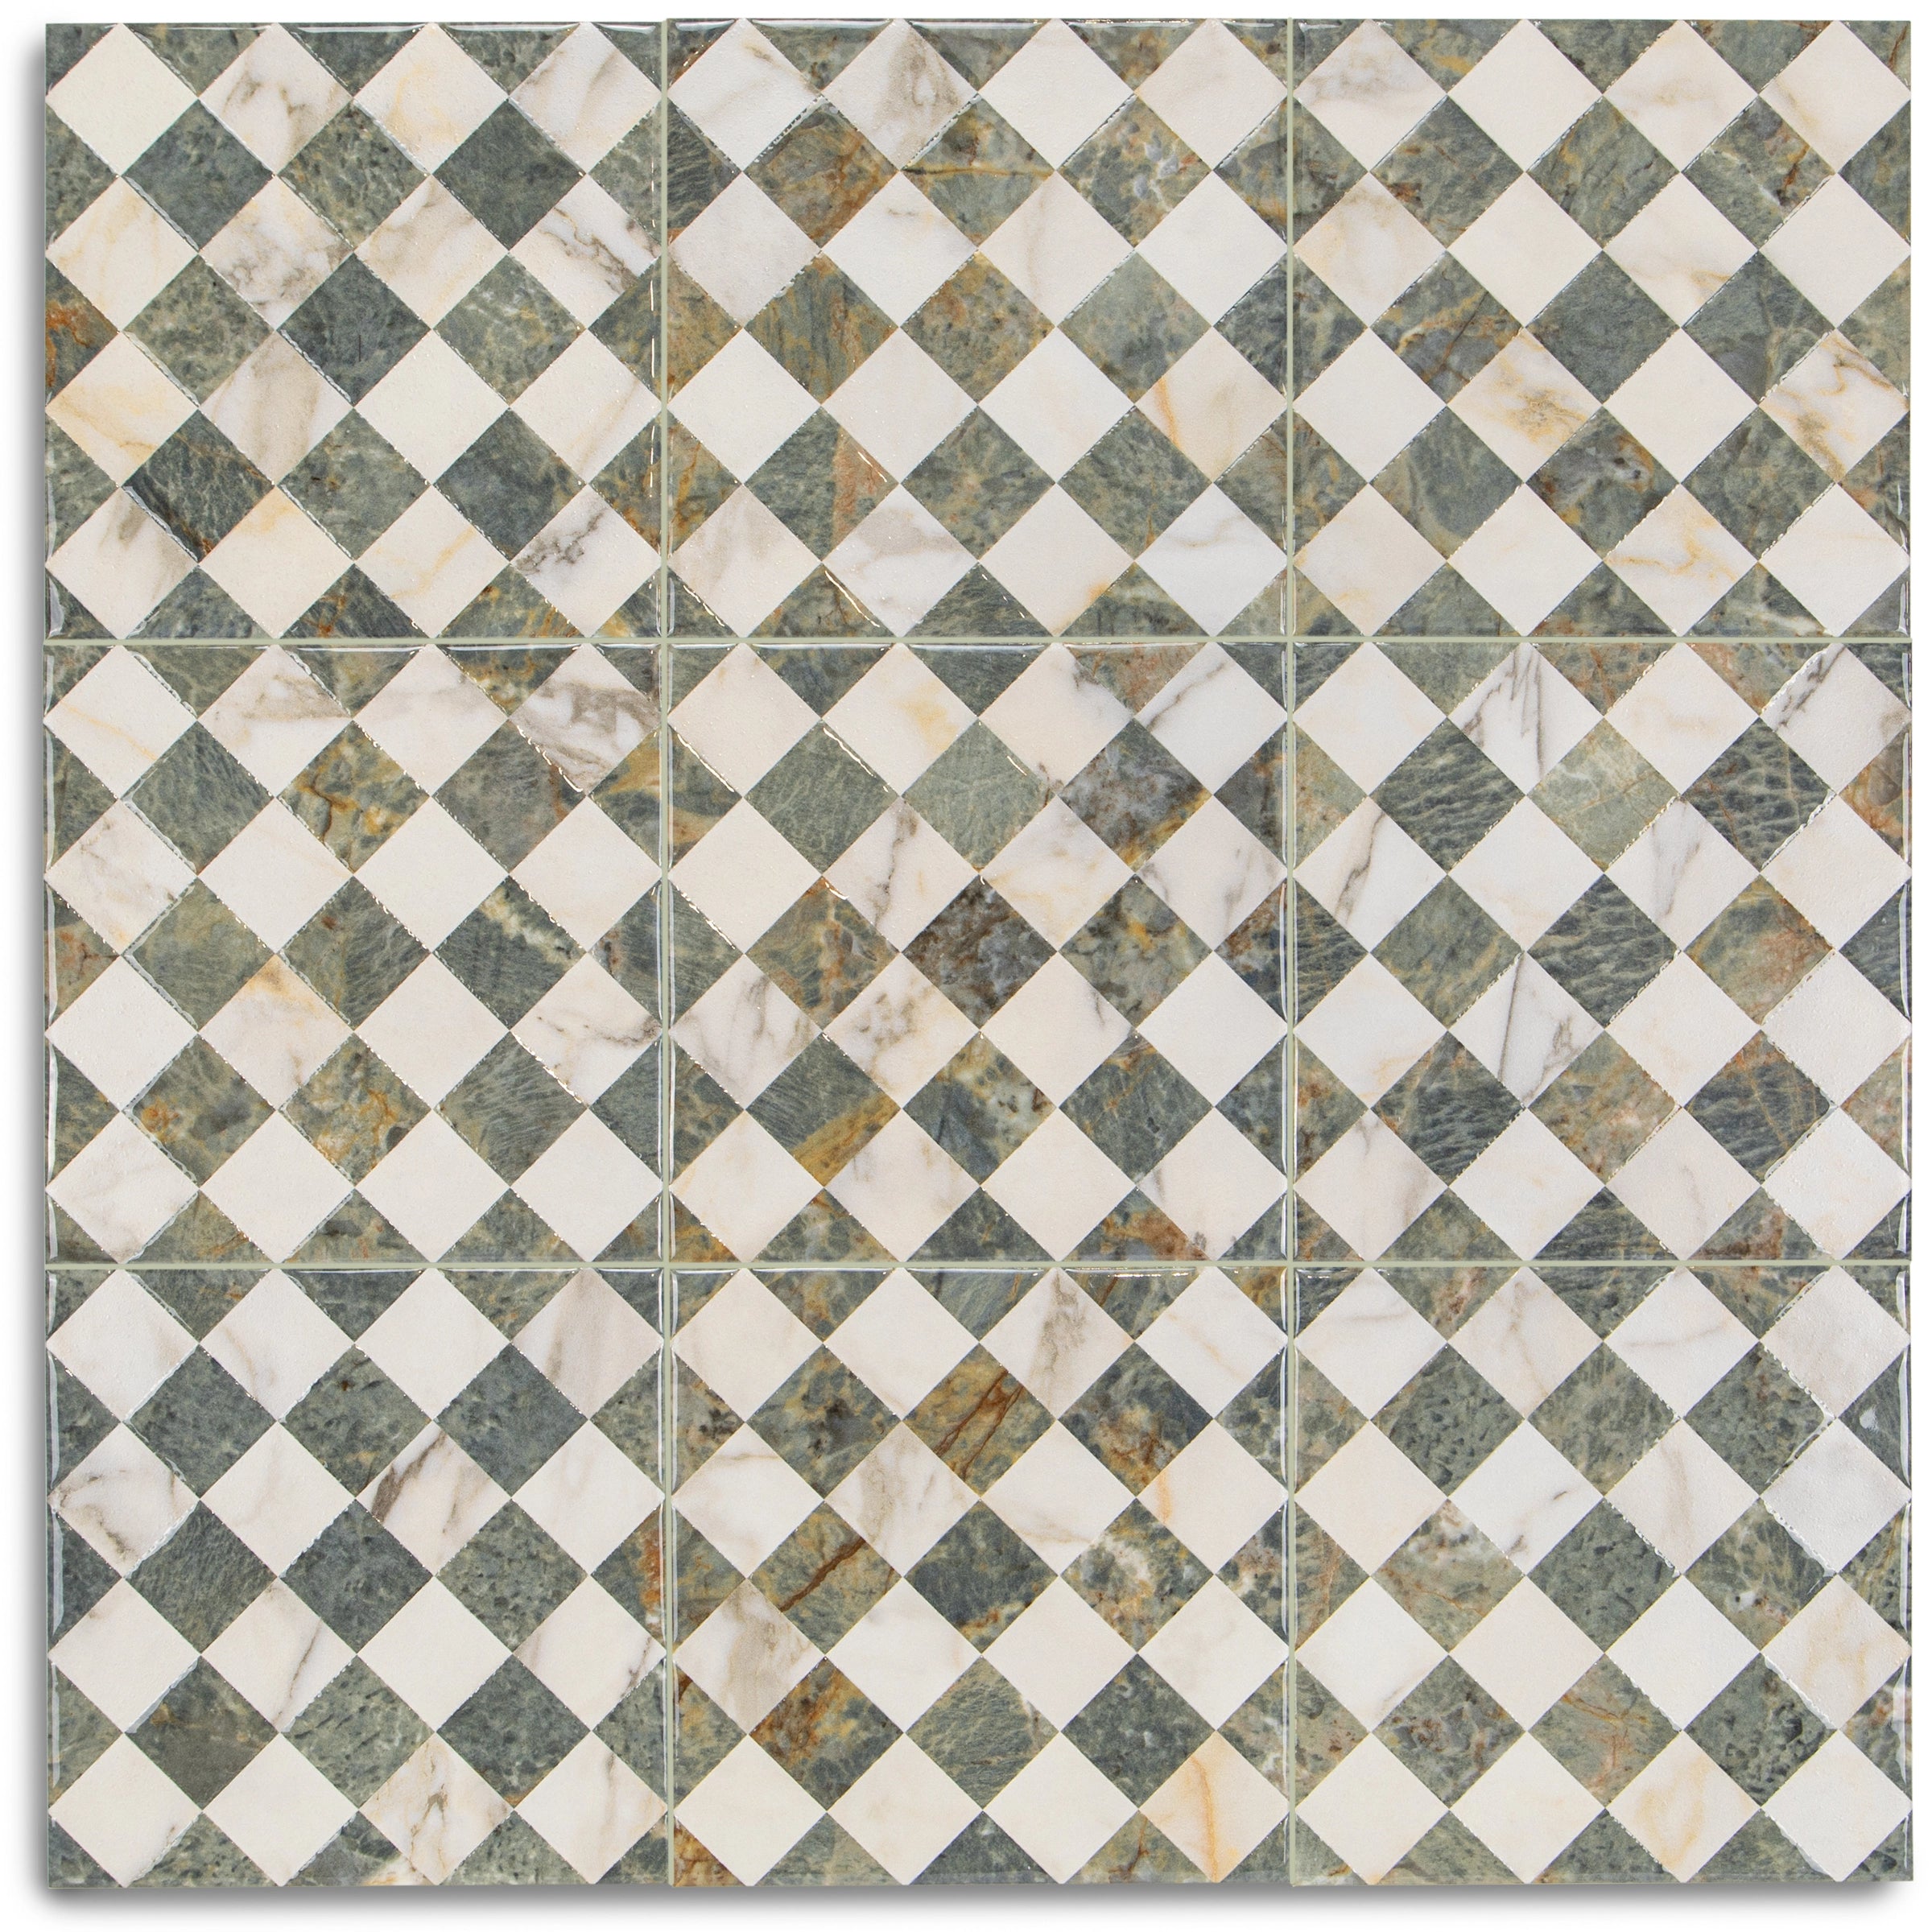
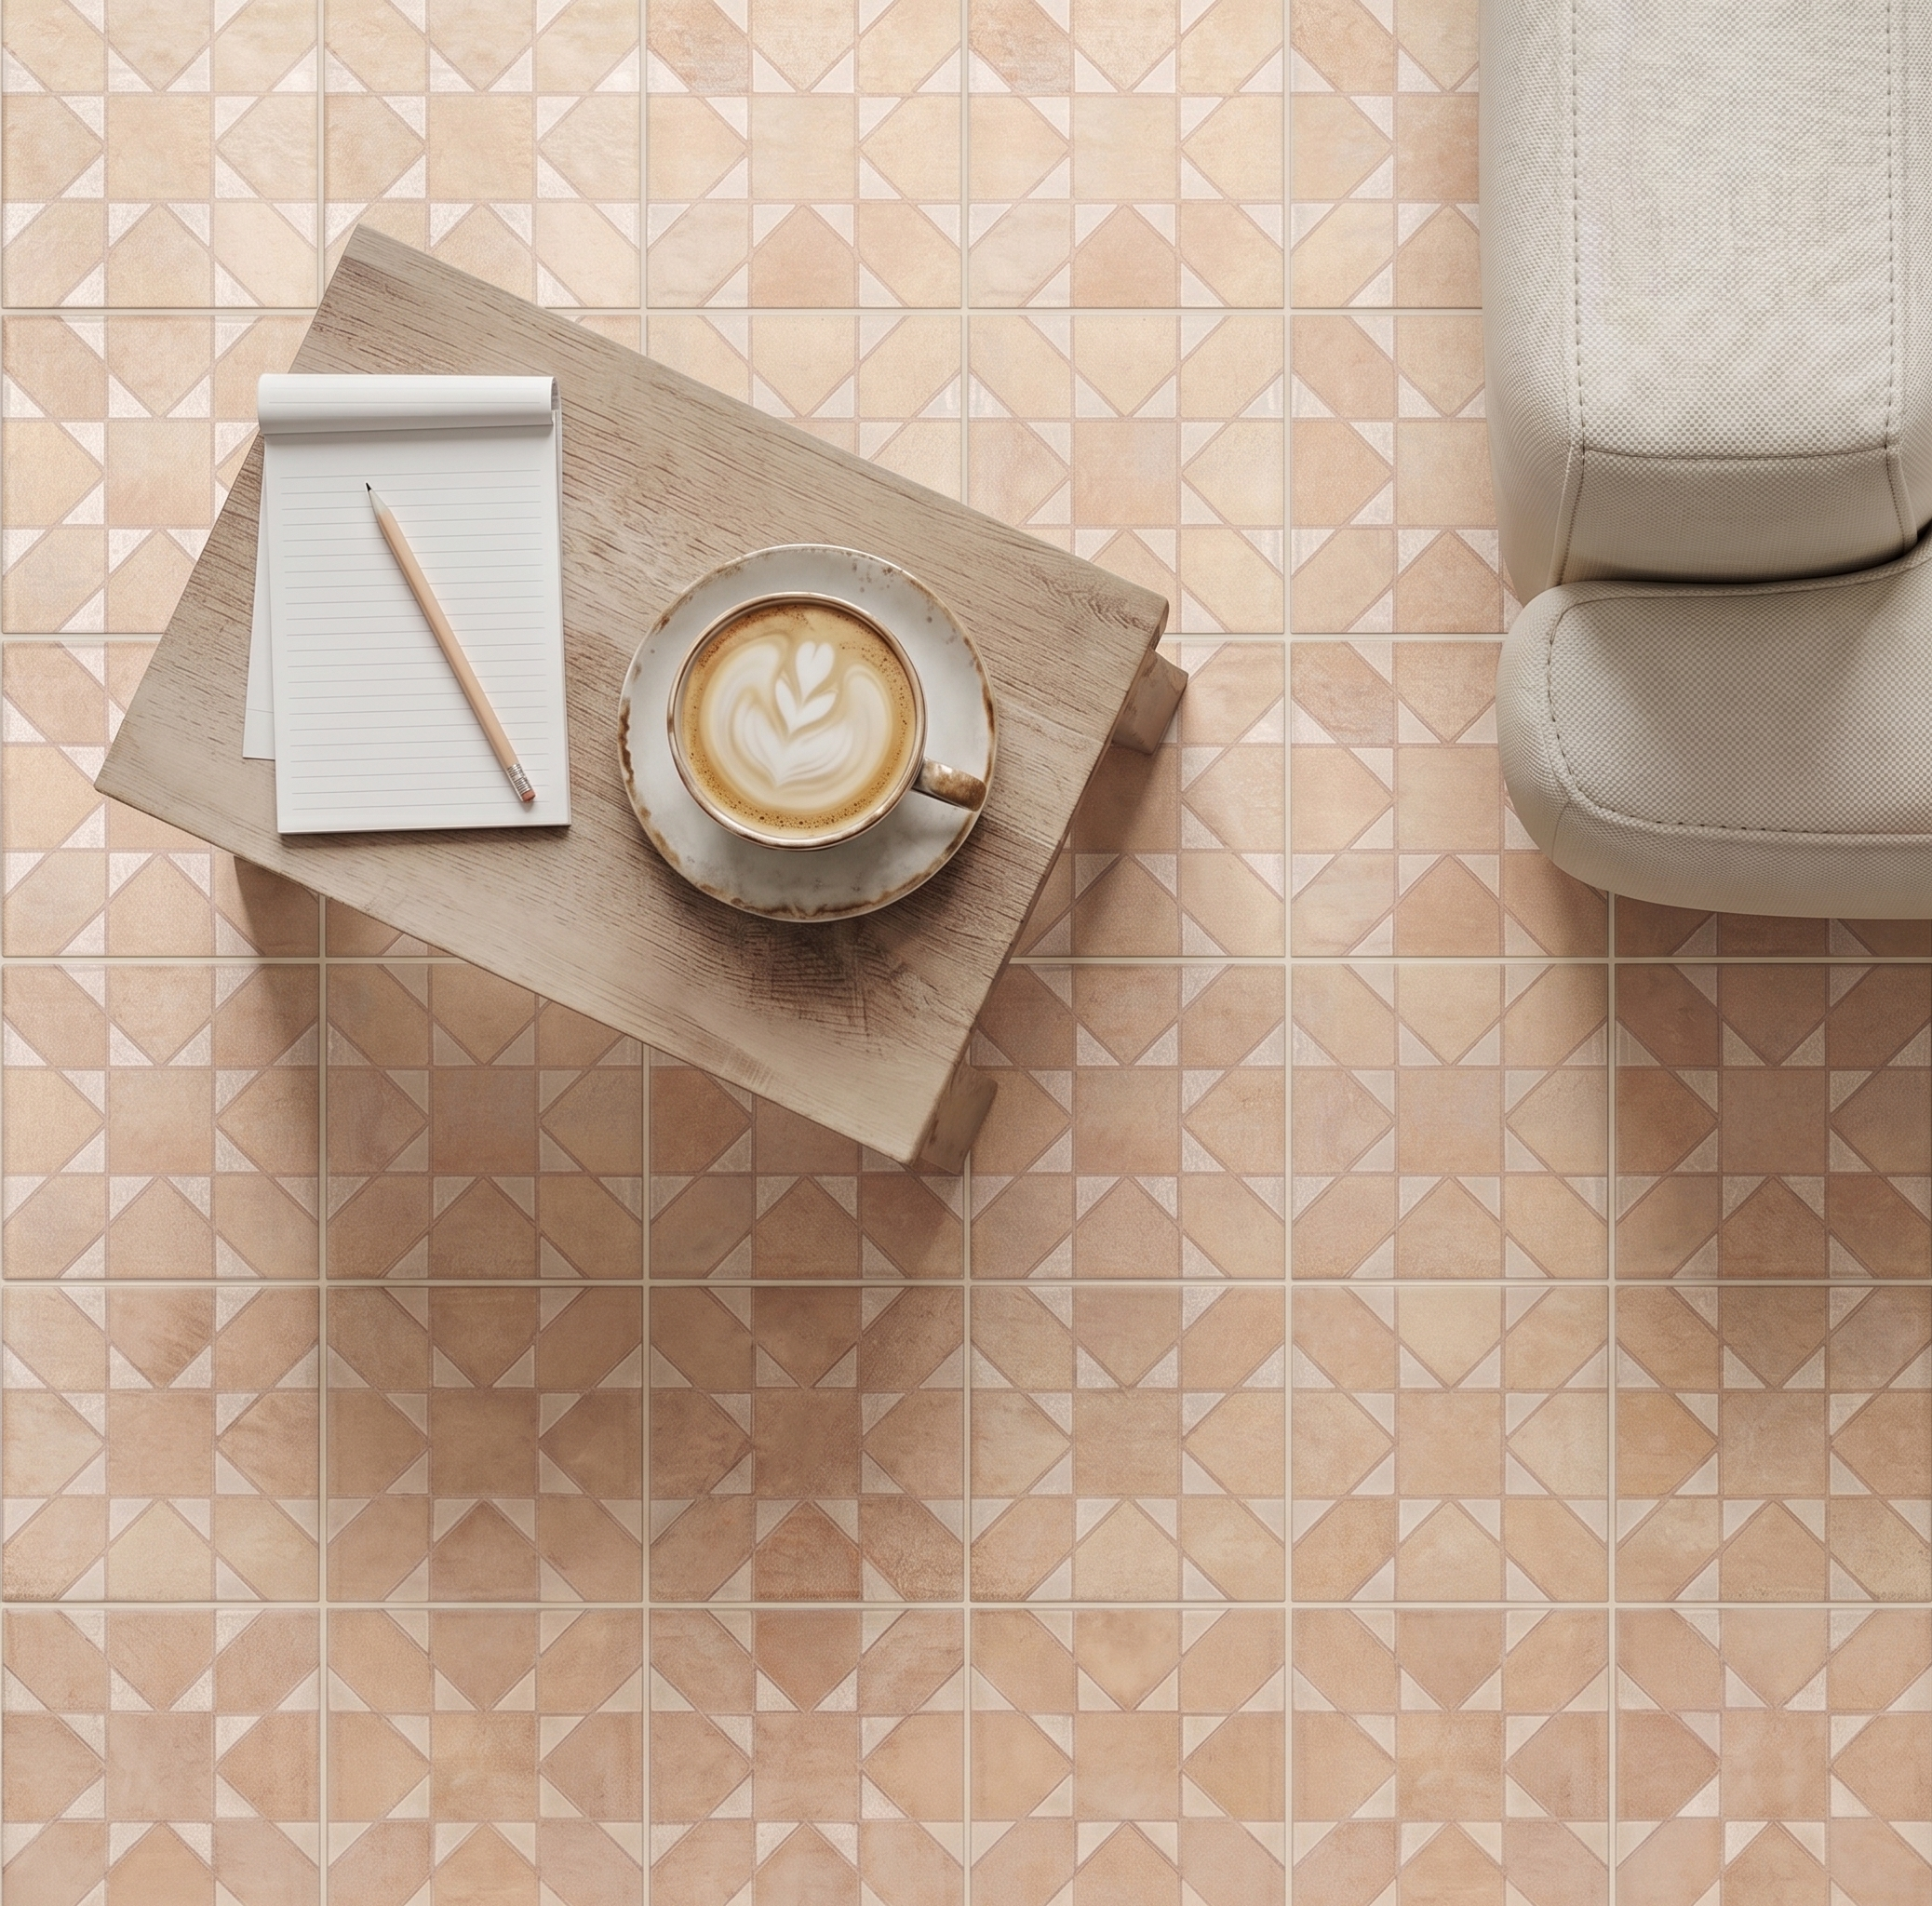
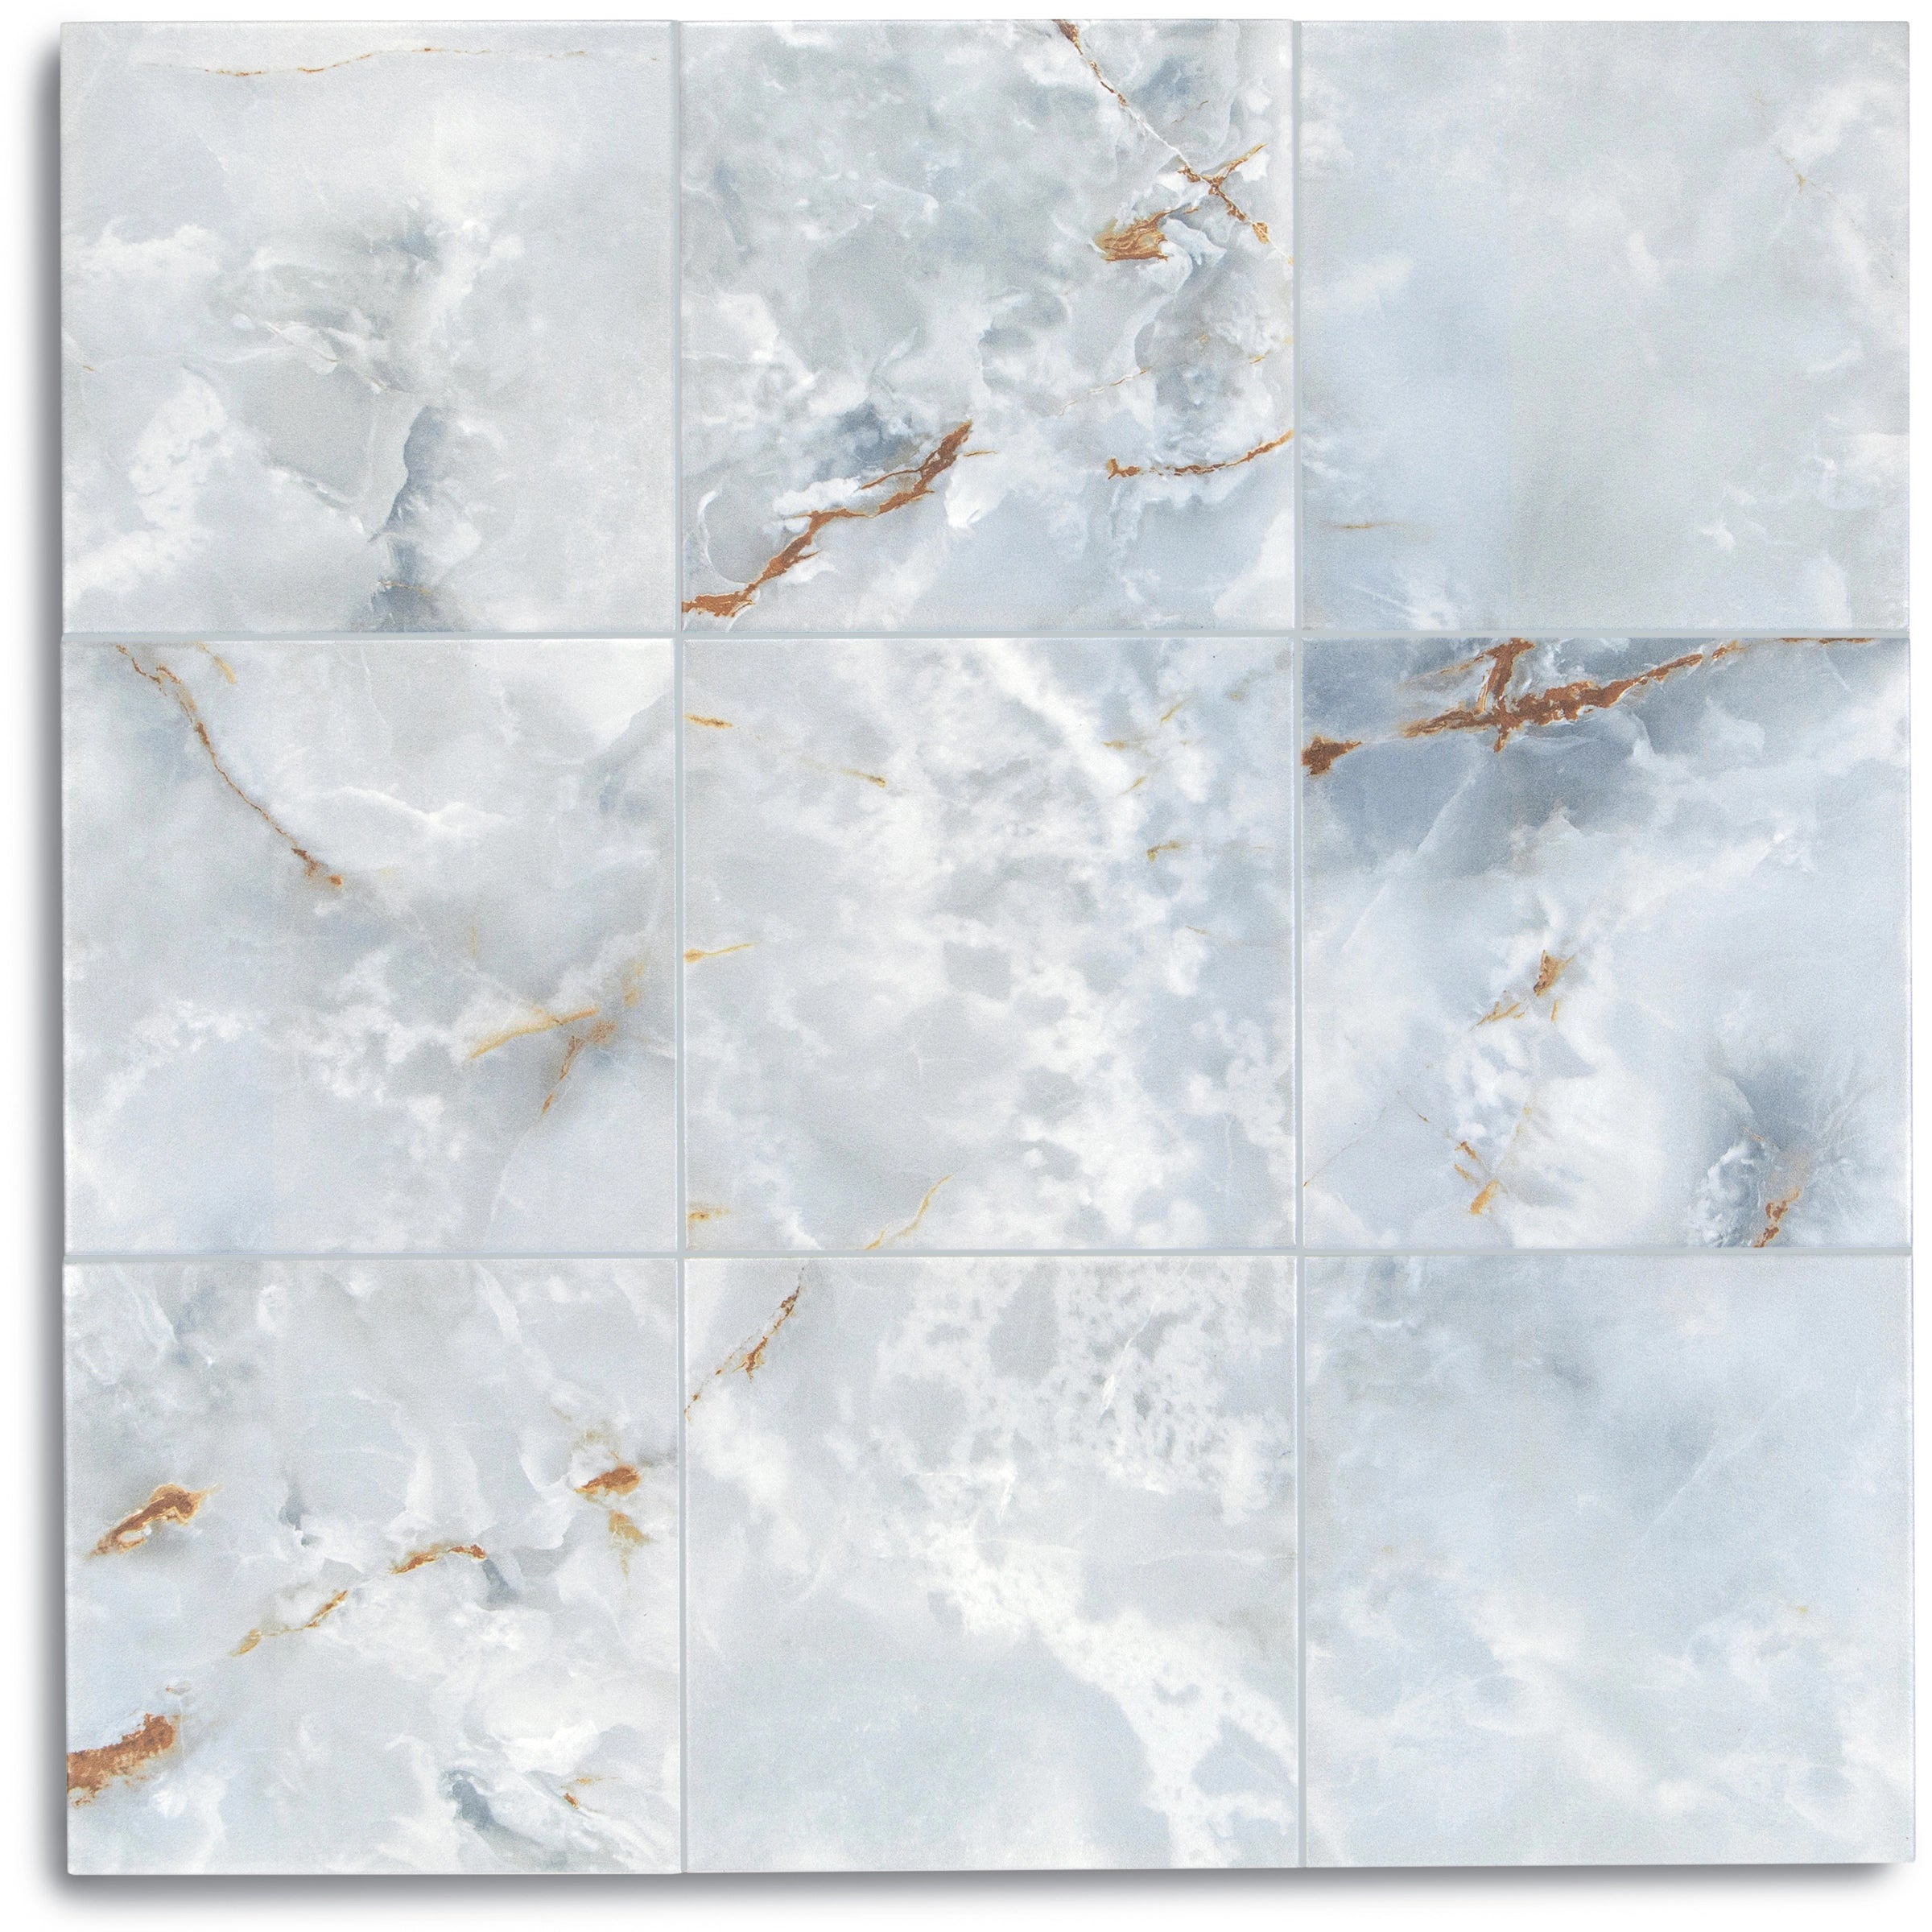
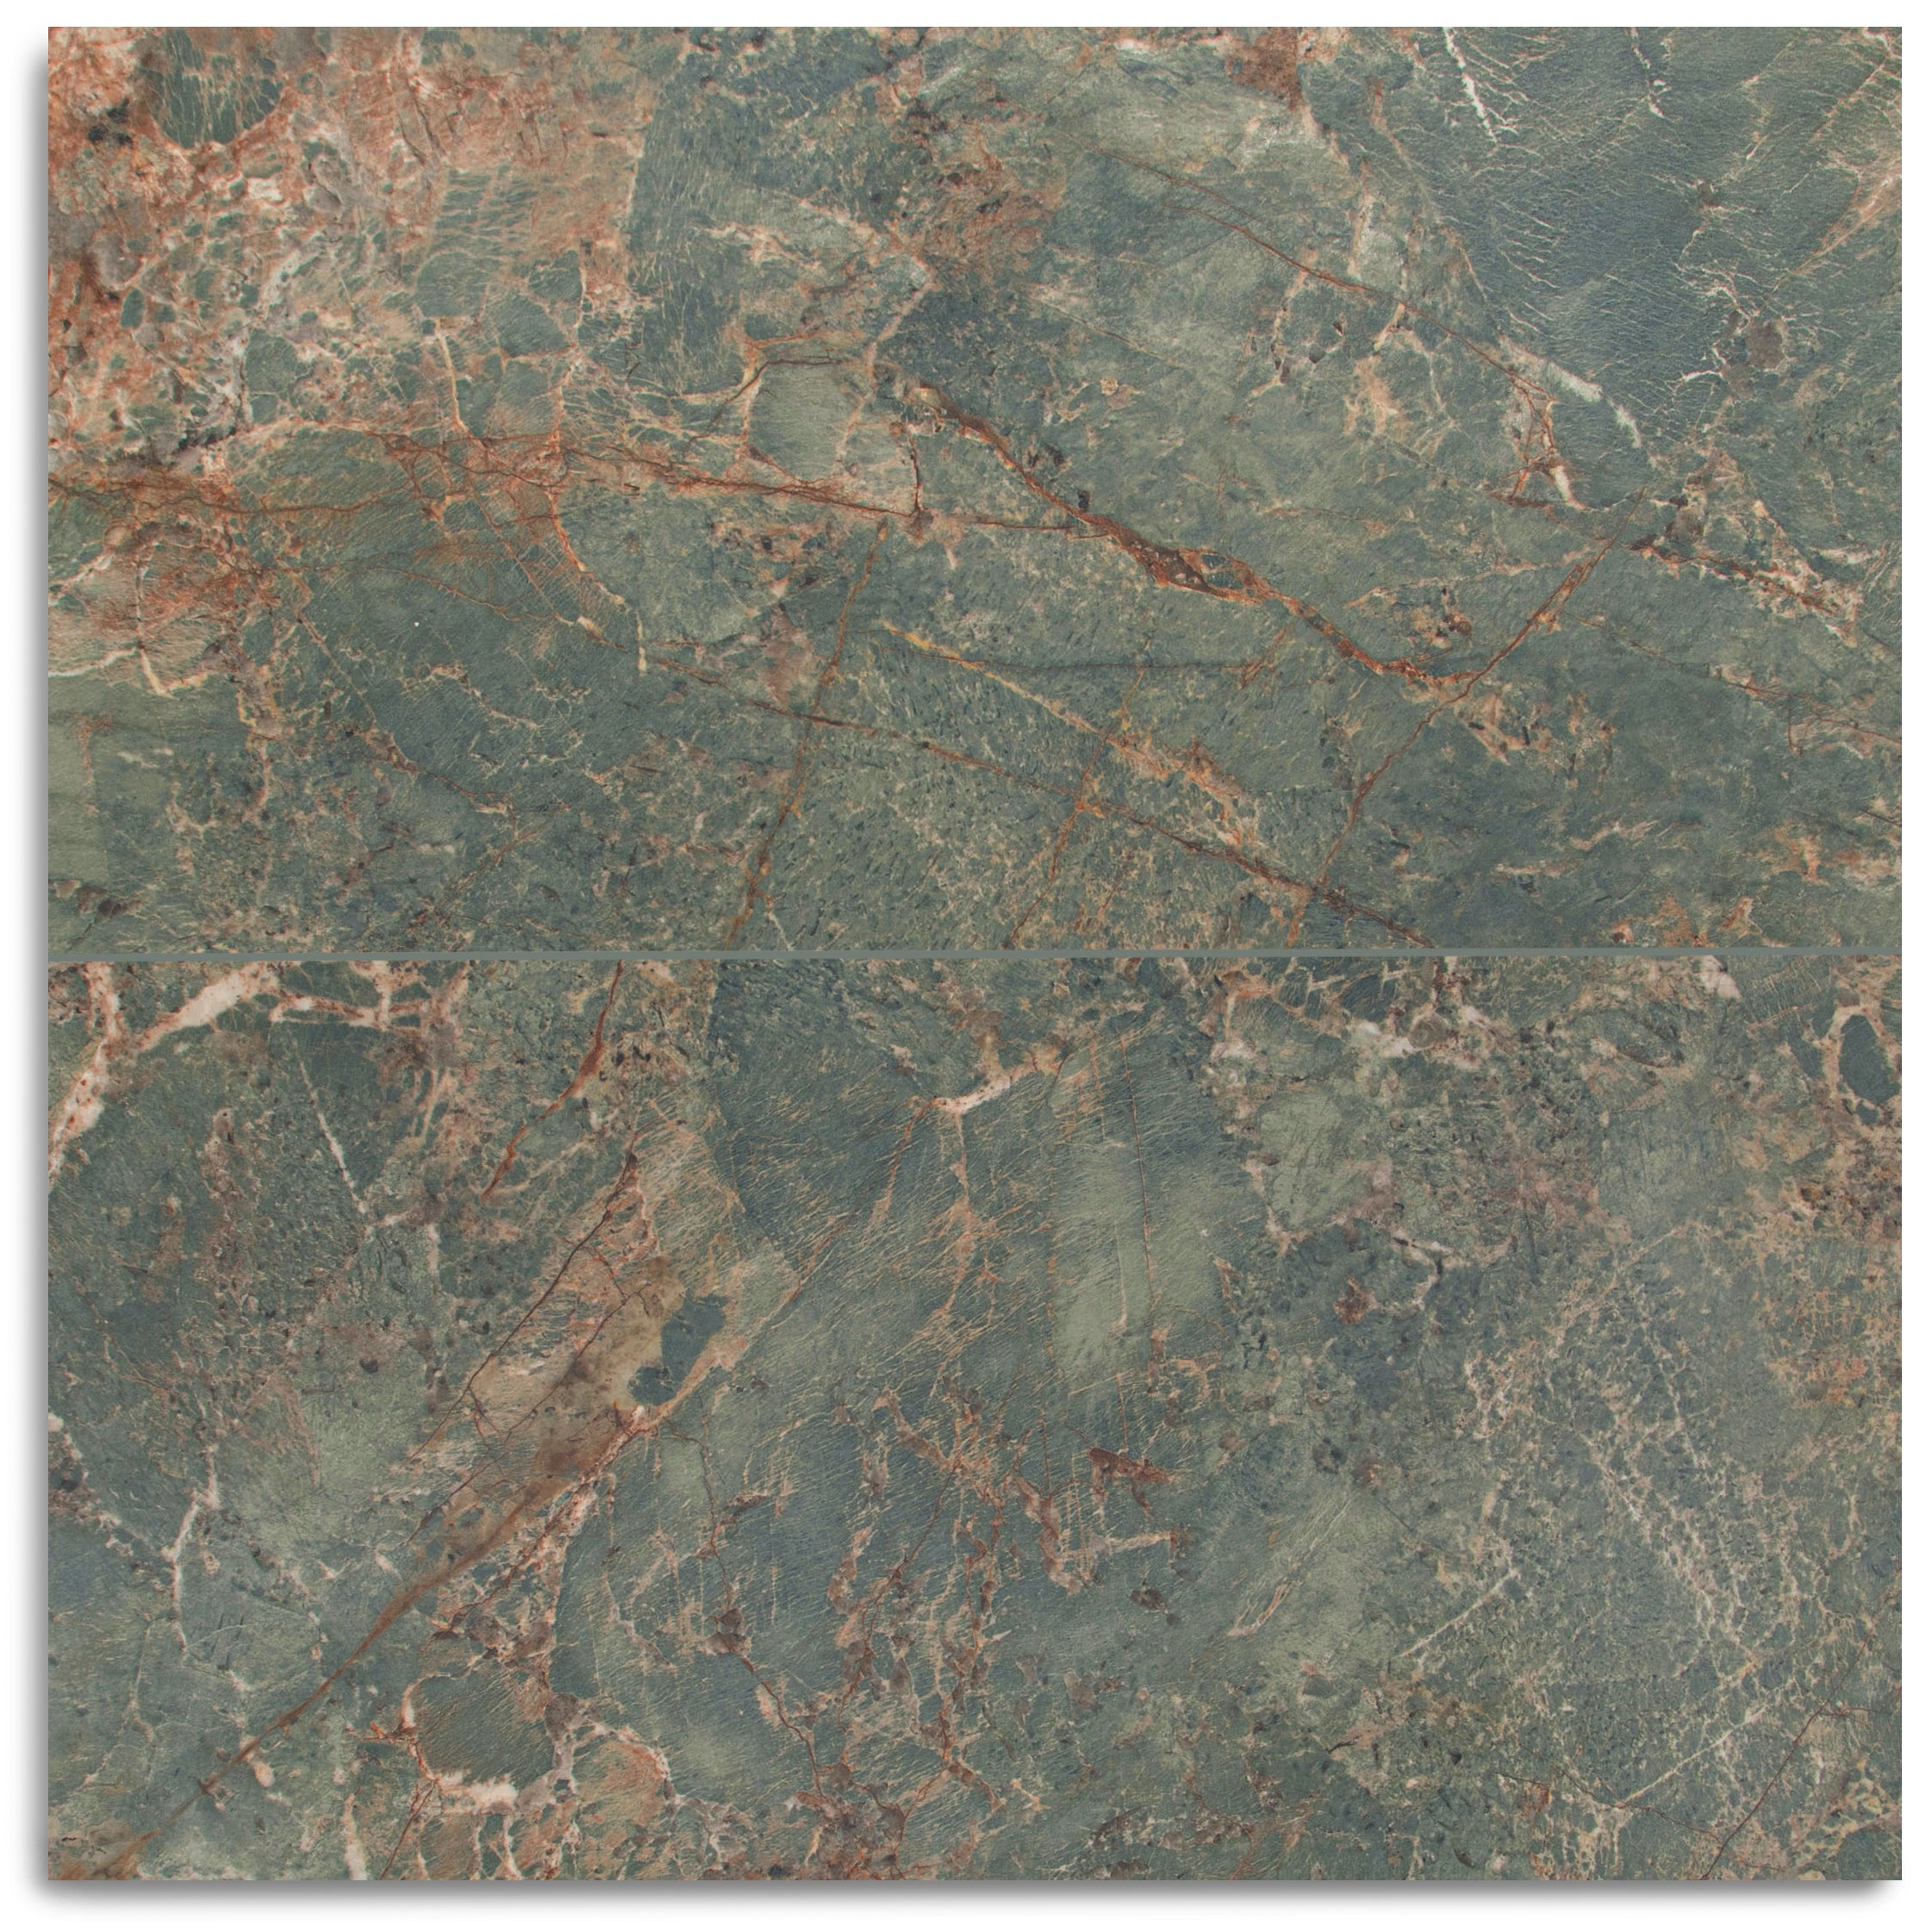
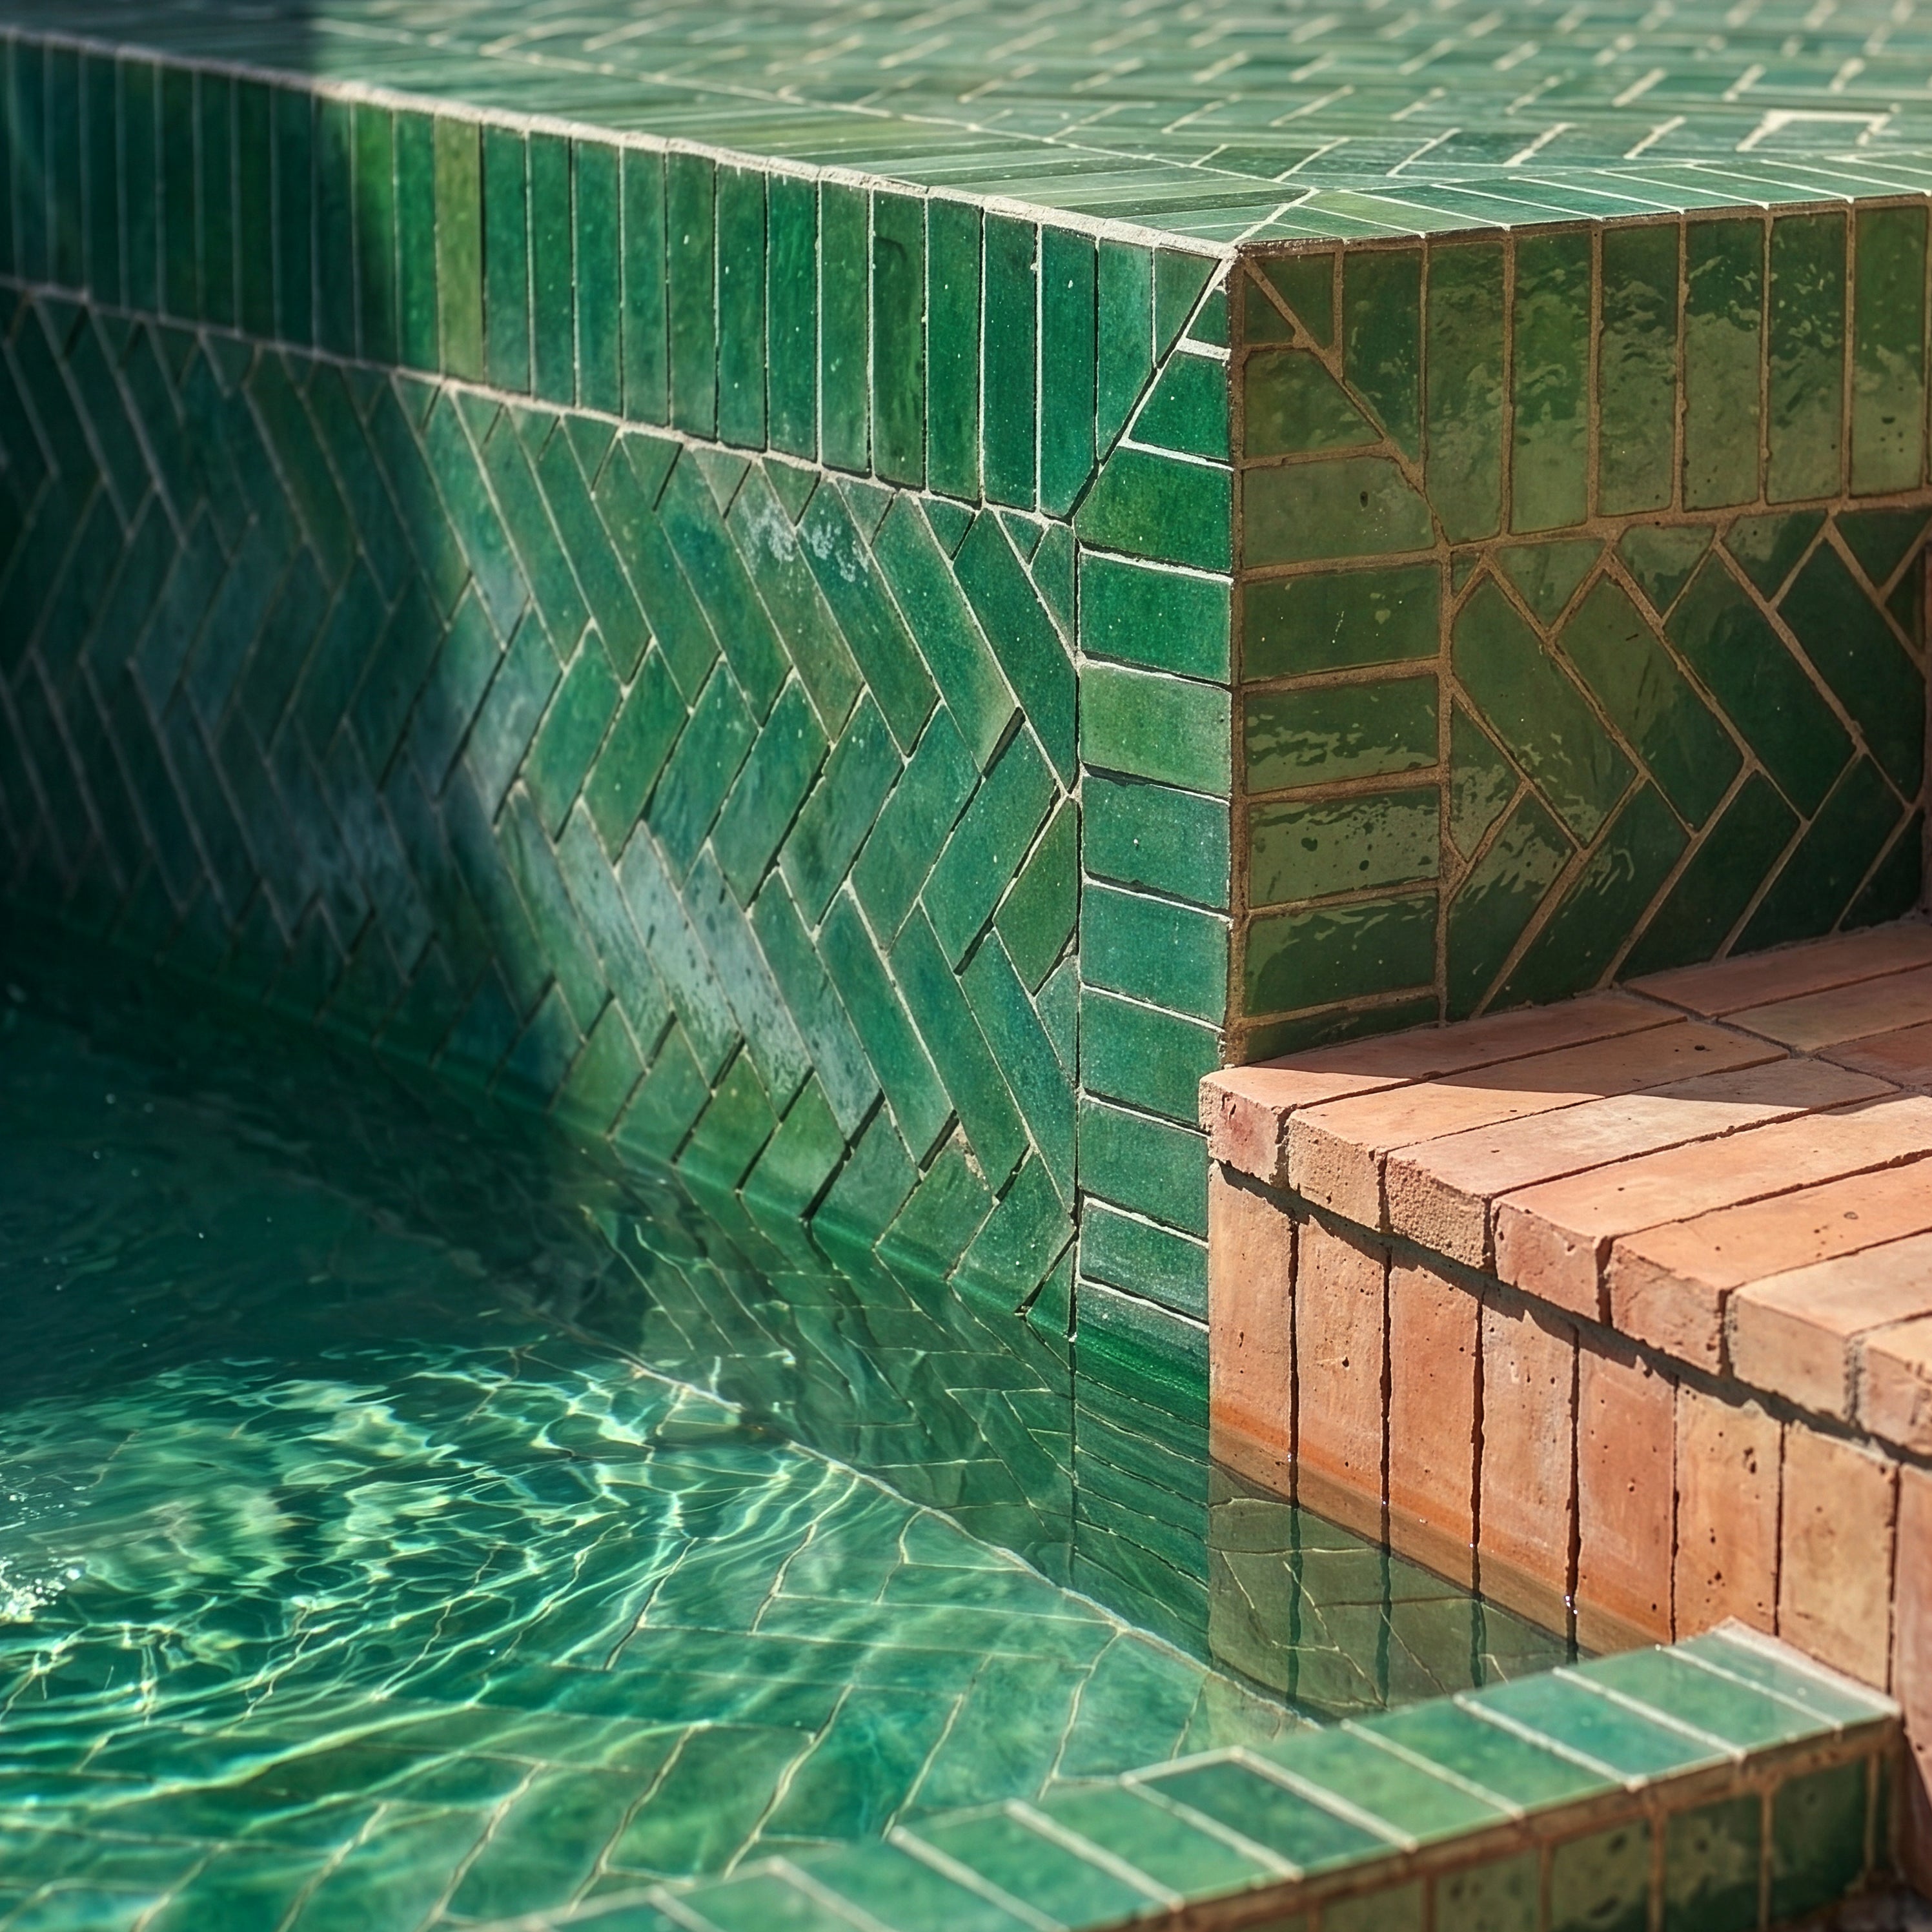
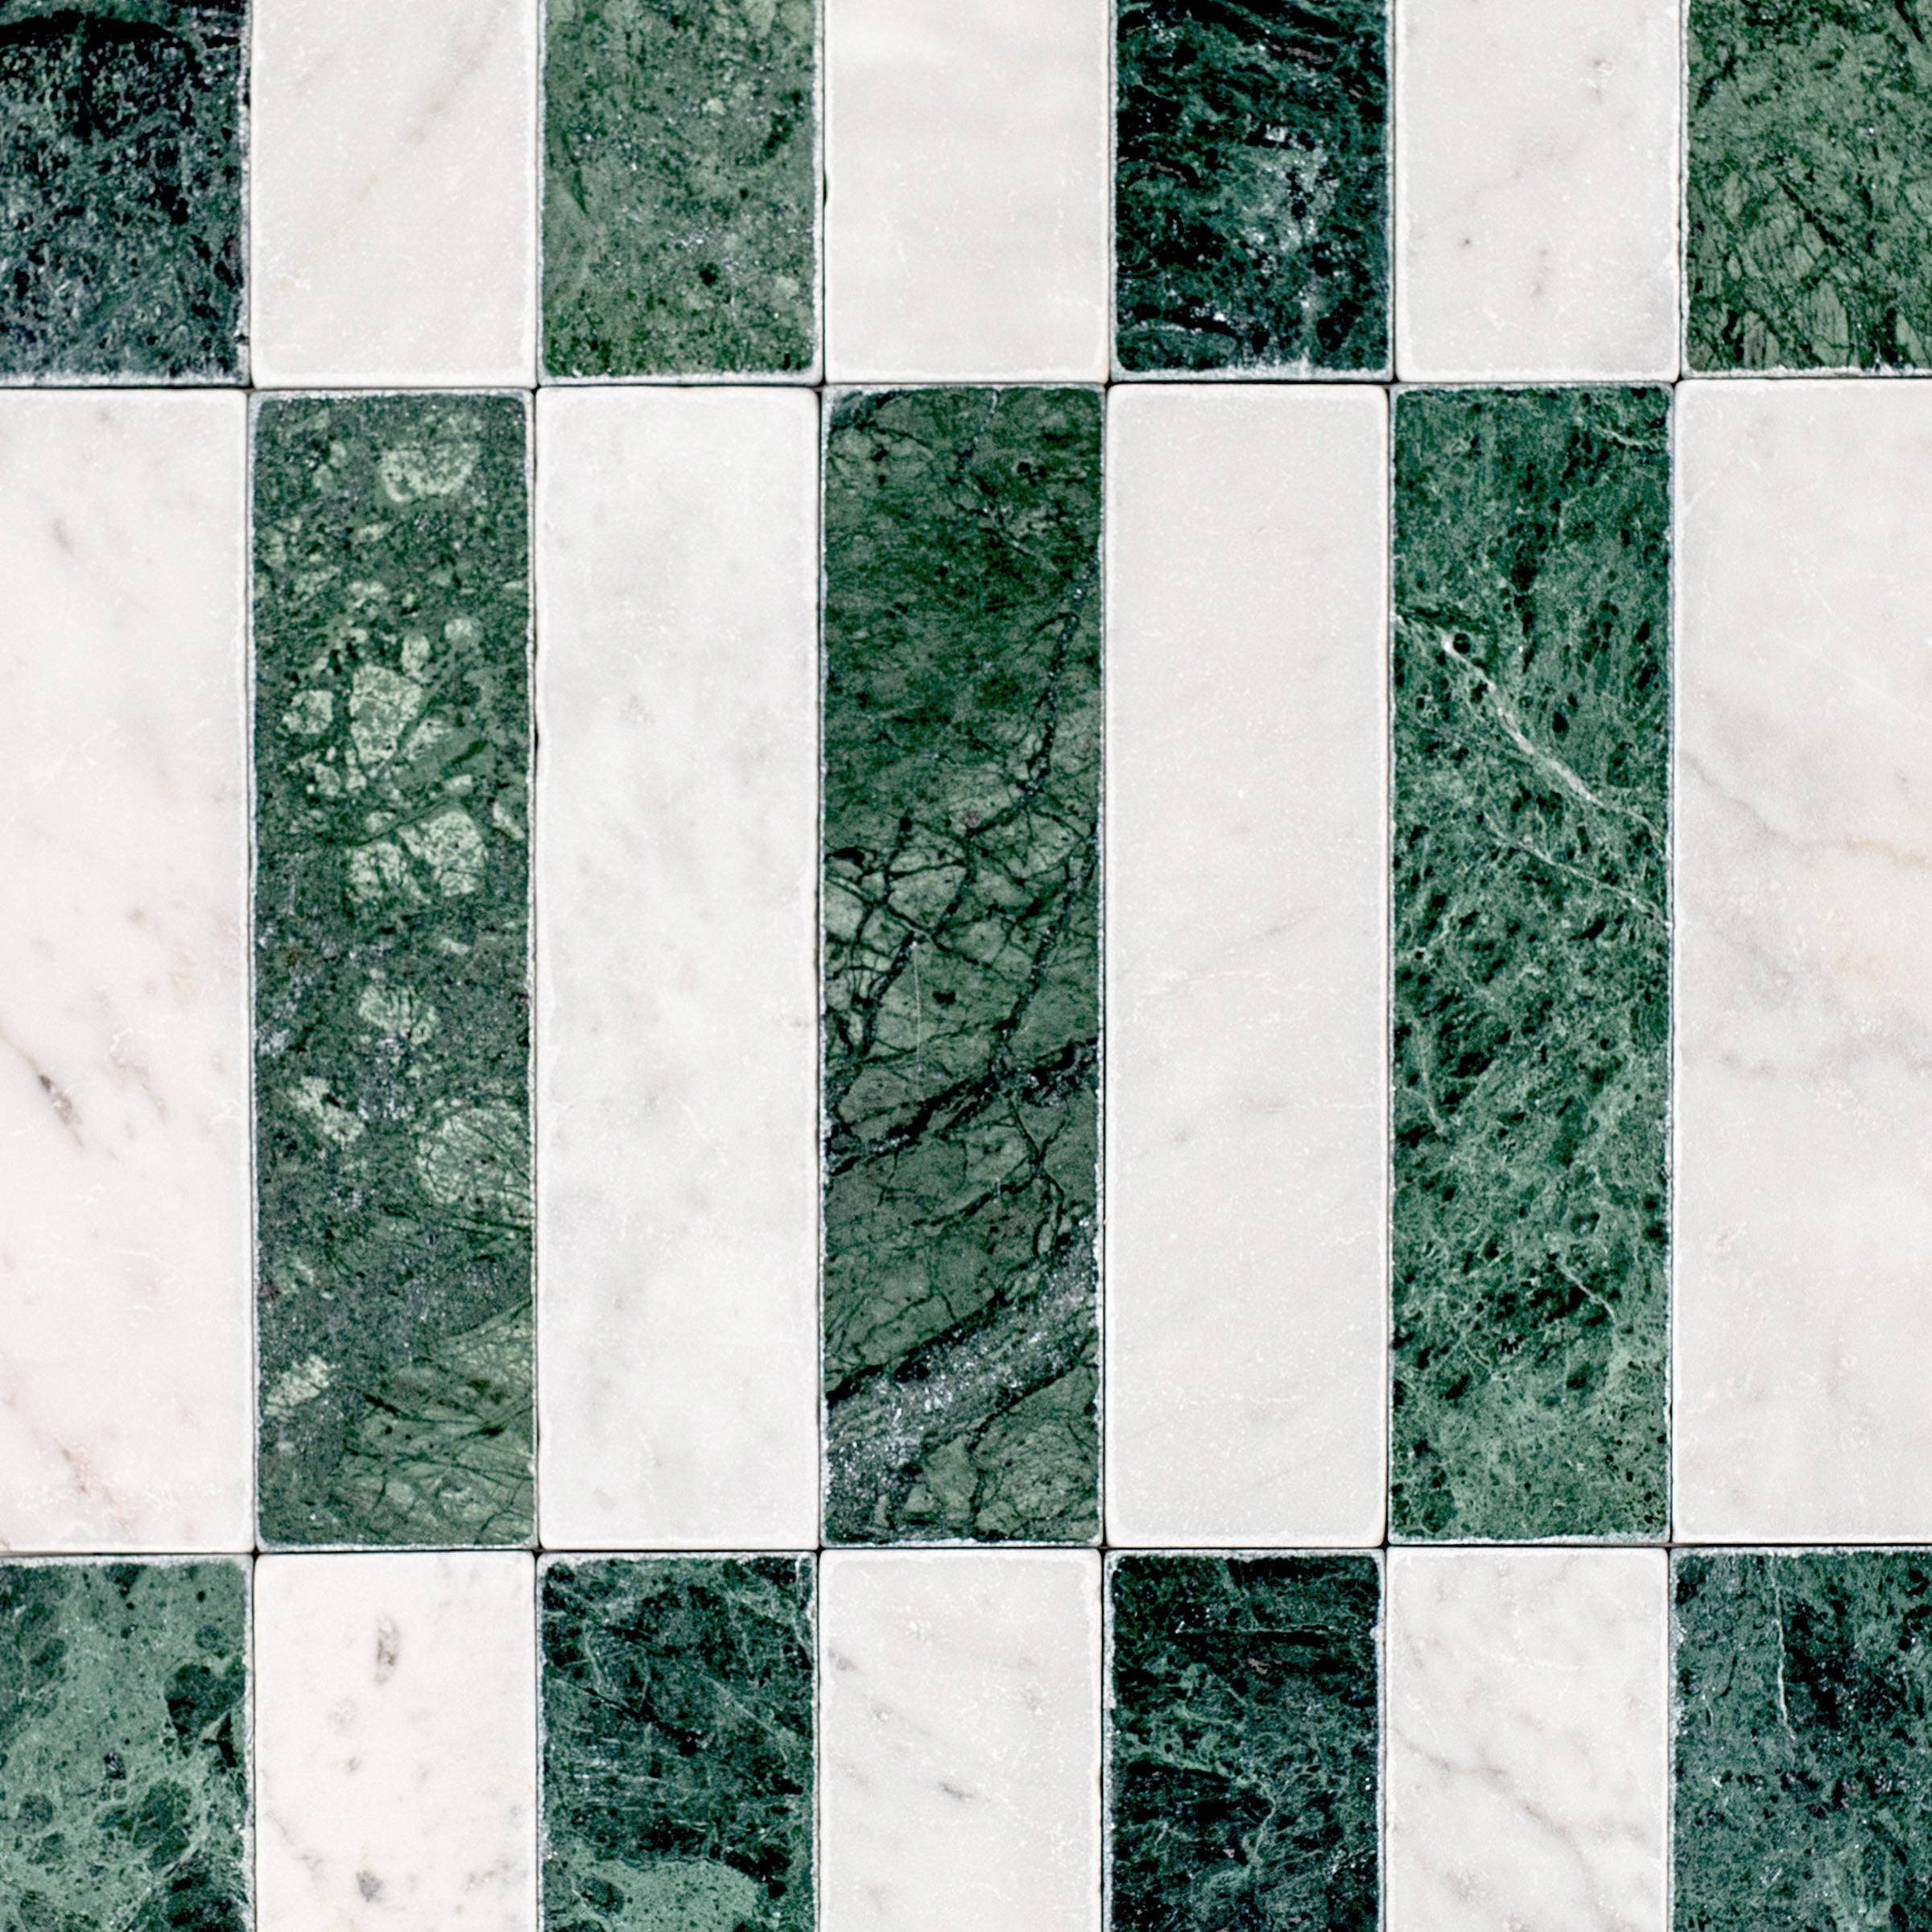
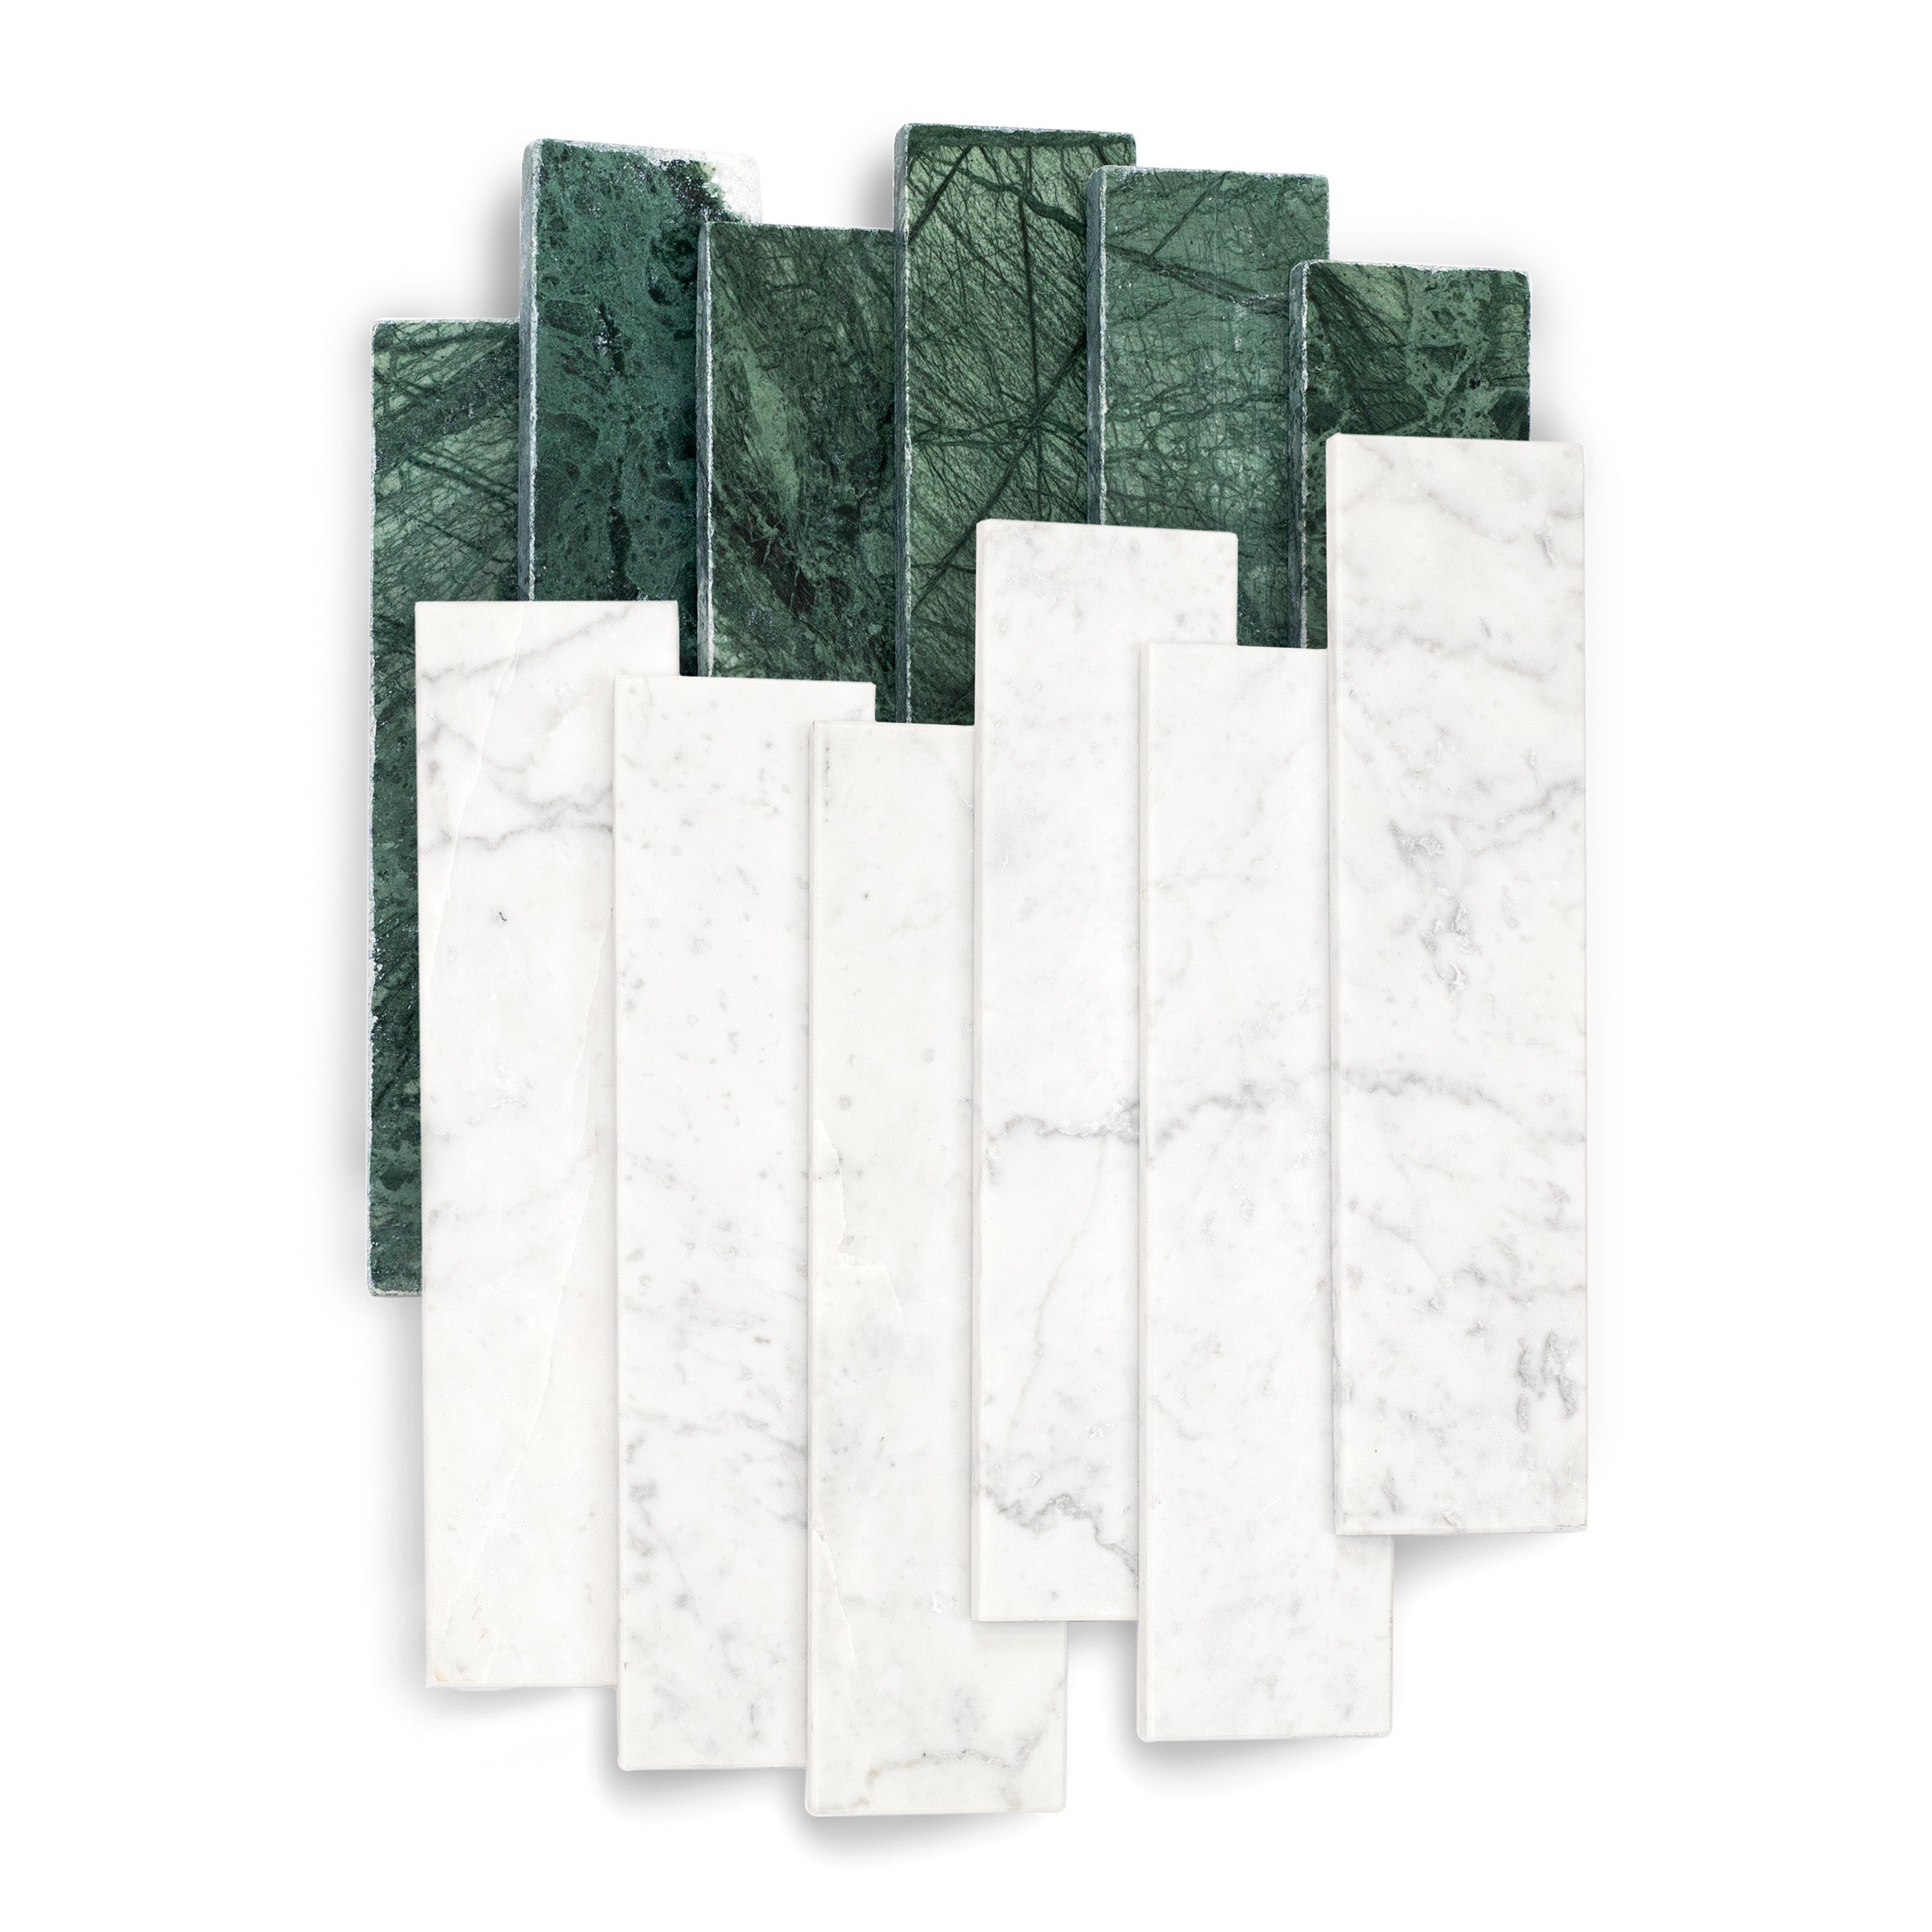
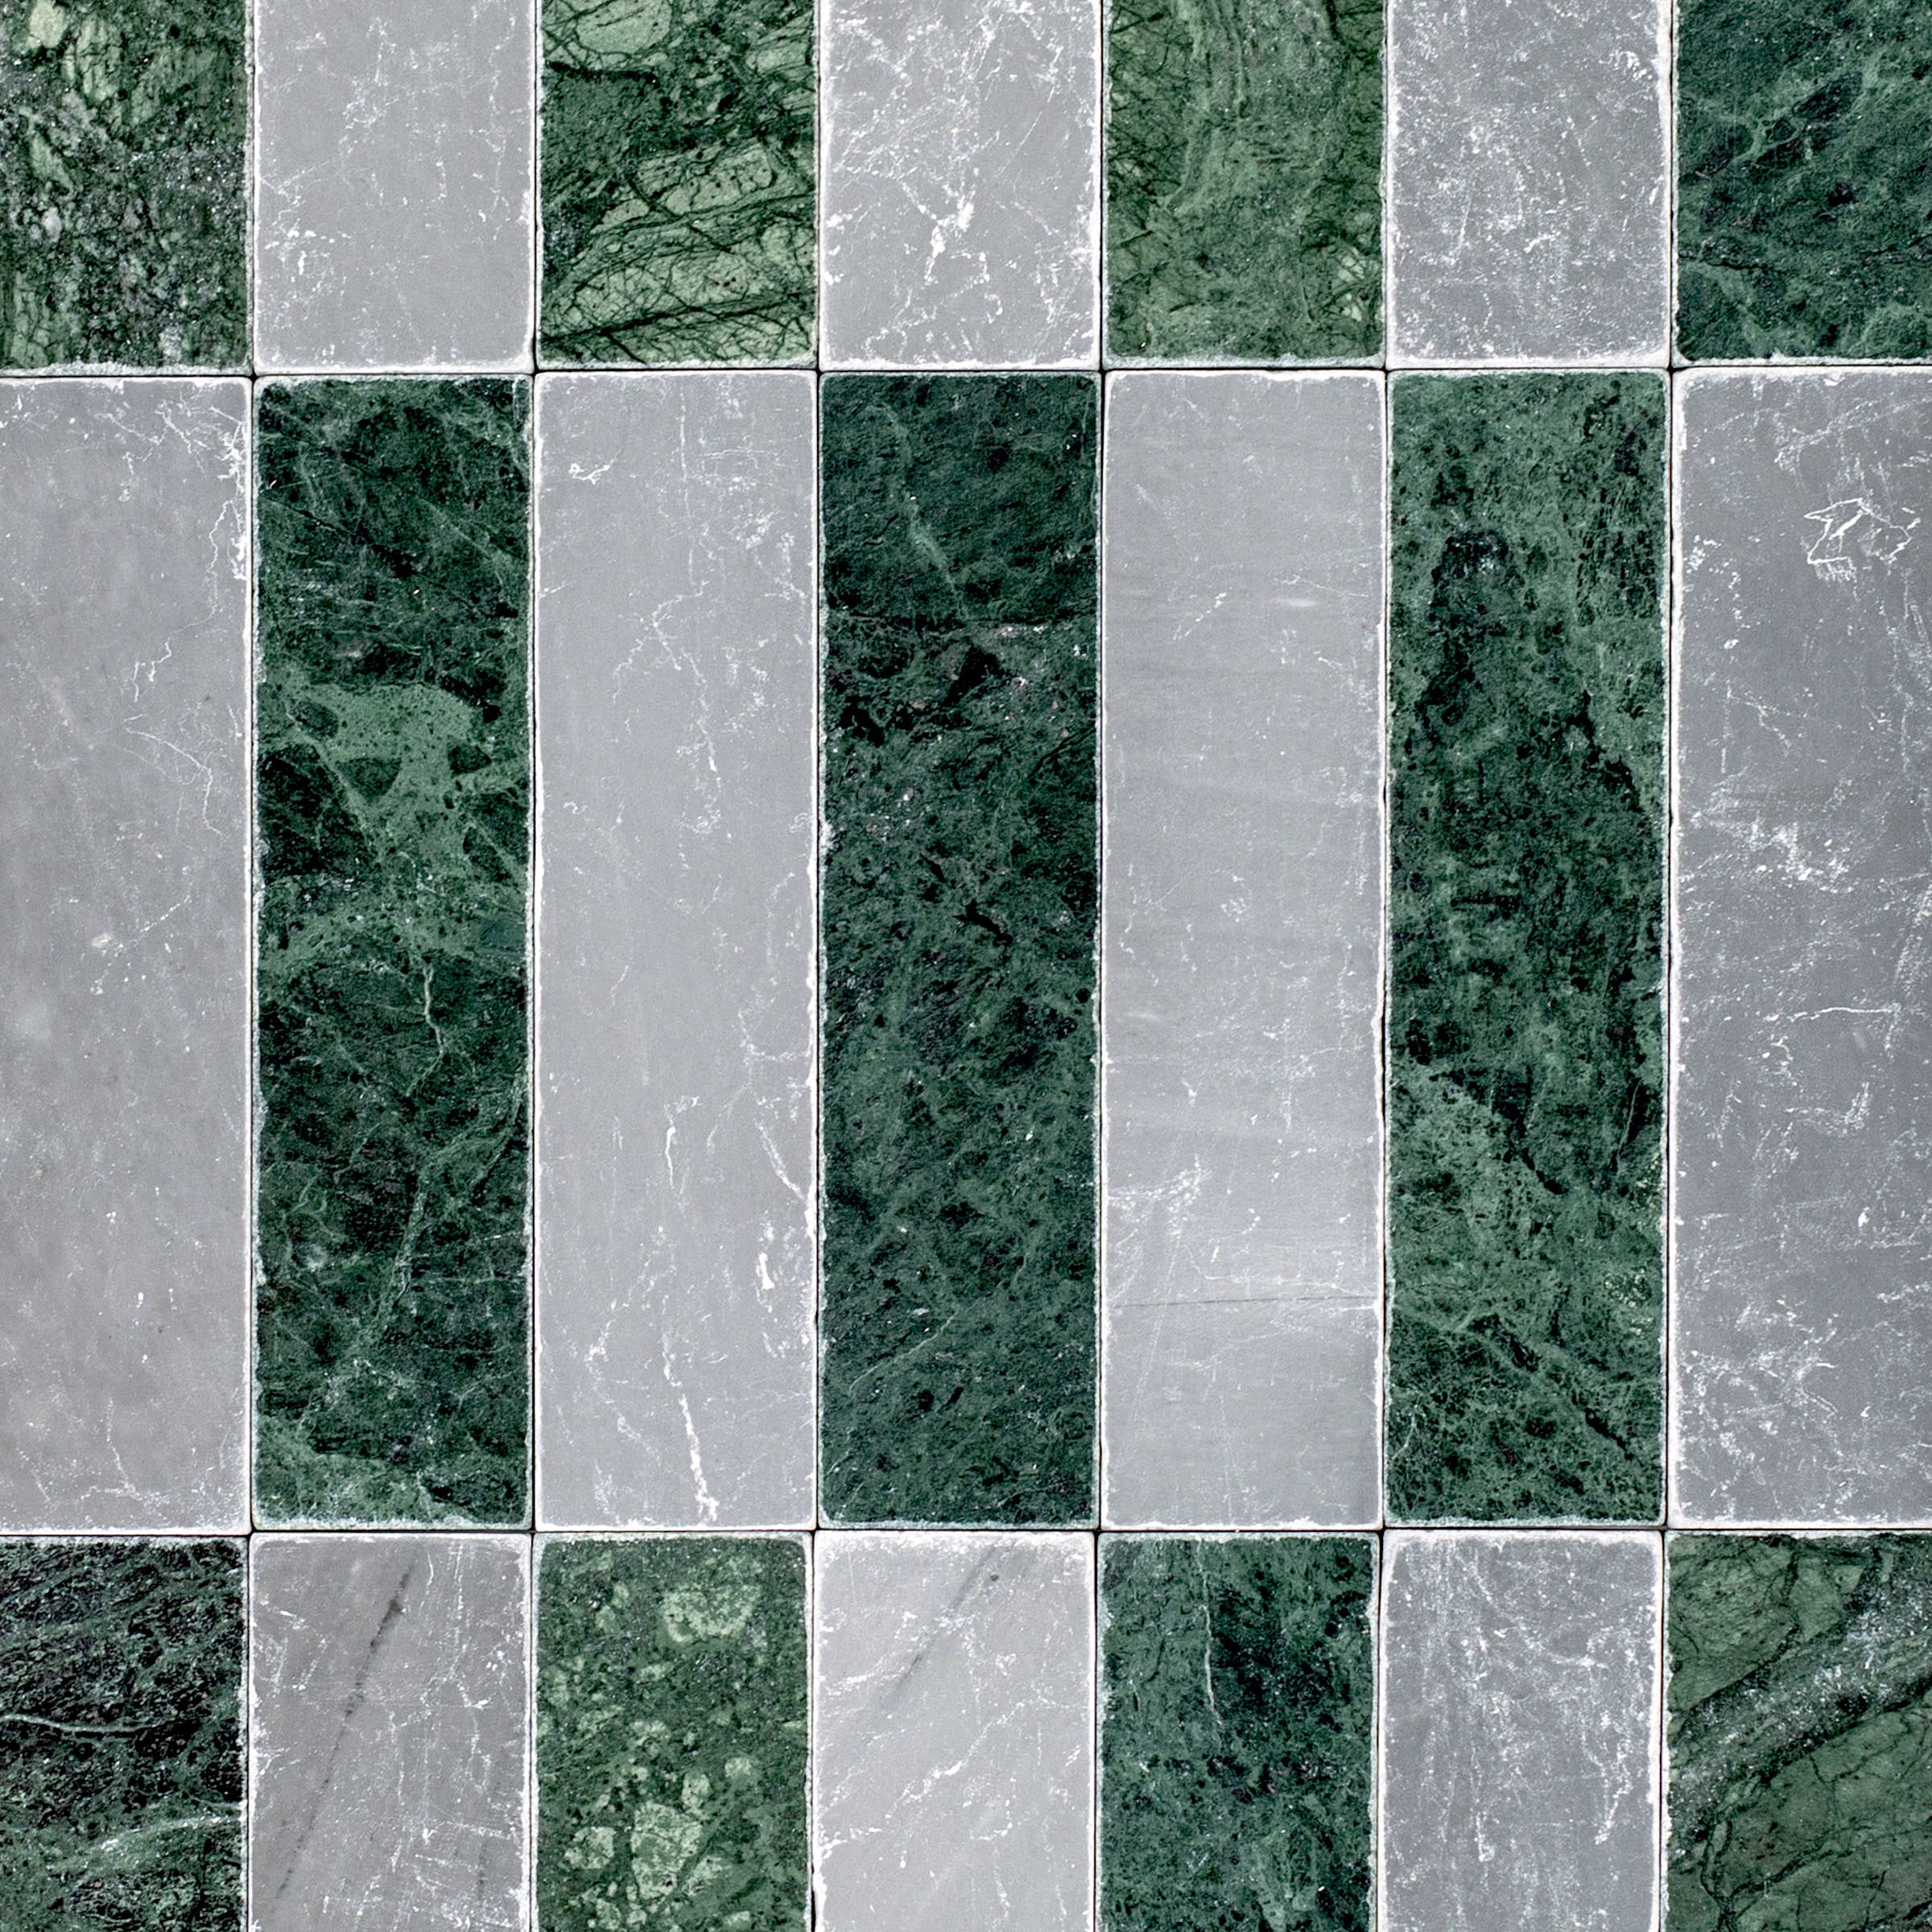
Fractured Light
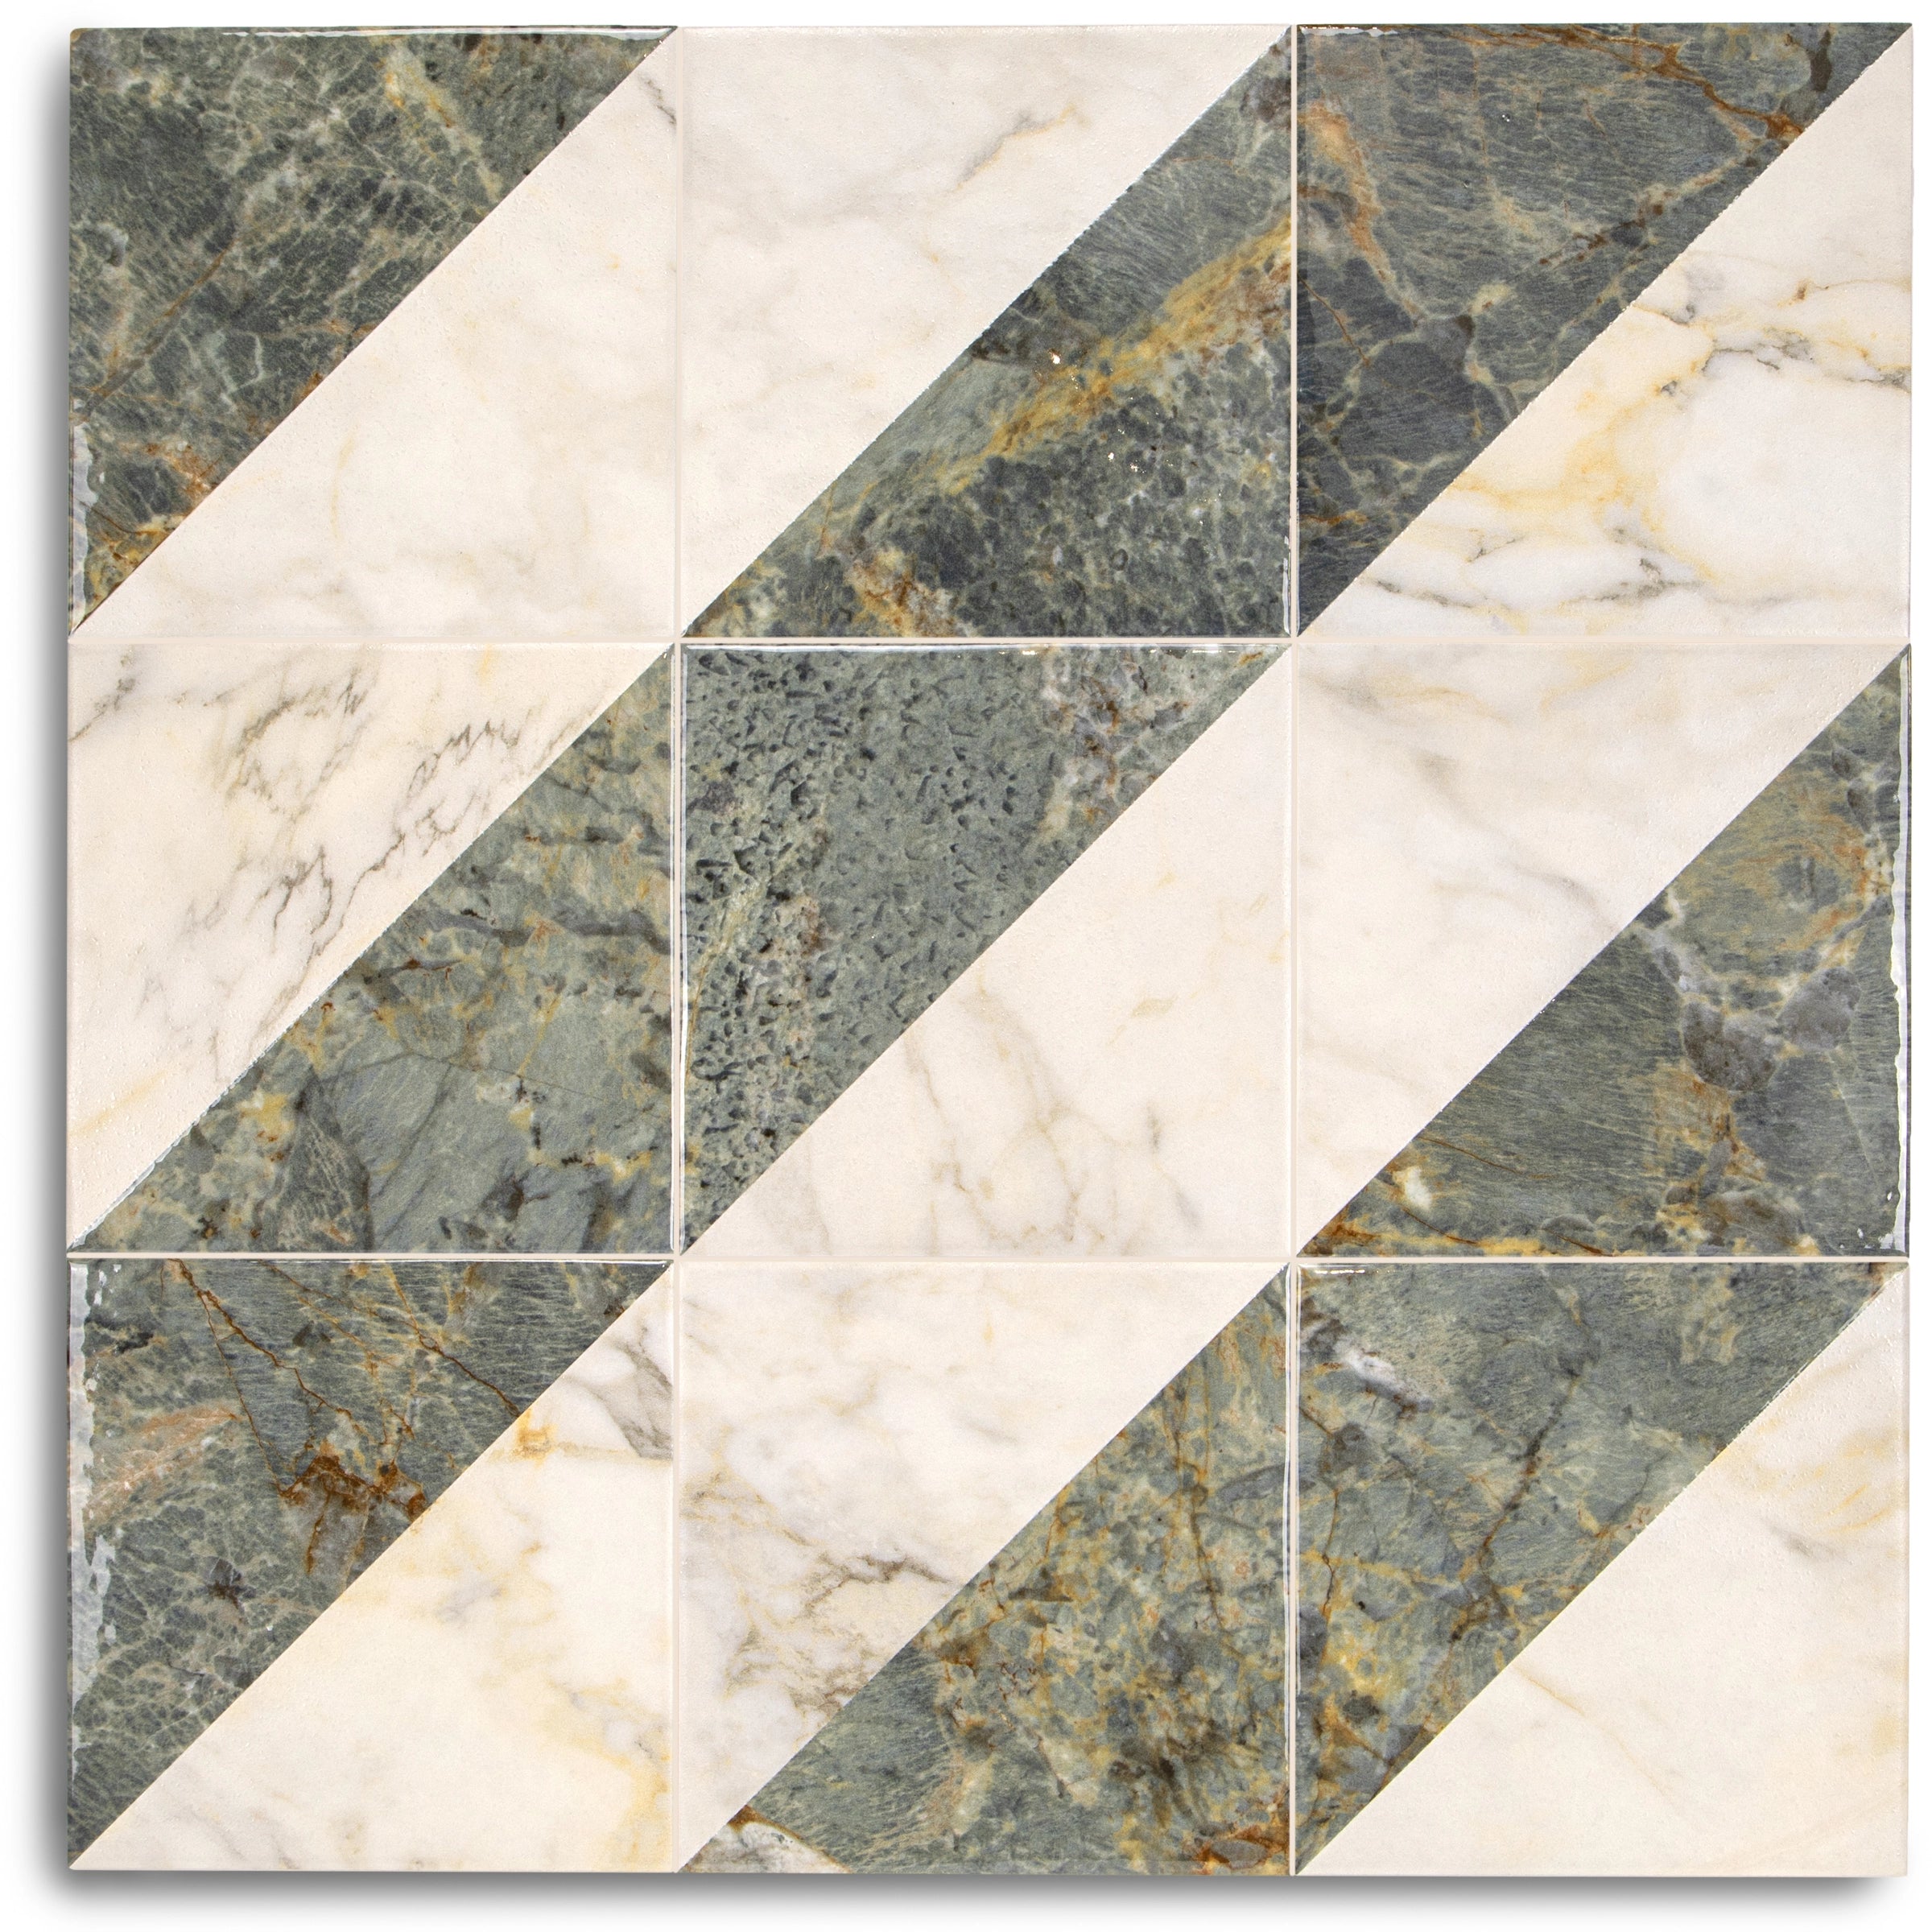
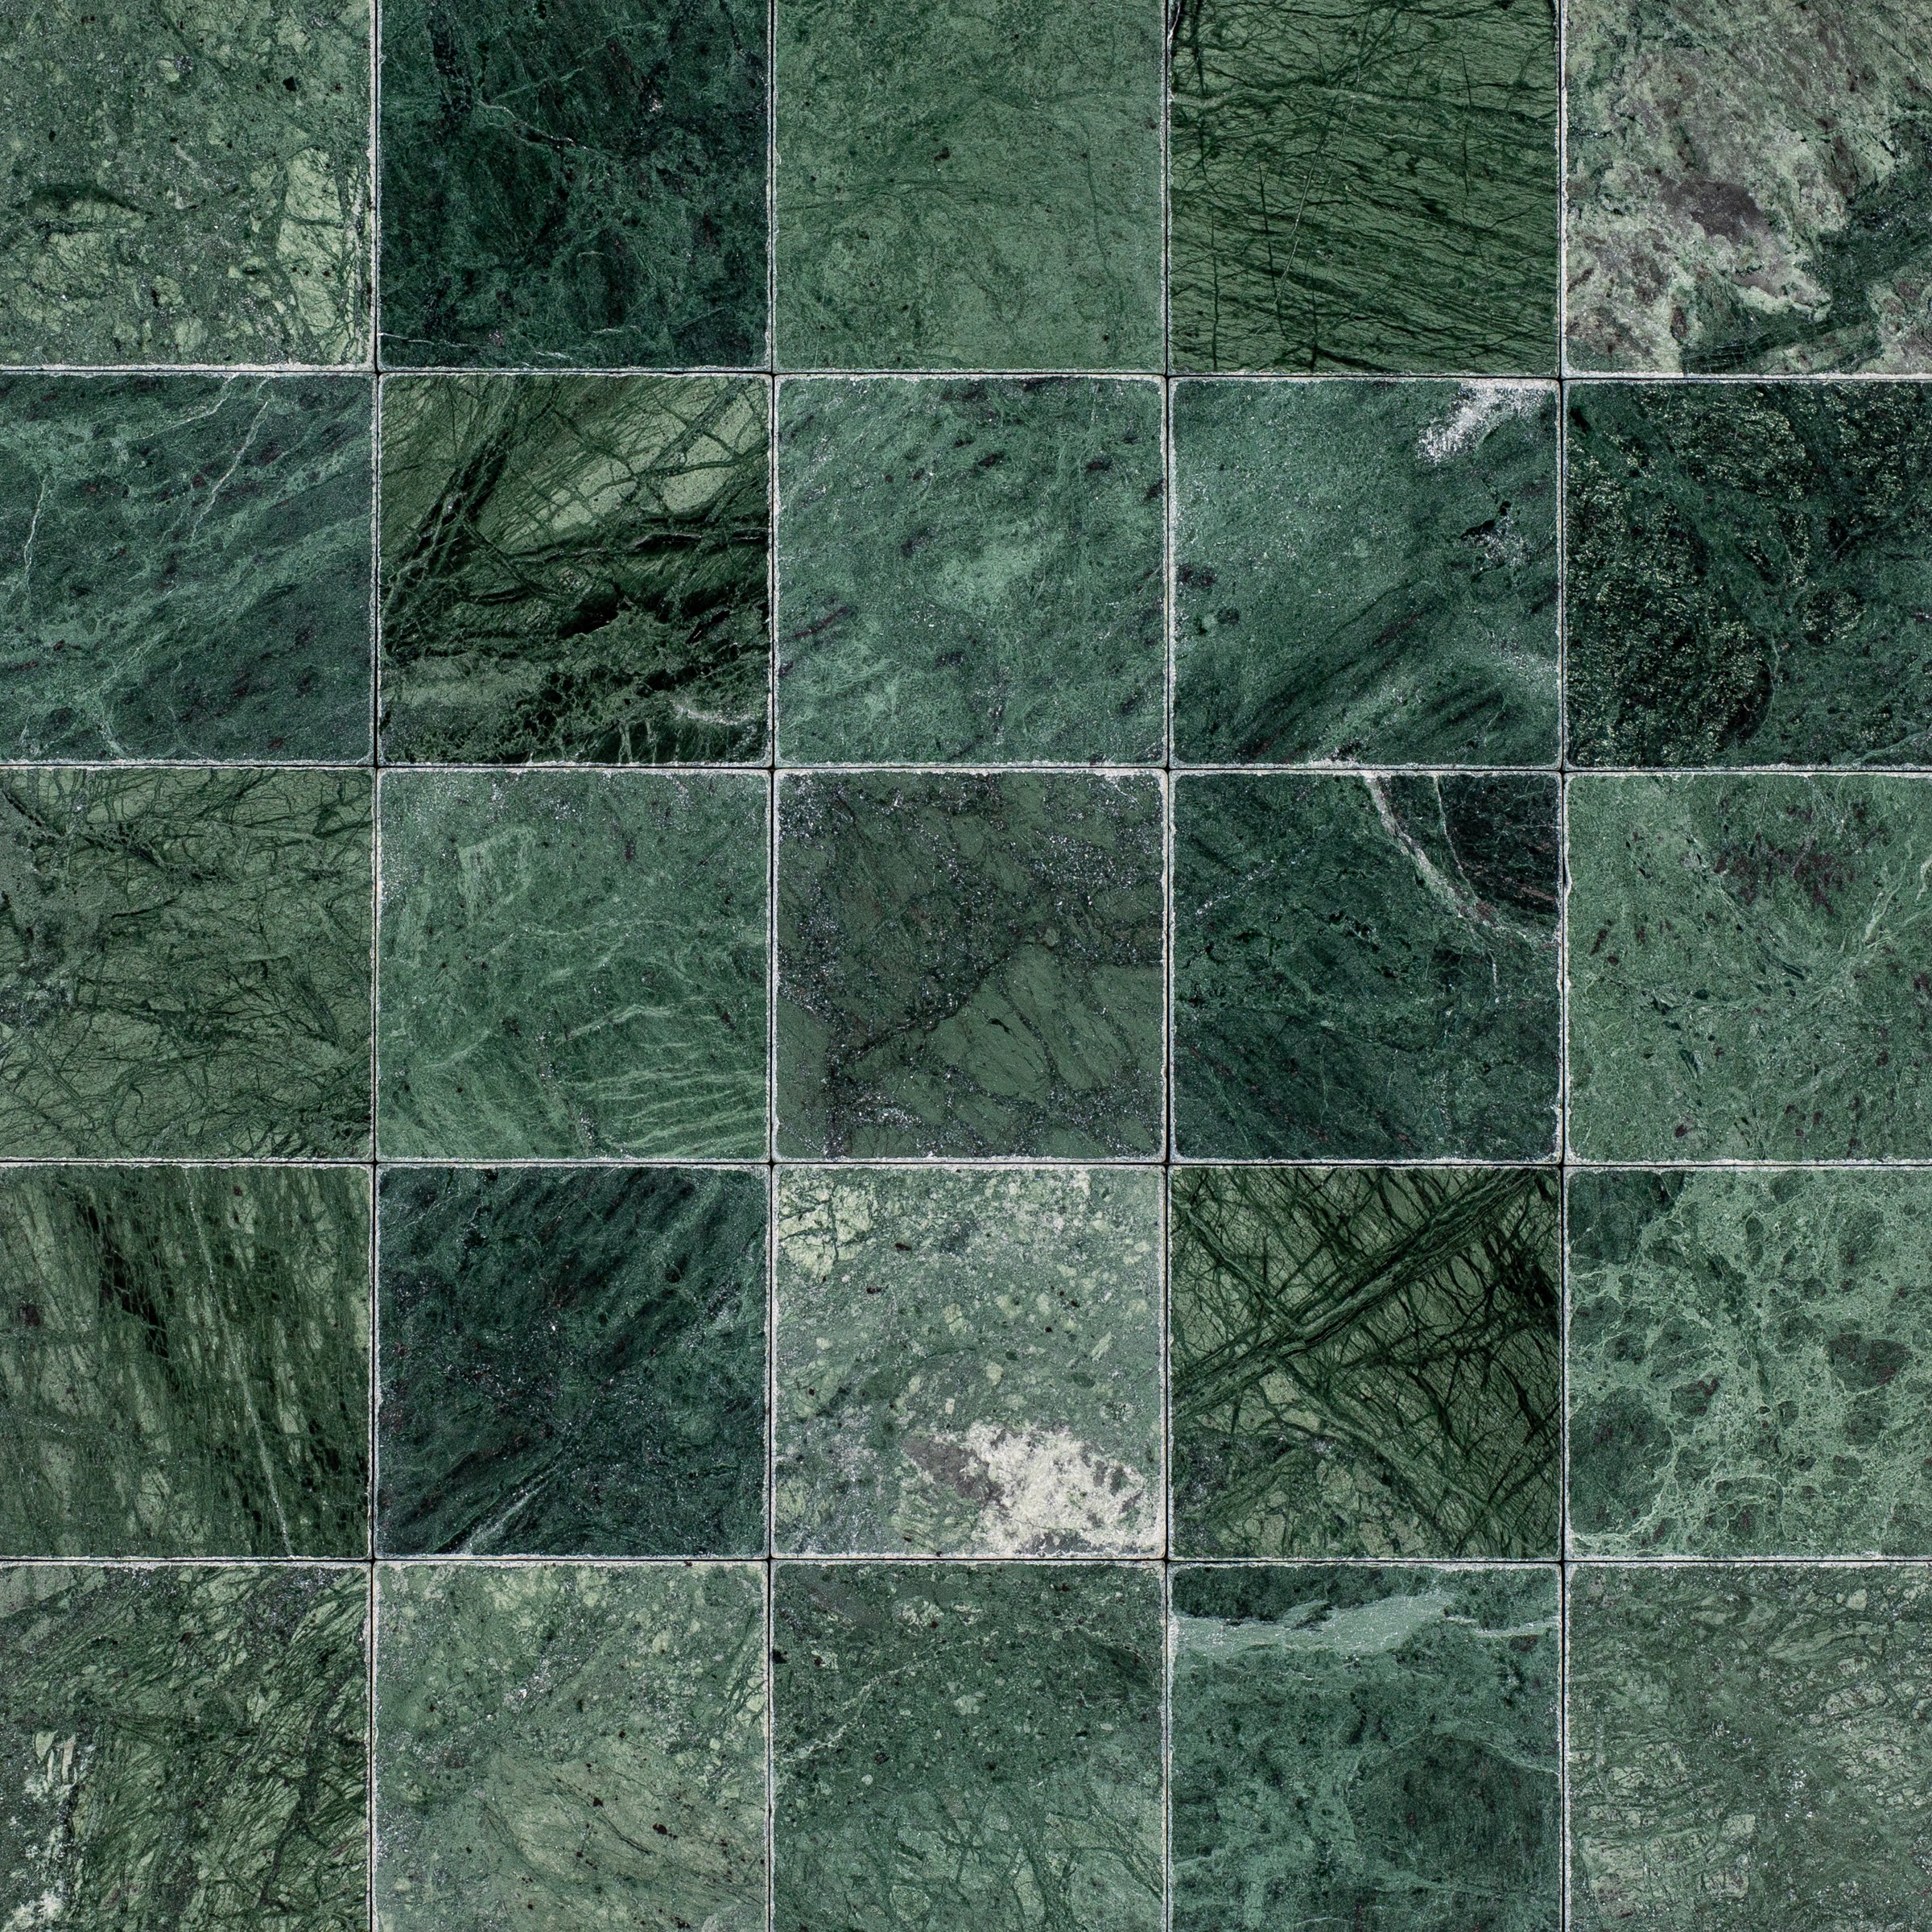
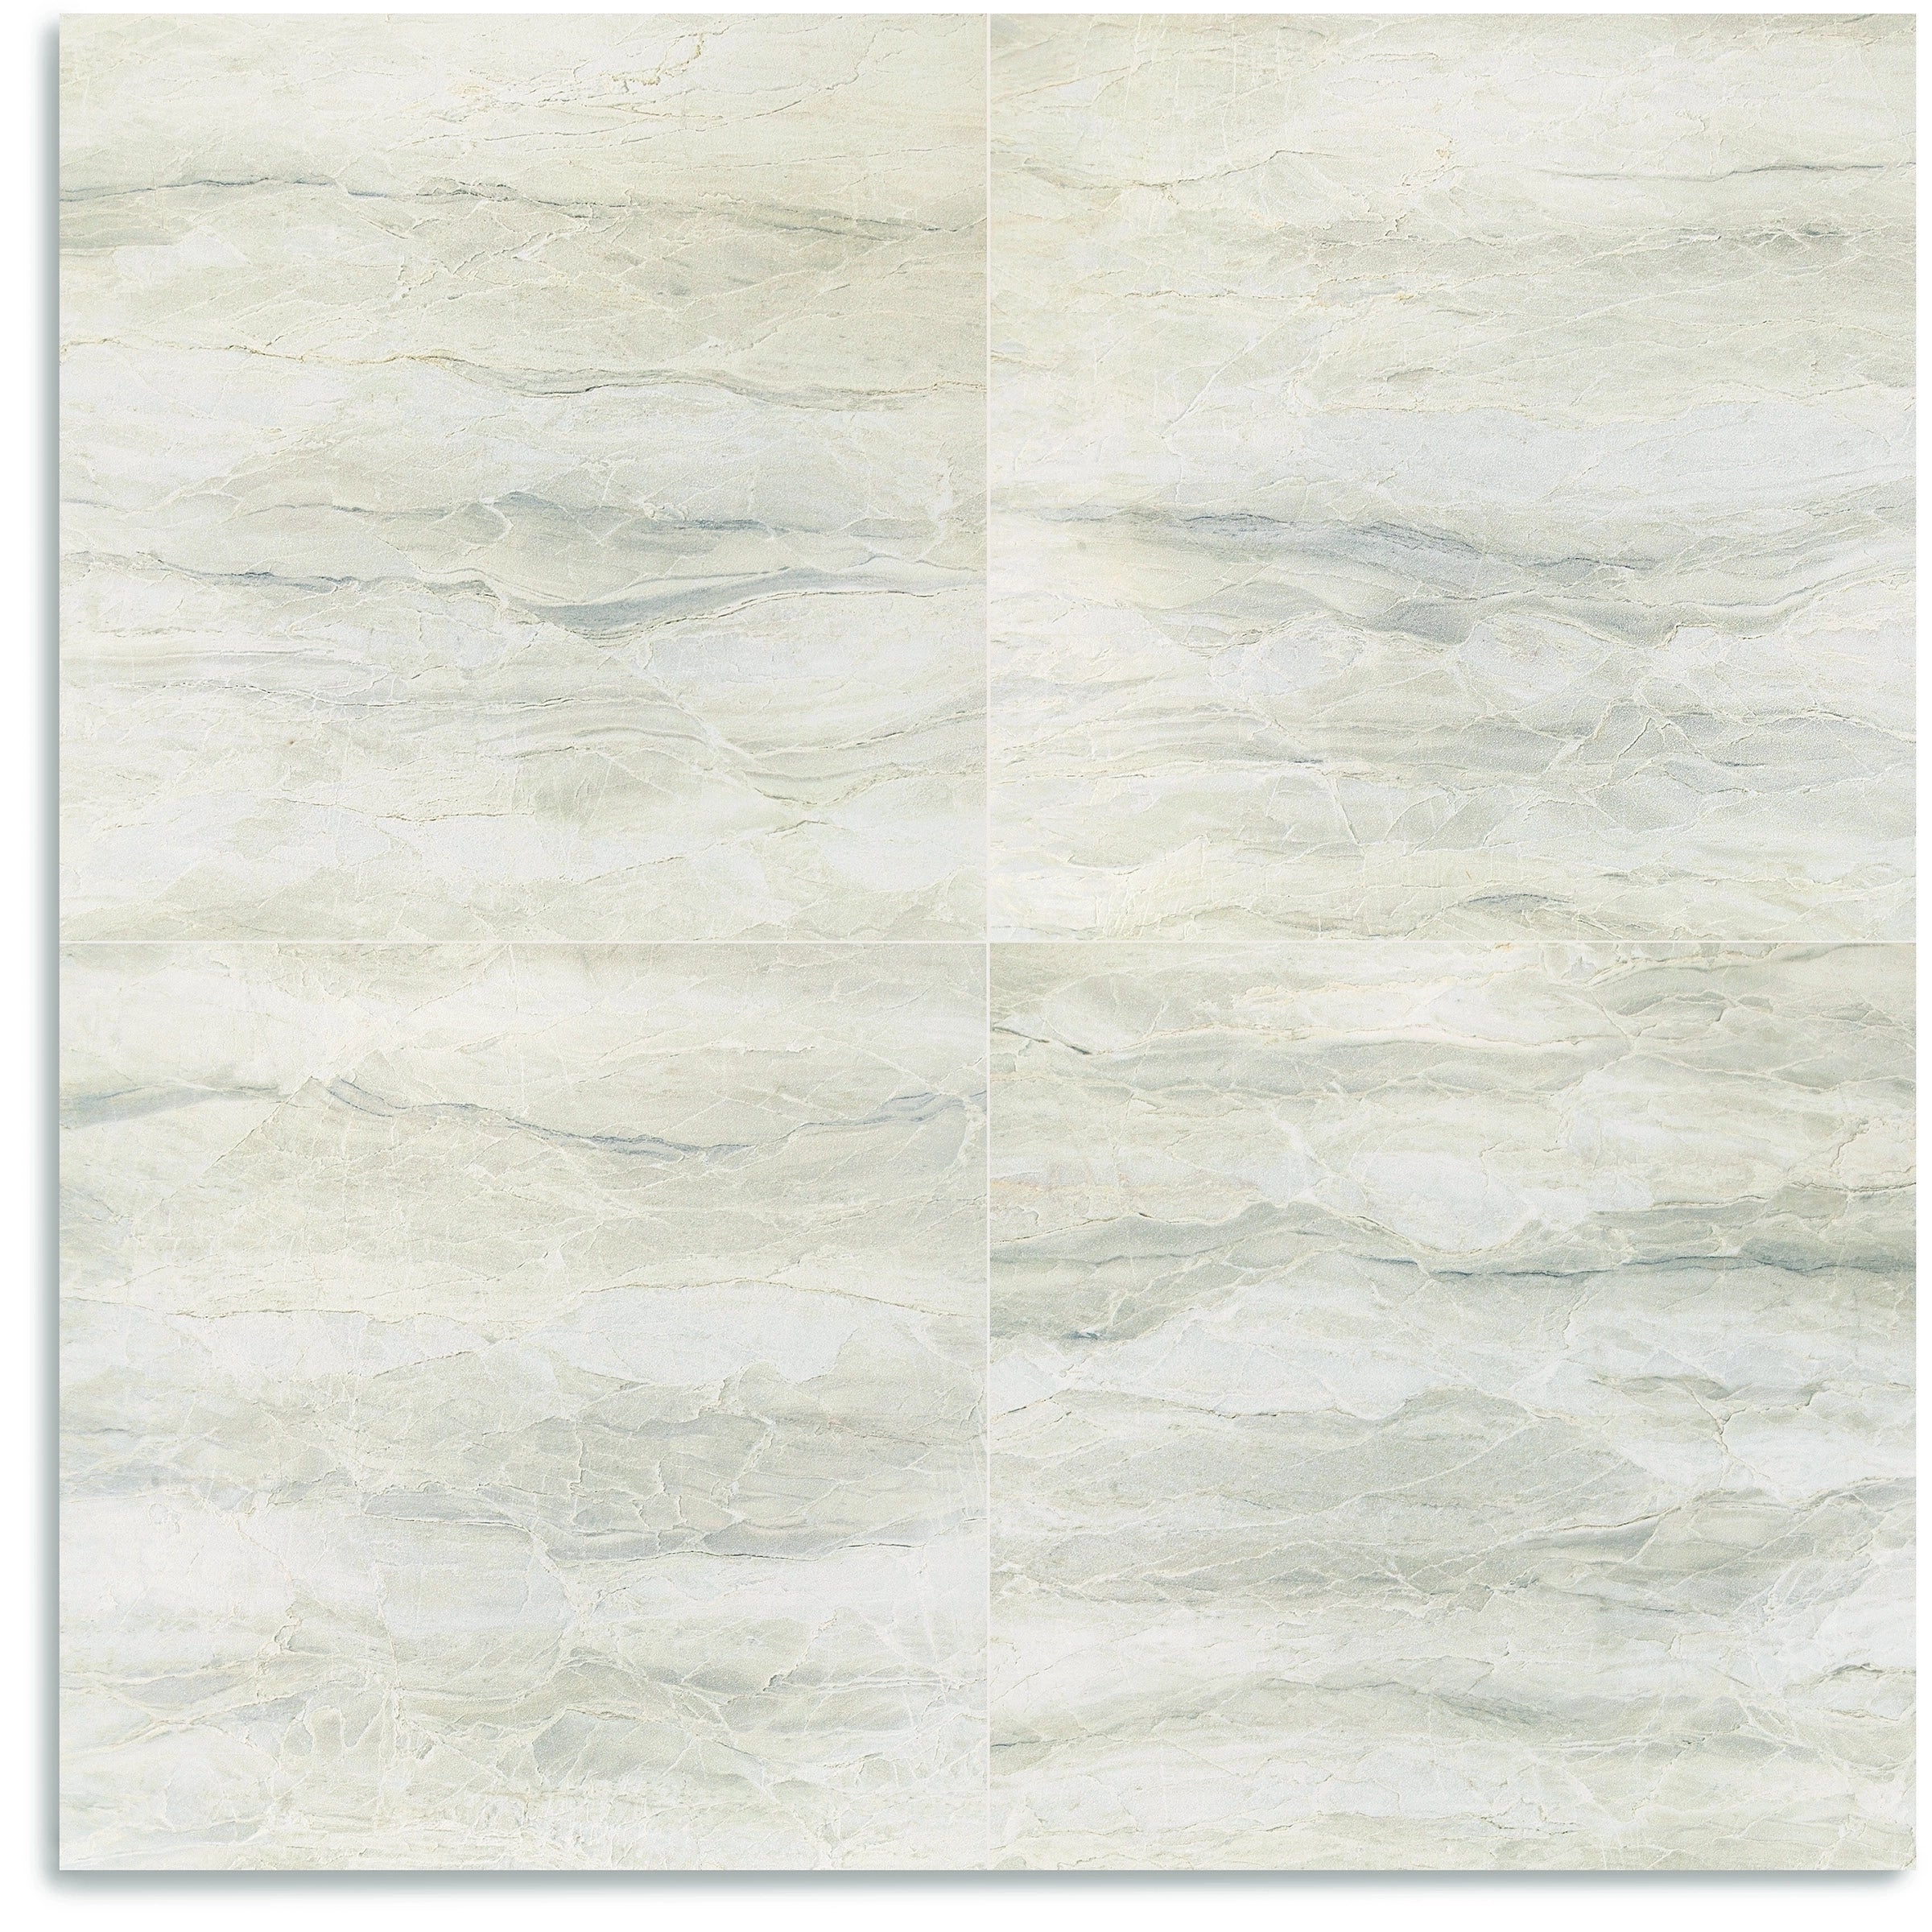
Angular facets fragment the blue-green surface into something almost geological—like looking at a cross-section of malachite. Glossy elements catch light sharply while matte sections absorb it, creating constant movement across the tile. The effect is mineral, primal, unexpectedly natural for such precise geometry.

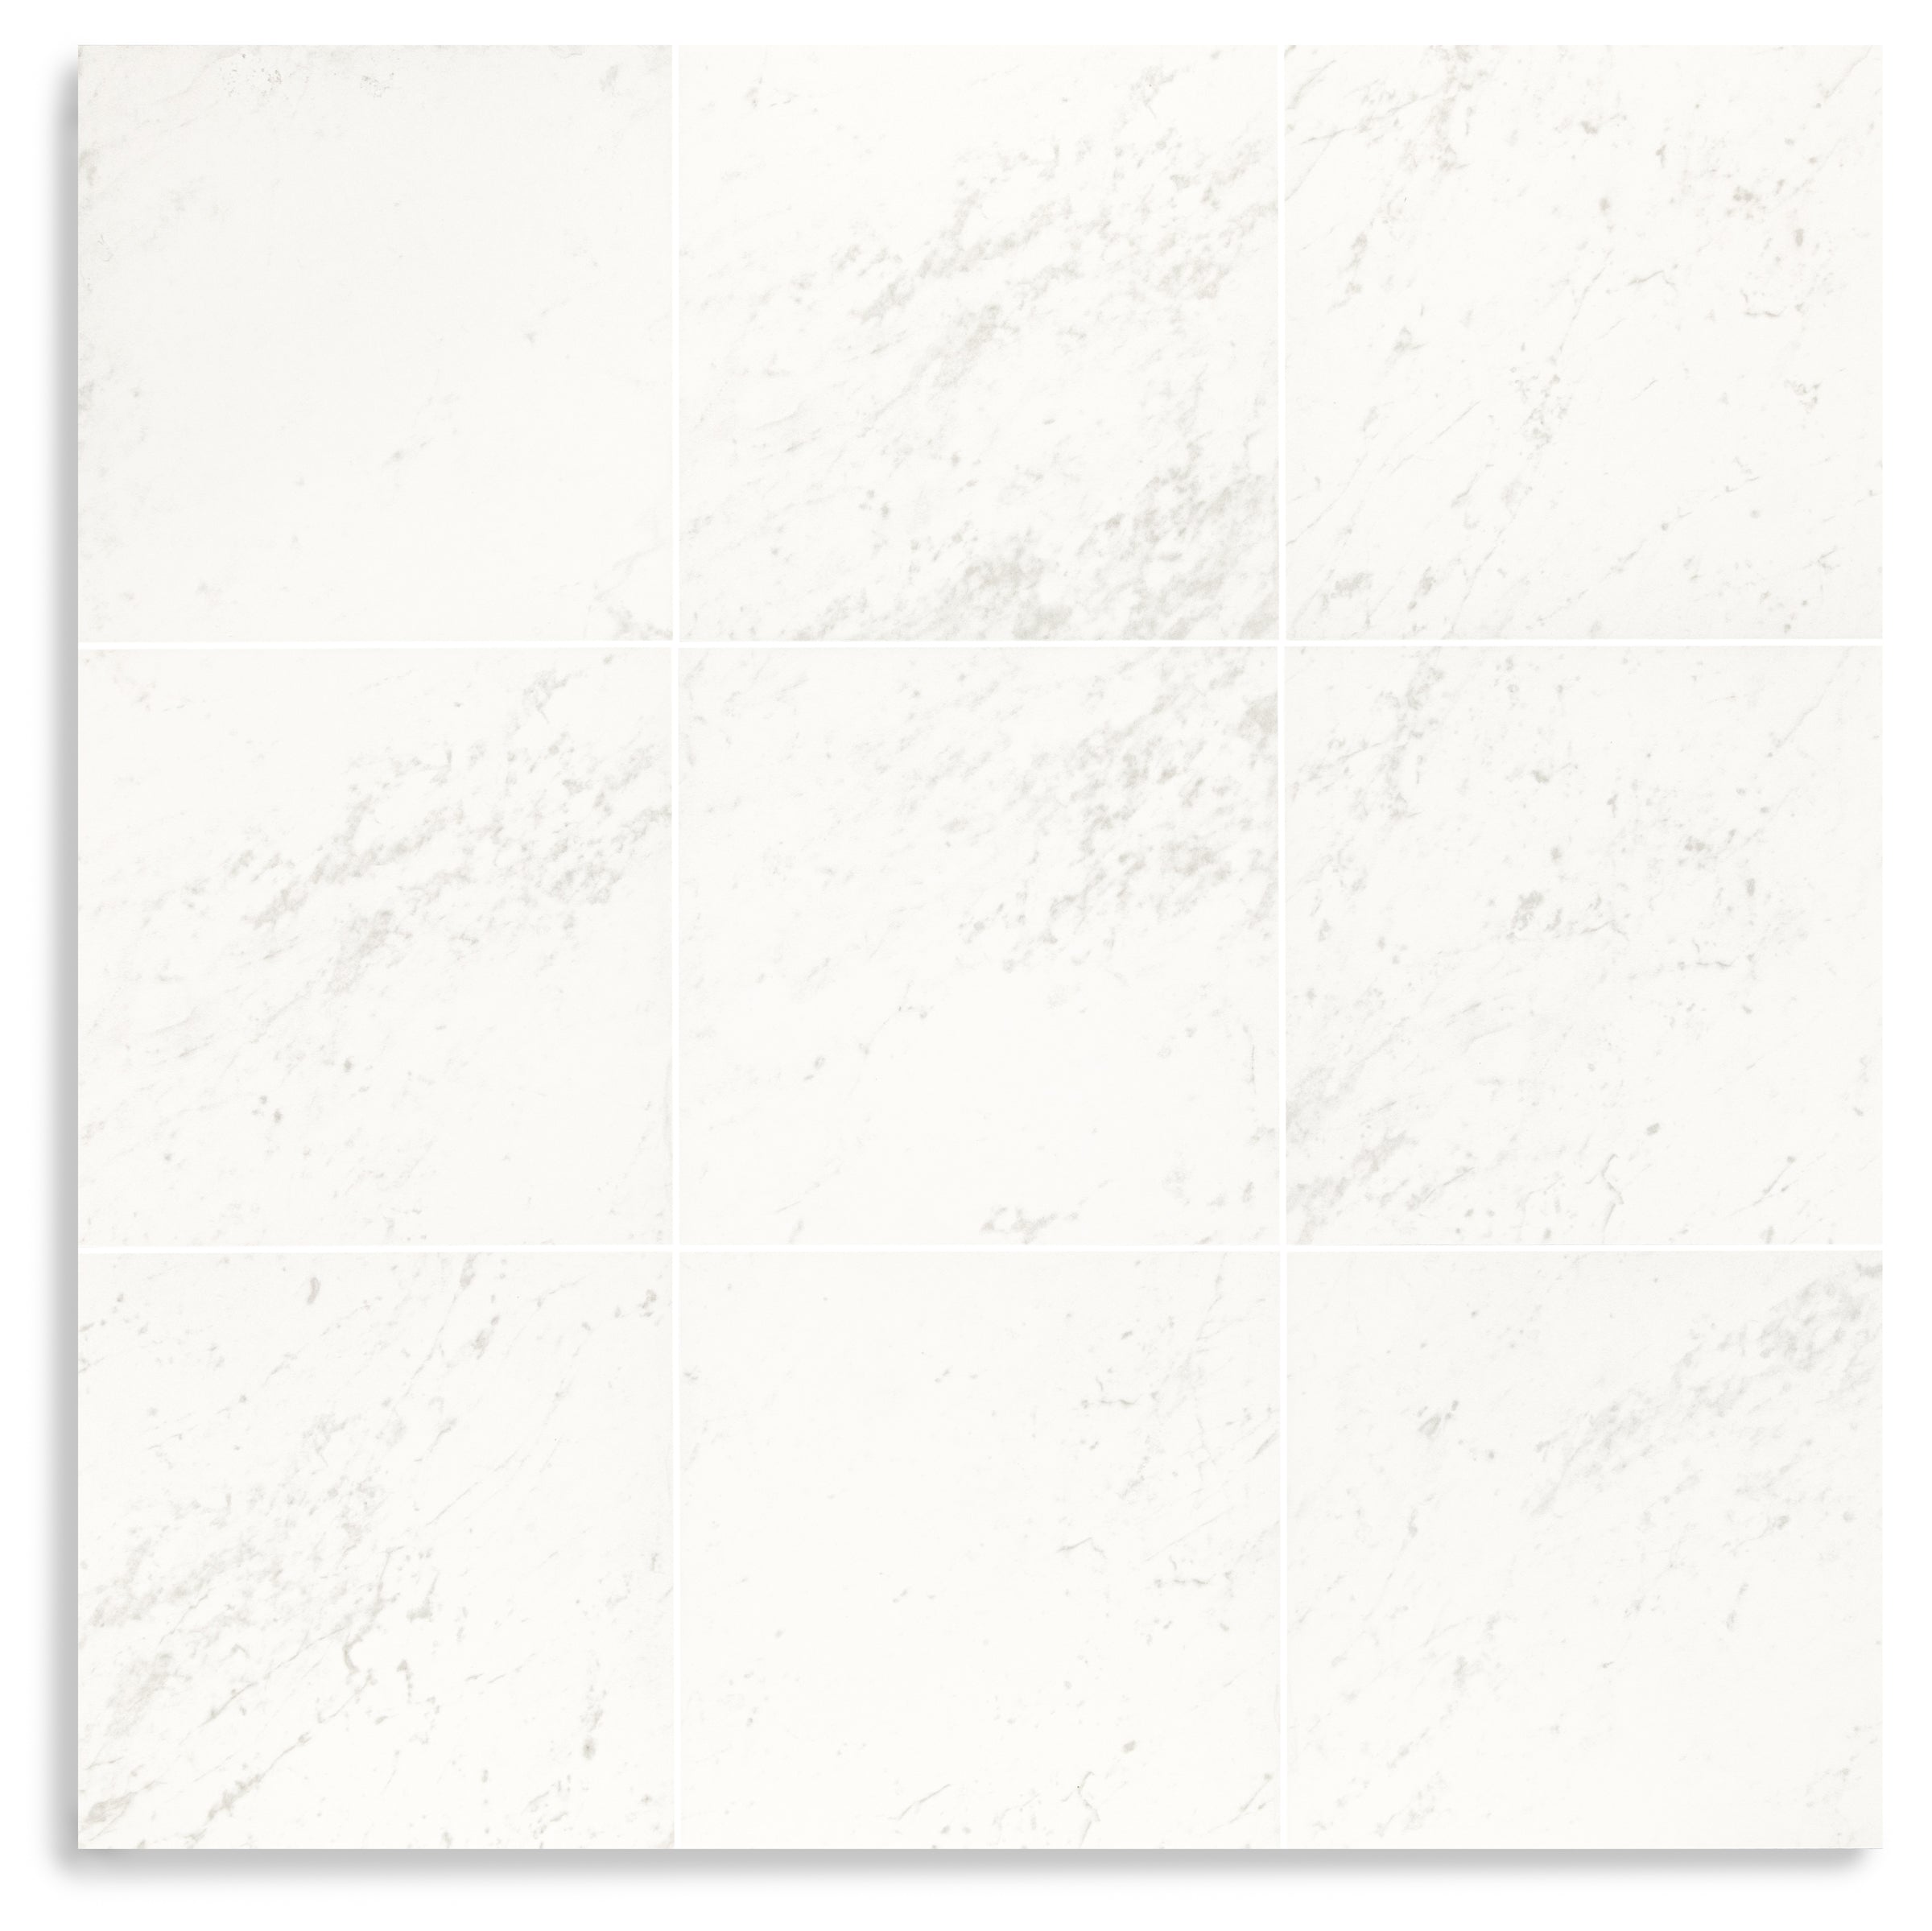
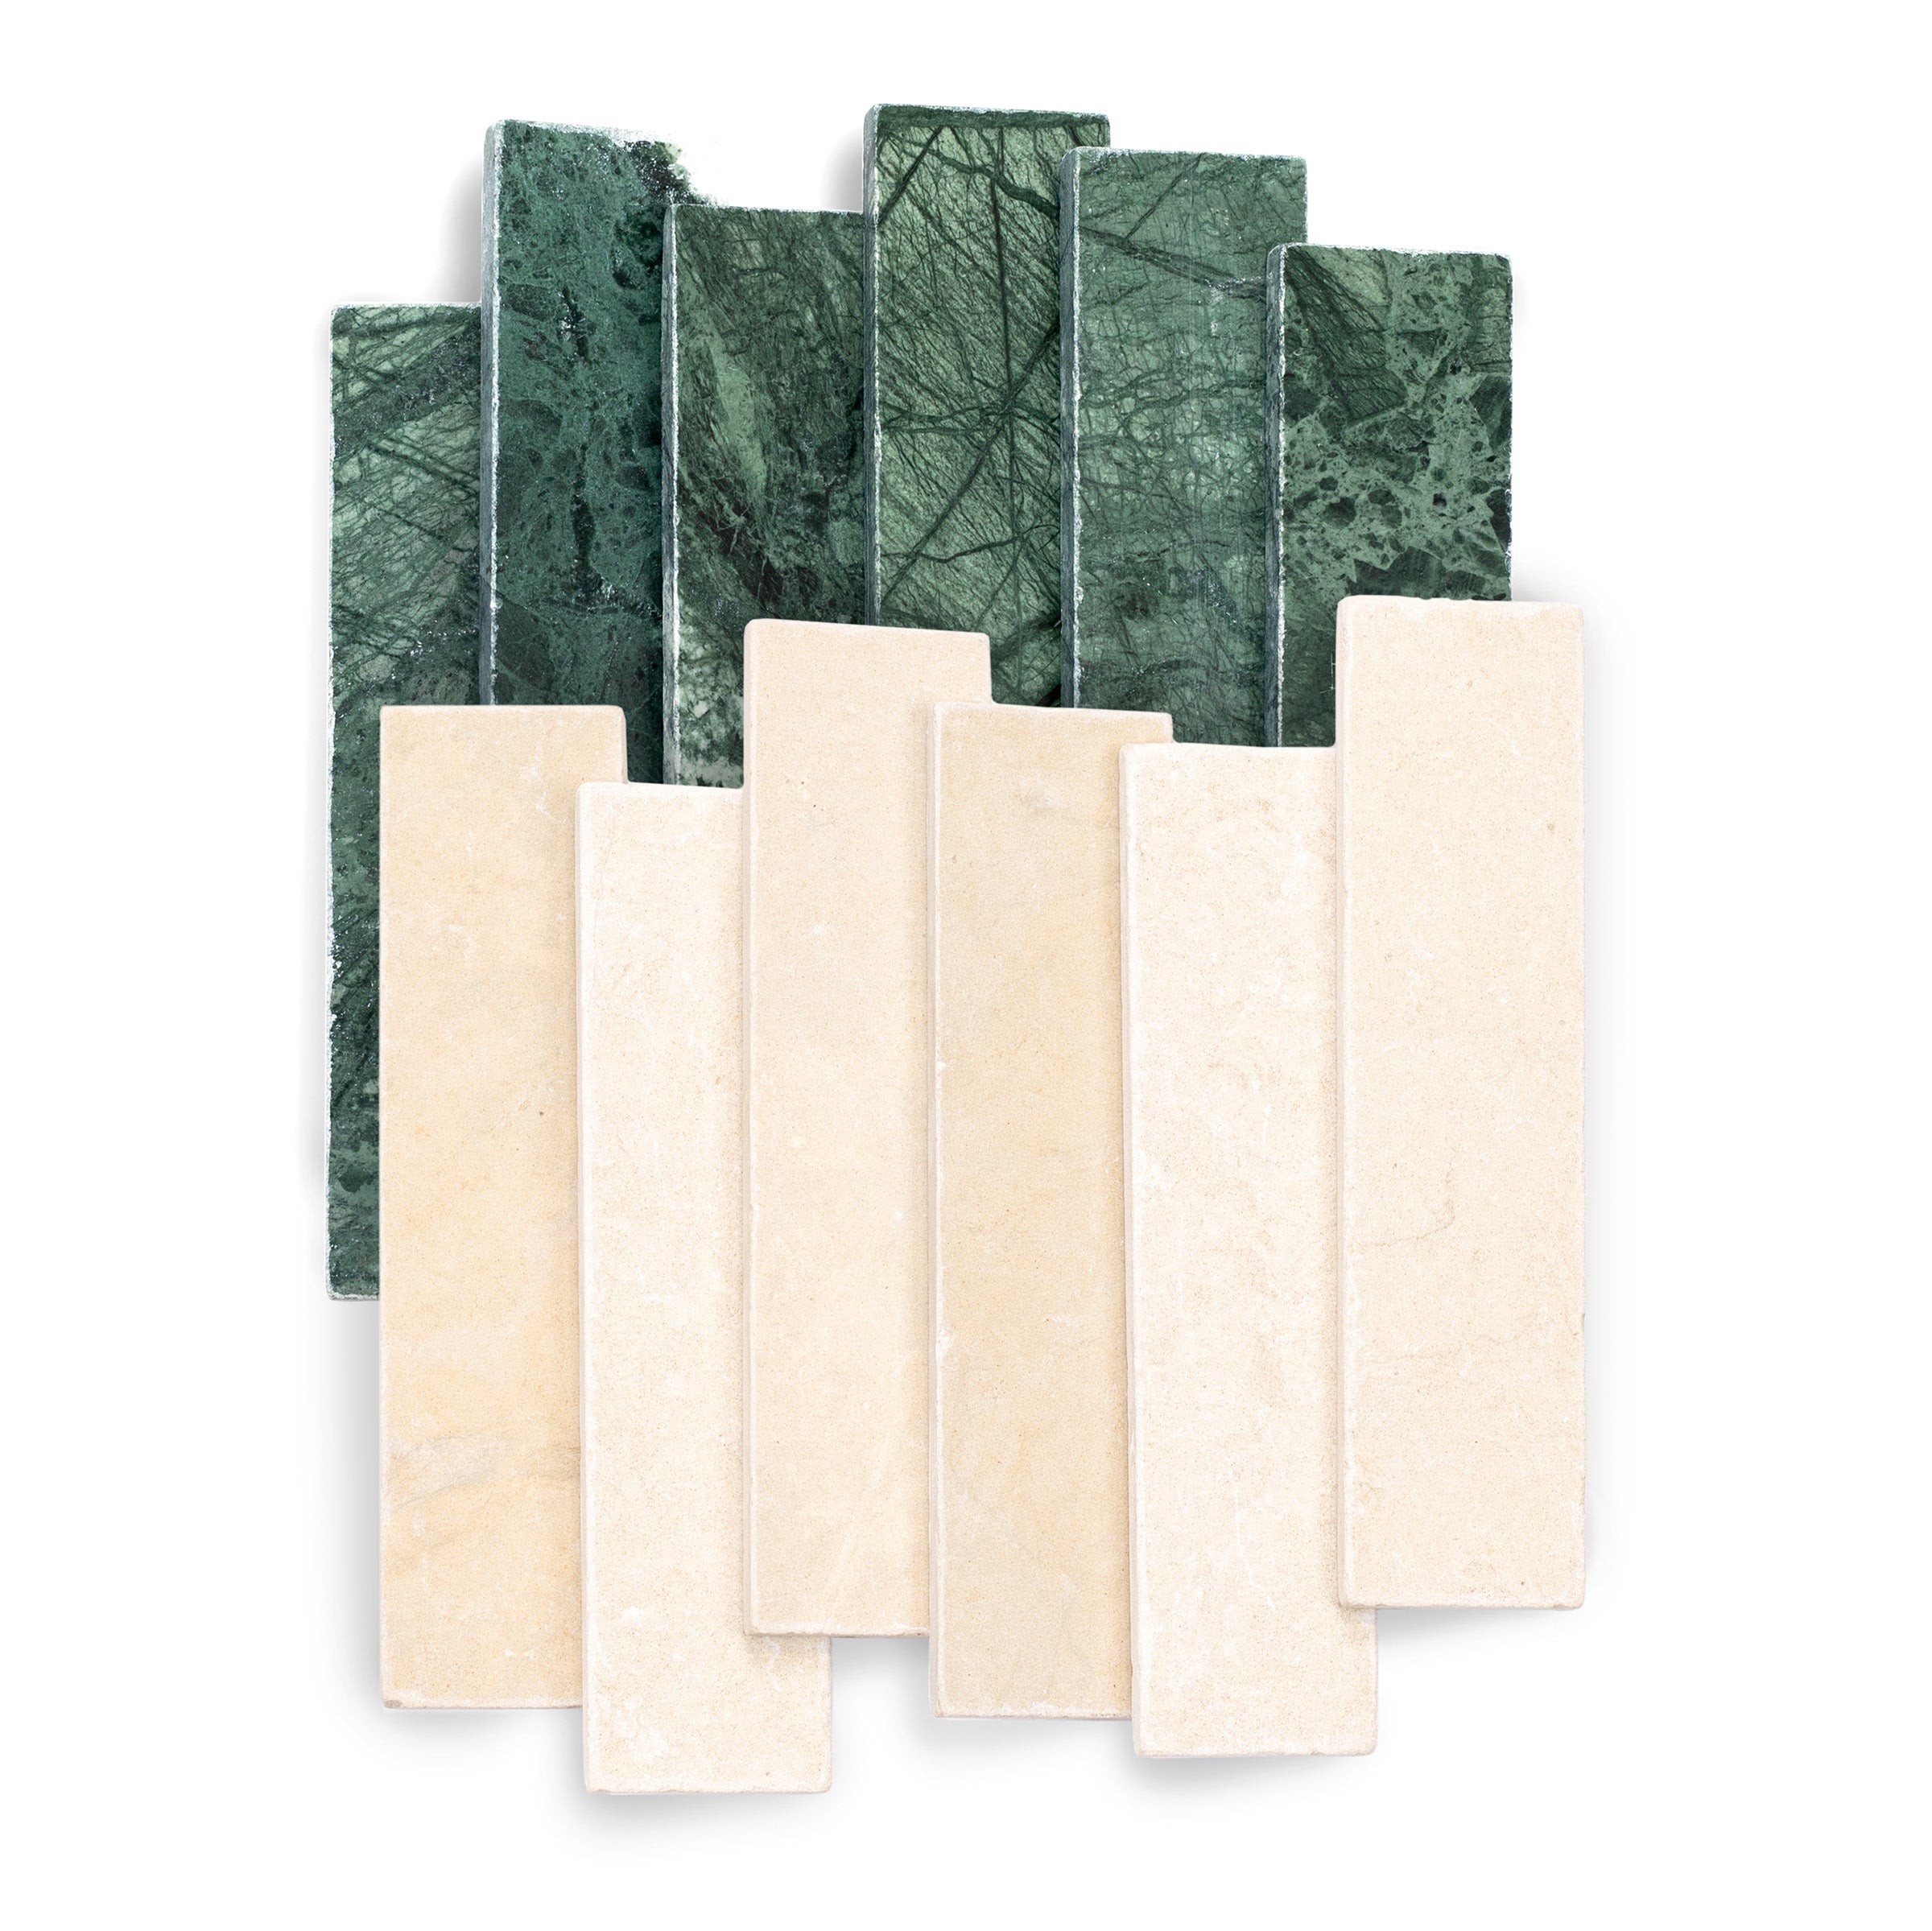
The Details
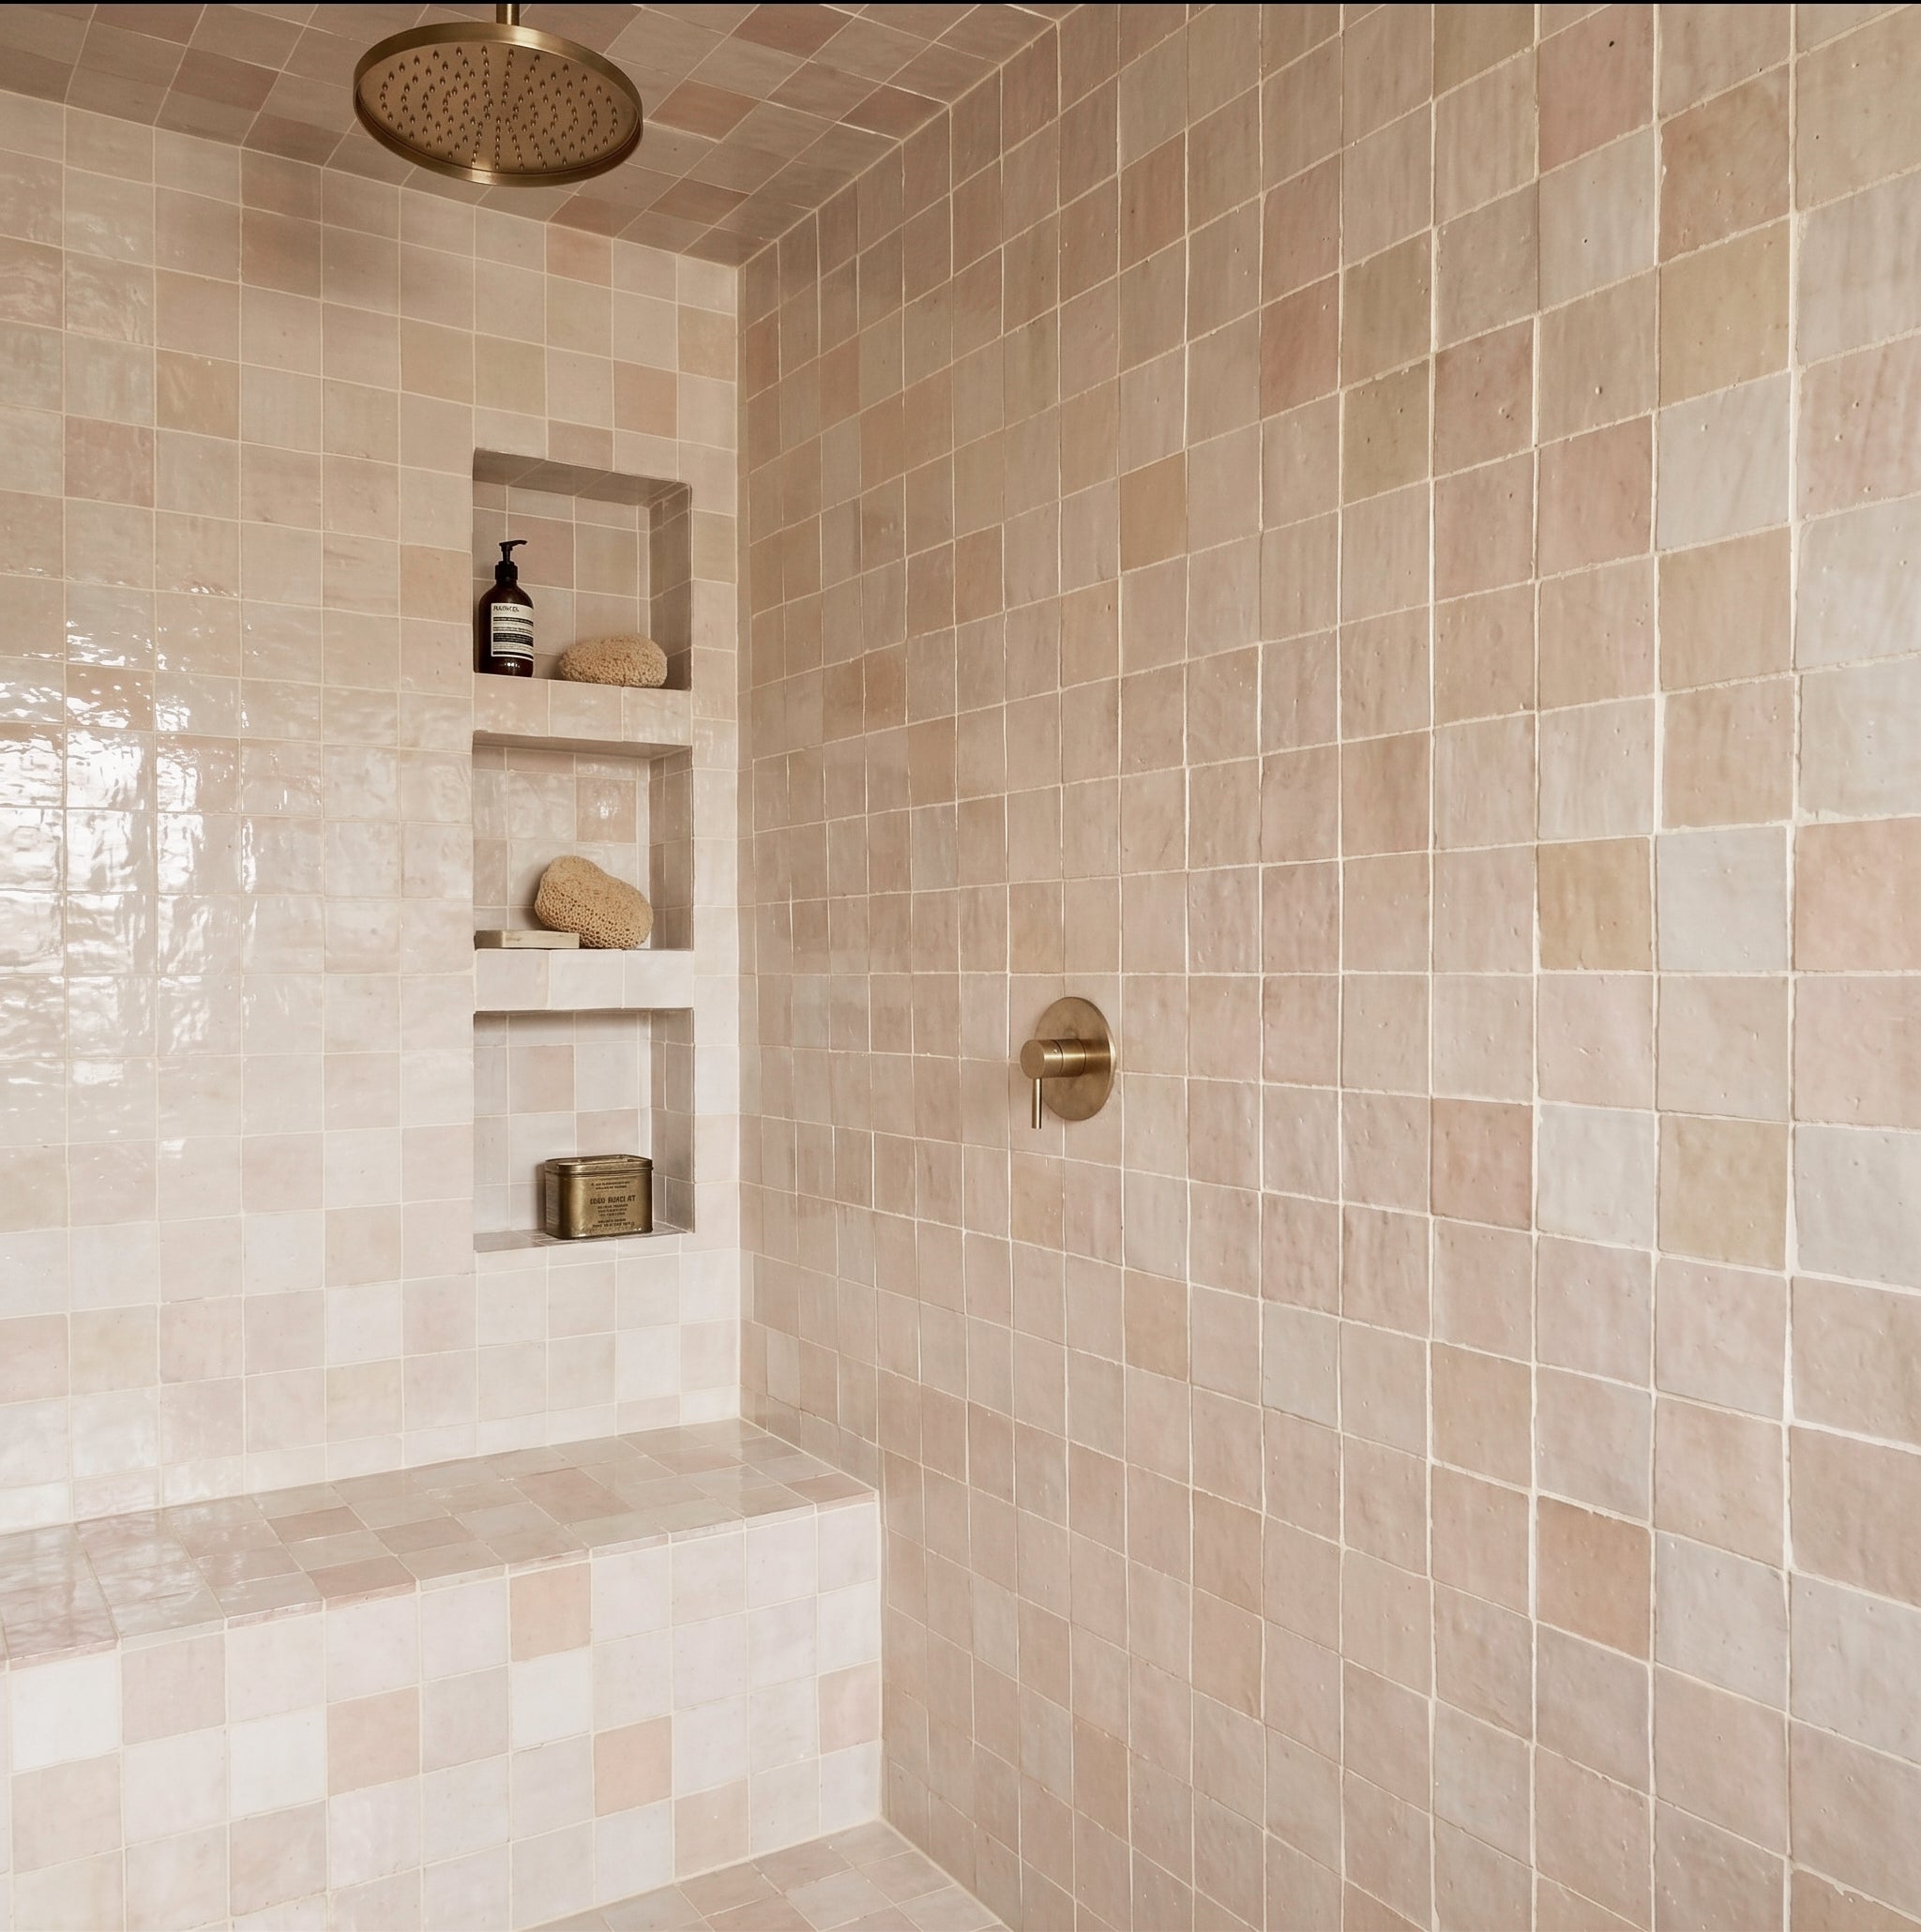
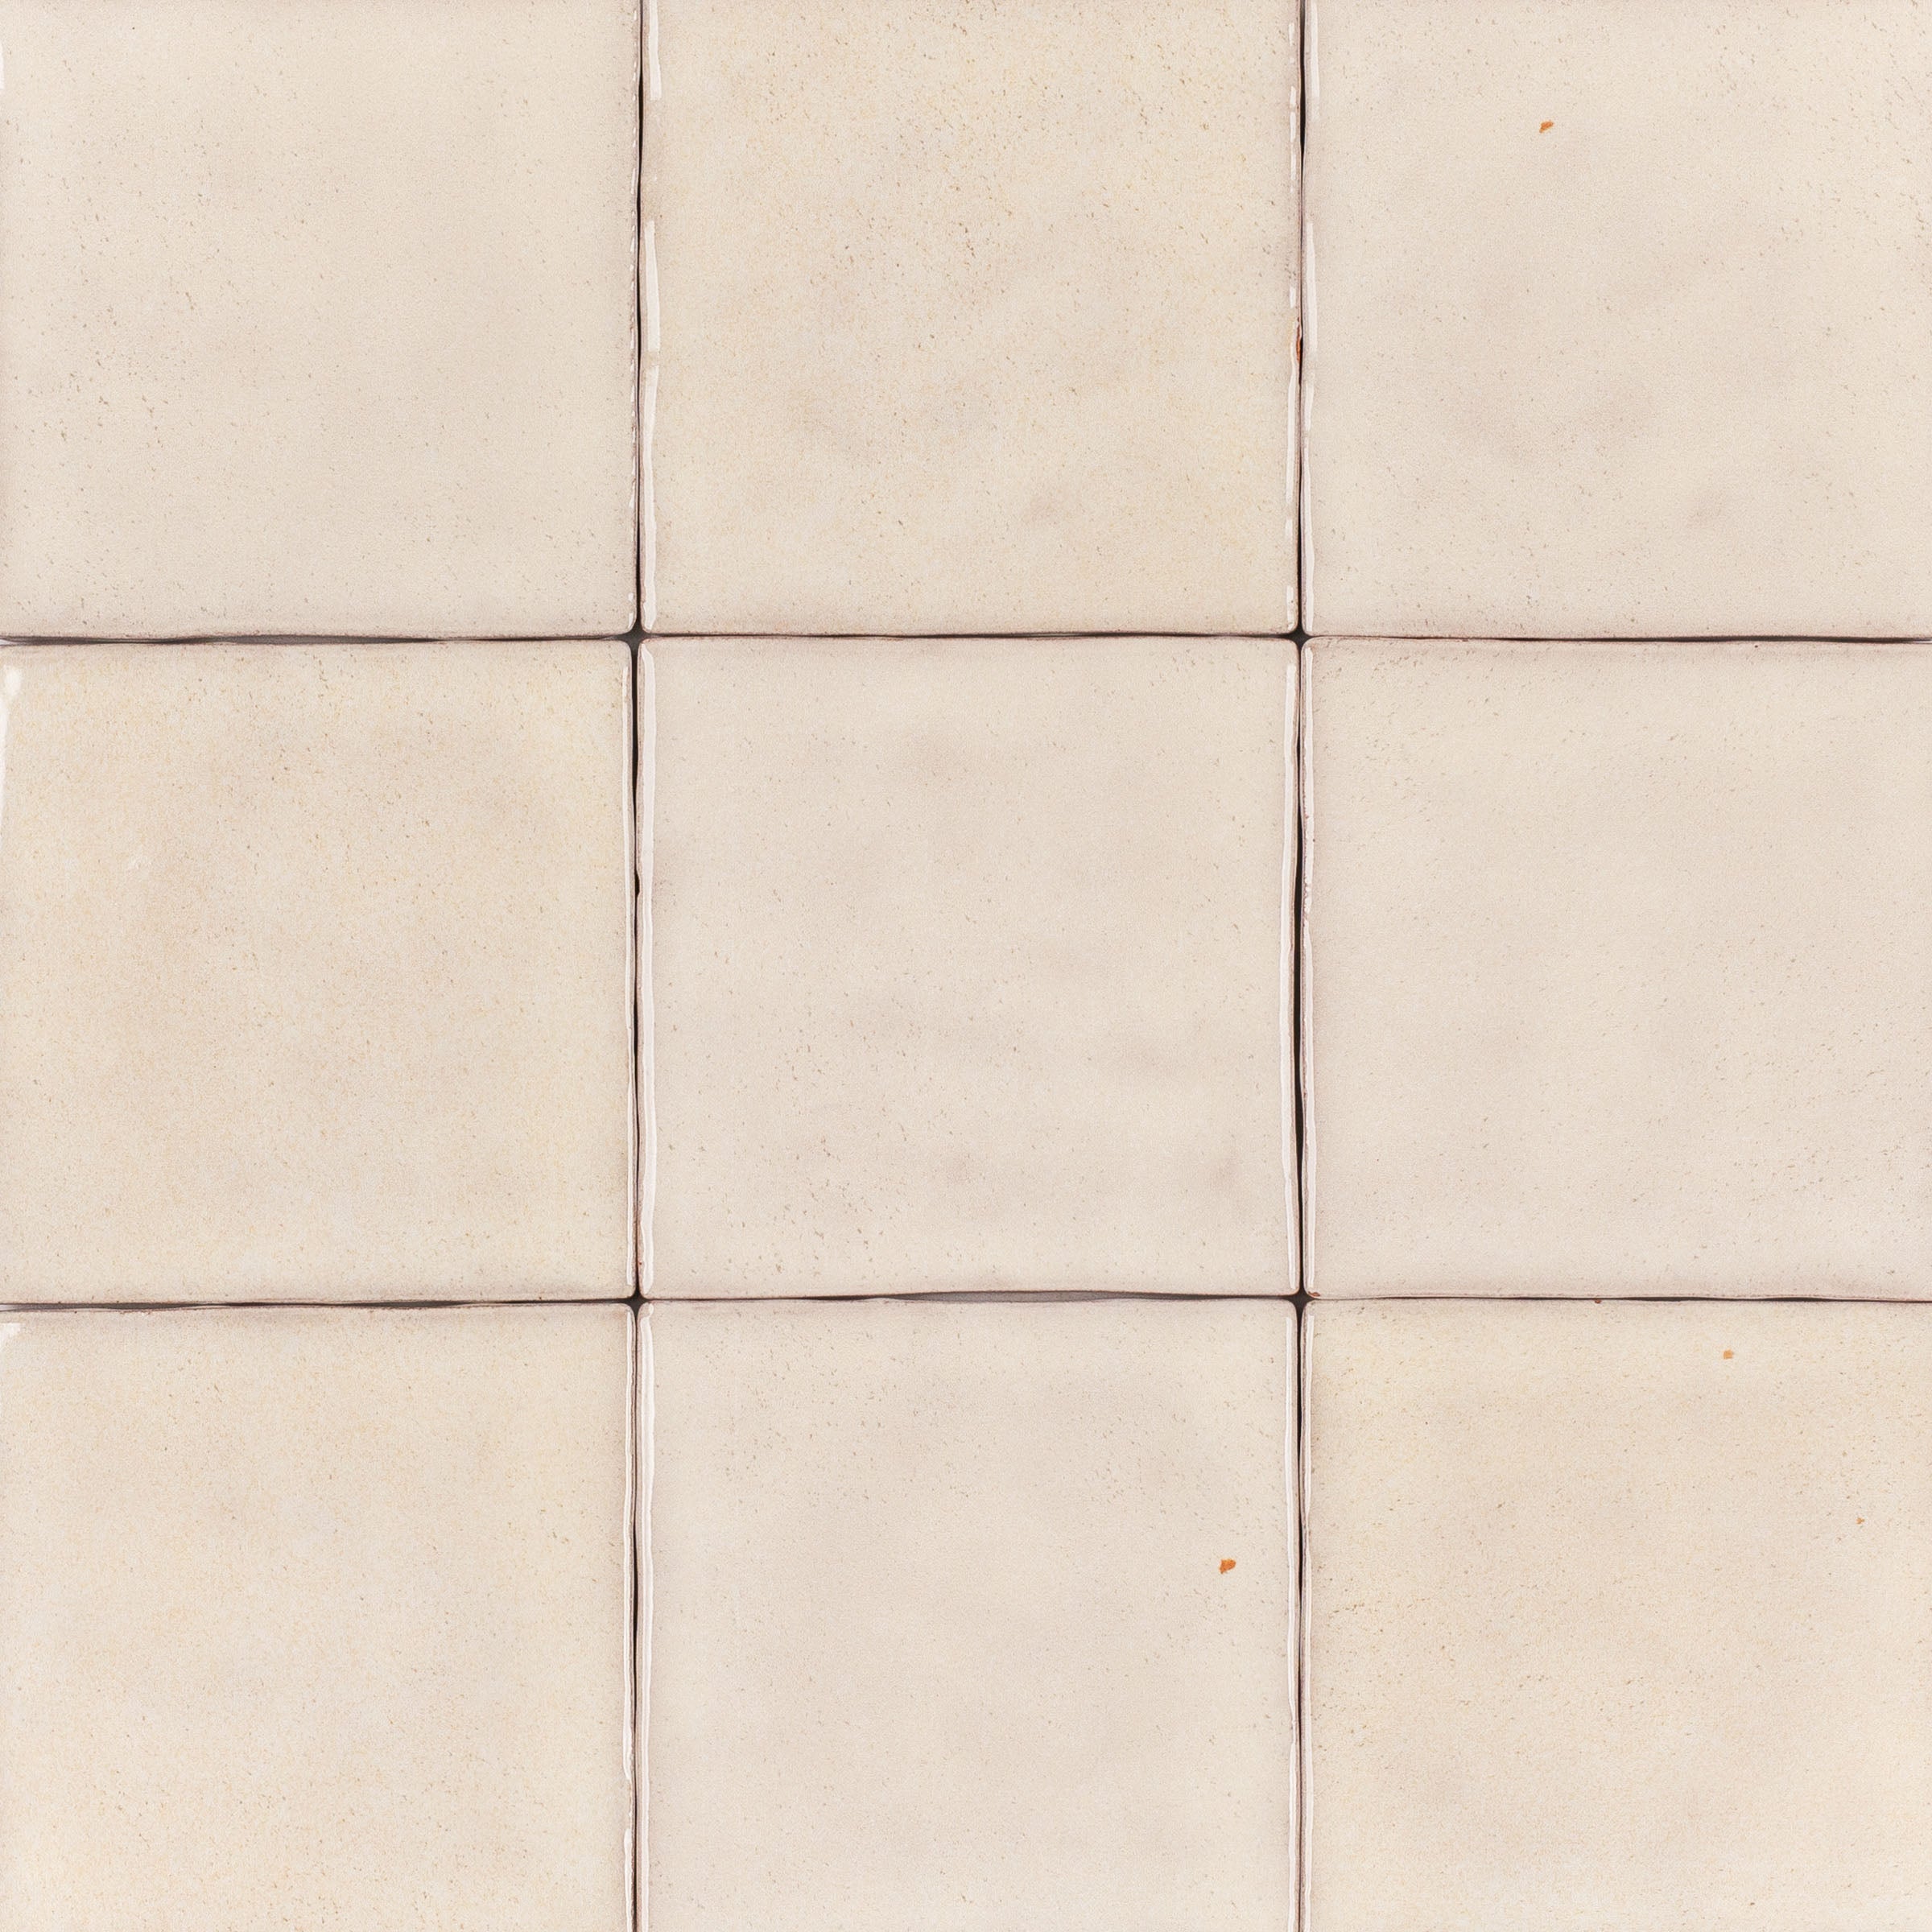
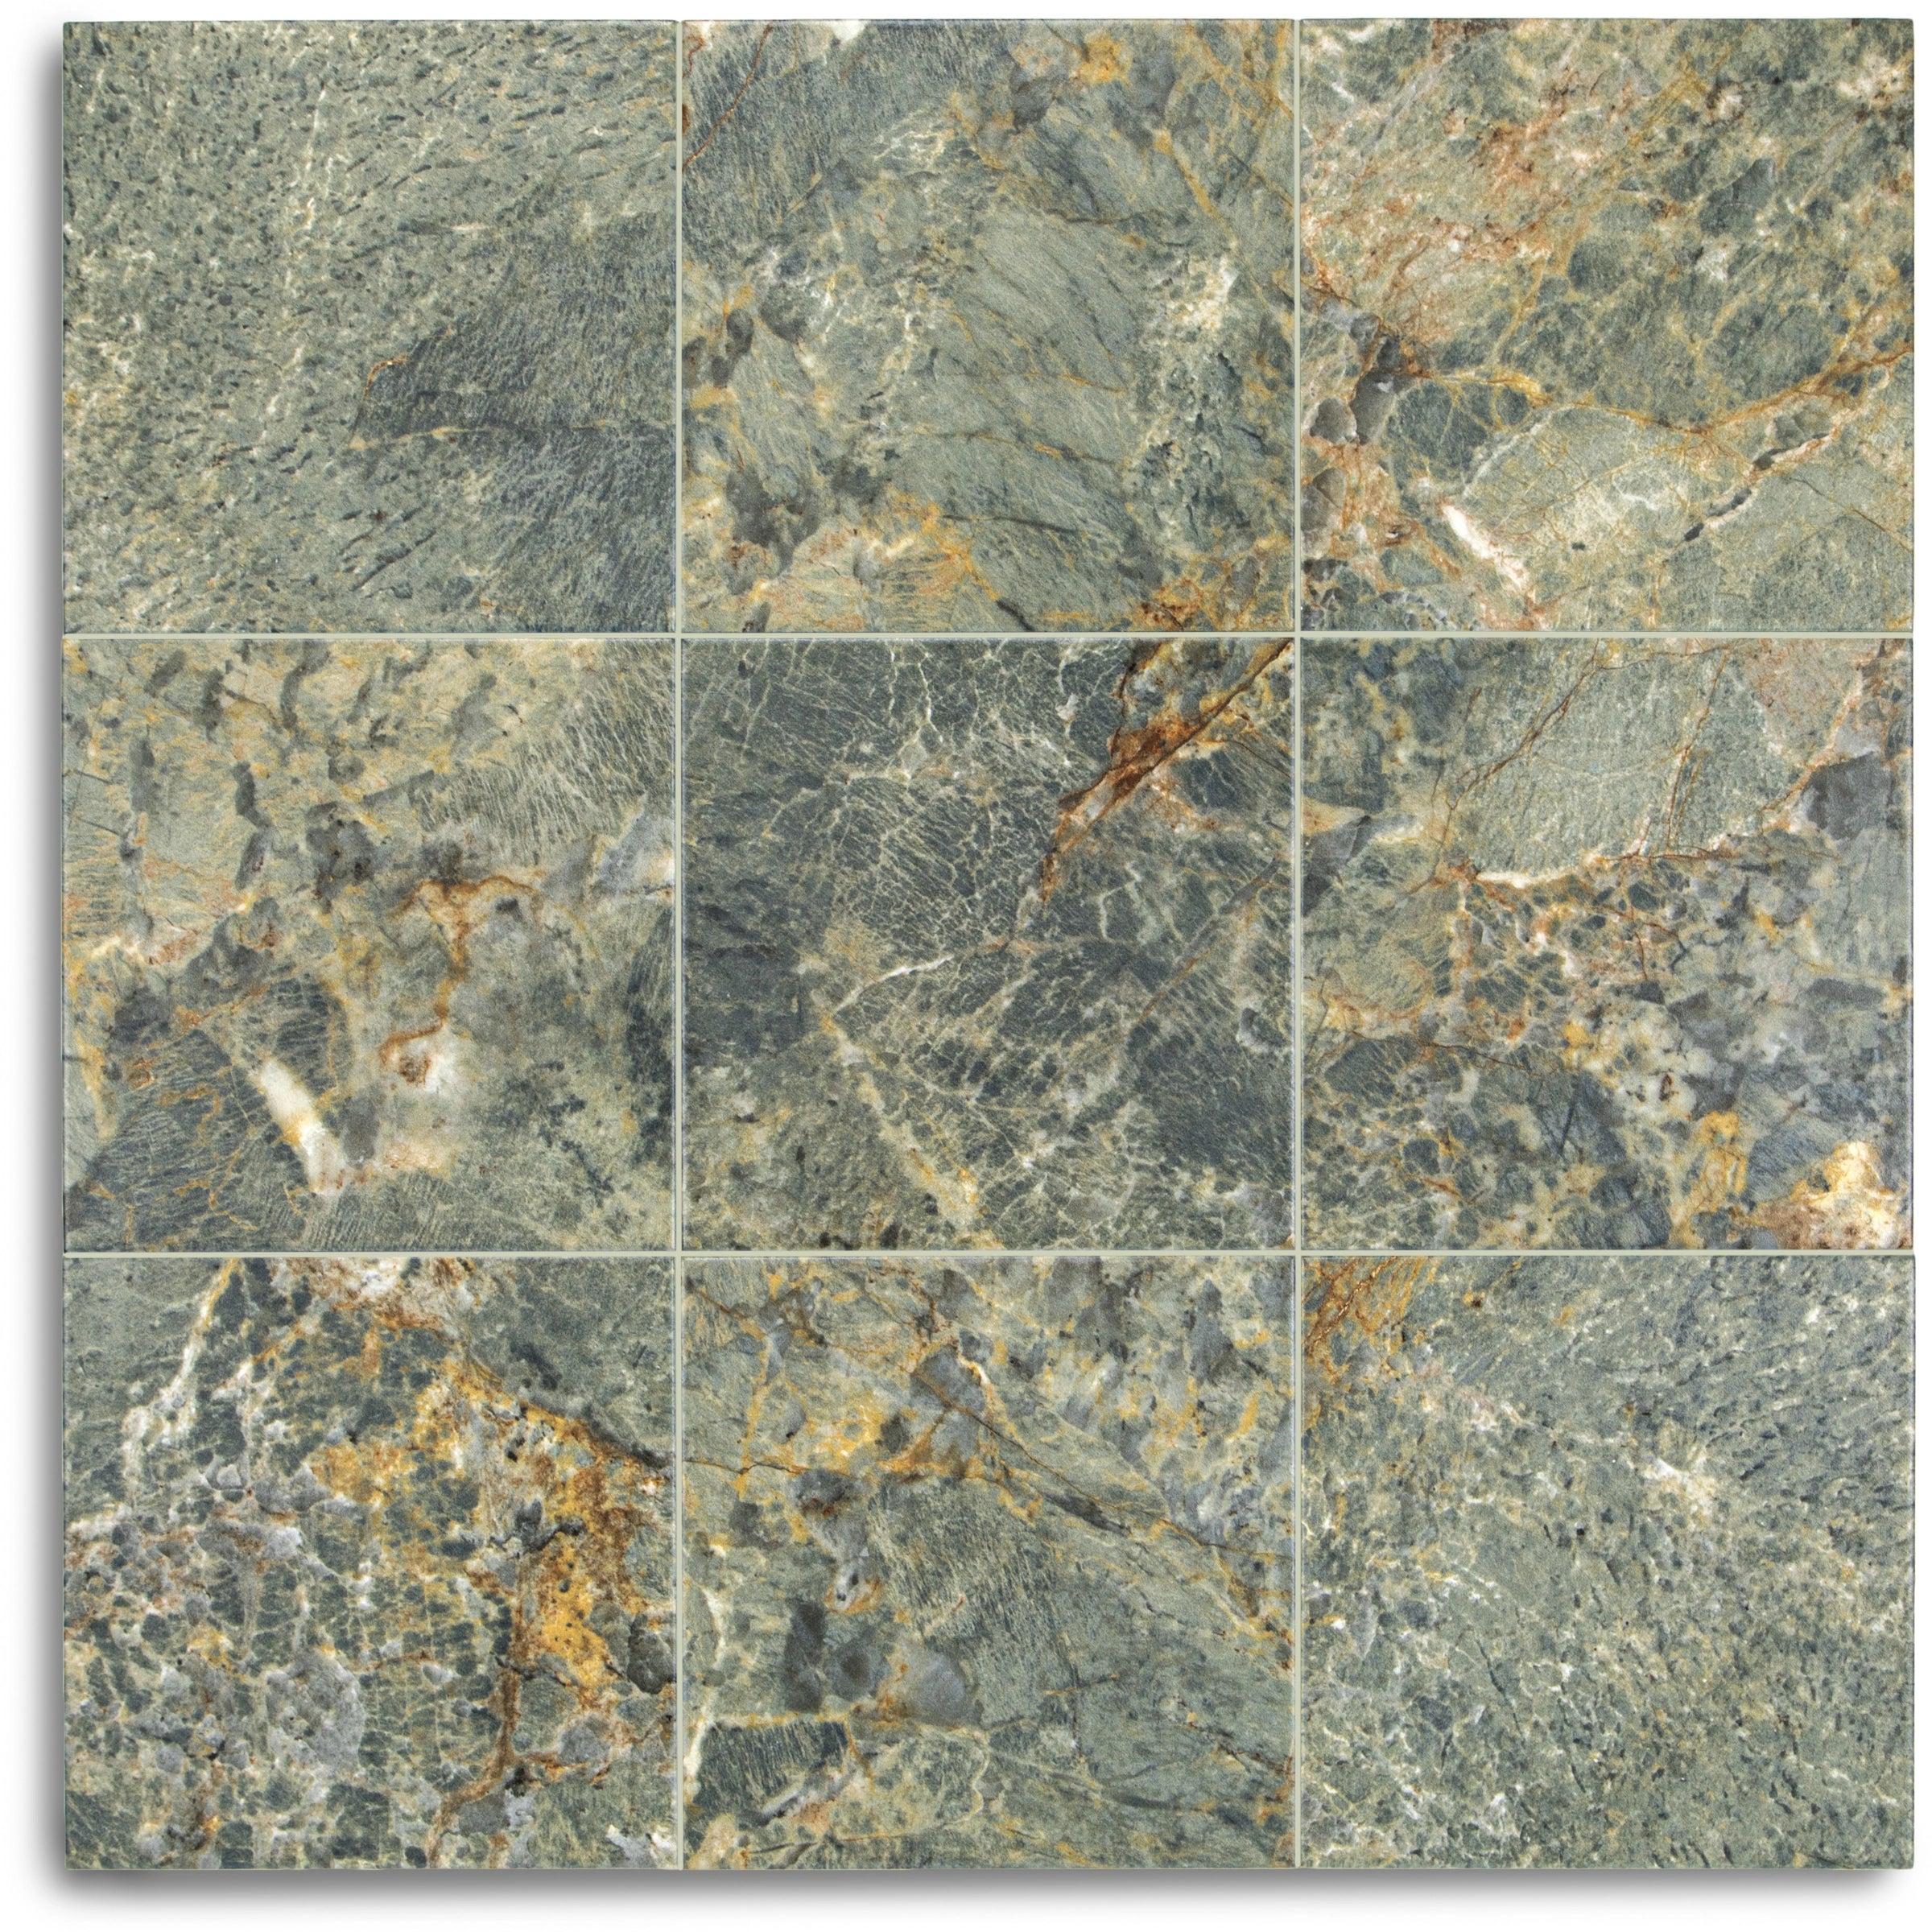
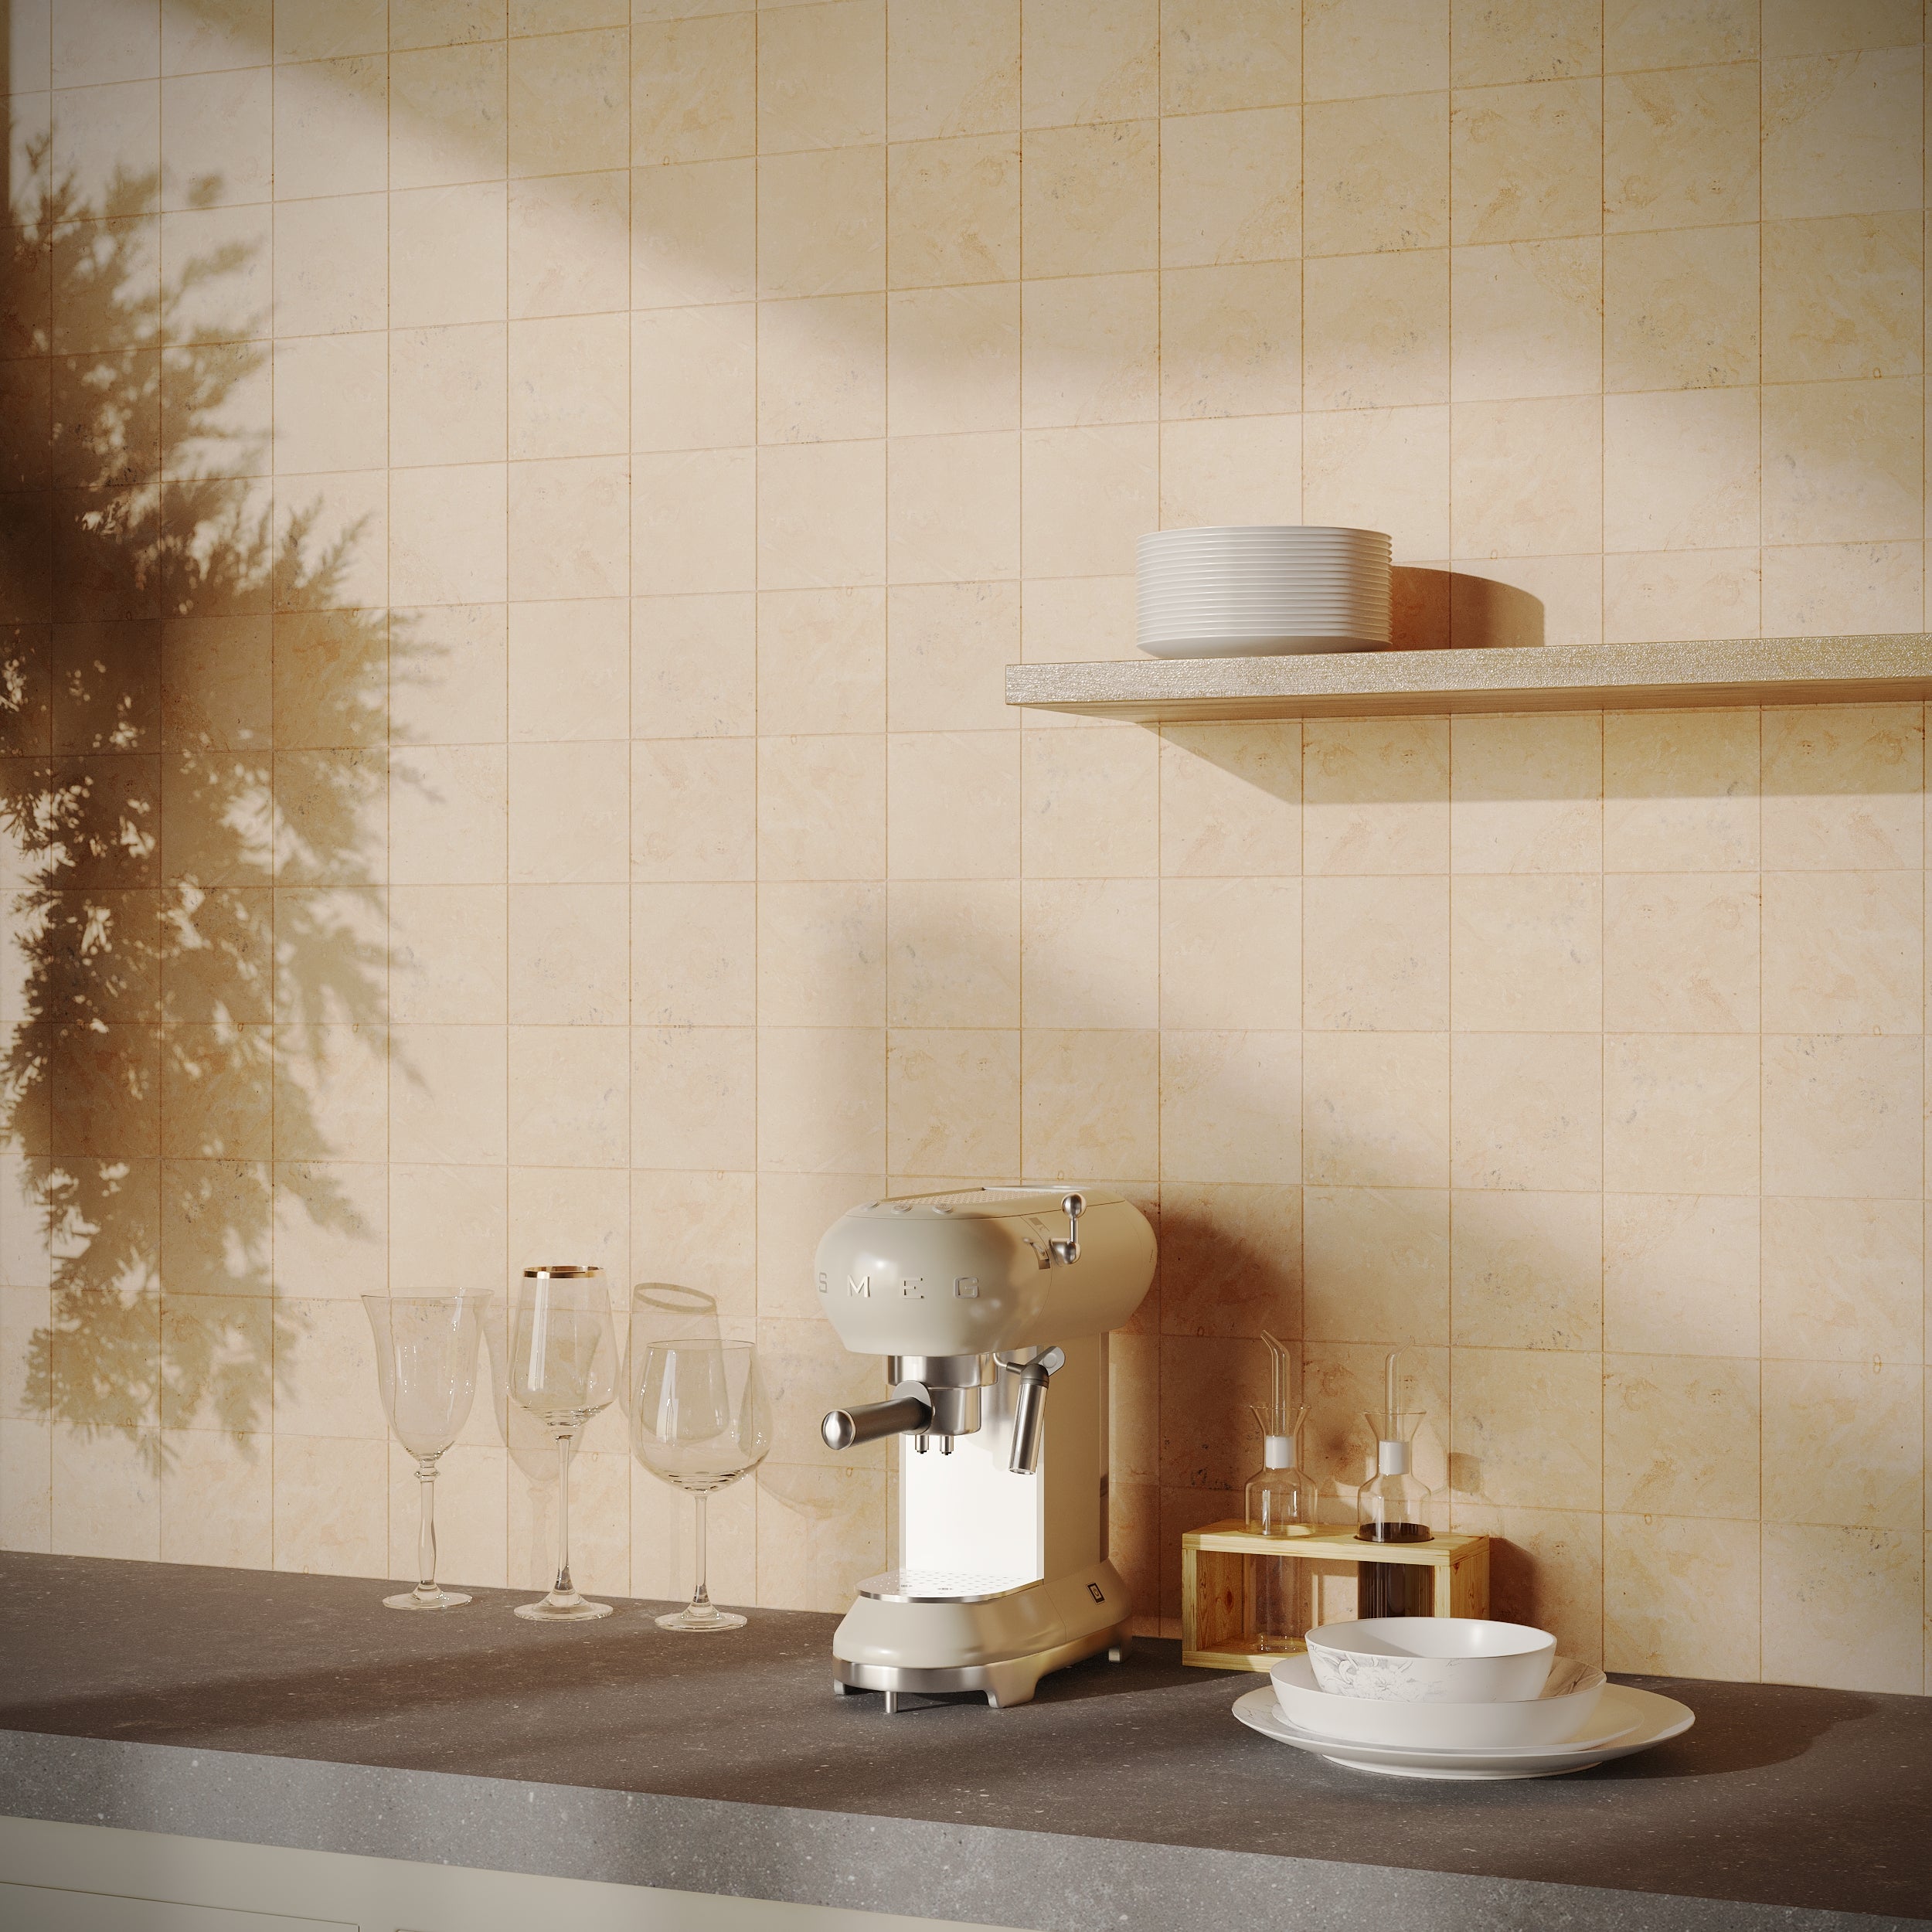
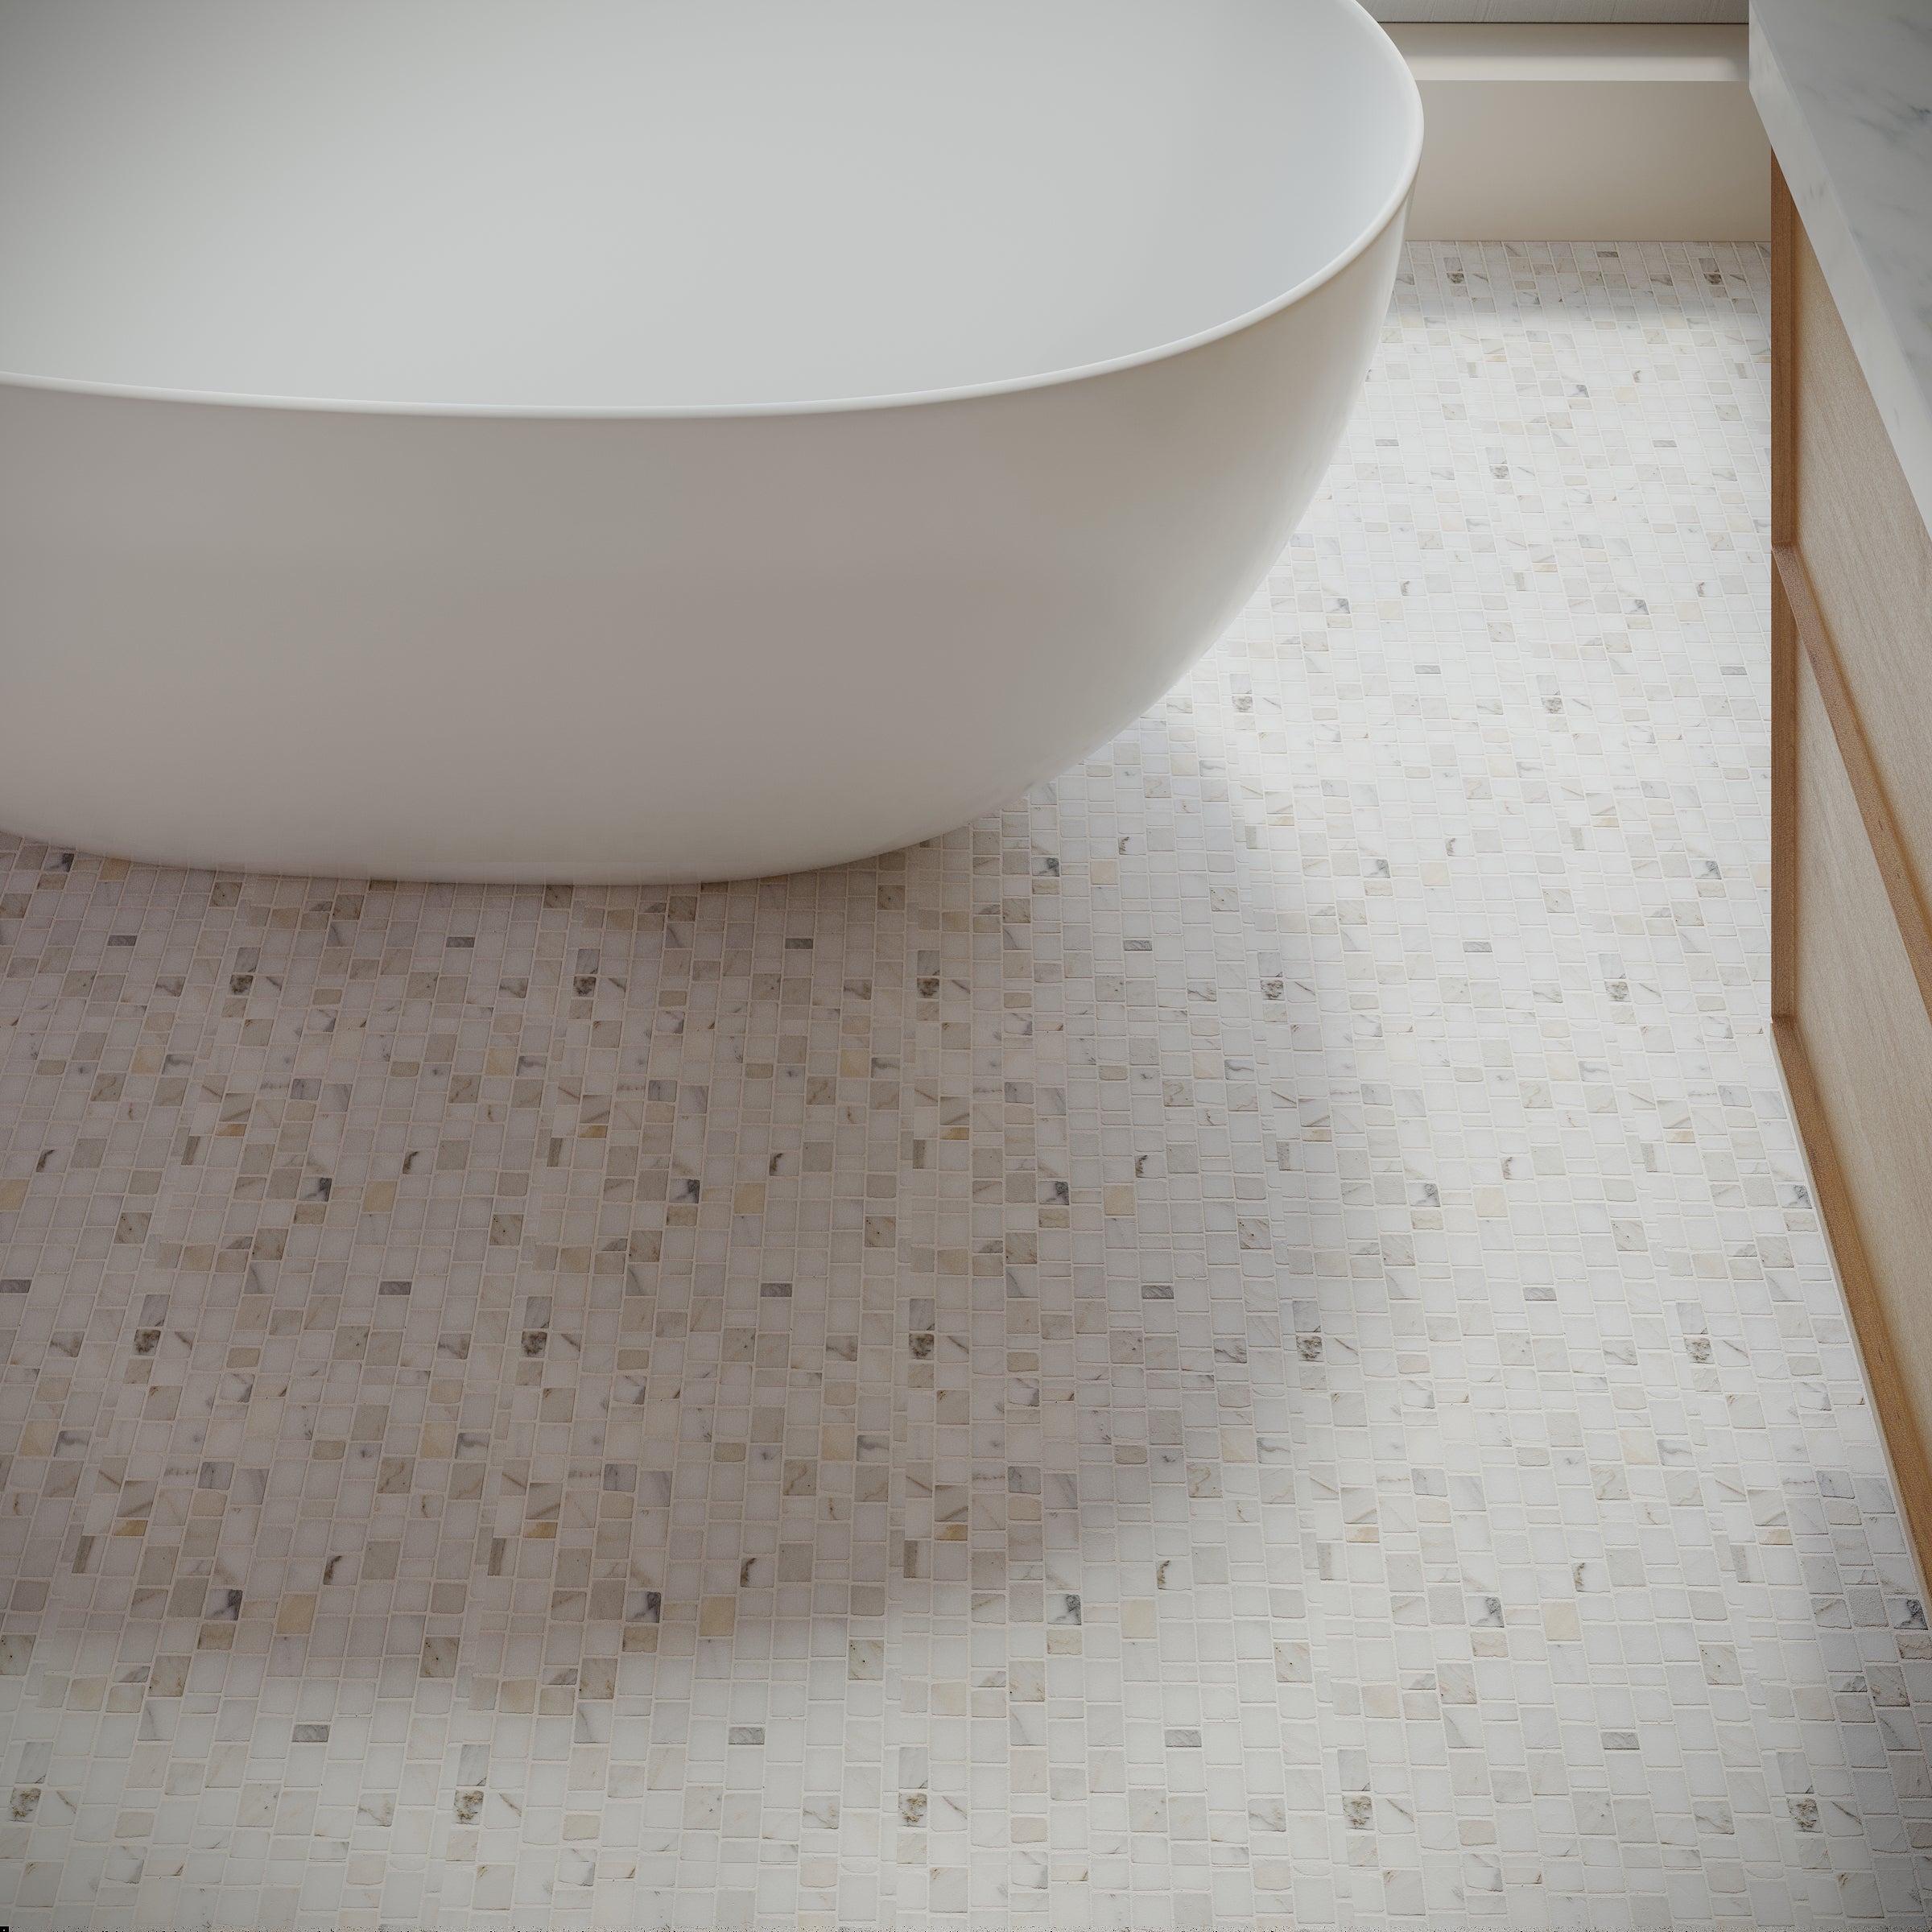
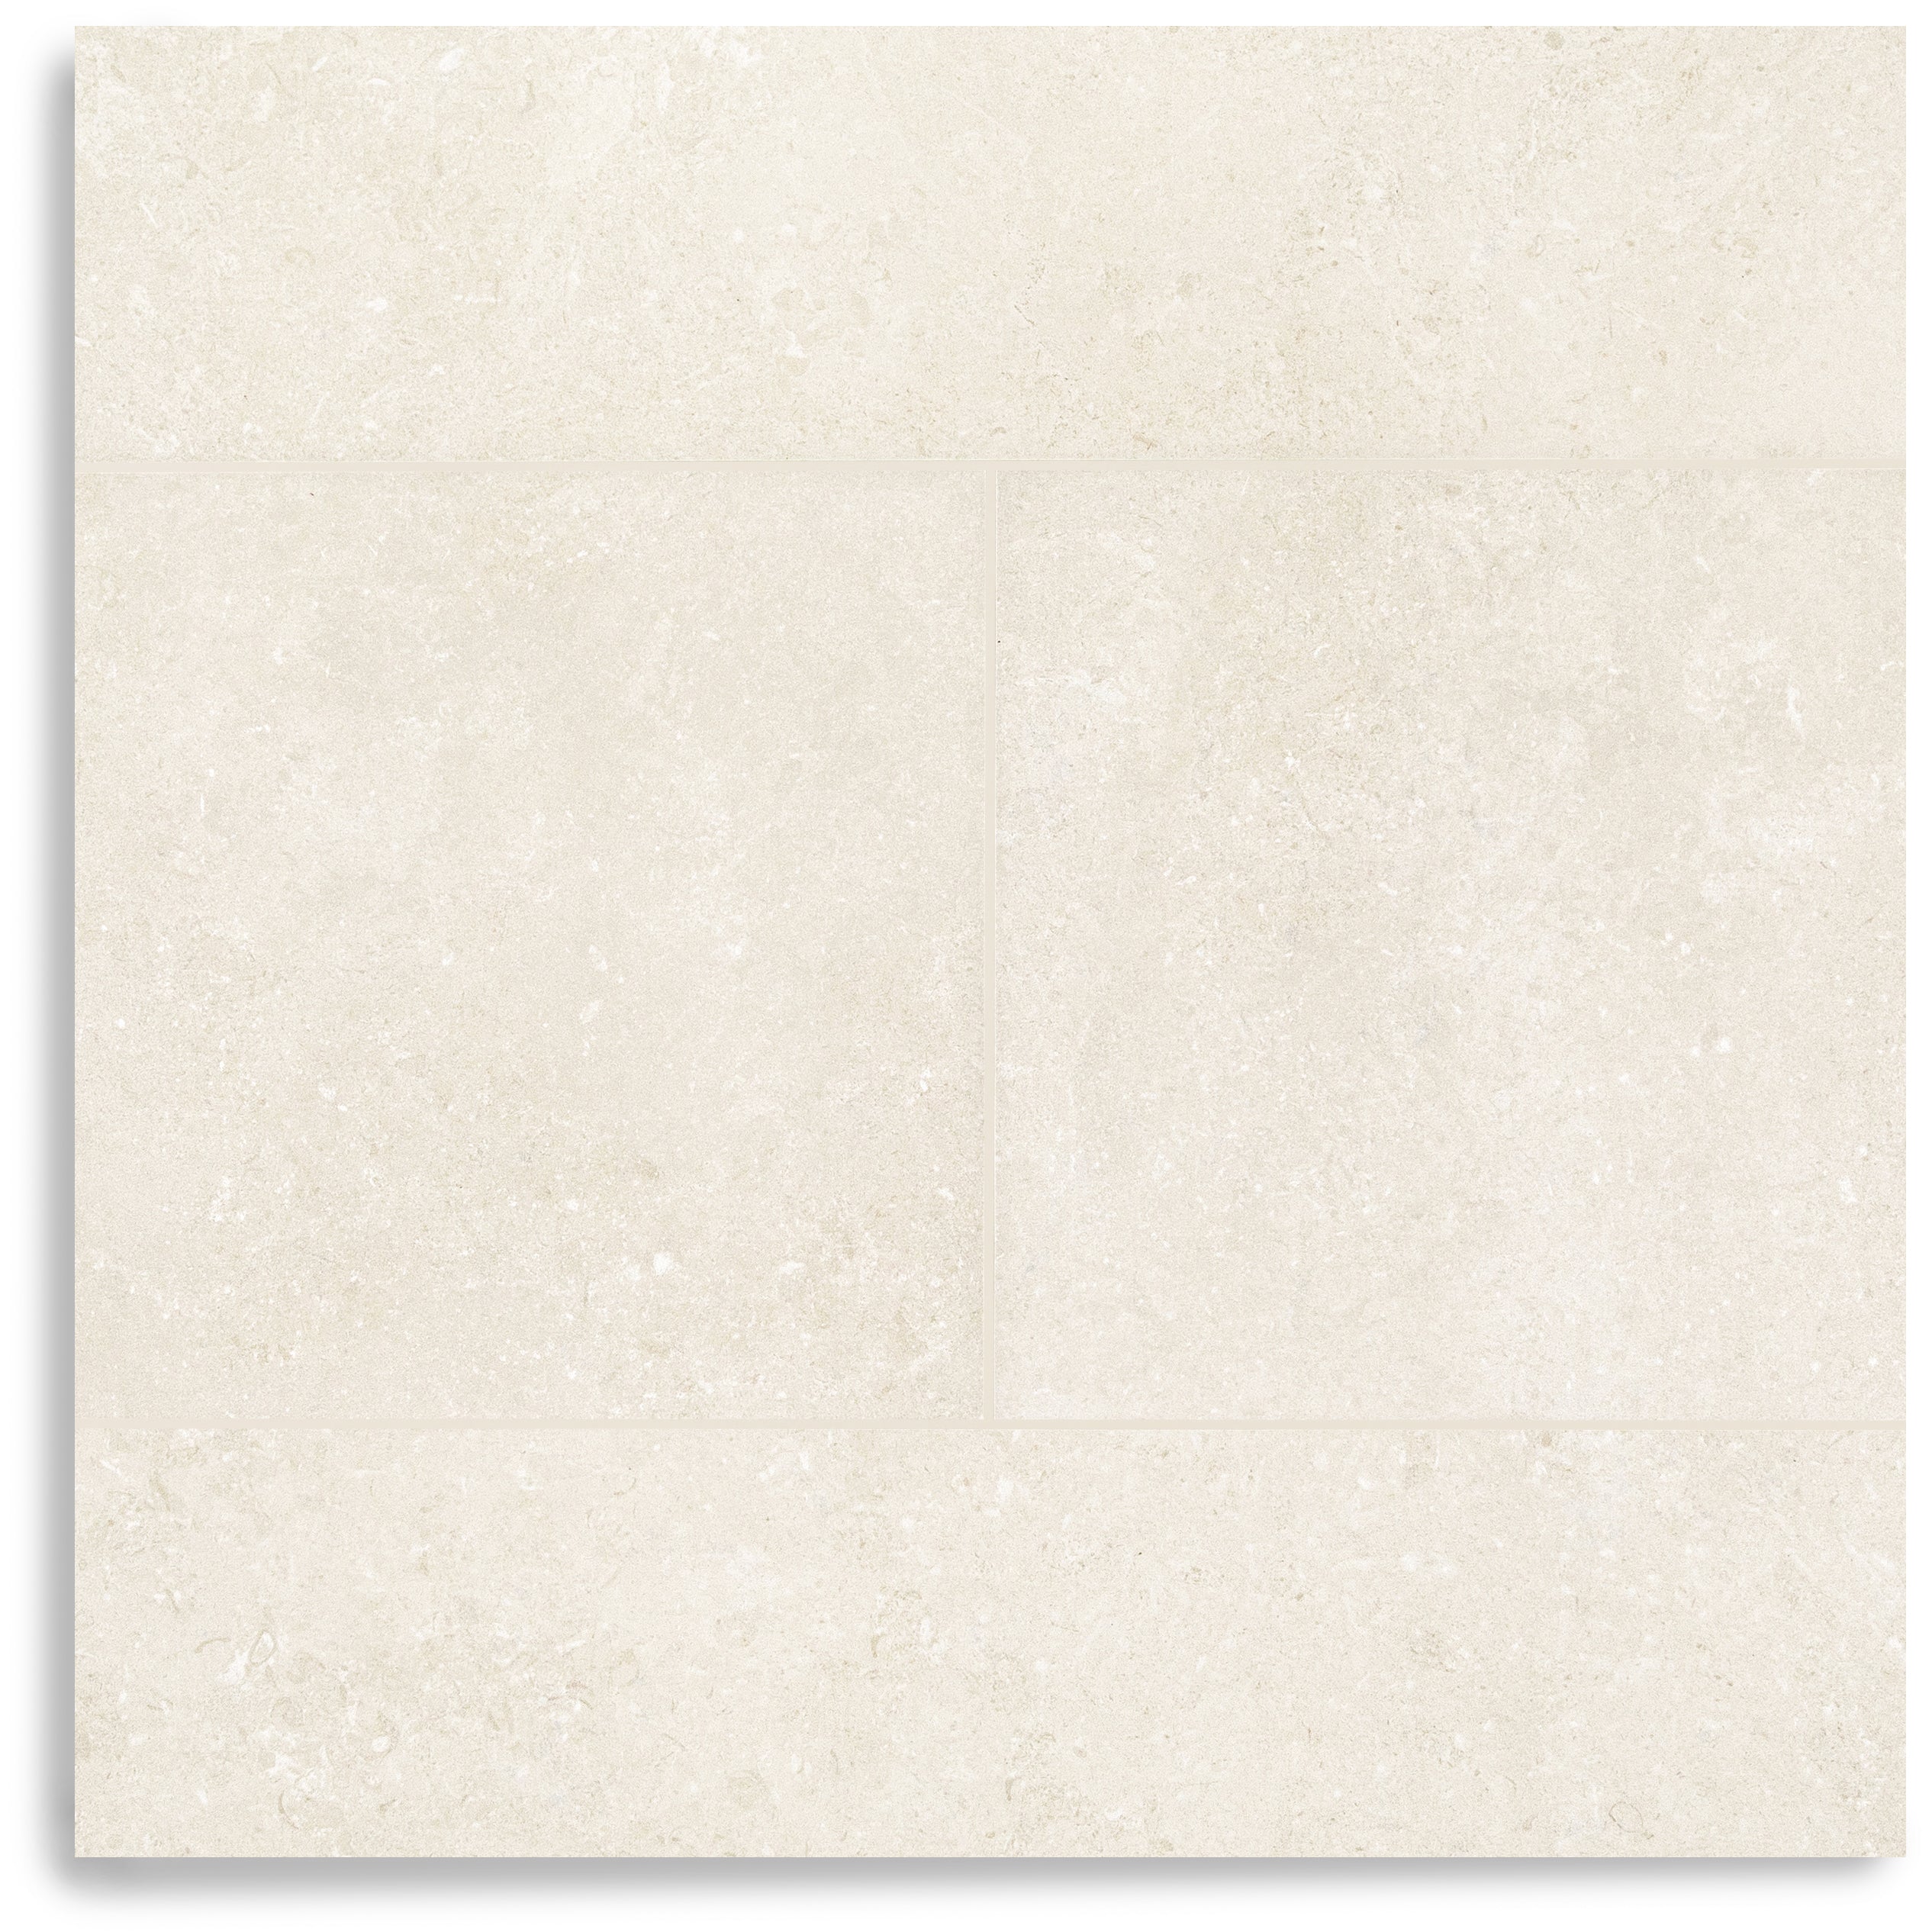
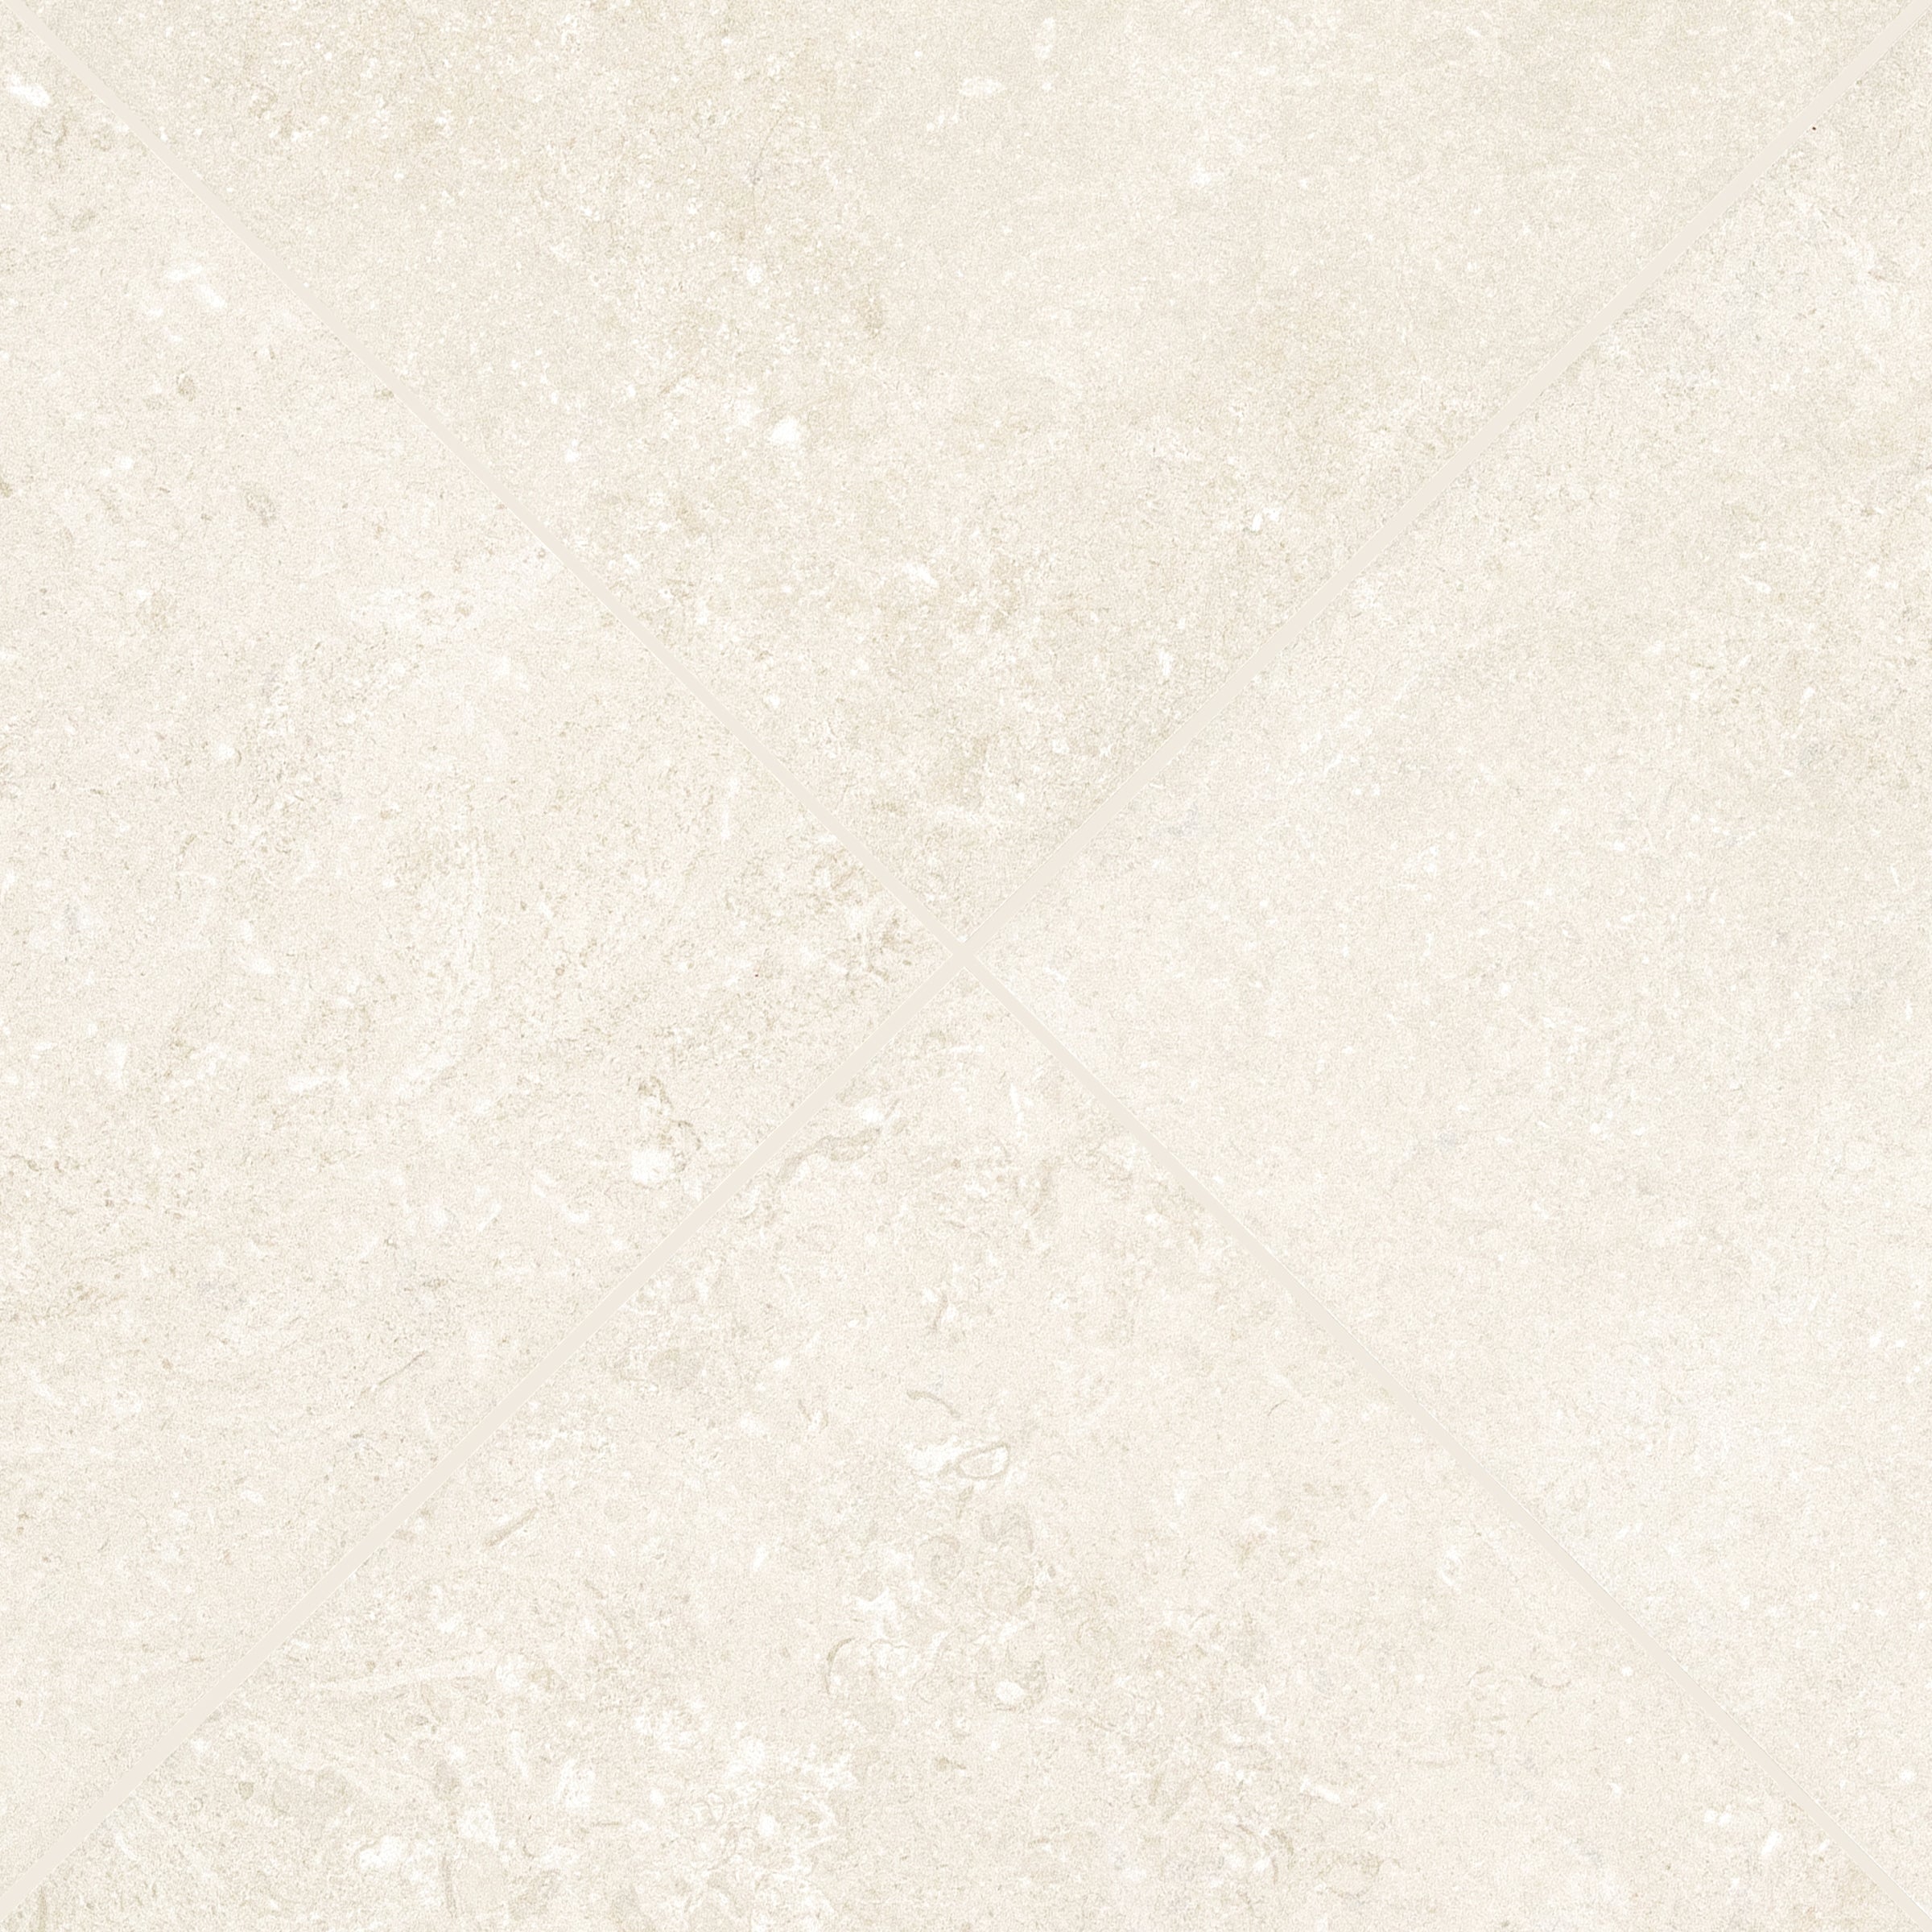
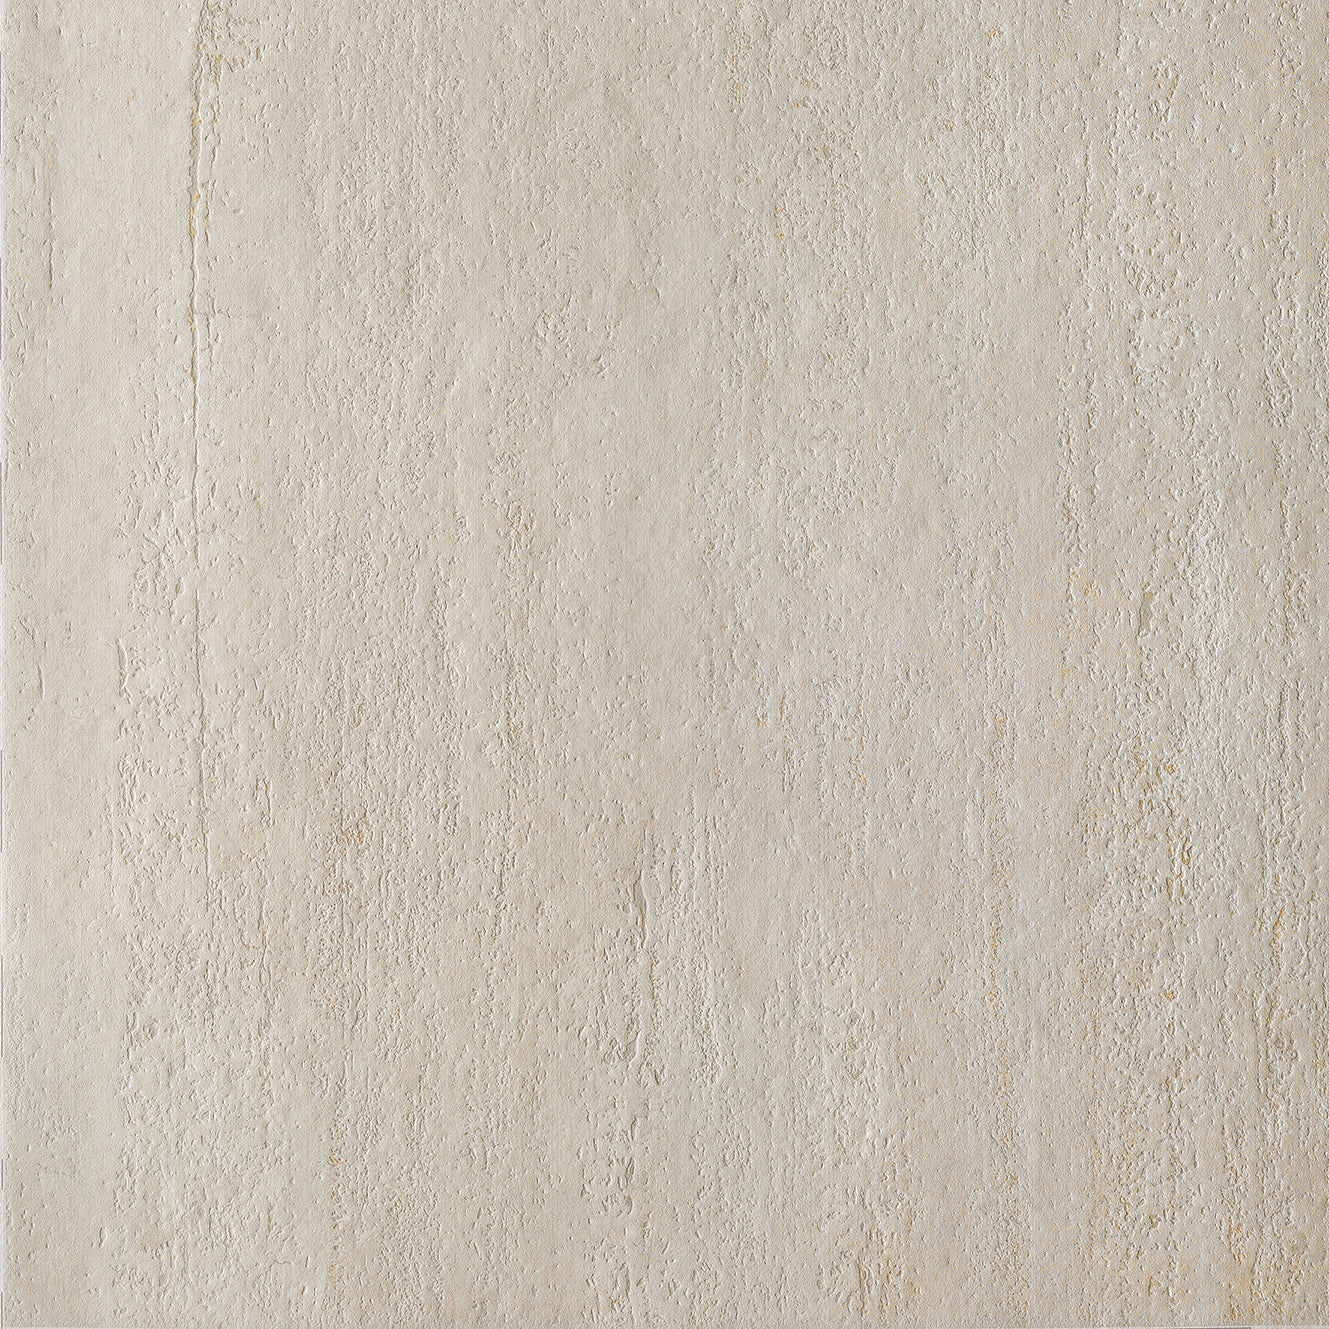
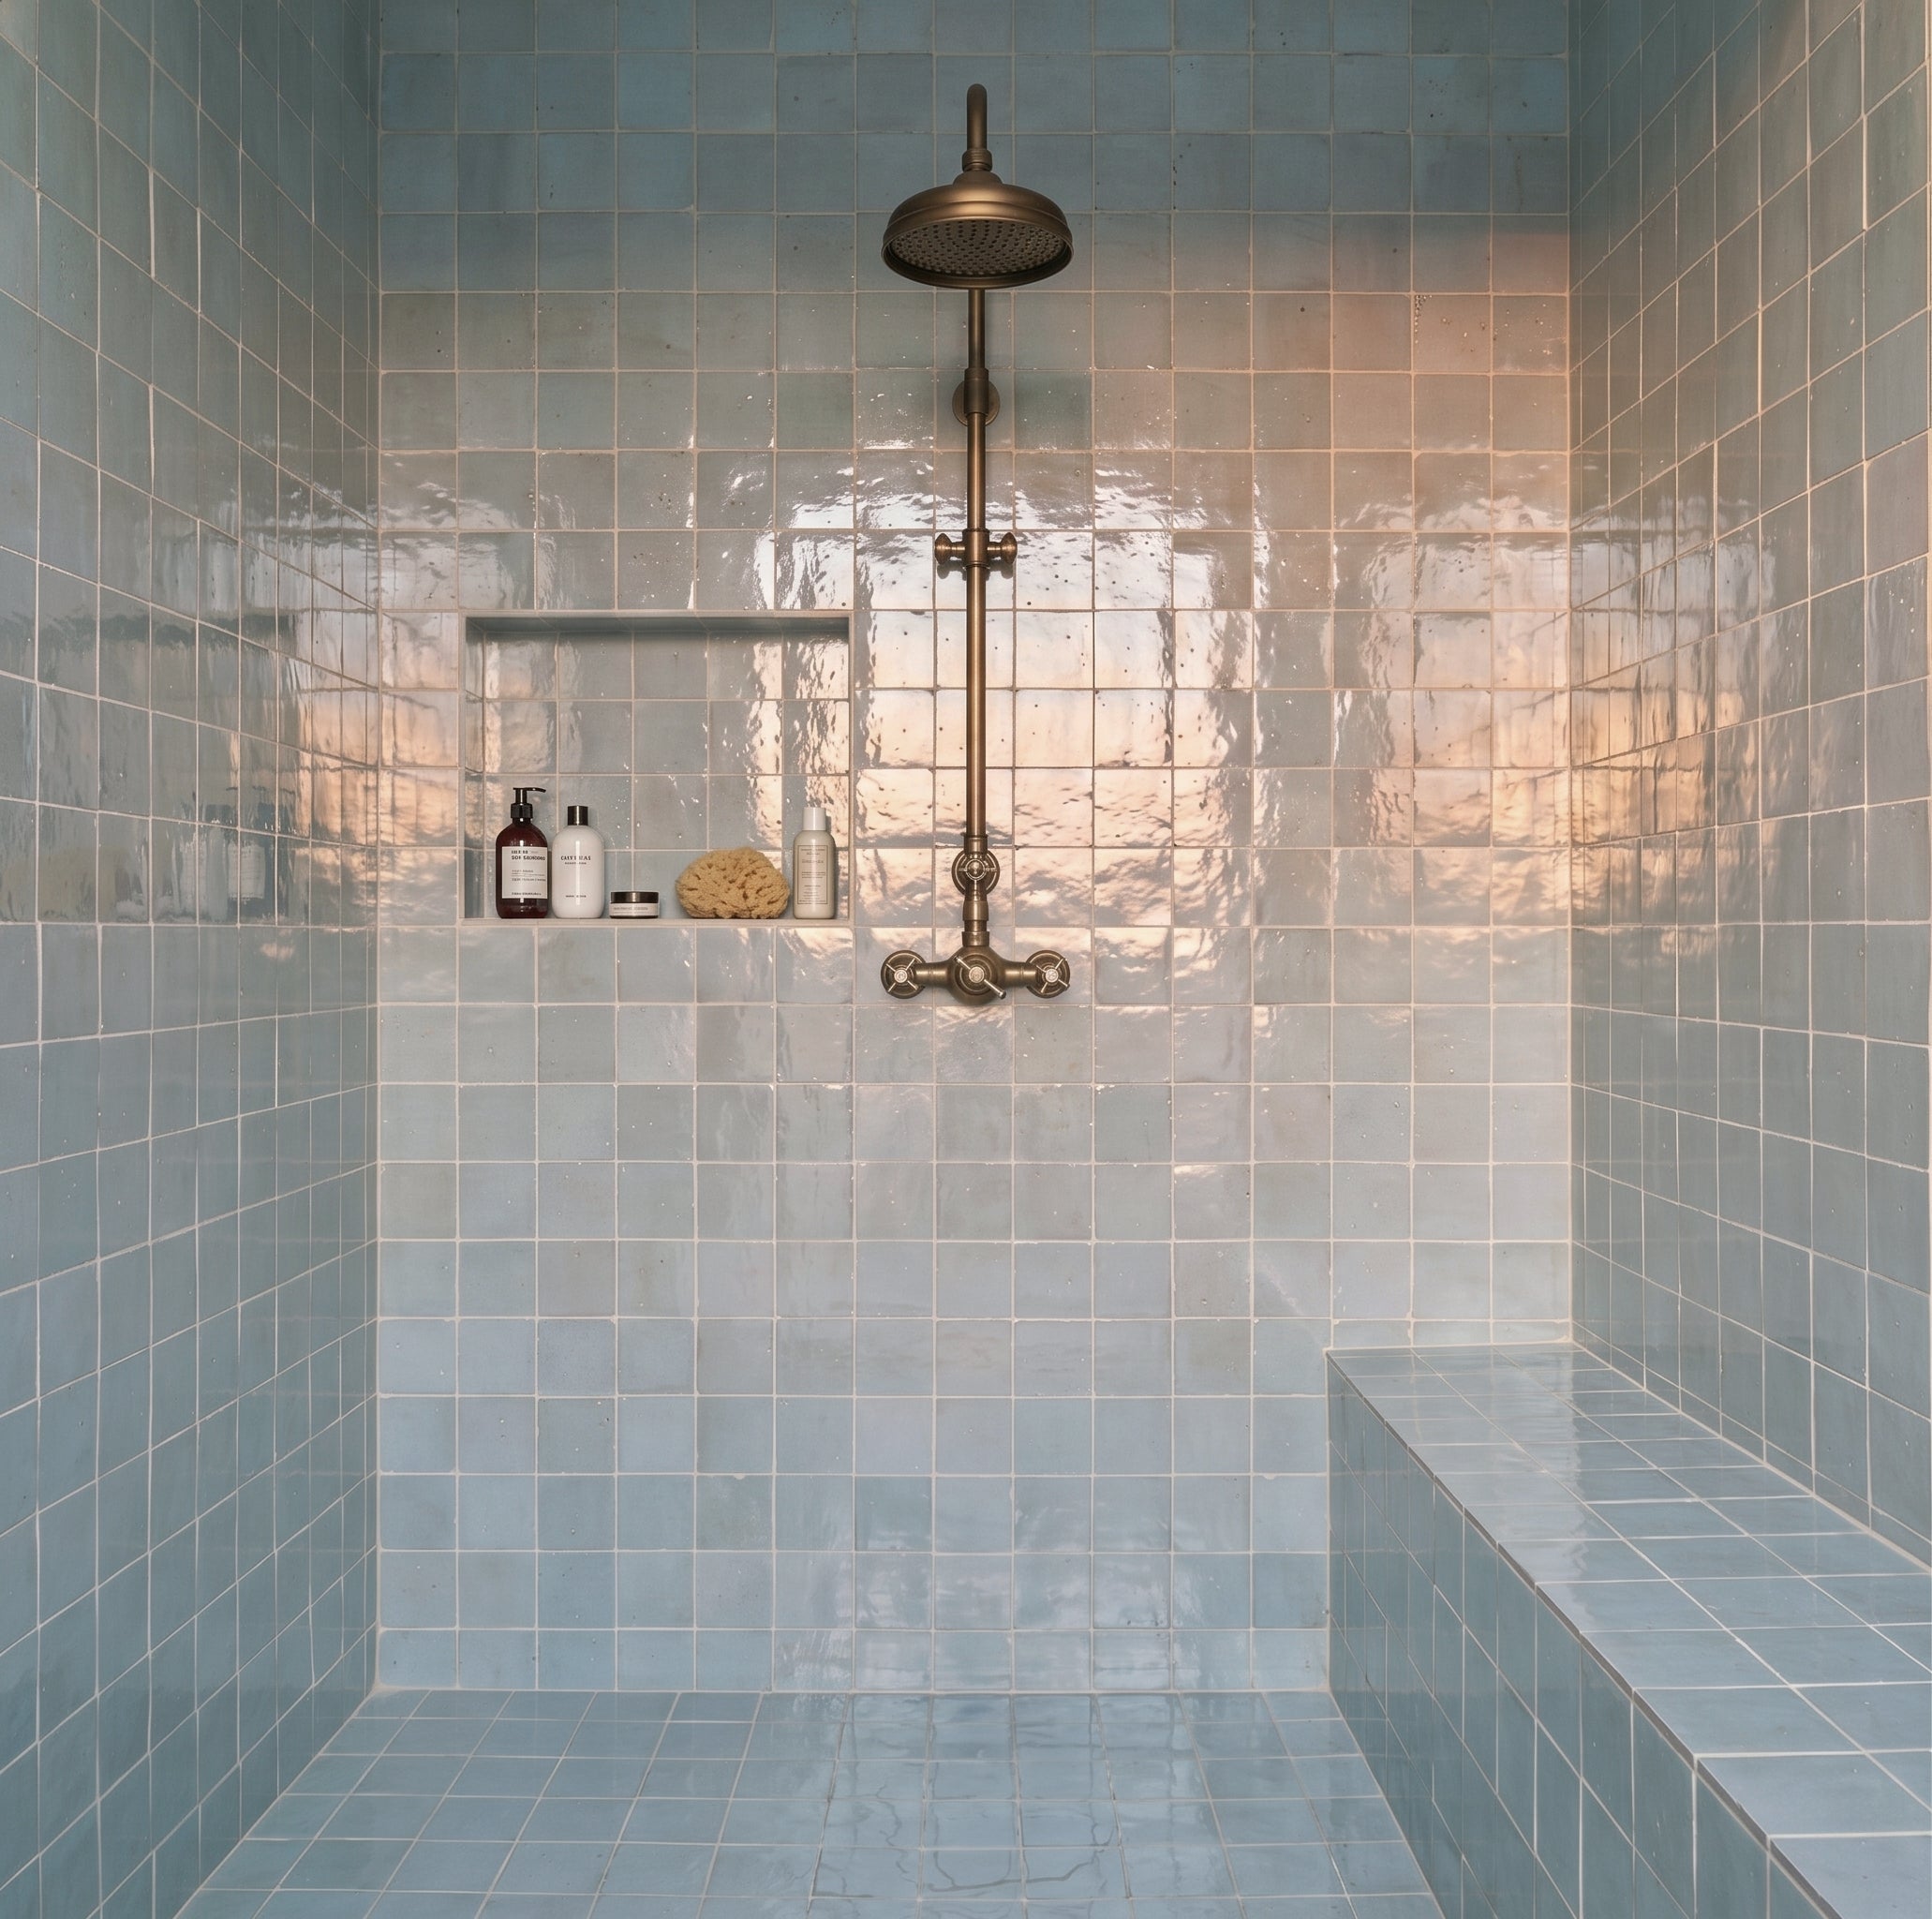
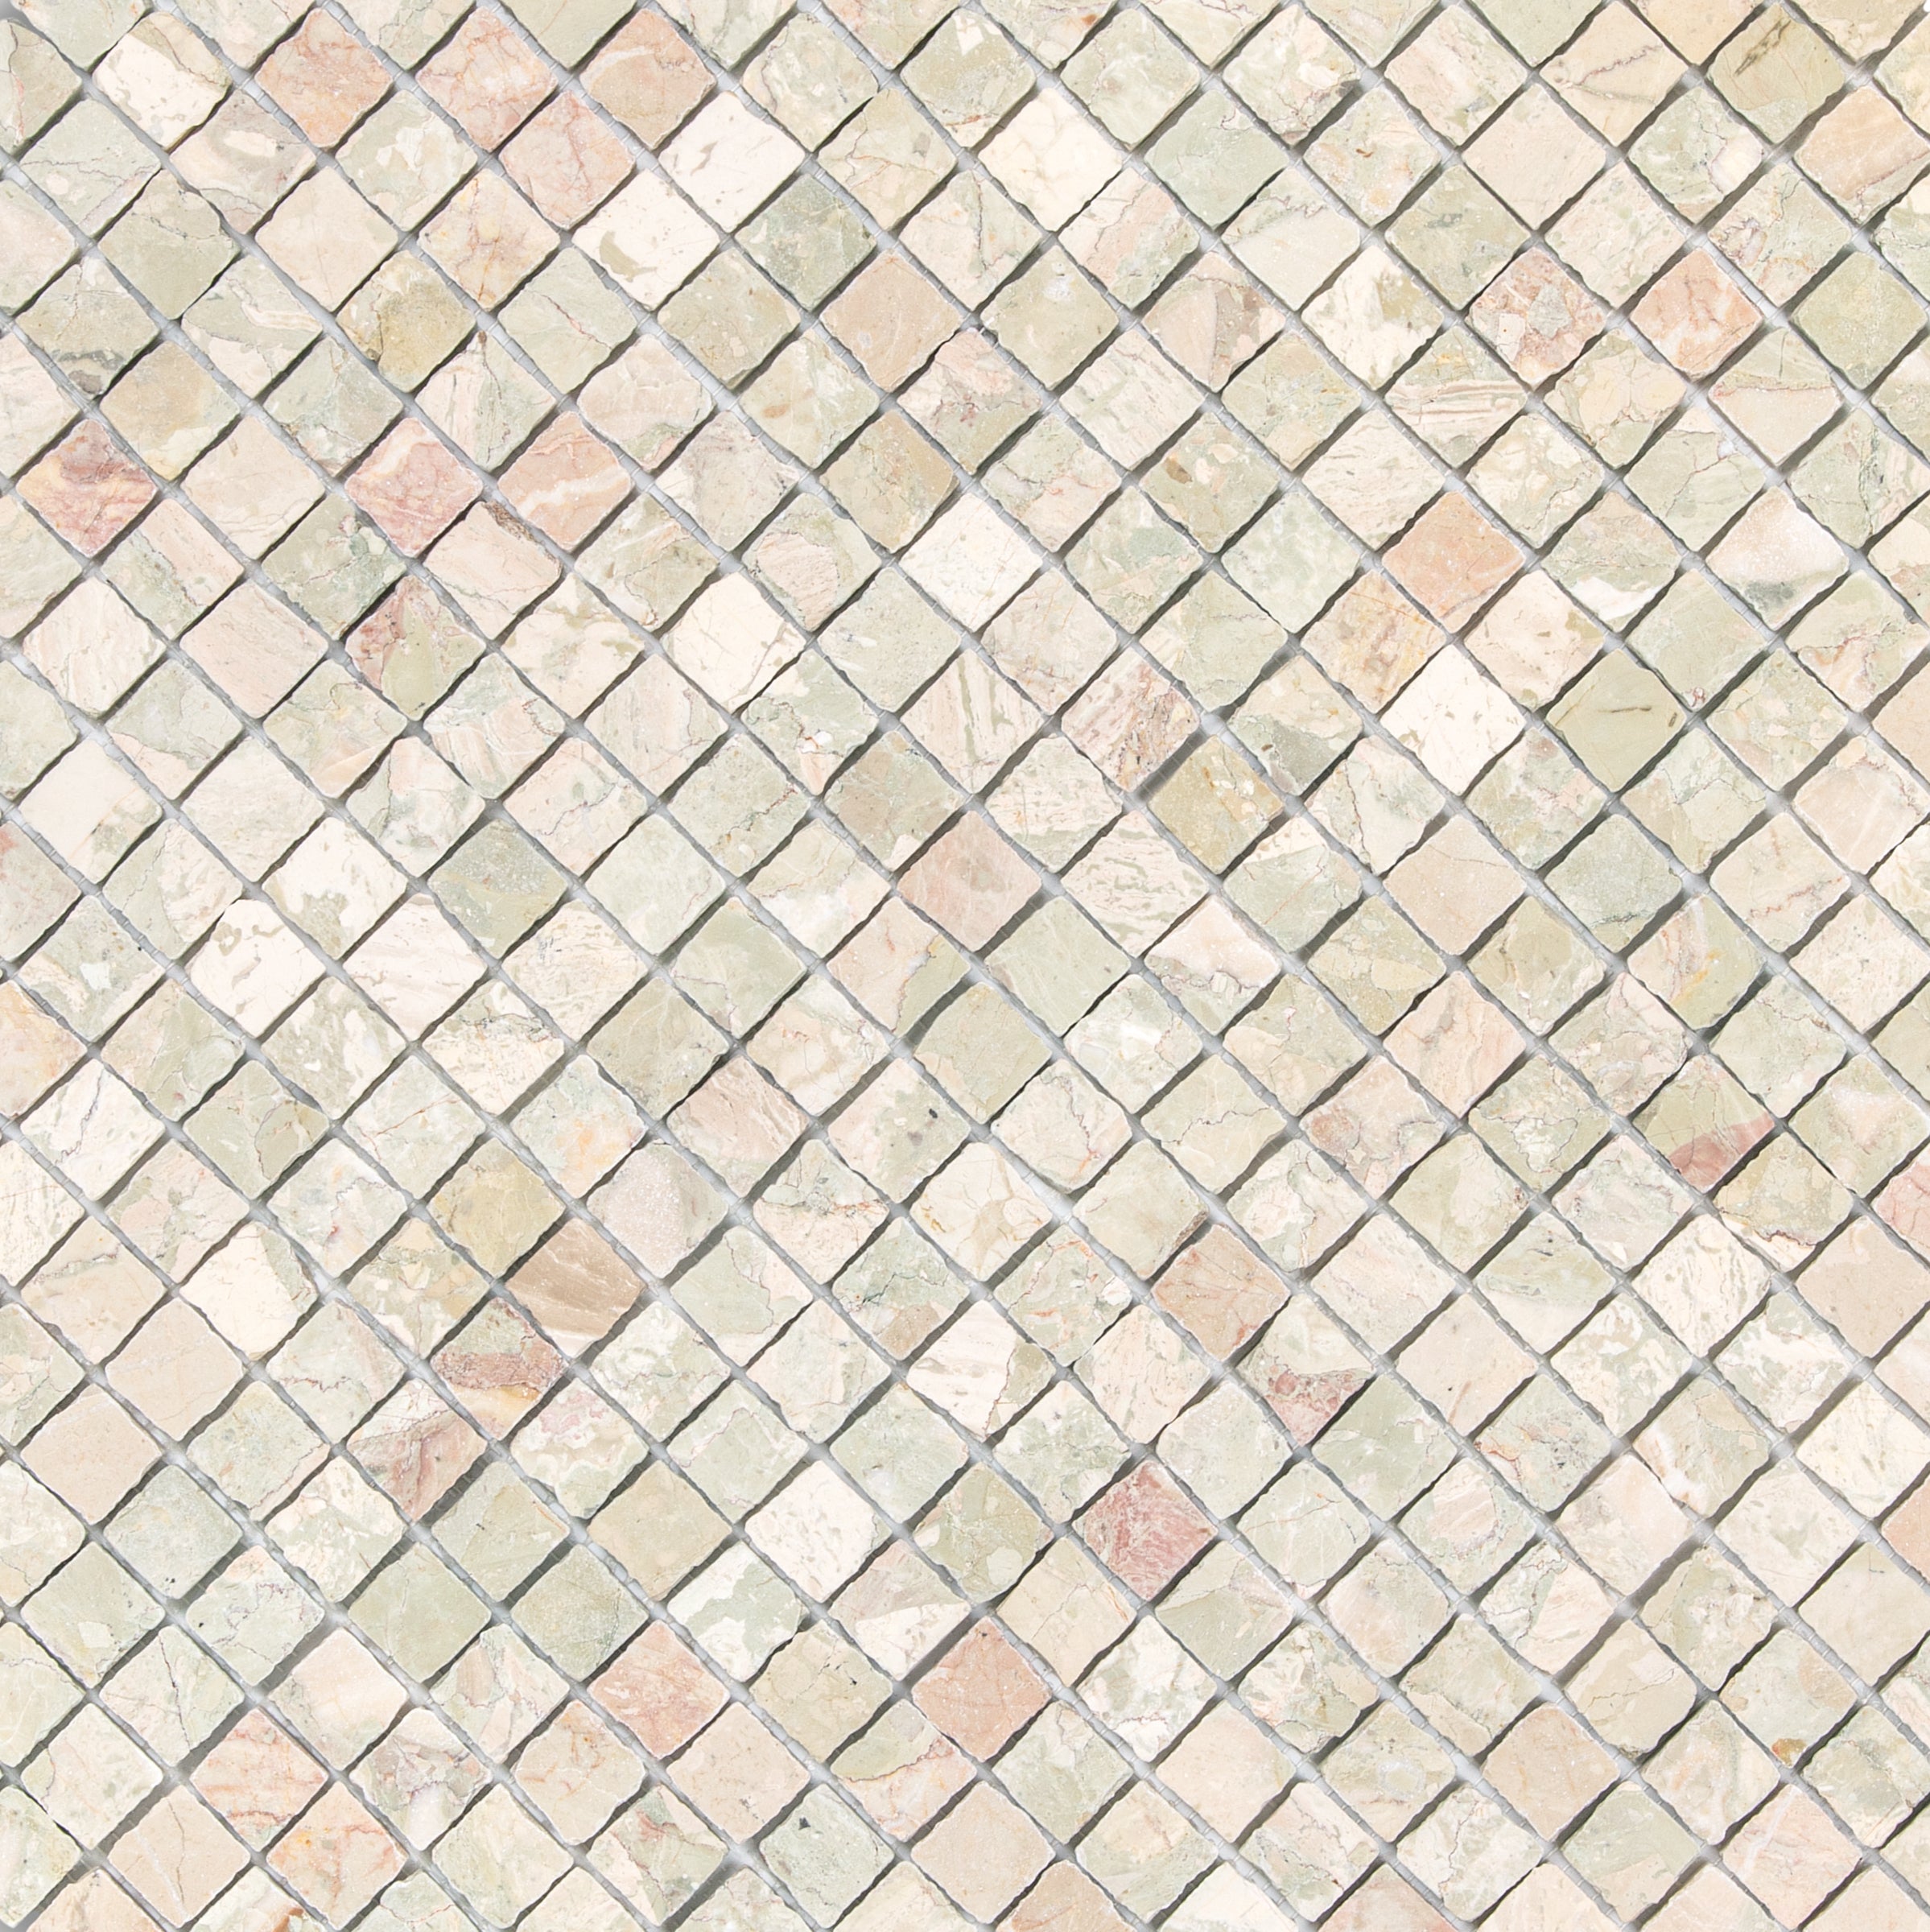
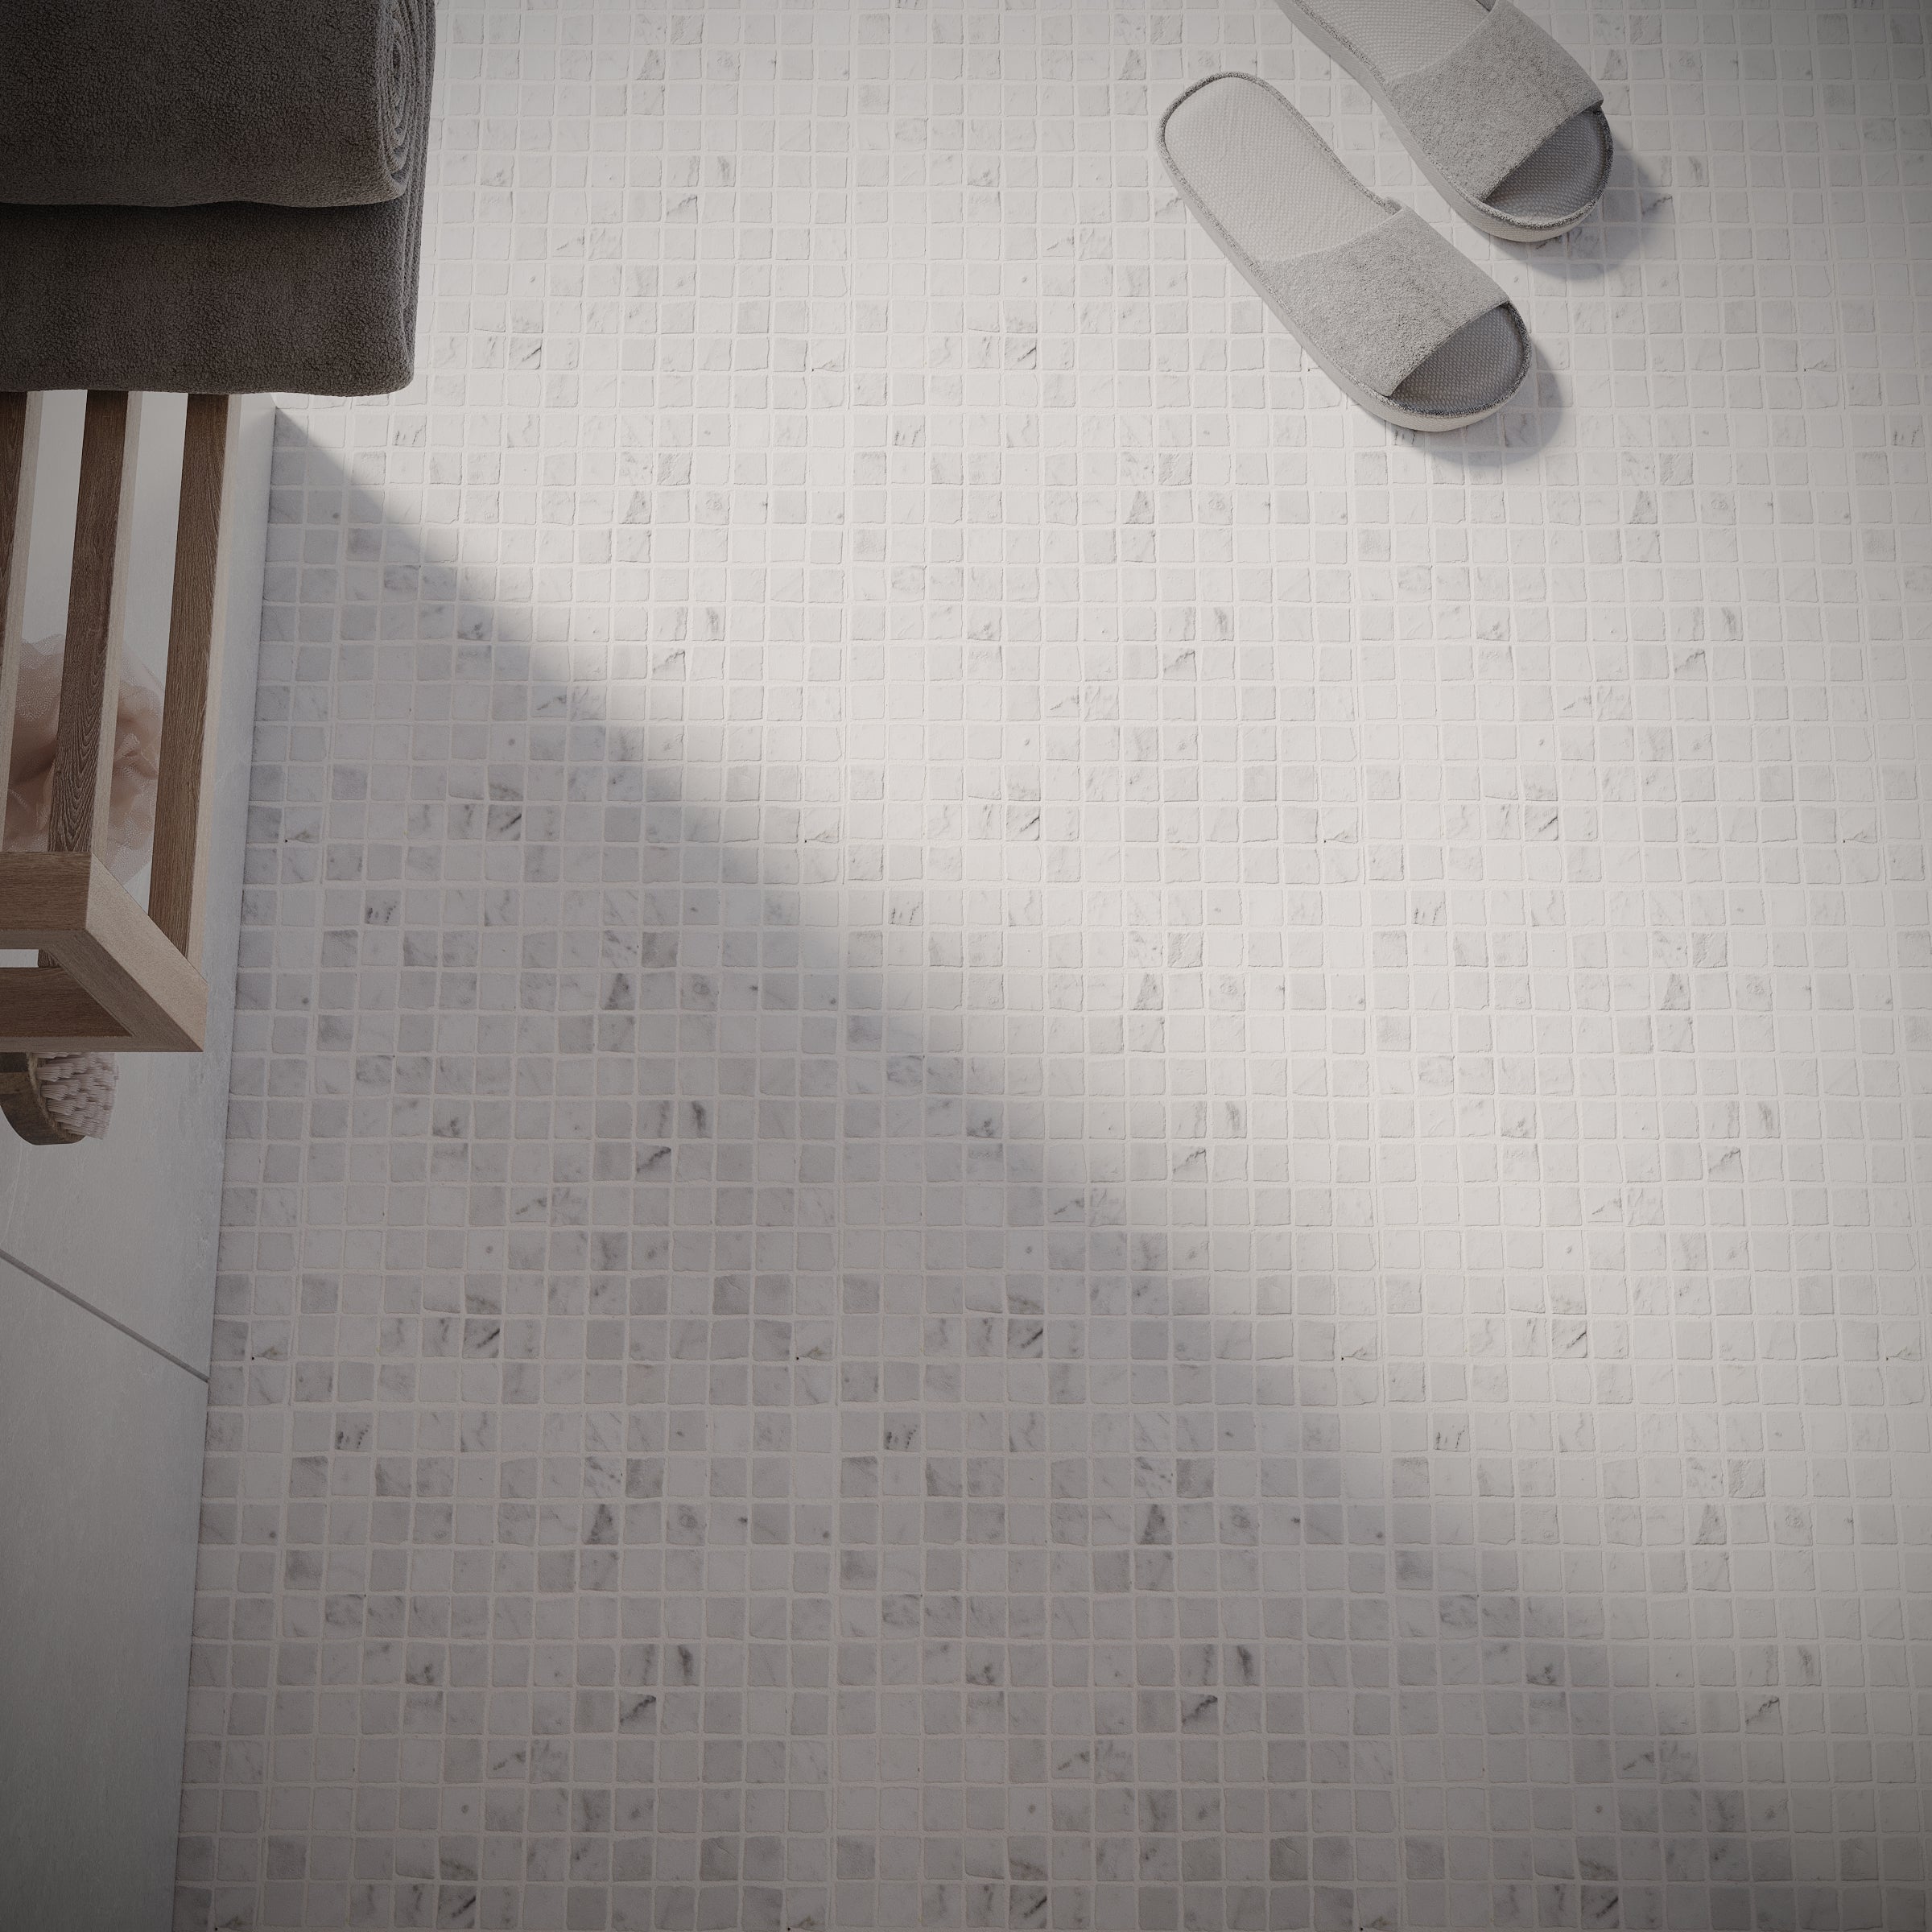
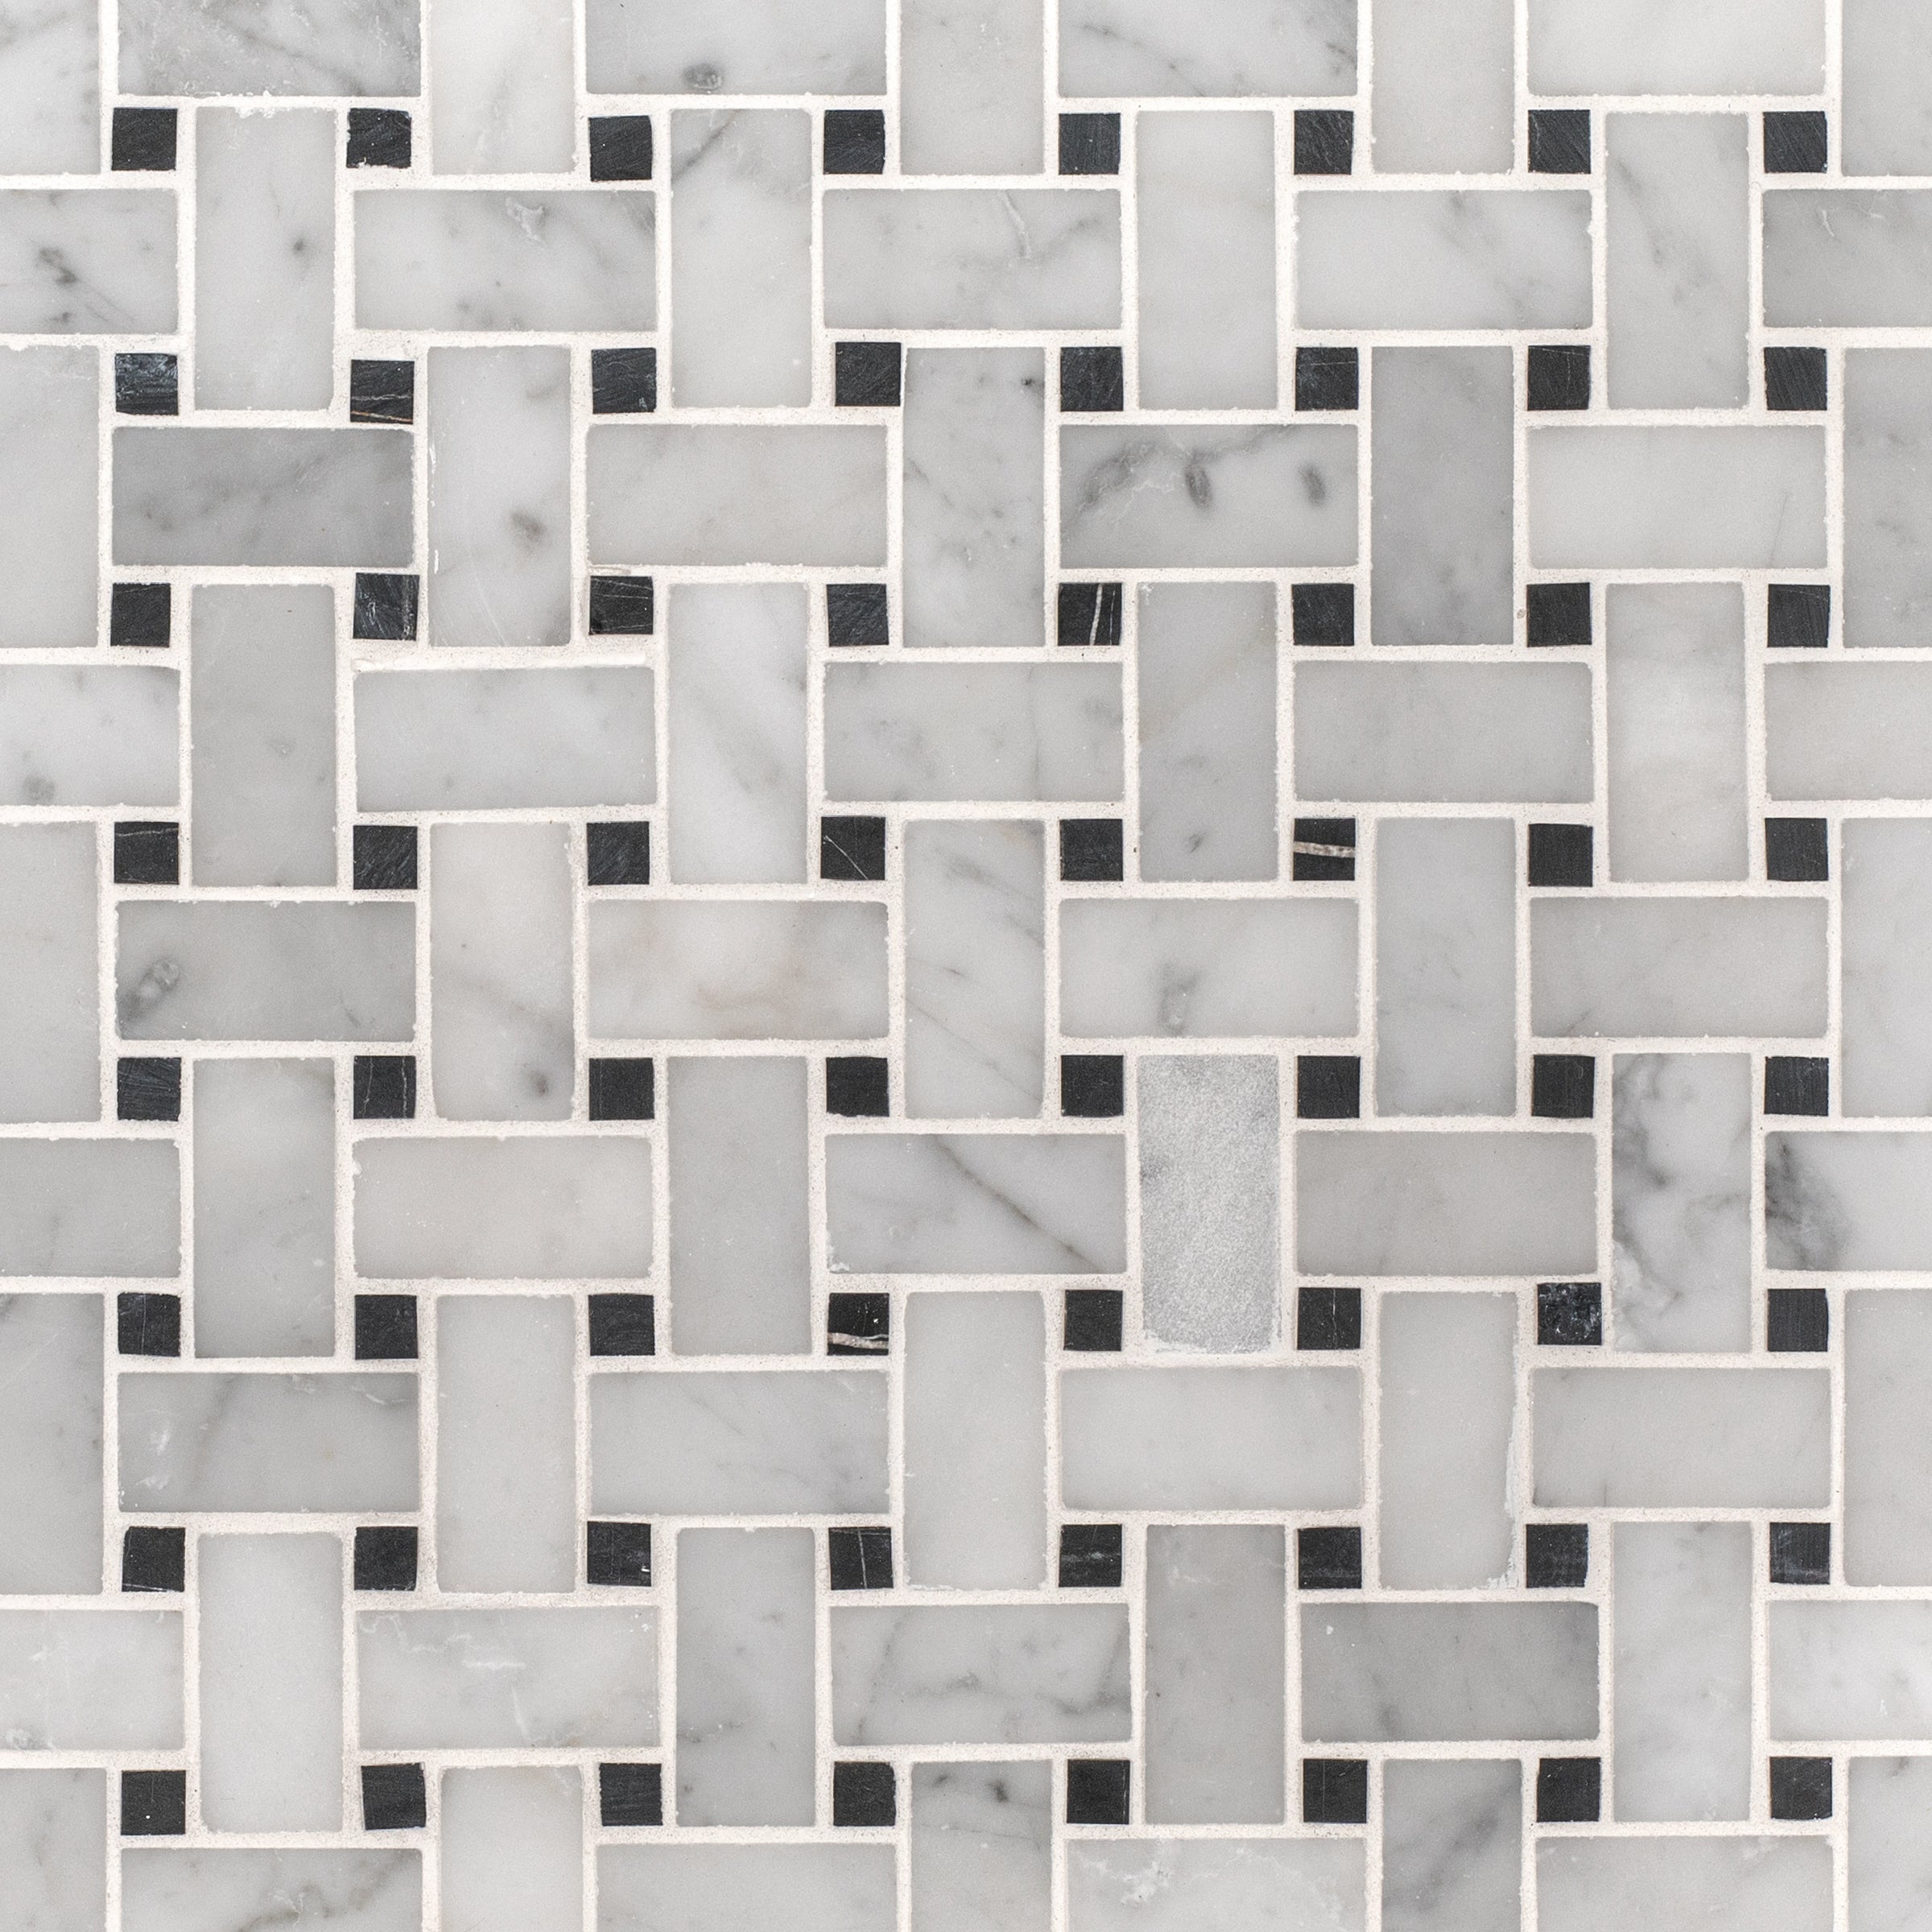
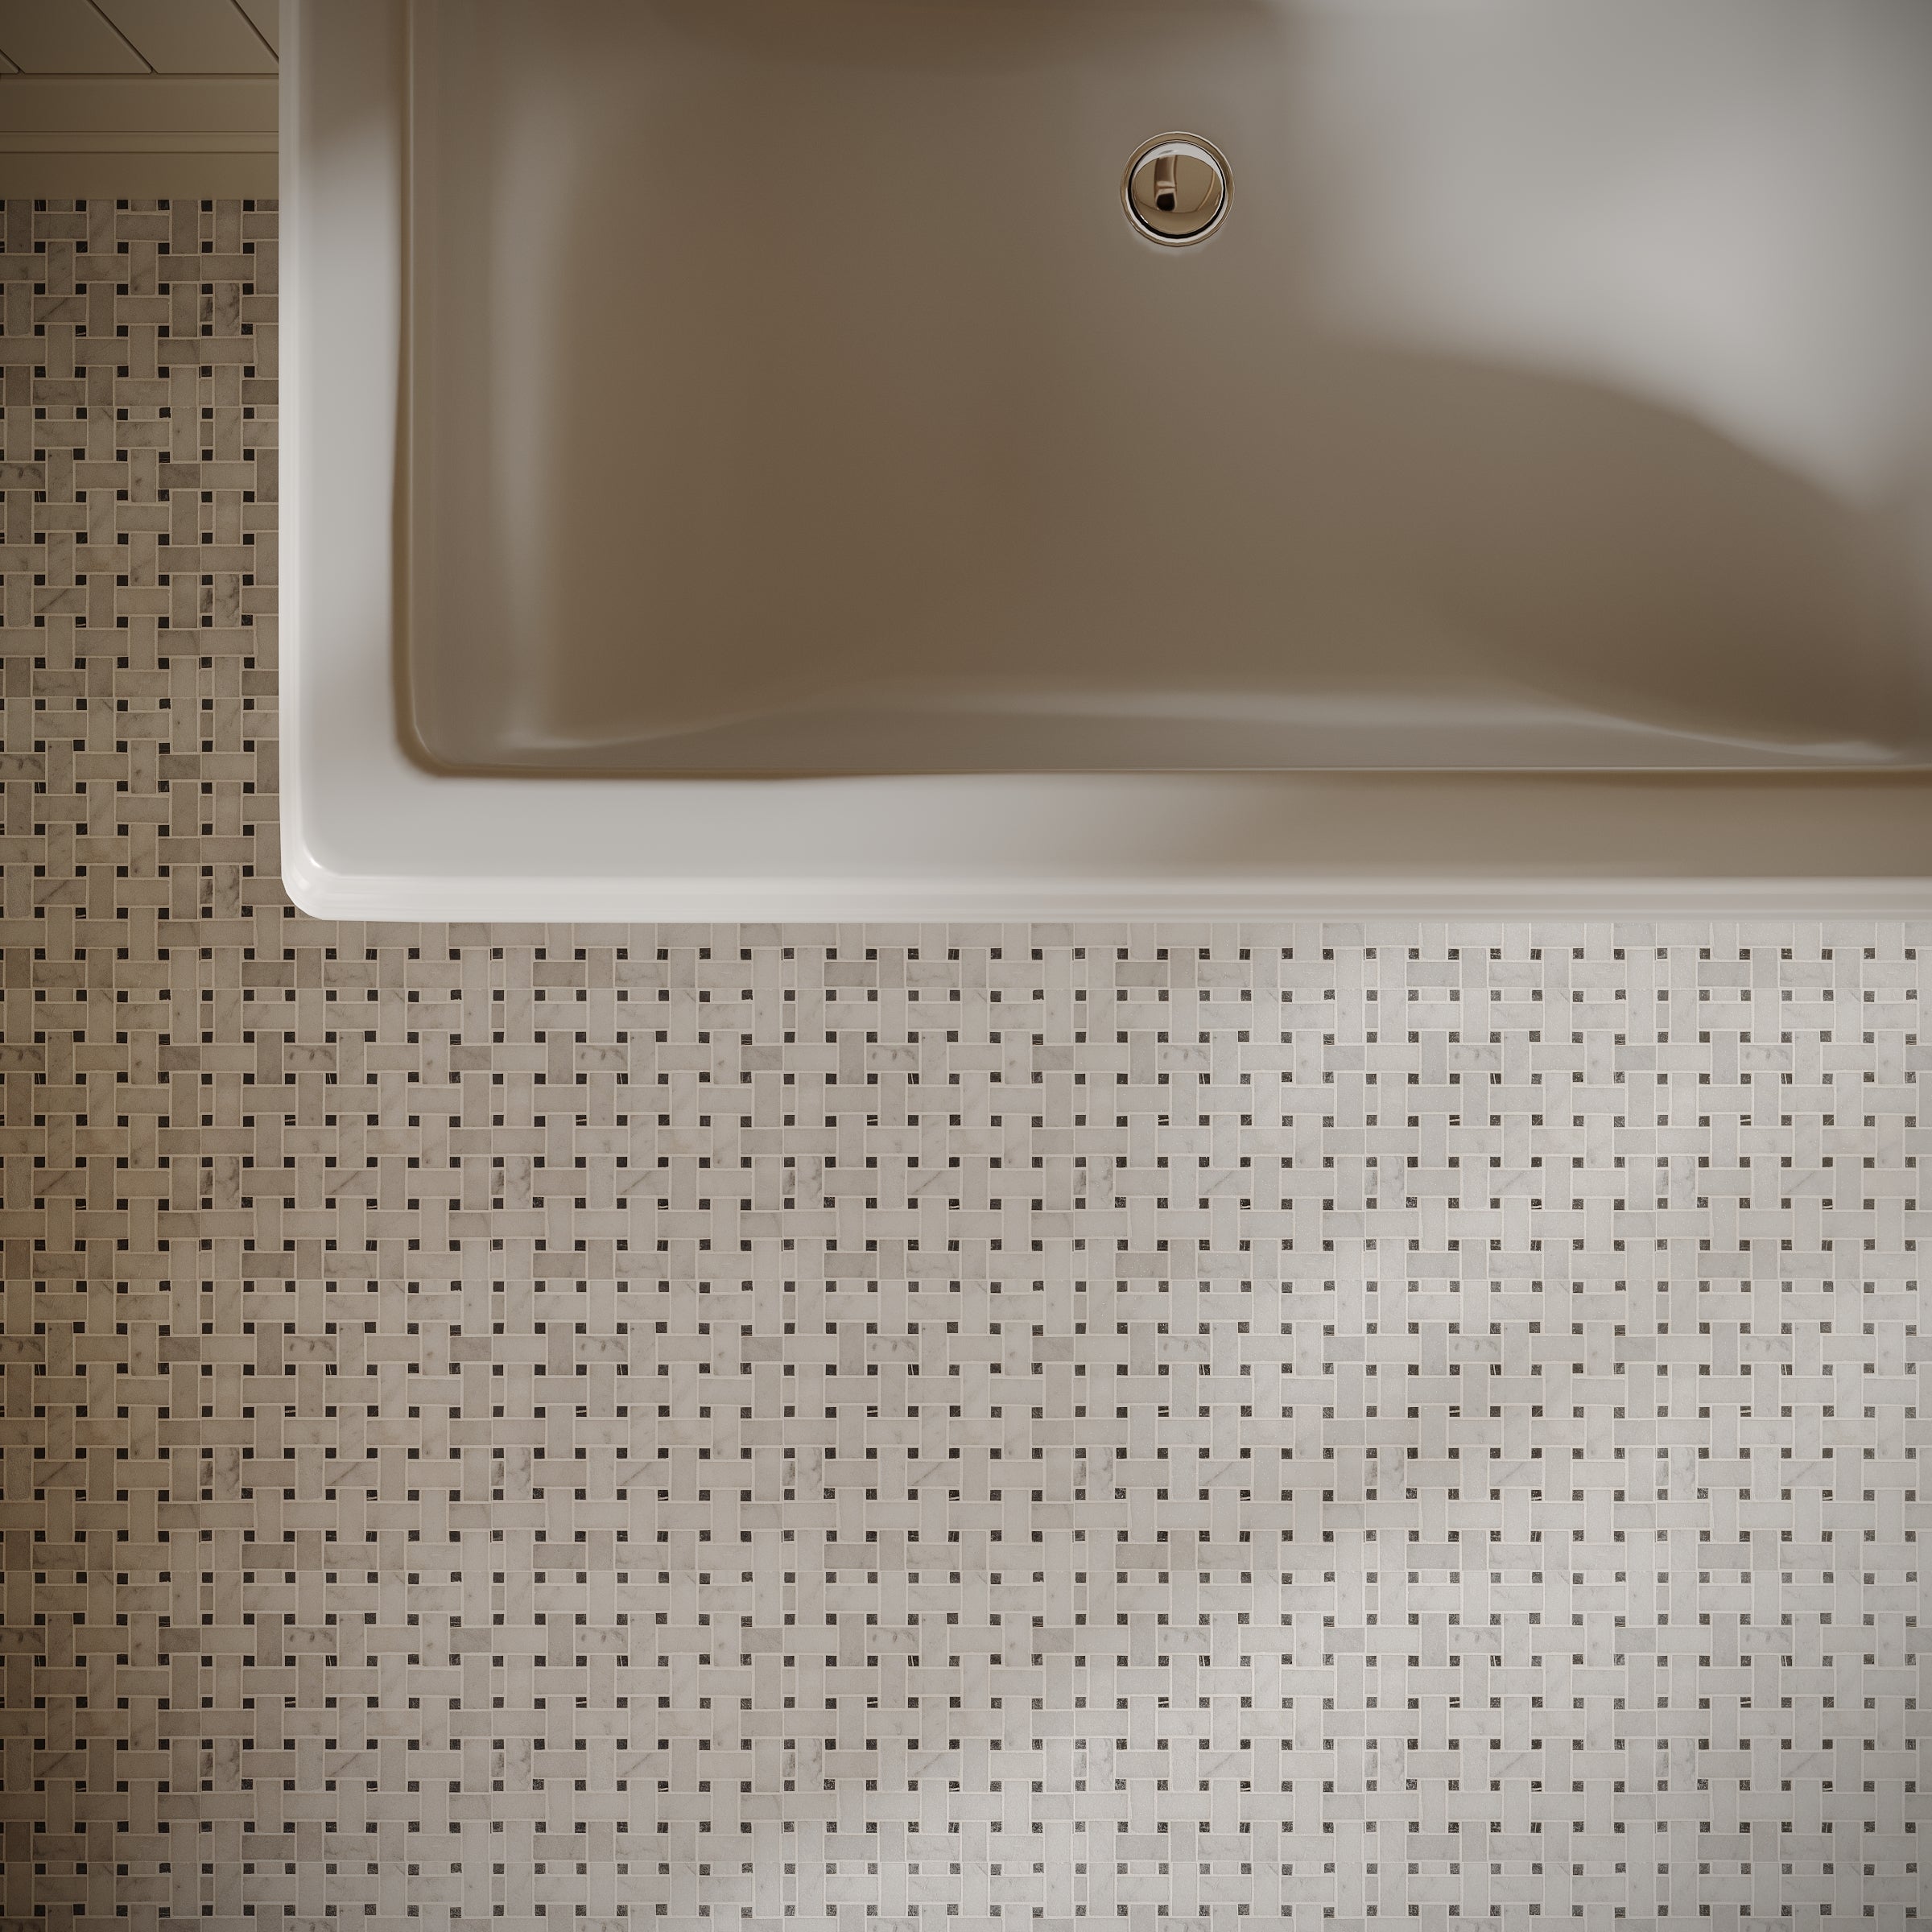
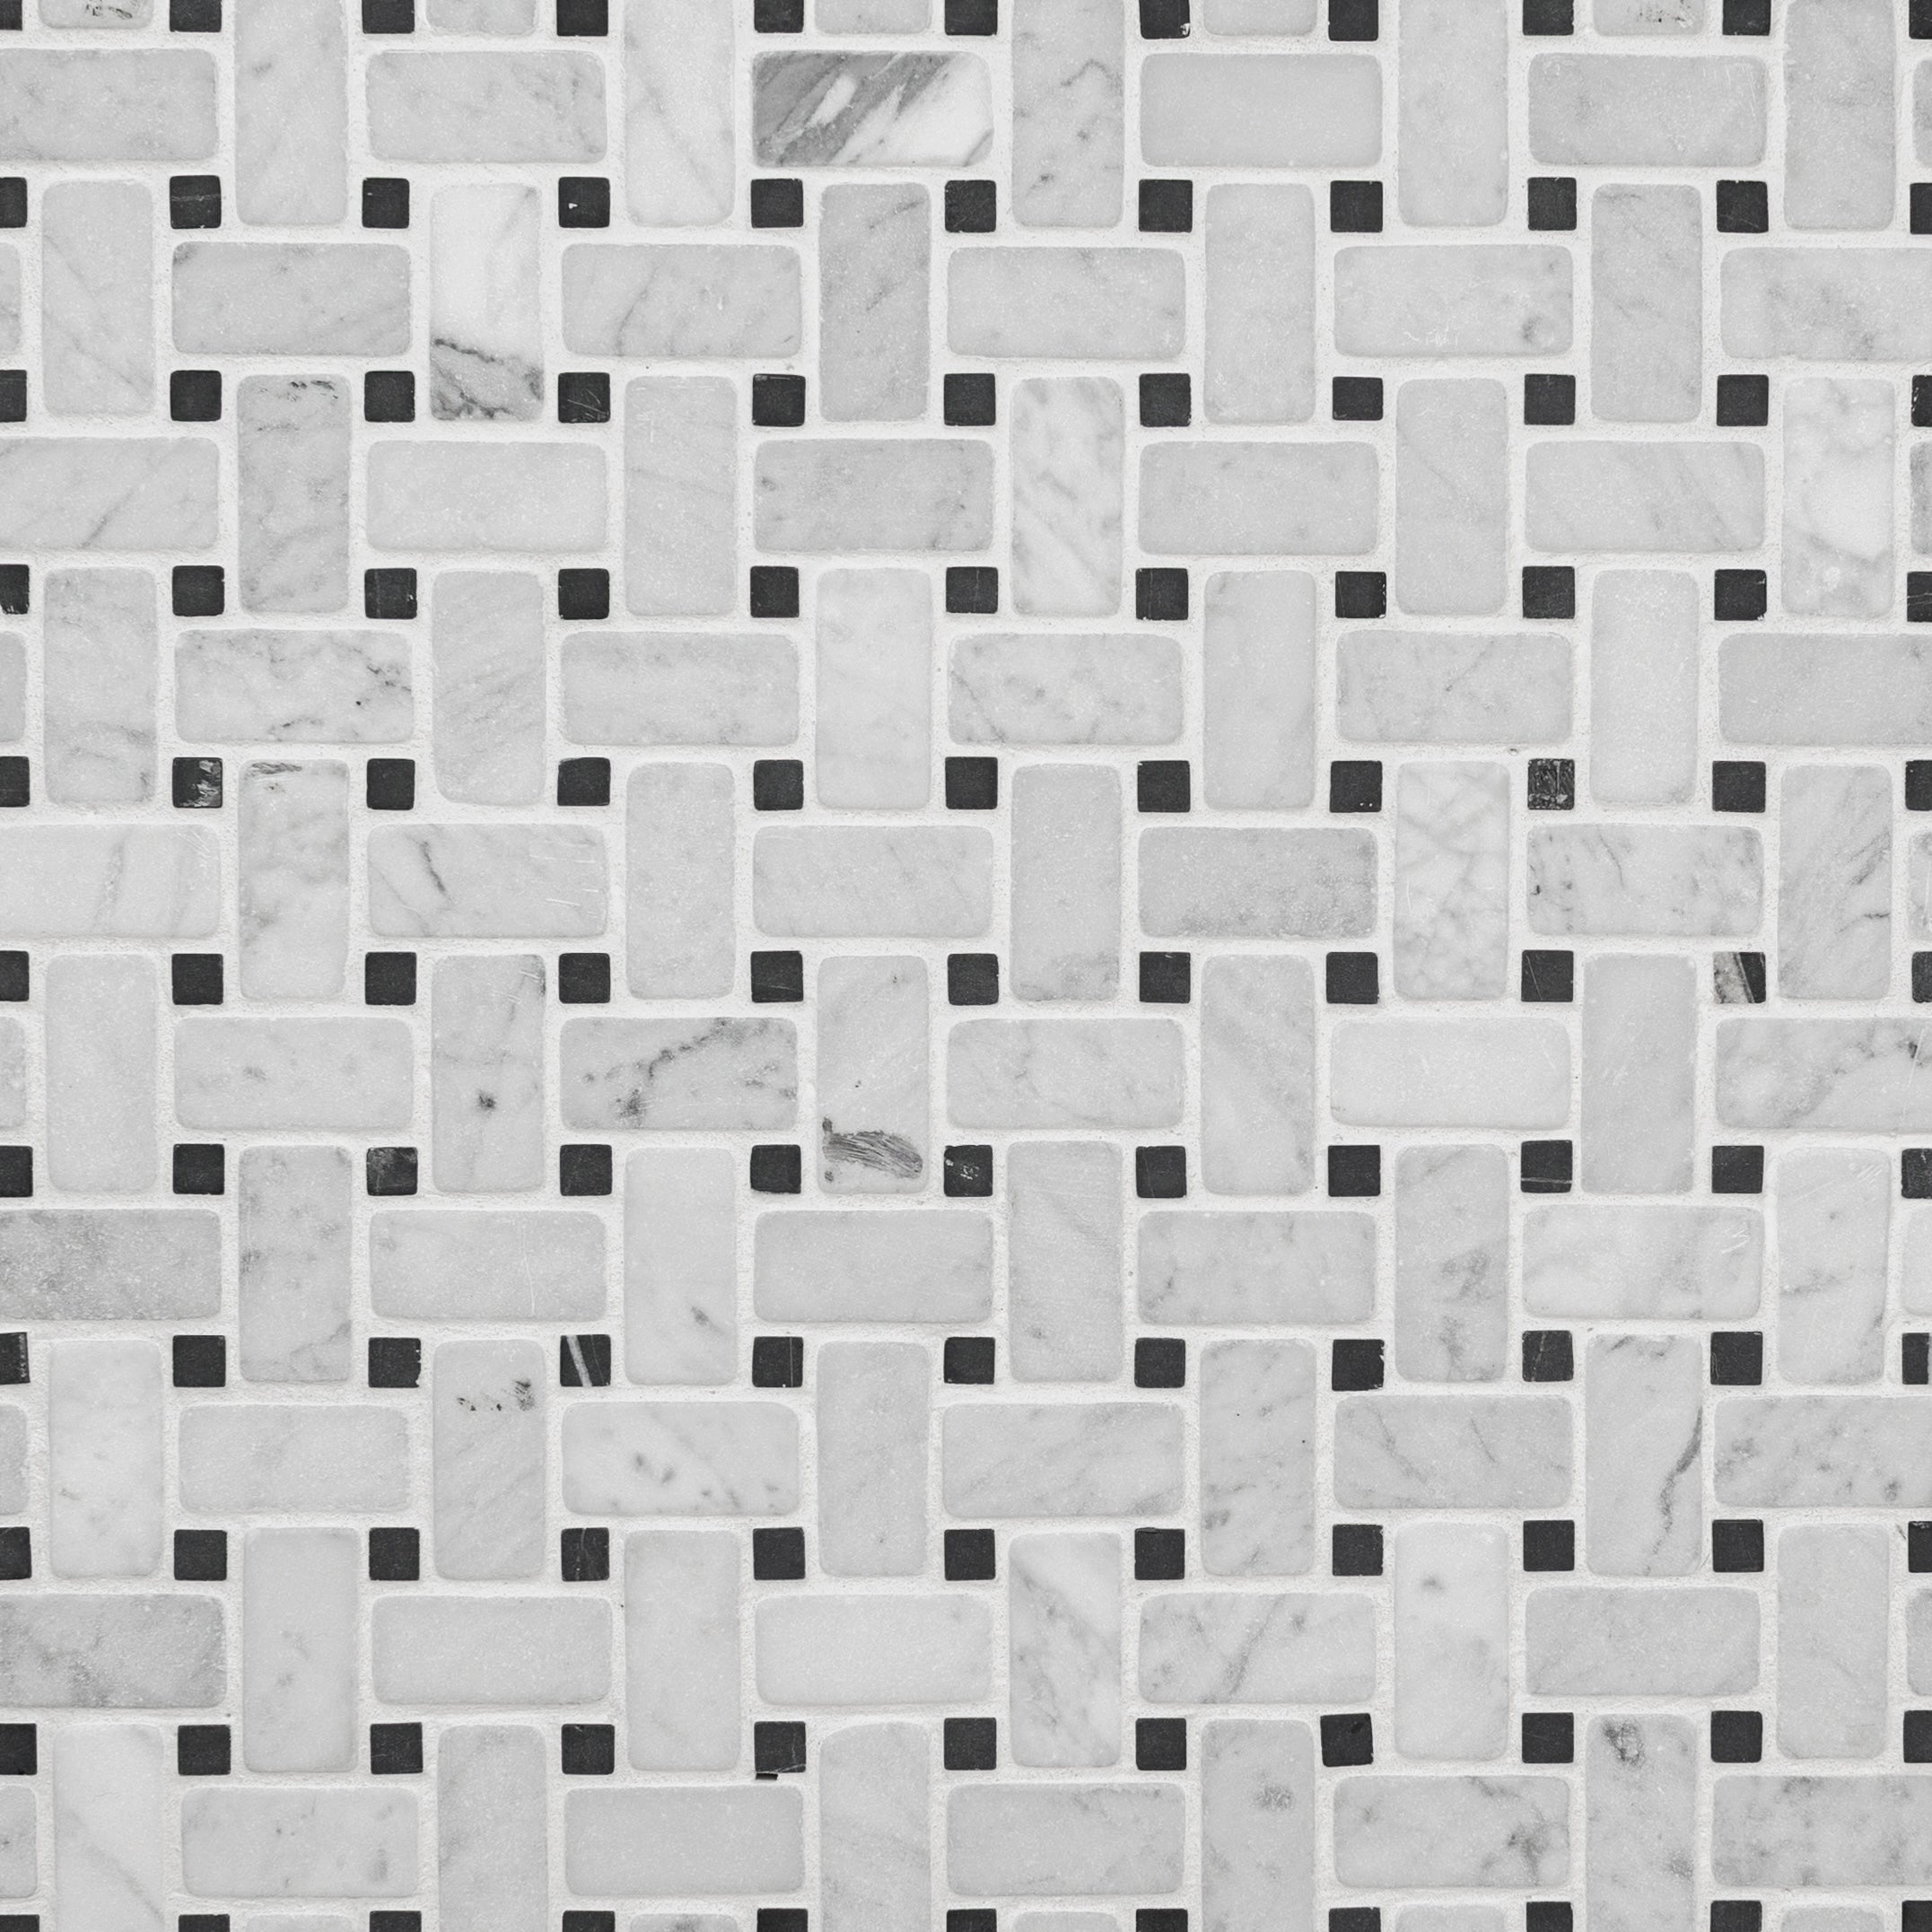
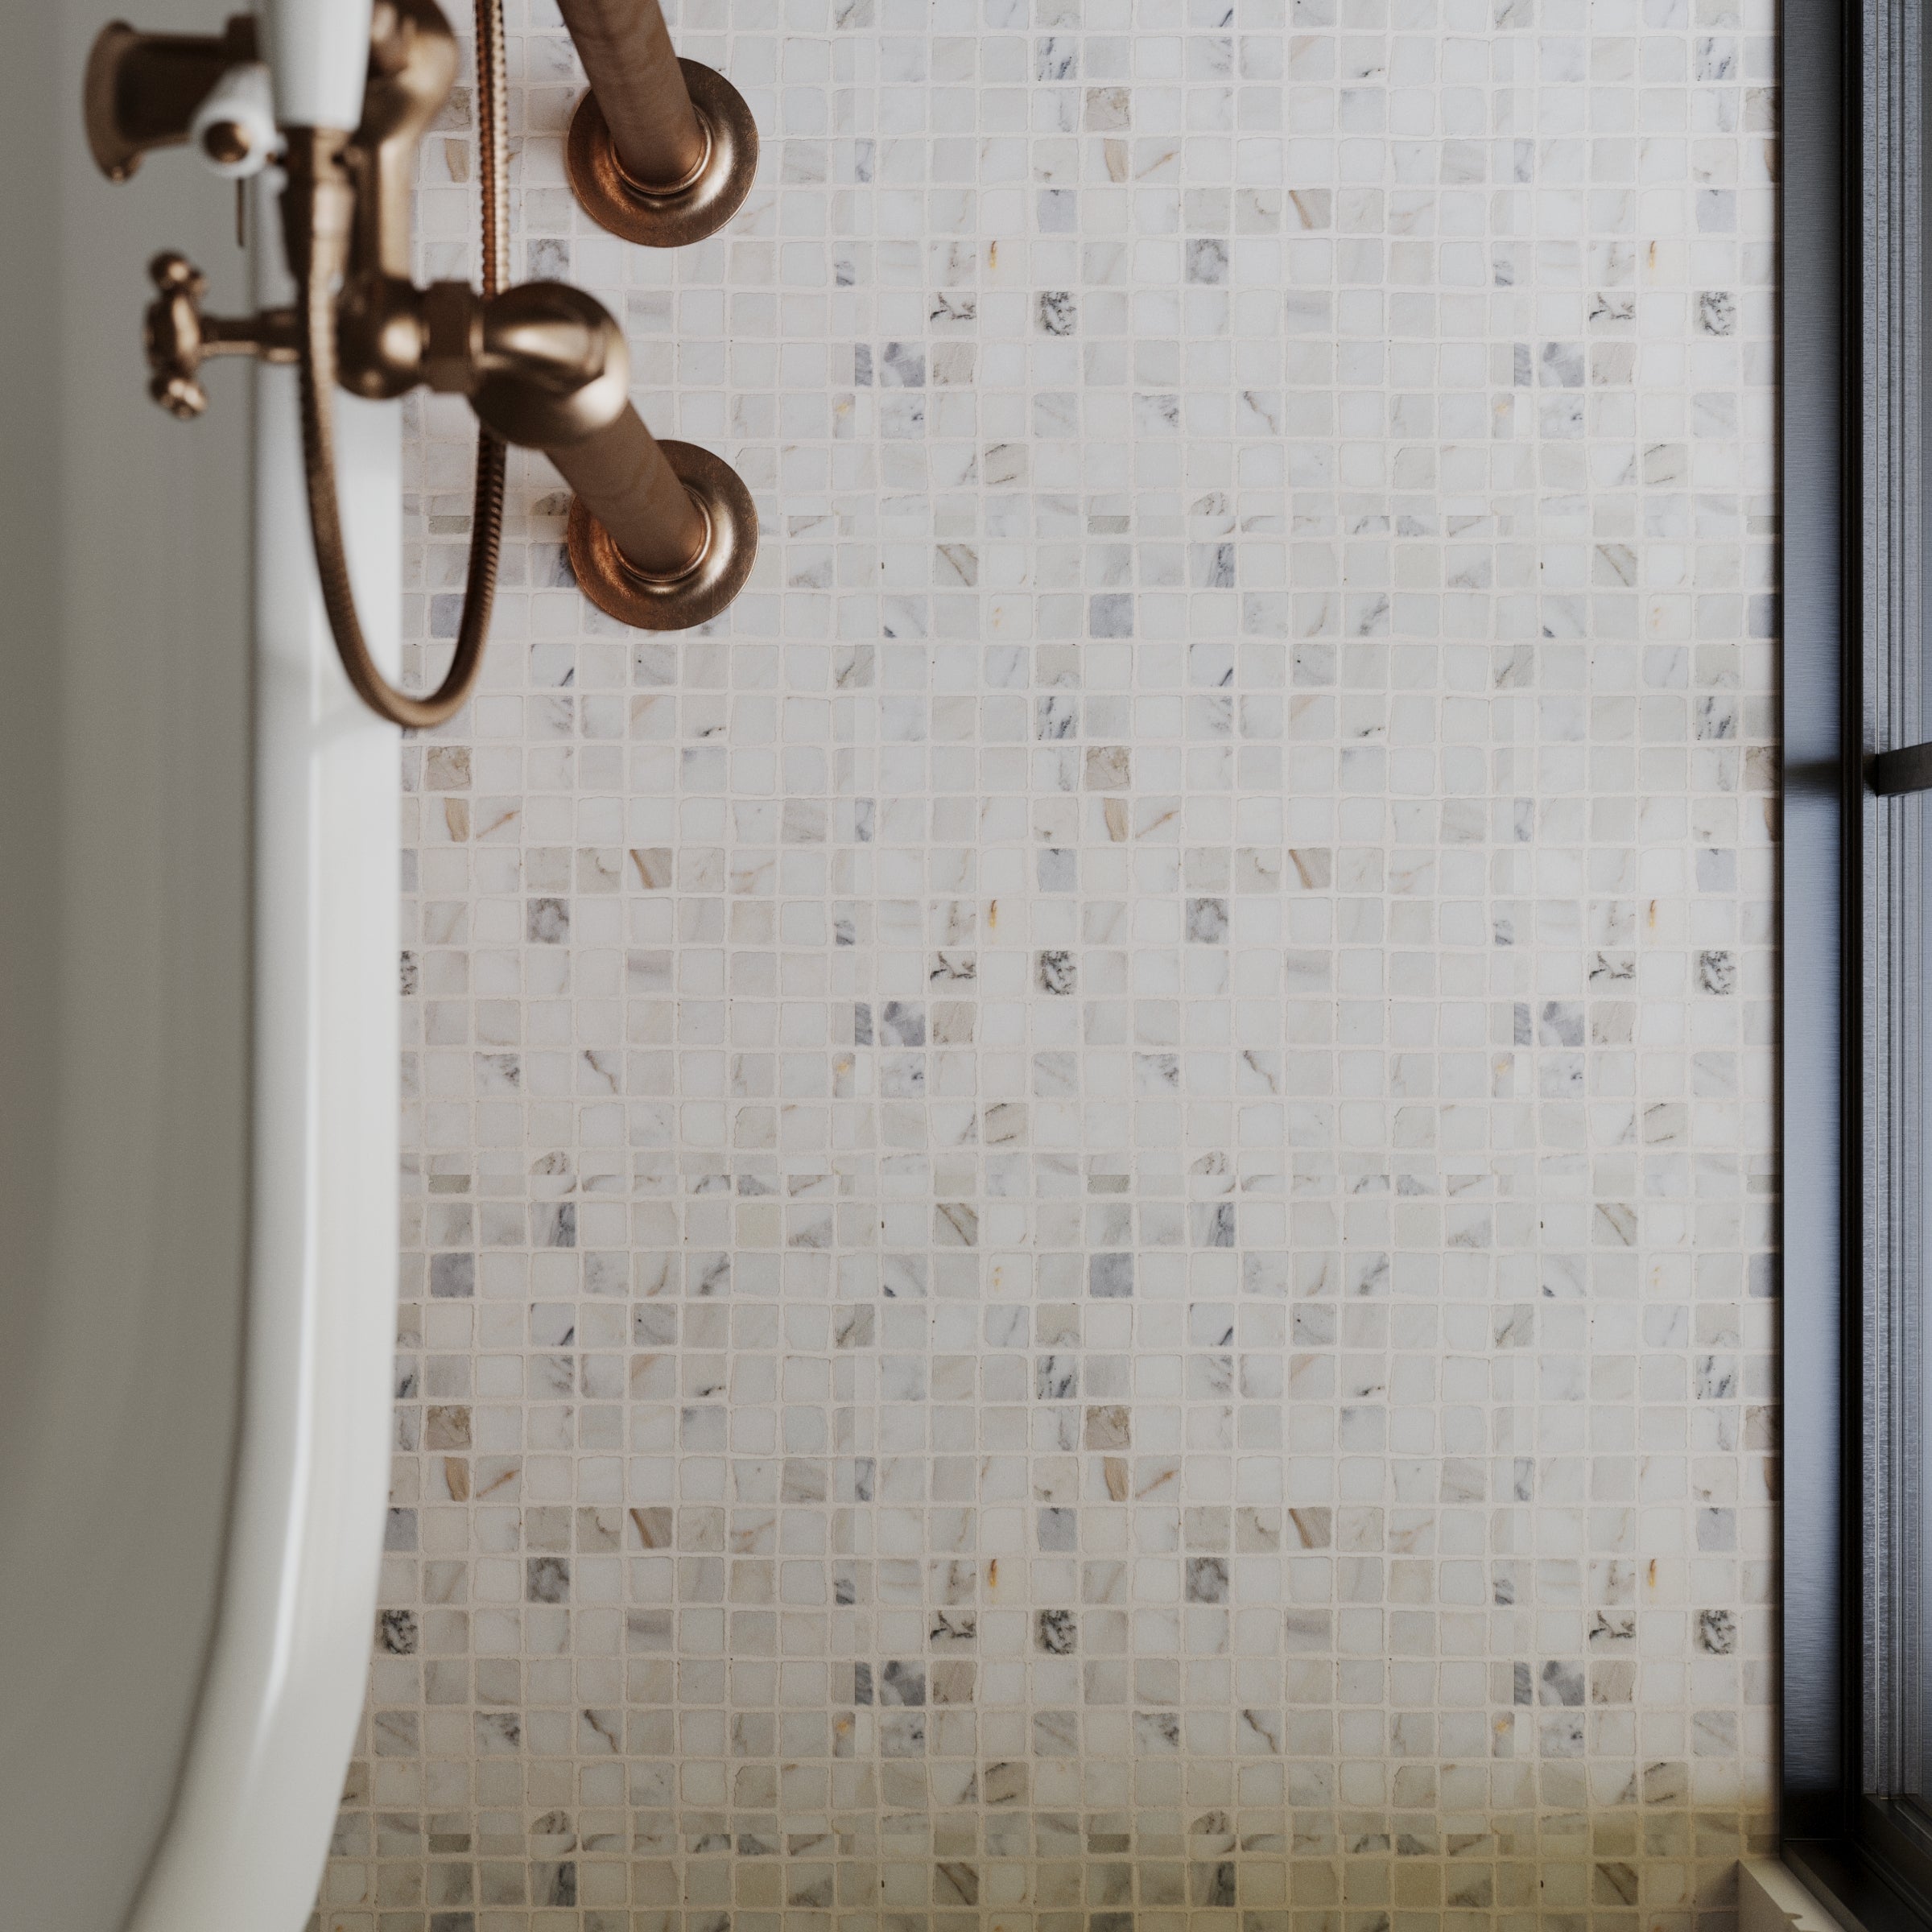
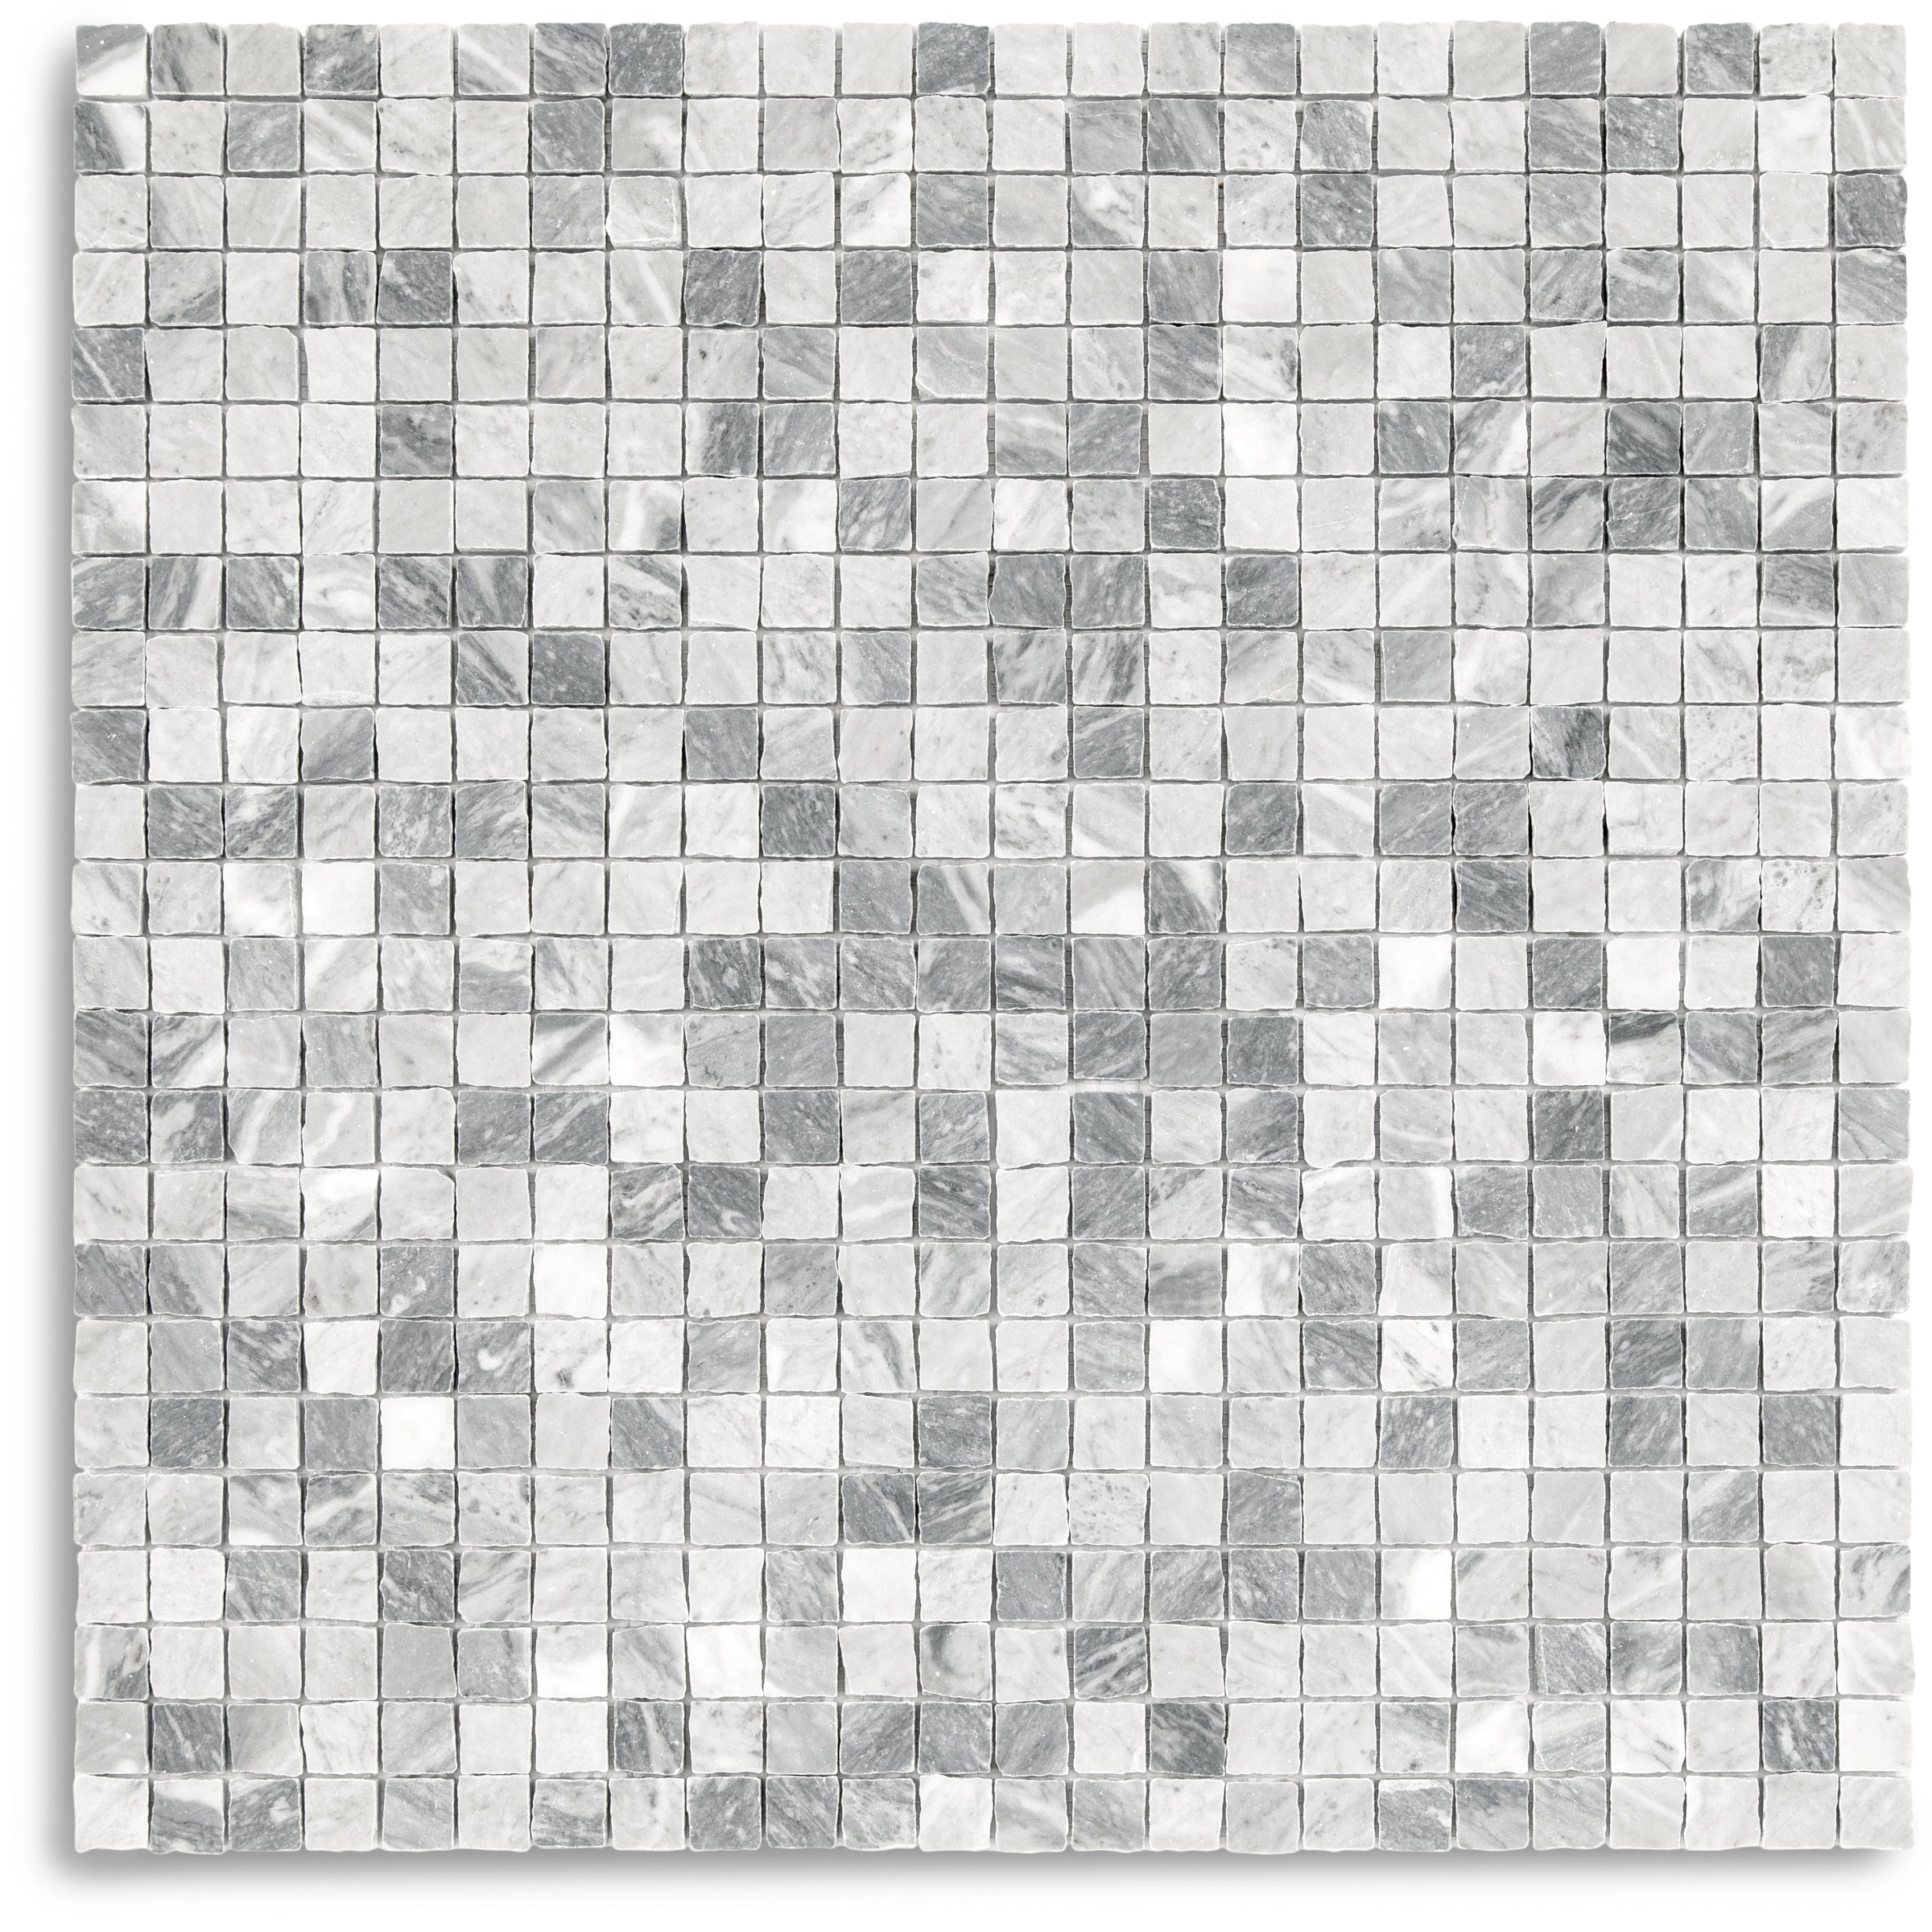
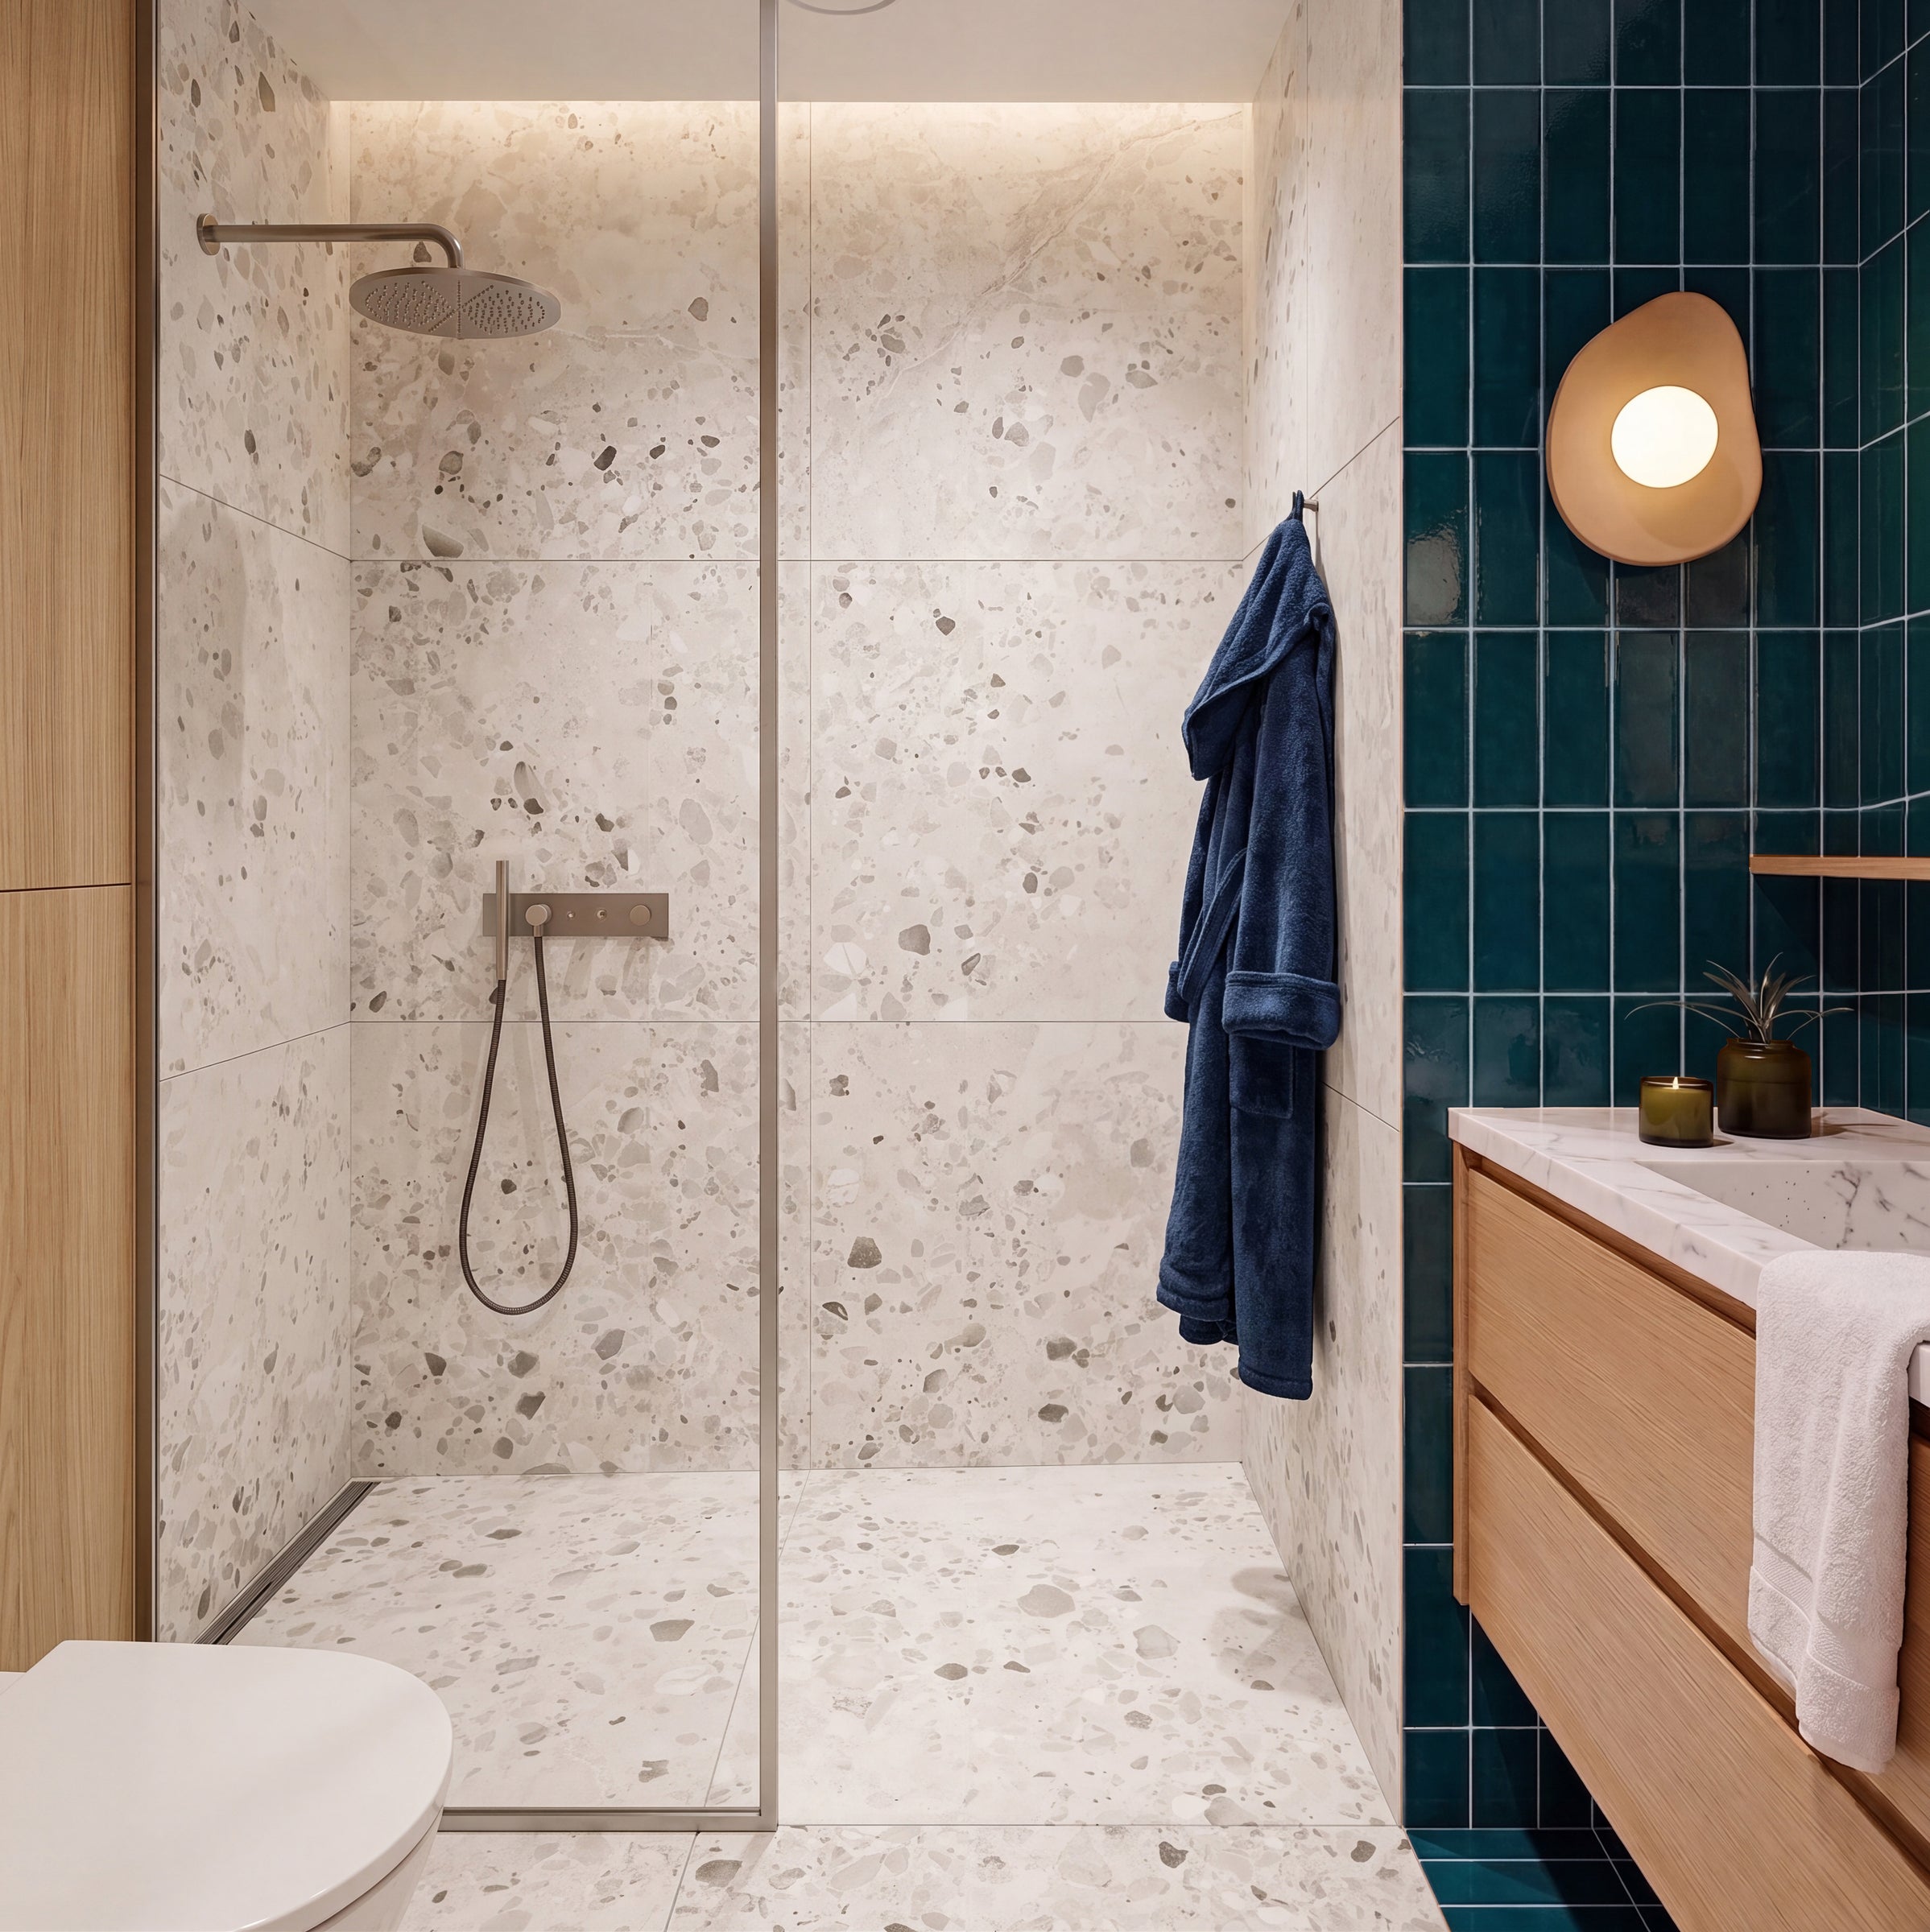
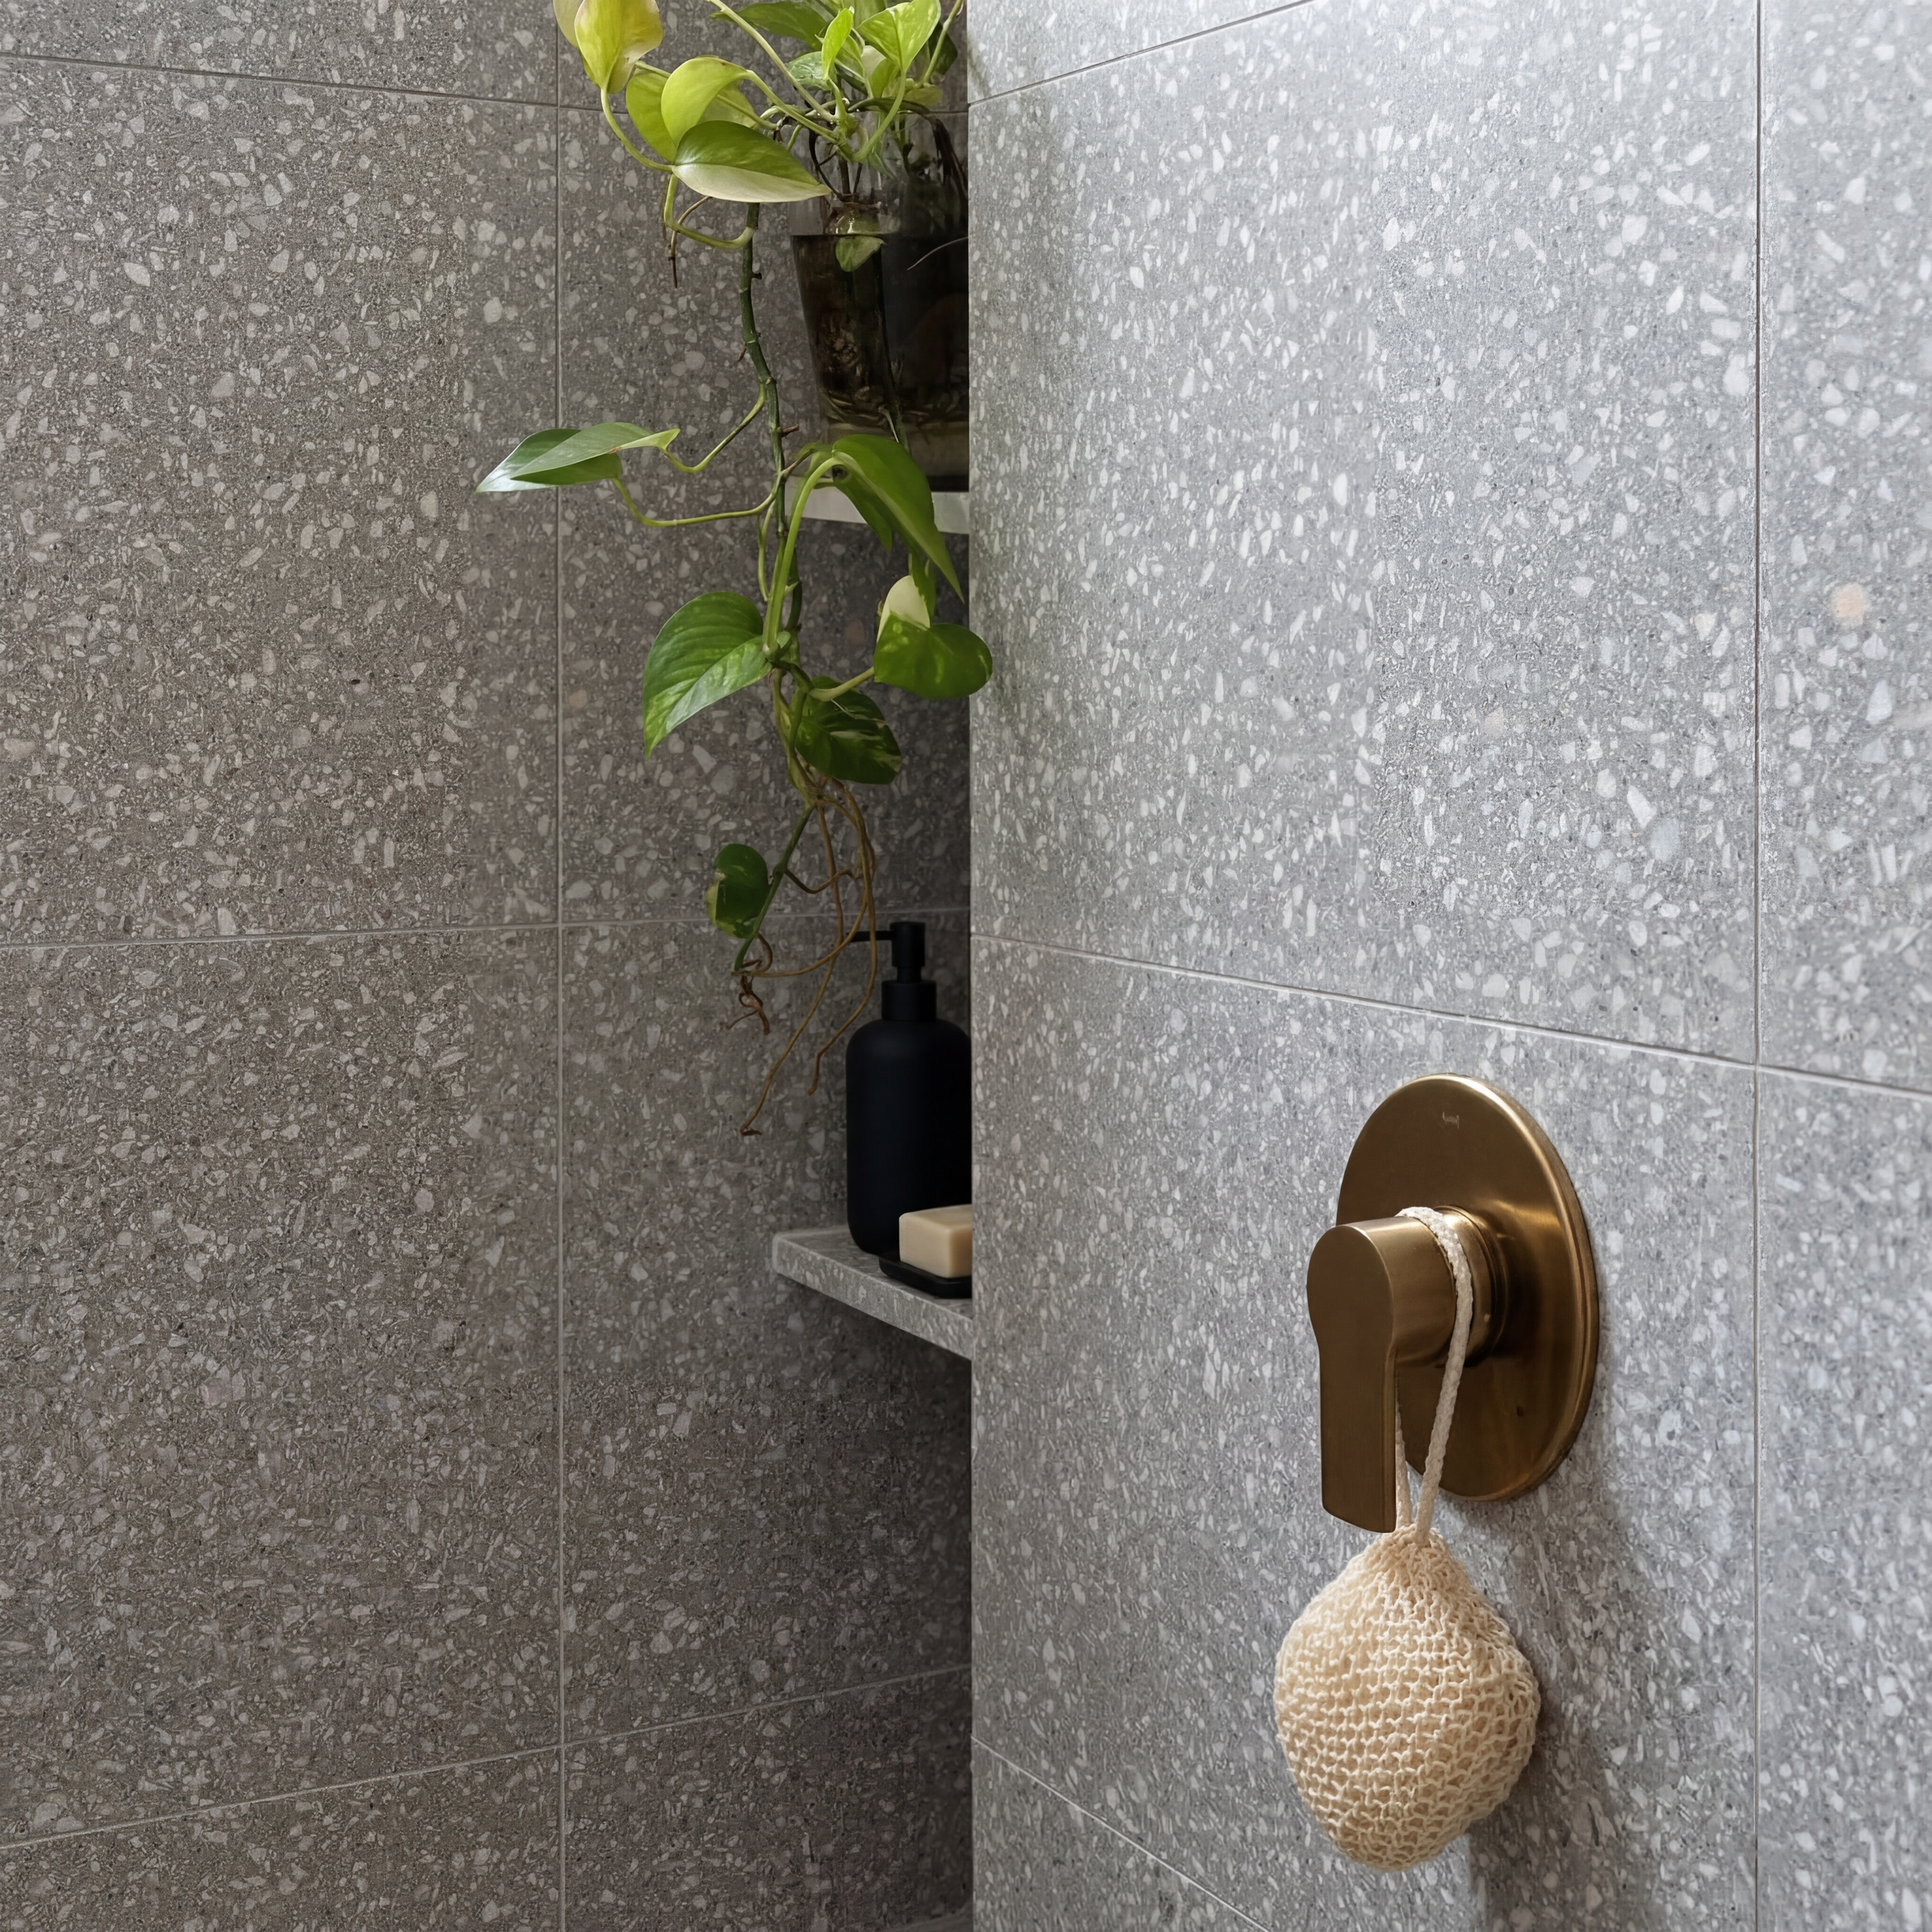
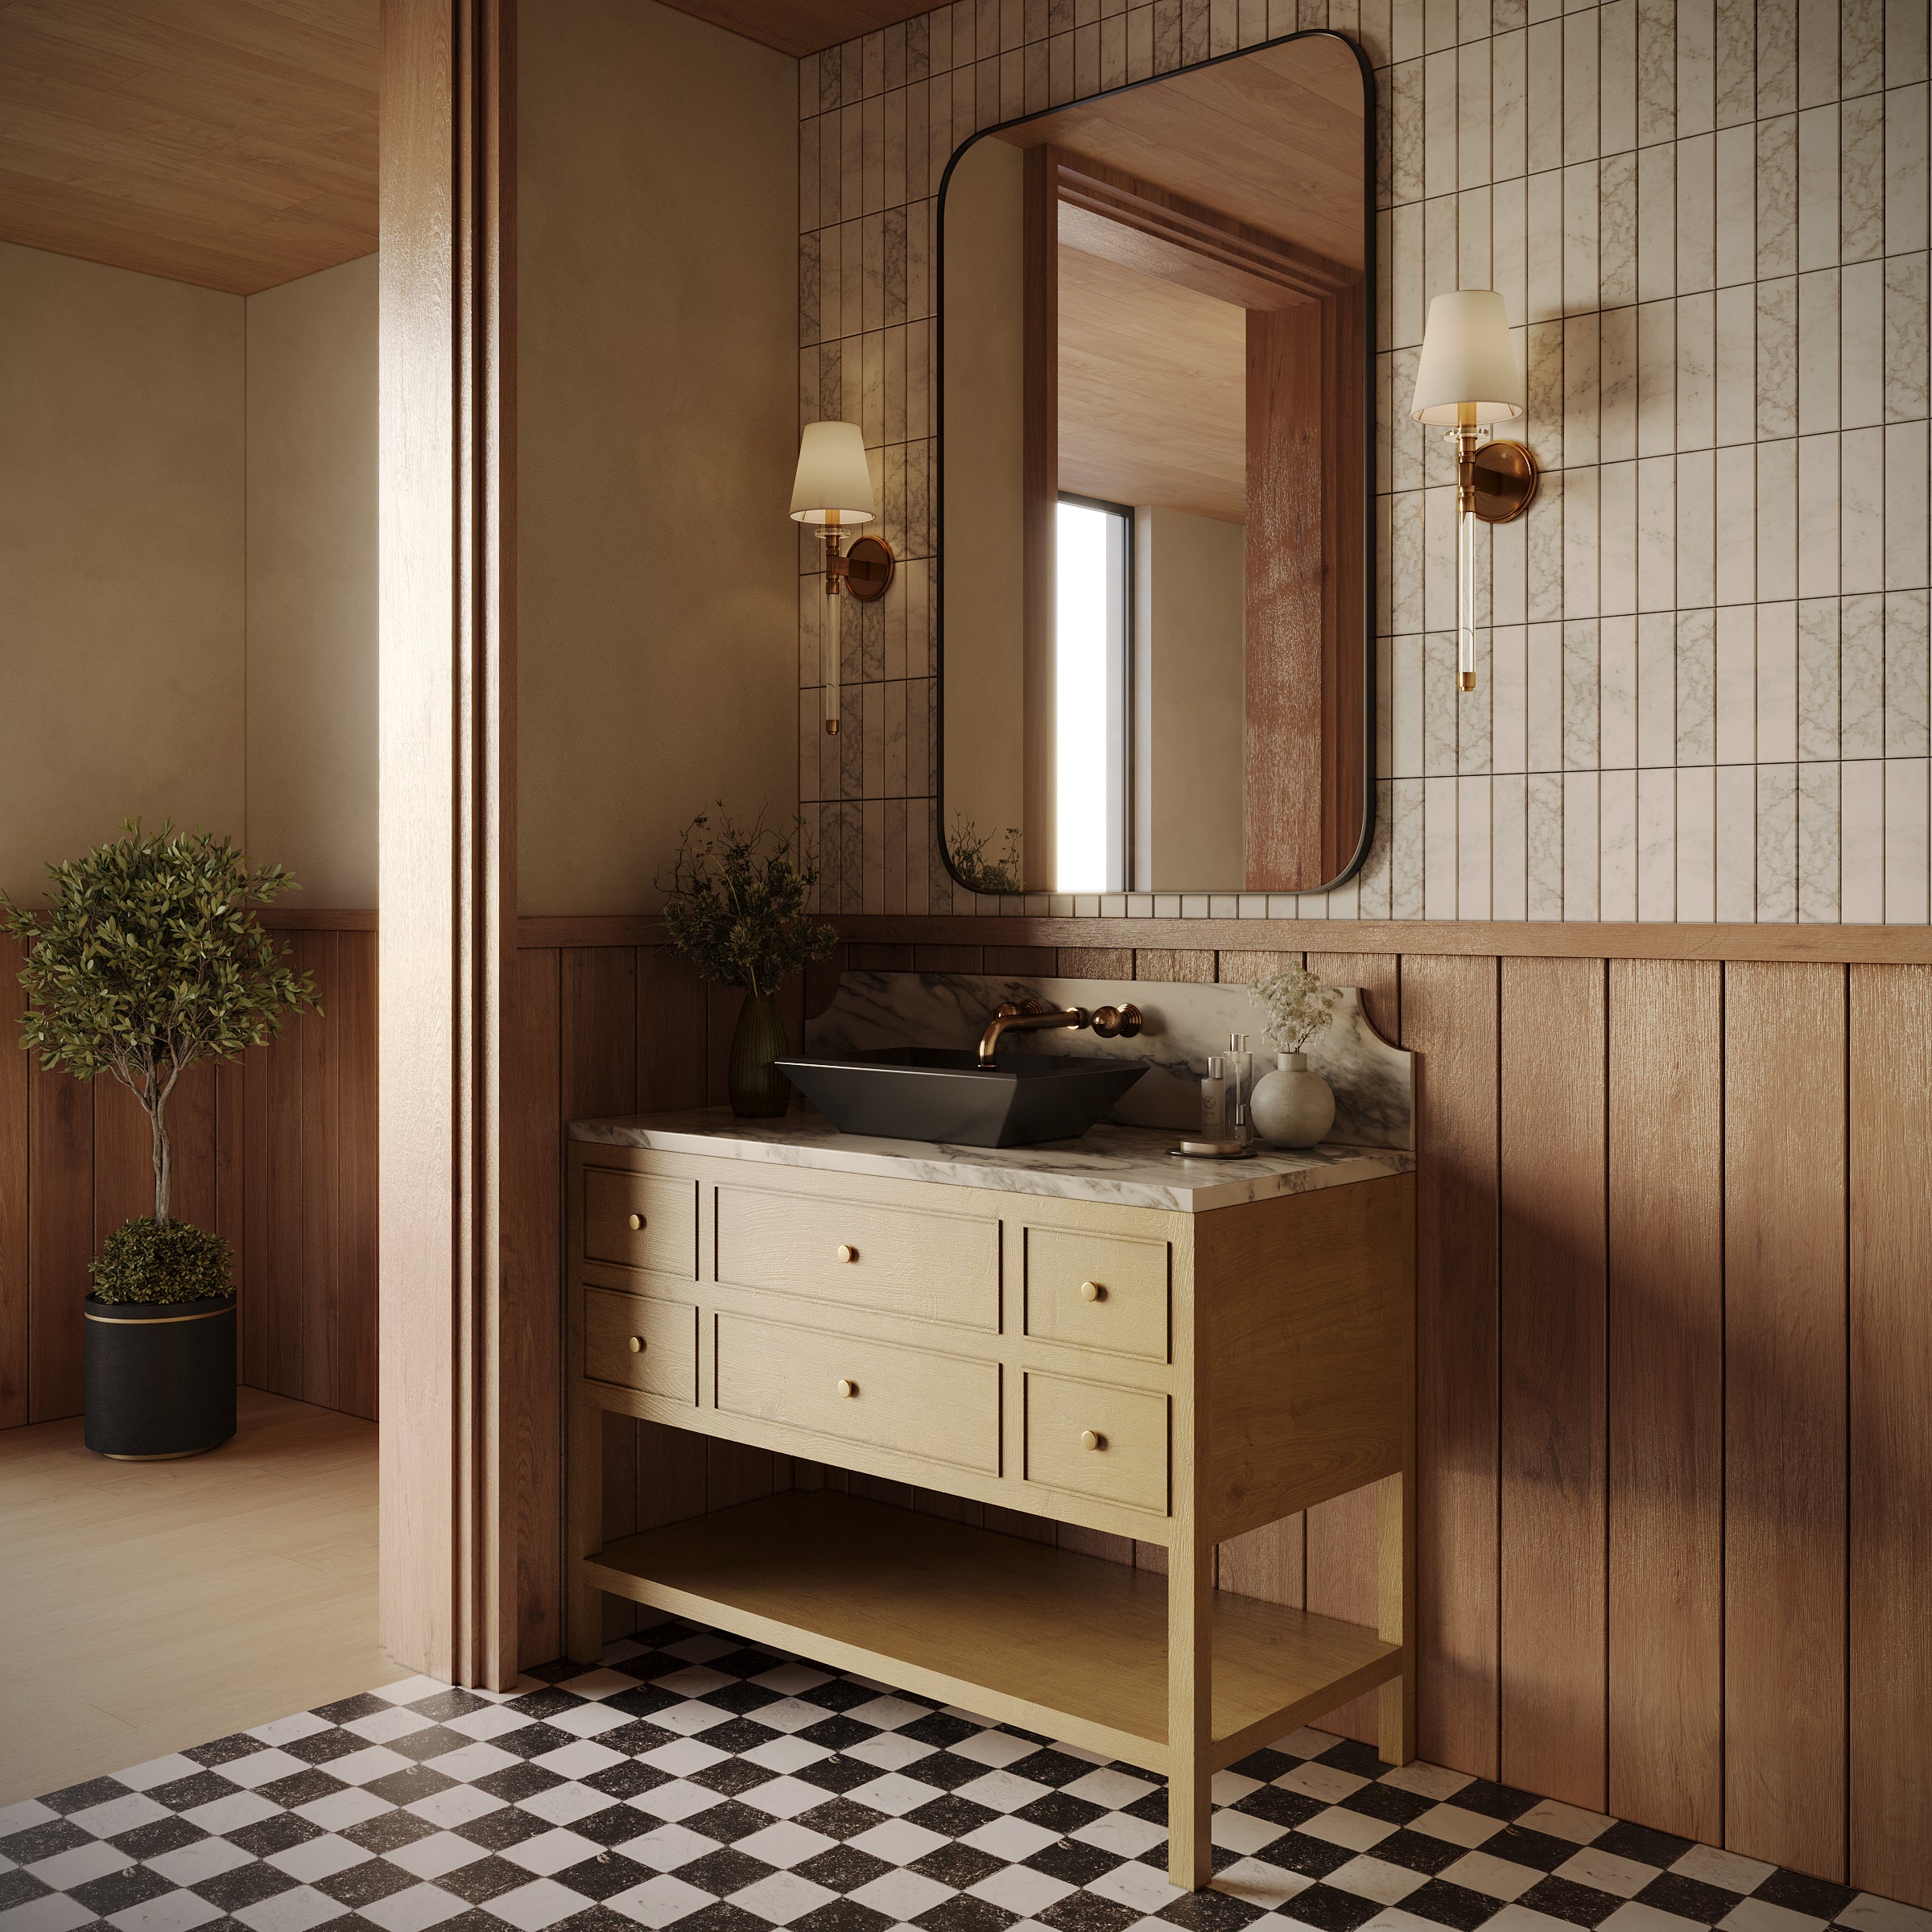
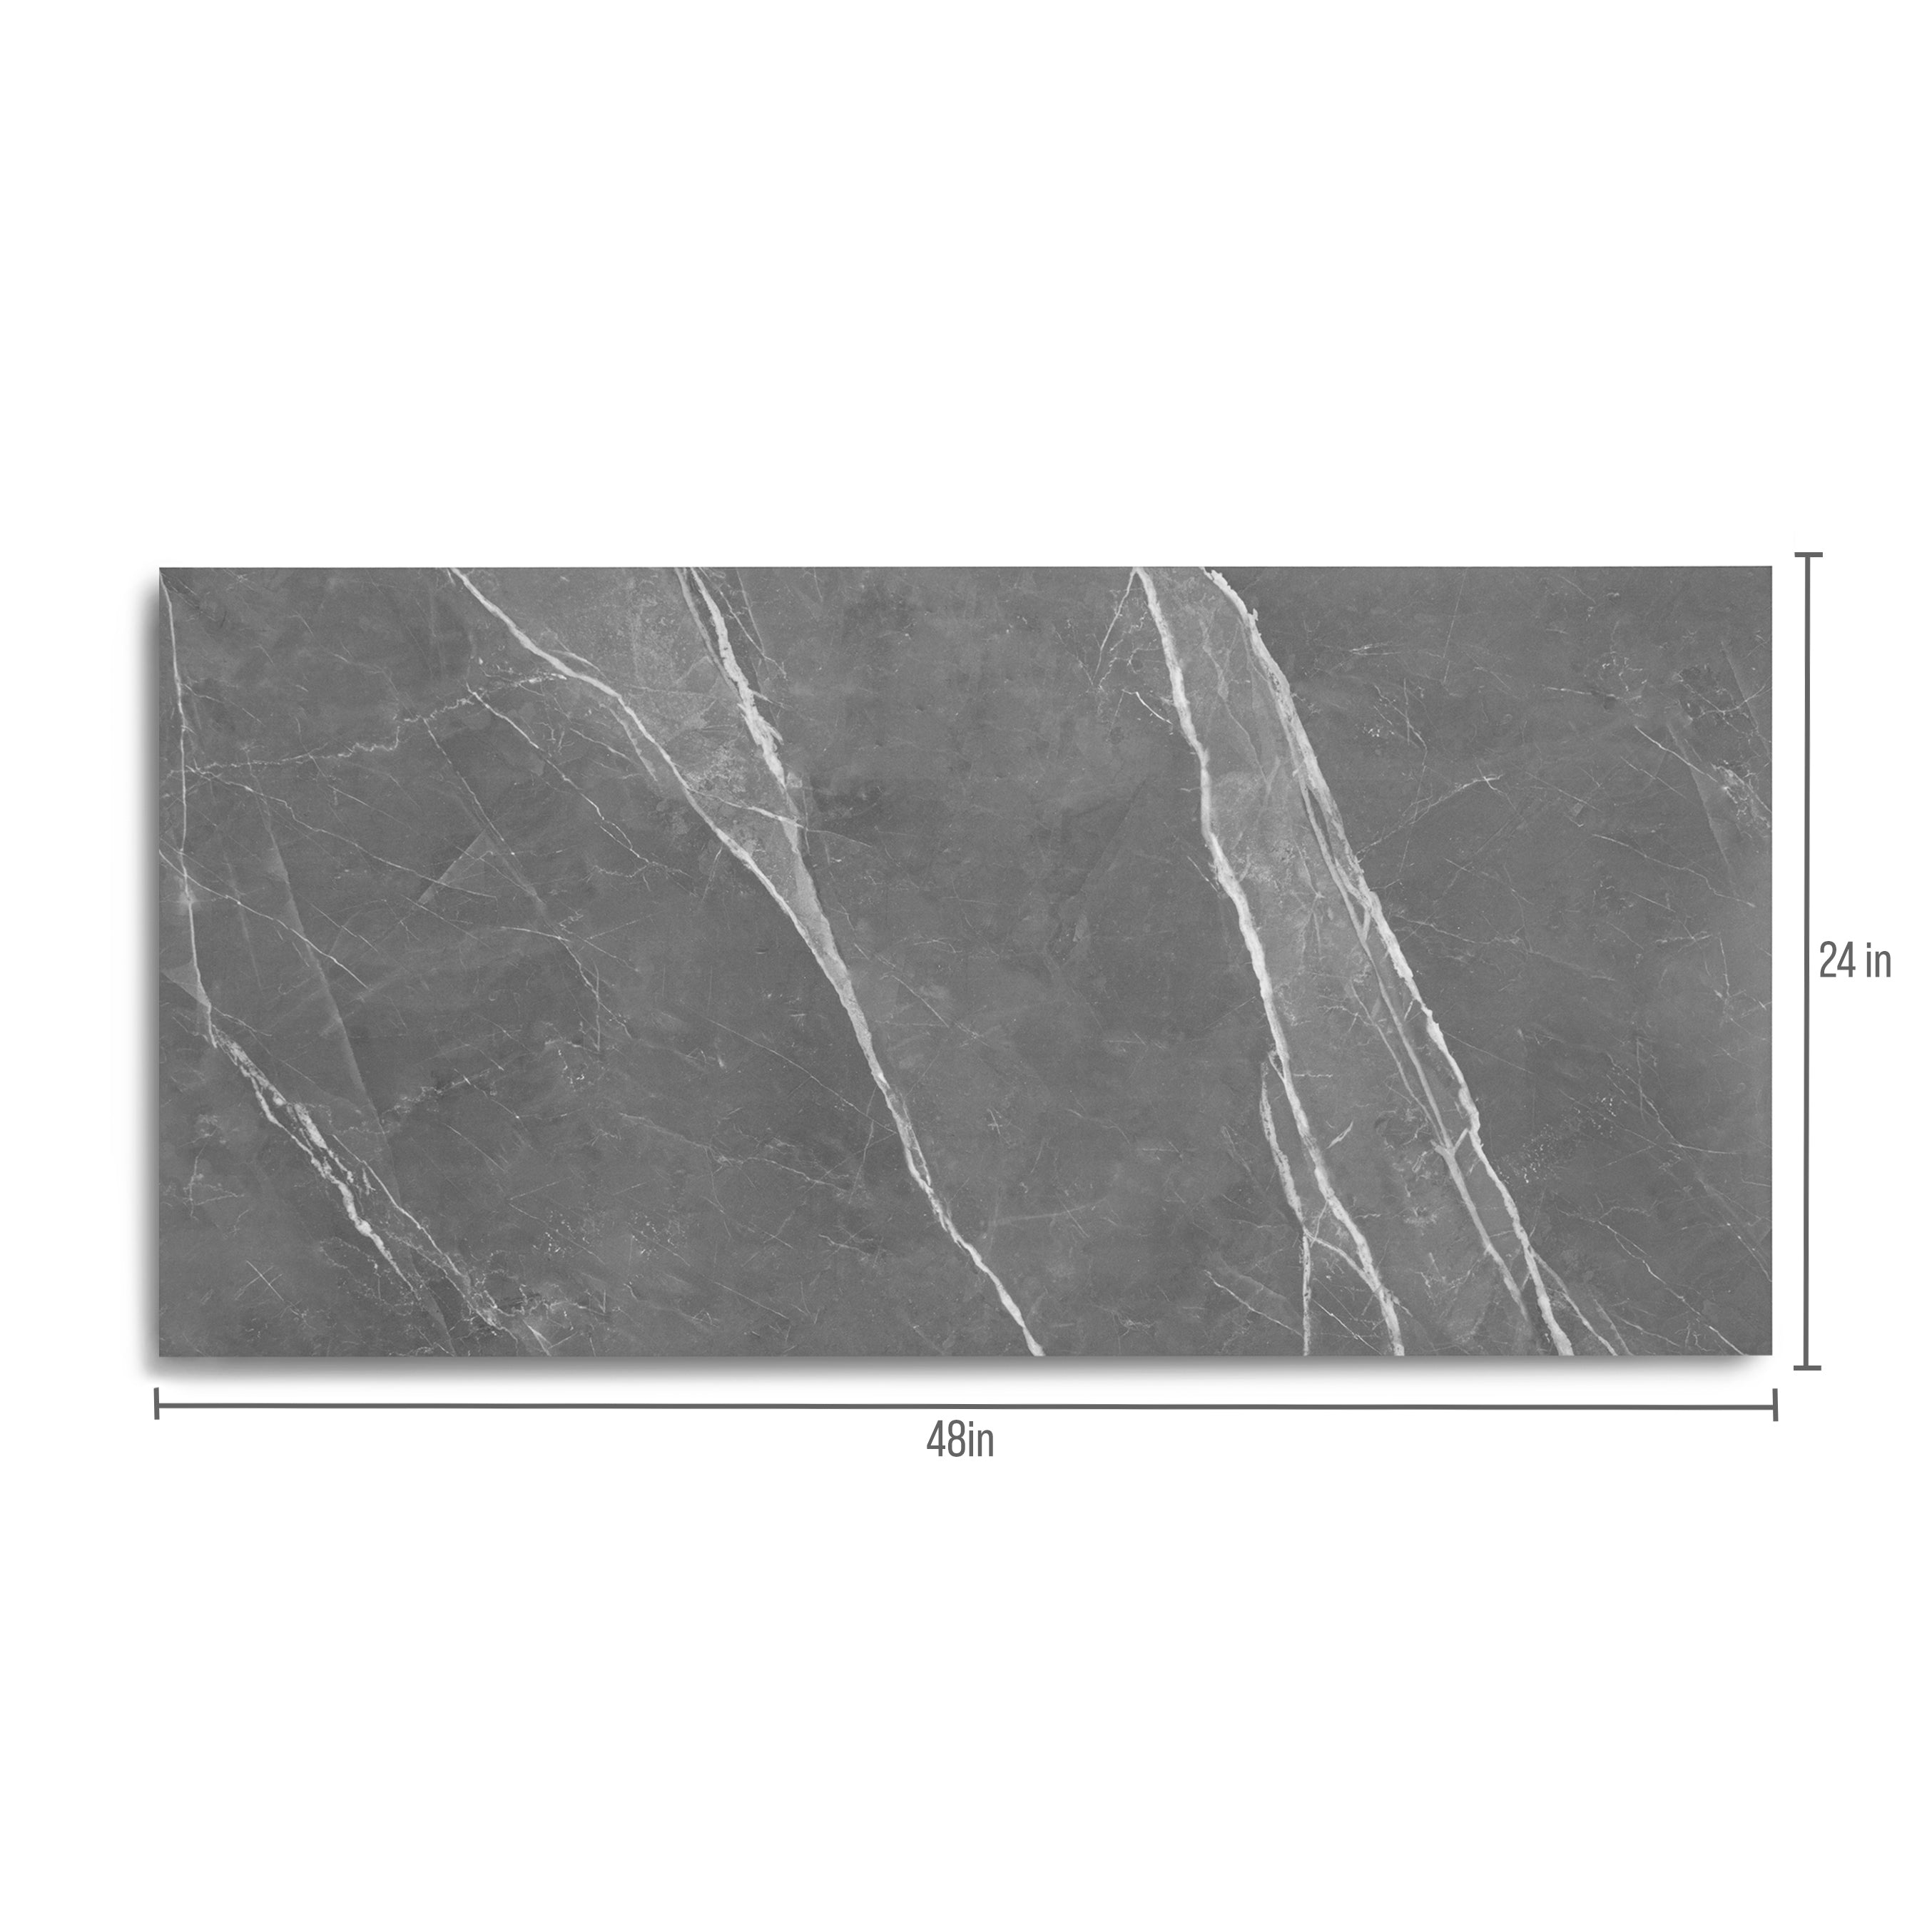
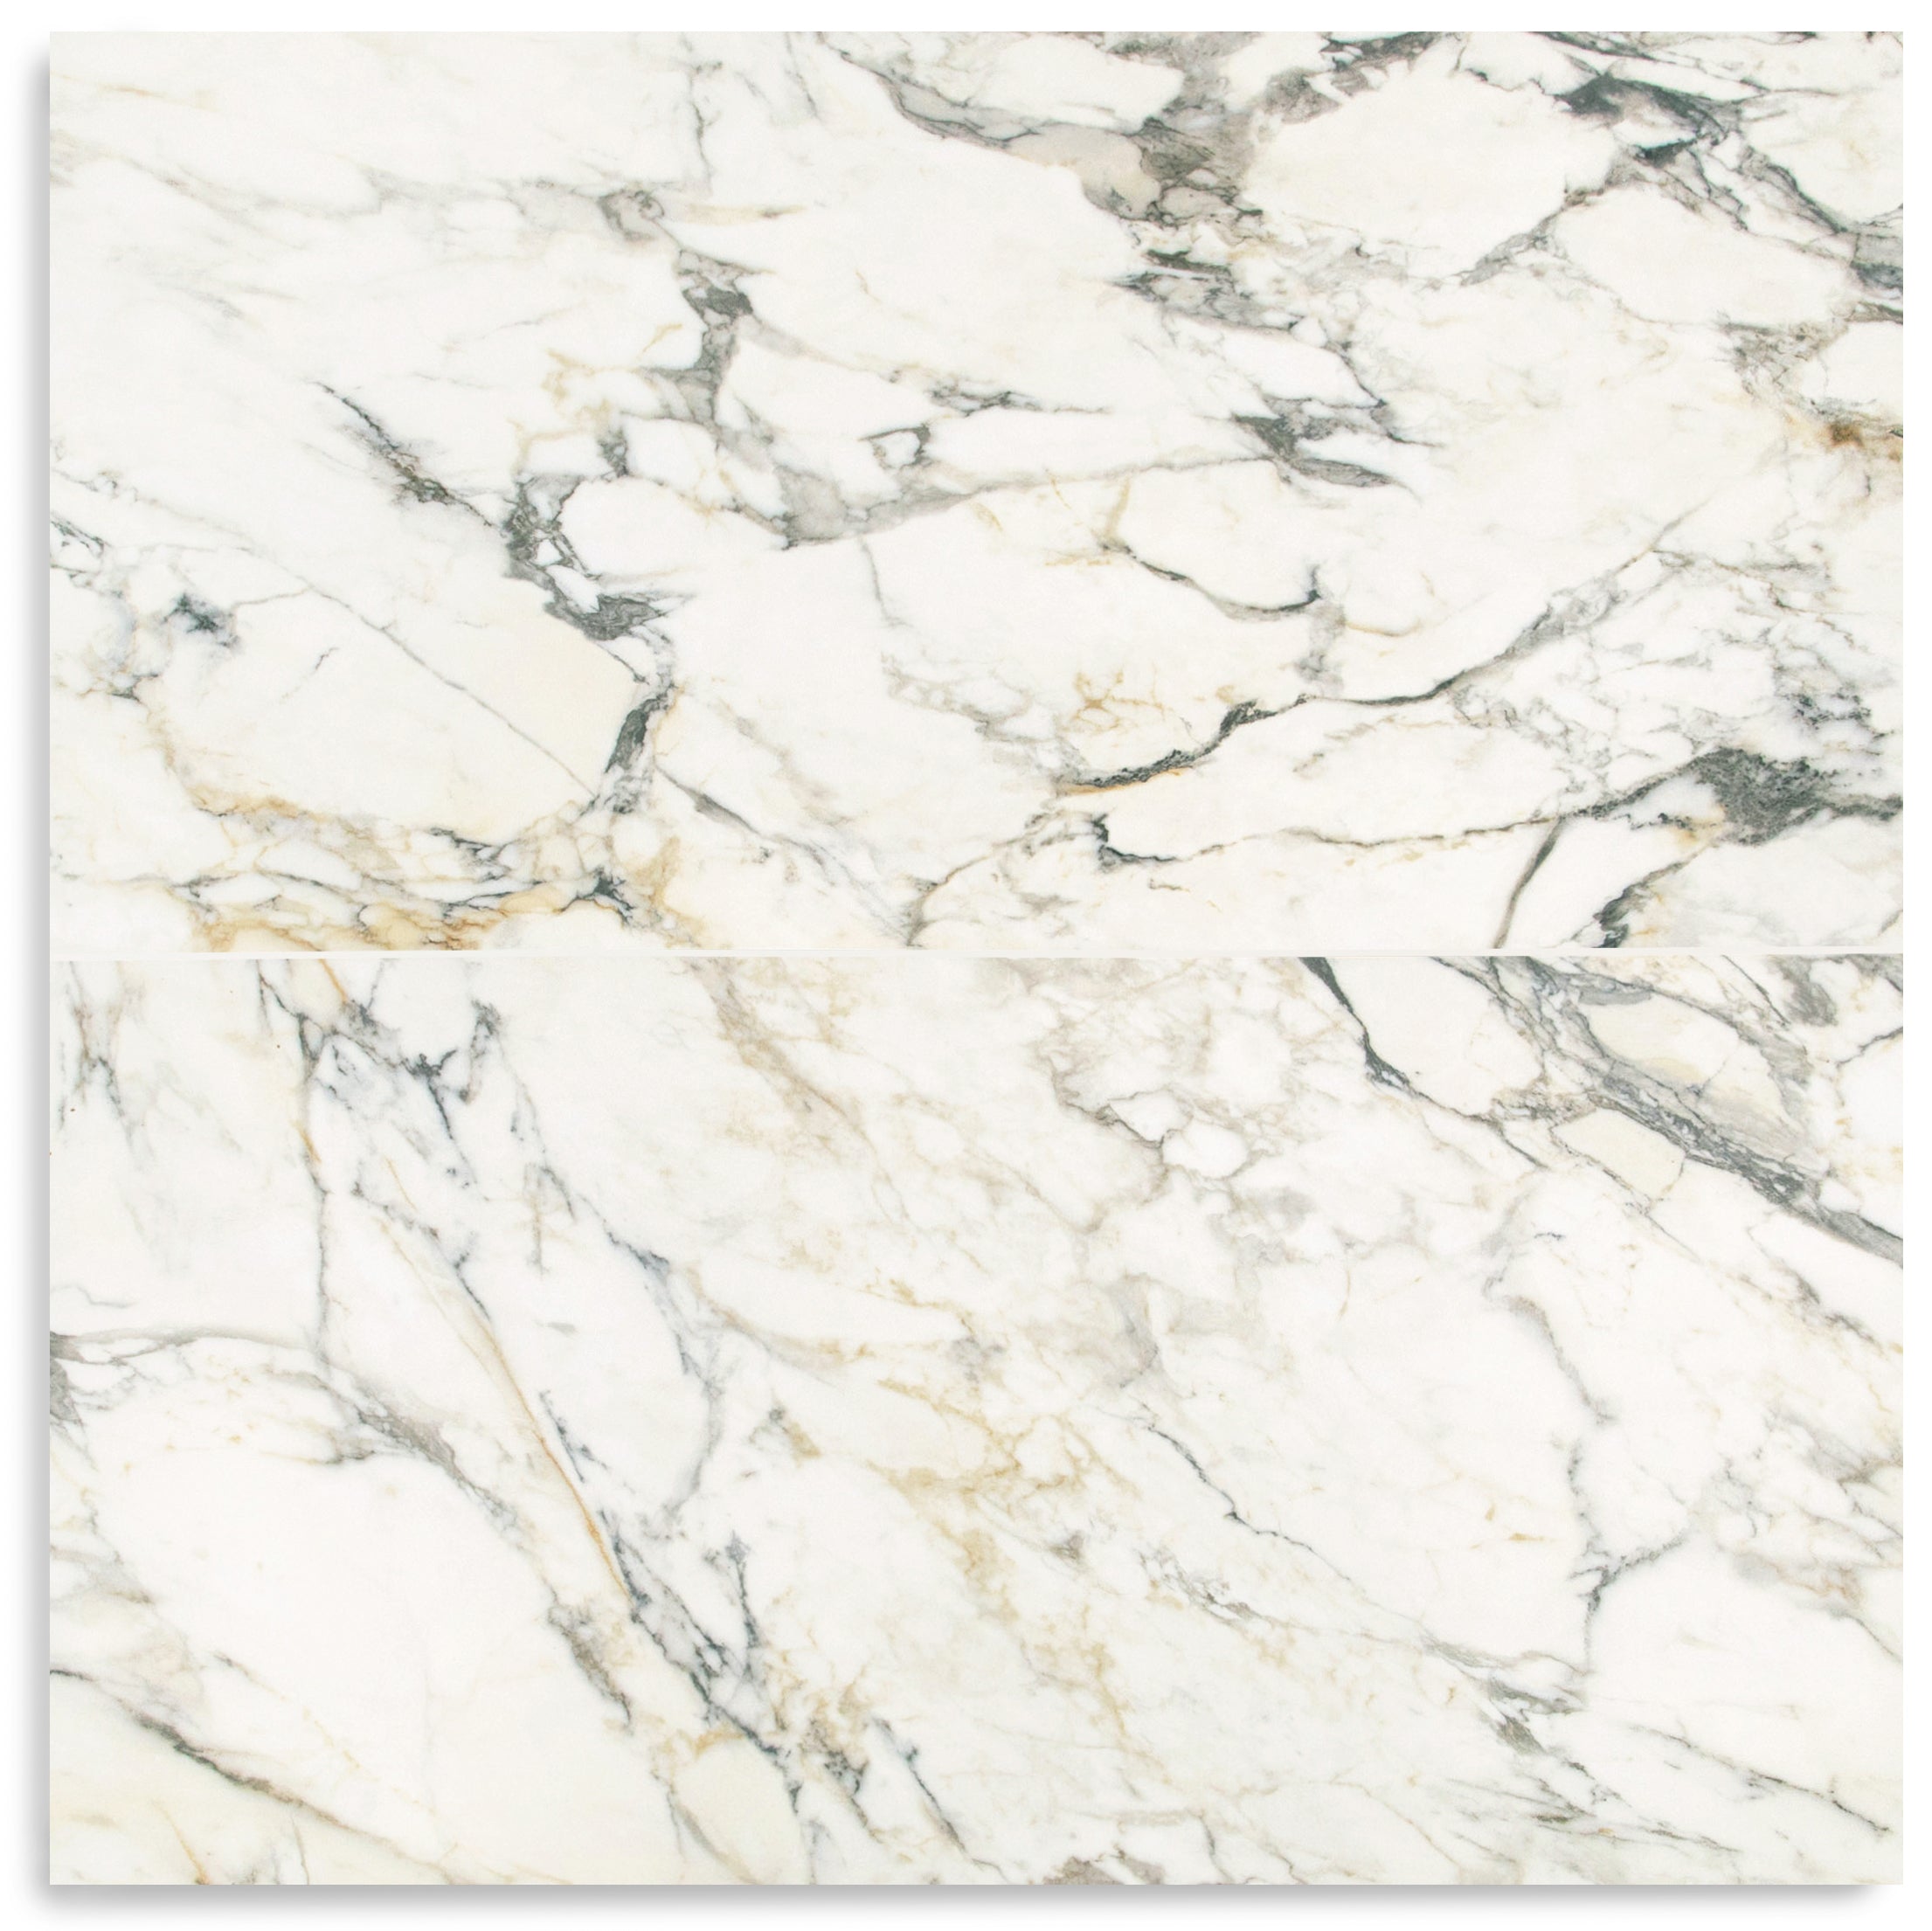
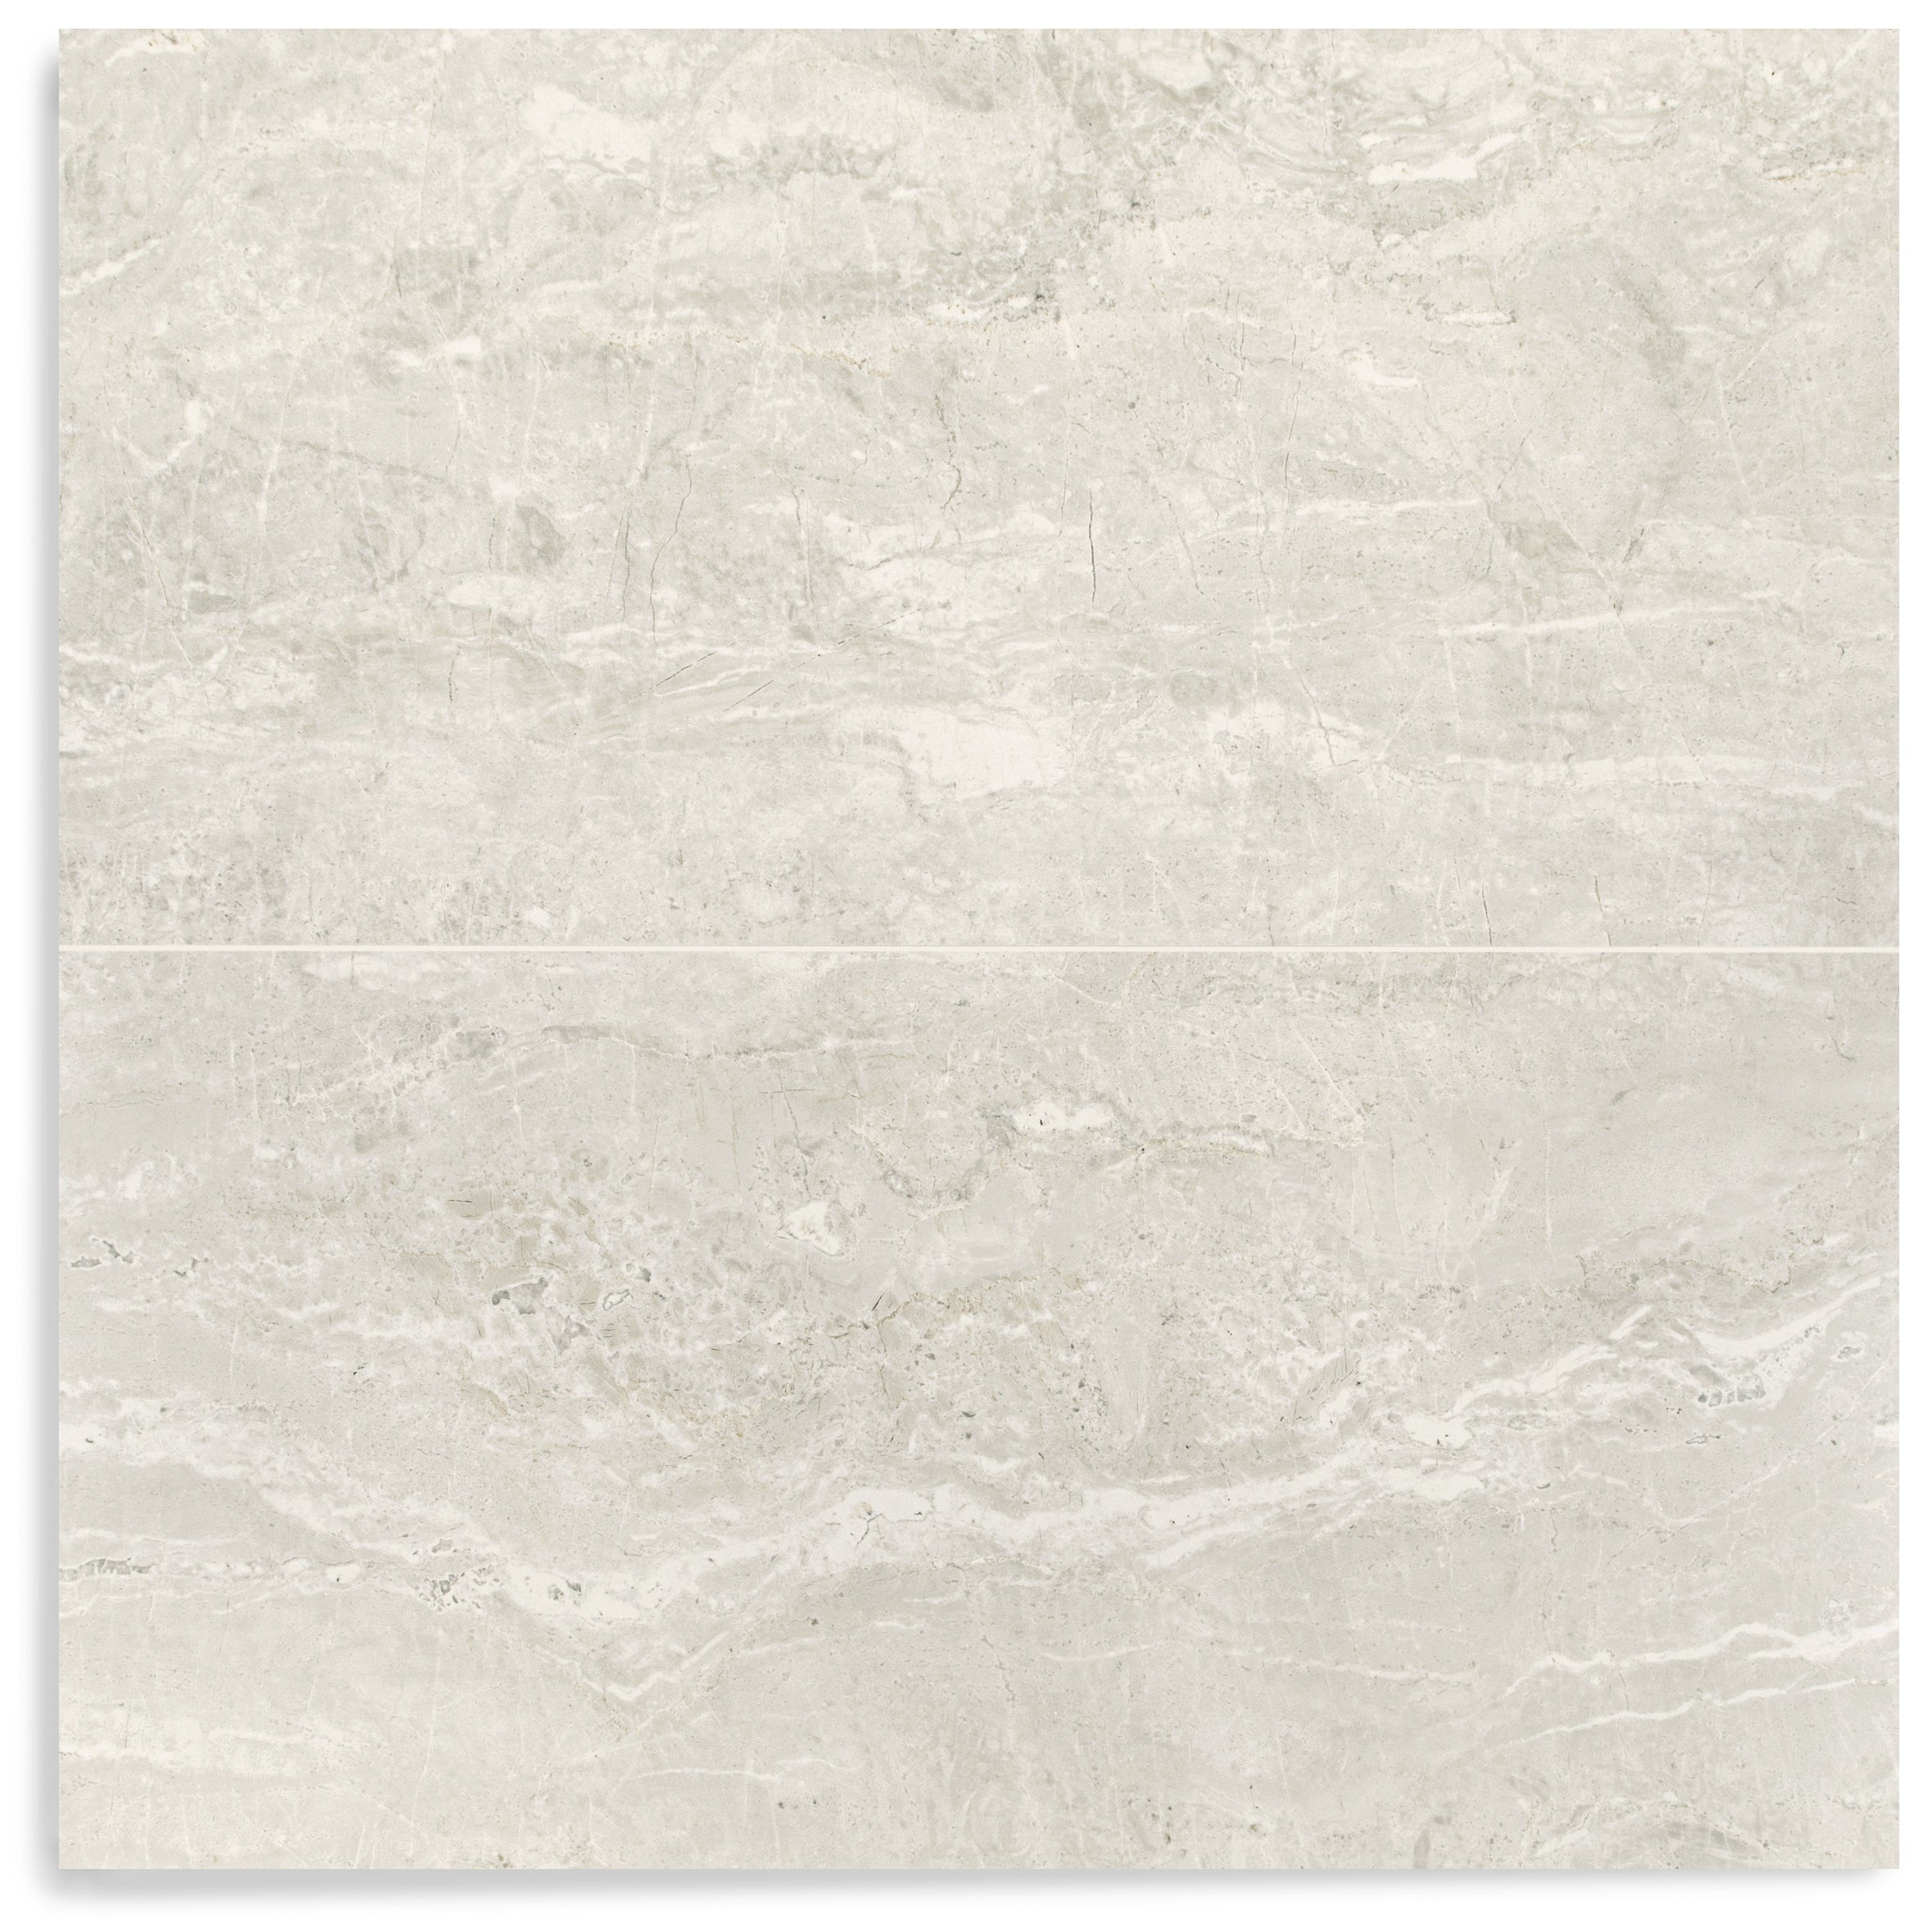
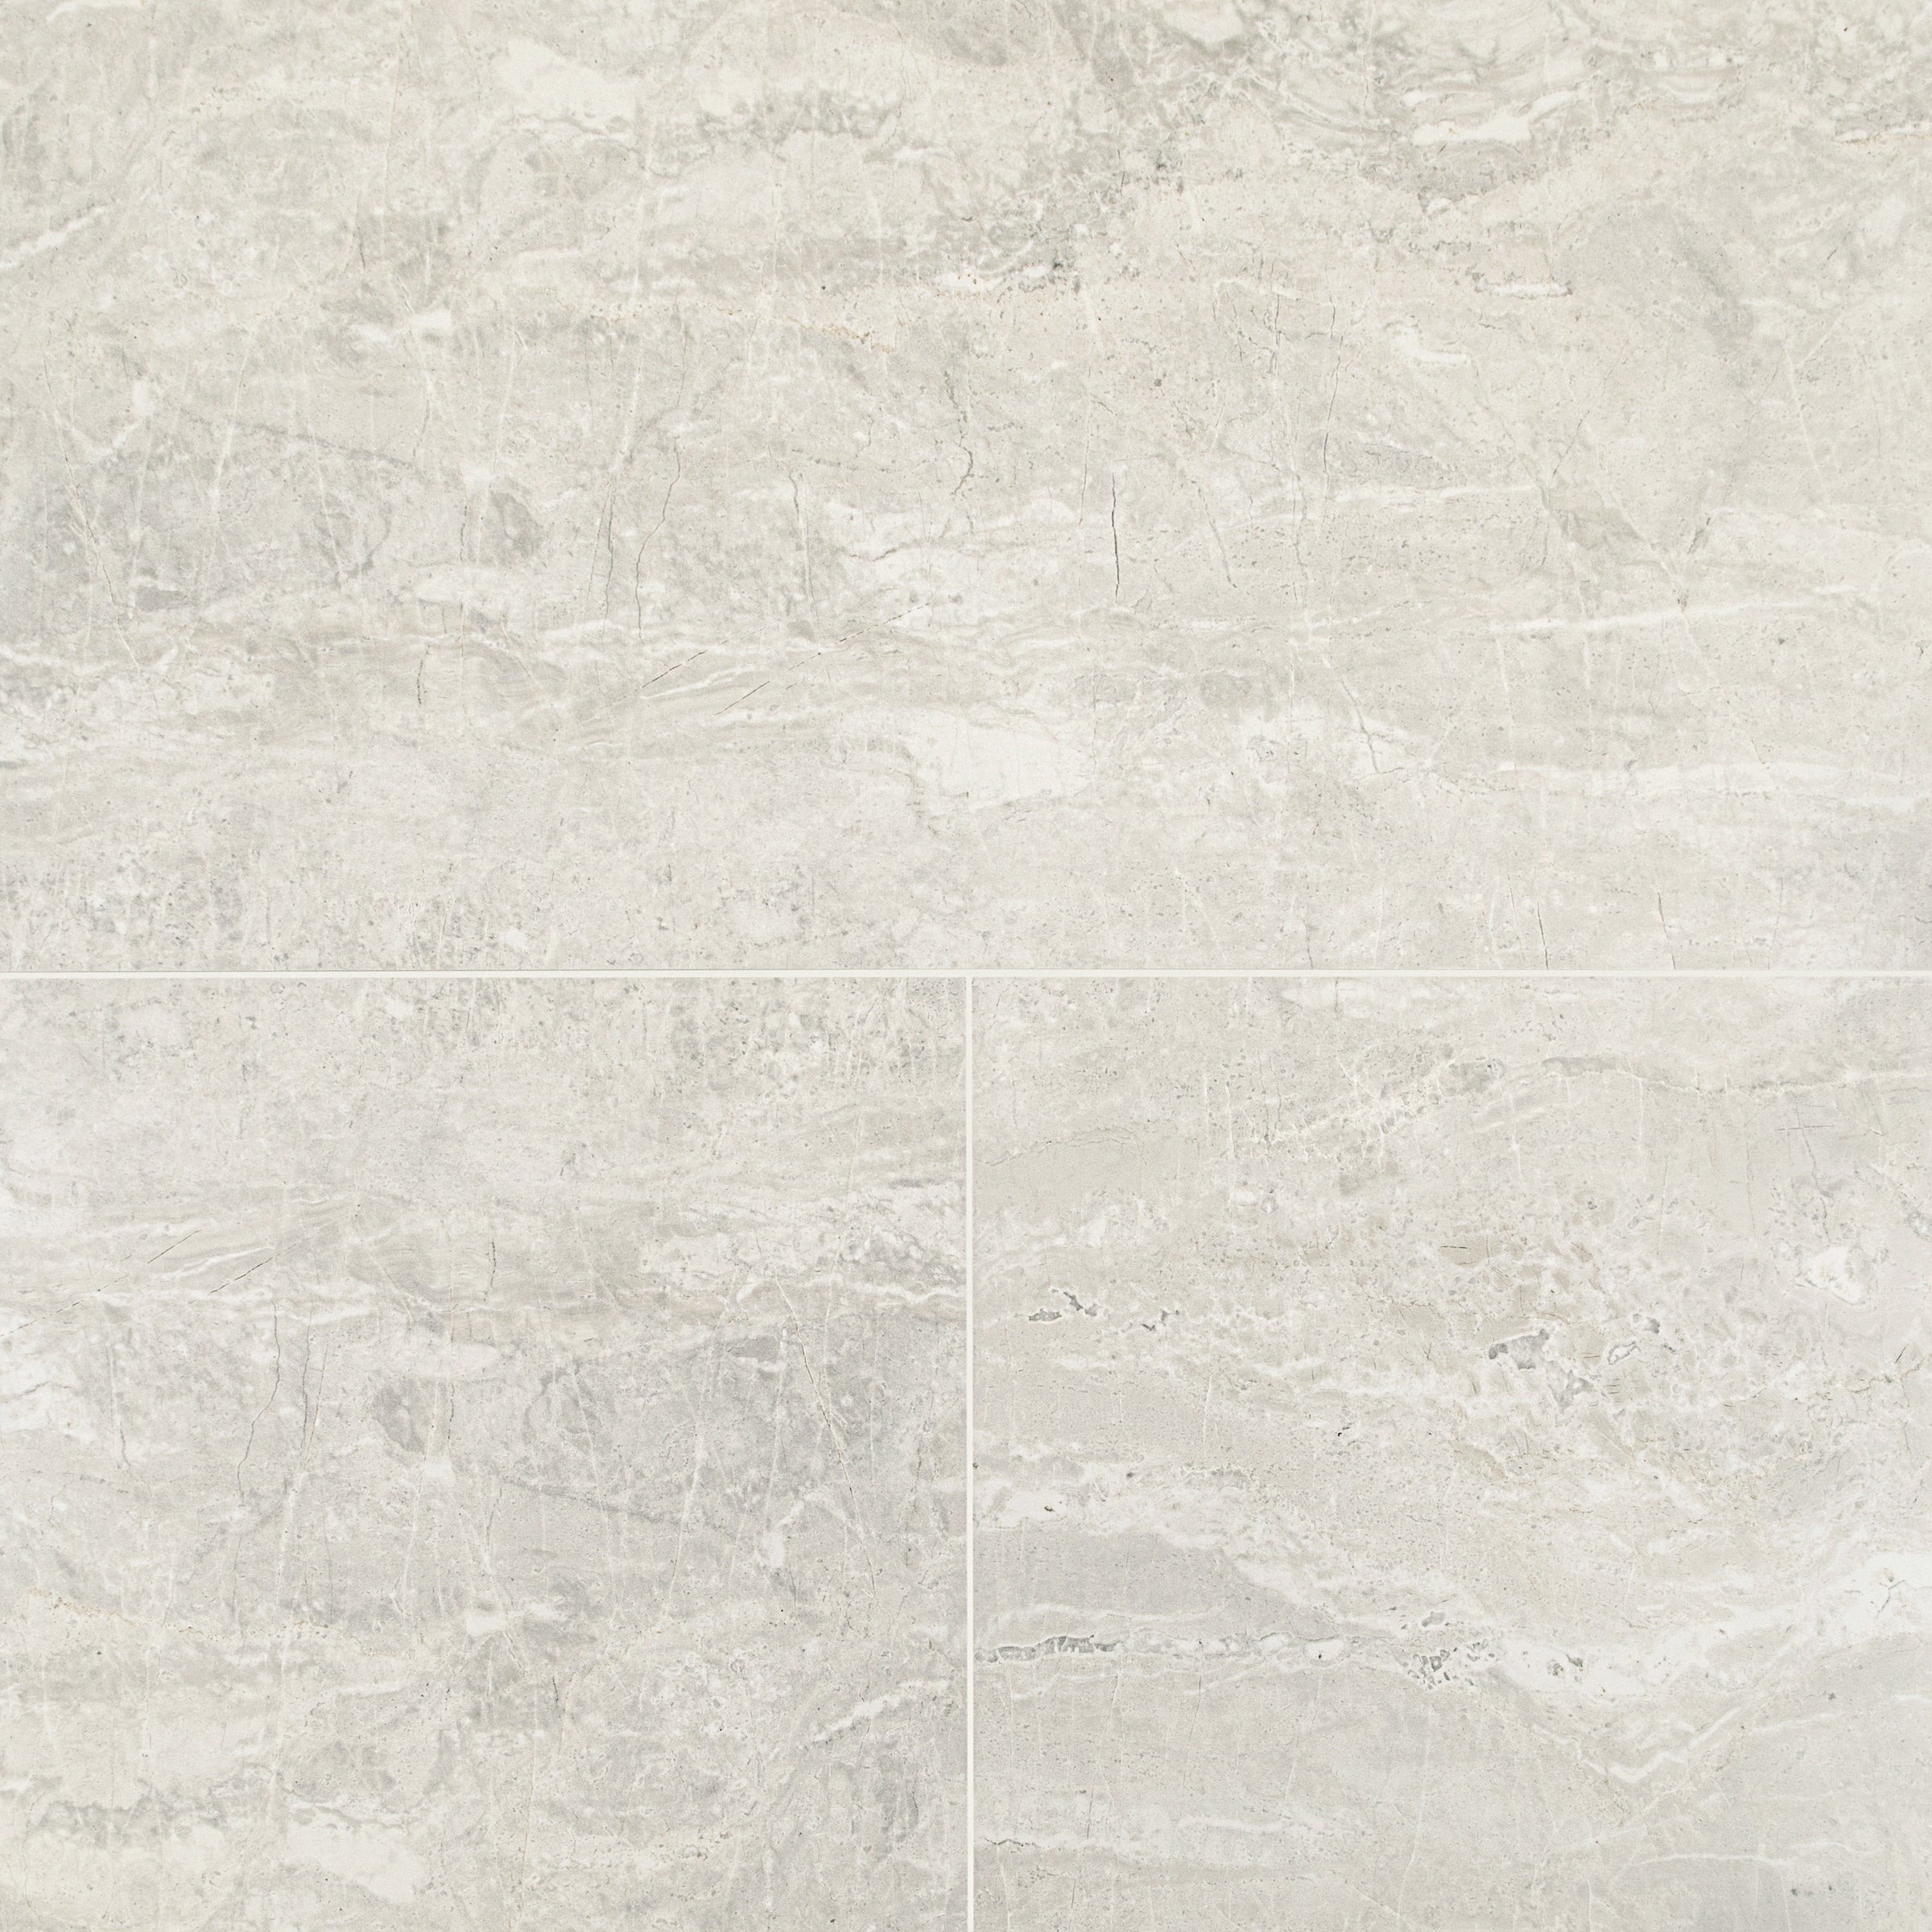
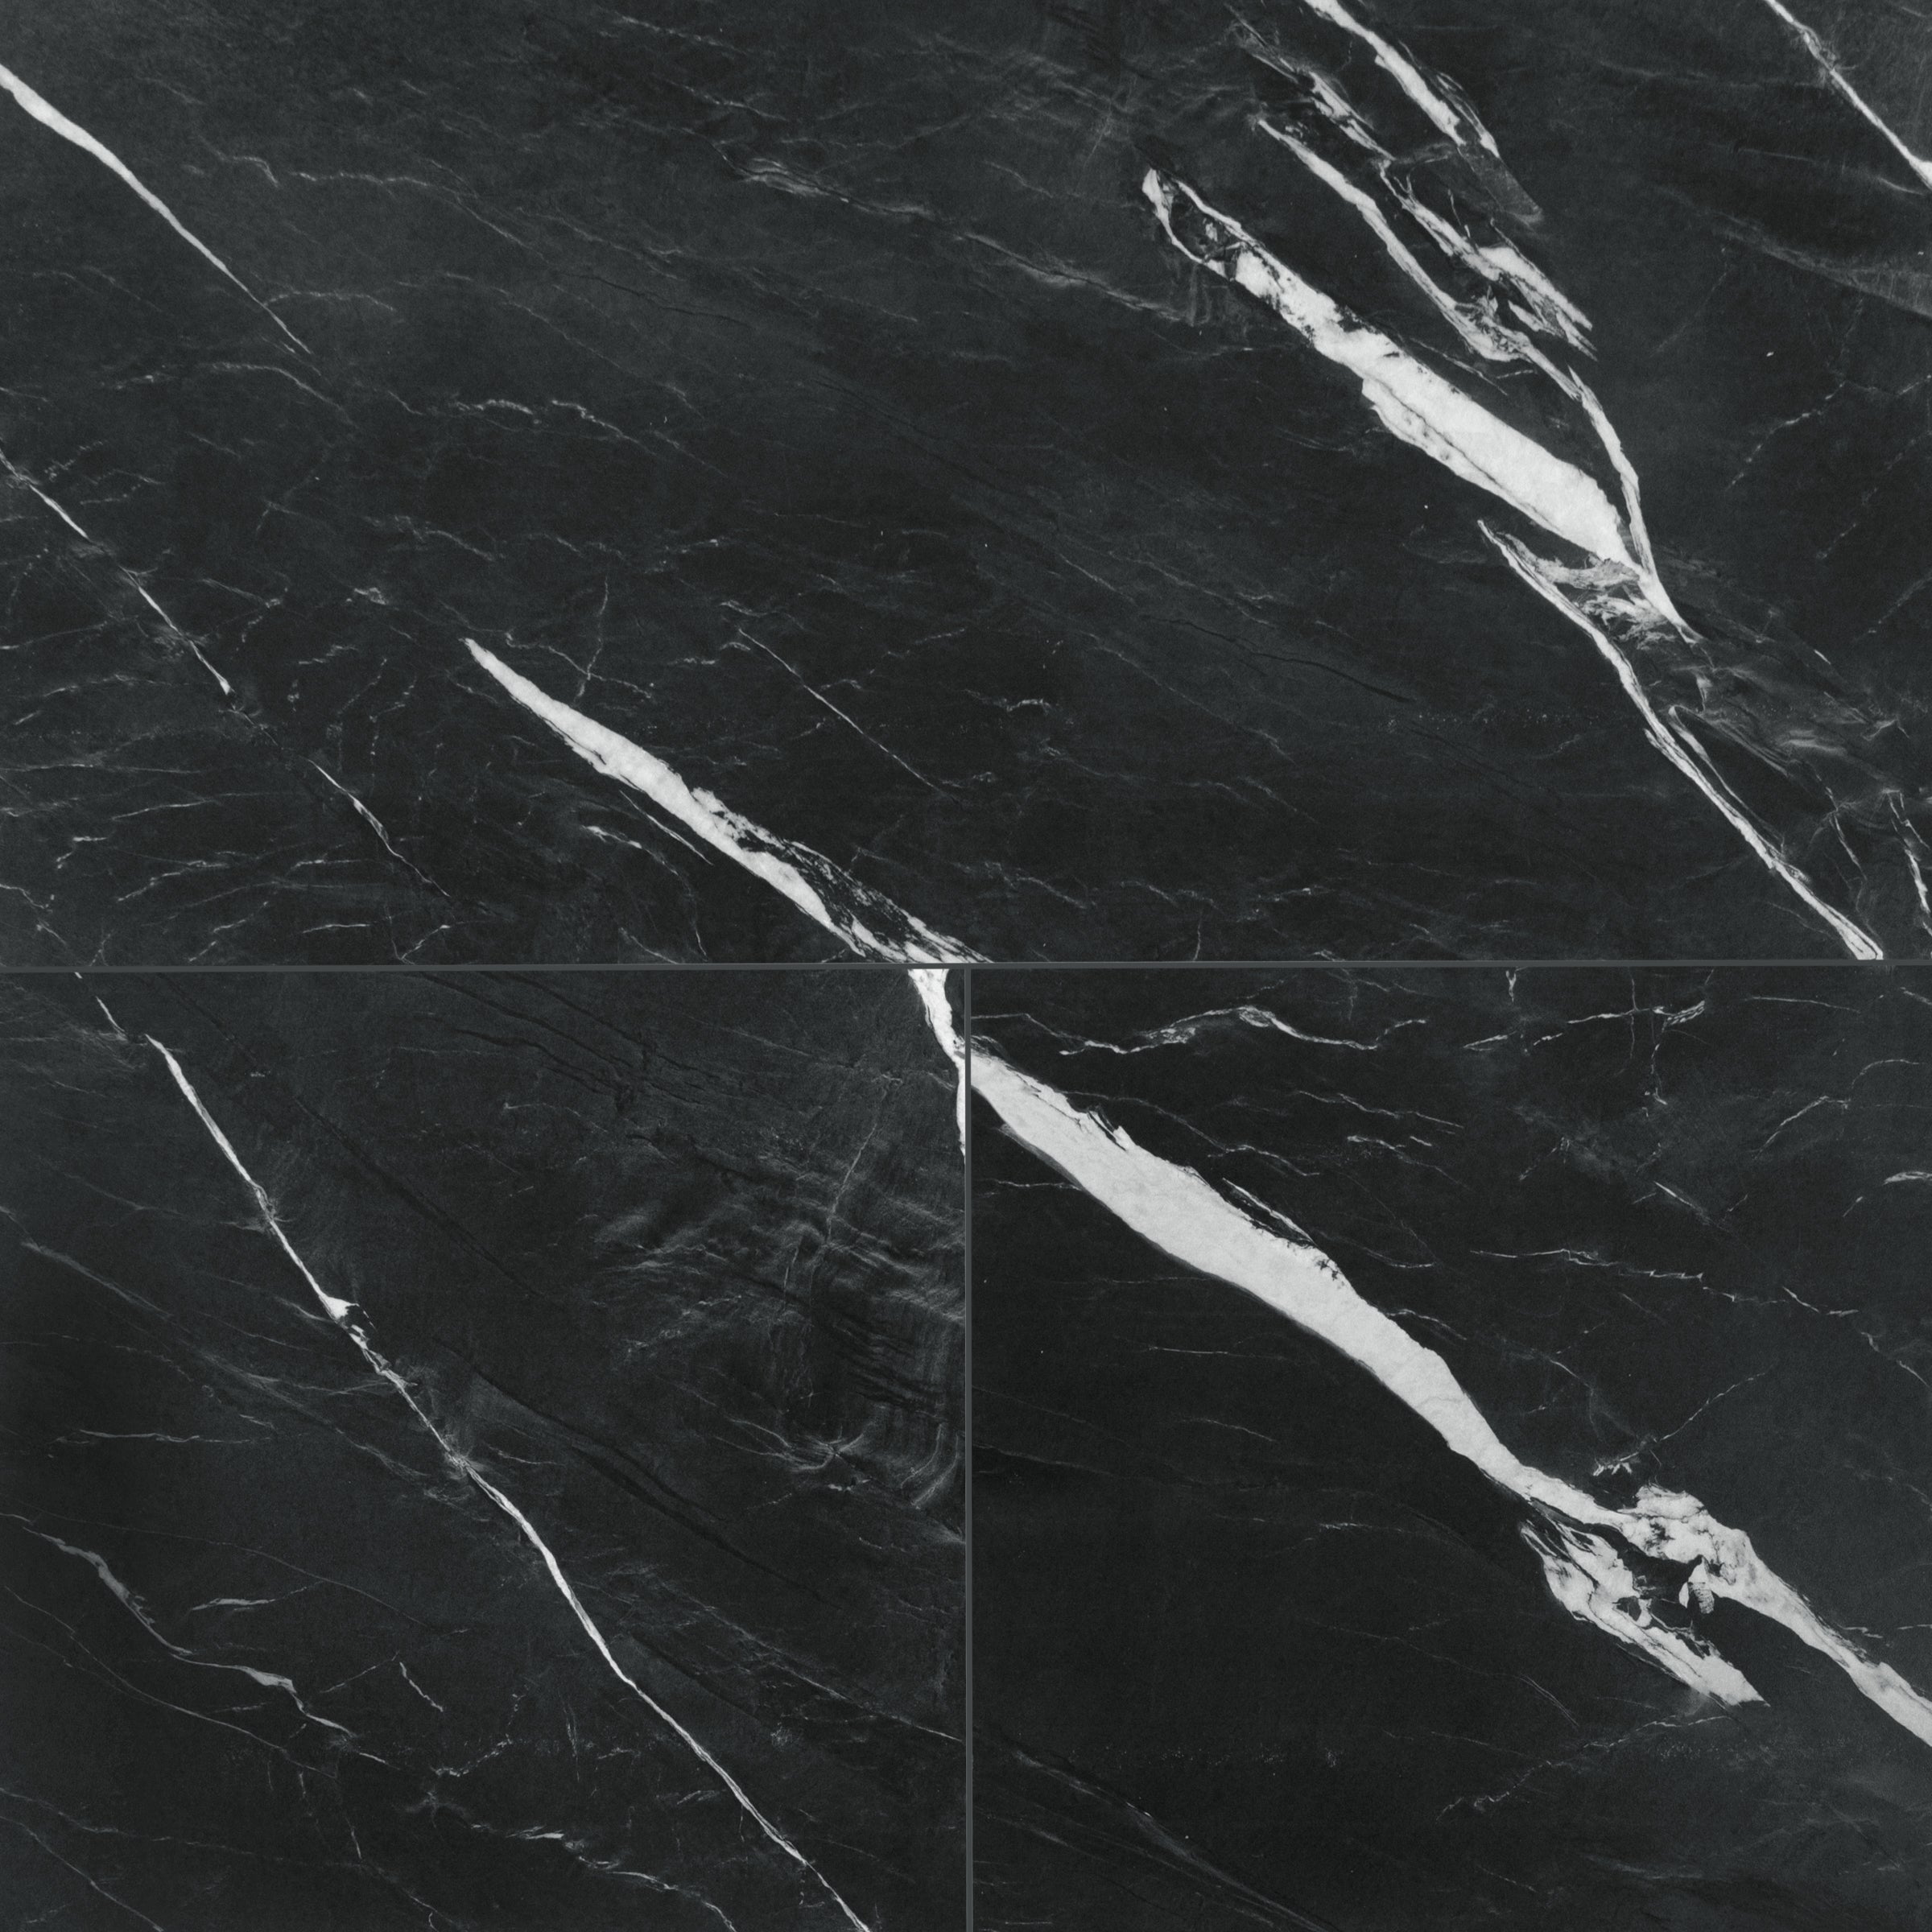
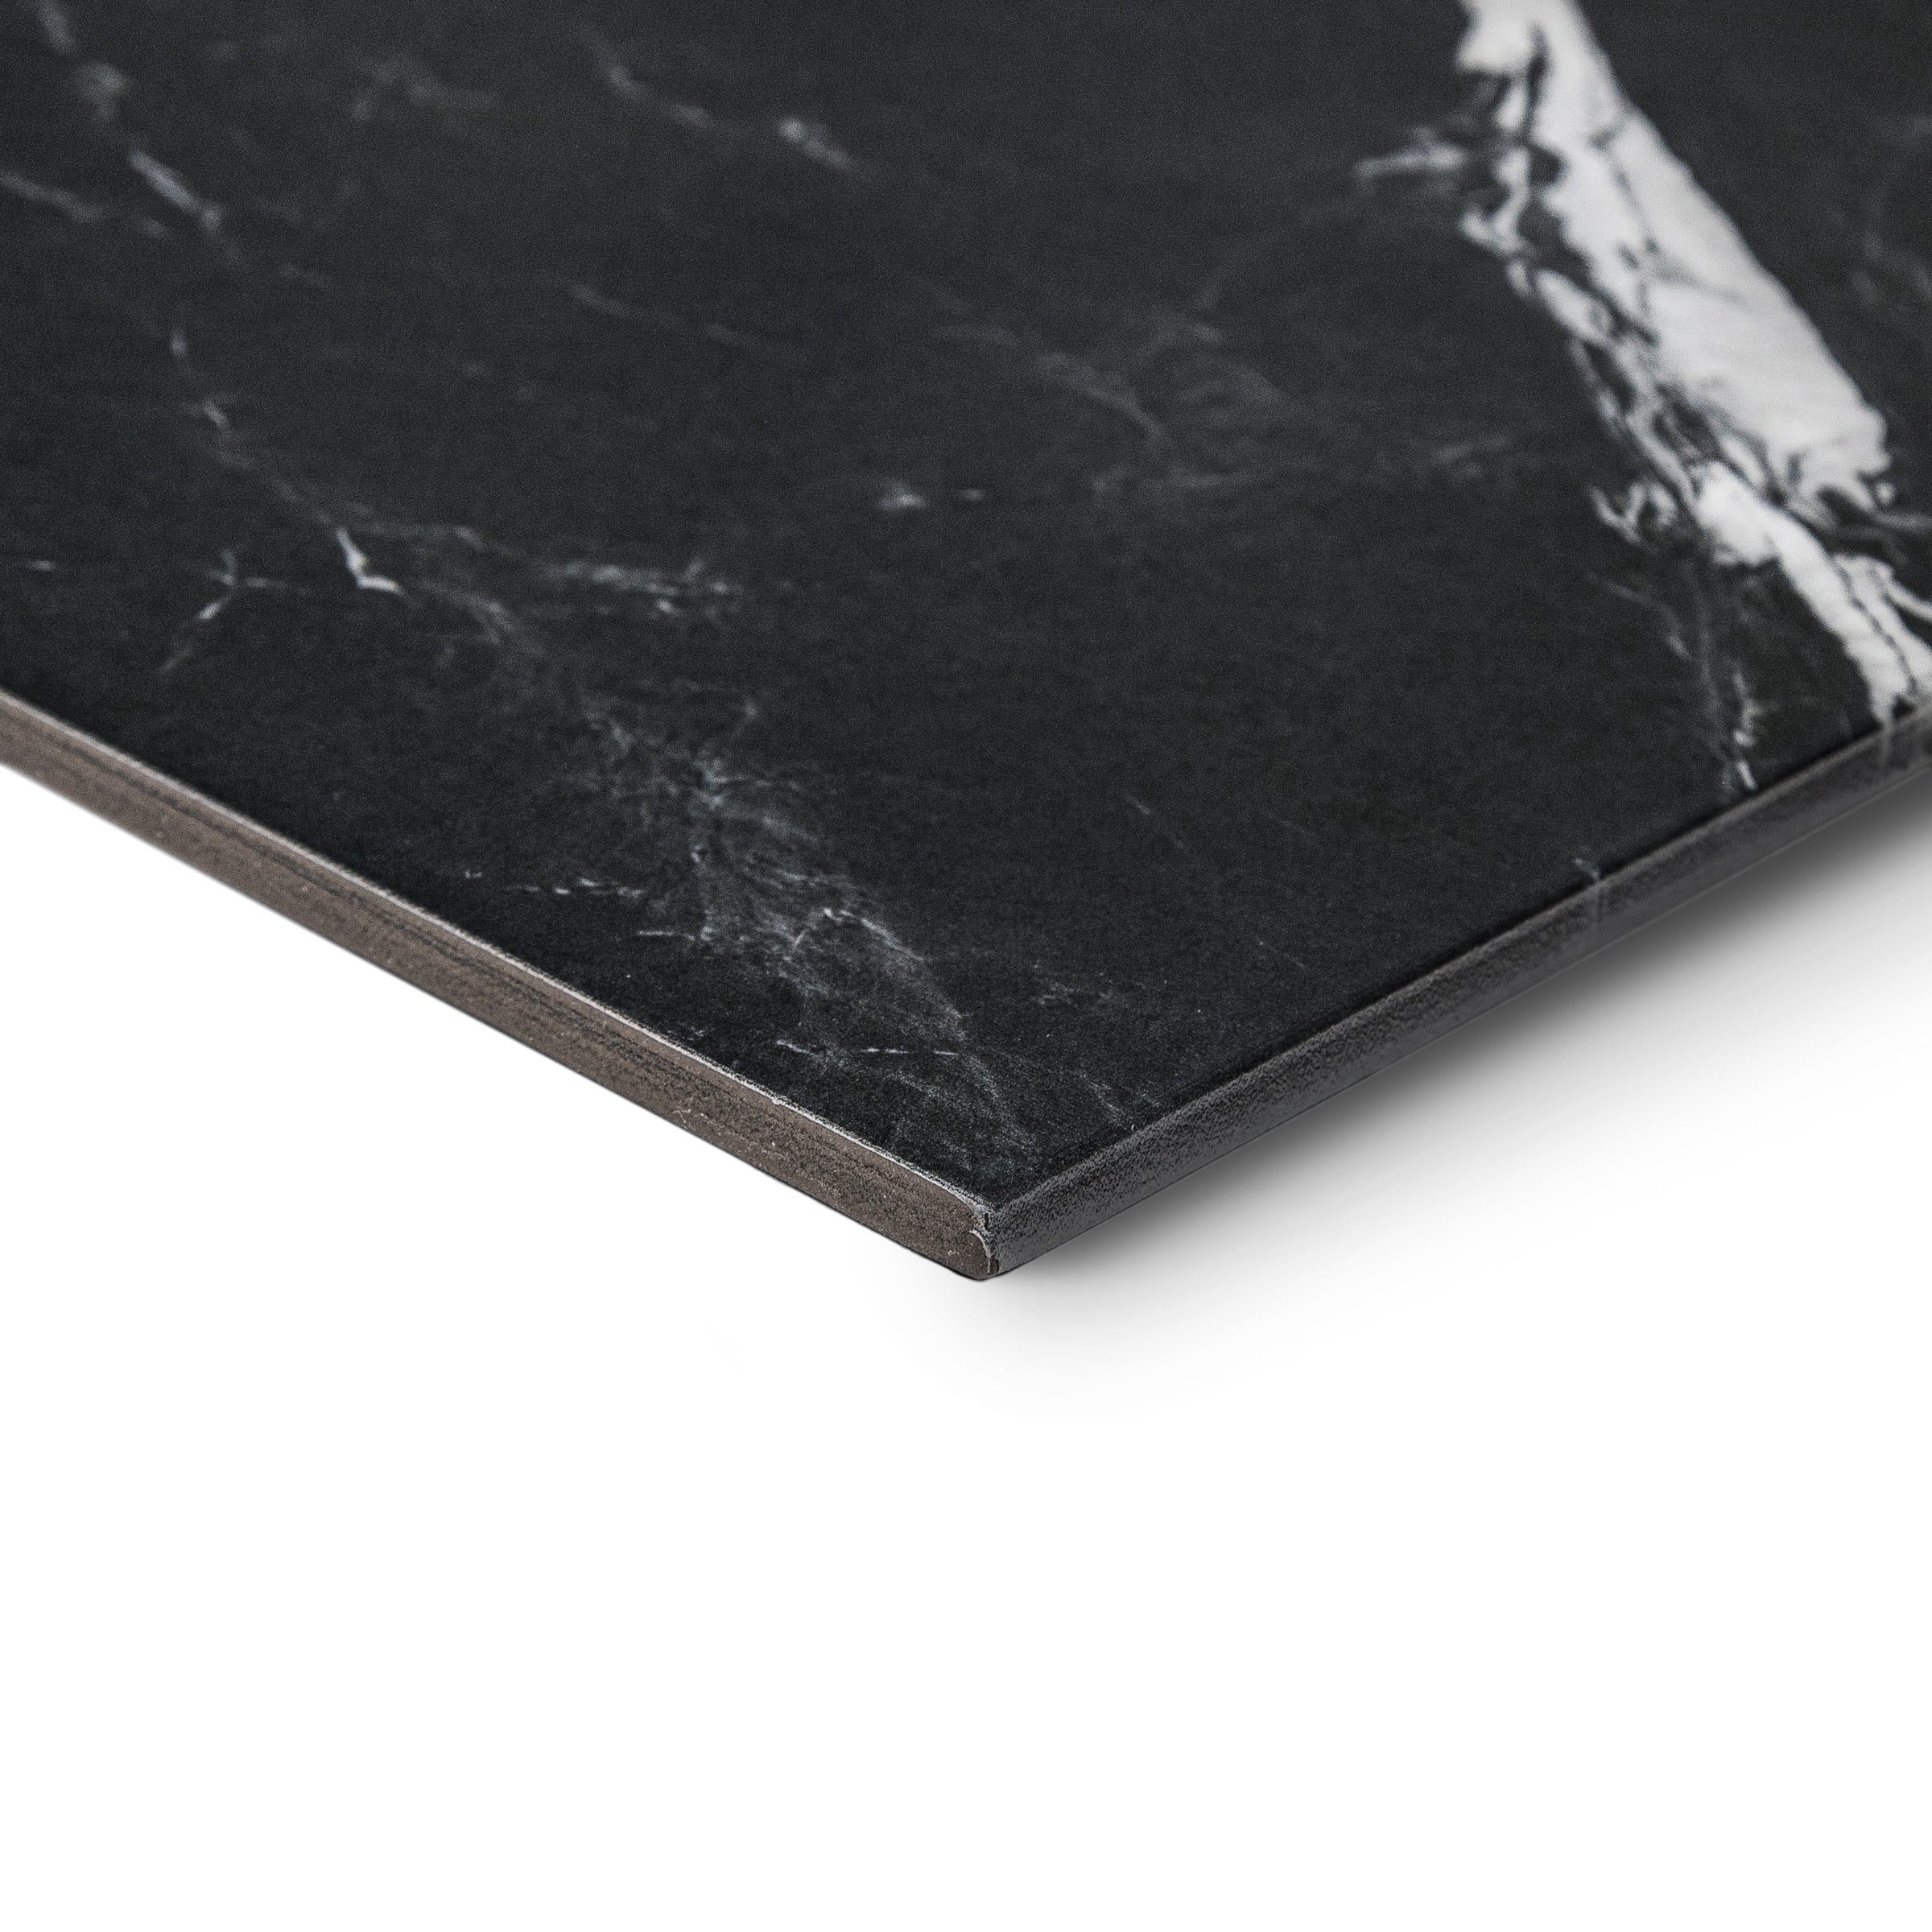
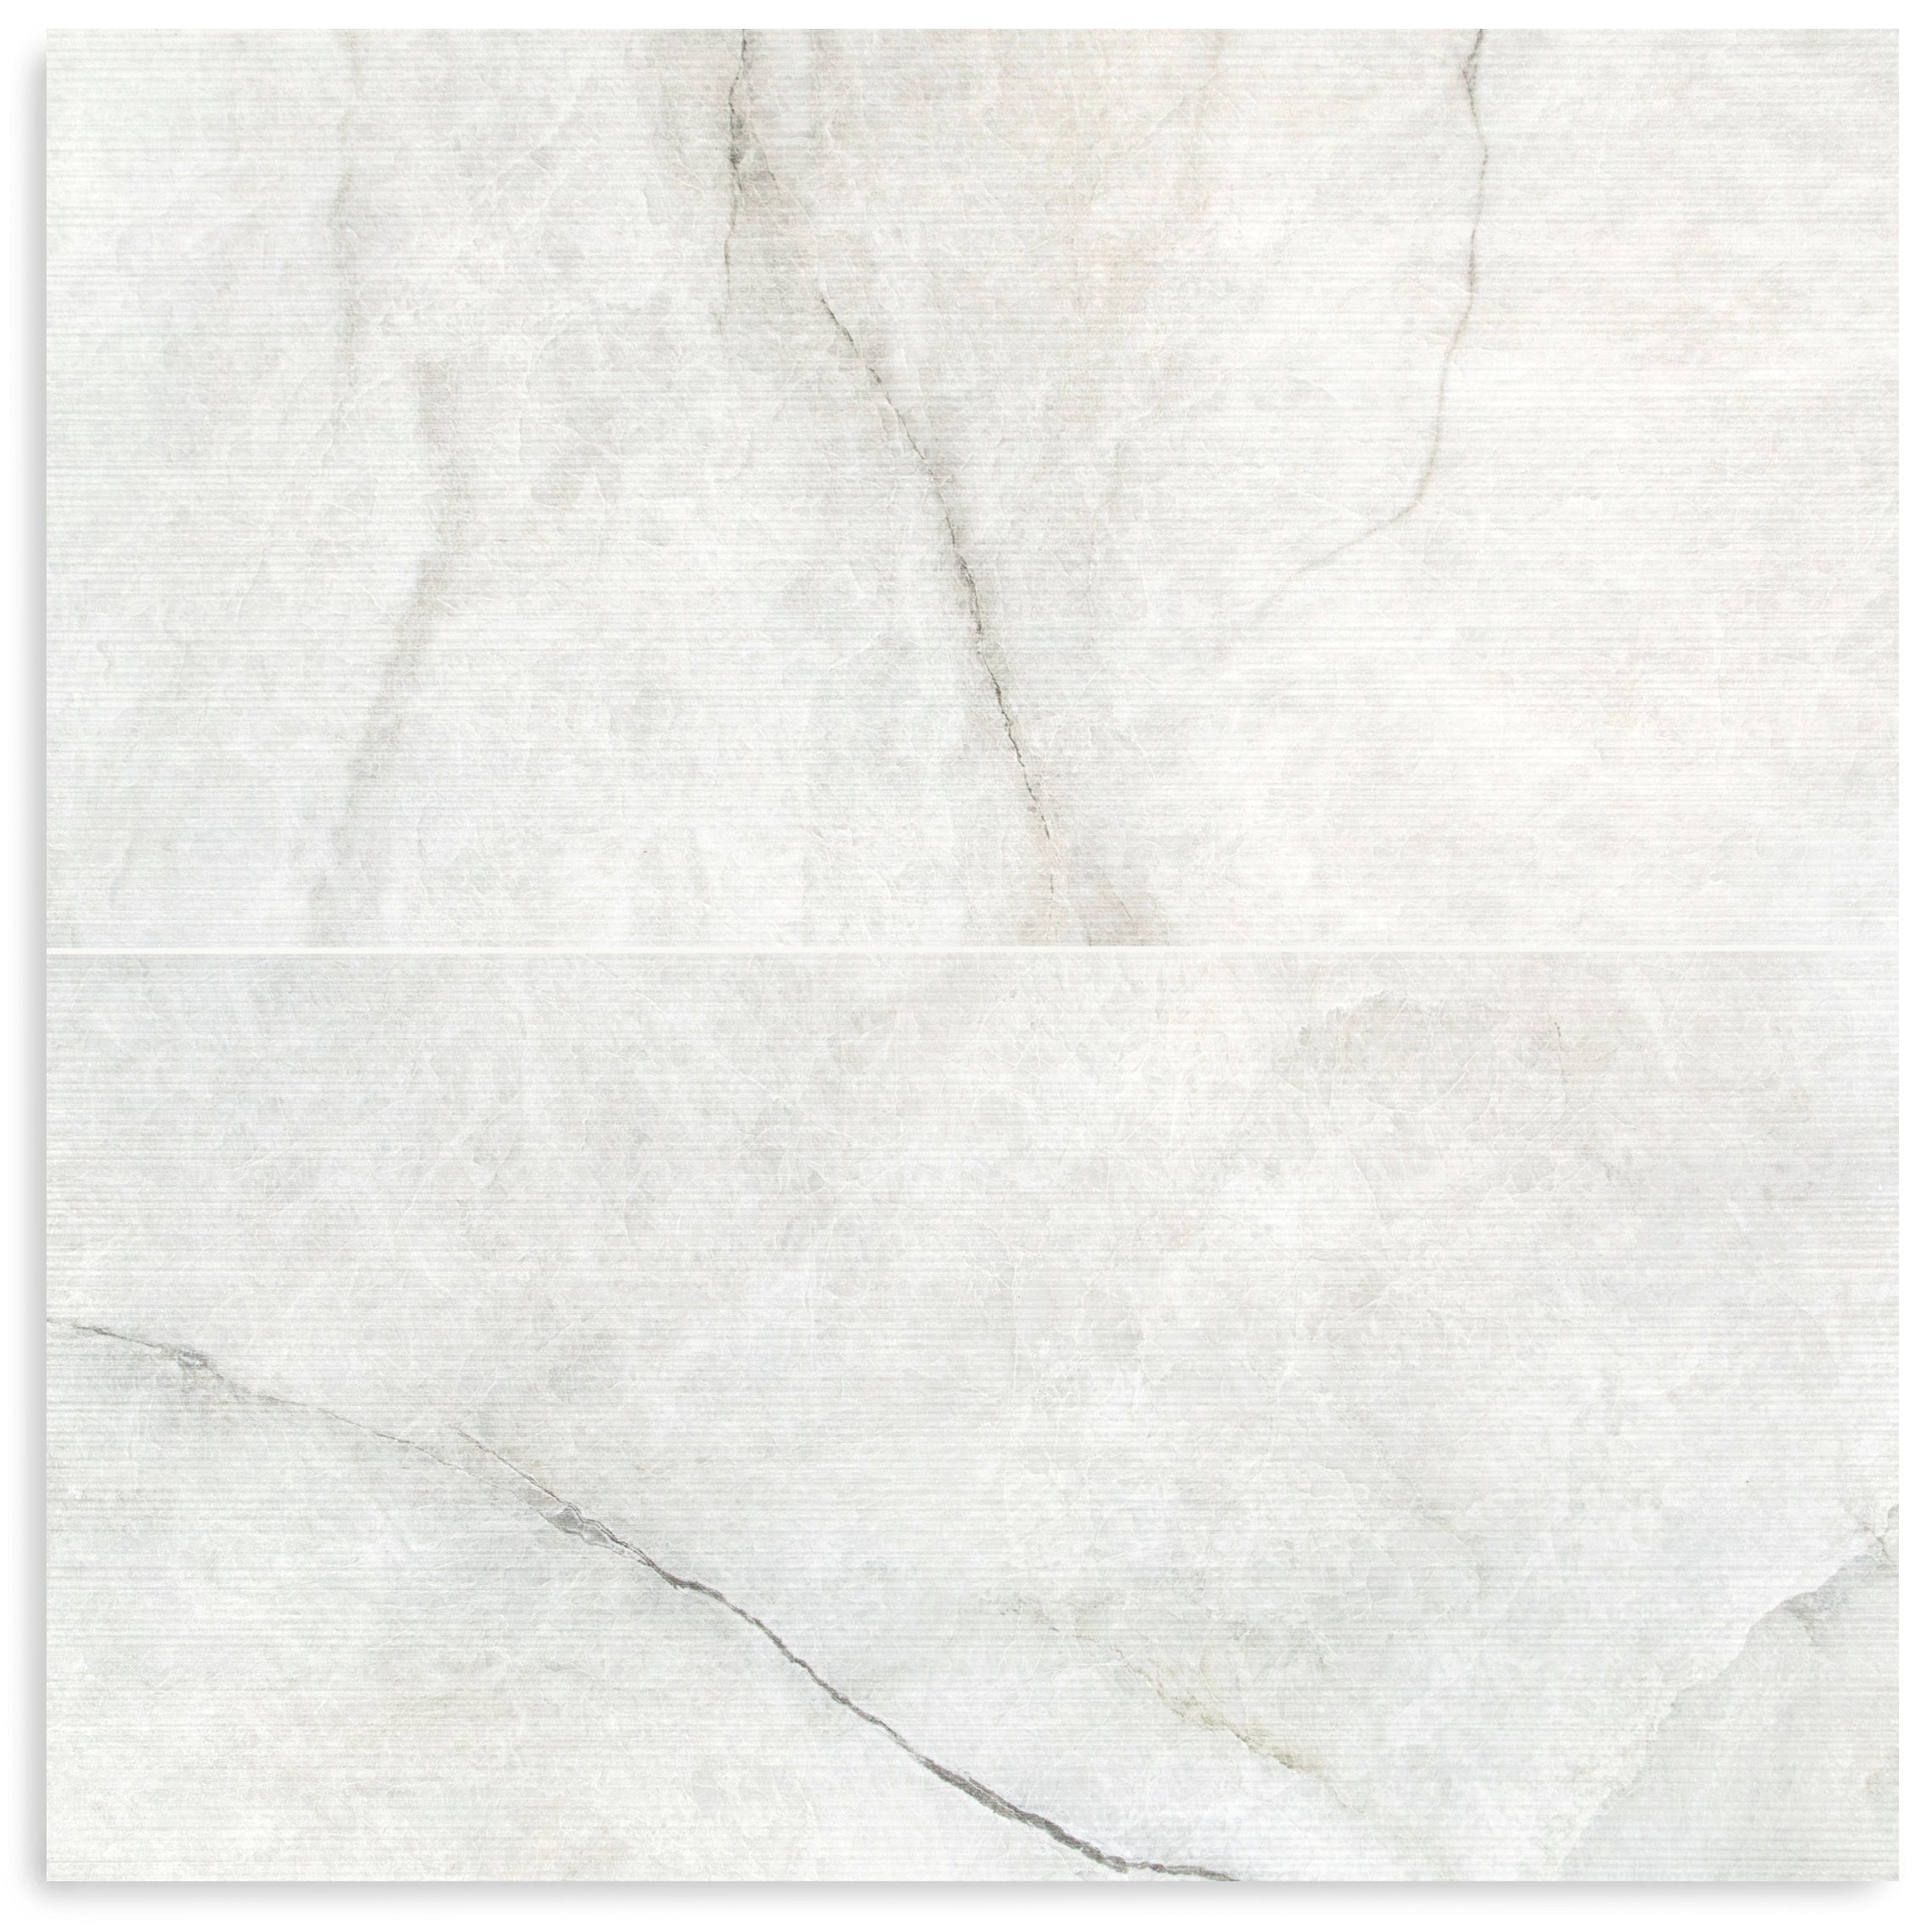
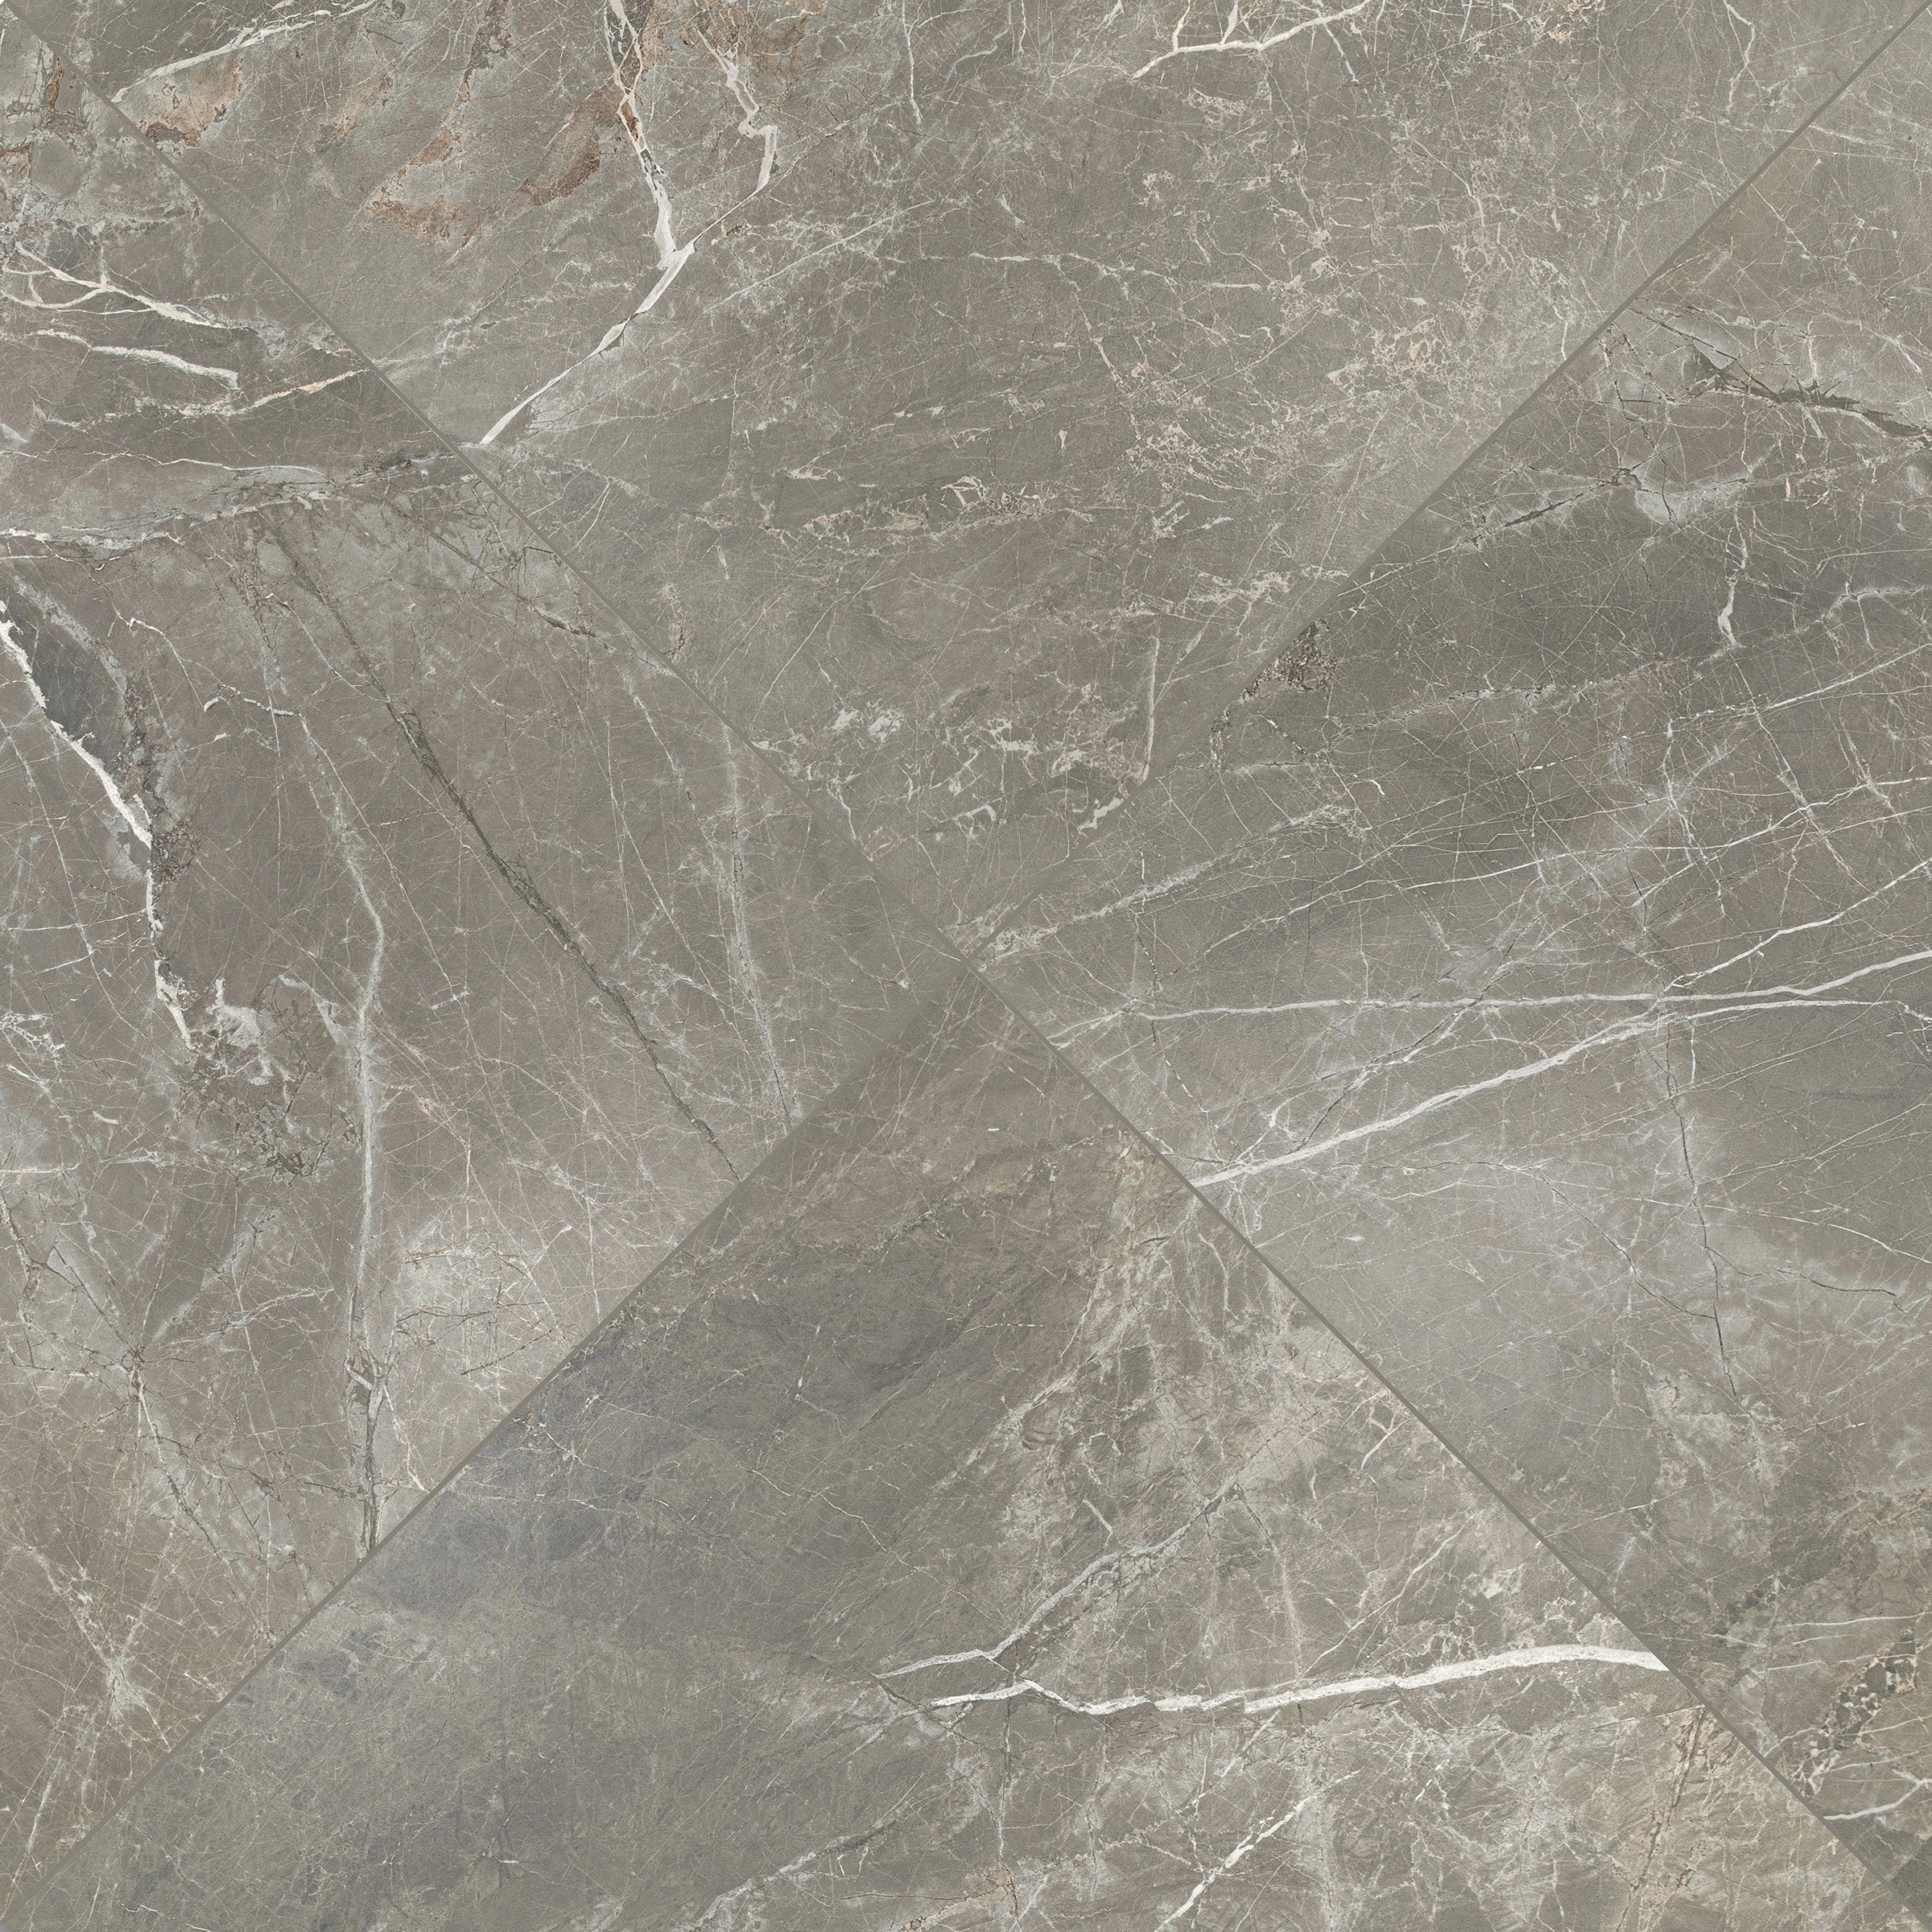
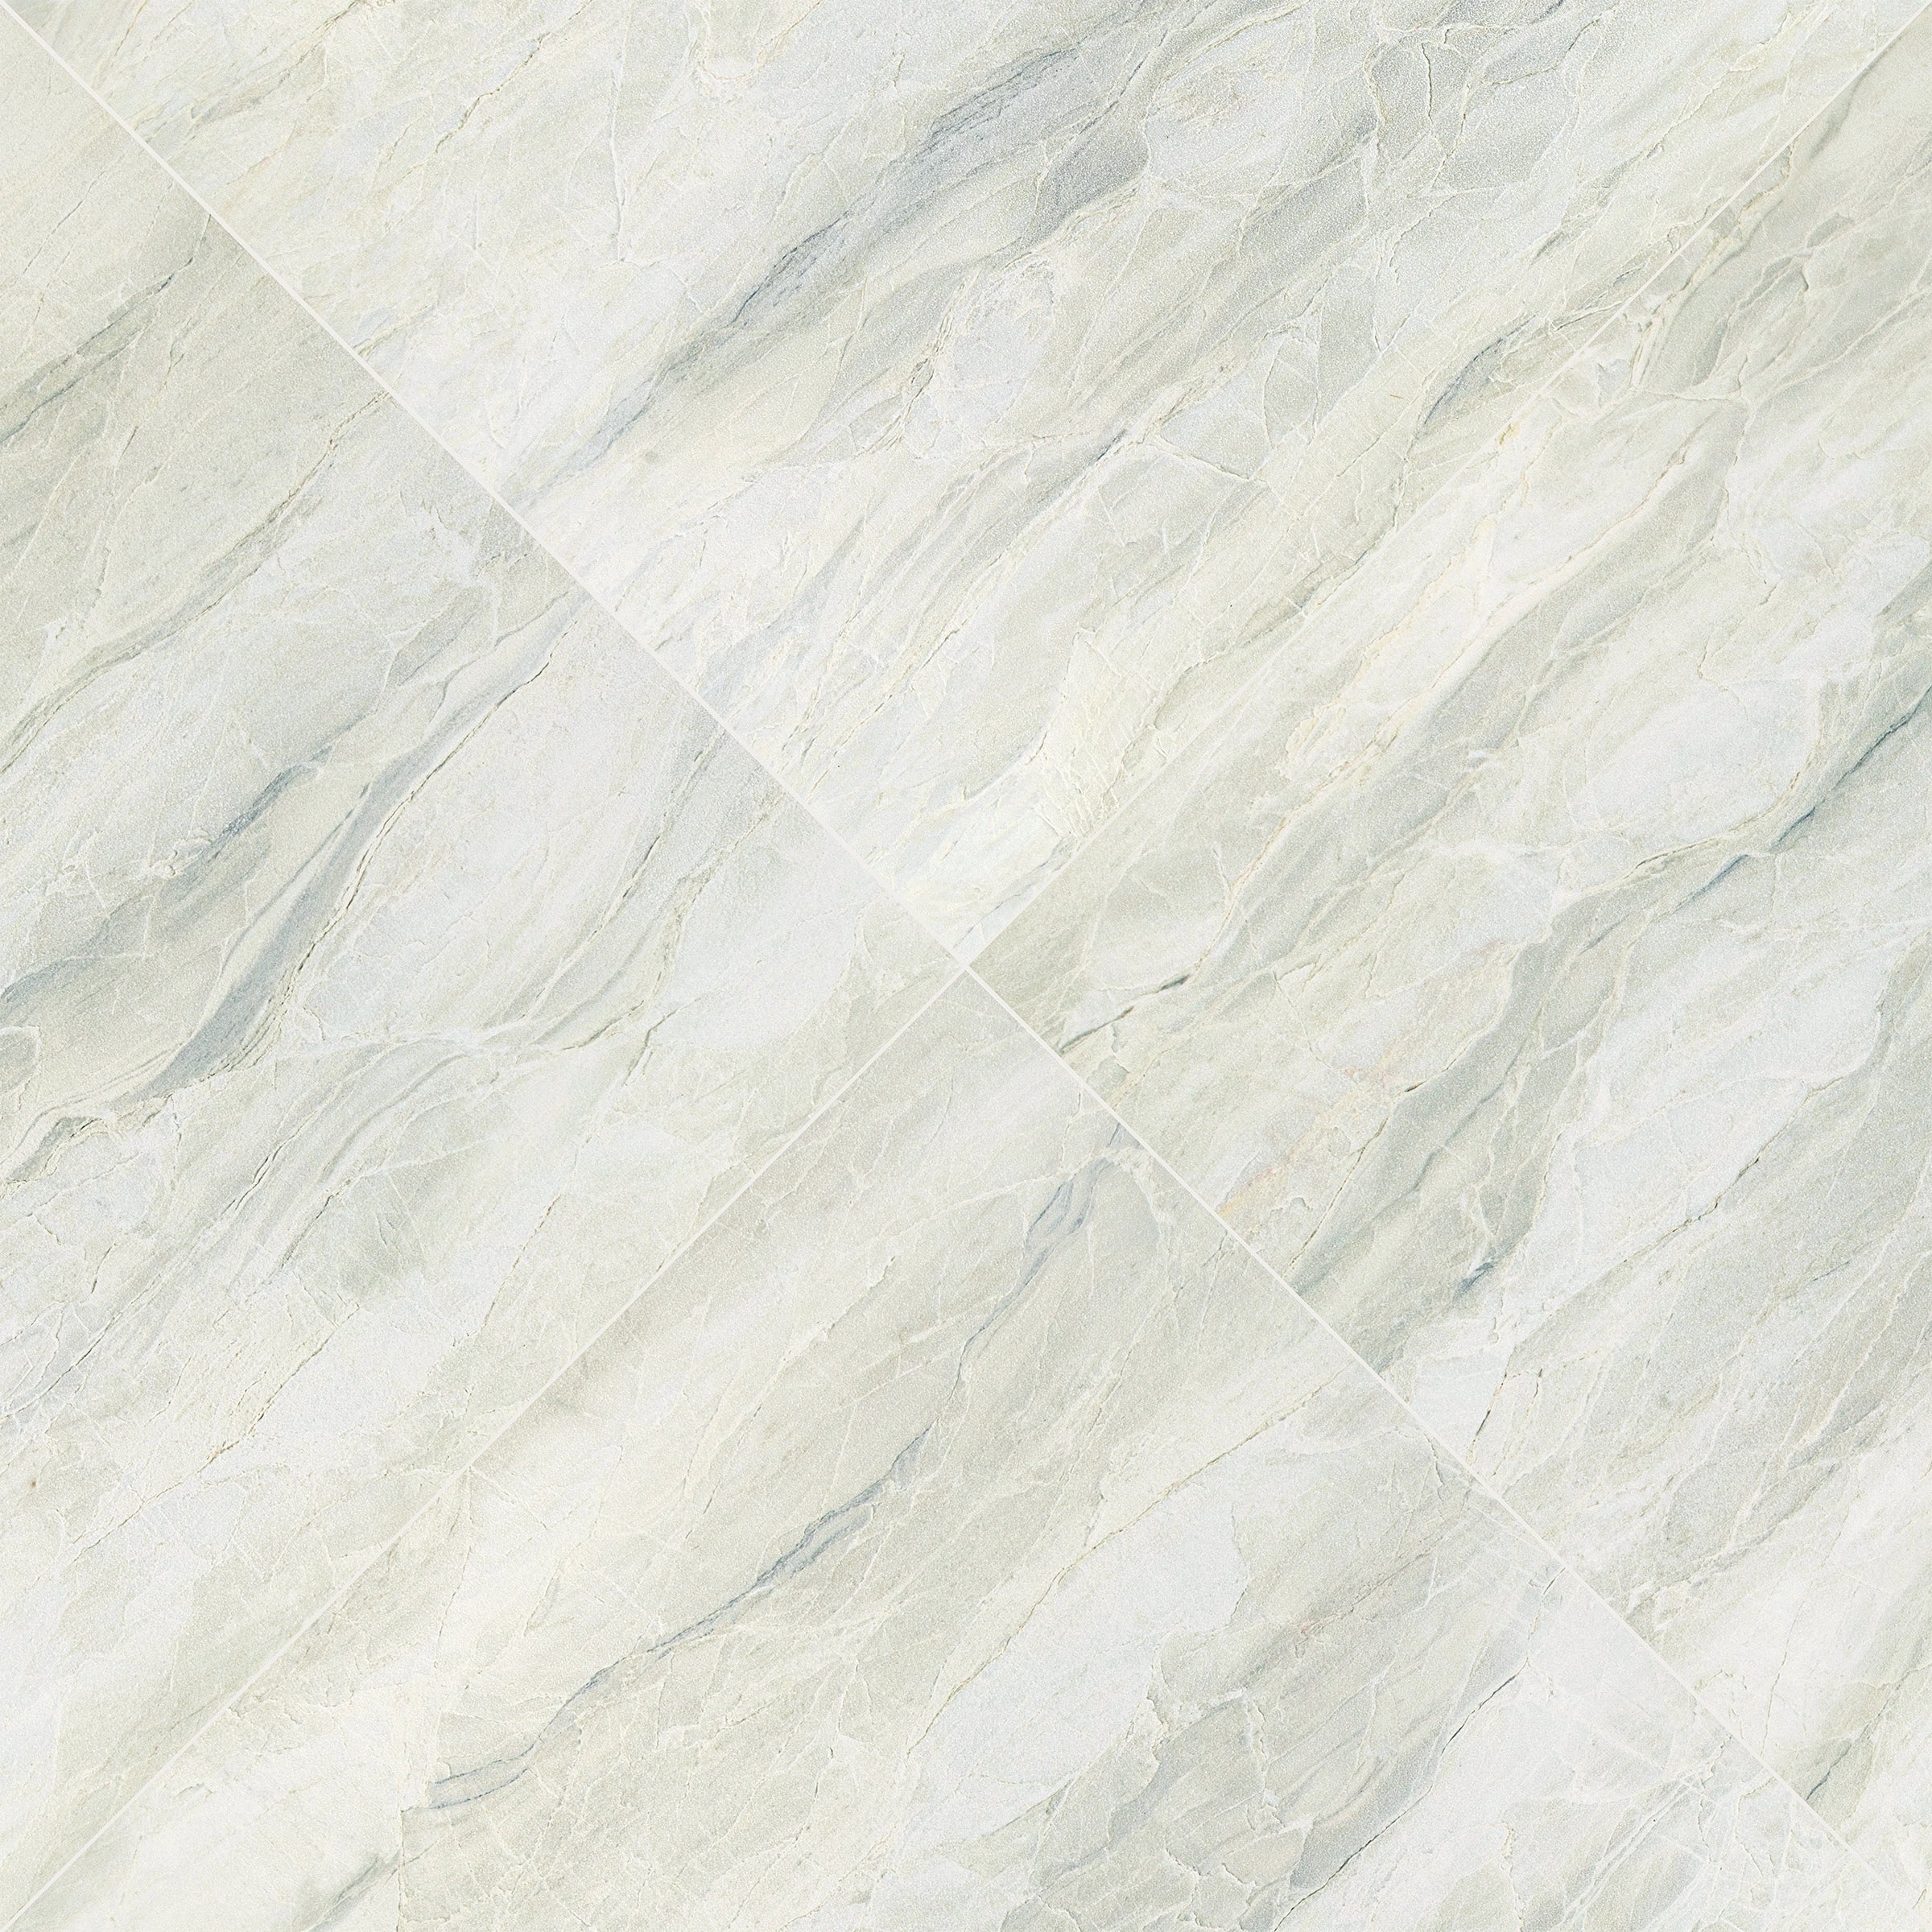
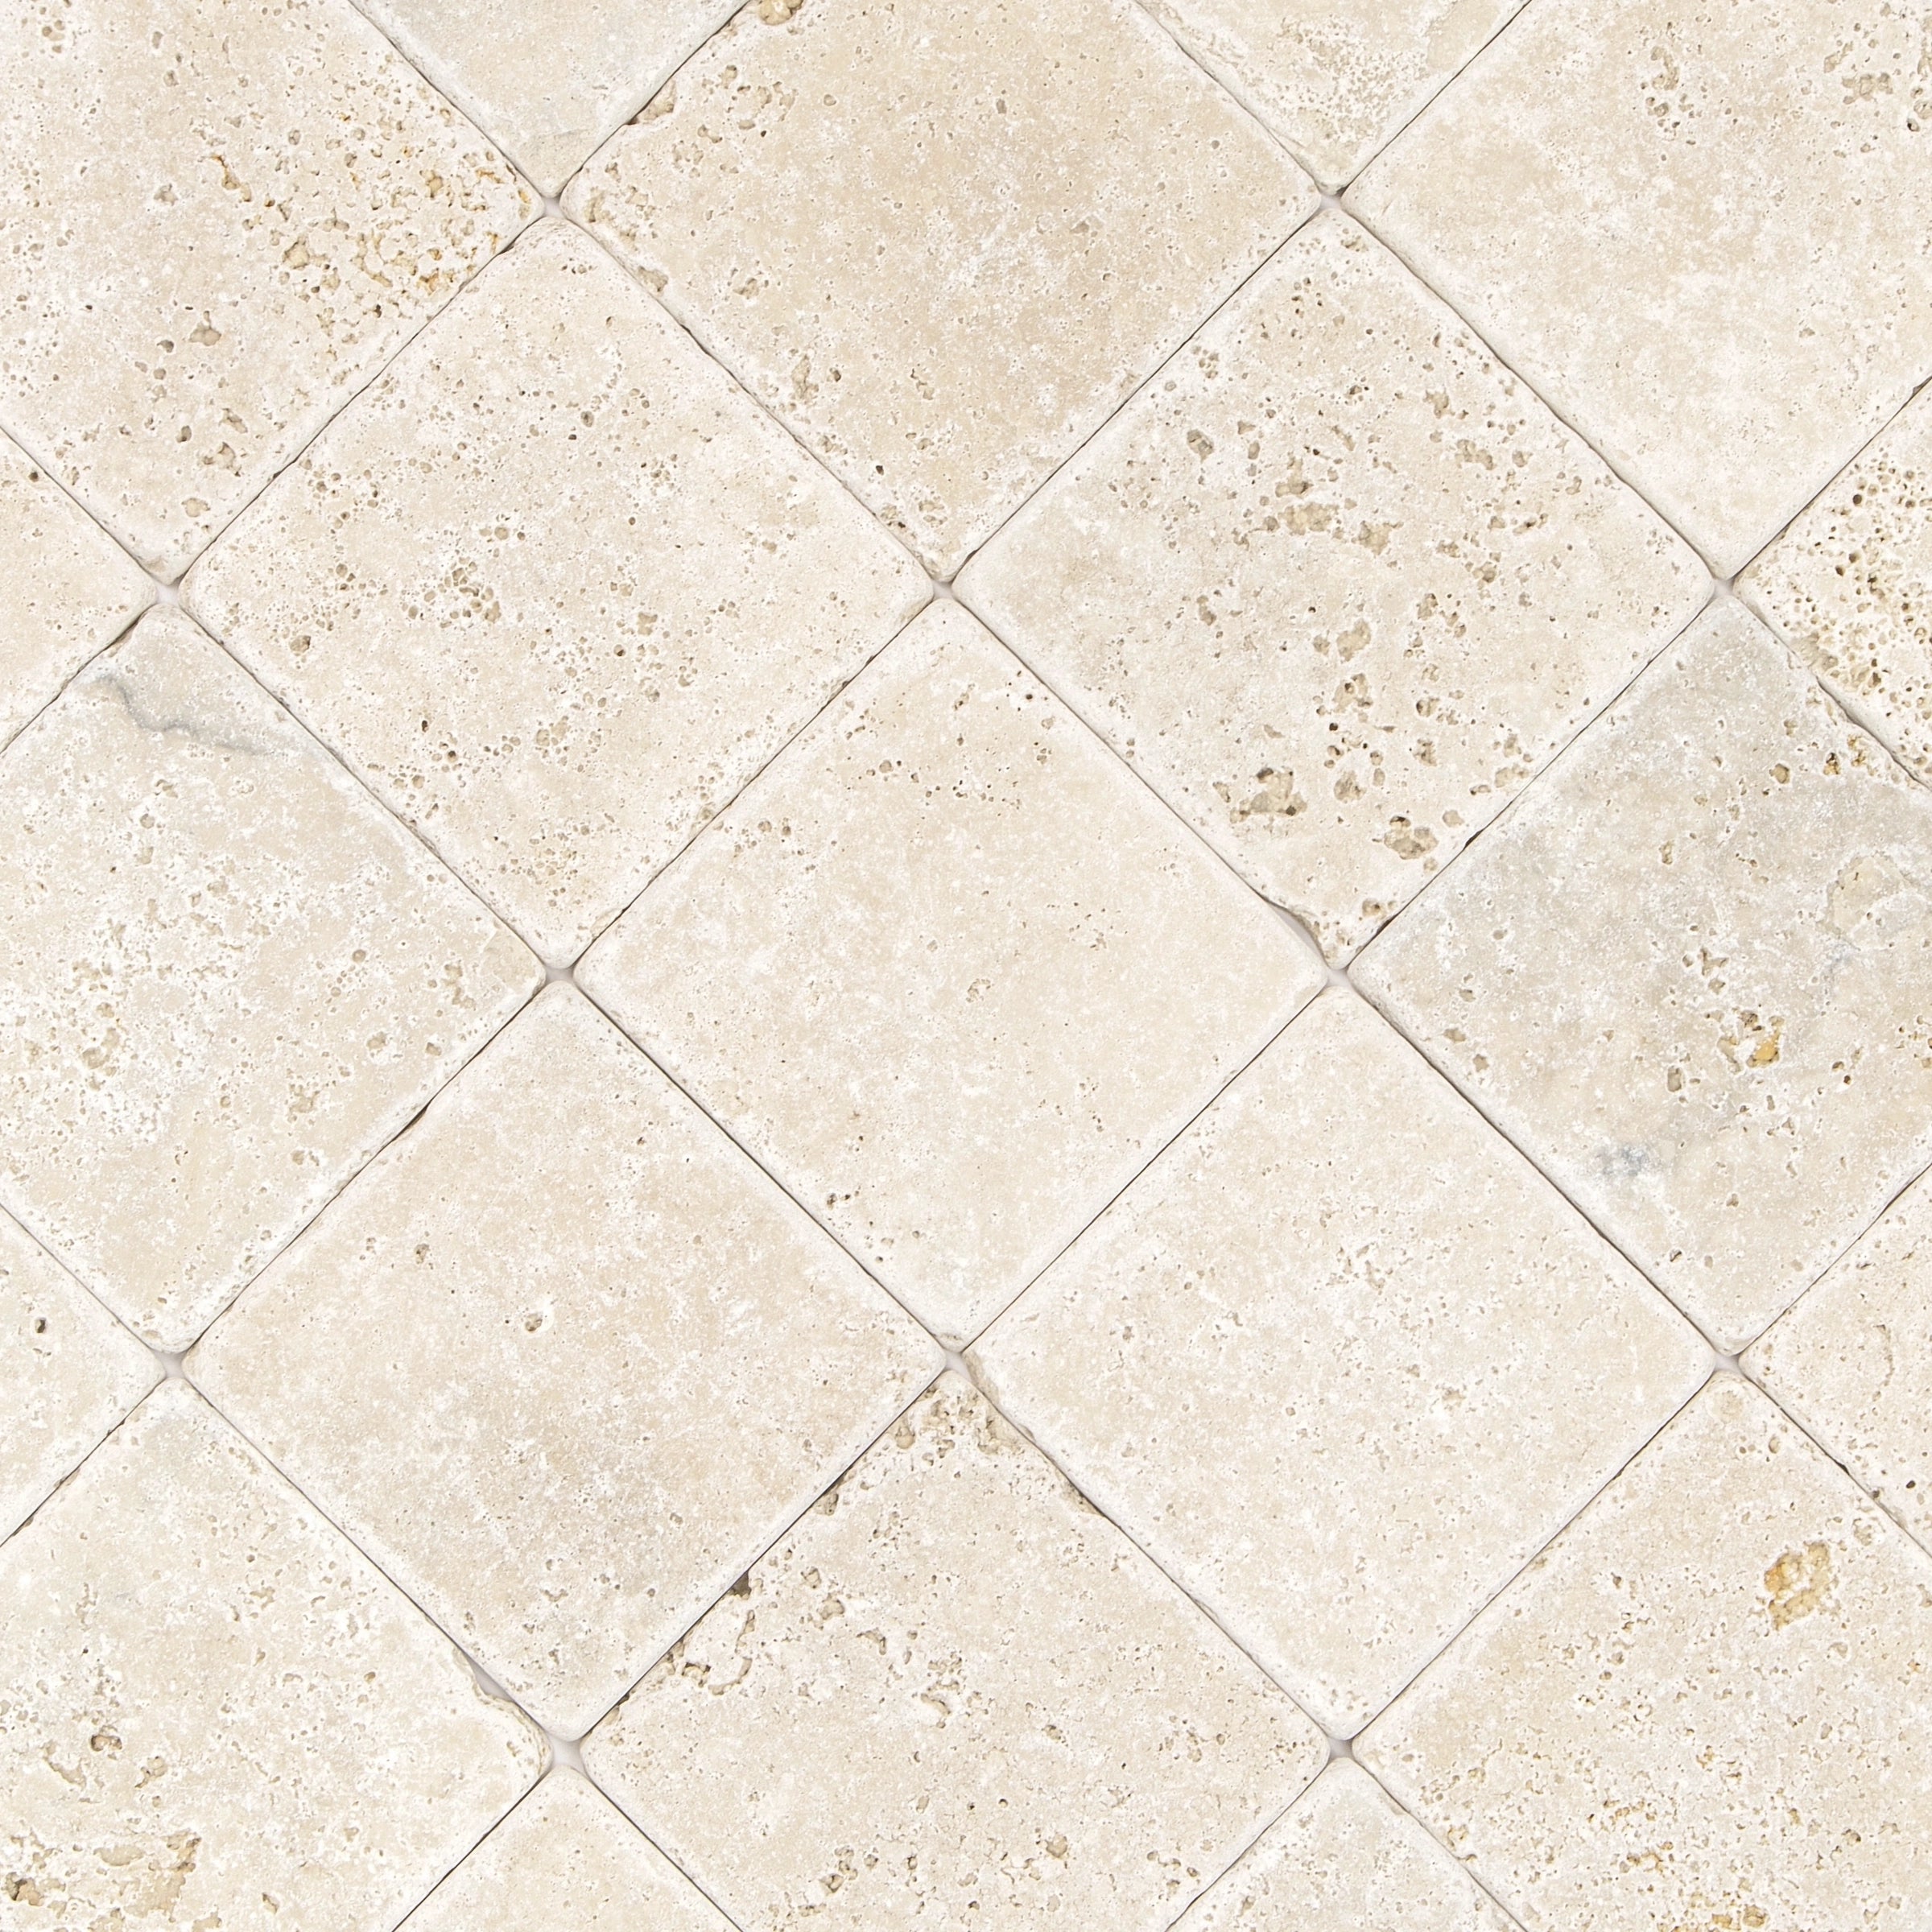
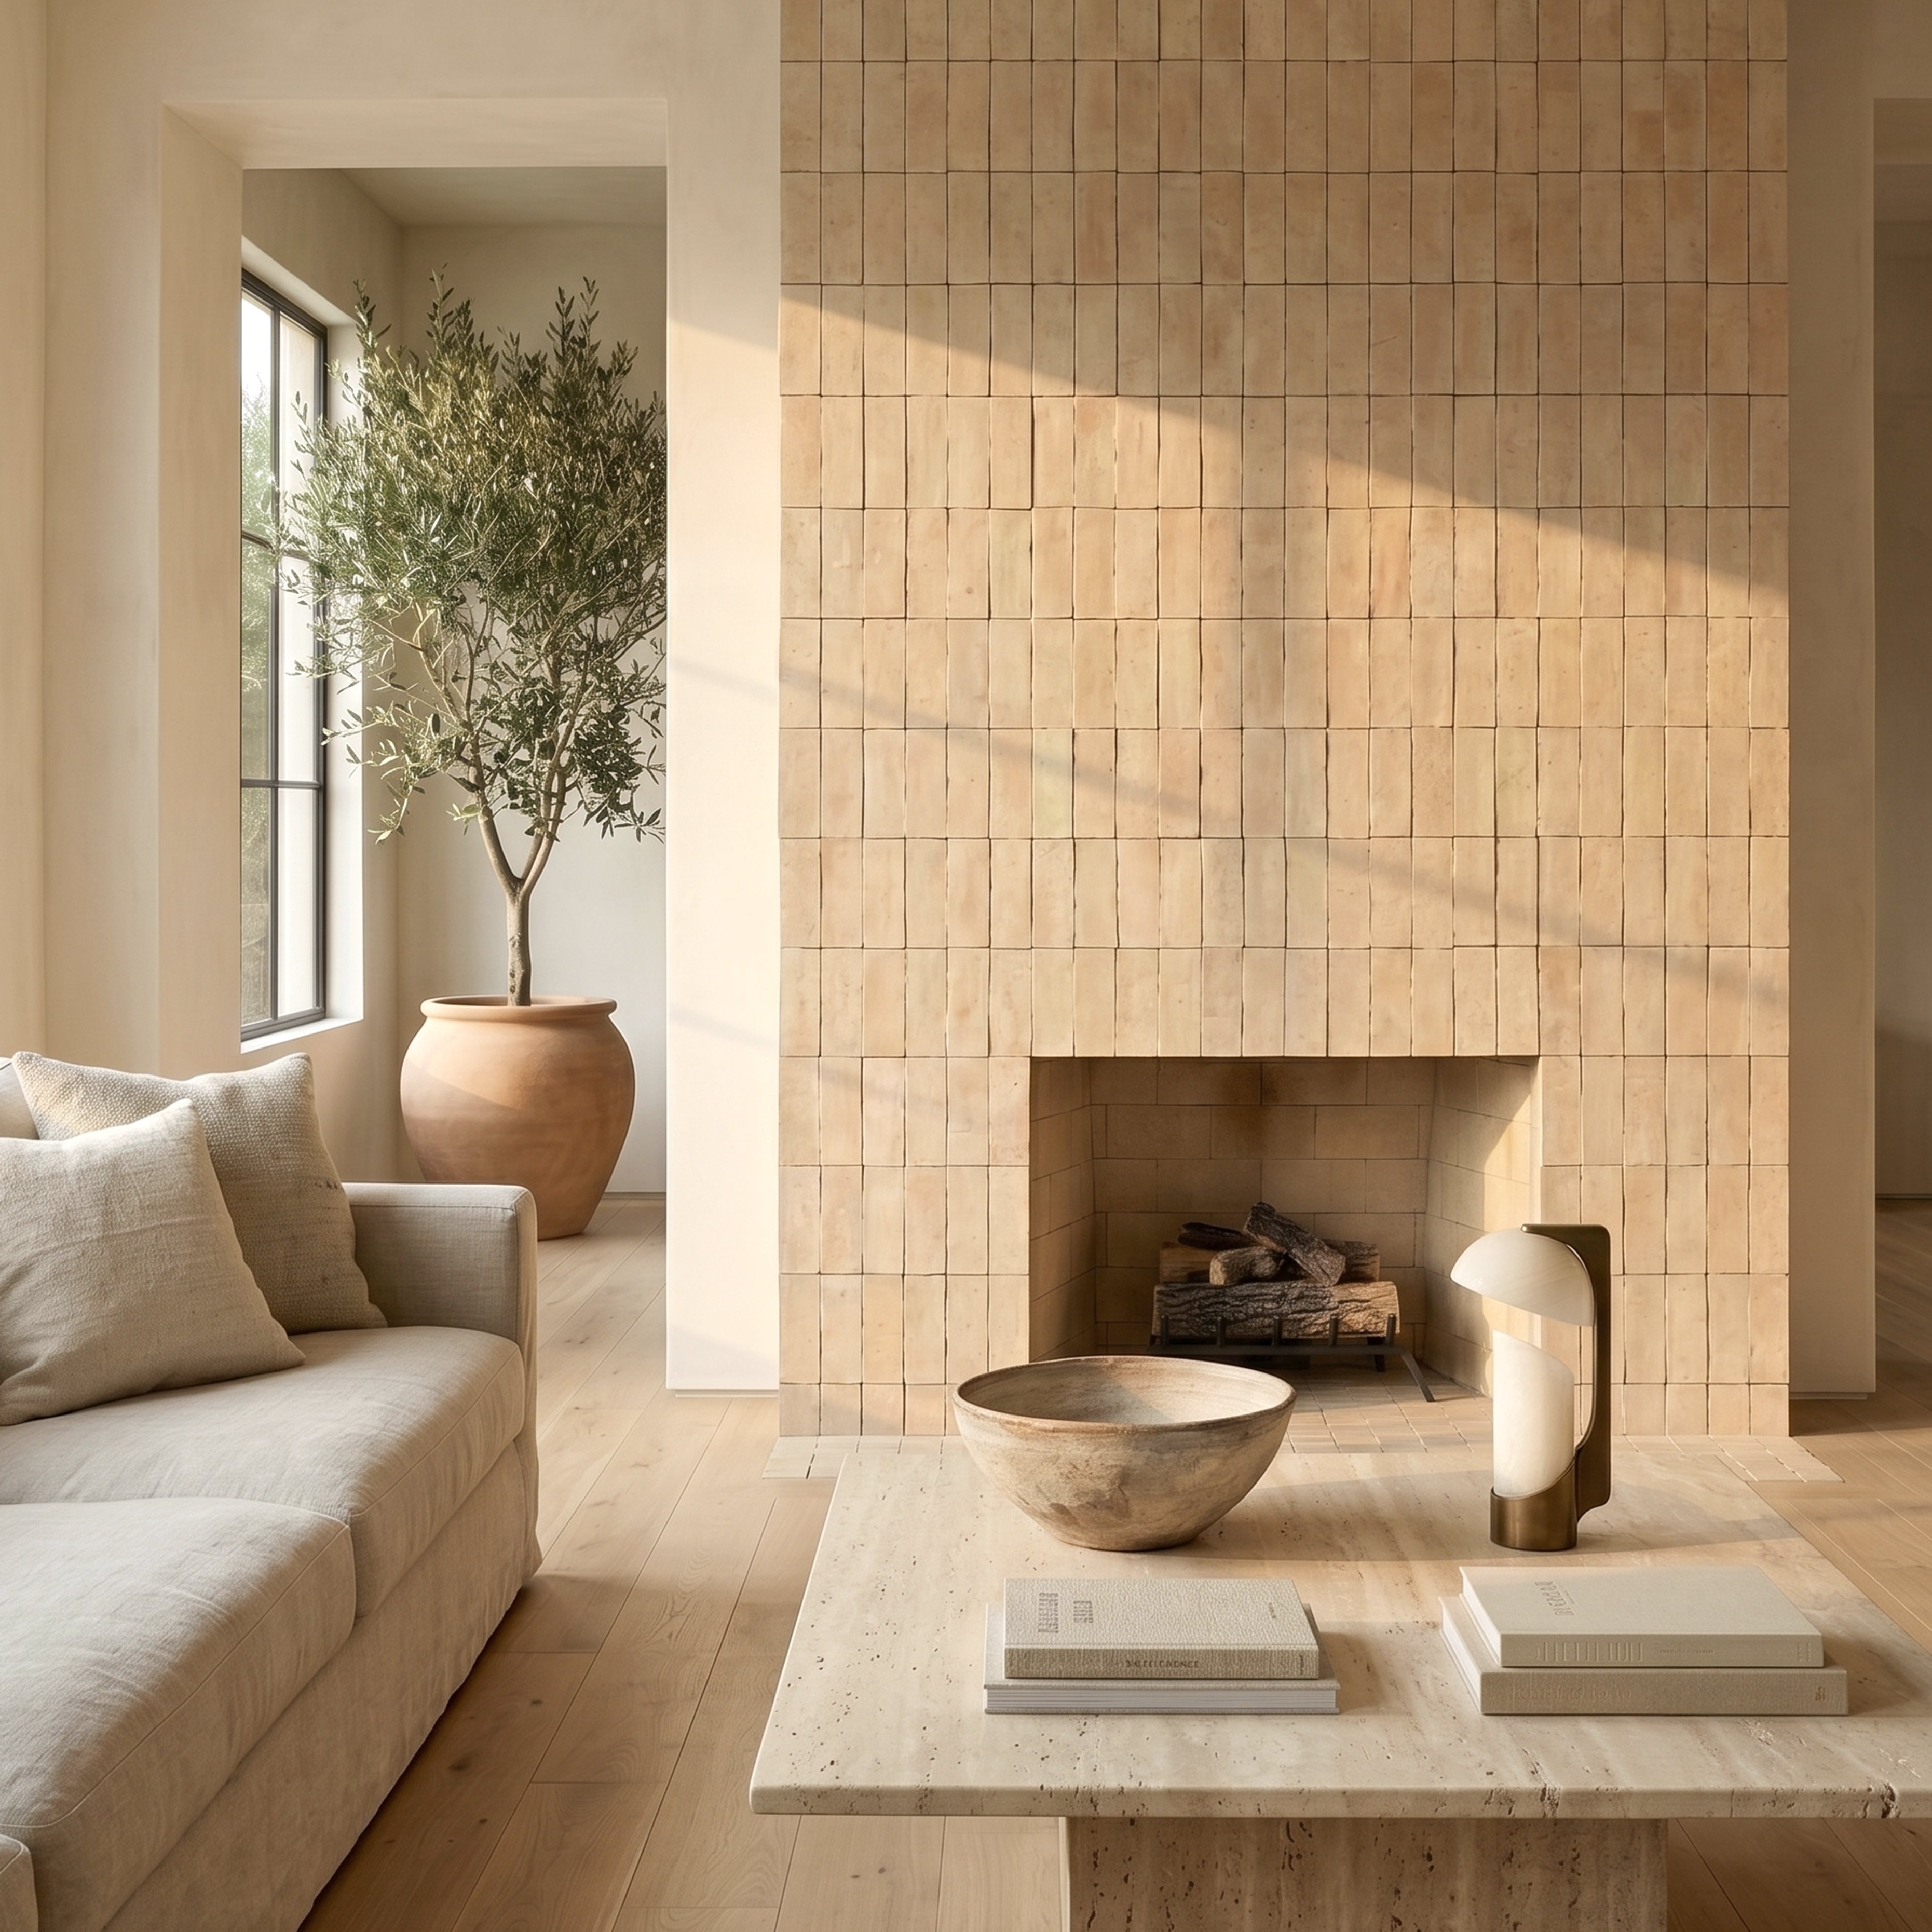
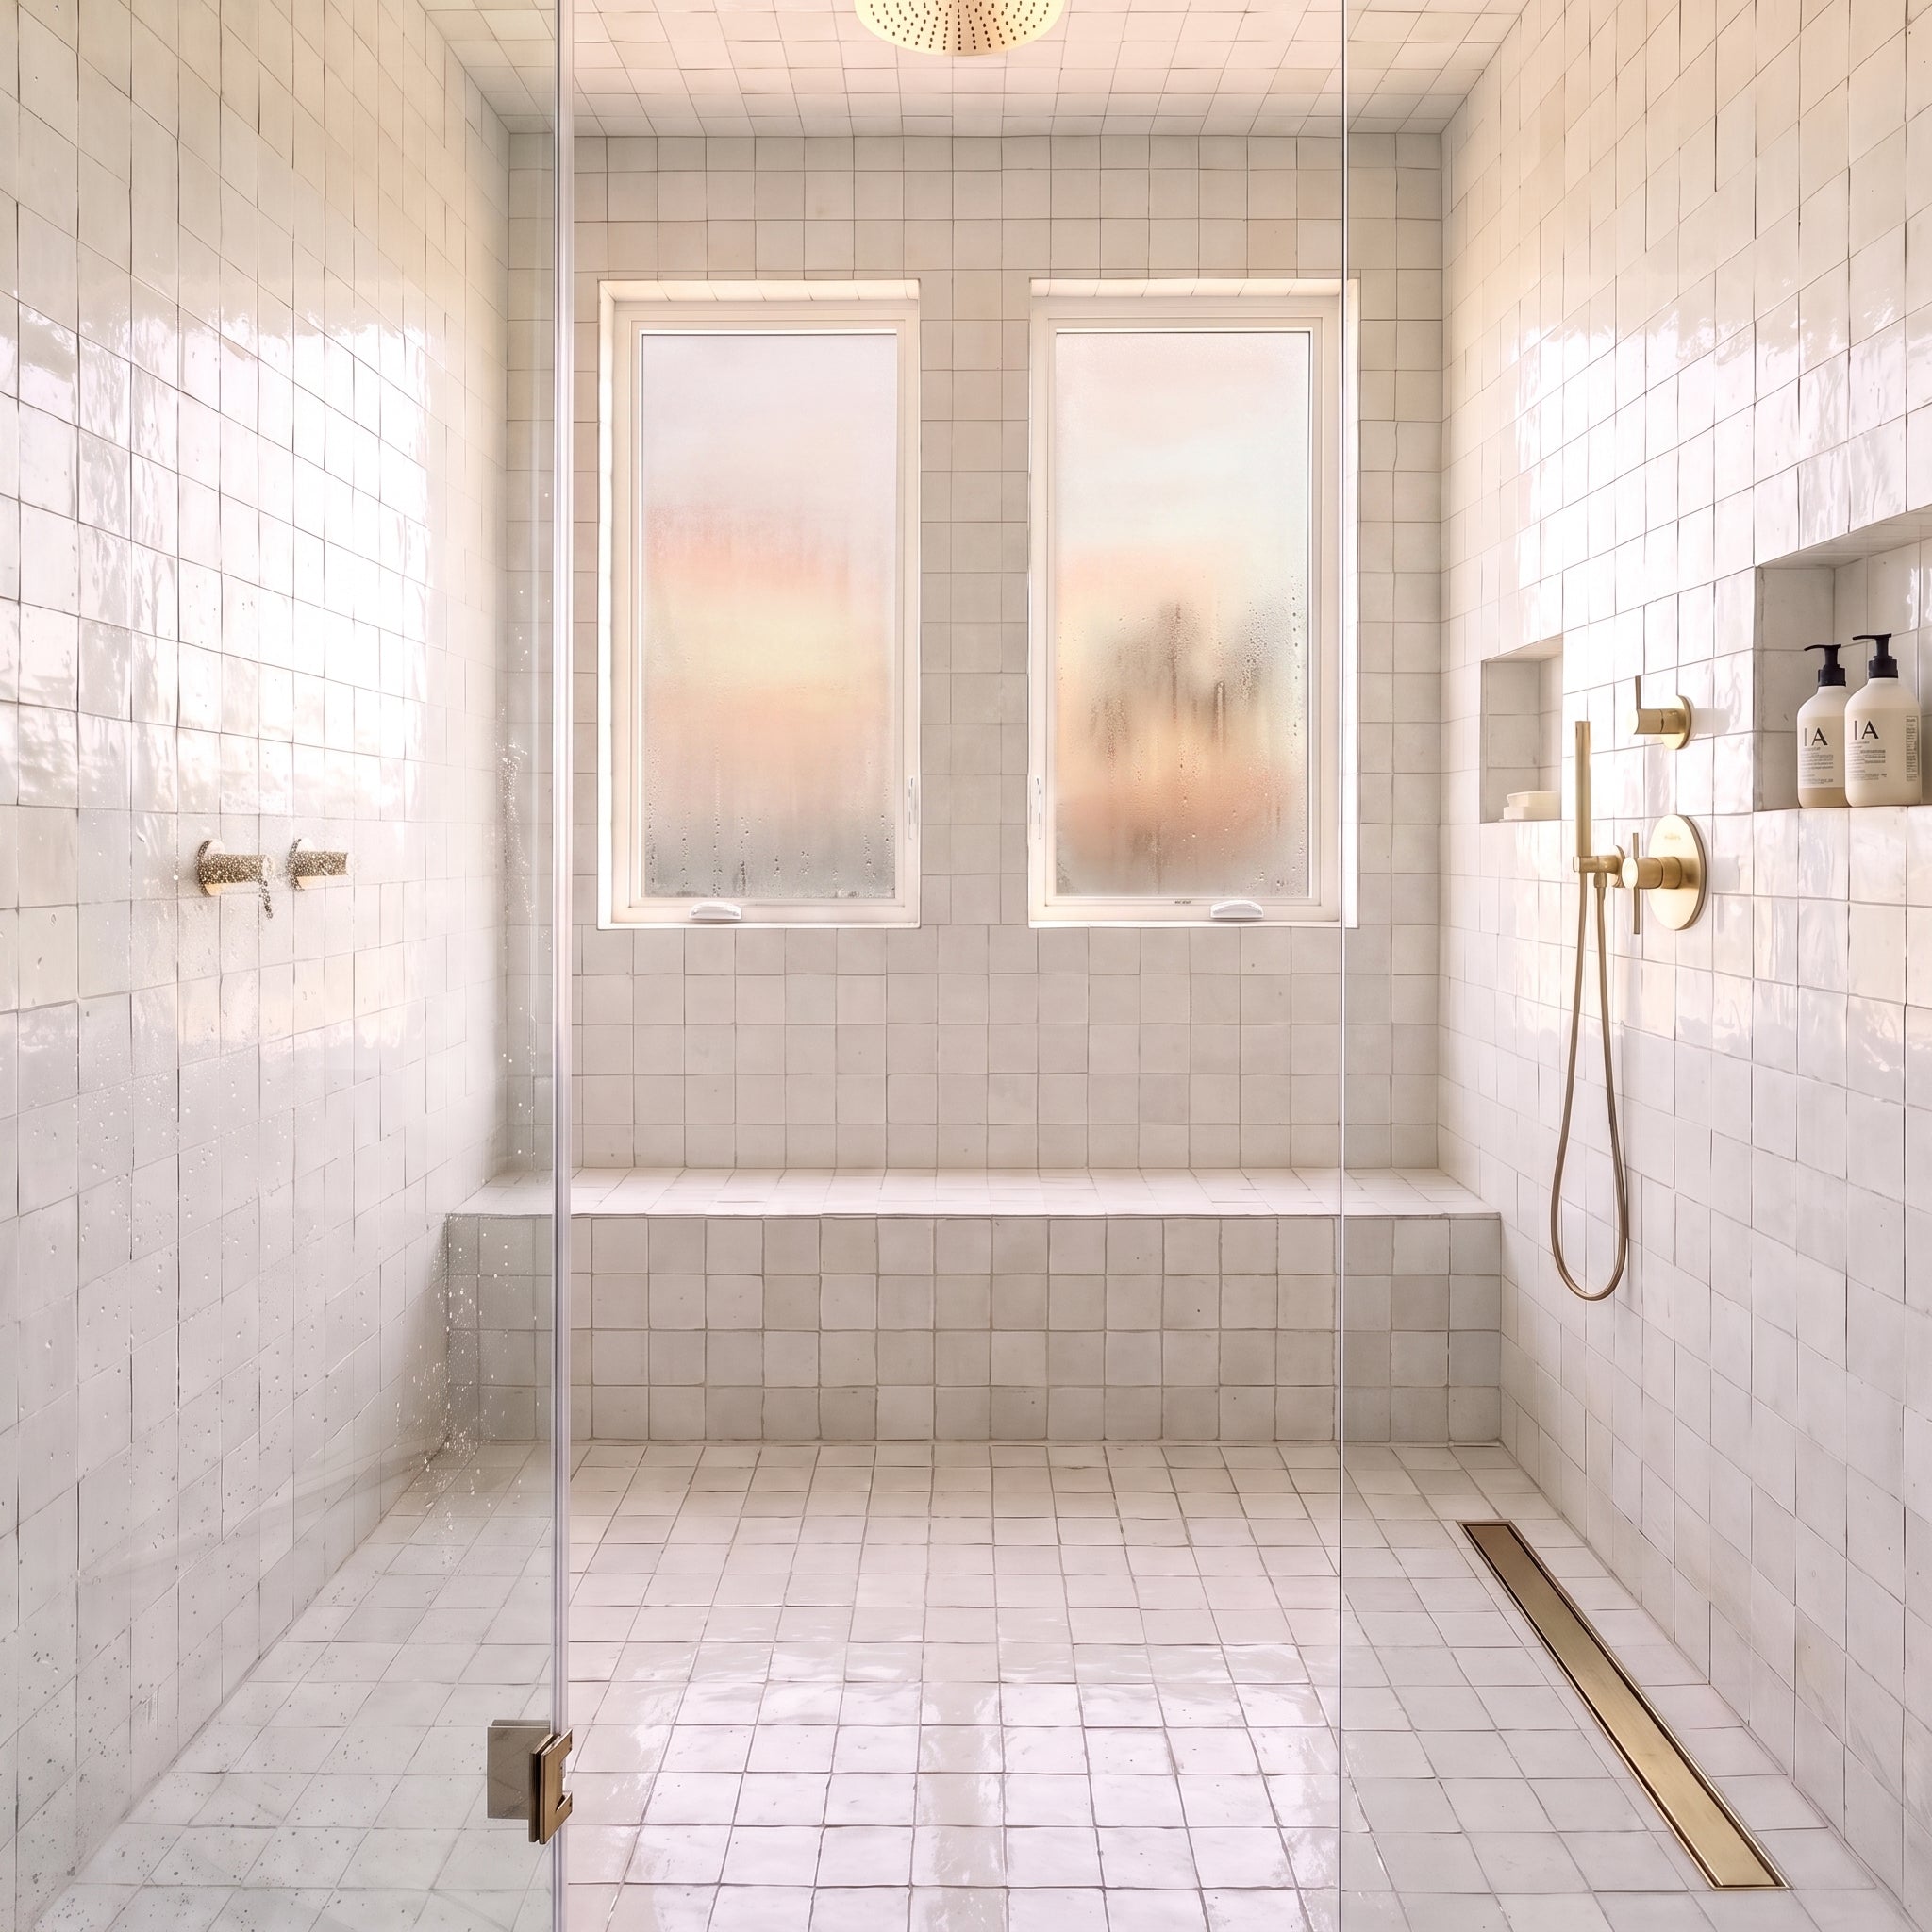
These 8”x8" glazed porcelain tiles work on floors and walls alike. R9 slip rating suits residential wet and dry areas. The Amazzonite colorway makes this pattern particularly well-suited to bathrooms, solariums, and spaces where you want to reference nature without going literal. Use as a feature surface or pair with plain Amazzonite tiles for a layered installation.

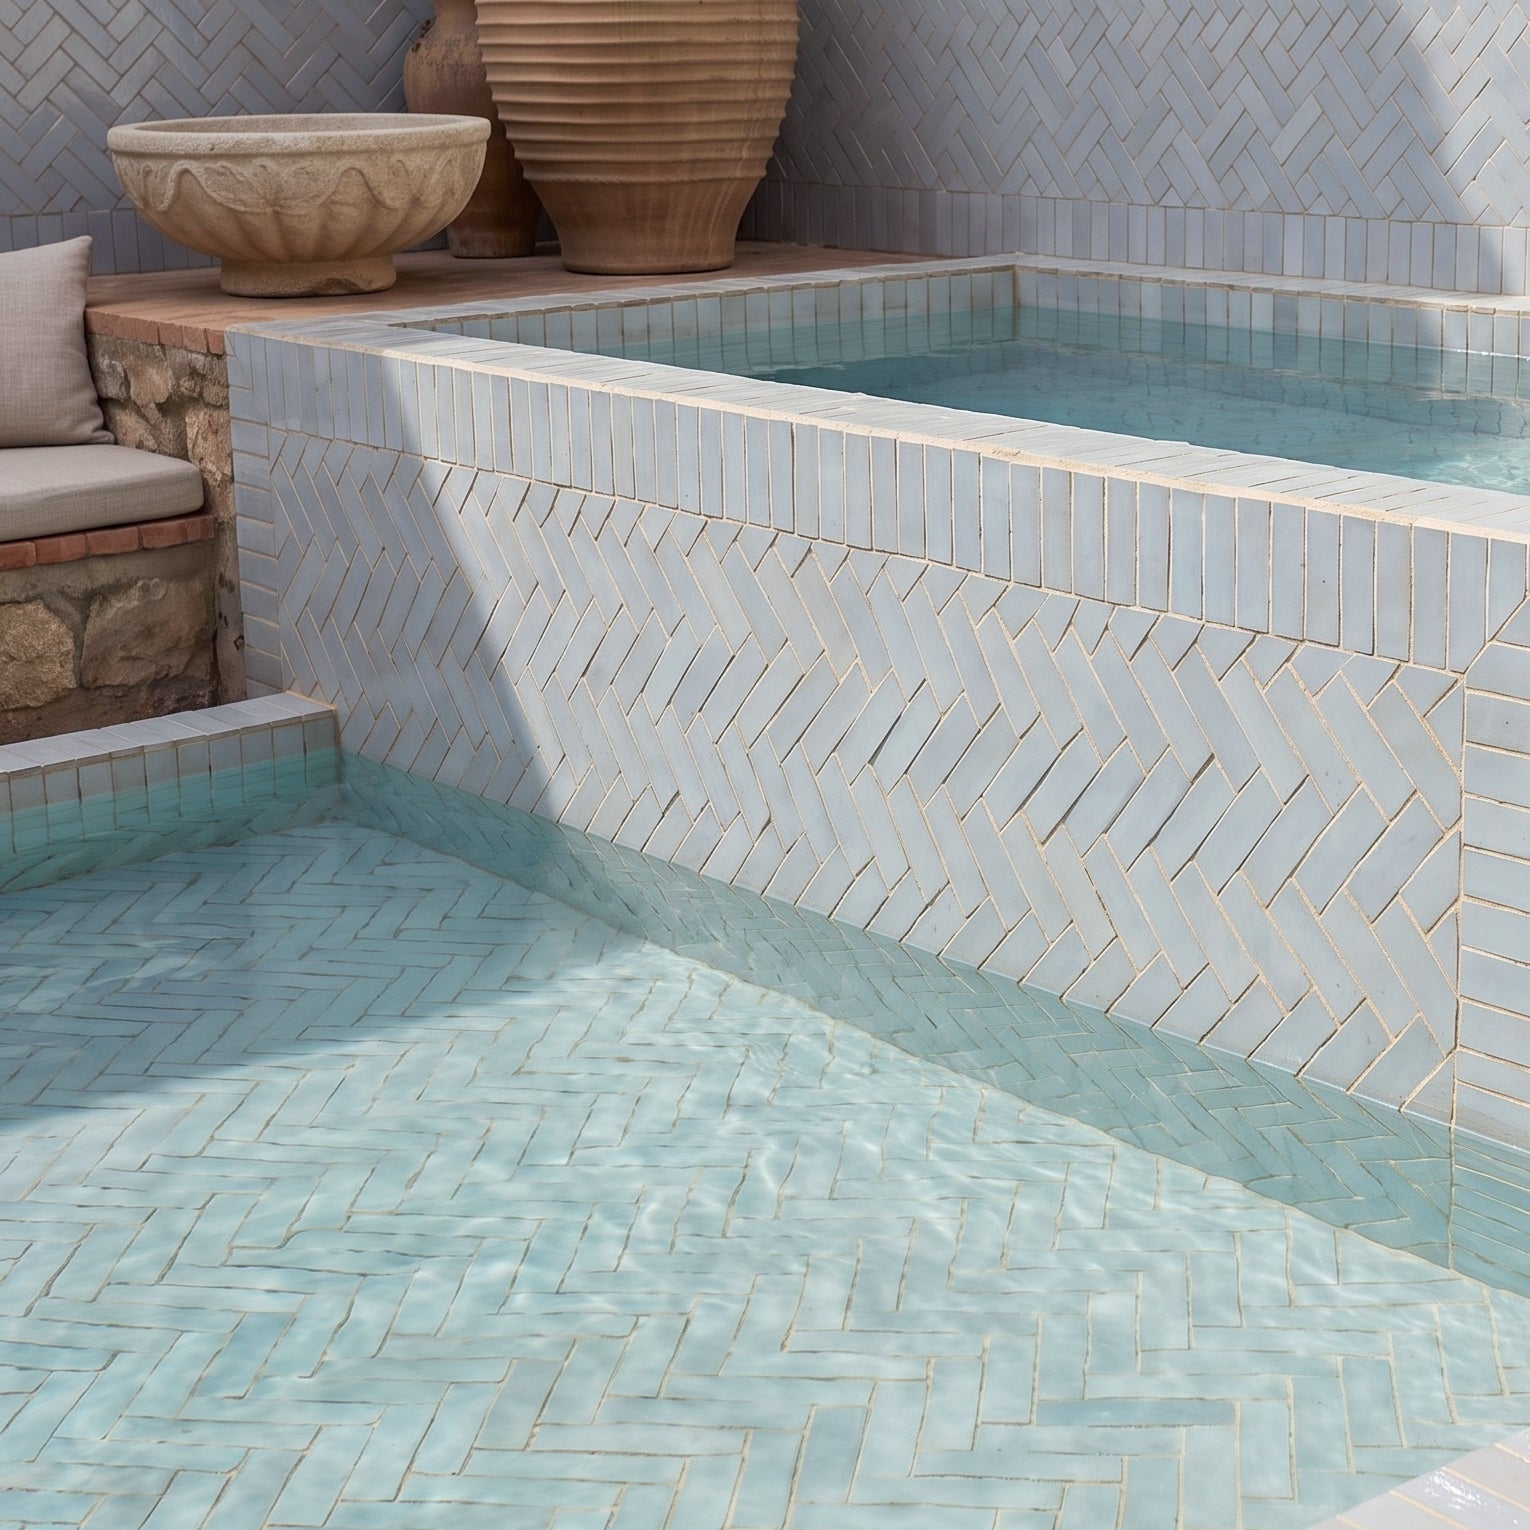
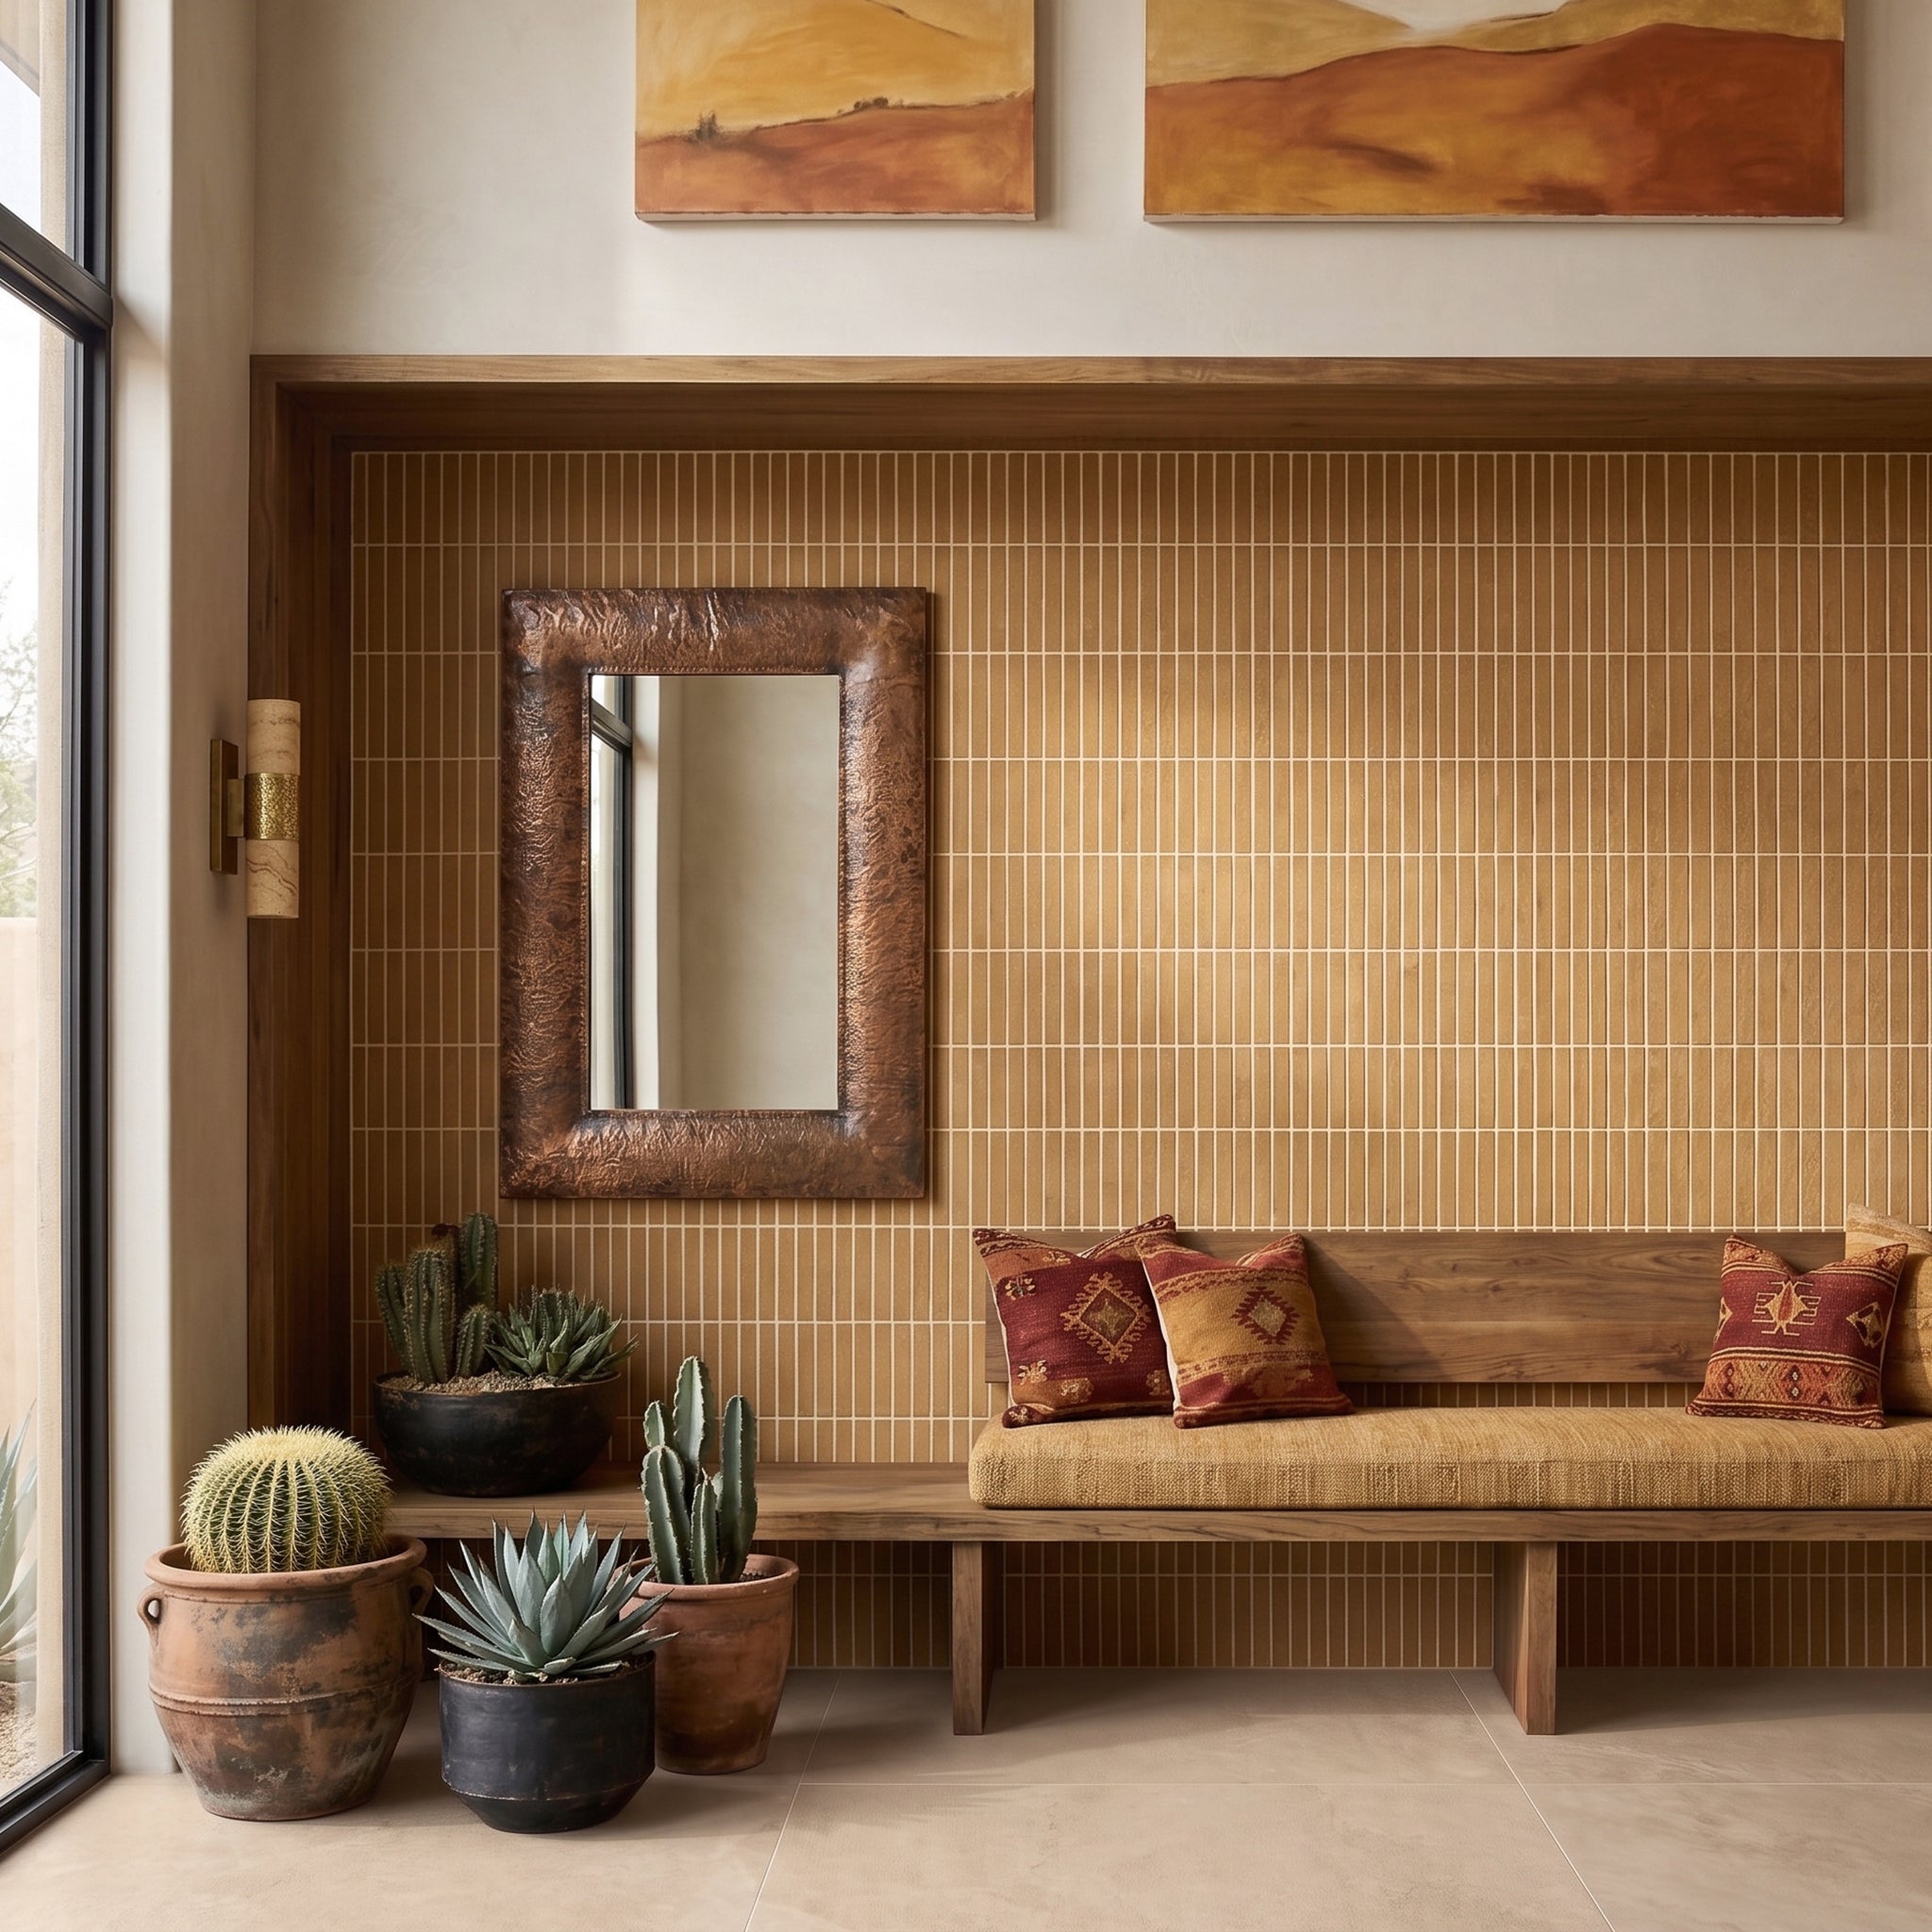
Style It With
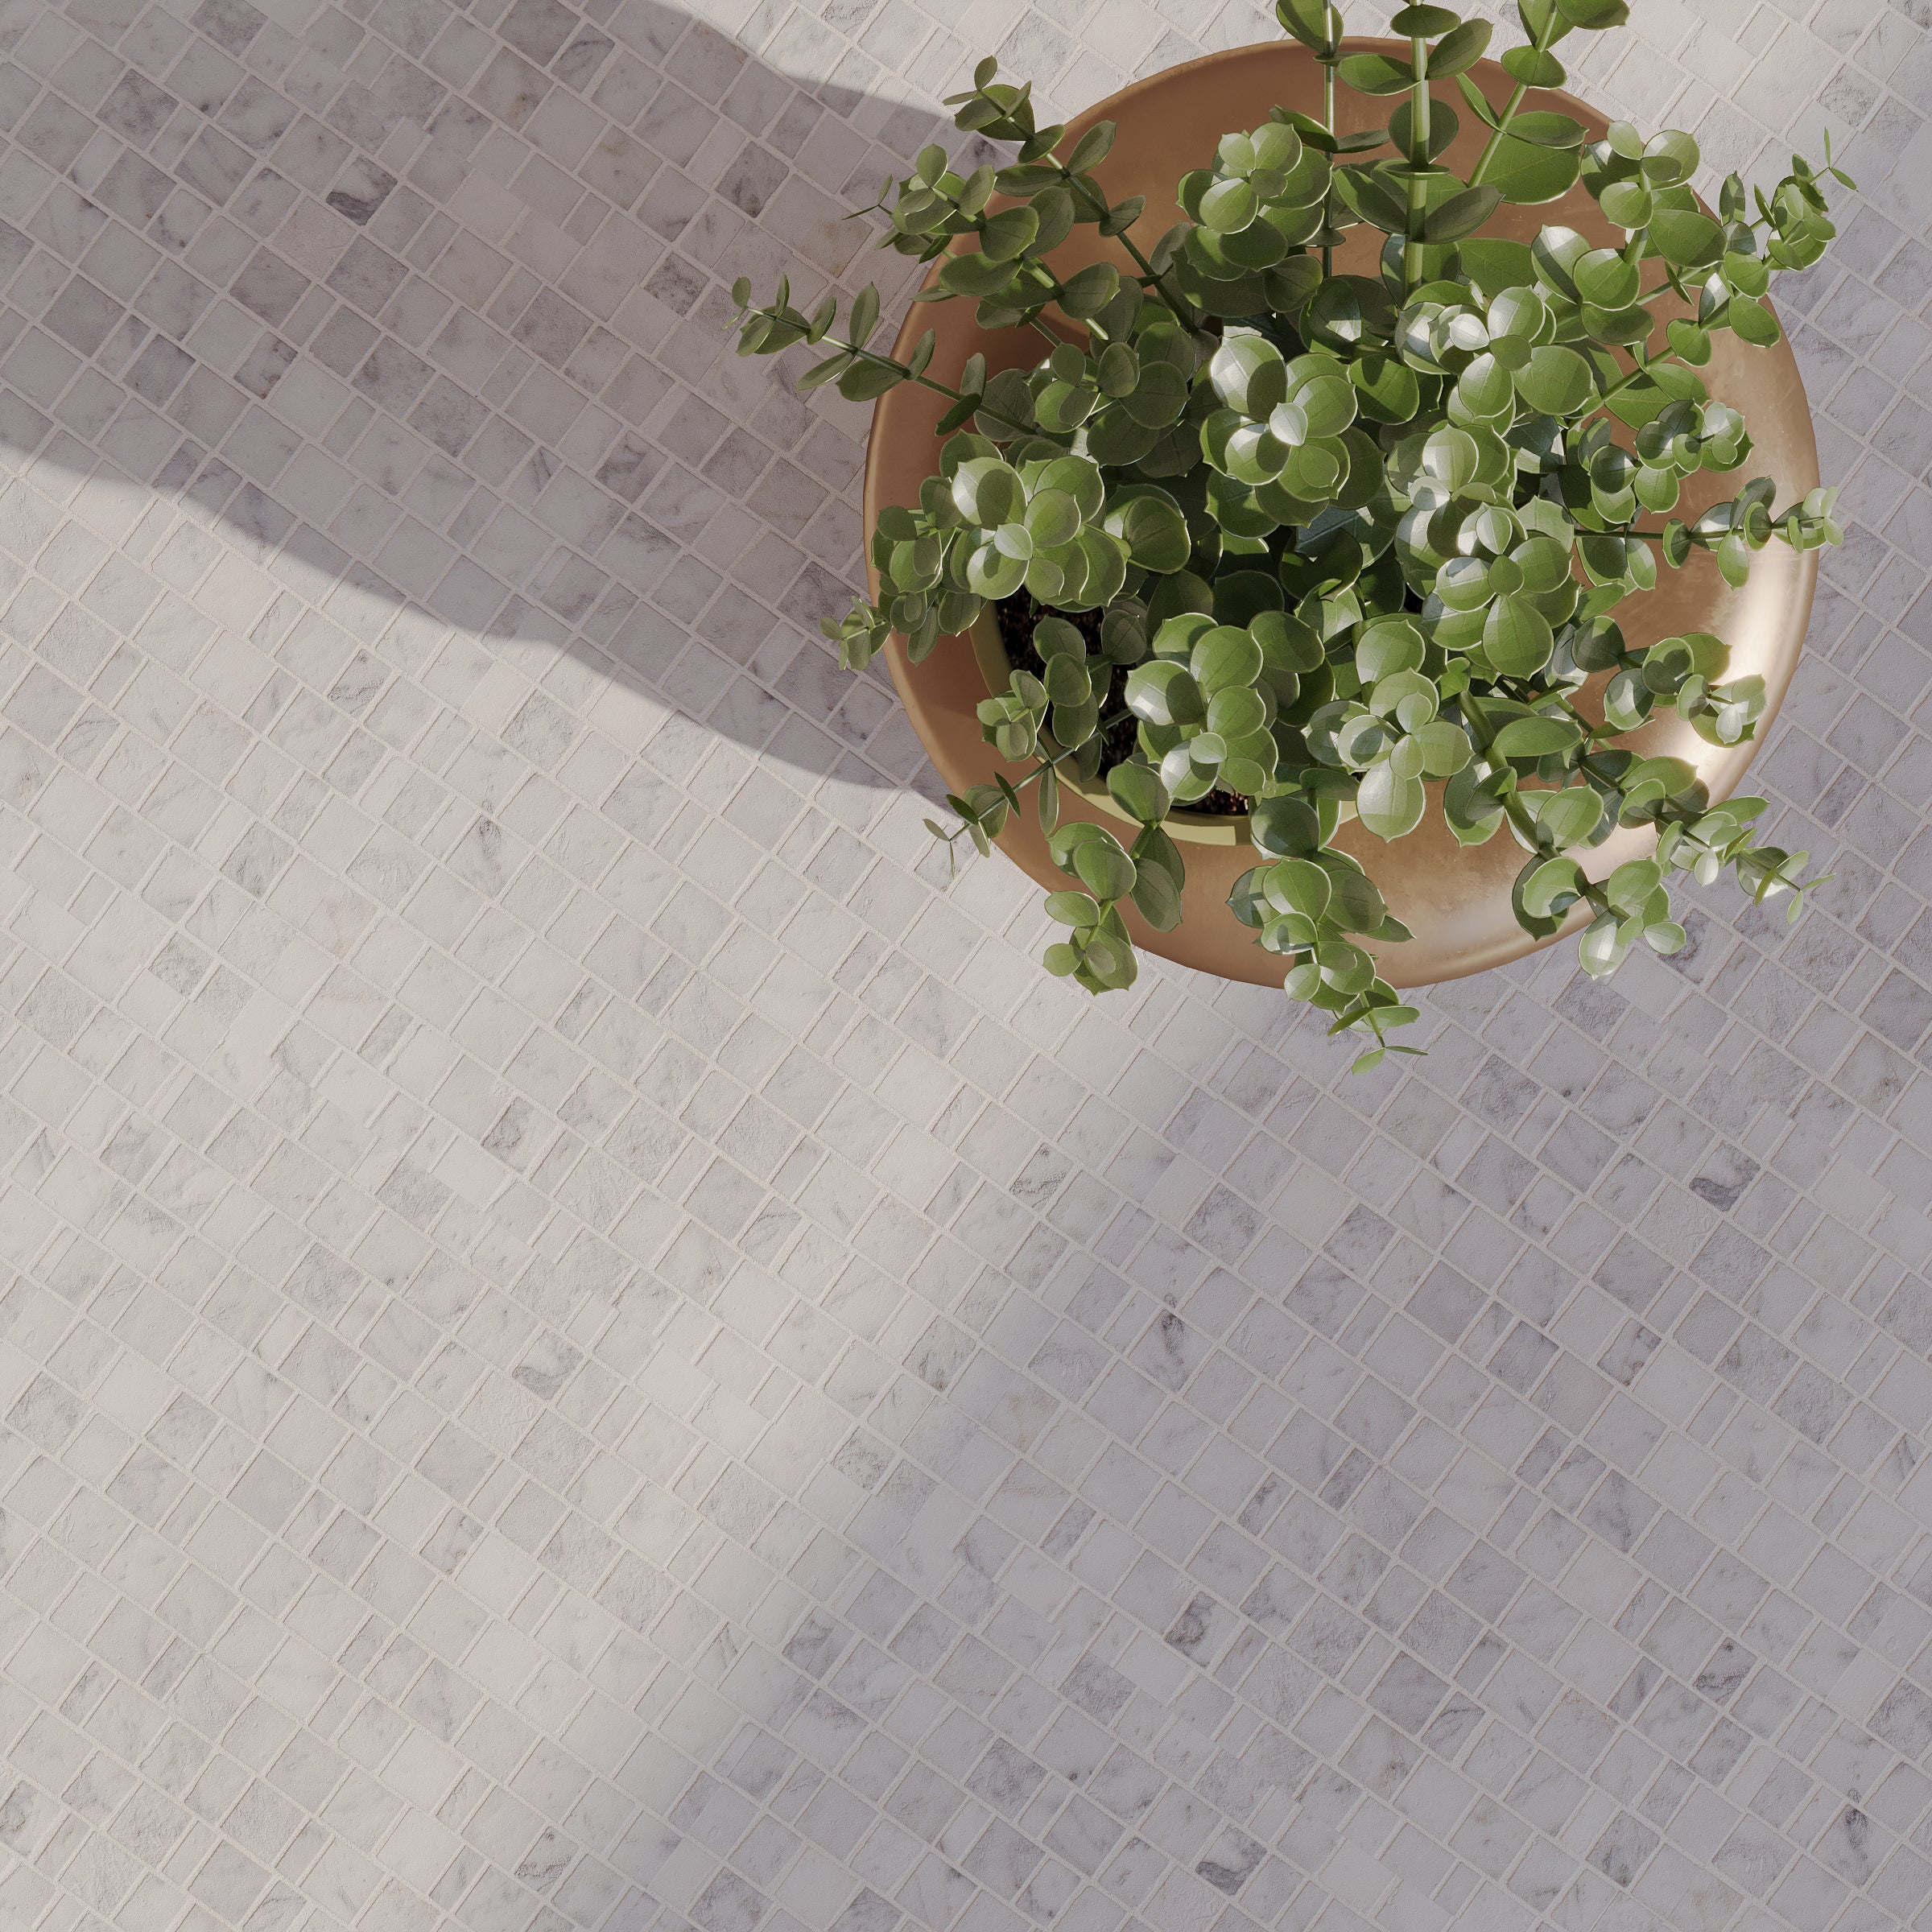
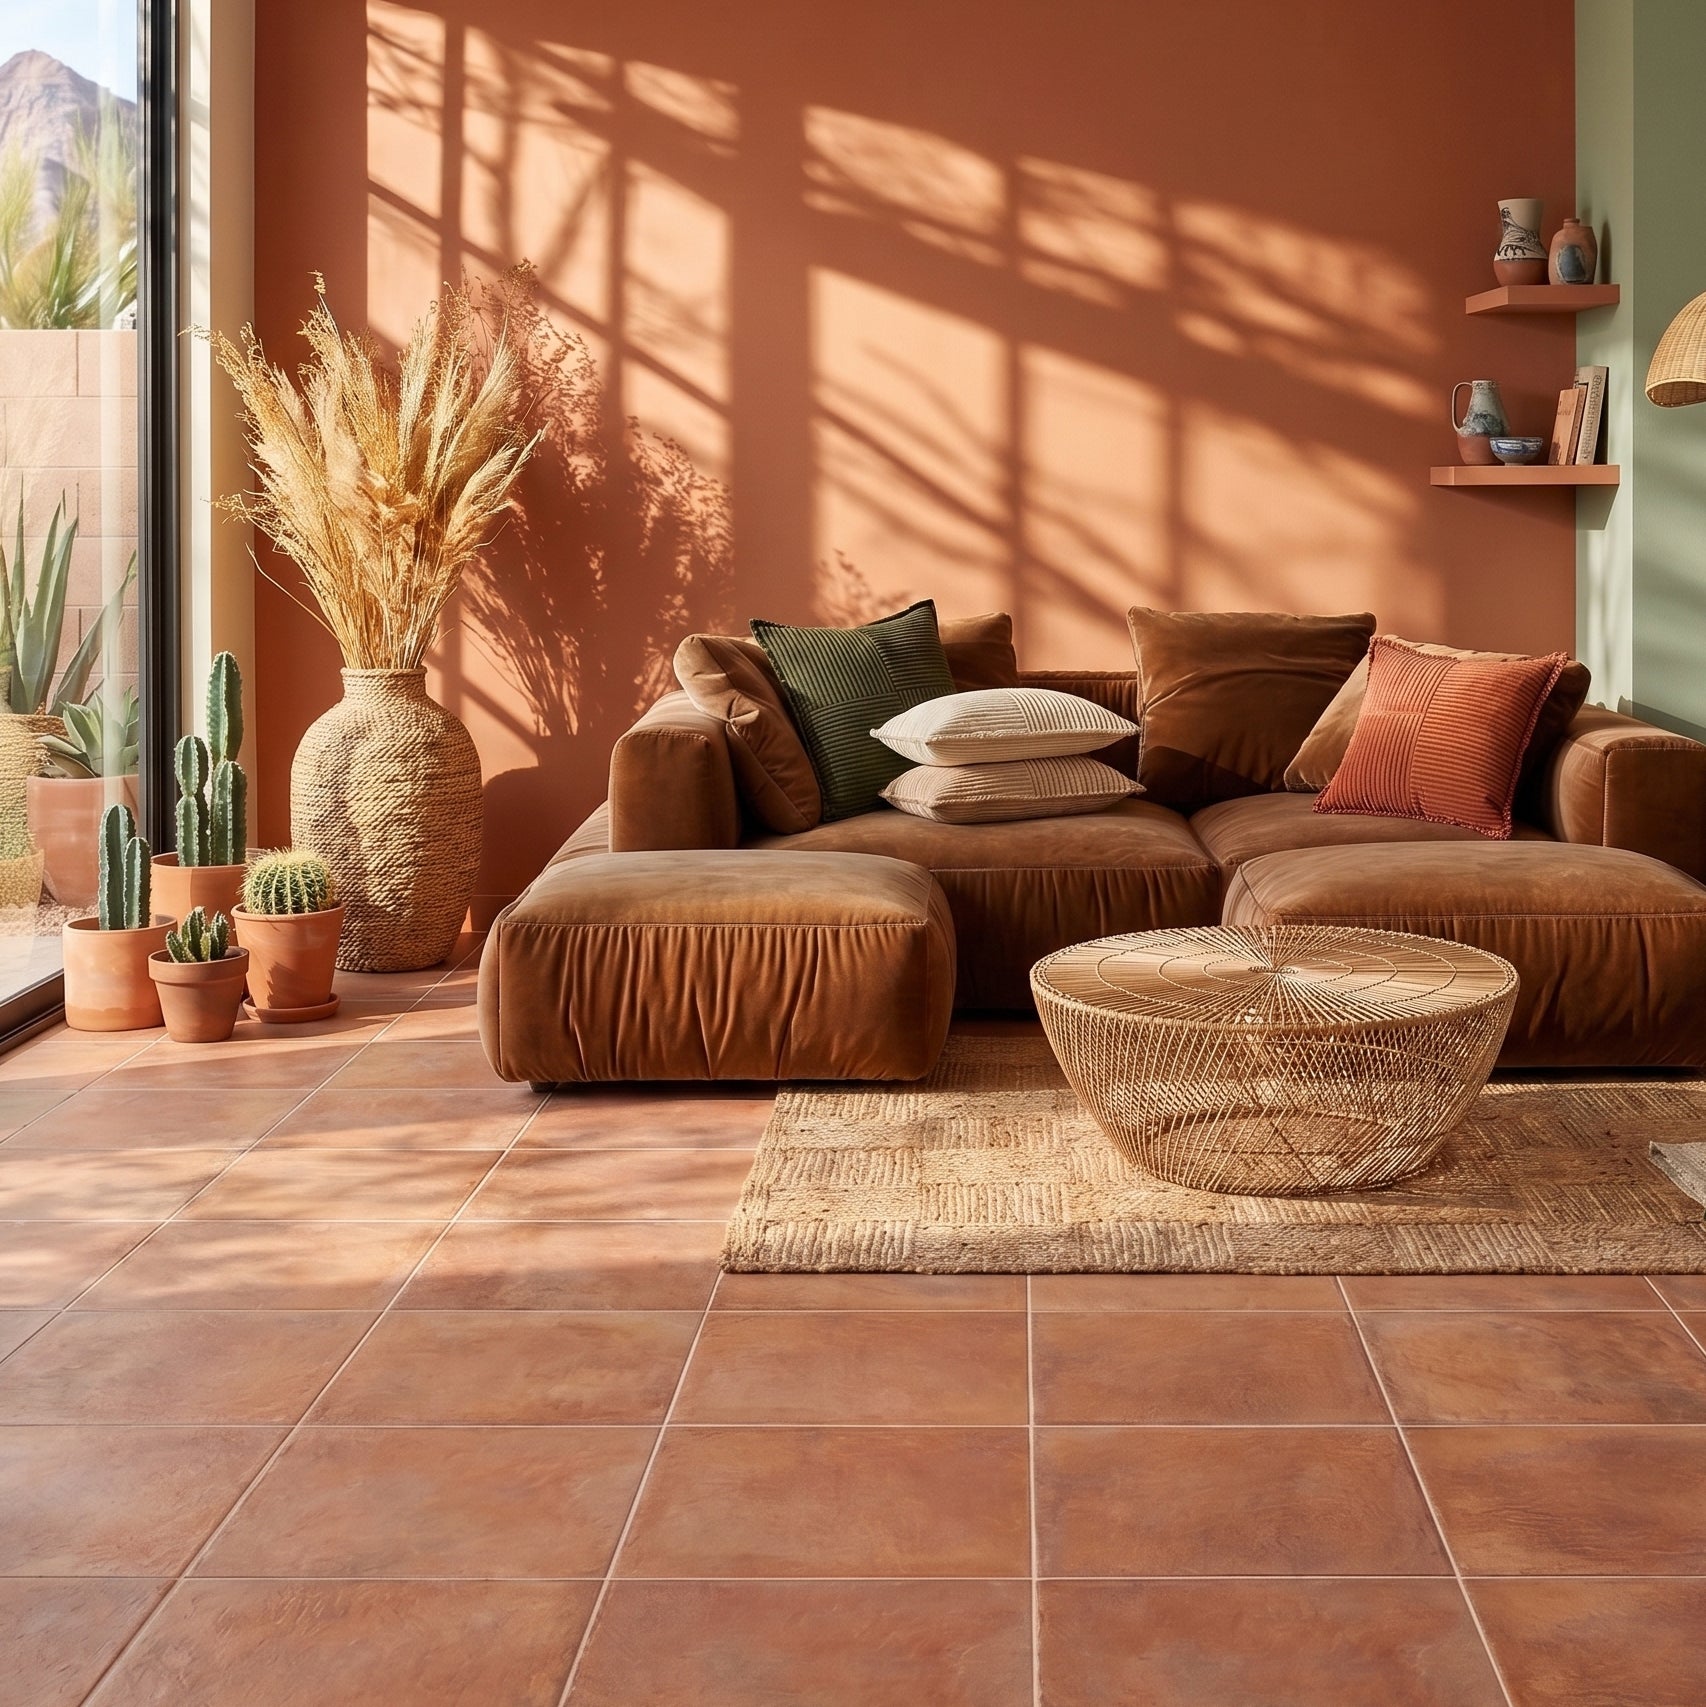
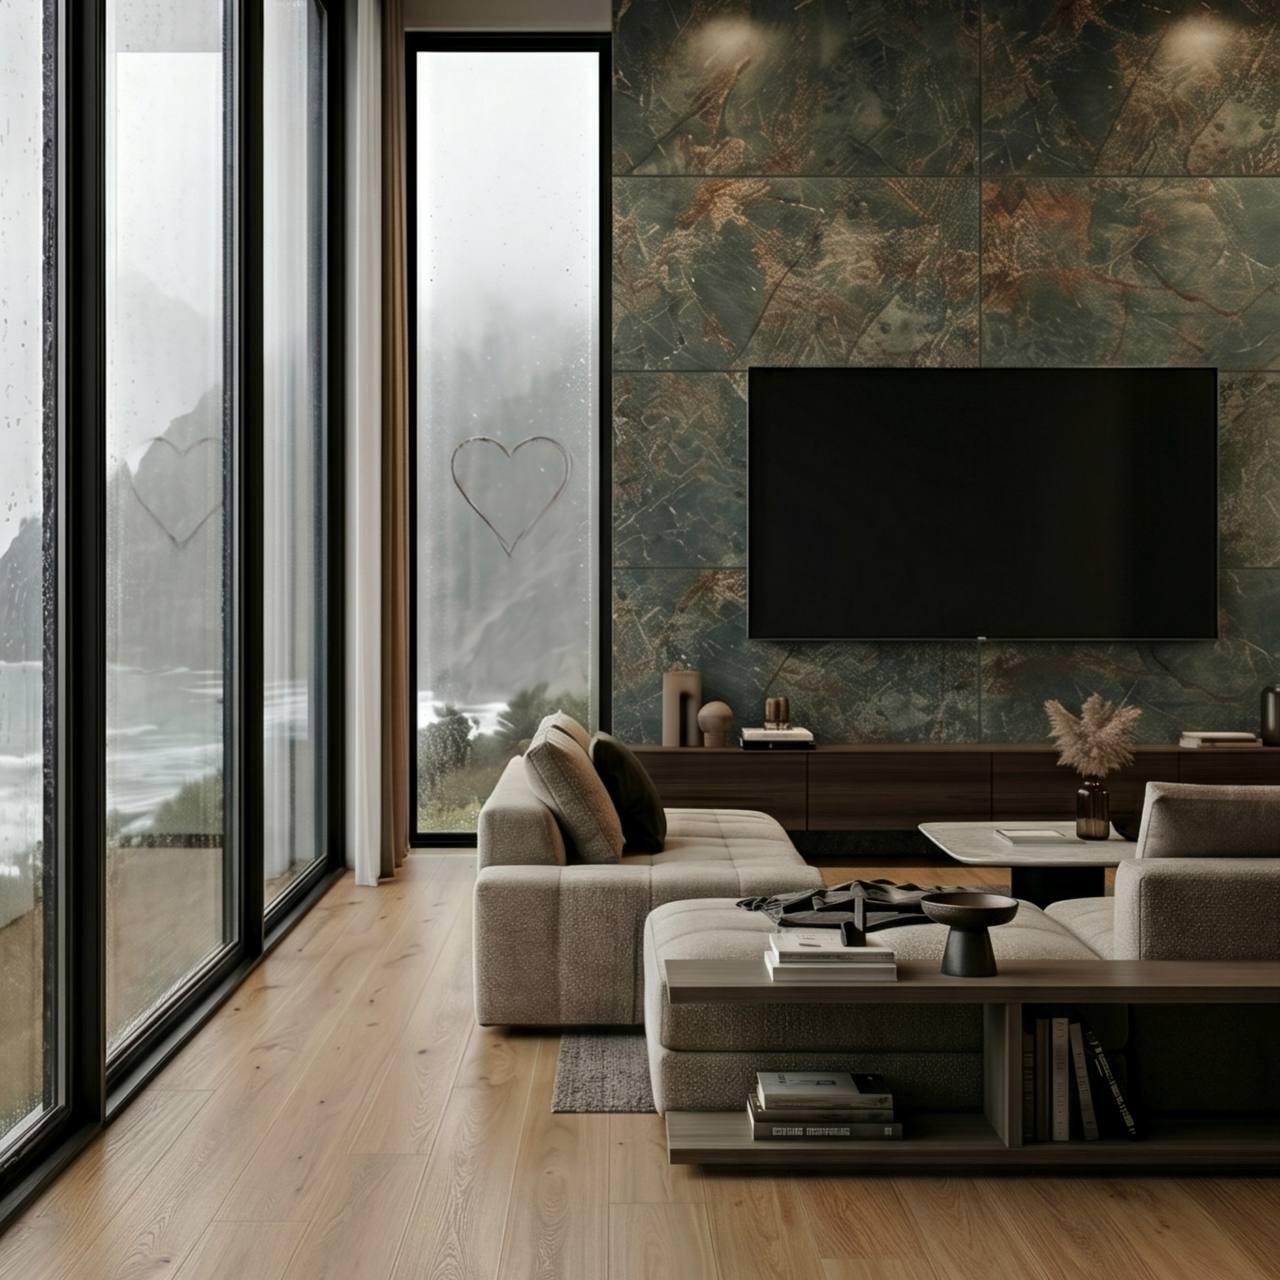
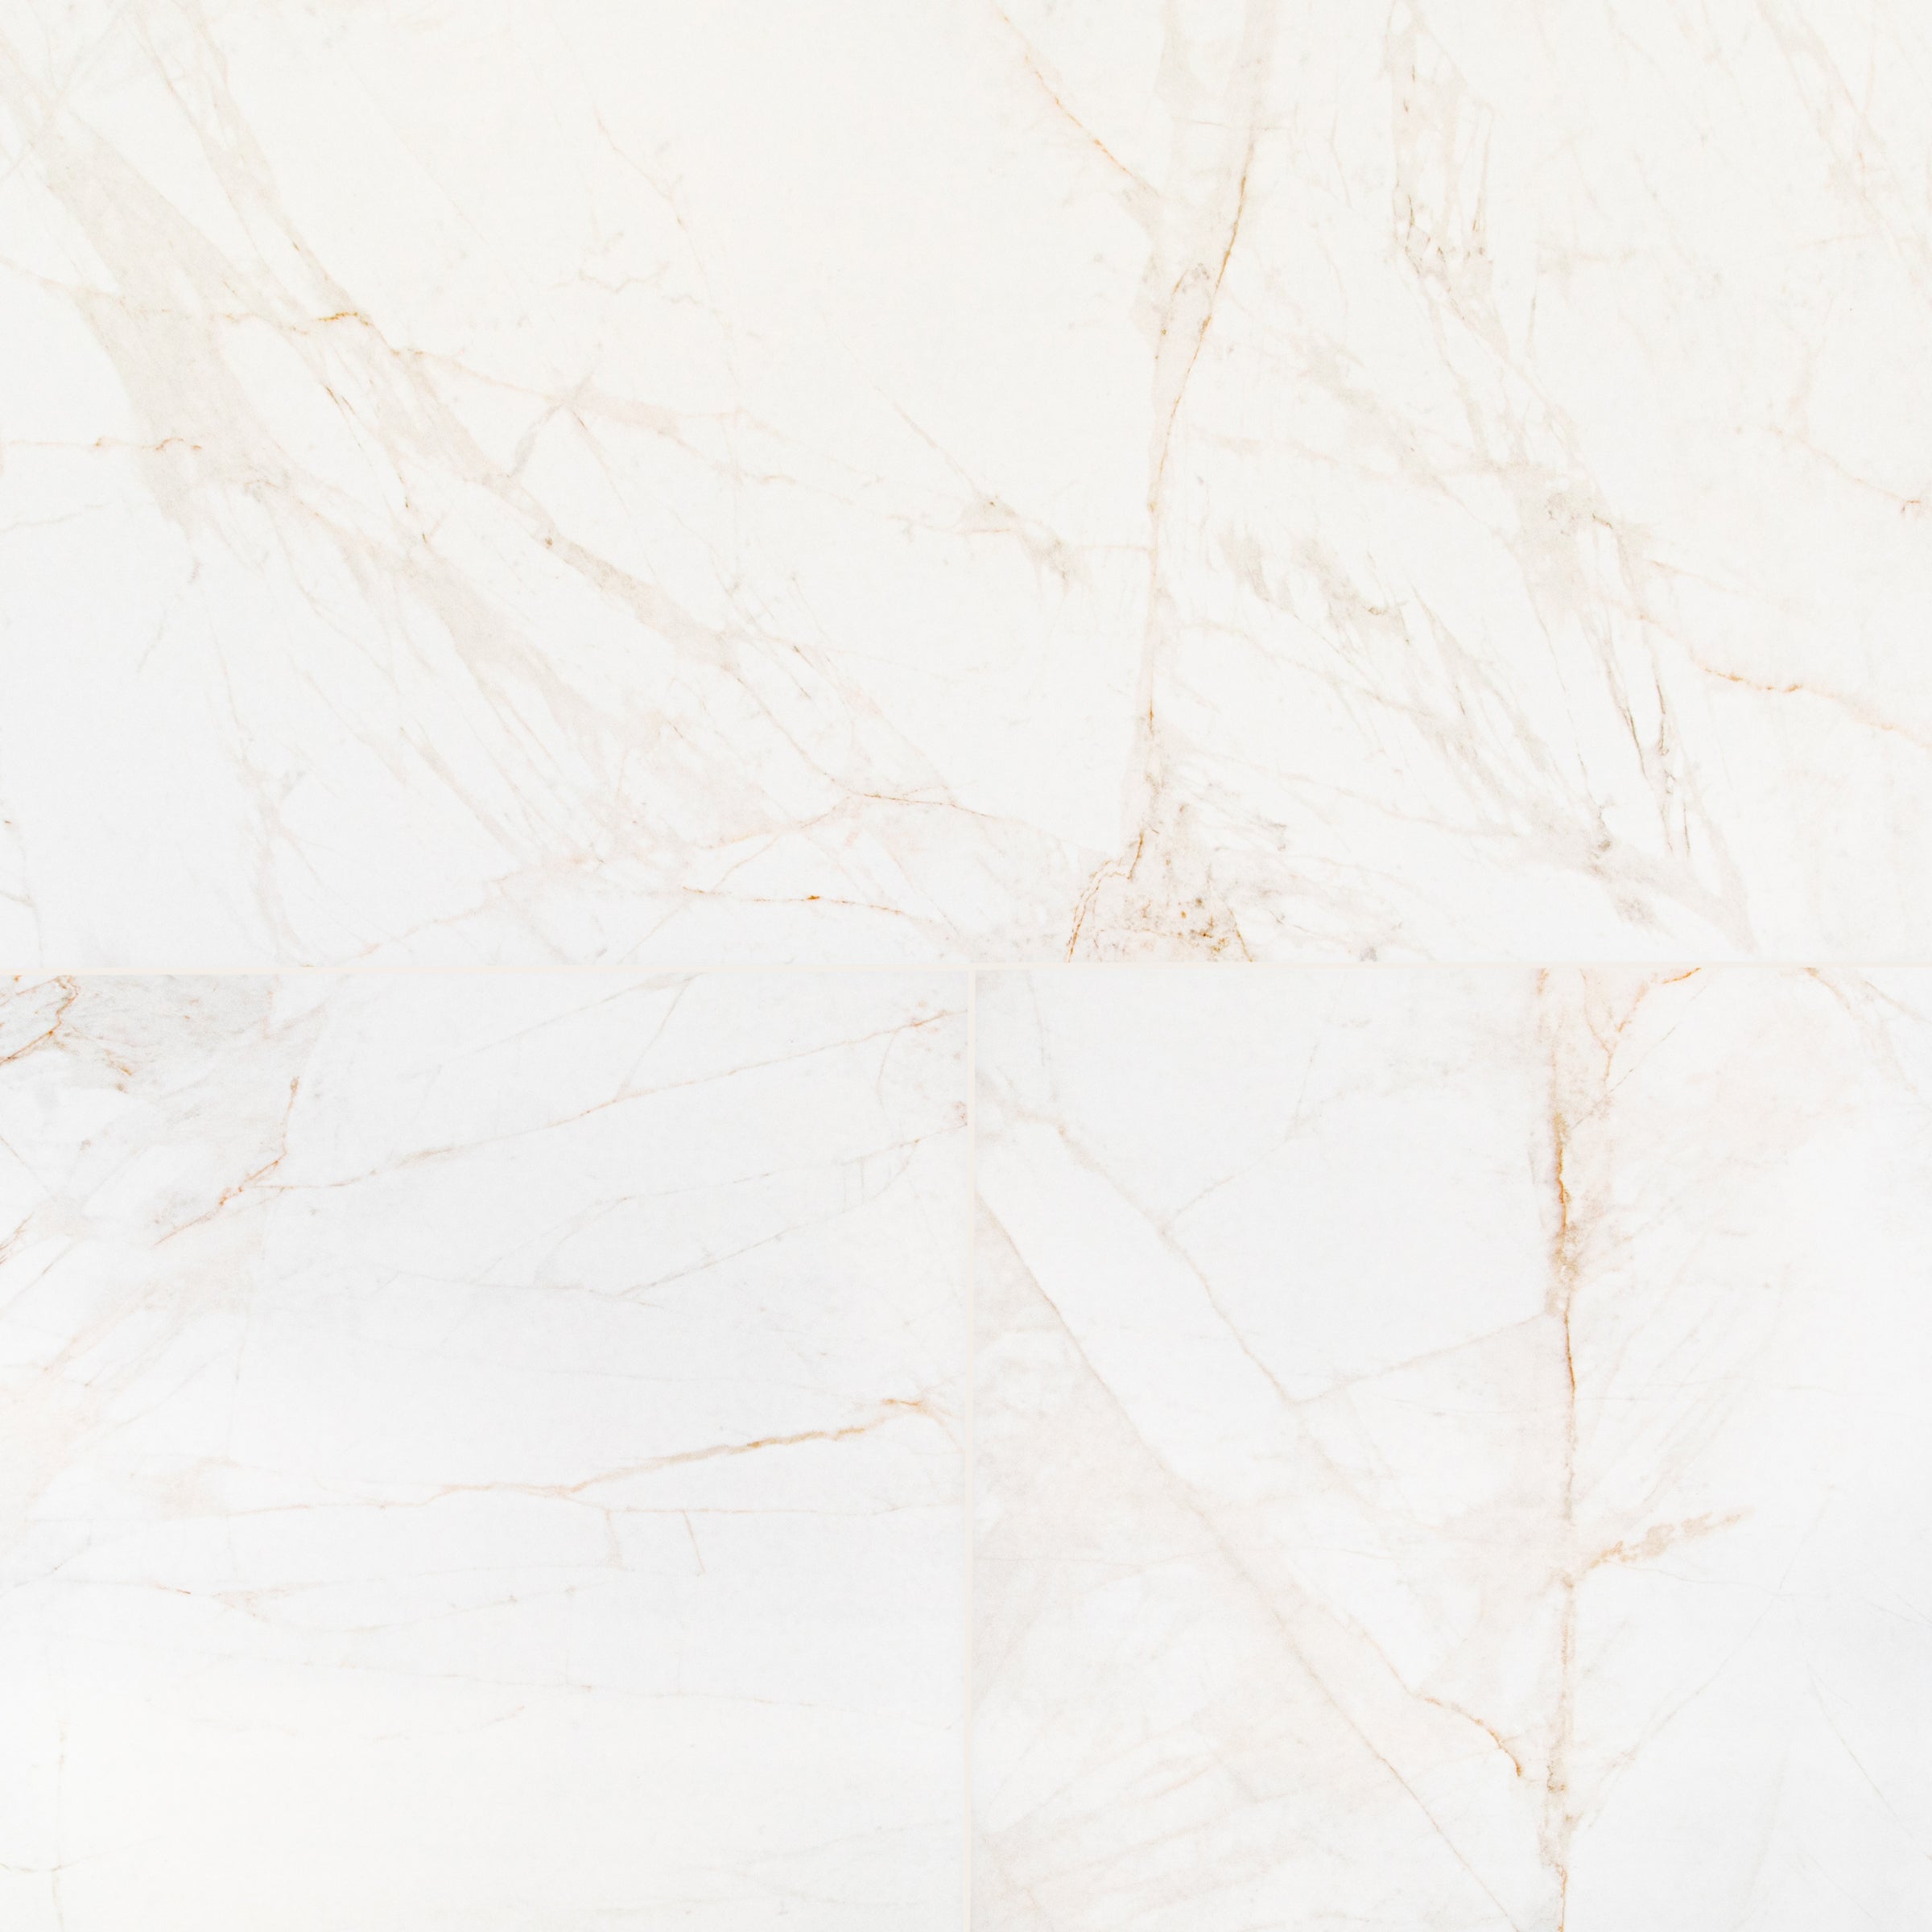
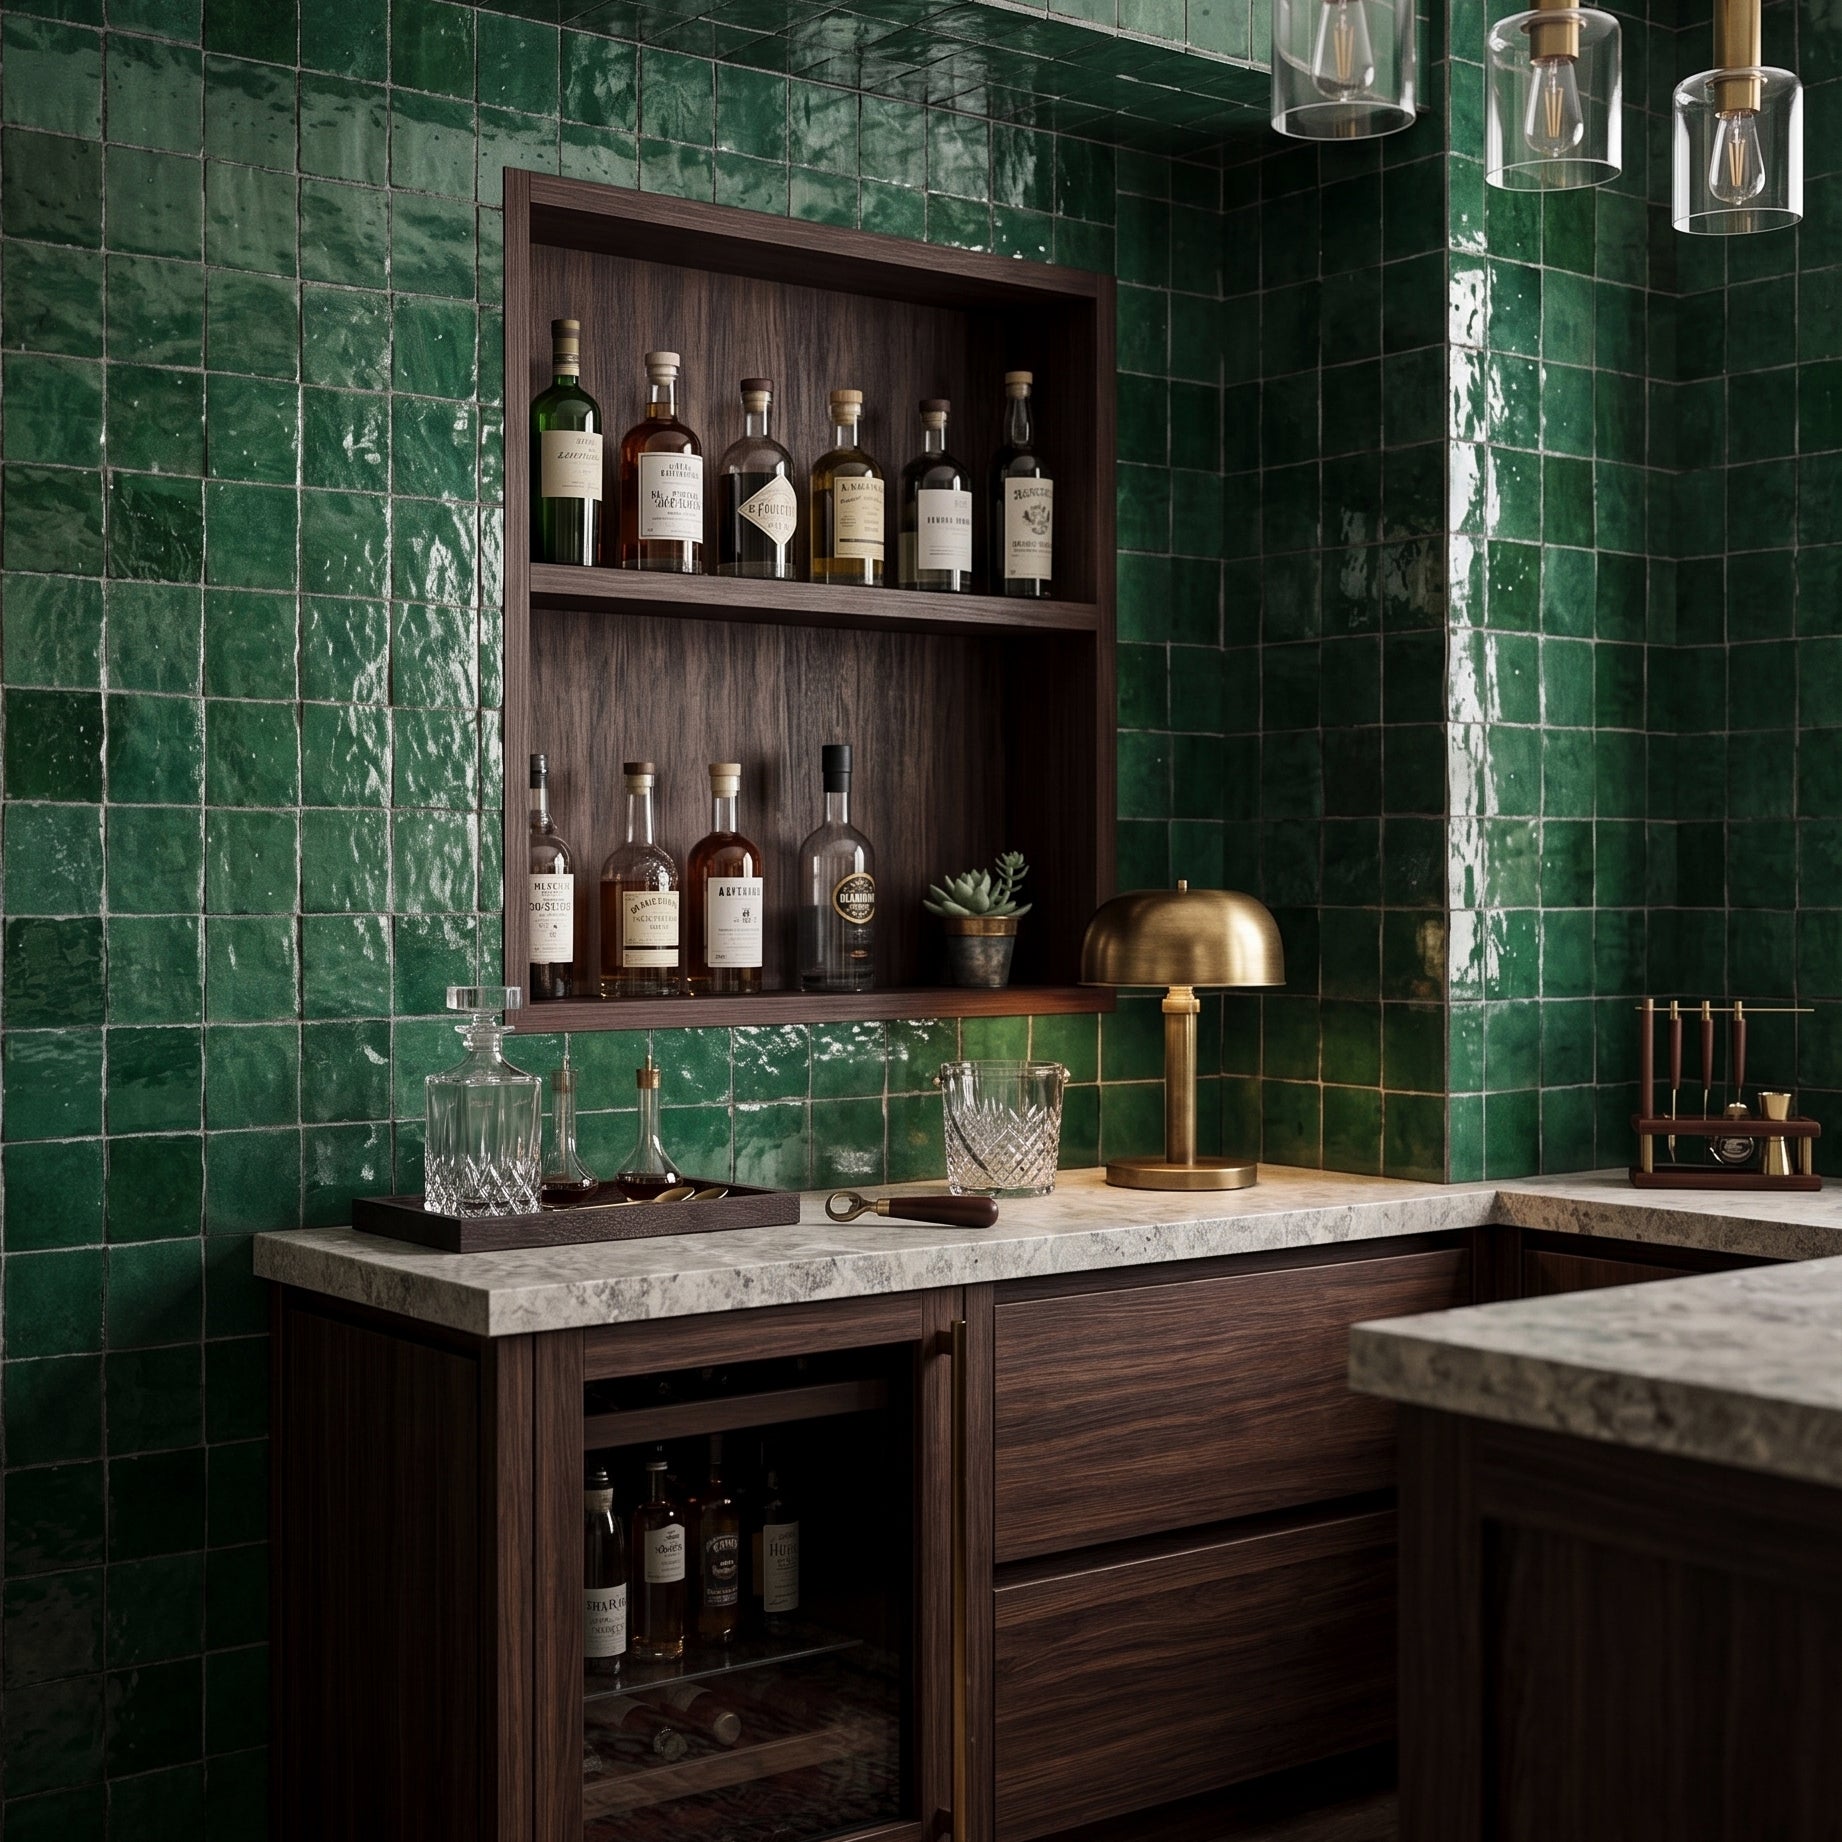
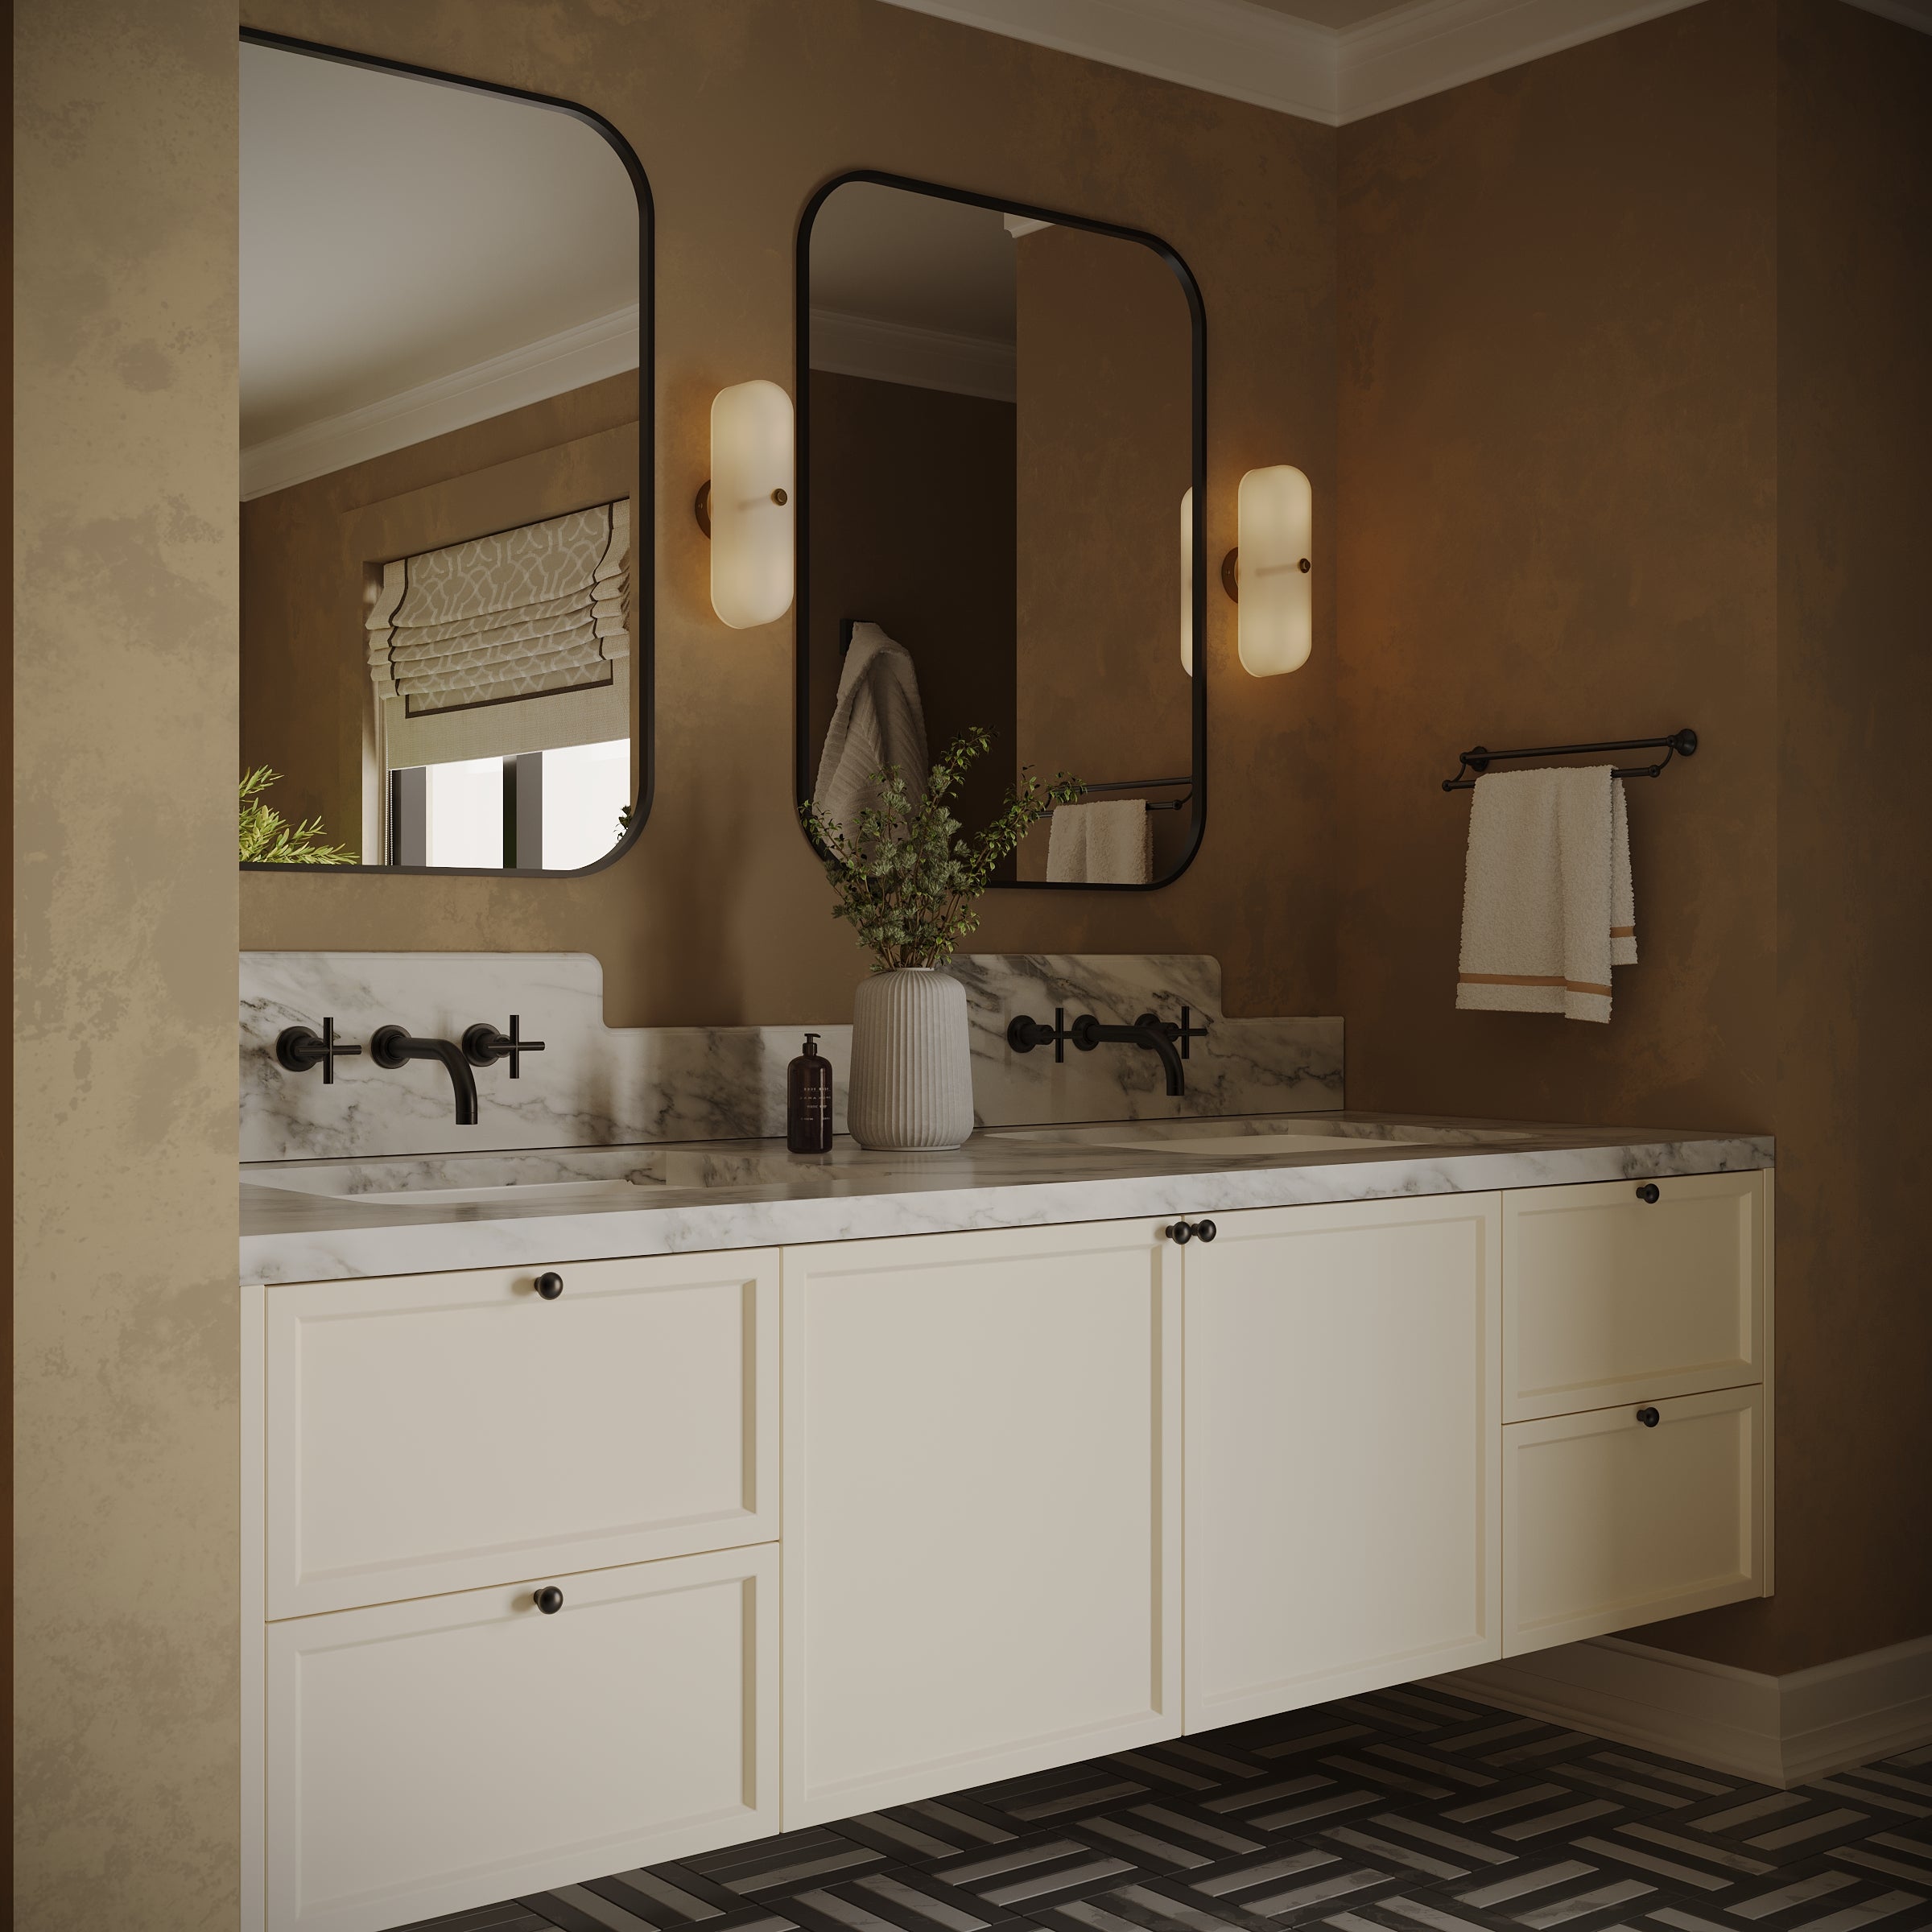
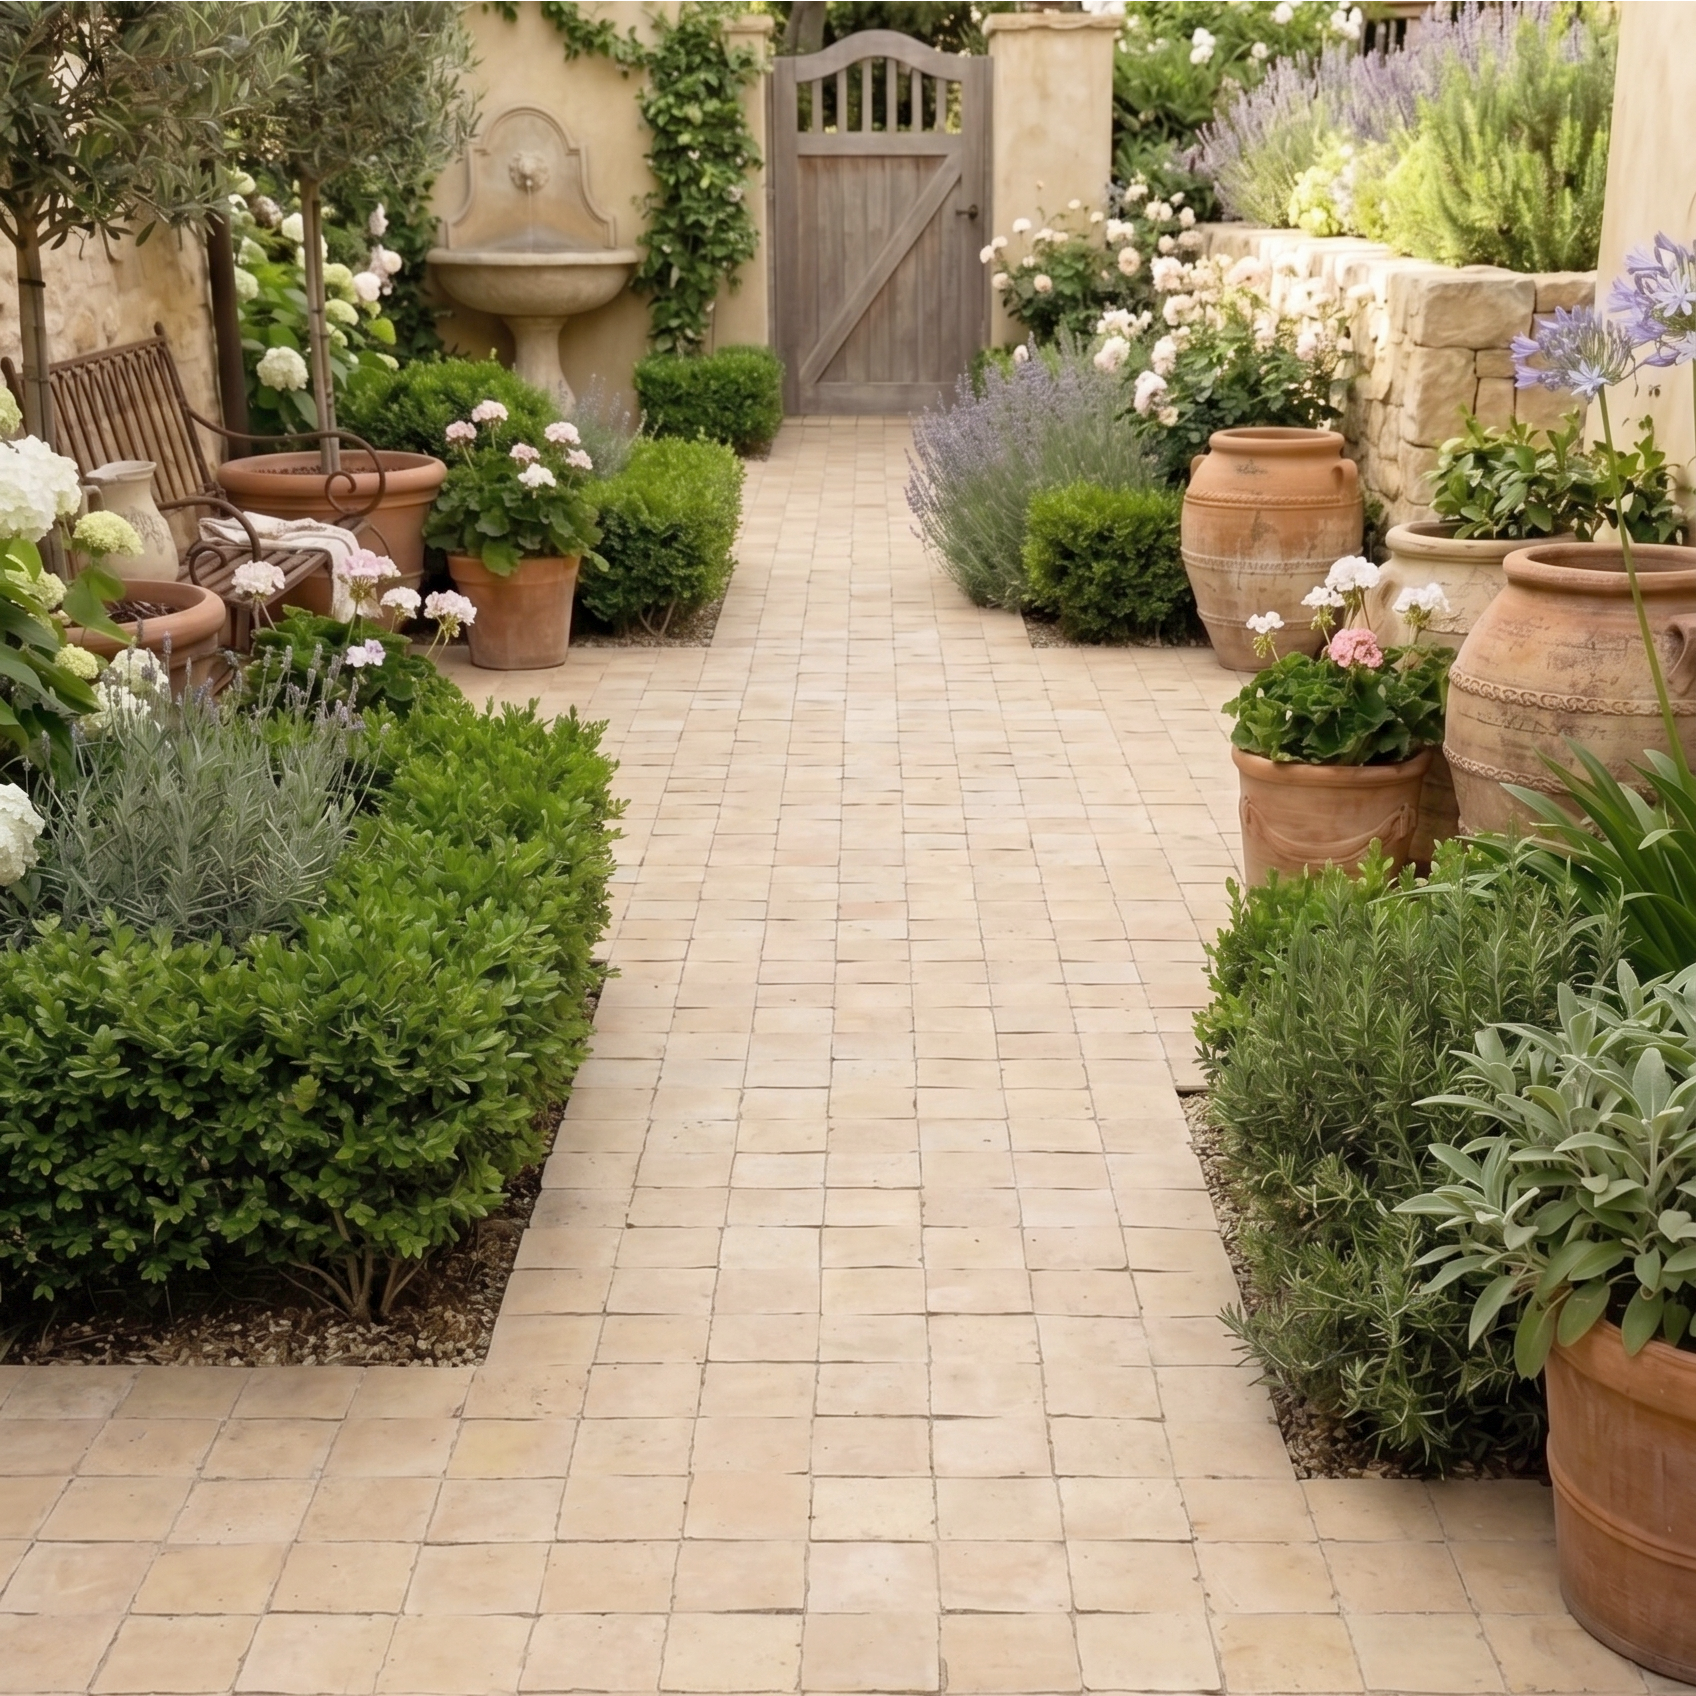
Floriana Amazzonite belongs in rooms that blur indoor and outdoor. A sunroom with arched windows. A pool bath with louvered shutters. A covered loggia that catches afternoon light. Surround it with bleached wood, cane furniture, potted citrus. Let the pattern read as garden ornament brought inside. For contrast, border with plain Statuario—the white frames the green like a garden wall.
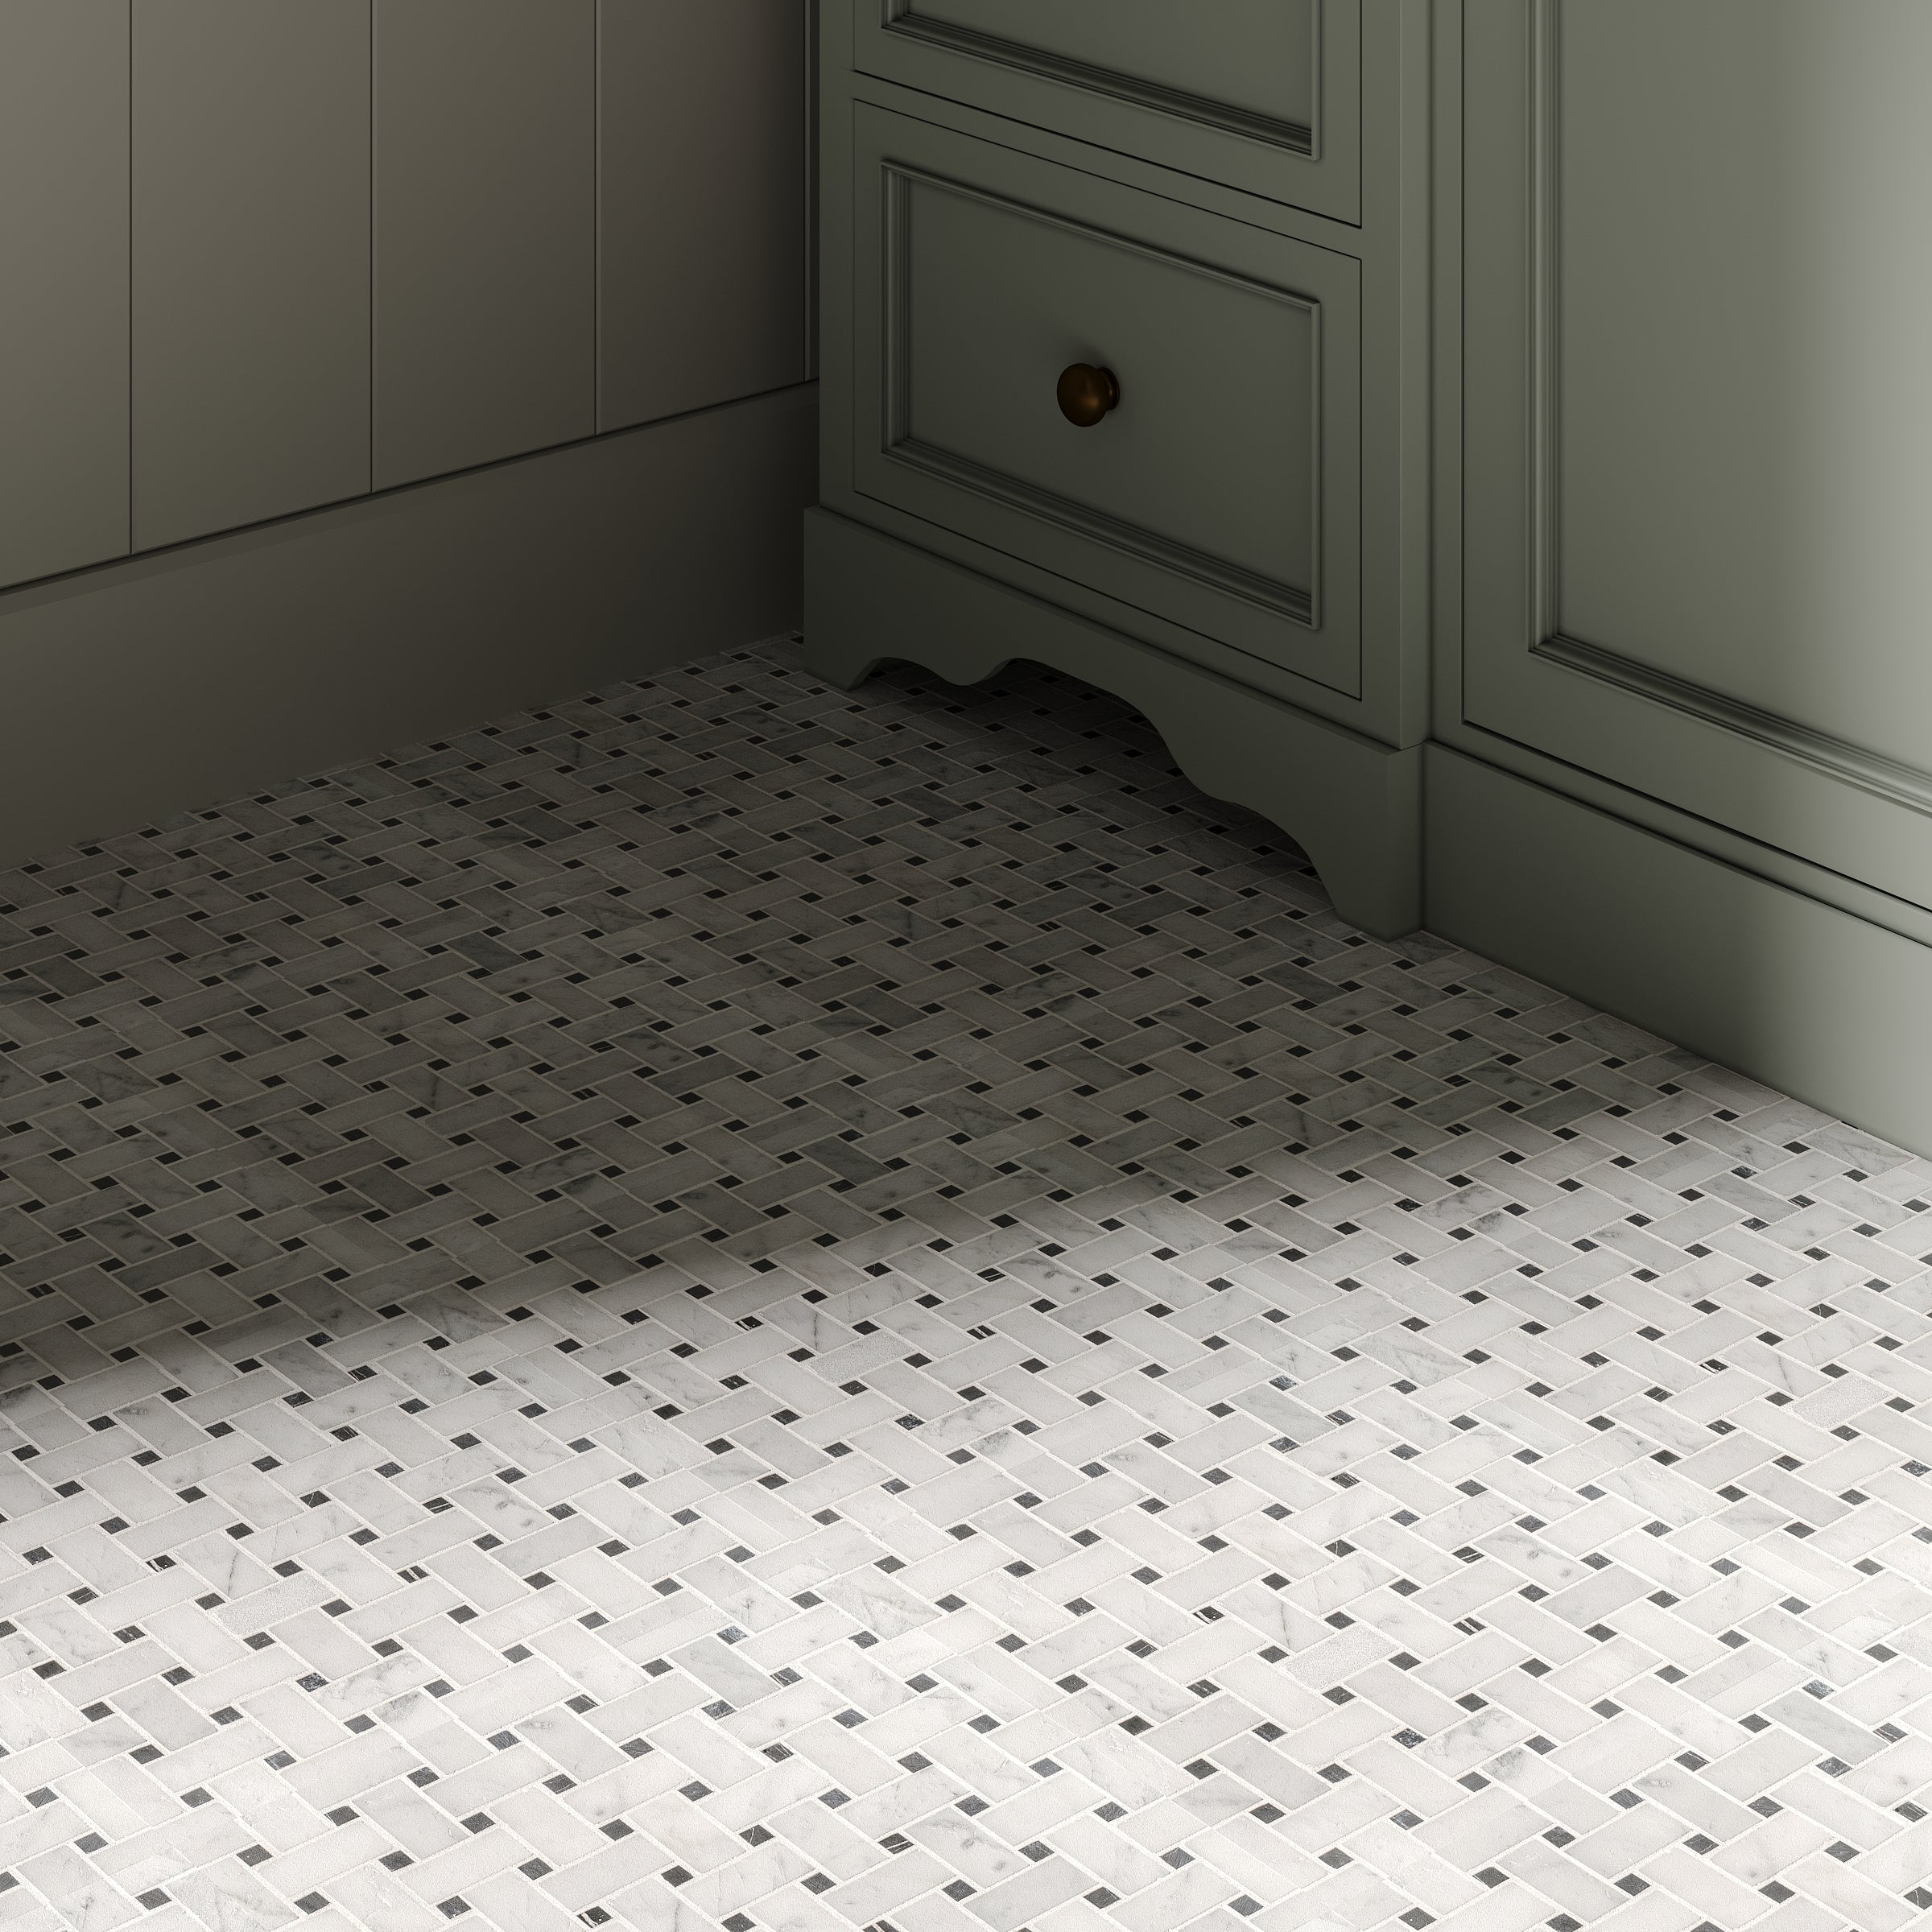
Where to Install
OUTDOOR
WALLS
SHOWER FLOOR
FLOORS
SHOWER WALL
BACKSPLASH
POOL
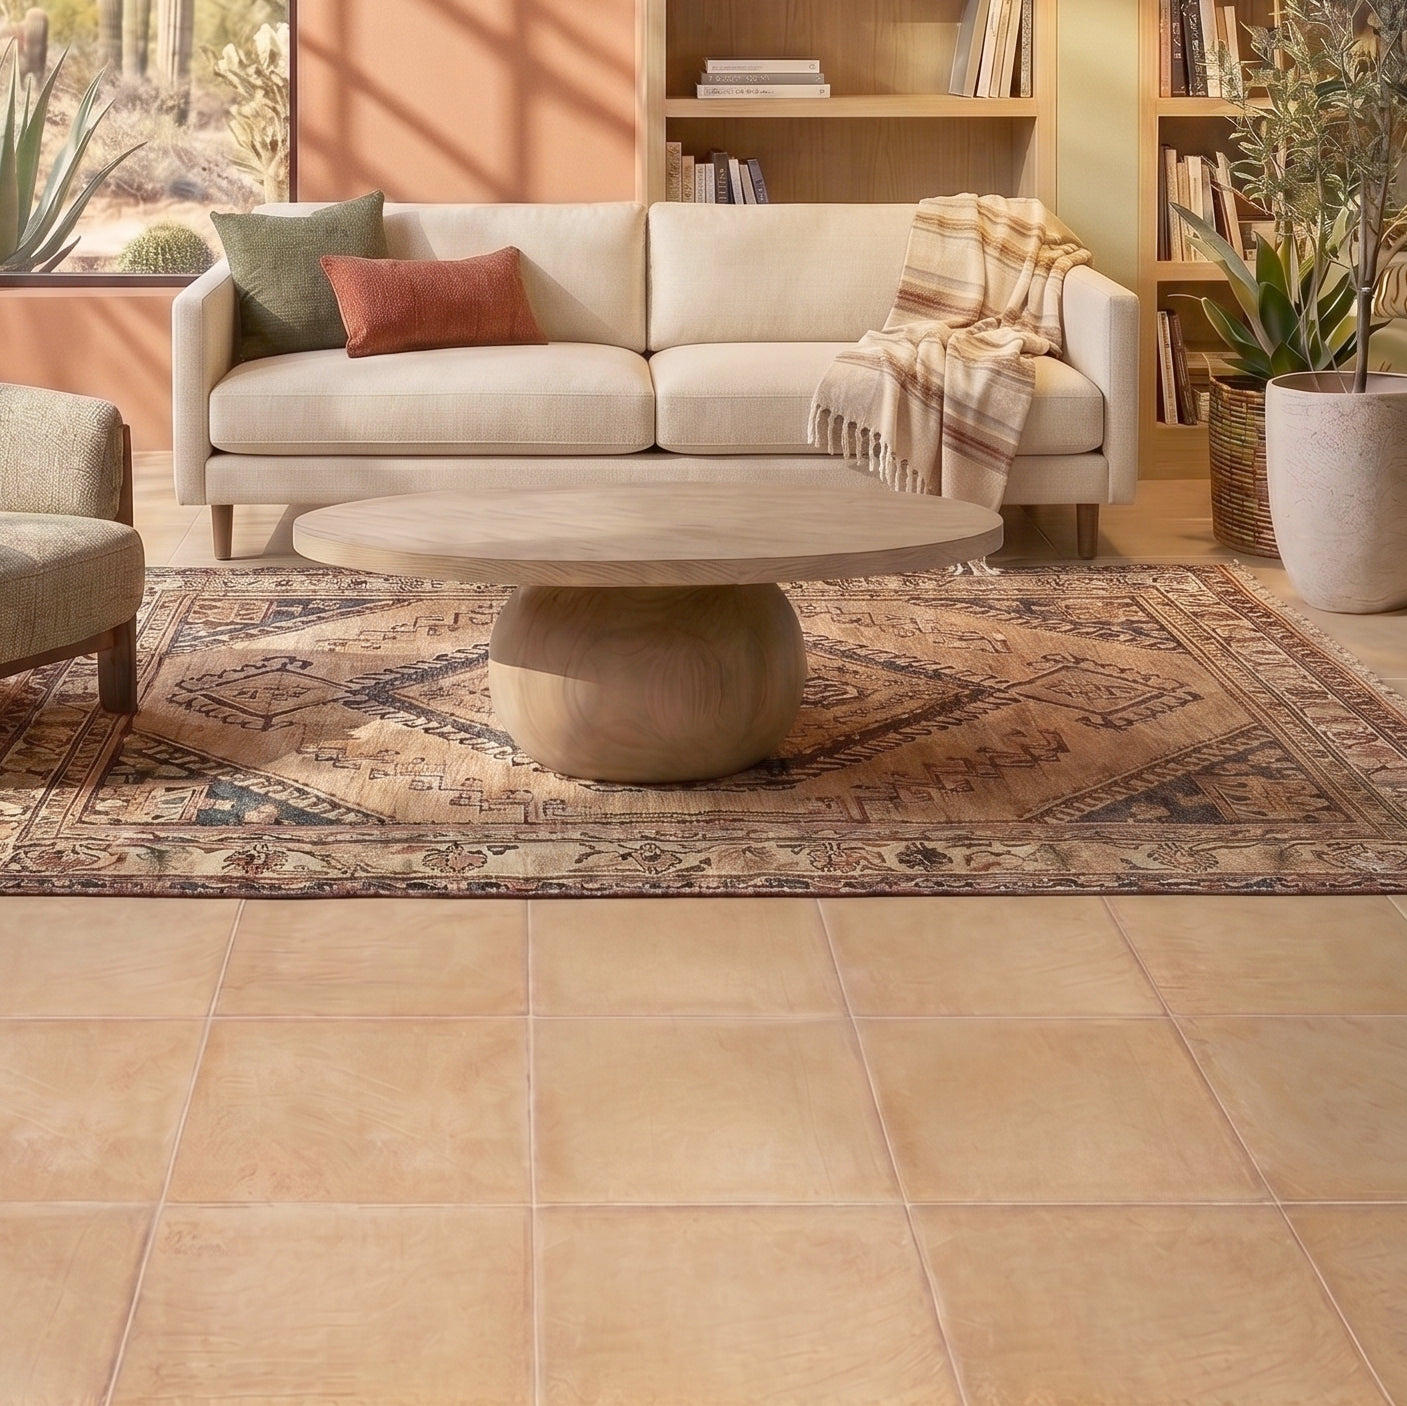
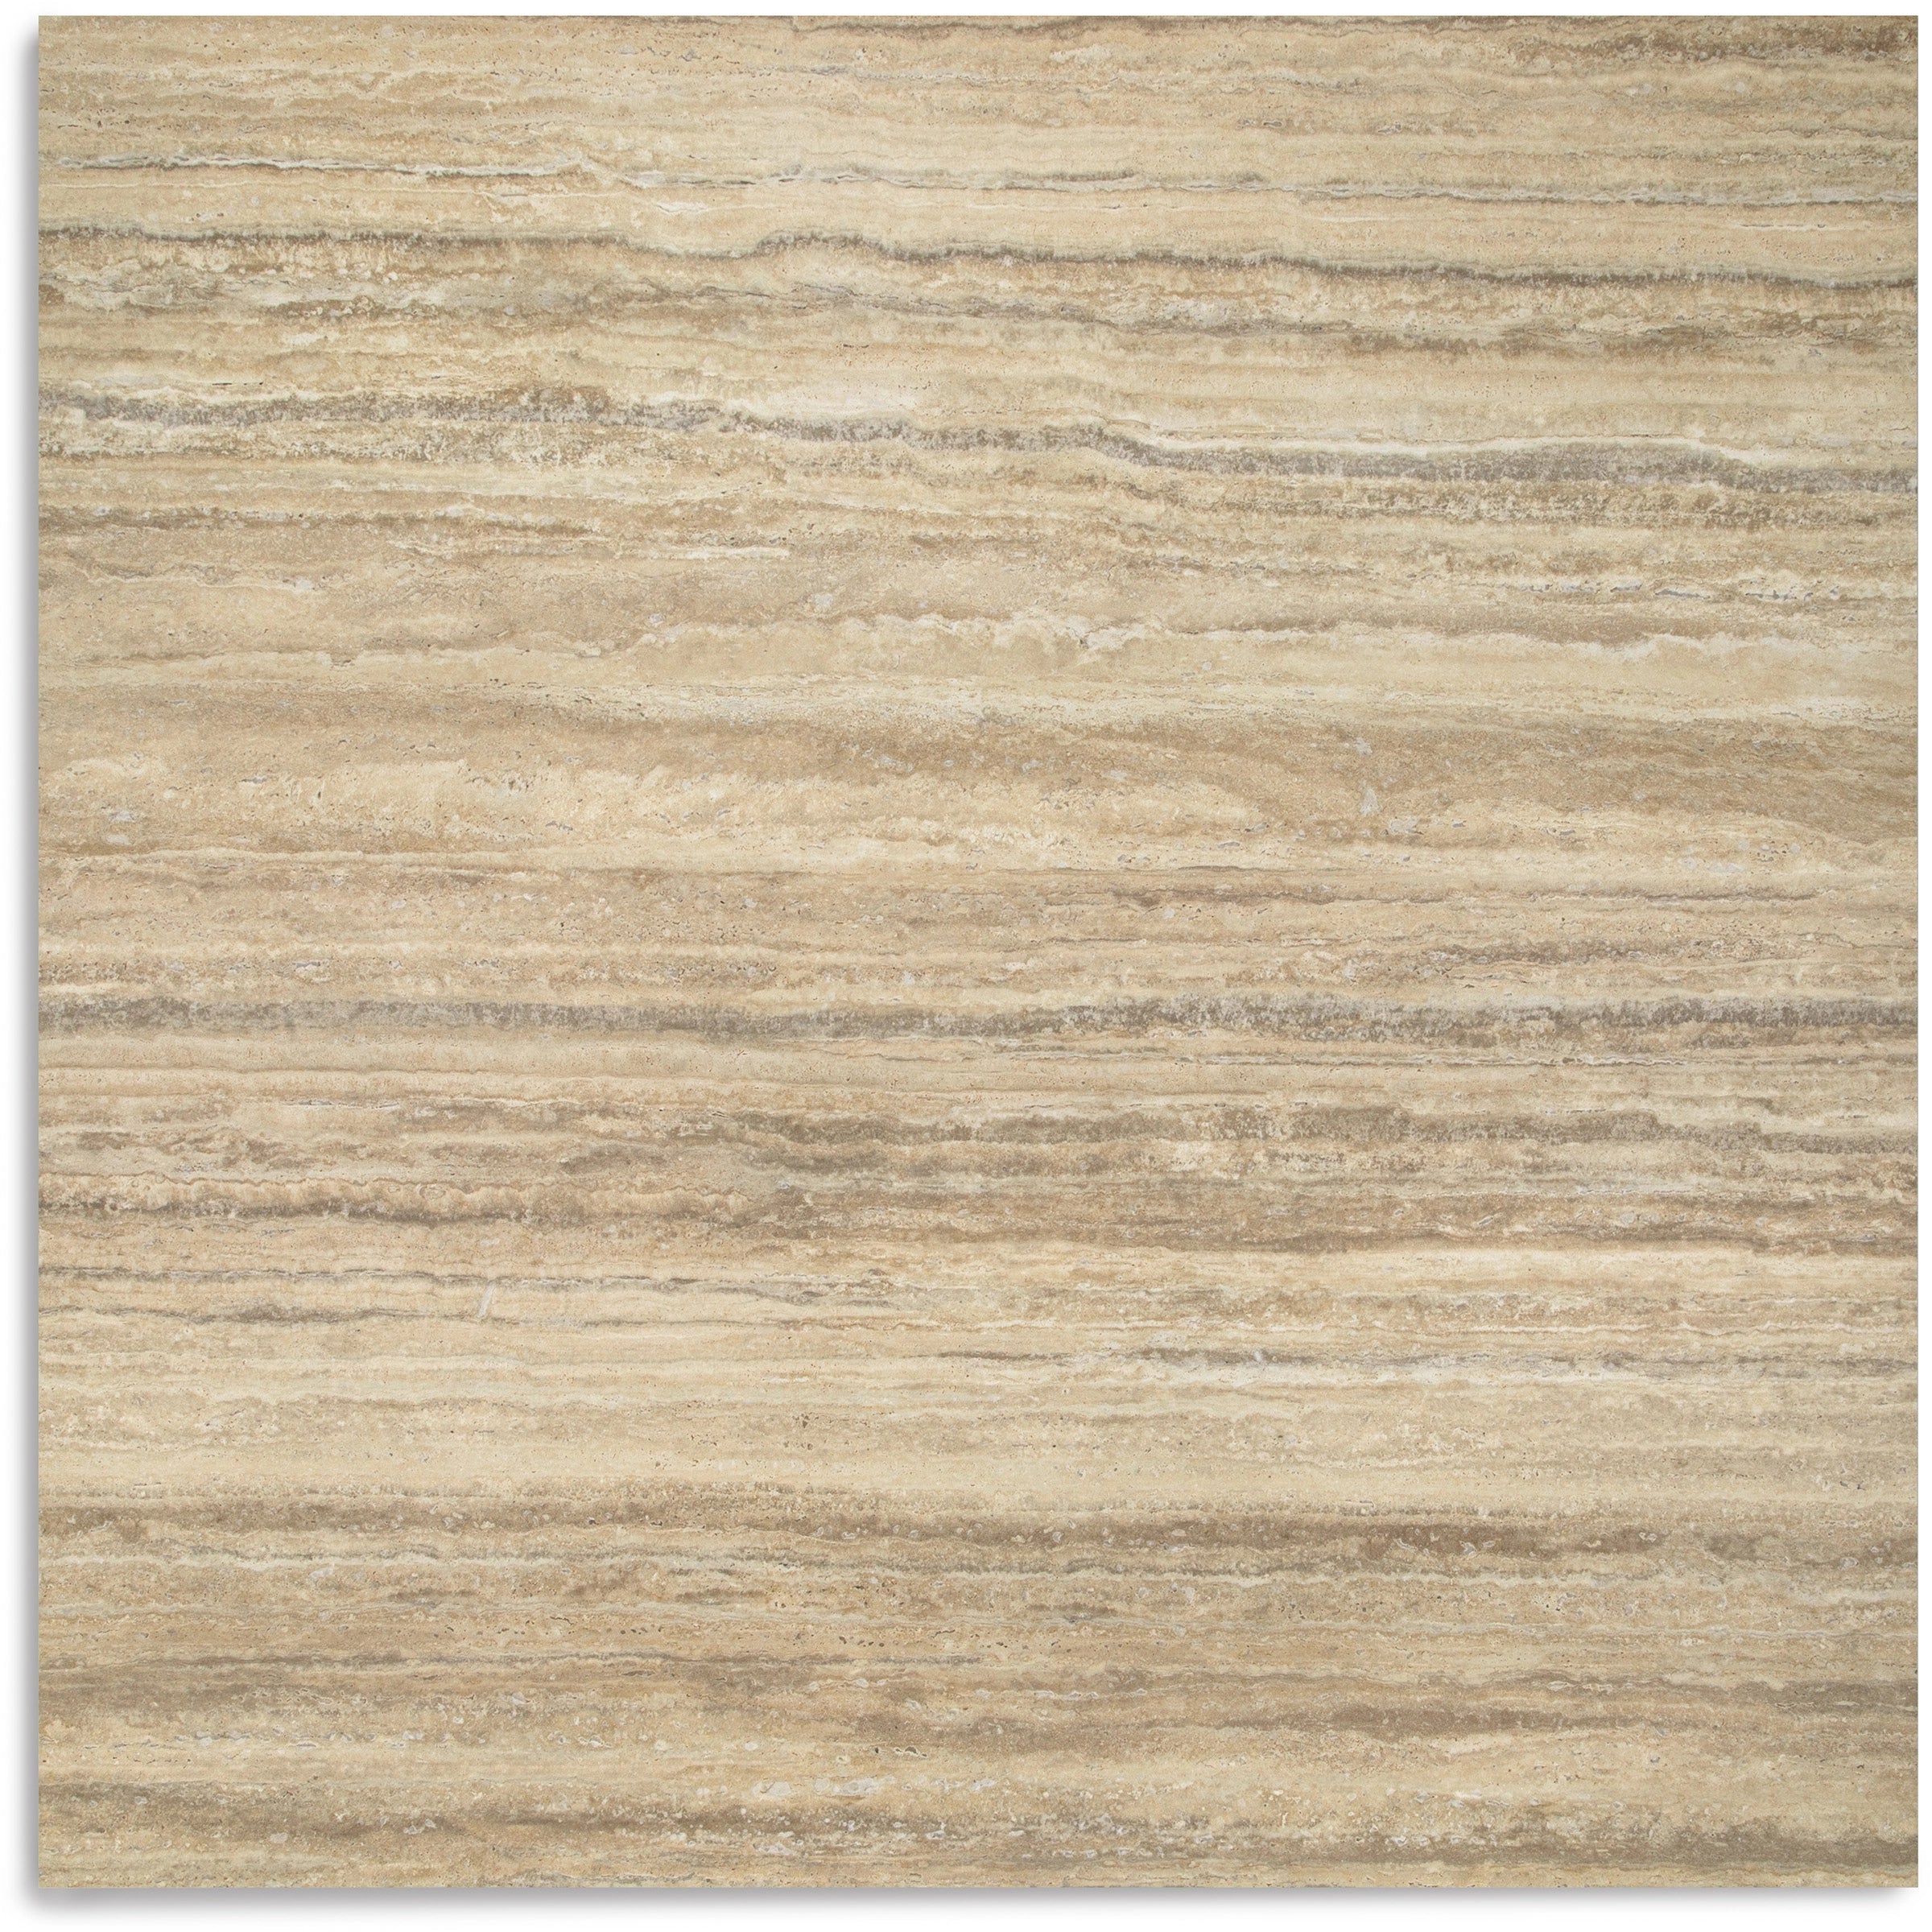
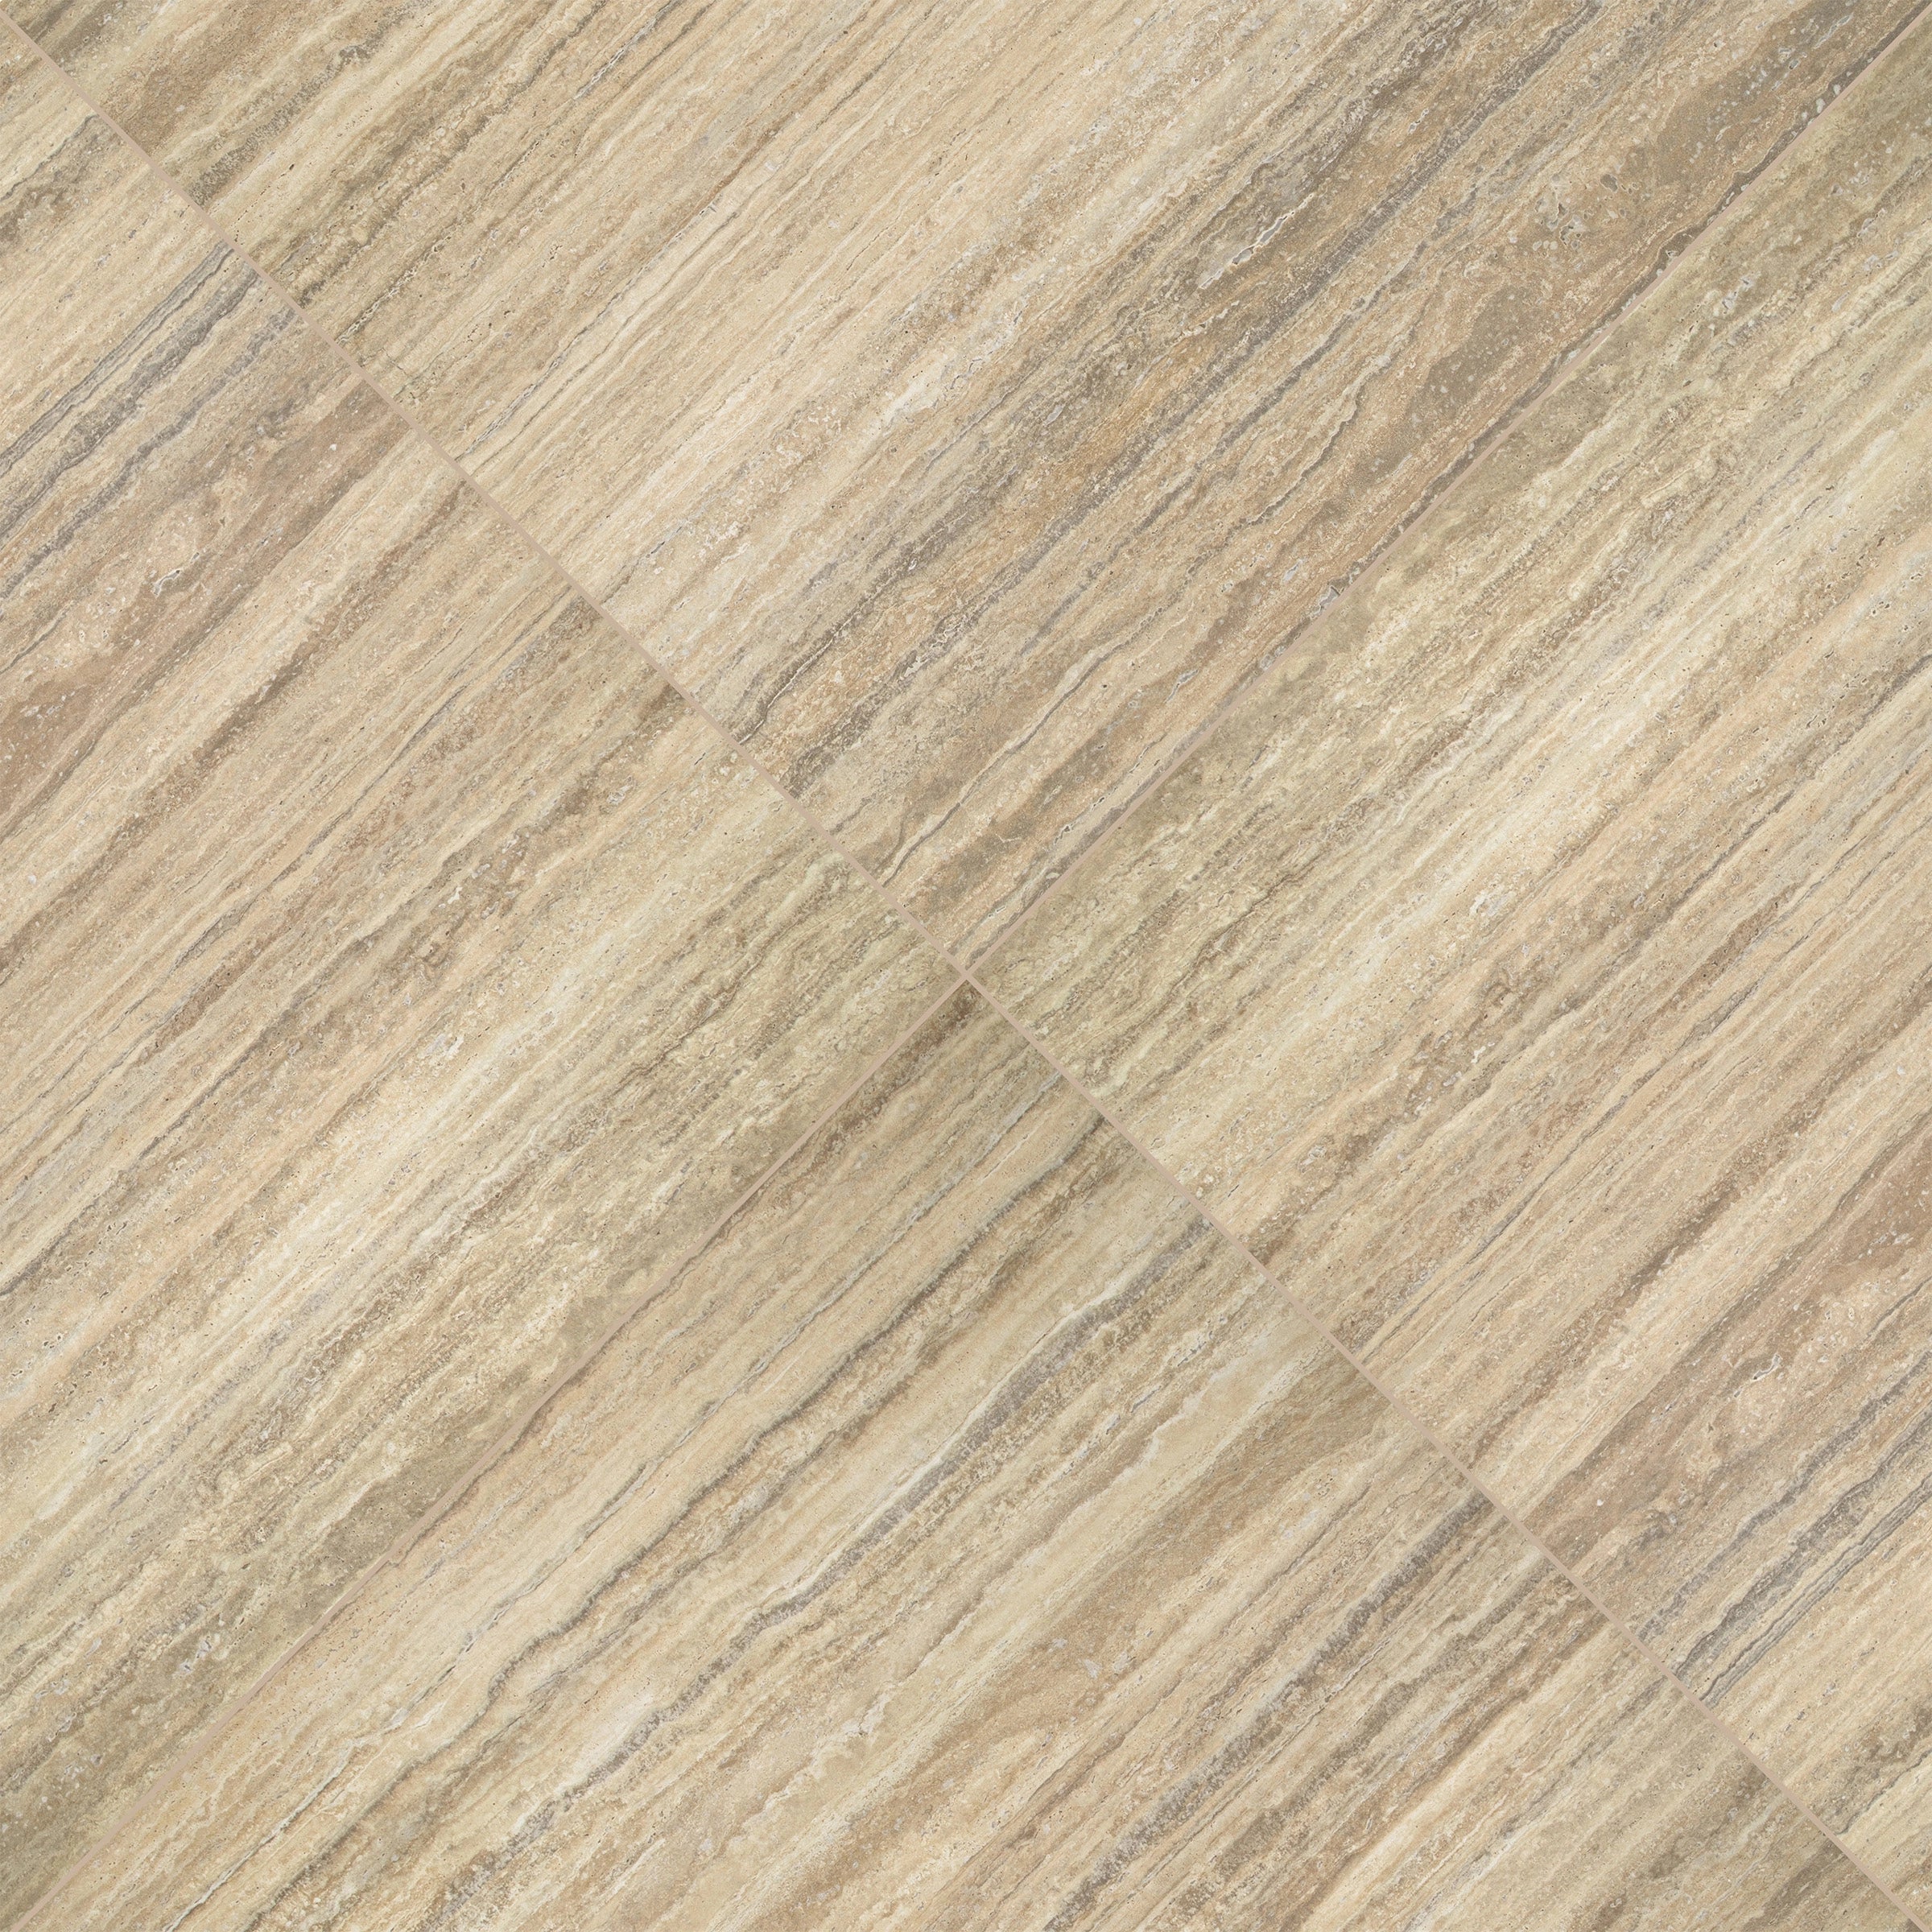
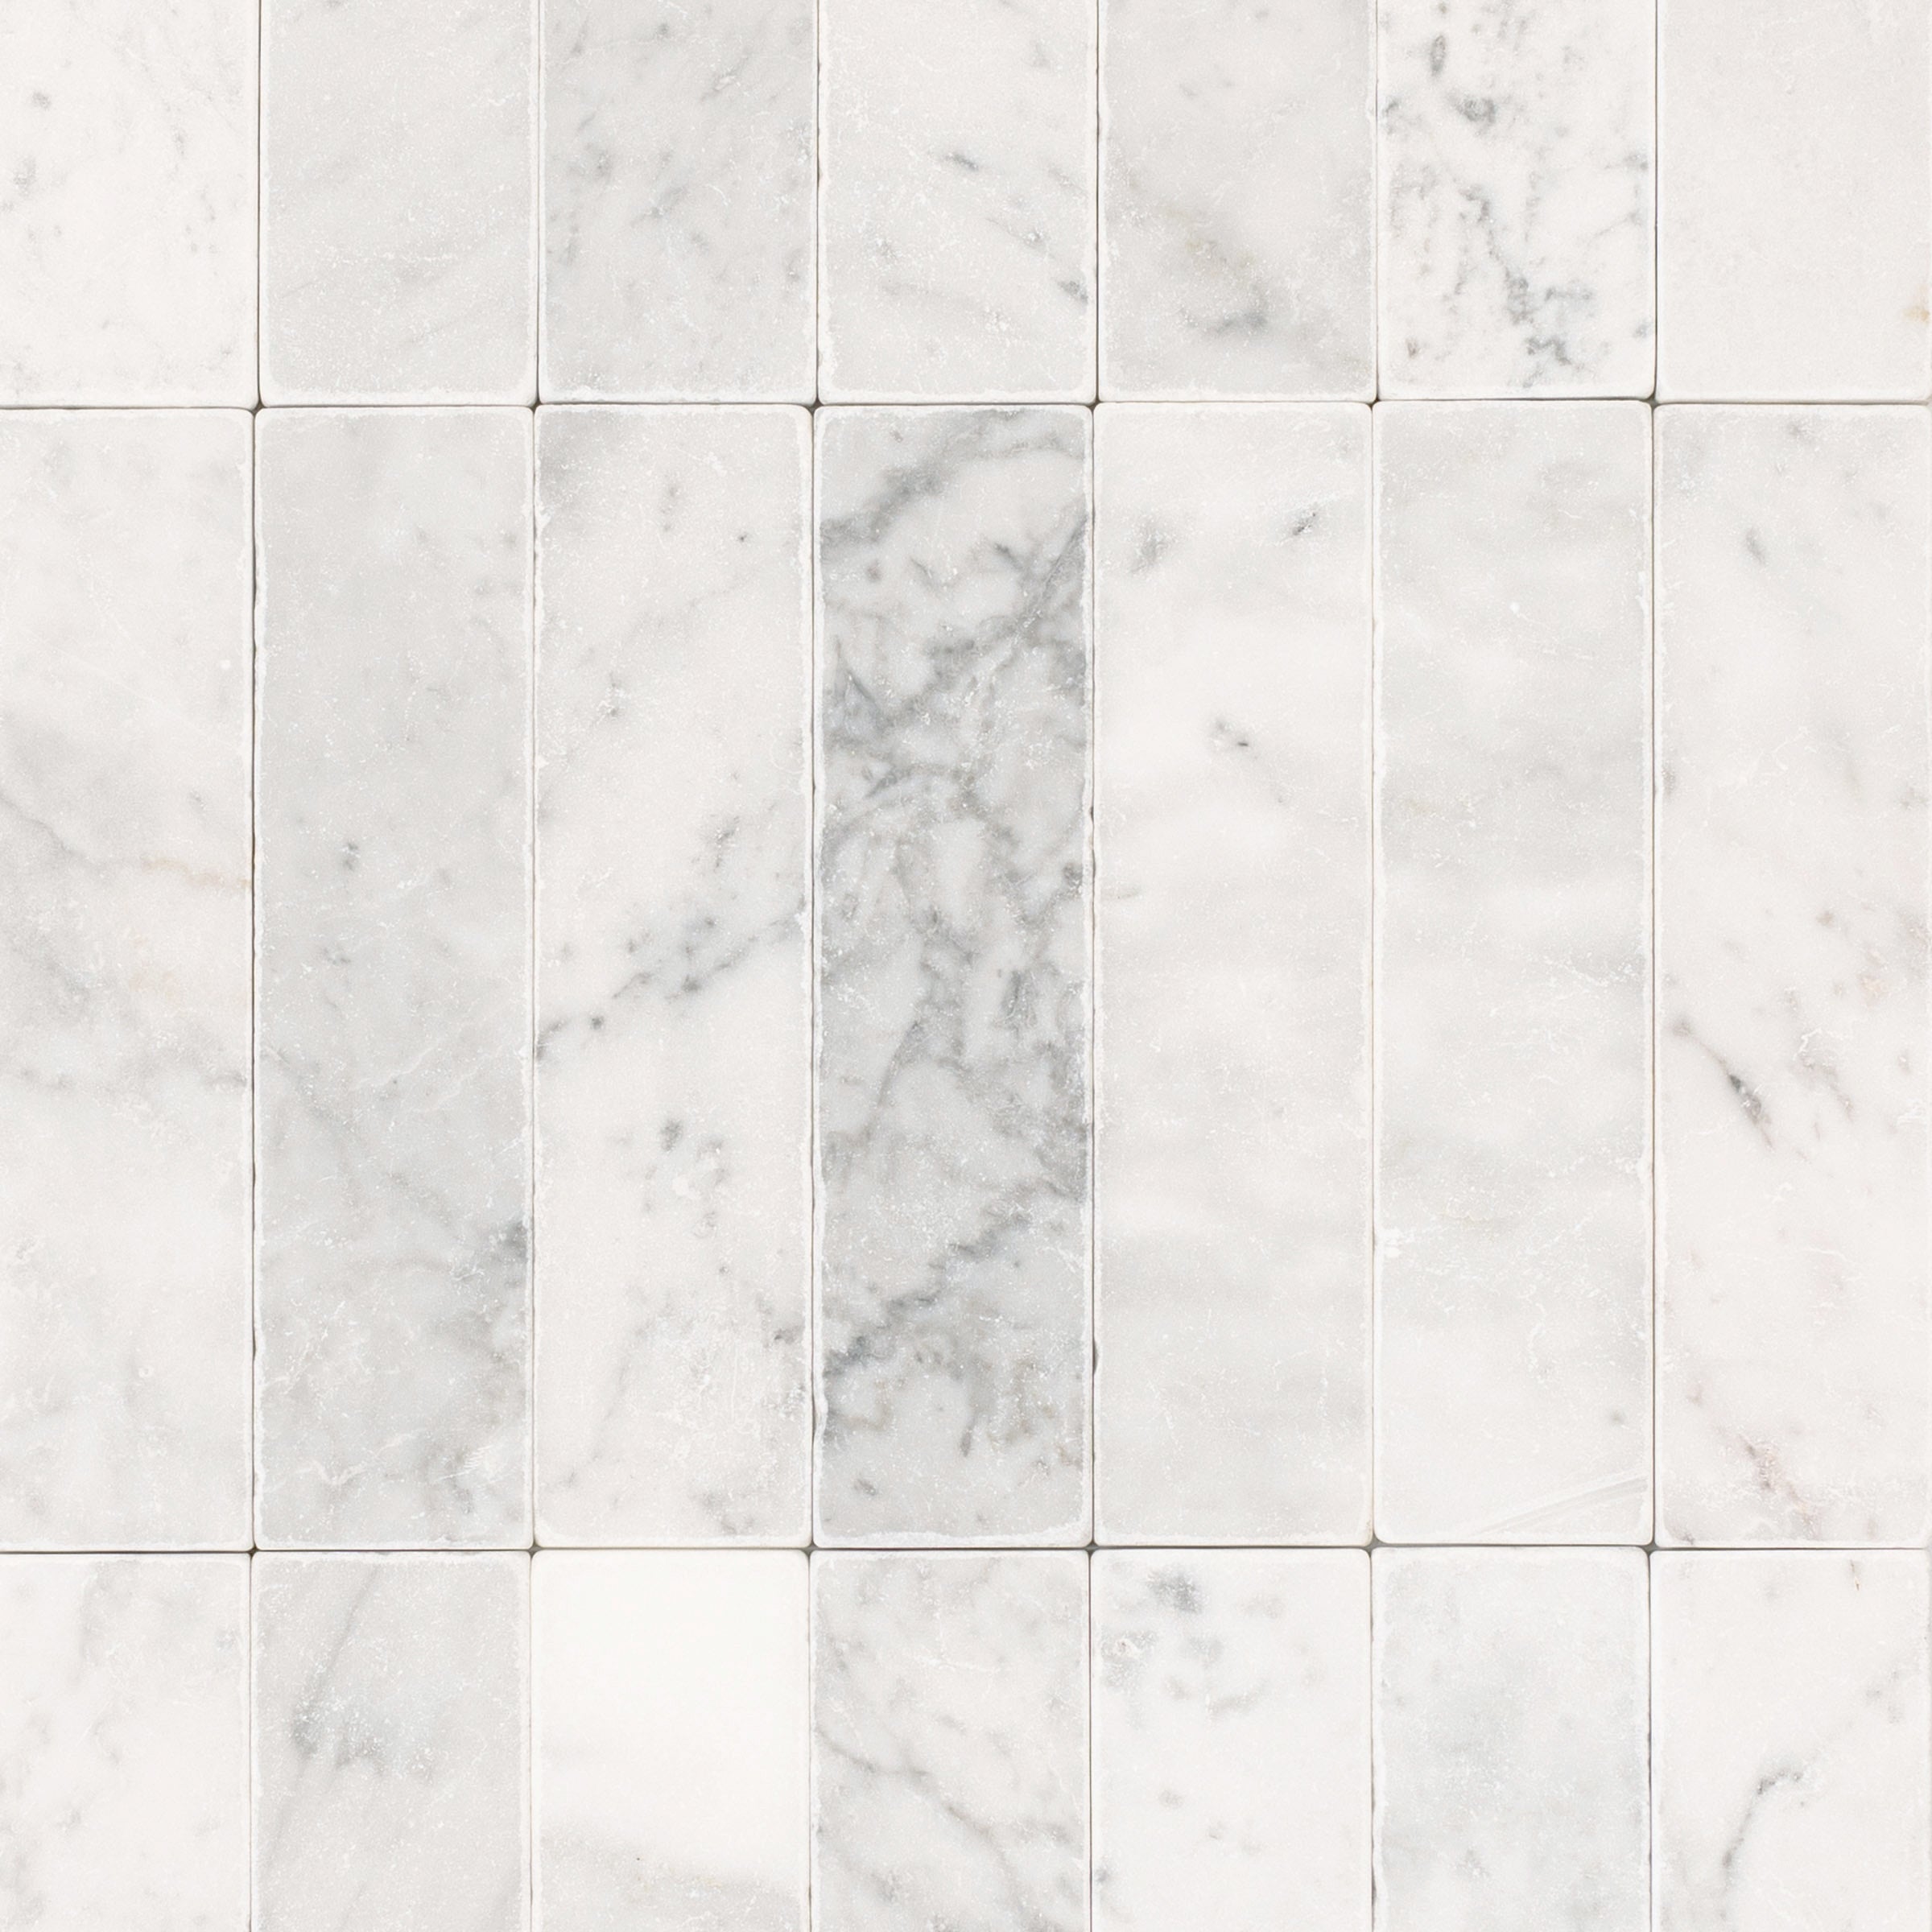
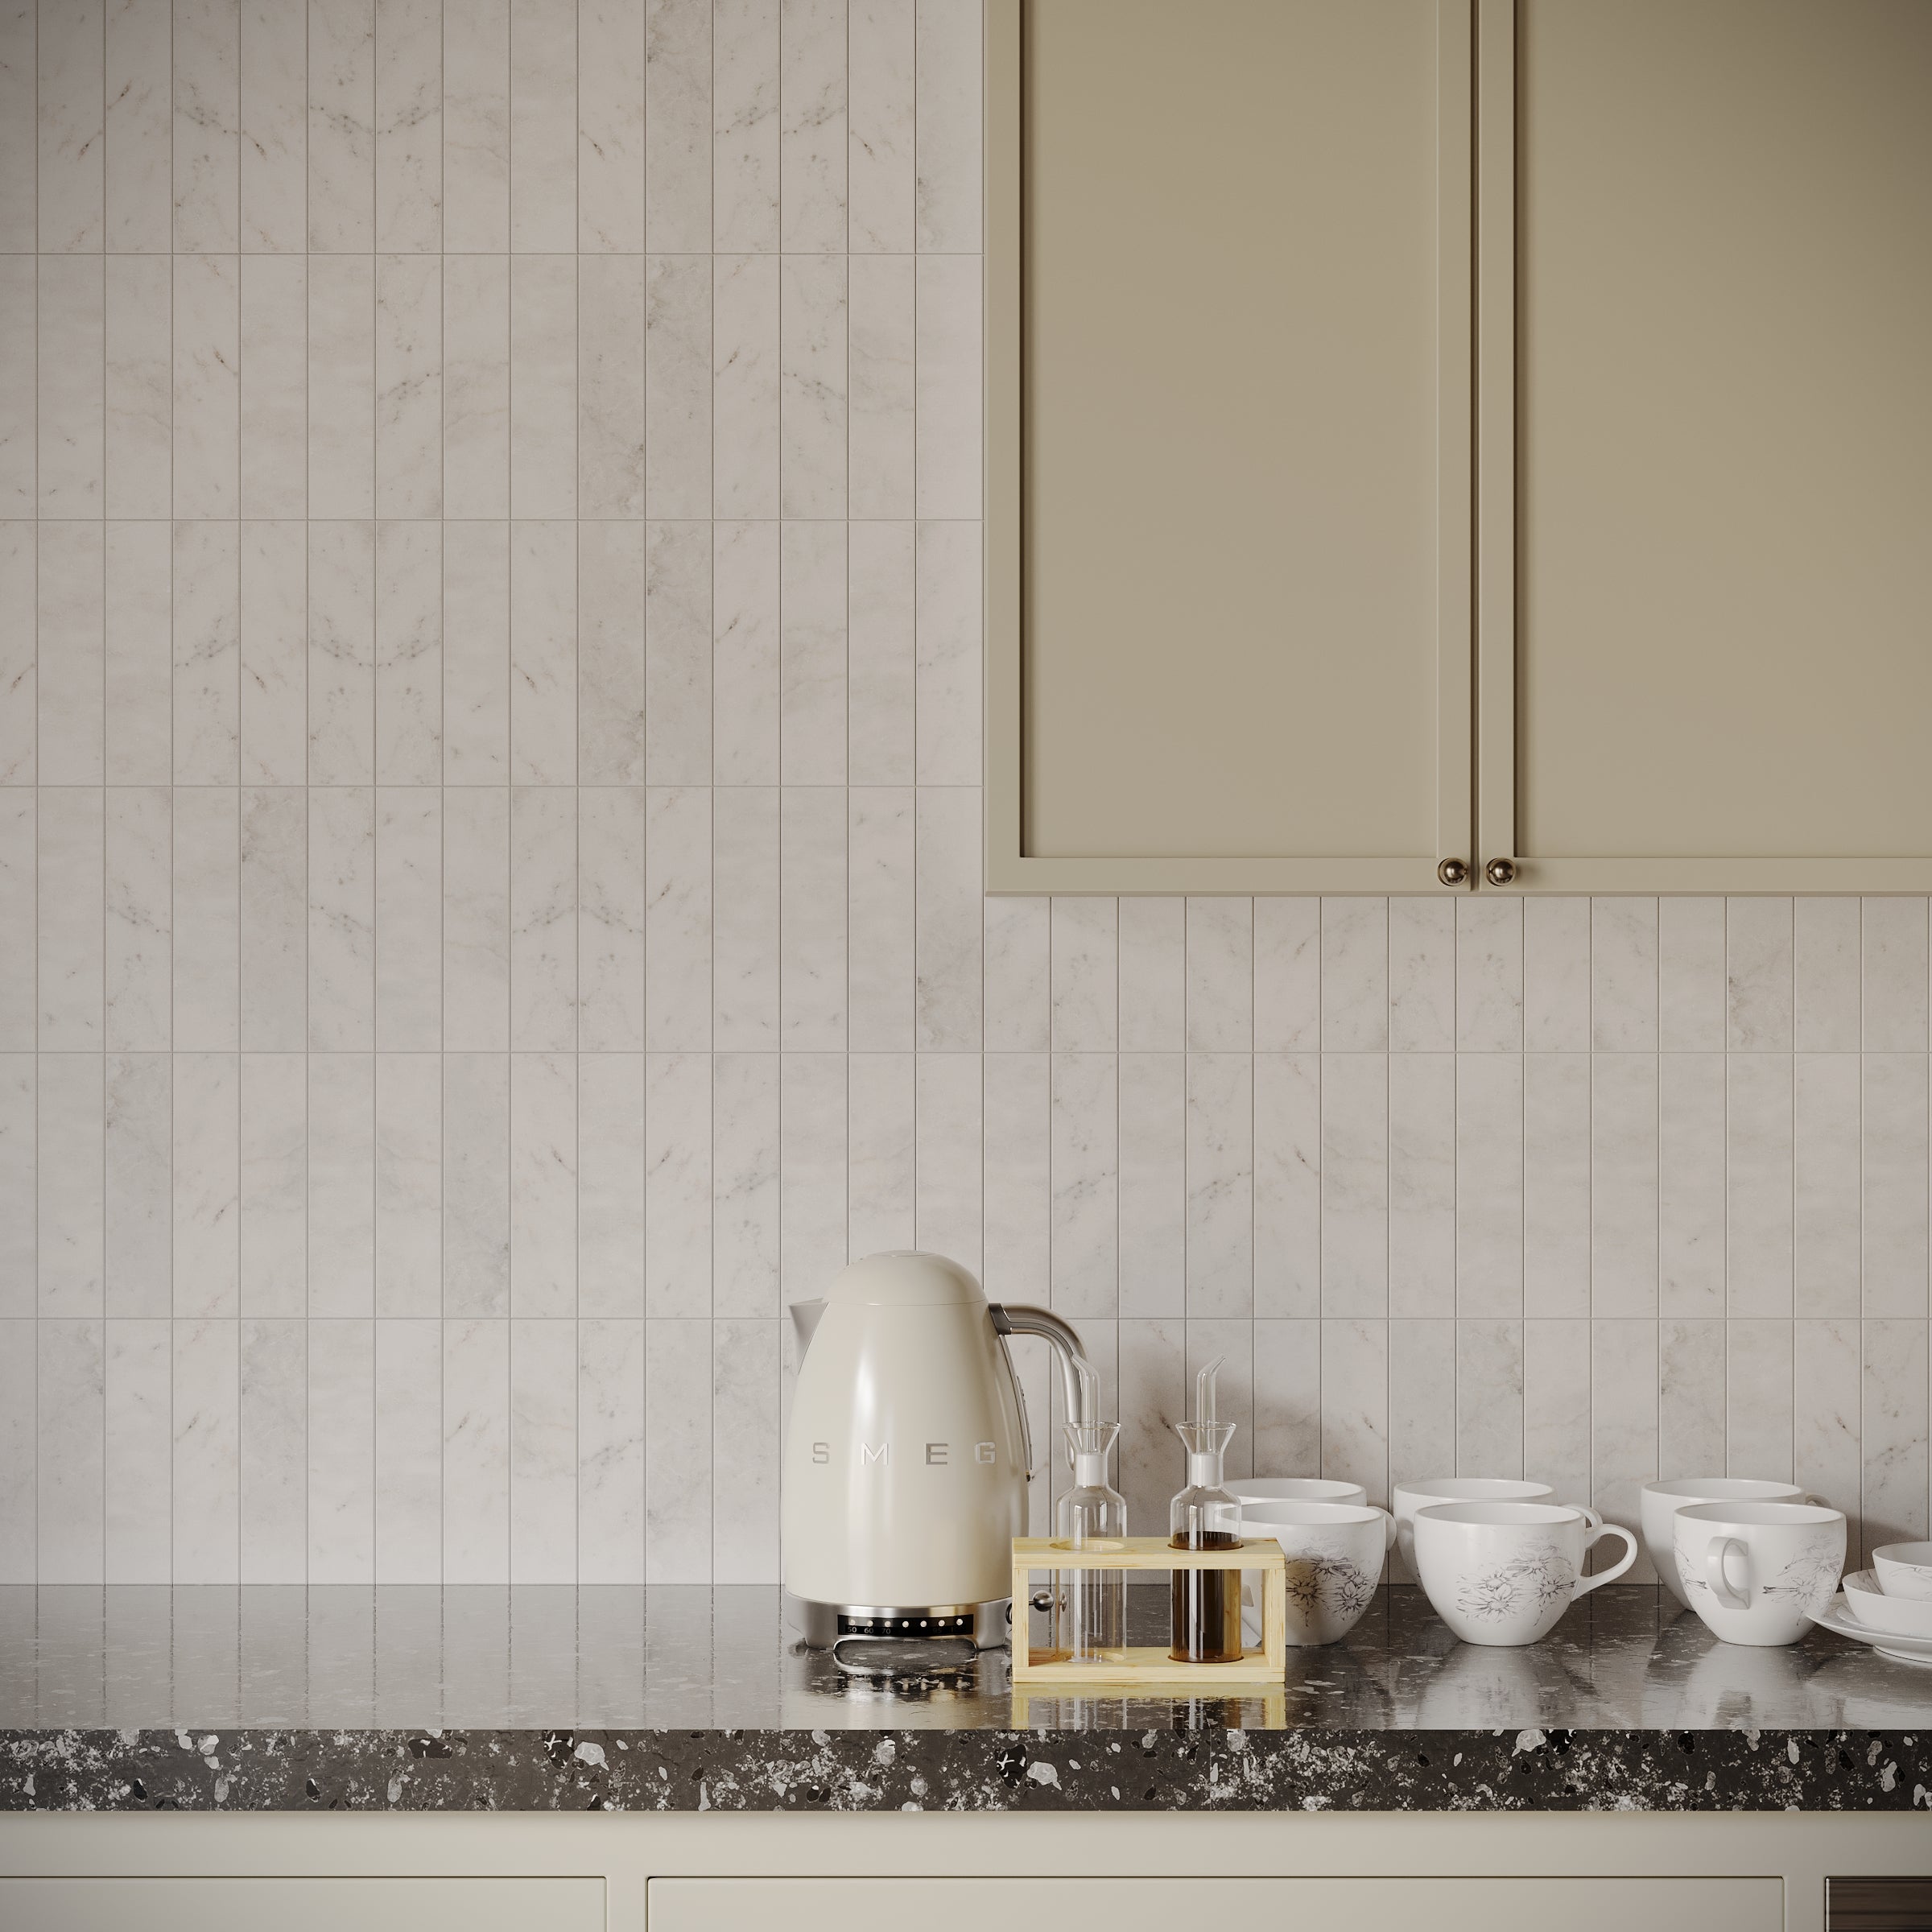
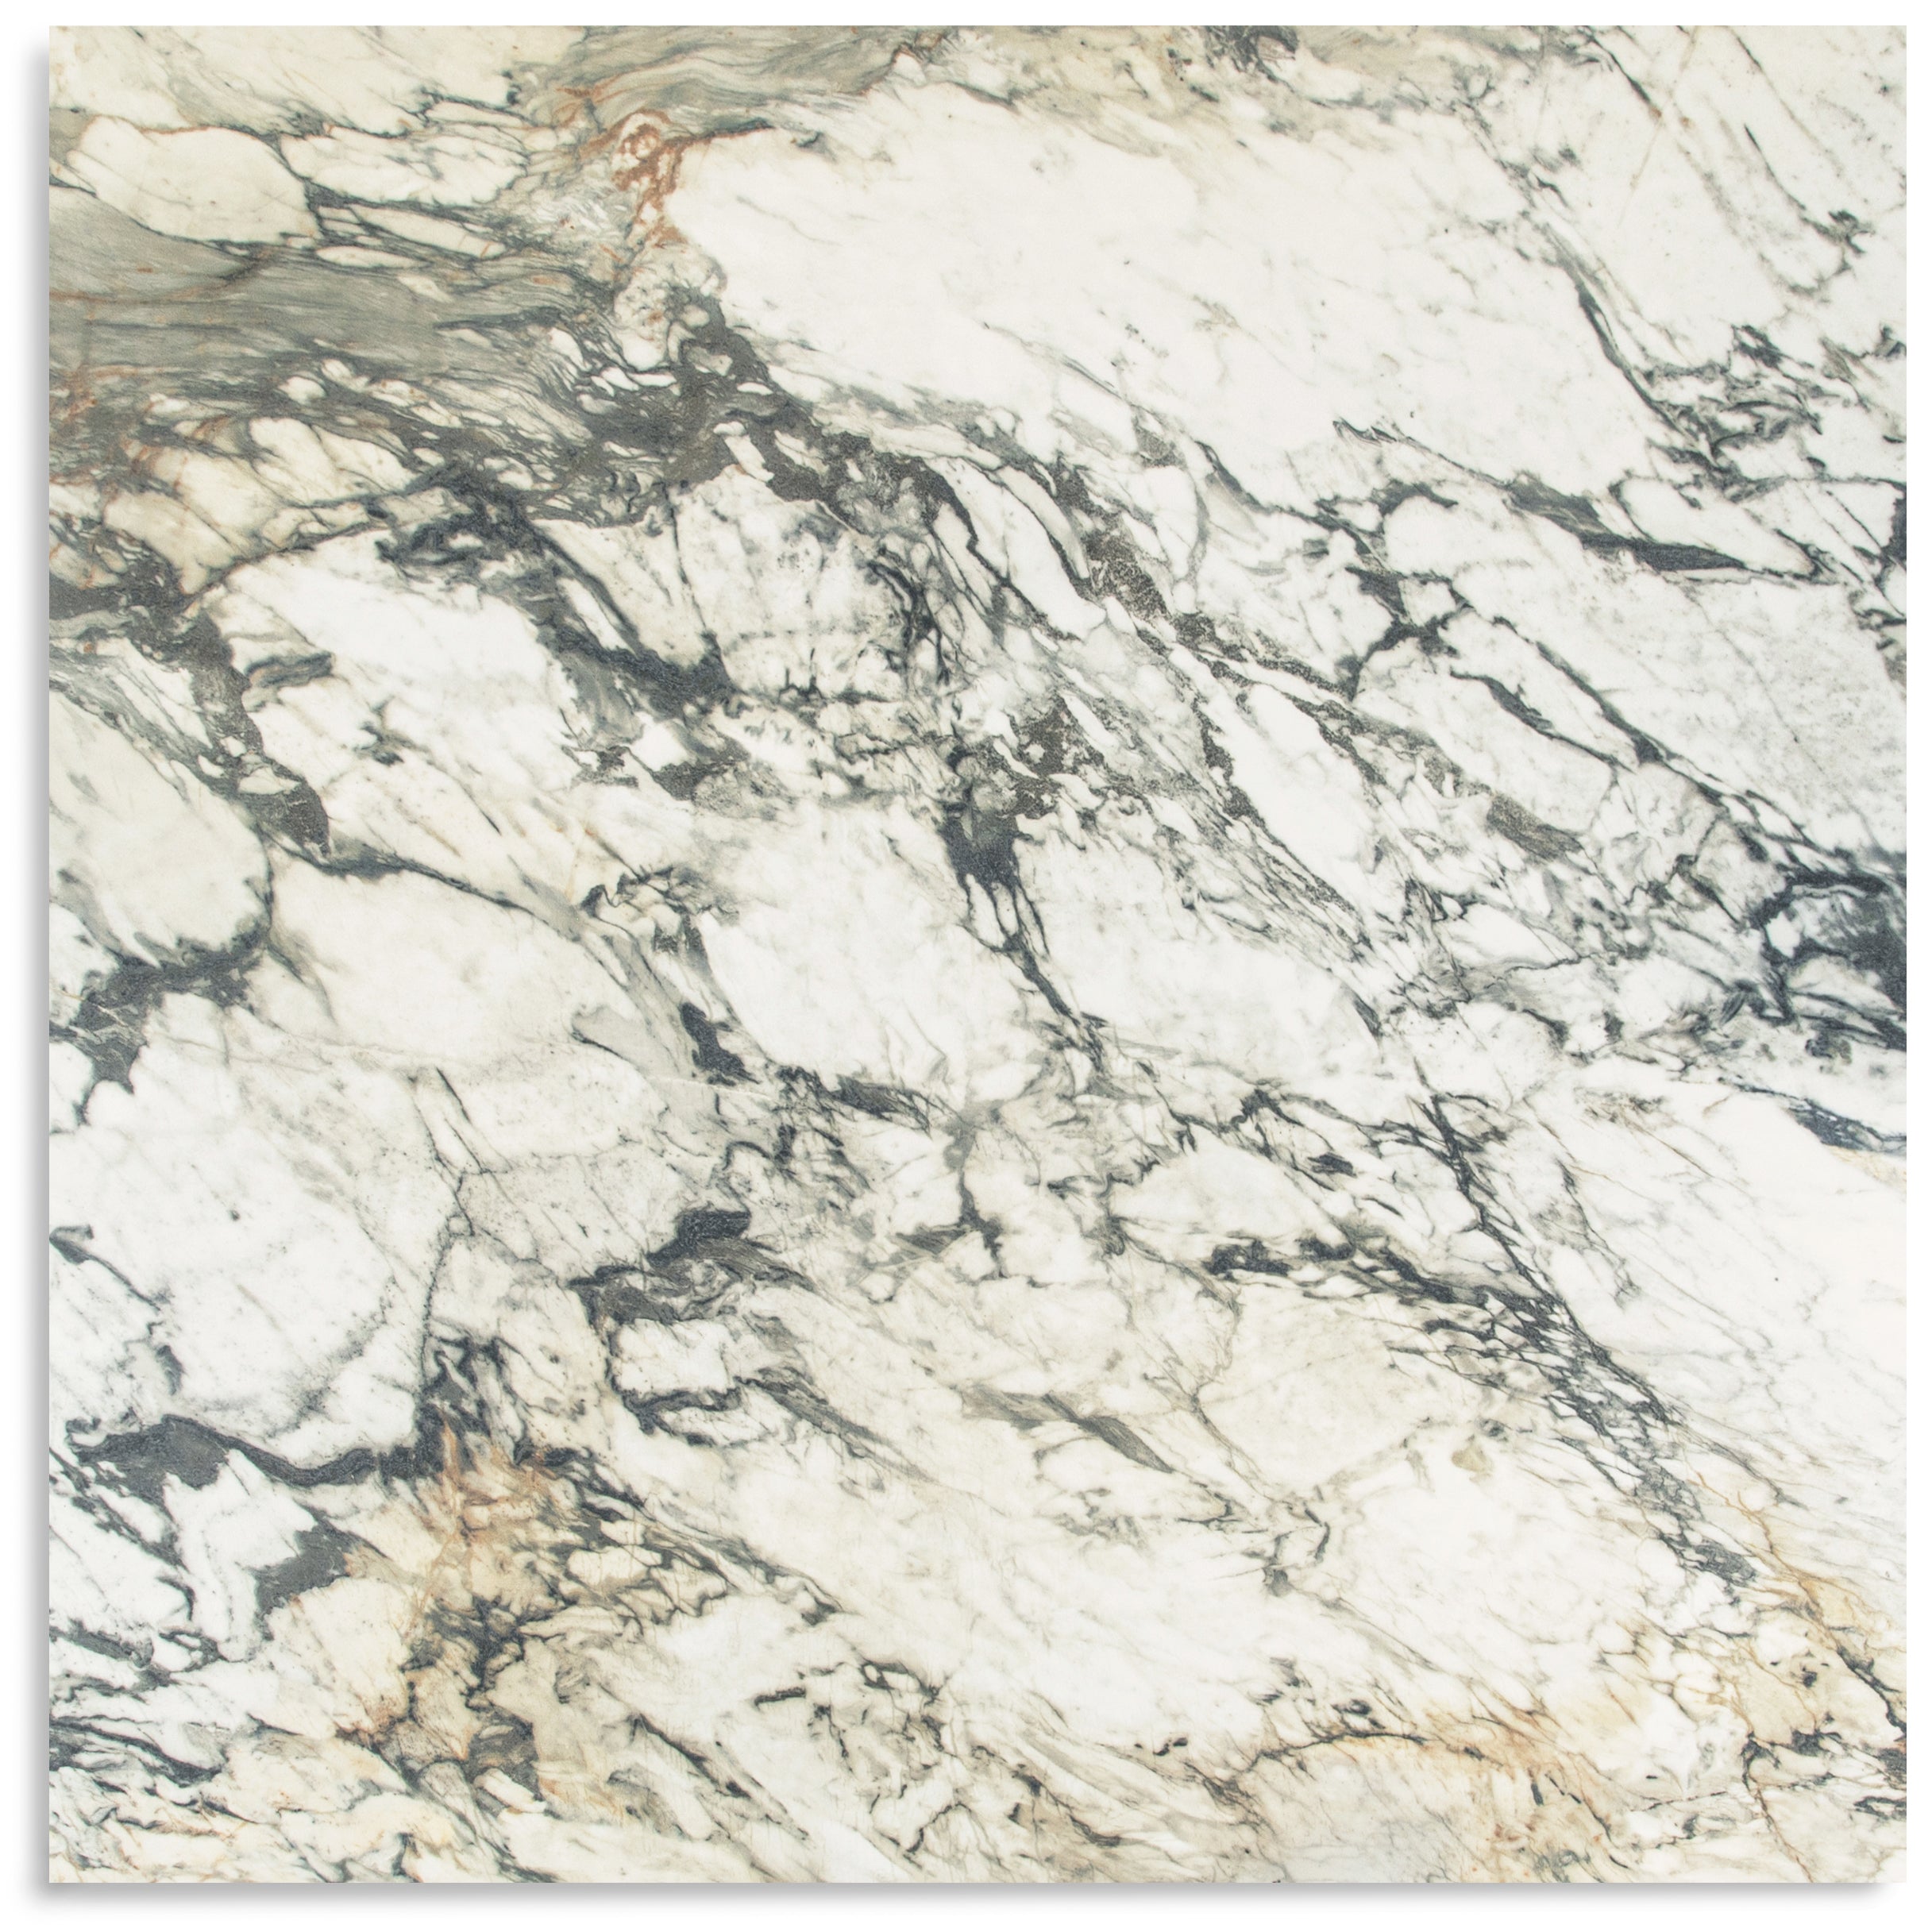
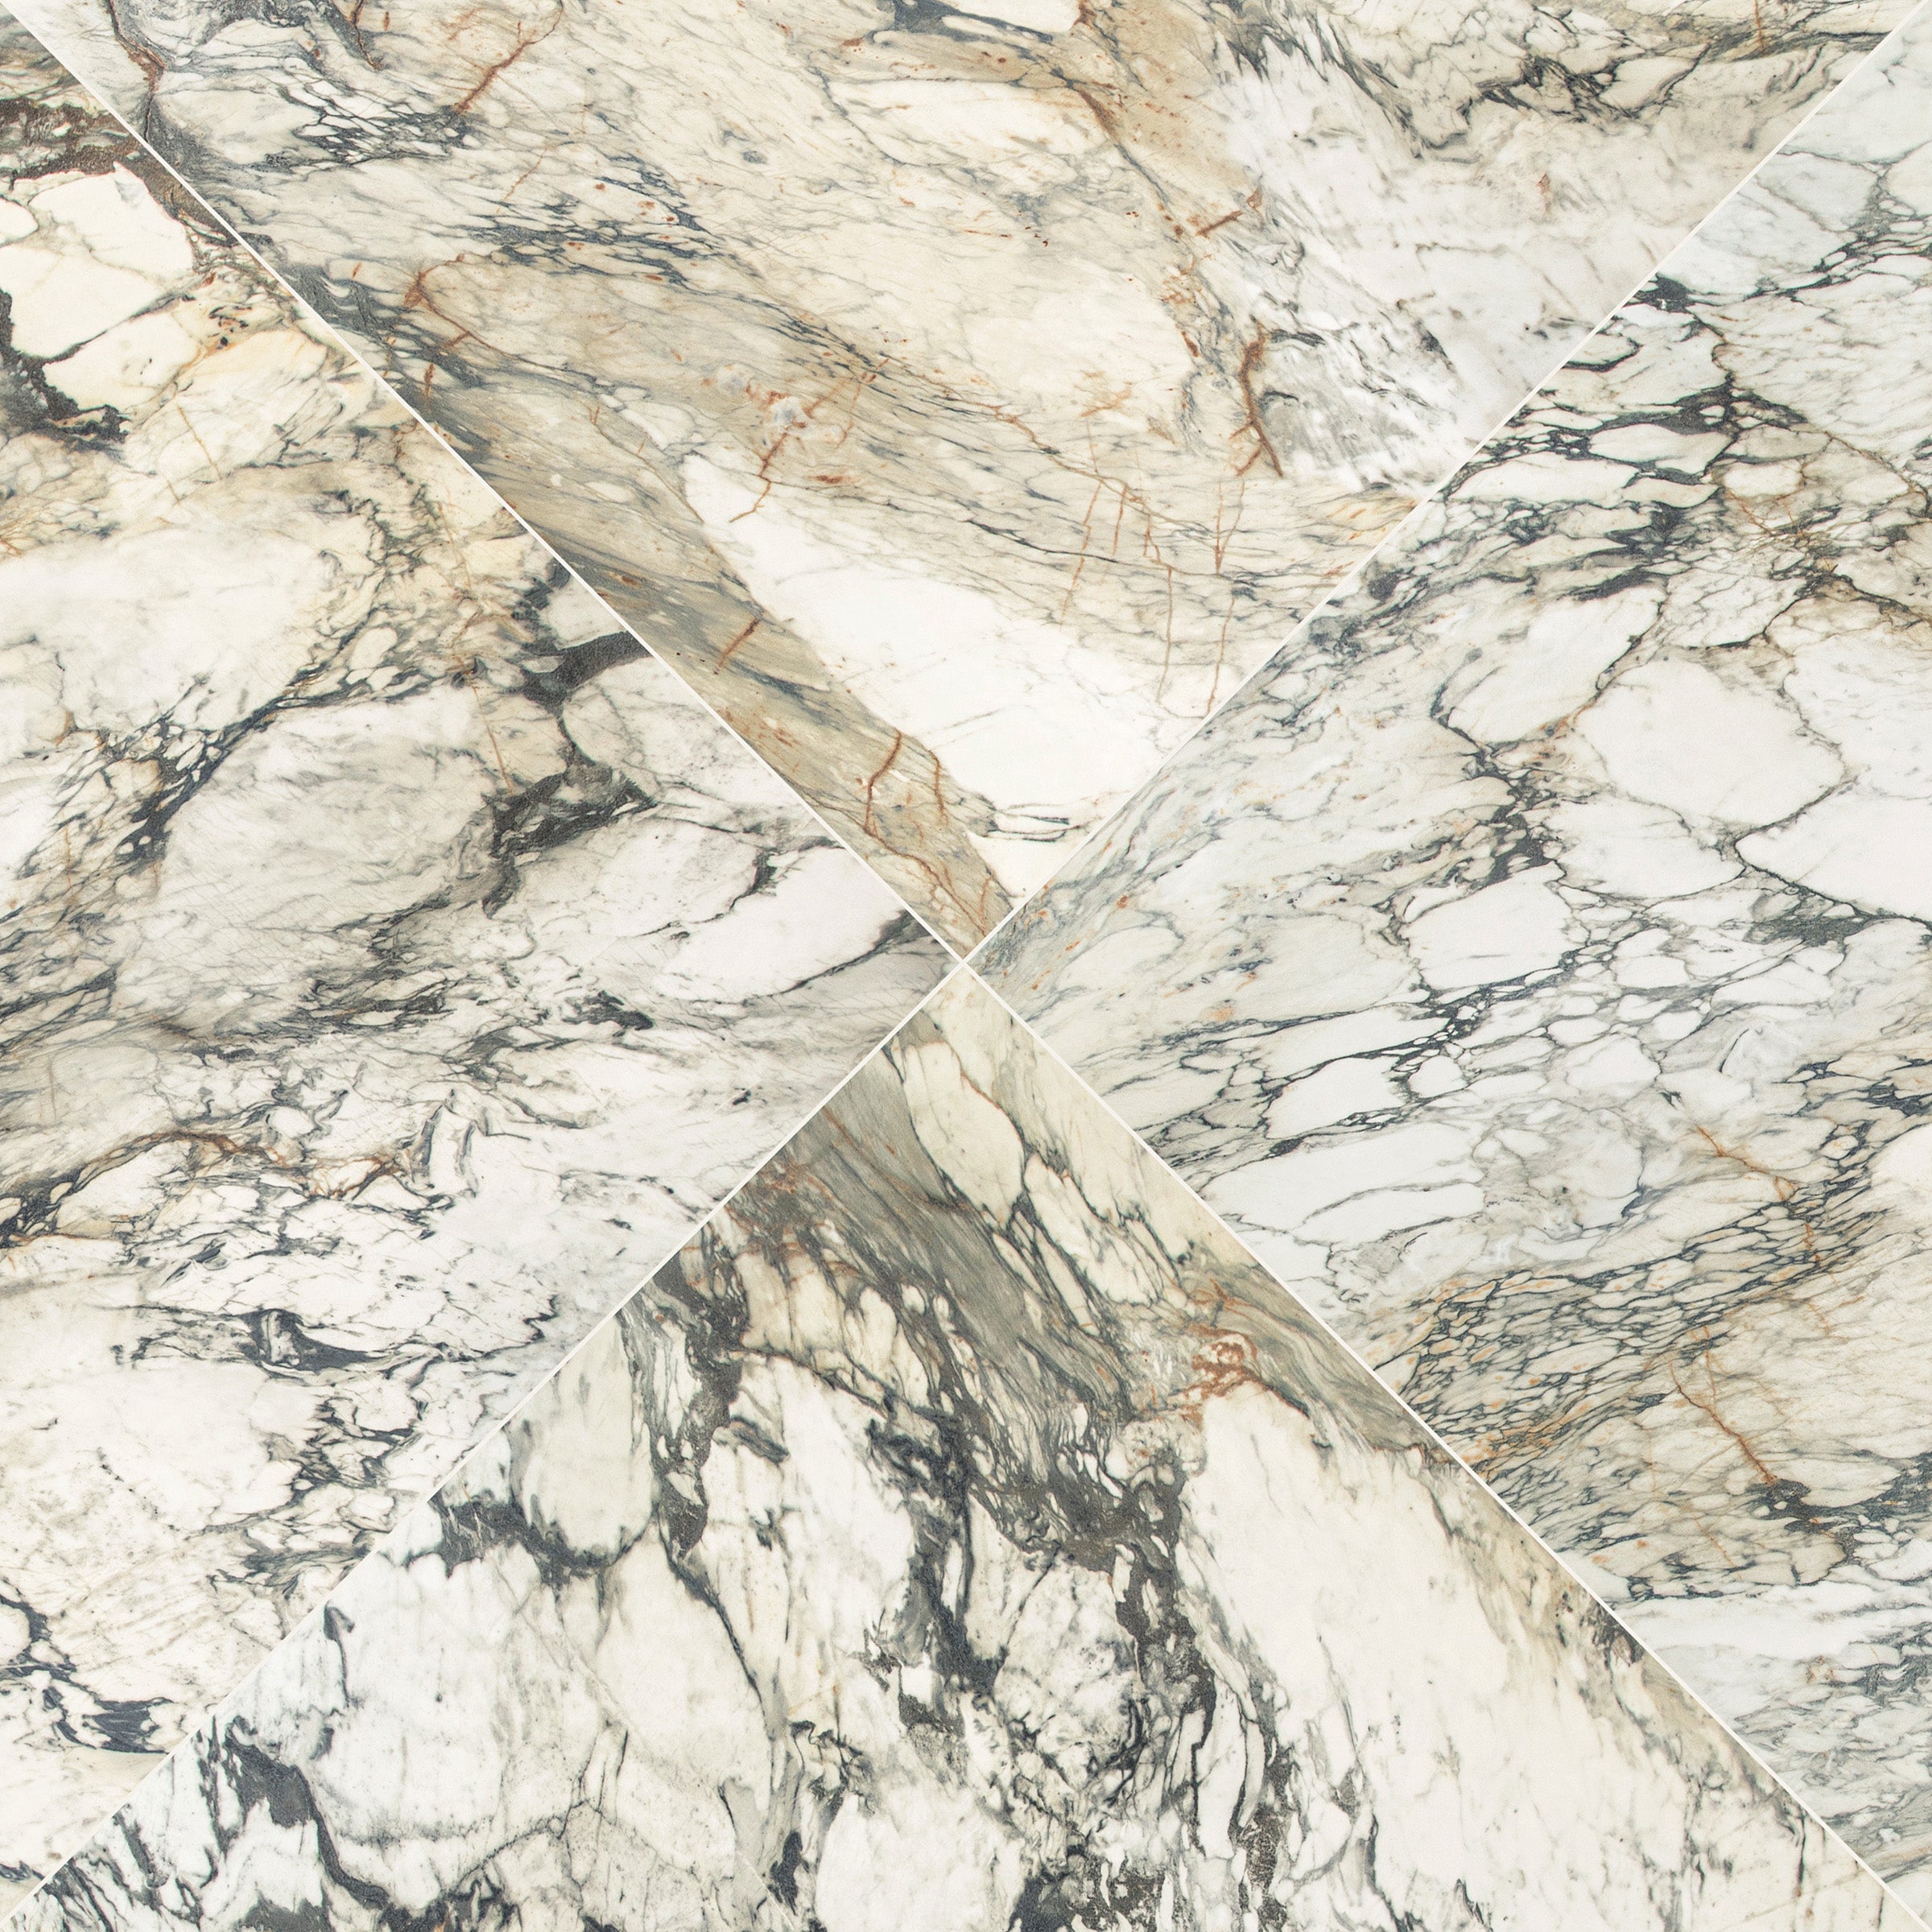
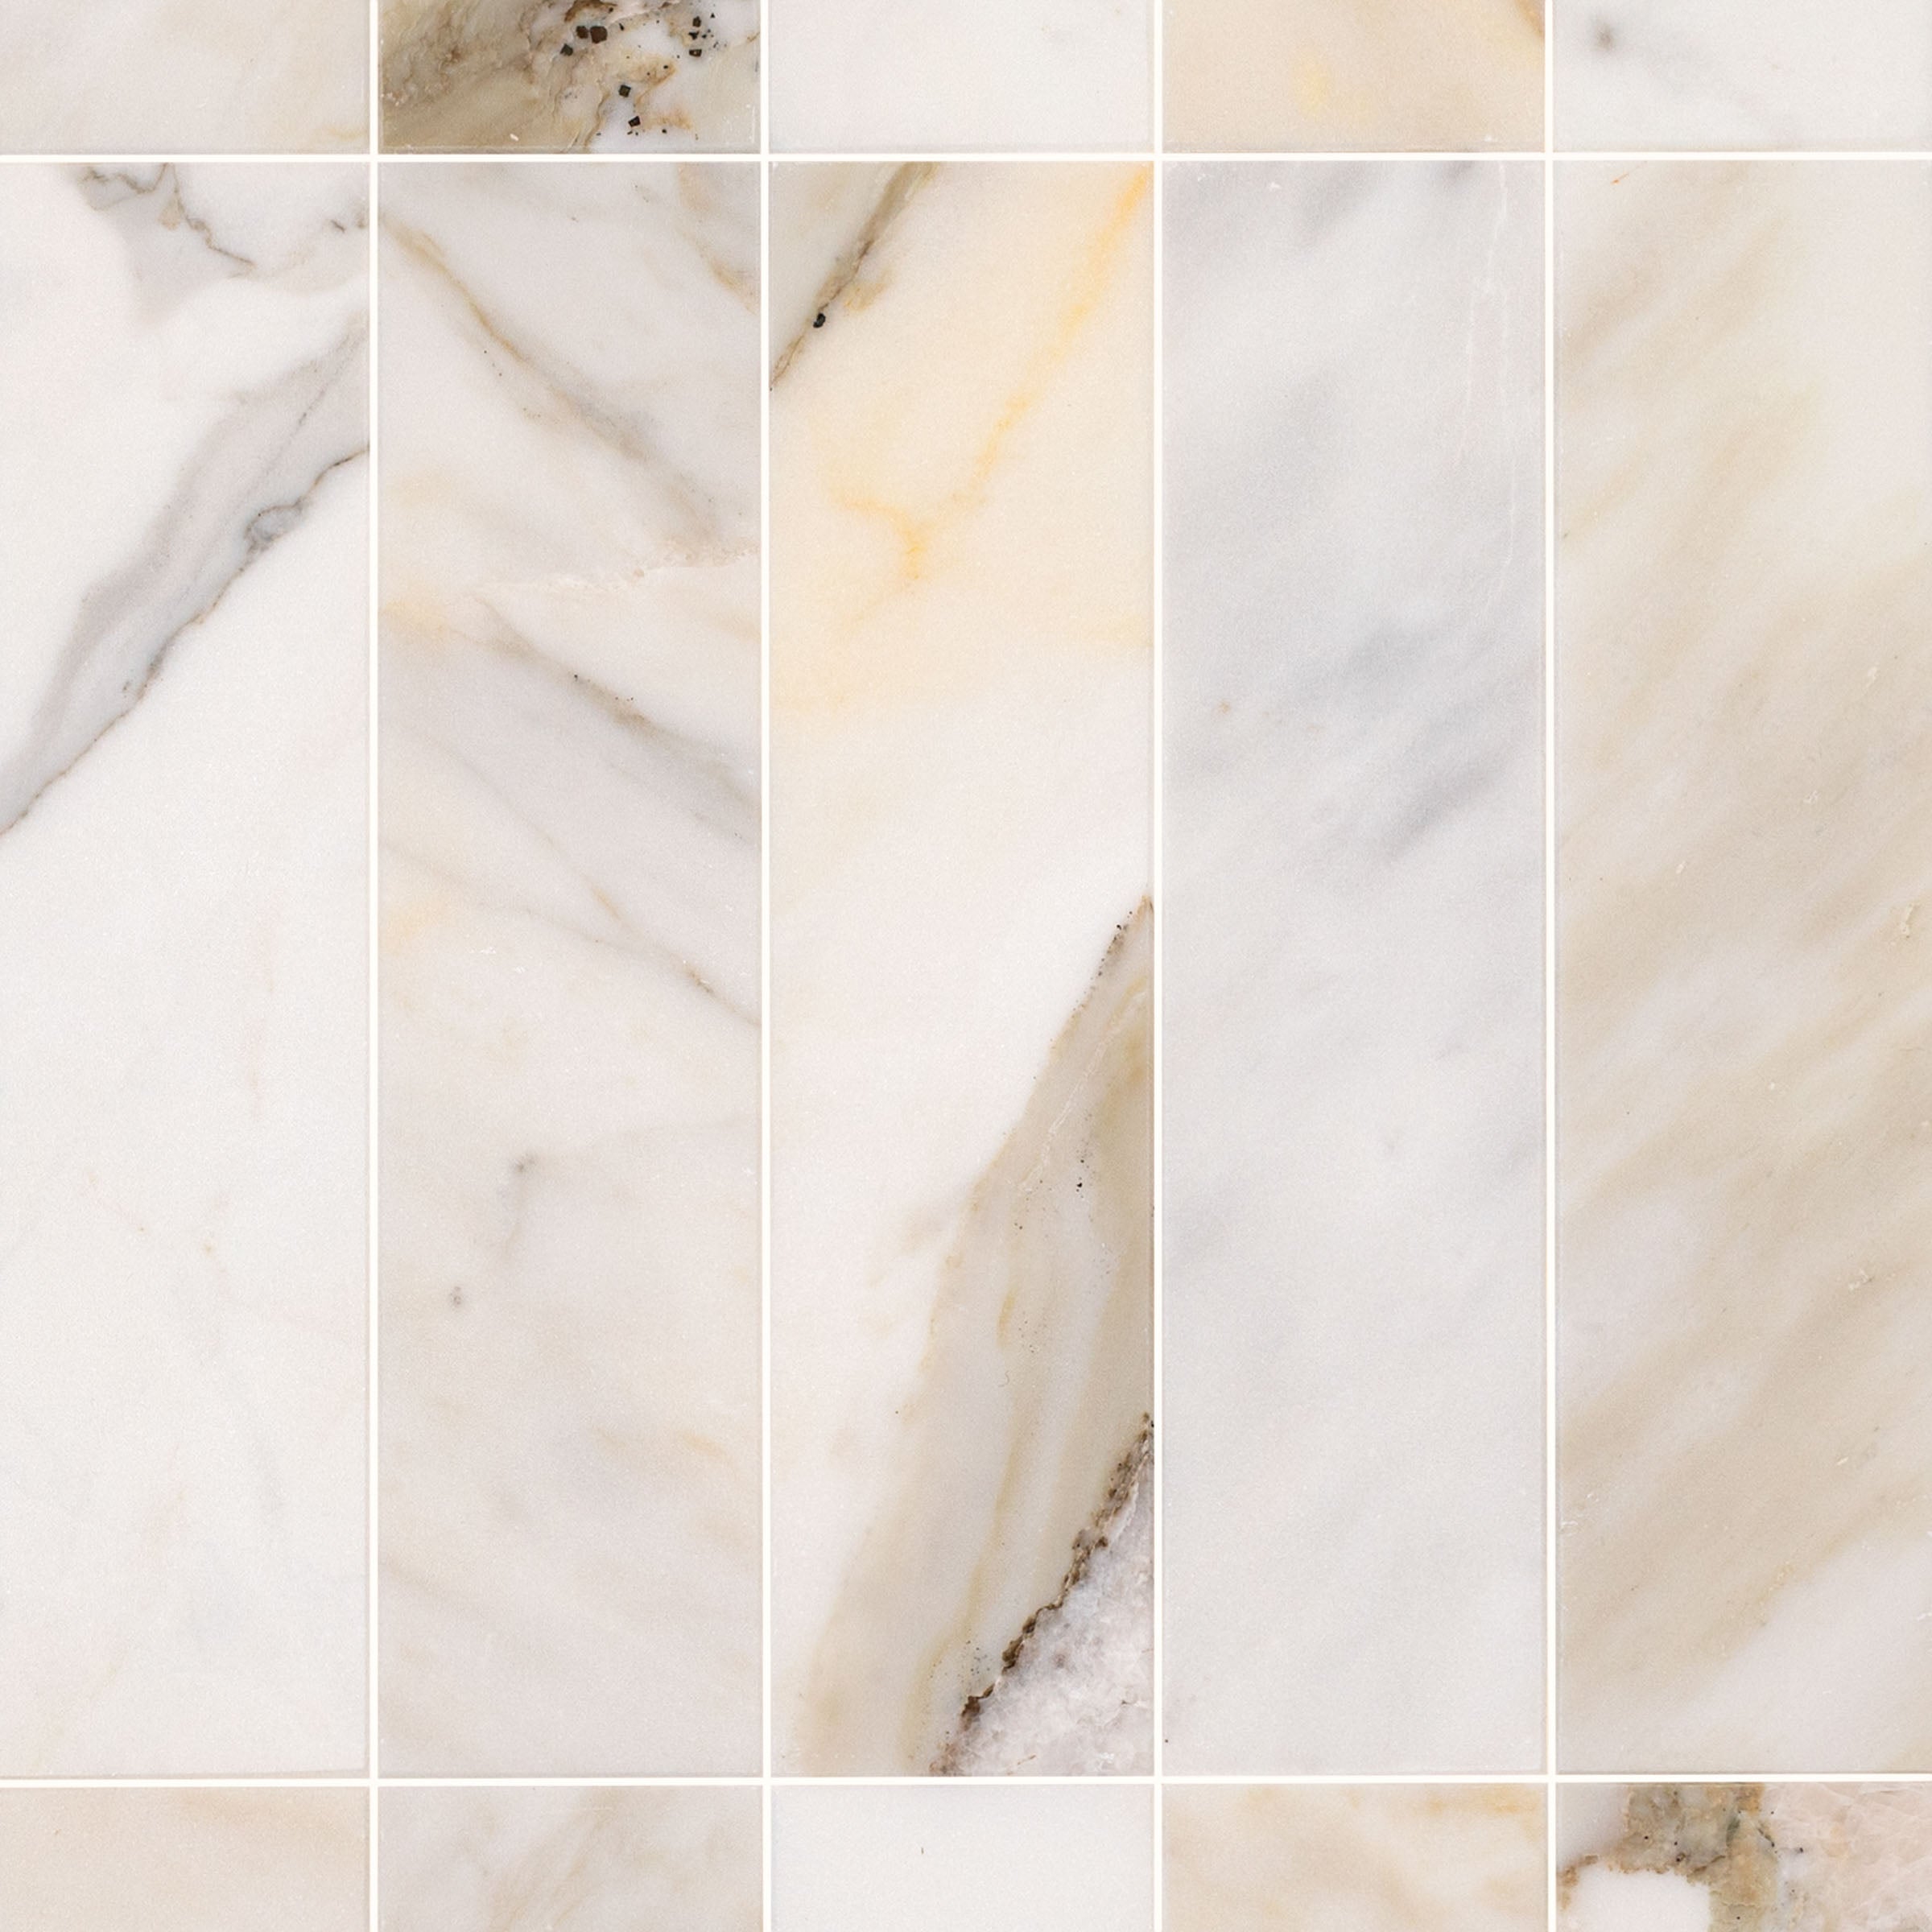
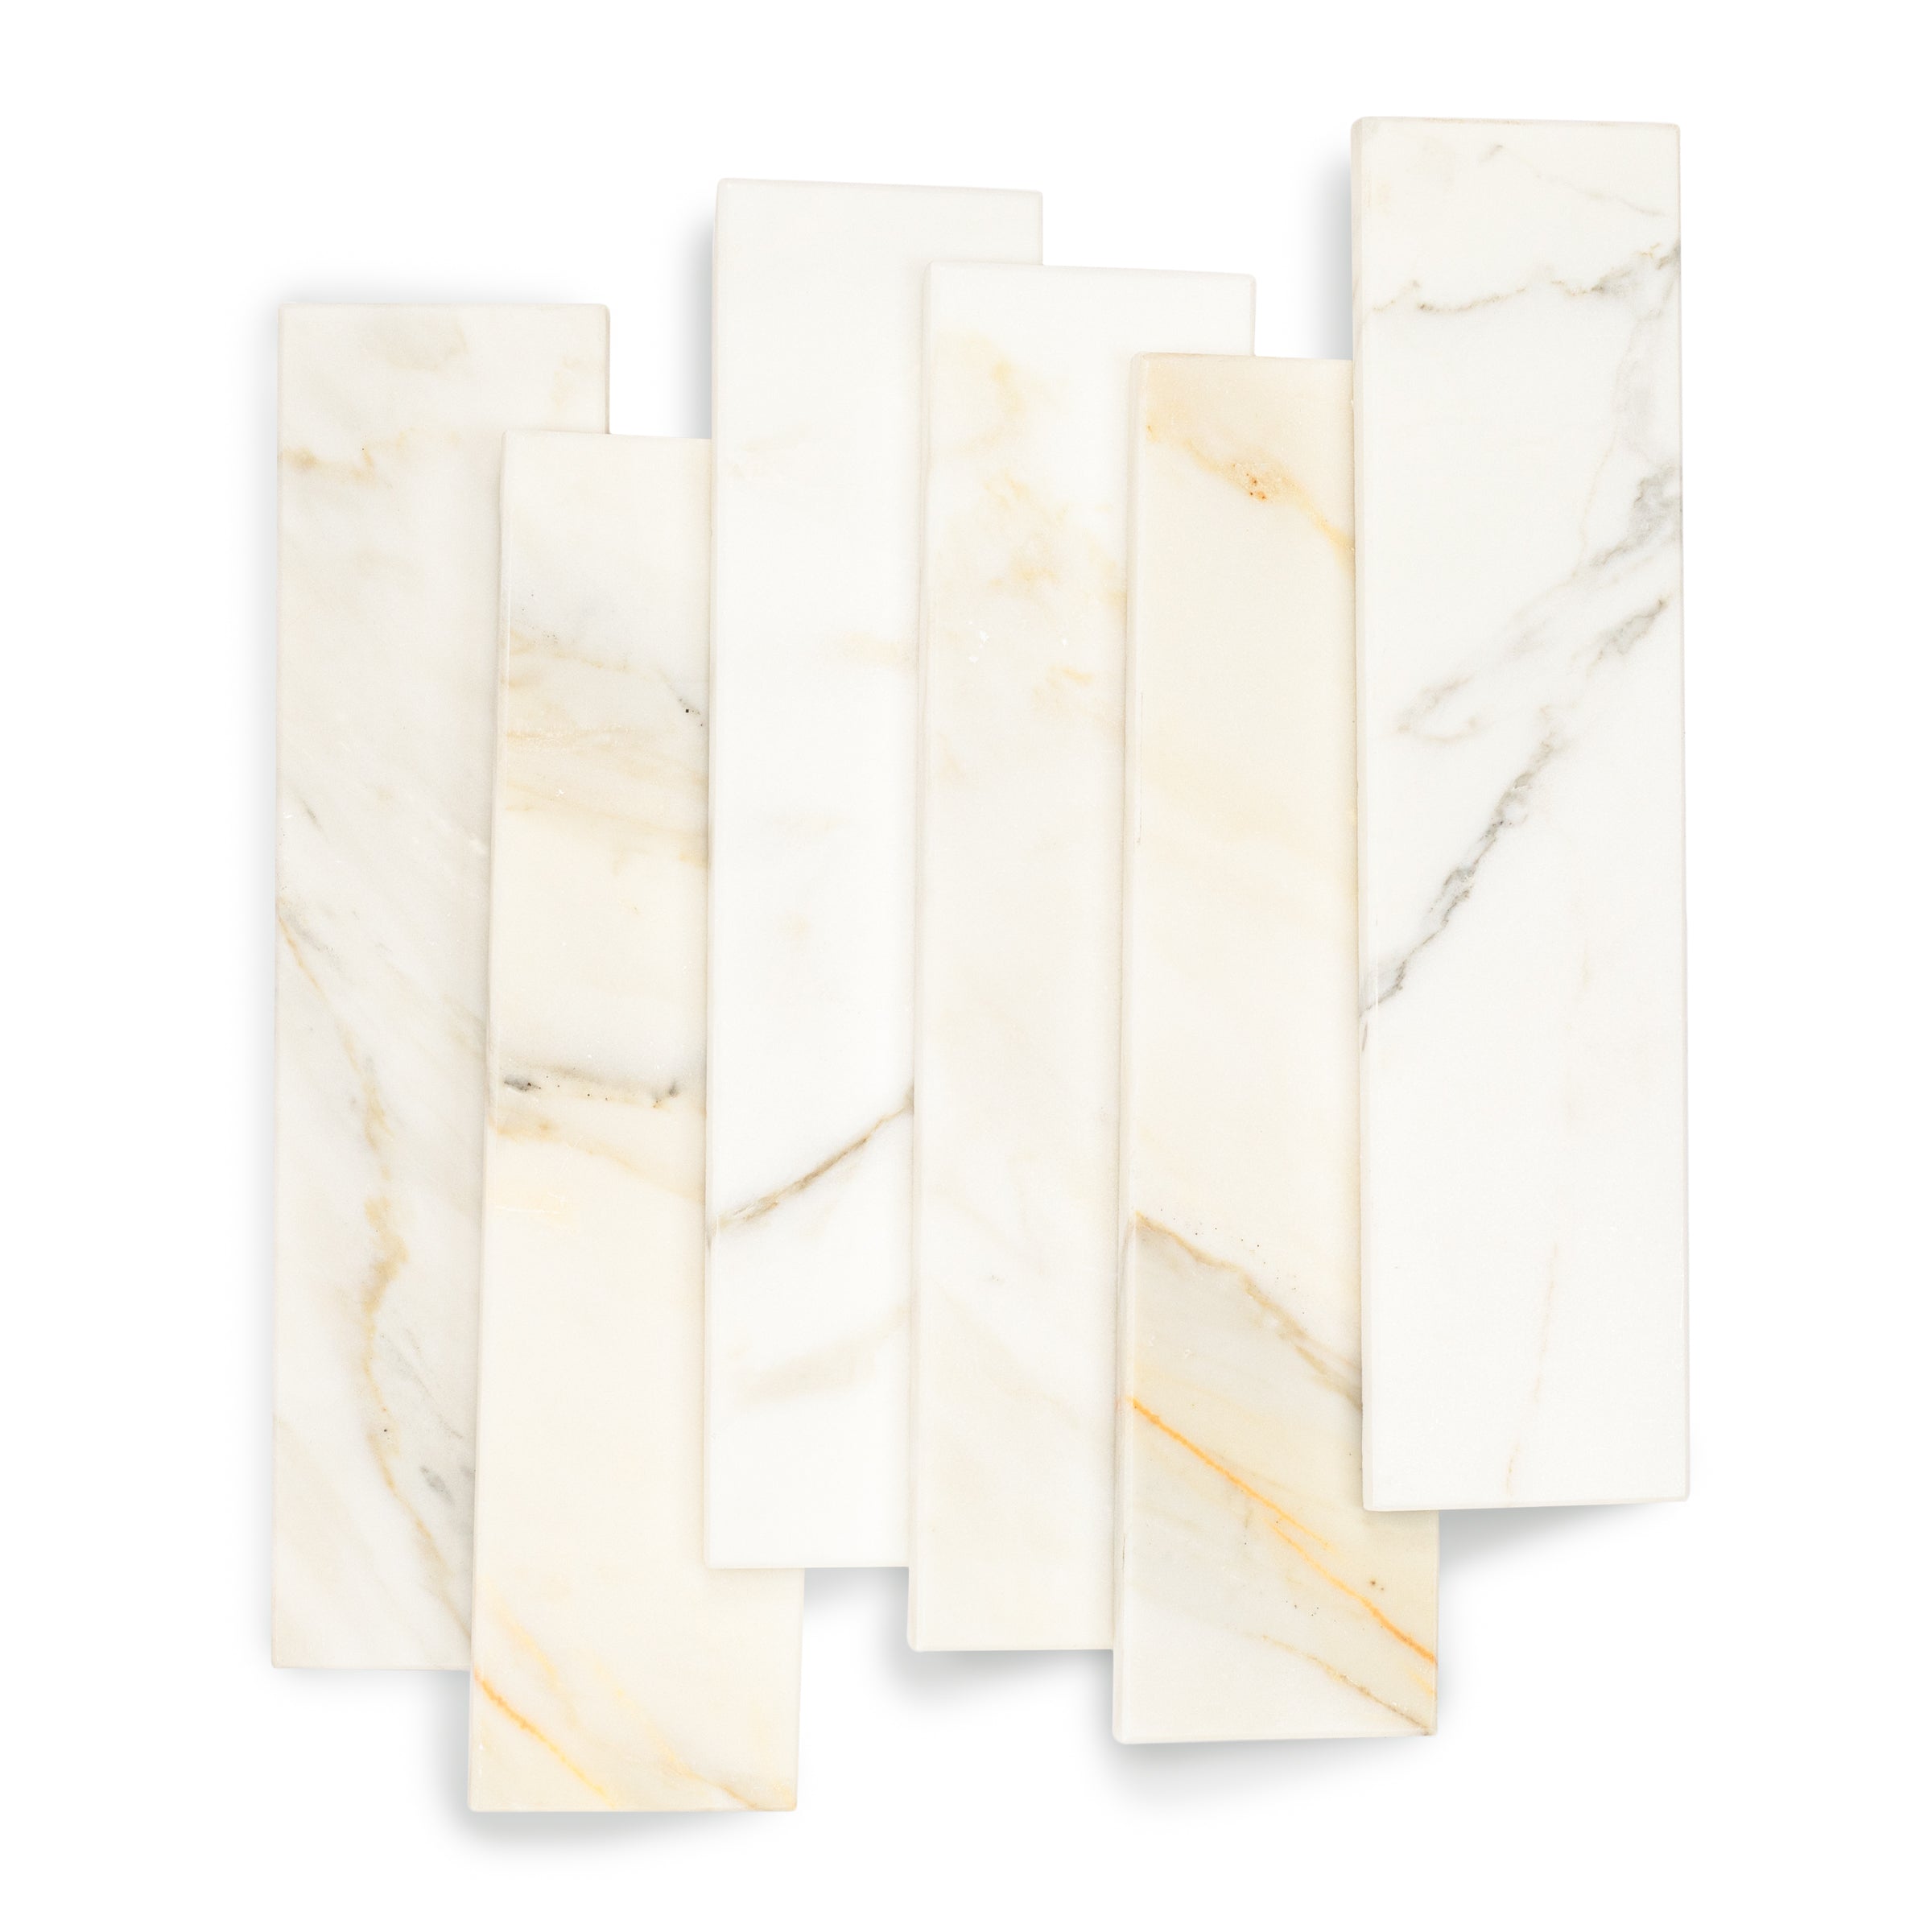
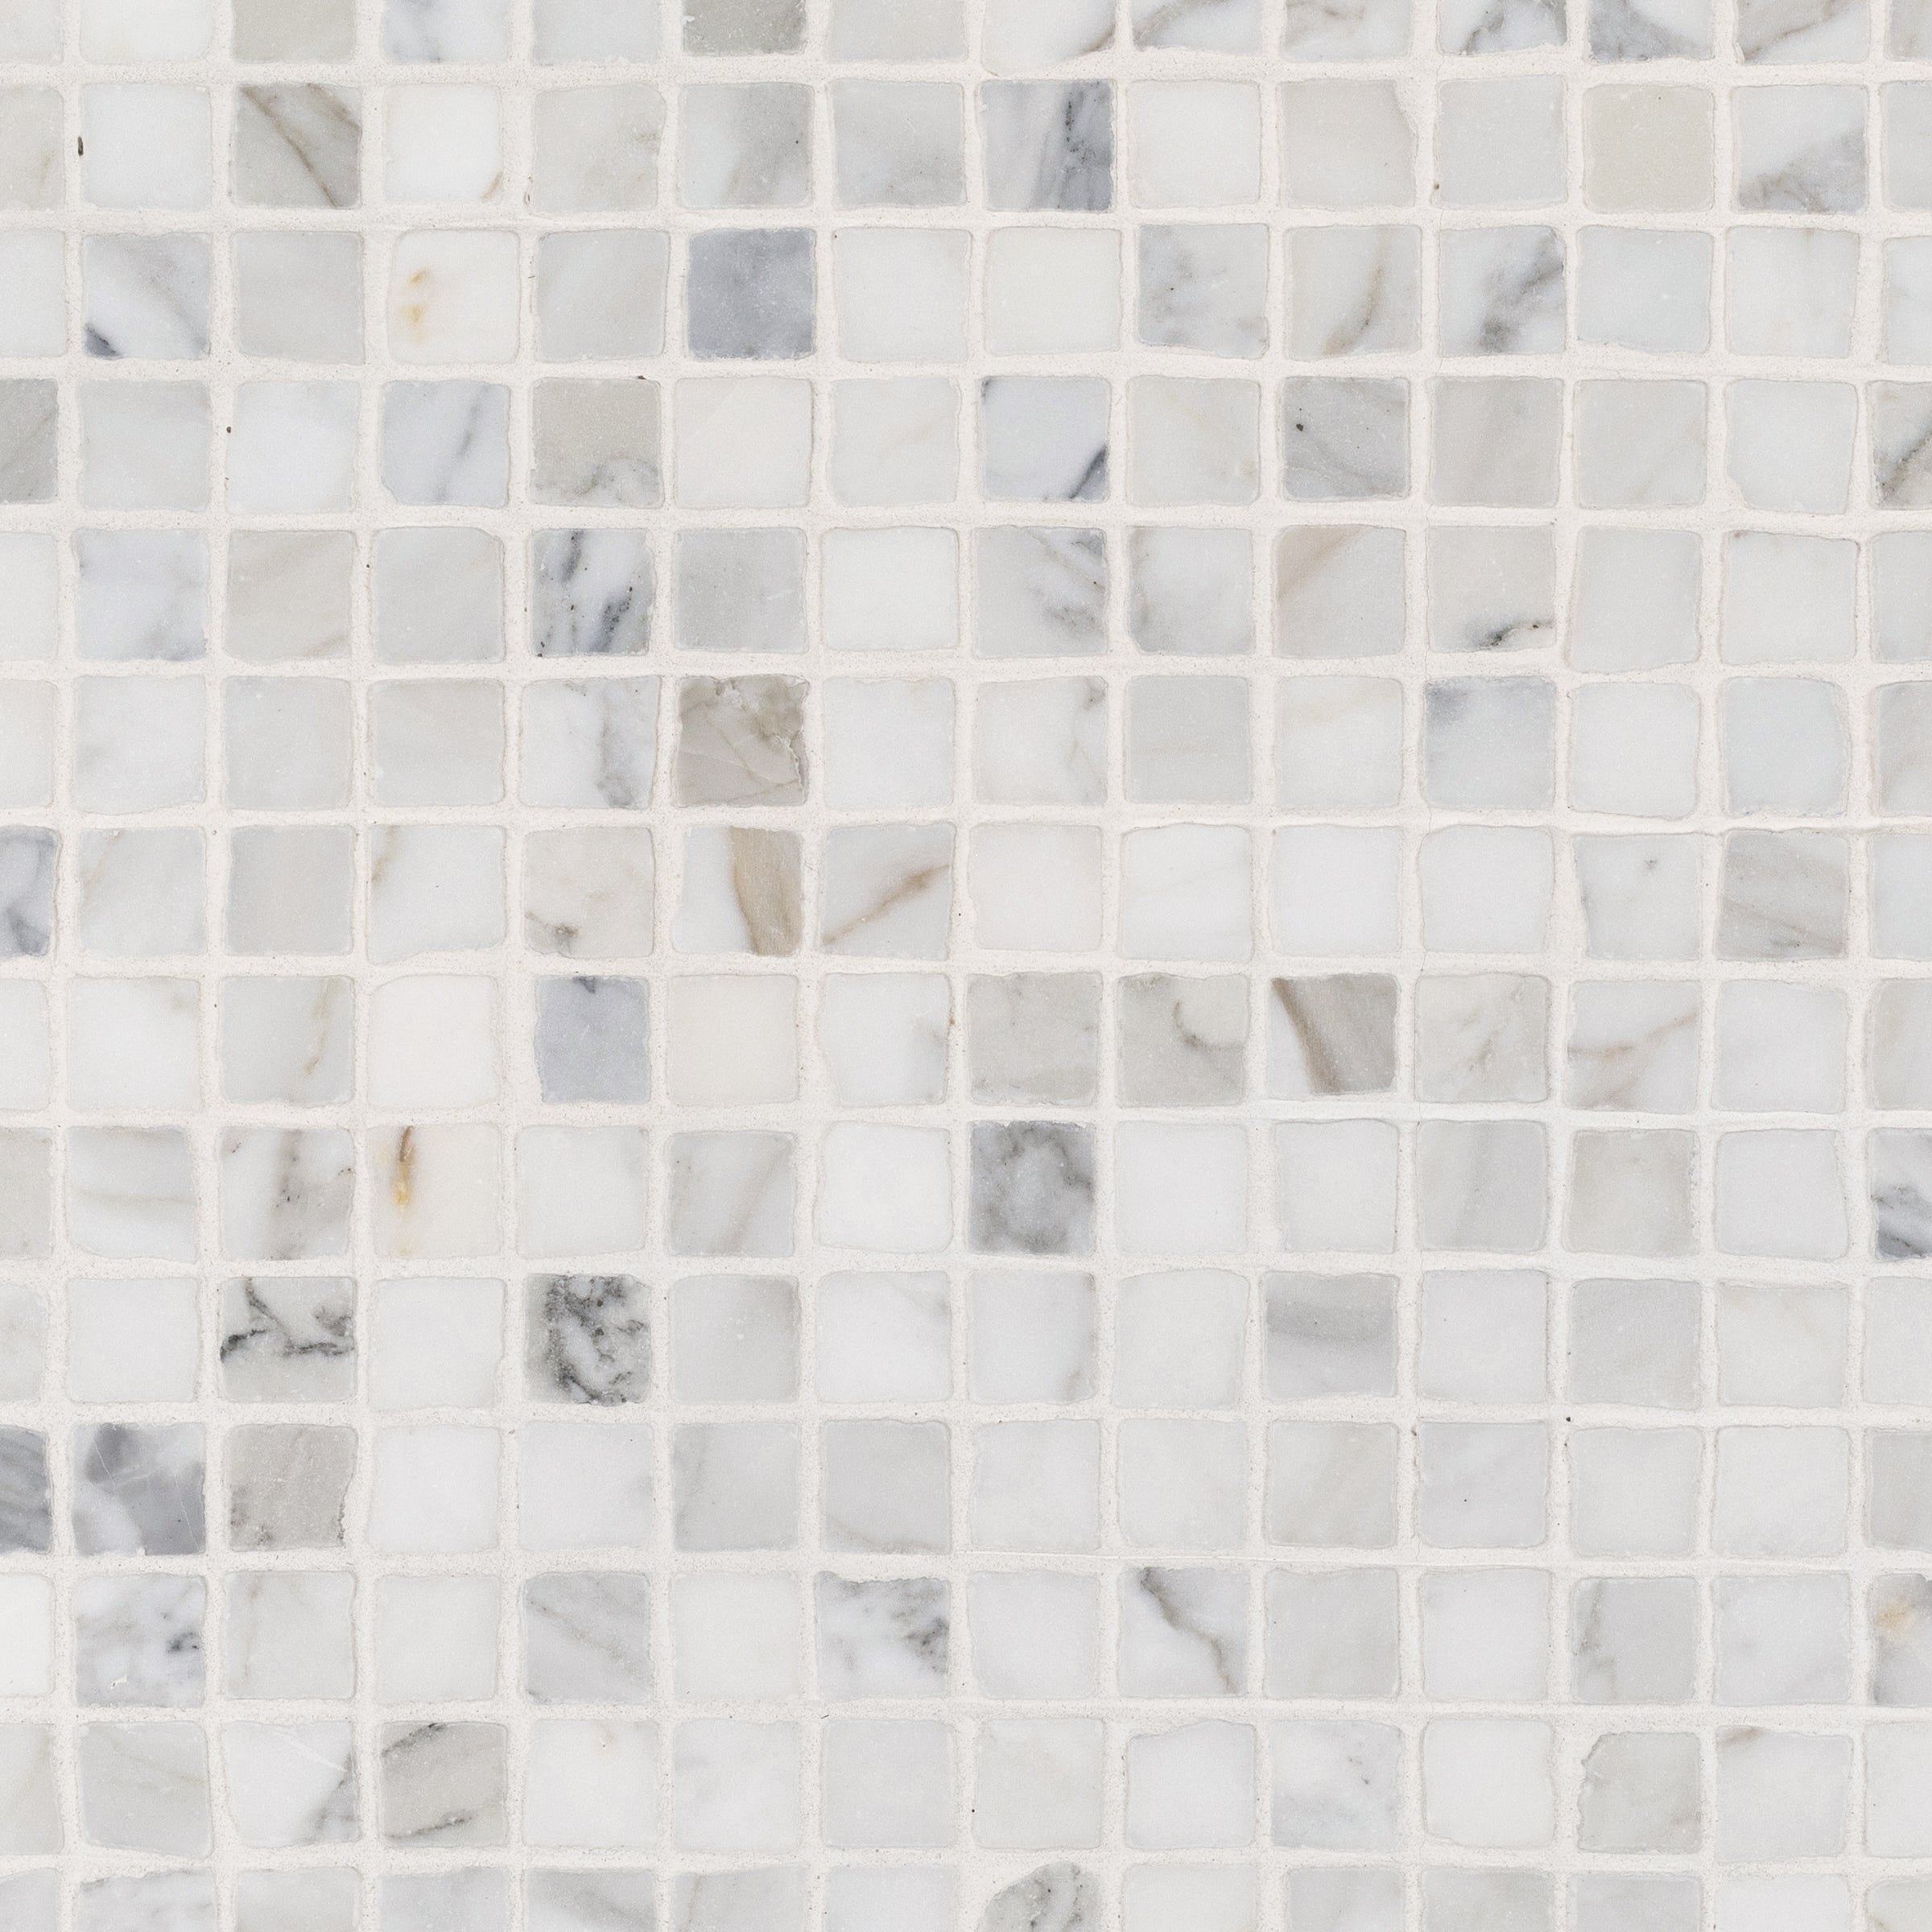
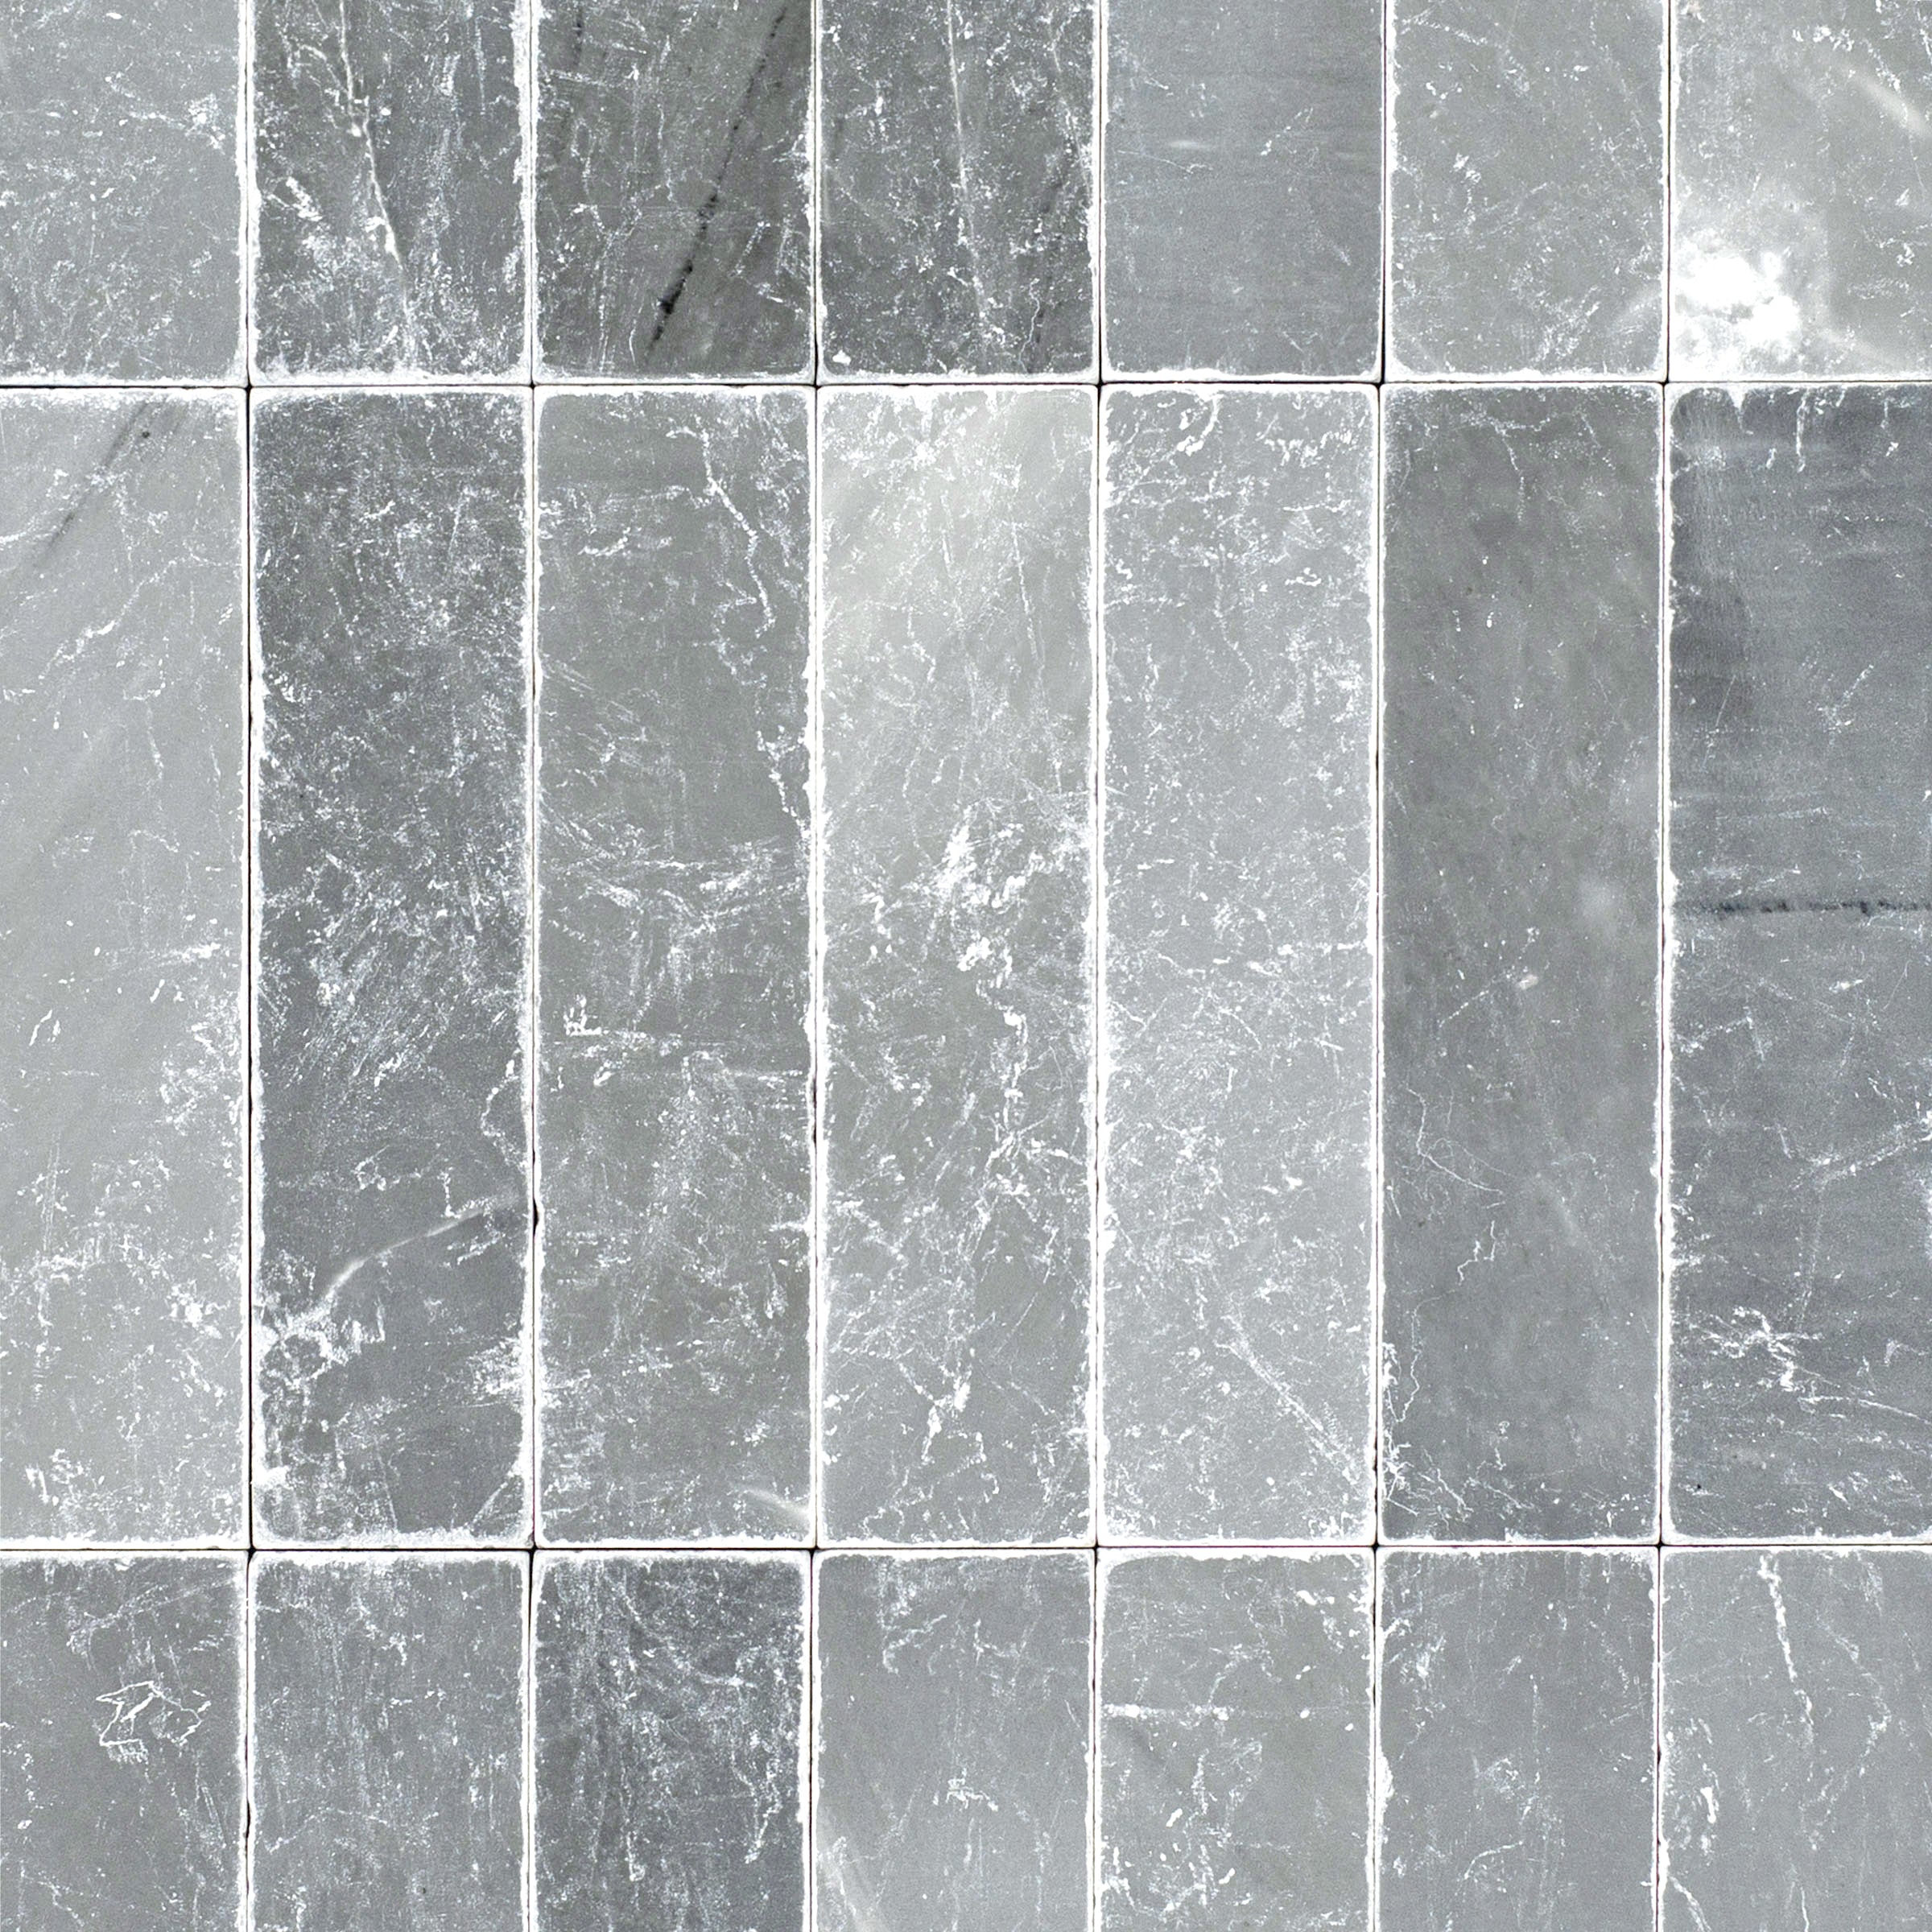
The Villa Collection brings the timeless elegance of Italian marble into a modern porcelain format, giving you the beauty of natural stone without the maintenance or mystery pricing. Sourced directly from one of Italy's finest tile manufacturers, every piece is crafted to capture the depth, veining, and warmth that make marble a design staple. And because we warehouse it ourselves, you get transparent pricing and fast shipping without the showroom runaround.
Packaging
Pieces/Box
29
SF/Box
12.48
Lbs./Box
44.88
Boxes/Pallet
45
SF/Pallet
561.67
Lbs./Pallet
2068
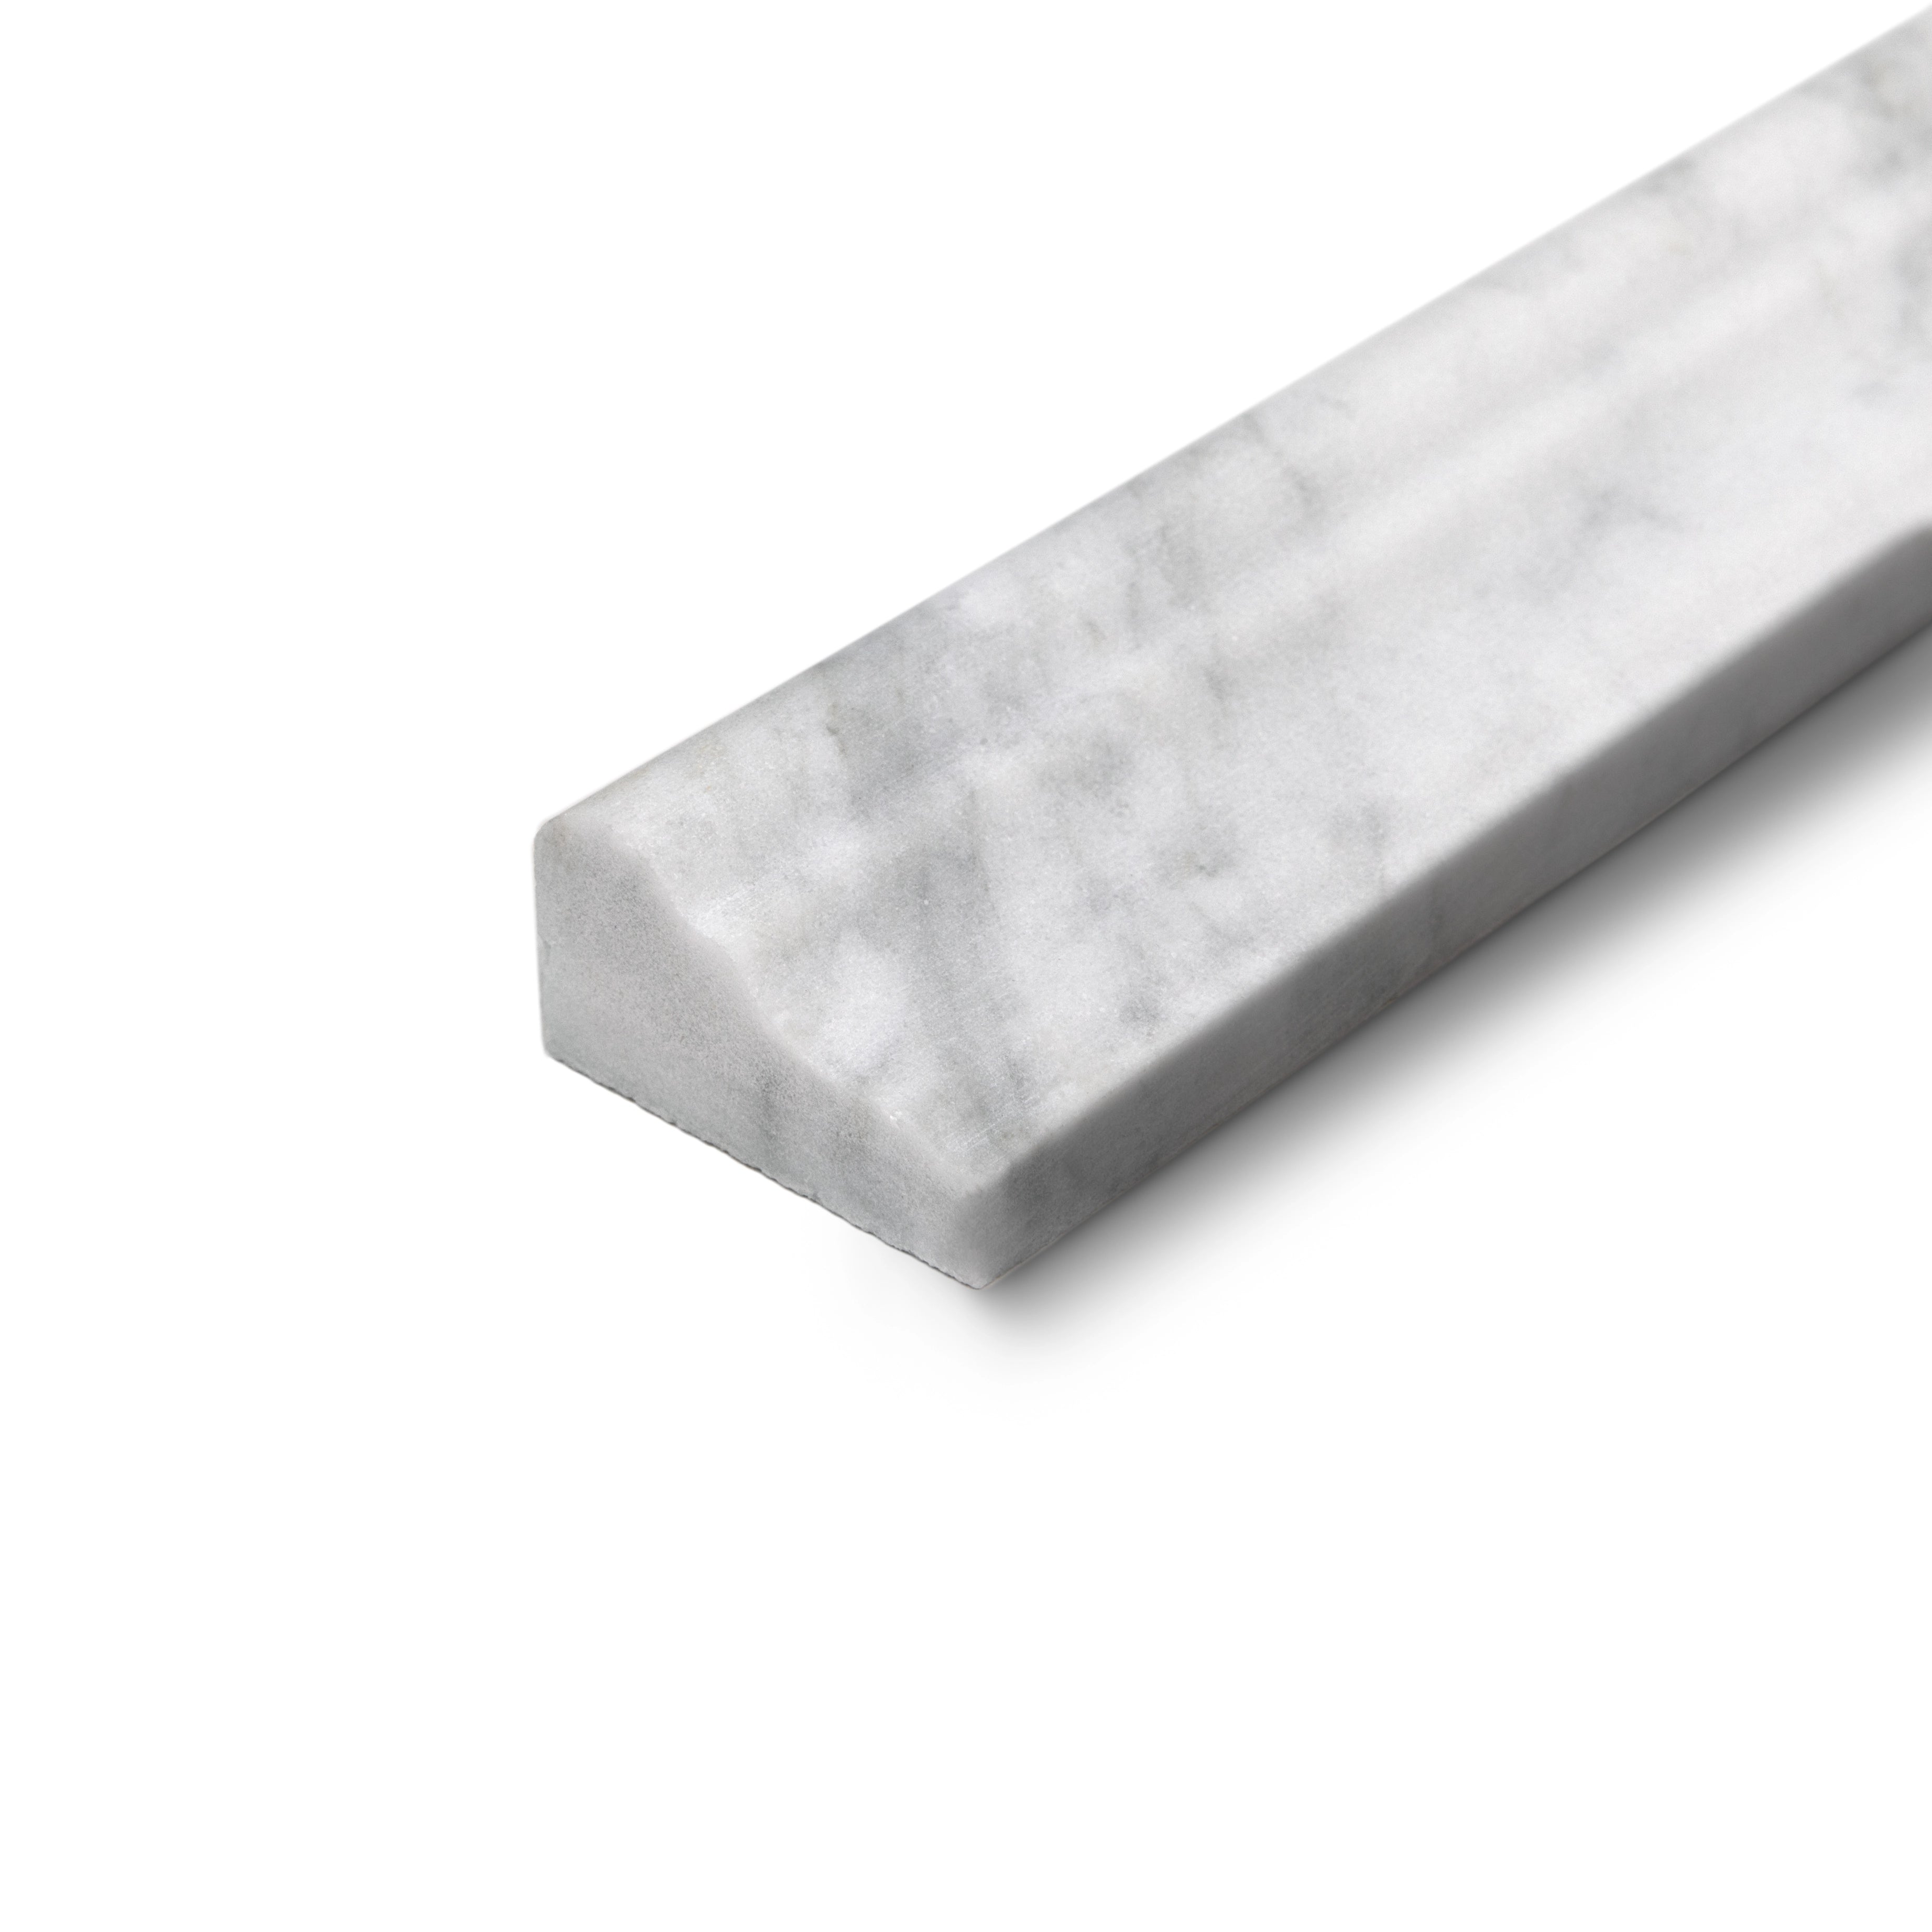
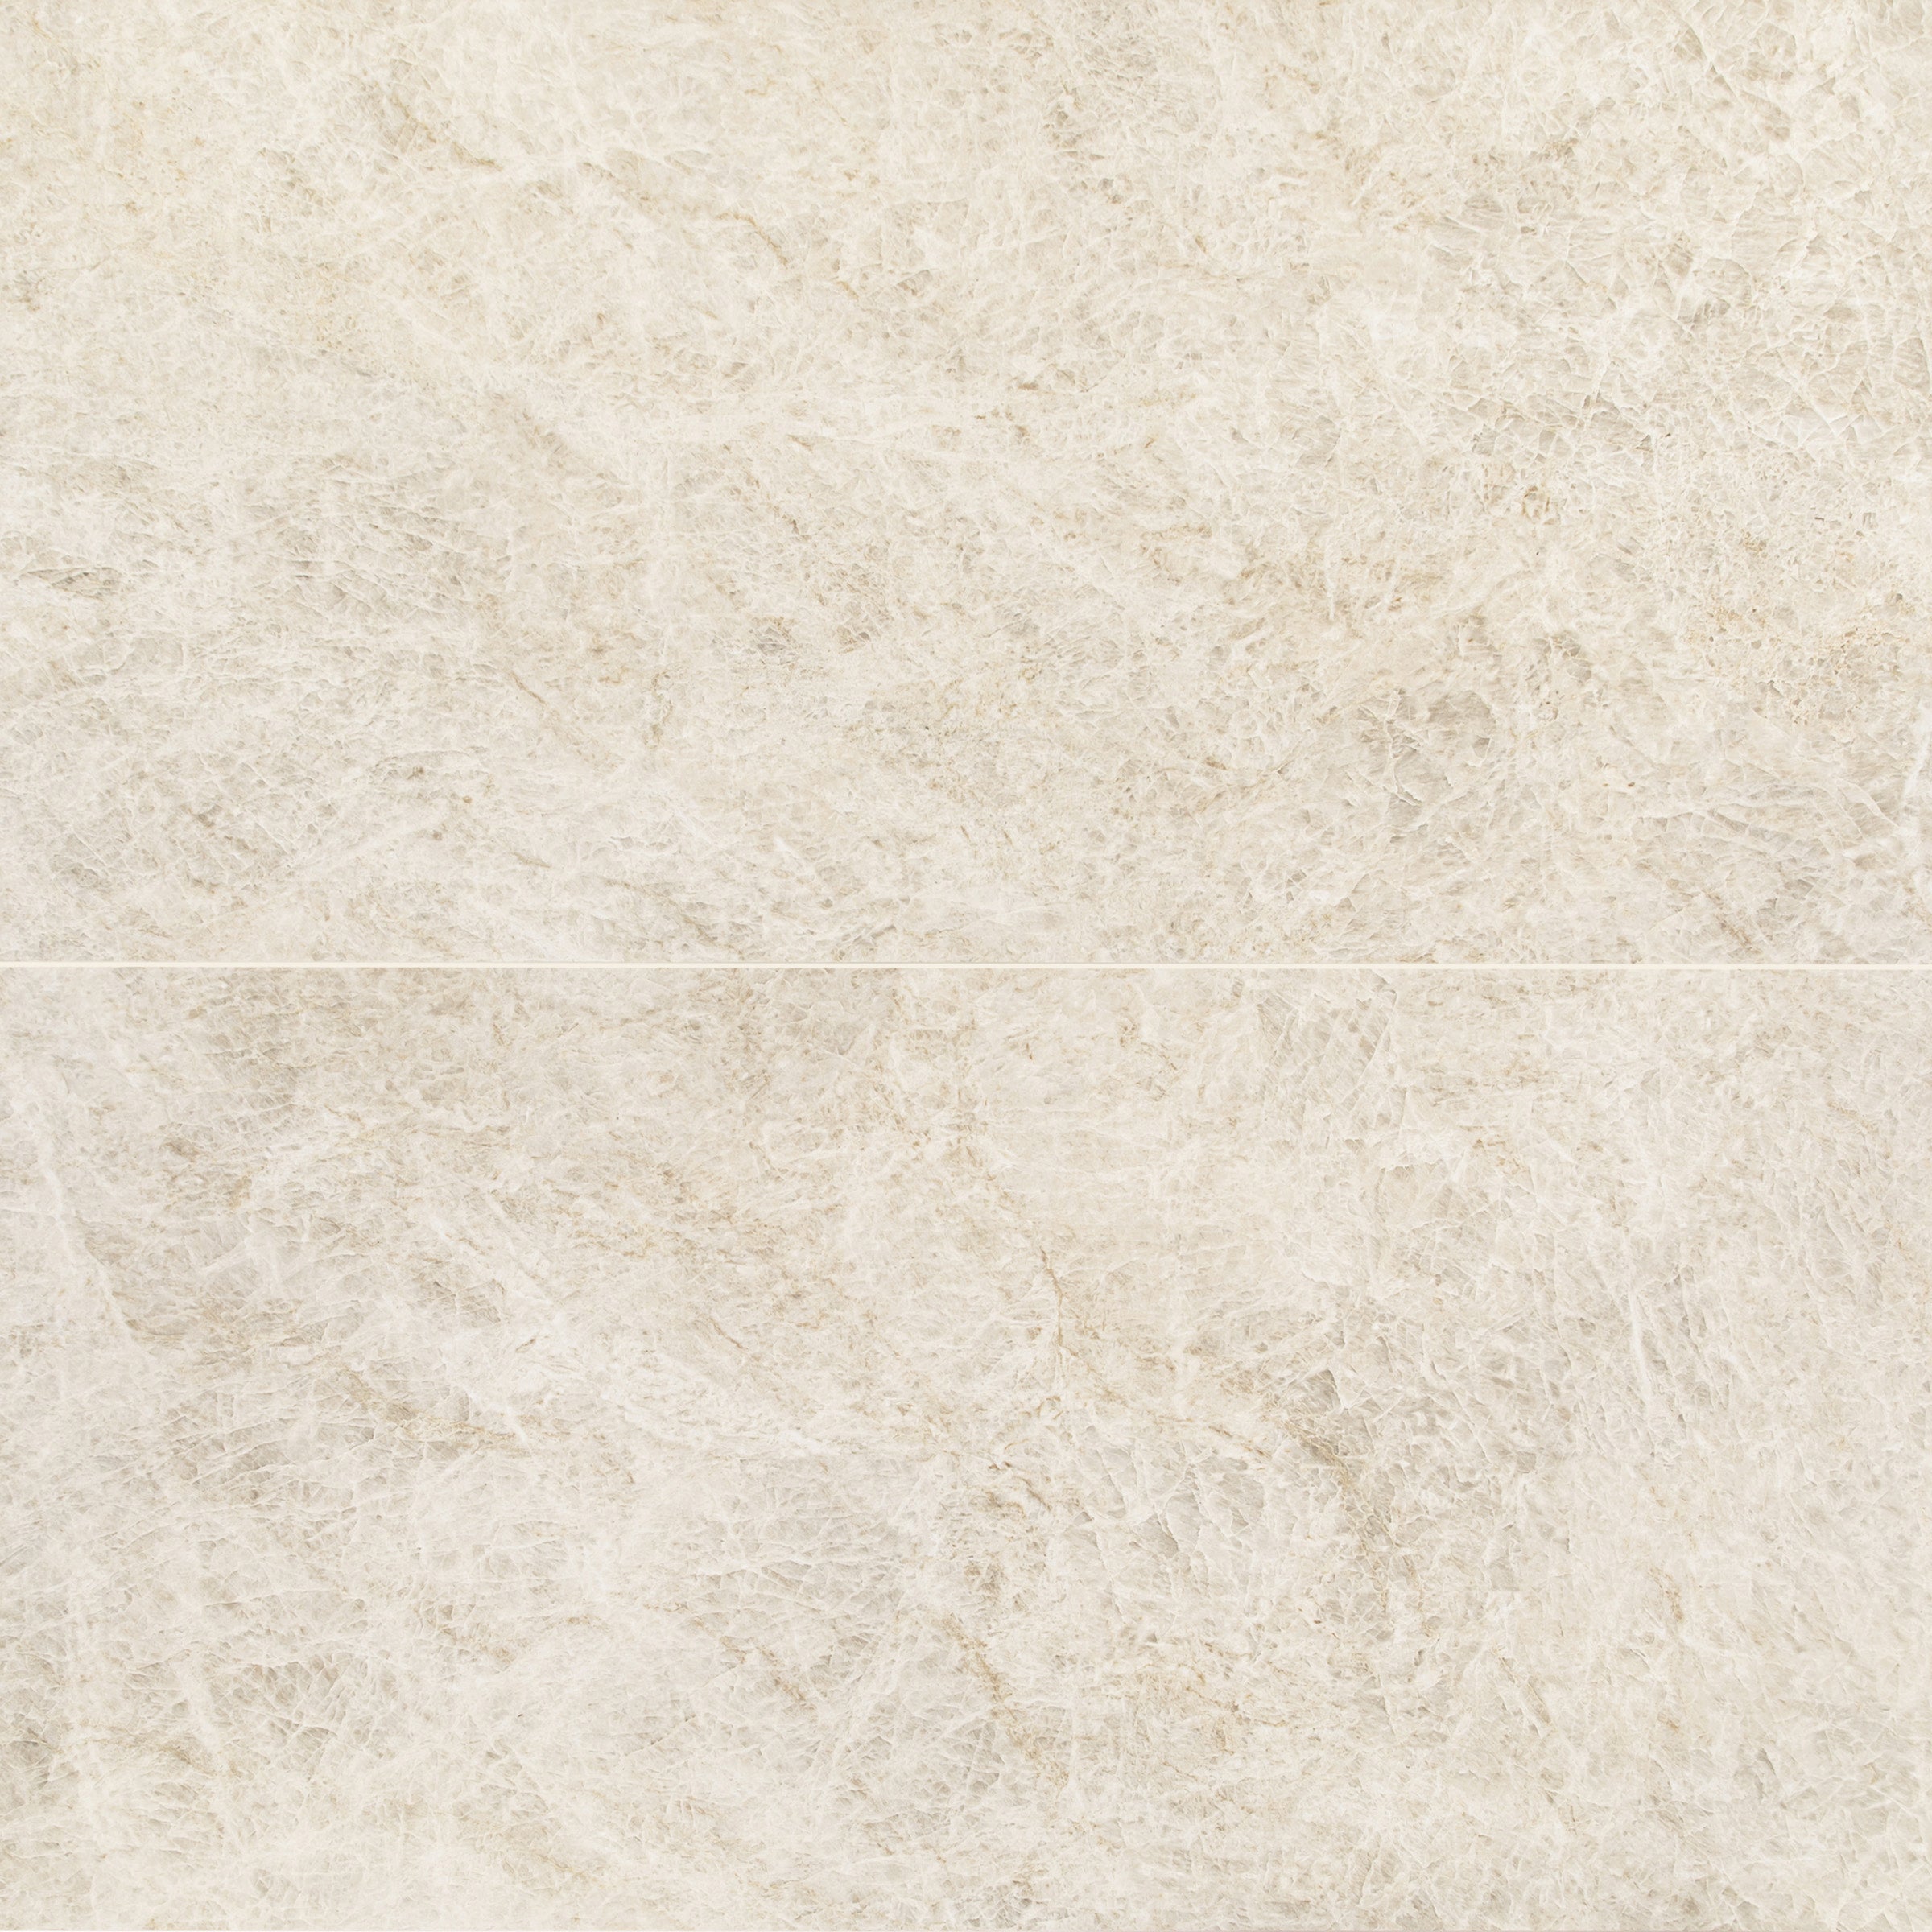
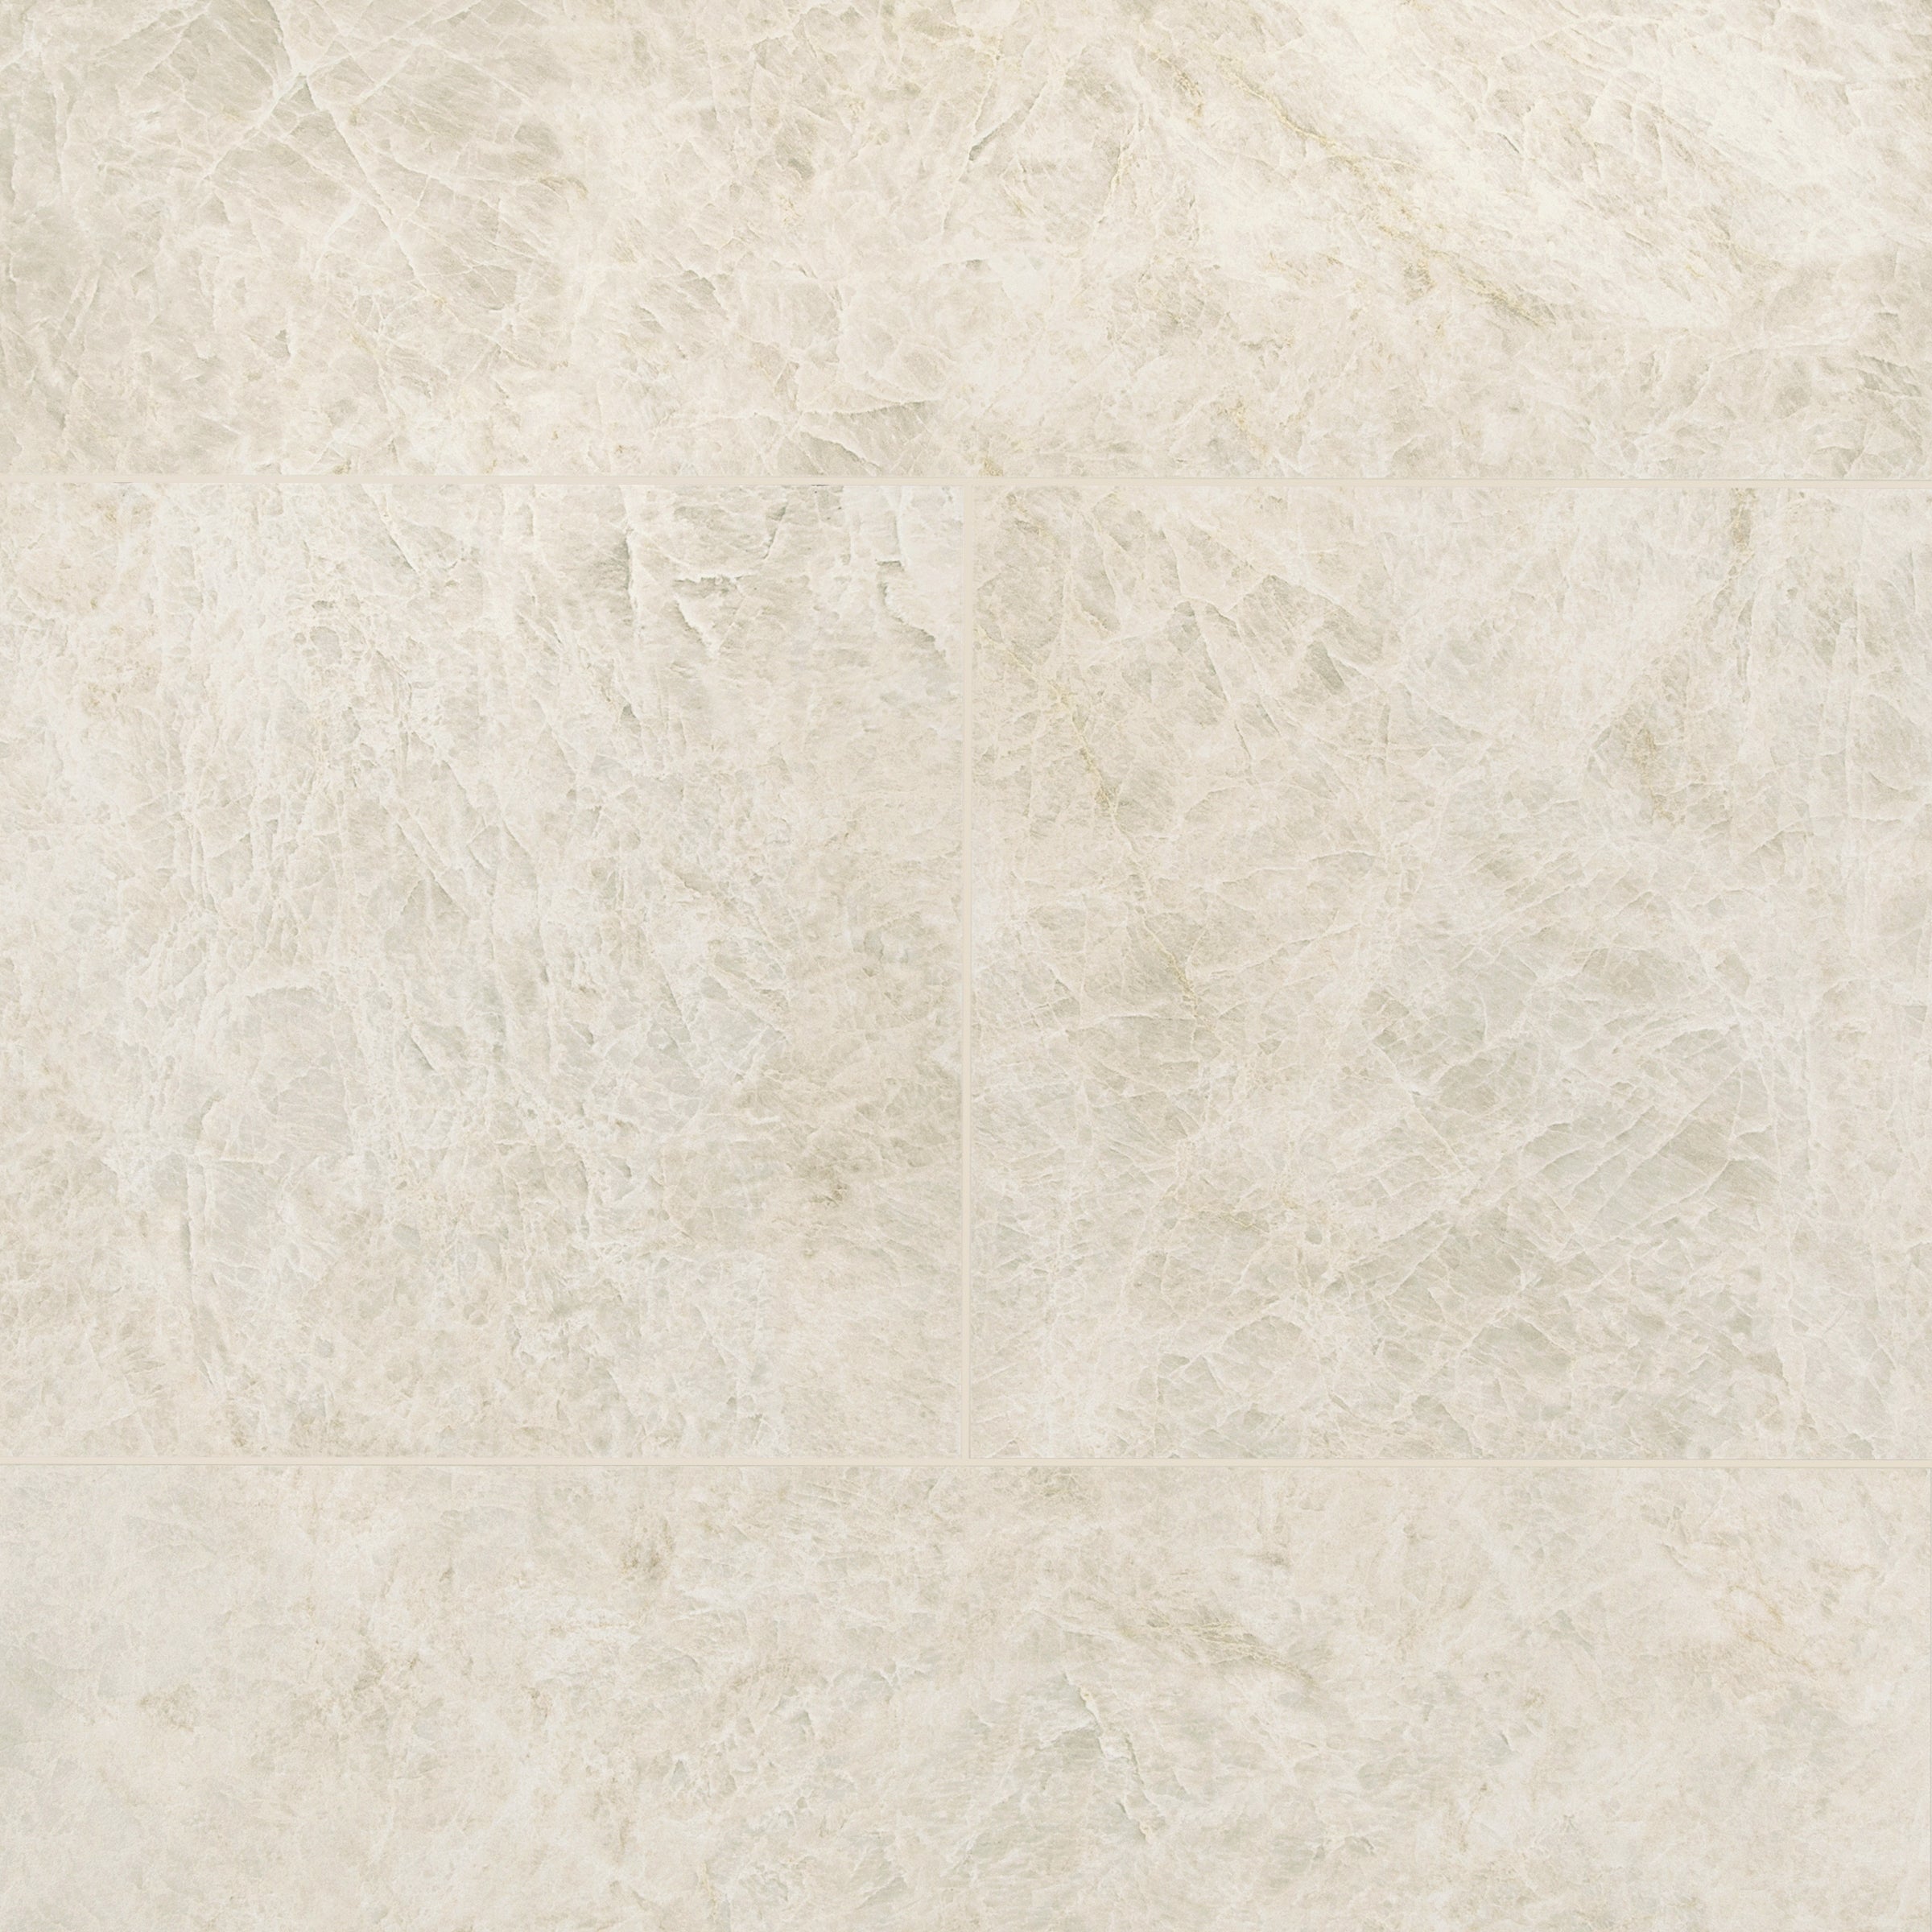
Details
Material
Porcelain
MOHS
>6
Chemical Resistant
Resistant
Water Absorption
0.10%
Frost Resistant
Resistant
Stain Resistant
Resistant
DCOF
>.42
Thickness
8.5mm
Nominal Size
8"x 8"
Country of Origin
Italy
Shade Variation
Moderate
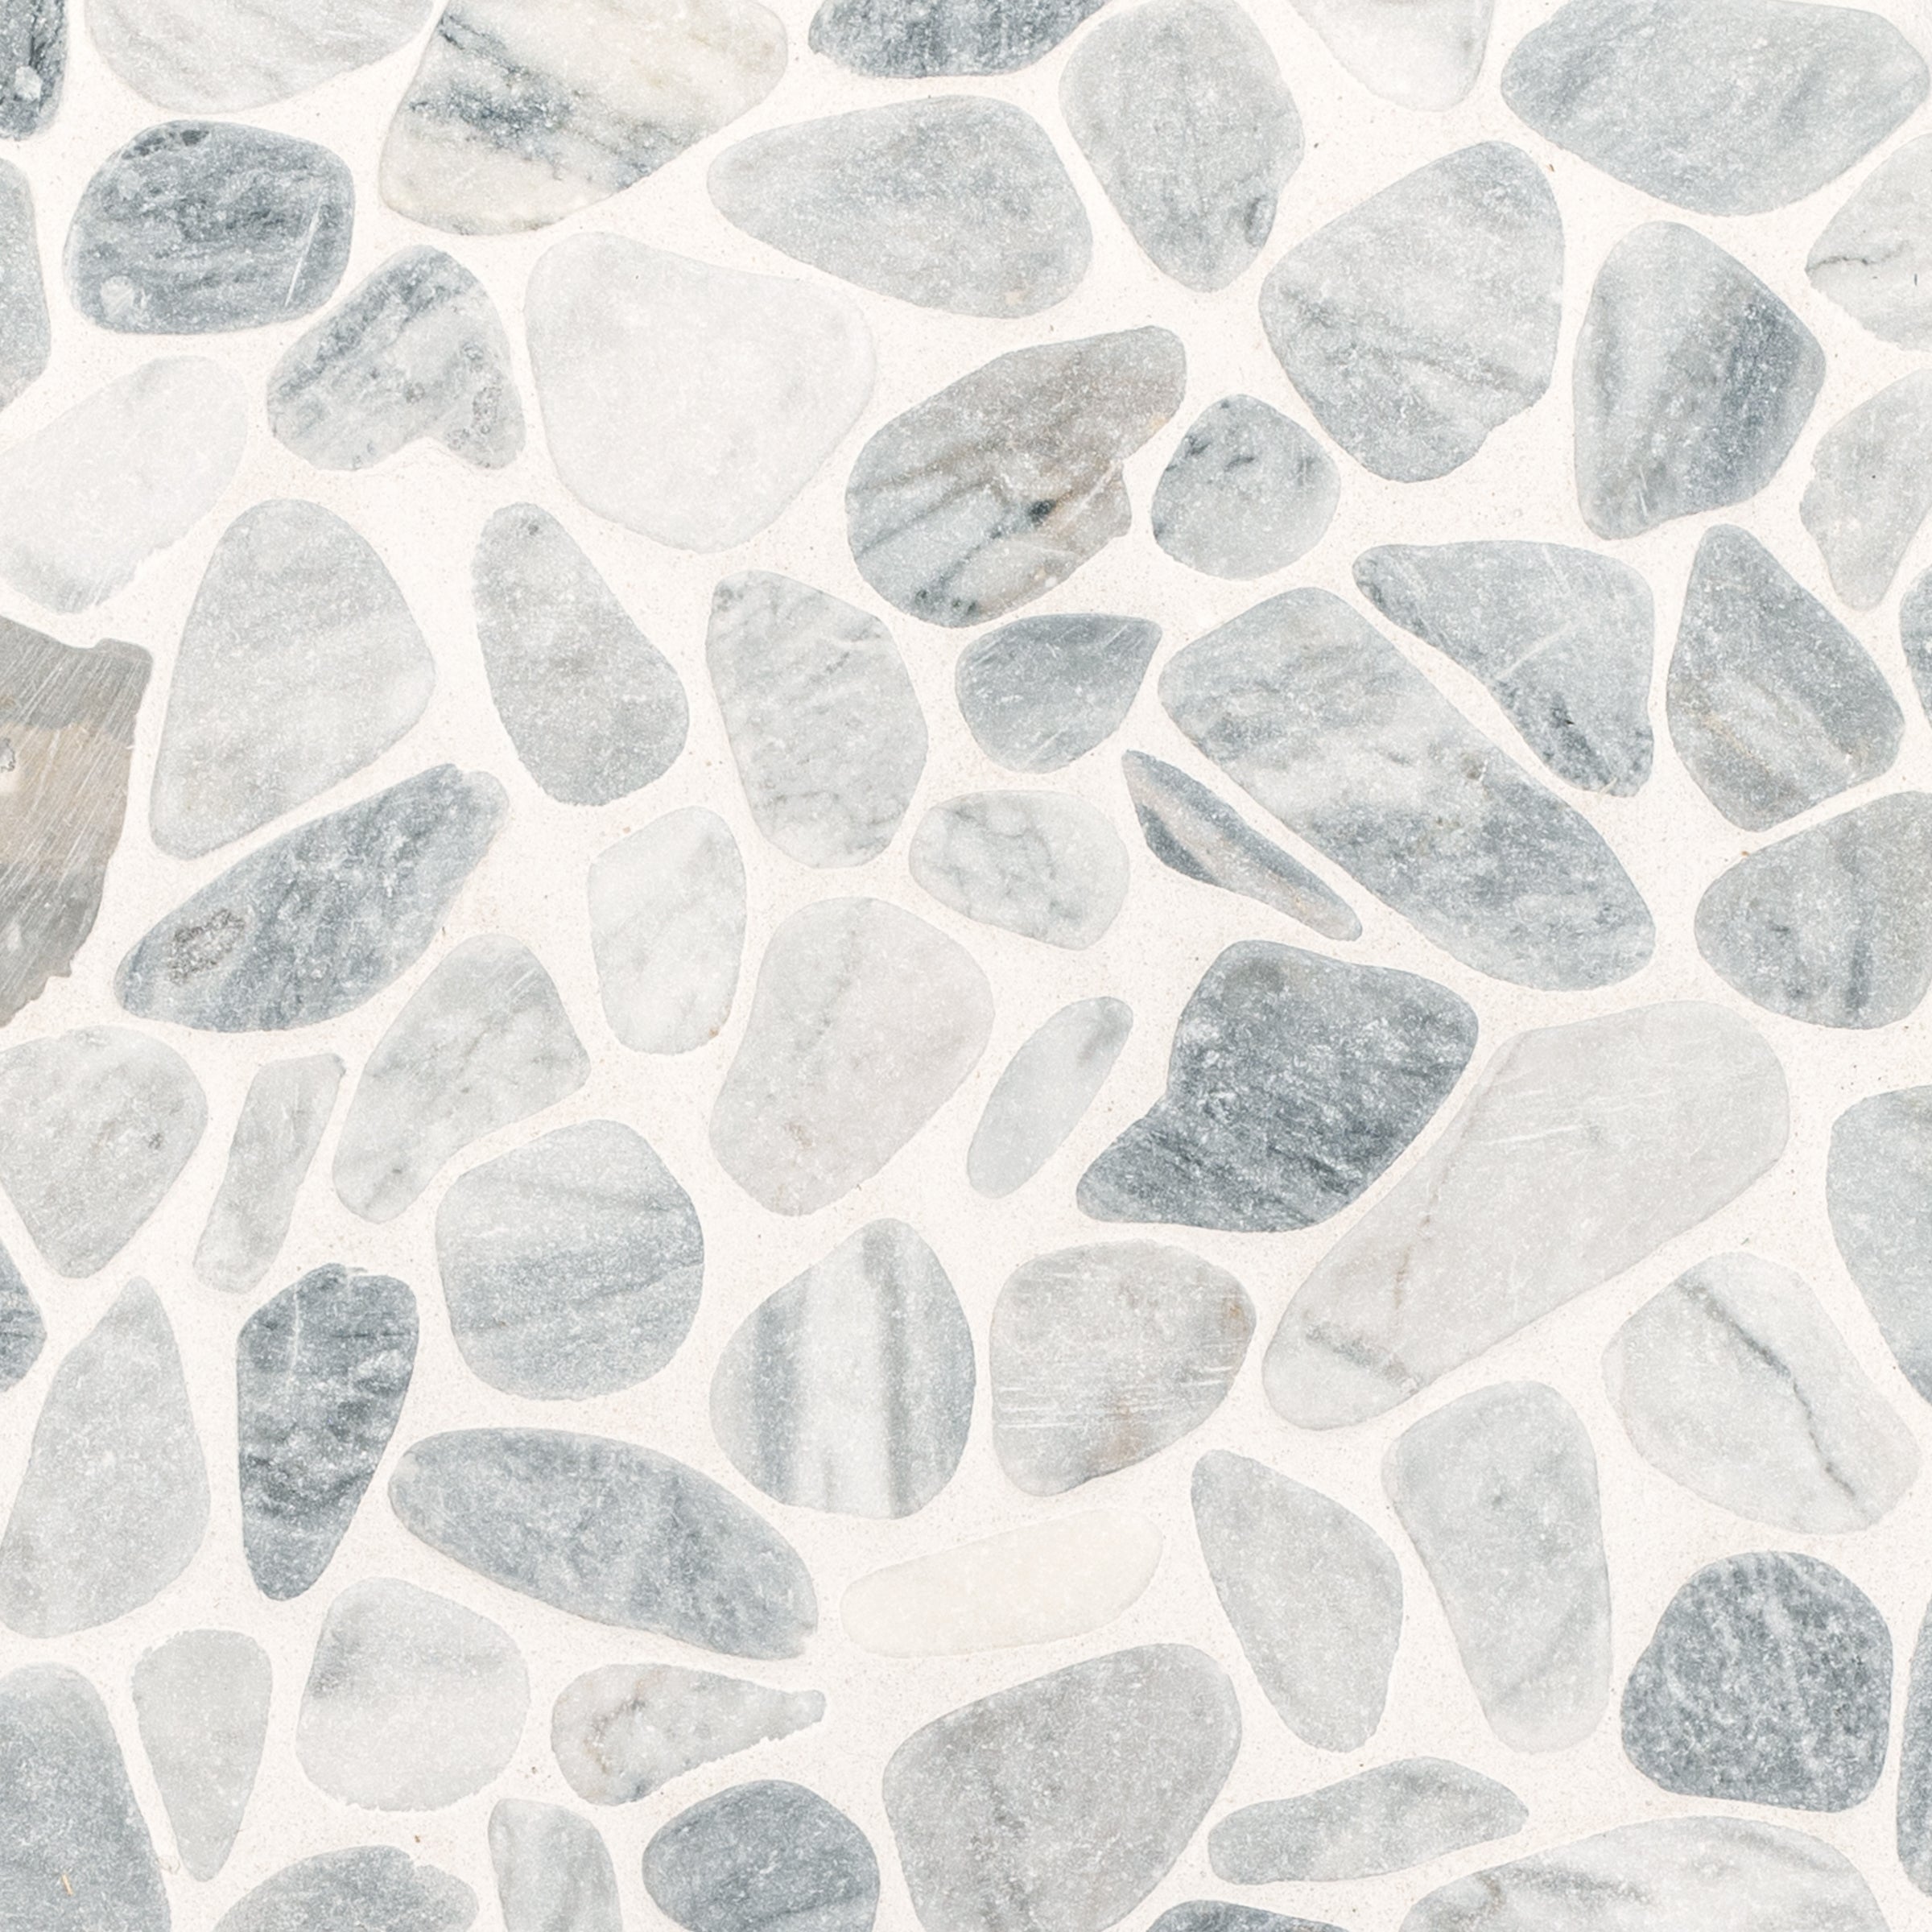
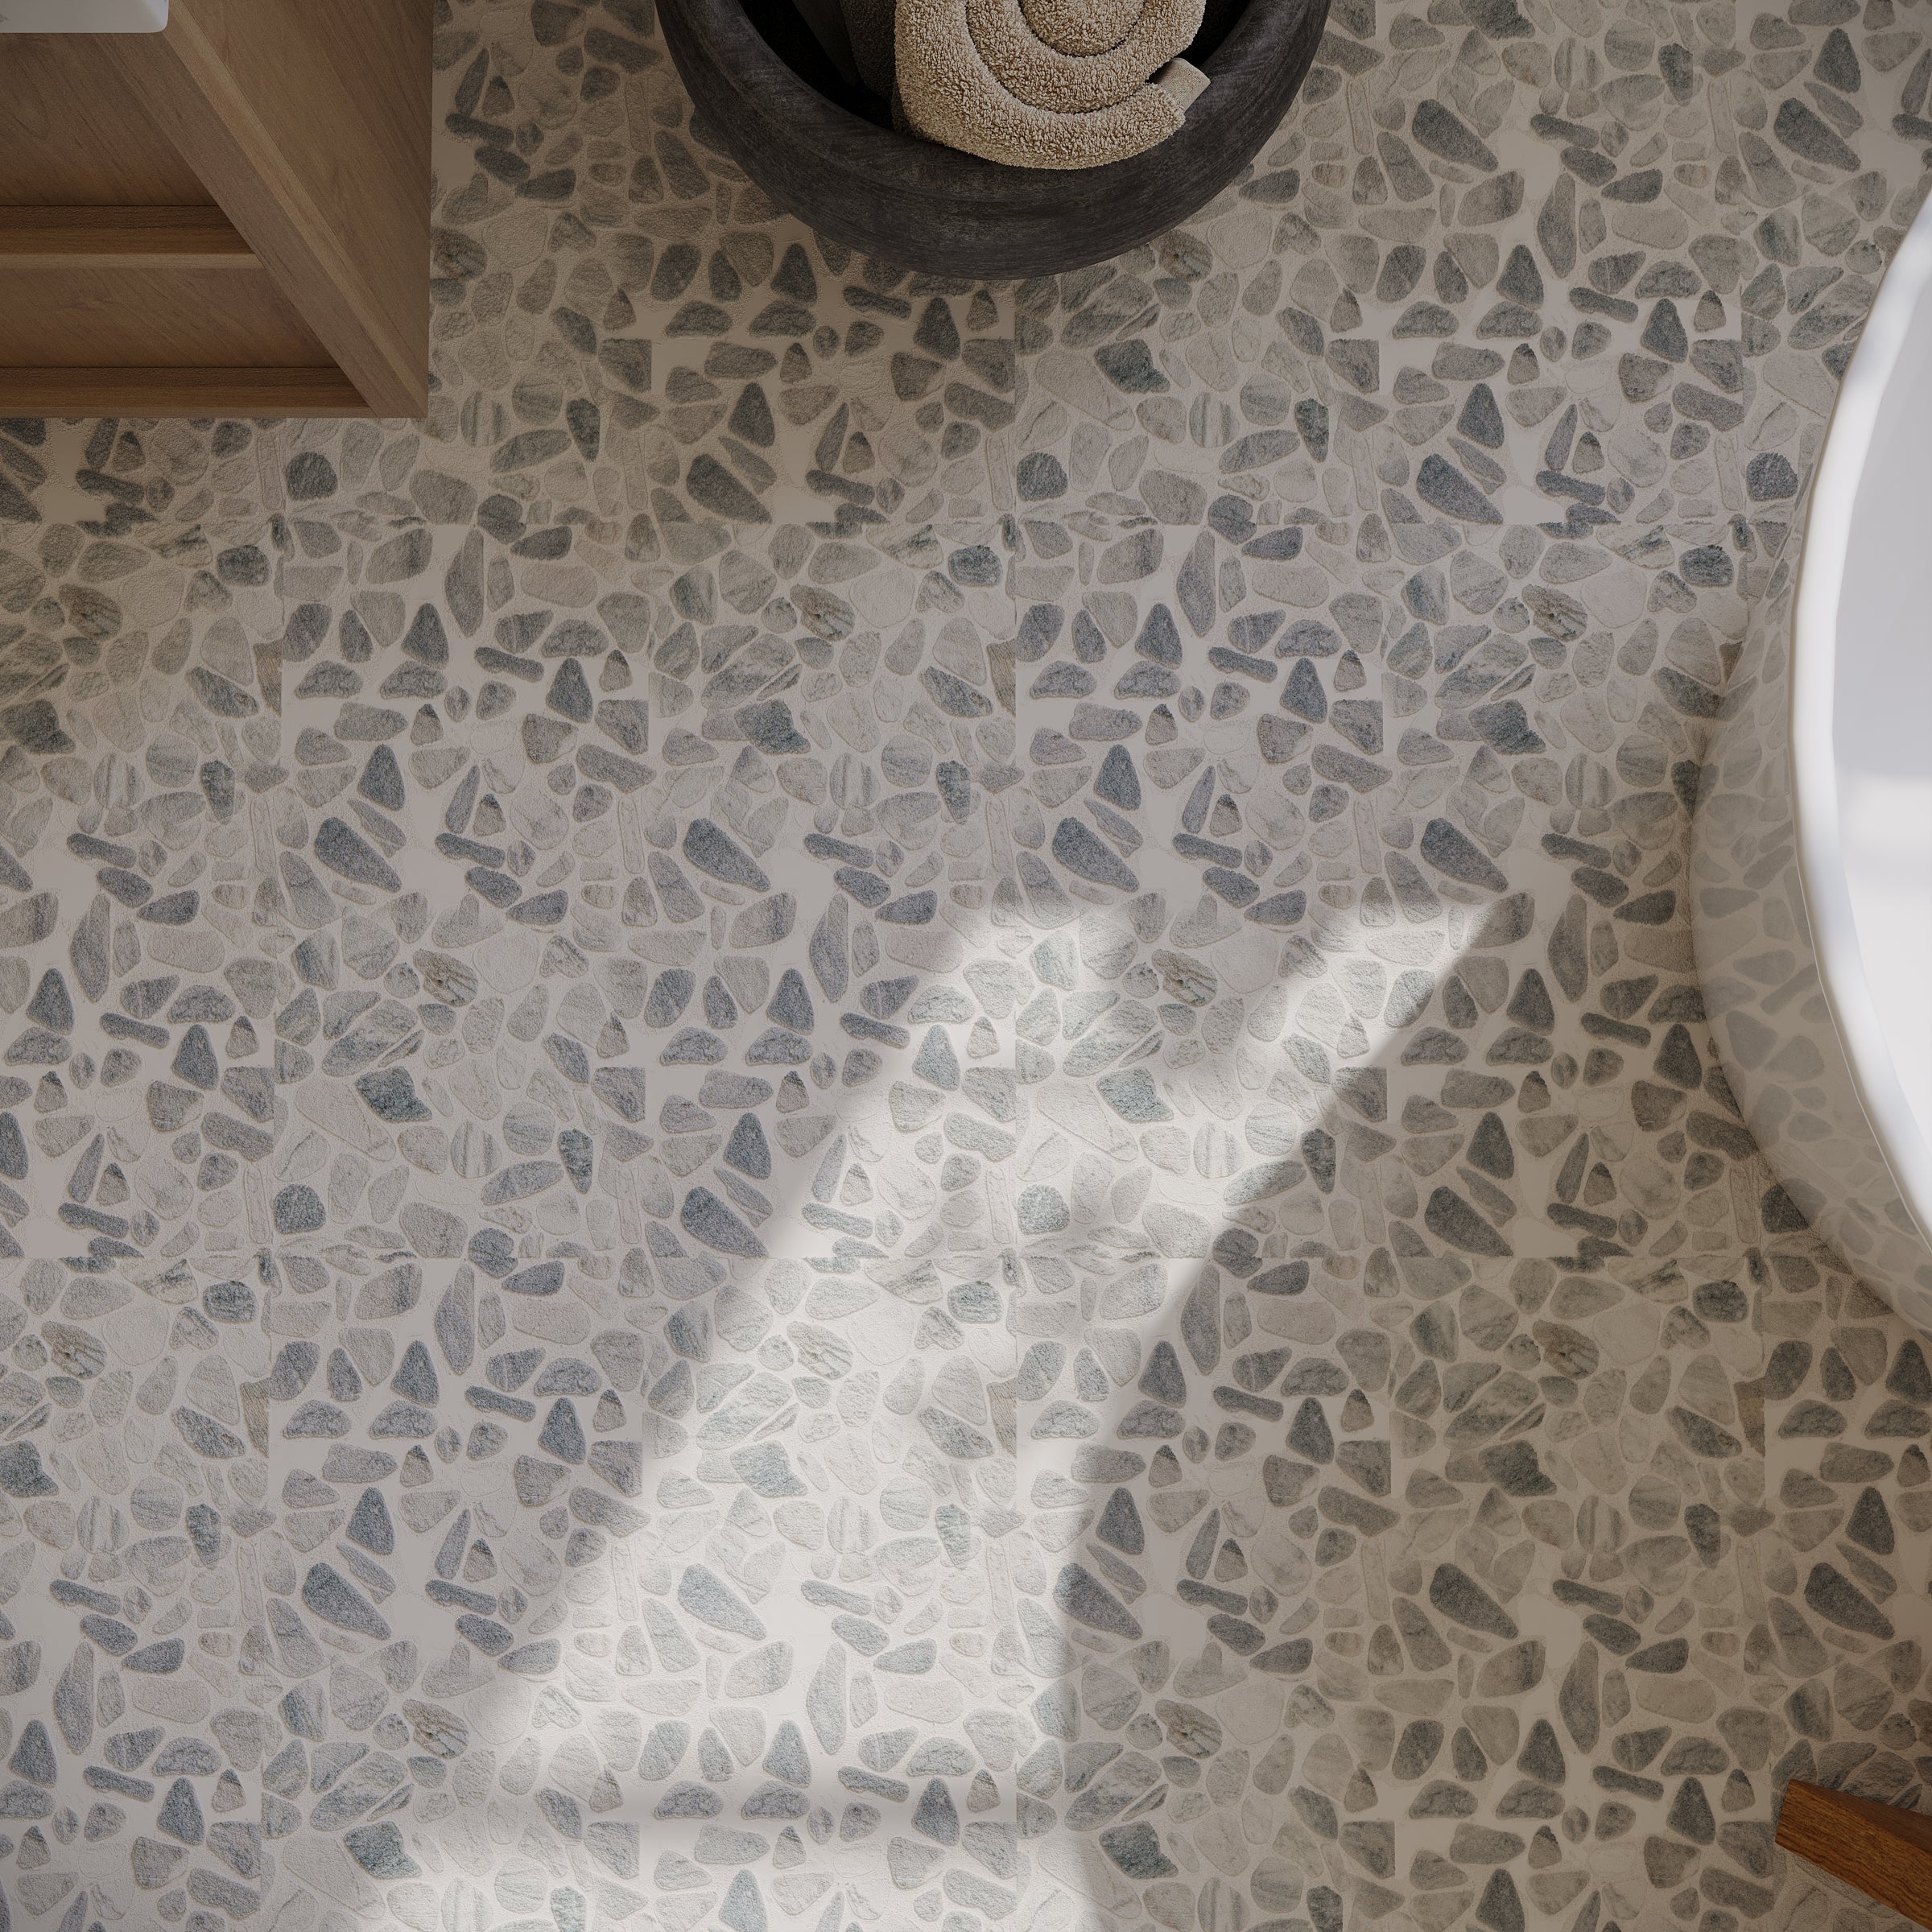
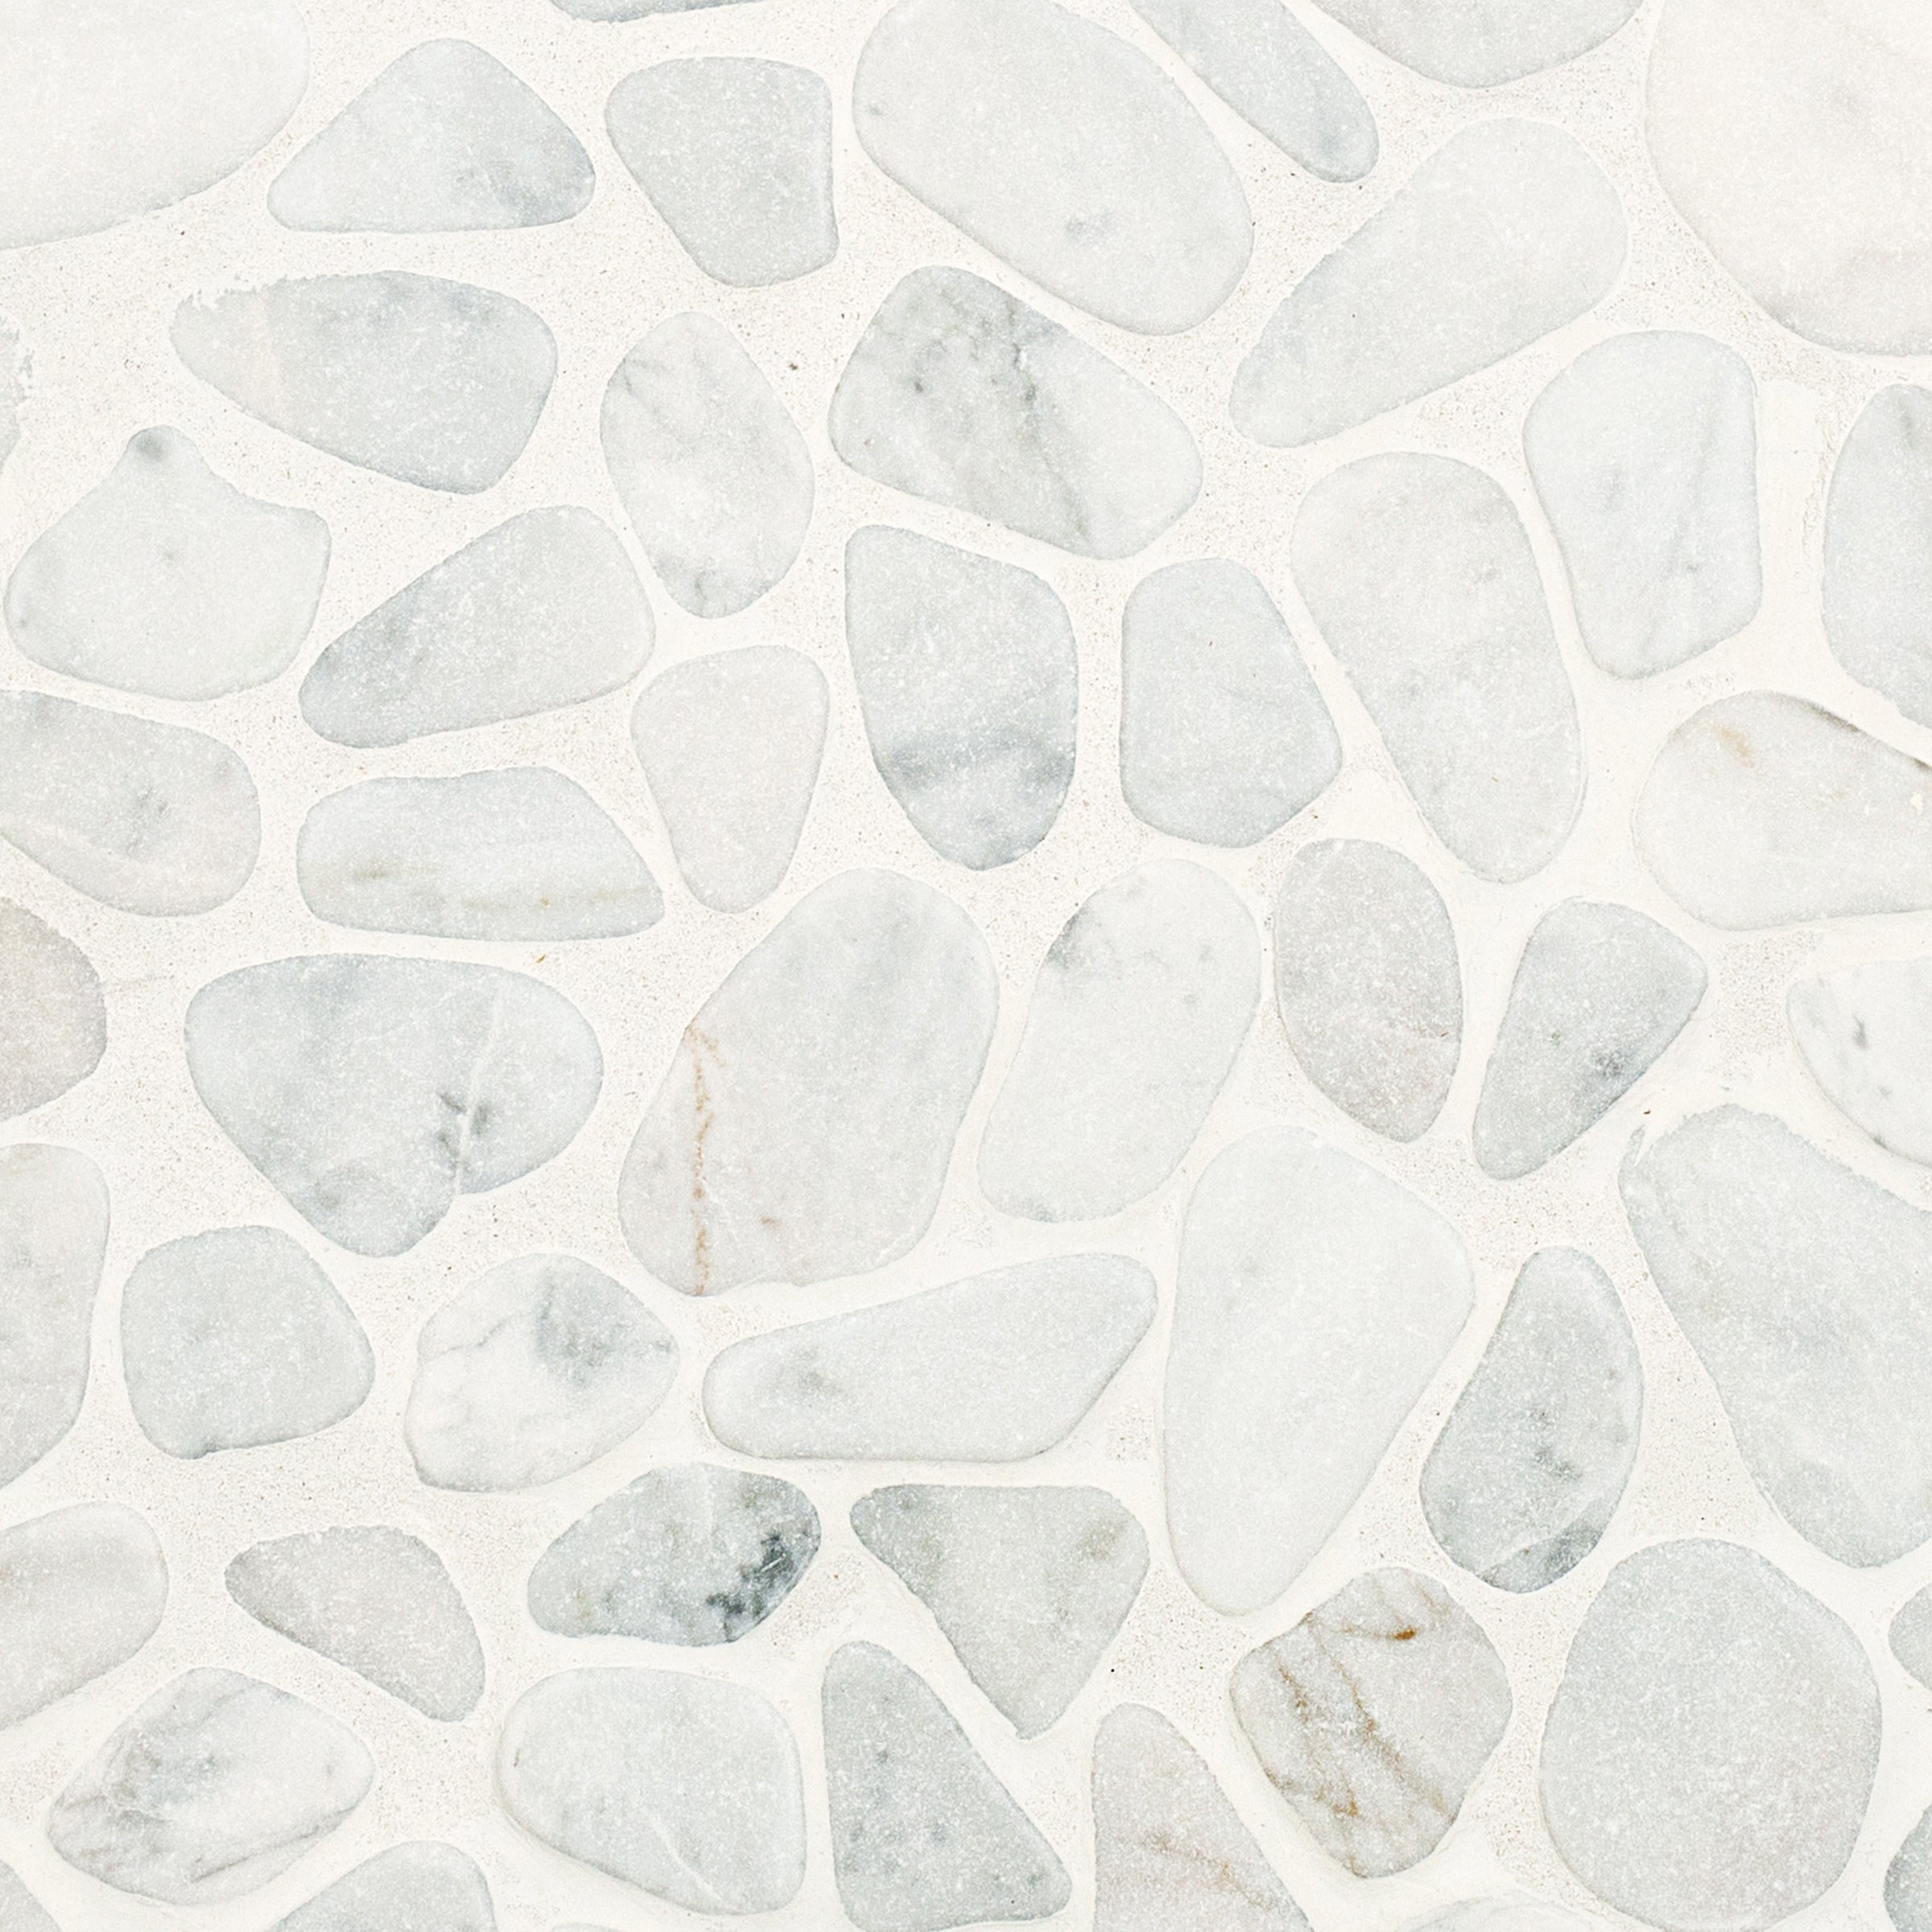
Shape
Square
Application
Walls & Floors
Edge
Pressed
Location
Bathroom Floors, Bathroom Walls, Showers, Backsplash, Floors, Commercial Spaces
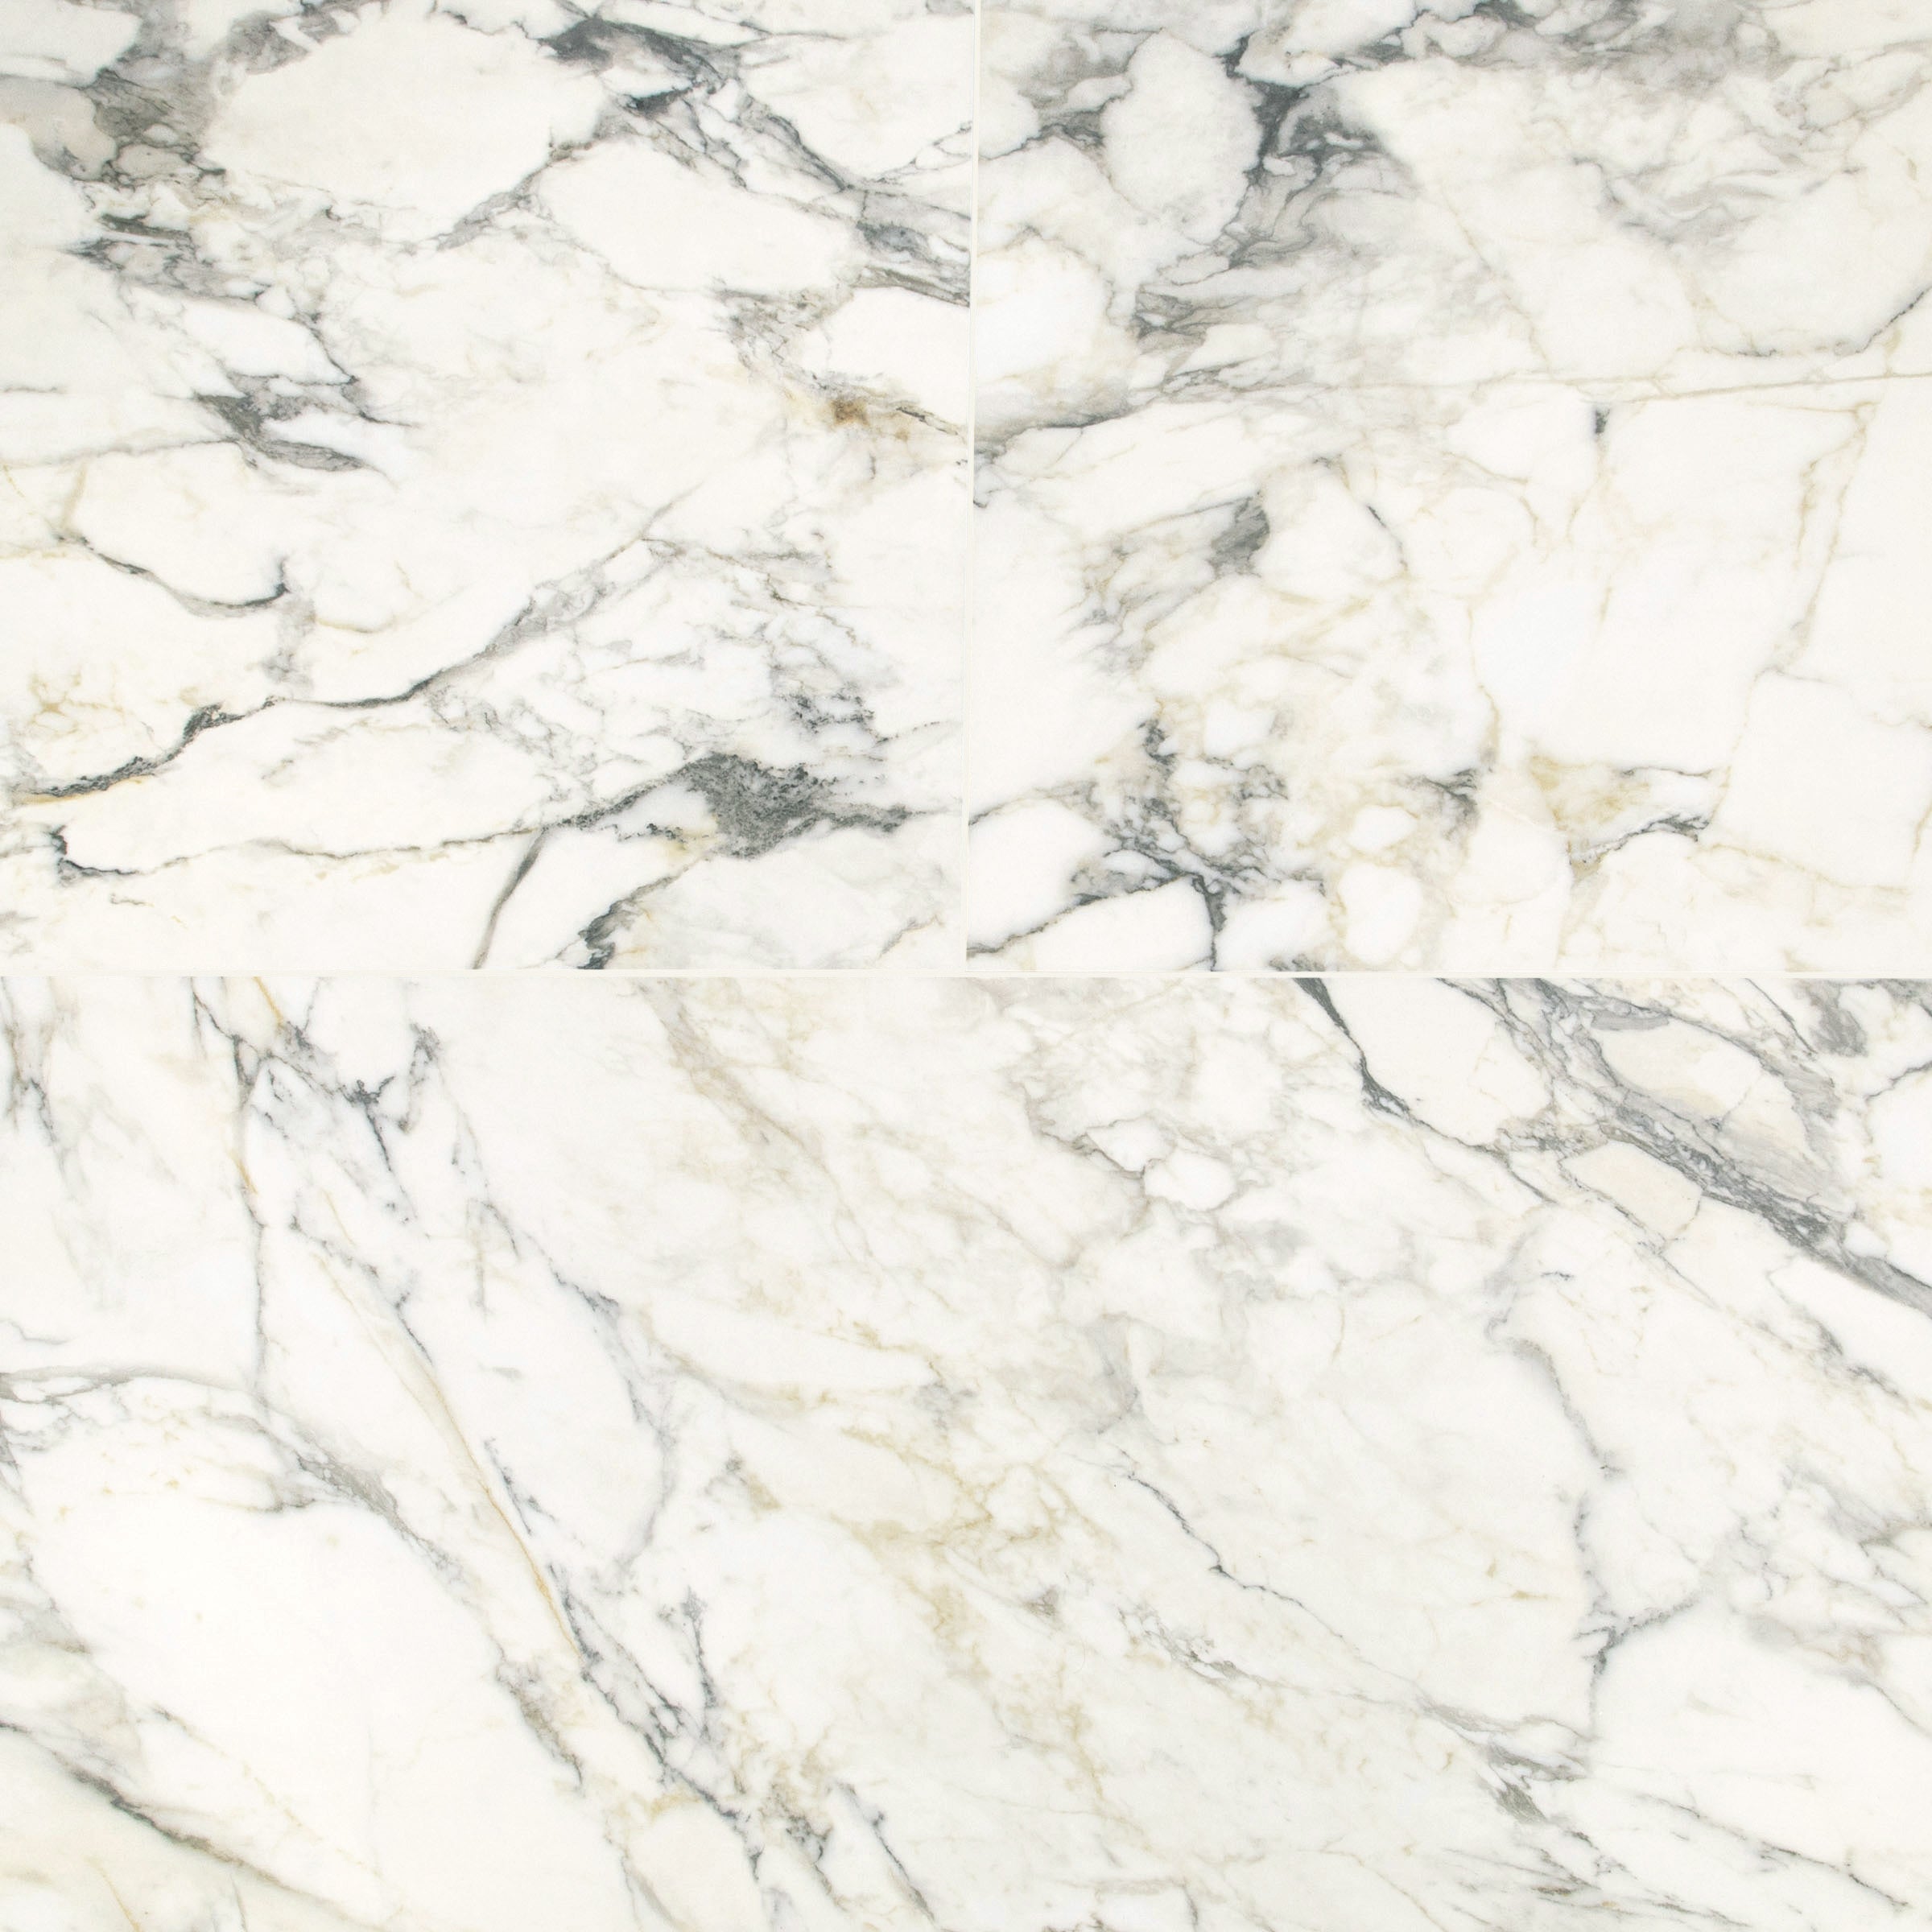
Look
Marble
Gradient bar
Small Format Porcelain Tile Installation Guide
SMALL FORMAT PORCELAIN TILE INSTALLATION GUIDE
Small Format Porcelain Tile Installation Guide
A Step by Step Guide for Professionals and DIY Enthusiasts
Reno Source
www.therenosource.com
BEFORE YOU BEGIN
Please read this entire guide before starting your installation. Porcelain tiles have unique properties including very low water absorption and higher density that require specific materials and techniques. This guide provides general recommendations and does not replace professional advice for complex installations.
-
OVERVIEW
Small format porcelain tiles including subway tiles, mosaics, penny rounds, hexagons, and formats up to twelve inches by twelve inches offer exceptional durability and timeless style. Porcelain is fired at higher temperatures than ceramic, resulting in a denser and harder tile body with water absorption below one half of one percent. This makes porcelain ideal for high traffic areas, wet environments, and both interior and exterior applications. Because of this density, porcelain requires specific adhesives, cutting tools, and installation methods. Standard ceramic thinset will not bond reliably to porcelain. Following the methods in this guide will help ensure a professional and long lasting installation.
-
TOOLS AND MATERIALS
Essential tools include a notched trowel sized one quarter inch by one quarter inch square notch for tiles up to twelve inches by twelve inches, or three sixteenths inch by three sixteenths inch or one quarter inch V notch for mosaics and subway tile. Additional tools include a rubber grout float, wet saw with a porcelain rated diamond blade or a manual snap cutter rated for porcelain, tile nippers, angle grinder with diamond blade, chalk line, tape measure, forty eight inch level, carpenter’s square, mixing bucket and drill with paddle, sponges, clean cloths, rubbing stone, knee pads, safety glasses, dust mask, and gloves. Materials include porcelain tile with ten to fifteen percent extra ordered for cuts and future repairs, polymer modified thinset mortar rated ANSI A118.4 or A118.15, grout with unsanded used for joints one eighth inch and narrower and sanded grout for wider joints, tile spacers sized appropriately for rectified or non rectified tile, cement backer board and fiberglass mesh tape if required, grout sealer, and painter’s tape for marking cuts and reducing chipping.
-
STEP BY STEP INSTALLATION
Step 1 Surface Preparation
Proper surface preparation is critical to porcelain tile performance. Because porcelain bonds differently than ceramic due to its low porosity, the substrate must be clean, flat, dry, and structurally sound. Remove all furniture, appliances, and existing flooring. Clean the subfloor thoroughly, removing debris, dust, adhesive residue, and paint. The subfloor must be at least one and one eighth inches thick to prevent flexing. Check flatness using a long straightedge. Variations greater than one eighth inch over ten feet must be corrected with self leveling compound. Repair all cracks, holes, and damaged areas. Porcelain is less forgiving of substrate imperfections than ceramic. If installing over plywood or in moisture prone areas, install cement backer board secured with screws spaced every eight inches. Tape all seams with fiberglass mesh tape embedded in thinset.
Step 2 Planning and Layout
Measure and mark the midpoint of each wall and snap chalk lines connecting opposite midpoints. The intersection will be the starting point. Dry fit tiles along the chalk lines from center to walls, including spacers. For mosaics or mesh backed sheets, lay out multiple sheets to confirm pattern alignment. Adjust layout so perimeter tiles are at least half a tile wide. For subway tile patterns, plan offsets carefully, with a minimum one third offset recommended to reduce lippage.
Step 3 Applying Thinset Mortar
Always use polymer modified thinset rated for porcelain. Standard ceramic thinset will not provide adequate bond strength. Mix thinset according to manufacturer instructions to a peanut butter like consistency and allow it to slake for ten minutes before remixing. Do not add water after slaking. Spread thinset onto a manageable section using the flat side of the trowel, then comb with the notched side at a forty five degree angle to create uniform ridges. Work in sections that can be tiled within fifteen to twenty minutes. If thinset skins over, remove and apply fresh mortar.
Step 4 Setting the Tiles
Begin setting tiles at the center intersection. Press each tile firmly into the mortar with a slight twisting motion to ensure full contact. Insert spacers at corners. Use one sixteenth inch to one eighth inch spacers for rectified porcelain and one eighth inch to three sixteenths inch for non rectified tile. Continue working outward from the center. Do not slide tiles into position. Check frequently with a level, as porcelain highlights lippage more than ceramic. Mix tiles from multiple boxes to blend color variation. Periodically remove a tile to verify mortar coverage. Minimum coverage is eighty percent in dry areas and ninety five percent in wet or exterior installations.
Step 5 Cutting Tiles
For straight cuts, use a wet saw with a porcelain rated diamond blade. Feed tiles slowly and steadily. Manual snap cutters rated for porcelain may be used on thinner tiles if the score line is deep and continuous. Applying painter’s tape along the cut line can reduce chipping. For curved or notched cuts, use tile nippers or an angle grinder with diamond blade, making shallow passes to prevent cracking. Always wear safety glasses, gloves, and a dust mask when cutting porcelain. Wet cutting methods are strongly recommended to reduce dust.
Step 6 Grouting
Allow thinset to cure for at least twenty four hours before grouting. Remove all spacers. Mix grout to a smooth, thick consistency. Use unsanded grout for joints one eighth inch and narrower and sanded grout for wider joints. Spread grout diagonally across tiles using a rubber float at a forty five degree angle, forcing grout fully into joints. Remove excess grout diagonally. After fifteen to twenty minutes, wipe the surface with a damp sponge using circular motions. Once grout has fully cured, typically twenty four to seventy two hours, buff away any remaining haze with a dry cloth.
Step 7 Sealing and Finishing
Porcelain tile generally does not require sealing due to its low porosity, but grout lines should be sealed. Allow grout to fully cure for forty eight to seventy two hours before sealing. Apply grout sealer directly to joints with a brush applicator or spray across the surface according to manufacturer instructions. Wipe excess sealer from tile surfaces. Unglazed porcelain may benefit from a penetrating sealer depending on manufacturer guidance. Reapply grout sealer annually or as needed.
-
TIPS AND WARNINGS
Never skip the dry layout process, as it prevents costly mistakes. Always use polymer modified thinset rated for porcelain. For mesh backed mosaics, apply a thin skim coat of thinset to the back of the sheet before setting for full coverage. Clean grout residue promptly, as dried haze becomes harder to remove. Include movement joints with flexible sealant at all changes of plane, perimeter walls, and every twenty to twenty five feet in large installations per industry guidelines. Keep spare tiles for future repairs. Wear proper personal protective equipment at all times. Porcelain dust is finer than ceramic dust and requires wet cutting and proper ventilation. Keep tools and materials away from children. Consult a licensed professional for installations involving waterproofing, radiant heat, structural modifications, or code compliance.
-
CARE AND MAINTENANCE
Sweep or vacuum regularly to prevent grit buildup. Mop with warm water and a pH neutral tile cleaner, avoiding excessive moisture. Wipe spills promptly, especially along grout lines. Reseal grout annually or as recommended. Use felt pads under furniture legs and place mats at entryways. Do not use acidic cleaners such as vinegar or citrus based products, bleach, ammonia, or abrasive scrubbers, as these can damage grout and some porcelain surfaces.
-
PRODUCT AND LIABILITY INFORMATION
Porcelain tile varies by manufacturer, batch, and production method. Rectified and non rectified tiles require different spacing. Always test adhesives, grouts, and sealers on a sample area prior to full installation and verify ANSI compliance of all materials. This guide is provided for informational purposes only. Reno Source assumes no responsibility for injuries, damages, or losses resulting from installation. Users assume all risk associated with tile installation and should consult qualified professionals when needed.
Reno Source
Finish Materials
Based in the USA
www.therenosource.com
help@therenosource.com
If you paste that, you won’t get the huge empty gaps anymore.
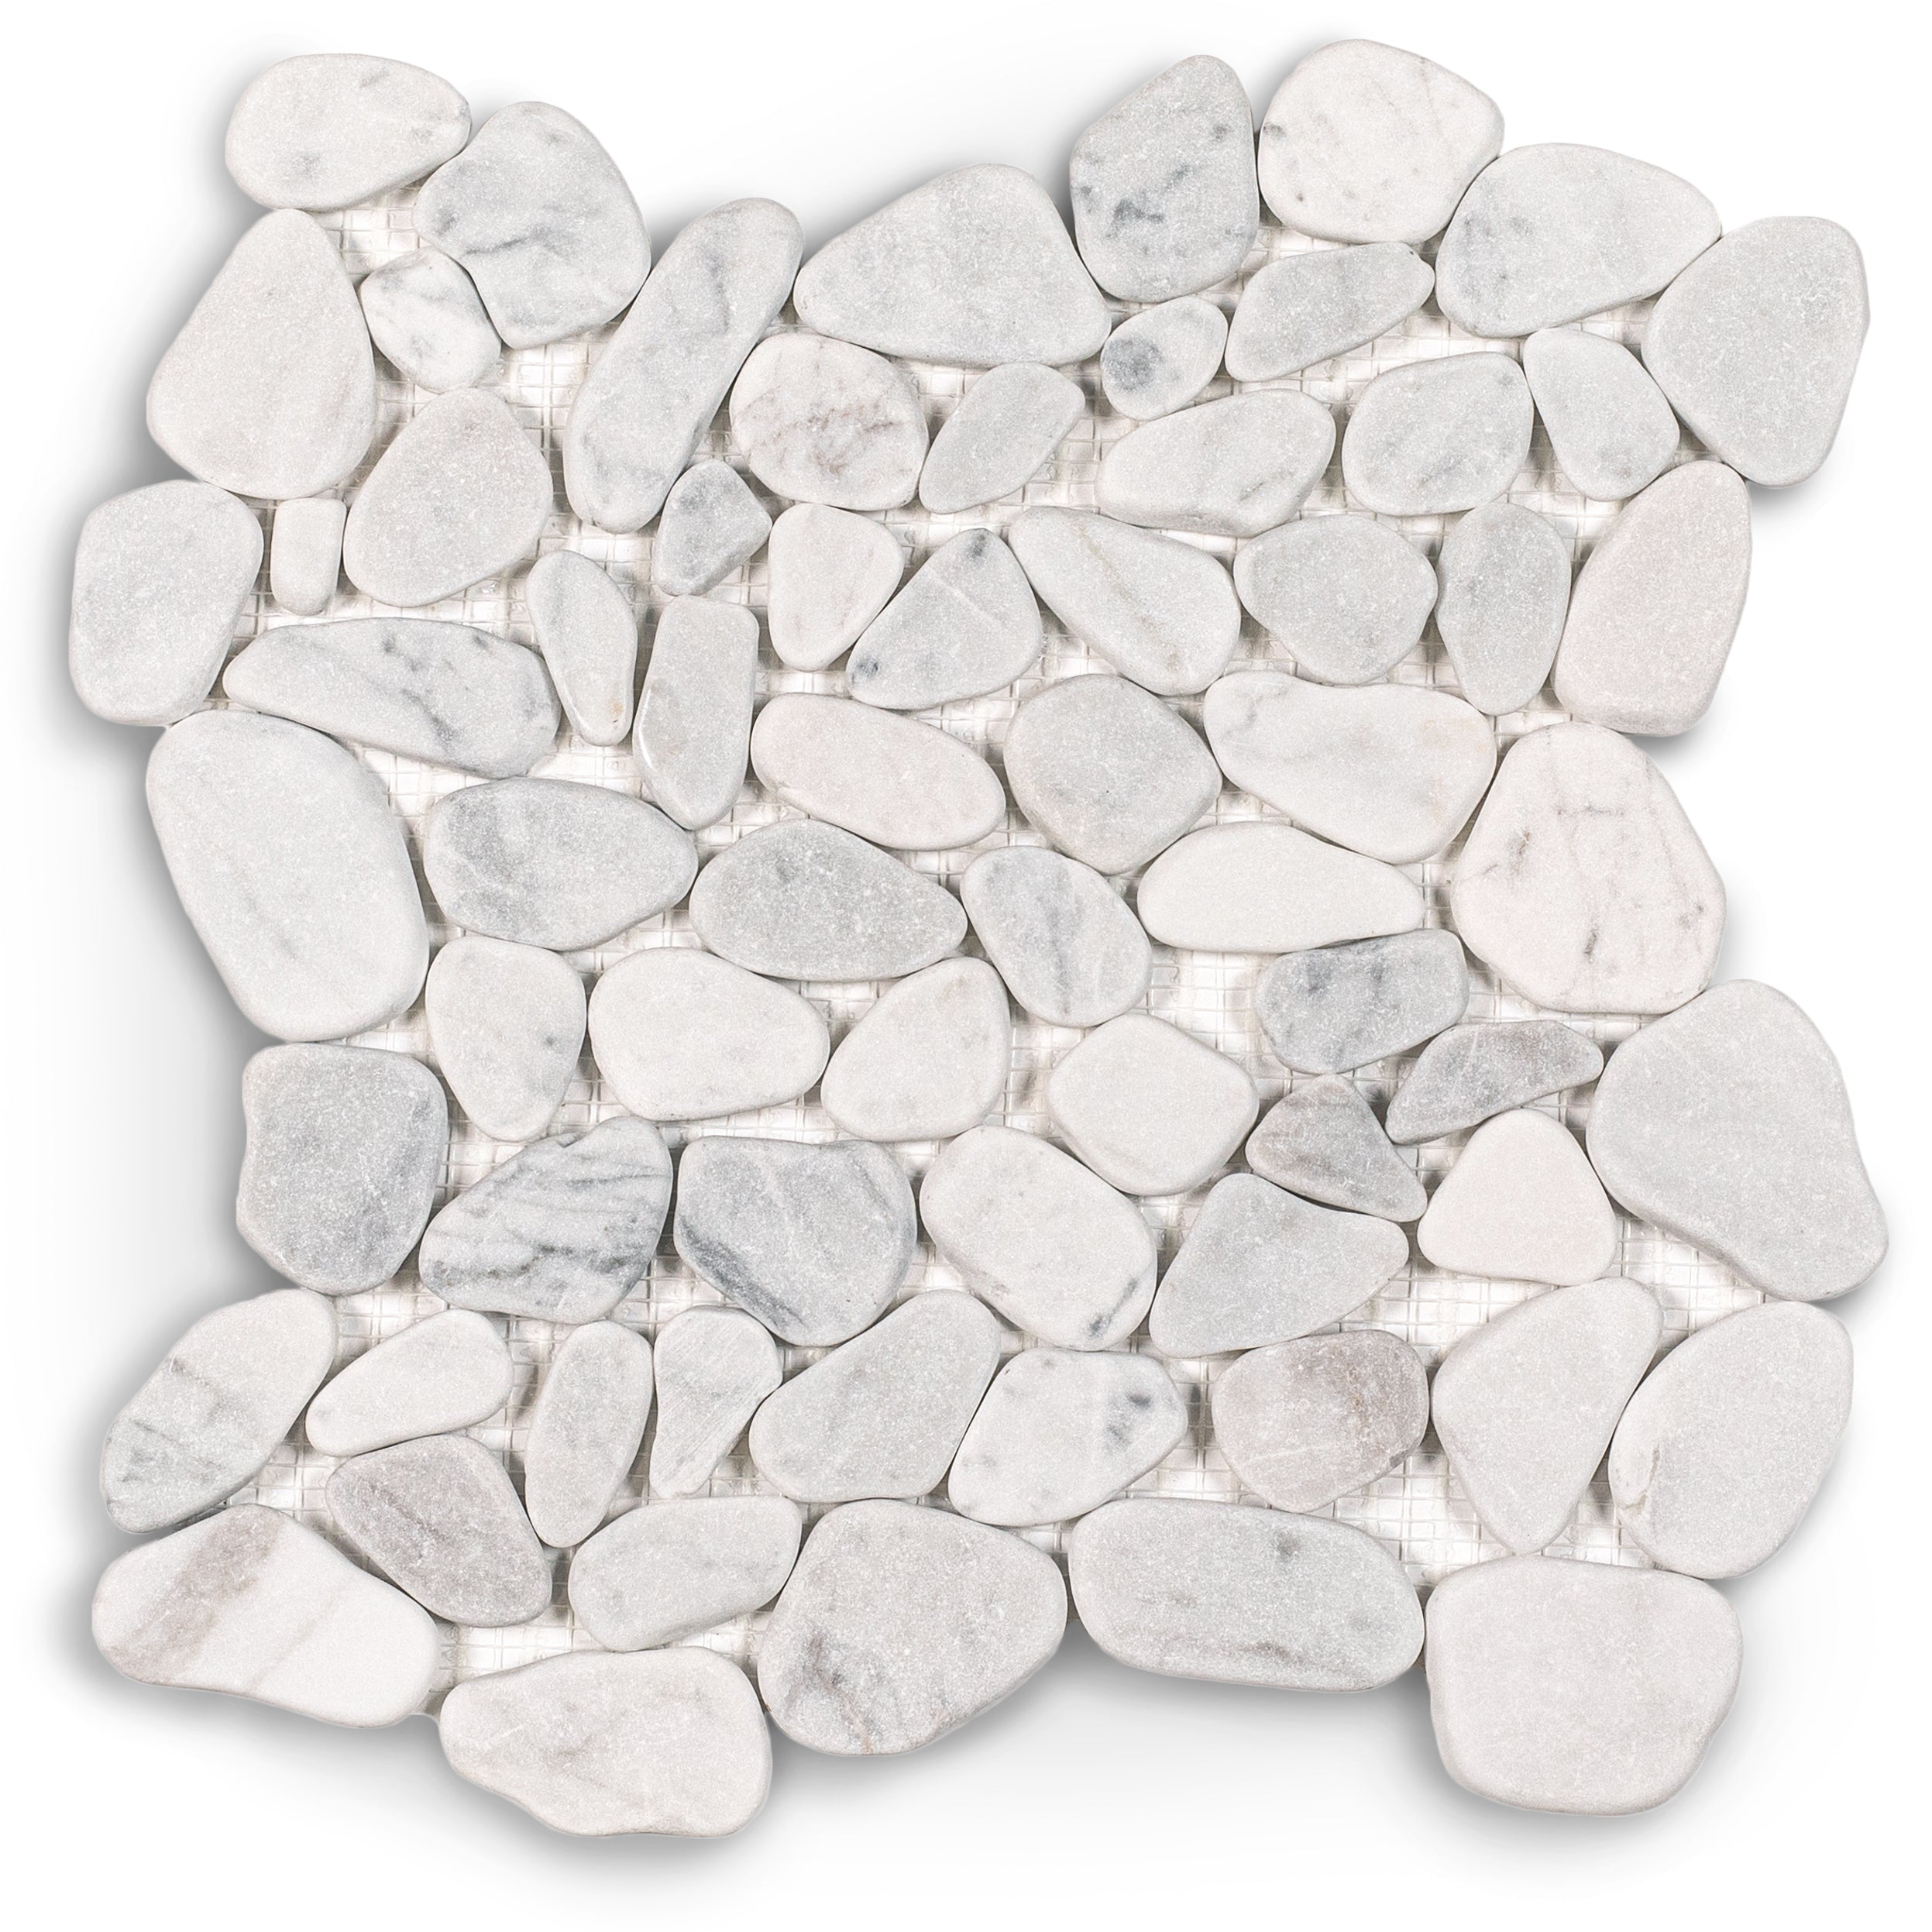
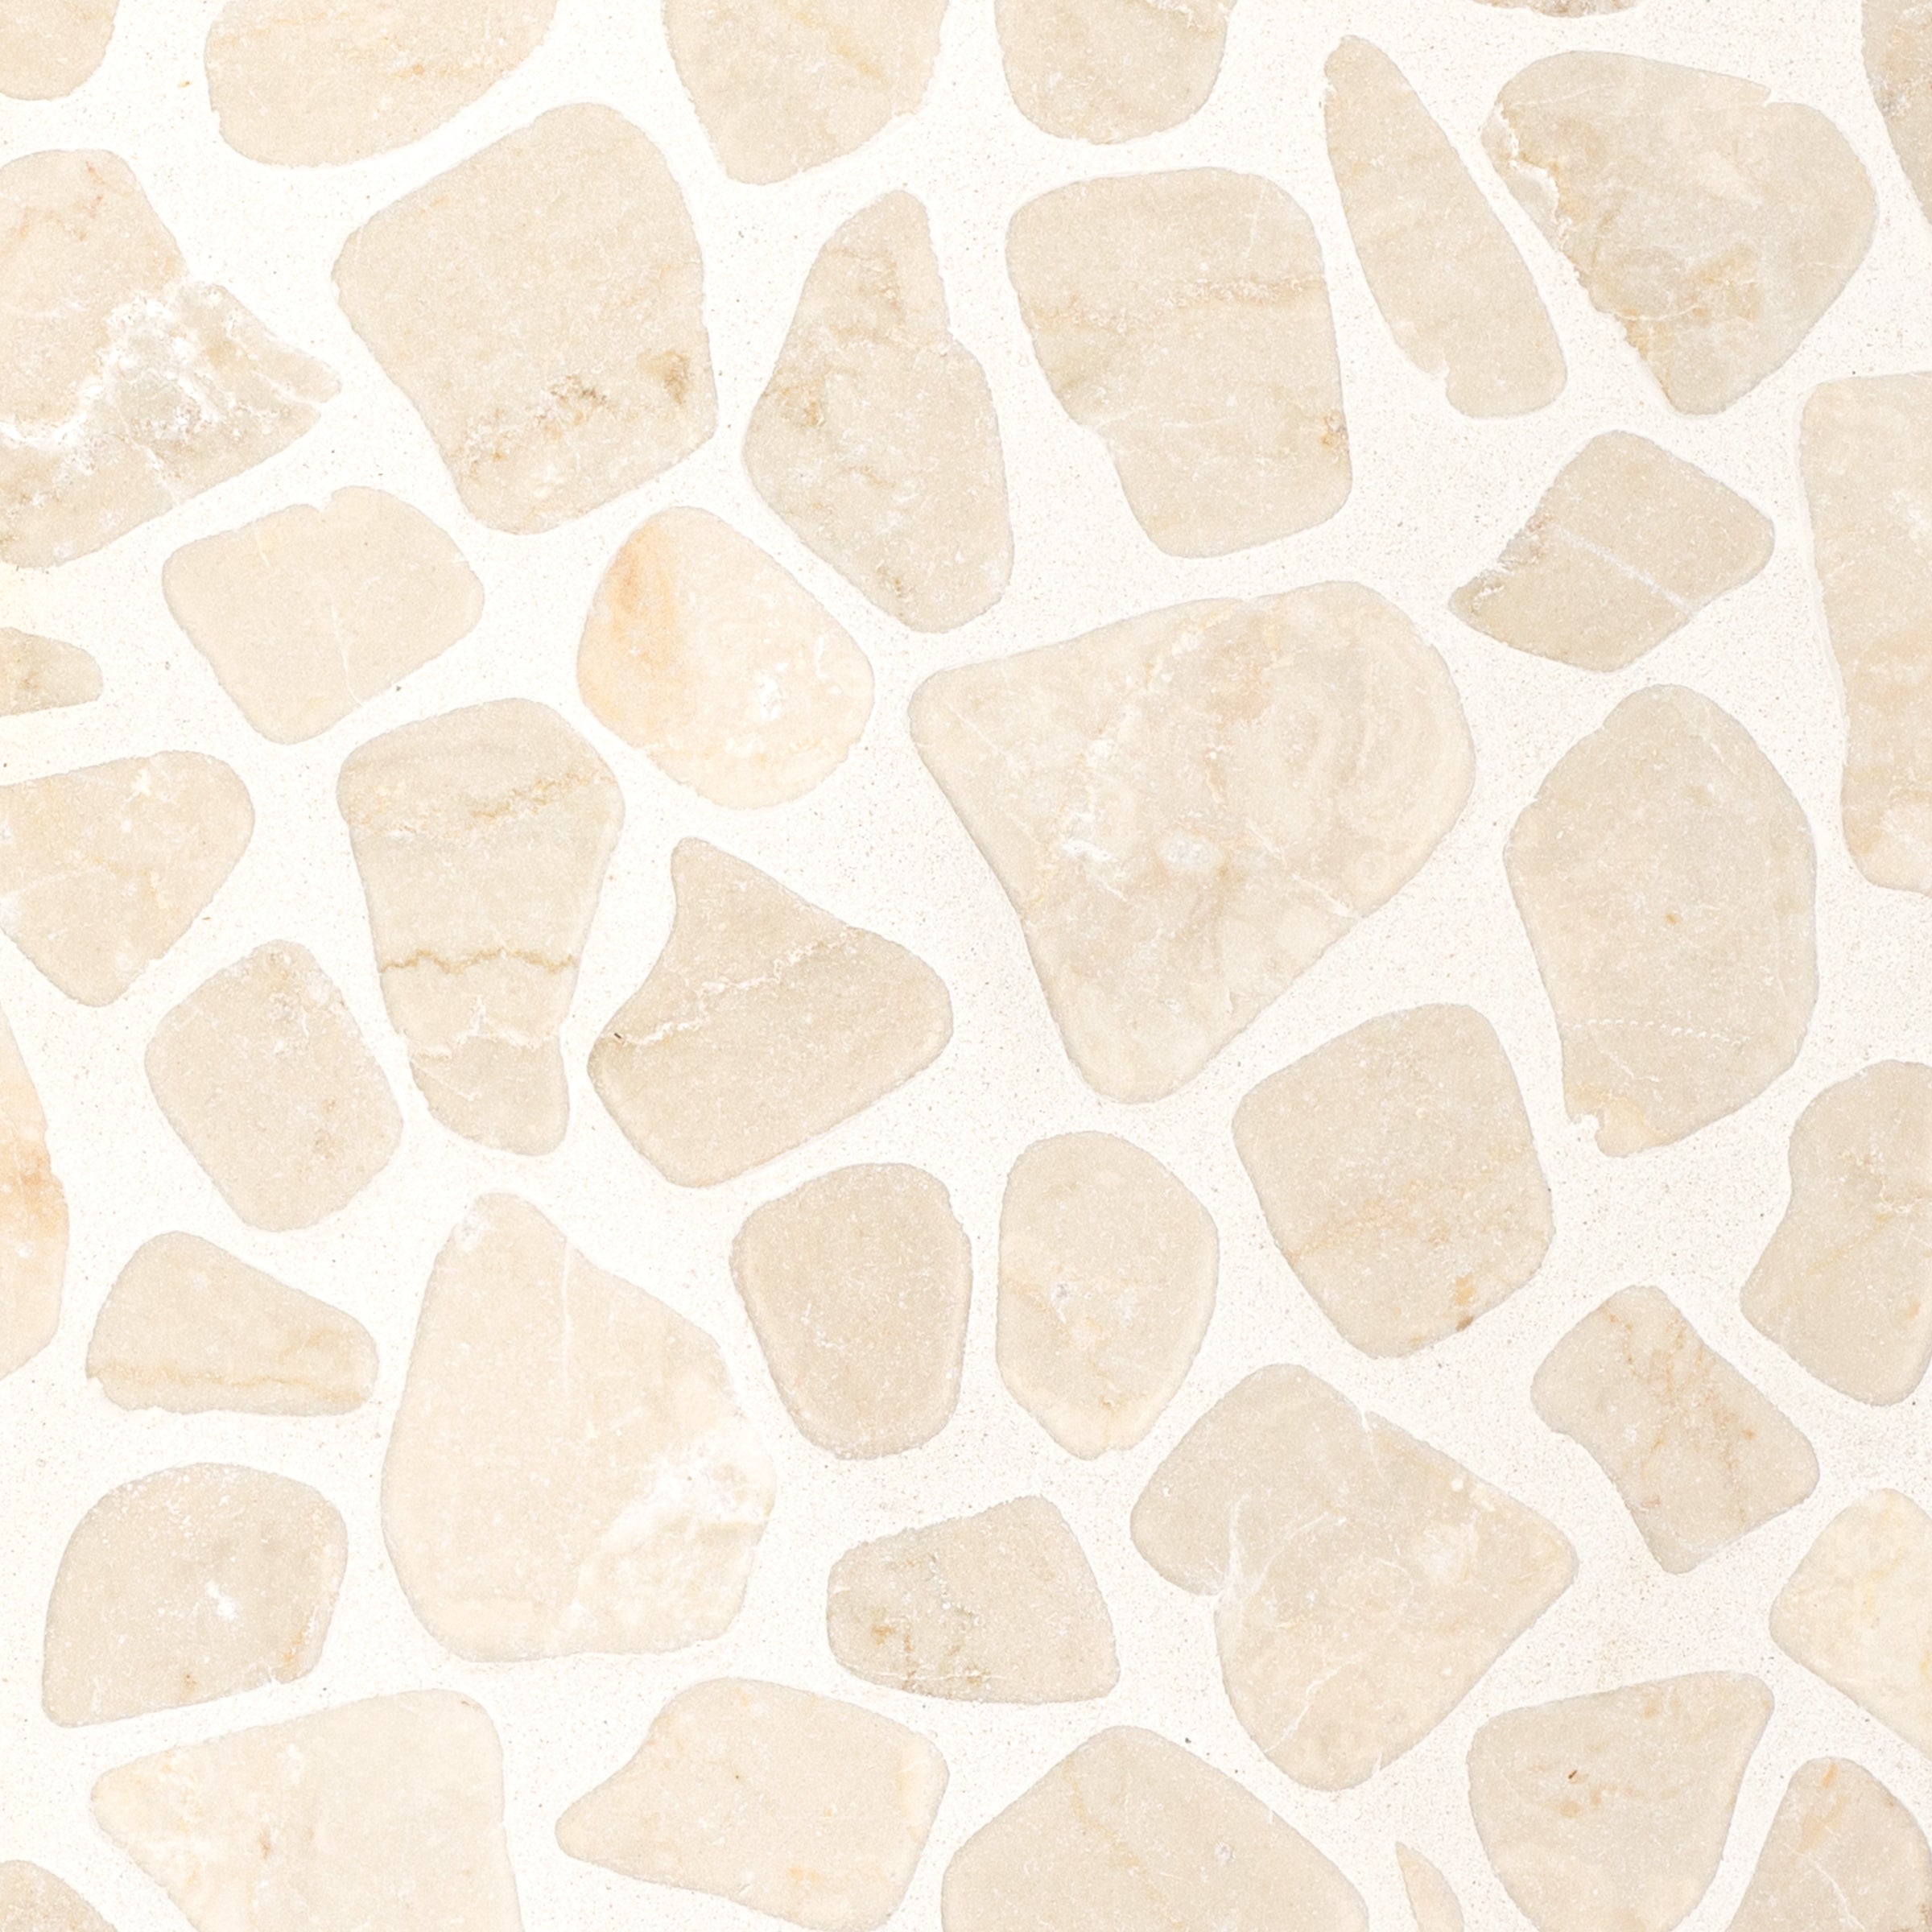
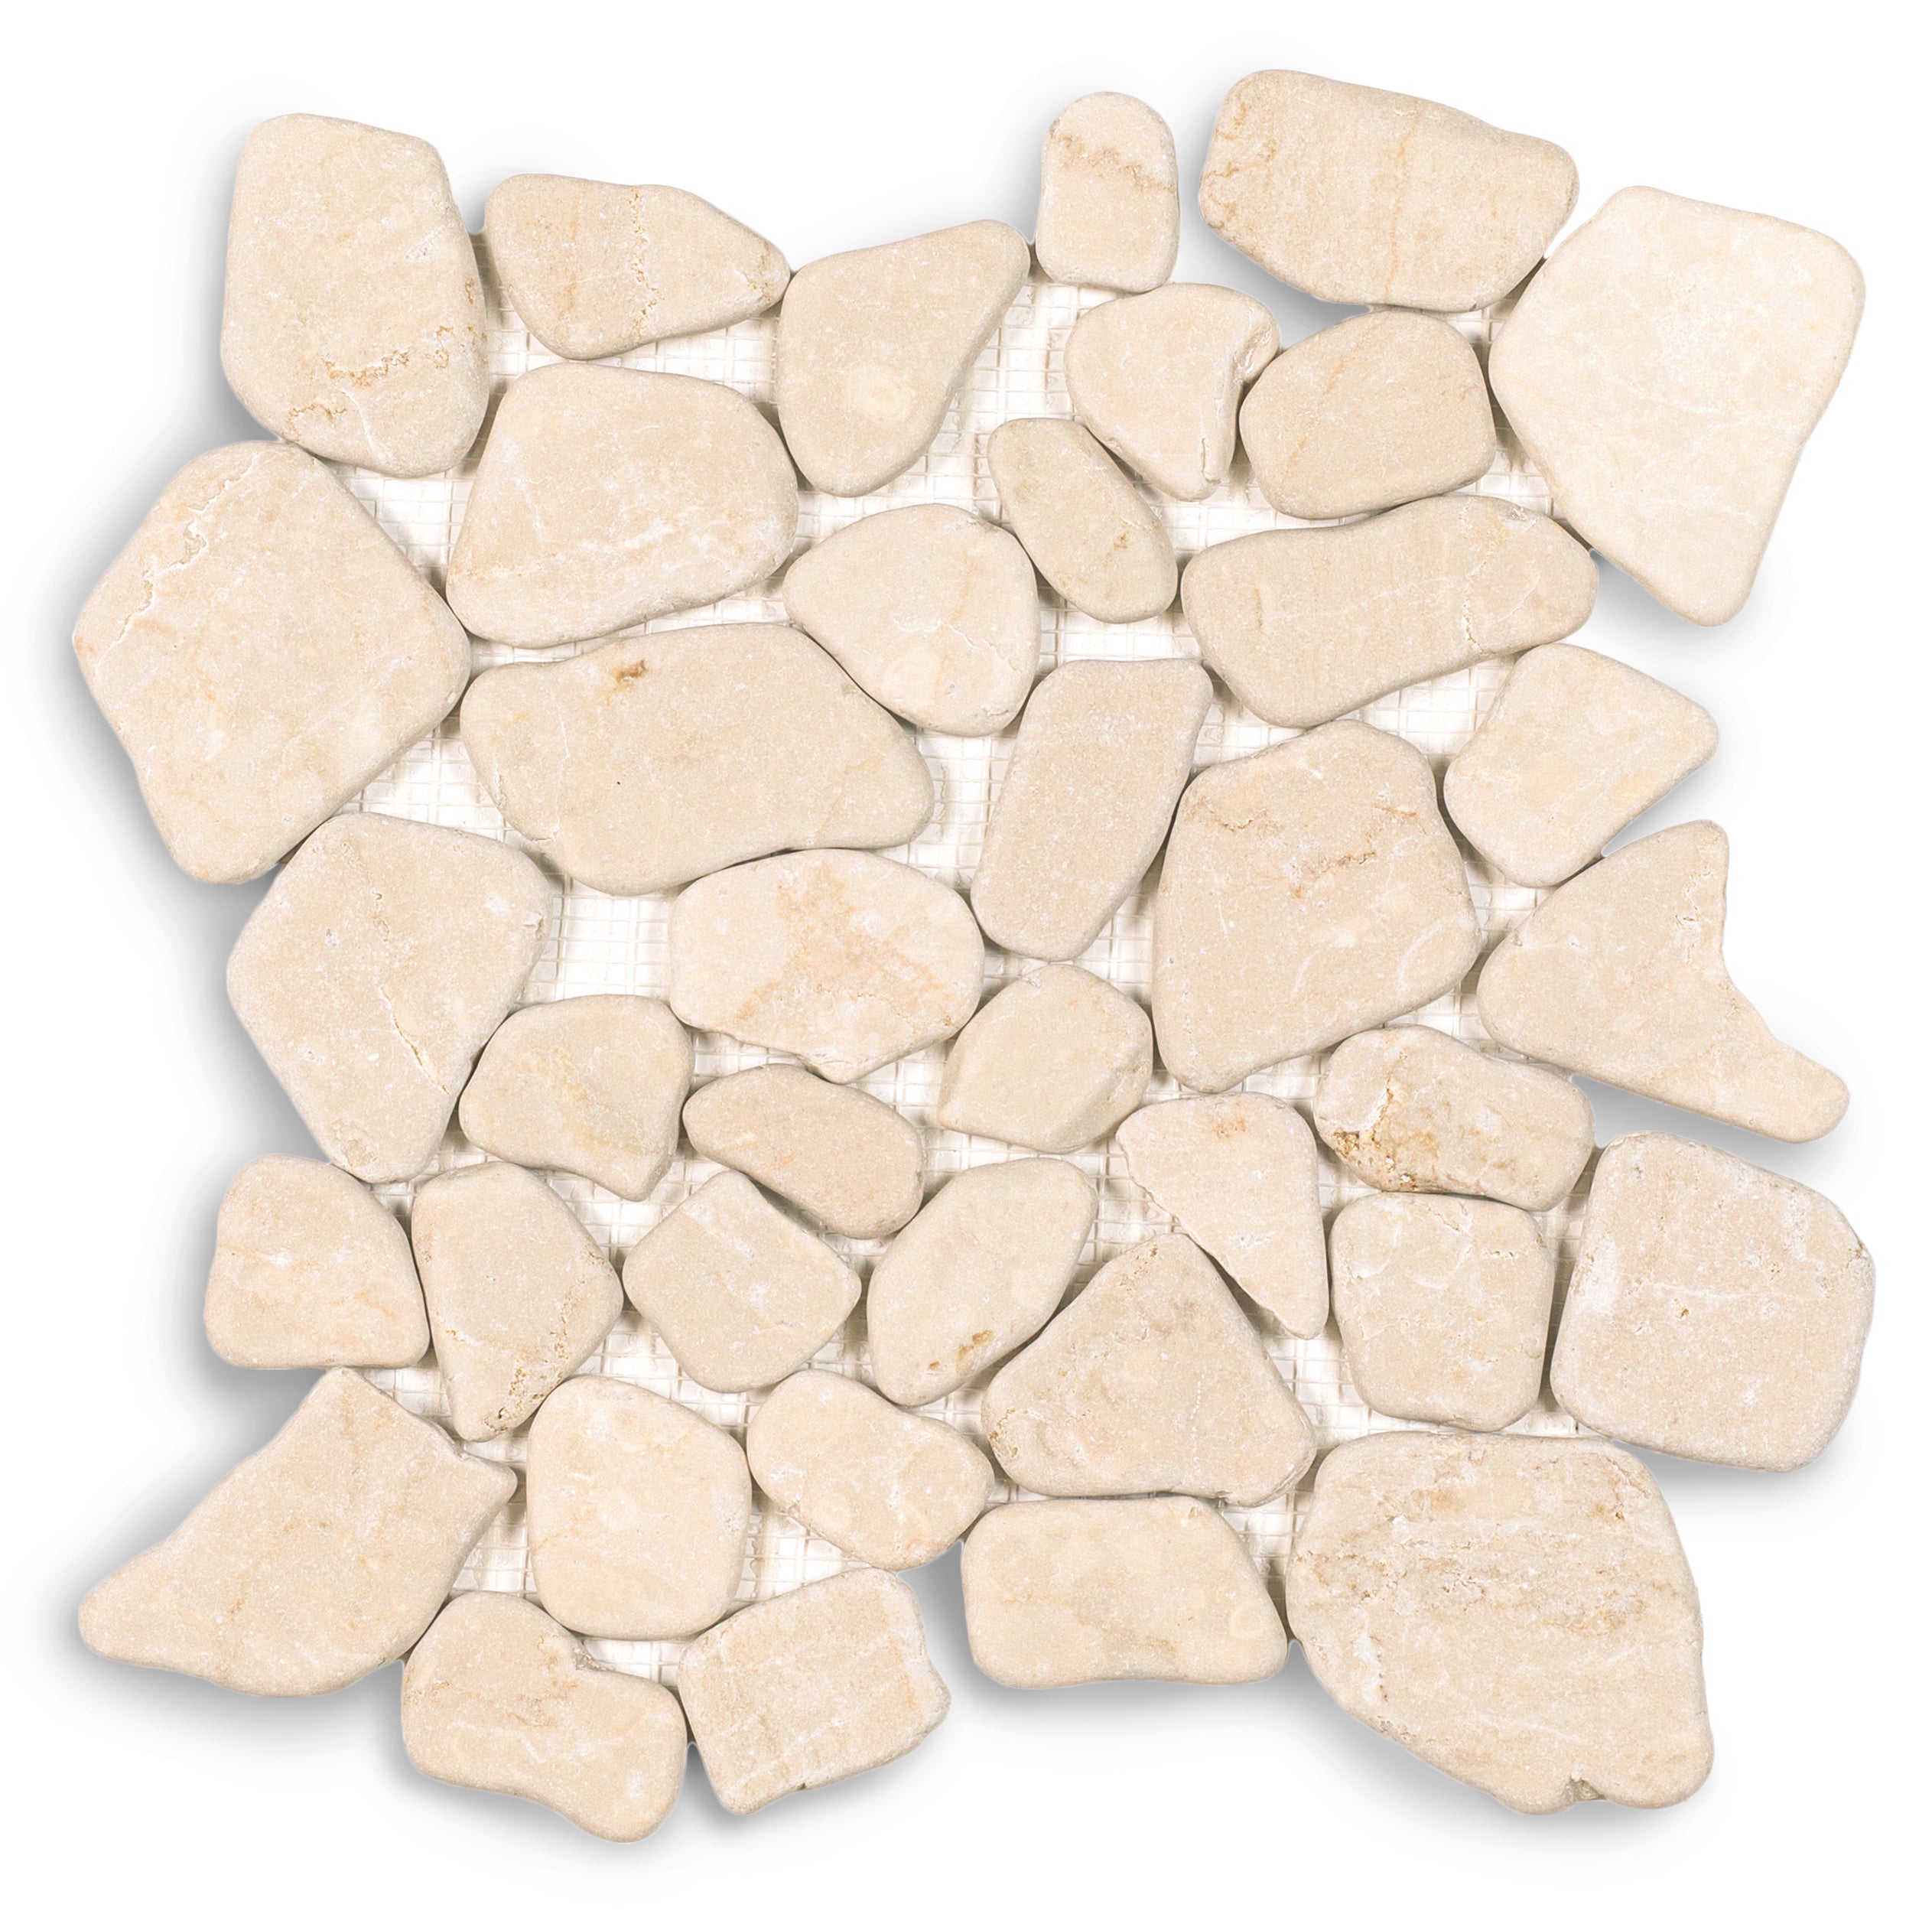
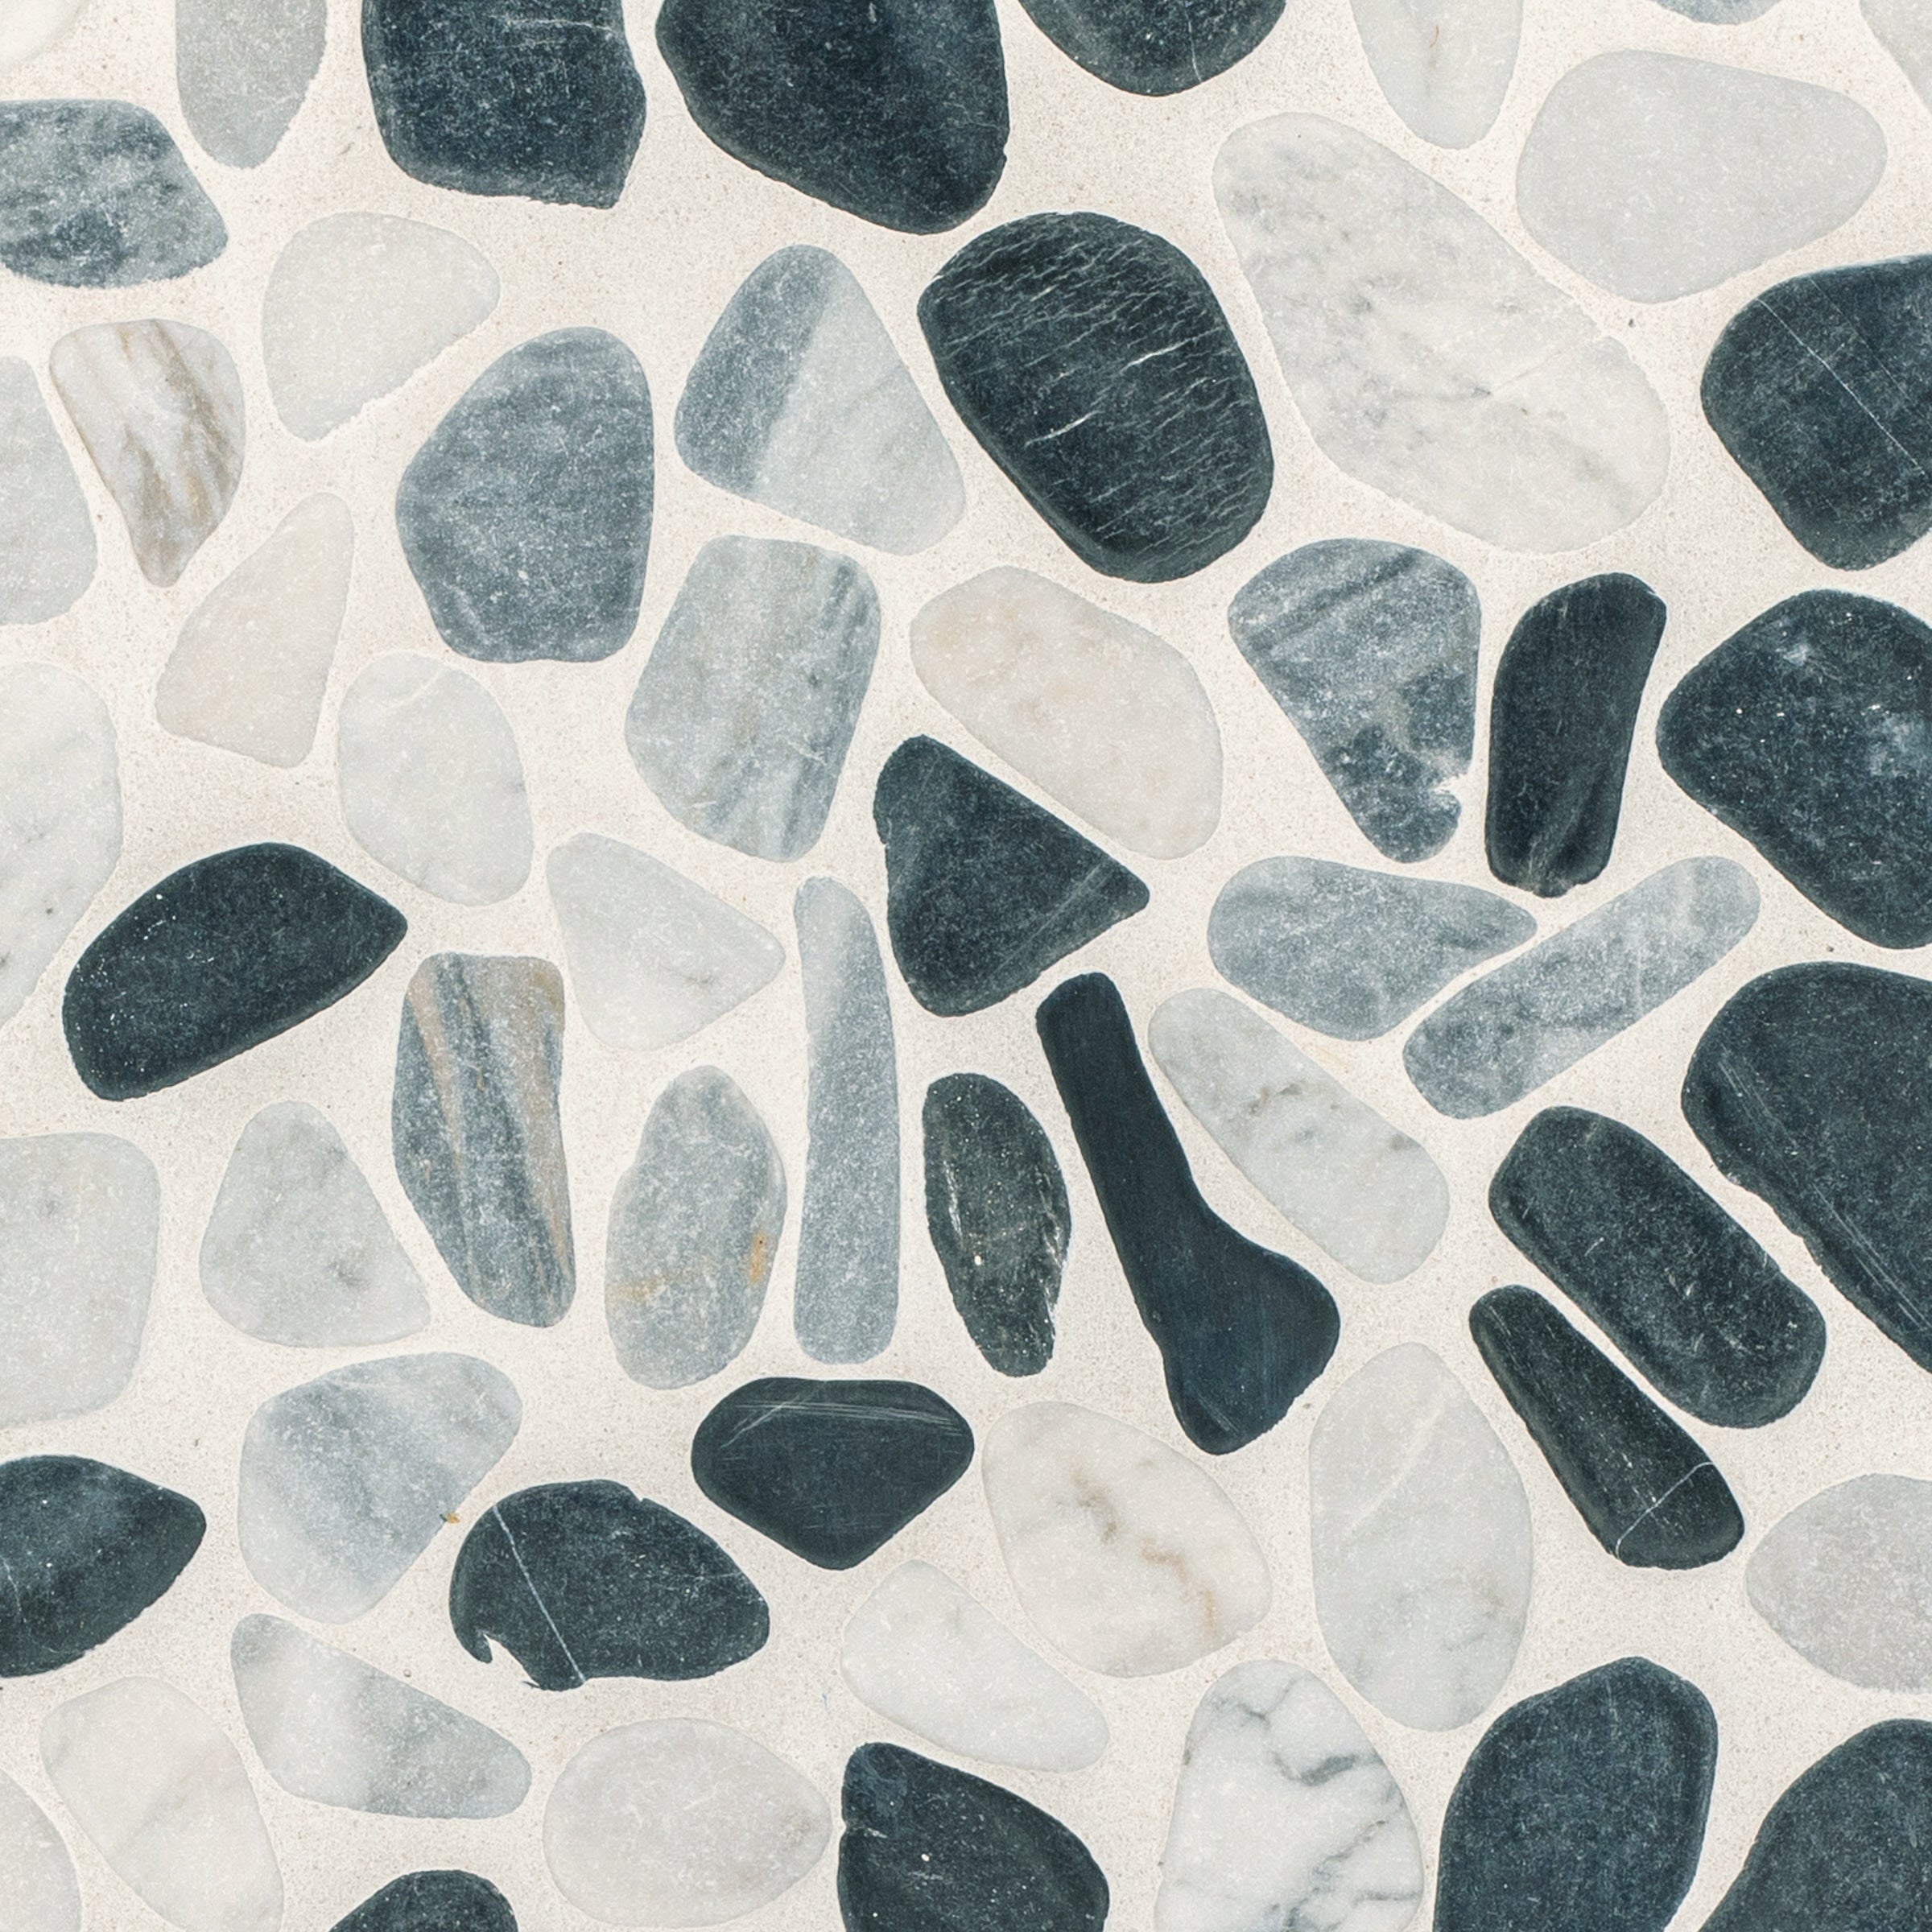
From the same collection


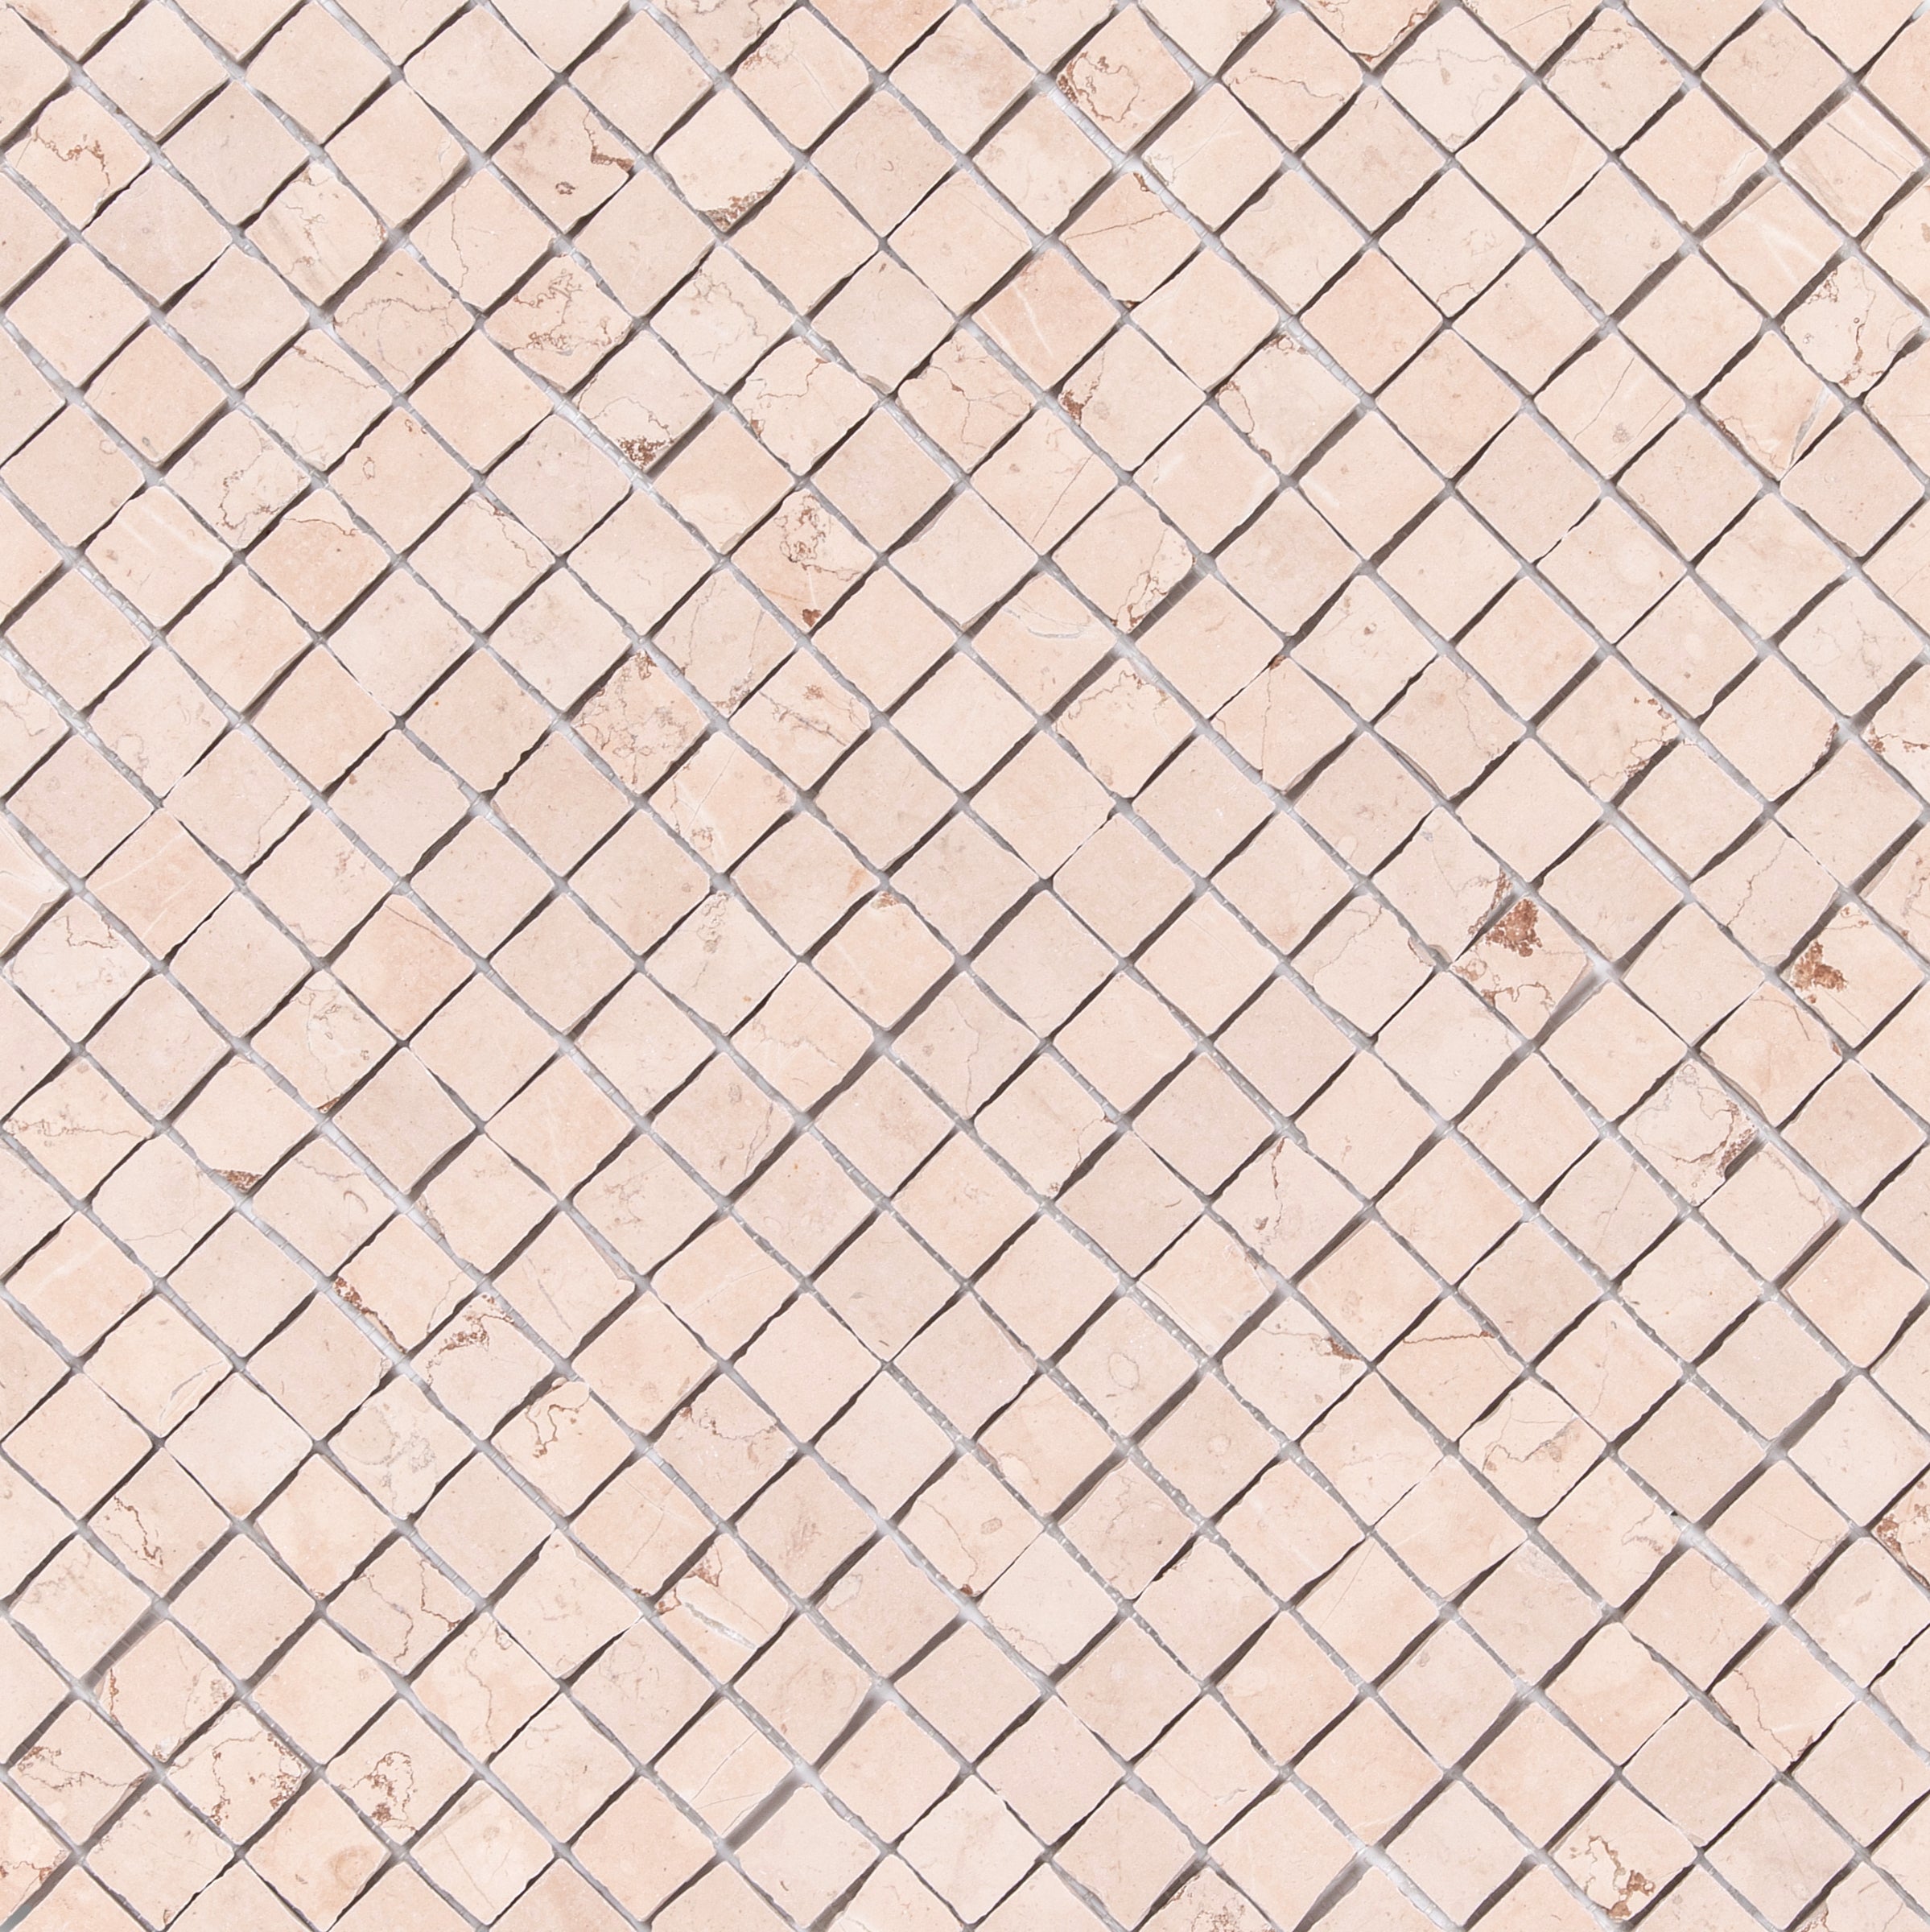
White & Ecru Octagon Zellige Mosaic

Cotto Deco Terracotta Look Matte Porcelain Tile


White & Ecru 2x2 Zellige Checkerboard Mosaic


Chiaro Deco Terracotta Look Matte Porcelain Tile


Unglazed & White Octagon Zellige Mosaic


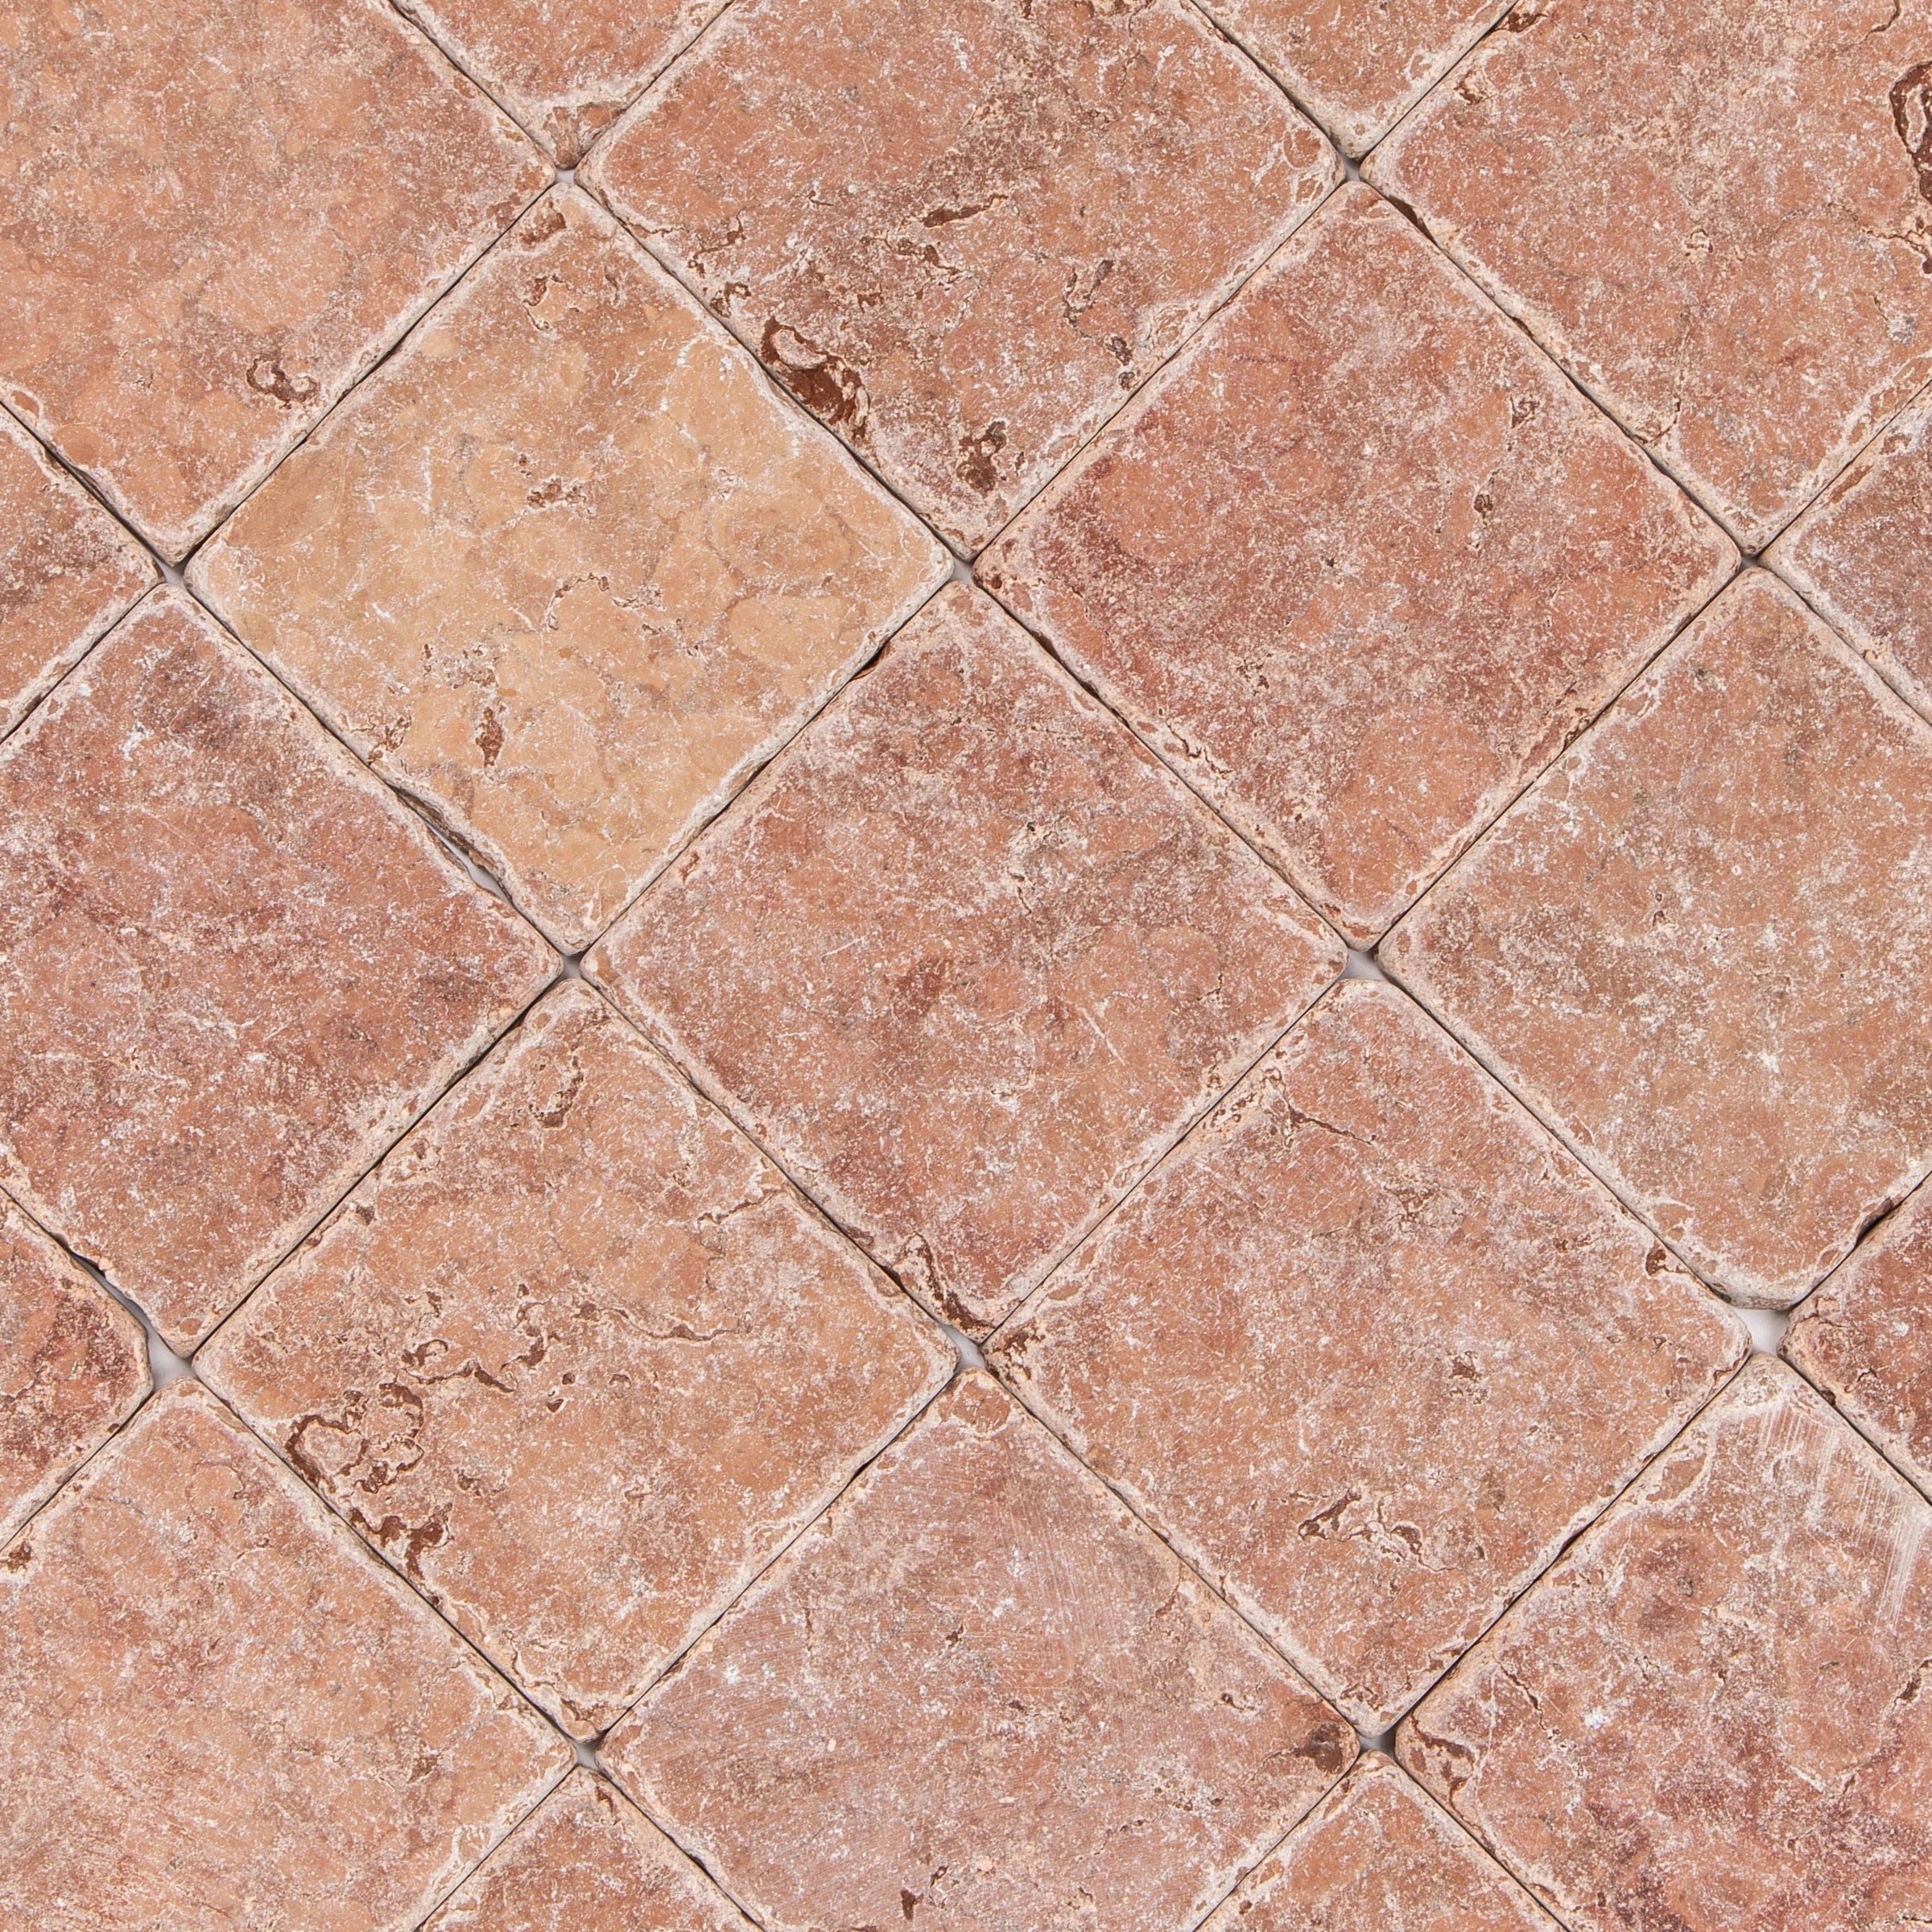
Rosso Verona Tumbled Marble Tile


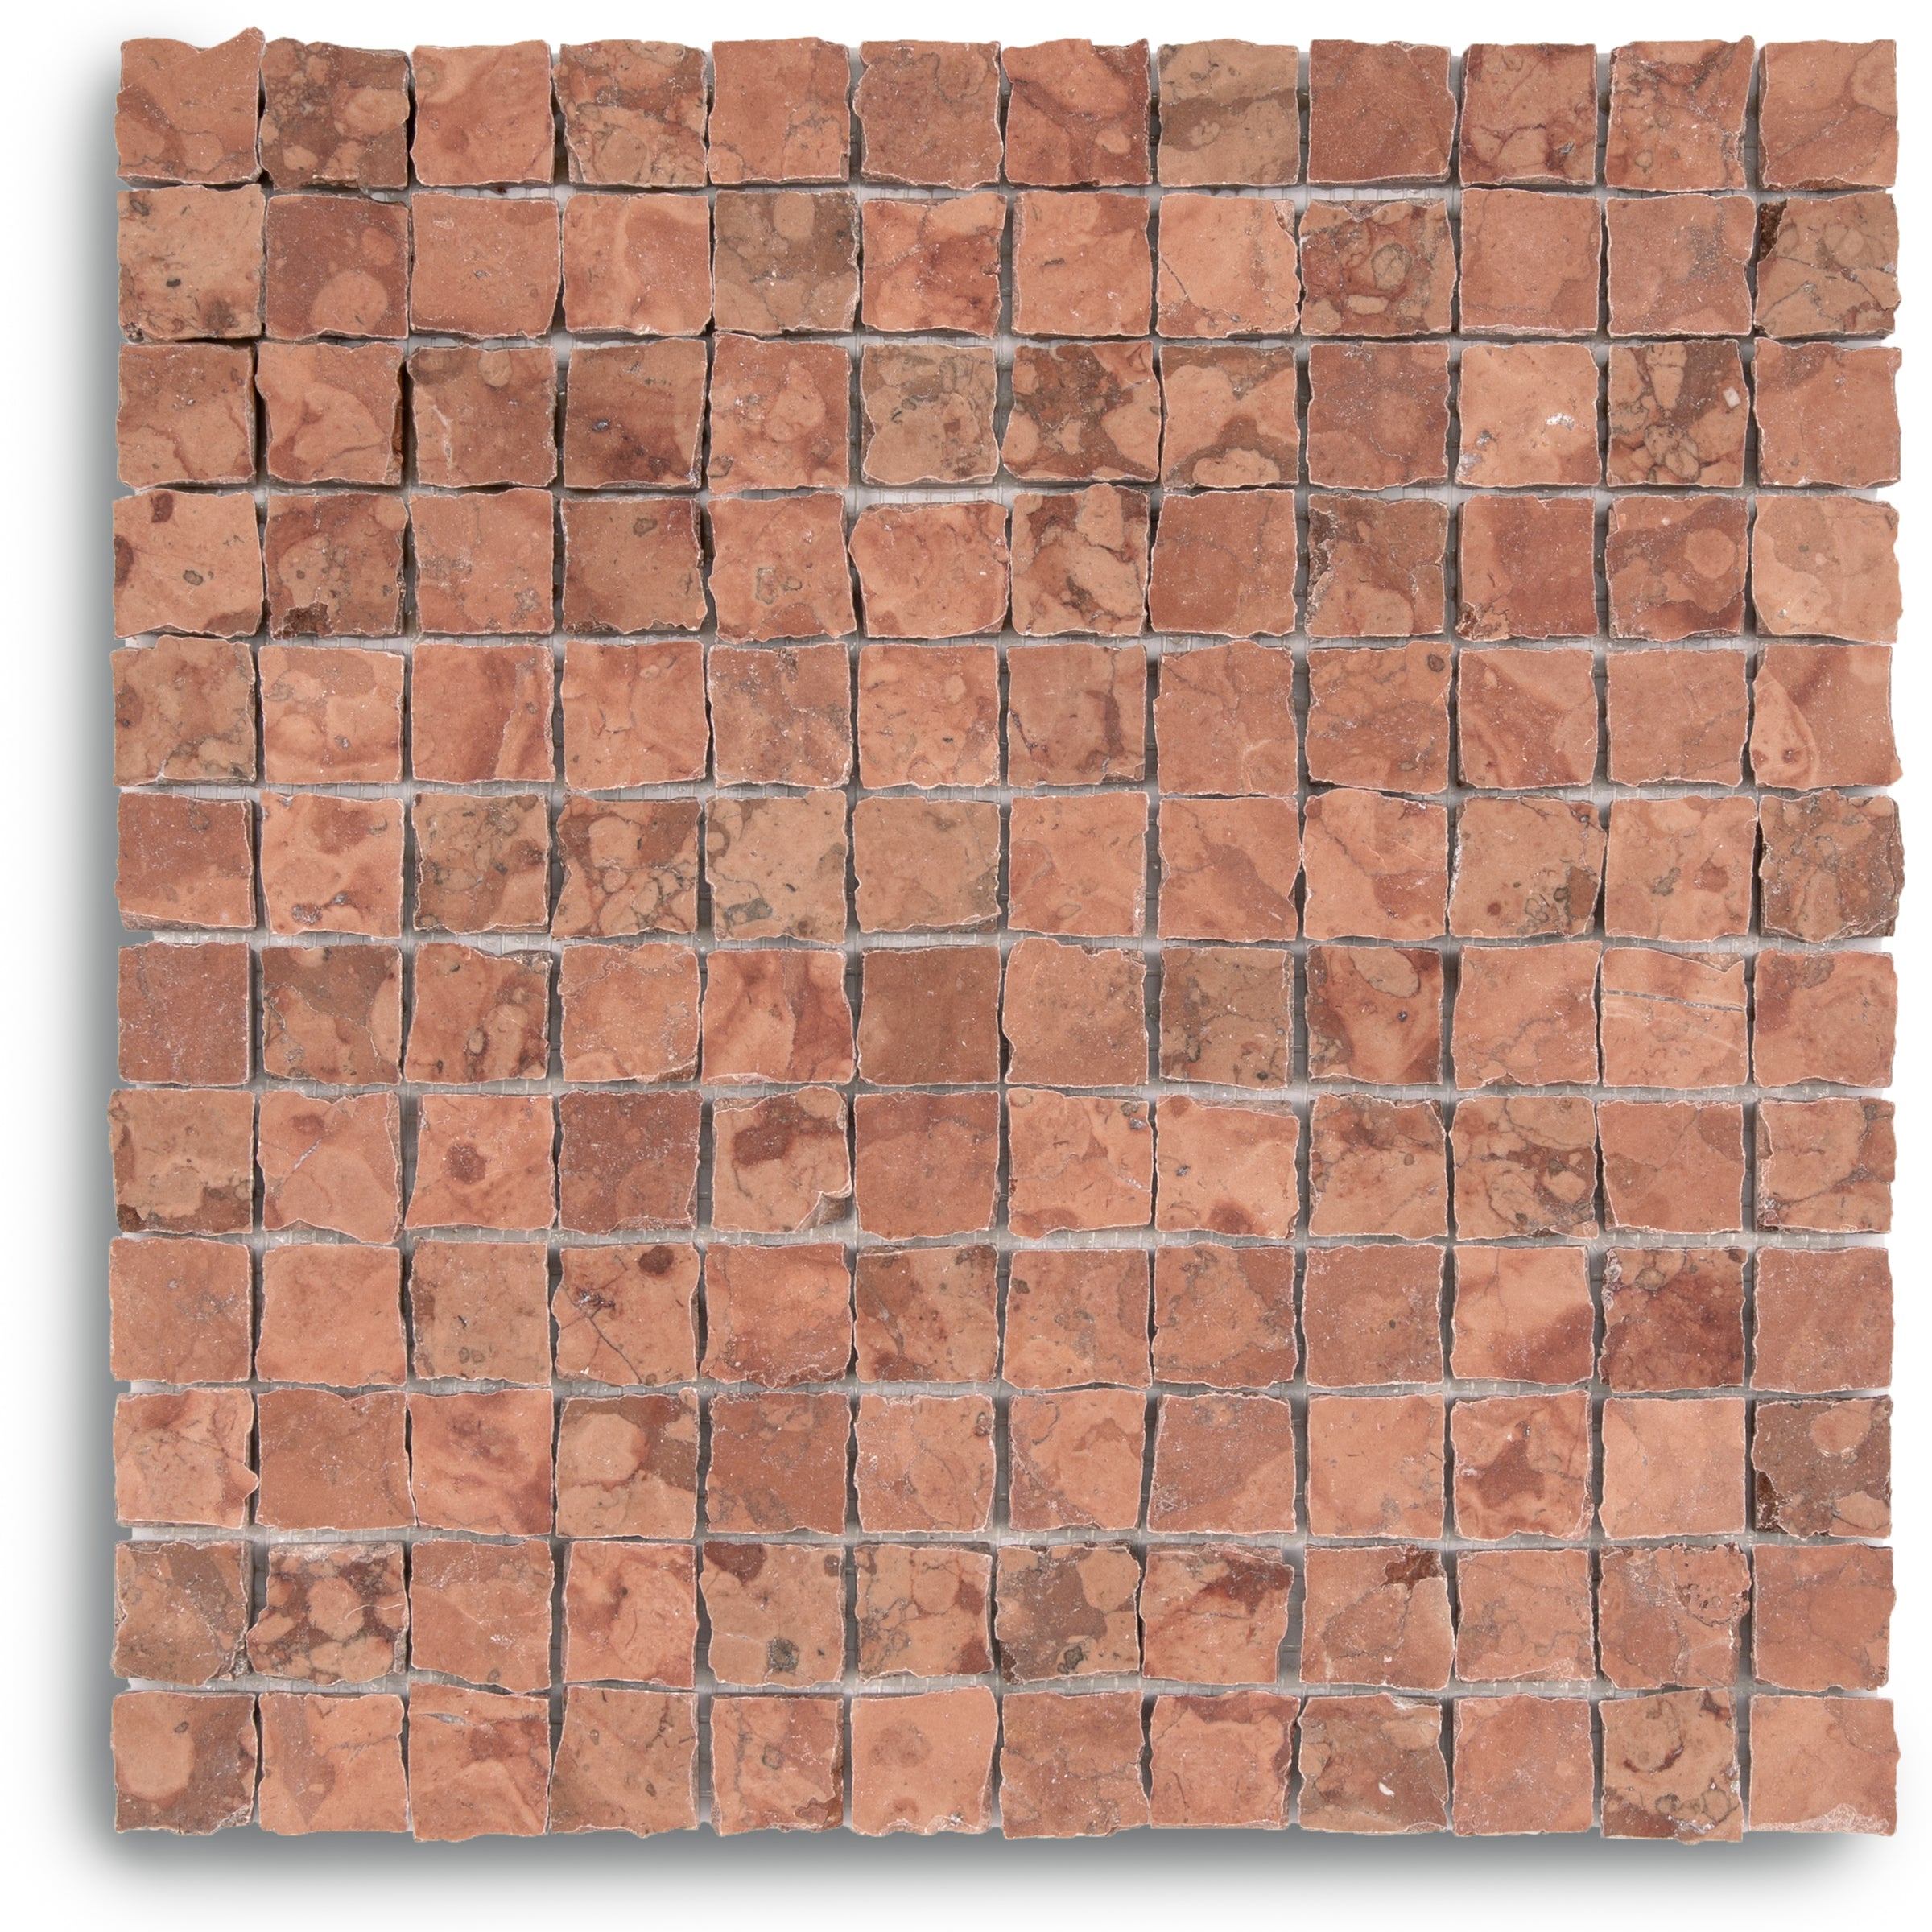
Rosso Verona 1x1 Hand Chipped Marble Mosaic

White Multi-Color Matte Porcelain Tile


Natura Terracotta Look Matte Porcelain Tile


Cream 2x2 Forma Porcelain Mosaic


Cotto 2x2 Forma Porcelain Mosaic


Star & Cross Classic Terracotta Tile
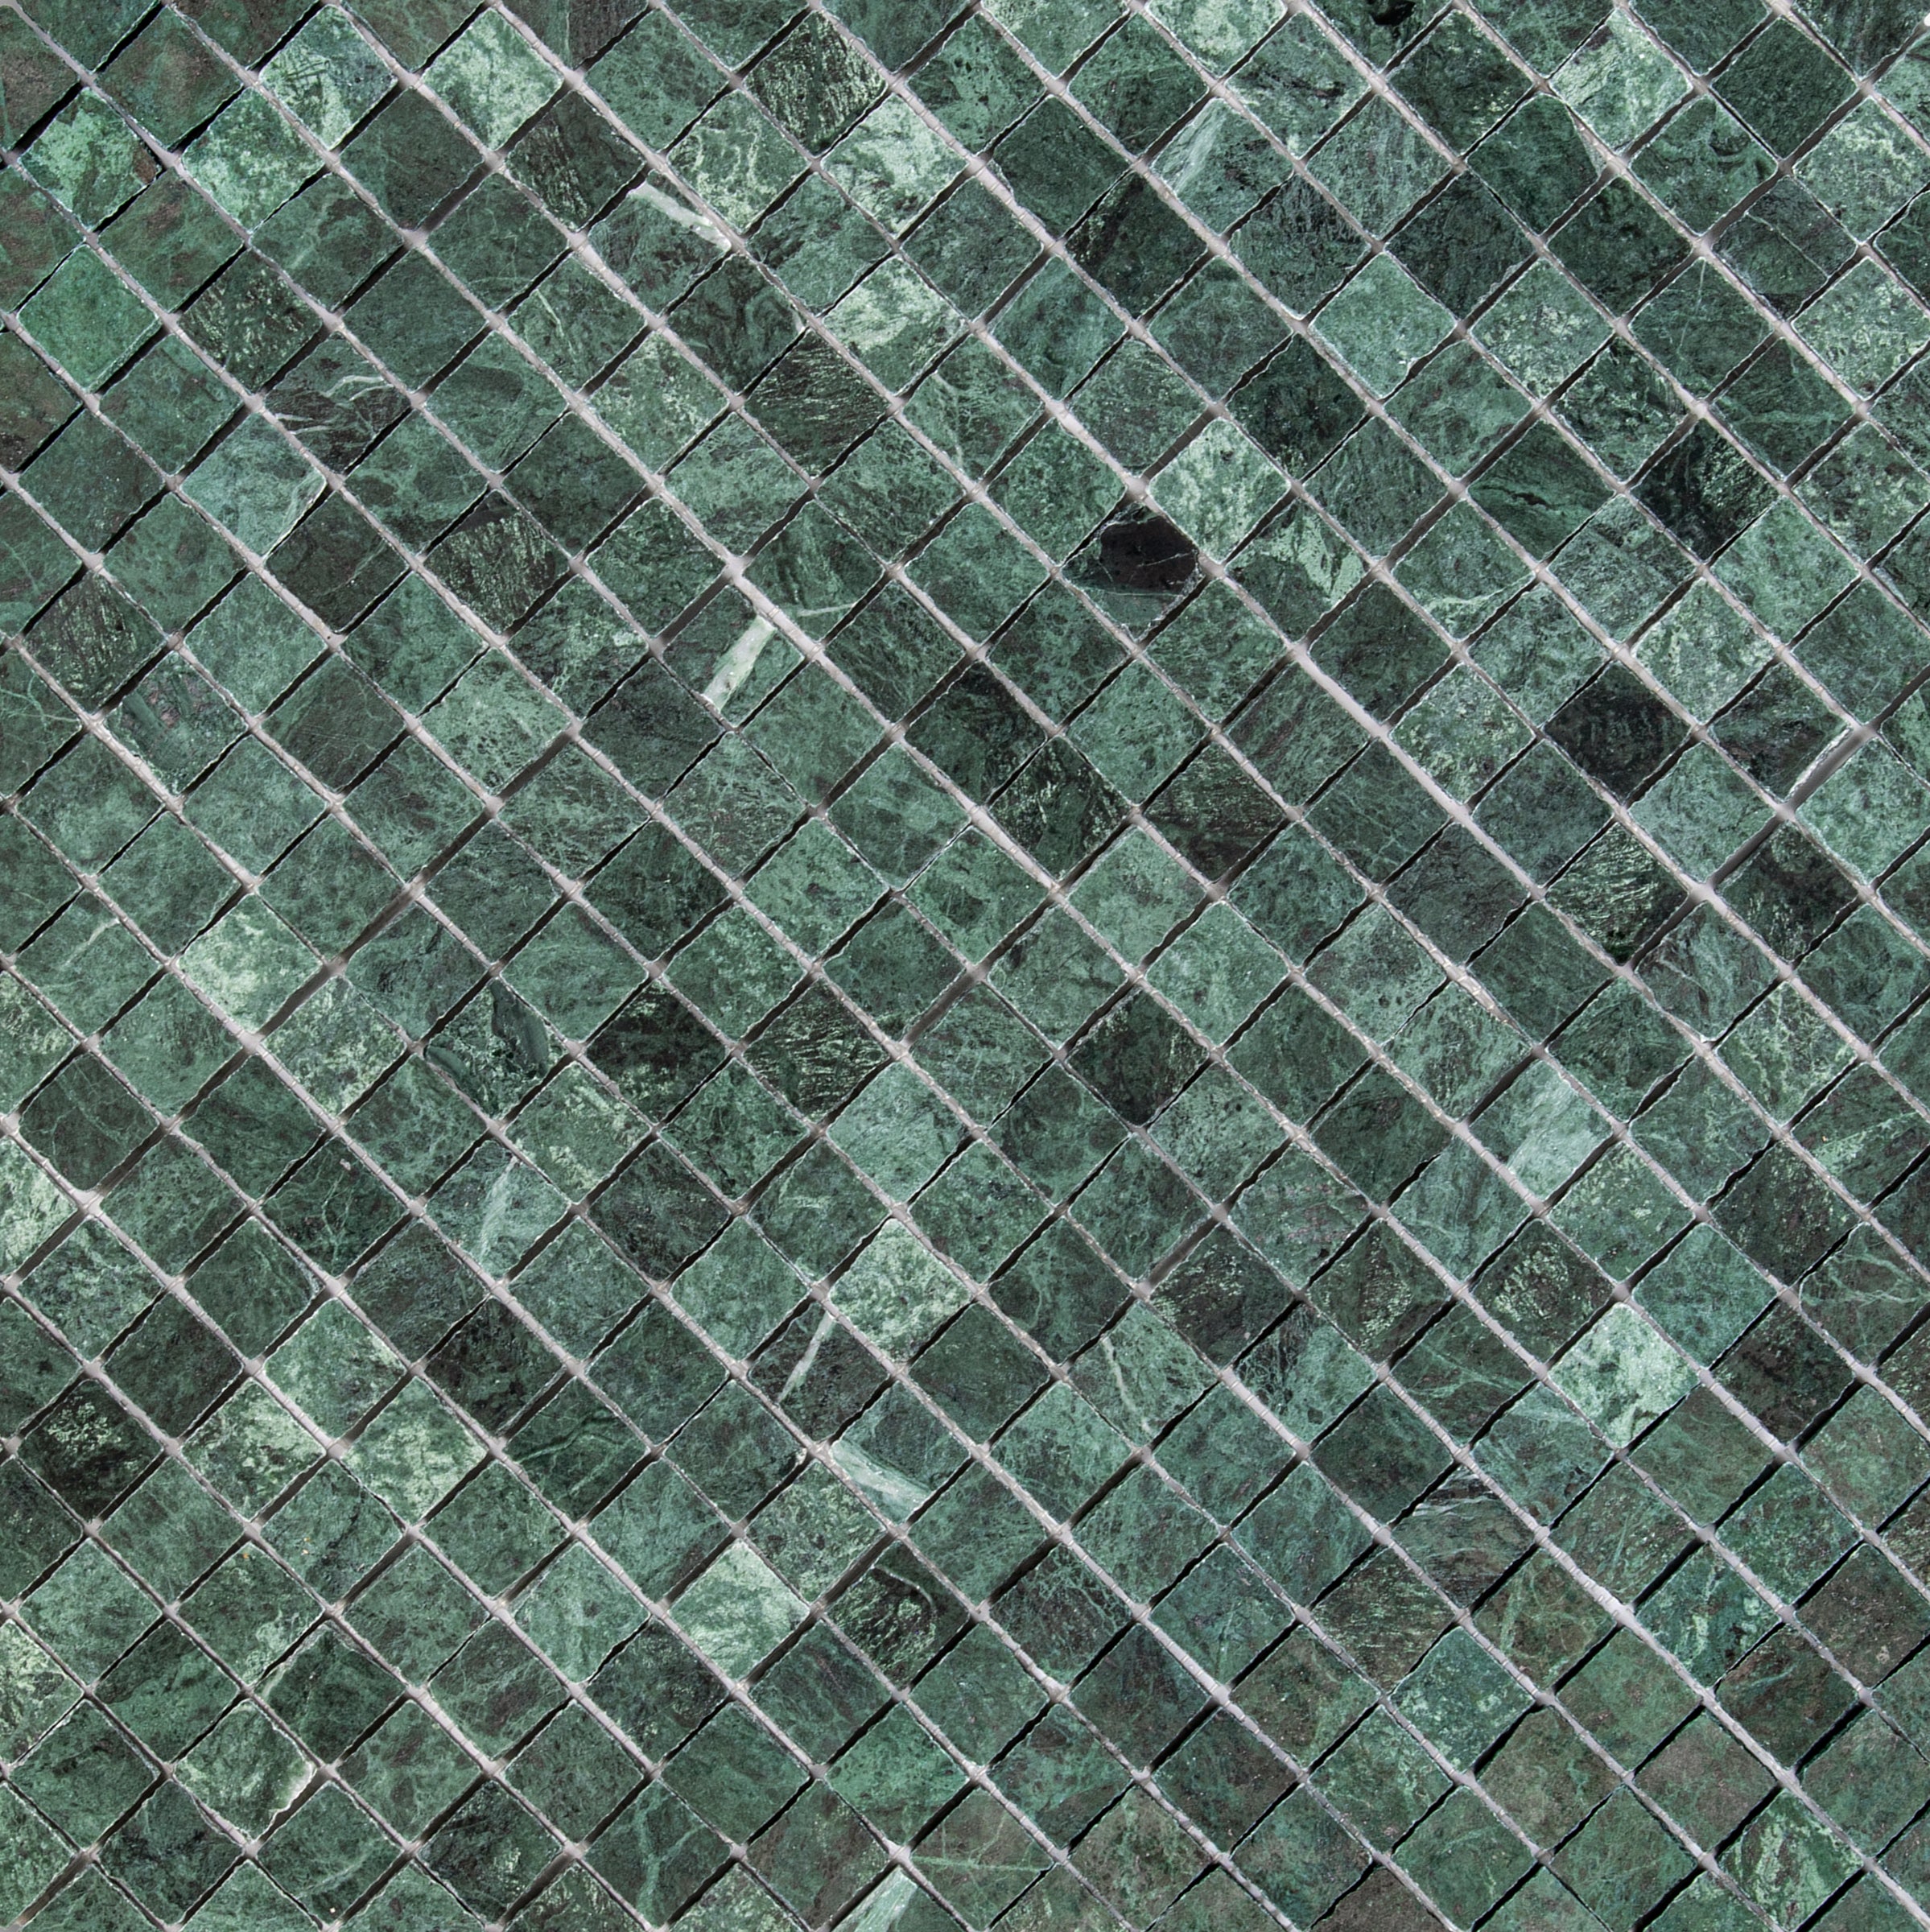
Verde Guatemala Tumbled Marble Tile


Chocolate 2" Hexagon Textured Terracotta Mosaic

Black Multi-Color Matte Porcelain Tile
Carrara Running Bond Marble Mosaic
Desert Tea Tumbled Marble Tile

Crema Terracotta Look Matte Porcelain Tile


Calacatta Running Bond Marble Mosaic


Crimson 3x6 Glossy Ceramic Tile


White & Ecru Octagon Zellige Mosaic
Thassos, Carrara, Bardiglio Gingham Marble Mosaic
Cotto Deco Terracotta Look Matte Porcelain Tile
White & Ecru 2x2 Zellige Checkerboard Mosaic


Murano Honed Italian Terrazzo Tile

Cotto Terracotta Look Matte Porcelain Tile
Chiaro Deco Terracotta Look Matte Porcelain Tile
Unglazed & White Octagon Zellige Mosaic

Carrara Bardiglio Tumbled Stone Checkerboard


White & Black Octagon Zellige Mosaic
Beige Limestone Look 3D Matte Porcelain Tile
Cream Limestone Look 3D Matte Porcelain Tile
Rosso Verona Tumbled Marble Tile
Travertino Moka Stone Look Porcelain Tile


Apple 12x24 3D Glossy Porcelain Tile
Bianco Carrara Honed Marble Tile
Amazzonite Matte Marble Look Porcelain Tile
Travertino 3D Matte Porcelain Tile
White Multi-Color Matte Porcelain Tile
Rosso Verona 1x1 Hand Chipped Marble Mosaic


Cream 12x24 3D Gloss Porcelain Tile


Navy 12x24 3D Gloss Porcelain Tile
Almond Cement Look Matte Porcelain Tile
Natura Terracotta Look Matte Porcelain Tile
Cream 2x2 Forma Porcelain Mosaic


White Multi-Color Matte Porcelain Tile


Marine 3x6 Glossy Ceramic Tile


Marine 3x12 Glossy Ceramic Tile


Midnight Glazed Zellige Plinth


White & Ecru Octagon Zellige Mosaic
Thassos, Carrara, Bardiglio Gingham Marble Mosaic
Cotto Deco Terracotta Look Matte Porcelain Tile
White & Ecru 2x2 Zellige Checkerboard Mosaic
Murano Honed Italian Terrazzo Tile
Cotto Terracotta Look Matte Porcelain Tile
Chiaro Deco Terracotta Look Matte Porcelain Tile
Unglazed & White Octagon Zellige Mosaic
Carrara Bardiglio Tumbled Stone Checkerboard
White & Black Octagon Zellige Mosaic
Beige Limestone Look 3D Matte Porcelain Tile
Cream Limestone Look 3D Matte Porcelain Tile
Rosso Verona Tumbled Marble Tile
Apple 12x24 3D Glossy Porcelain Tile
Bianco Carrara Honed Marble Tile
Travertino Moka Stone Look Porcelain Tile
Rosso Verona 1x1 Hand Chipped Marble Mosaic
Amazzonite Matte Marble Look Porcelain Tile
Travertino 3D Matte Porcelain Tile
White Multi-Color Matte Porcelain Tile
Cream 12x24 3D Gloss Porcelain Tile
Navy 12x24 3D Gloss Porcelain Tile
Natura Terracotta Look Matte Porcelain Tile
Bianco Carrara Octagon w/ Nero Marquina Dot Mosaic
White & Ecru Octagon Zellige Mosaic
Thassos, Carrara, Bardiglio Gingham Marble Mosaic
Cotto Deco Terracotta Look Matte Porcelain Tile
White & Ecru 2x2 Zellige Checkerboard Mosaic
Murano Honed Italian Terrazzo Tile
Cotto Terracotta Look Matte Porcelain Tile
Chiaro Deco Terracotta Look Matte Porcelain Tile
Unglazed & White Octagon Zellige Mosaic
Carrara Bardiglio Tumbled Stone Checkerboard
White & Black Octagon Zellige Mosaic
Beige Limestone Look 3D Matte Porcelain Tile
Cream Limestone Look 3D Matte Porcelain Tile
Rosso Verona Tumbled Marble Tile
Travertino Moka Stone Look Porcelain Tile
Bianco Carrara Honed Marble Tile
Rosso Verona 1x1 Hand Chipped Marble Mosaic
Amazzonite Matte Marble Look Porcelain Tile
Travertino 3D Matte Porcelain Tile
White Multi-Color Matte Porcelain Tile

Spider Gold Matte Marble Look Porcelain Tile
Cream 2x2 Forma Porcelain Mosaic
Cotto 2x2 Forma Porcelain Mosaic
Bianco Carrara Octagon w/ Nero Marquina Dot Mosaic
Almond Cement Look Matte Porcelain Tile
Natura Terracotta Look Matte Porcelain Tile
Star & Cross Classic Terracotta Tile
Bardiglio Desert Tea Tumbled Stone Checker Stripe
Breccia Capraia 3D Mable Look Porcelain Tile
Verde Guatemala Tumbled Marble Tile
White & Ecru Octagon Zellige Mosaic
Thassos, Carrara, Bardiglio Gingham Marble Mosaic
Cotto Deco Terracotta Look Matte Porcelain Tile
White & Ecru 2x2 Zellige Checkerboard Mosaic
Murano Honed Italian Terrazzo Tile
Unglazed & White Octagon Zellige Mosaic
Chiaro Deco Terracotta Look Matte Porcelain Tile
White & Black Octagon Zellige Mosaic
Carrara Bardiglio Tumbled Stone Checkerboard
Beige Limestone Look 3D Matte Porcelain Tile
Cream Limestone Look 3D Matte Porcelain Tile
Rosso Verona Tumbled Marble Tile
Travertino Moka Stone Look Porcelain Tile
Apple 12x24 3D Glossy Porcelain Tile
Rosso Verona 1x1 Hand Chipped Marble Mosaic
Amazzonite Matte Marble Look Porcelain Tile
Travertino 3D Matte Porcelain Tile
White Multi-Color Matte Porcelain Tile
Bianco Carrara Octagon w/ Nero Marquina Dot Mosaic
Cream 2x2 Forma Porcelain Mosaic
Cotto 2x2 Forma Porcelain Mosaic
Cream 12x24 3D Gloss Porcelain Tile
Navy 12x24 3D Gloss Porcelain Tile
Natura Terracotta Look Matte Porcelain Tile
Star & Cross Classic Terracotta Tile
Apple 12x24 3D Glossy Porcelain Tile
Amazzonite Matte Marble Look Porcelain Tile
White Multi-Color Matte Porcelain Tile
Breccia Capraia 3D Mable Look Porcelain Tile
Verde Guatemala Tumbled Marble Tile


Carrara Verde Guatemala Tumbled Stone Checkerboard


Verde Guatemala 1x1 Chipped Mosaic
Carrara Verde Guatemala Tumbled Stone Checker Stripe


Verde Guatemala Bardiglio Tumbled Stone Checkerboard
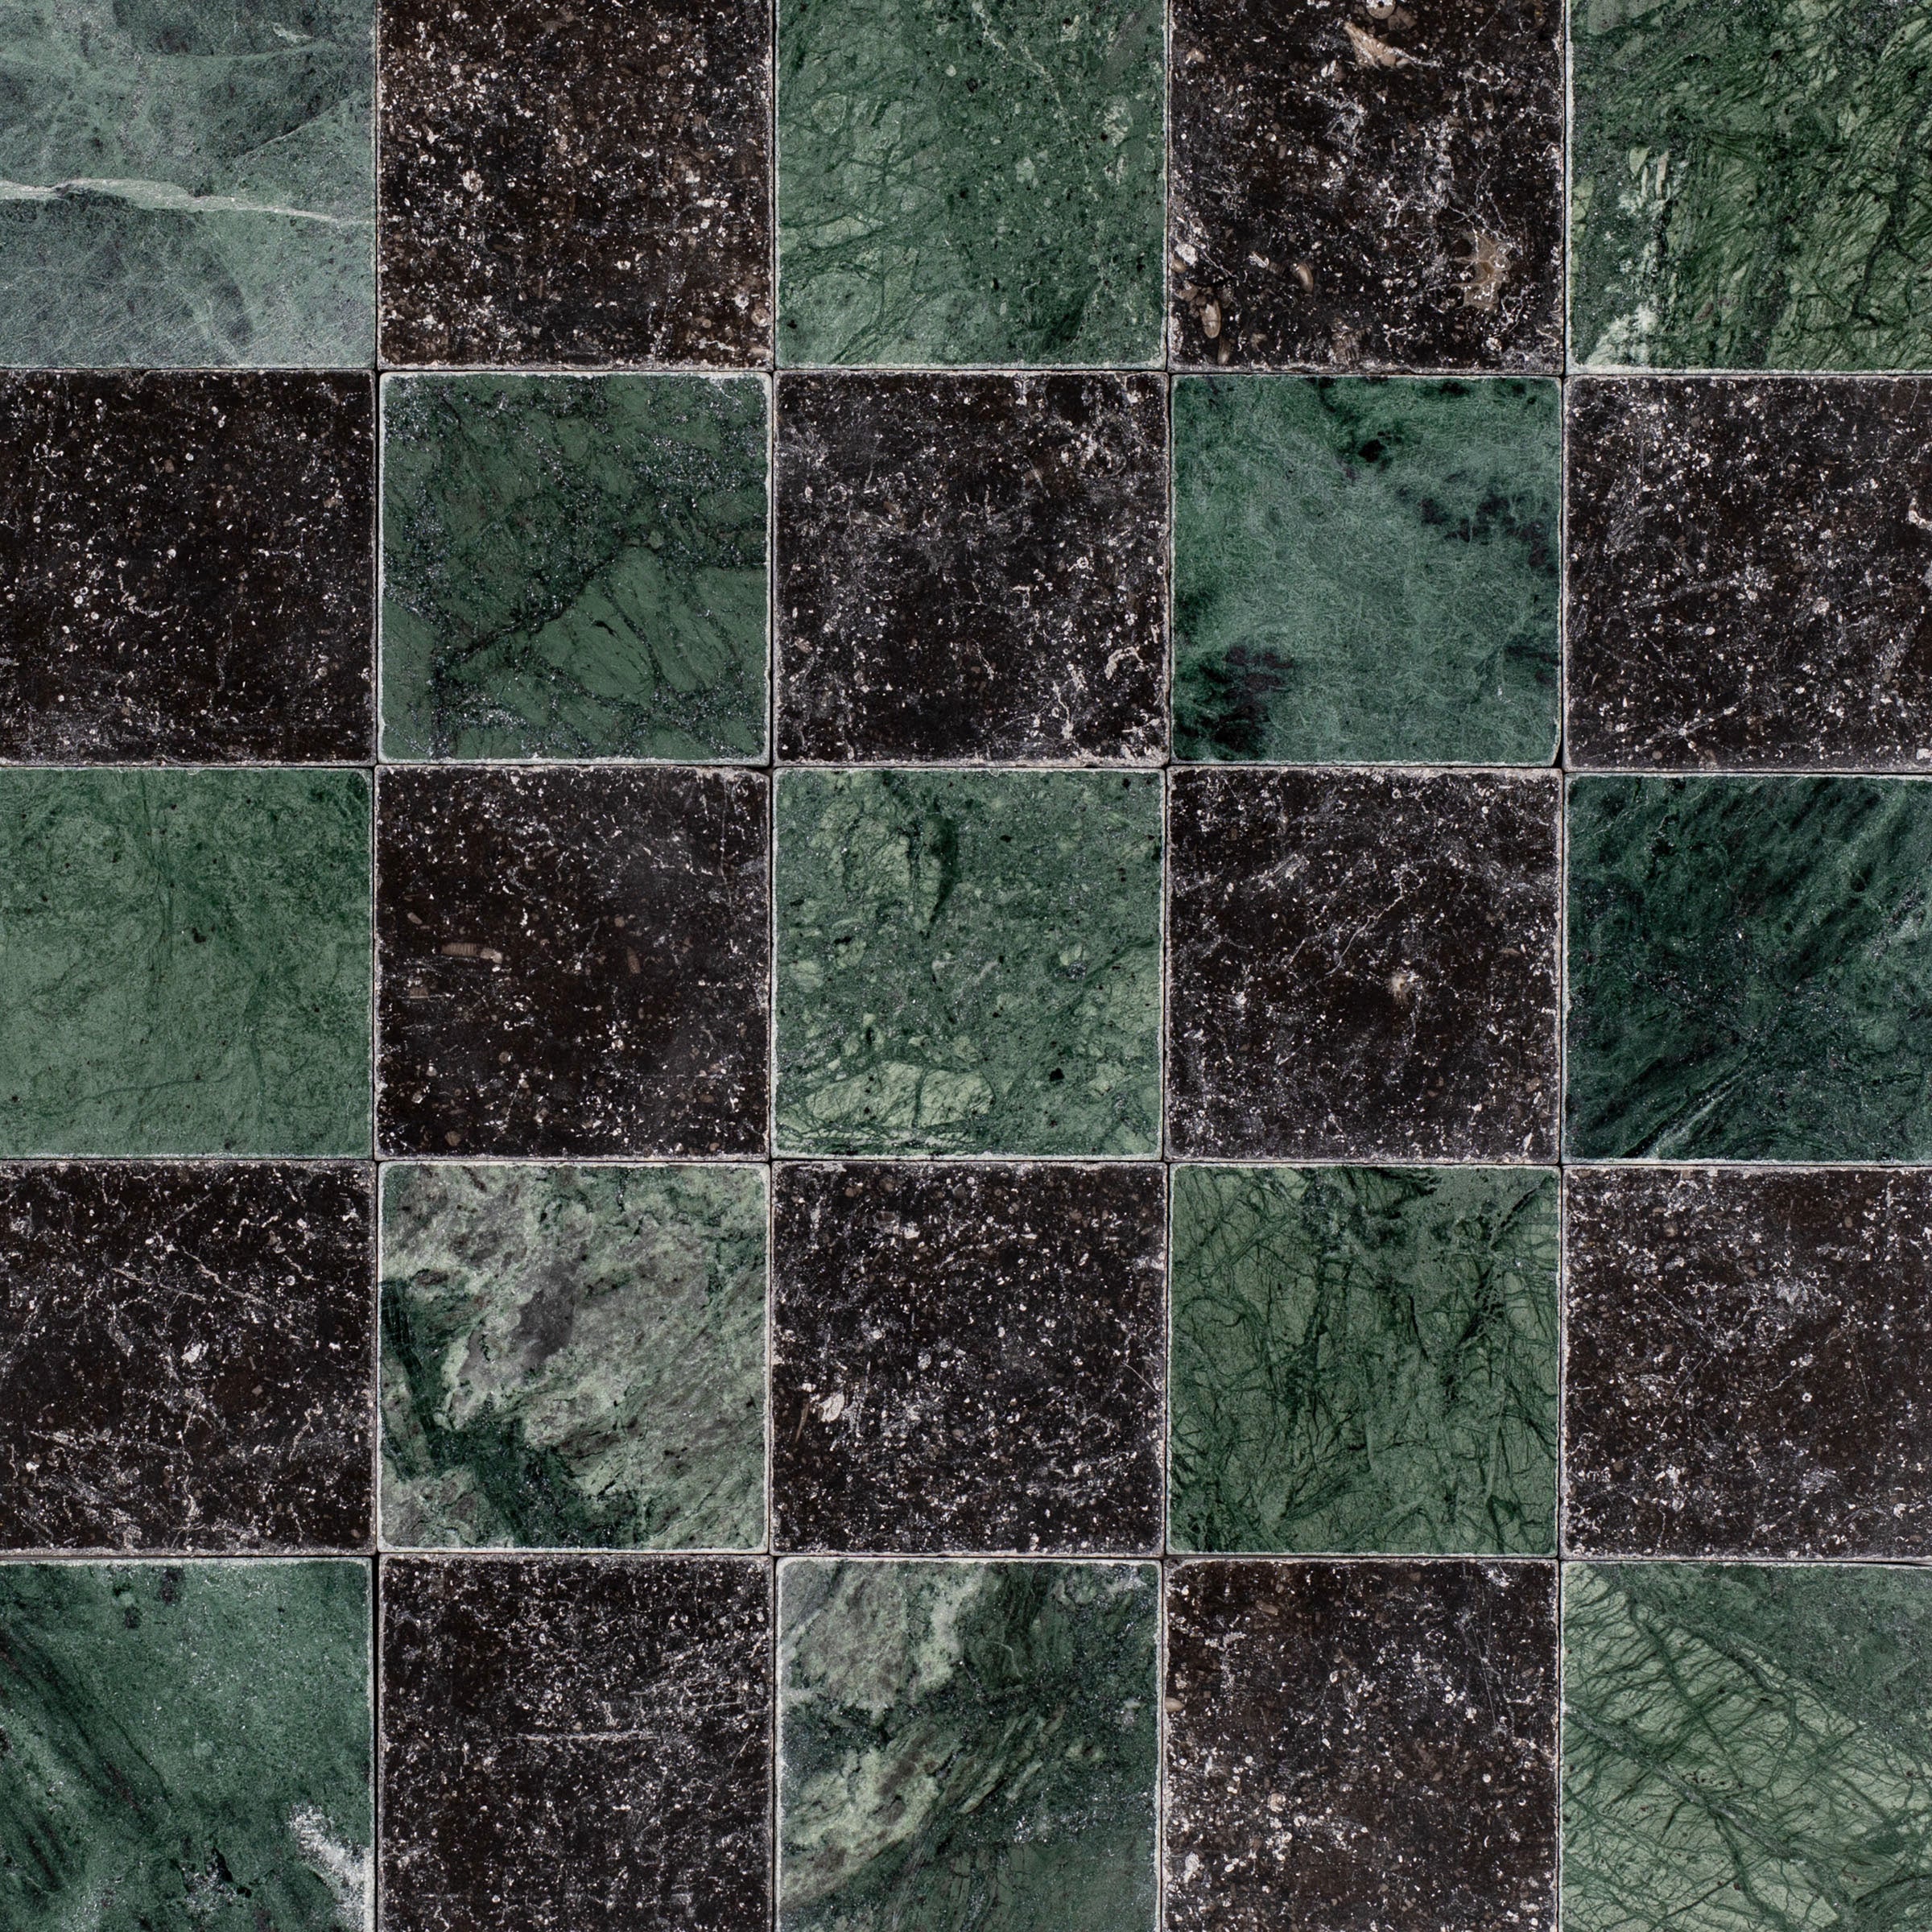
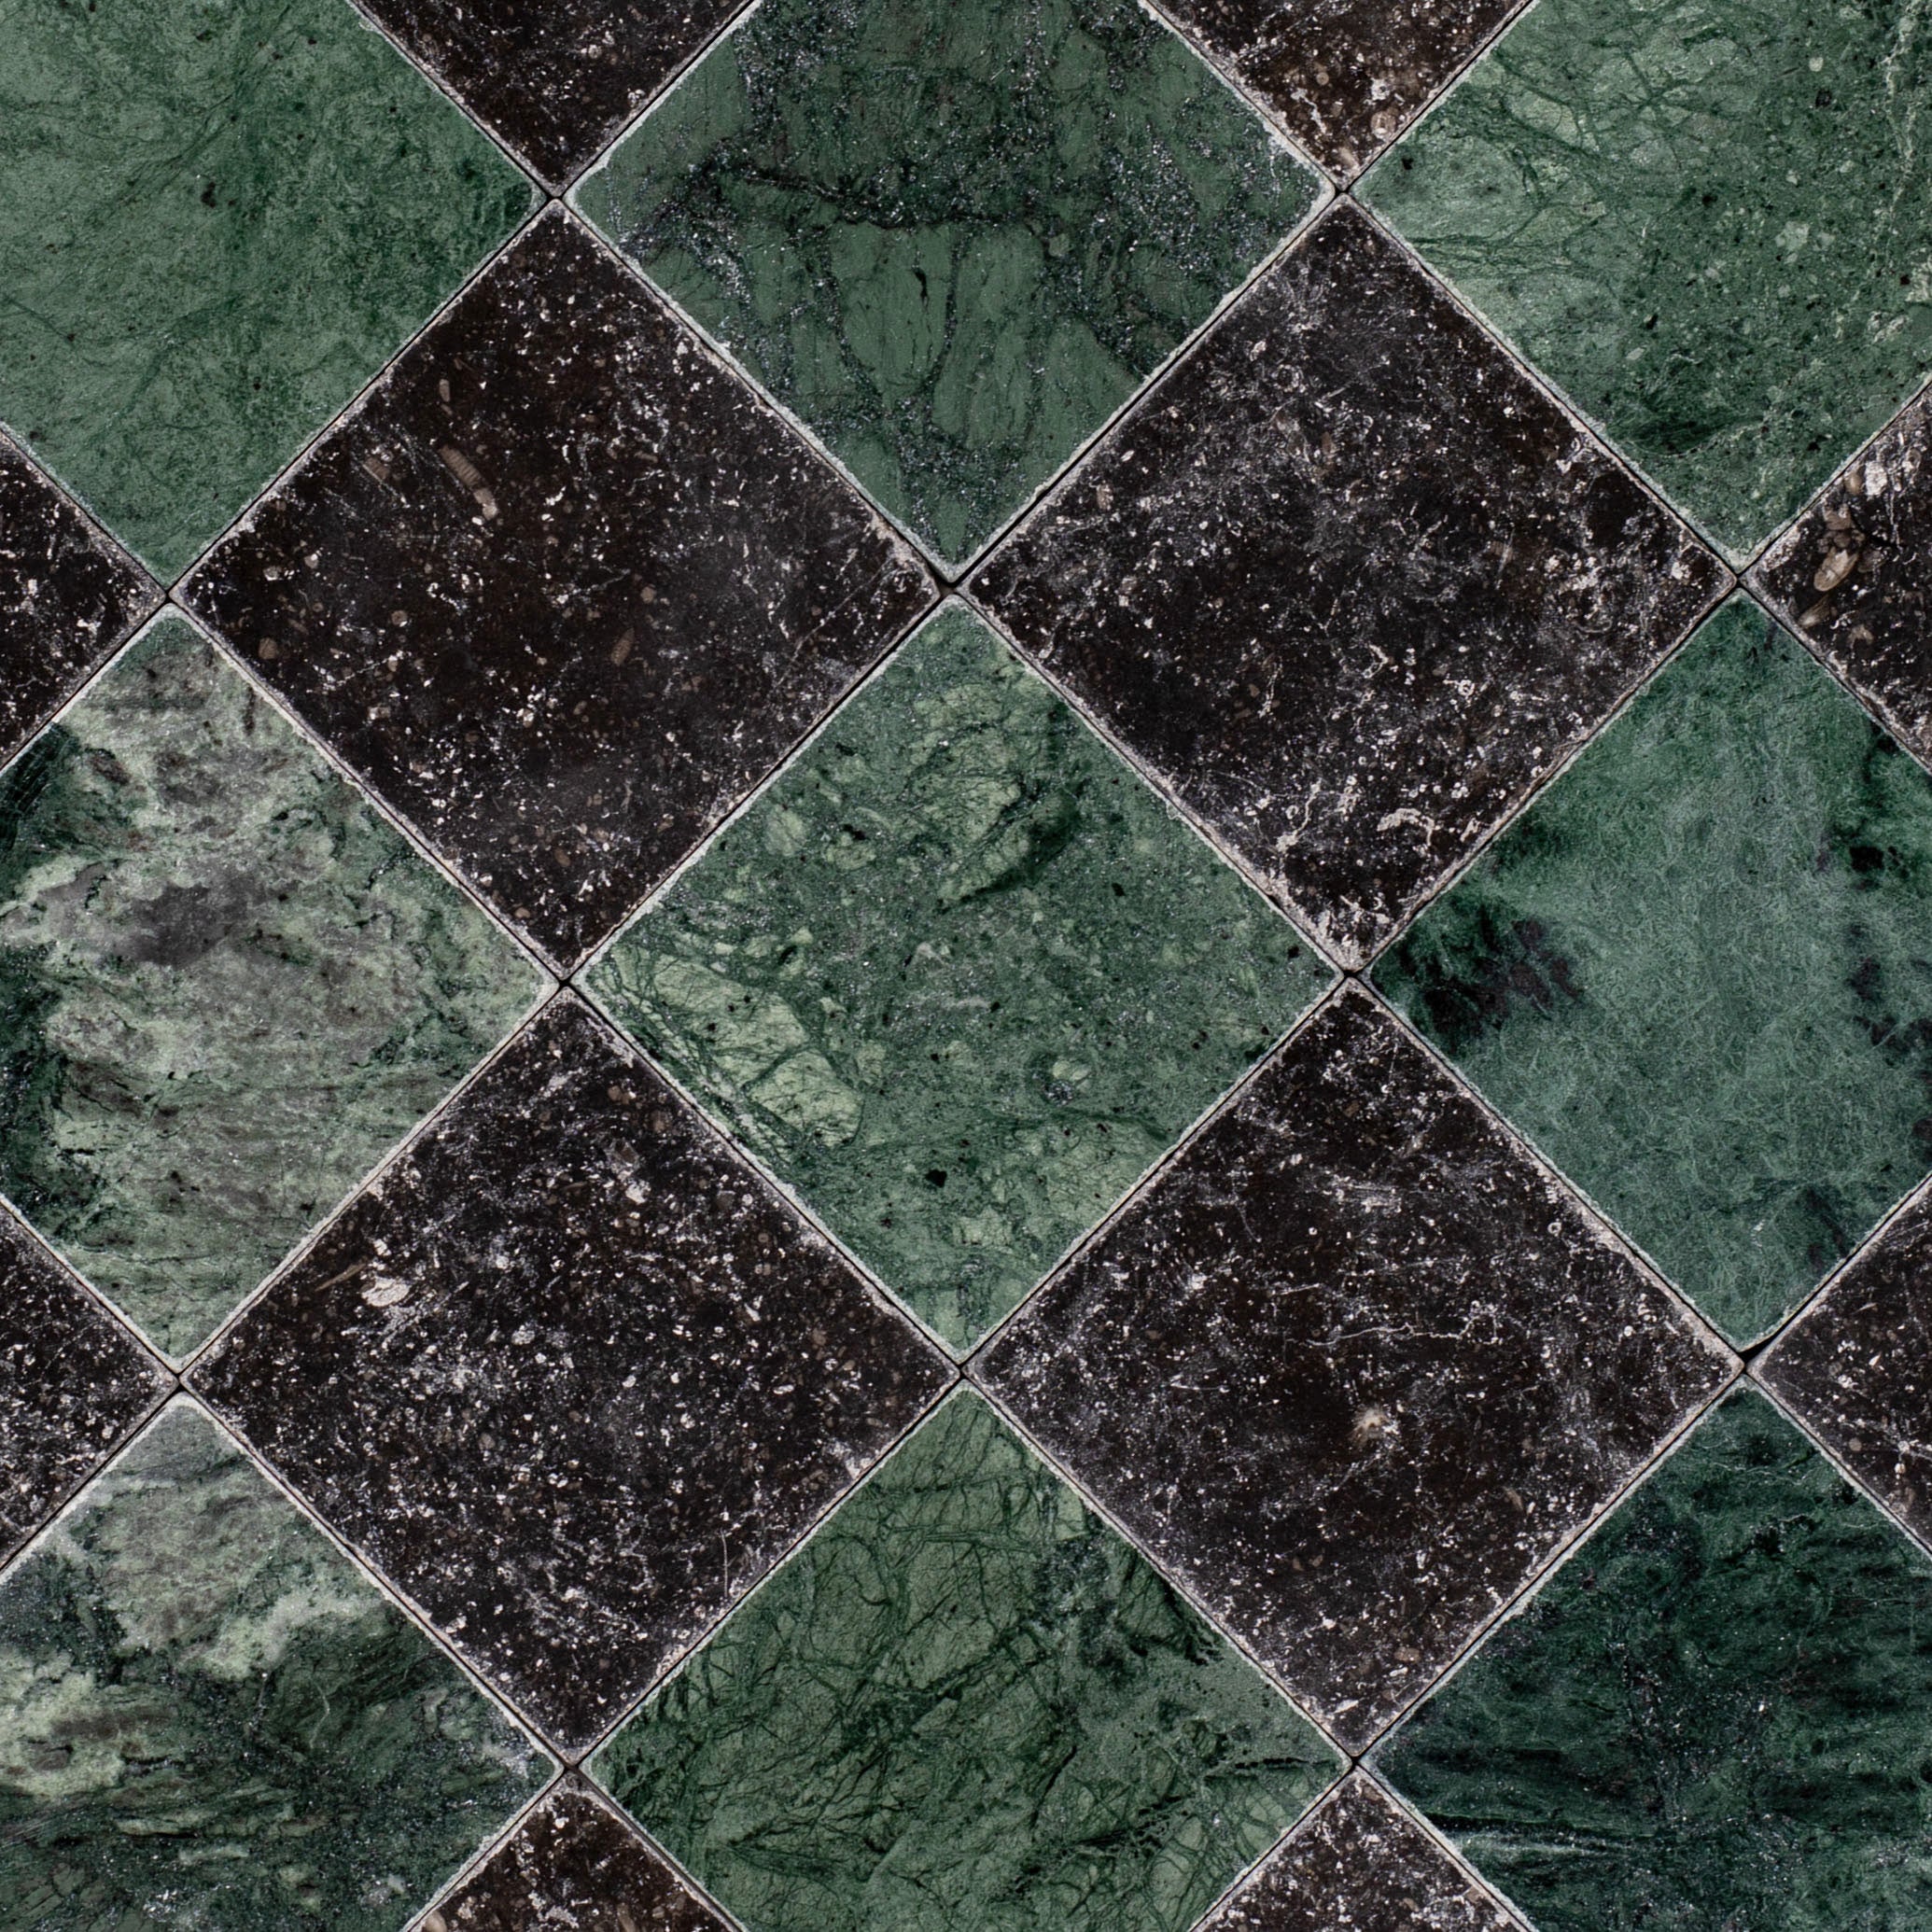
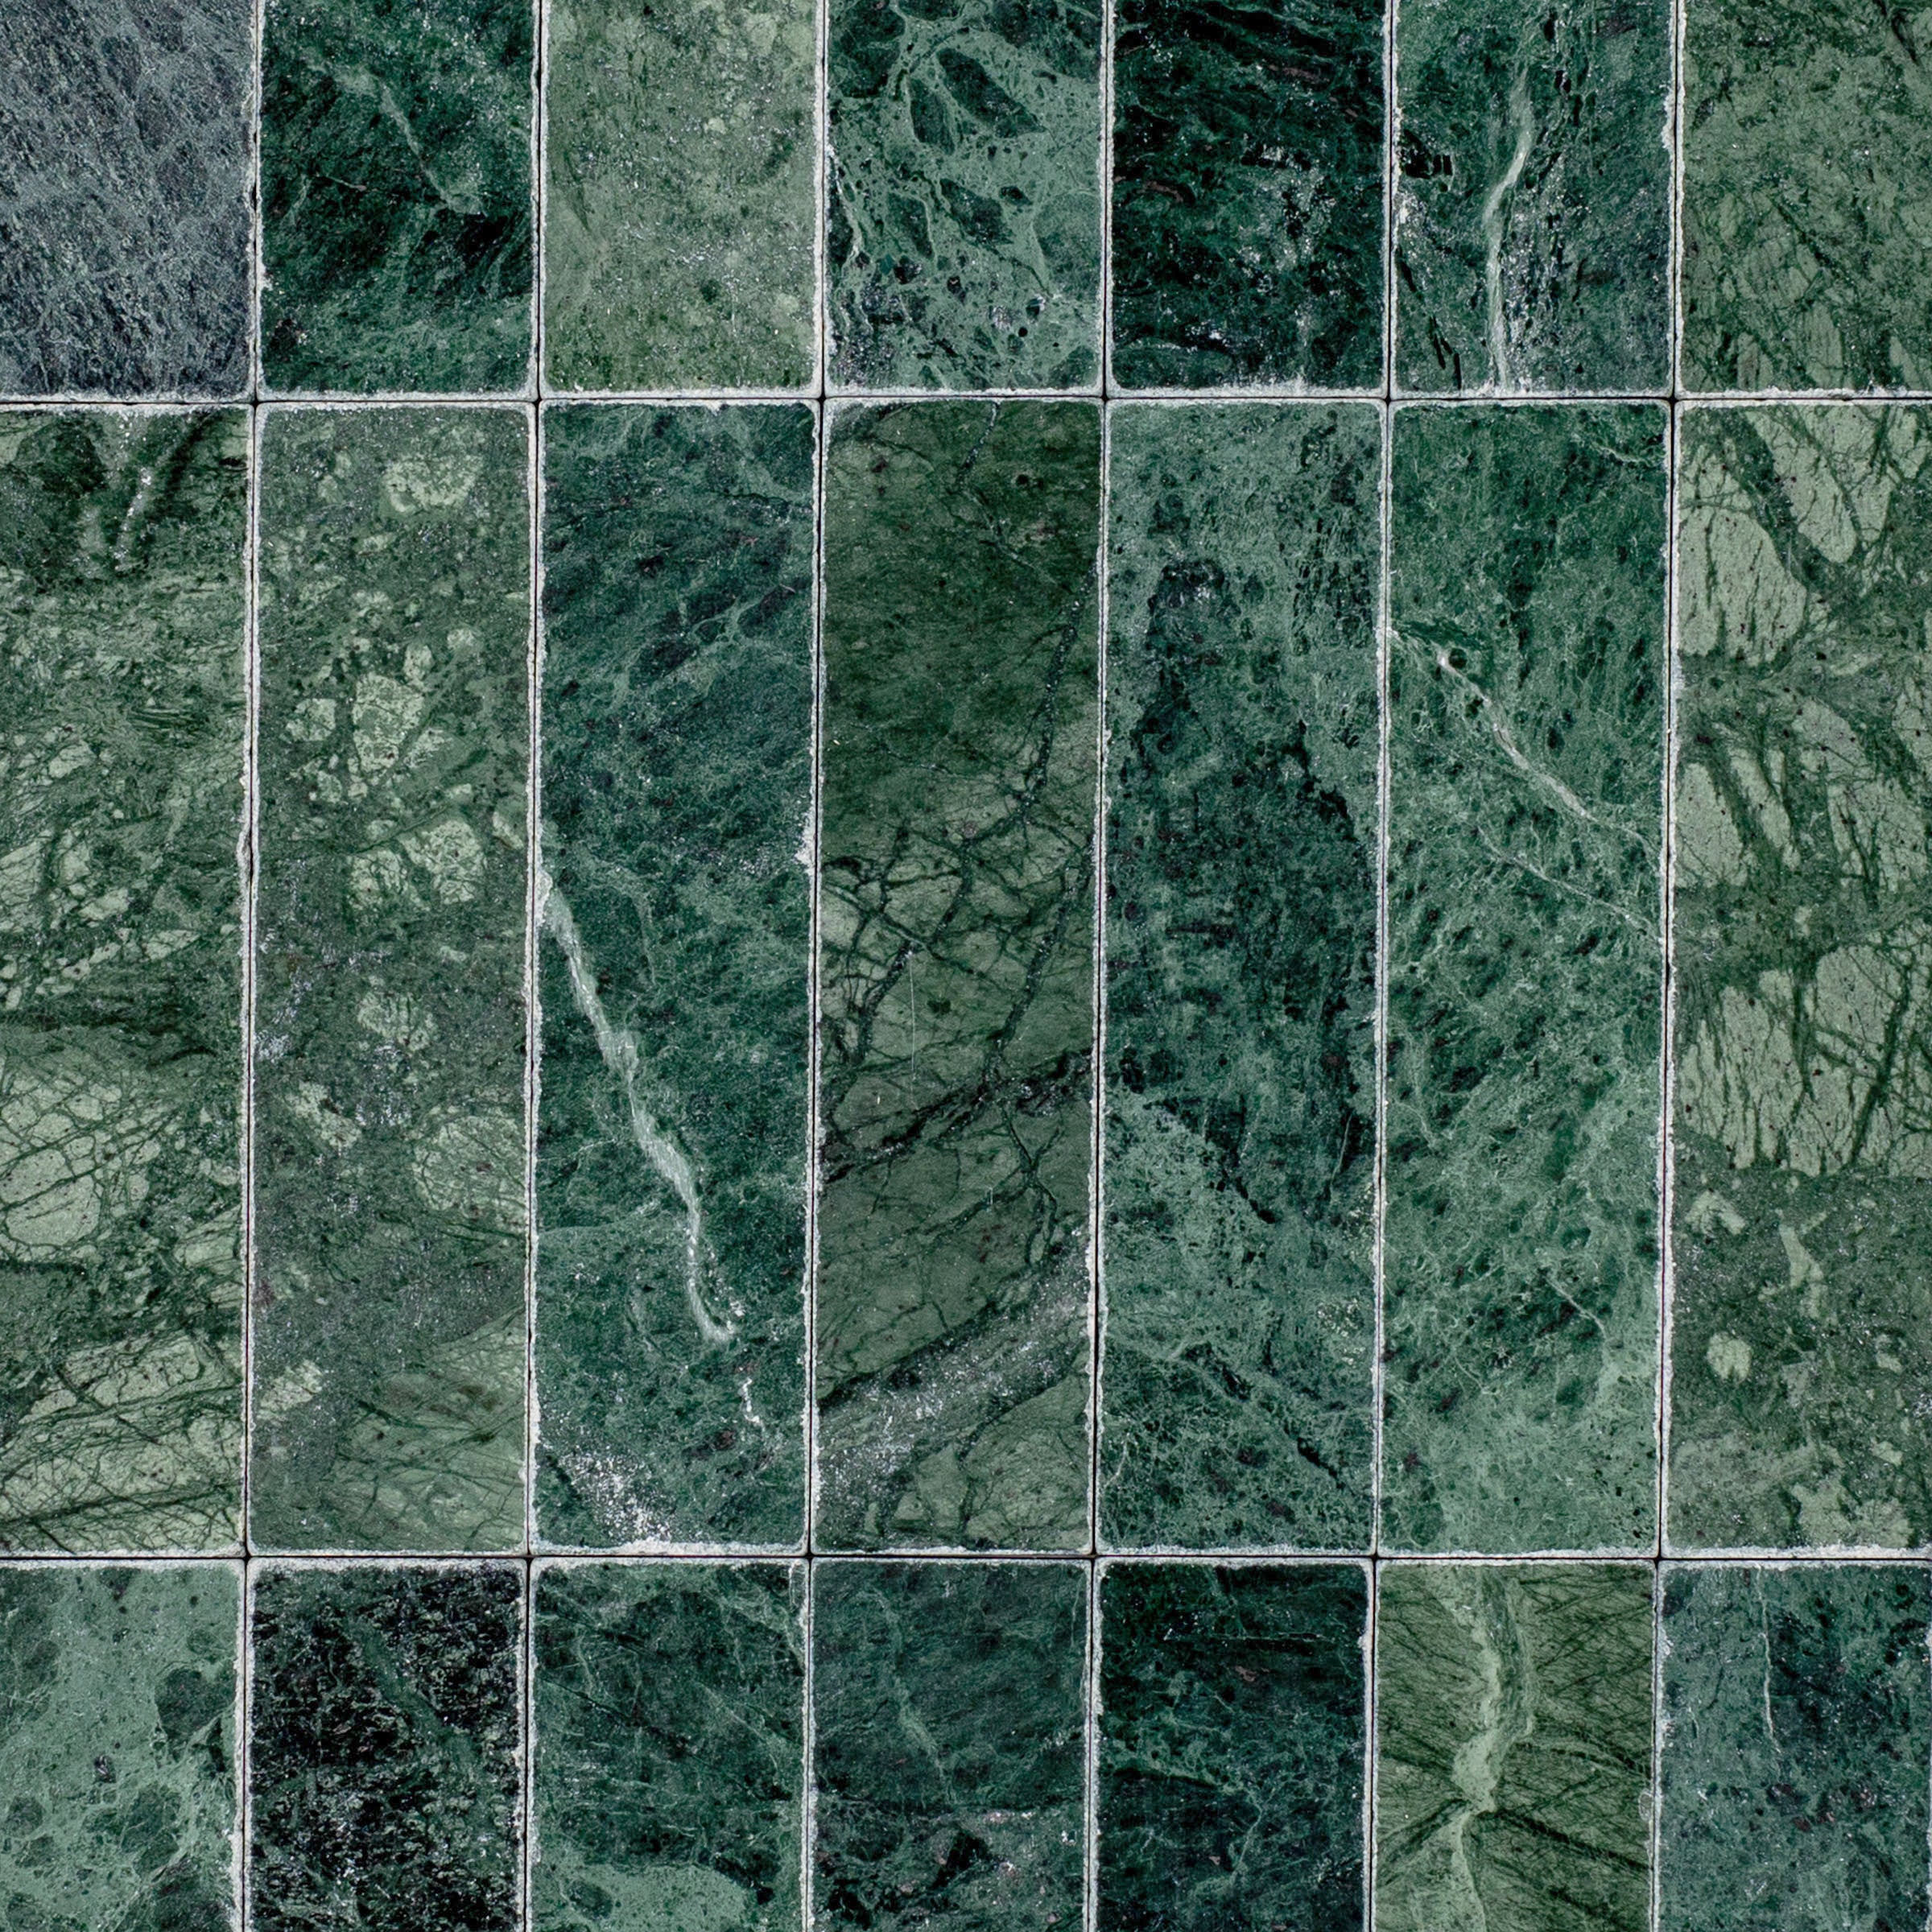
Verde Guatemala Tumbled Marble Tile


White & Jade 2x2 Zellige Checkerboard Mosaic


Green 2x2 Forma Porcelain Mosaic


Green & Cream Forma Octagon Porcelain Mosaic


Green Cream Fog Forma Butterfly Porcelain Mosaic
Carrara, Verde, Bardiglio Tumbled Pebble Mosaic


Olive 3x12 Glossy Ceramic Tile
White & Ecru Octagon Zellige Mosaic
Thassos, Carrara, Bardiglio Gingham Marble Mosaic
Cotto Deco Terracotta Look Matte Porcelain Tile
White & Ecru 2x2 Zellige Checkerboard Mosaic
Murano Honed Italian Terrazzo Tile
Cotto Terracotta Look Matte Porcelain Tile
Chiaro Deco Terracotta Look Matte Porcelain Tile
Unglazed & White Octagon Zellige Mosaic
Carrara Bardiglio Tumbled Stone Checkerboard
White & Black Octagon Zellige Mosaic
Beige Limestone Look 3D Matte Porcelain Tile
Cream Limestone Look 3D Matte Porcelain Tile
Rosso Verona Tumbled Marble Tile
Travertino Moka Stone Look Porcelain Tile
Apple 12x24 3D Glossy Porcelain Tile
Bianco Carrara Honed Marble Tile
Rosso Verona 1x1 Hand Chipped Marble Mosaic
Amazzonite Matte Marble Look Porcelain Tile
Travertino 3D Matte Porcelain Tile
White Multi-Color Matte Porcelain Tile
Bianco Carrara Octagon w/ Nero Marquina Dot Mosaic
Cream 12x24 3D Gloss Porcelain Tile
Navy 12x24 3D Gloss Porcelain Tile
Almond Cement Look Matte Porcelain Tile
White & Ecru Octagon Zellige Mosaic
Thassos, Carrara, Bardiglio Gingham Marble Mosaic
Cotto Deco Terracotta Look Matte Porcelain Tile
White & Ecru 2x2 Zellige Checkerboard Mosaic
Murano Honed Italian Terrazzo Tile
Chiaro Deco Terracotta Look Matte Porcelain Tile
Unglazed & White Octagon Zellige Mosaic
Carrara Bardiglio Tumbled Stone Checkerboard
White & Black Octagon Zellige Mosaic
Beige Limestone Look 3D Matte Porcelain Tile
Cream Limestone Look 3D Matte Porcelain Tile
Rosso Verona Tumbled Marble Tile
Bianco Carrara Honed Marble Tile
Travertino Moka Stone Look Porcelain Tile
Apple 12x24 3D Glossy Porcelain Tile
Travertino 3D Matte Porcelain Tile
Rosso Verona 1x1 Hand Chipped Marble Mosaic
Amazzonite Matte Marble Look Porcelain Tile
White Multi-Color Matte Porcelain Tile
Almond Cement Look Matte Porcelain Tile
Bianco Carrara Octagon w/ Nero Marquina Dot Mosaic
Cream 12x24 3D Gloss Porcelain Tile
Navy 12x24 3D Gloss Porcelain Tile
White & Ecru Octagon Zellige Mosaic
Thassos, Carrara, Bardiglio Gingham Marble Mosaic
Cotto Deco Terracotta Look Matte Porcelain Tile
White & Ecru 2x2 Zellige Checkerboard Mosaic
Murano Honed Italian Terrazzo Tile
Cotto Terracotta Look Matte Porcelain Tile
Chiaro Deco Terracotta Look Matte Porcelain Tile
Unglazed & White Octagon Zellige Mosaic
White & Black Octagon Zellige Mosaic
Carrara Bardiglio Tumbled Stone Checkerboard
Beige Limestone Look 3D Matte Porcelain Tile
Cream Limestone Look 3D Matte Porcelain Tile
Rosso Verona Tumbled Marble Tile
Travertino Moka Stone Look Porcelain Tile
Apple 12x24 3D Glossy Porcelain Tile
Bianco Carrara Honed Marble Tile
Rosso Verona 1x1 Hand Chipped Marble Mosaic
Amazzonite Matte Marble Look Porcelain Tile
Travertino 3D Matte Porcelain Tile
White Multi-Color Matte Porcelain Tile
Bianco Carrara Octagon w/ Nero Marquina Dot Mosaic
Cream 12x24 3D Gloss Porcelain Tile
Navy 12x24 3D Gloss Porcelain Tile
Almond Cement Look Matte Porcelain Tile
Bianco Carrara Honed Marble Tile
Carrara 1x1 Hand Chipped Marble Mosaic
Carrara Honed Basketweave Marble Mosaic
Carrara Running Bond Marble Mosaic
Carrara Tumbled Basketweave Marble Mosaic
Calacatta 1x1 Hand Chipped Marble Mosaic
Calacatta Running Bond Marble Mosaic
Grigio Pearla 1x1 Hand Chipped Marble Mosaic
Bianco Carrara Octagon w/ Nero Marquina Dot Mosaic
Thassos, Carrara, Bardiglio Gingham Marble Mosaic
Rosso Verona 1x1 Hand Chipped Marble Mosaic

Calacatta Honed Italian Terrazzo Tile

Torcello Honed Italian Terrazzo Tile
Bardiglio Tumbled Pebble Mosaic
Carrara, Verde, Bardiglio Tumbled Pebble Mosaic
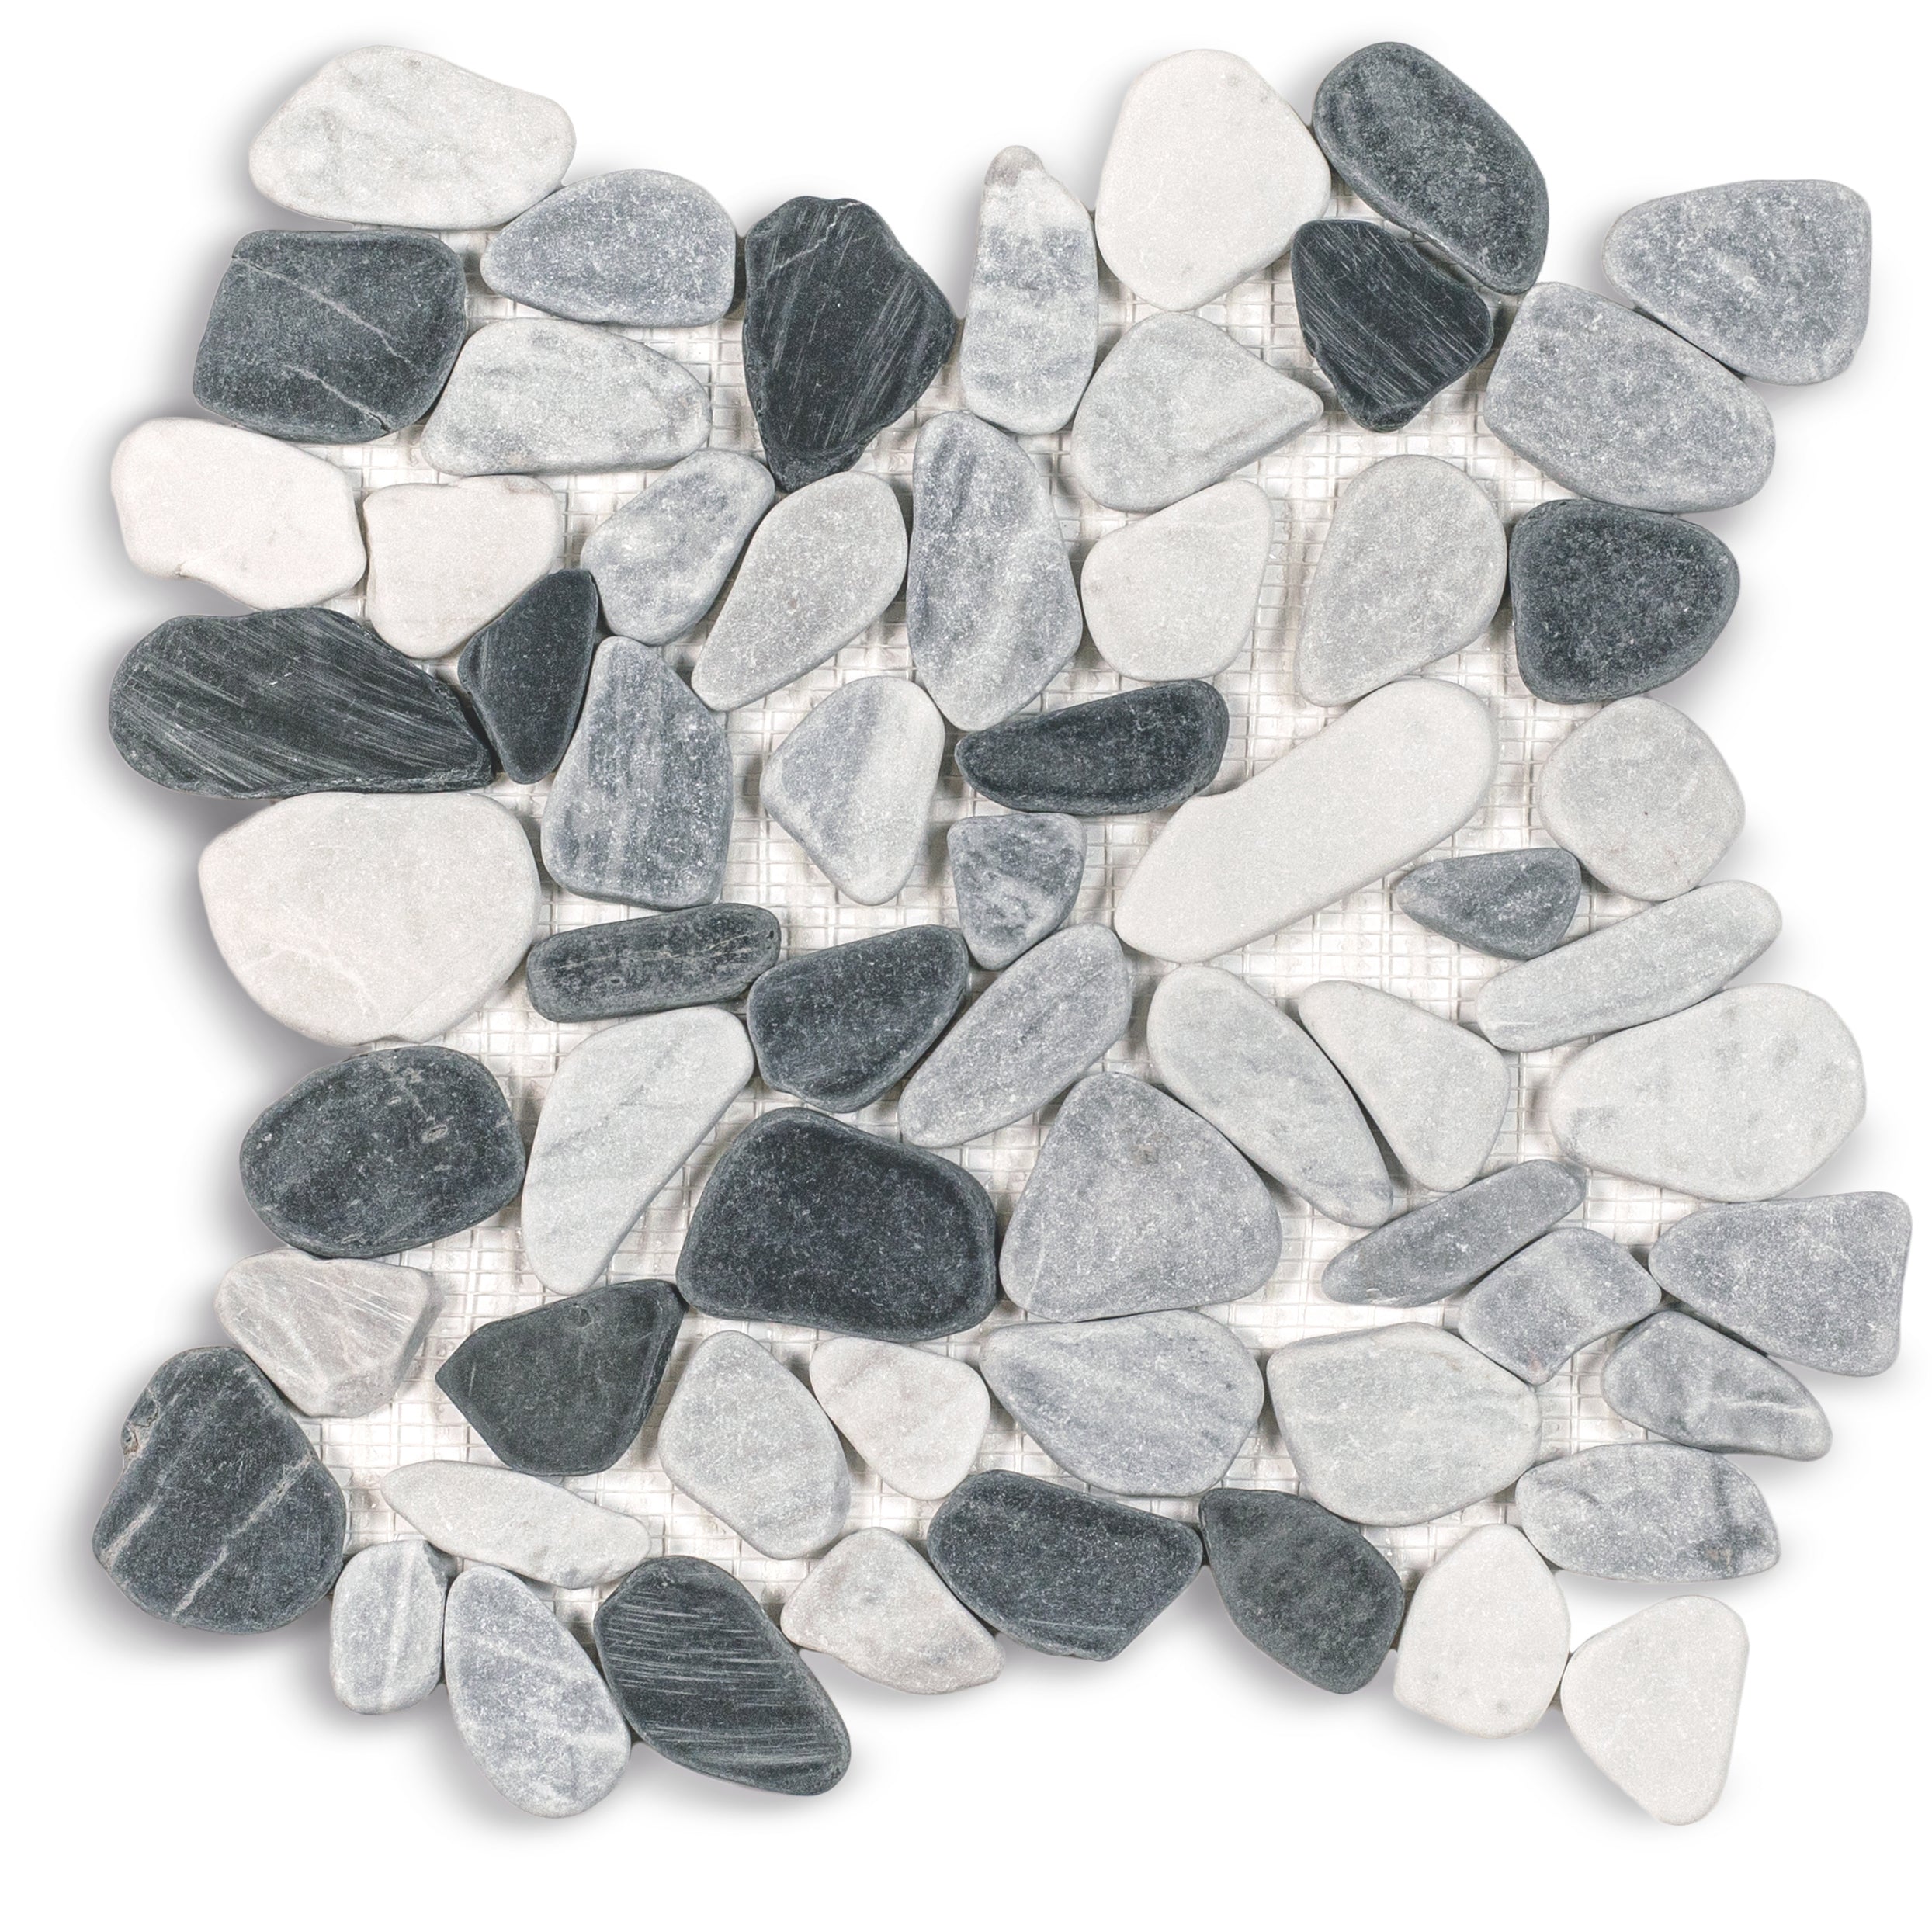
Carrara, Nero, Bardiglio Tumbled Pebble Mosaic
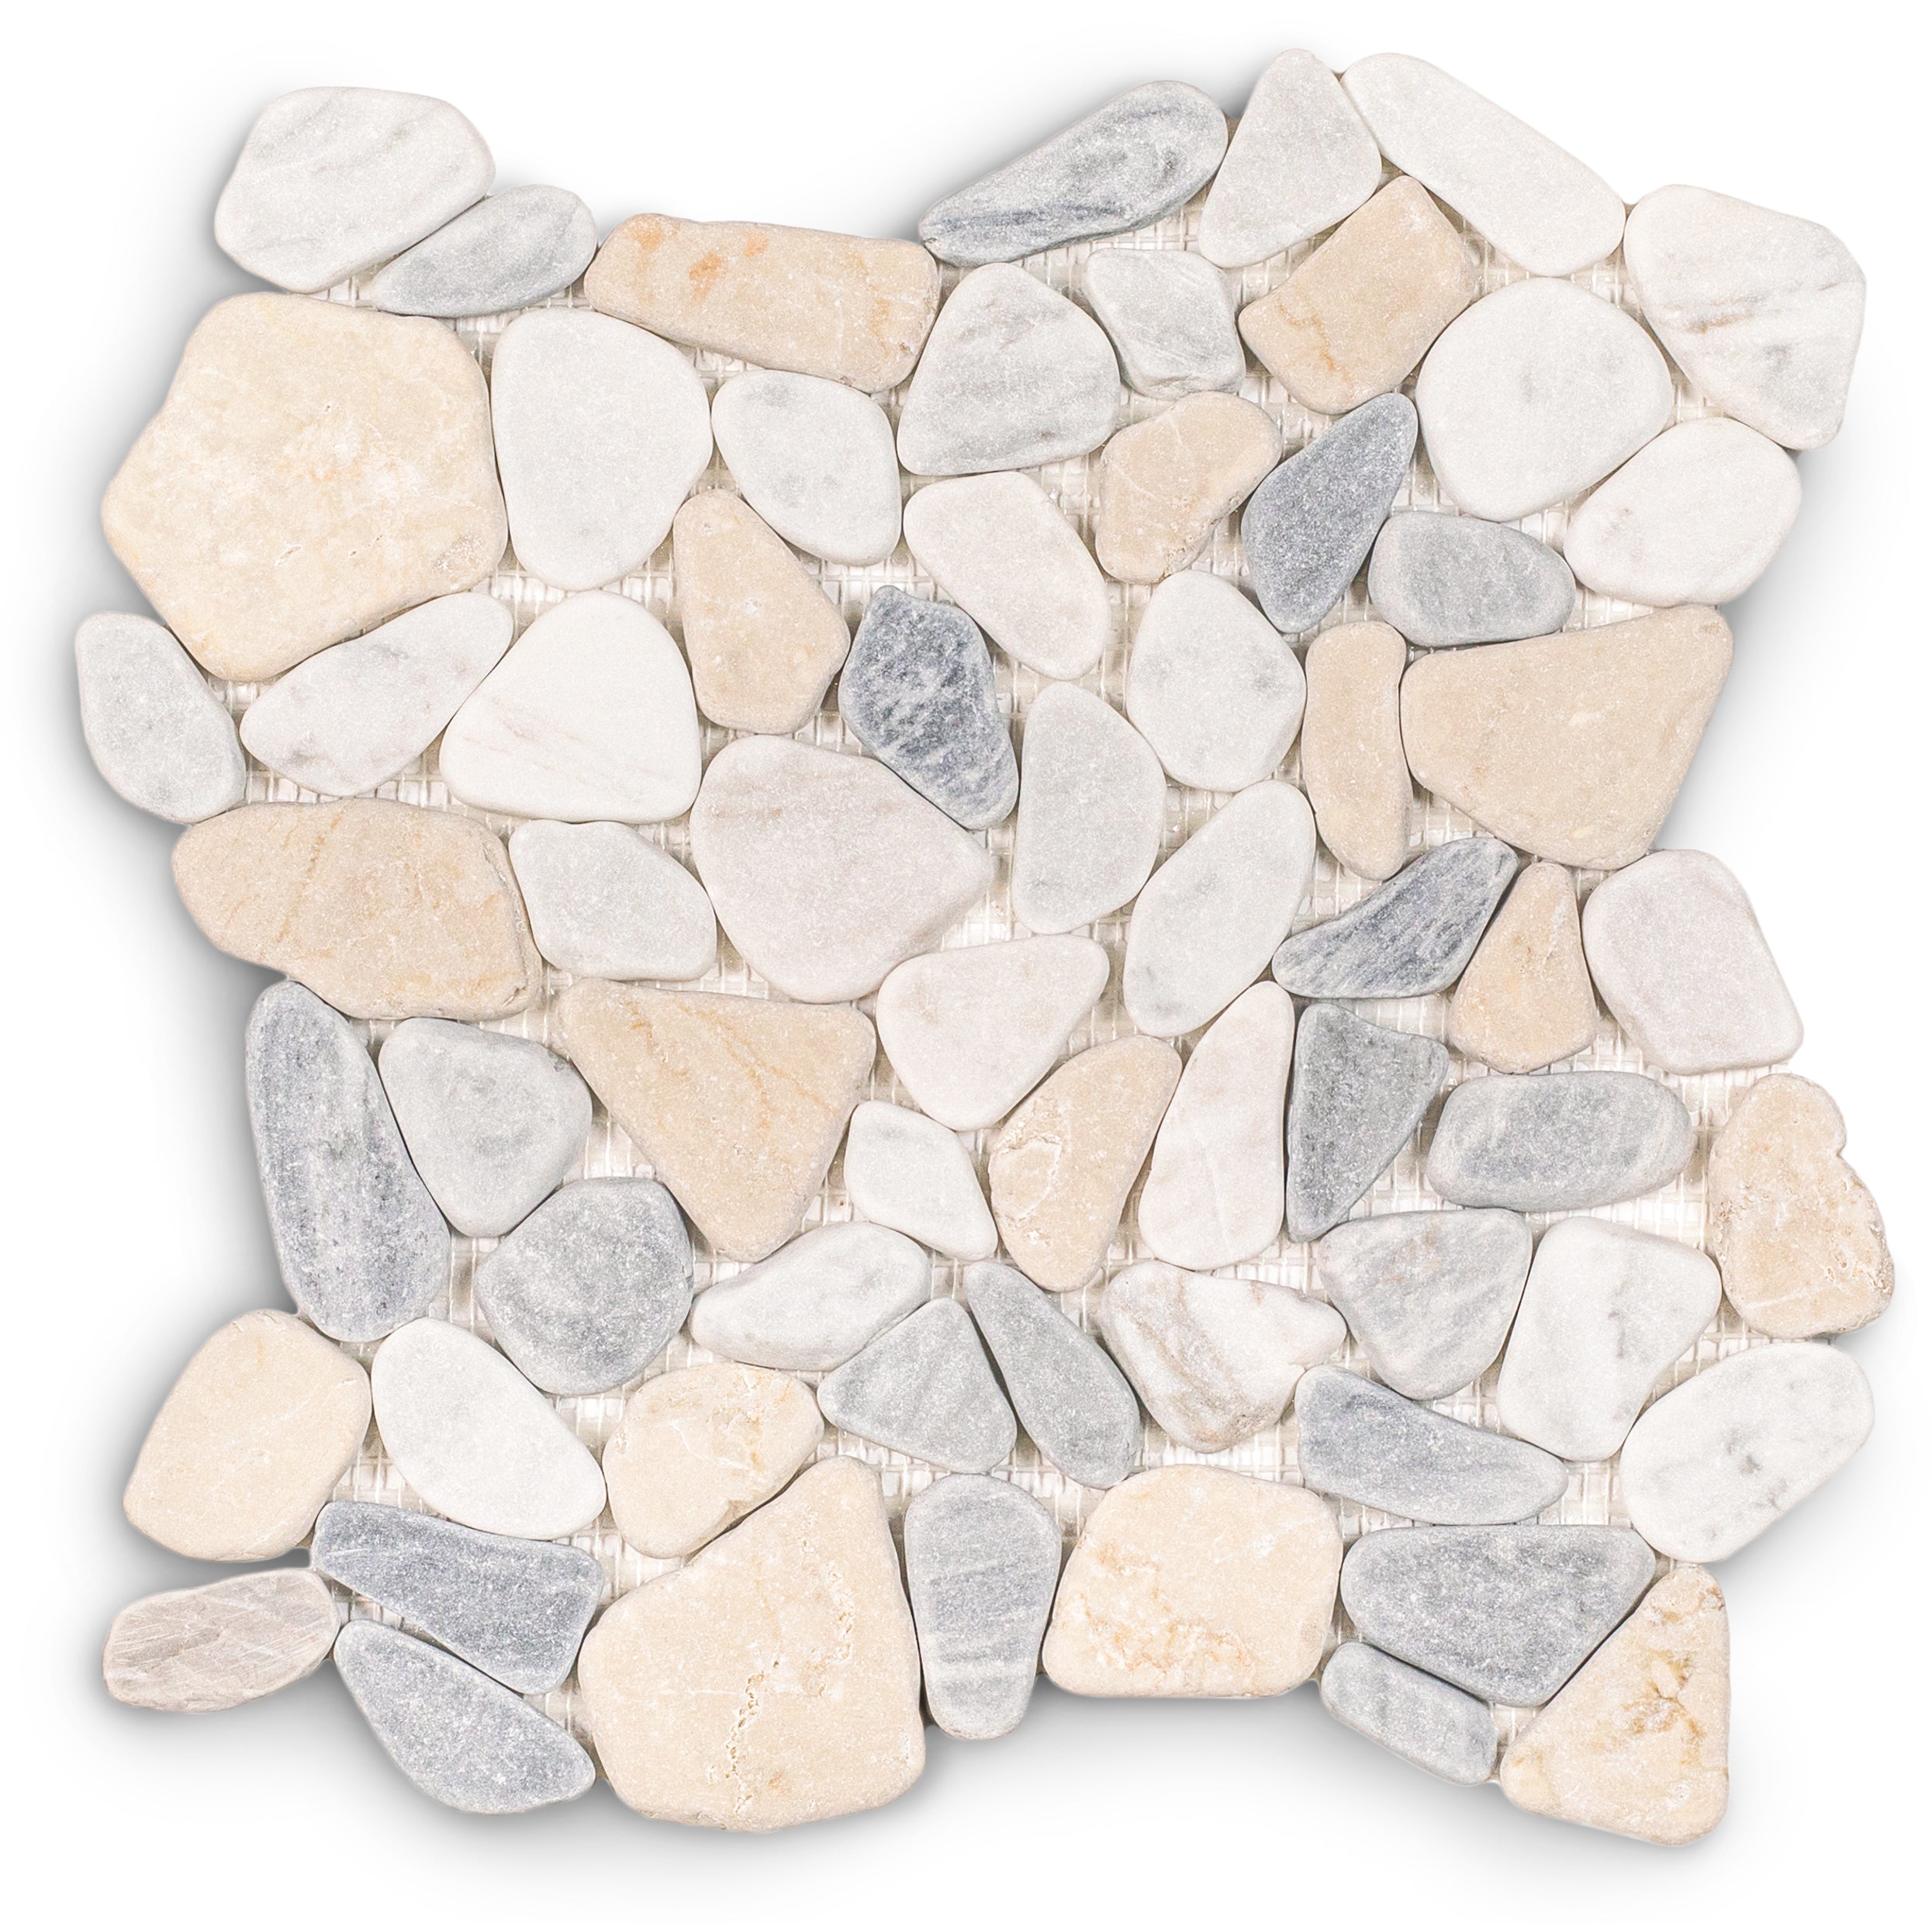
Carrara, Crema, Bardiglio Tumbled Pebble Mosaic
Rosso Verona Tumbled Marble Tile
Desert Tea Tumbled Marble Tile
Belgian Blue Tumbled Marble Tile
Verde Guatemala Tumbled Marble Tile
Belgian Blue Tumbled Marble Tile
Verde Guatemala Tumbled Marble Tile
Desert Tea Tumbled Marble Tile
Taj Matte Marble Look Porcelain Tile
Breccia Capraia 3D Mable Look Porcelain Tile

Van Gogh 1 3D Marble Look Porcelain Tile
Terracotta Cross Statuario Inset Mosaic
Terracotta Cross Nero Marquina Inset Mosaic
Royal Grey Satin Marble Look Porcelain Tile
Paonazzo Matte Marble Look Porcelain Tile
Ivory Marble Look Matte Porcelain Tile
Amazzonite Matte Marble Look Porcelain Tile
Montblack Matte Marble Look Porcelain Tile
Spider Gold Matte Marble Look Porcelain Tile
Carrara Belgian Blue Tumbled Stone Checkerboard
Carrara Bardiglio Tumbled Stone Checkerboard


Bardiglio Desert Tea Tumbled Stone Checkerboard
Star & Cross Classic Terracotta Tile
White & Ecru Octagon Zellige Mosaic
Thassos, Carrara, Bardiglio Gingham Marble Mosaic
Cotto Deco Terracotta Look Matte Porcelain Tile
White & Ecru 2x2 Zellige Checkerboard Mosaic
Murano Honed Italian Terrazzo Tile
Chiaro Deco Terracotta Look Matte Porcelain Tile
Unglazed & White Octagon Zellige Mosaic
Carrara Bardiglio Tumbled Stone Checkerboard
White & Black Octagon Zellige Mosaic
Beige Limestone Look 3D Matte Porcelain Tile
Cream Limestone Look 3D Matte Porcelain Tile
Rosso Verona Tumbled Marble Tile
Apple 12x24 3D Glossy Porcelain Tile
Travertino 3D Matte Porcelain Tile
White Multi-Color Matte Porcelain Tile
Almond Cement Look Matte Porcelain Tile
Natura Terracotta Look Matte Porcelain Tile
Cream 2x2 Forma Porcelain Mosaic
Cotto 2x2 Forma Porcelain Mosaic
Star & Cross Classic Terracotta Tile
Bardiglio Desert Tea Tumbled Stone Checker Stripe

Borgogna 3D Matte Porcelain Tile


Cotto Cream Pink Forma Butterfly Porcelain Mosaic
Chocolate 2" Hexagon Textured Terracotta Mosaic
Black Multi-Color Matte Porcelain Tile


Calacatta Honed Italian Terrazzo Tile
Crema Terracotta Look Matte Porcelain Tile


Thassos, Carrara, Bardiglio Gingham Marble Mosaic
Carrara Bardiglio Tumbled Stone Checkerboard
Rosso Verona Tumbled Marble Tile
Bianco Carrara Honed Marble Tile
Amazzonite Matte Marble Look Porcelain Tile
Rosso Verona 1x1 Hand Chipped Marble Mosaic
Spider Gold Matte Marble Look Porcelain Tile
Bianco Carrara Octagon w/ Nero Marquina Dot Mosaic
Breccia Capraia 3D Mable Look Porcelain Tile
Verde Guatemala Tumbled Marble Tile
Bardiglio Desert Tea Tumbled Stone Checker Stripe

Fior de Bosco Marble Look Porcelain Tile
White Paradise Marble Look Porcelain Tile
Calacatta Honed Italian Terrazzo Tile
Desert Tea Tumbled Marble Tile
Carrara Running Bond Marble Mosaic
Bardiglio Desert Tea Tumbled Stone Checkerboard
Van Gogh 1 3D Marble Look Porcelain Tile
Taj Matte Marble Look Porcelain Tile
Calacatta Running Bond Marble Mosaic
Carrara Verde Guatemala Tumbled Stone Checkerboard
Rosa Perlino 1x1 Chipped Mosaic
Verde Guatemala 1x1 Chipped Mosaic
Desert Tea Tumbled Marble Tile
Carrara Verde Guatemala Tumbled Stone Checker Stripe
Belgian Blue Tumbled Marble Tile
Montblack Matte Marble Look Porcelain Tile
Ivory Marble Look Matte Porcelain Tile
Torcello Honed Italian Terrazzo Tile
Travertino Chiaro Tumbled Stone Tile
Verde Guatemala Tumbled Marble Tile
Carrara 1x1 Hand Chipped Marble Mosaic
White & Ecru Octagon Zellige Mosaic
Thassos, Carrara, Bardiglio Gingham Marble Mosaic
Cotto Deco Terracotta Look Matte Porcelain Tile
White & Ecru 2x2 Zellige Checkerboard Mosaic
Murano Honed Italian Terrazzo Tile
Chiaro Deco Terracotta Look Matte Porcelain Tile
Unglazed & White Octagon Zellige Mosaic
Carrara Bardiglio Tumbled Stone Checkerboard
White & Black Octagon Zellige Mosaic
Beige Limestone Look 3D Matte Porcelain Tile
Cream Limestone Look 3D Matte Porcelain Tile
Rosso Verona Tumbled Marble Tile
Apple 12x24 3D Glossy Porcelain Tile
Travertino Moka Stone Look Porcelain Tile
Bianco Carrara Honed Marble Tile
Rosso Verona 1x1 Hand Chipped Marble Mosaic
Amazzonite Matte Marble Look Porcelain Tile
Travertino 3D Matte Porcelain Tile
White Multi-Color Matte Porcelain Tile
Cream 12x24 3D Gloss Porcelain Tile
Navy 12x24 3D Gloss Porcelain Tile
Natura Terracotta Look Matte Porcelain Tile
Cream 2x2 Forma Porcelain Mosaic
Bianco Carrara Octagon w/ Nero Marquina Dot Mosaic
Spider Gold Matte Marble Look Porcelain Tile
Almond Cement Look Matte Porcelain Tile
Cotto Deco Terracotta Look Matte Porcelain Tile
Chiaro Deco Terracotta Look Matte Porcelain Tile
Natura Terracotta Look Matte Porcelain Tile
Crema Terracotta Look Matte Porcelain Tile


Rosso Textured Terracotta Tile


Silhouettes Gloss Porcelain Tile


Natural Smooth Terracotta Tile


Dark White 3x6 Glossy Ceramic Tile


Dark White 3x12 Glossy Ceramic Tile


Rosso Hexagon Textured Terracotta Tile

Natural Stripes Textured Terracotta Mosaic


Chocolate Textured Terracotta Tile

Travertino 1x1 Chipped Mosaics


Rosso Stripes Textured Terracotta Mosaic


Rosso Textured Terracotta Tiles


Natural Hexagon Textured Terracotta Tile

Natural Unglazed Zellige Plinth


Natural Textured Terracotta Tile


Natural Cotto Antico Terracotta Tile


Natural Textured Terracotta Tile


Cream Textured Terracotta Tile


Chocolate Hexagon Textured Terracotta Tile


Cotto Deco Terracotta Look Matte Porcelain Tile
Chiaro Deco Terracotta Look Matte Porcelain Tile
White Multi-Color Matte Porcelain Tile
Natura Terracotta Look Matte Porcelain Tile
Crema Terracotta Look Matte Porcelain Tile

Natural Smooth Terracotta Tile
Silhouettes Gloss Porcelain Tile


Natural Stripes Textured Terracotta Mosaic
Dark White 3x6 Glossy Ceramic Tile
Dark White 3x12 Glossy Ceramic Tile


White 3x12 Glossy Ceramic Tile


White Cotto Antico Terracotta Tile
Natural Hexagon Textured Terracotta Tile
Natural Unglazed Zellige Plinth
Natural Textured Terracotta Tile
Natural Cotto Antico Terracotta Tile
Natural Textured Terracotta Tile
Cream Textured Terracotta Tile
Travertino 1x1 Chipped Mosaics

