


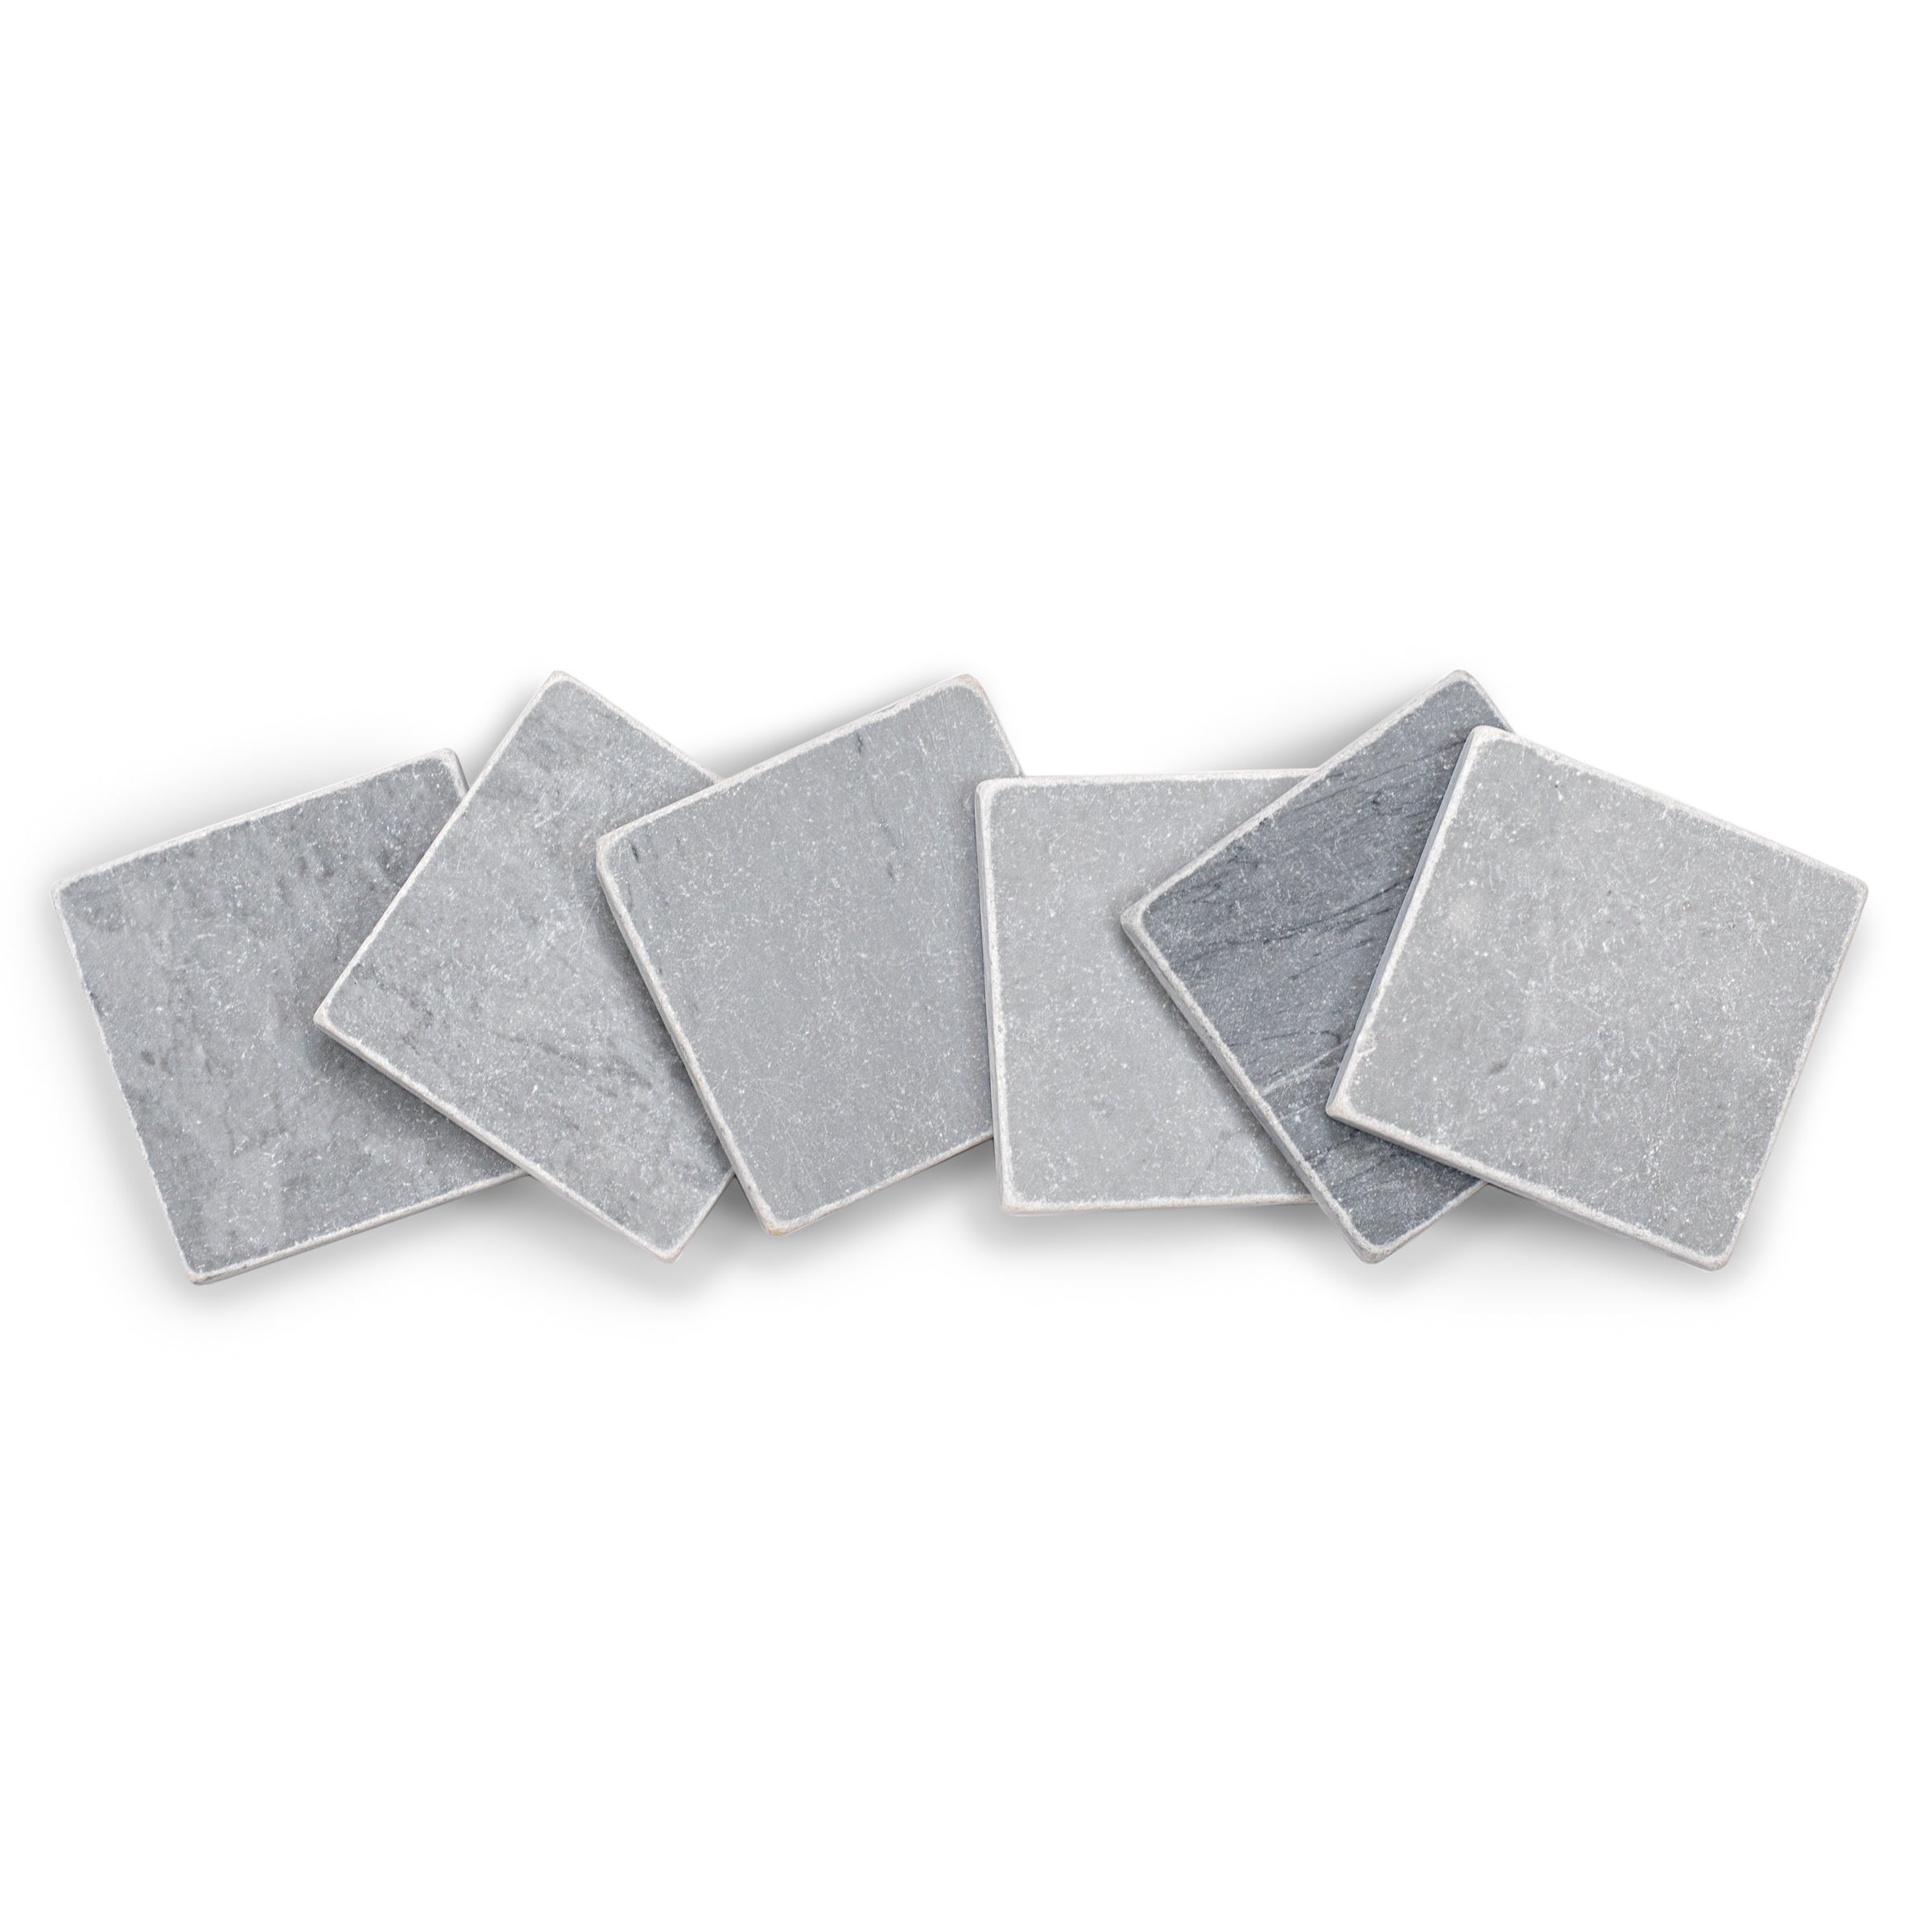
NOTIFY ME WHEN AVAILABLE
We'll notify you as soon as this product or sample is back in stock / available.
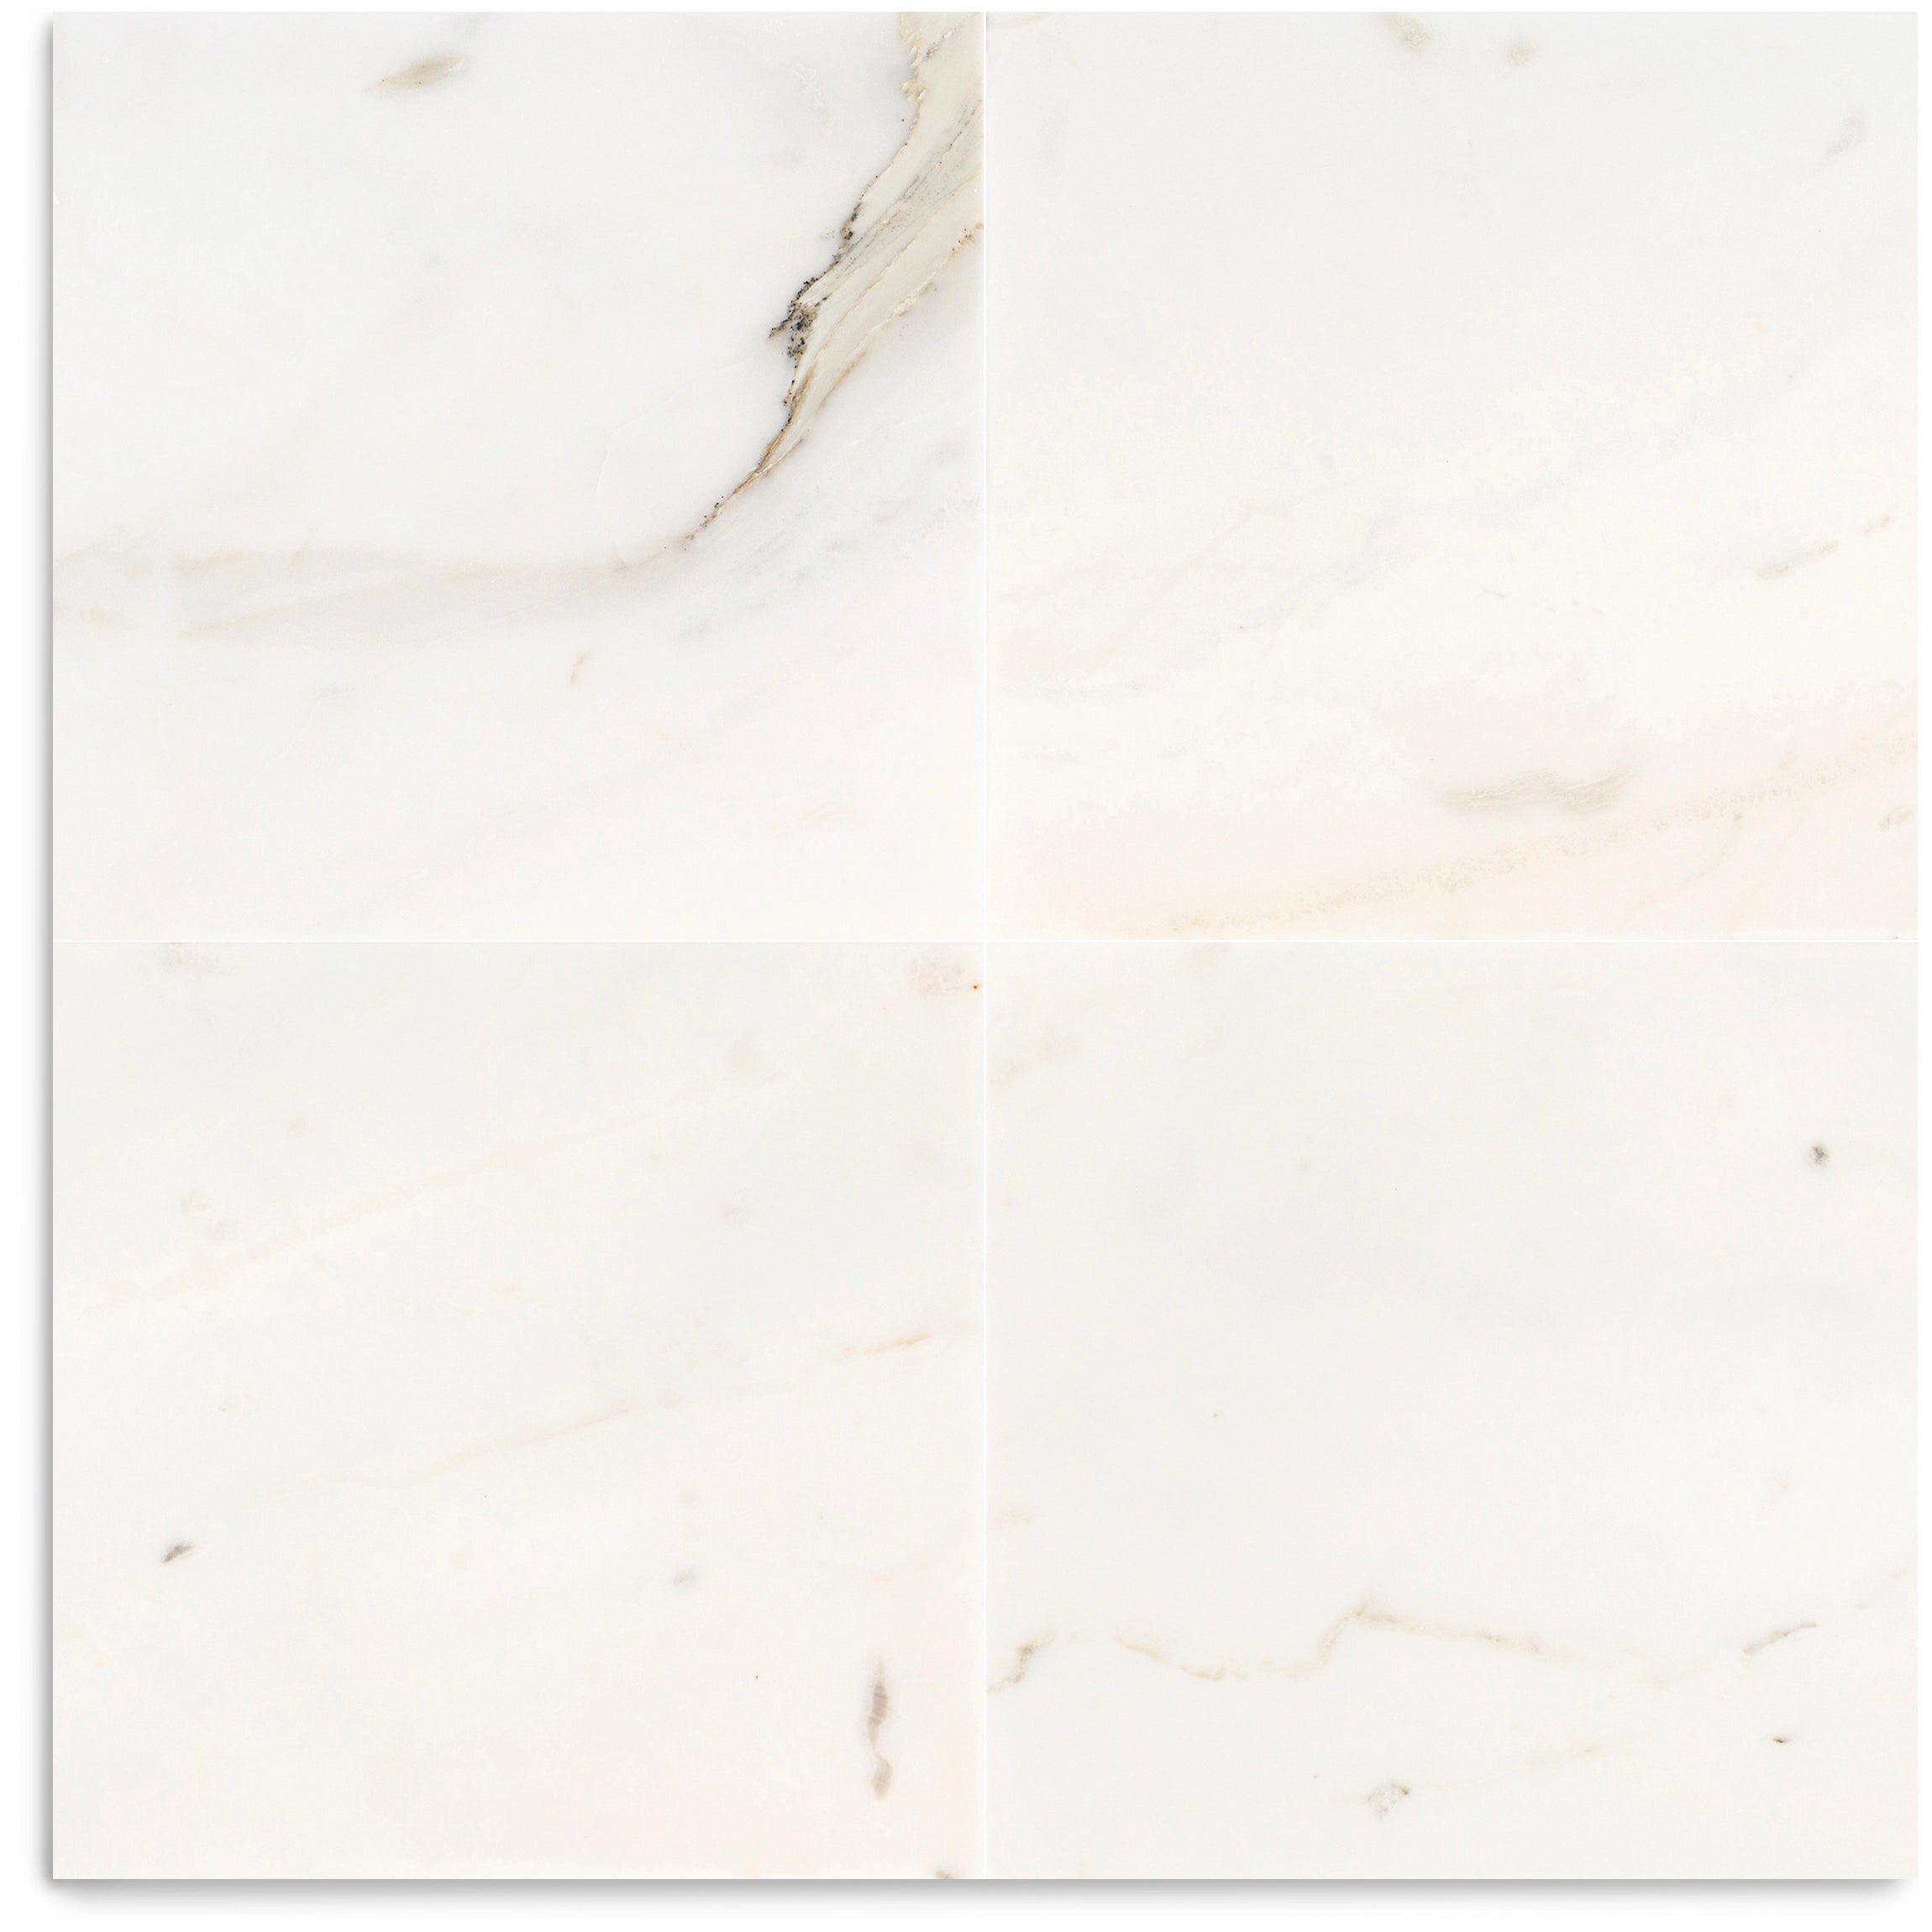
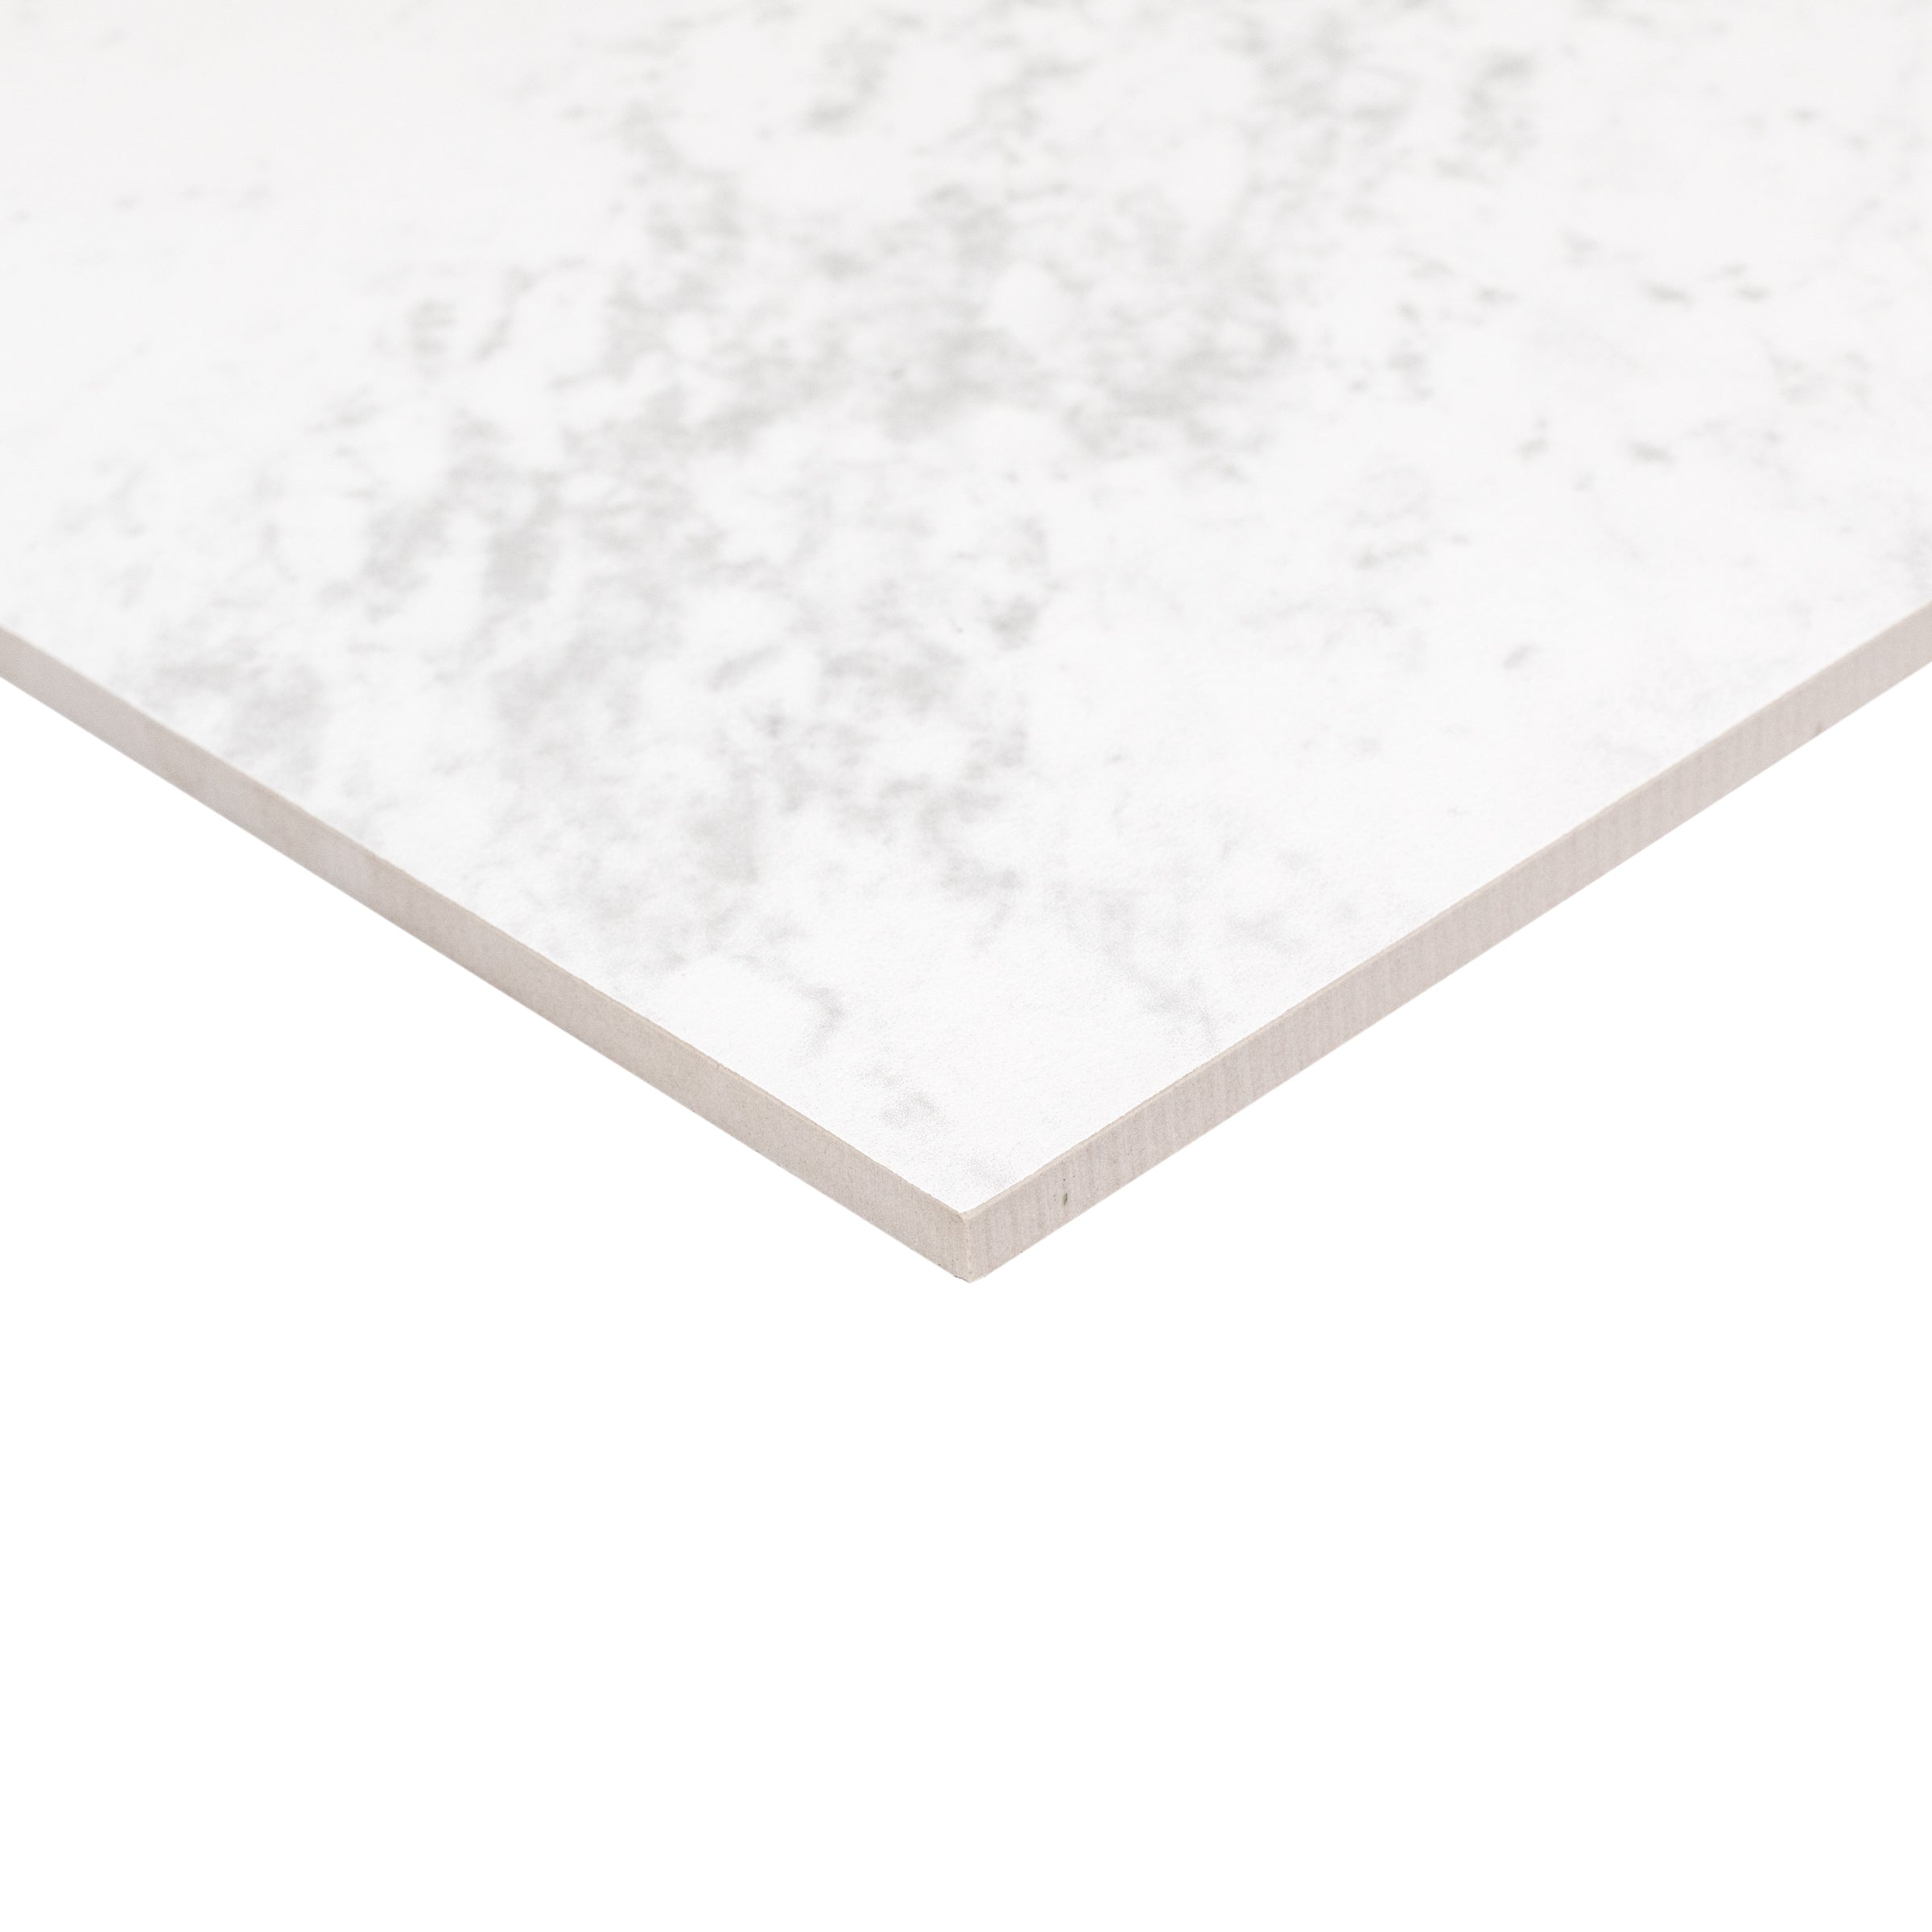
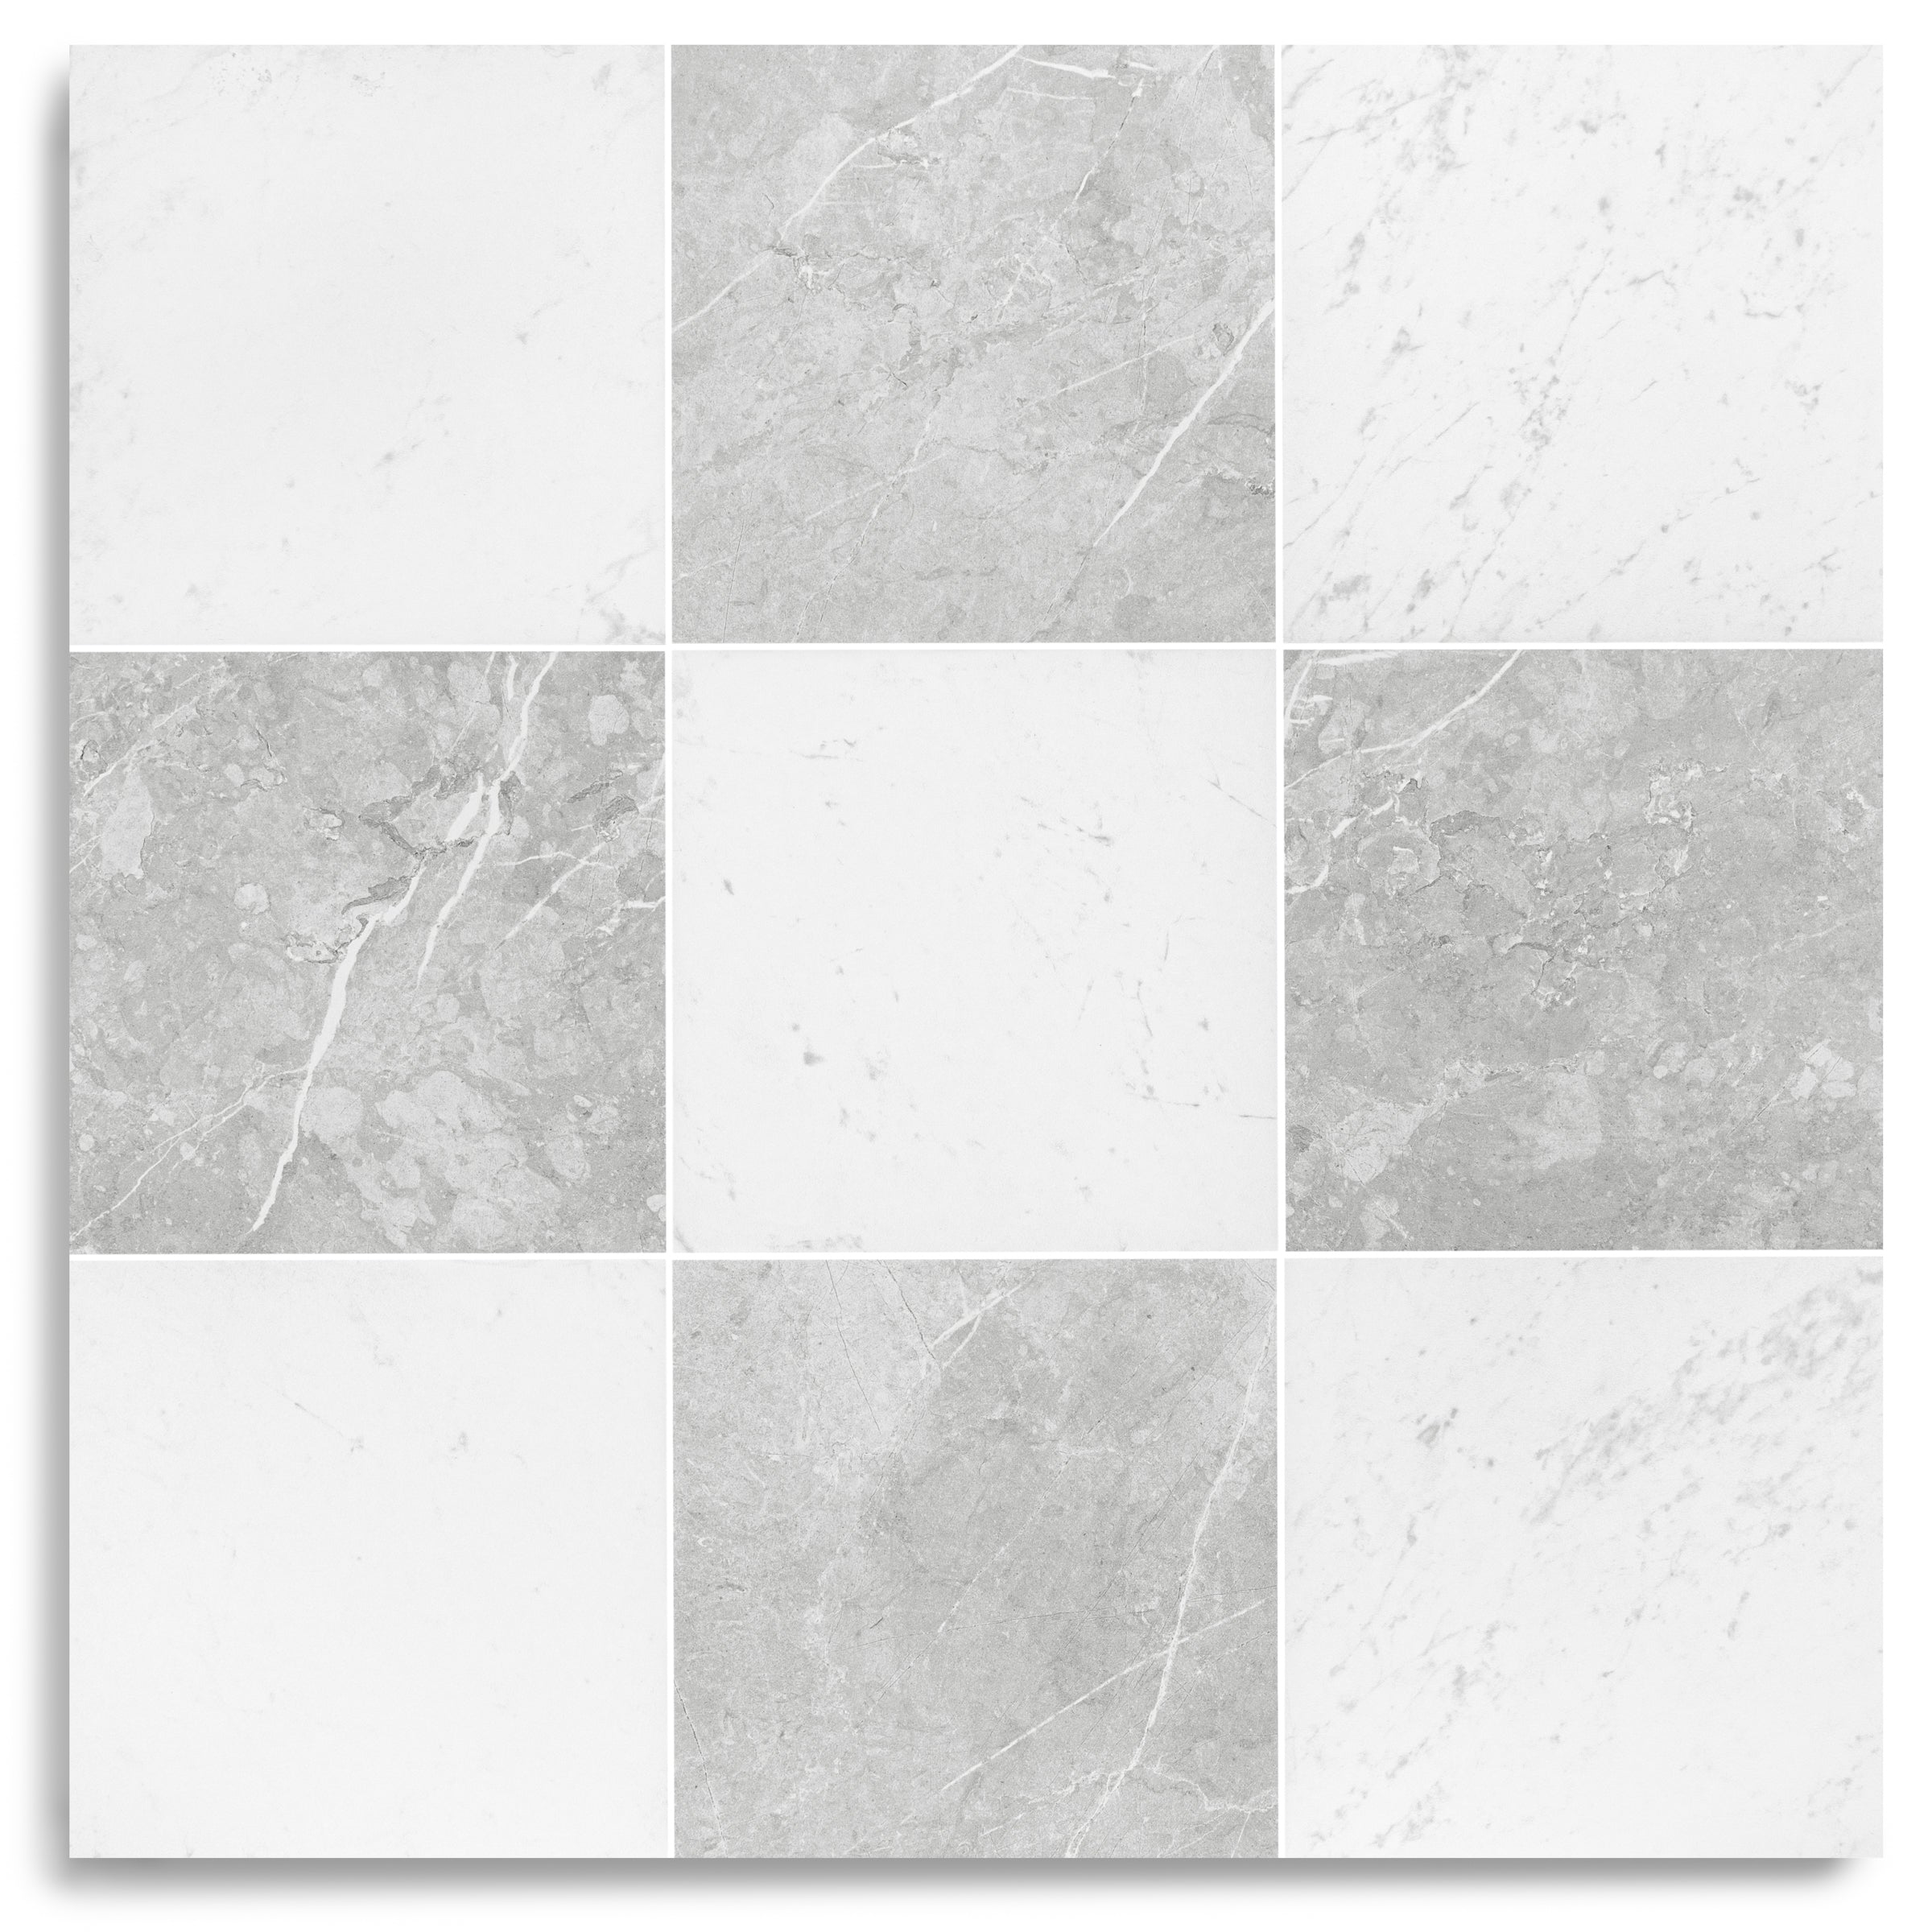
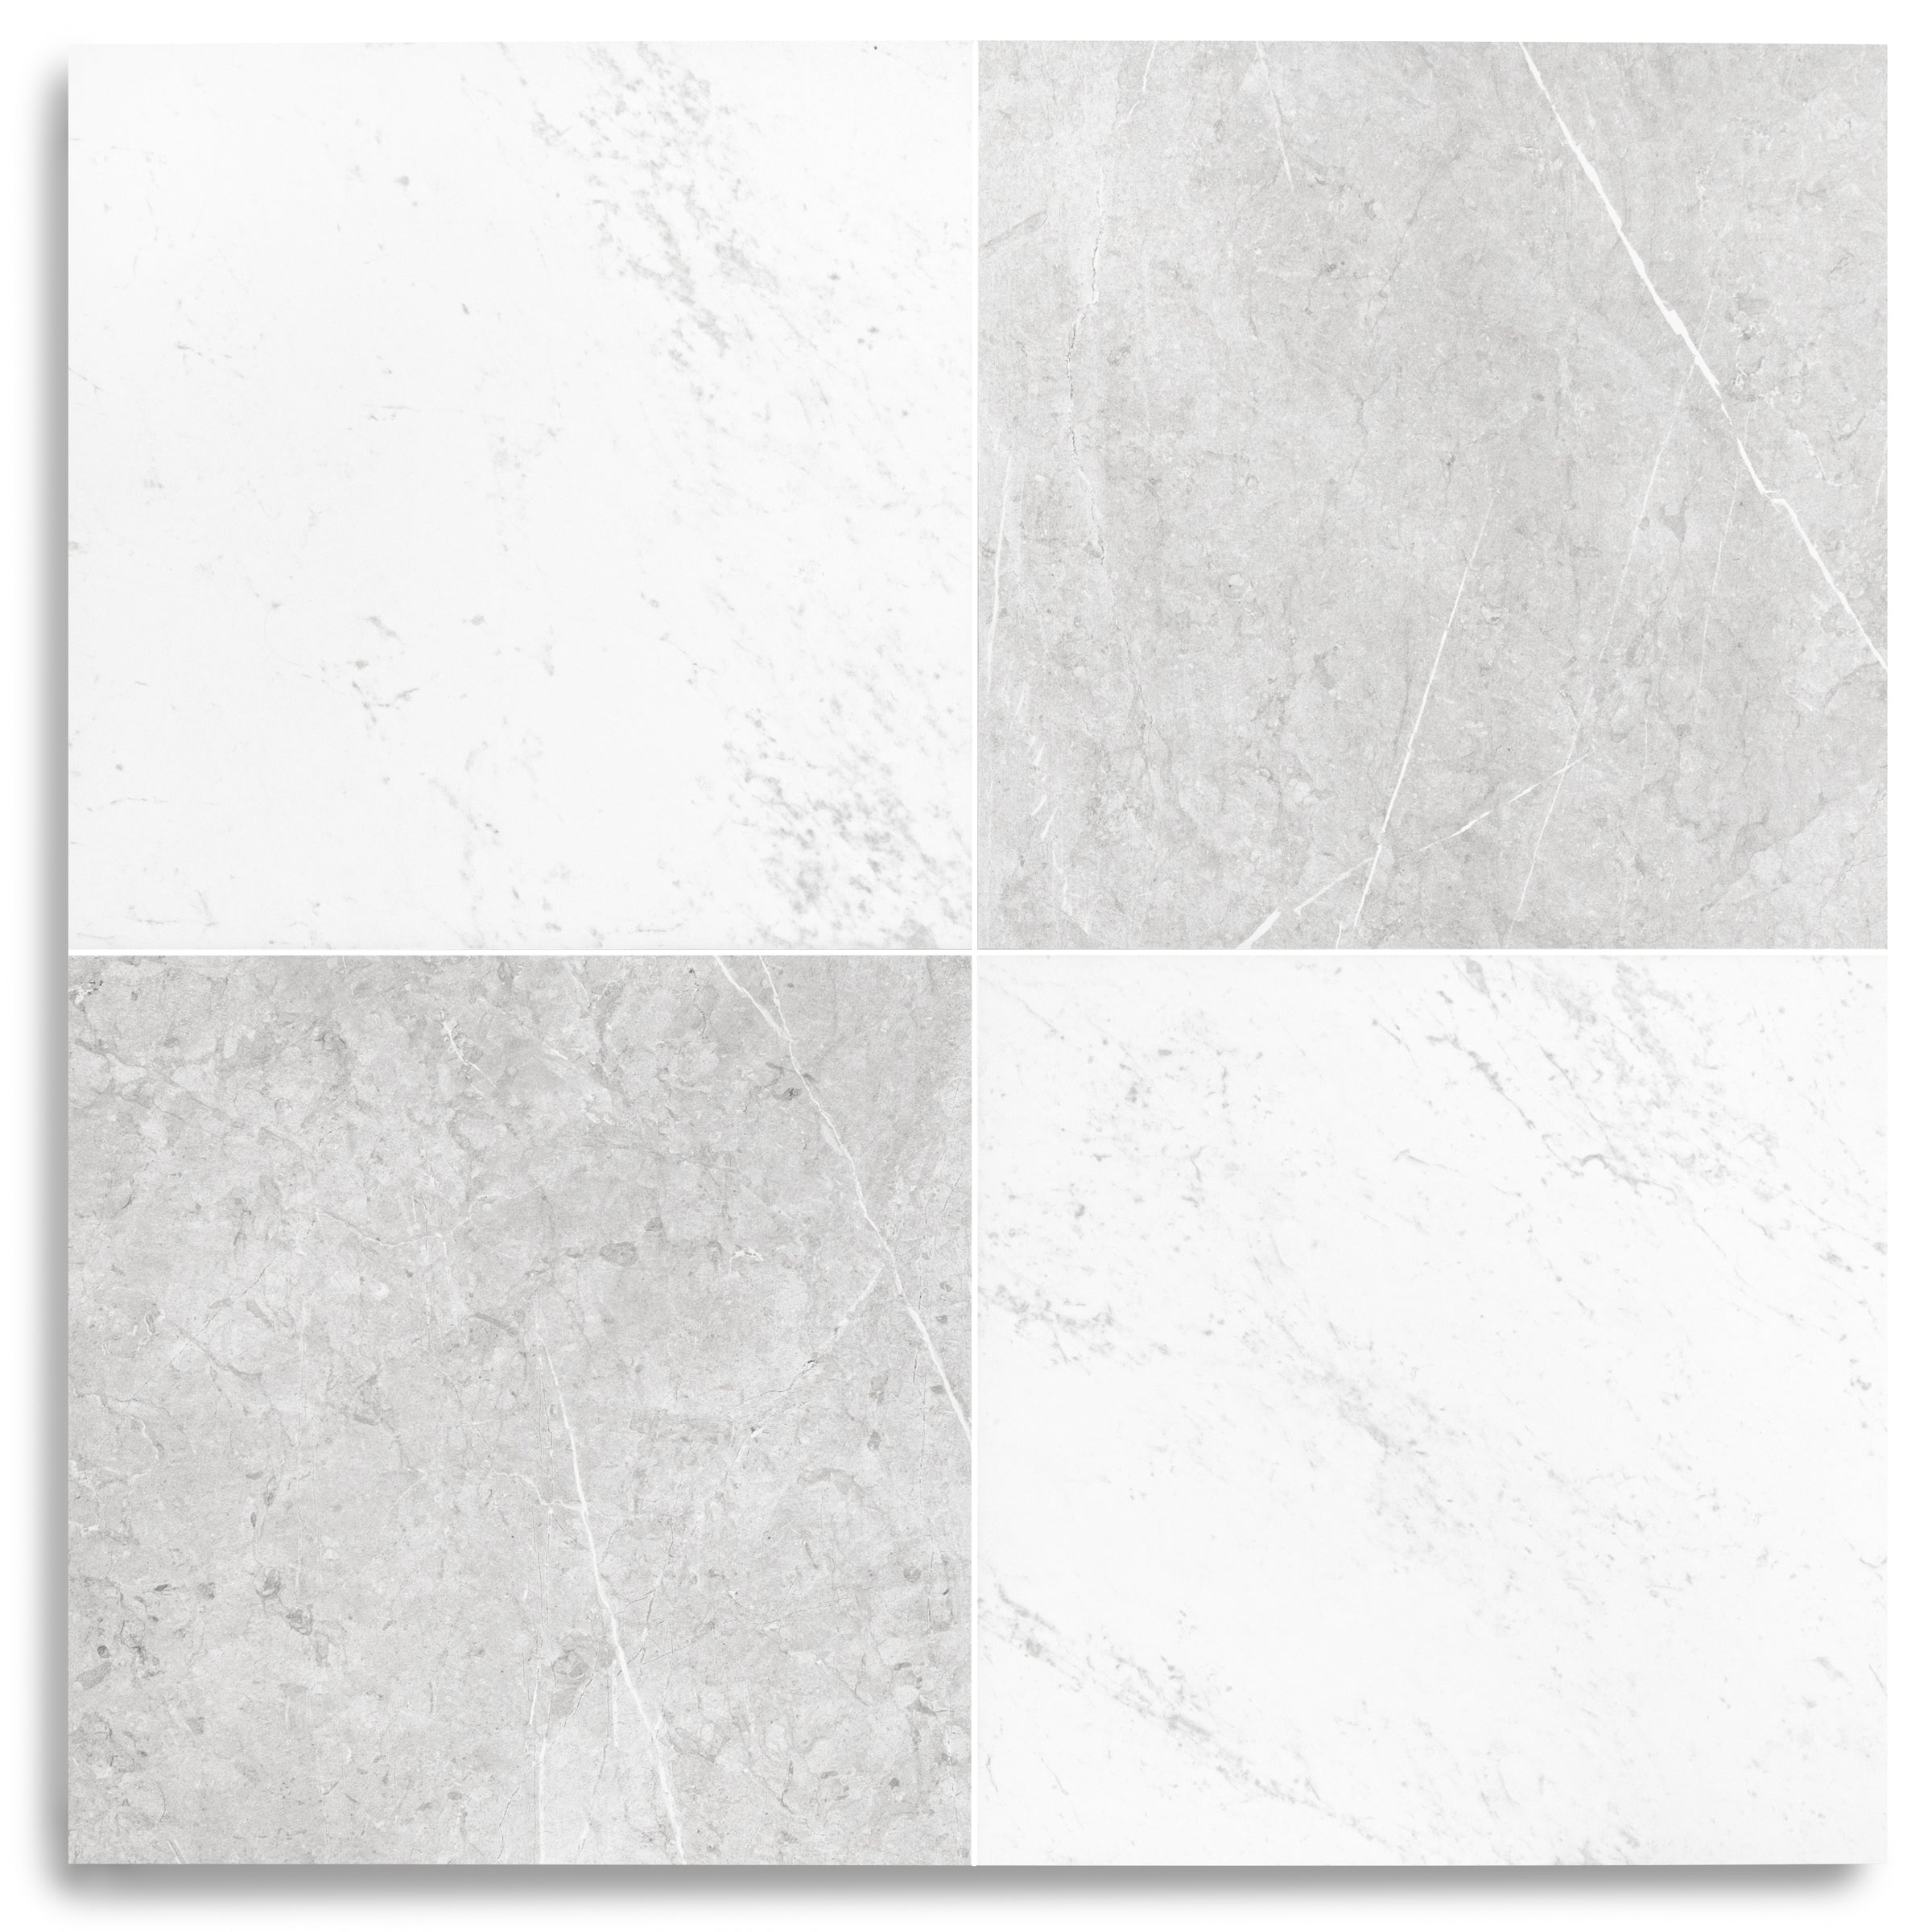
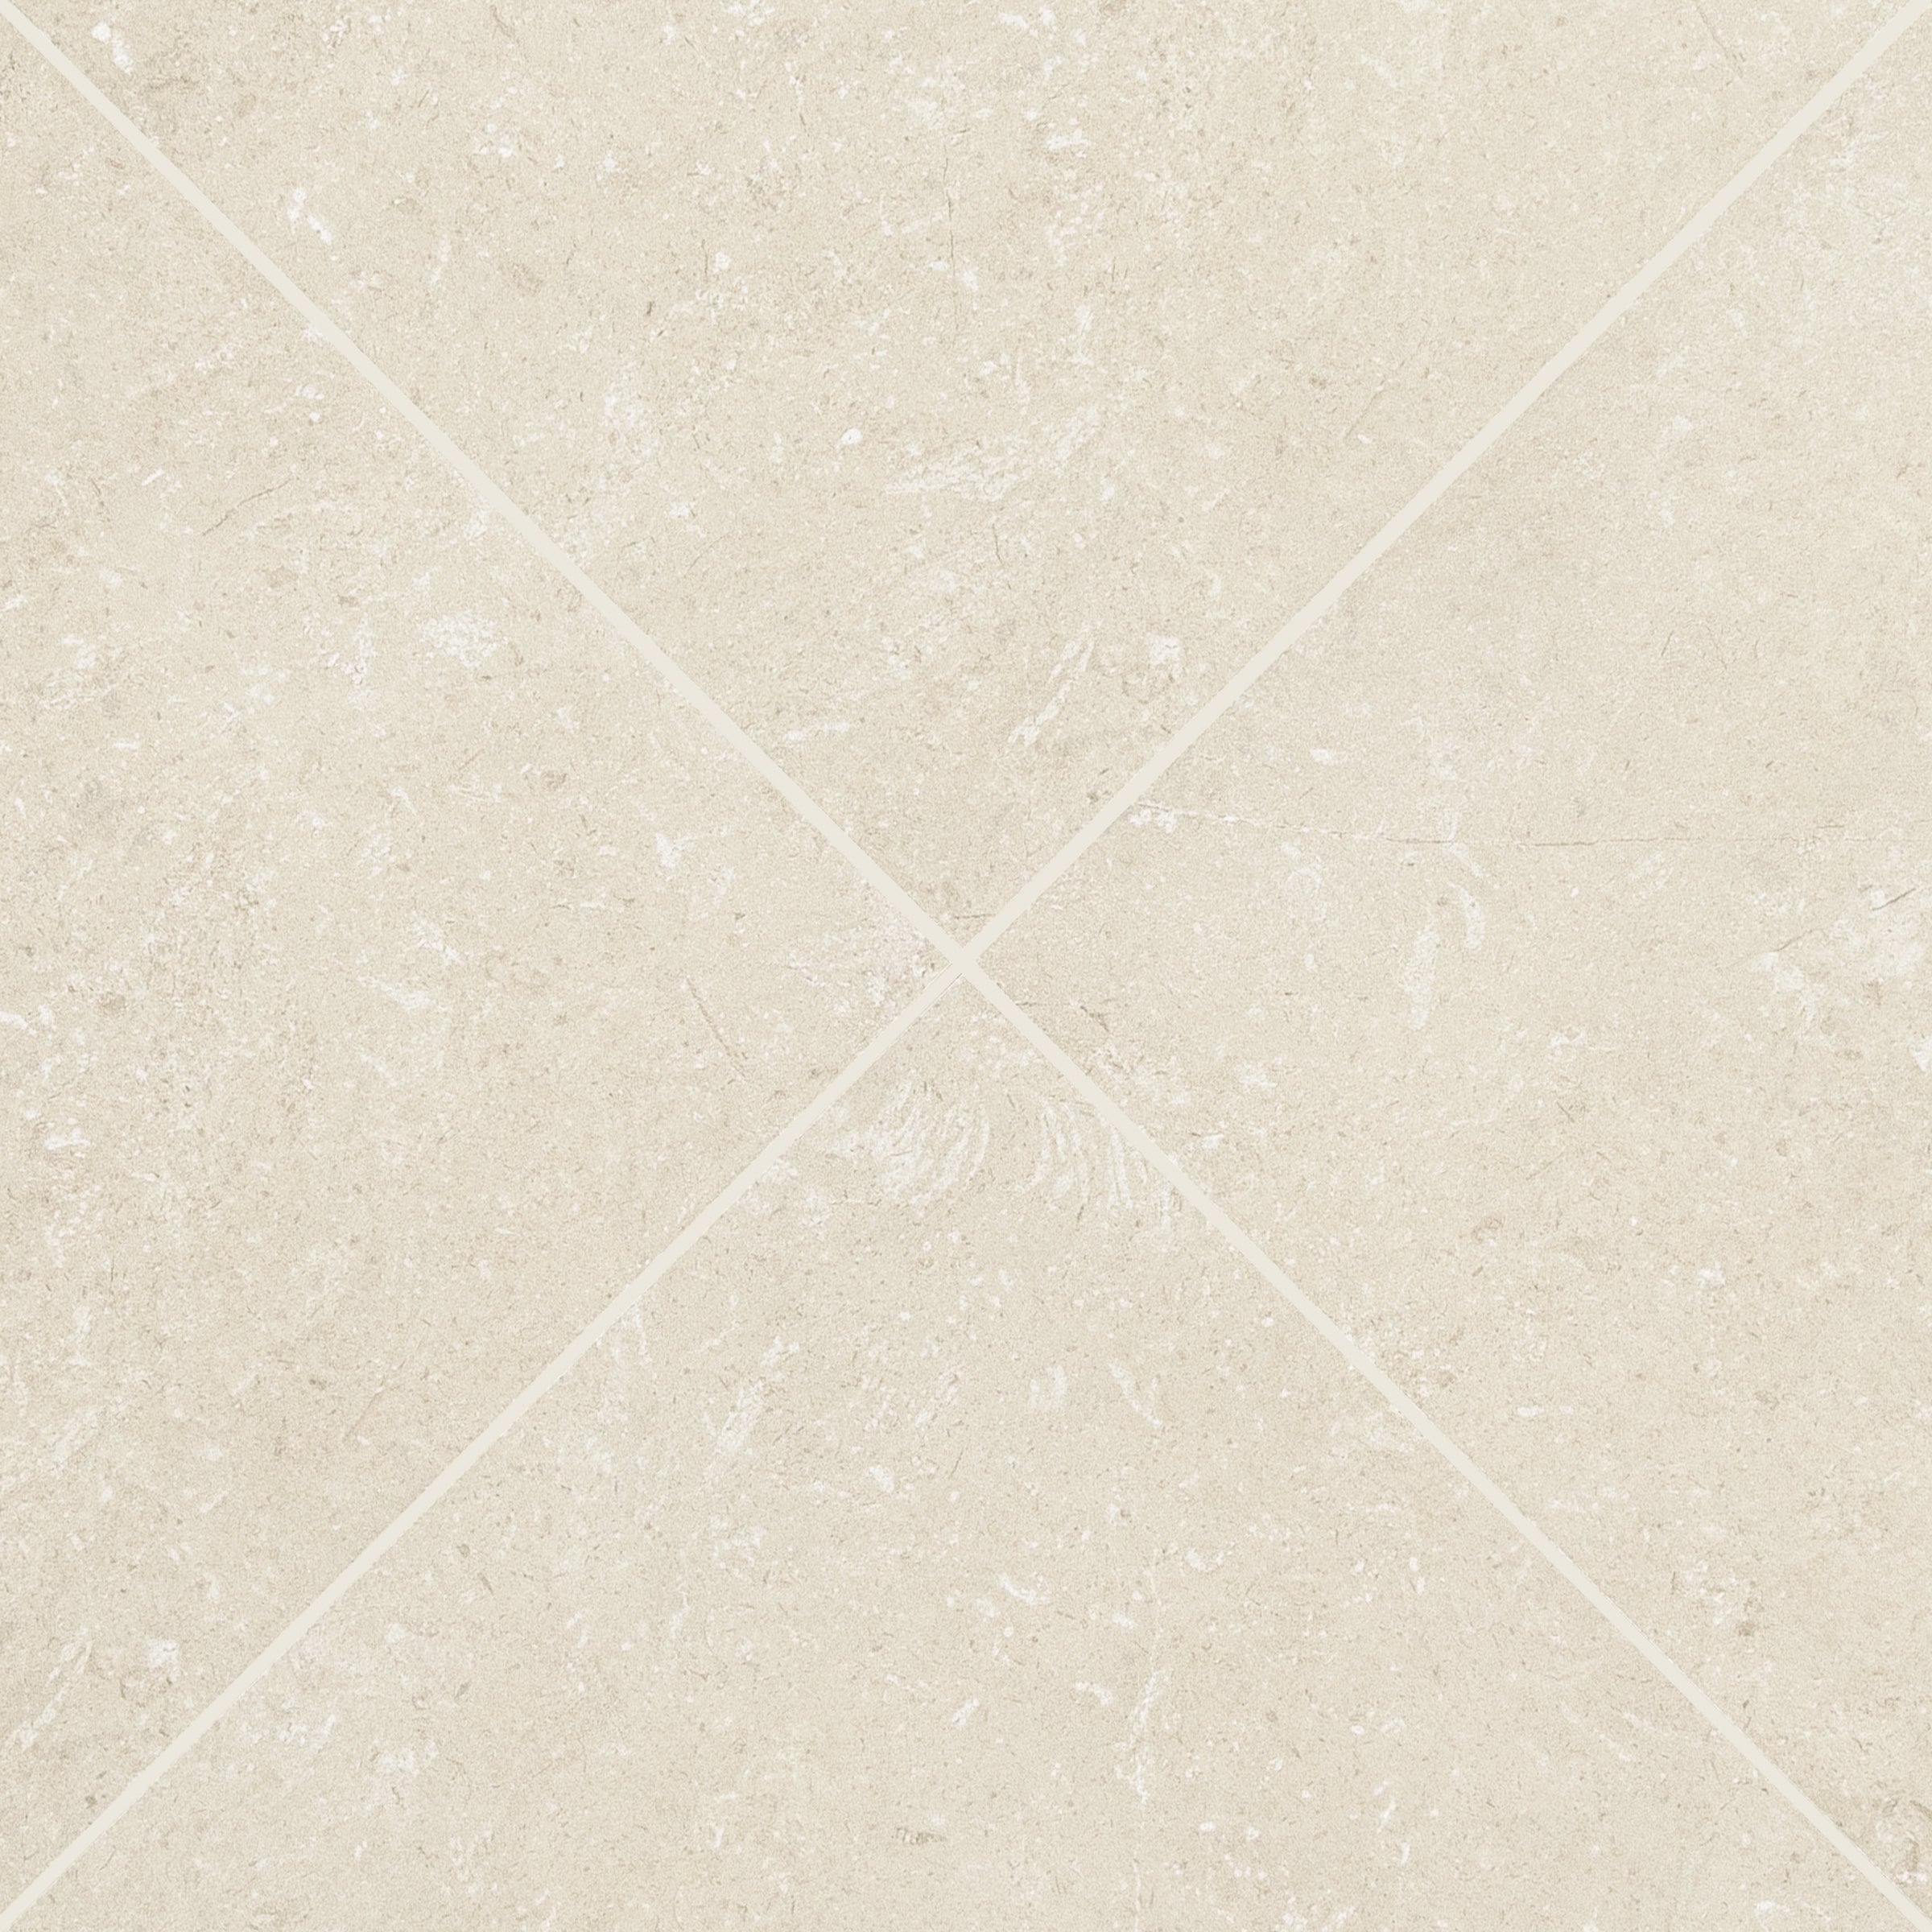
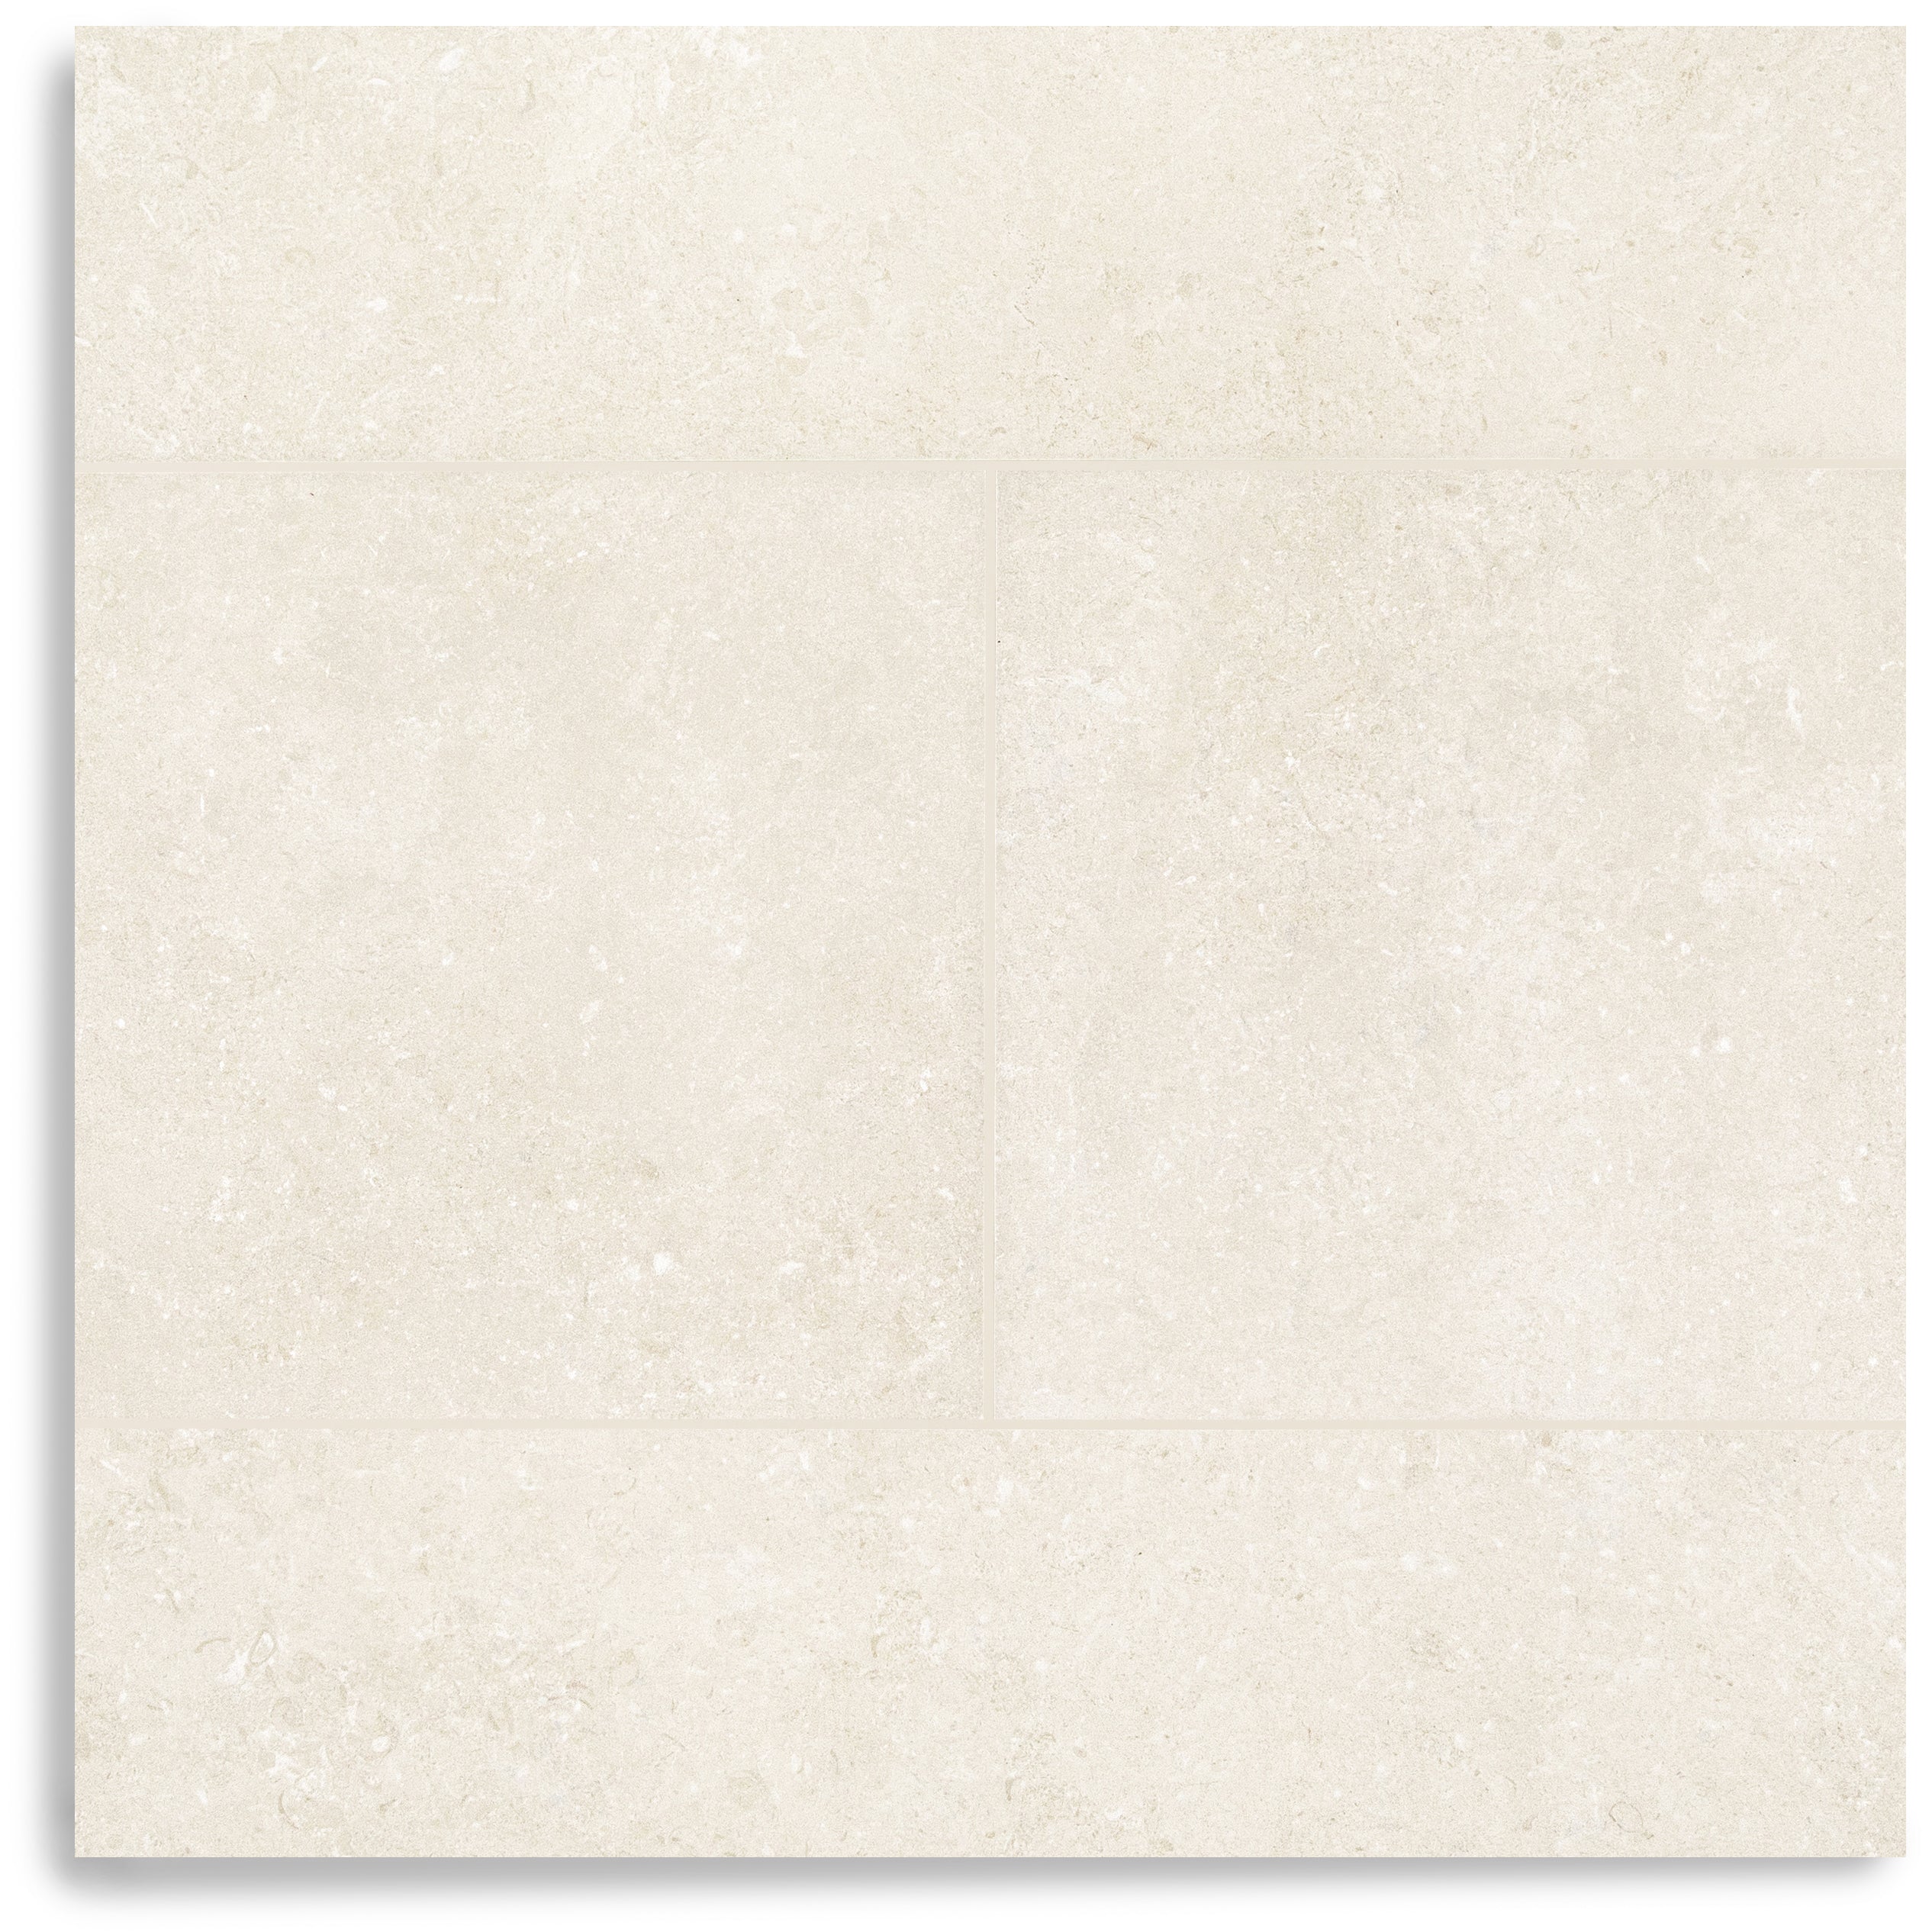
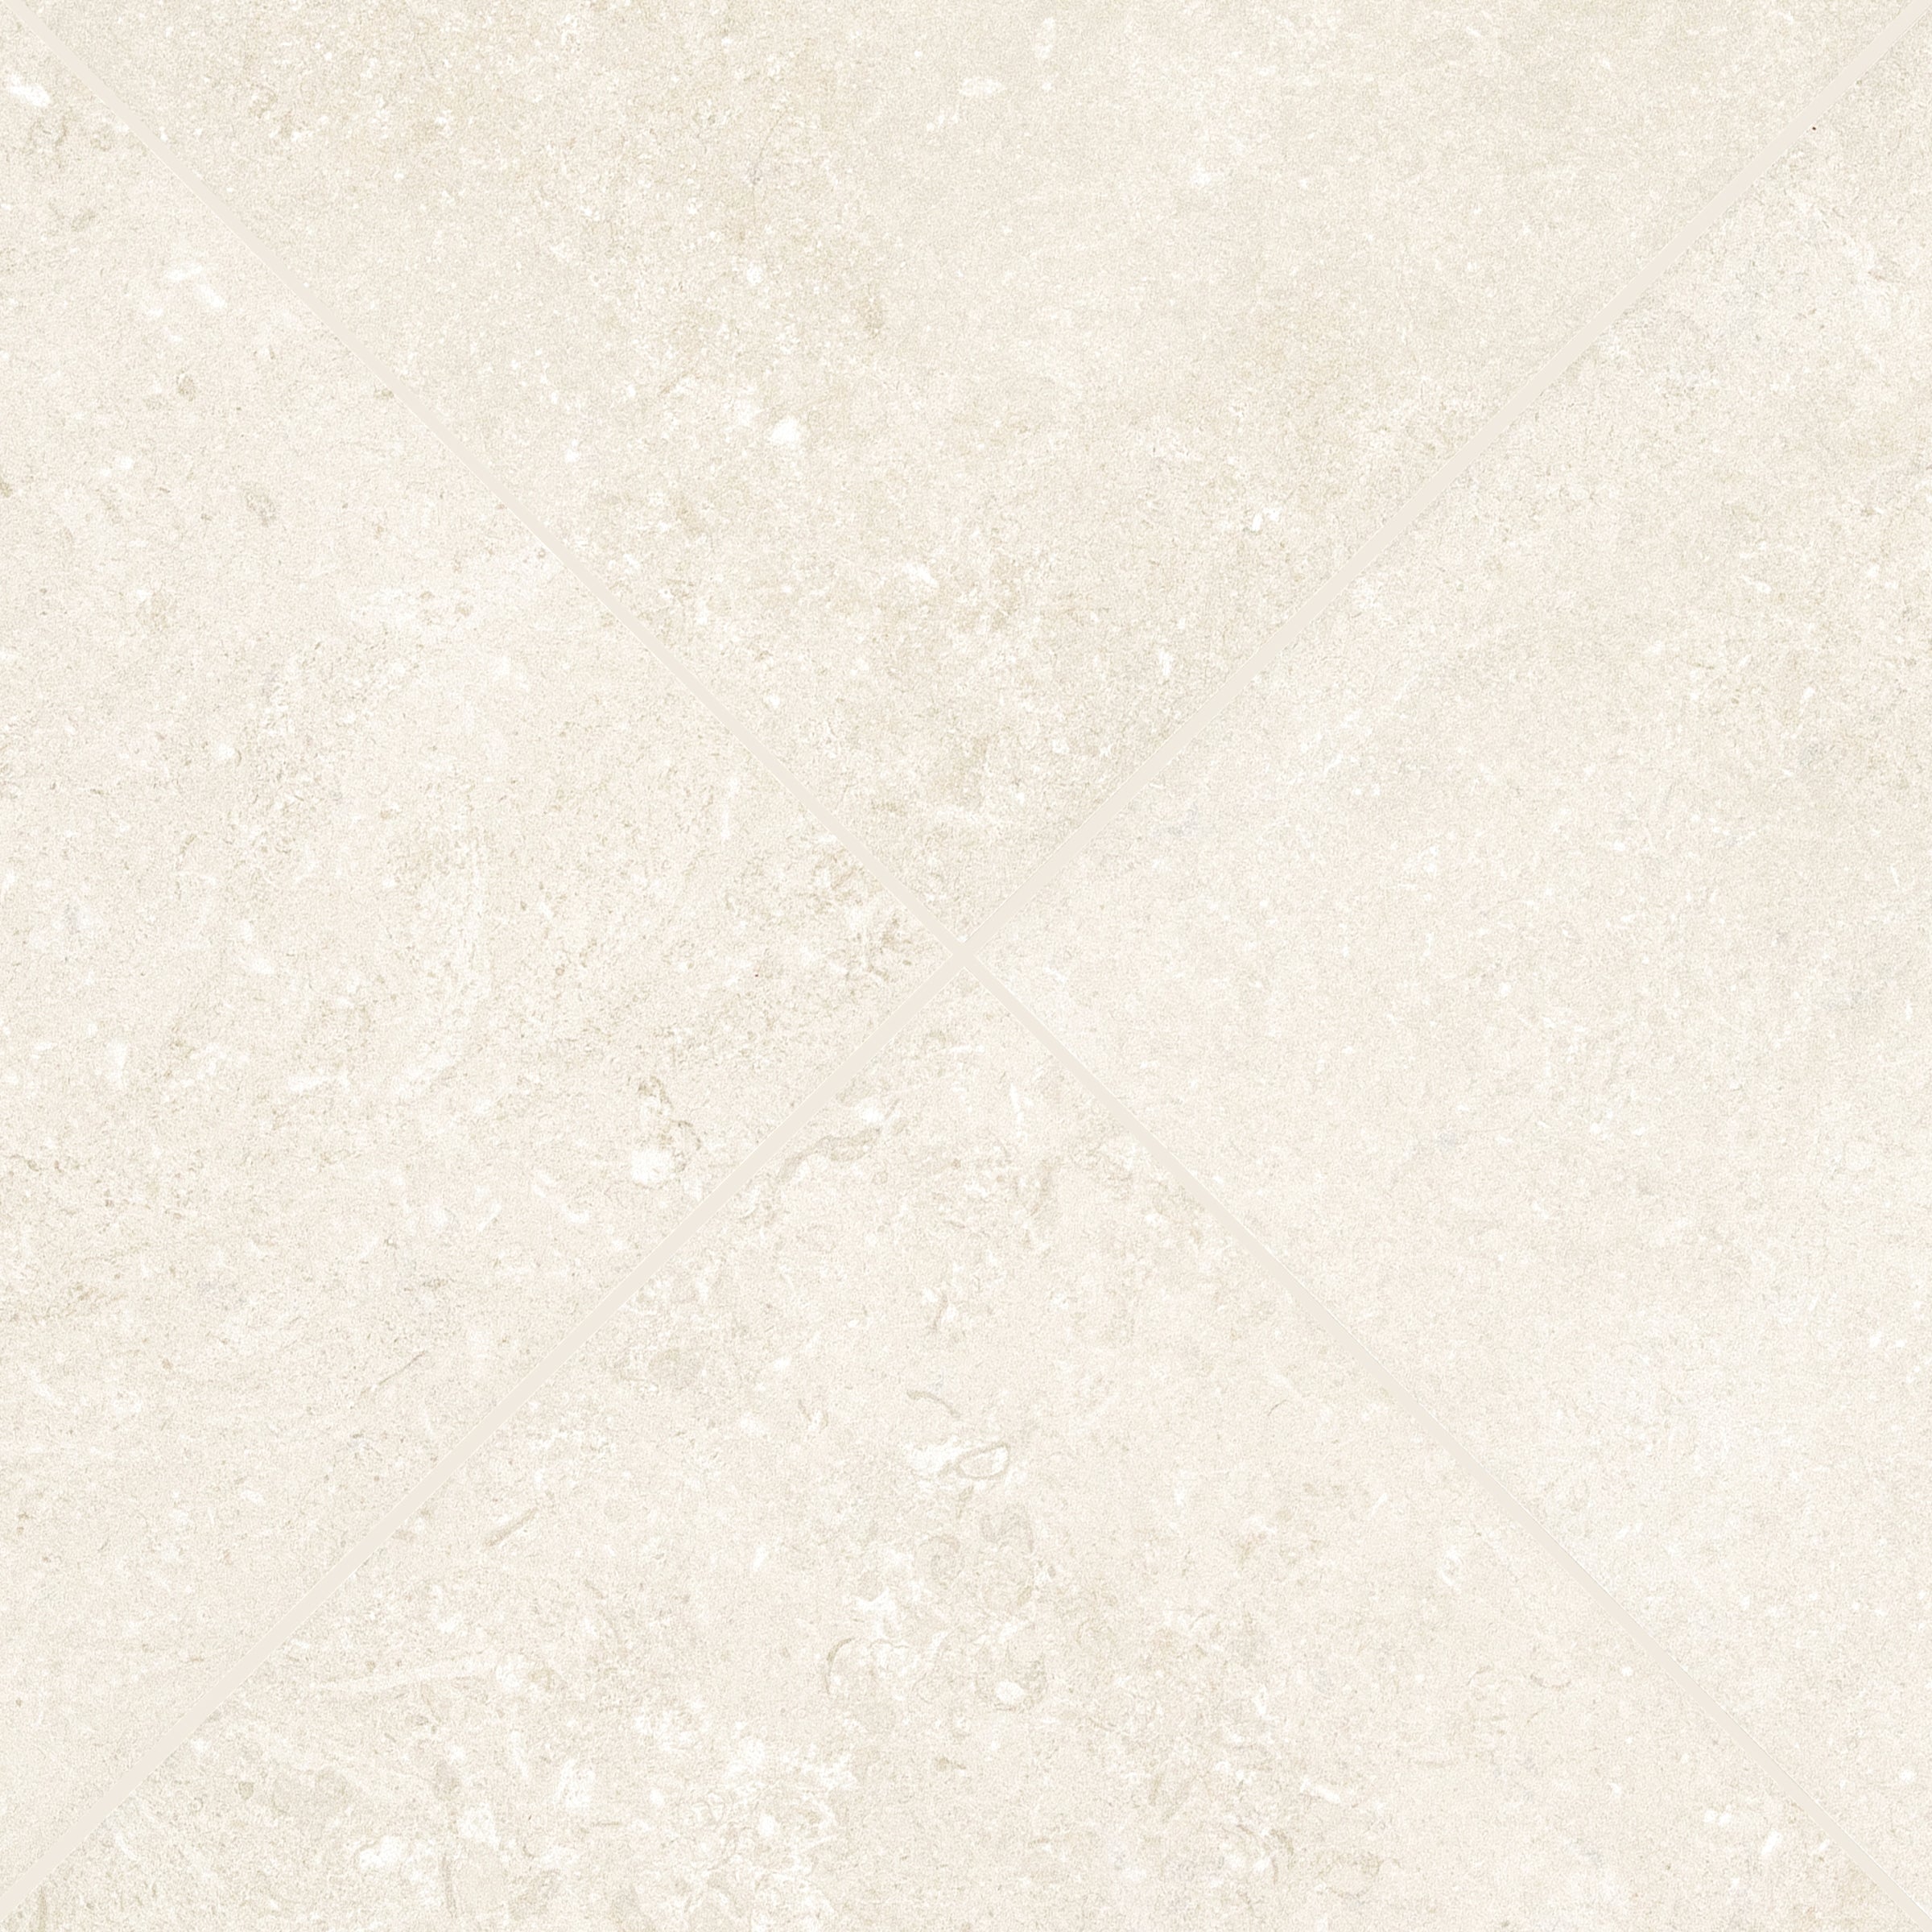
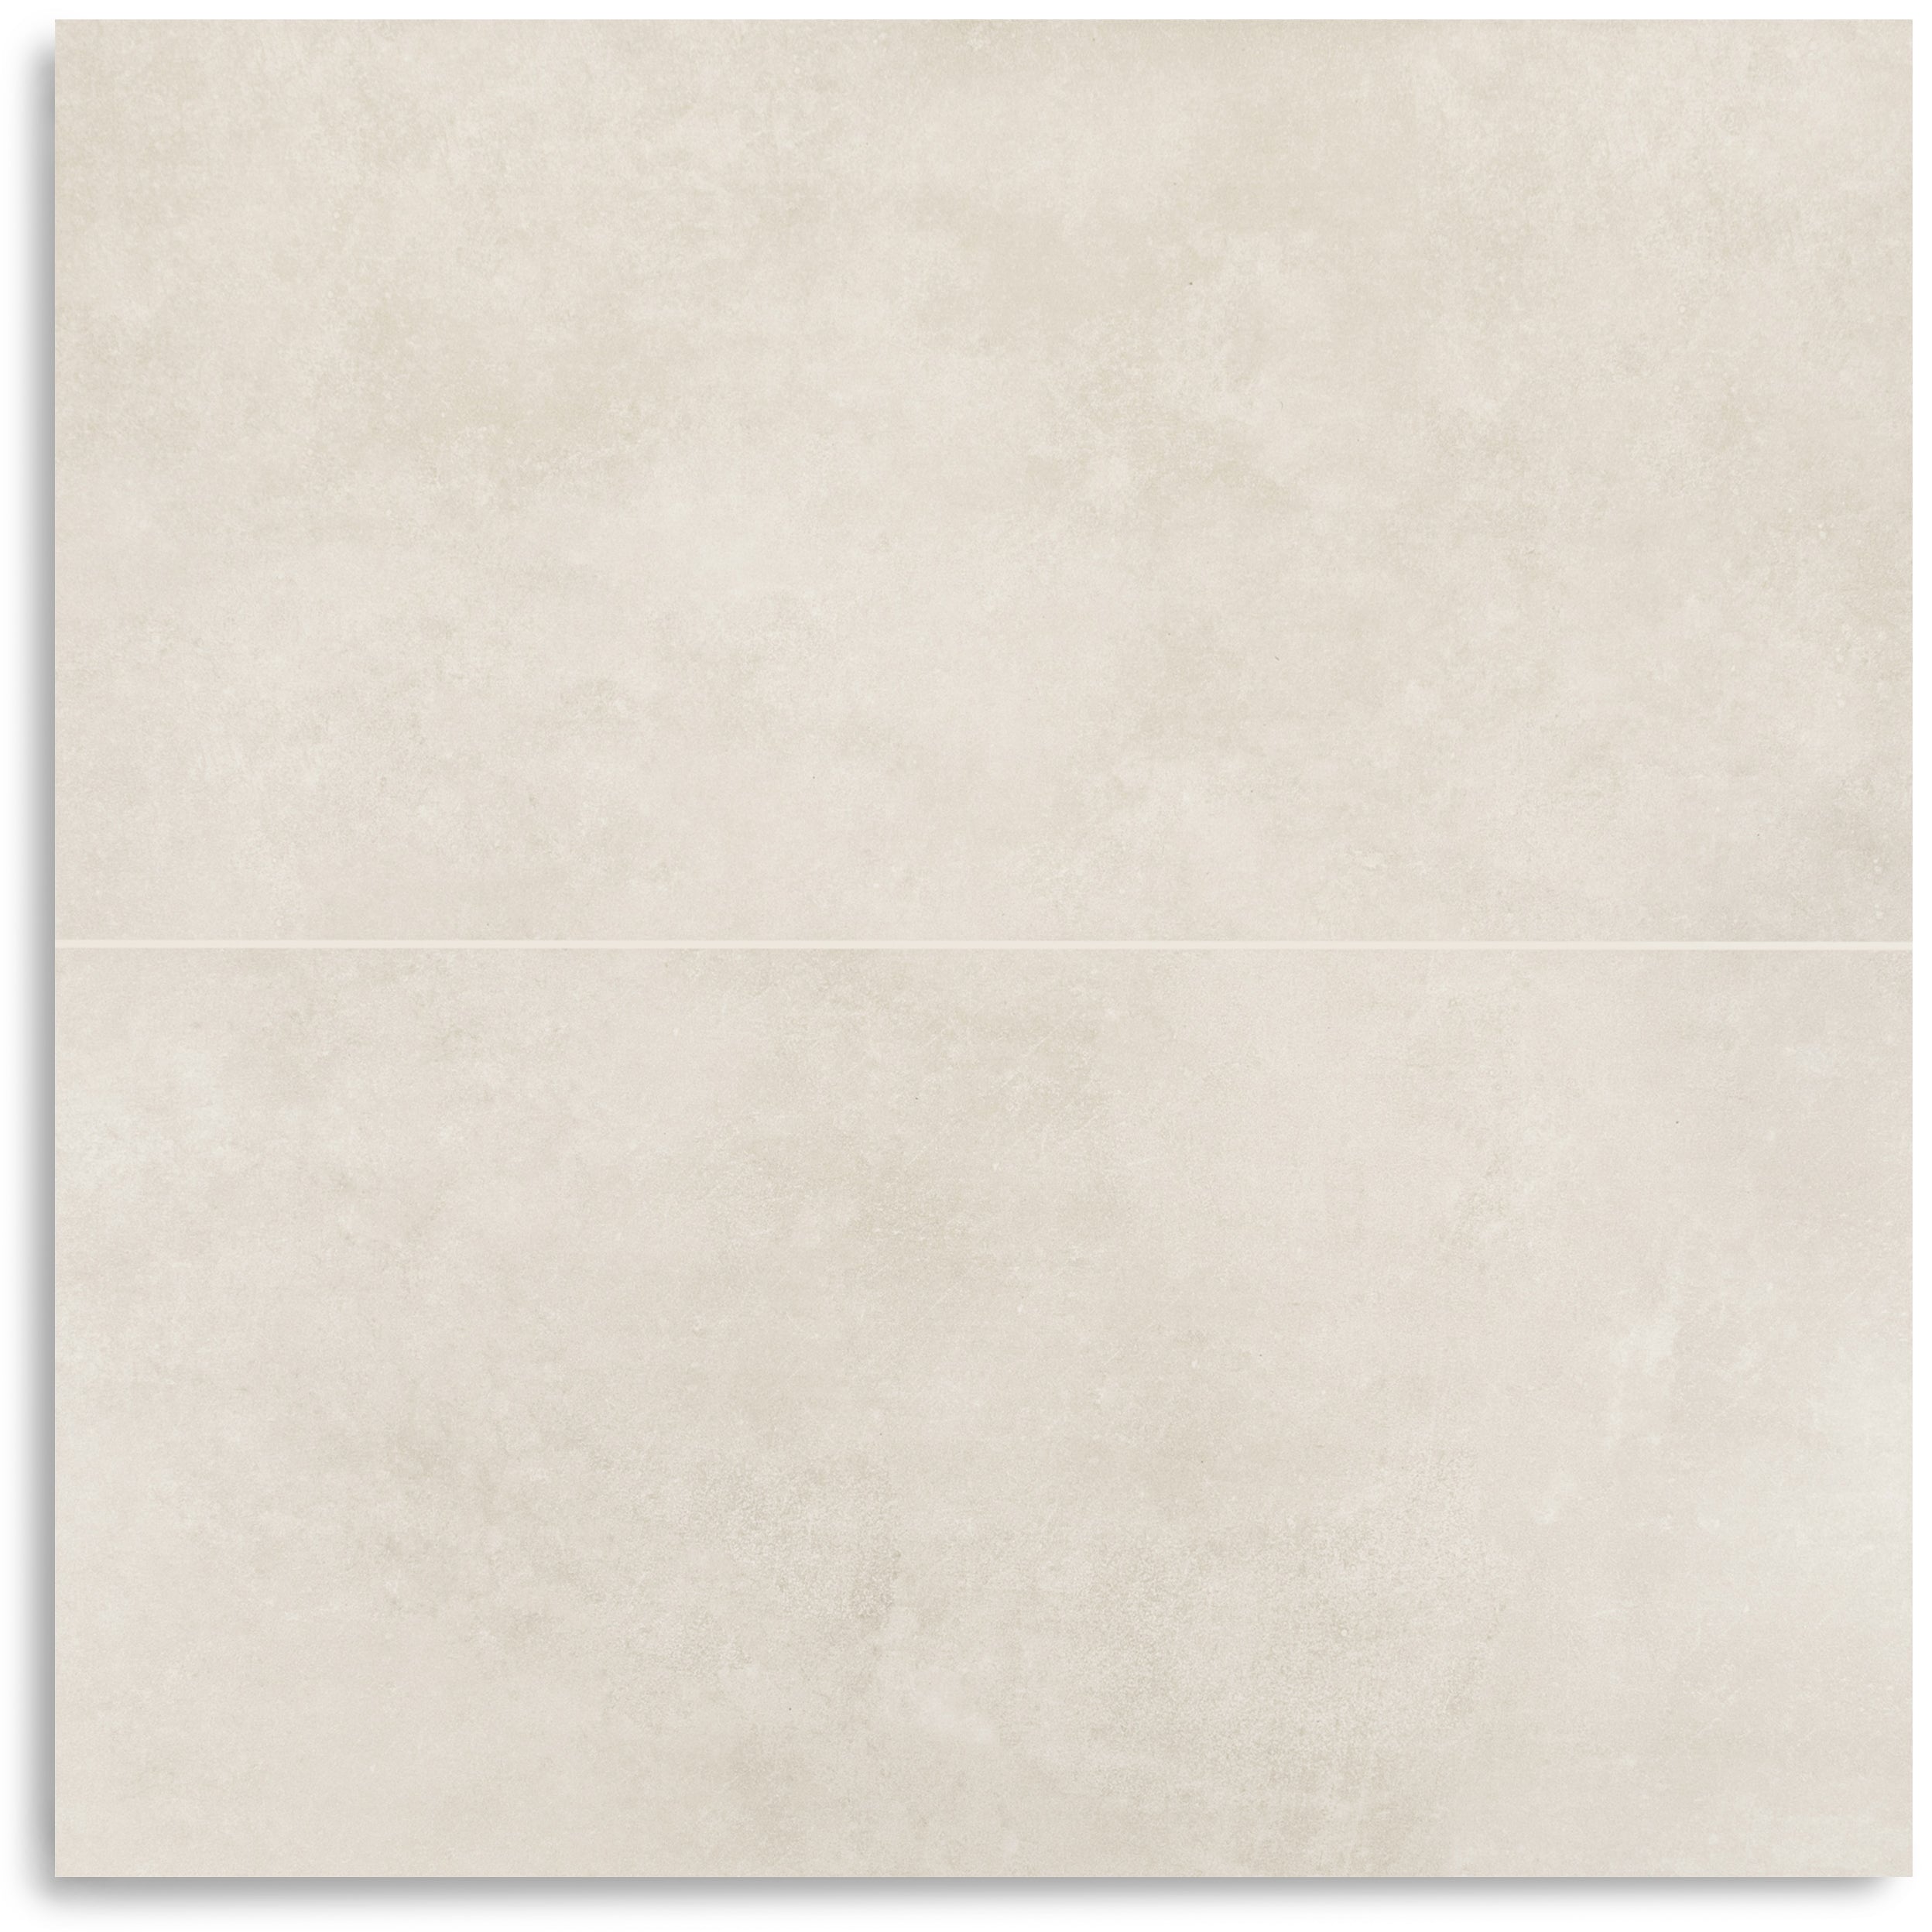
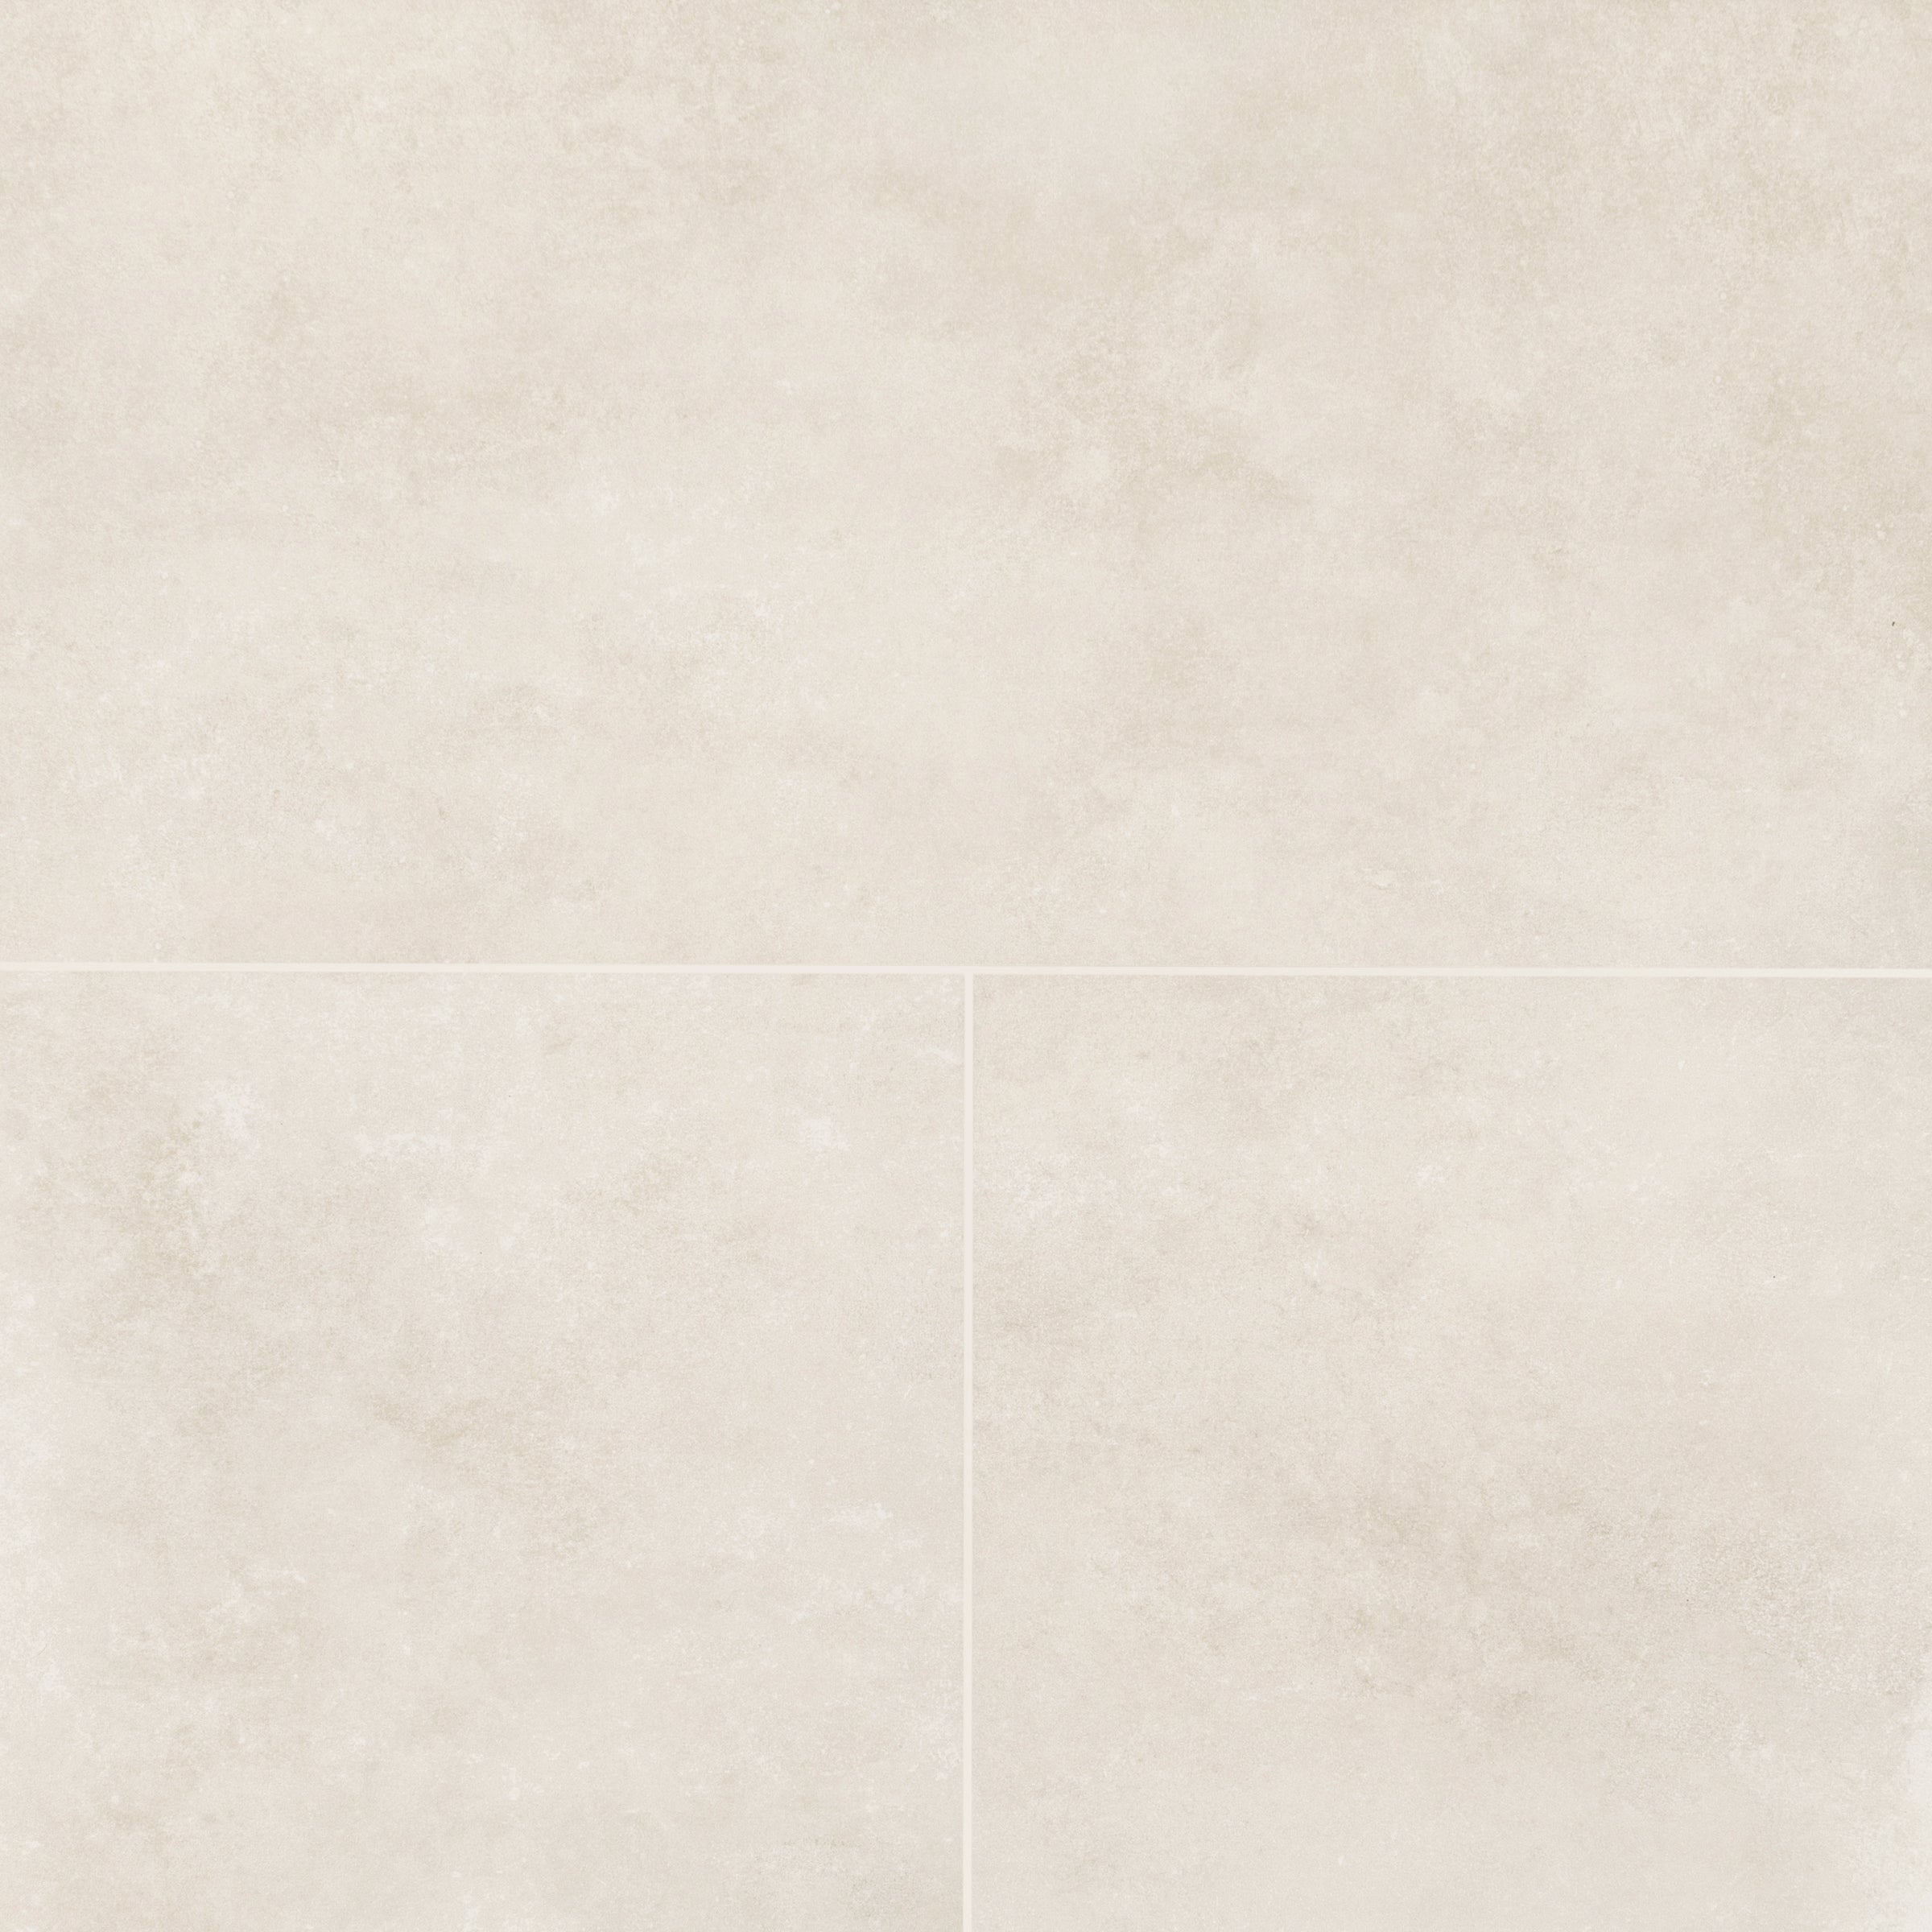
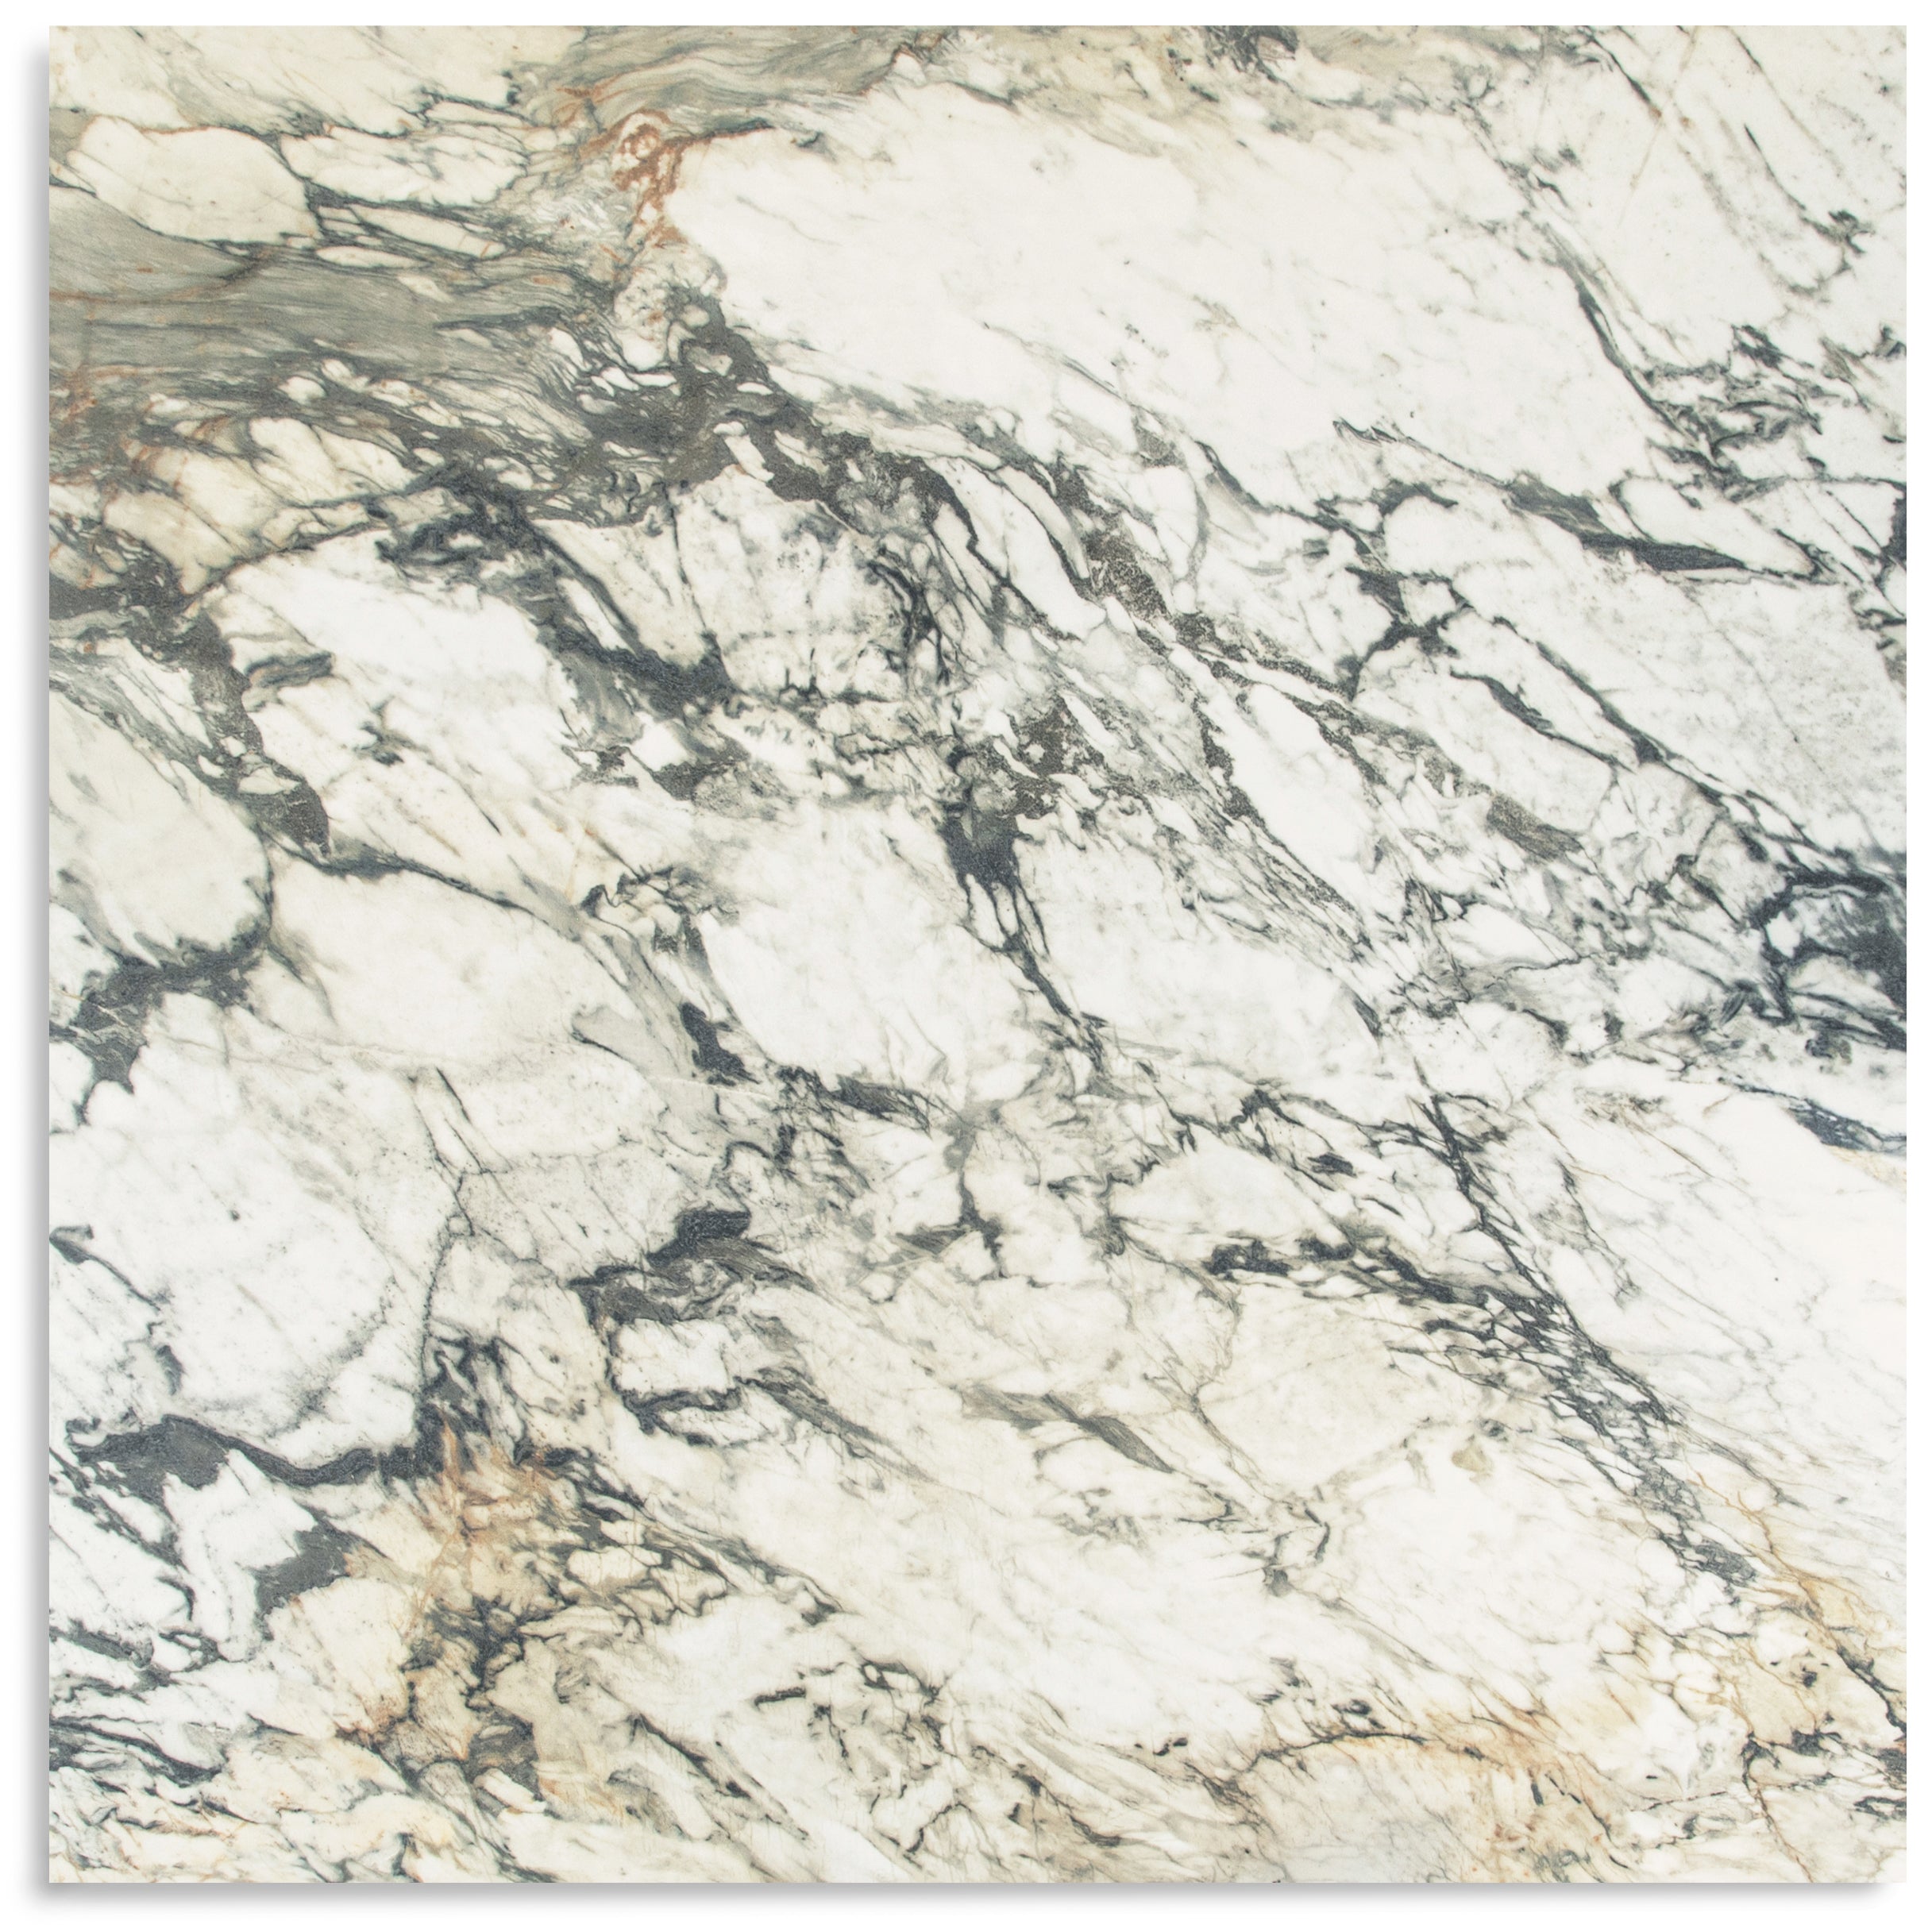
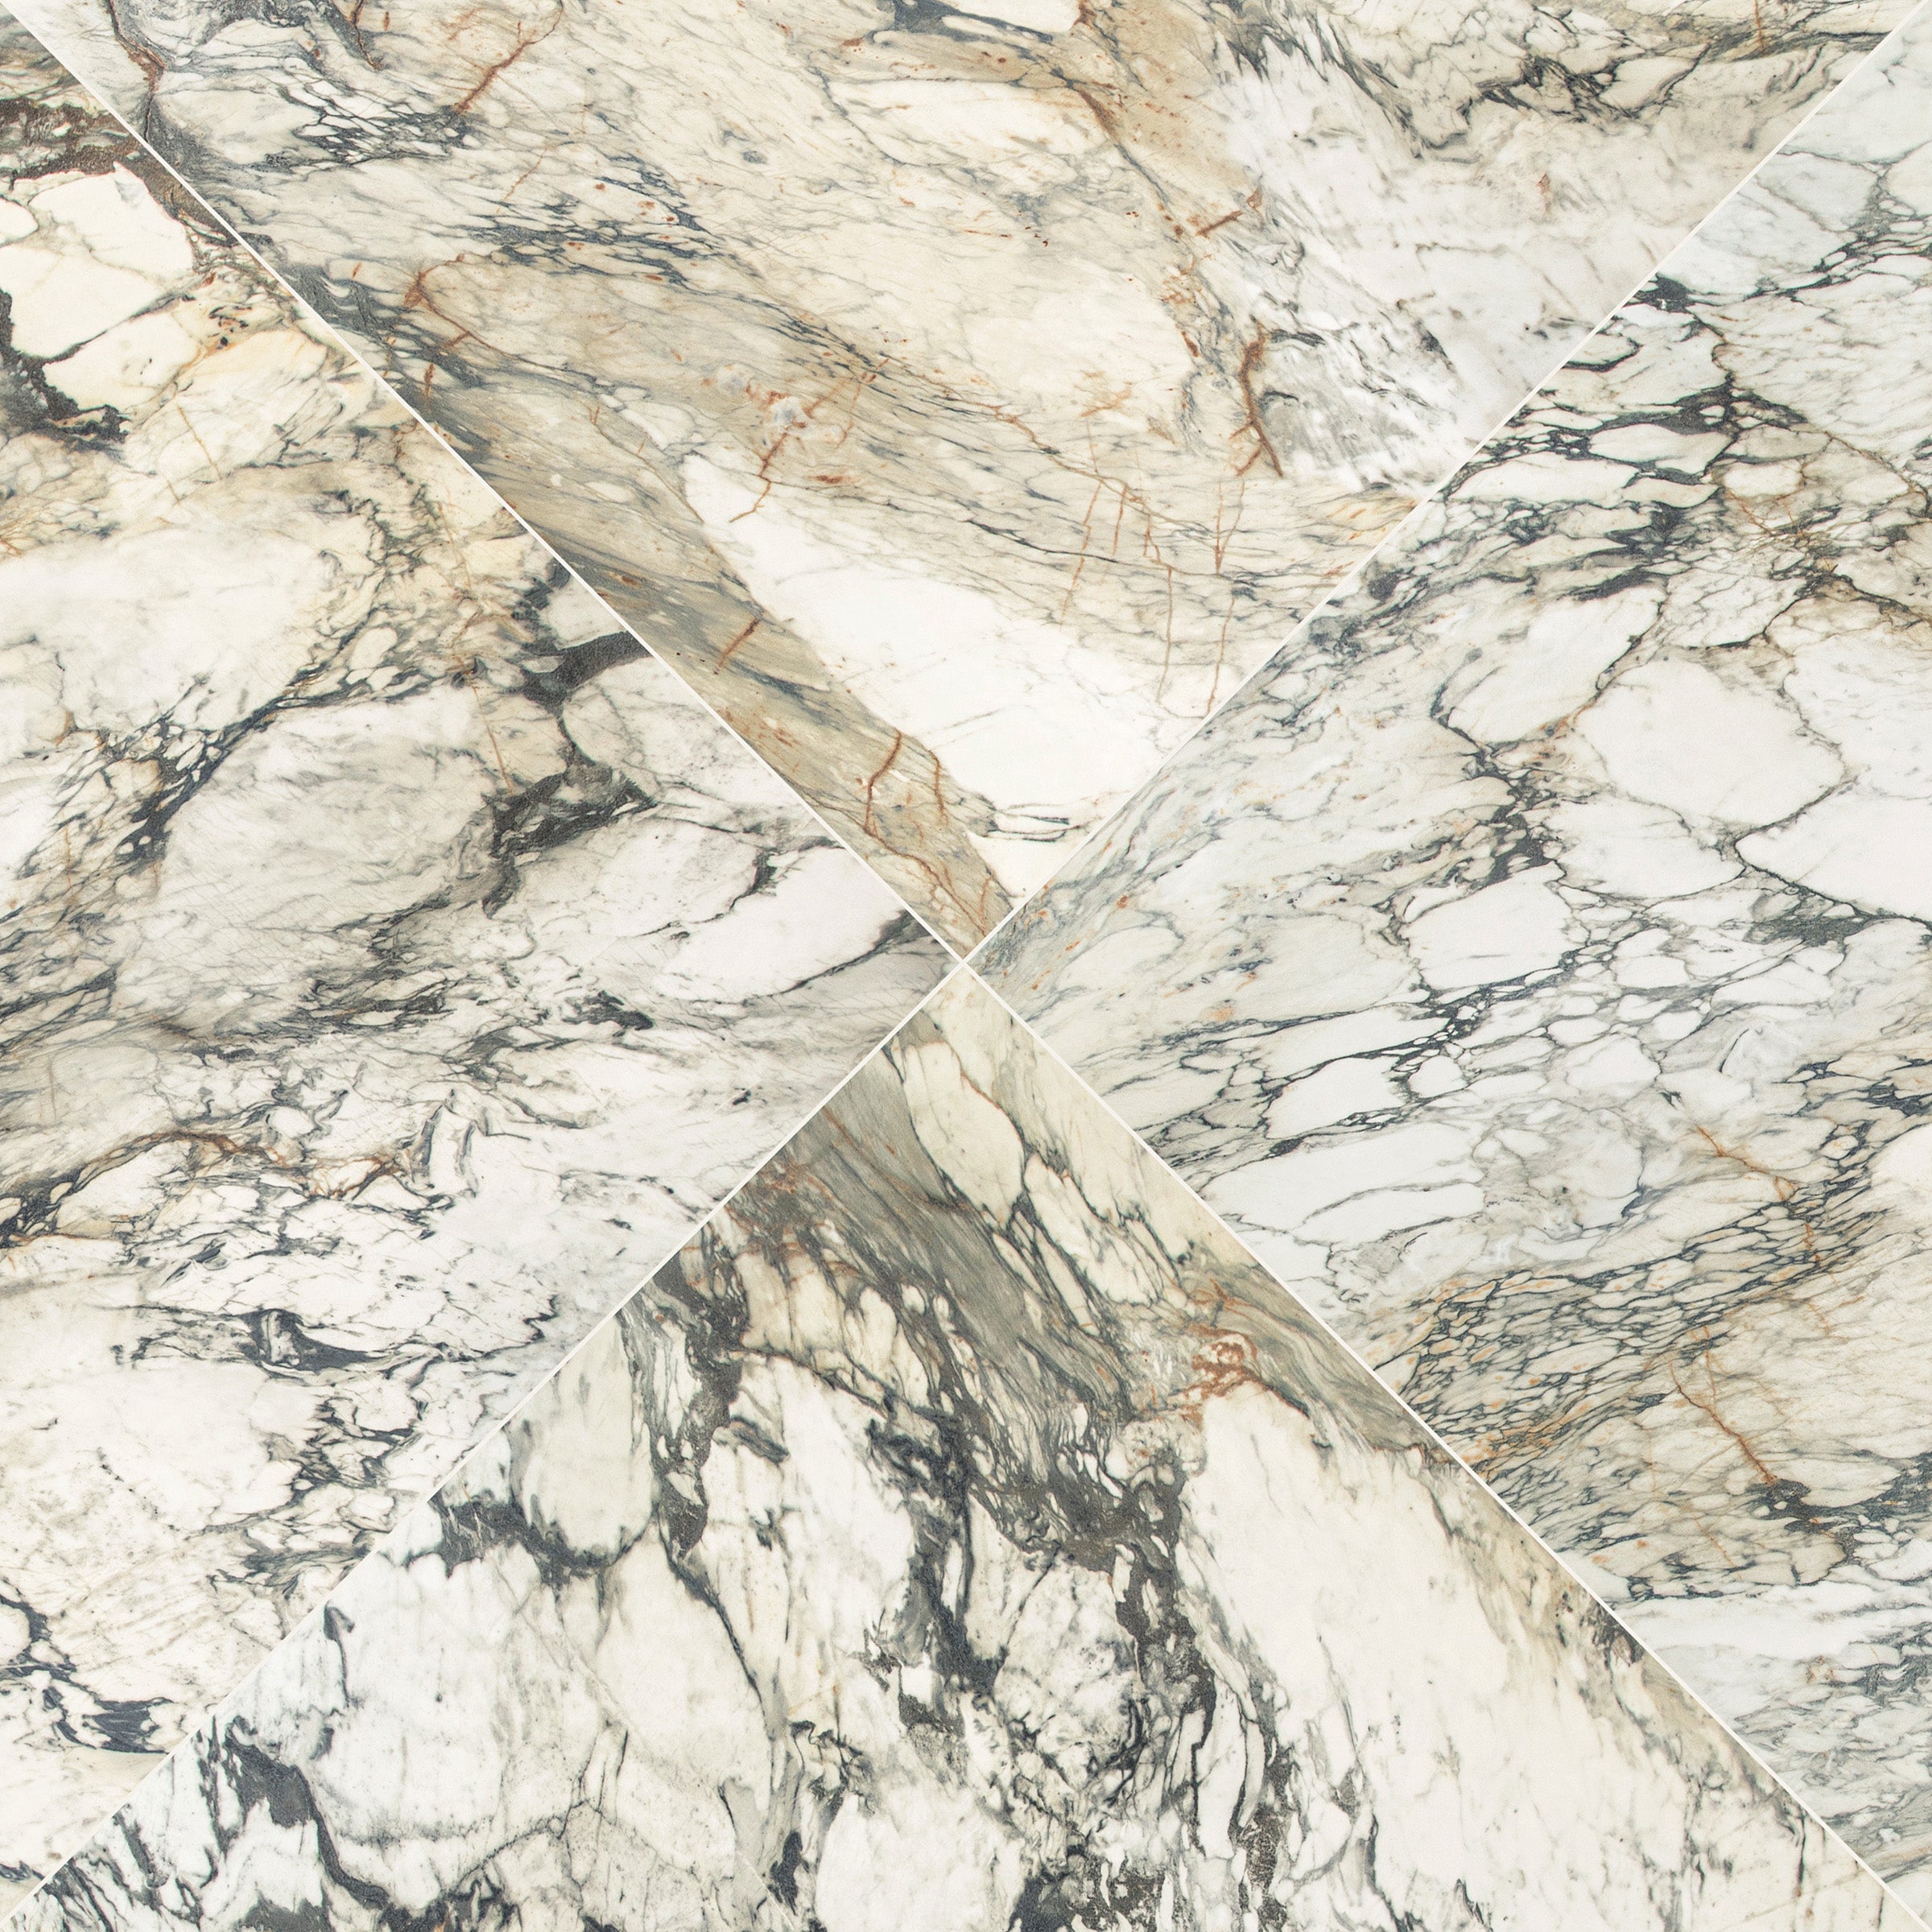
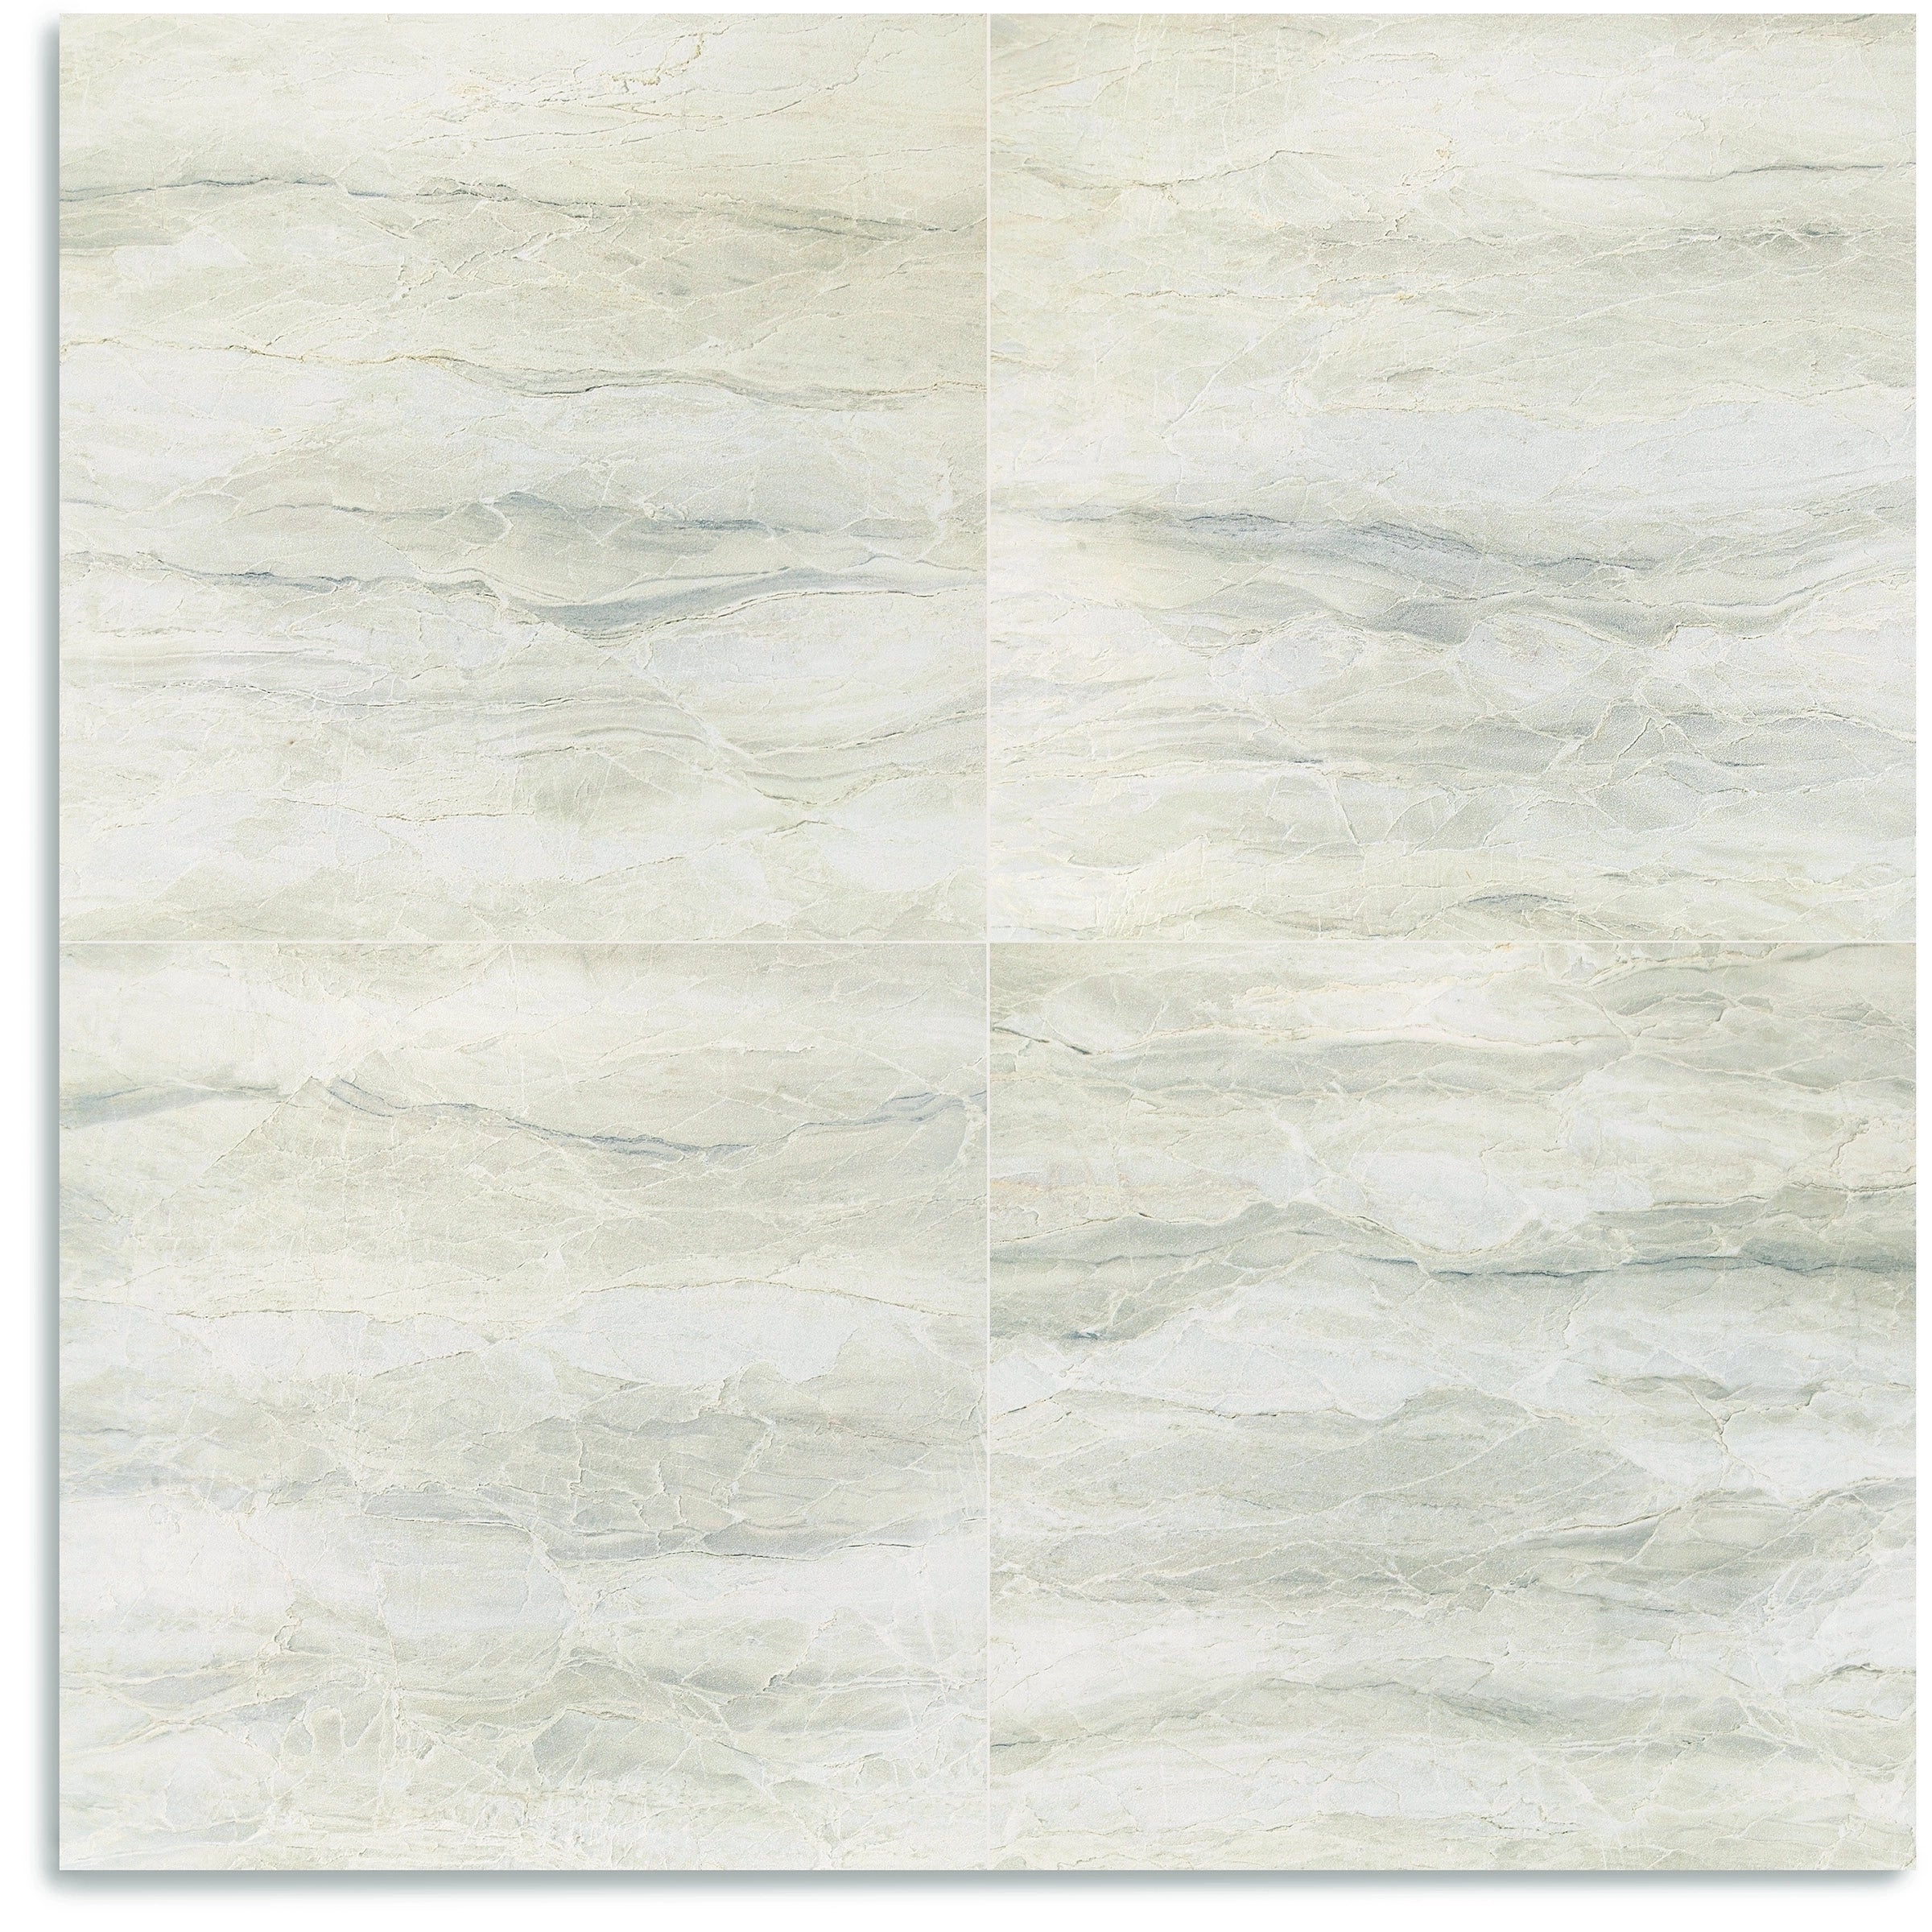
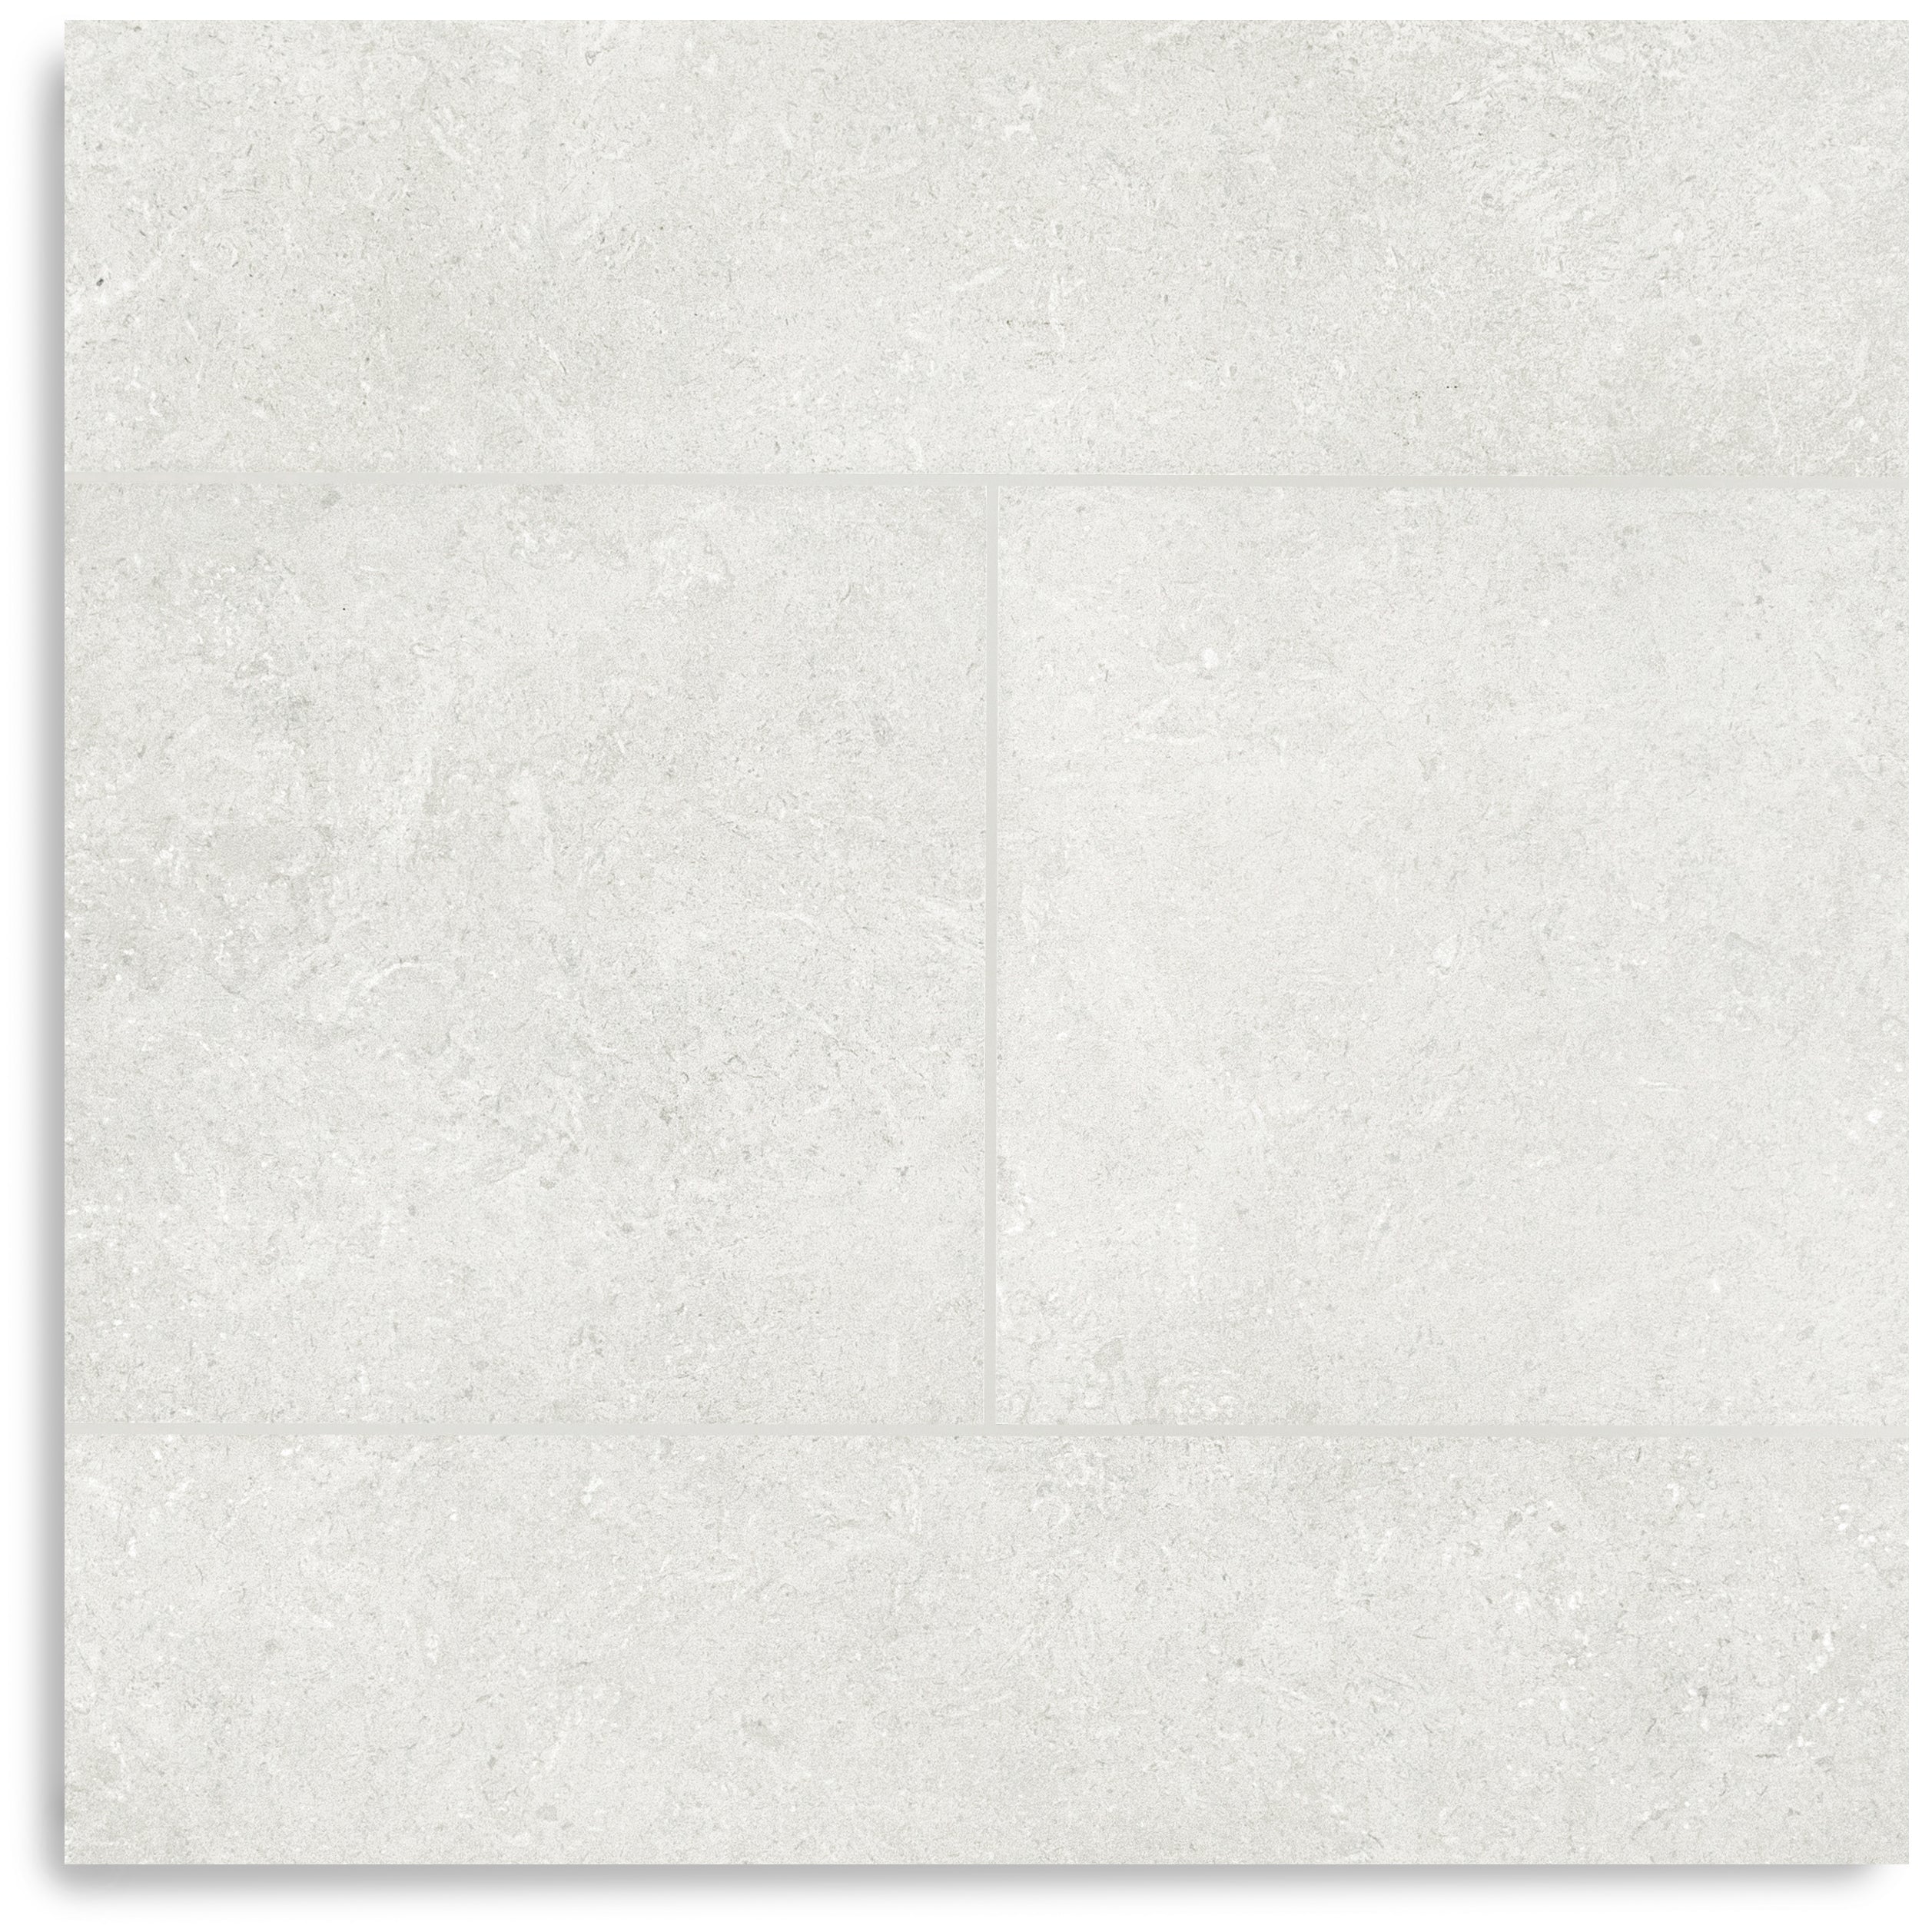
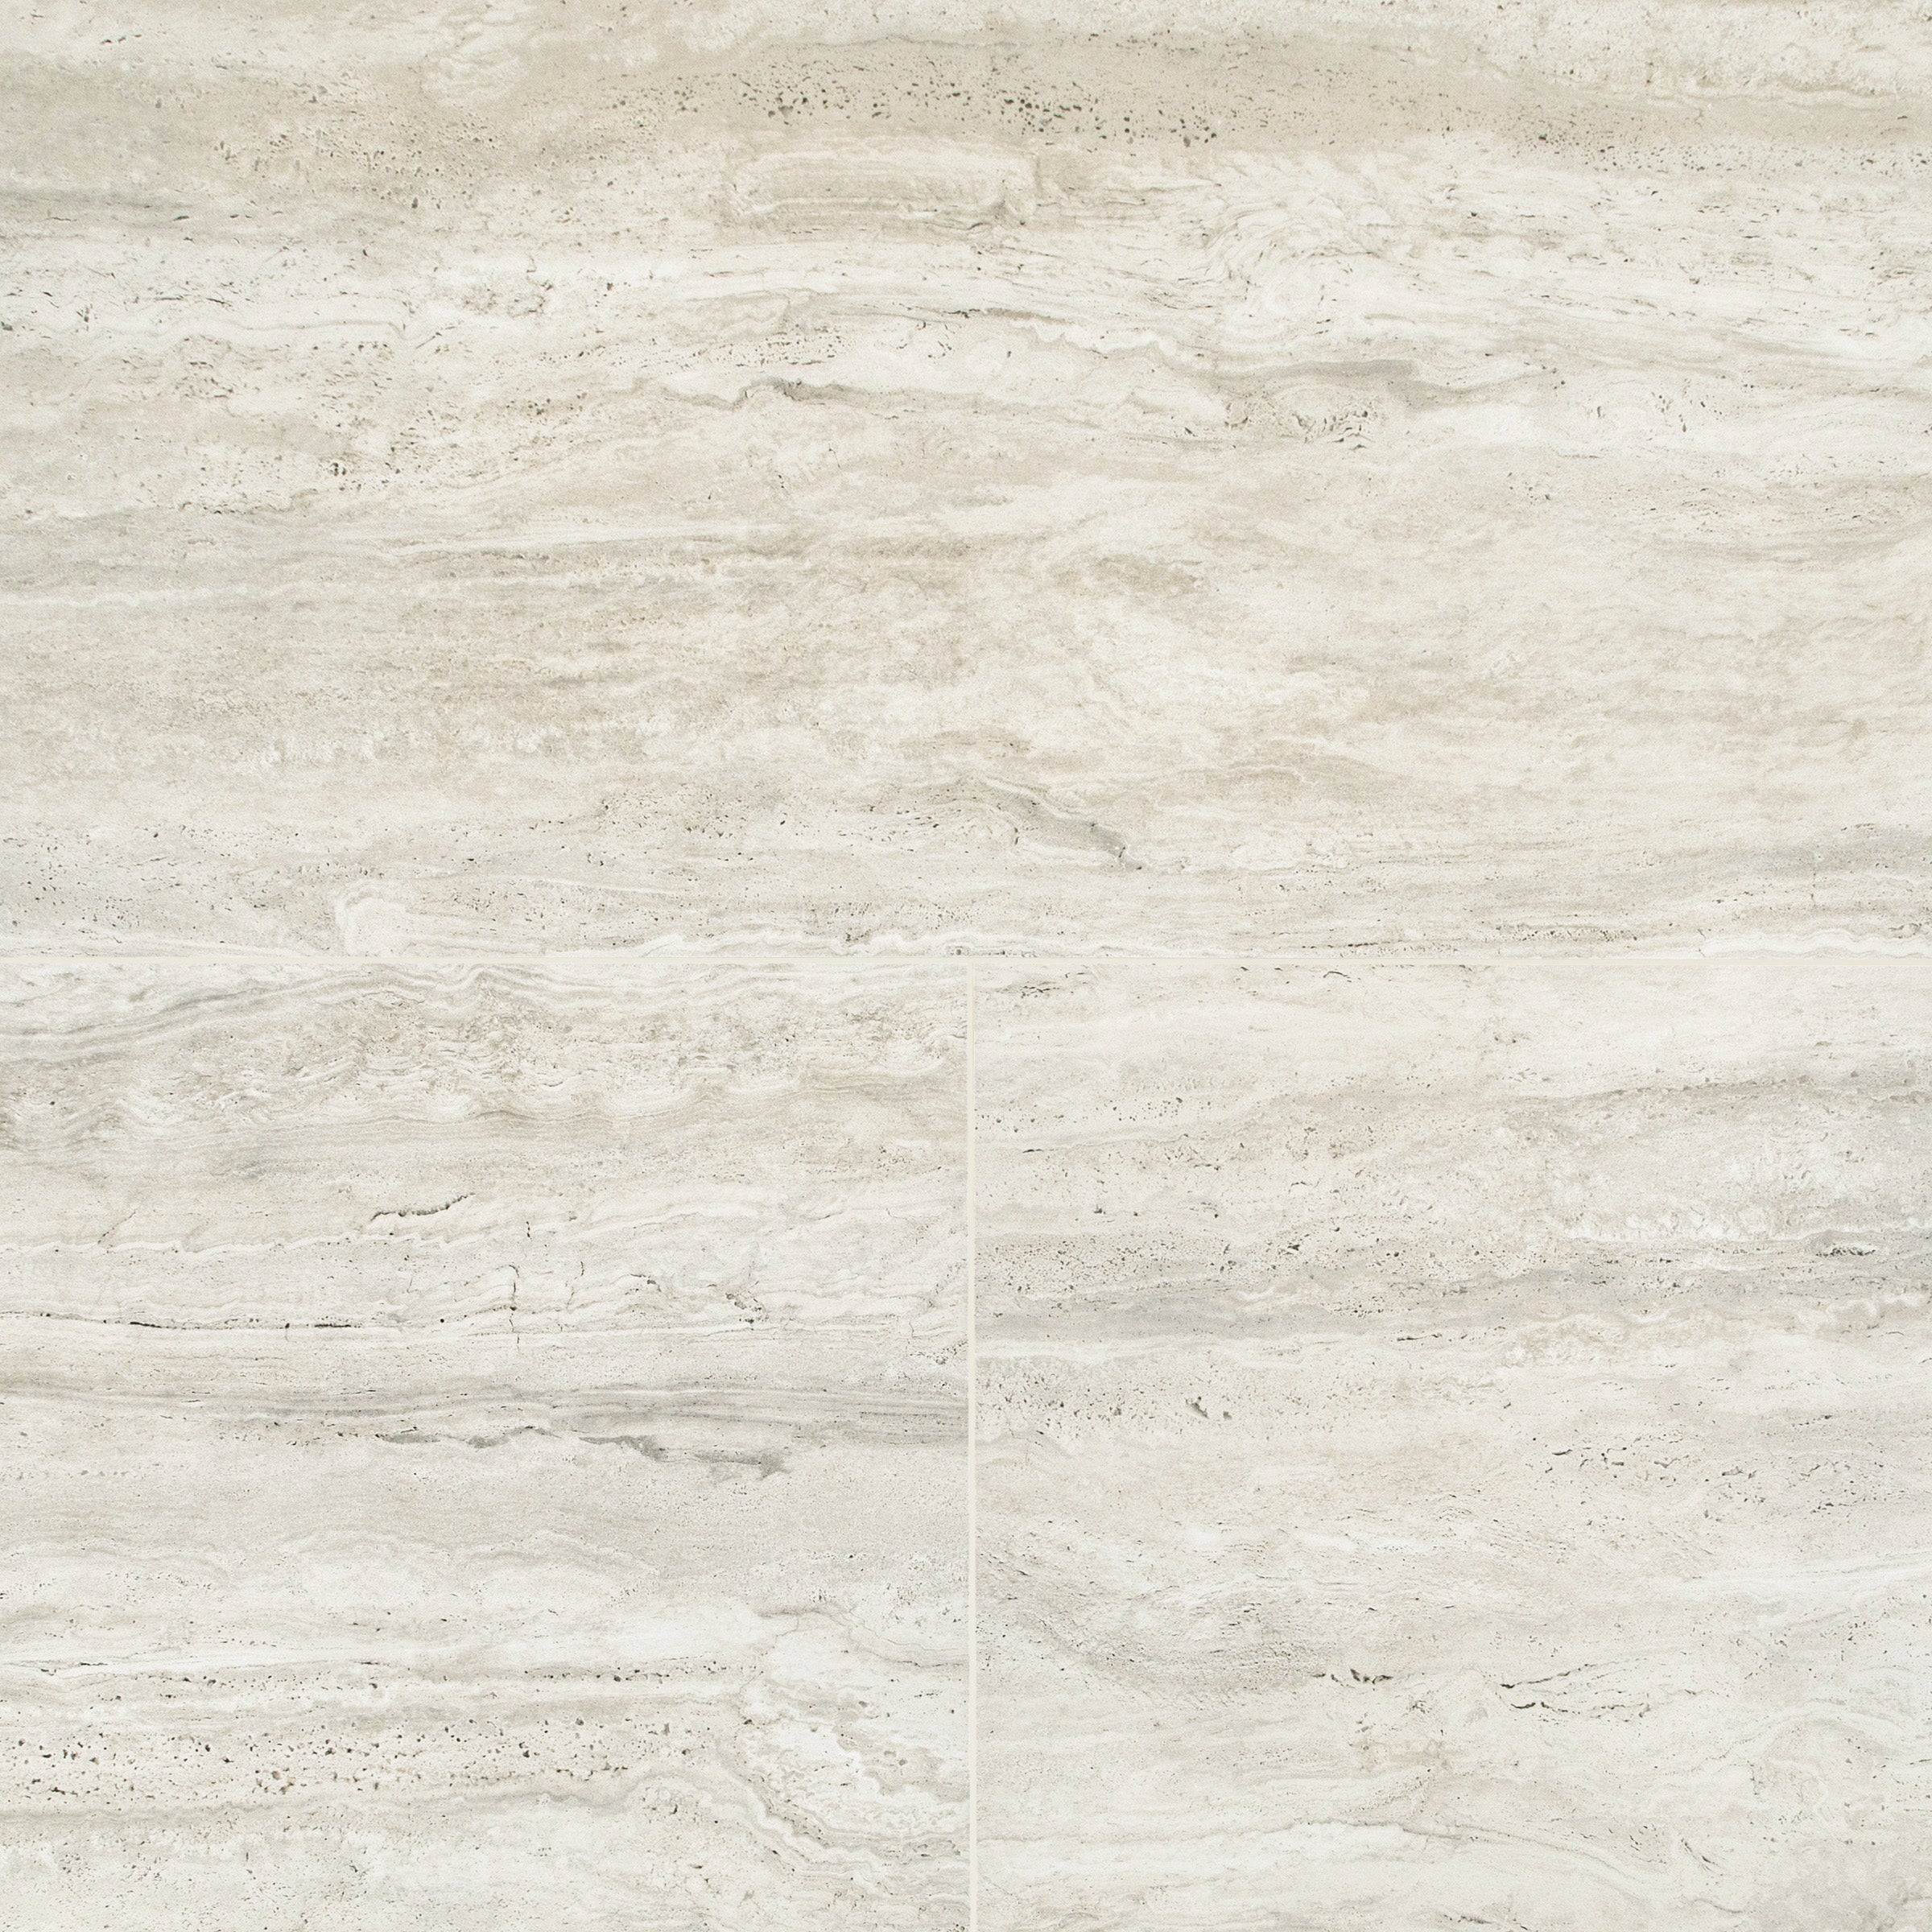
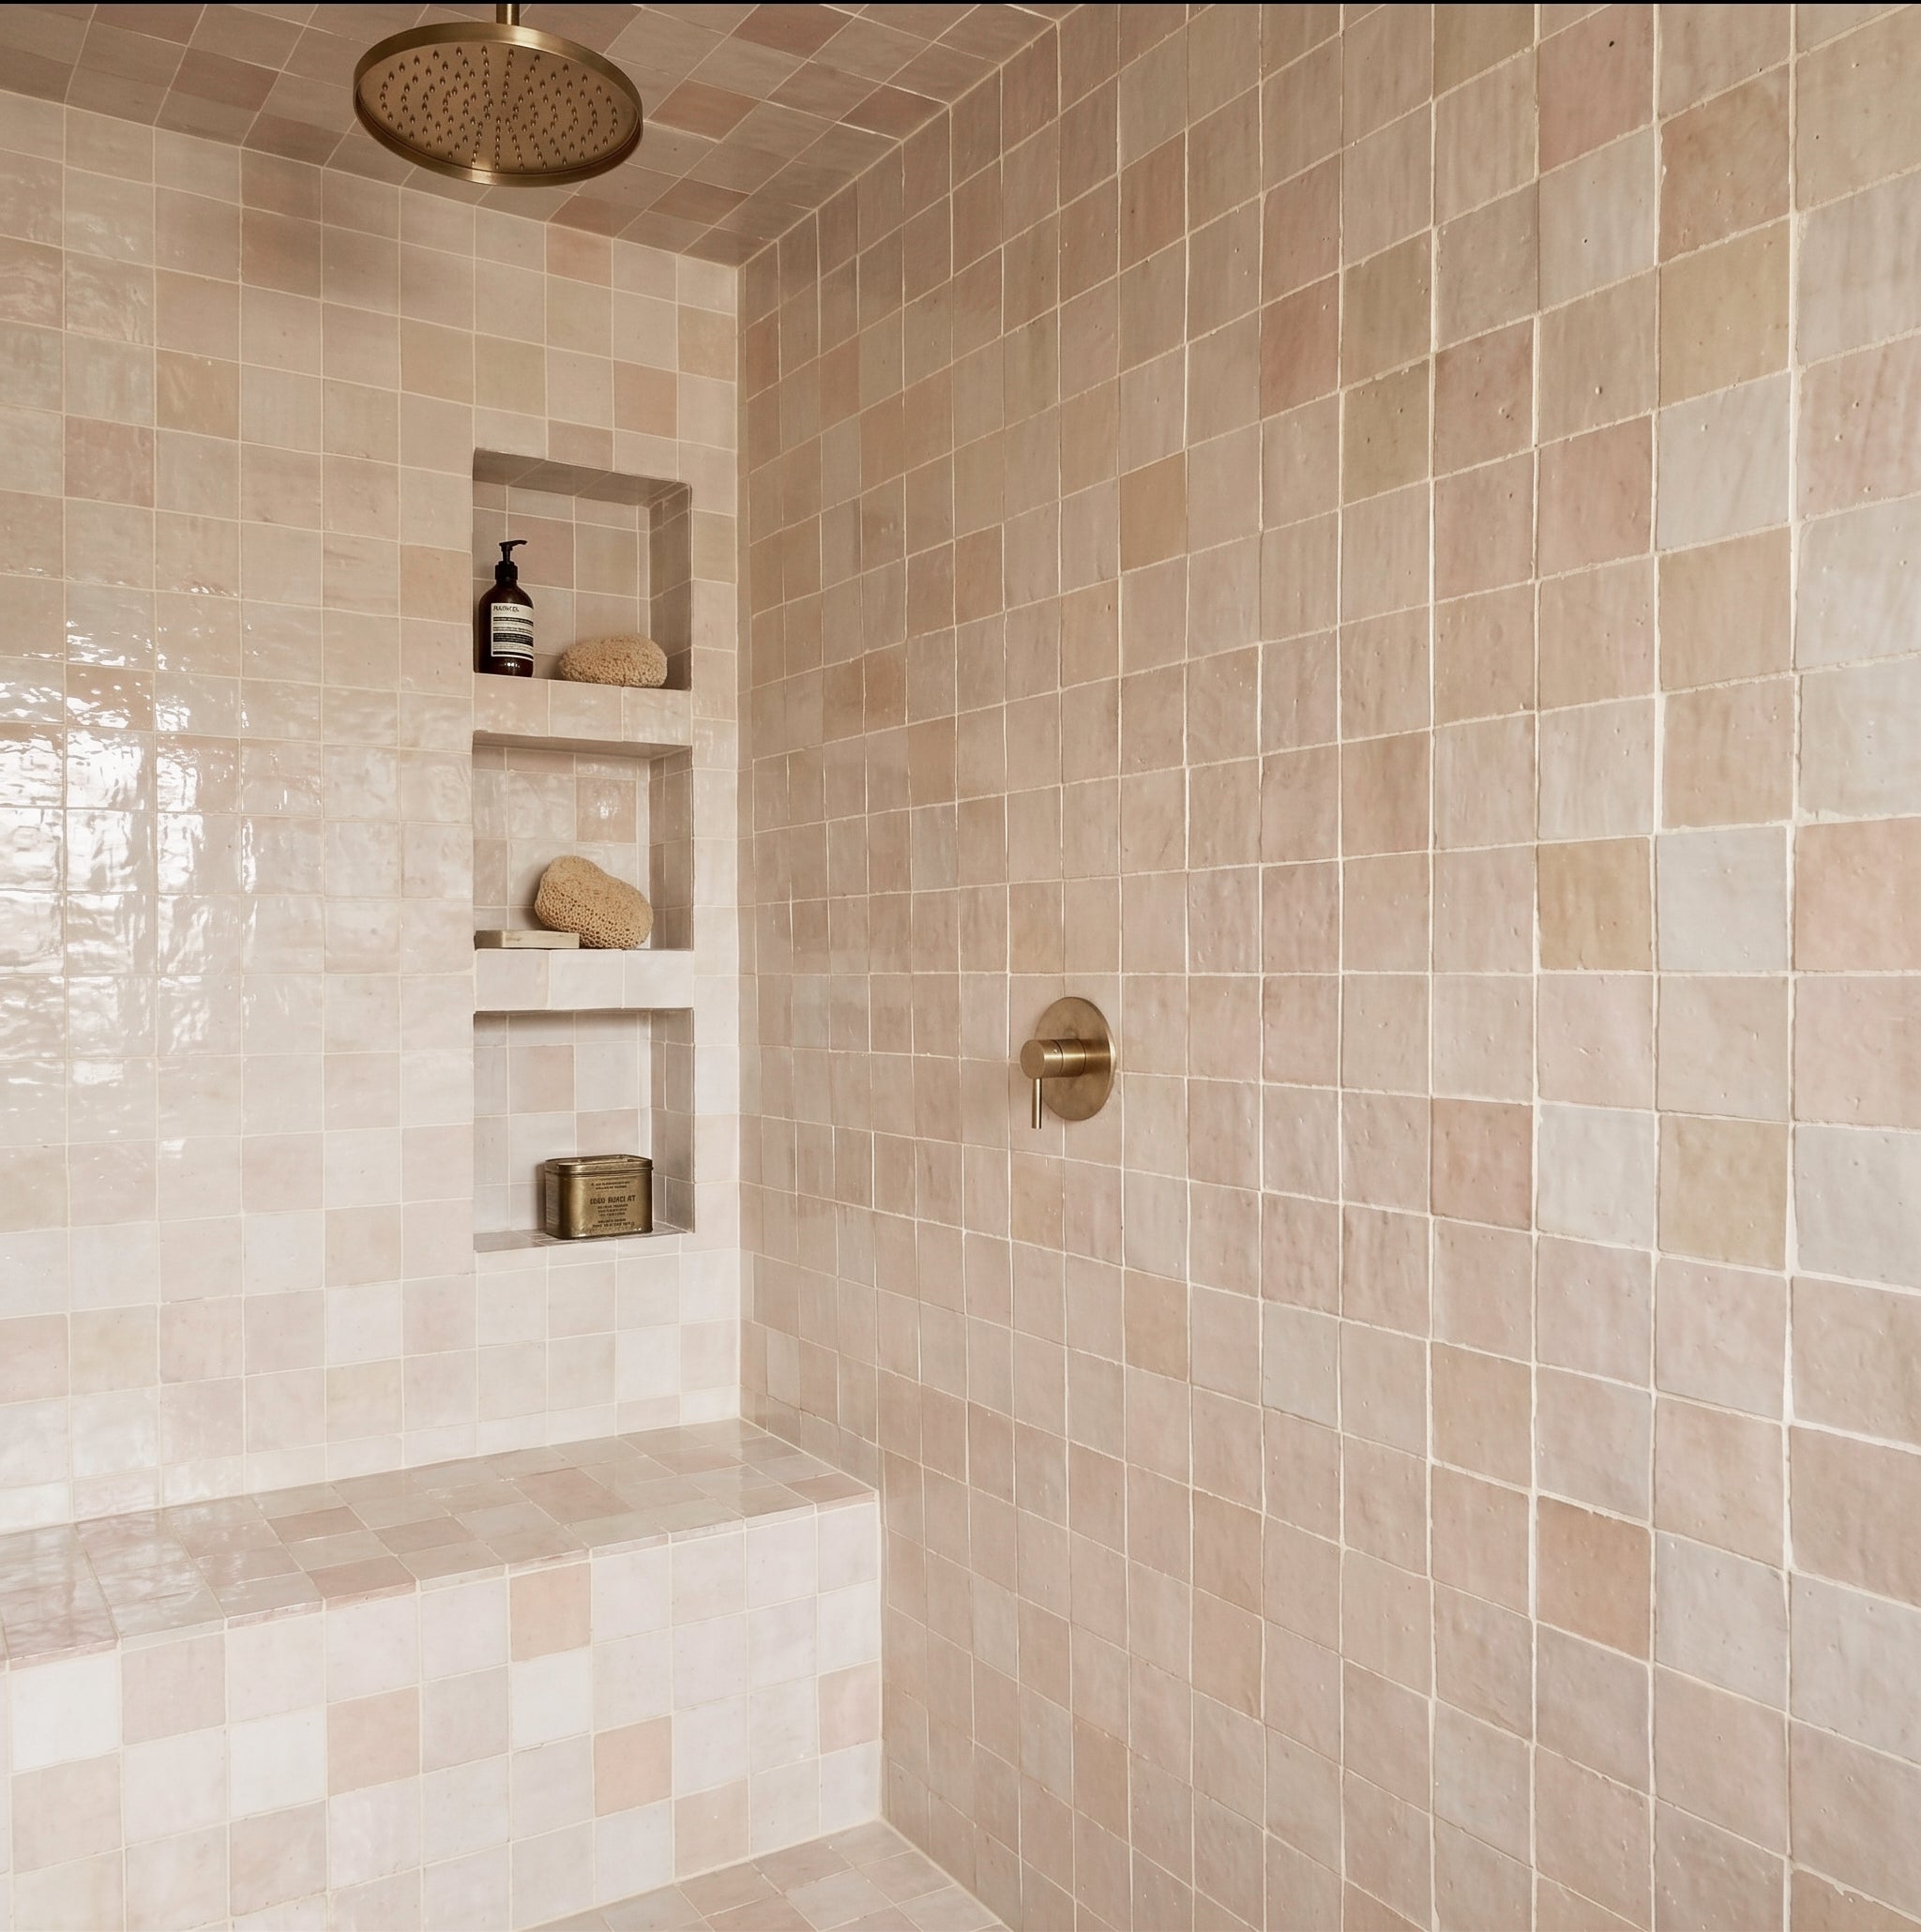
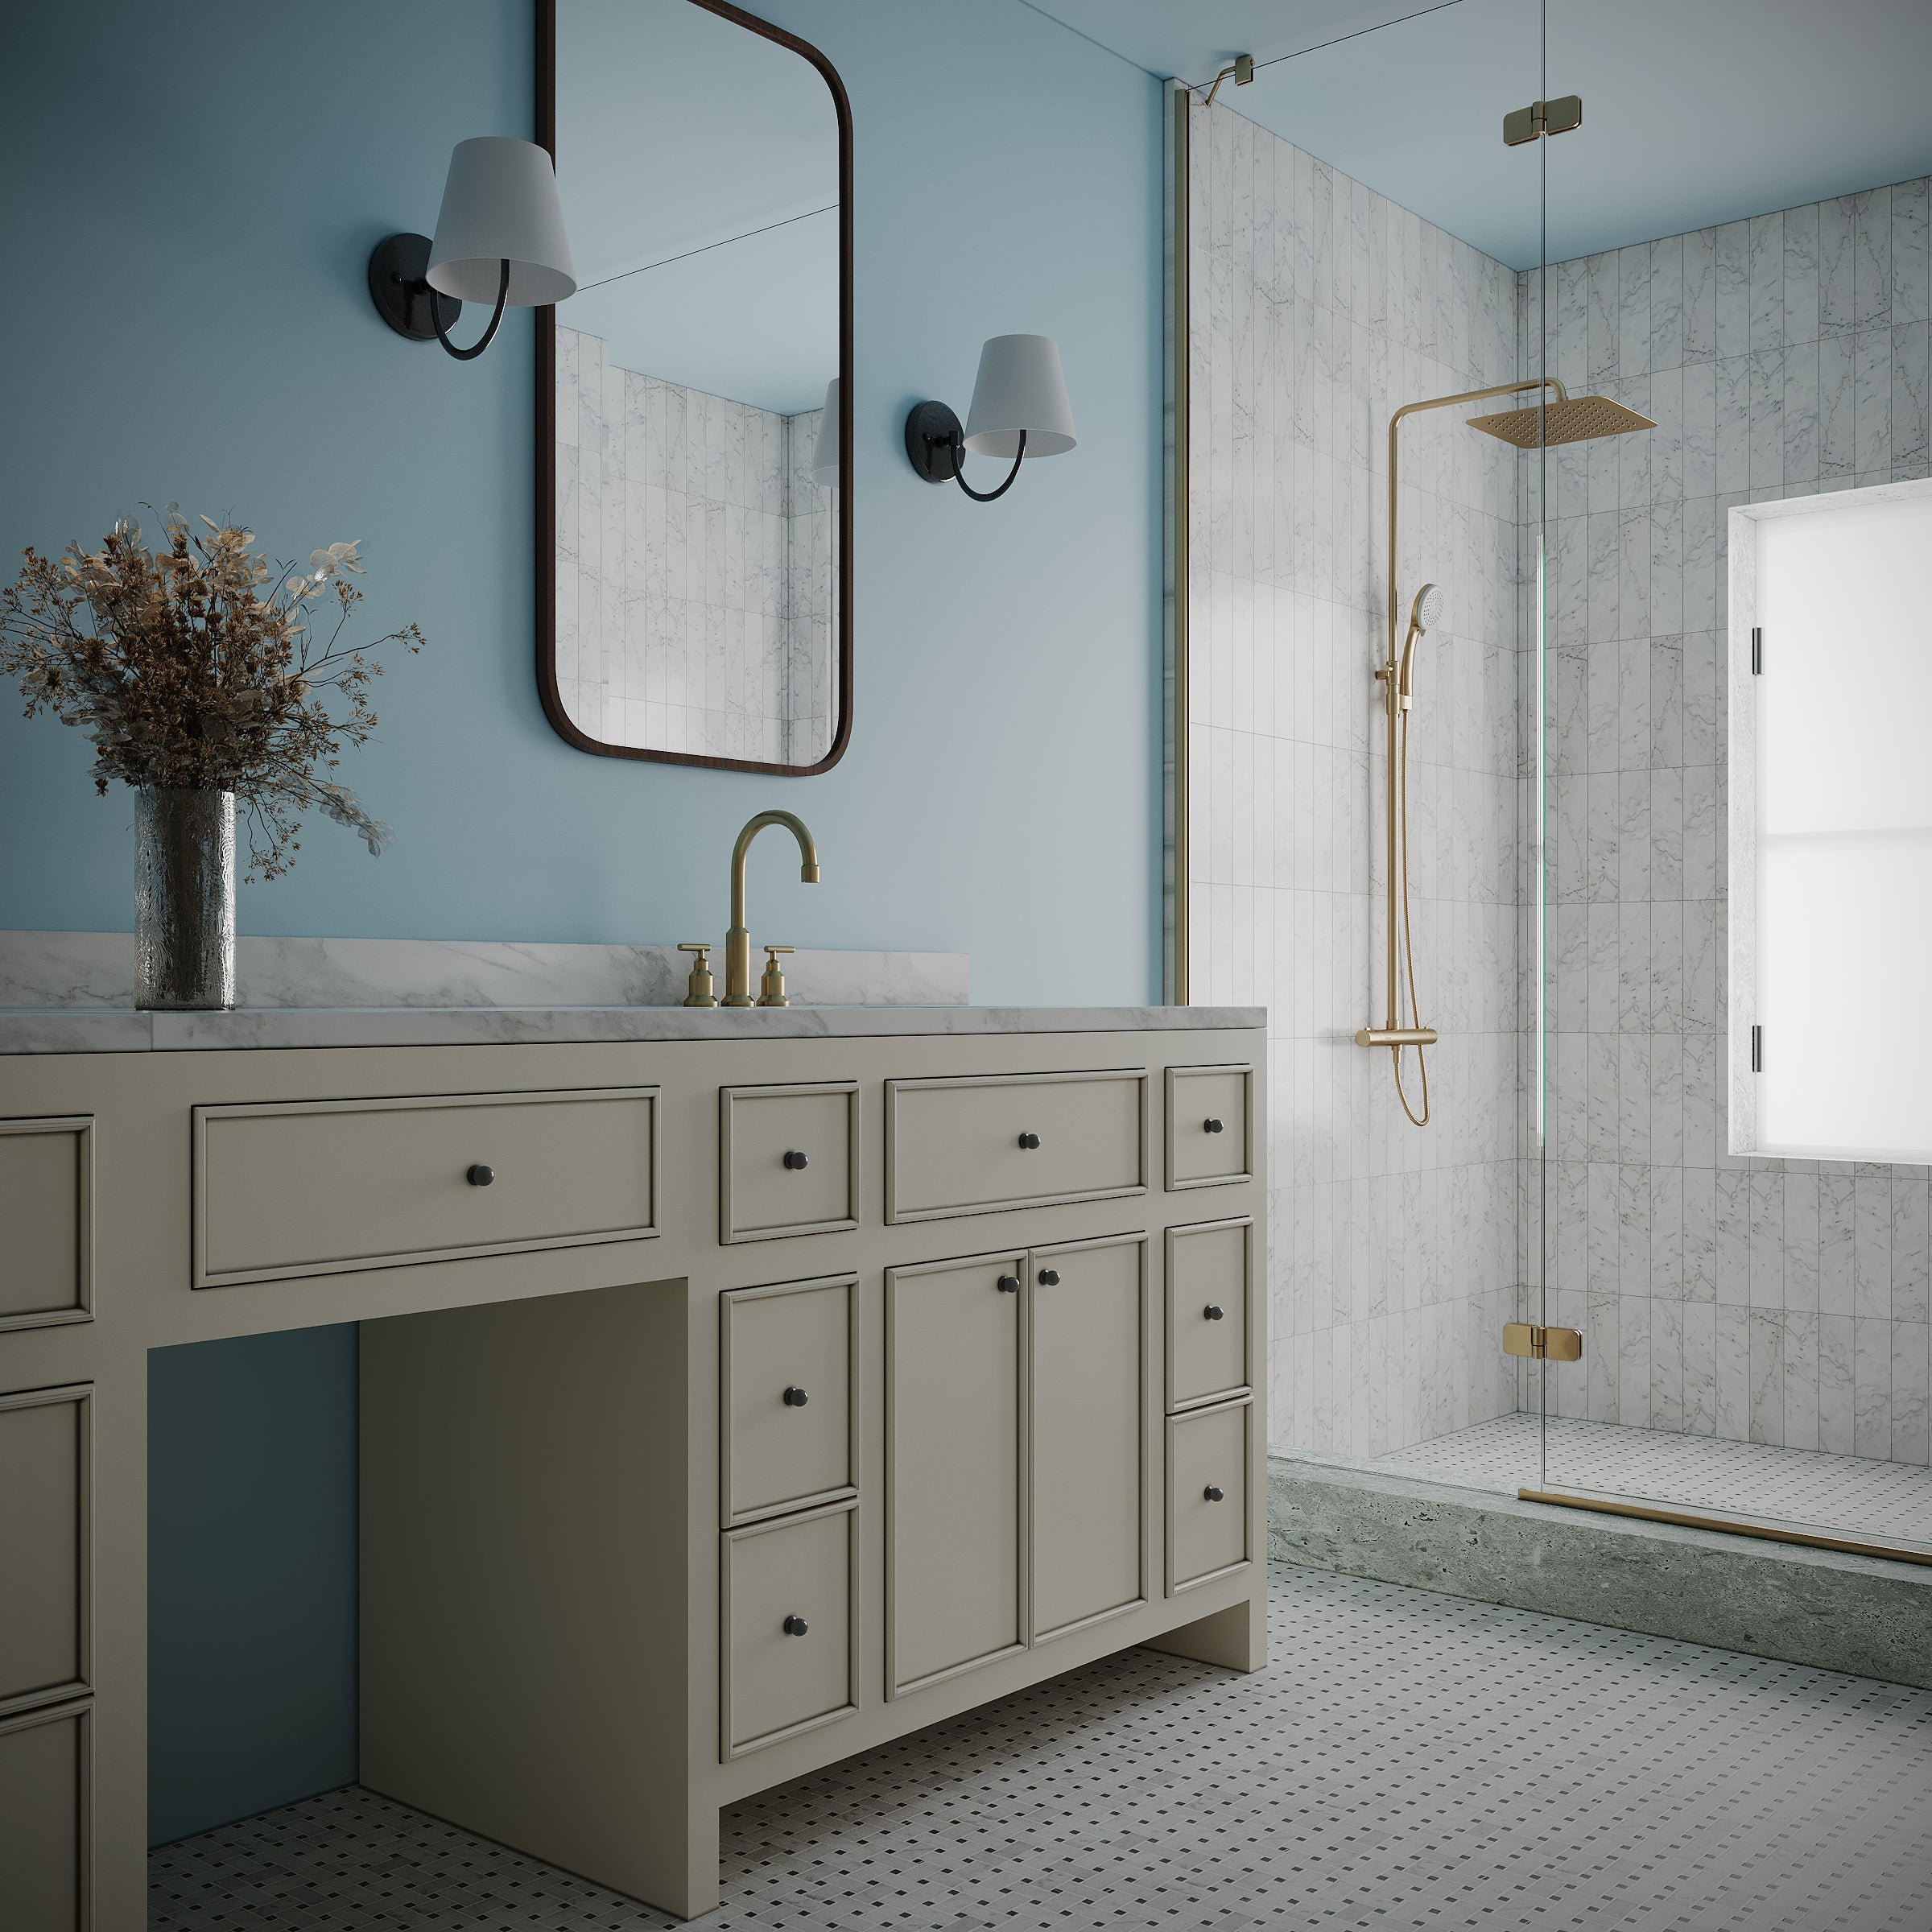
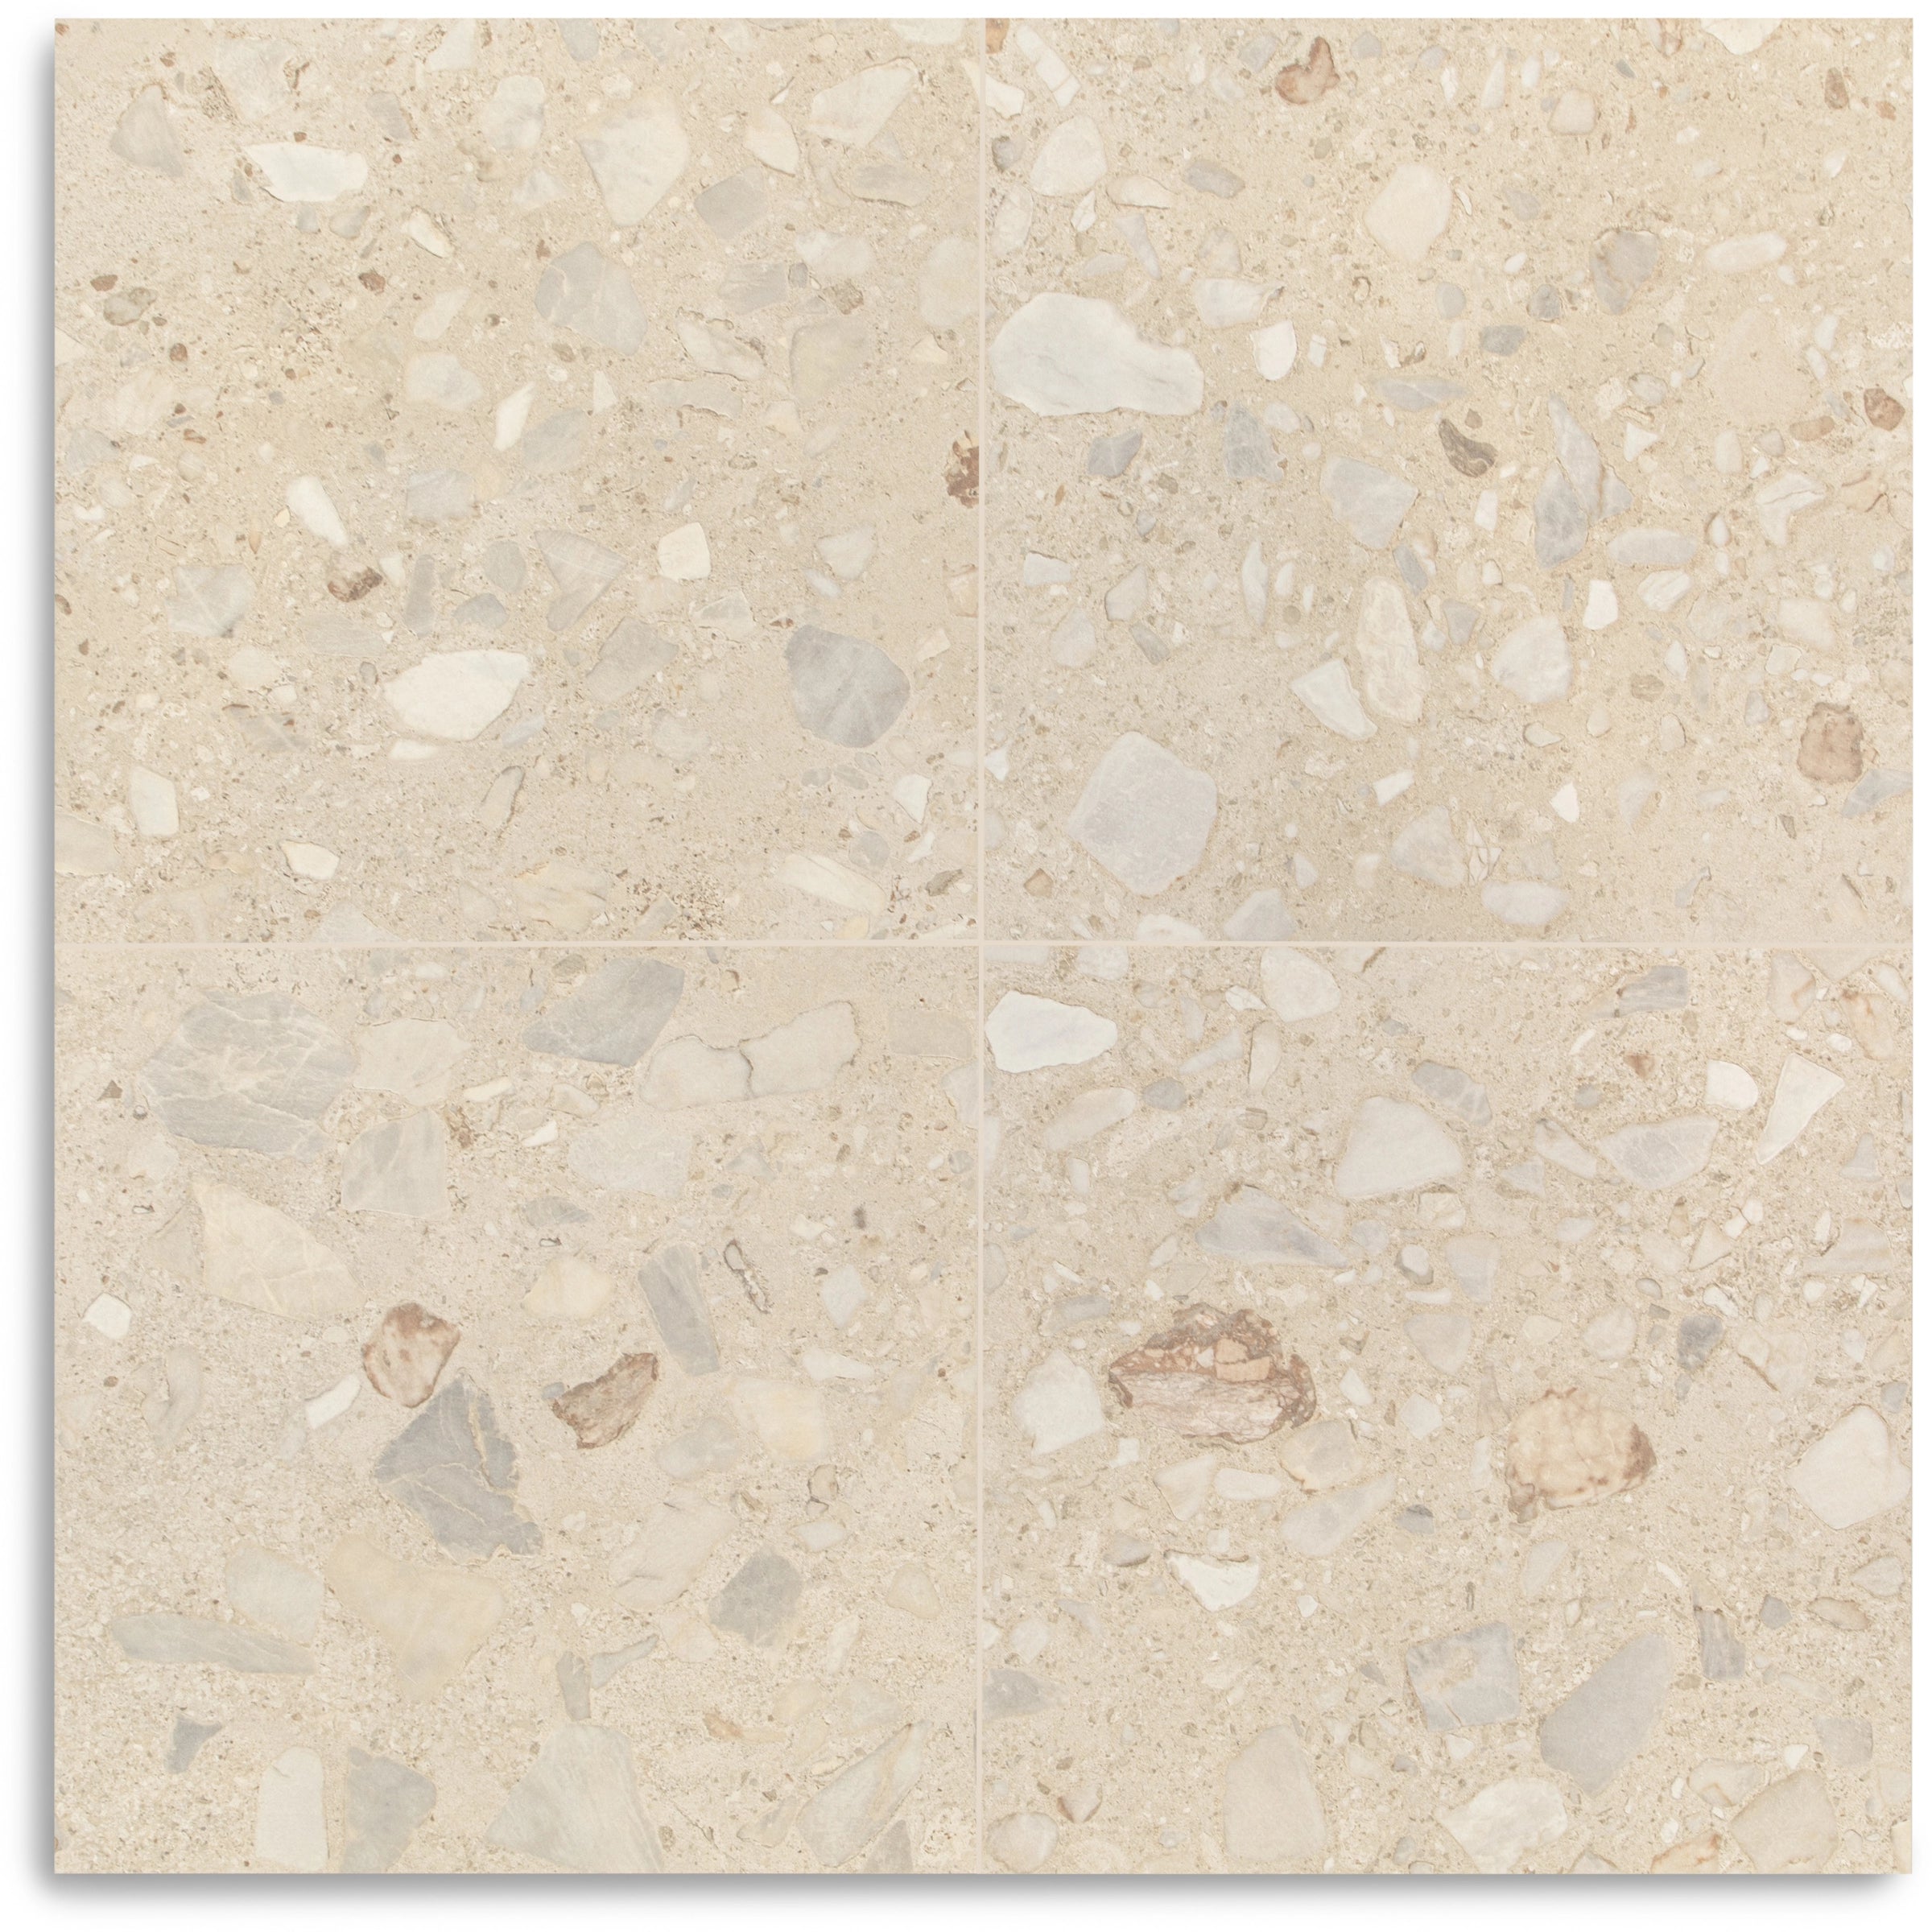
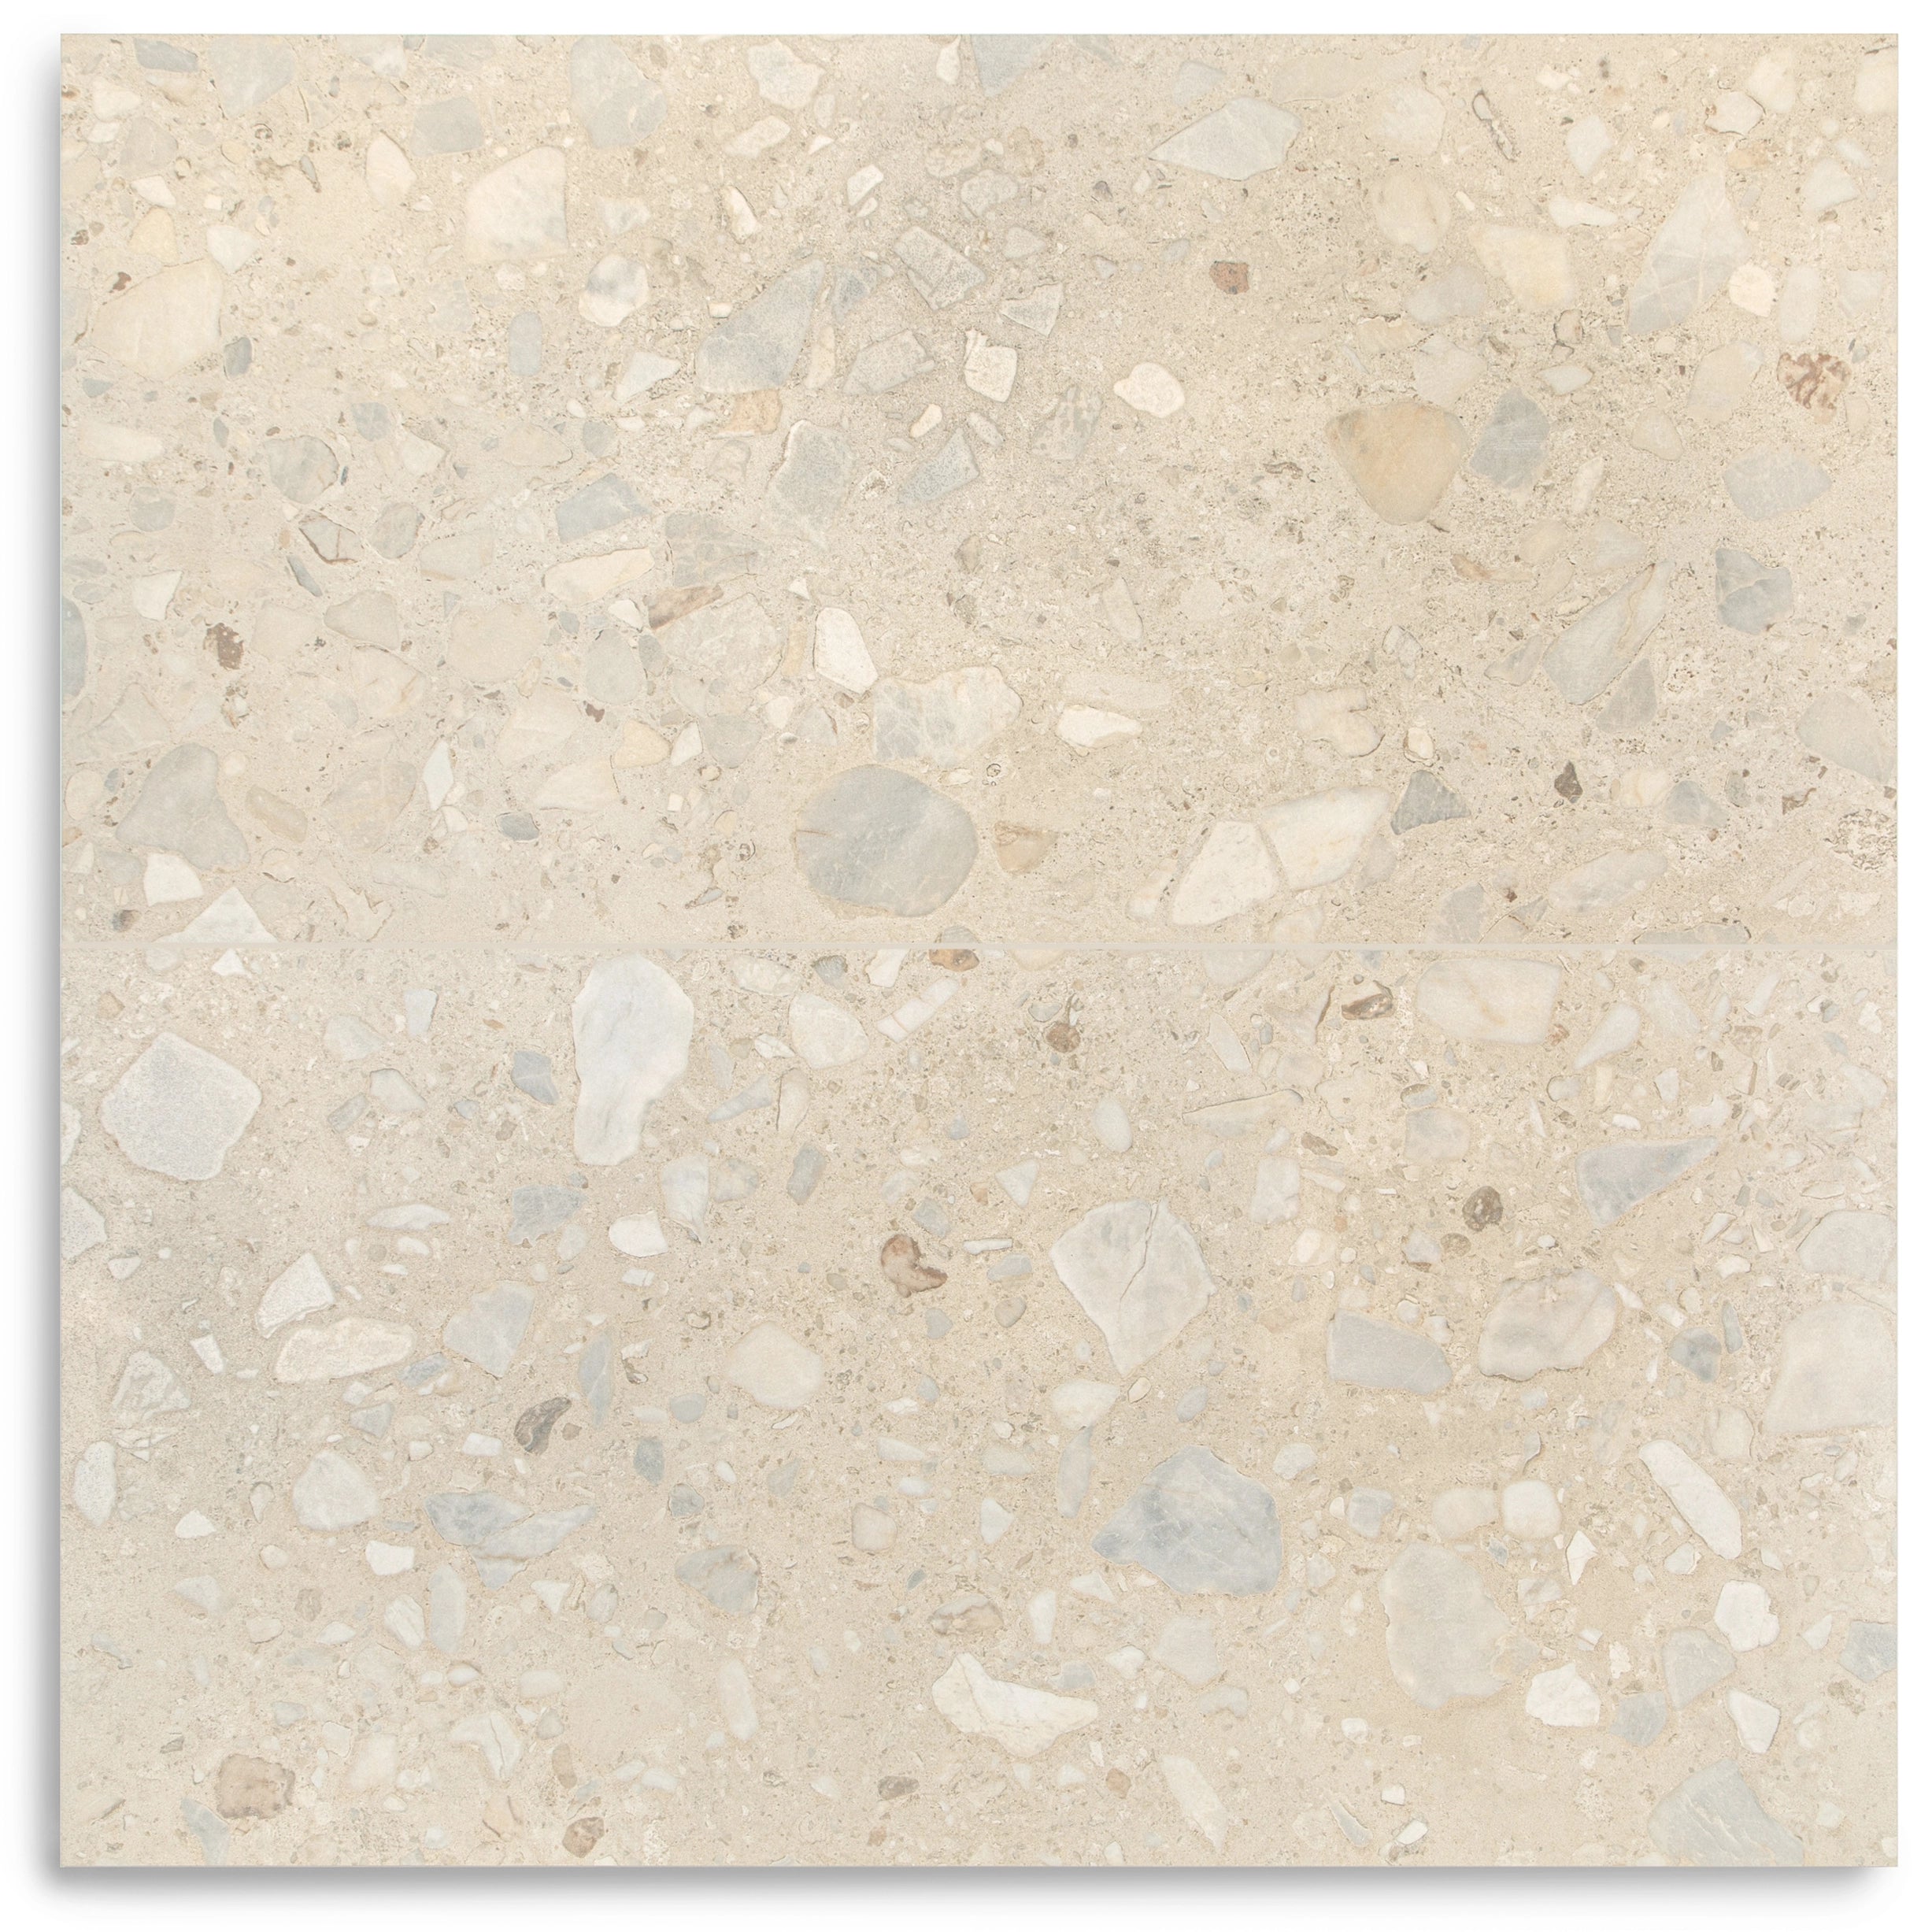
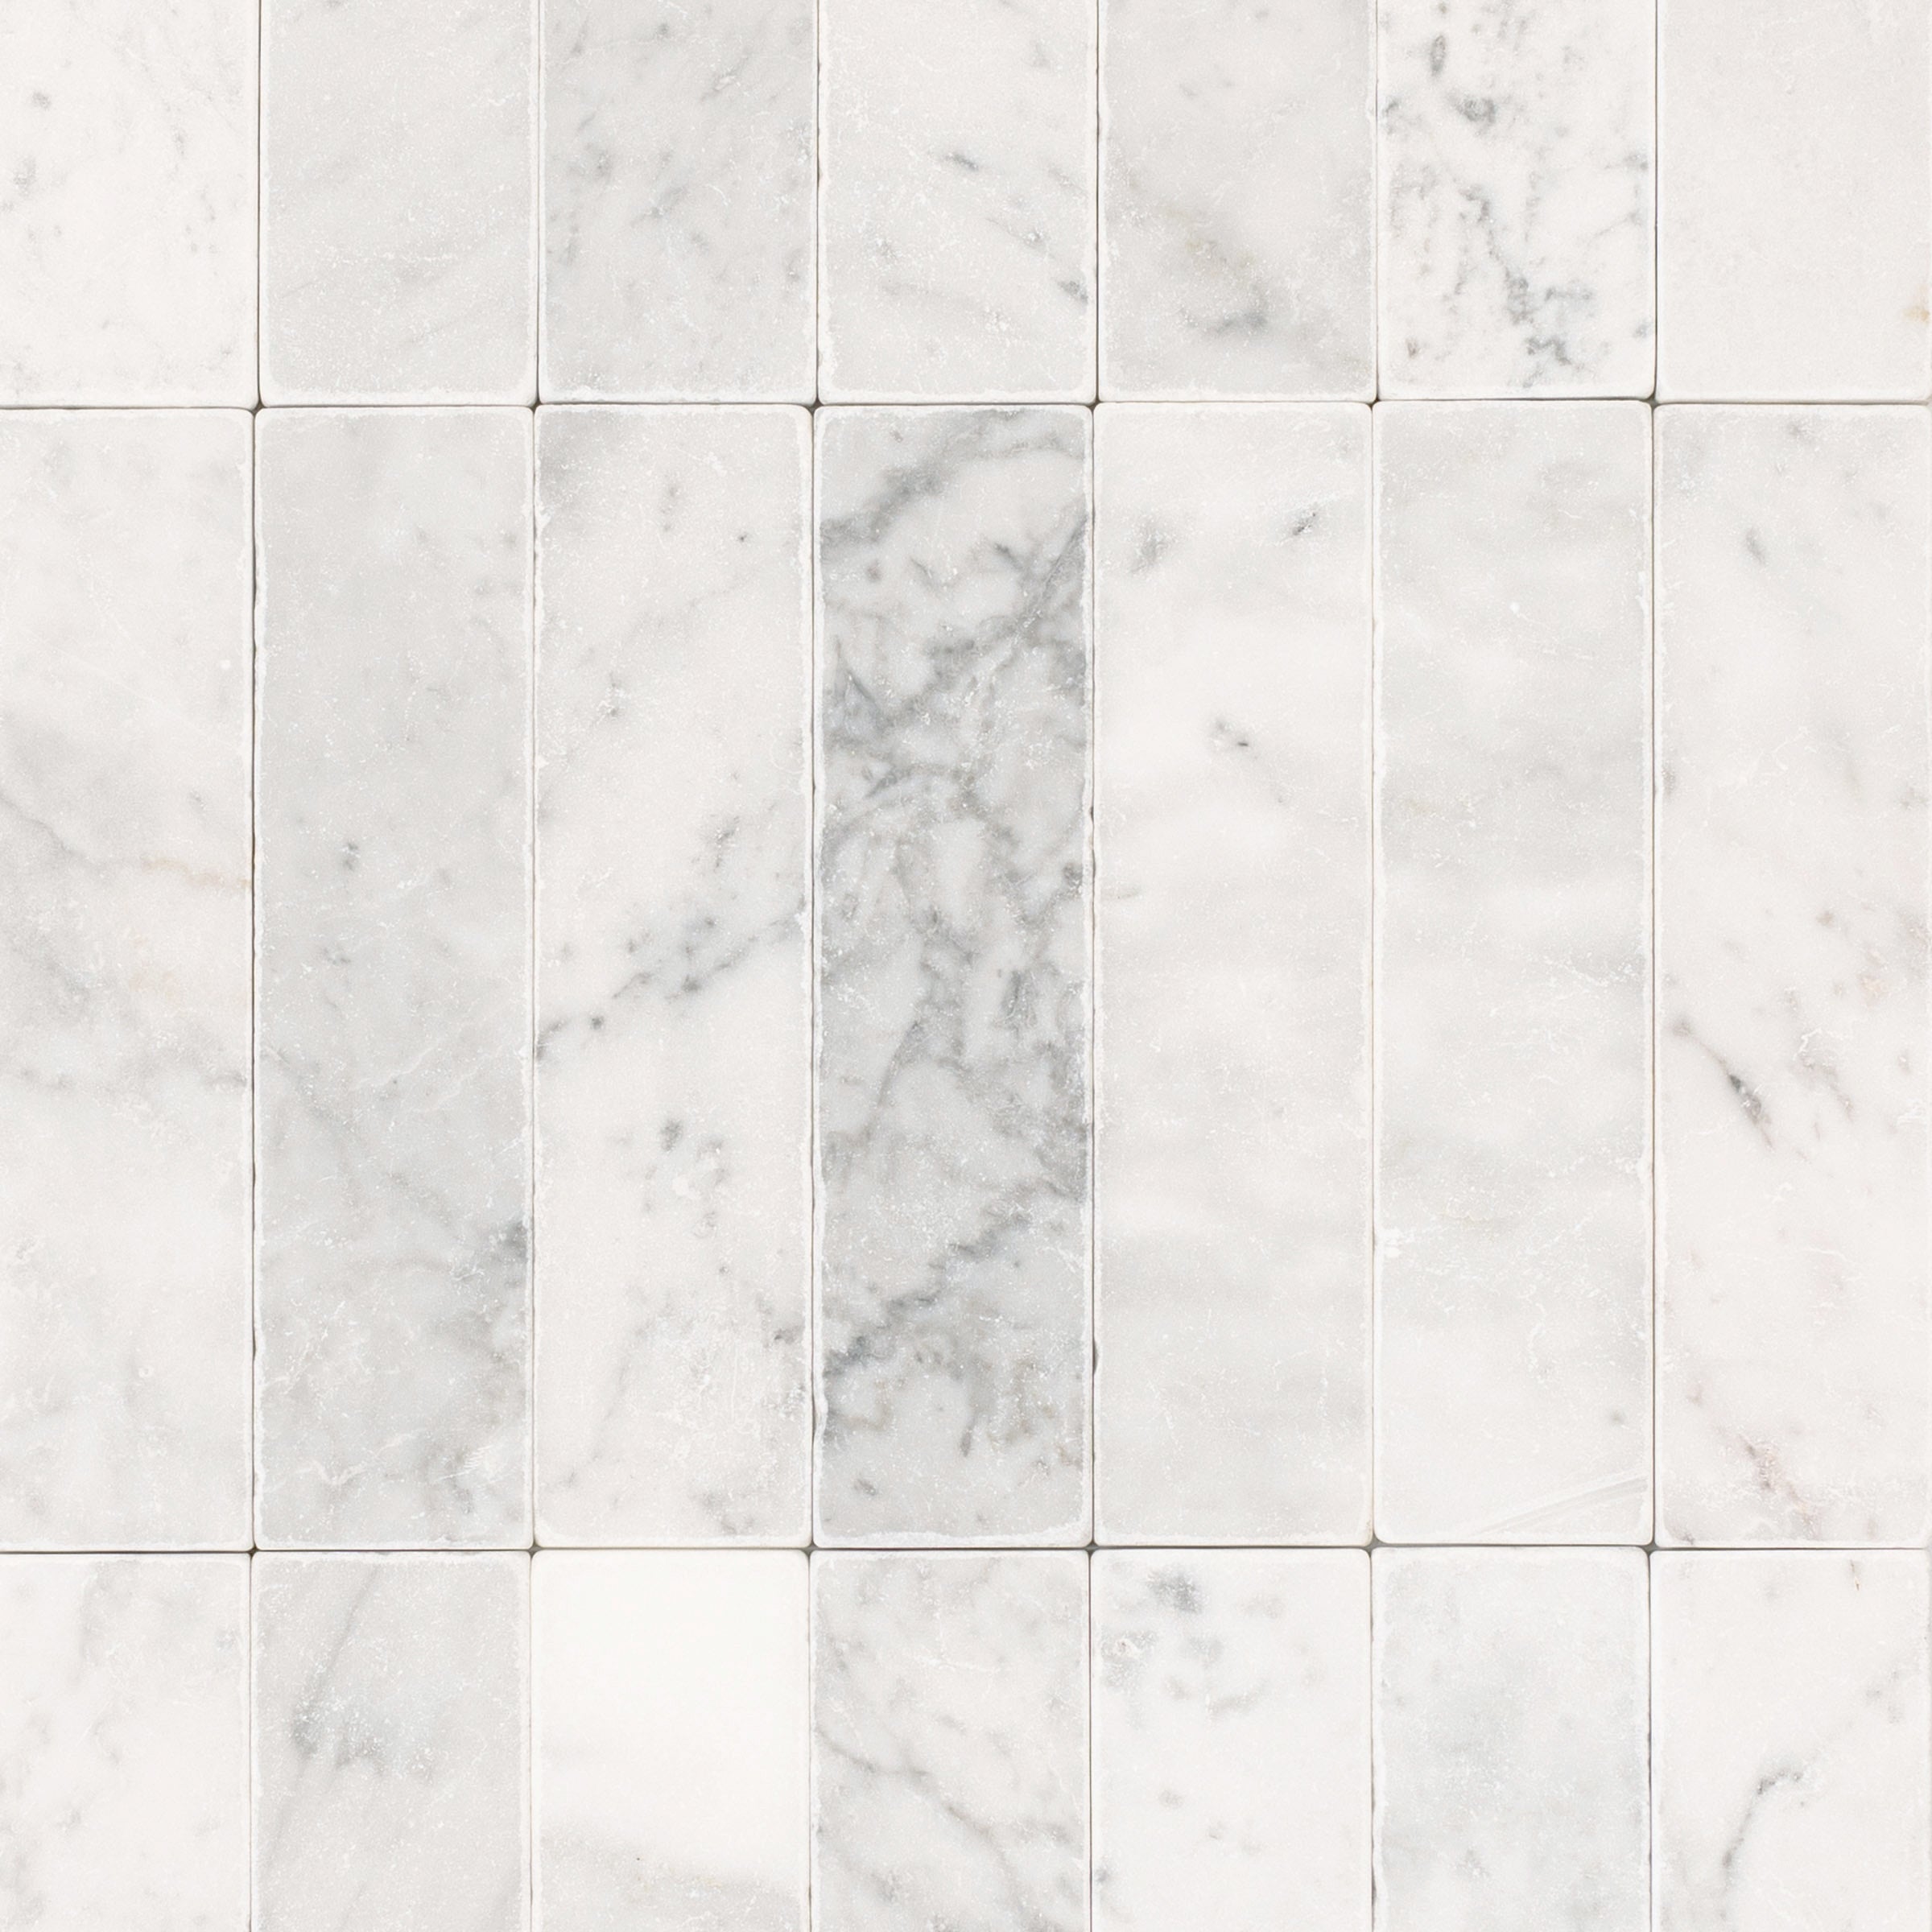
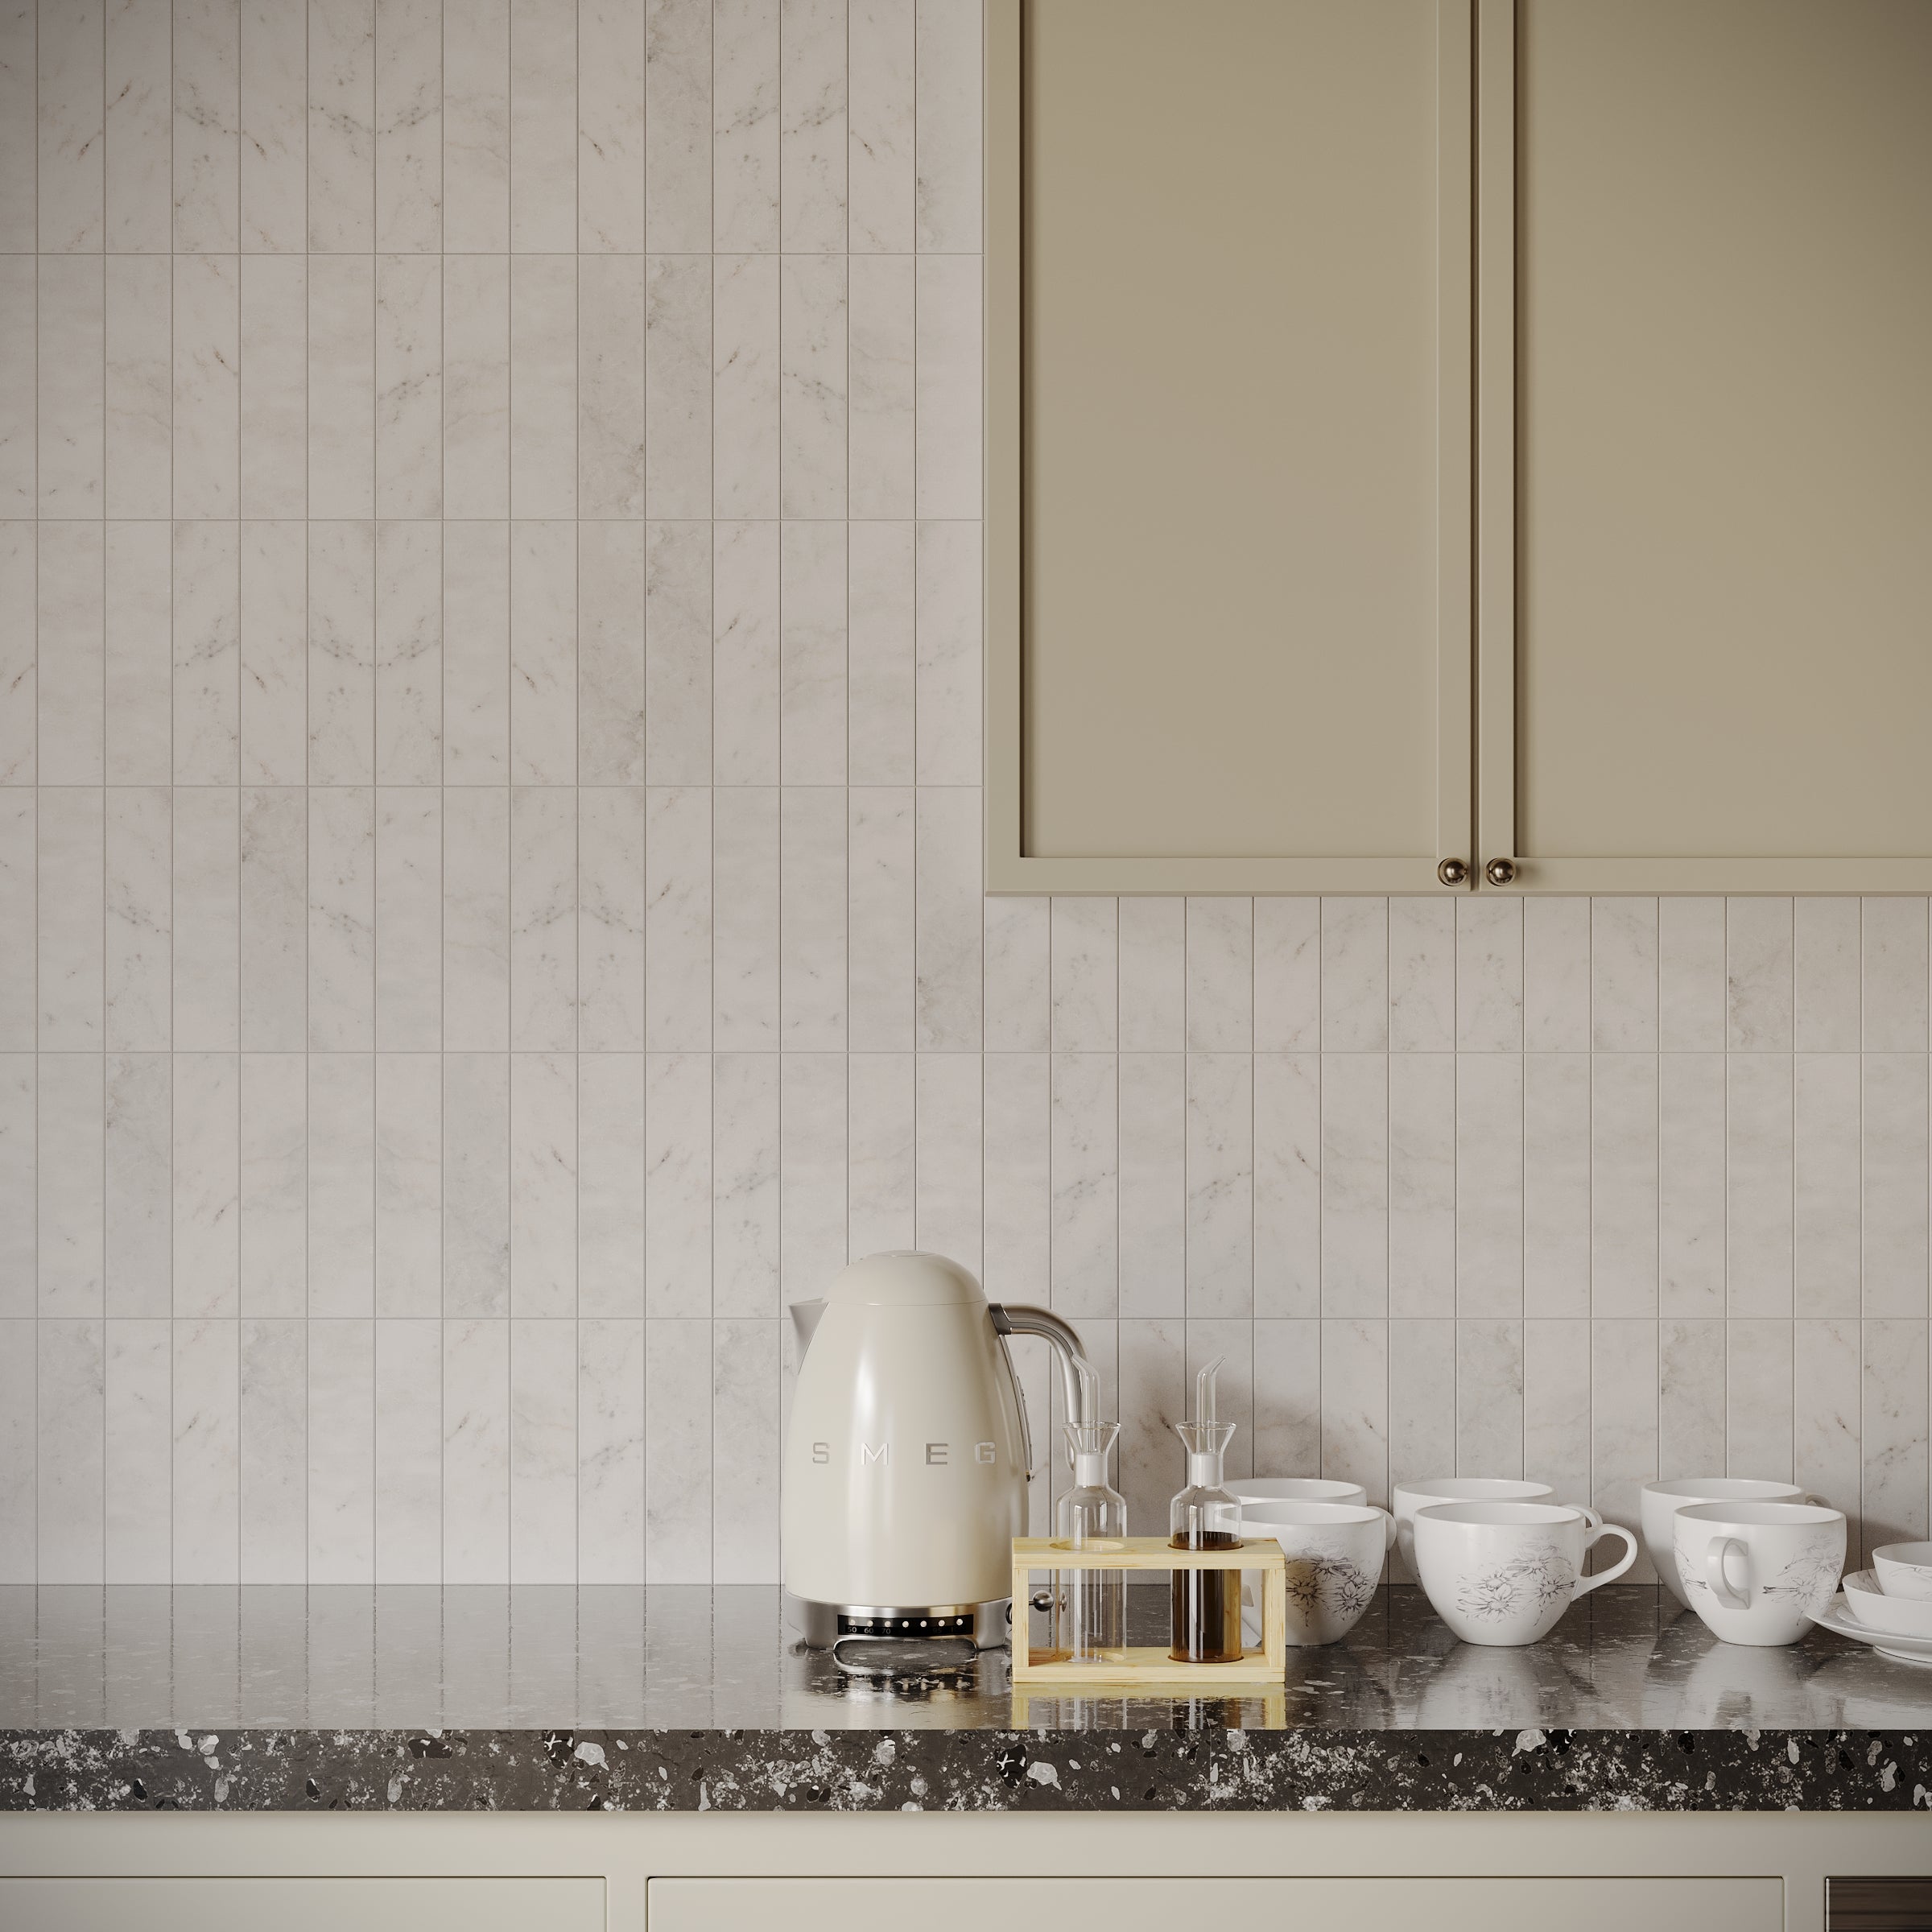
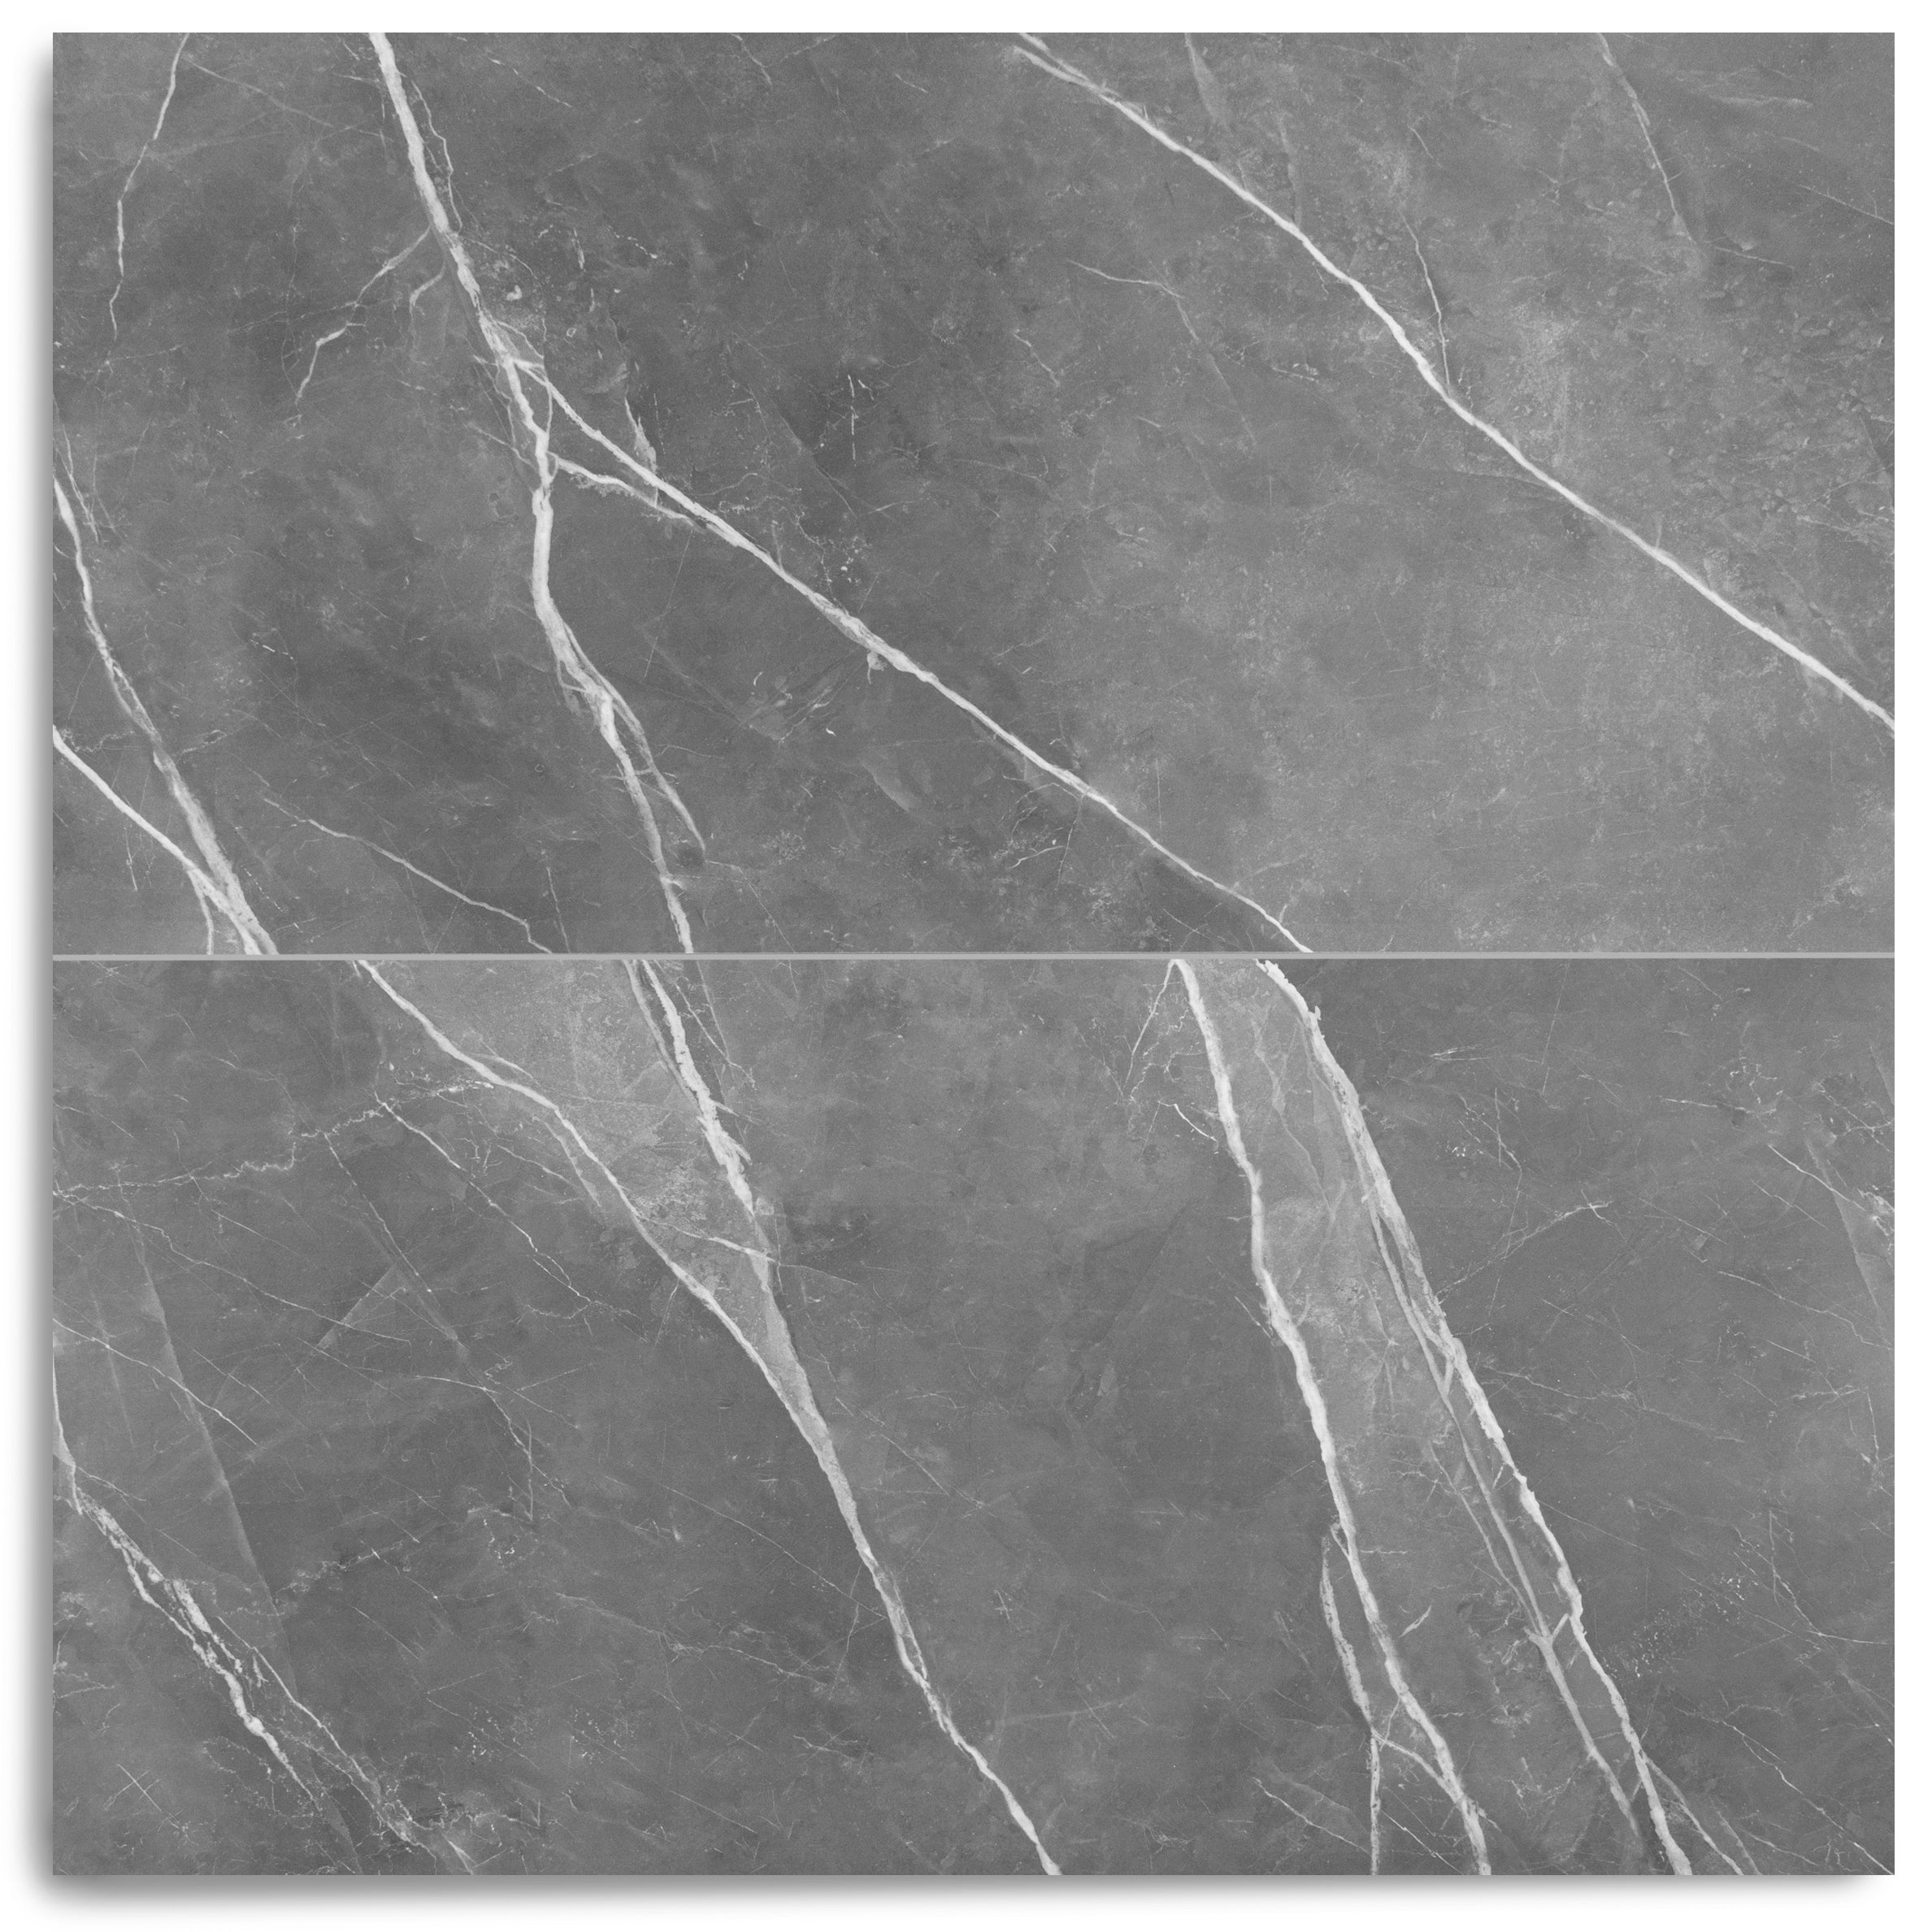
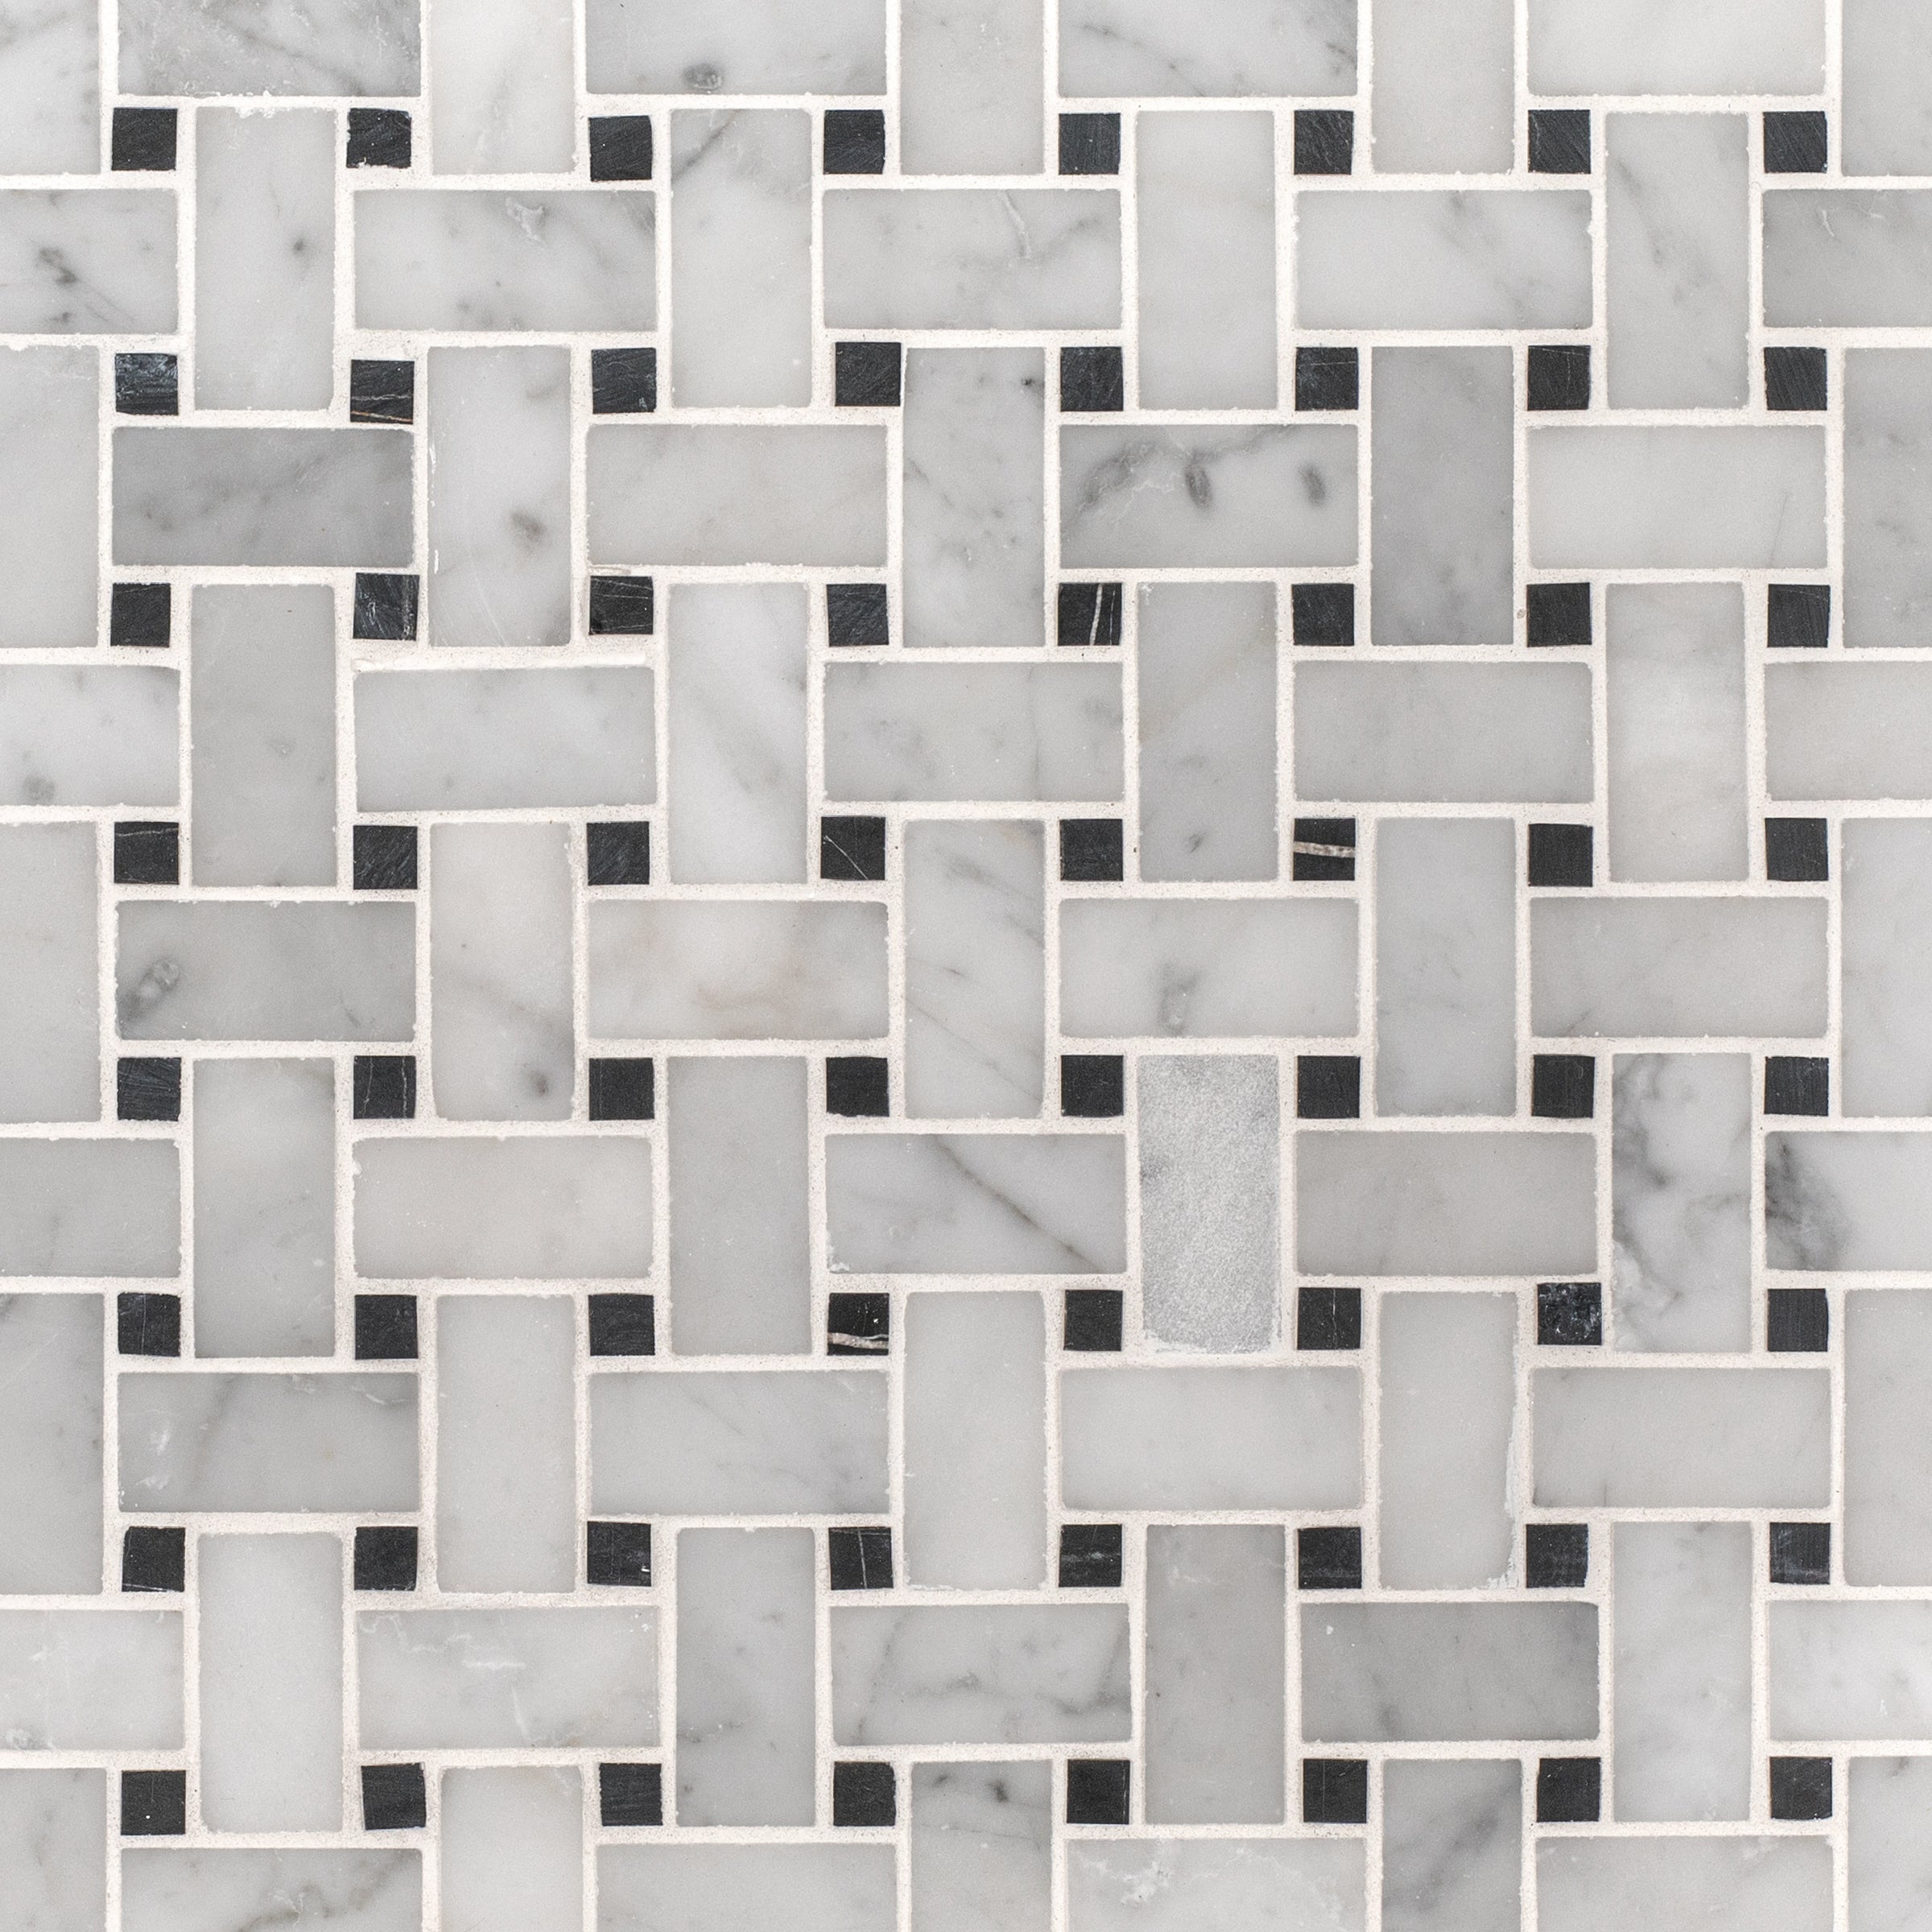
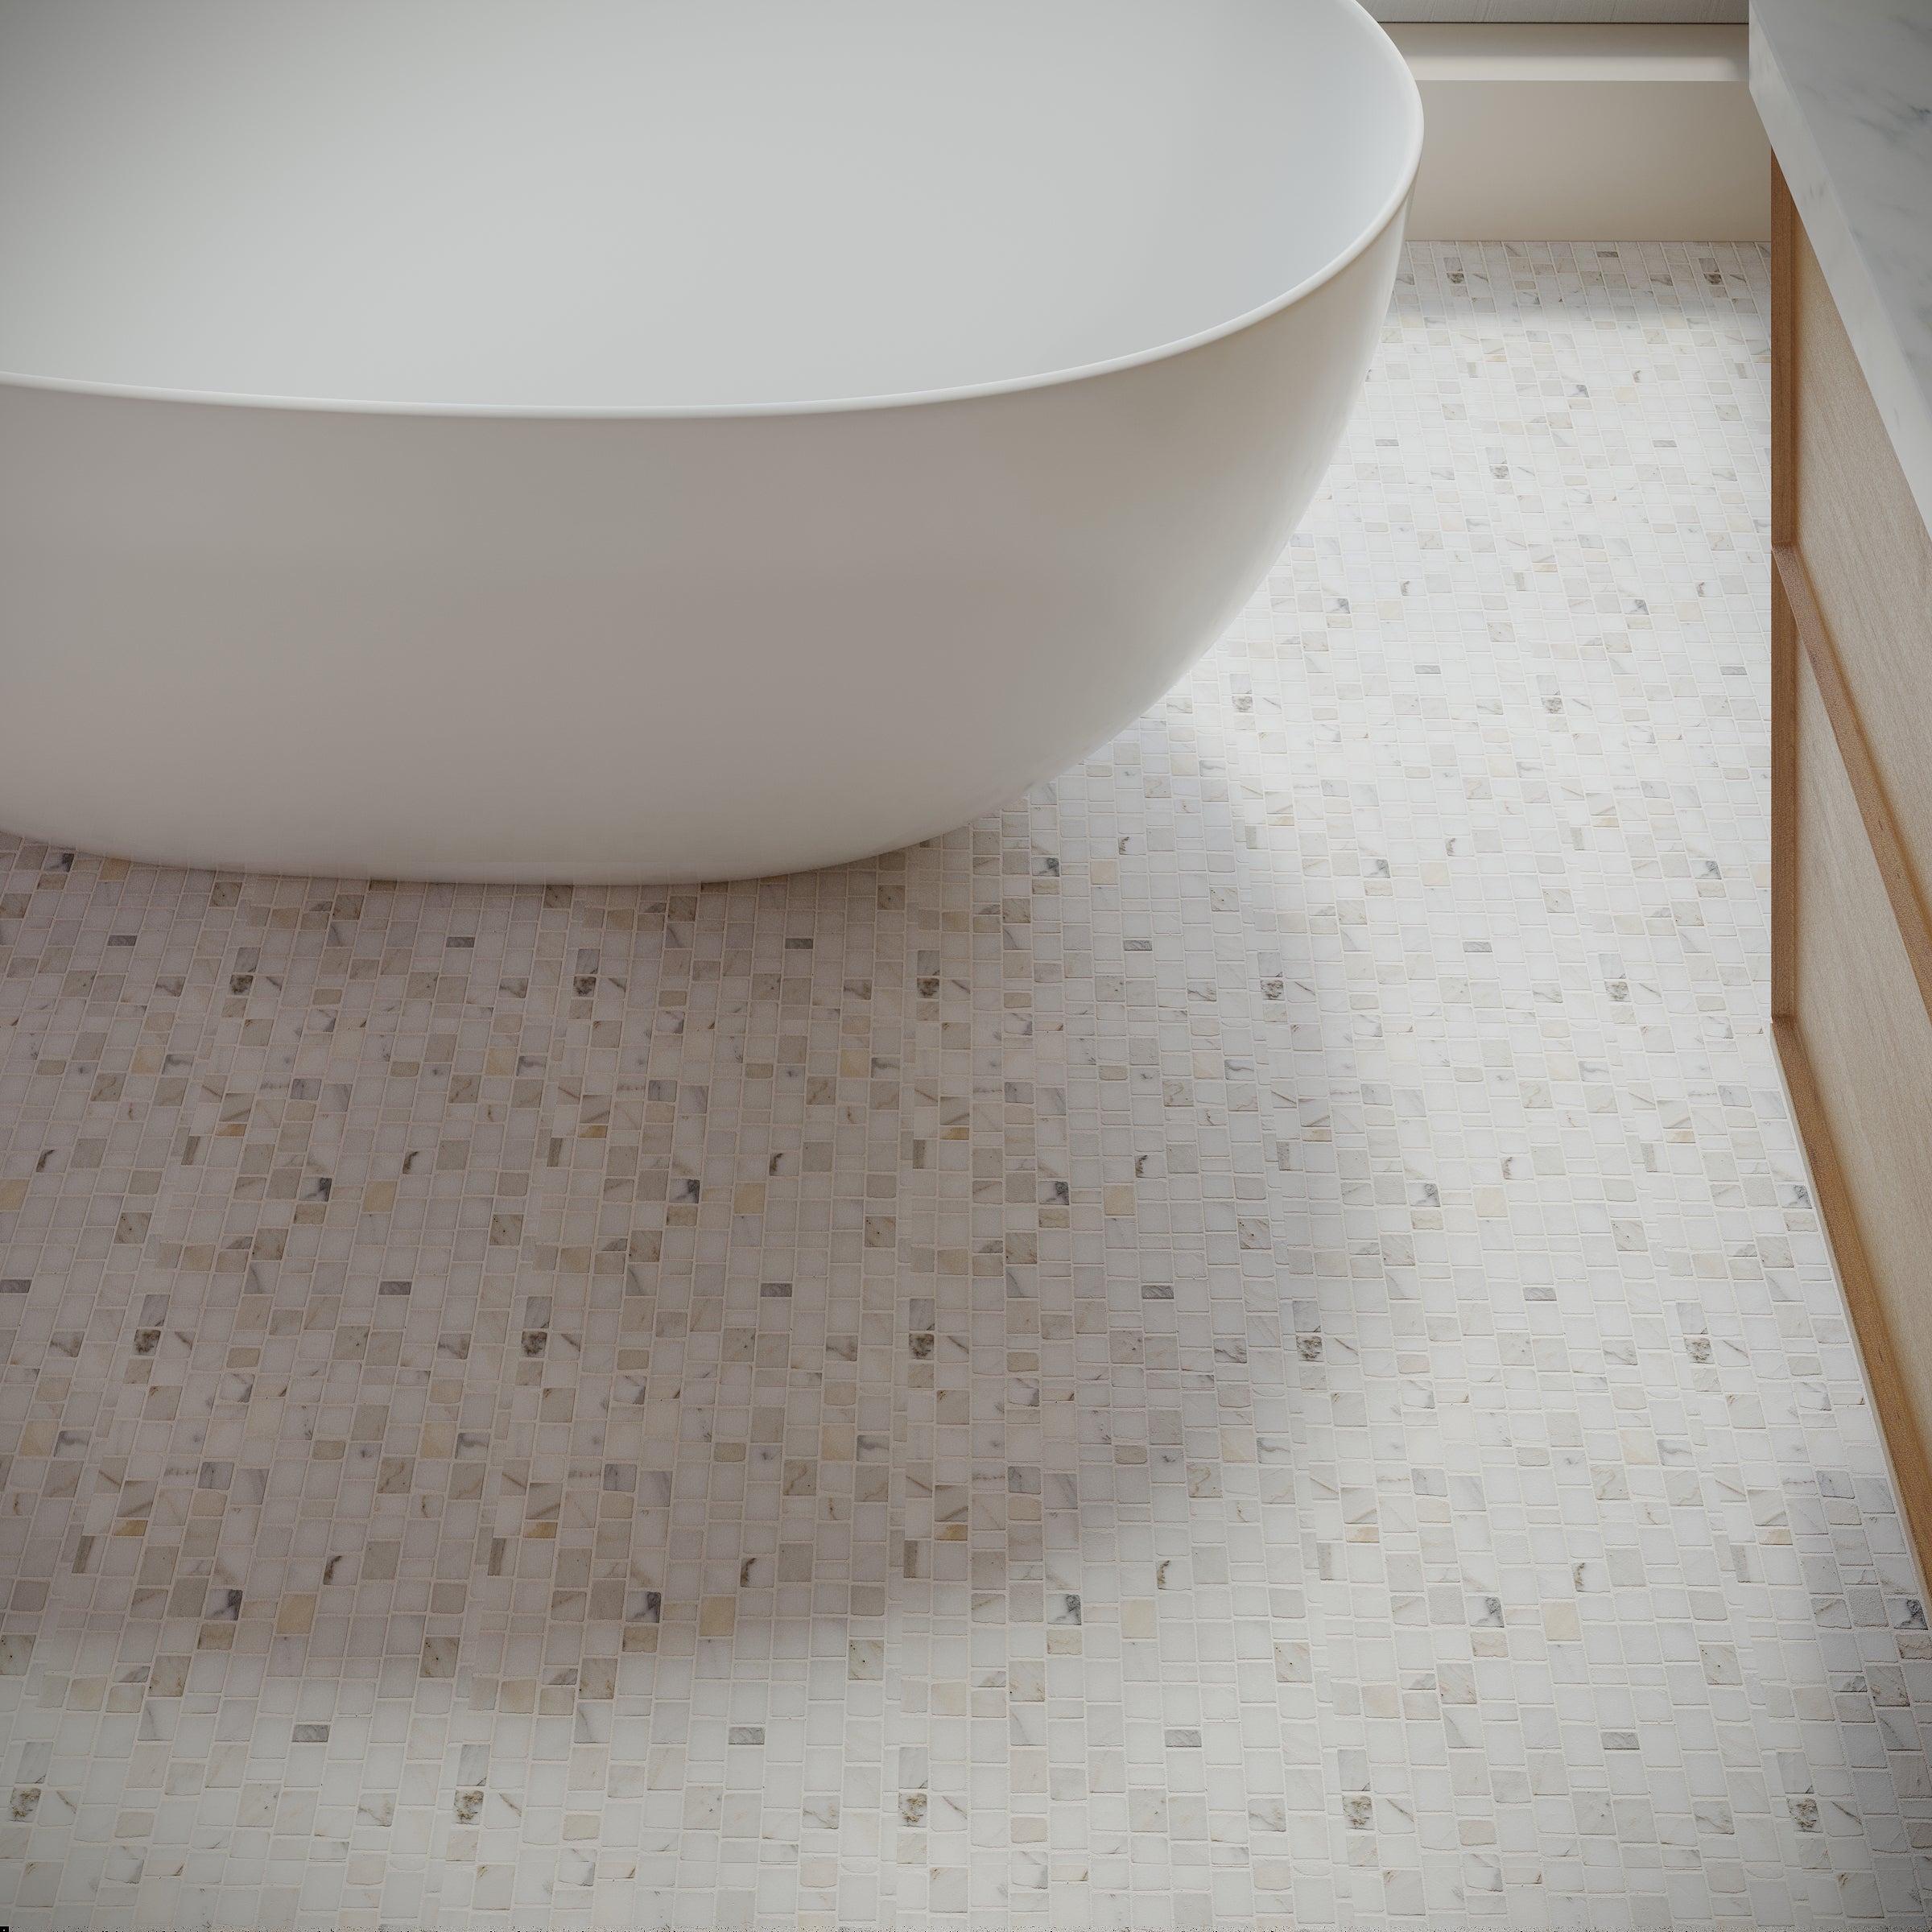
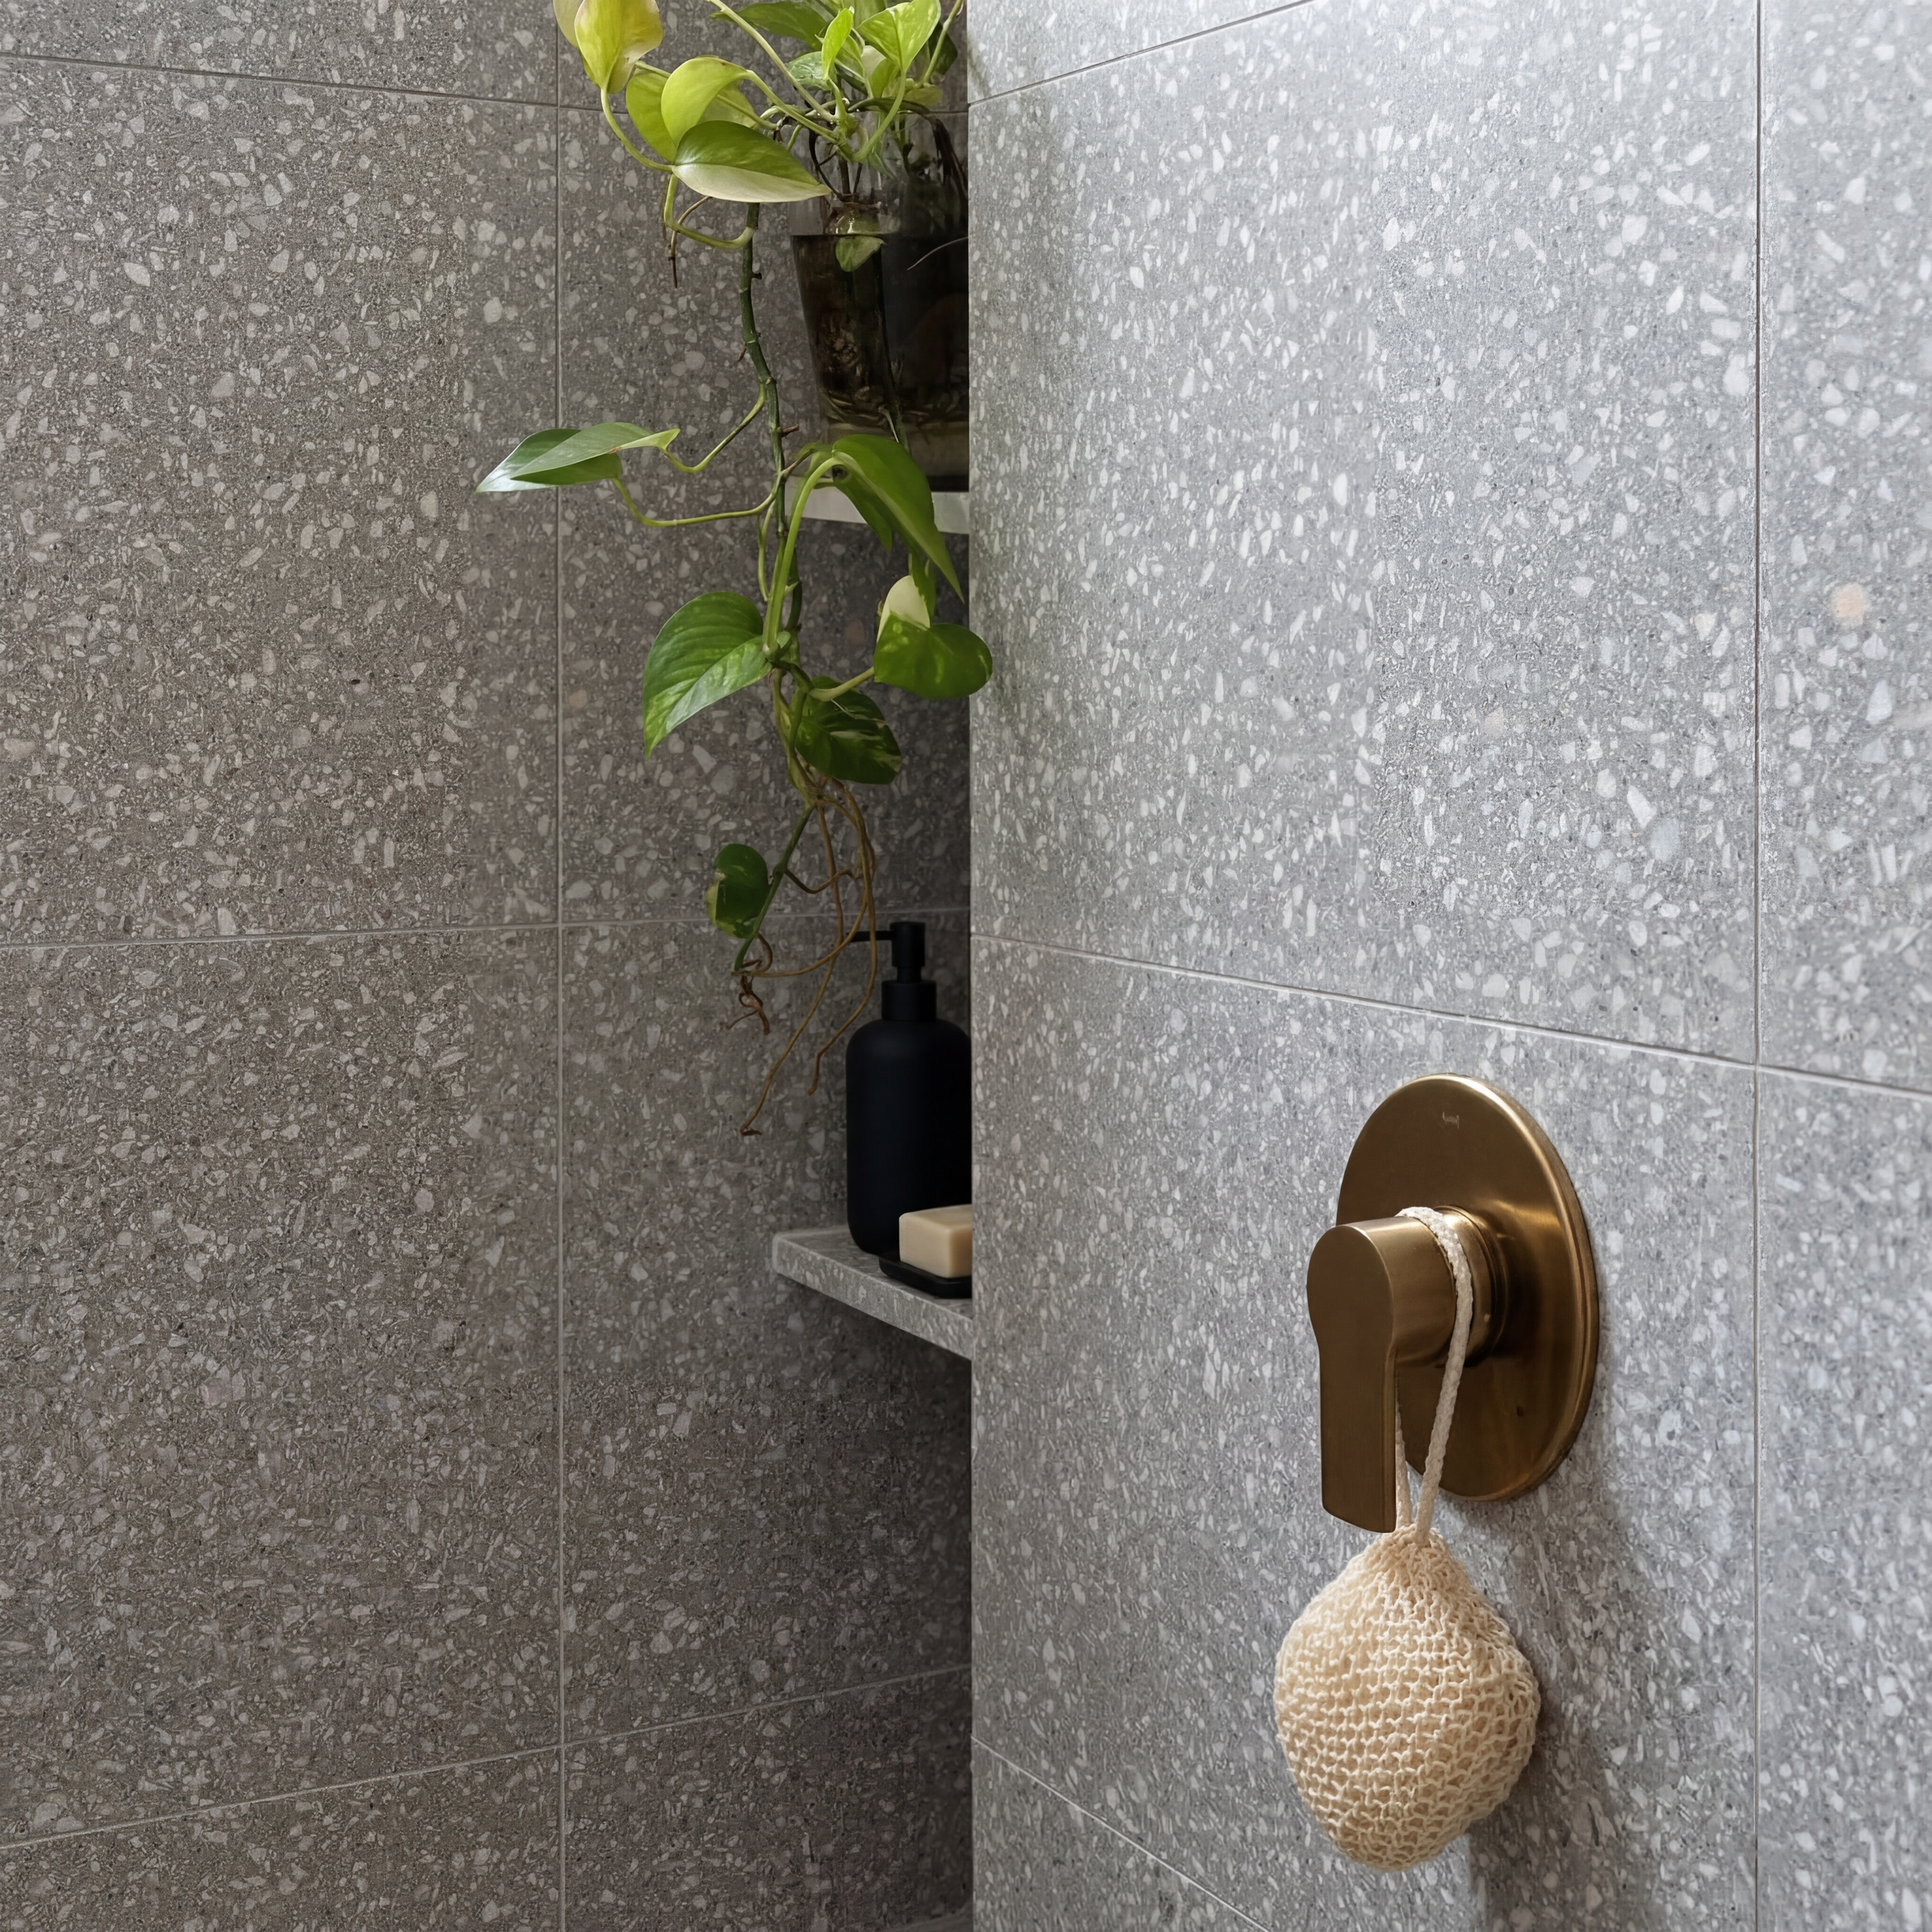
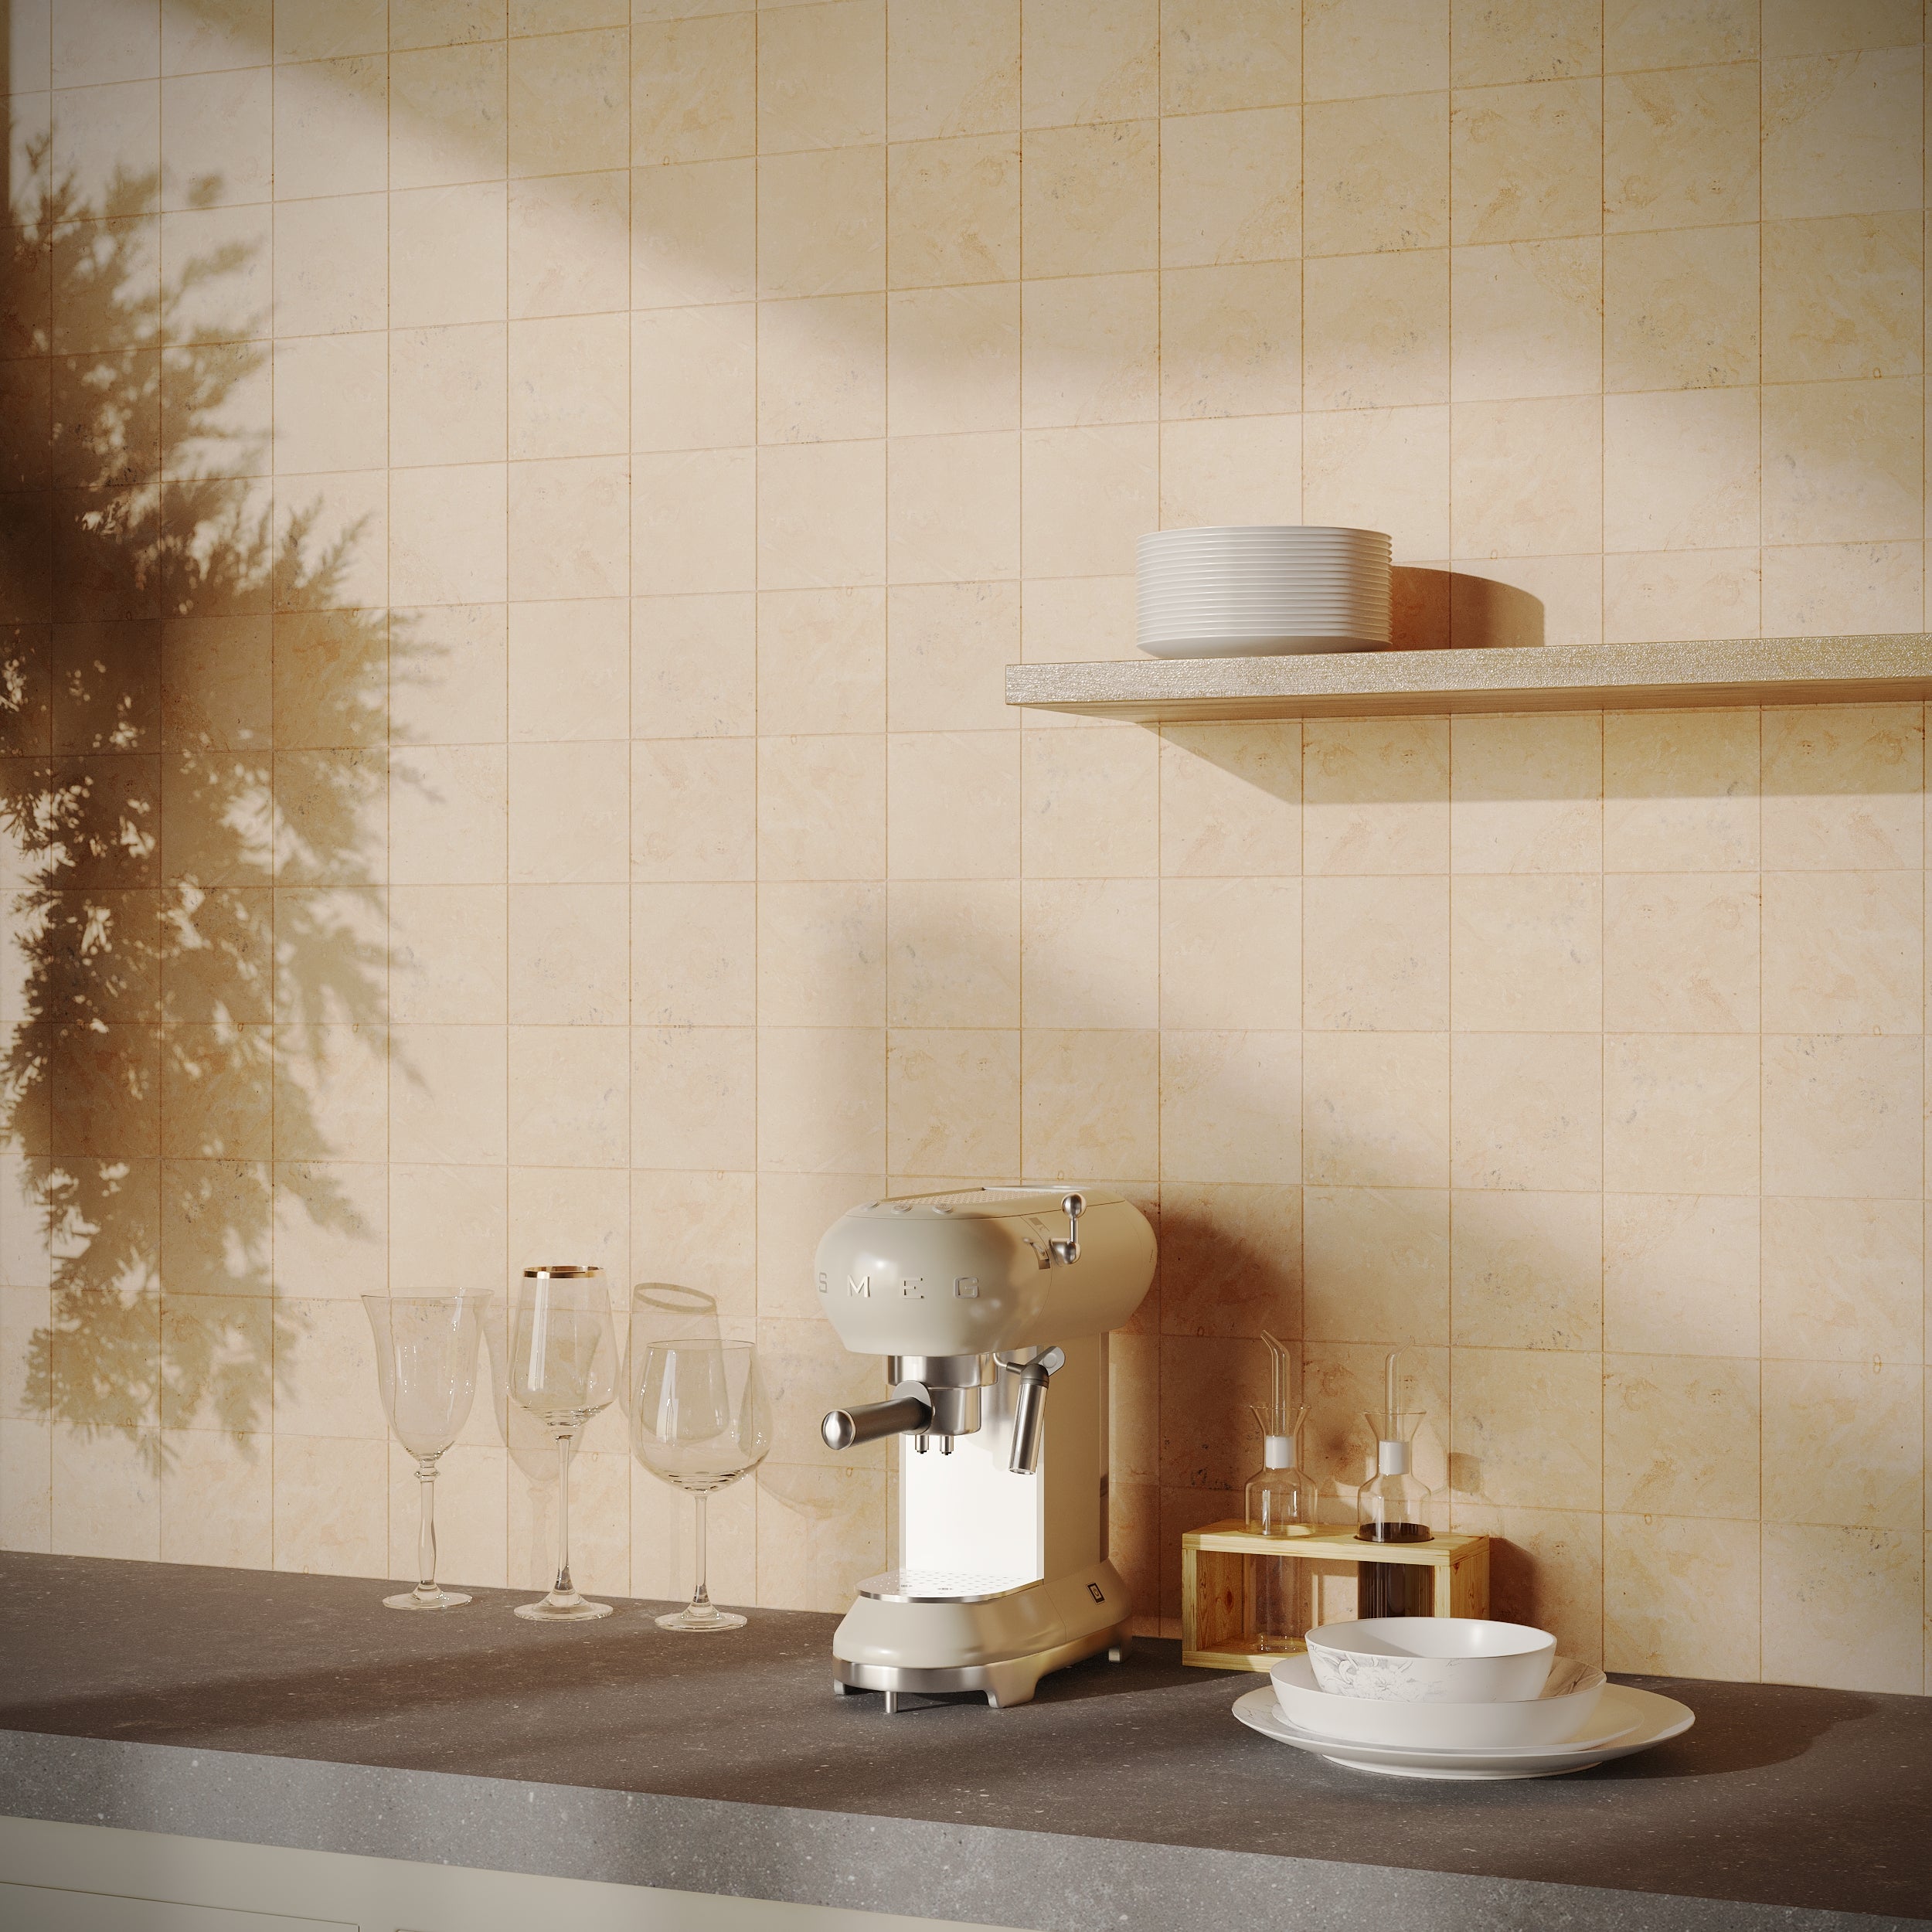
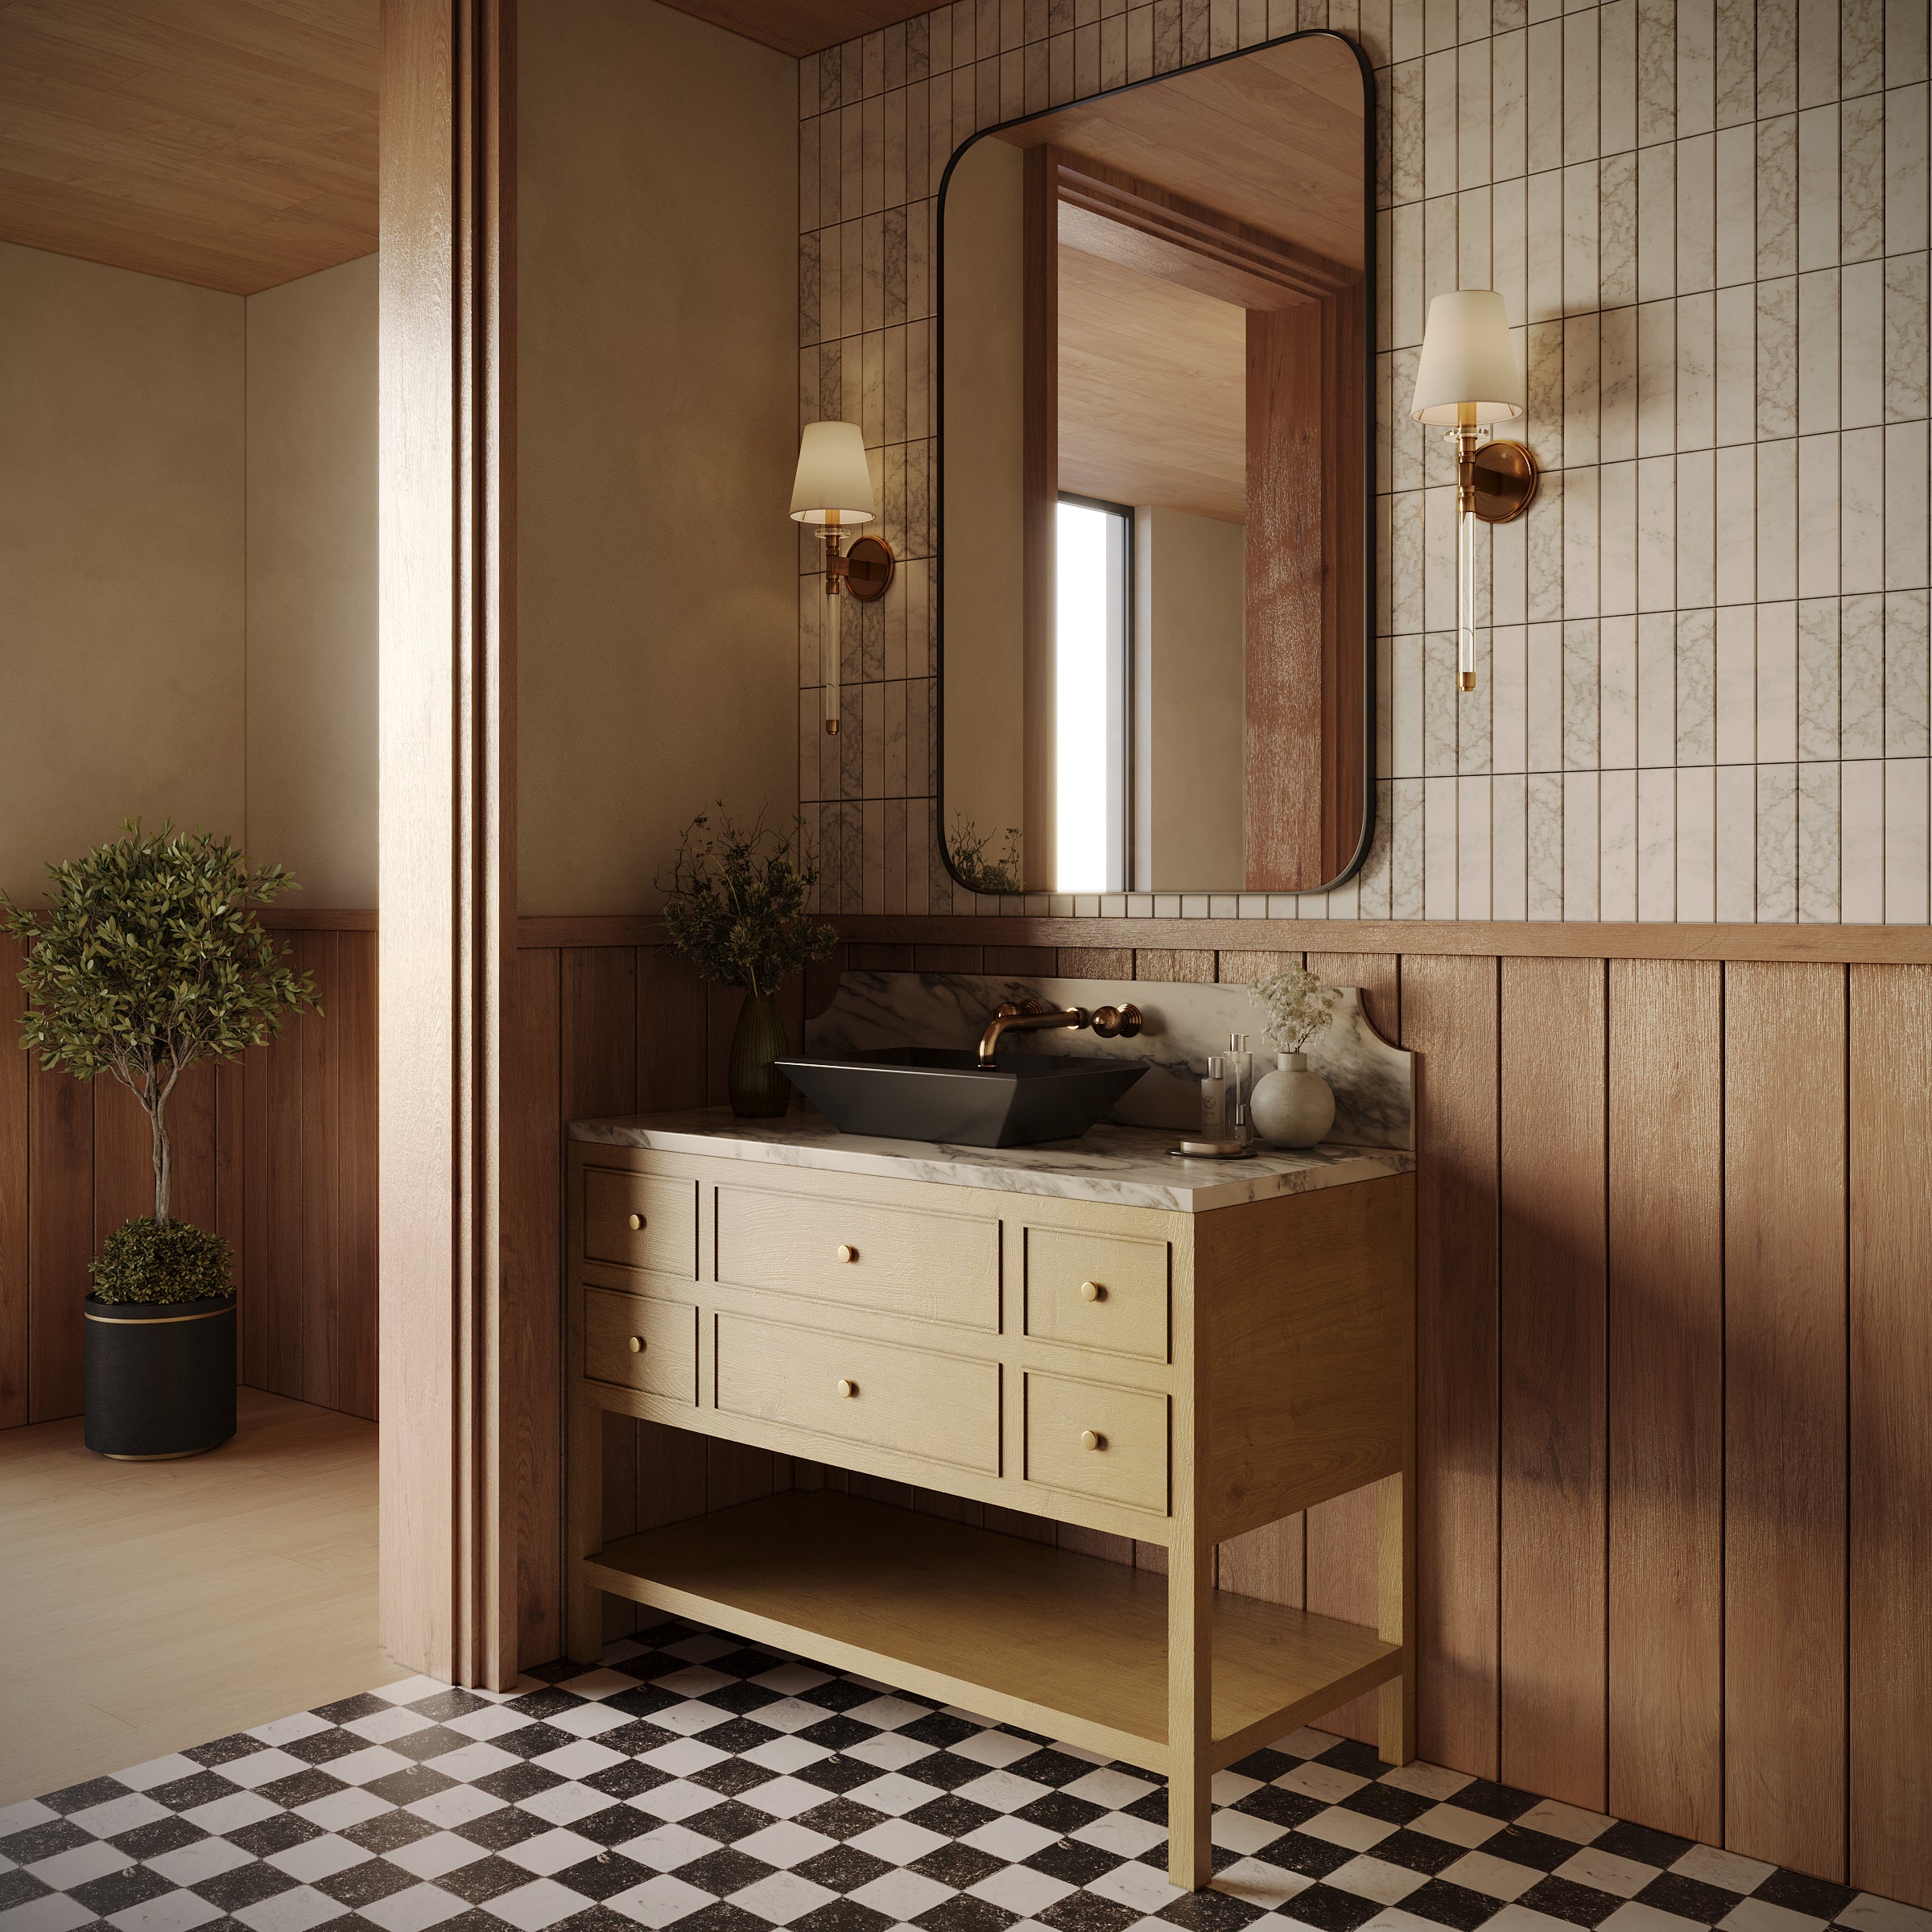
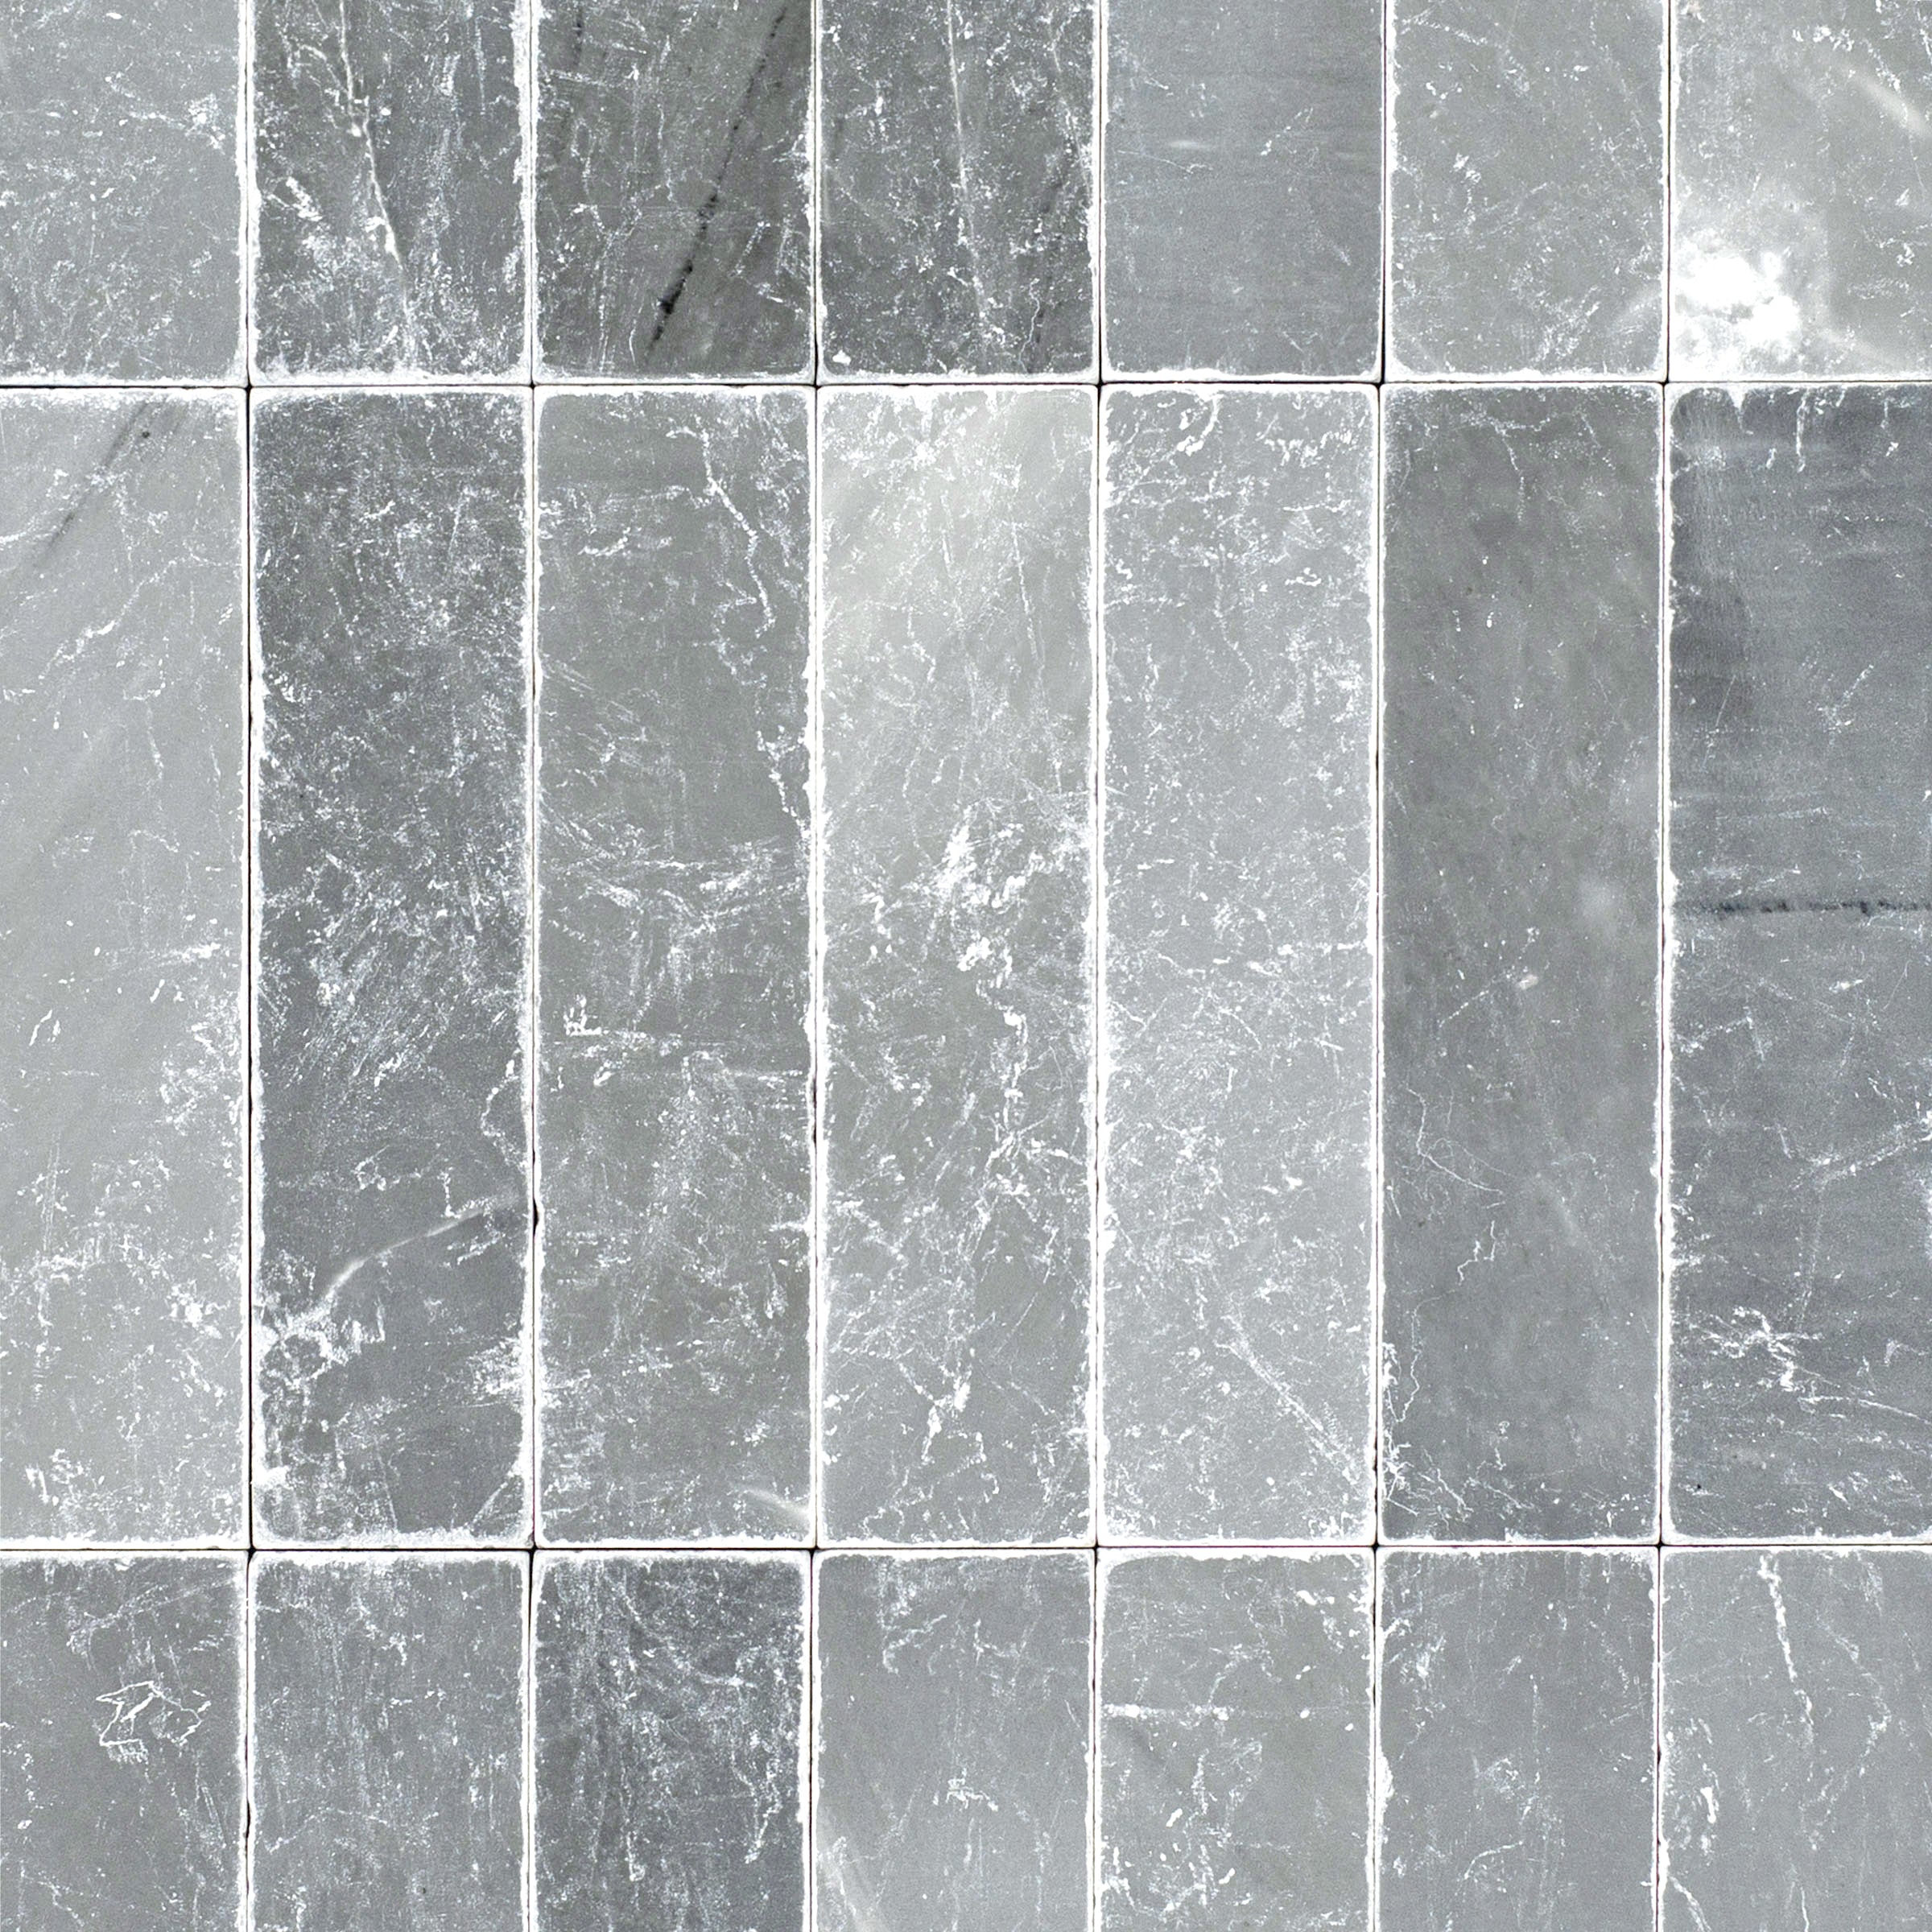
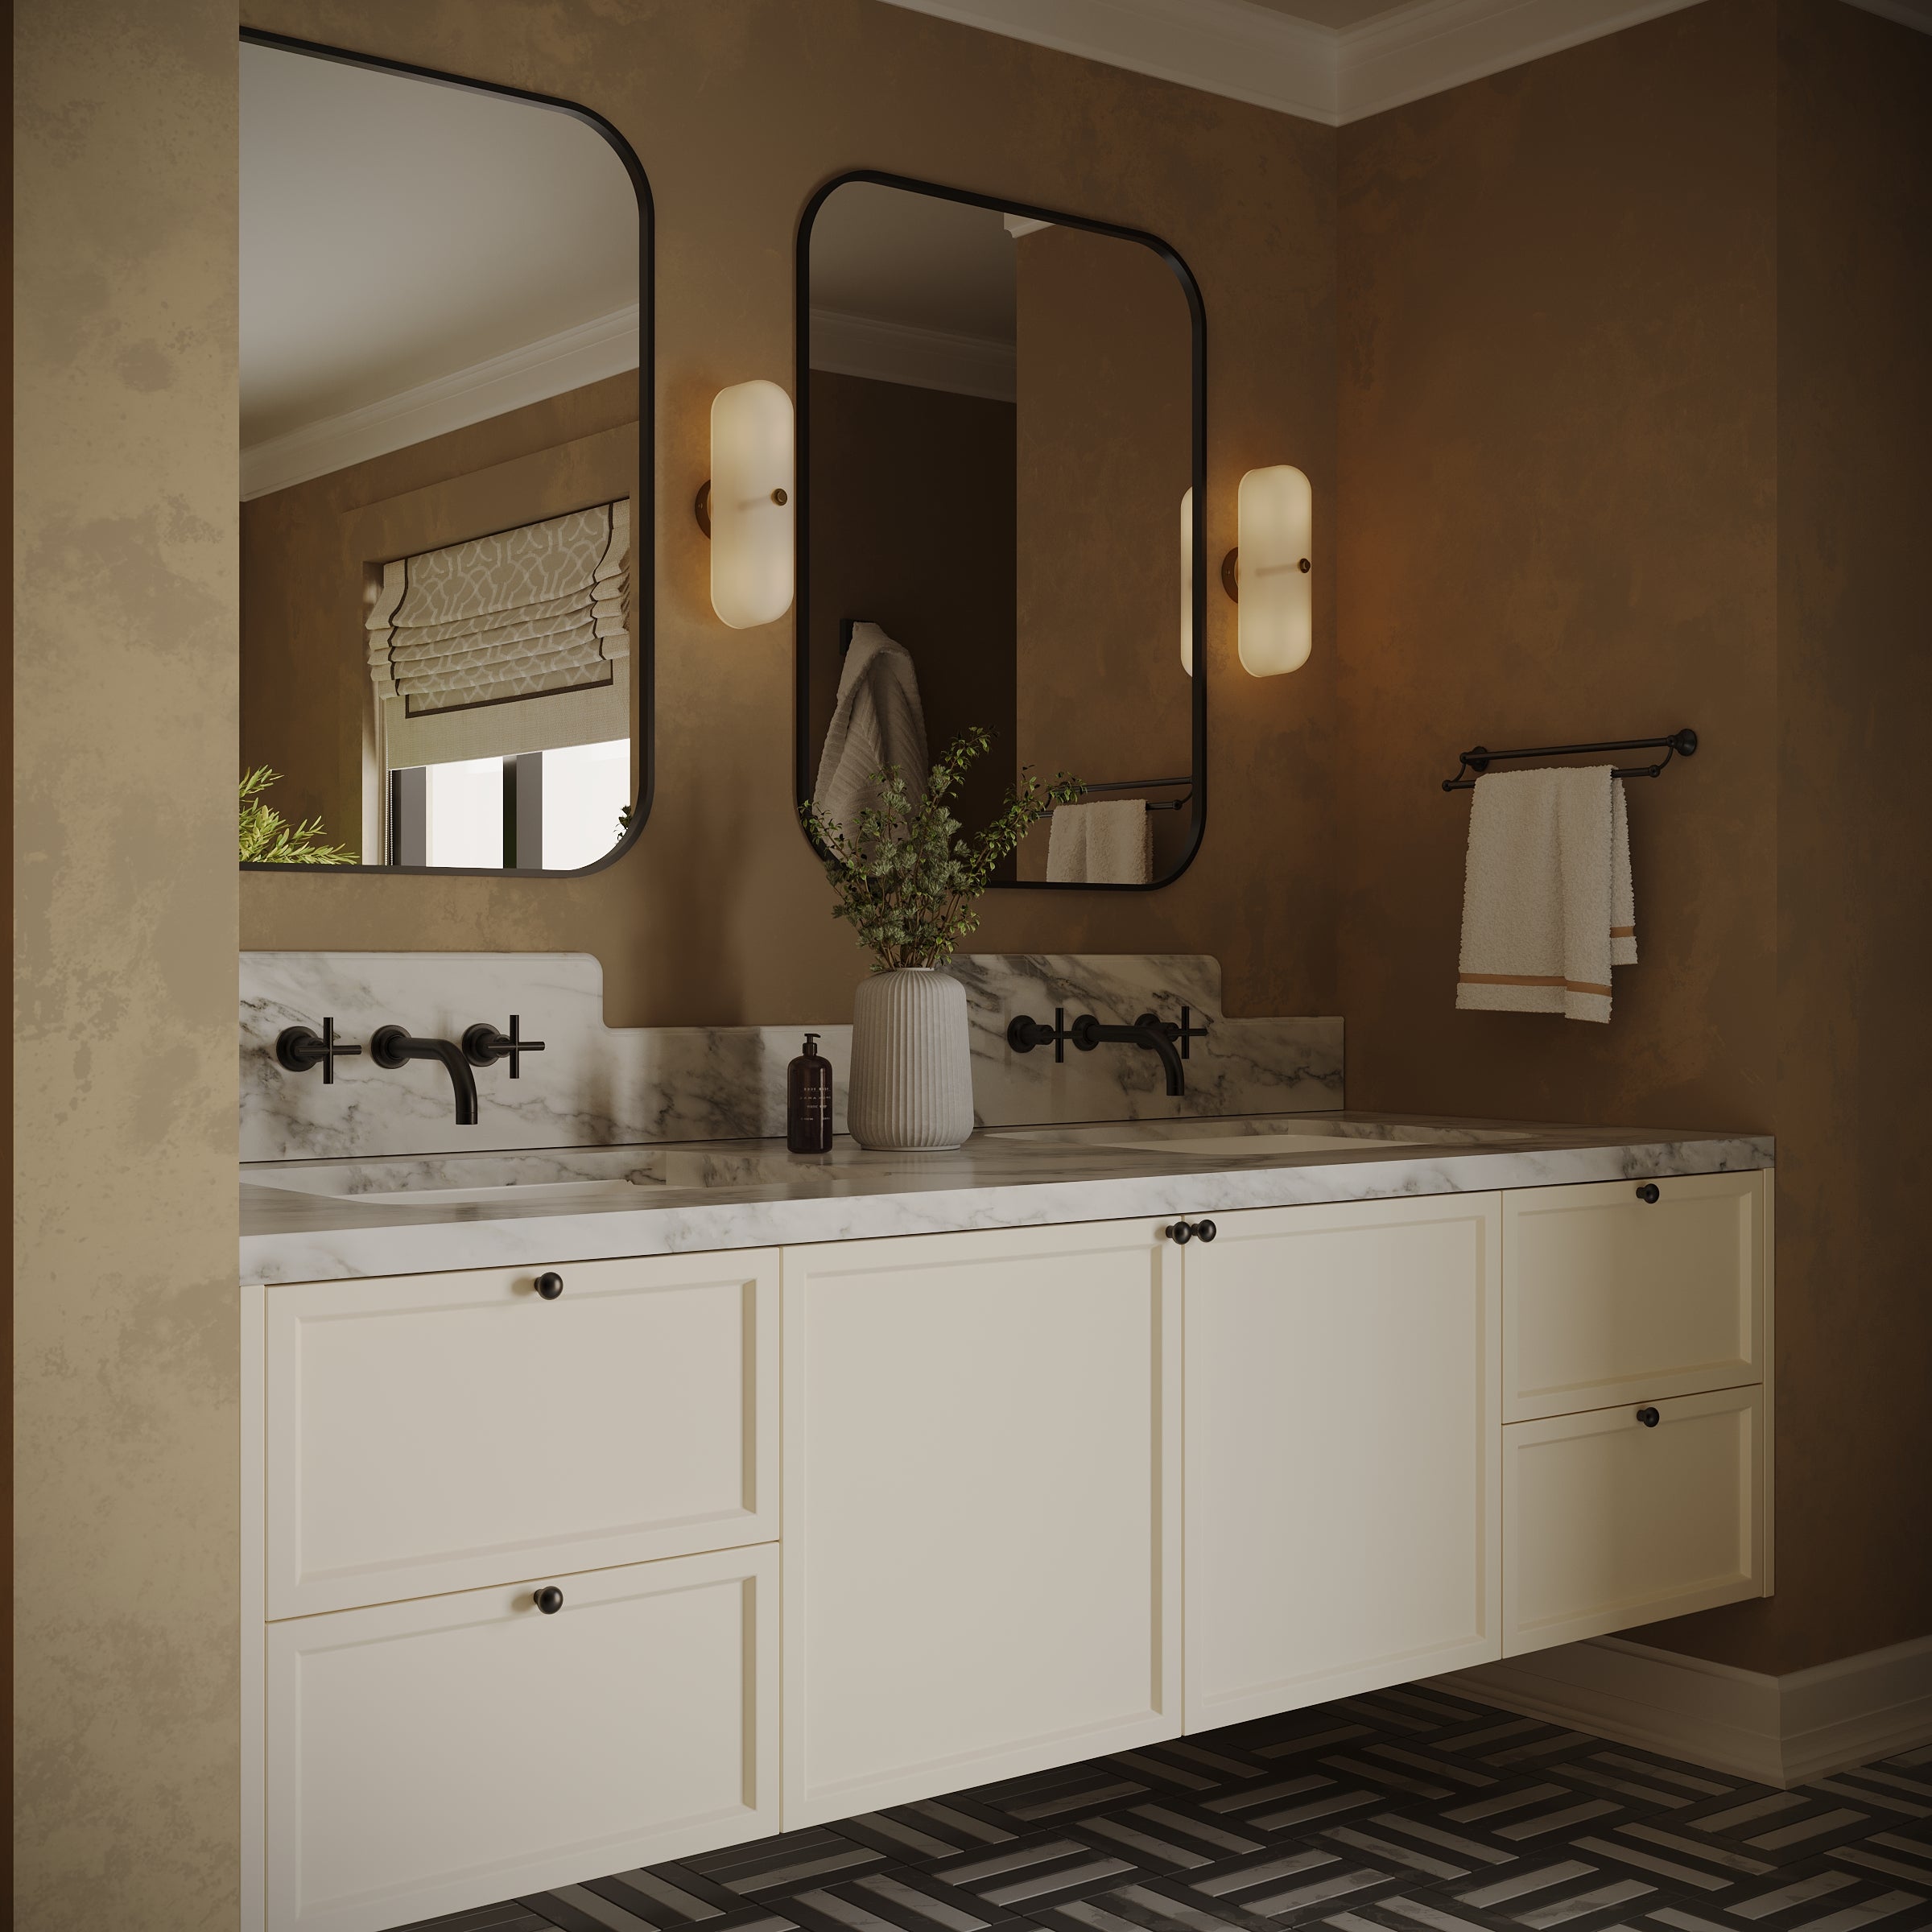
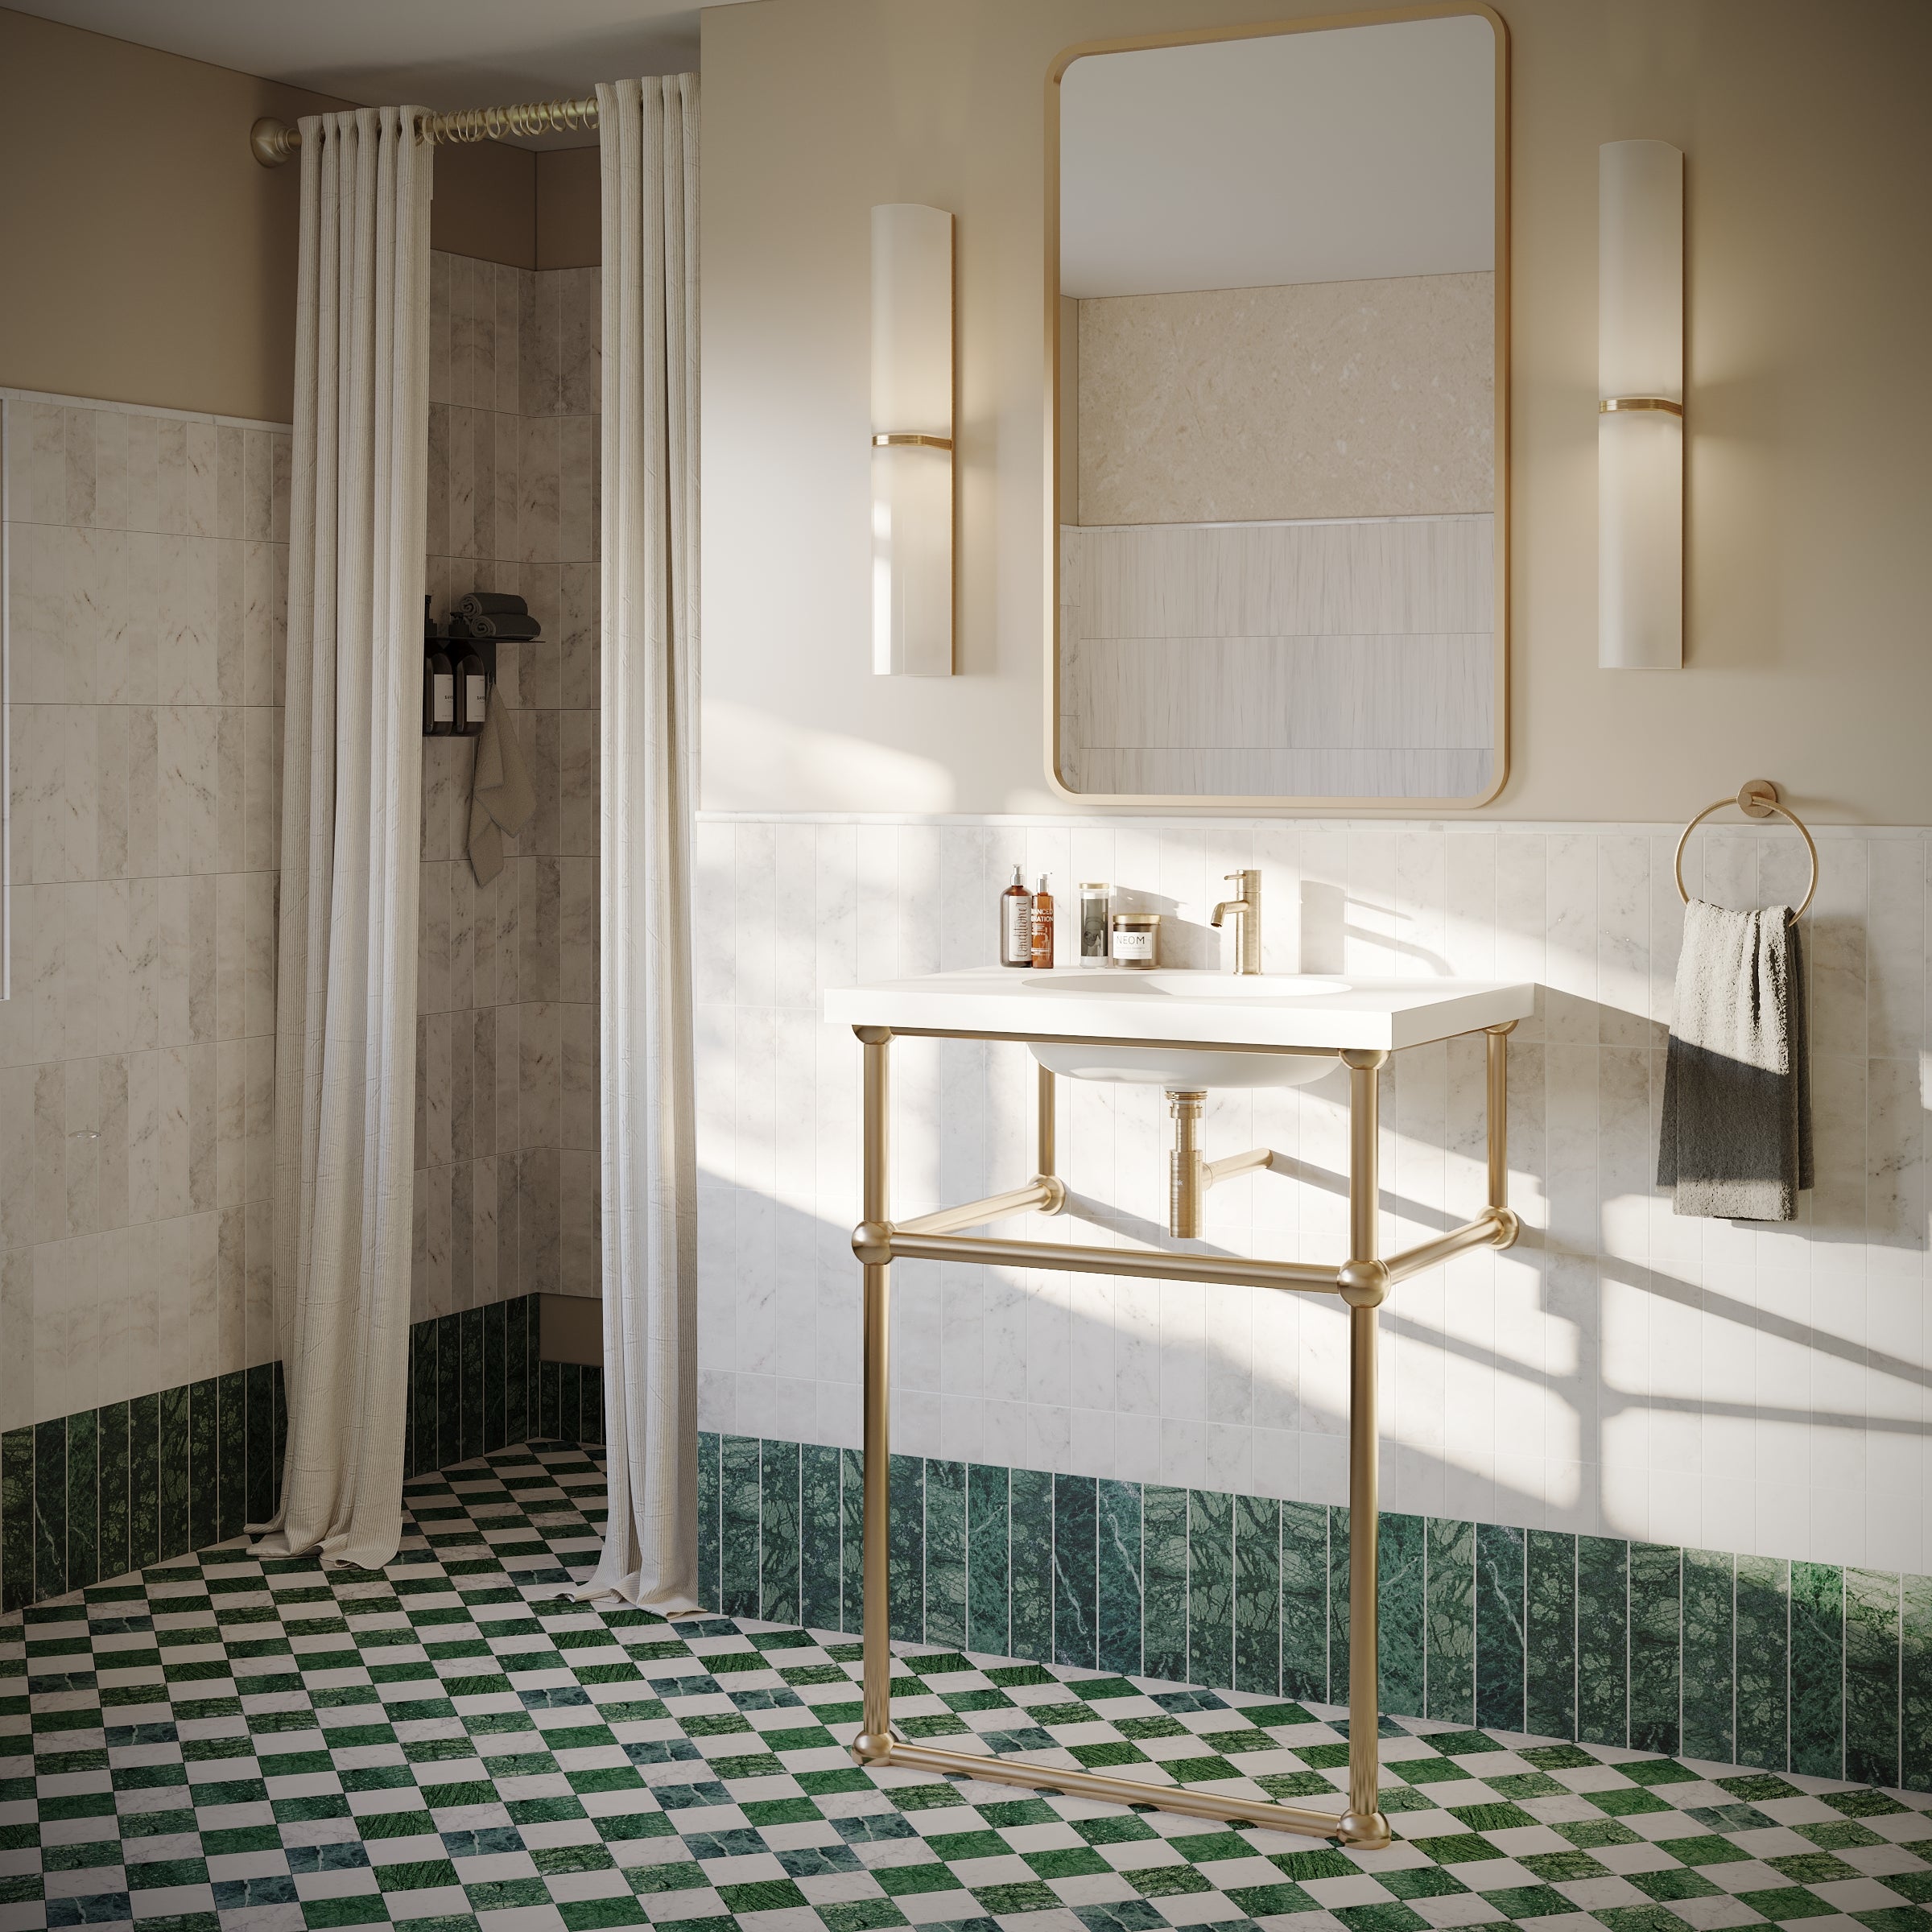
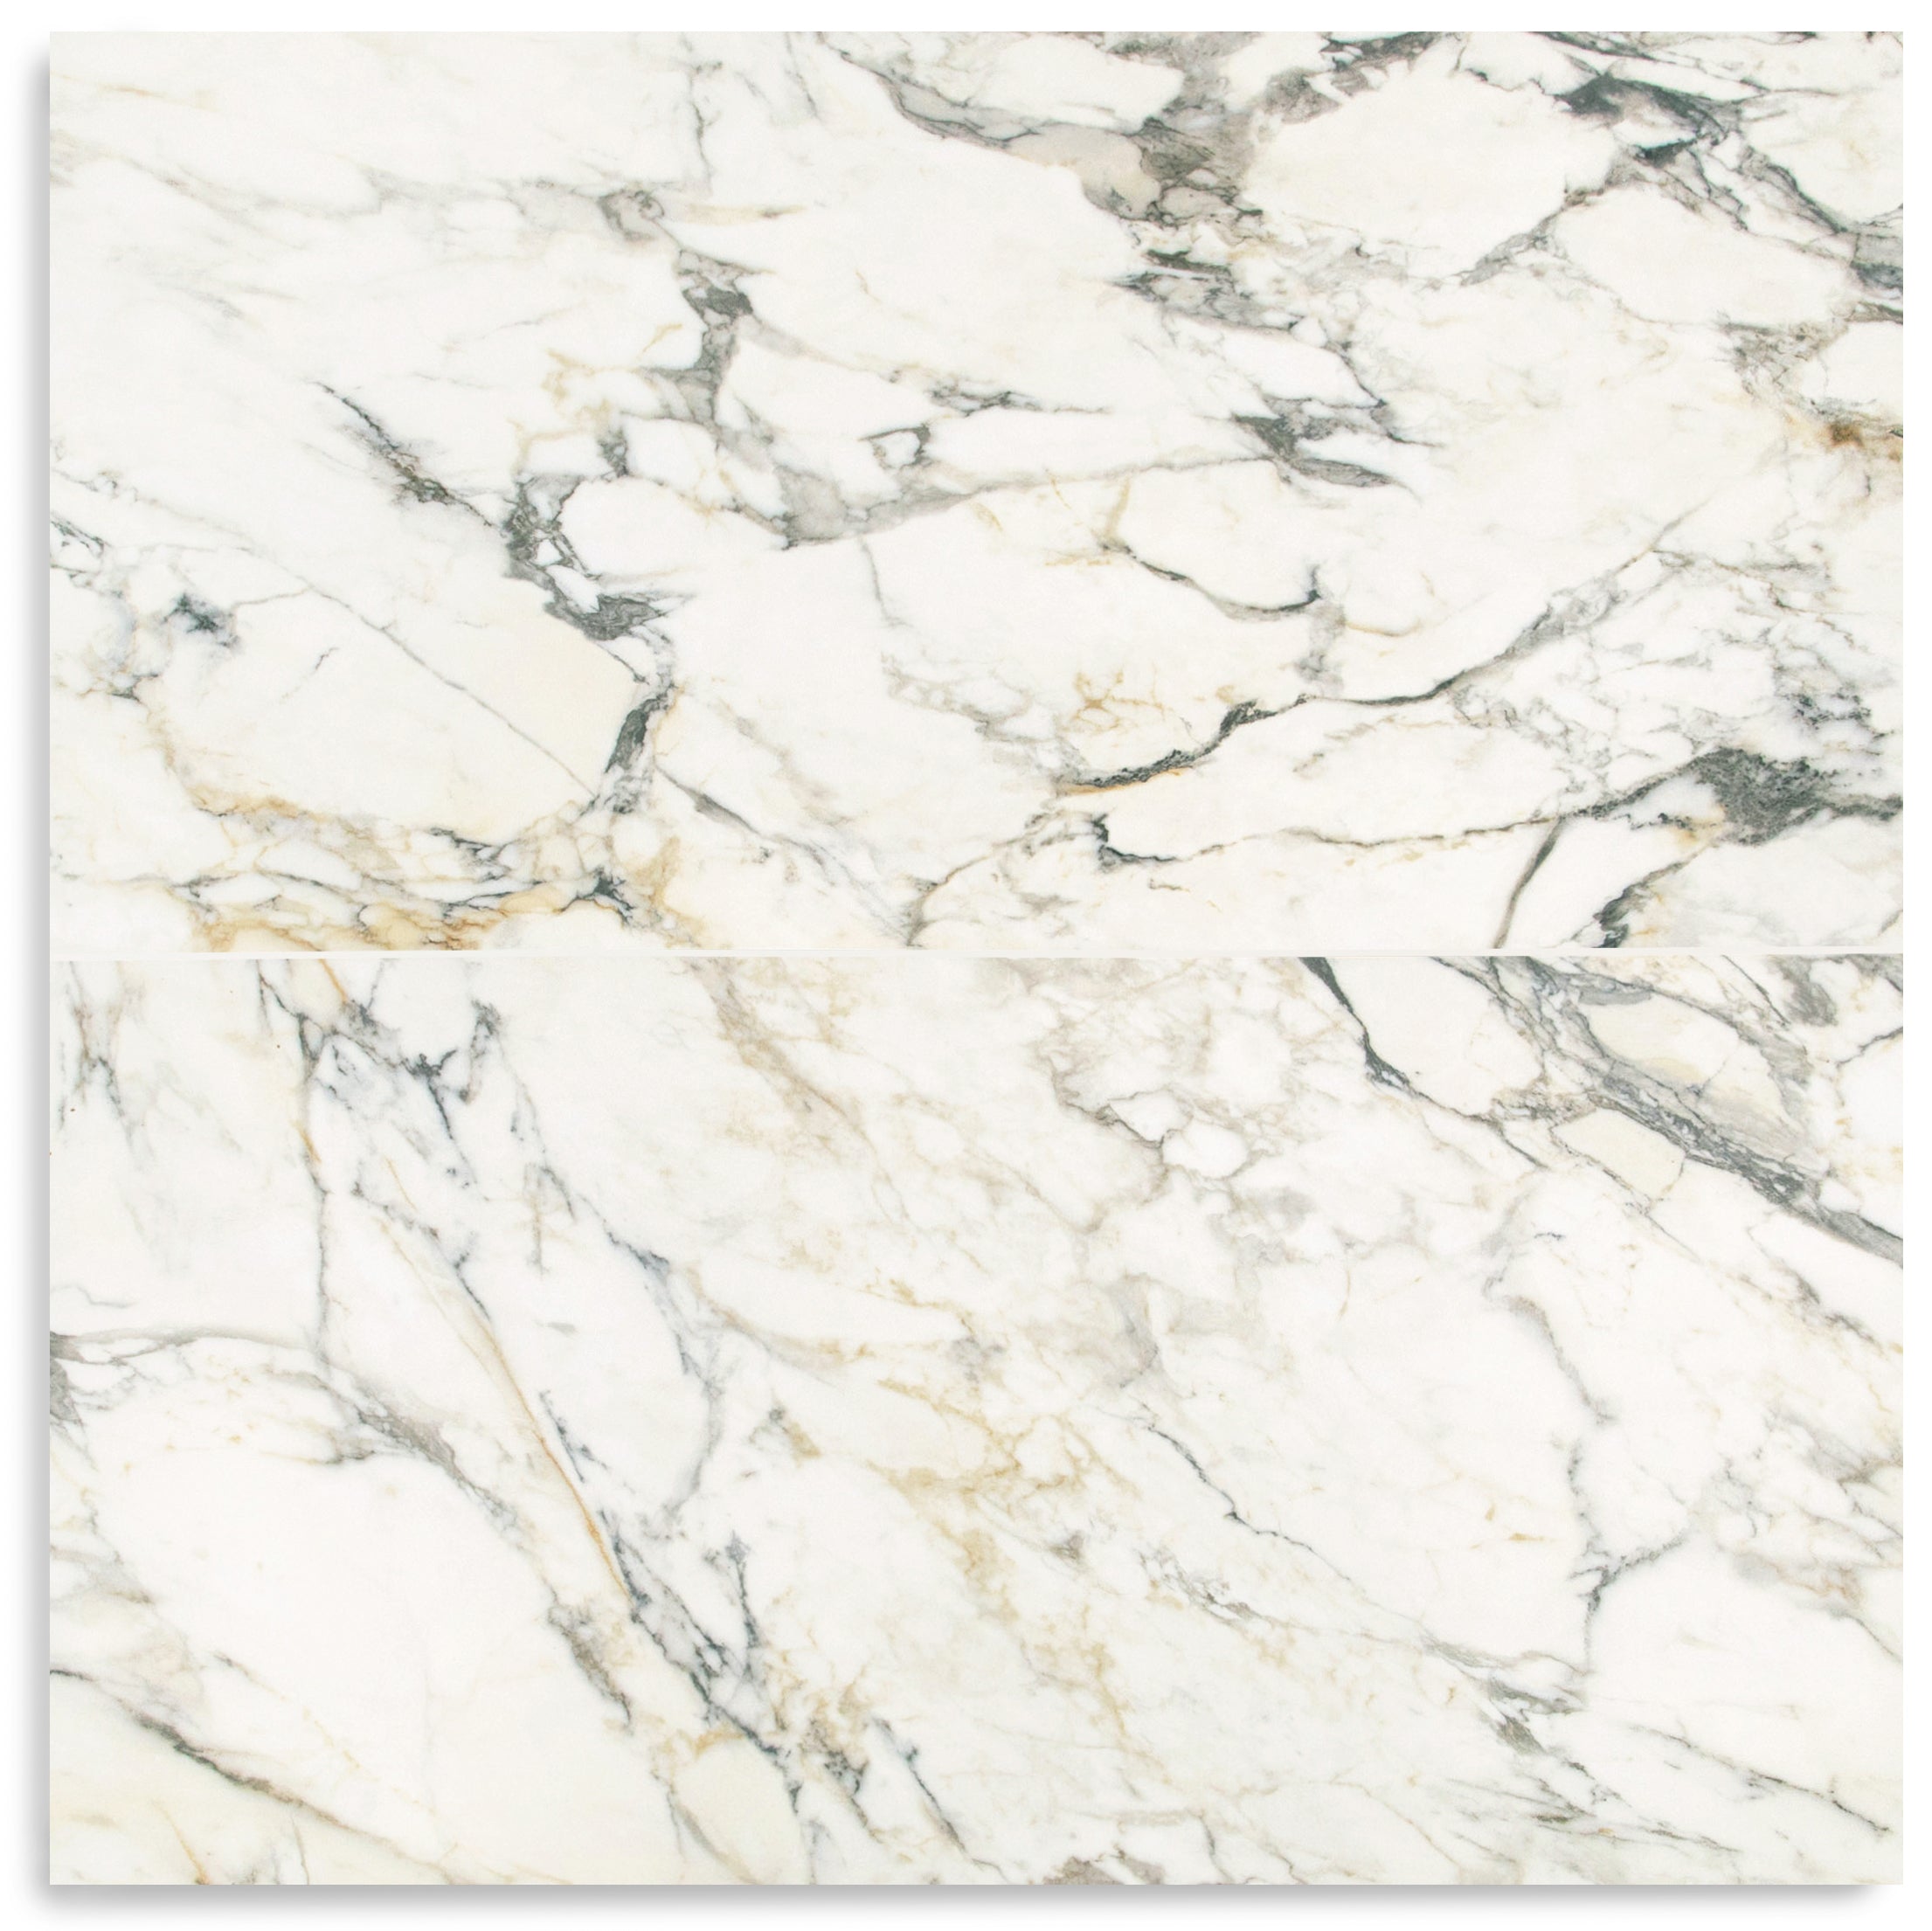
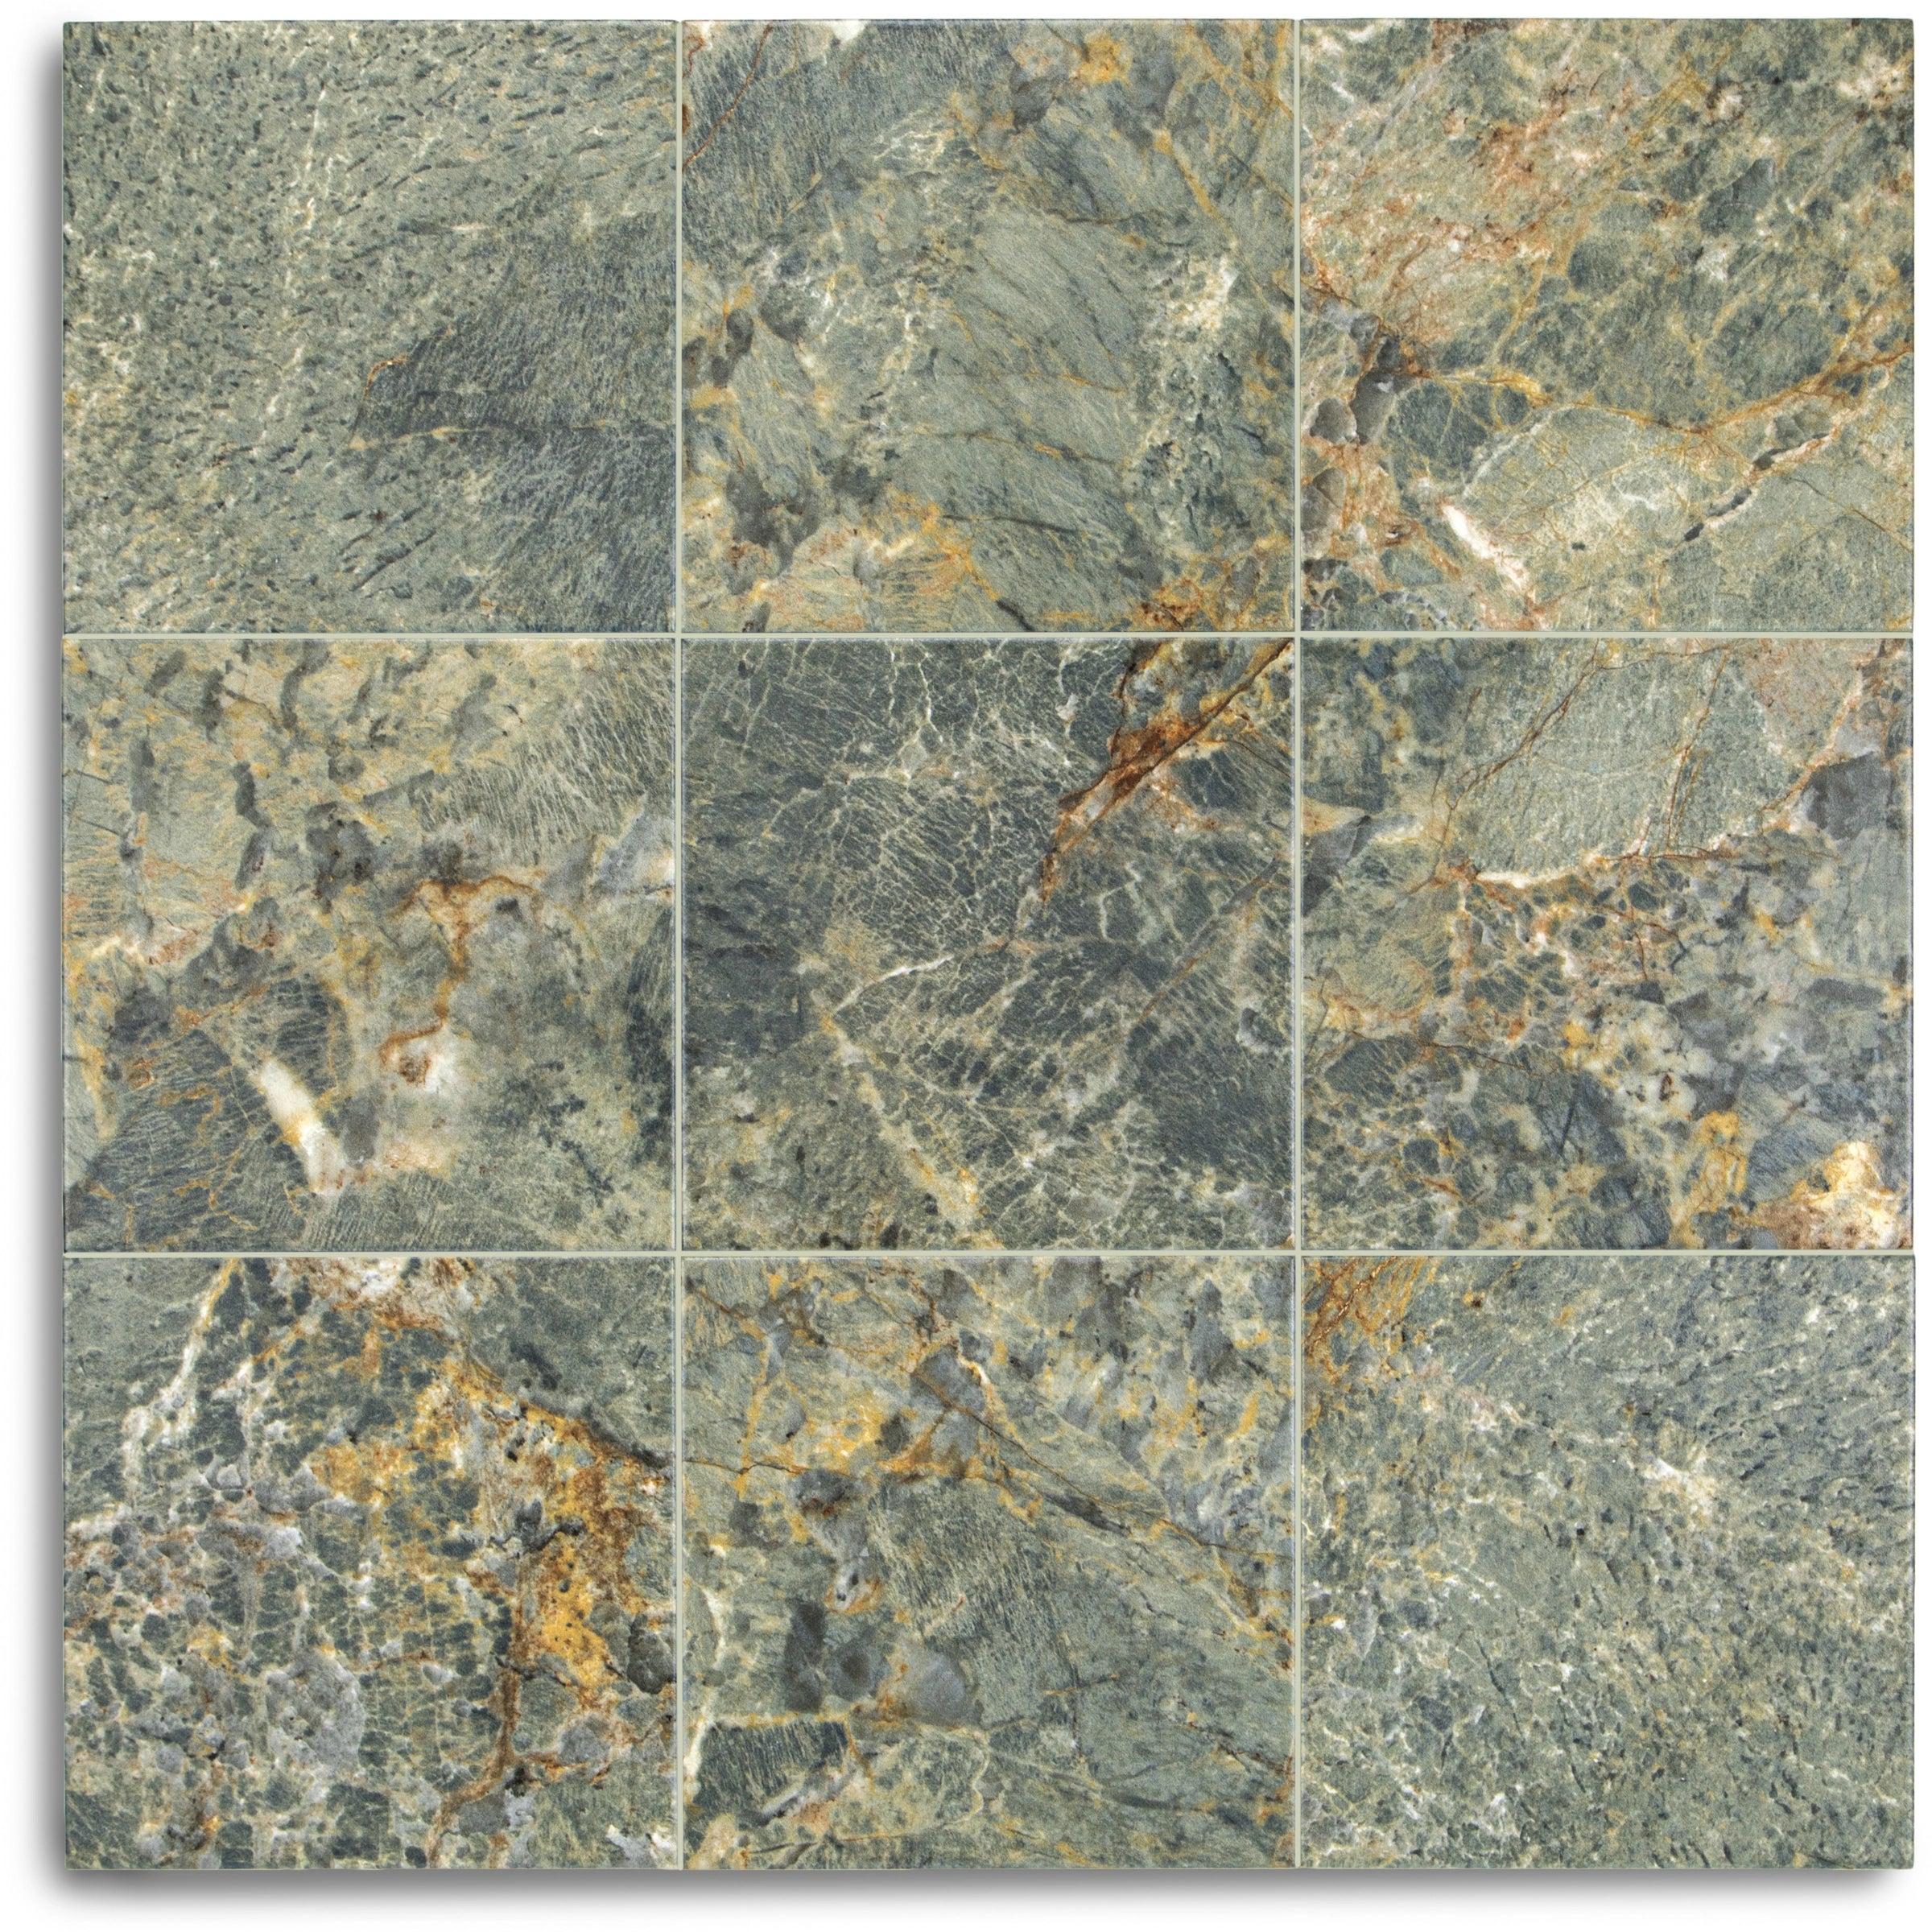
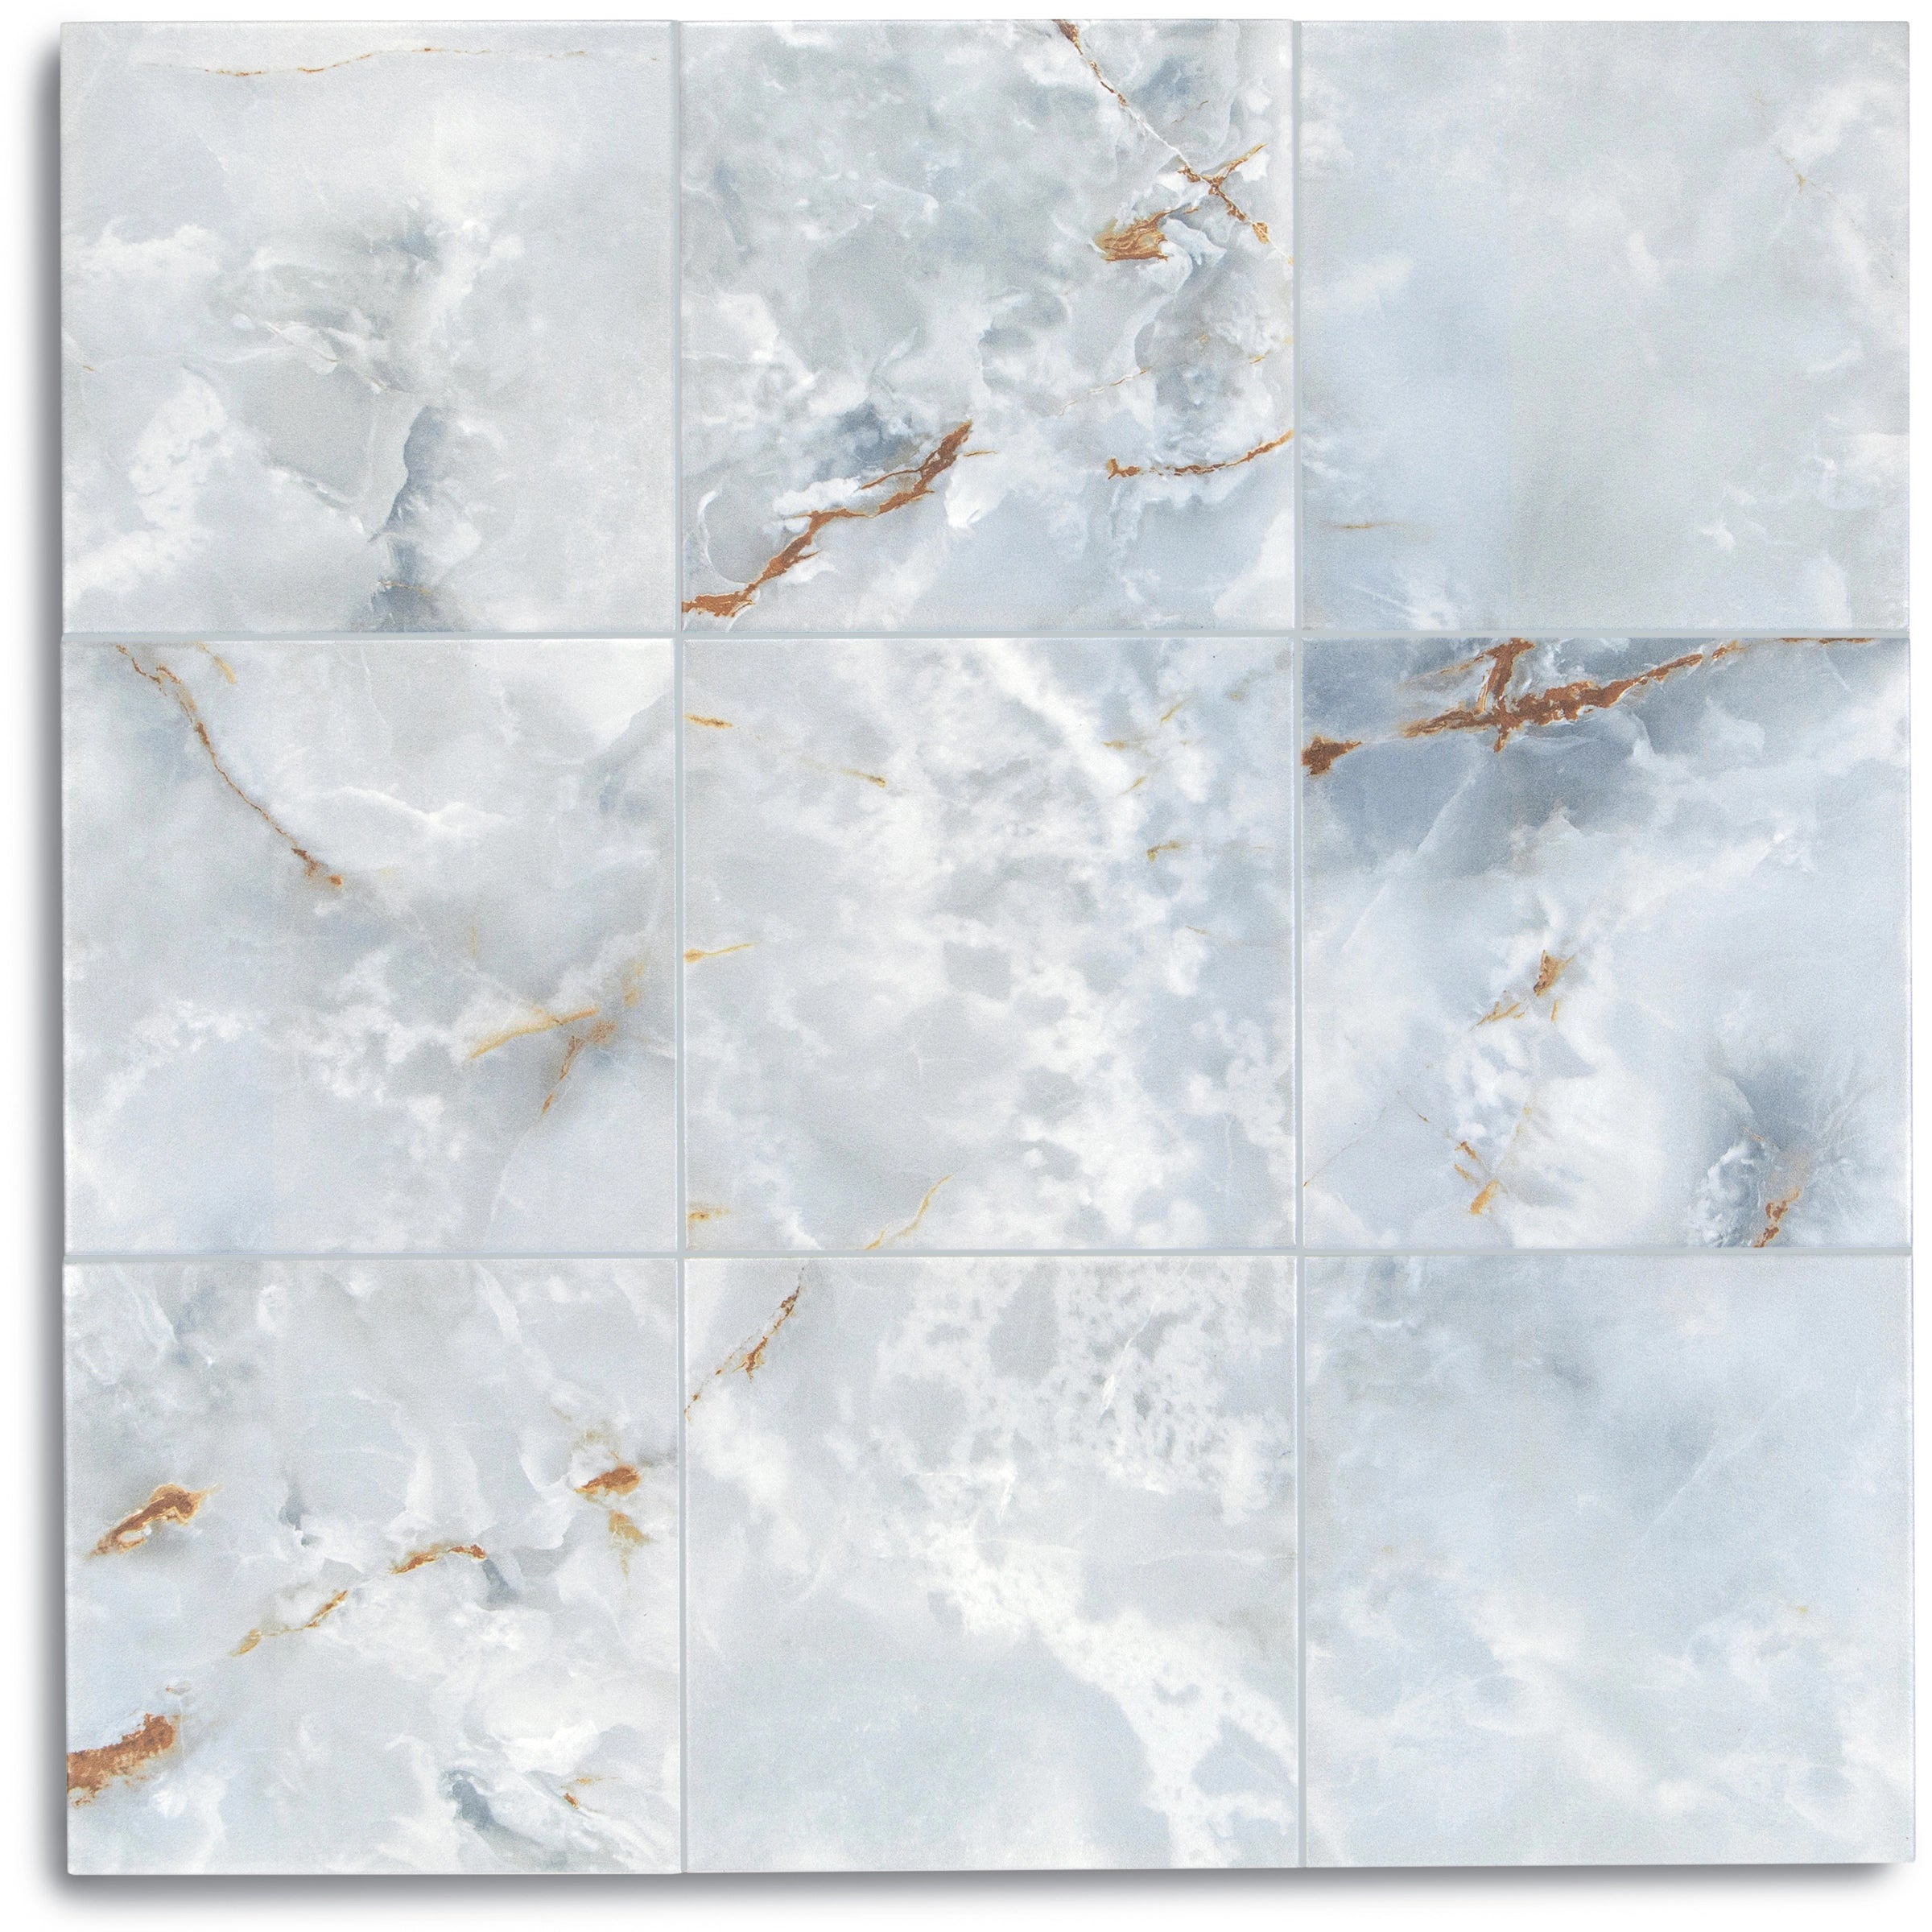
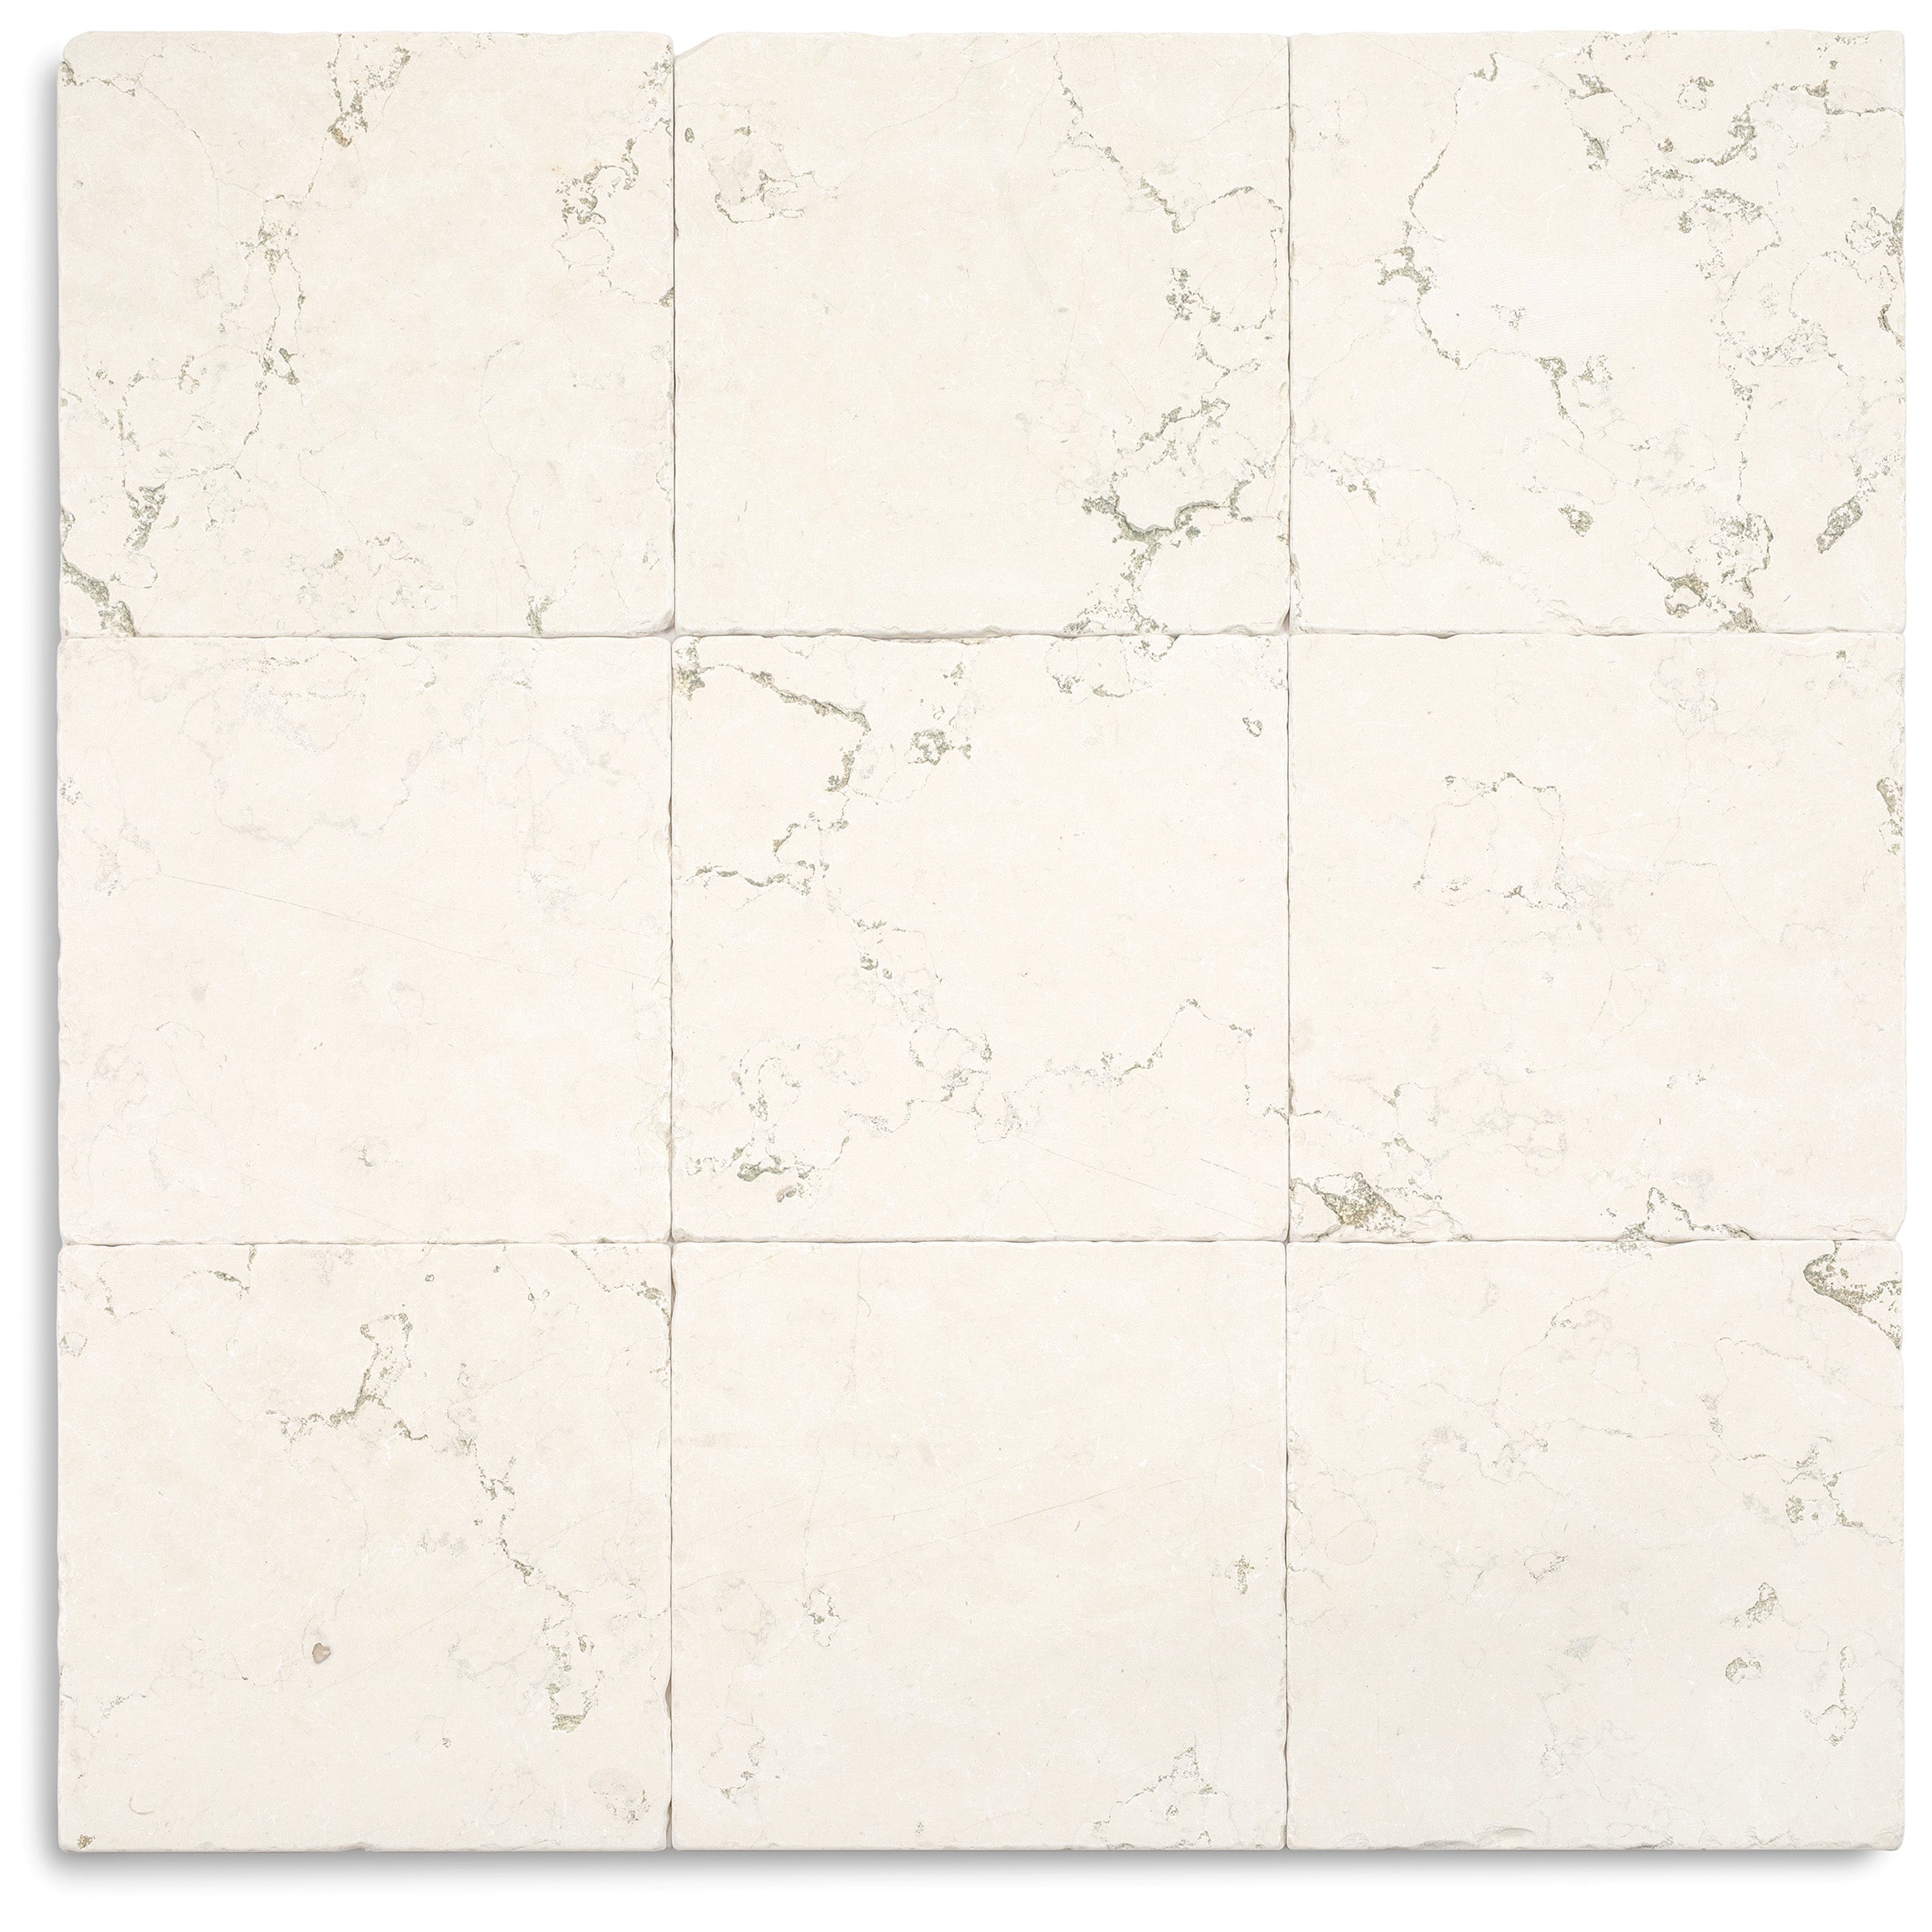
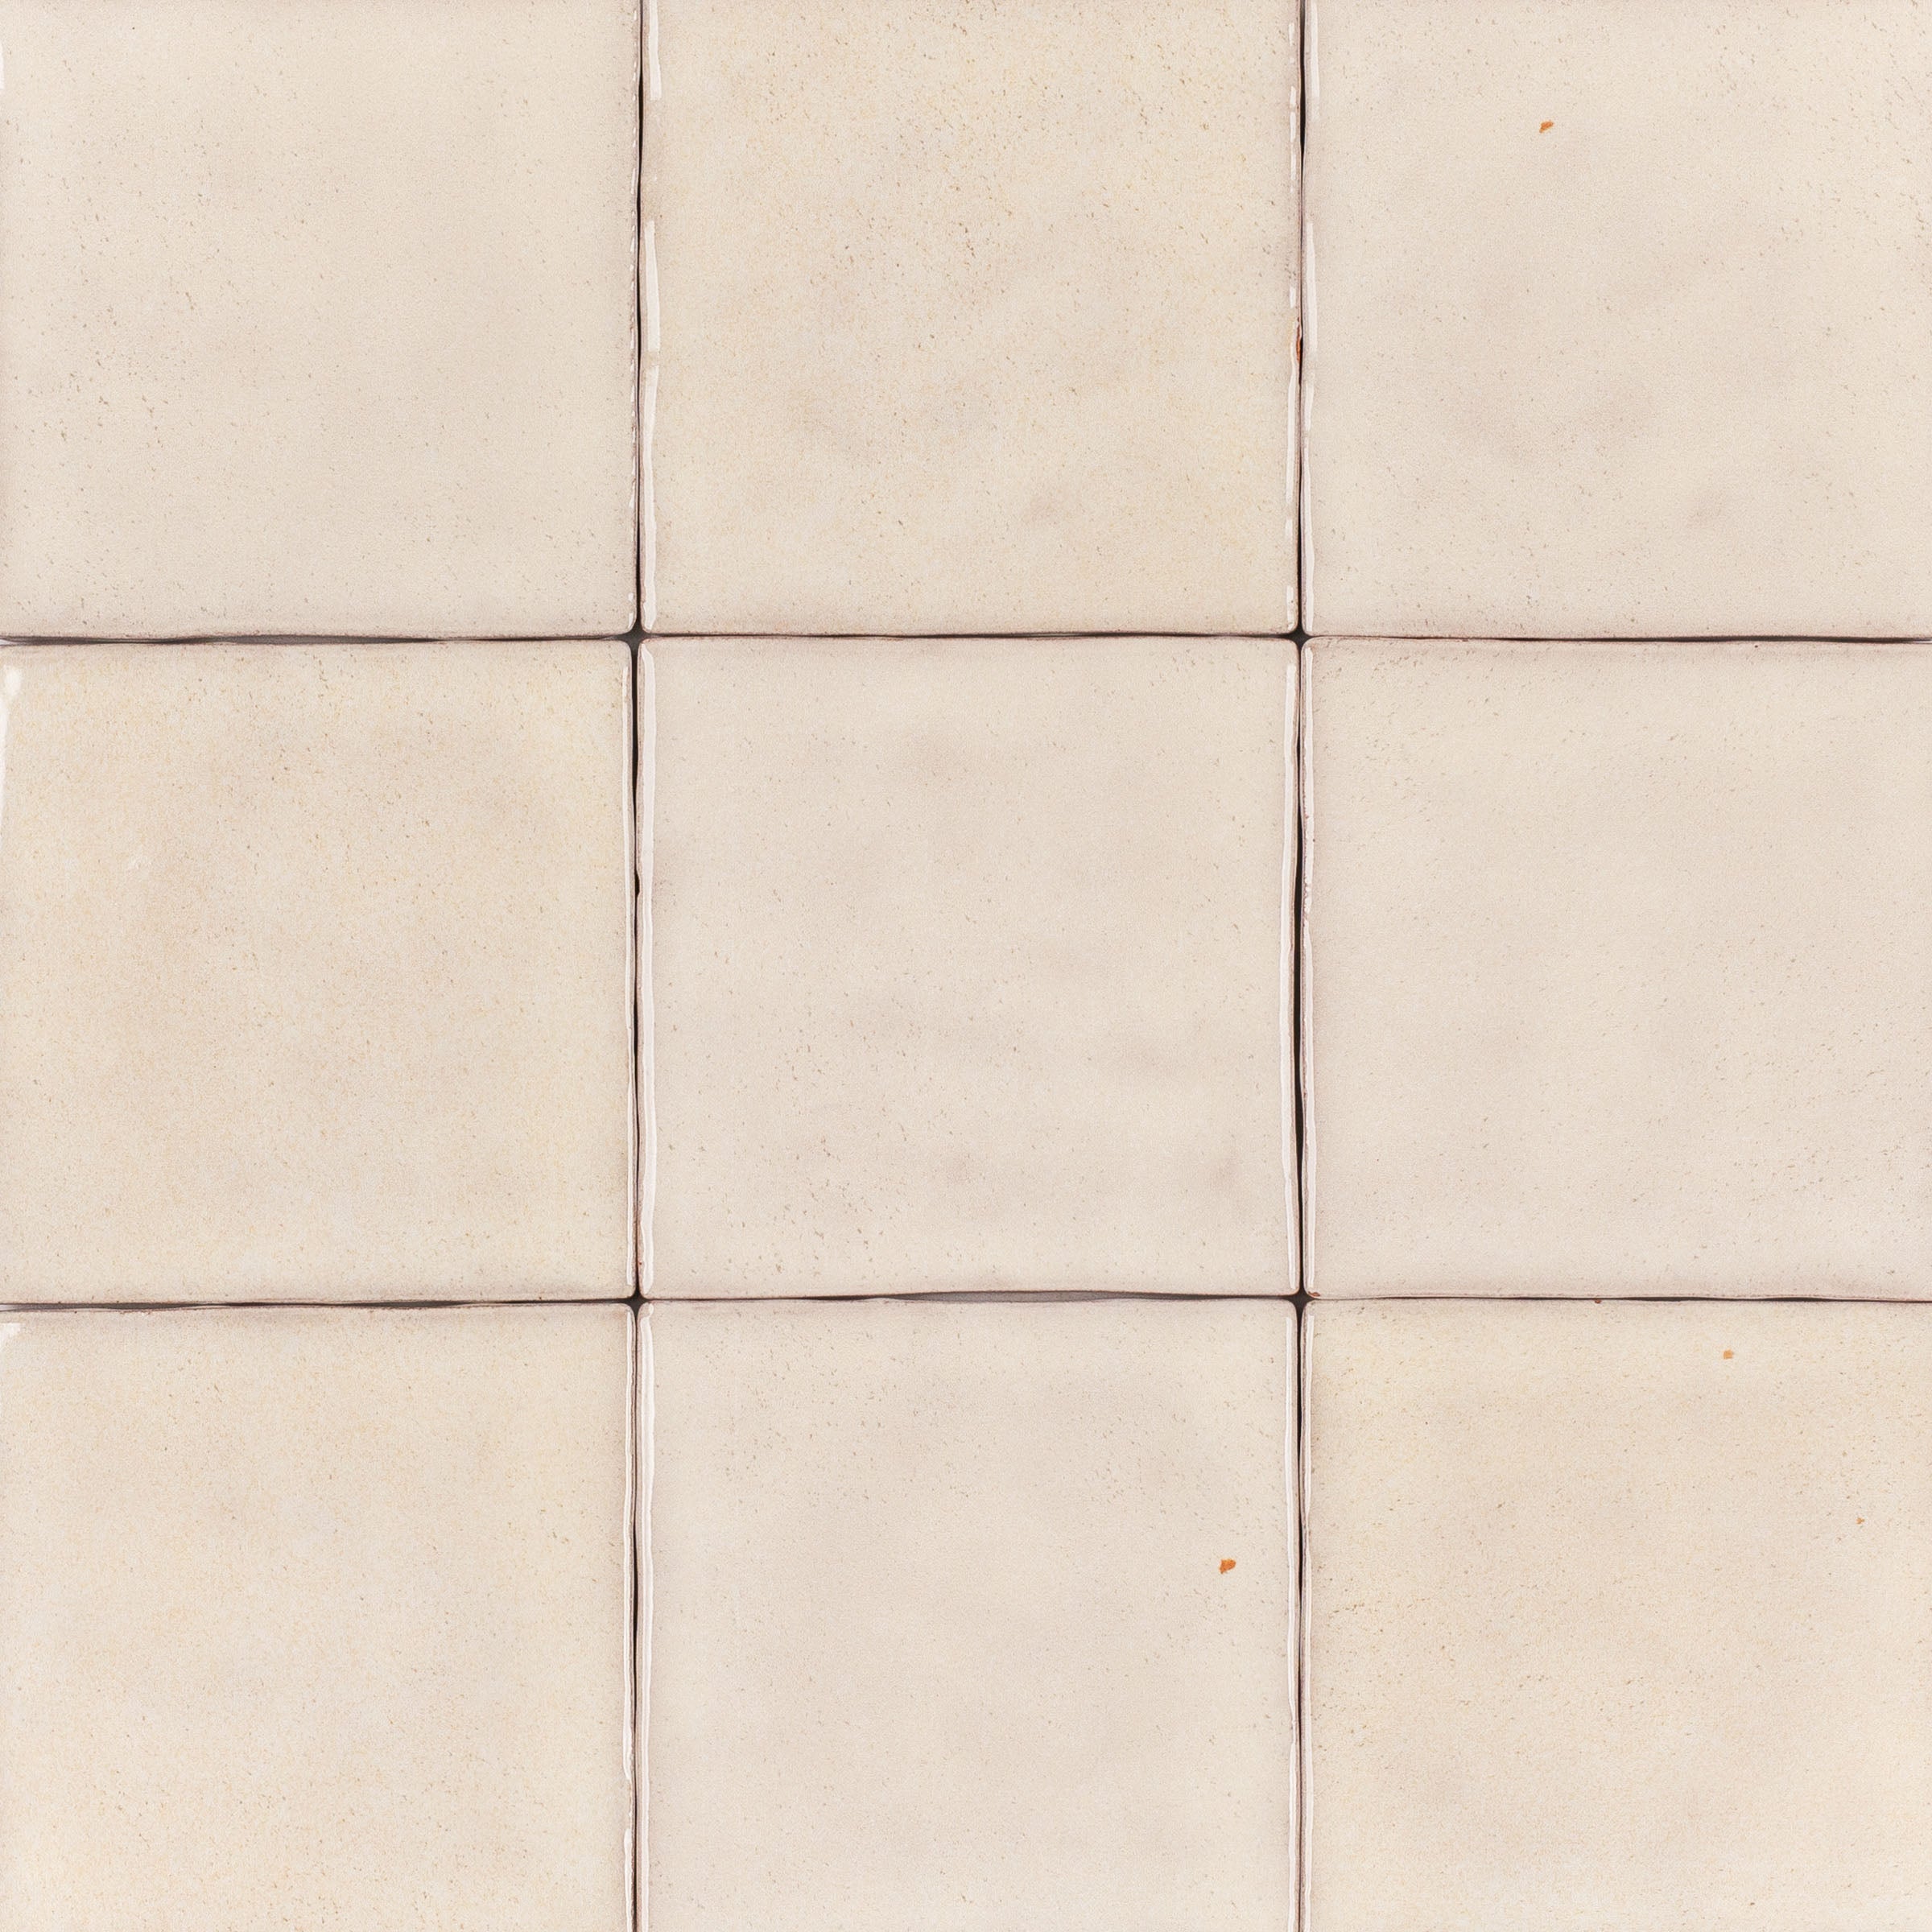
Italian Marble Luxury
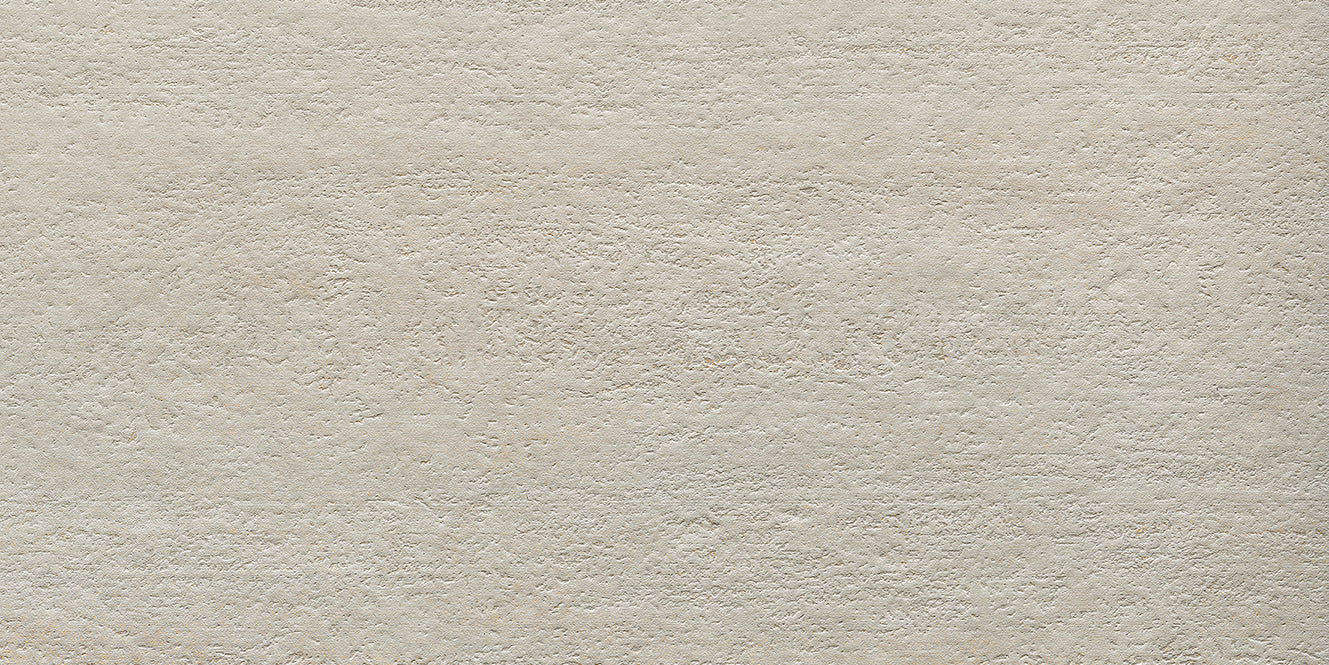
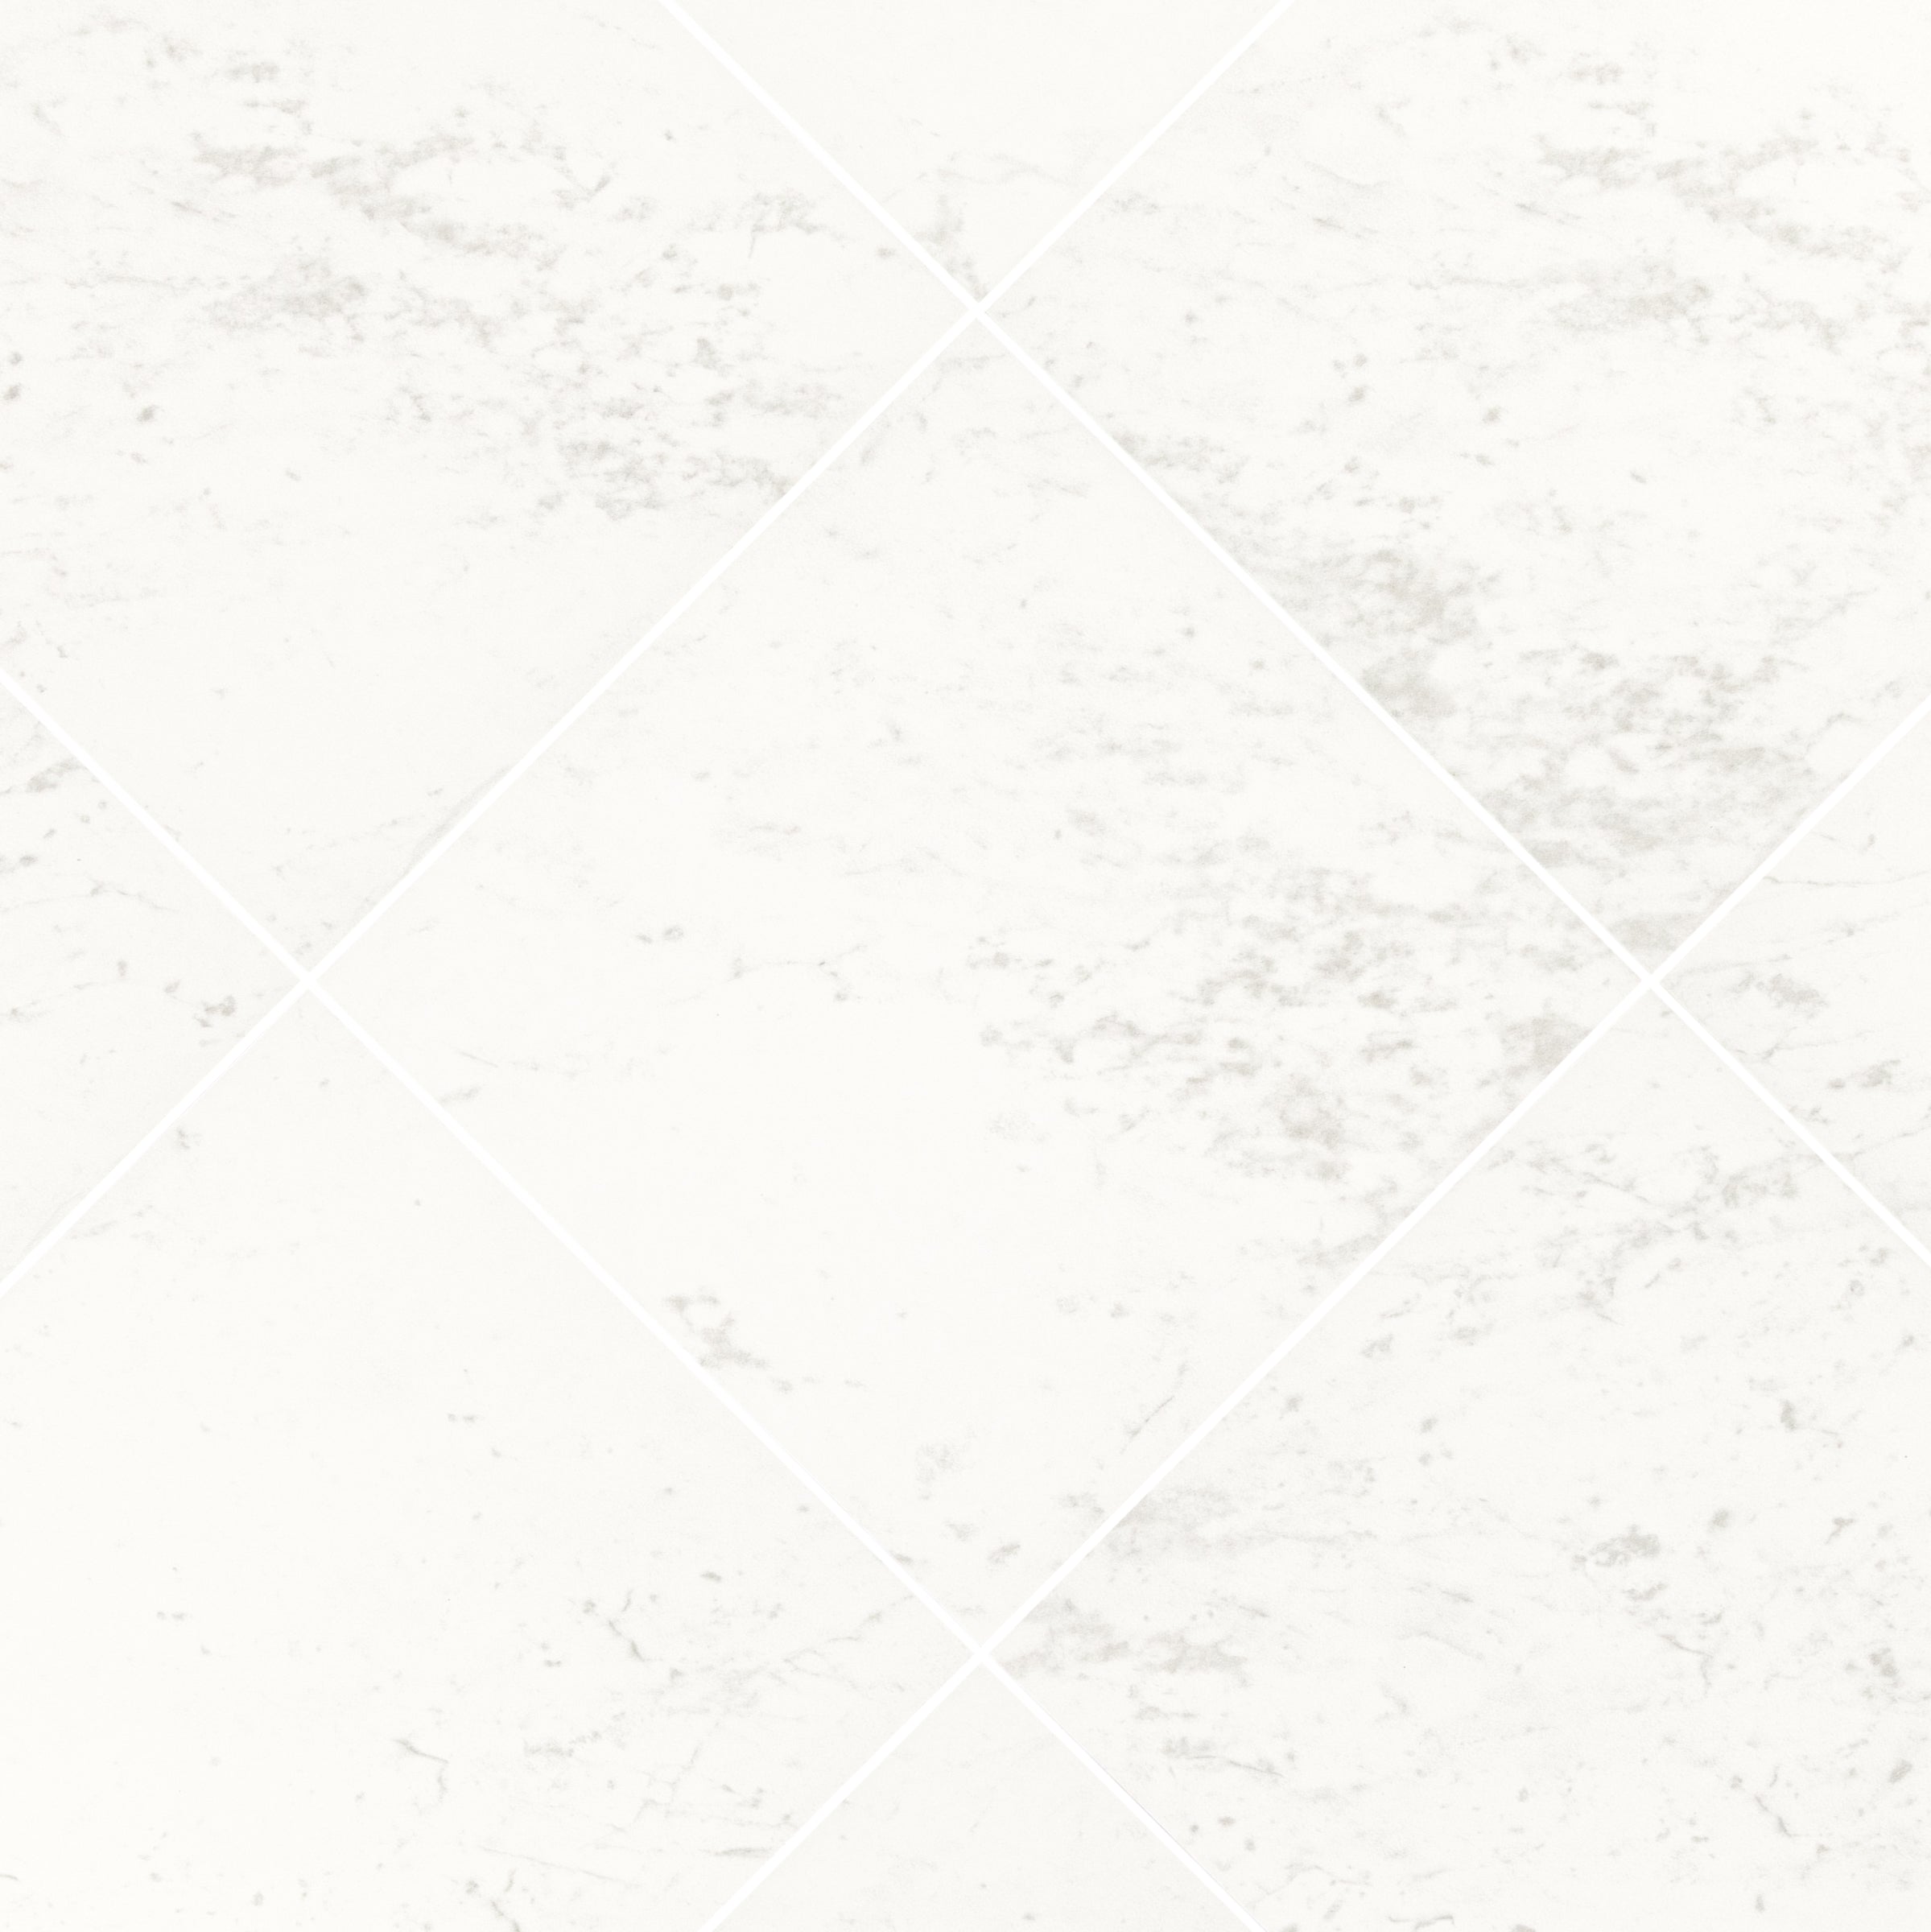
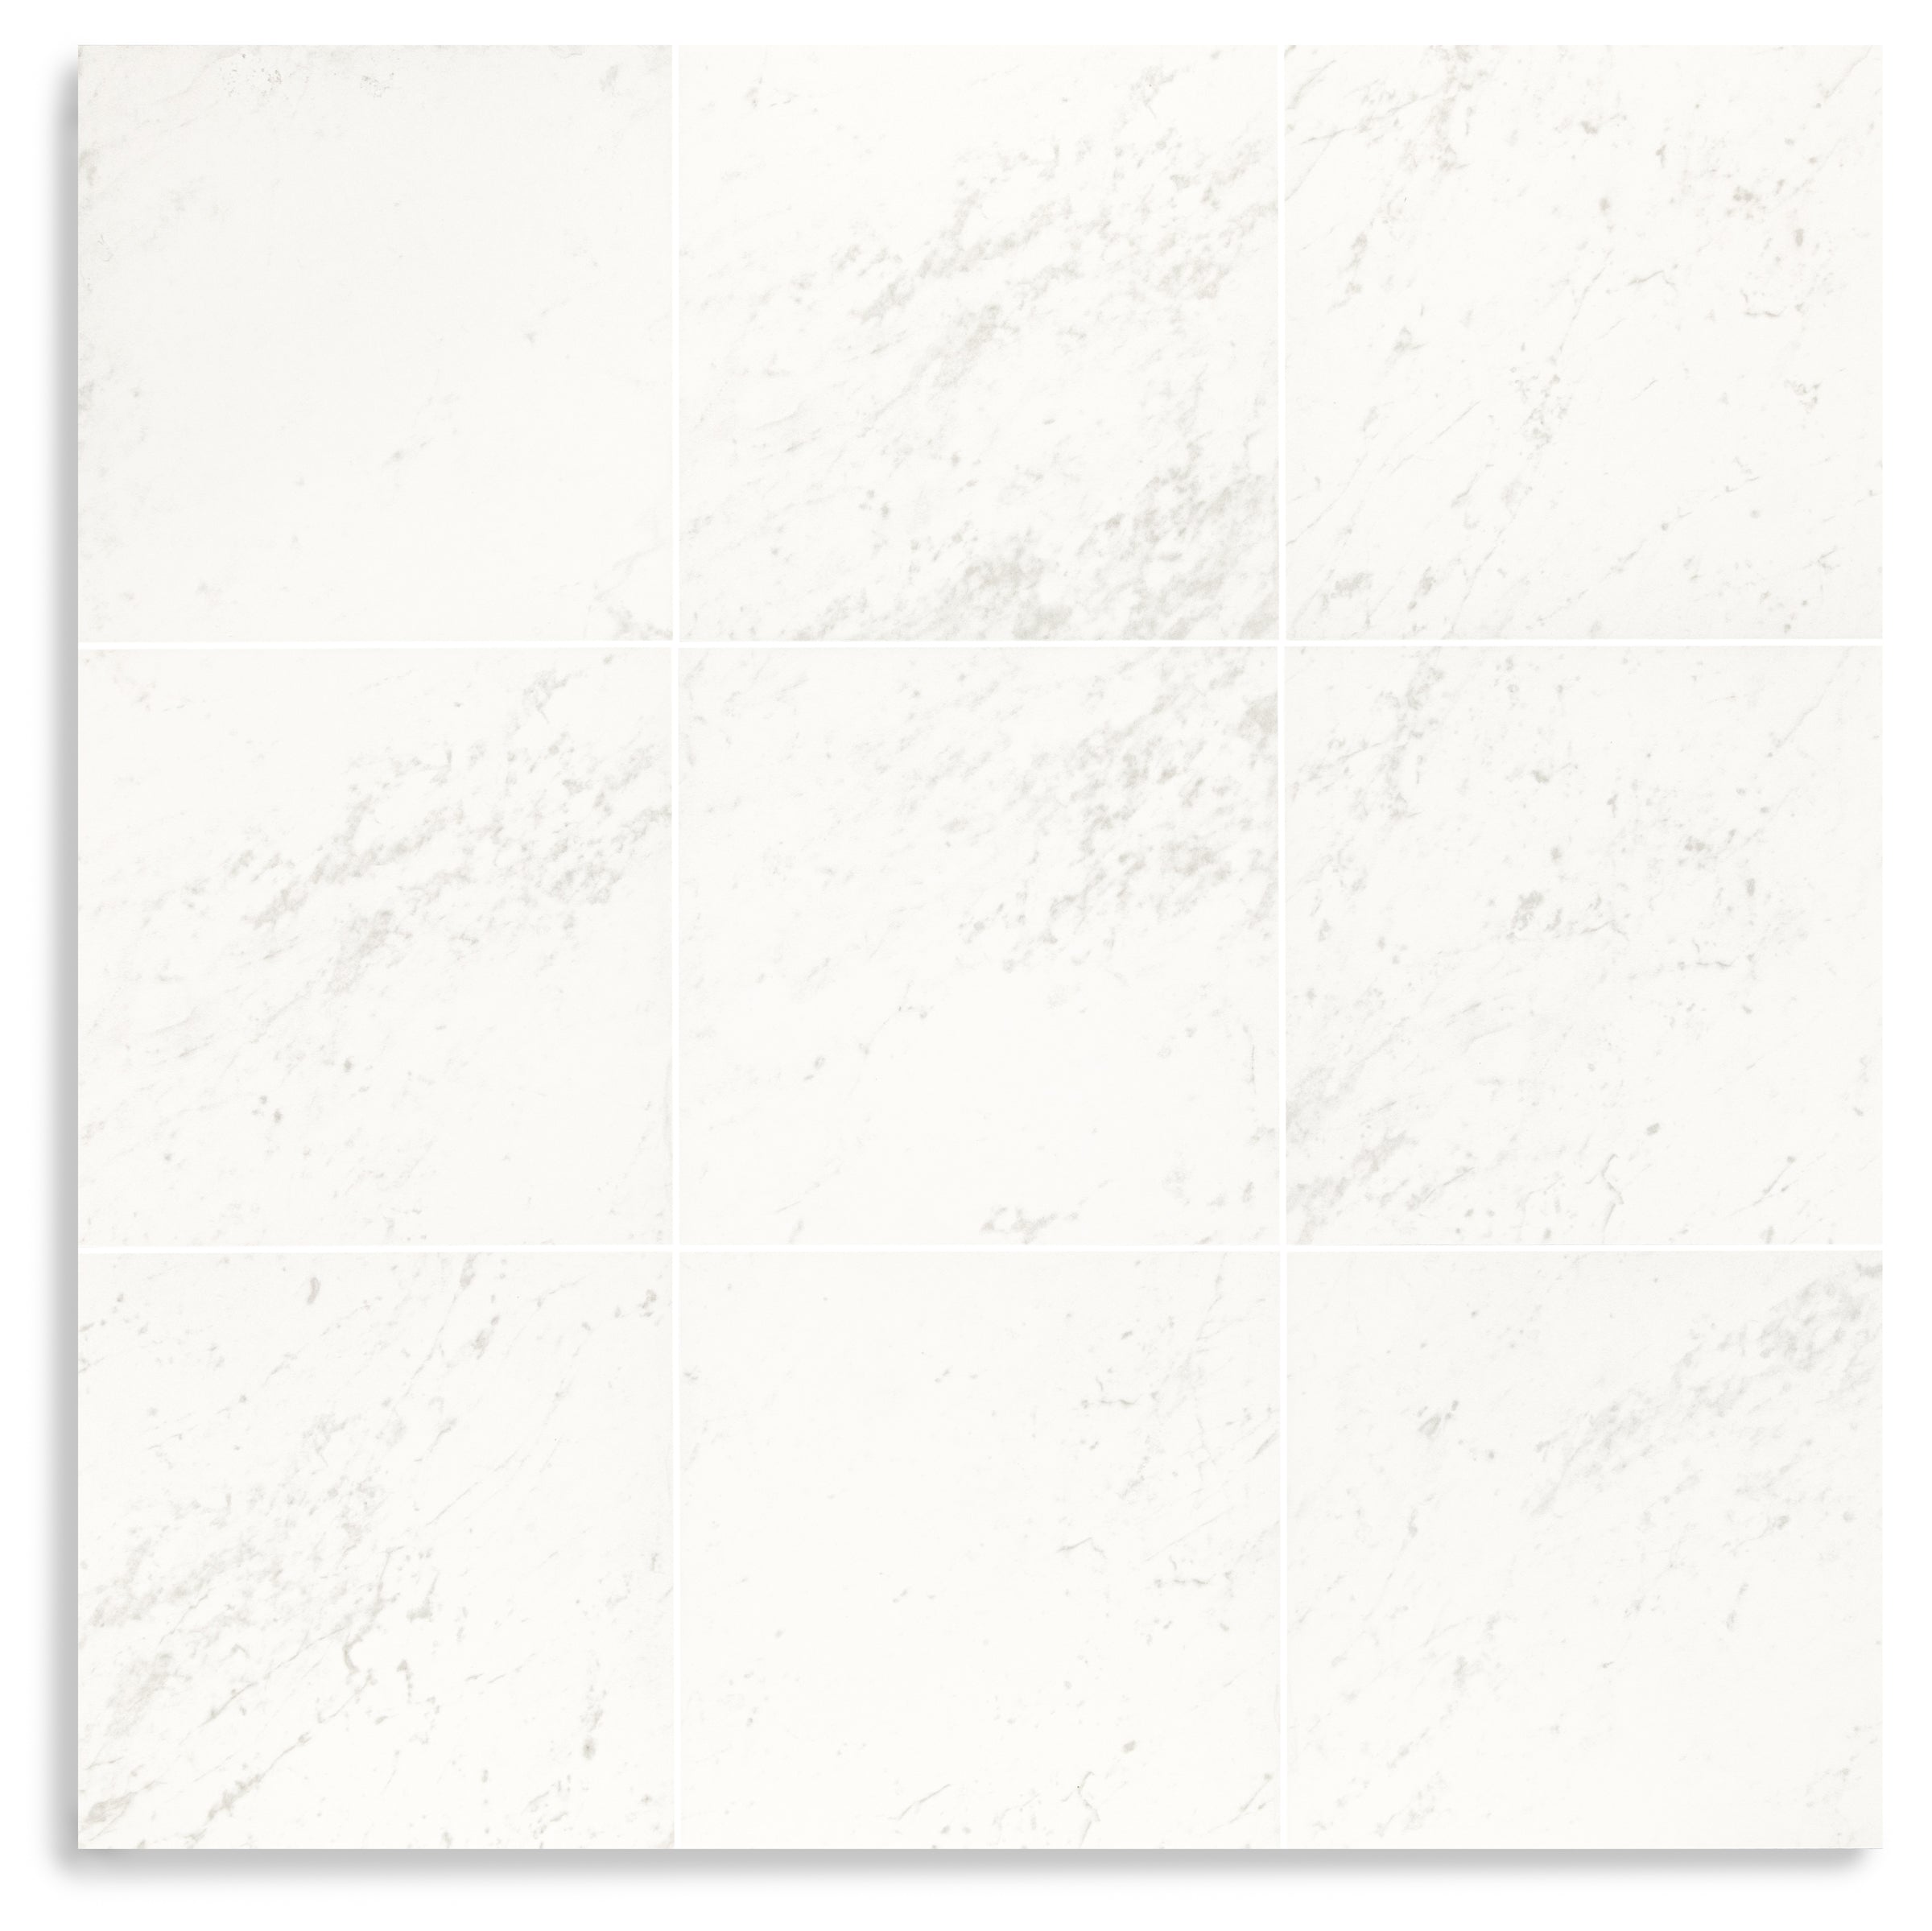
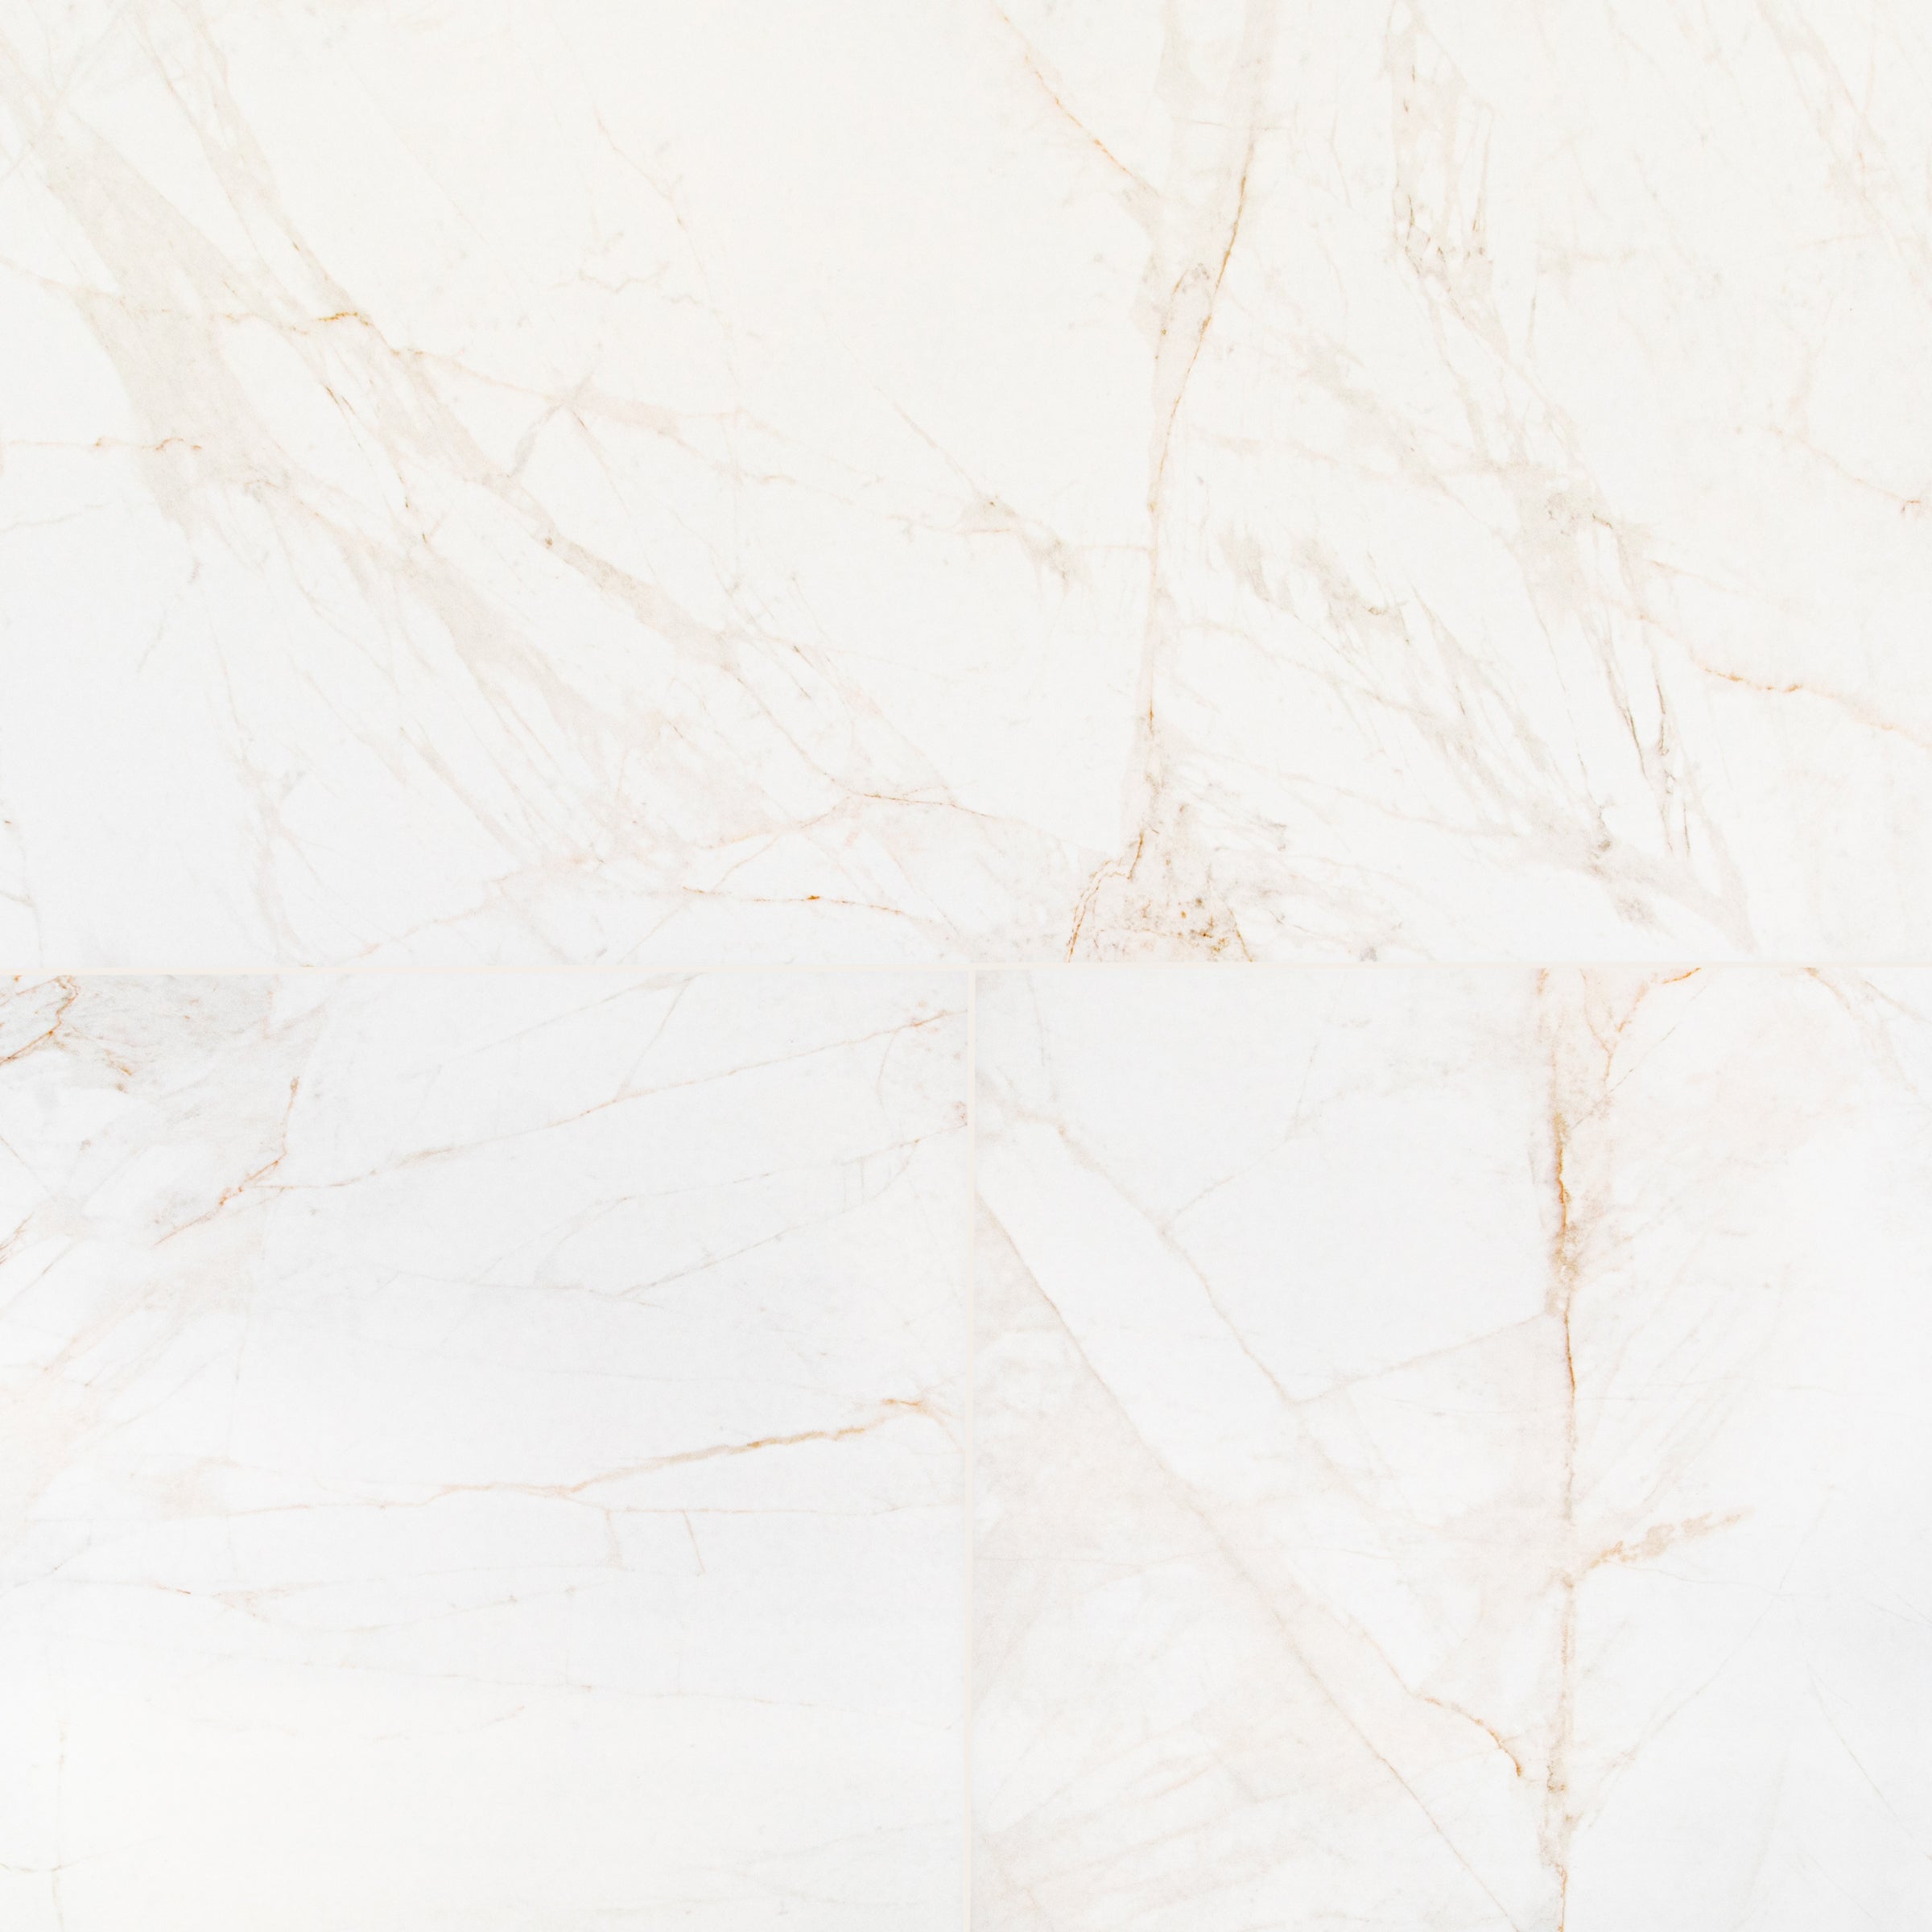
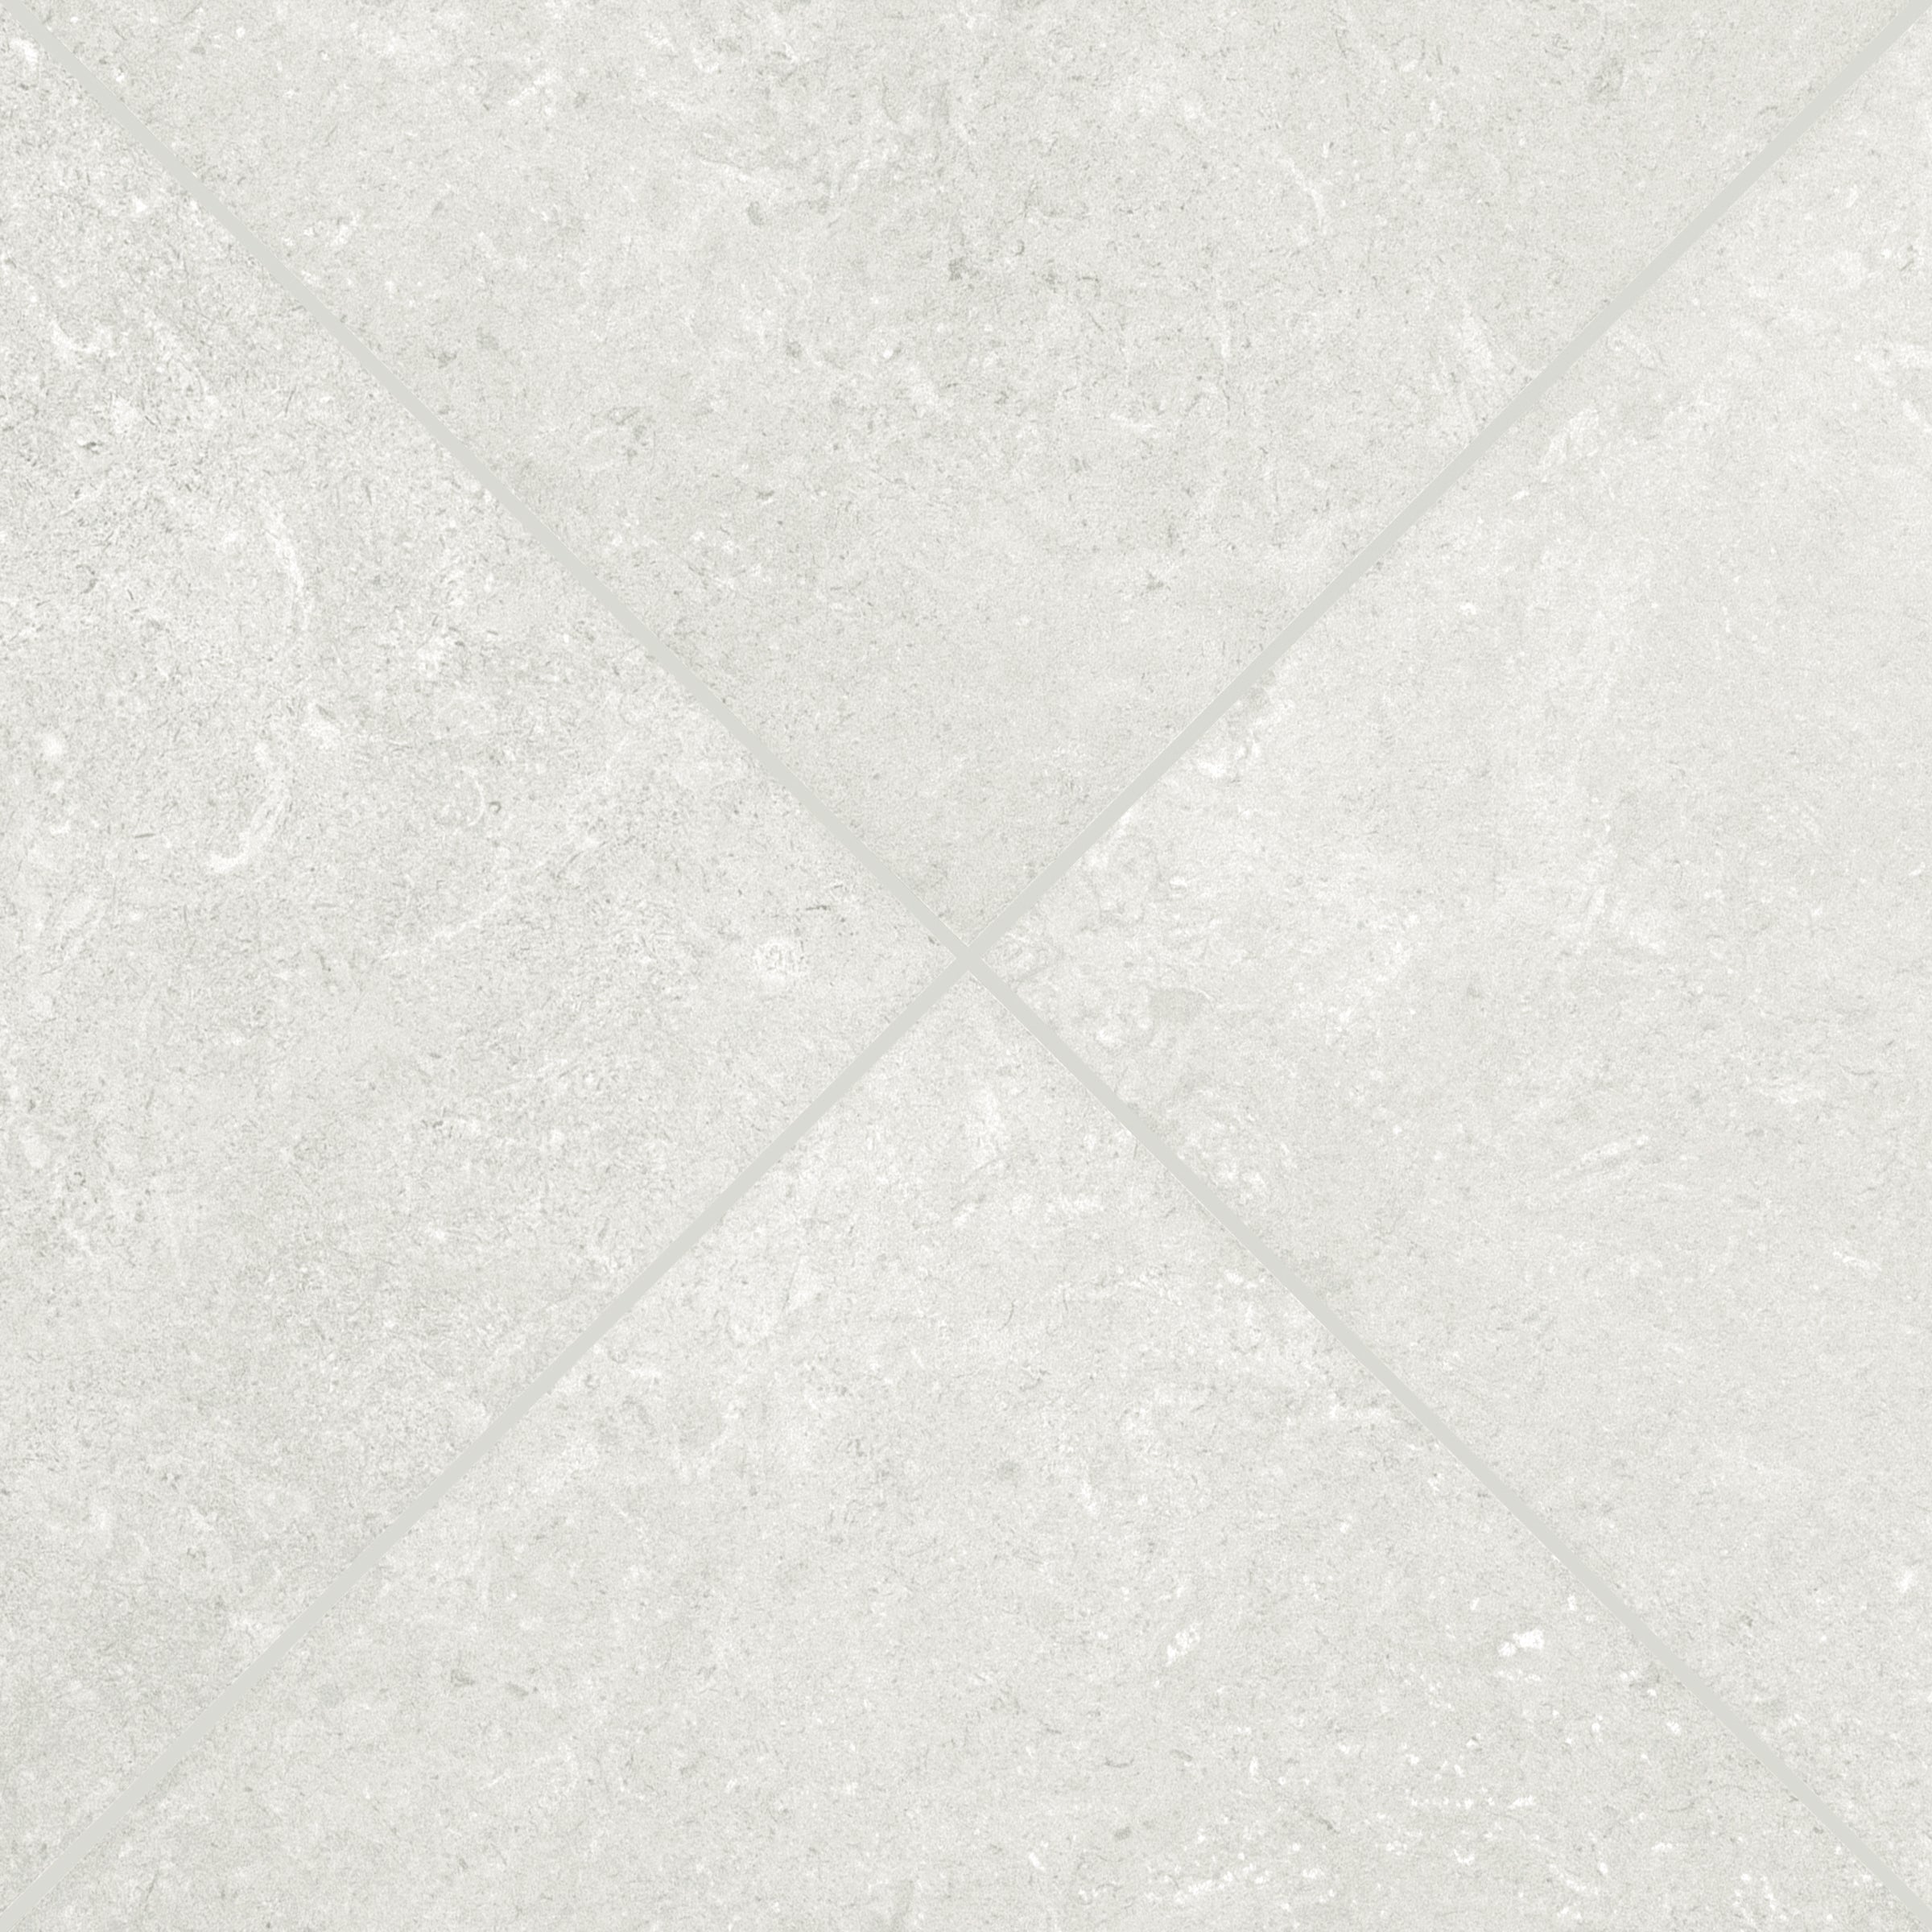
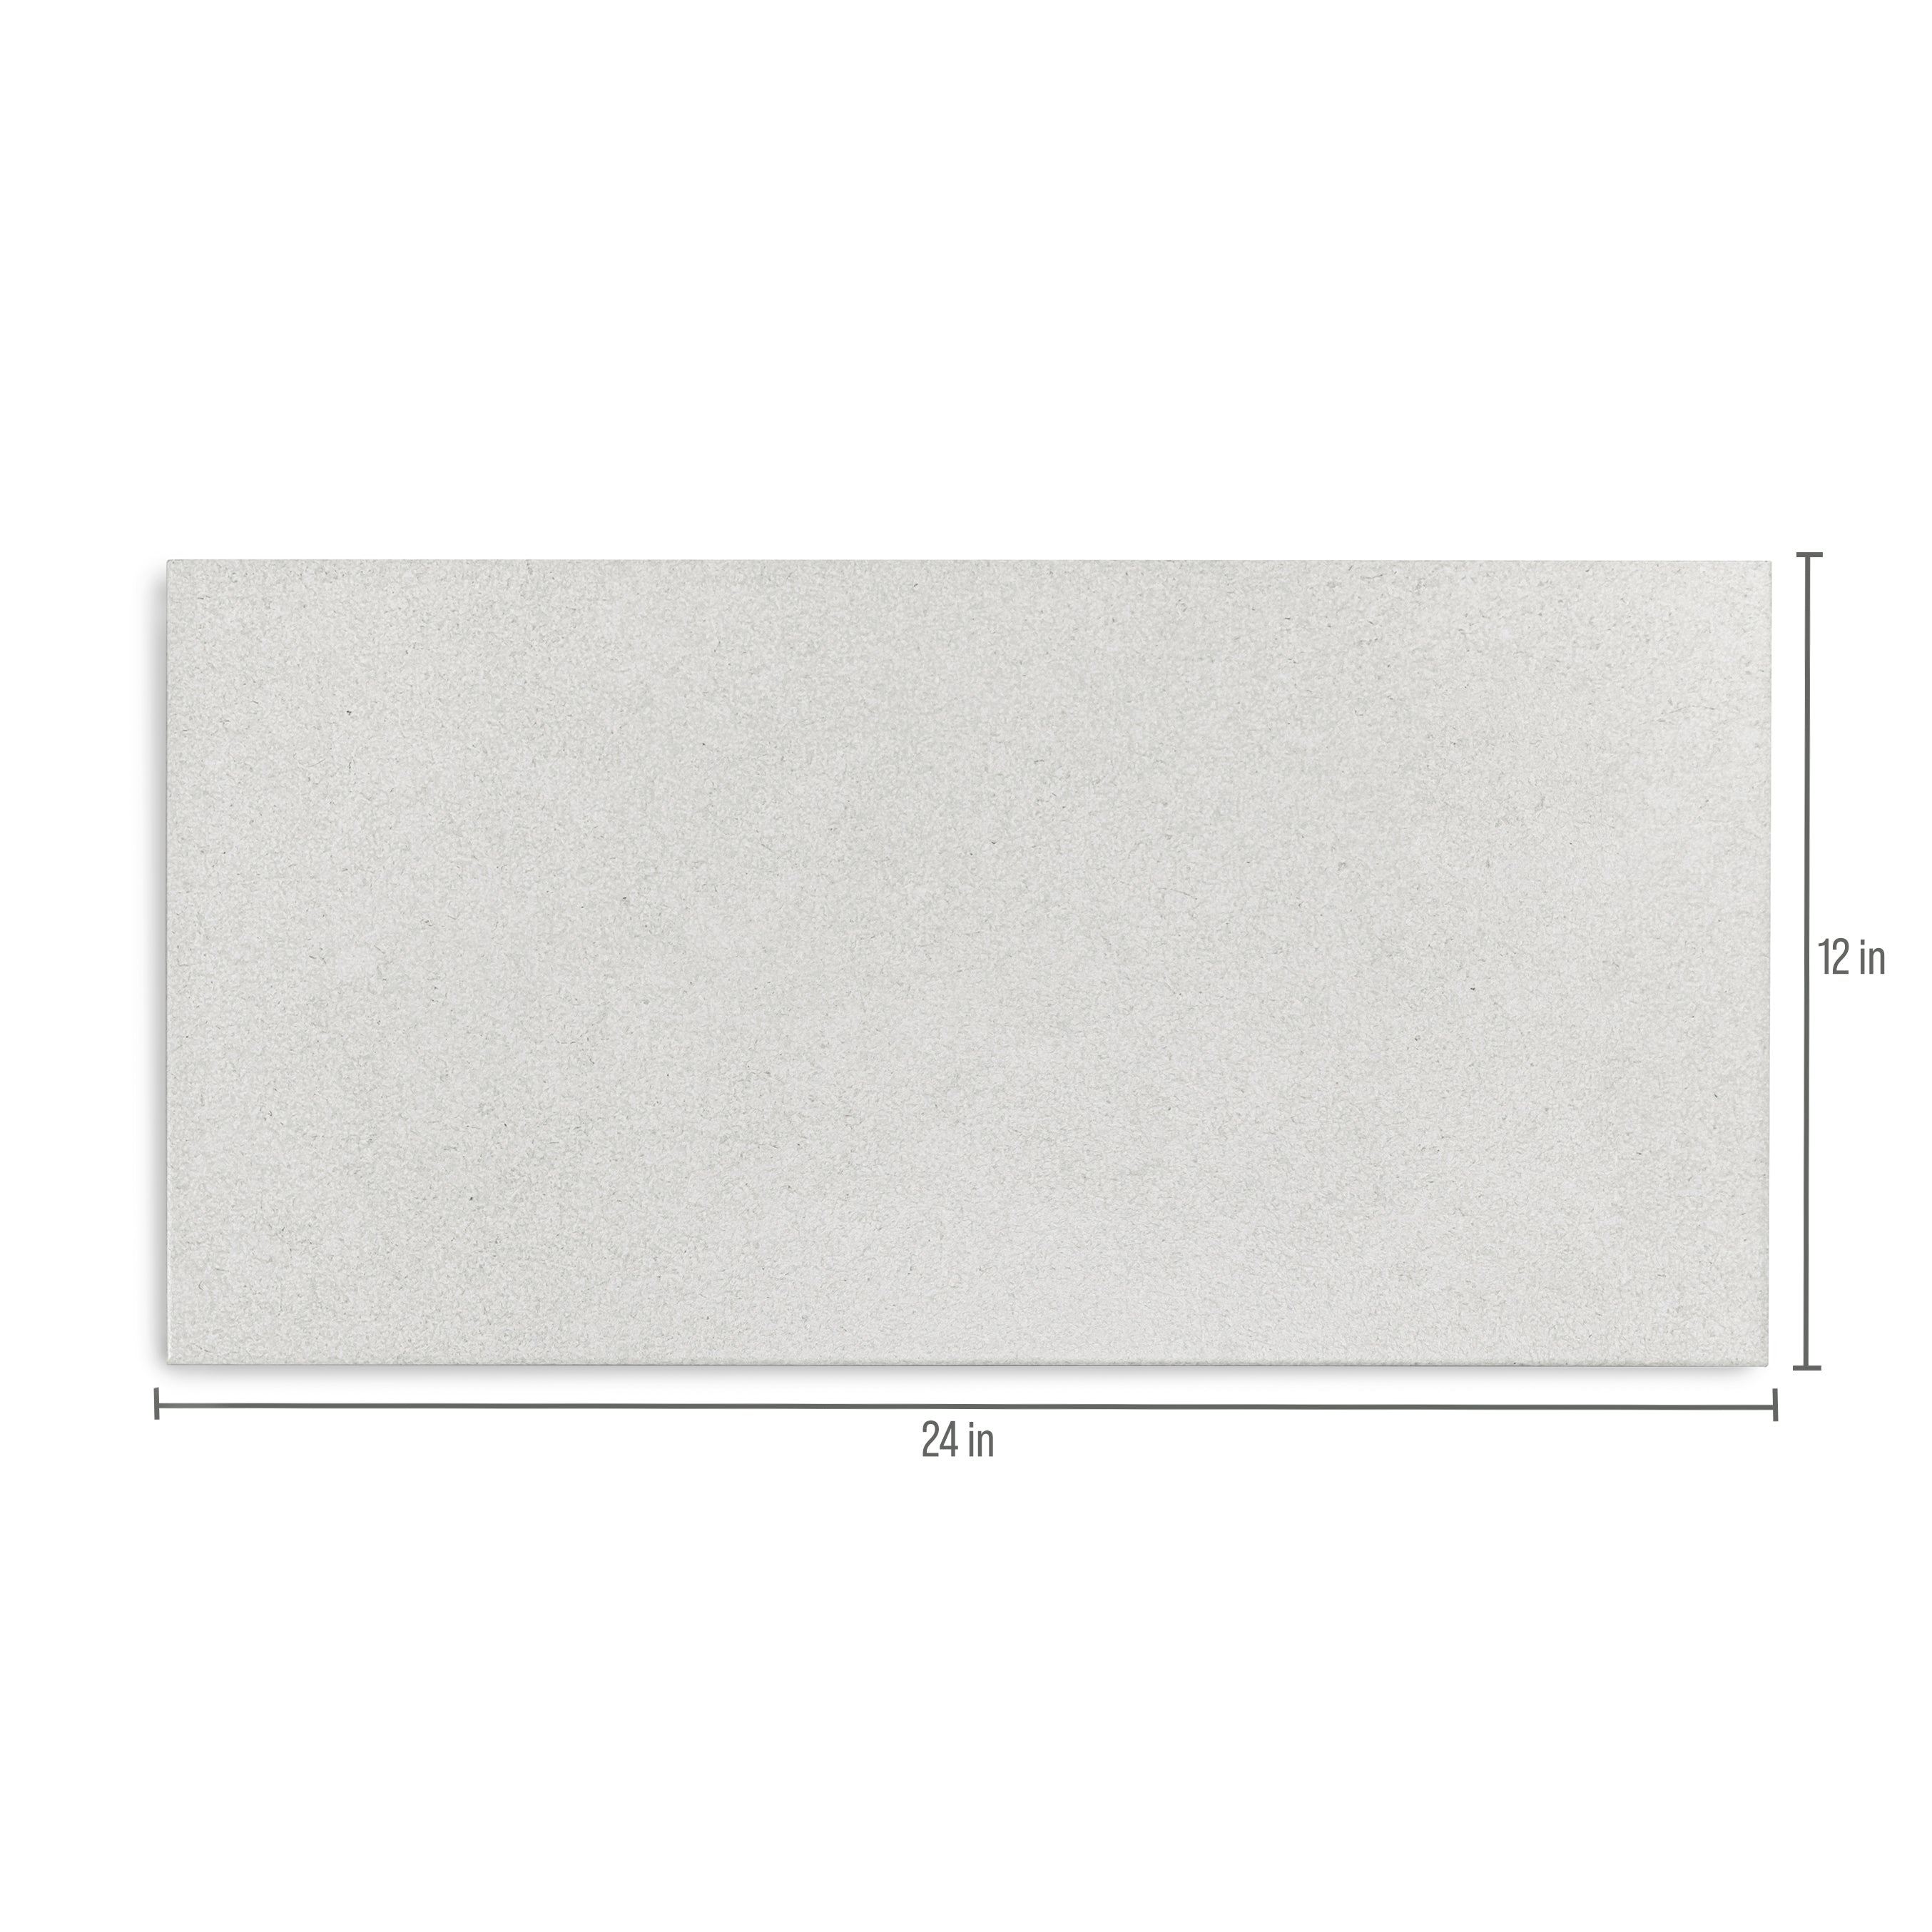
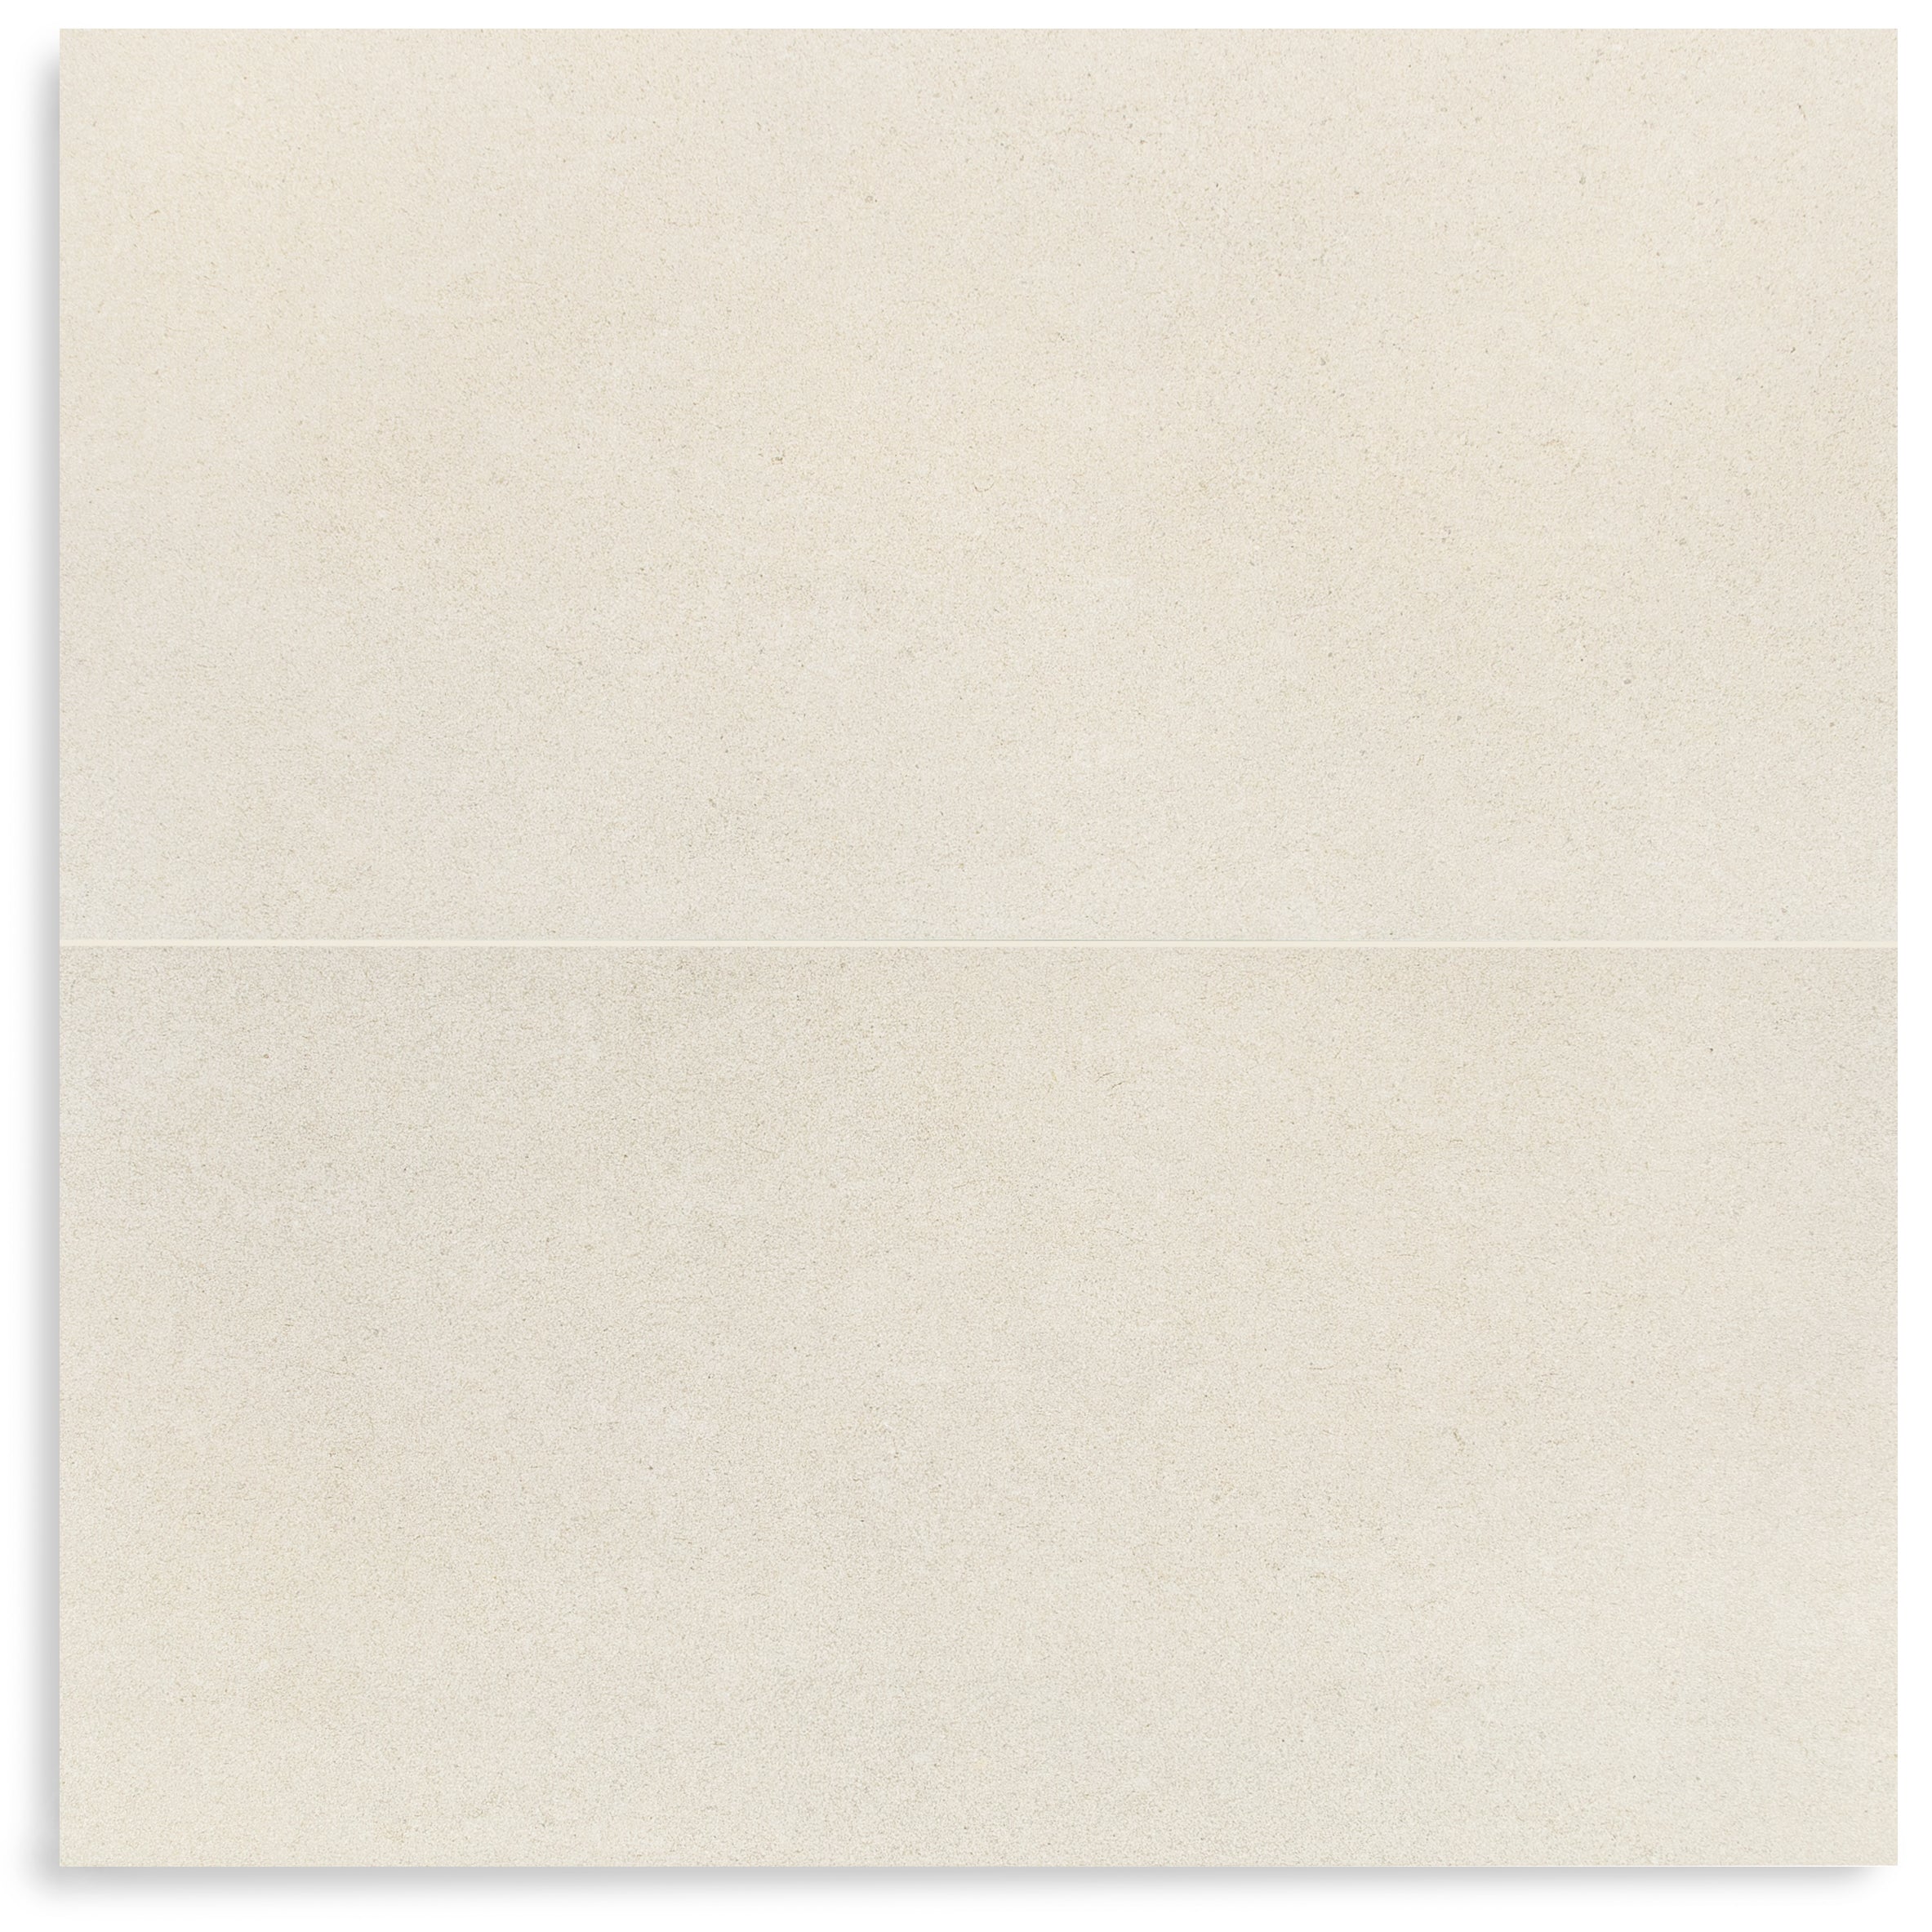
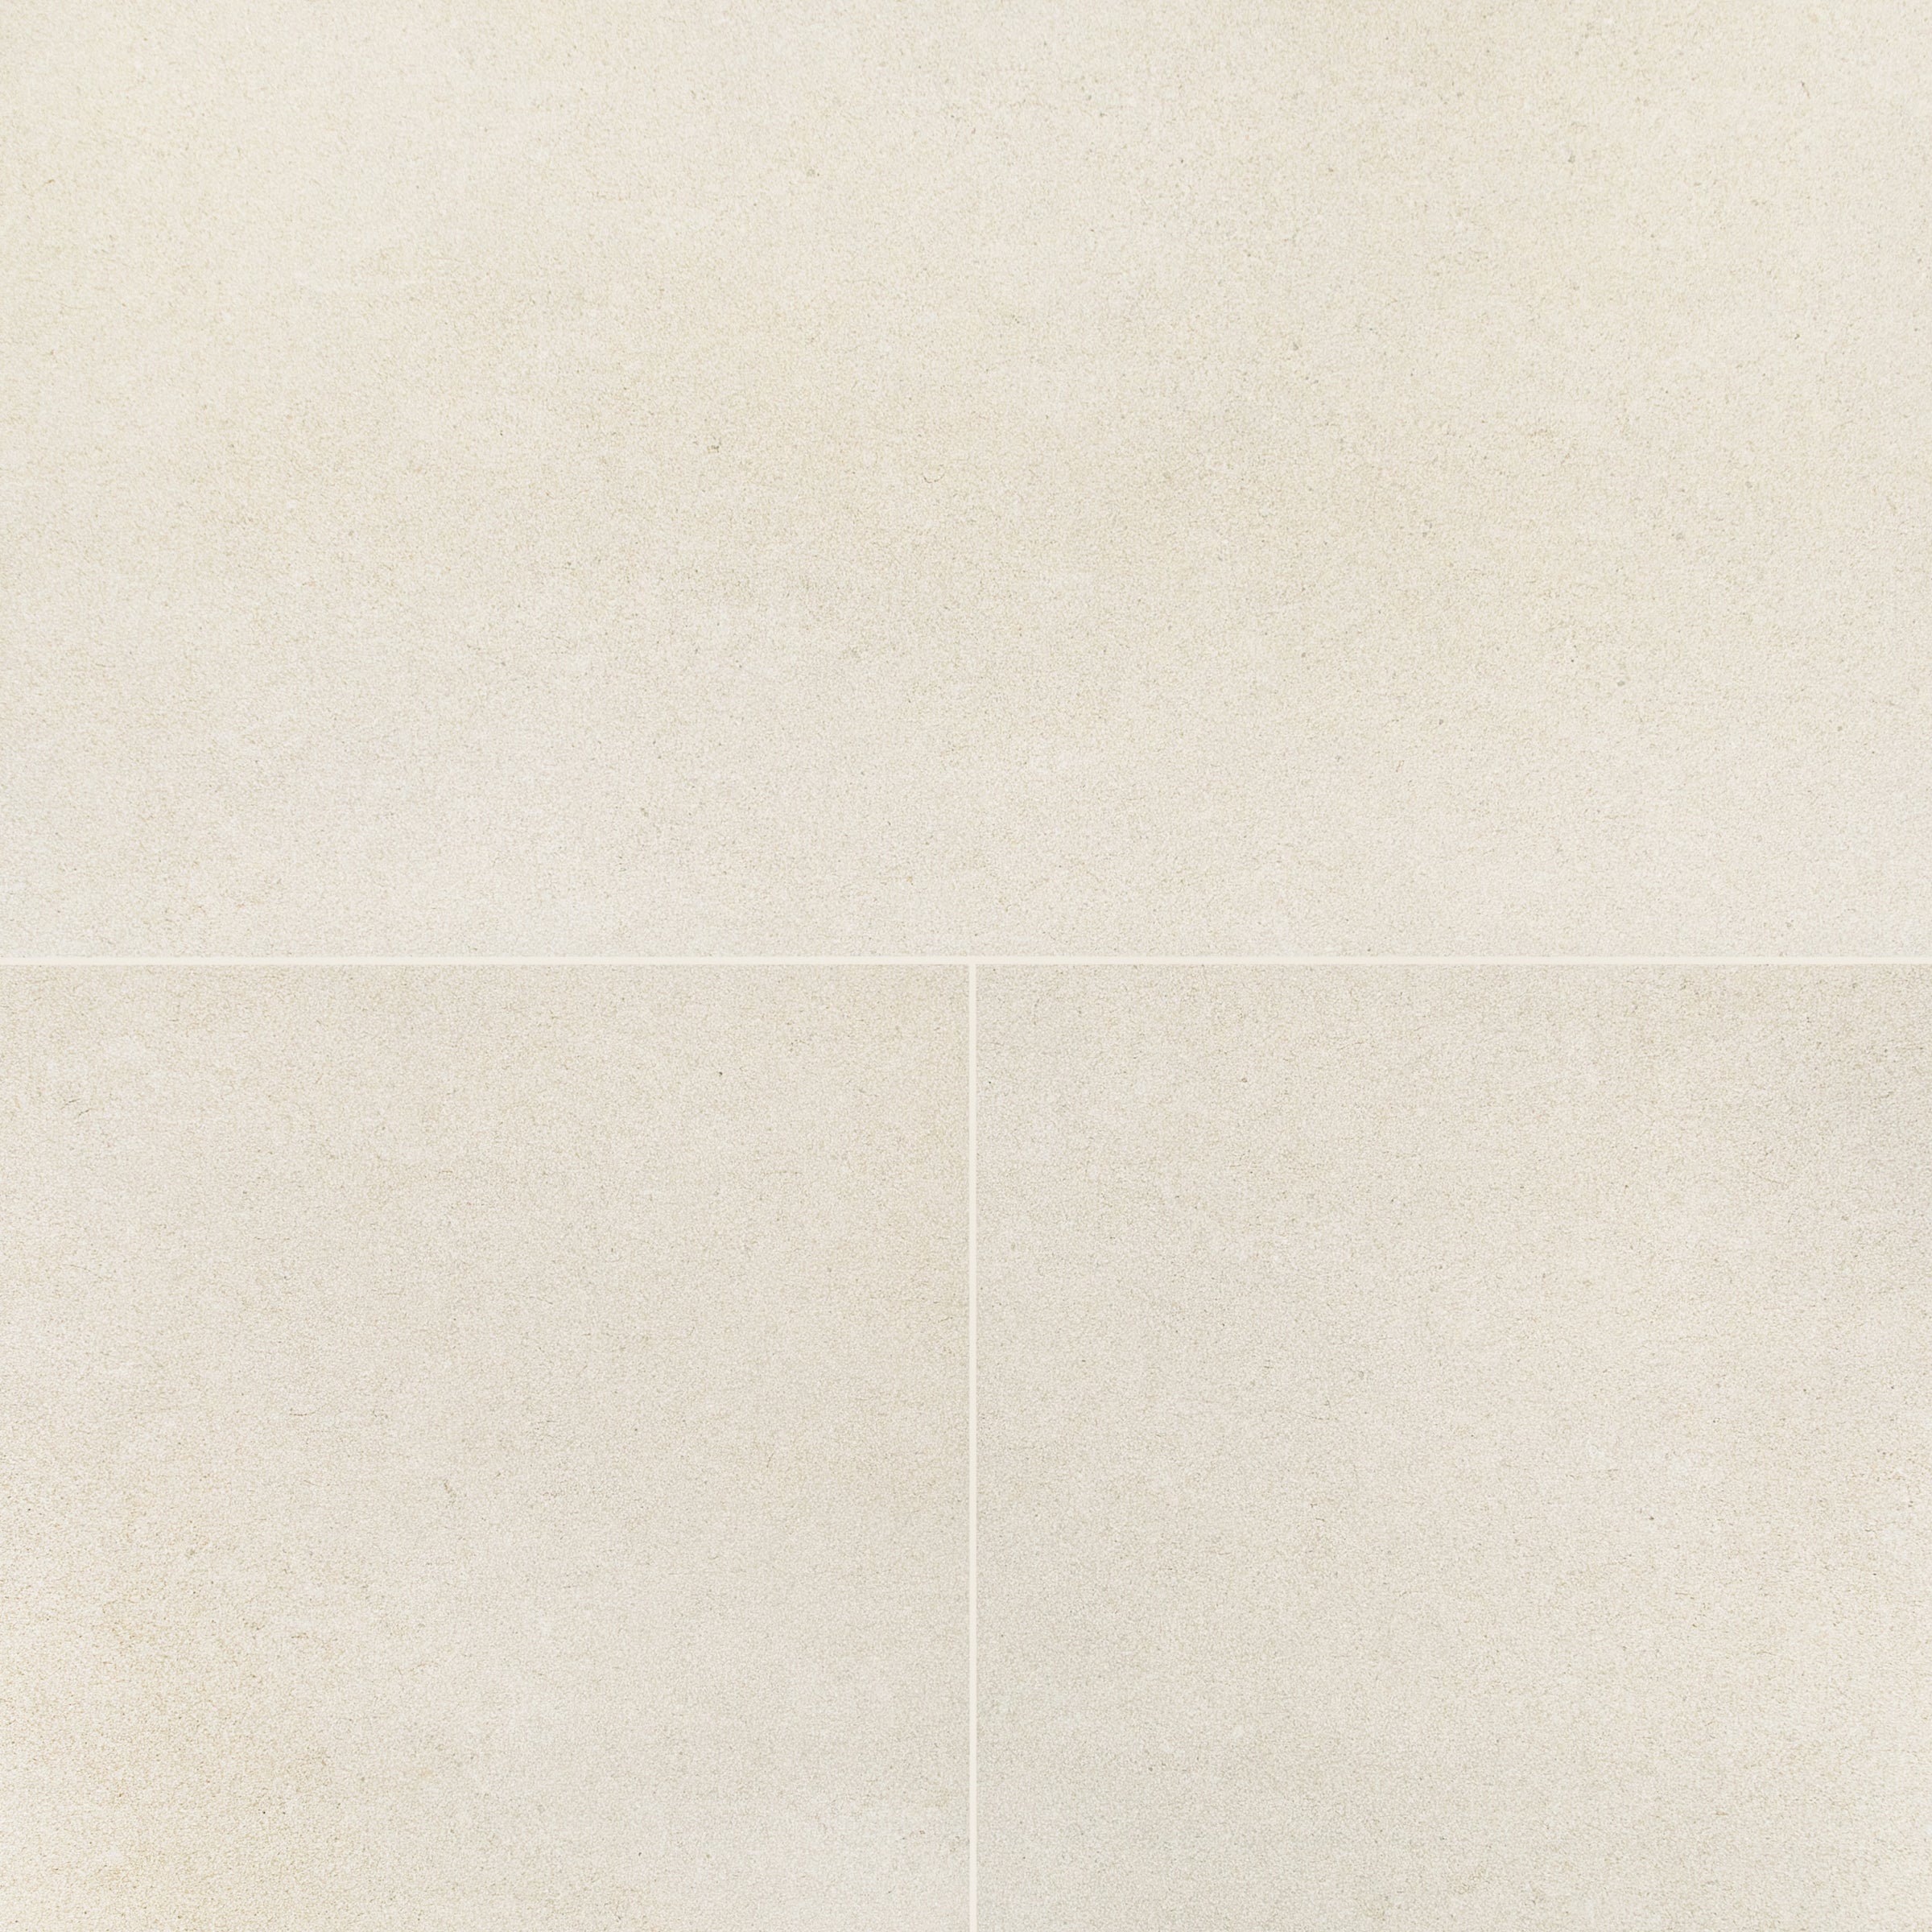
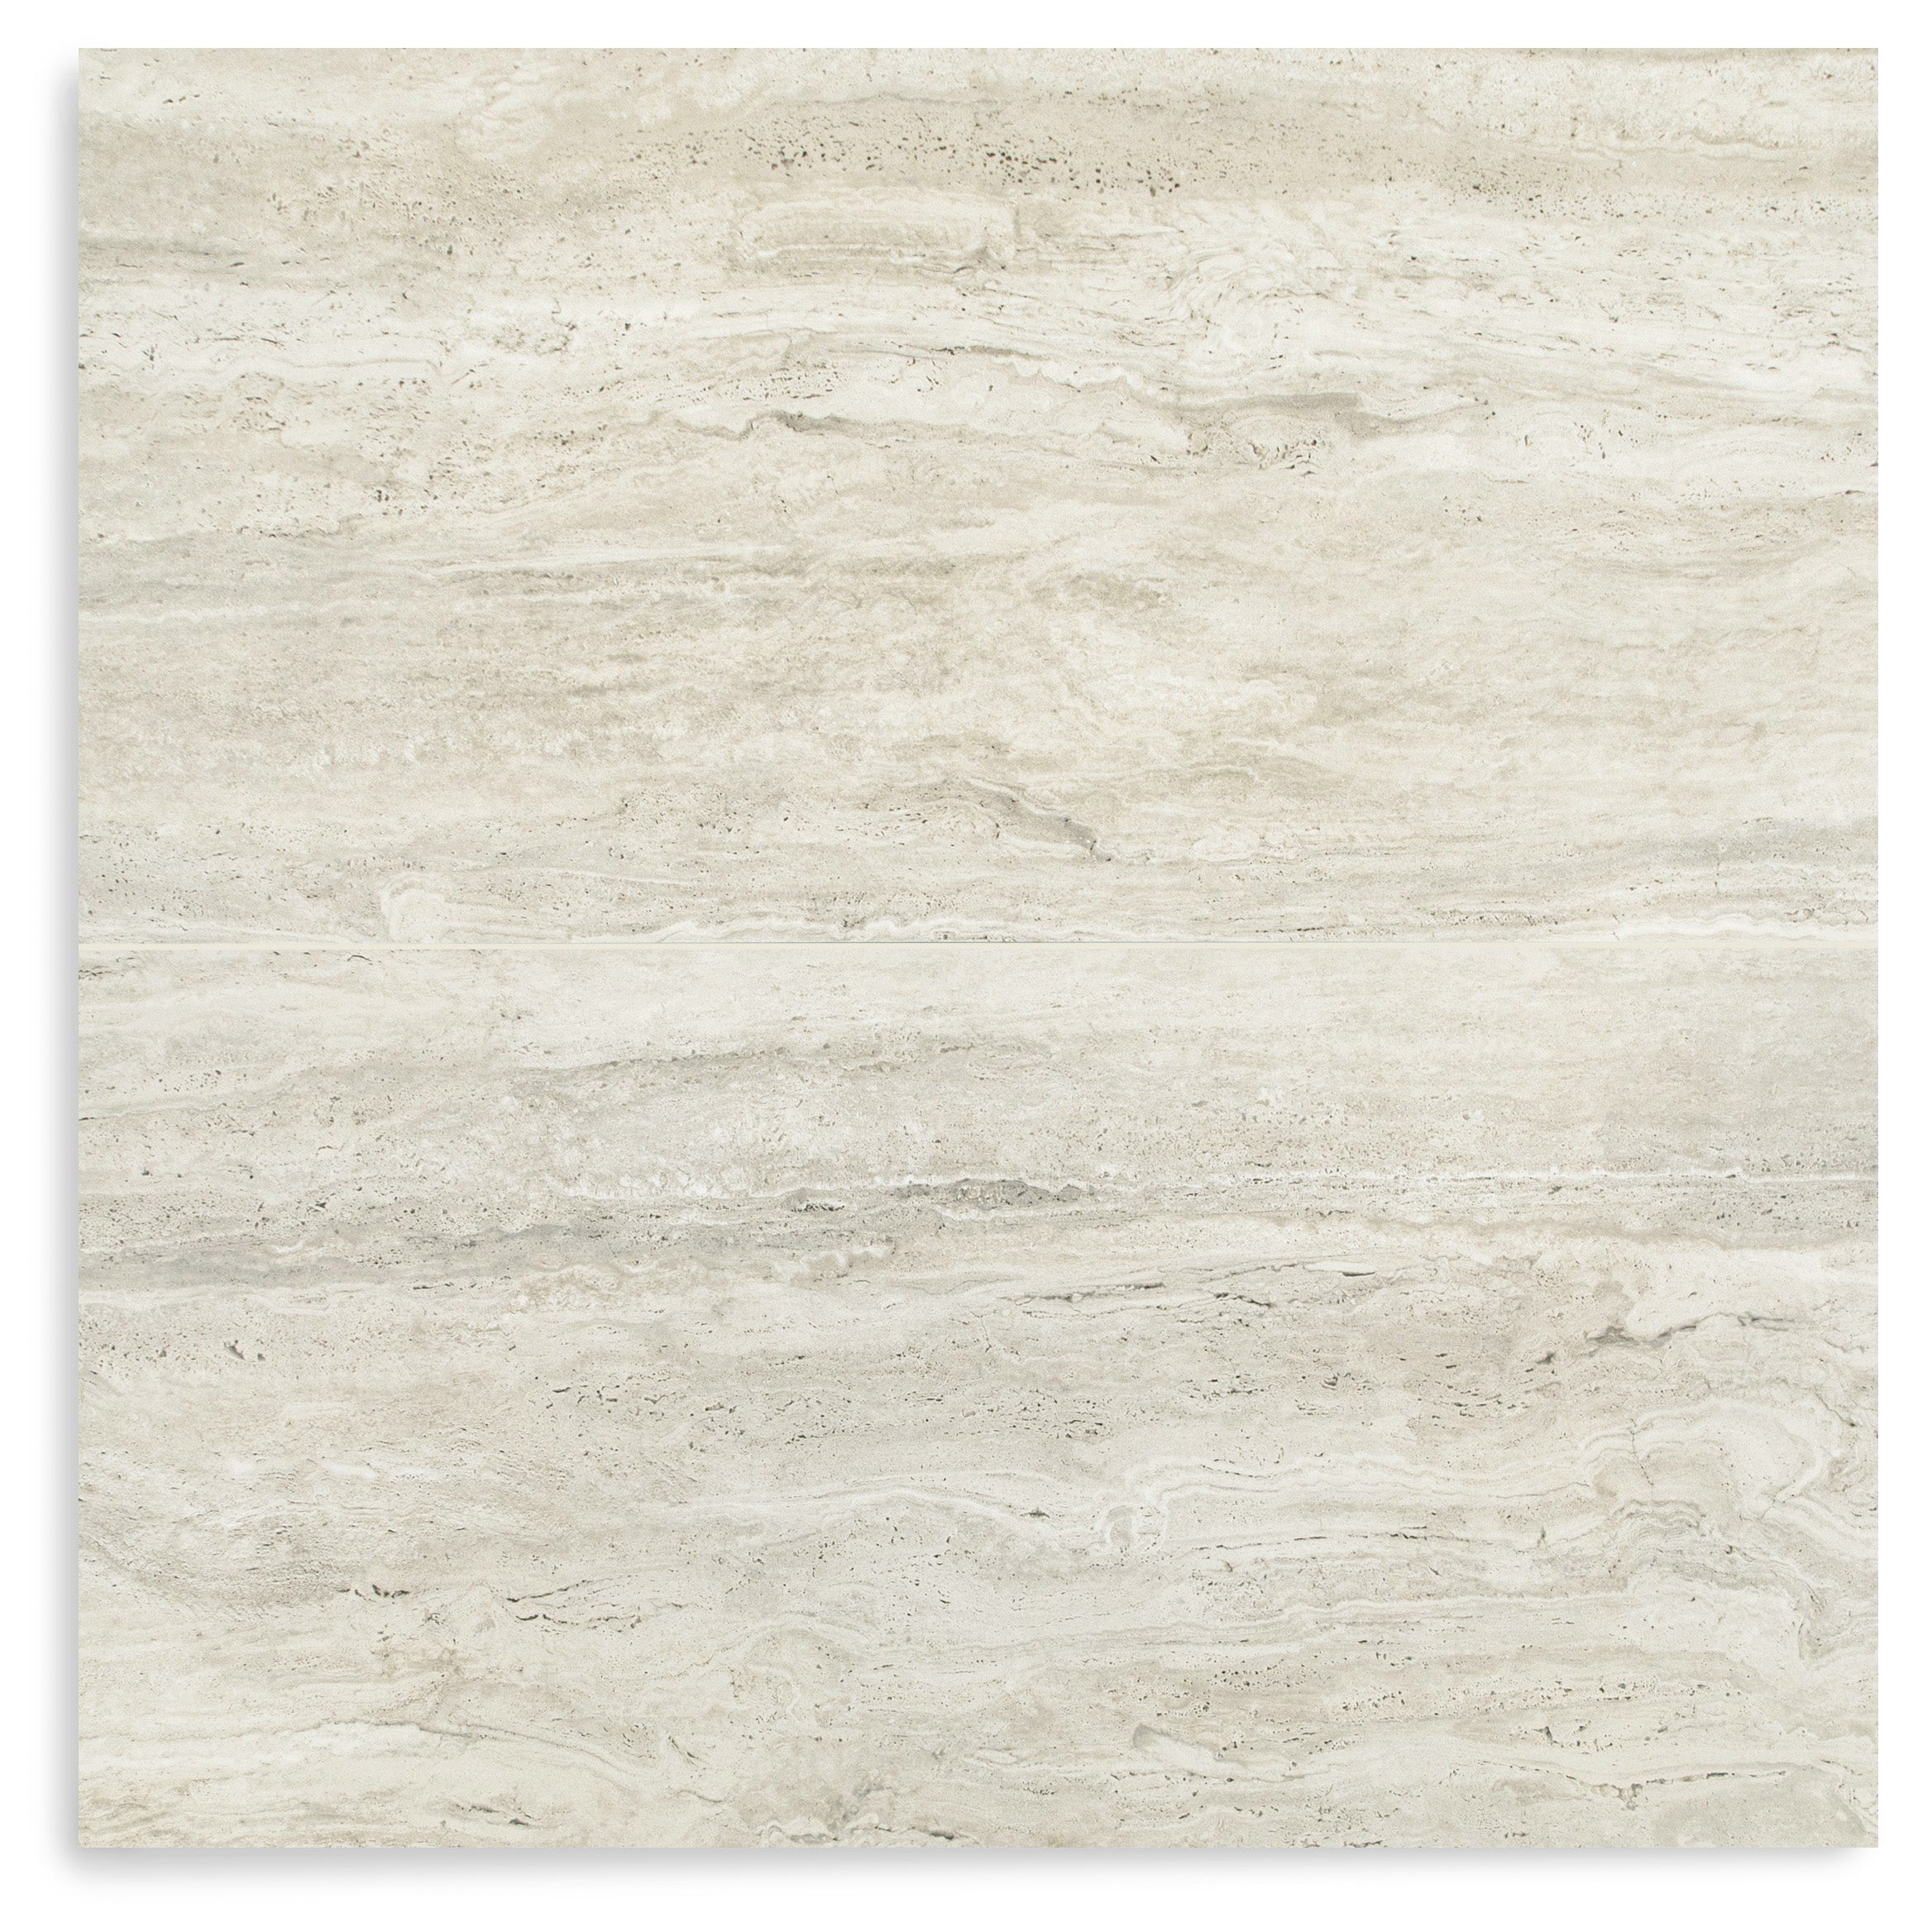
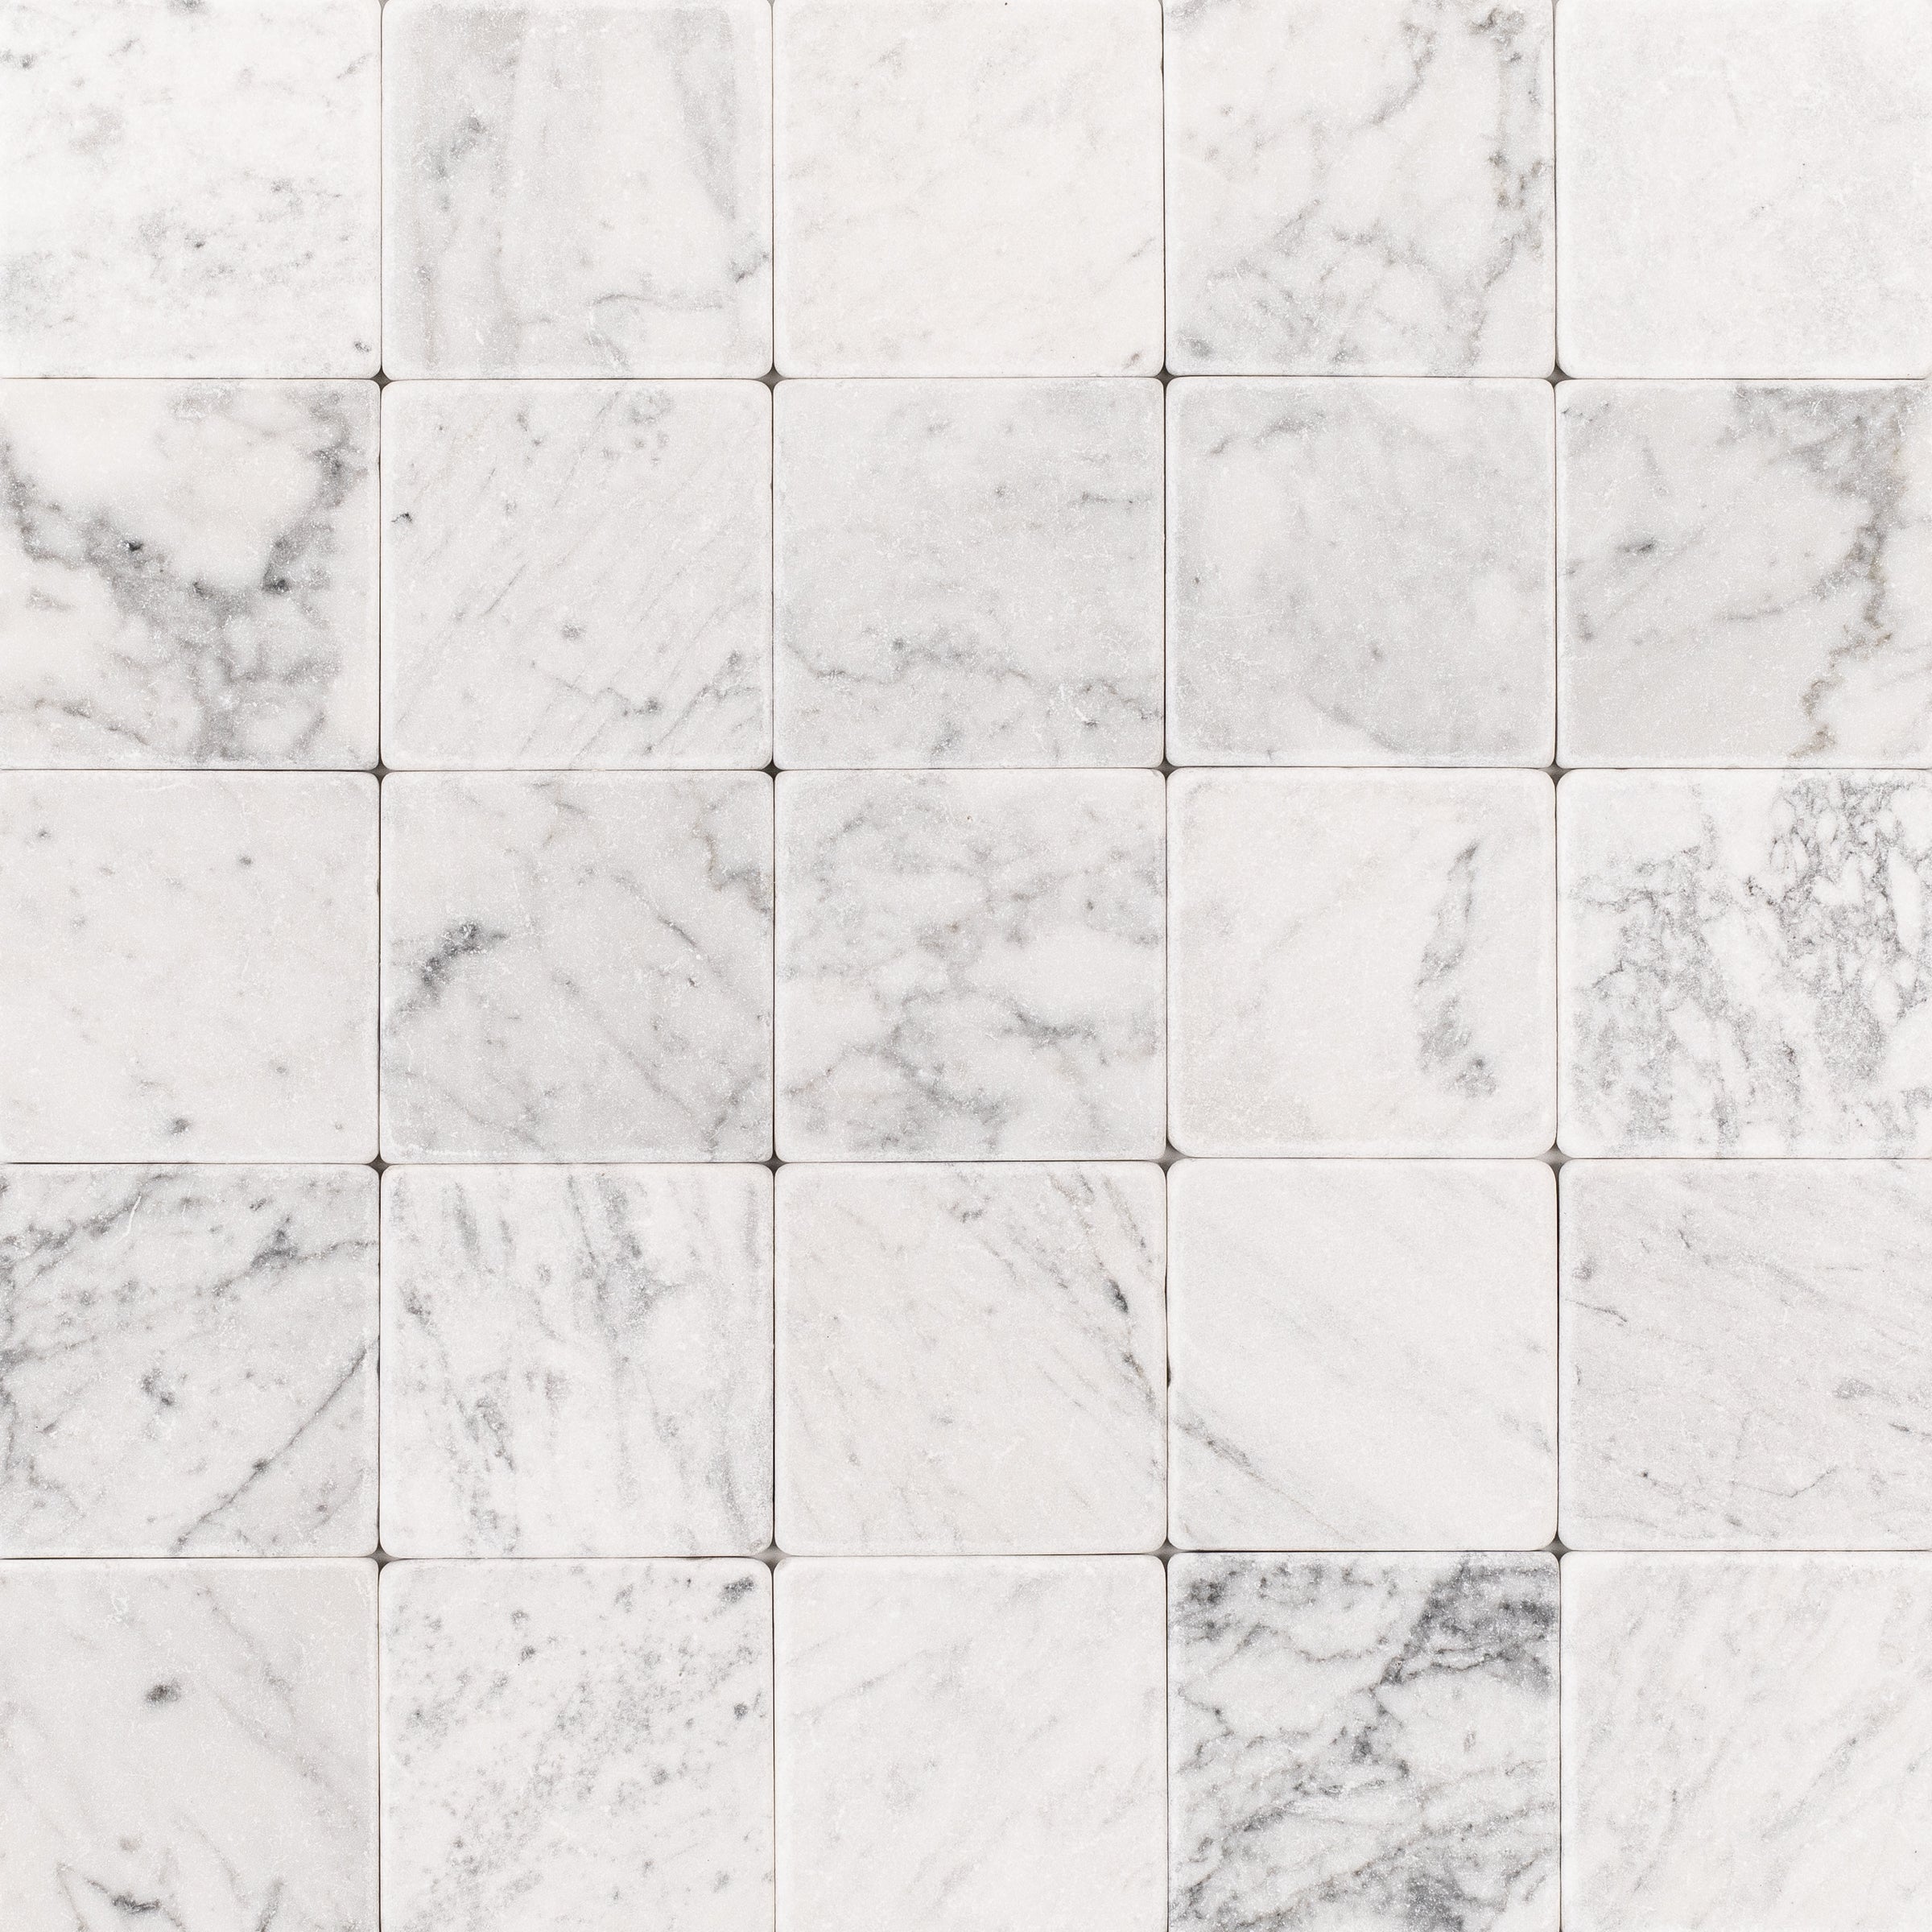
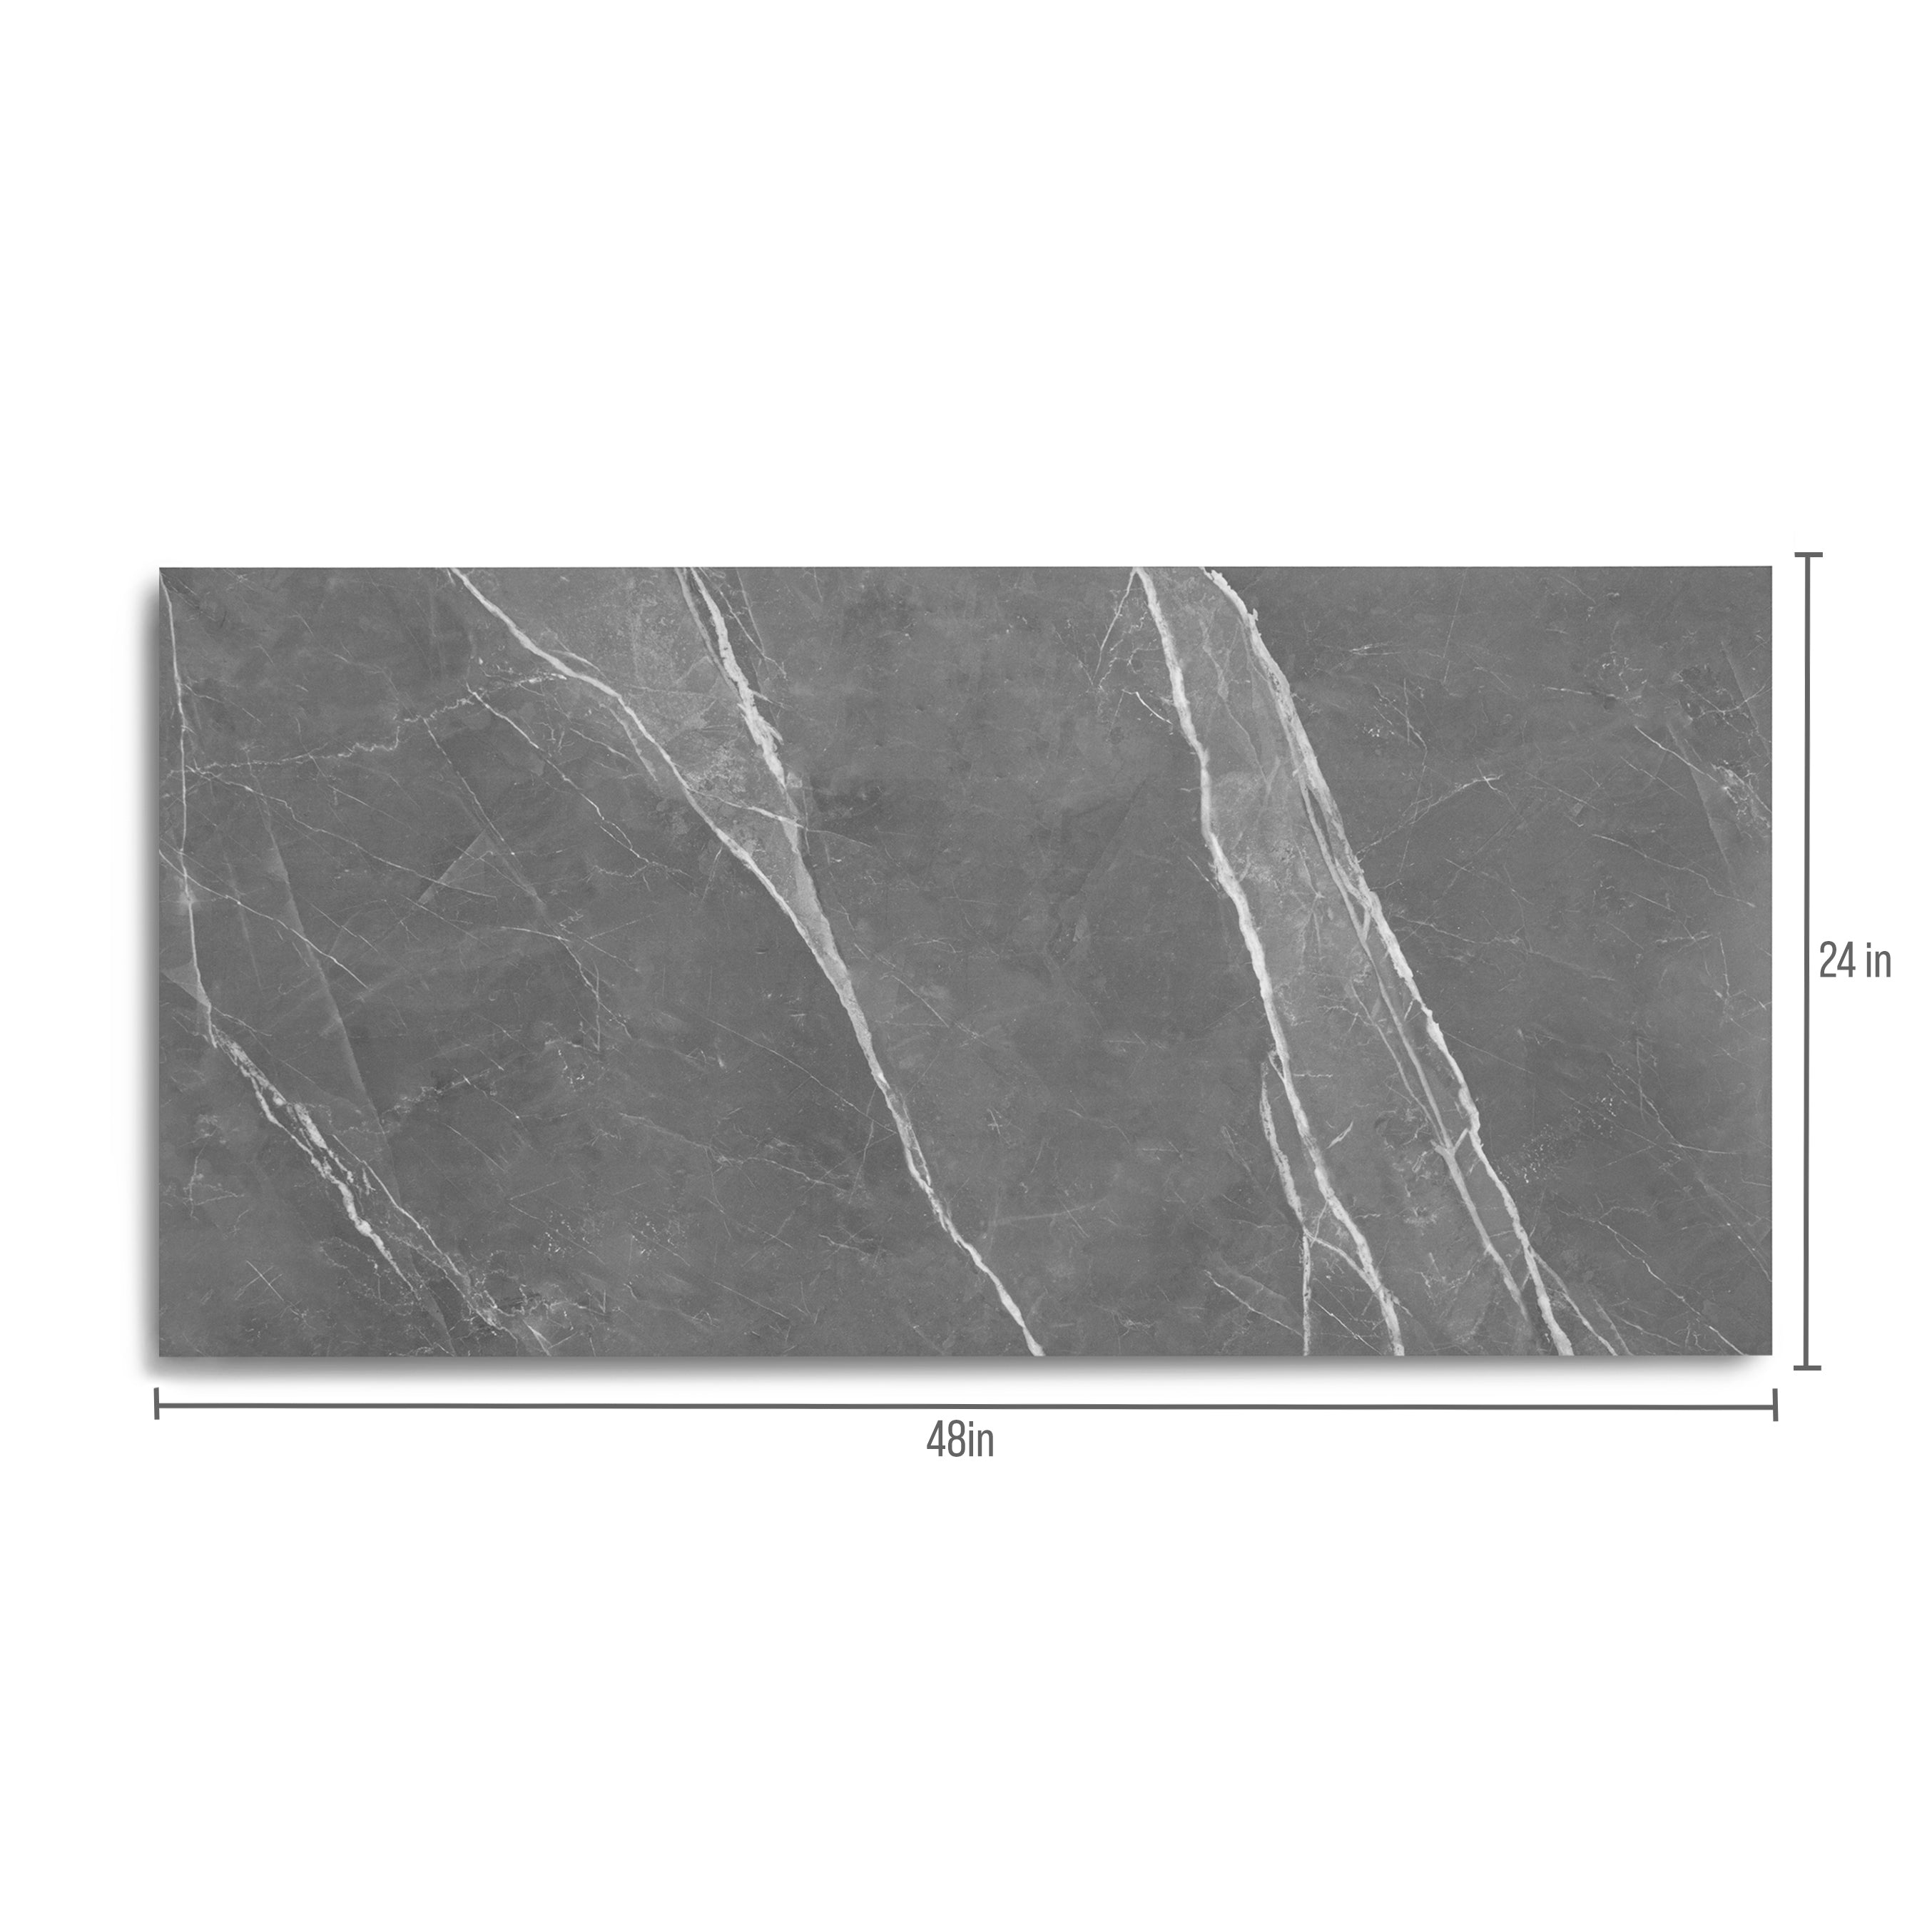
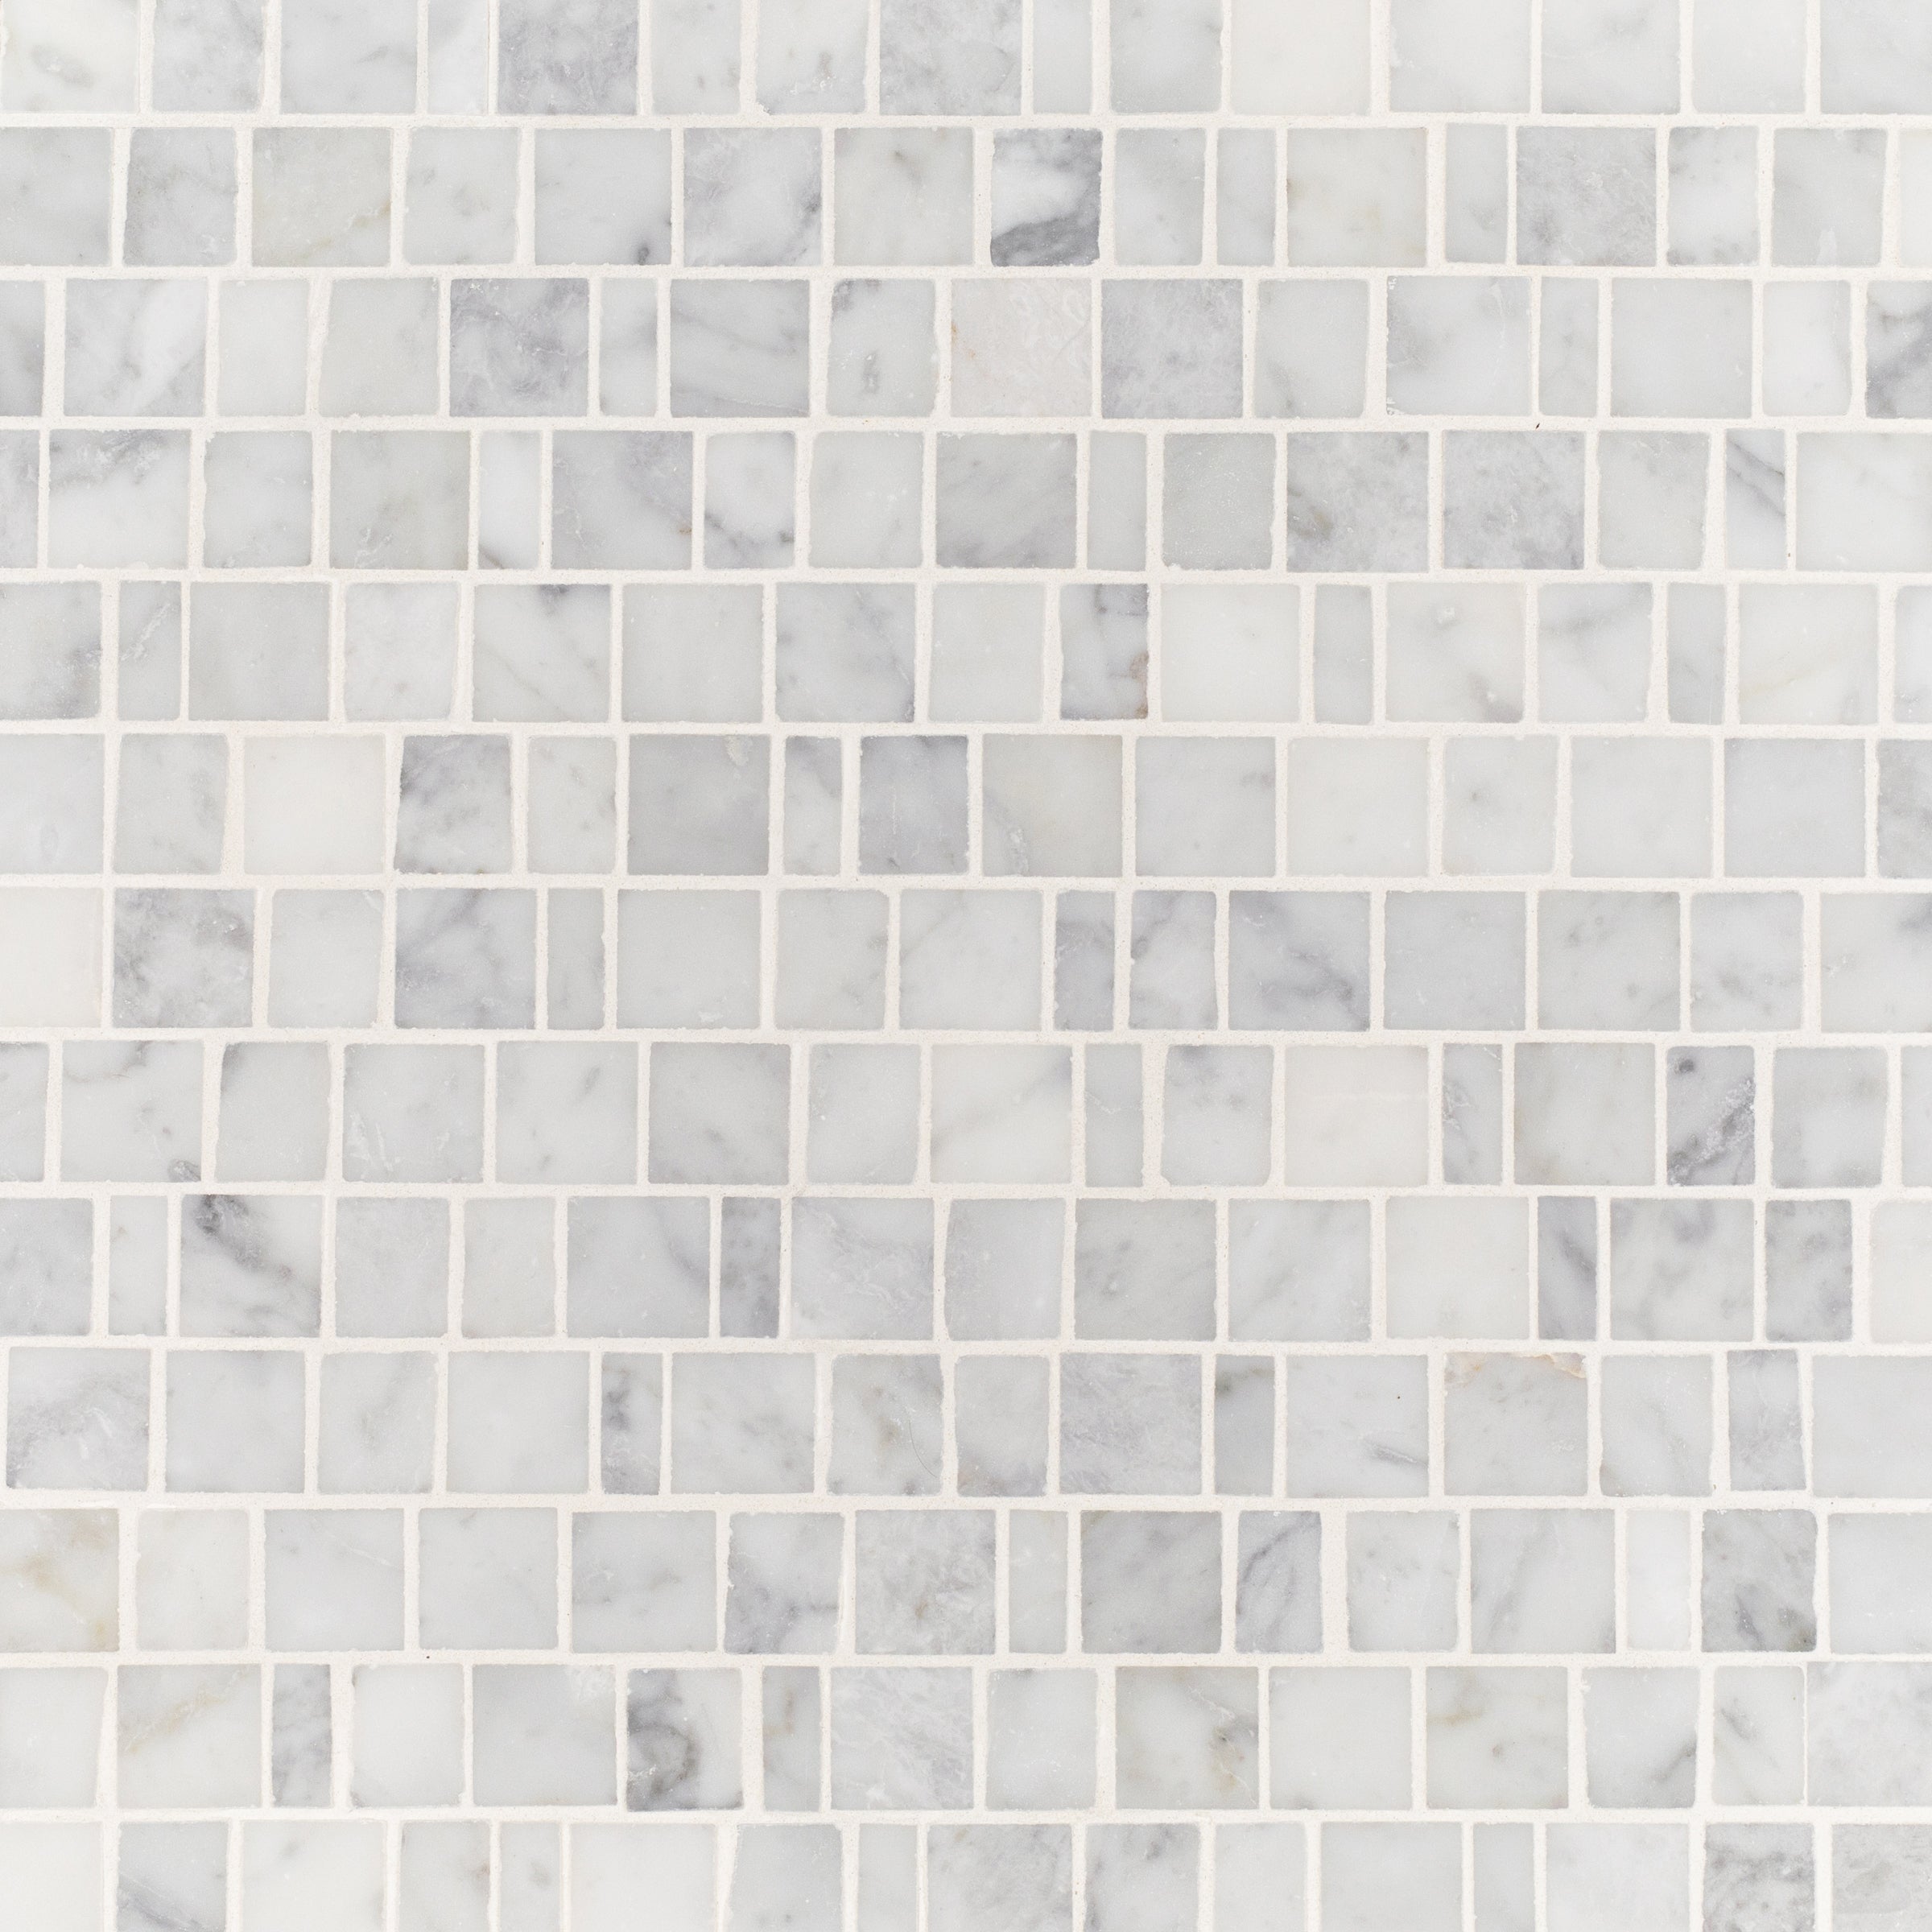
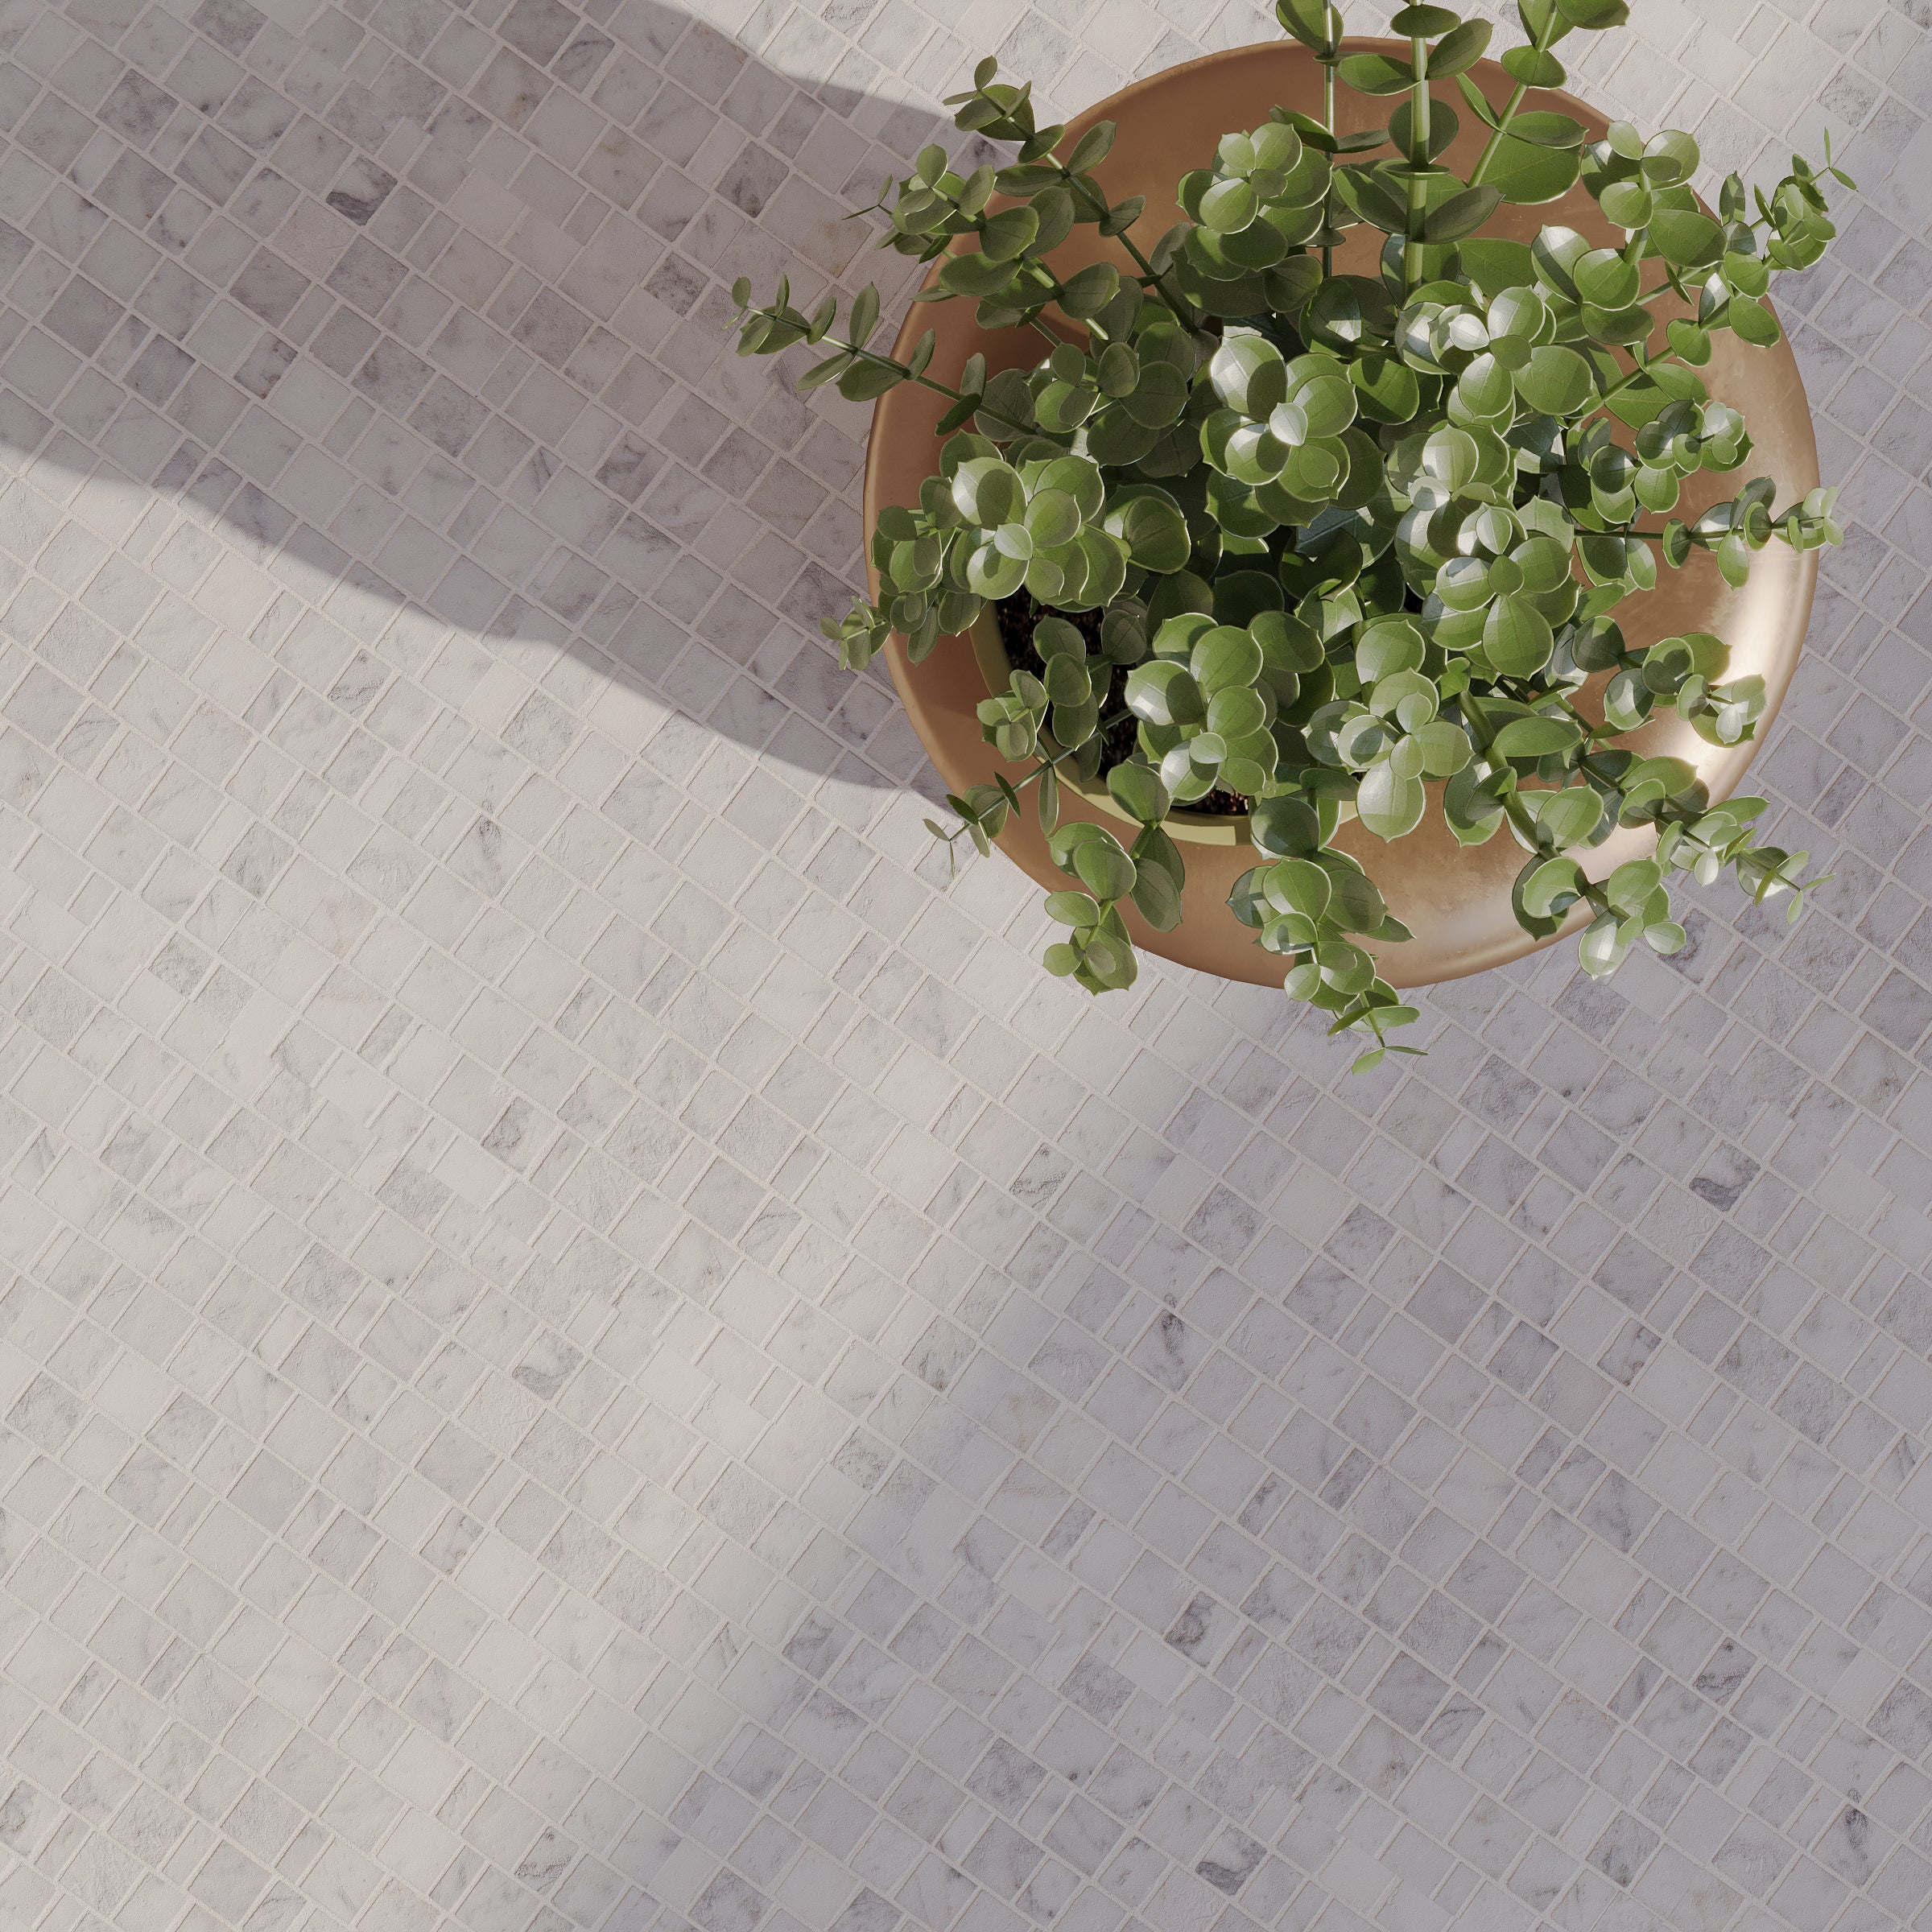
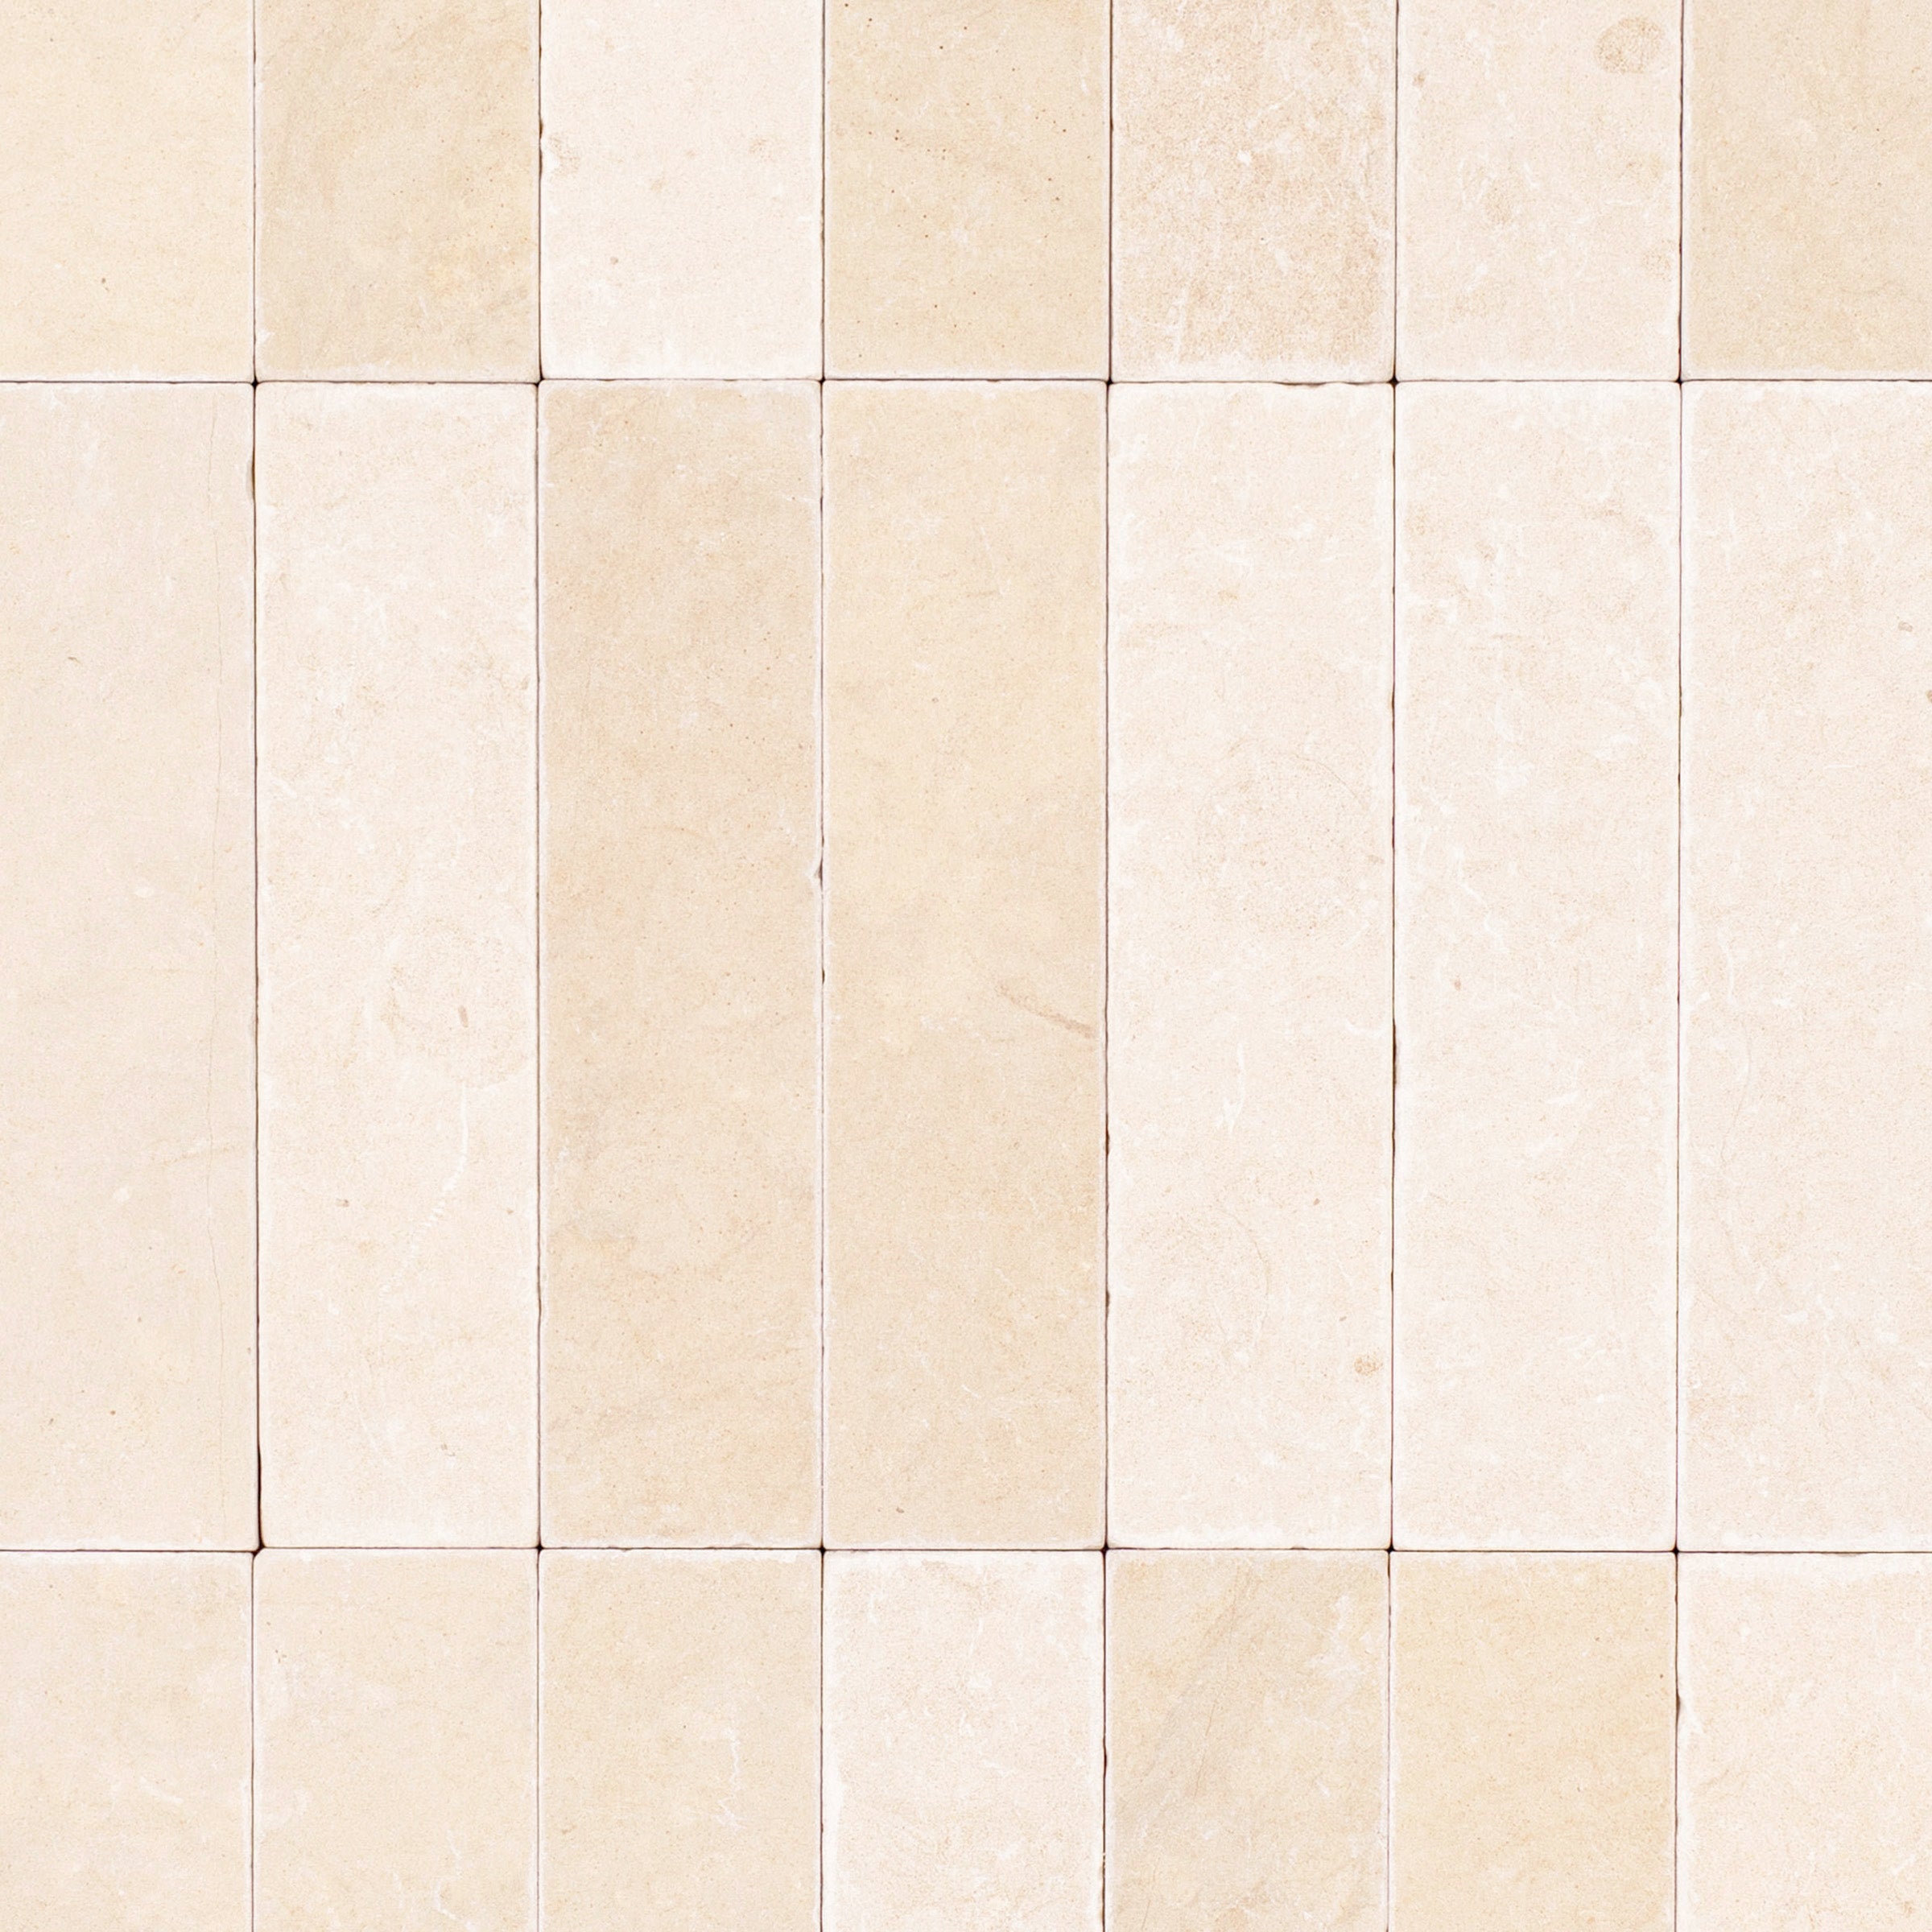
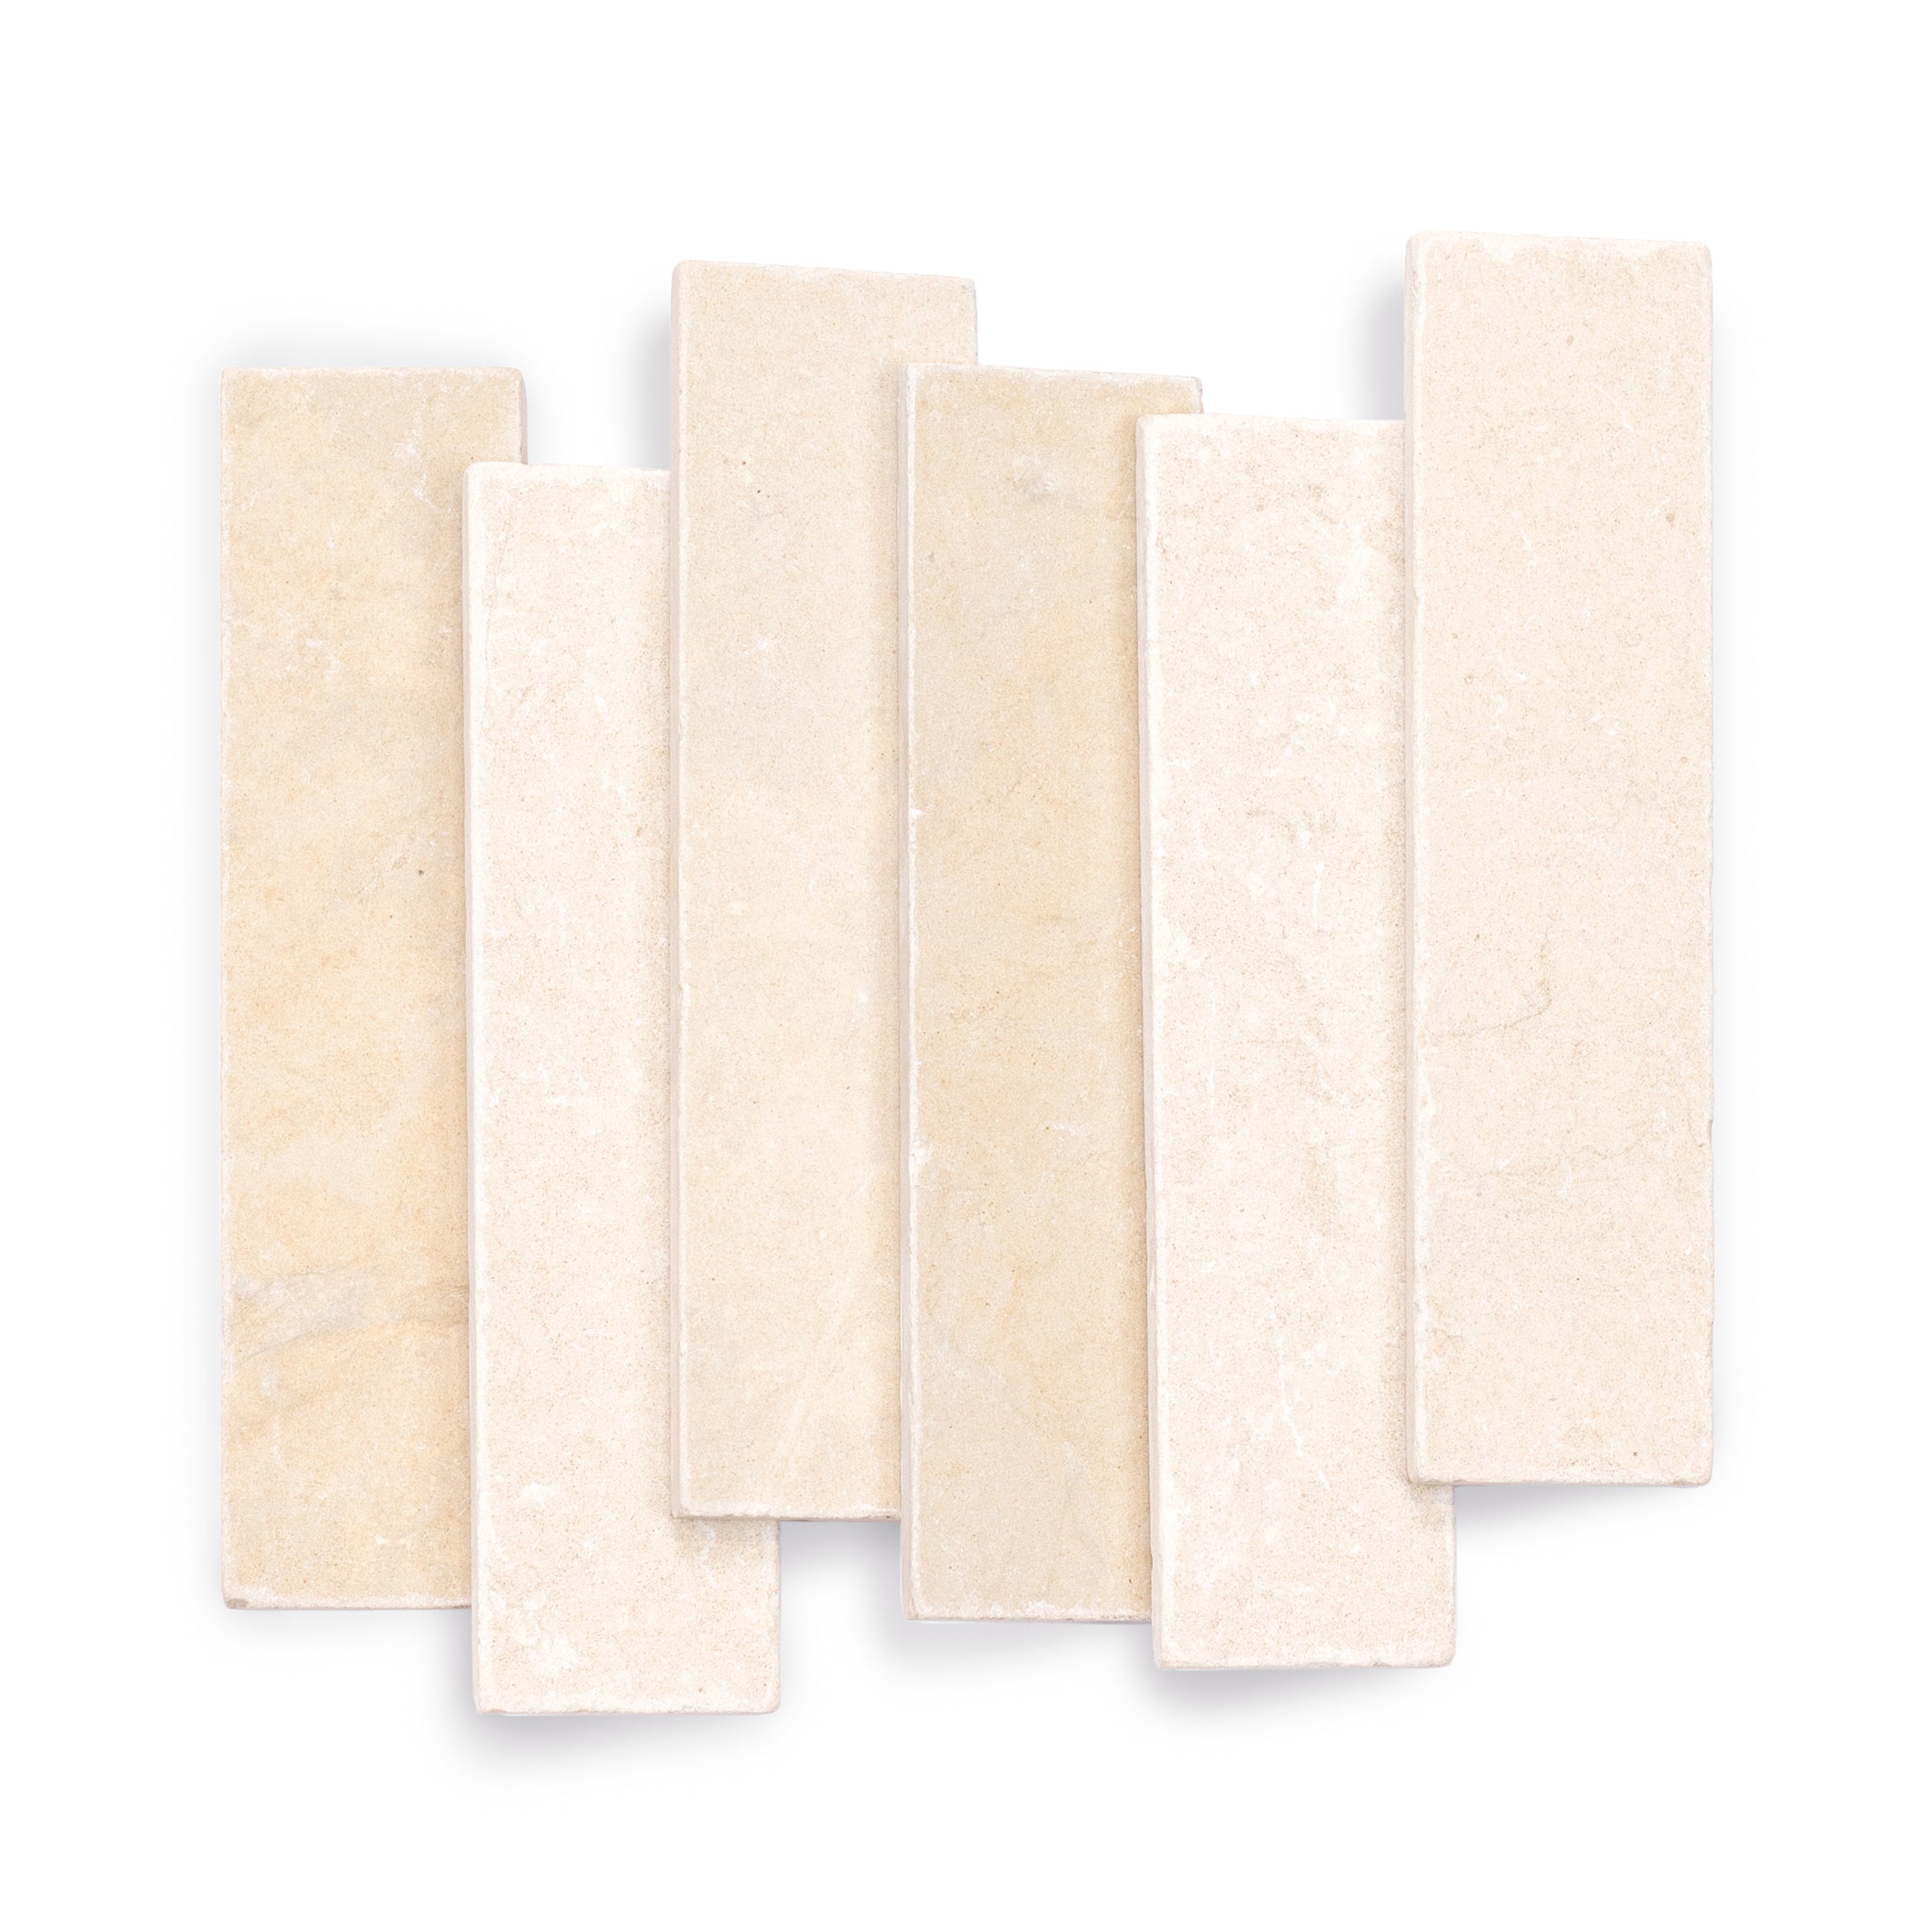
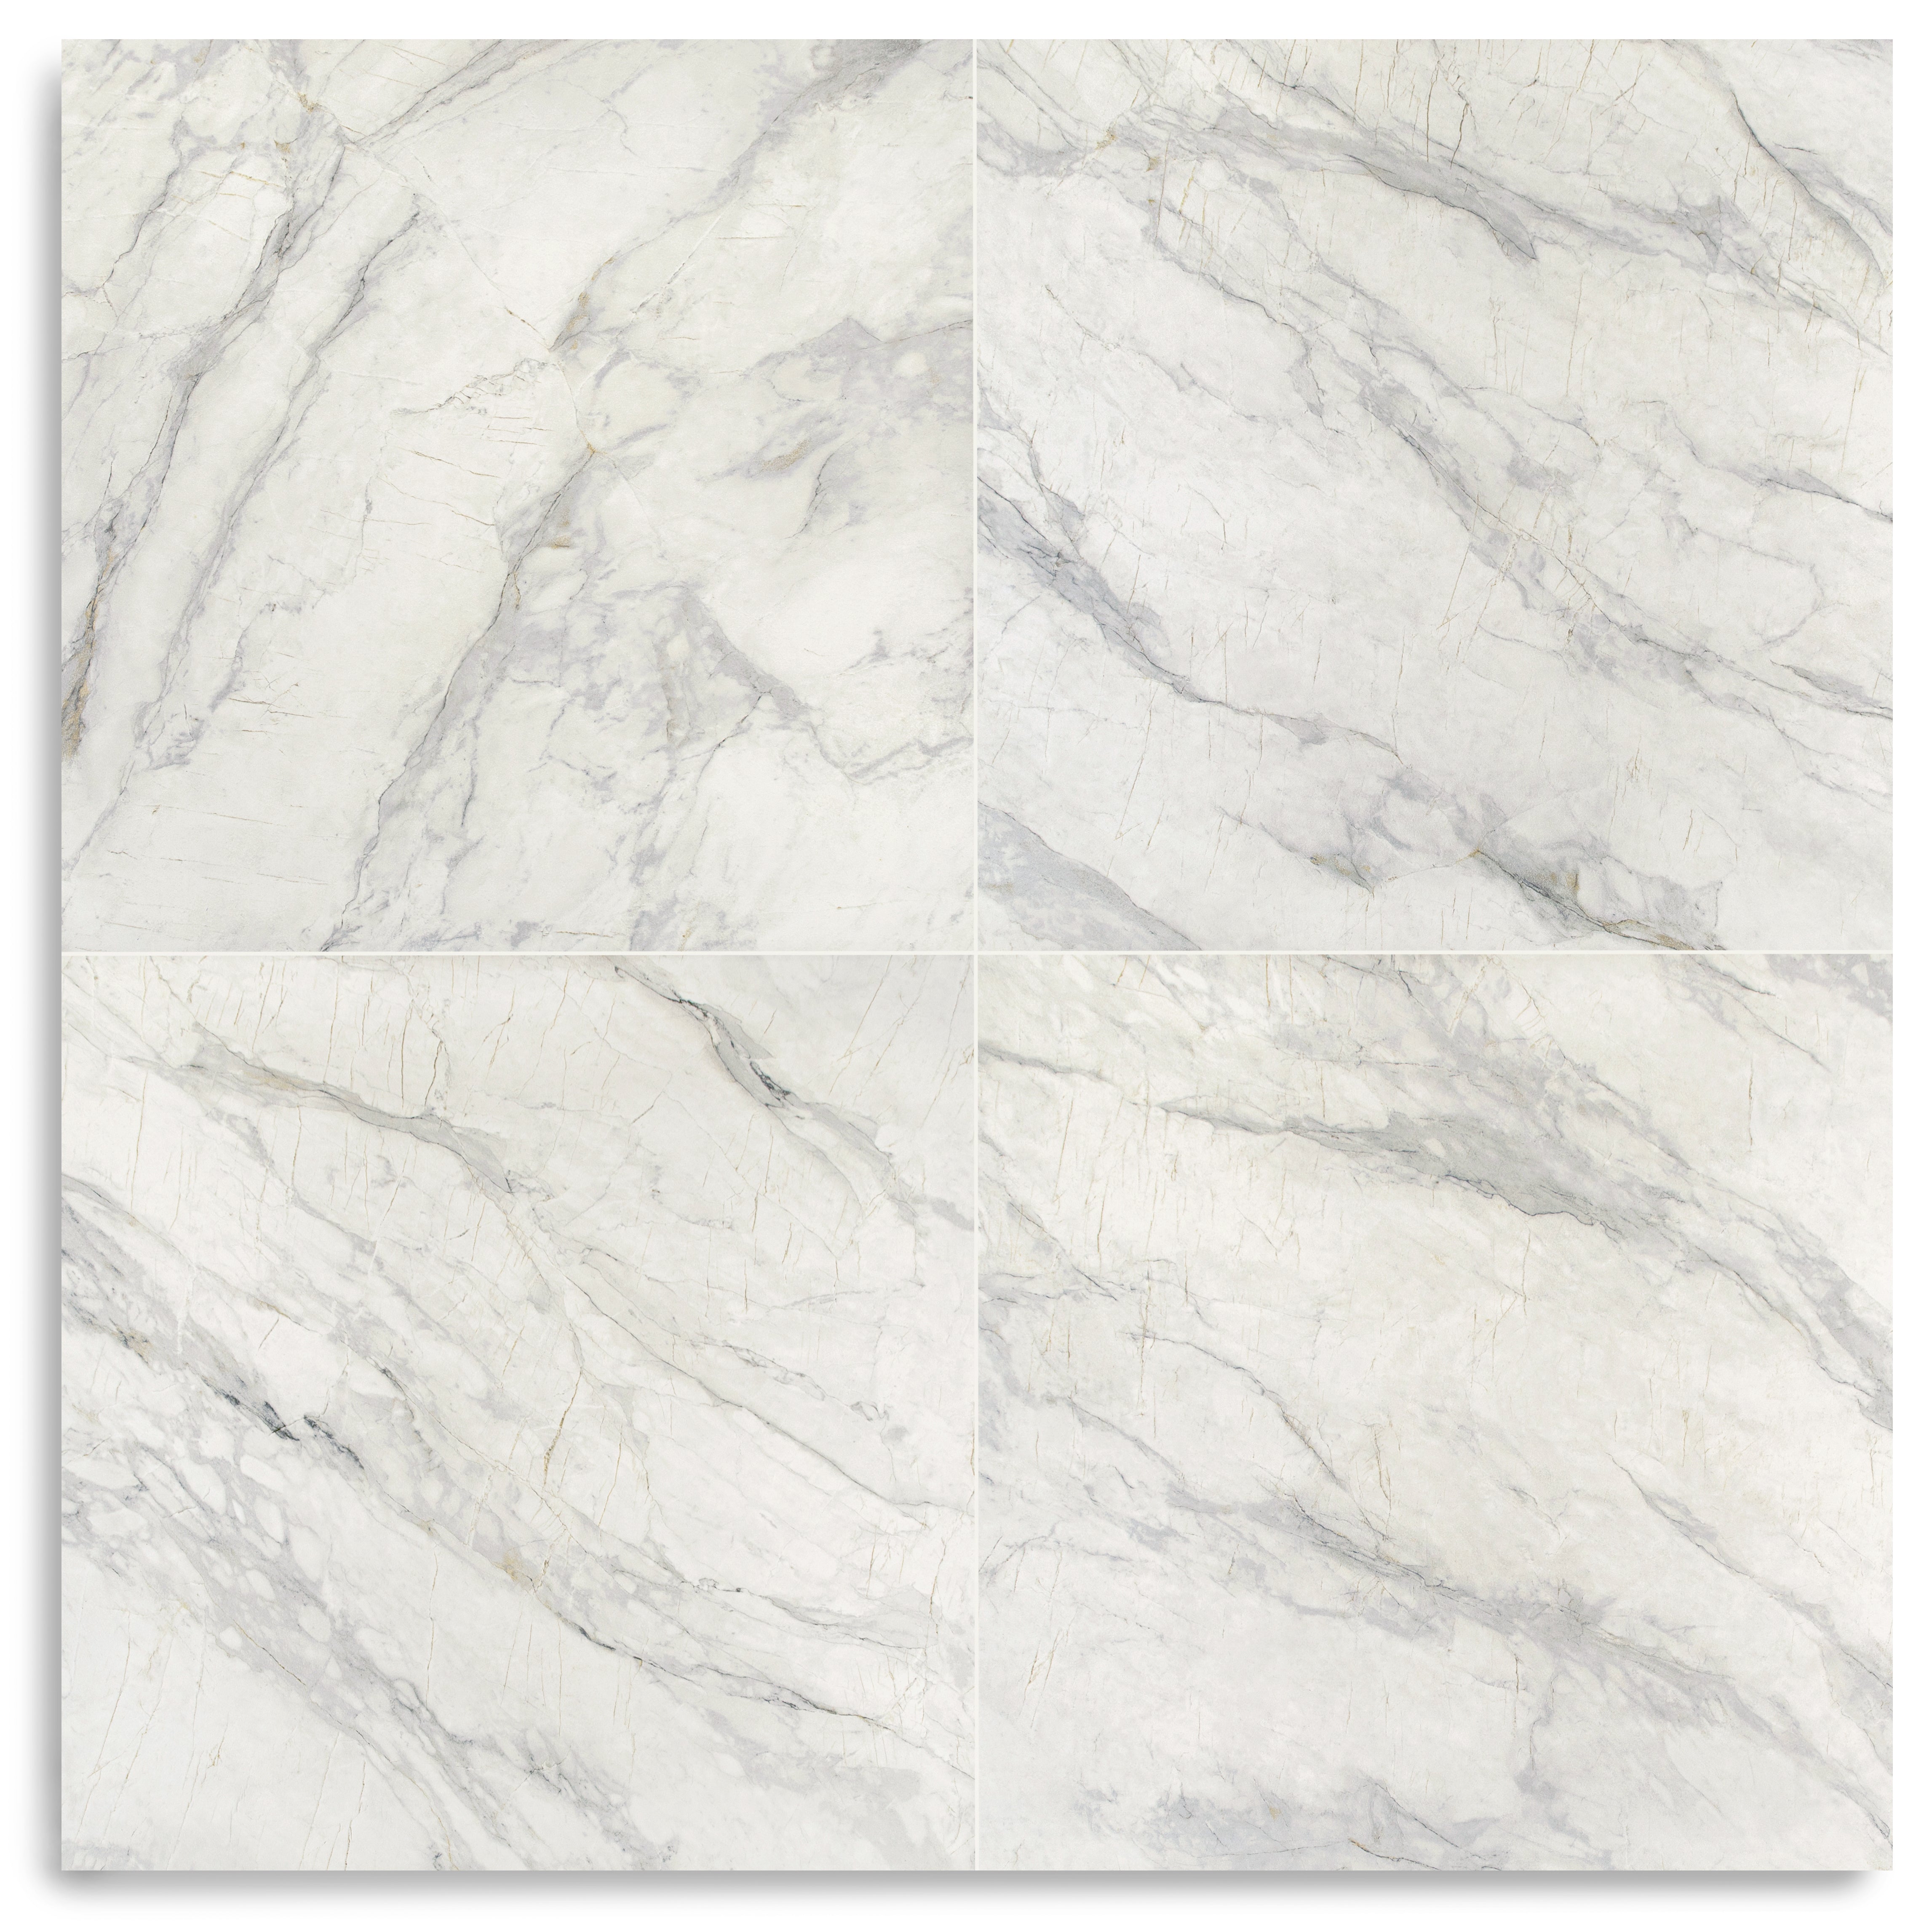
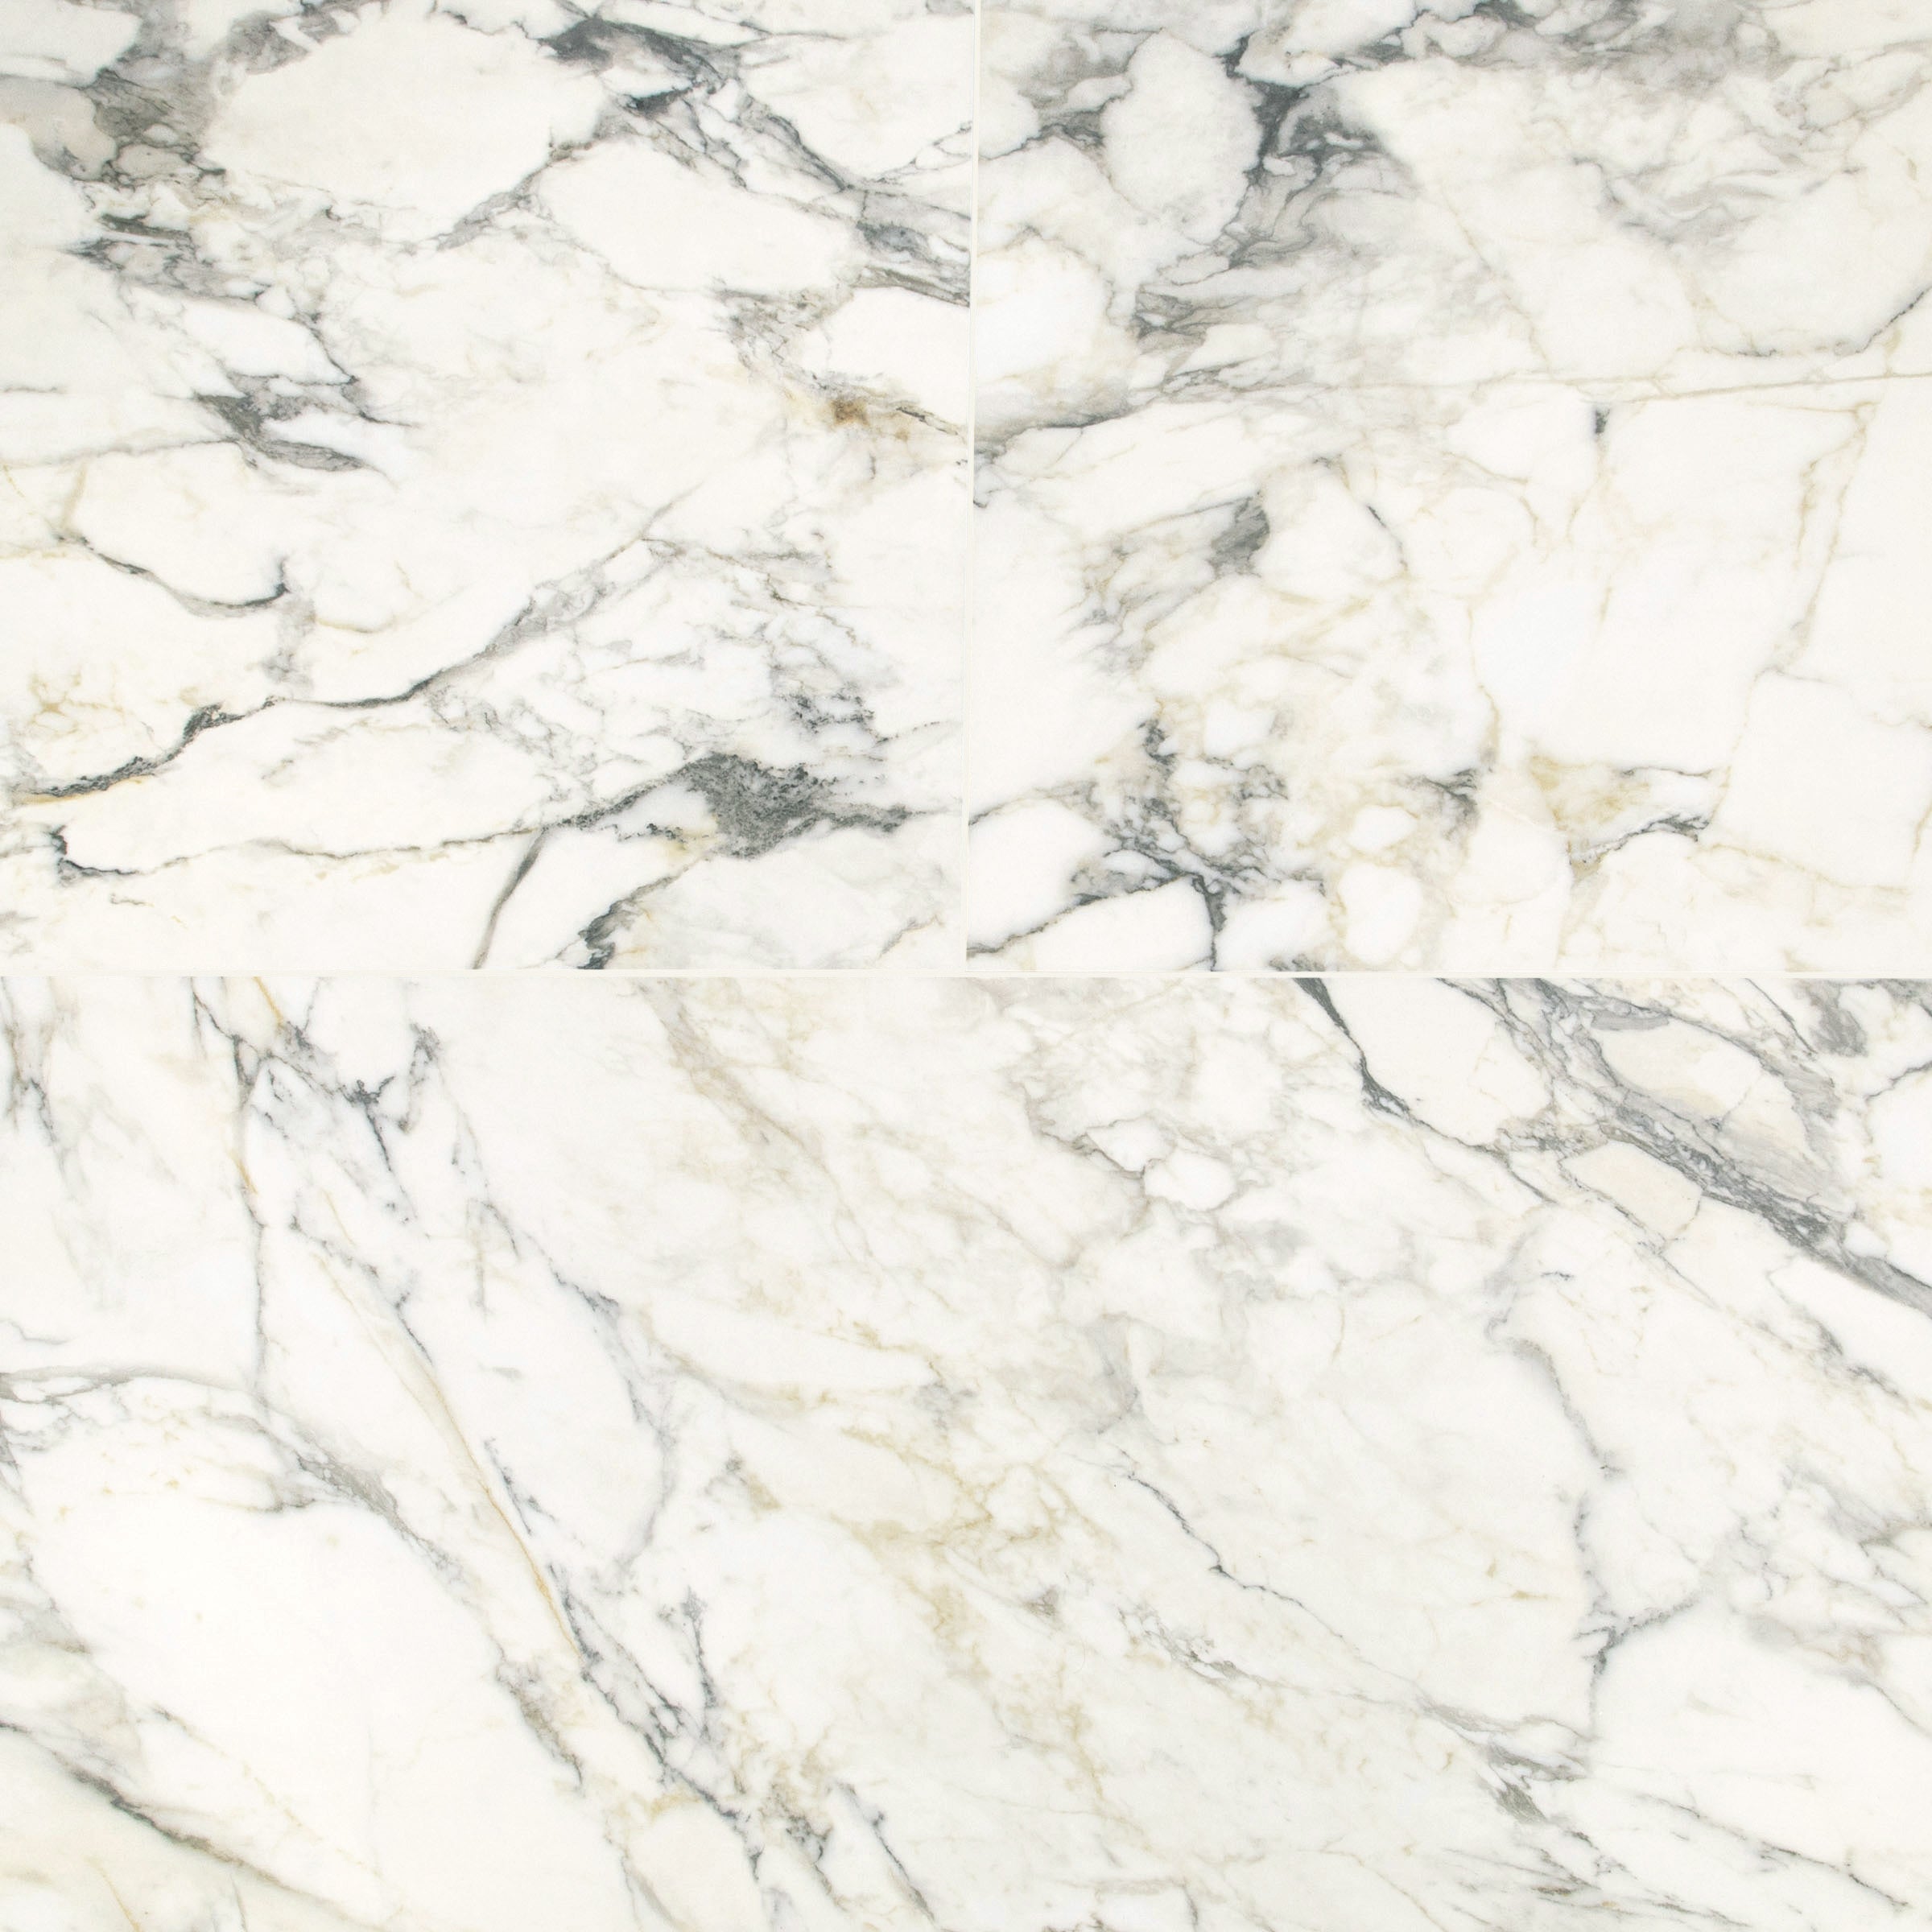
Our Calacatta 12"x24" marble field tiles deliver bold elegance with a honed finish and slight beveled edge. Revered for its dramatic veining and luminous surface, Calacatta brings a sense of high–end luxury to both walls and floors.
Bold Veins & Golden Warmth
Calacatta marble is defined by its striking contrast—bright white backgrounds accented with rich gray movement and warm golden undertones. Every tile is a work of art, offering dramatic variation that transforms any installation into a statement.
Sophisticated, Flexible Design
Perfect for bathrooms, kitchens, entryways, and feature walls, Calacatta marble complements both modern and traditional spaces. Its elongated 3"x12" format works beautifully in stacked, offset, or herringbone layouts, creating surfaces that are at once timeless, distinctive, and luxurious.
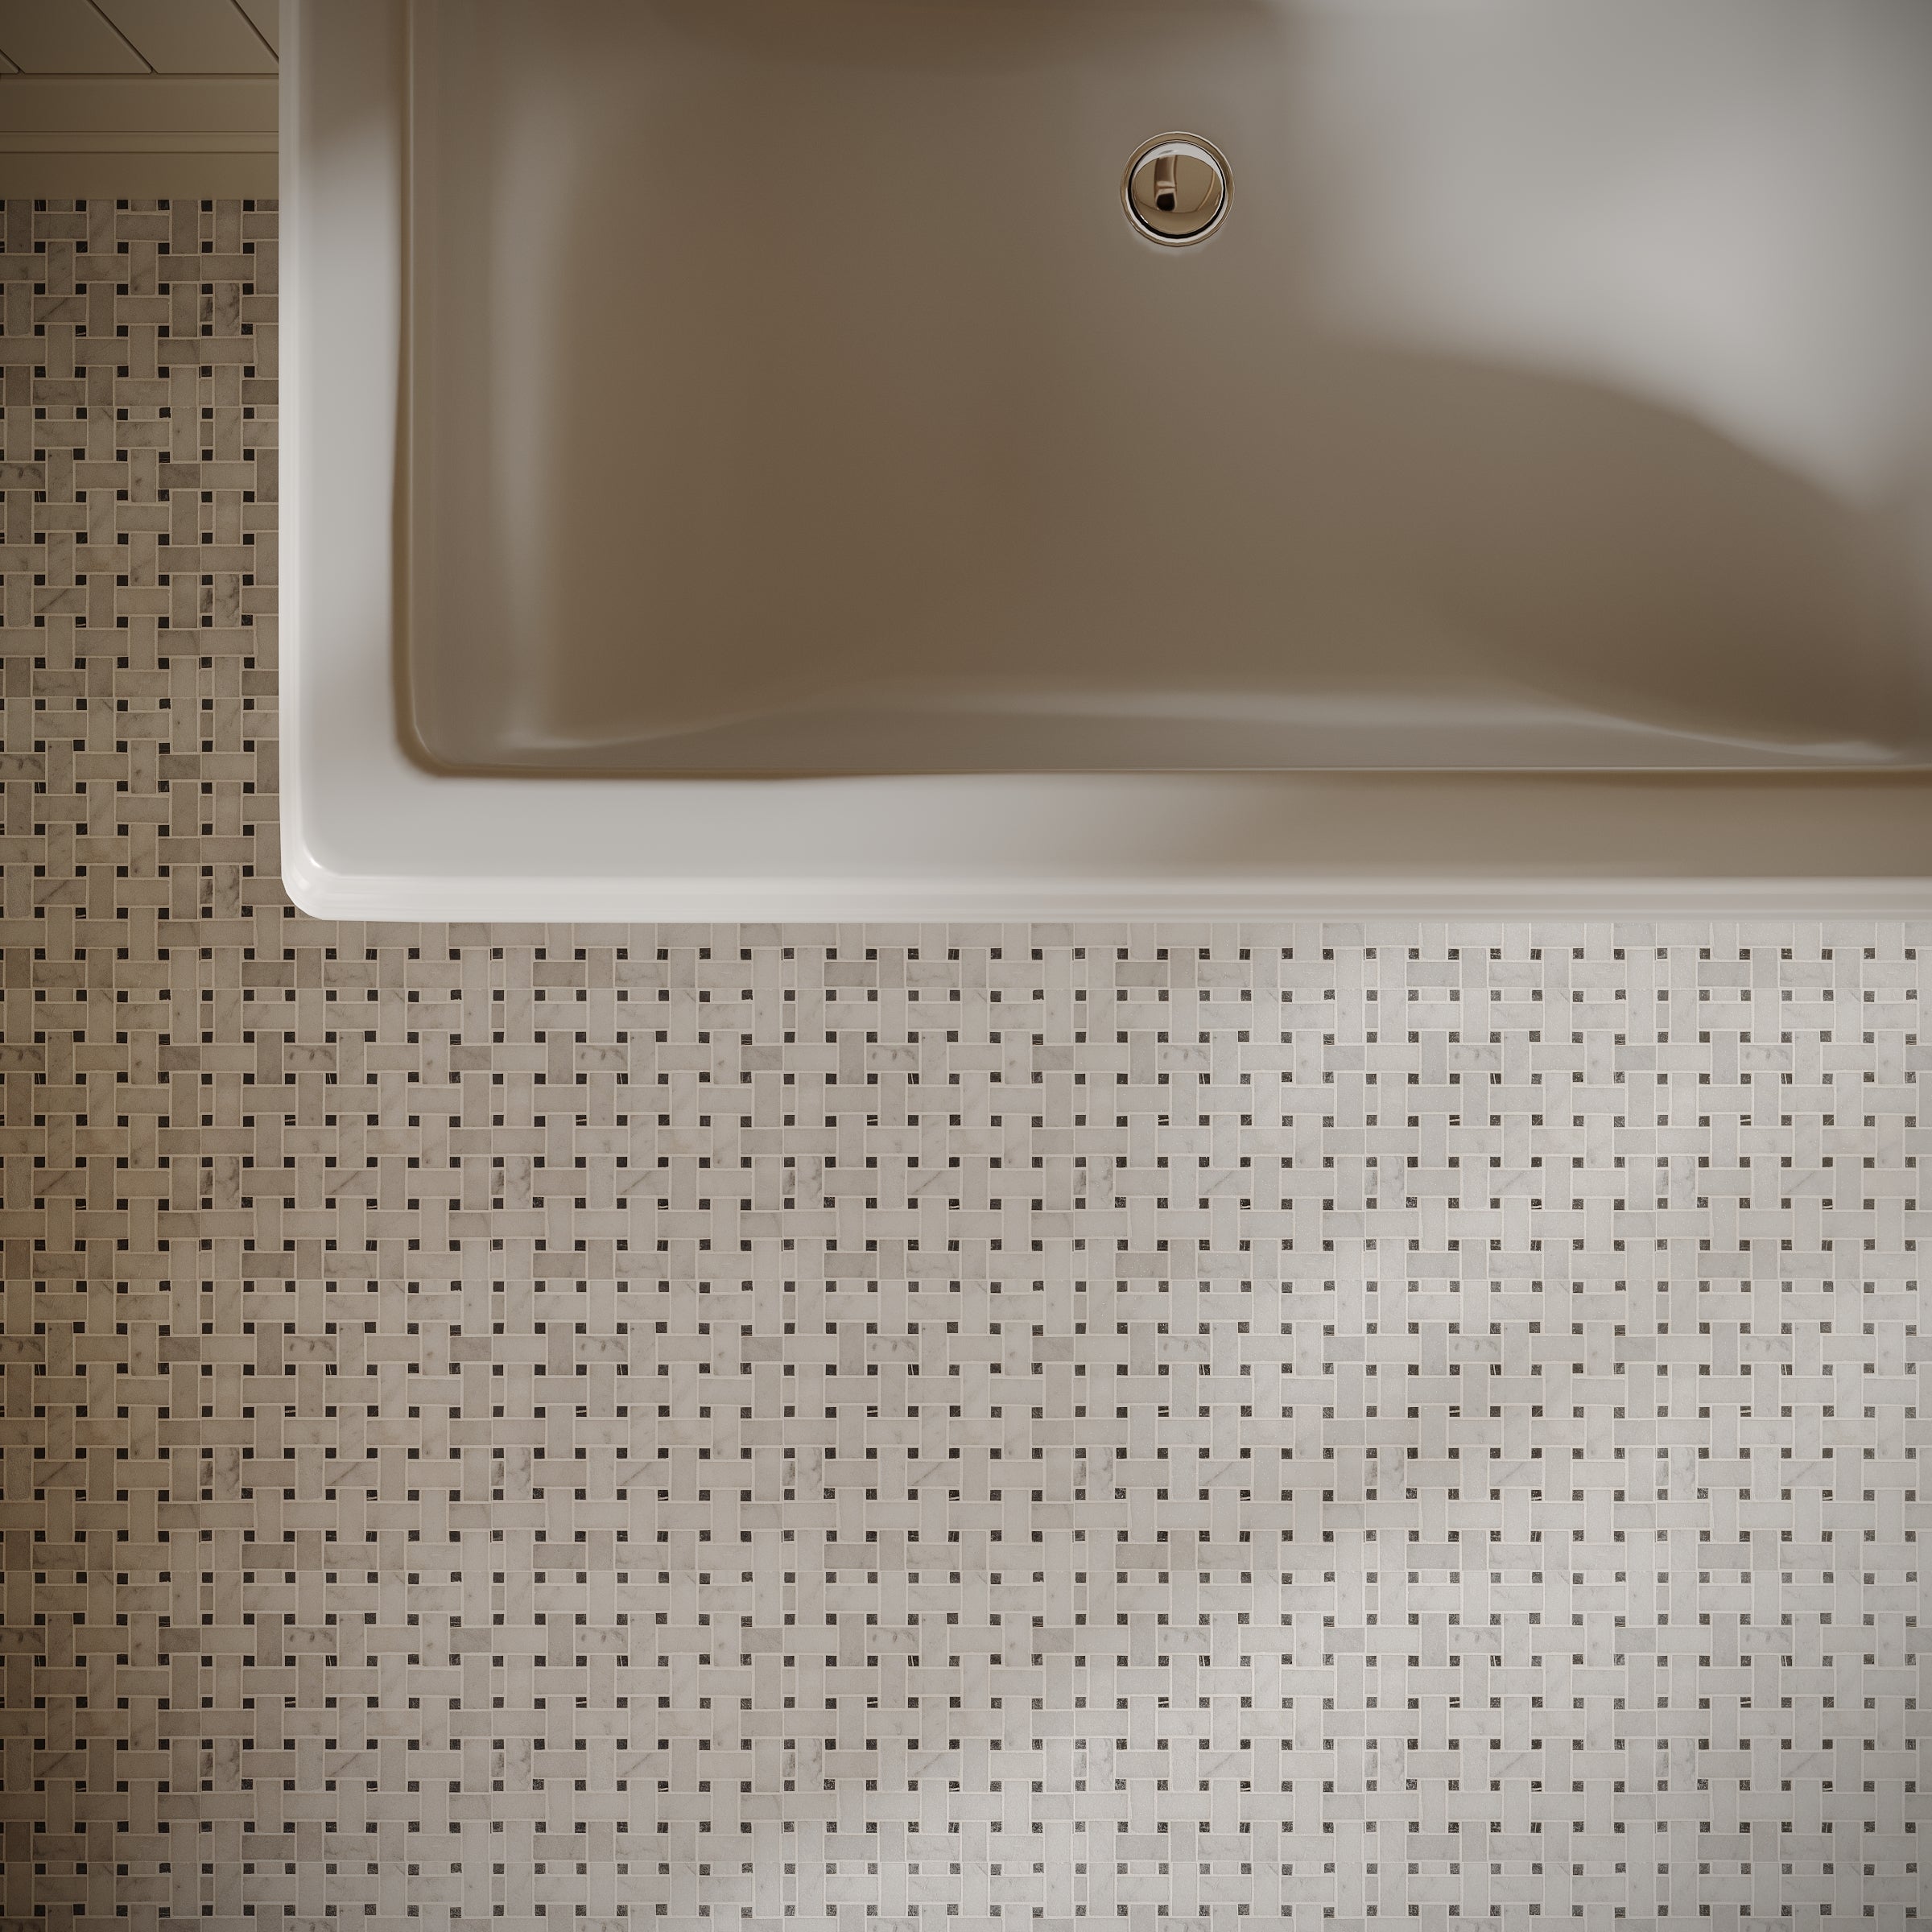
Where to Install
WALLS
BACKSPLASH
SHOWER WALL
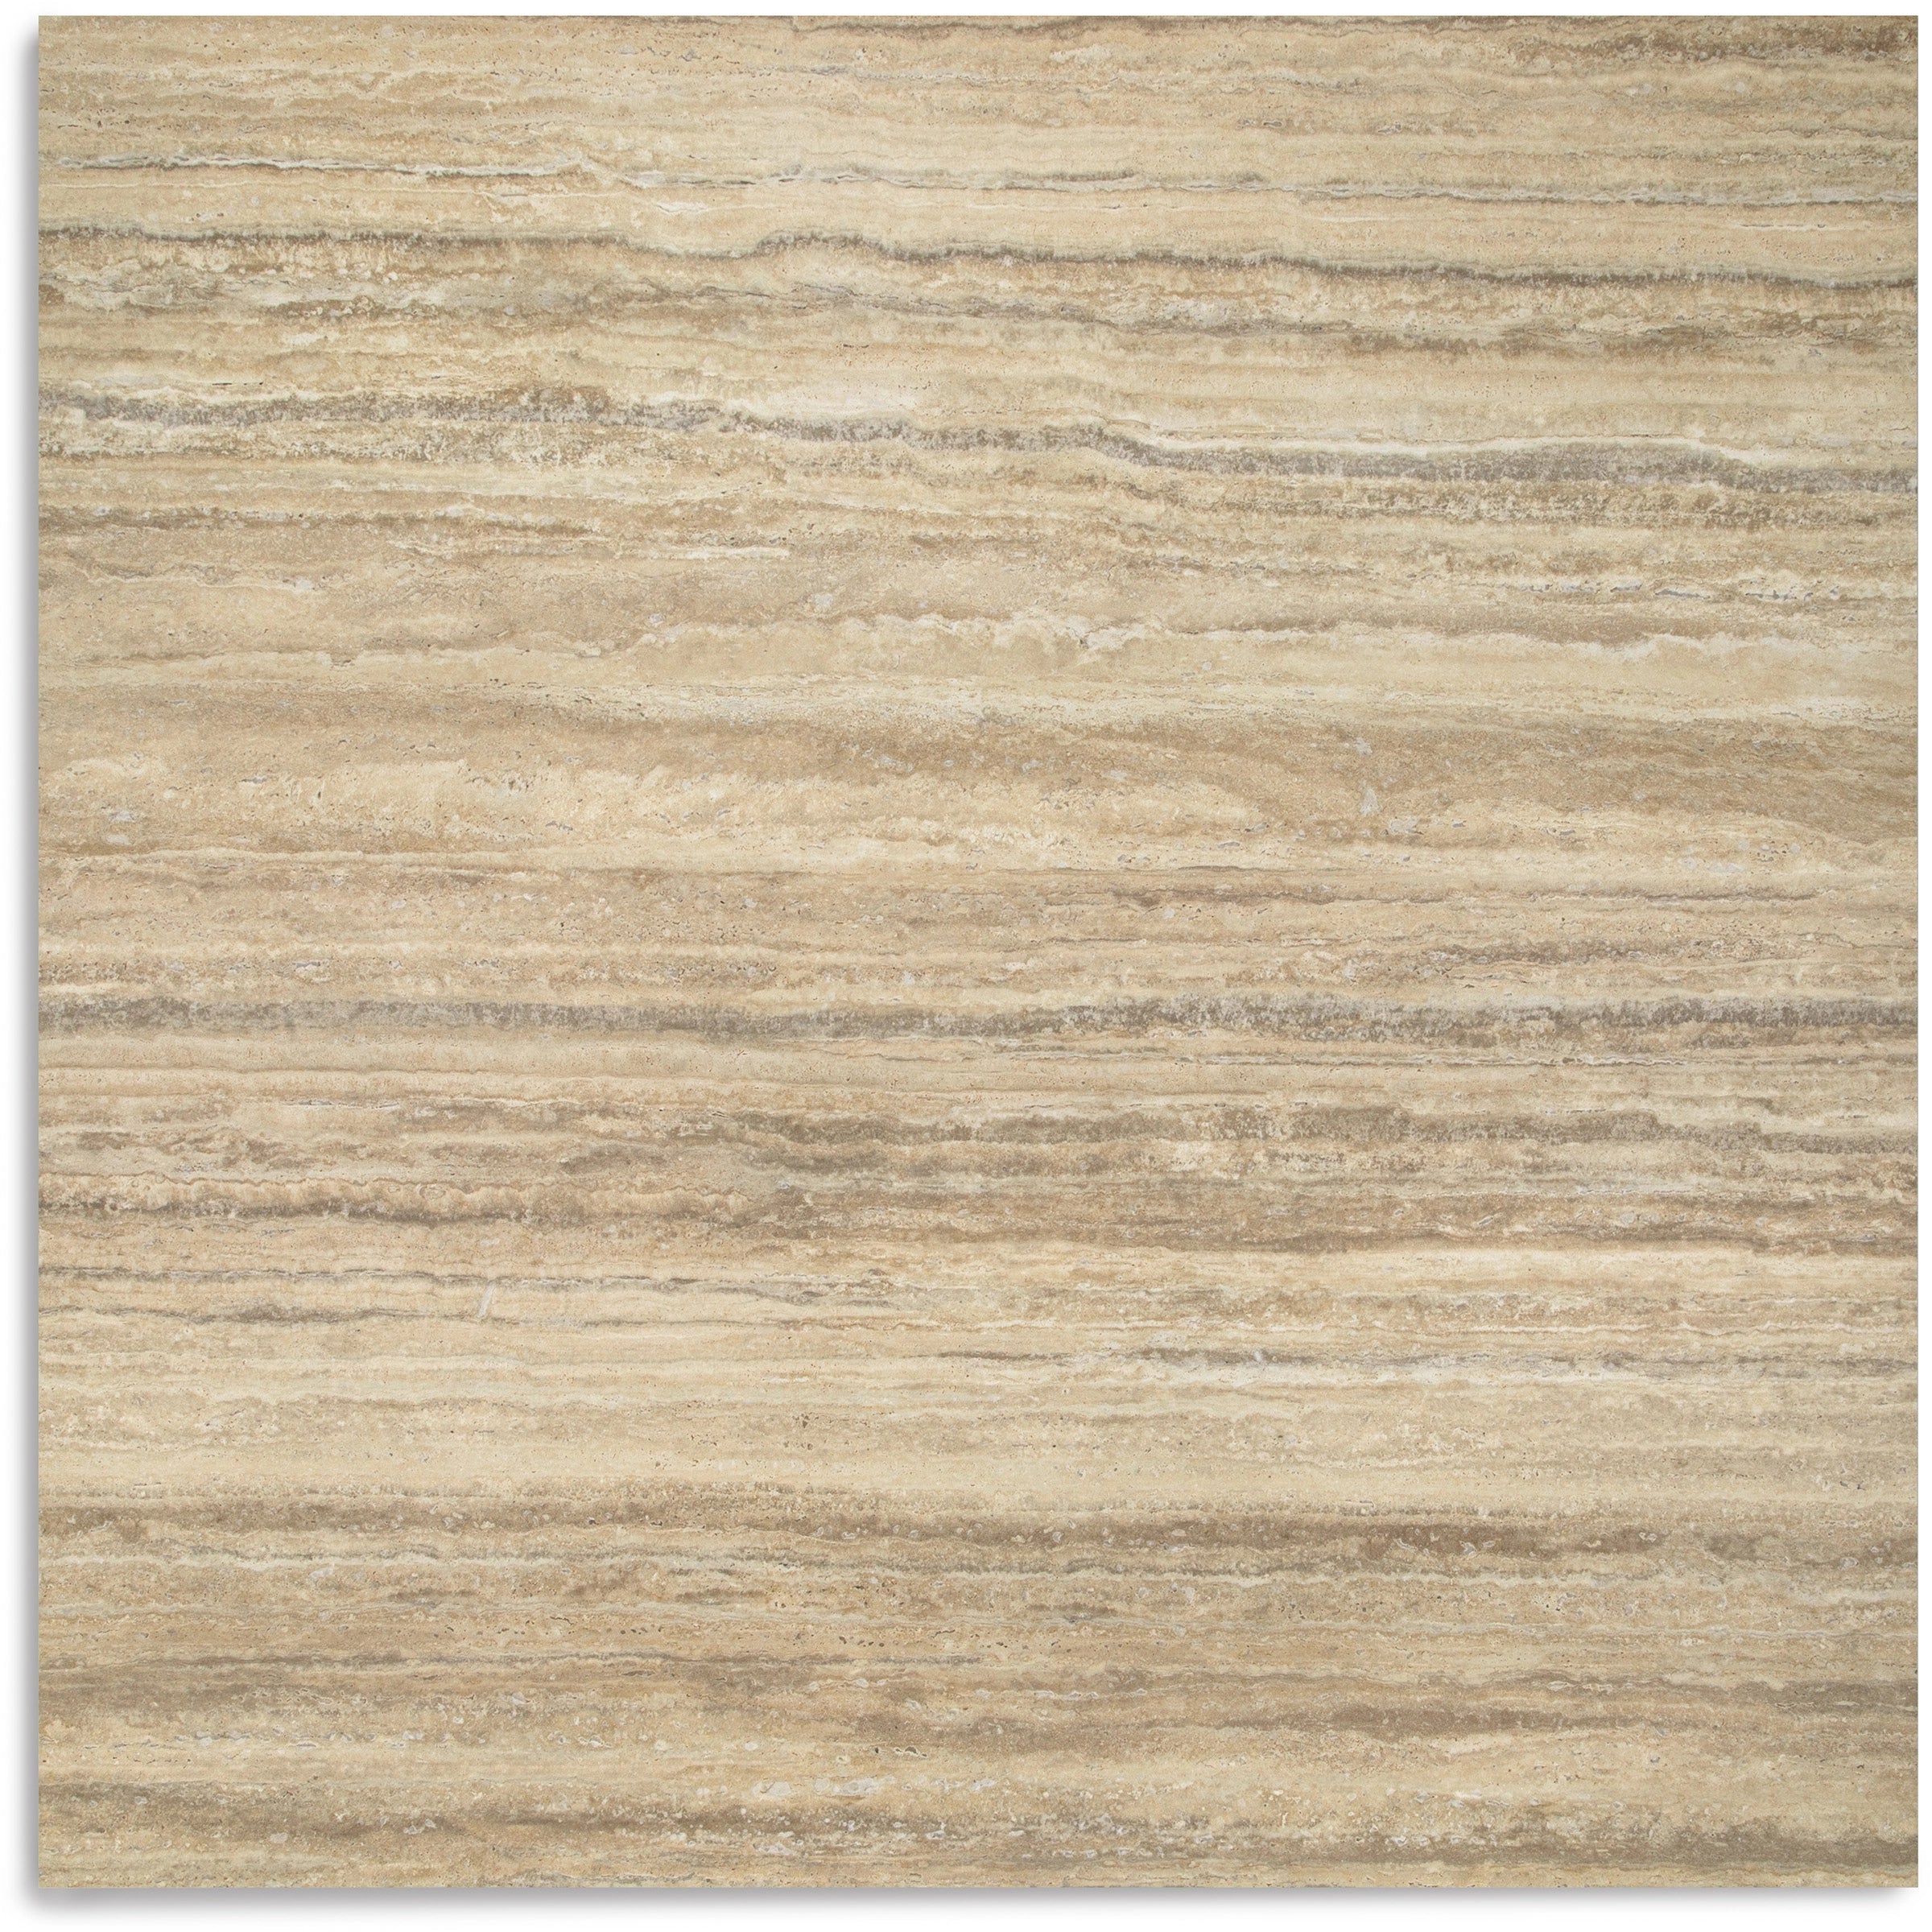
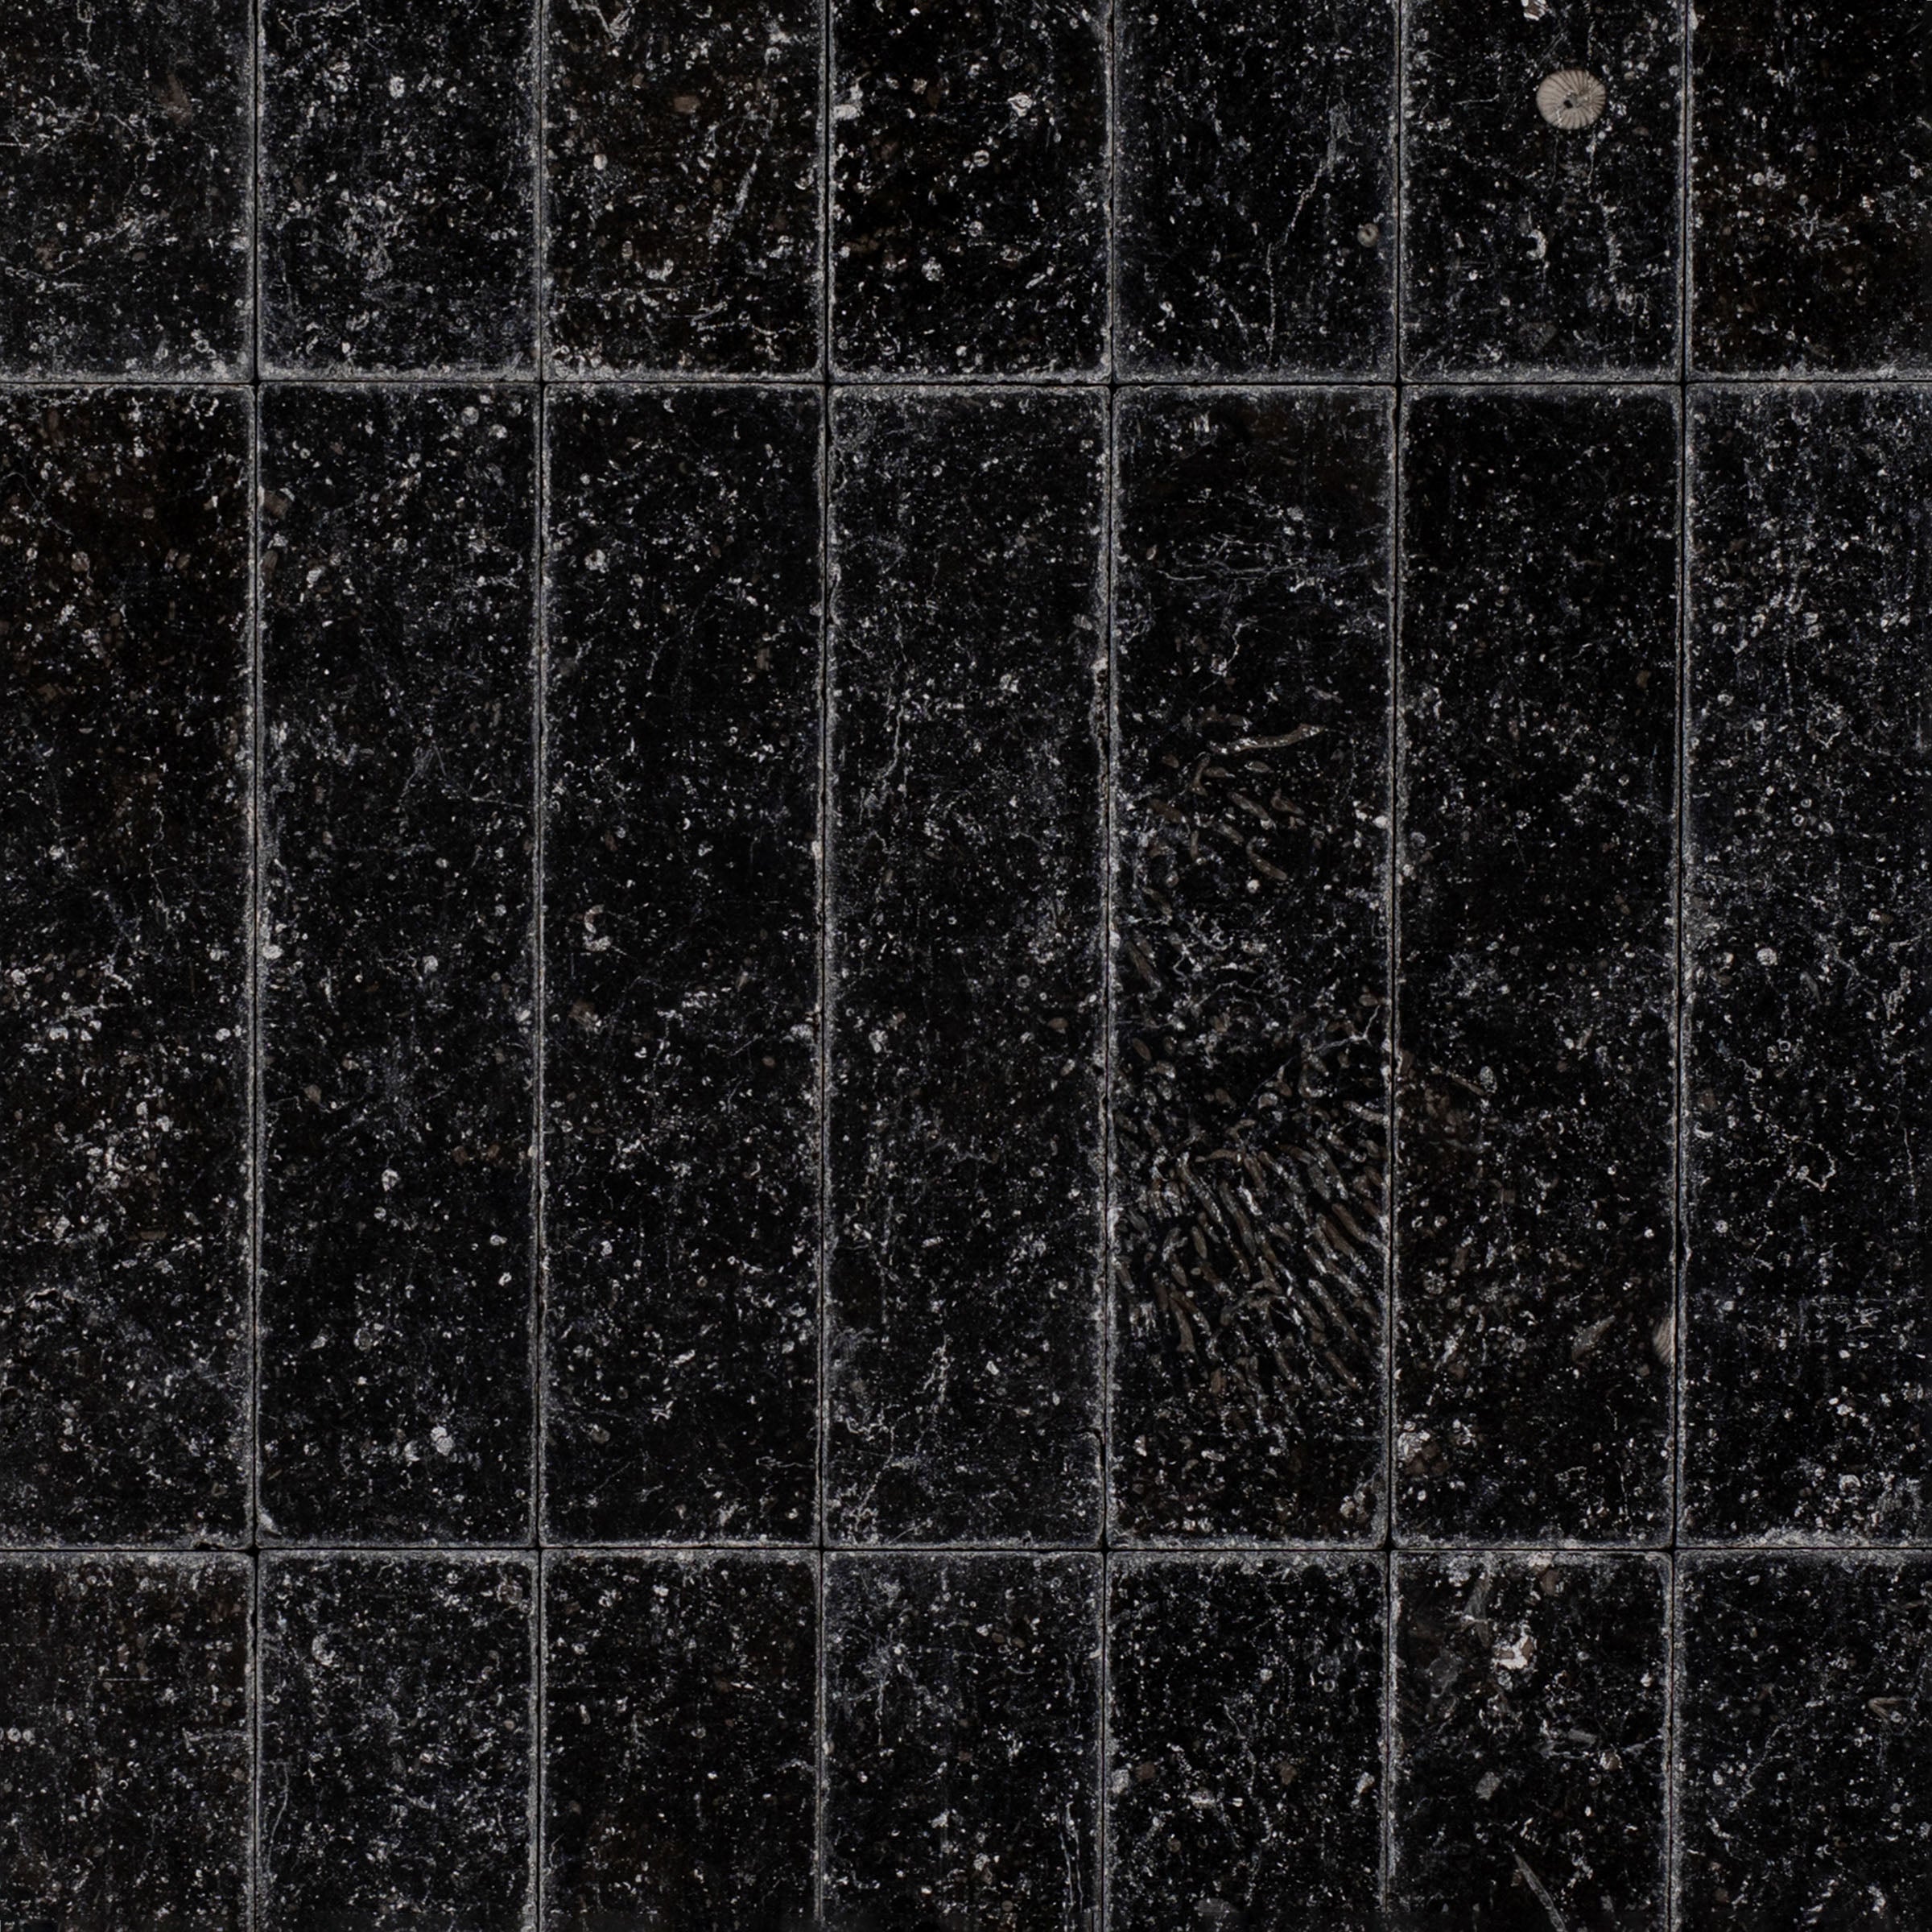
This is the one you have been looking at in magazines. Calacatta Honed Marble Tile is cut from one of the most sought after natural stones in the world, quarried exclusively from the mountains of Carrara, Italy, where only a fraction of the marble pulled qualifies as true Calacatta. What sets it apart is unmistakable: a warm white base with bold, dramatic veining in gold, taupe, and deep grey that moves through each piece like a brushstroke. The honed finish softens the surface to a smooth matte that lets the natural color and movement take center stage without the glare of a polished surface. Available in a 3x12 subway format and a large format 12x24, this tile gives you the flexibility to create everything from a stacked backsplash or herringbone feature wall to a seamless shower surround or bathroom floor with fewer grout lines and maximum stone impact. Calacatta marble is not just a material, it is a statement, and every piece is completely unique.
Details
Material
Marble
Finish
Honed
Chemical Resistant
No
Water Absorption
6.50%
Stain Resistant
No
Seal Required
Recommended
DCOF
0.42
Collection
Marble
Thickness
3/8"
Nominal Size
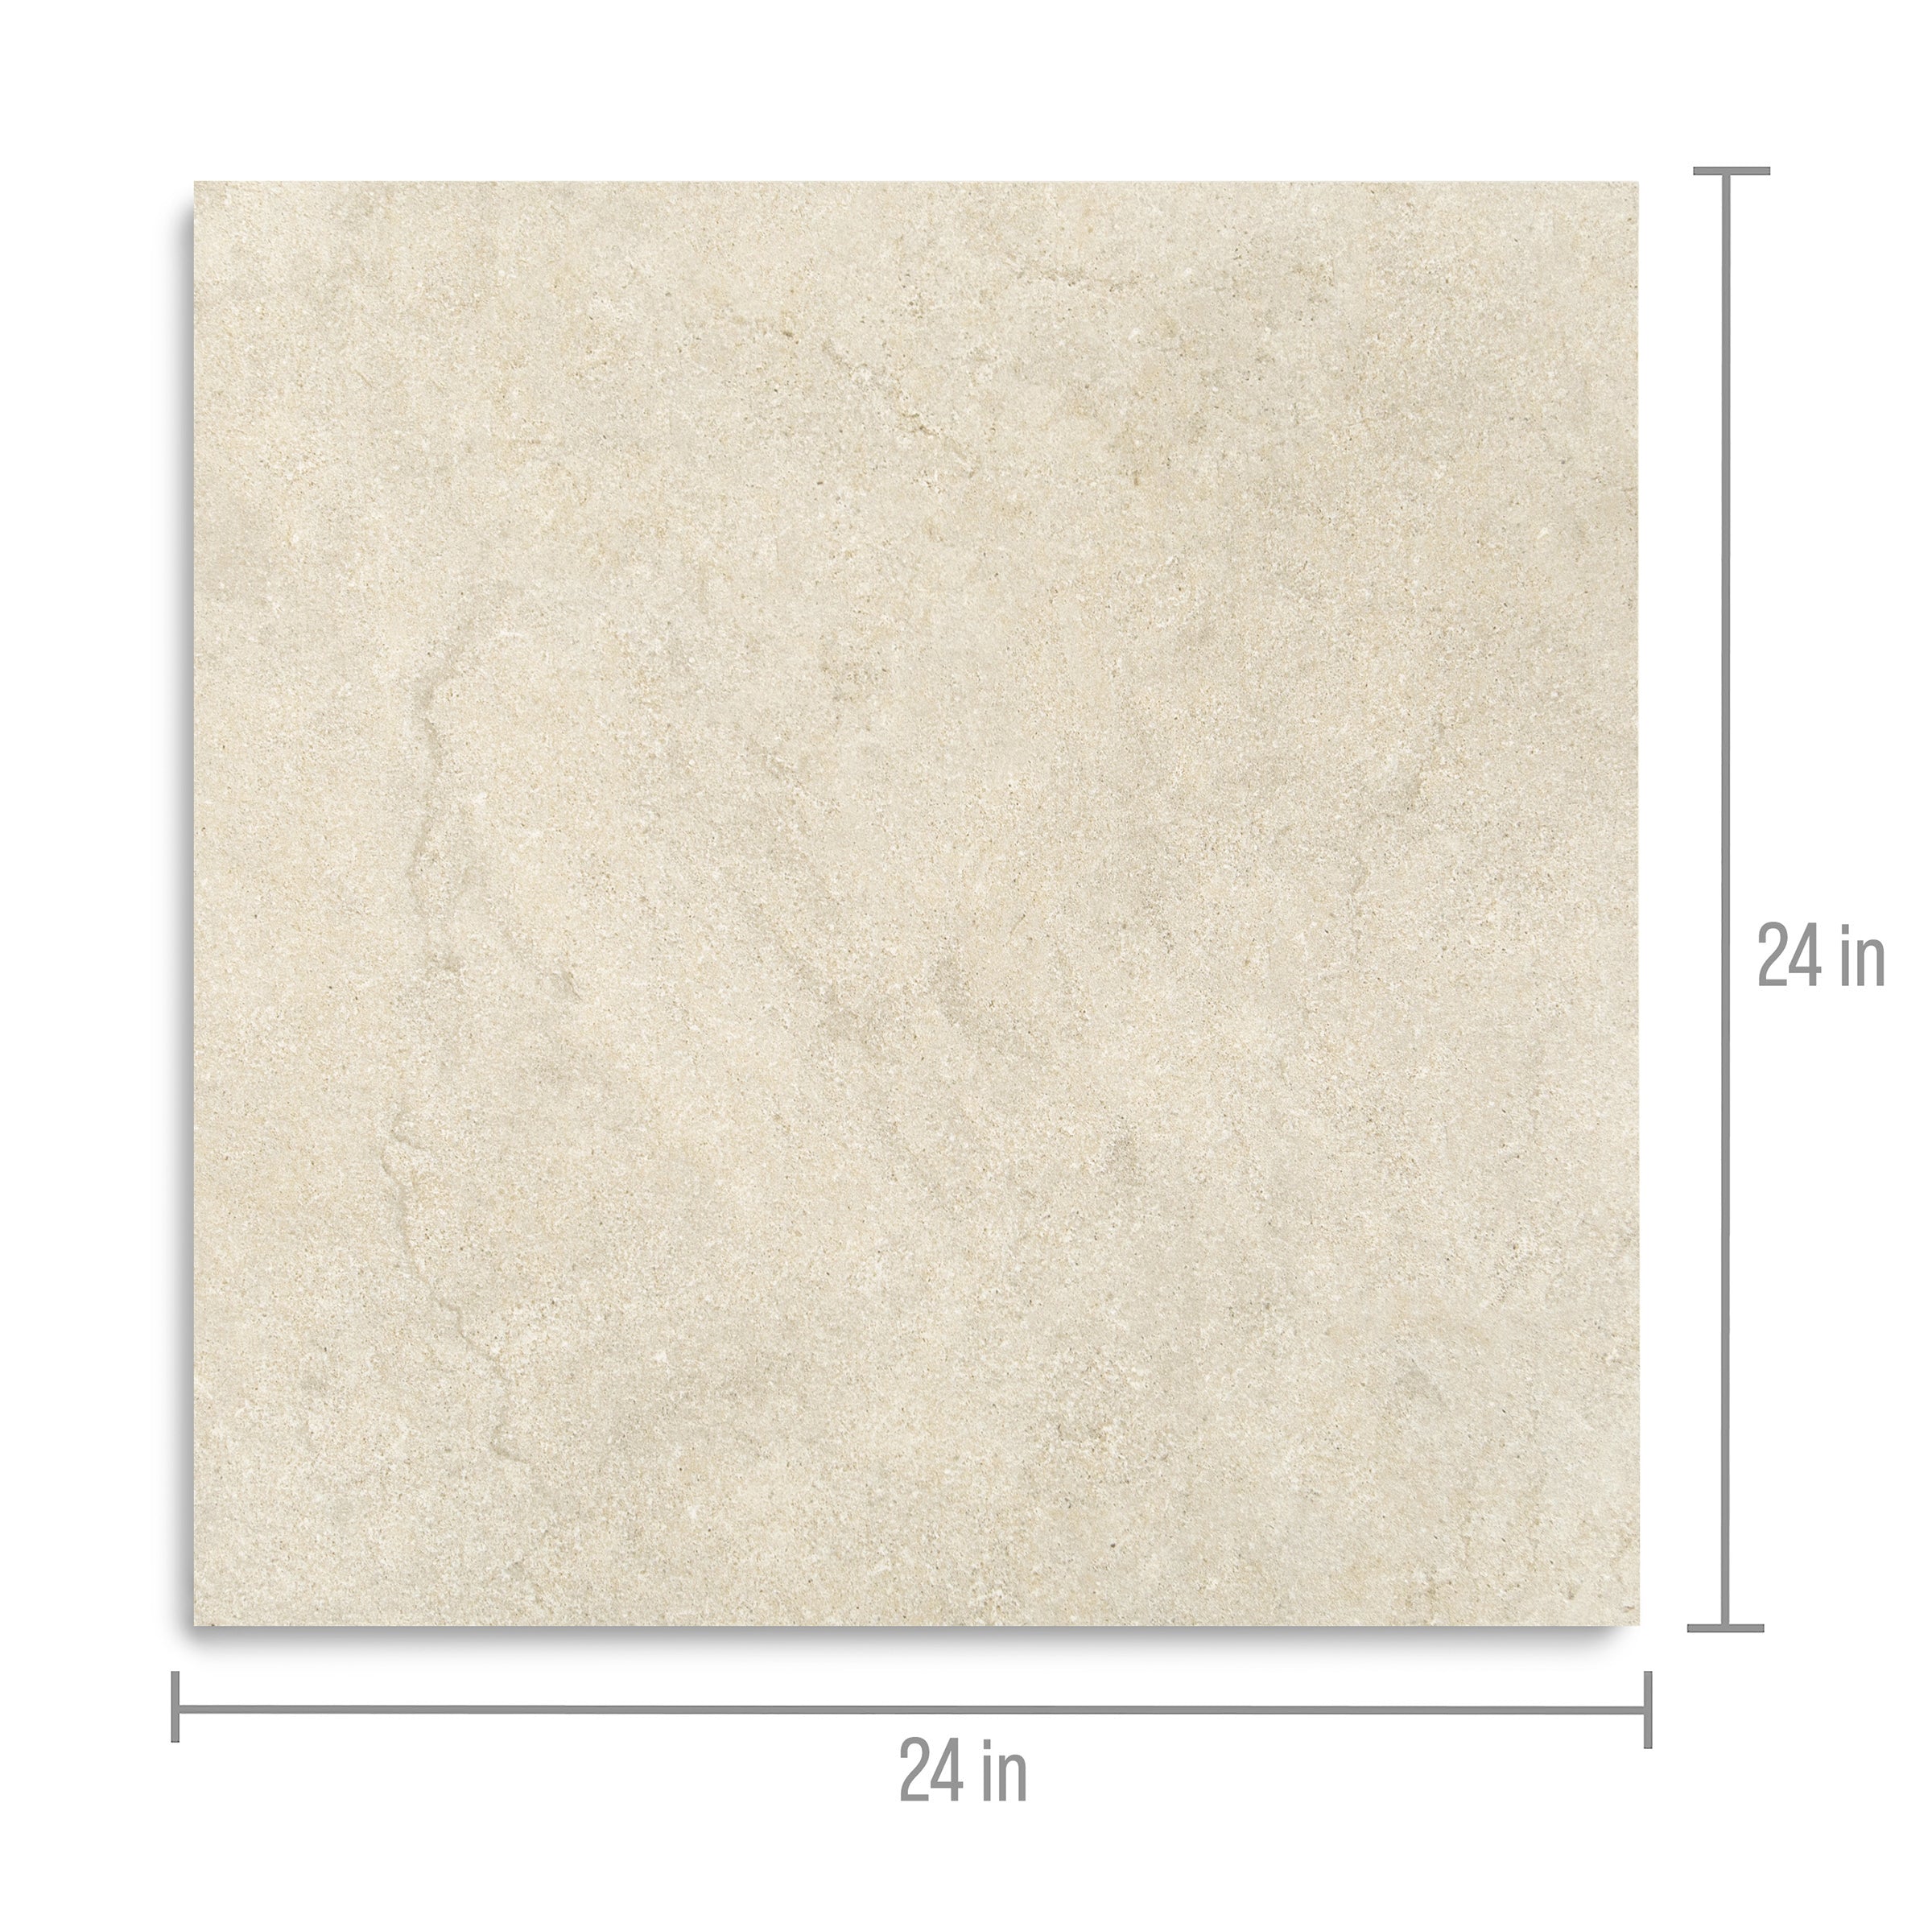
3"x12"
Country of Origin
Italy
Shade Variation
V3
Shape
Rectangle
Application
Floors, Walls
Recommended Grout Joint
1/8"
Edge
Beveled
Locations
Floors, Walls, Bathroom Floor, Shower Wall, Backsplash, Entry
Look
Marble
Packaging
Pieces per Box
15
LBS SF
6
SF Box
3.76
LBS Box
22.56
Boxes Per Pallet
144
SF Pallet
542.5
Gradient bar
Marble Tile Installation Guide
MARBLE TILE INSTALLATION GUIDE
Marble Tile Installation Guide
A Professional Guide to Natural Stone Installation
Reno Source
www.therenosource.com
BEFORE YOU BEGIN
Marble tile installation requires skill, proper tools, and experience with natural stone. Improper installation can result in damage to the tiles, substrate, or property and may void manufacturer warranties. If you are not confident in your ability to complete this installation, we strongly recommend hiring a licensed professional tile installer. Marble is a natural stone product and variations in color, veining, pattern, and texture are inherent characteristics and not defects. Always inspect all tiles before installation. Once installed, tiles cannot be returned.
-
OVERVIEW
Marble tile brings timeless elegance and natural beauty to any space. As a natural stone, marble has unique characteristics that demand specialized installation techniques including the use of white thinset mortar to prevent discoloration, unsanded grout to protect polished surfaces, and pre sealing to prevent staining during grouting. This guide covers the complete process from surface preparation through final sealing. Attention to detail is critical when working with marble and shortcuts often lead to permanent damage.
-
TOOLS AND MATERIALS
Essential tools include a wet saw with a diamond blade rated for marble or natural stone, a notched trowel sized one quarter inch by one quarter inch or one quarter inch by three eighths inch square notch, a flat edge or margin trowel, rubber grout float, large grout sponge, tile spacers sized one sixteenth inch to one eighth inch, tile leveling system clips and wedges, chalk line, measuring tape, carpenter’s square or laser level, rubber mallet, mixing drill with paddle attachment, multiple buckets, utility knife, pencil, safety glasses, respirator rated N95 or P100, cut resistant gloves, knee pads, and hearing protection. Materials include marble tile with at least fifteen percent extra ordered for cuts and future repairs, white latex modified thinset mortar rated for natural stone, unsanded grout, penetrating stone sealer such as Fila MP90 Eco Plus or Fila Stone Plus Eco, grout sealer, pH neutral stone cleaner, cement board or approved substrate if required, and clean potable water.
-
STEP BY STEP INSTALLATION
Step 1 Surface Preparation
Proper surface preparation is the most important factor in a successful marble installation. Never install marble directly over plywood, particle board, or vinyl flooring. Concrete subfloors must be fully cured a minimum of twenty eight to thirty days, have moisture content below three percent, meet flatness tolerance of one eighth inch over ten feet, and be free of curing compounds, sealers, dust, oil, or contaminants. Wood subfloors must have a minimum total thickness of one and one quarter inches and be structurally sound with no flex. Install cement board using thinset and screws, tape and thinset all joints, and allow expansion gaps at the perimeter. Repair cracks, grind high spots, fill low areas, vacuum, and damp mop the surface before allowing it to dry completely.
Step 2 Inspection Blending and Pre Sealing
Open multiple boxes and blend tiles from different boxes to balance color and veining. Never install tiles directly from a single box in sequence. Dry lay tiles and remove any pieces with unacceptable variation before installation begins. Pre sealing the face and edges of marble tiles with a penetrating stone sealer is highly recommended to prevent thinset and grout staining. Allow sealer to dry completely before setting tile.
Step 3 Layout Planning
Find the center point of the room and snap perpendicular chalk lines. Dry lay tiles from the center outward without adhesive. Adjust the layout to avoid narrow cuts at walls and ensure opposite perimeter cuts are equal in size. Consider vein direction and pattern continuity and mark reference lines on the substrate before setting tile.
Step 4 Apply Thinset and Set Tiles
Mix white thinset mortar exactly per manufacturer instructions using clean water. Mix to a smooth paste like consistency, allow to slake for five to ten minutes, then remix. Apply thinset to the substrate using the flat side of the trowel first, then comb with the notched side. Work in small sections so thinset does not skin over. Back butter every tile with a thin layer of thinset to achieve full coverage. Place tiles firmly into the mortar with a slight twisting motion, use spacers for consistent joints, check level frequently, tap gently with a rubber mallet, use a leveling system to prevent lippage, and clean excess thinset from the tile face and joints immediately. Target mortar coverage should exceed ninety five percent for floor installations.
Step 5 Cutting
Always use a wet saw with a diamond blade rated for marble. Cut slowly with the finished face up and support the tile fully. For complex cuts, make multiple relief cuts. Smooth cut edges with a rubbing stone. A dull blade or poor saw alignment will cause chipping and must be corrected before continuing.
Step 6 Grouting
Allow thinset to cure for twenty four to forty eight hours. Never use sanded grout on marble as it will scratch the surface. Epoxy grout may be used if approved for marble. Test grout on a spare tile before full application. Apply grout diagonally using a rubber float, work in small sections, remove excess at a forty five degree angle, and clean with a damp sponge after fifteen to twenty minutes. Polish haze with a soft dry cloth. Do not allow grout to dry on the surface.
Step 7 Sealing and Curing
Keep foot traffic off the installation for twenty four to seventy two hours and avoid moisture exposure. Do not place heavy objects for seven days. Wait a minimum of seventy two hours before sealing grout. Clean the surface with a pH neutral stone cleaner, allow to dry fully, then apply penetrating stone sealer according to manufacturer instructions. Wipe excess and apply a second coat if recommended. Seal grout lines after final curing. Never use acidic cleaners on marble surfaces.
-
TIPS AND WARNINGS
Always use white thinset to prevent discoloration. Pre seal tiles before installation to protect against staining. Back butter every tile for full mortar coverage. Work in small sections during thinset and grout application. Use a leveling system to control lippage. Keep detailed records of all products used. Retain spare tiles for future repairs since marble varies by batch.
-
CARE AND MAINTENANCE
Sweep or dust mop regularly to remove abrasive debris. Damp mop using clean water or a pH neutral stone cleaner. Wipe spills immediately, especially acidic substances. Use felt pads under furniture and mats at entryways. Reseal marble every twelve to eighteen months or more frequently in high traffic areas. Test sealer by placing water drops on the surface, if absorbed within five minutes reseal. Avoid vinegar, citrus cleaners, ammonia, bleach, abrasive pads, generic tile cleaners not rated for stone, and steam cleaners.
-
PRODUCT AND LIABILITY INFORMATION
This guide is provided for informational purposes only and does not guarantee results. Installation success depends on proper technique, suitable materials, and appropriate site conditions. Reno Source assumes no responsibility for damages or losses resulting from installation. It is the installer’s responsibility to comply with all local building codes and regulations. When in doubt, consult or hire a professional tile installer.
Reno Source
Finish Materials
Based in the USA
www.therenosource.com
help@therenosource.com
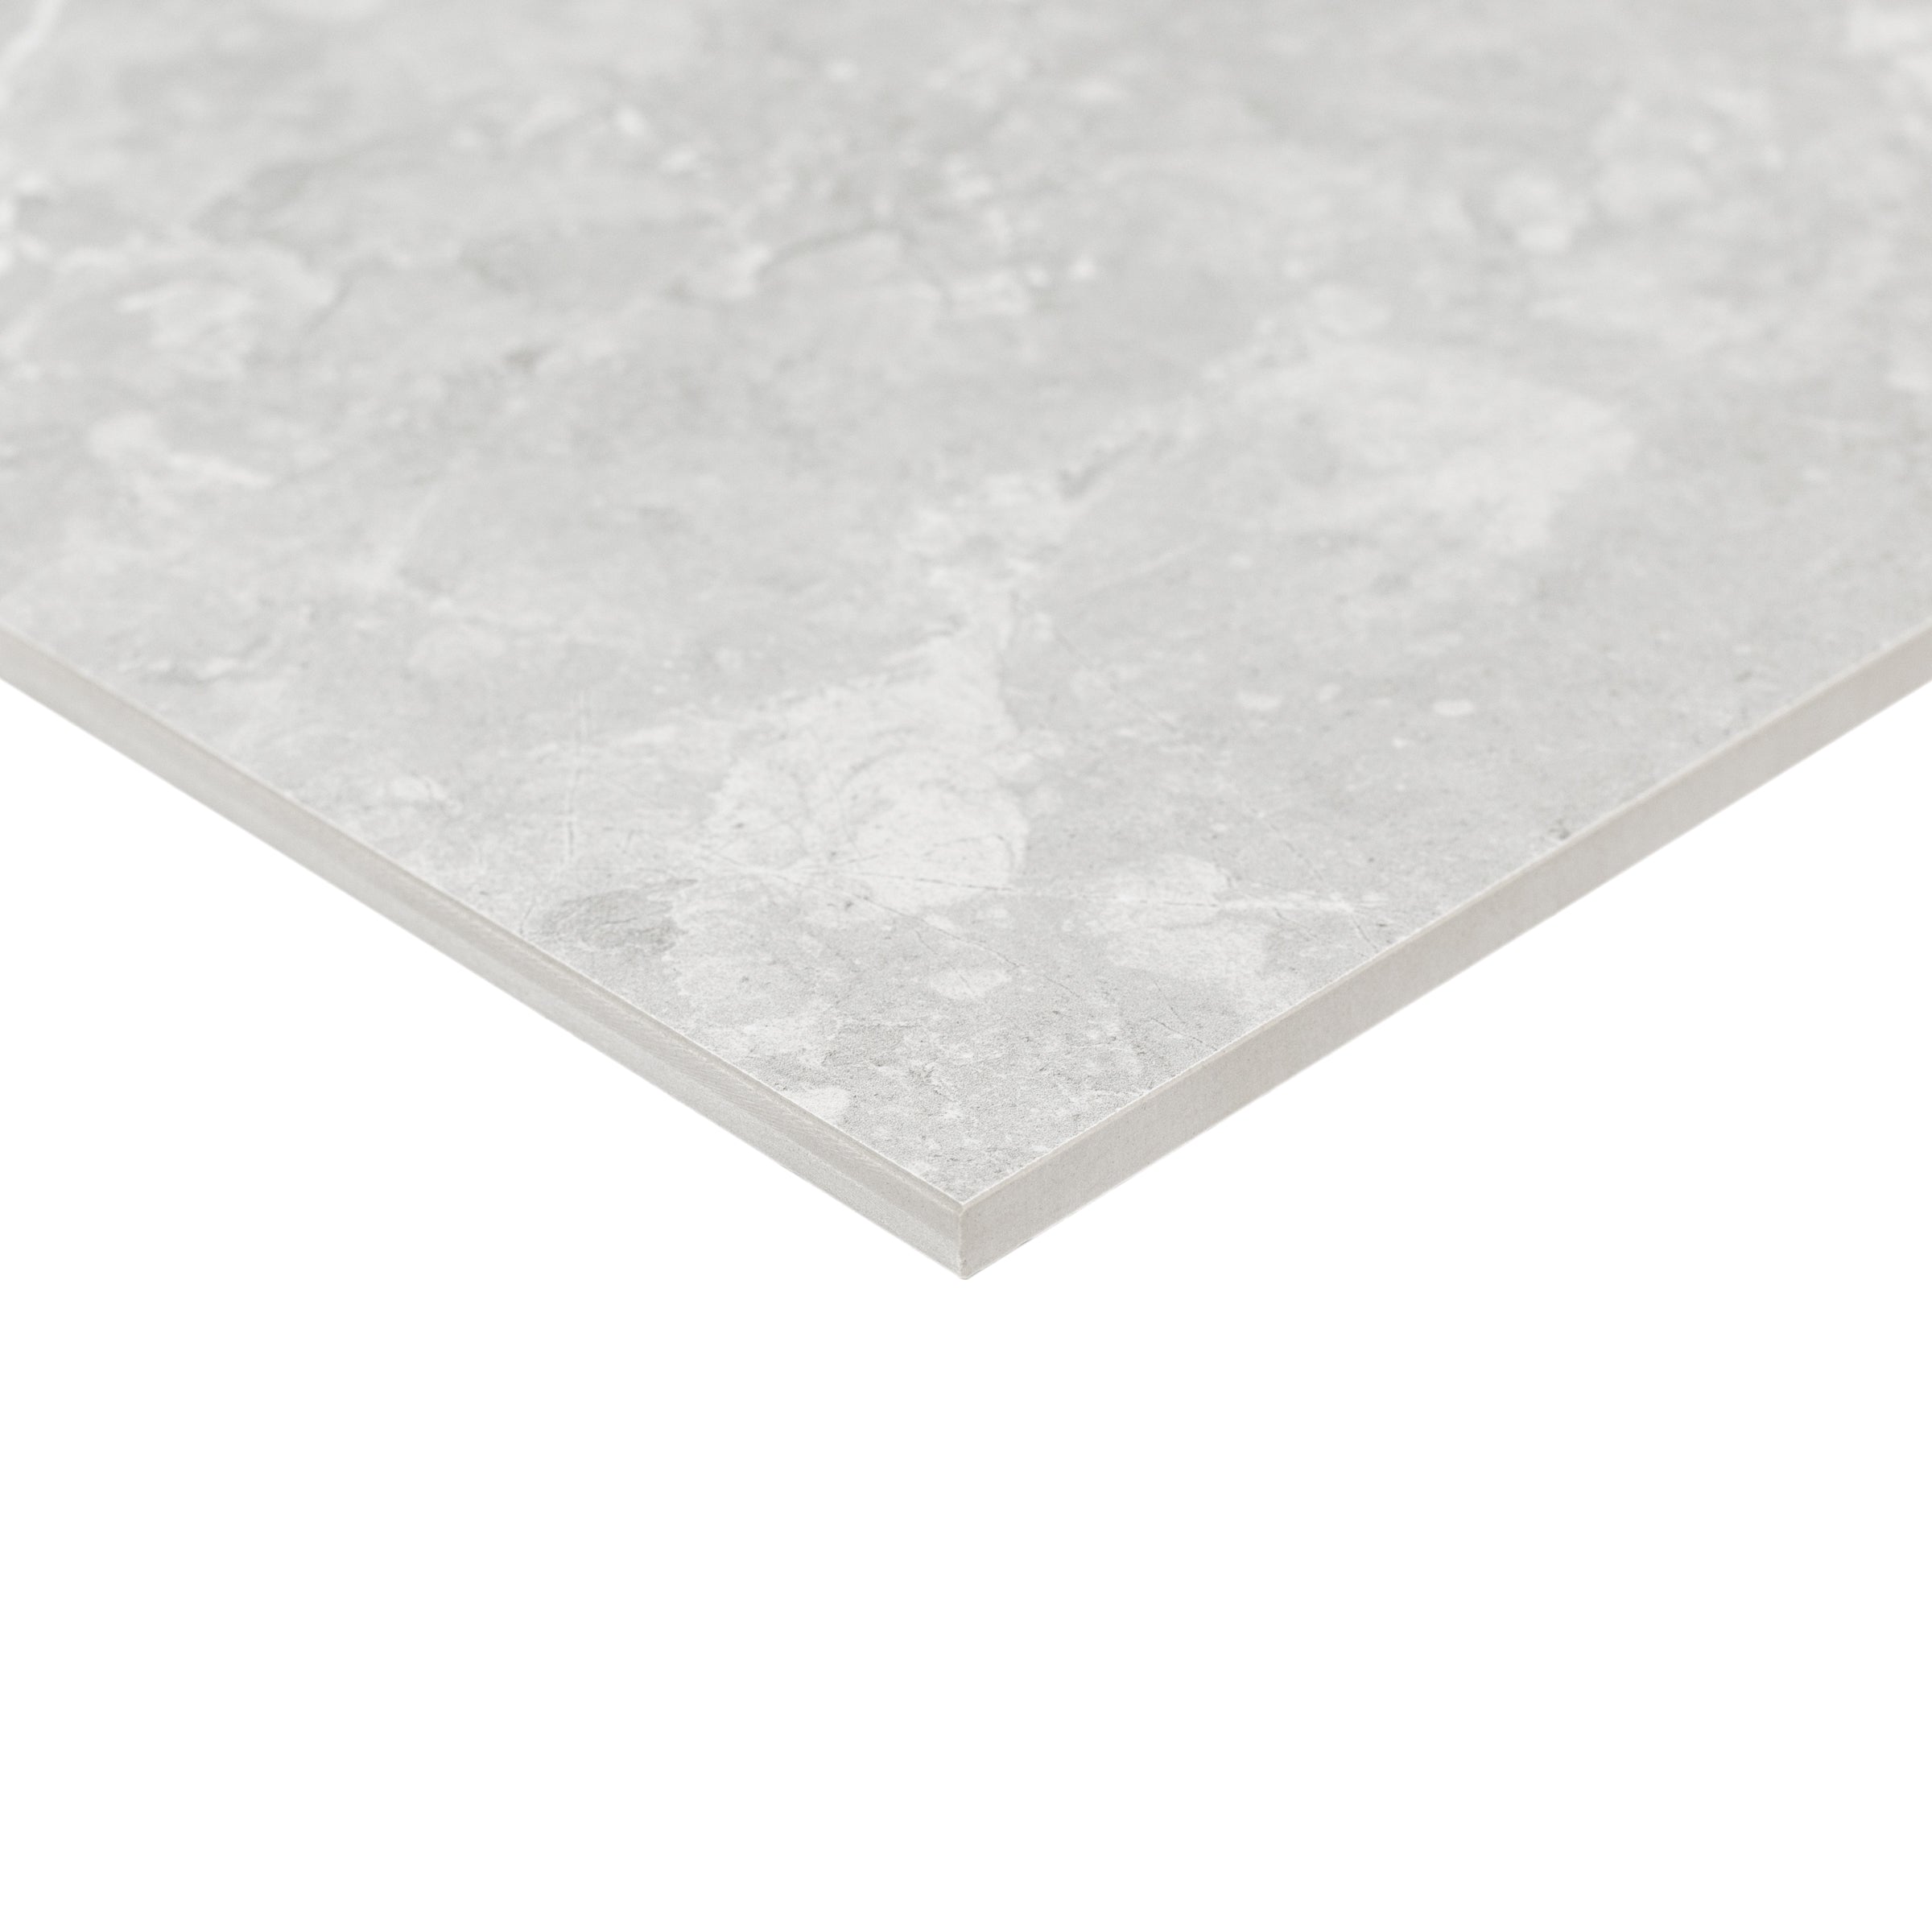
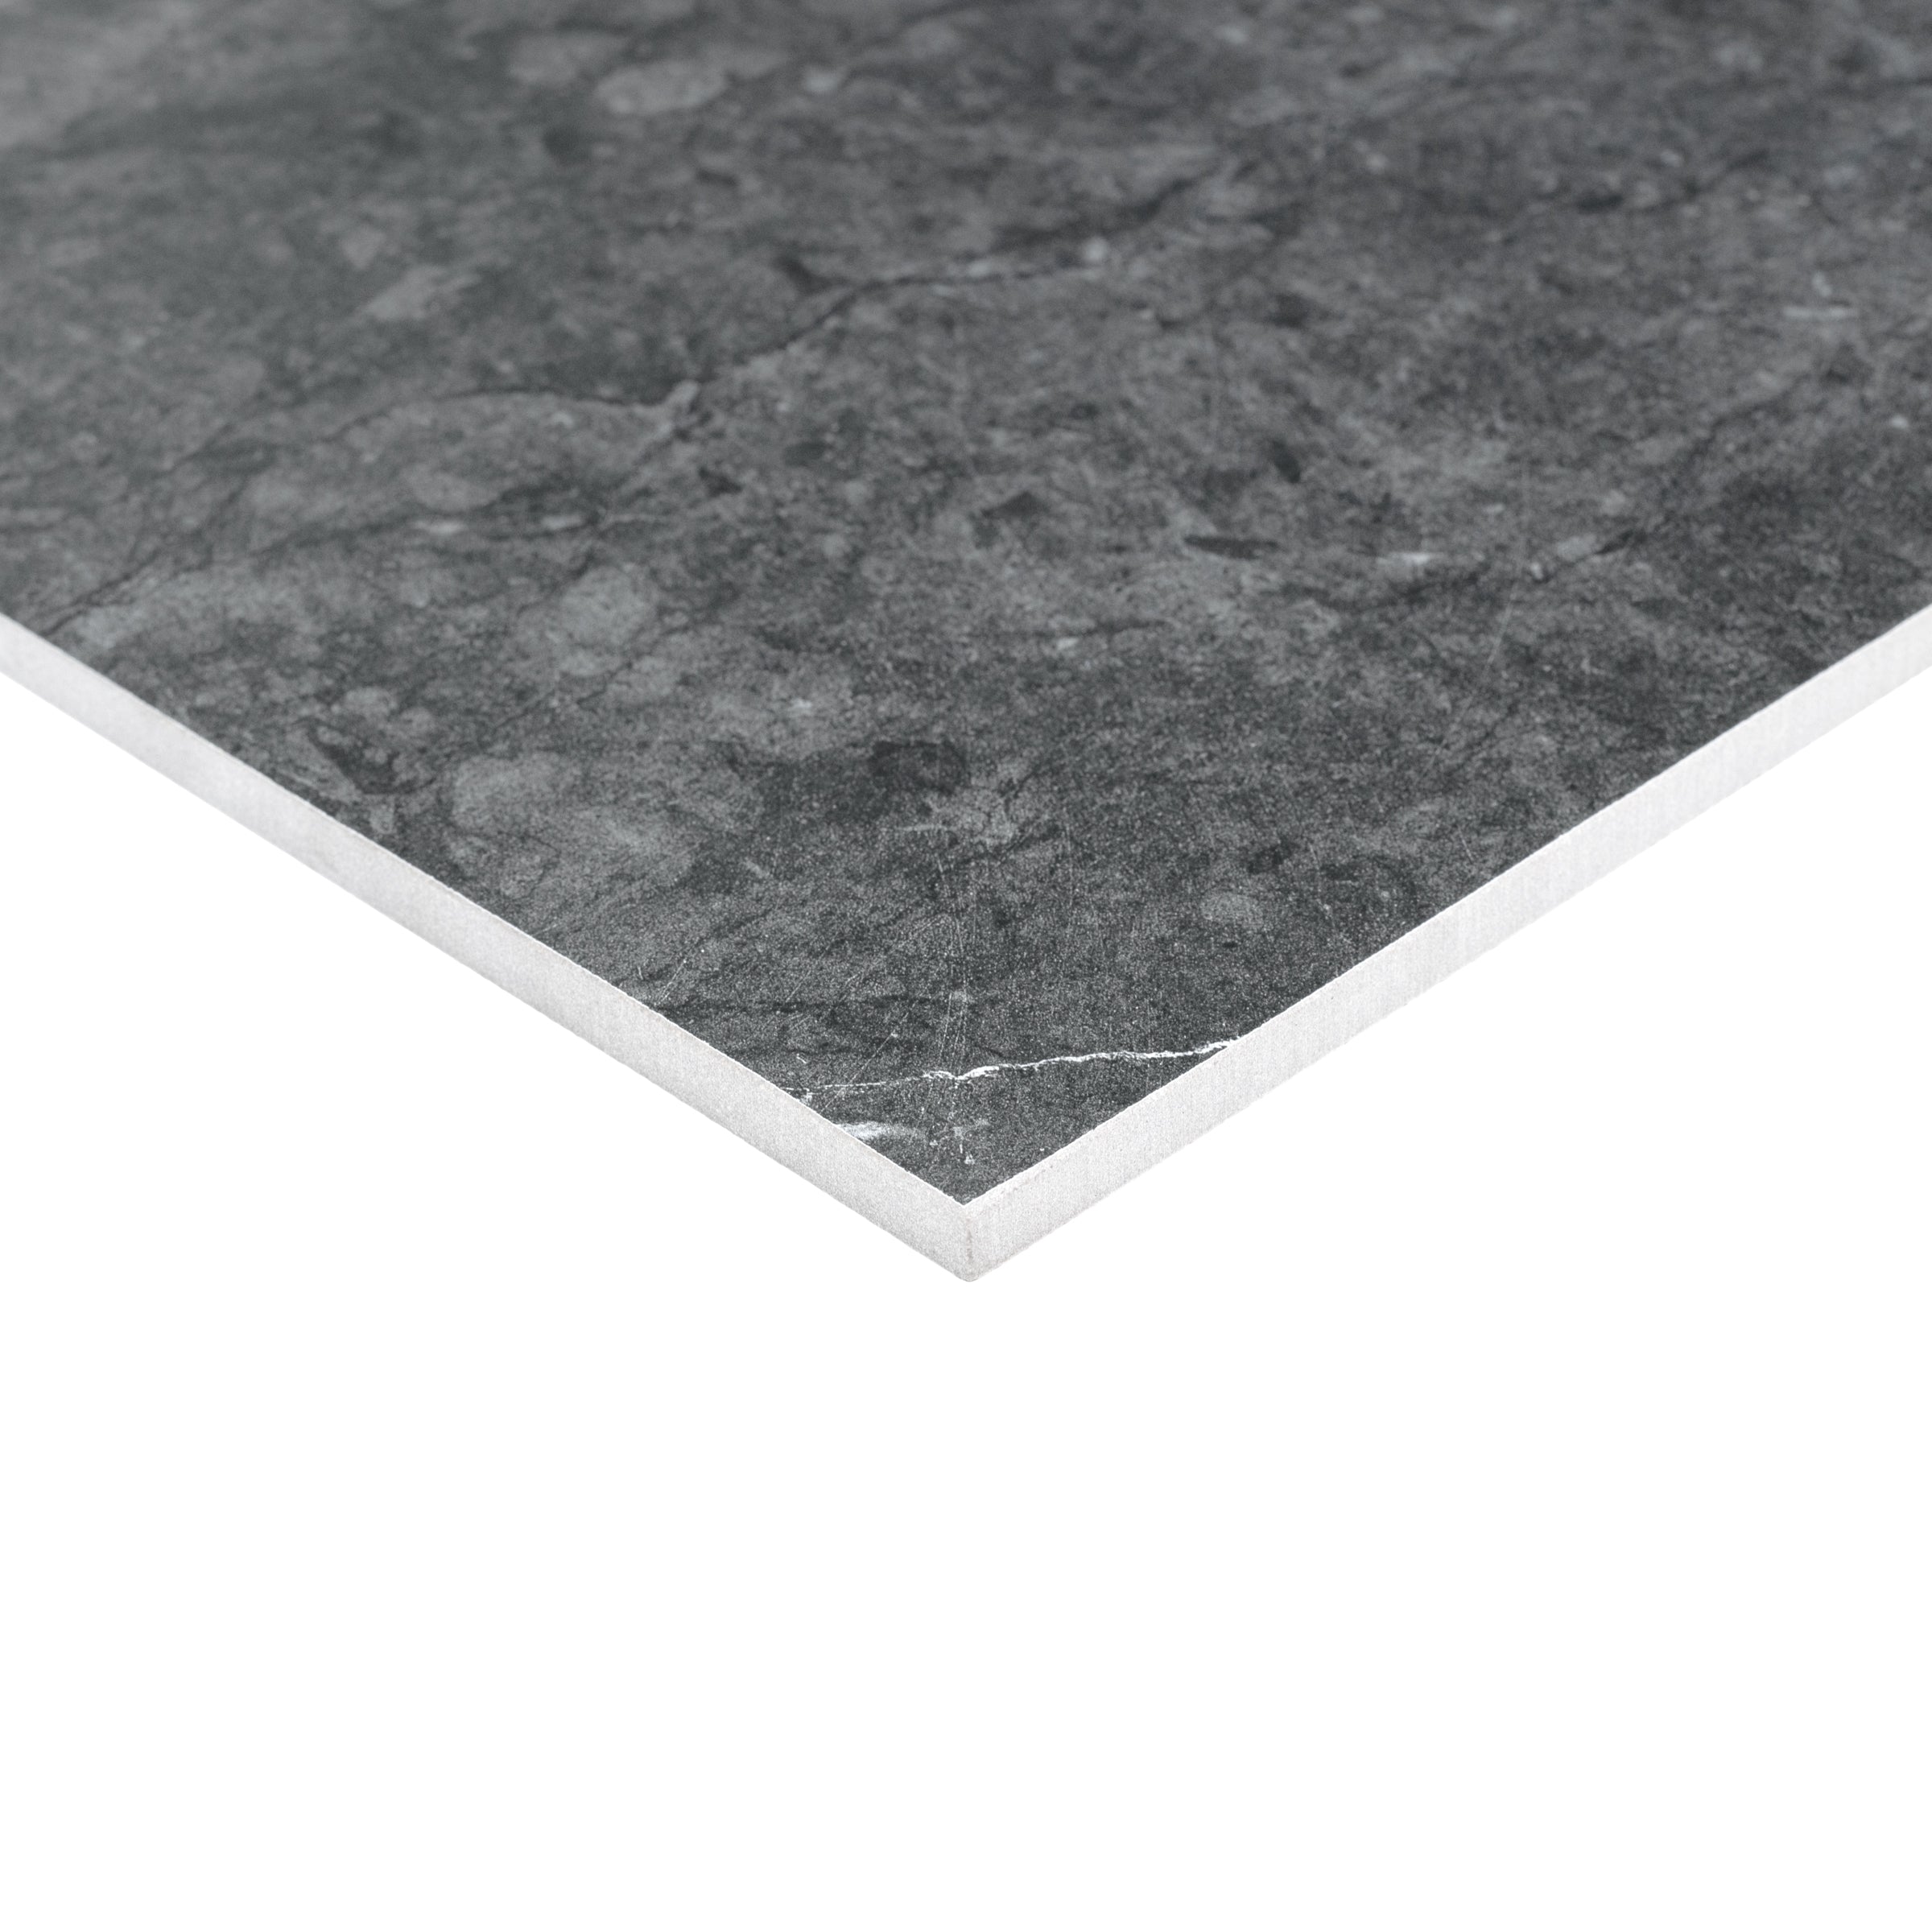
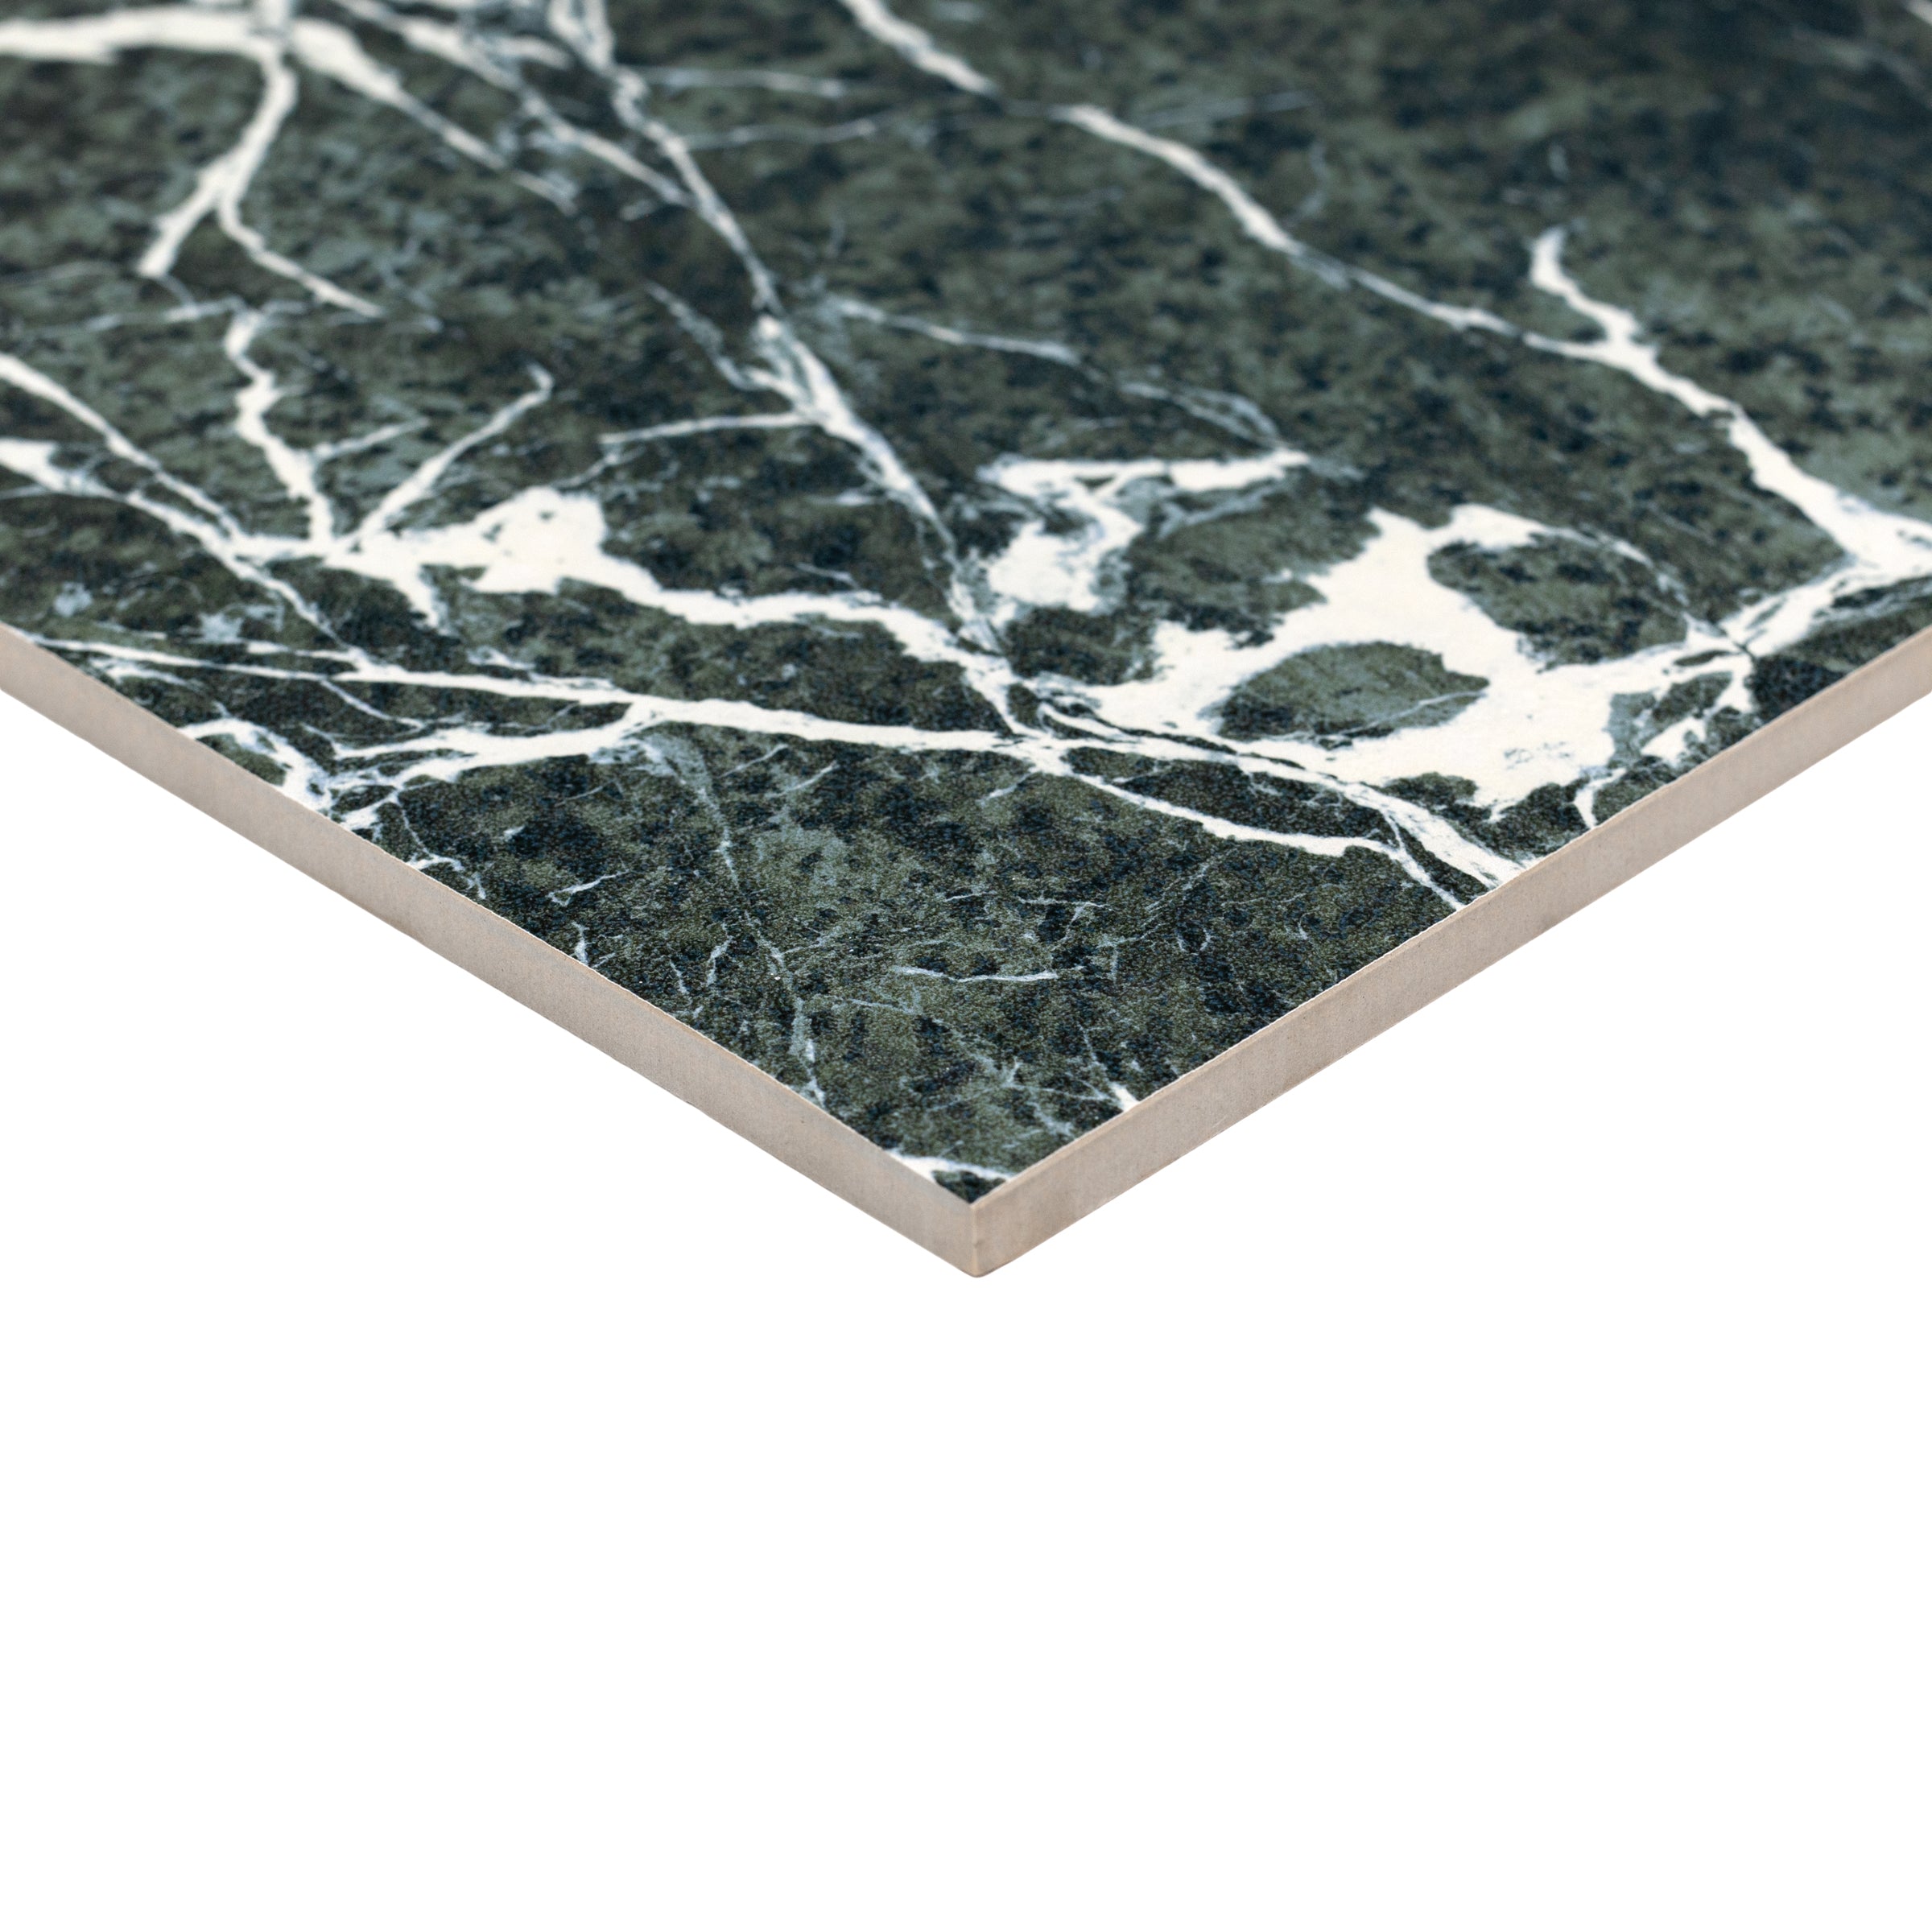
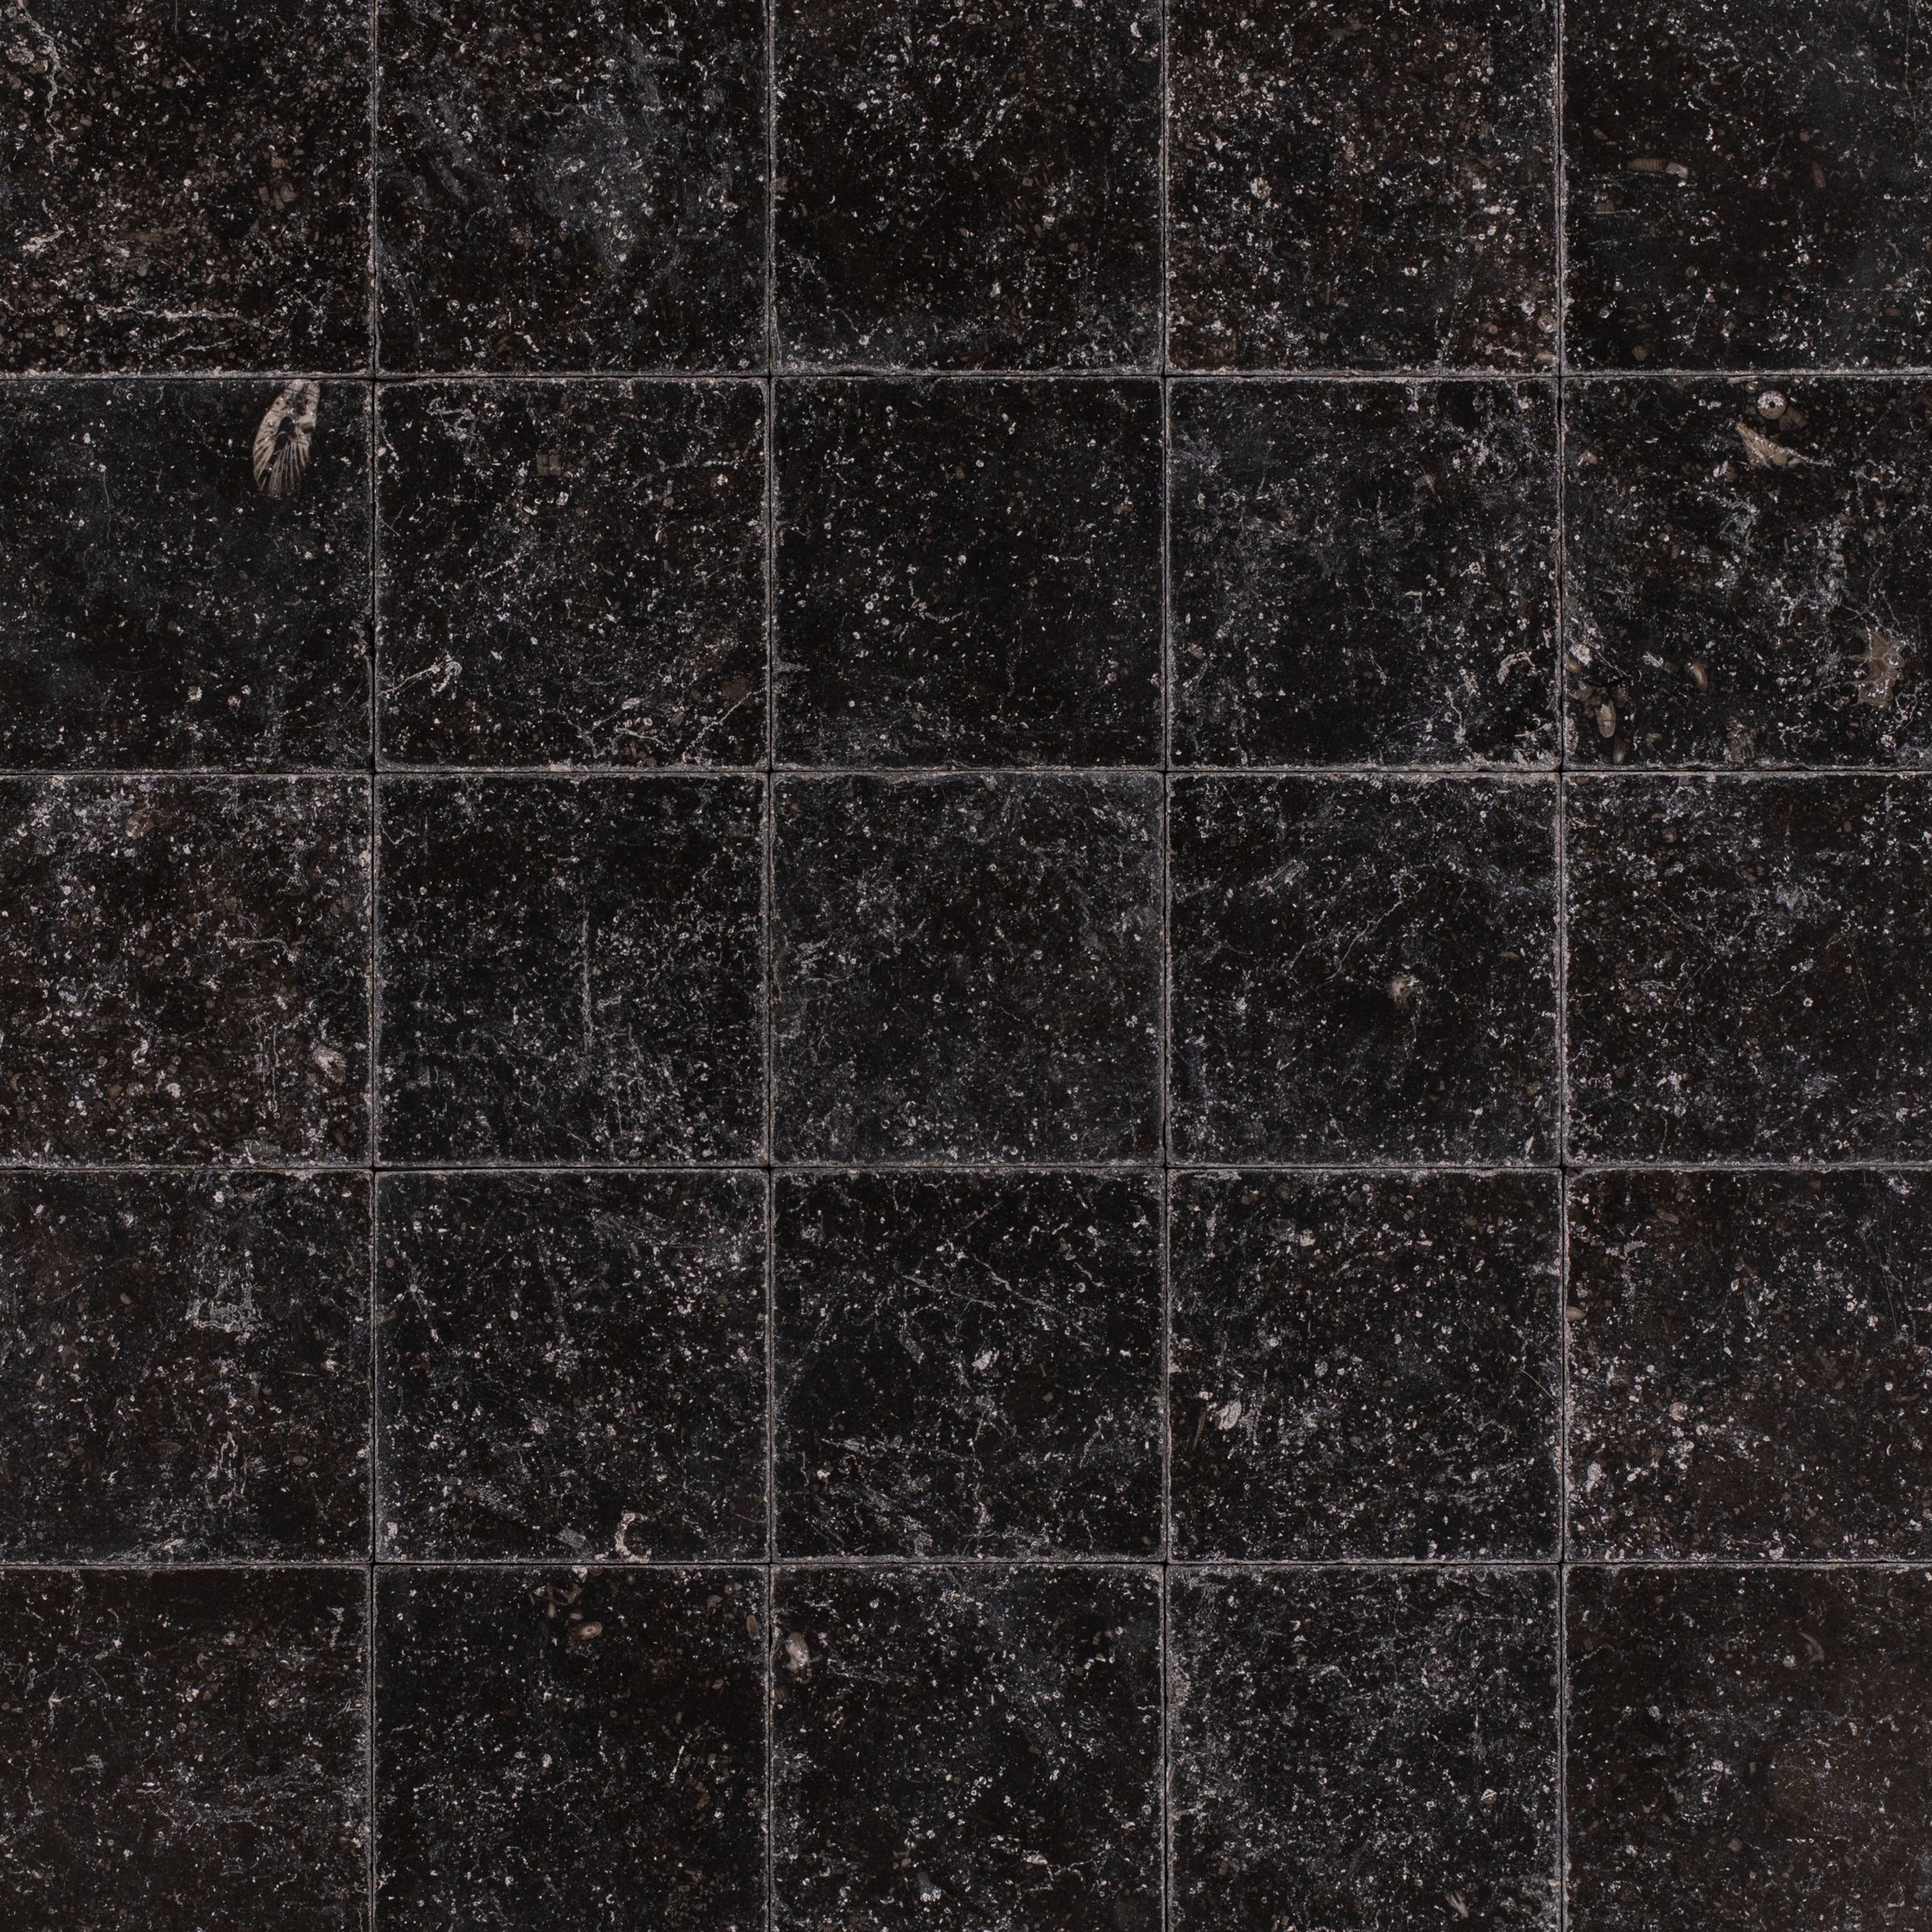
From the same collection


Murano Honed Italian Terrazzo Tile

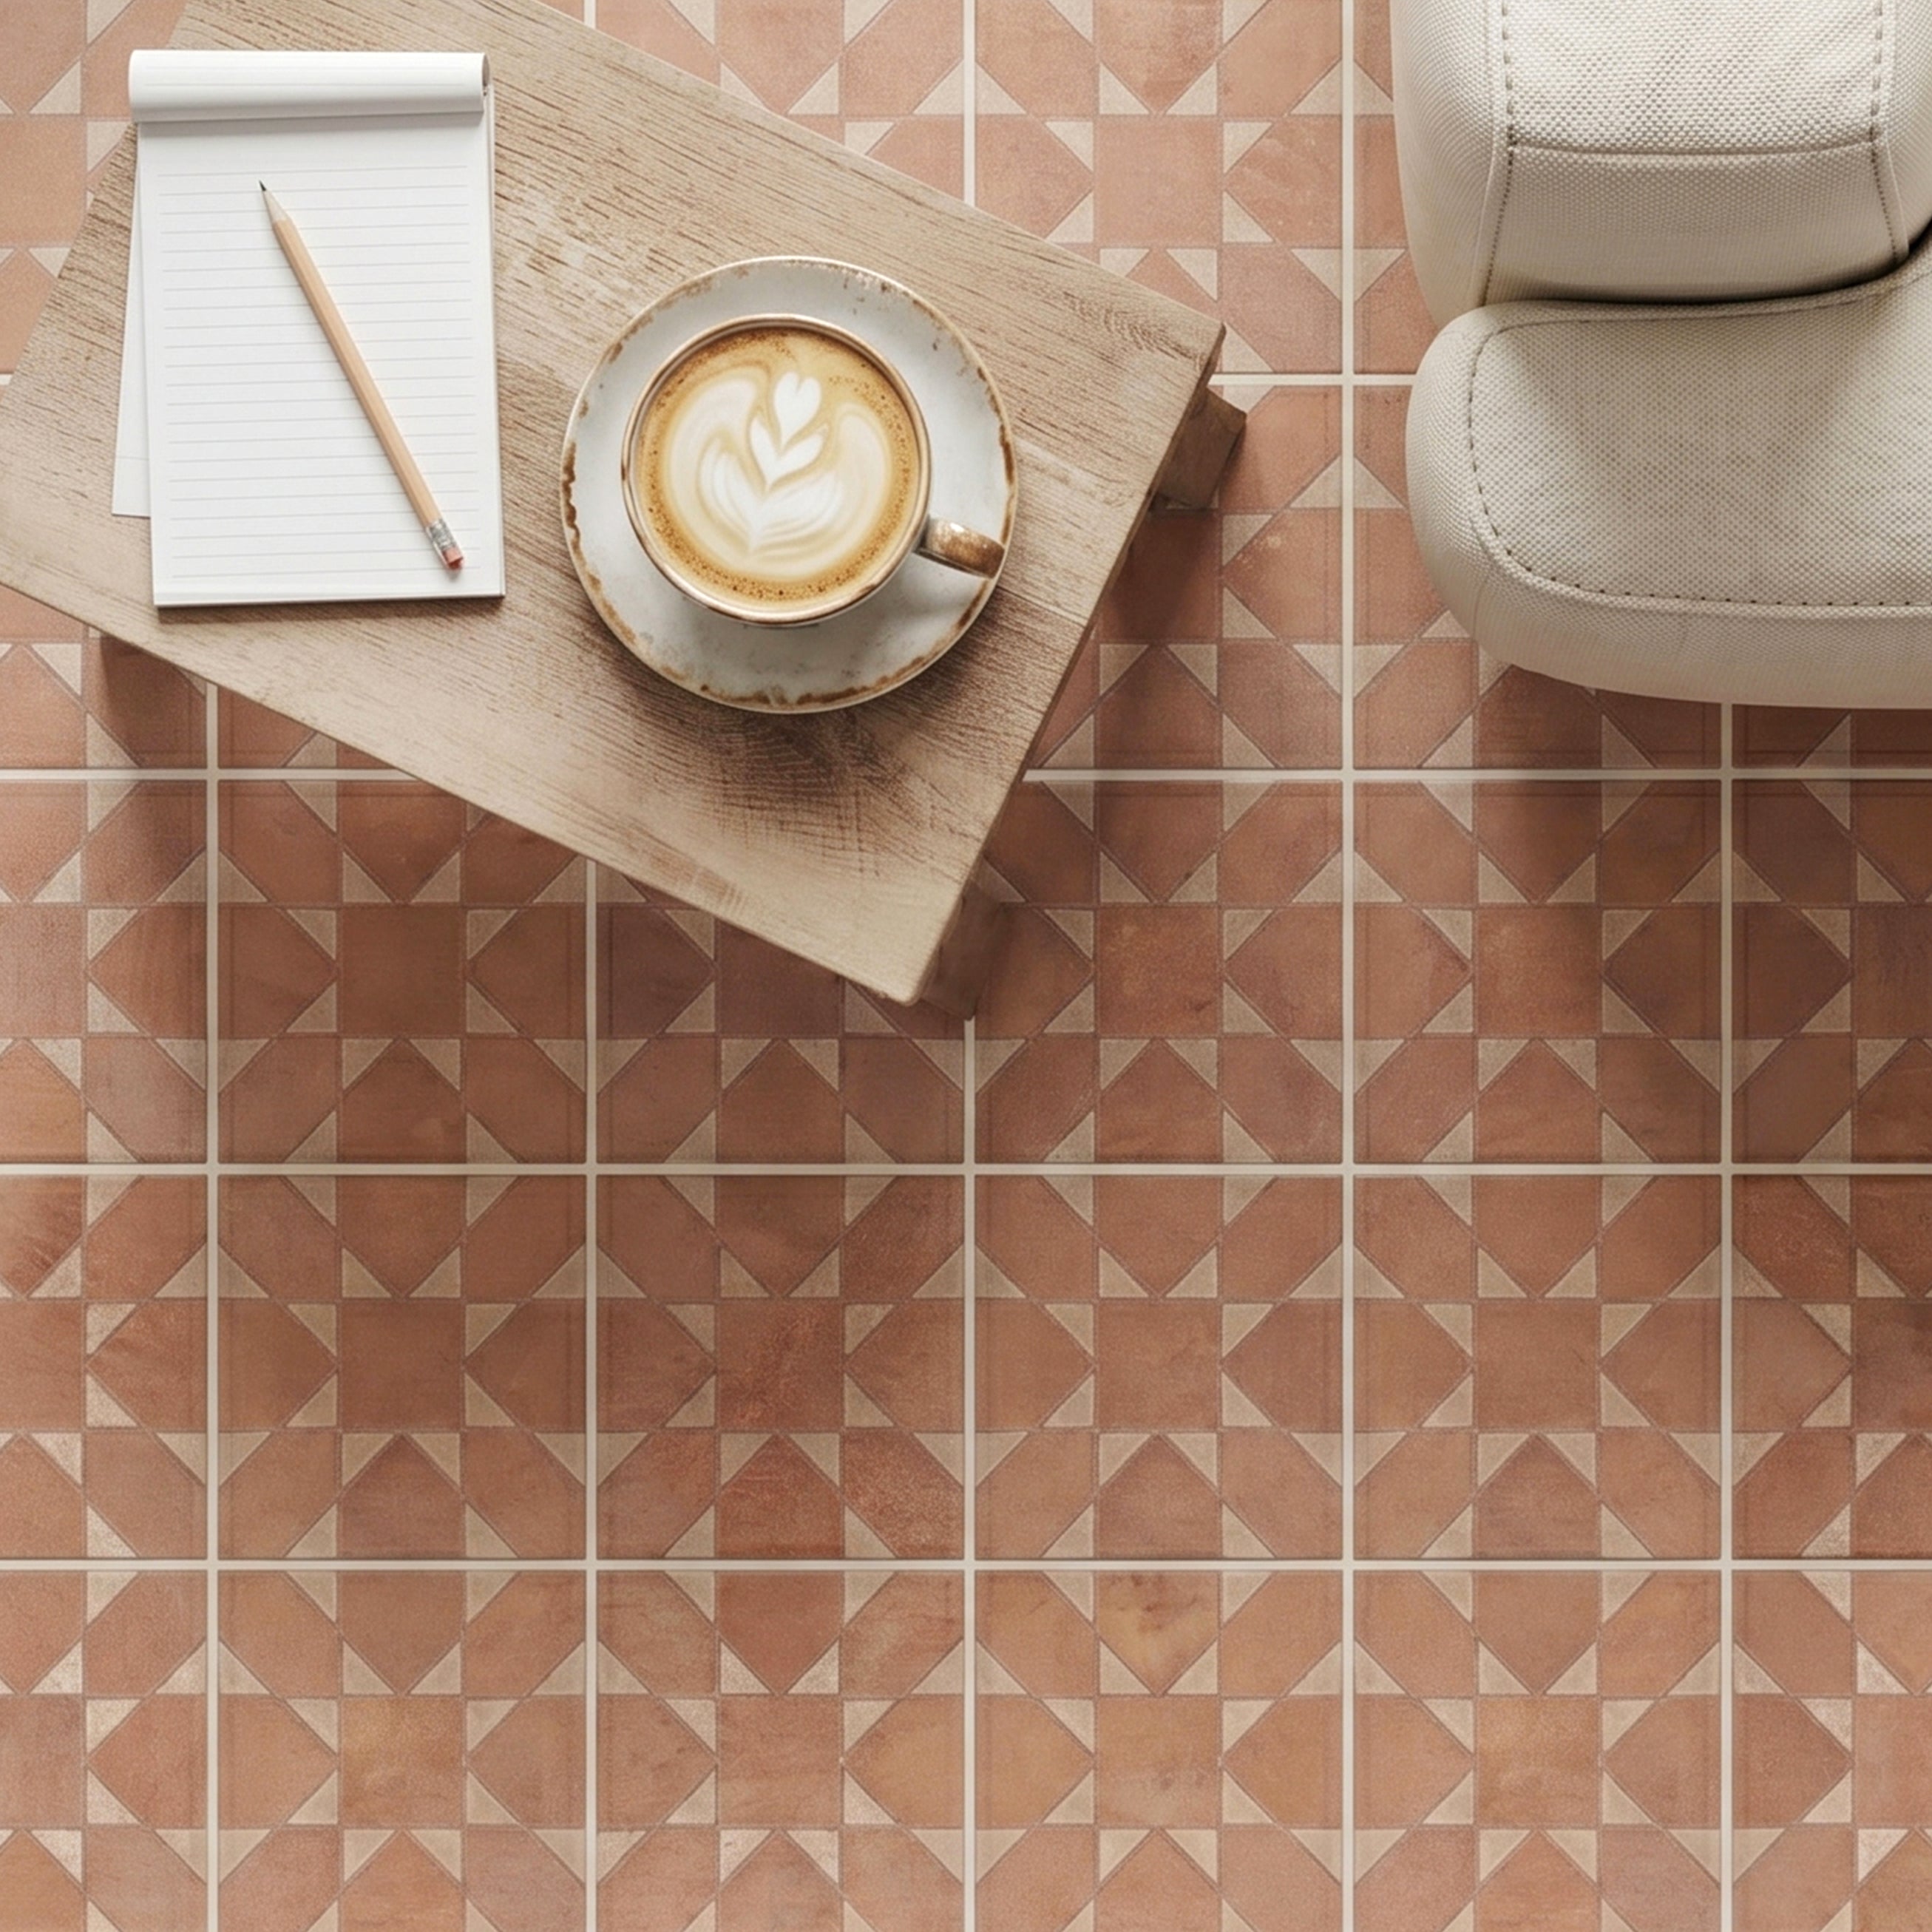
Cotto Terracotta Look Matte Porcelain Tile
Beige Limestone Look 3D Matte Porcelain Tile
Cream Limestone Look 3D Matte Porcelain Tile
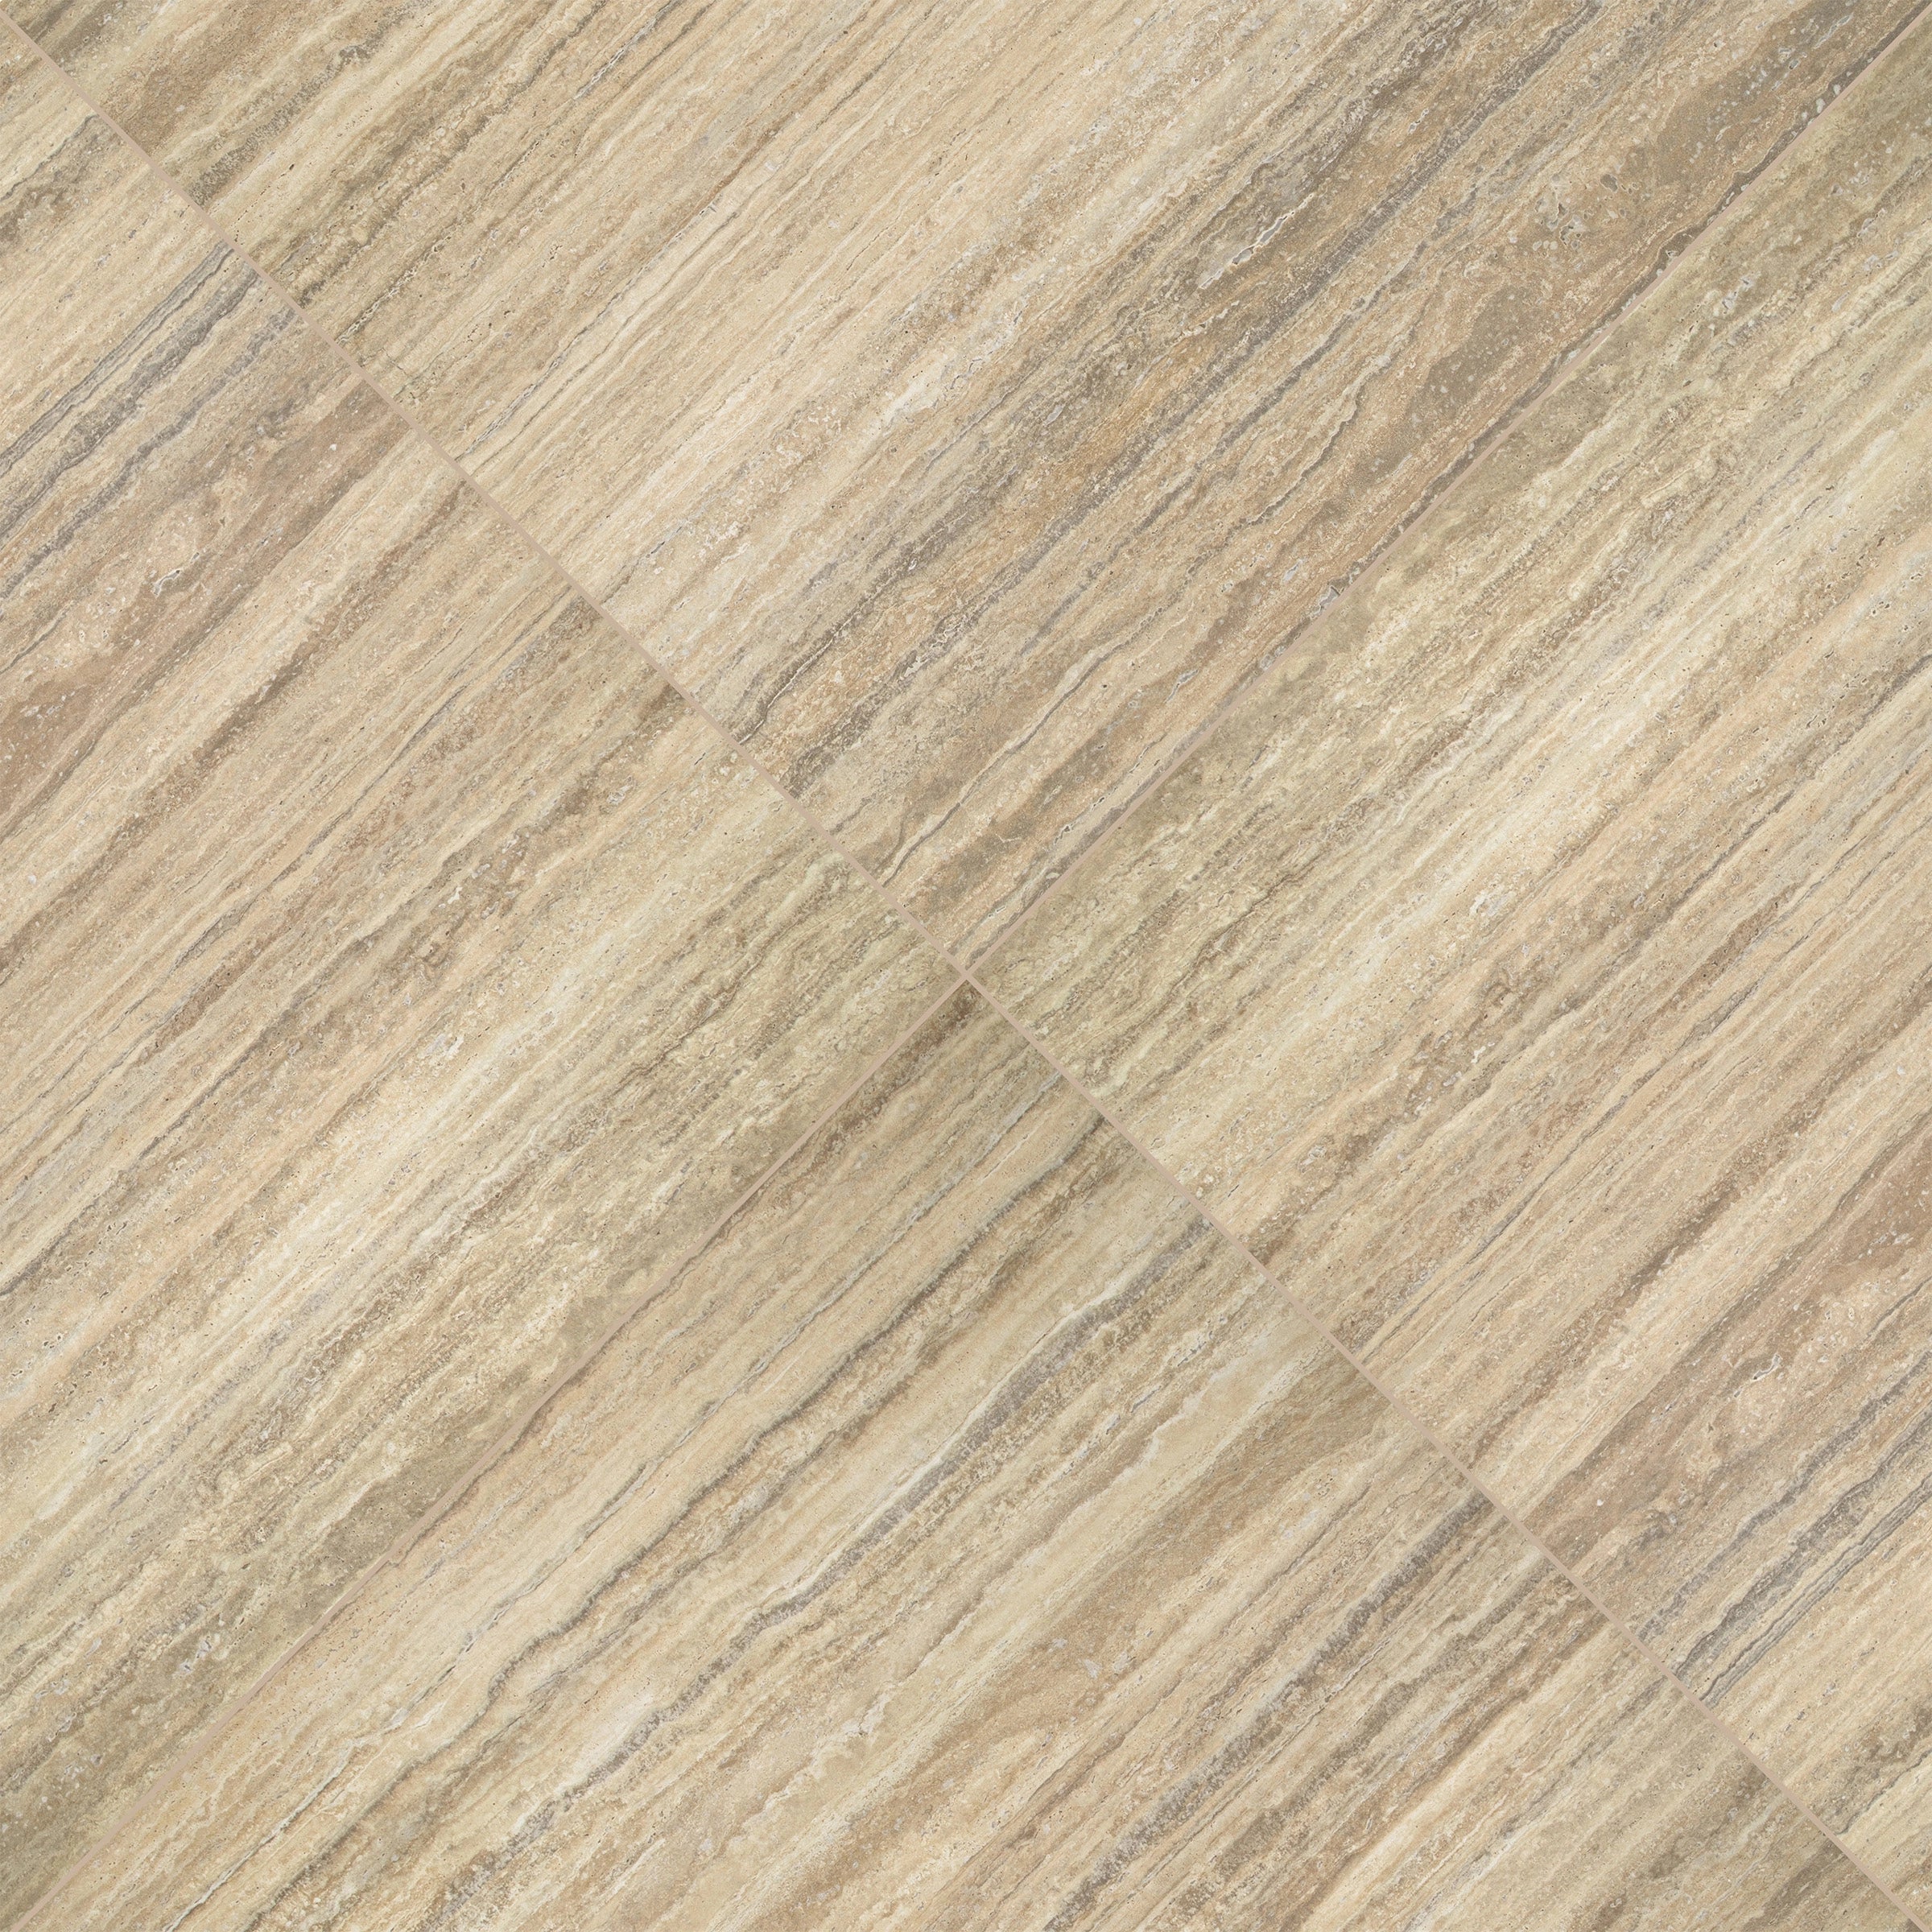
Travertino Moka Stone Look Porcelain Tile


Apple 12x24 3D Glossy Porcelain Tile
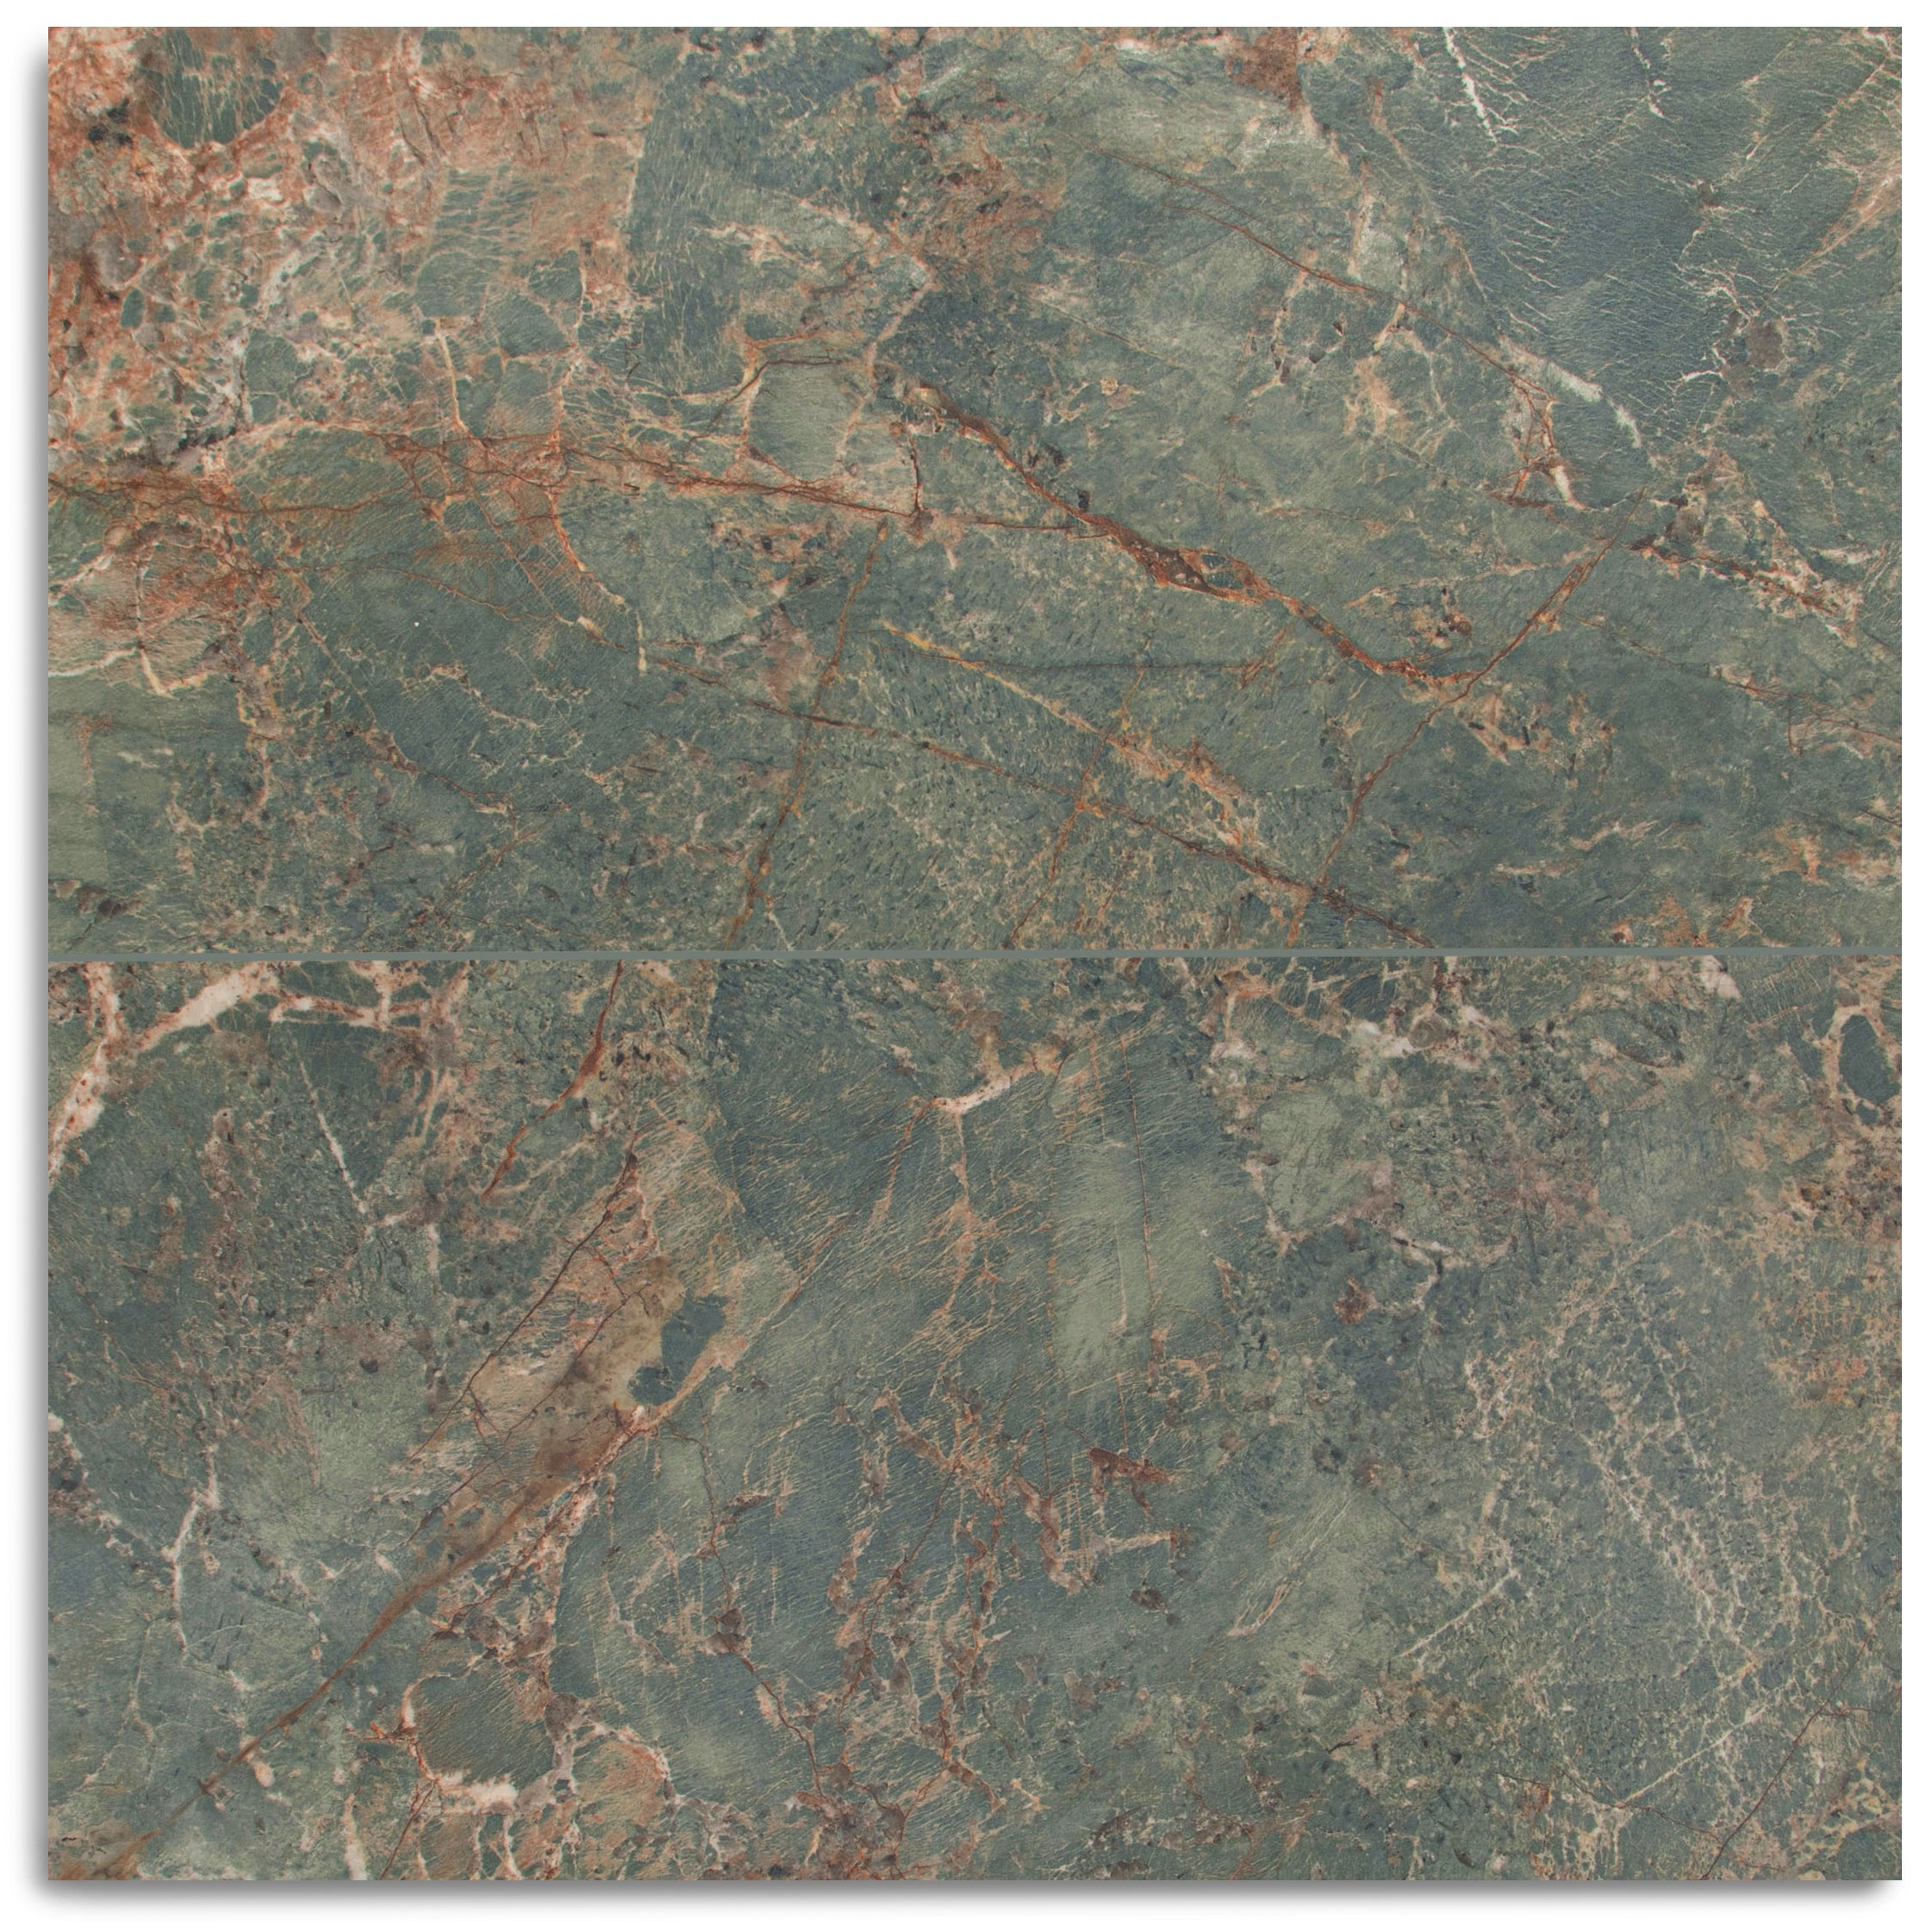
Amazzonite Matte Marble Look Porcelain Tile
Travertino 3D Matte Porcelain Tile

Spider Gold Matte Marble Look Porcelain Tile


Cream 12x24 3D Gloss Porcelain Tile


Navy 12x24 3D Gloss Porcelain Tile
Almond Cement Look Matte Porcelain Tile

Breccia Capraia 3D Mable Look Porcelain Tile
Borgogna 3D Matte Porcelain Tile

Fior de Bosco Marble Look Porcelain Tile
White Paradise Marble Look Porcelain Tile


Nut 9.5x60 Wood Look Porcelain Tile

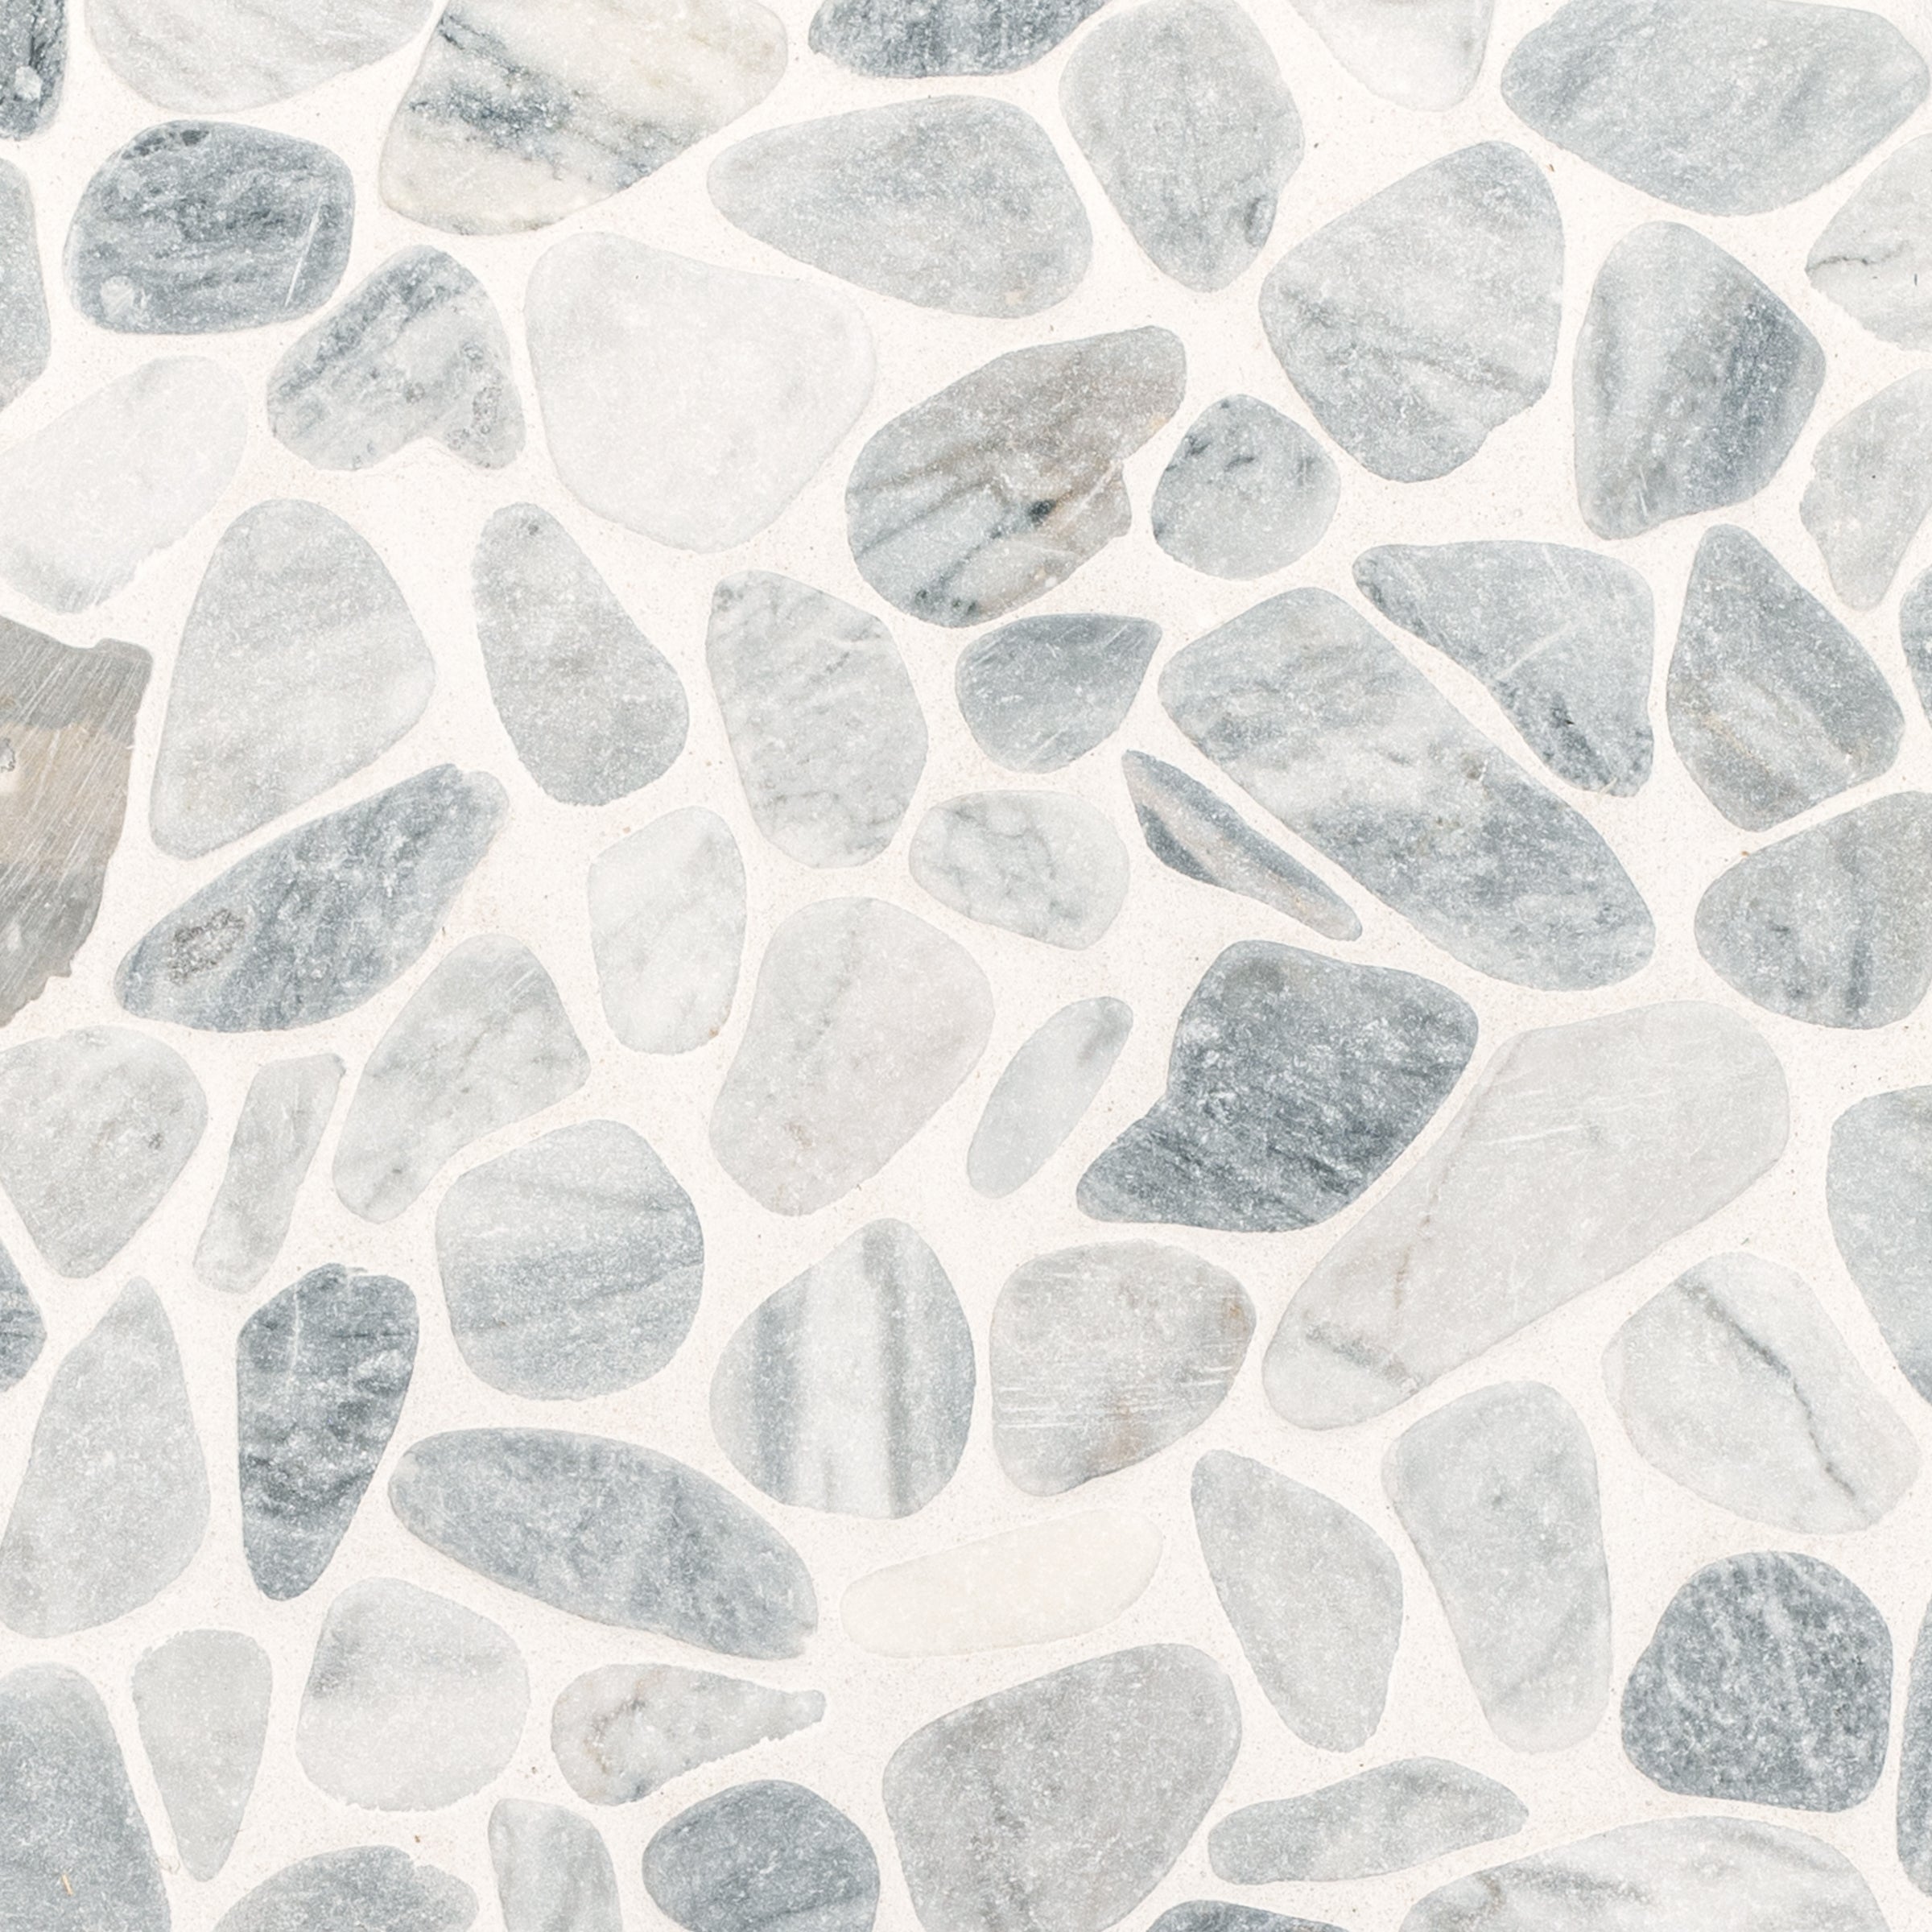
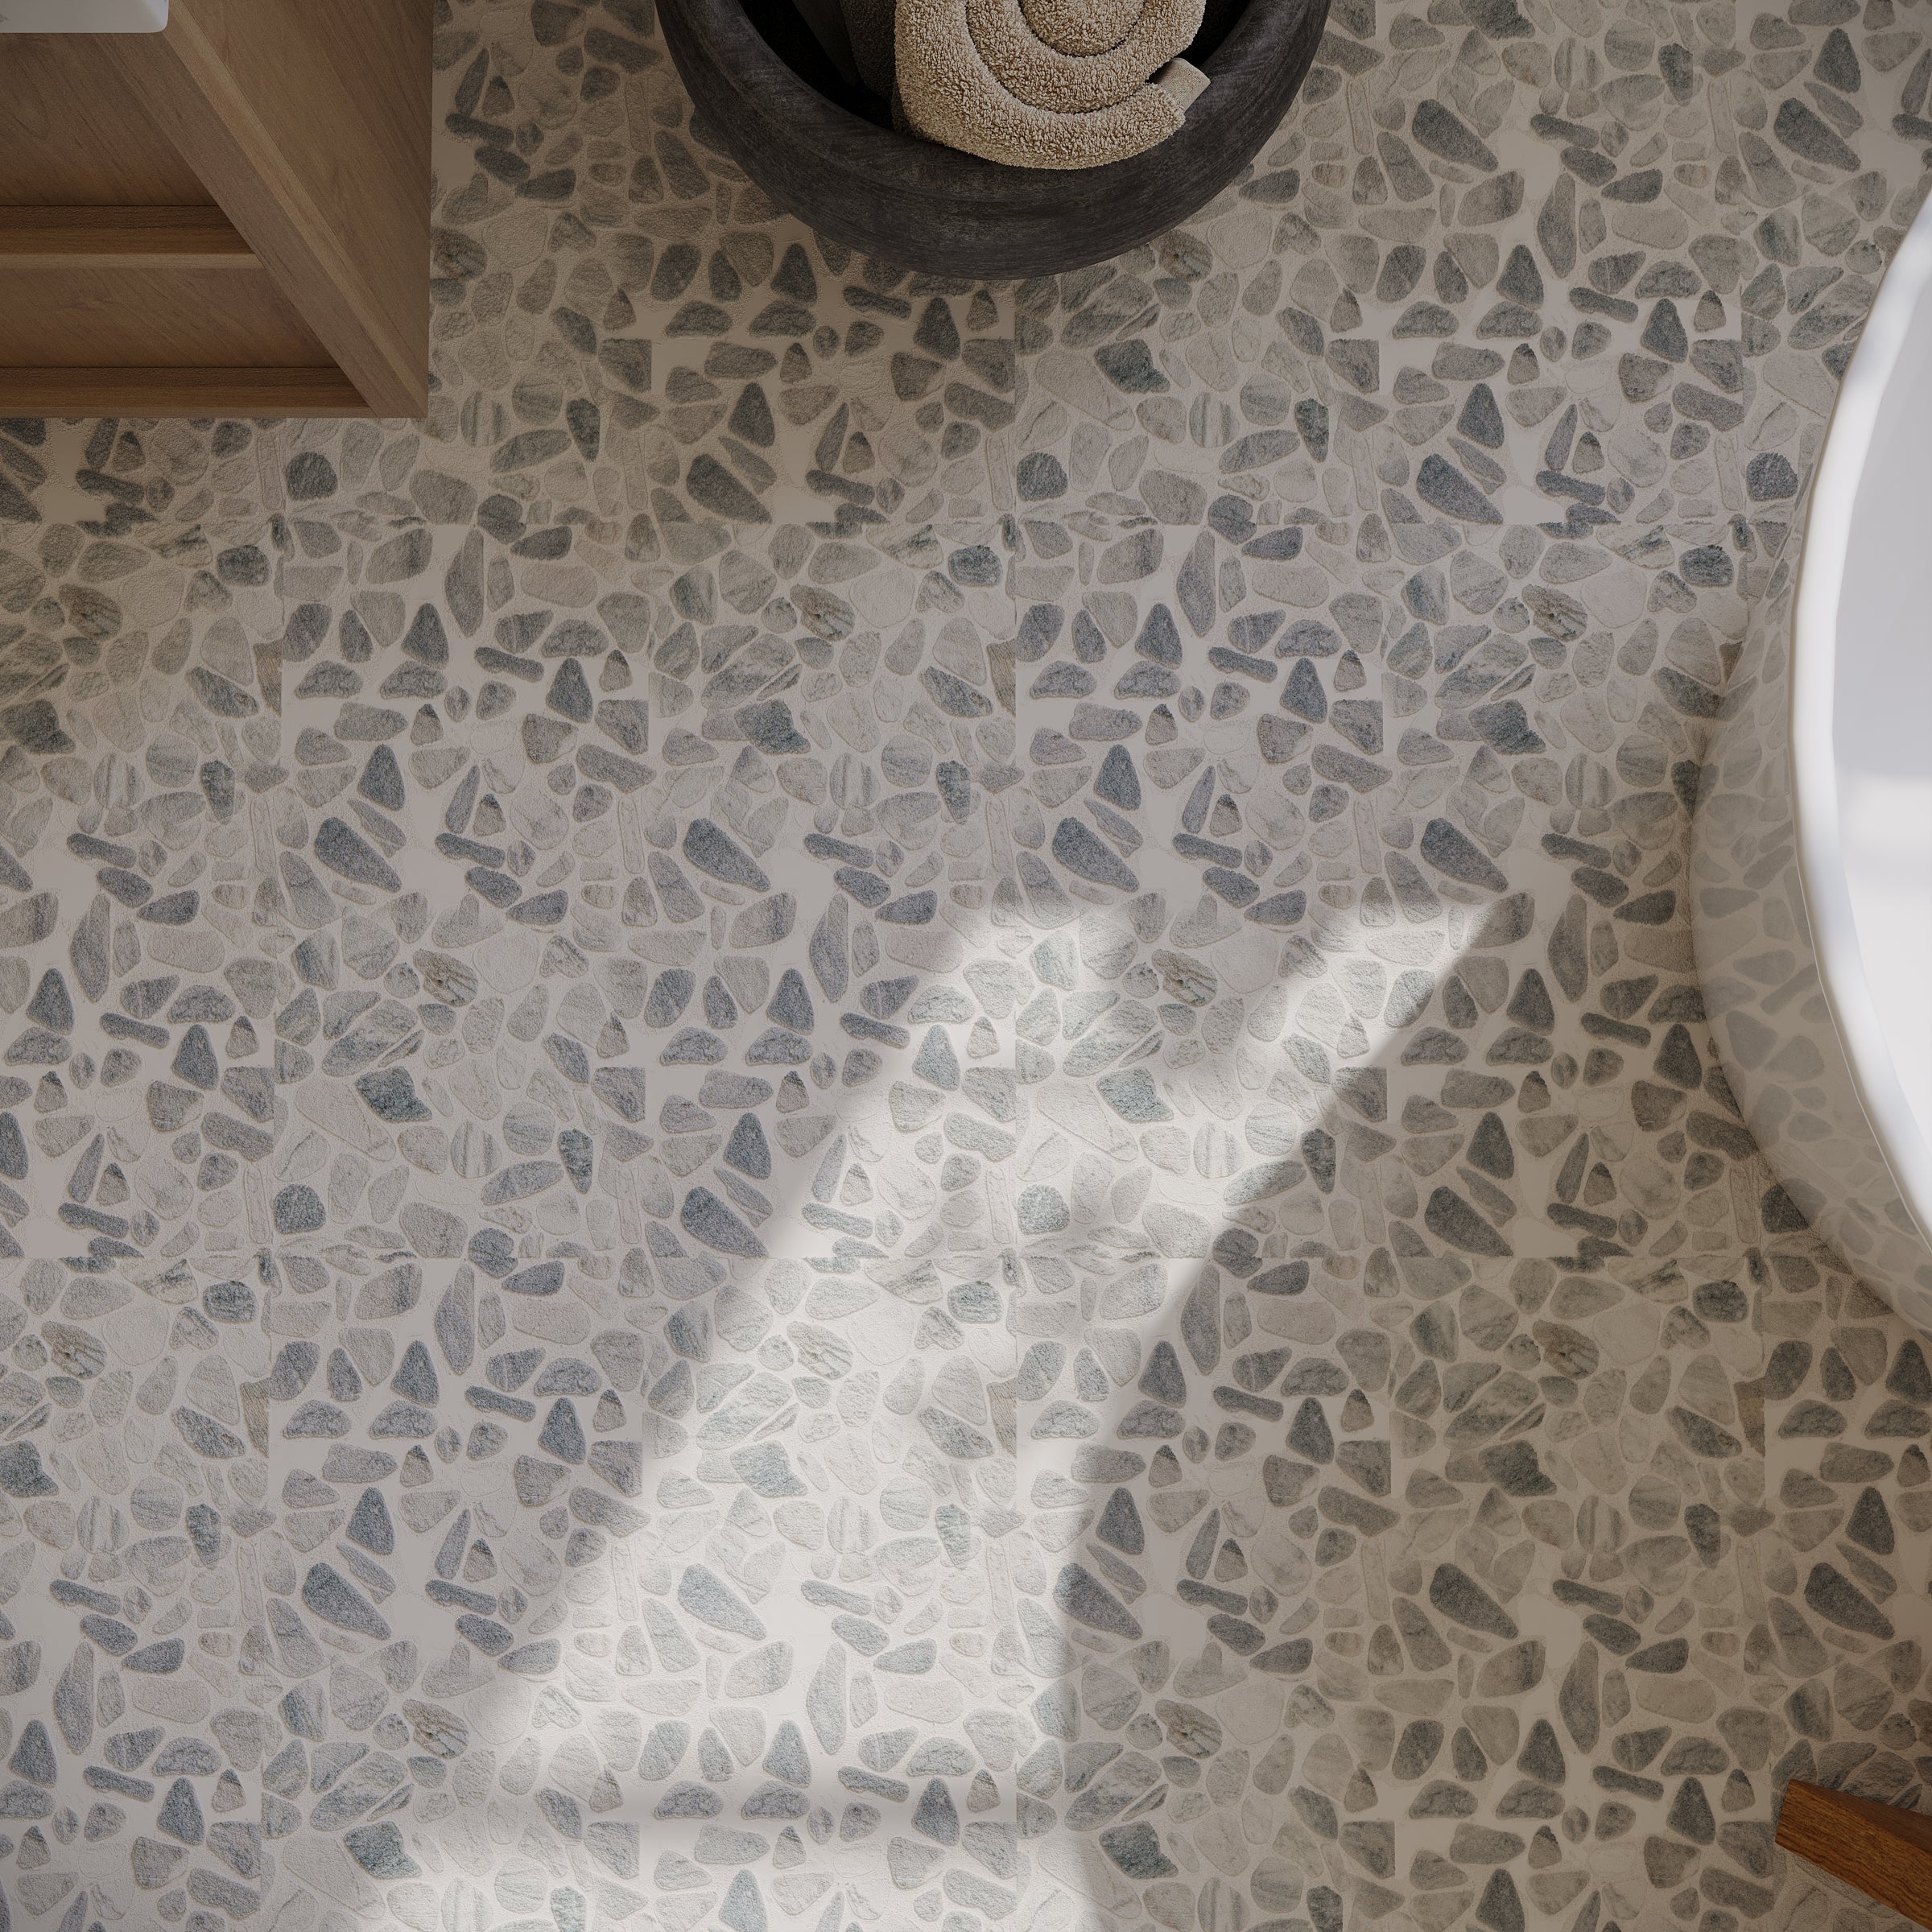
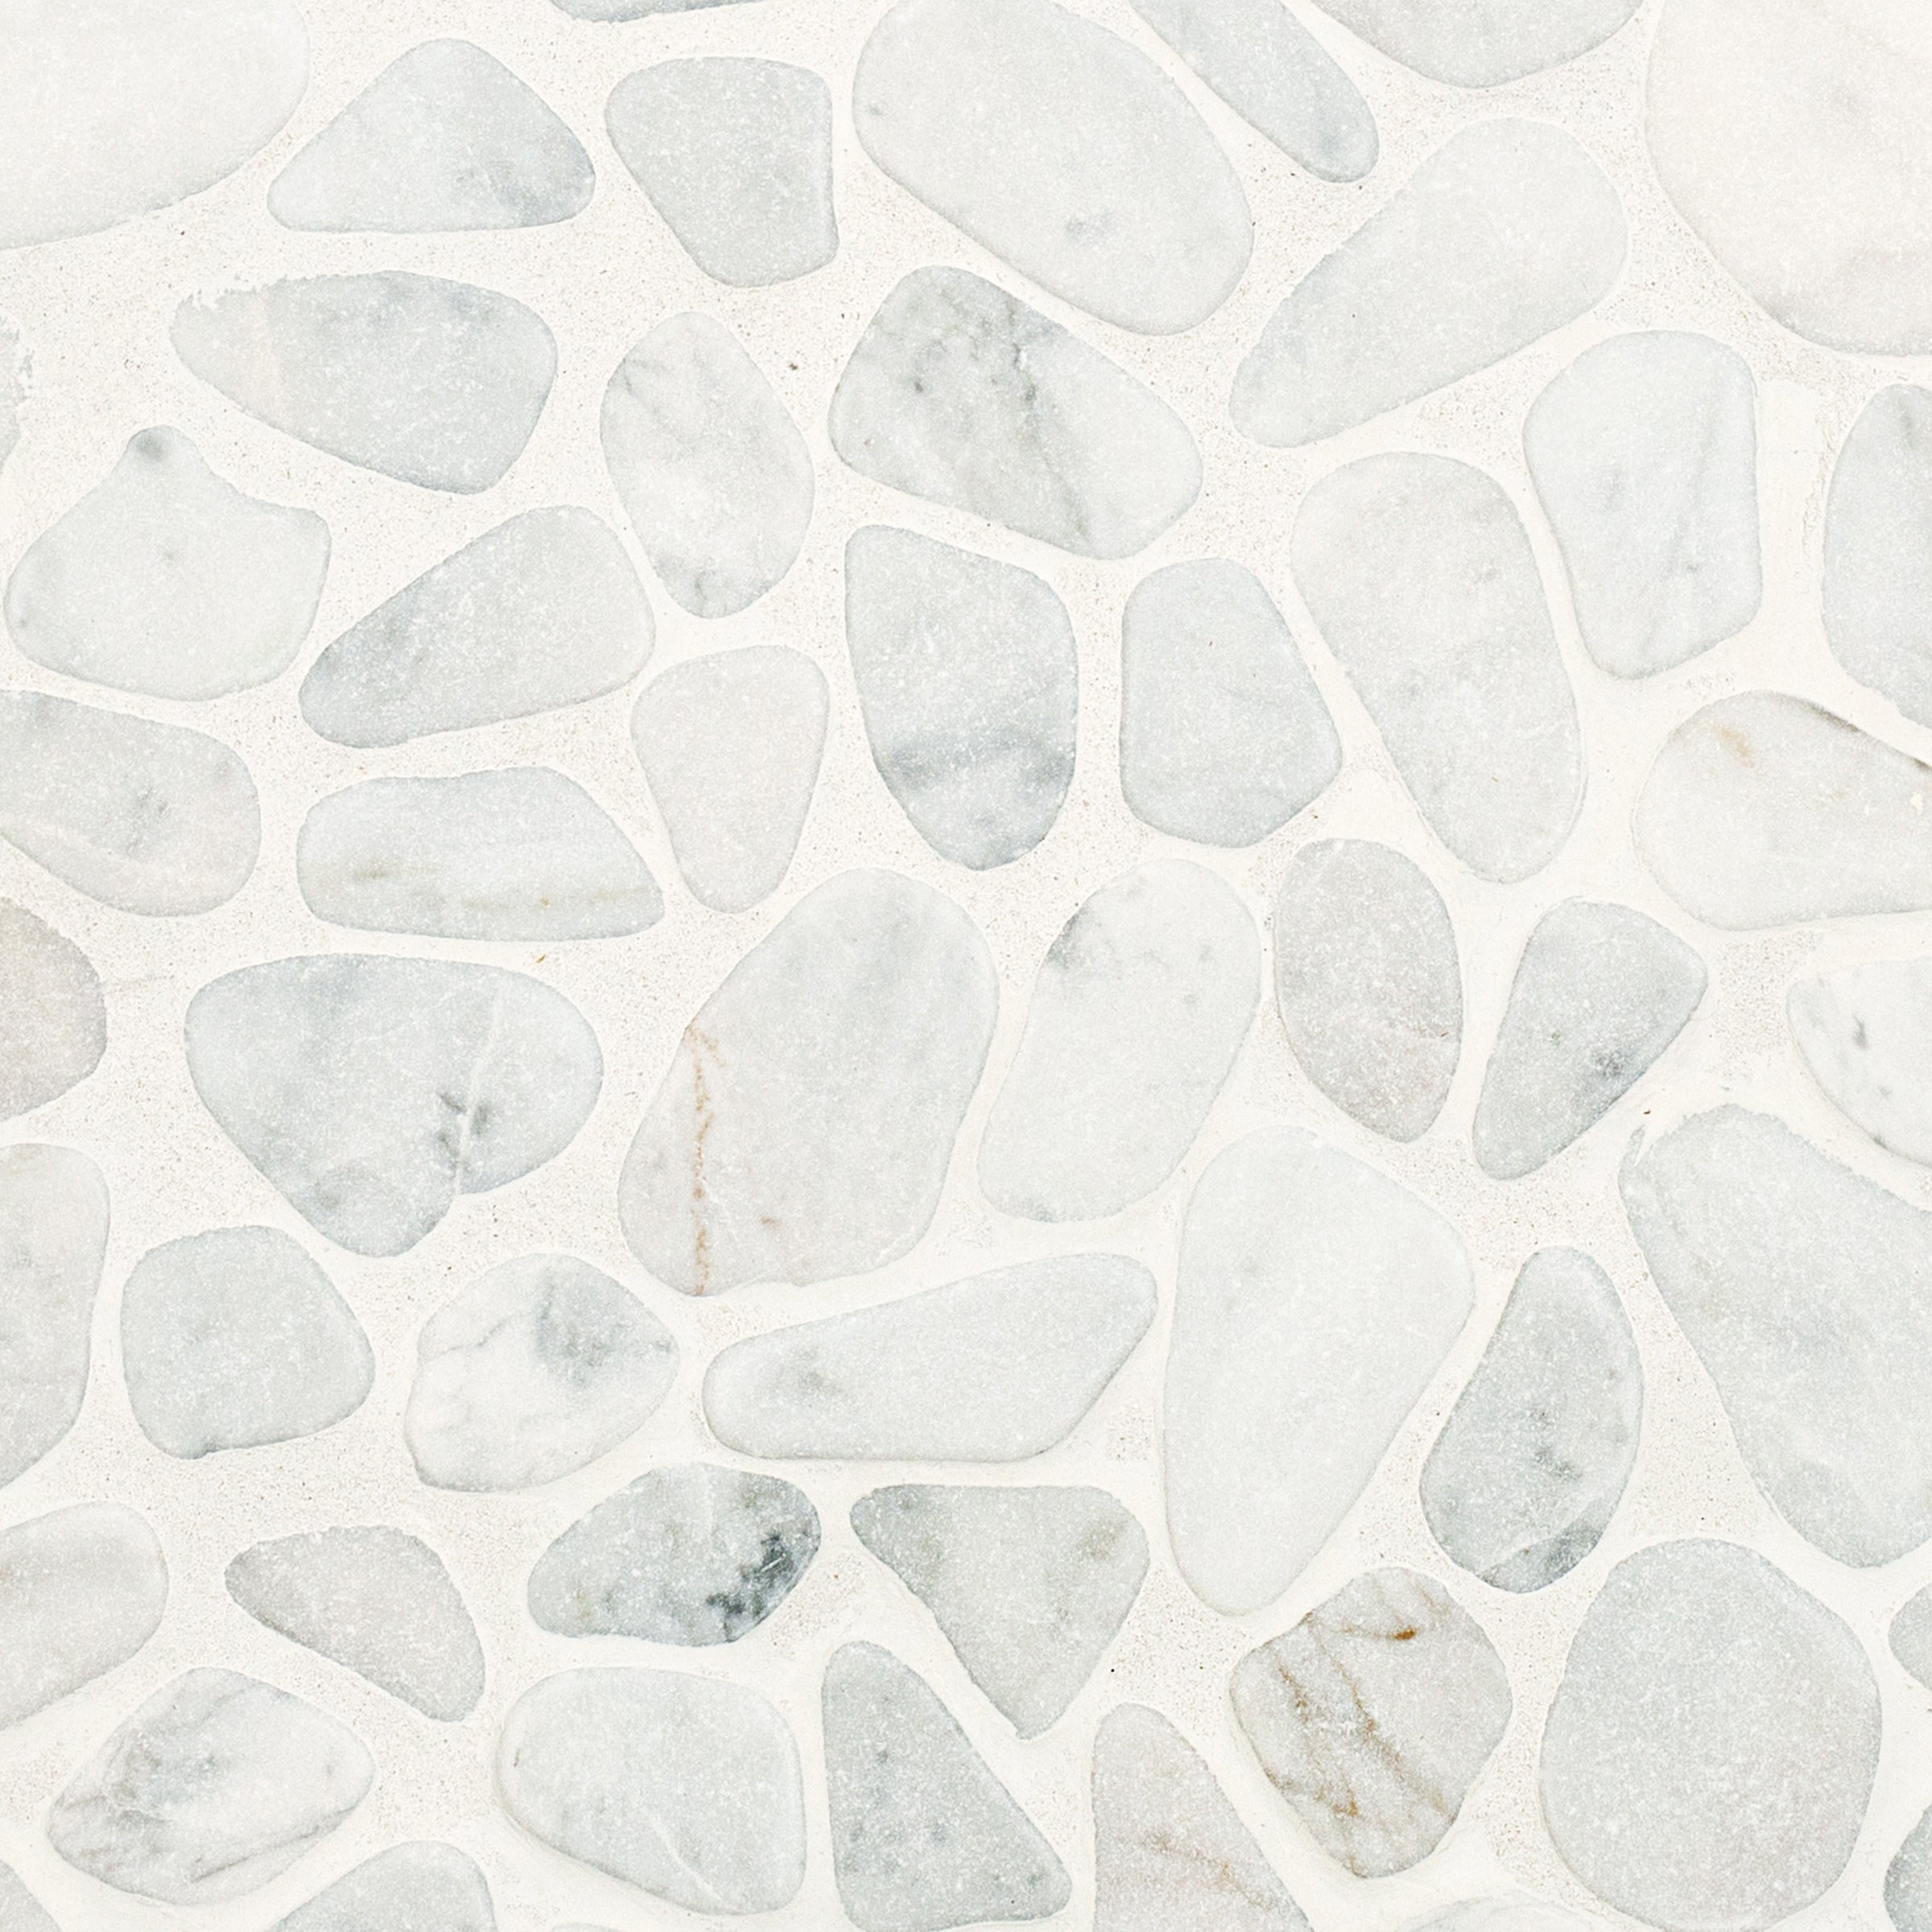
Calacatta Honed Italian Terrazzo Tile
Silver Limestone Look 3D Matte Porcelain Tile
Honey Slats 24x48 Wood Look Porcelain Tile
Taj Matte Marble Look Porcelain Tile
Venica Red Stone Look Porcelain Tile


No. 5 9x60 Rigid Core Vinyl Flooring


No. 13 9x60 Rigid Core Vinyl Flooring
Pearl Hammered Limestone Look Matte Porcelain Tile
Almond Hammered Limestone Look Matte Porcelain Tile
Slate 48x48 Cement Look Porcelain Tile


No. 6 Engineered Wood Flooring


No. 2 Engineered Wood Flooring


No. 12 Engineered Wood Flooring

No. 10 Engineered Wood Flooring


No. 3 9x60 Rigid Core Vinyl Flooring


No. 9 9x60 Rigid Core Vinyl Flooring


No. 11 9x60 Rigid Core Vinyl Flooring


No. 15 9x60 Rigid Core Vinyl Flooring
Montblack Matte Marble Look Porcelain Tile
Ivory Marble Look Matte Porcelain Tile


Nude 12x24 3D Gloss Porcelain Tile


Ash Cement Look Matte Porcelain Tile


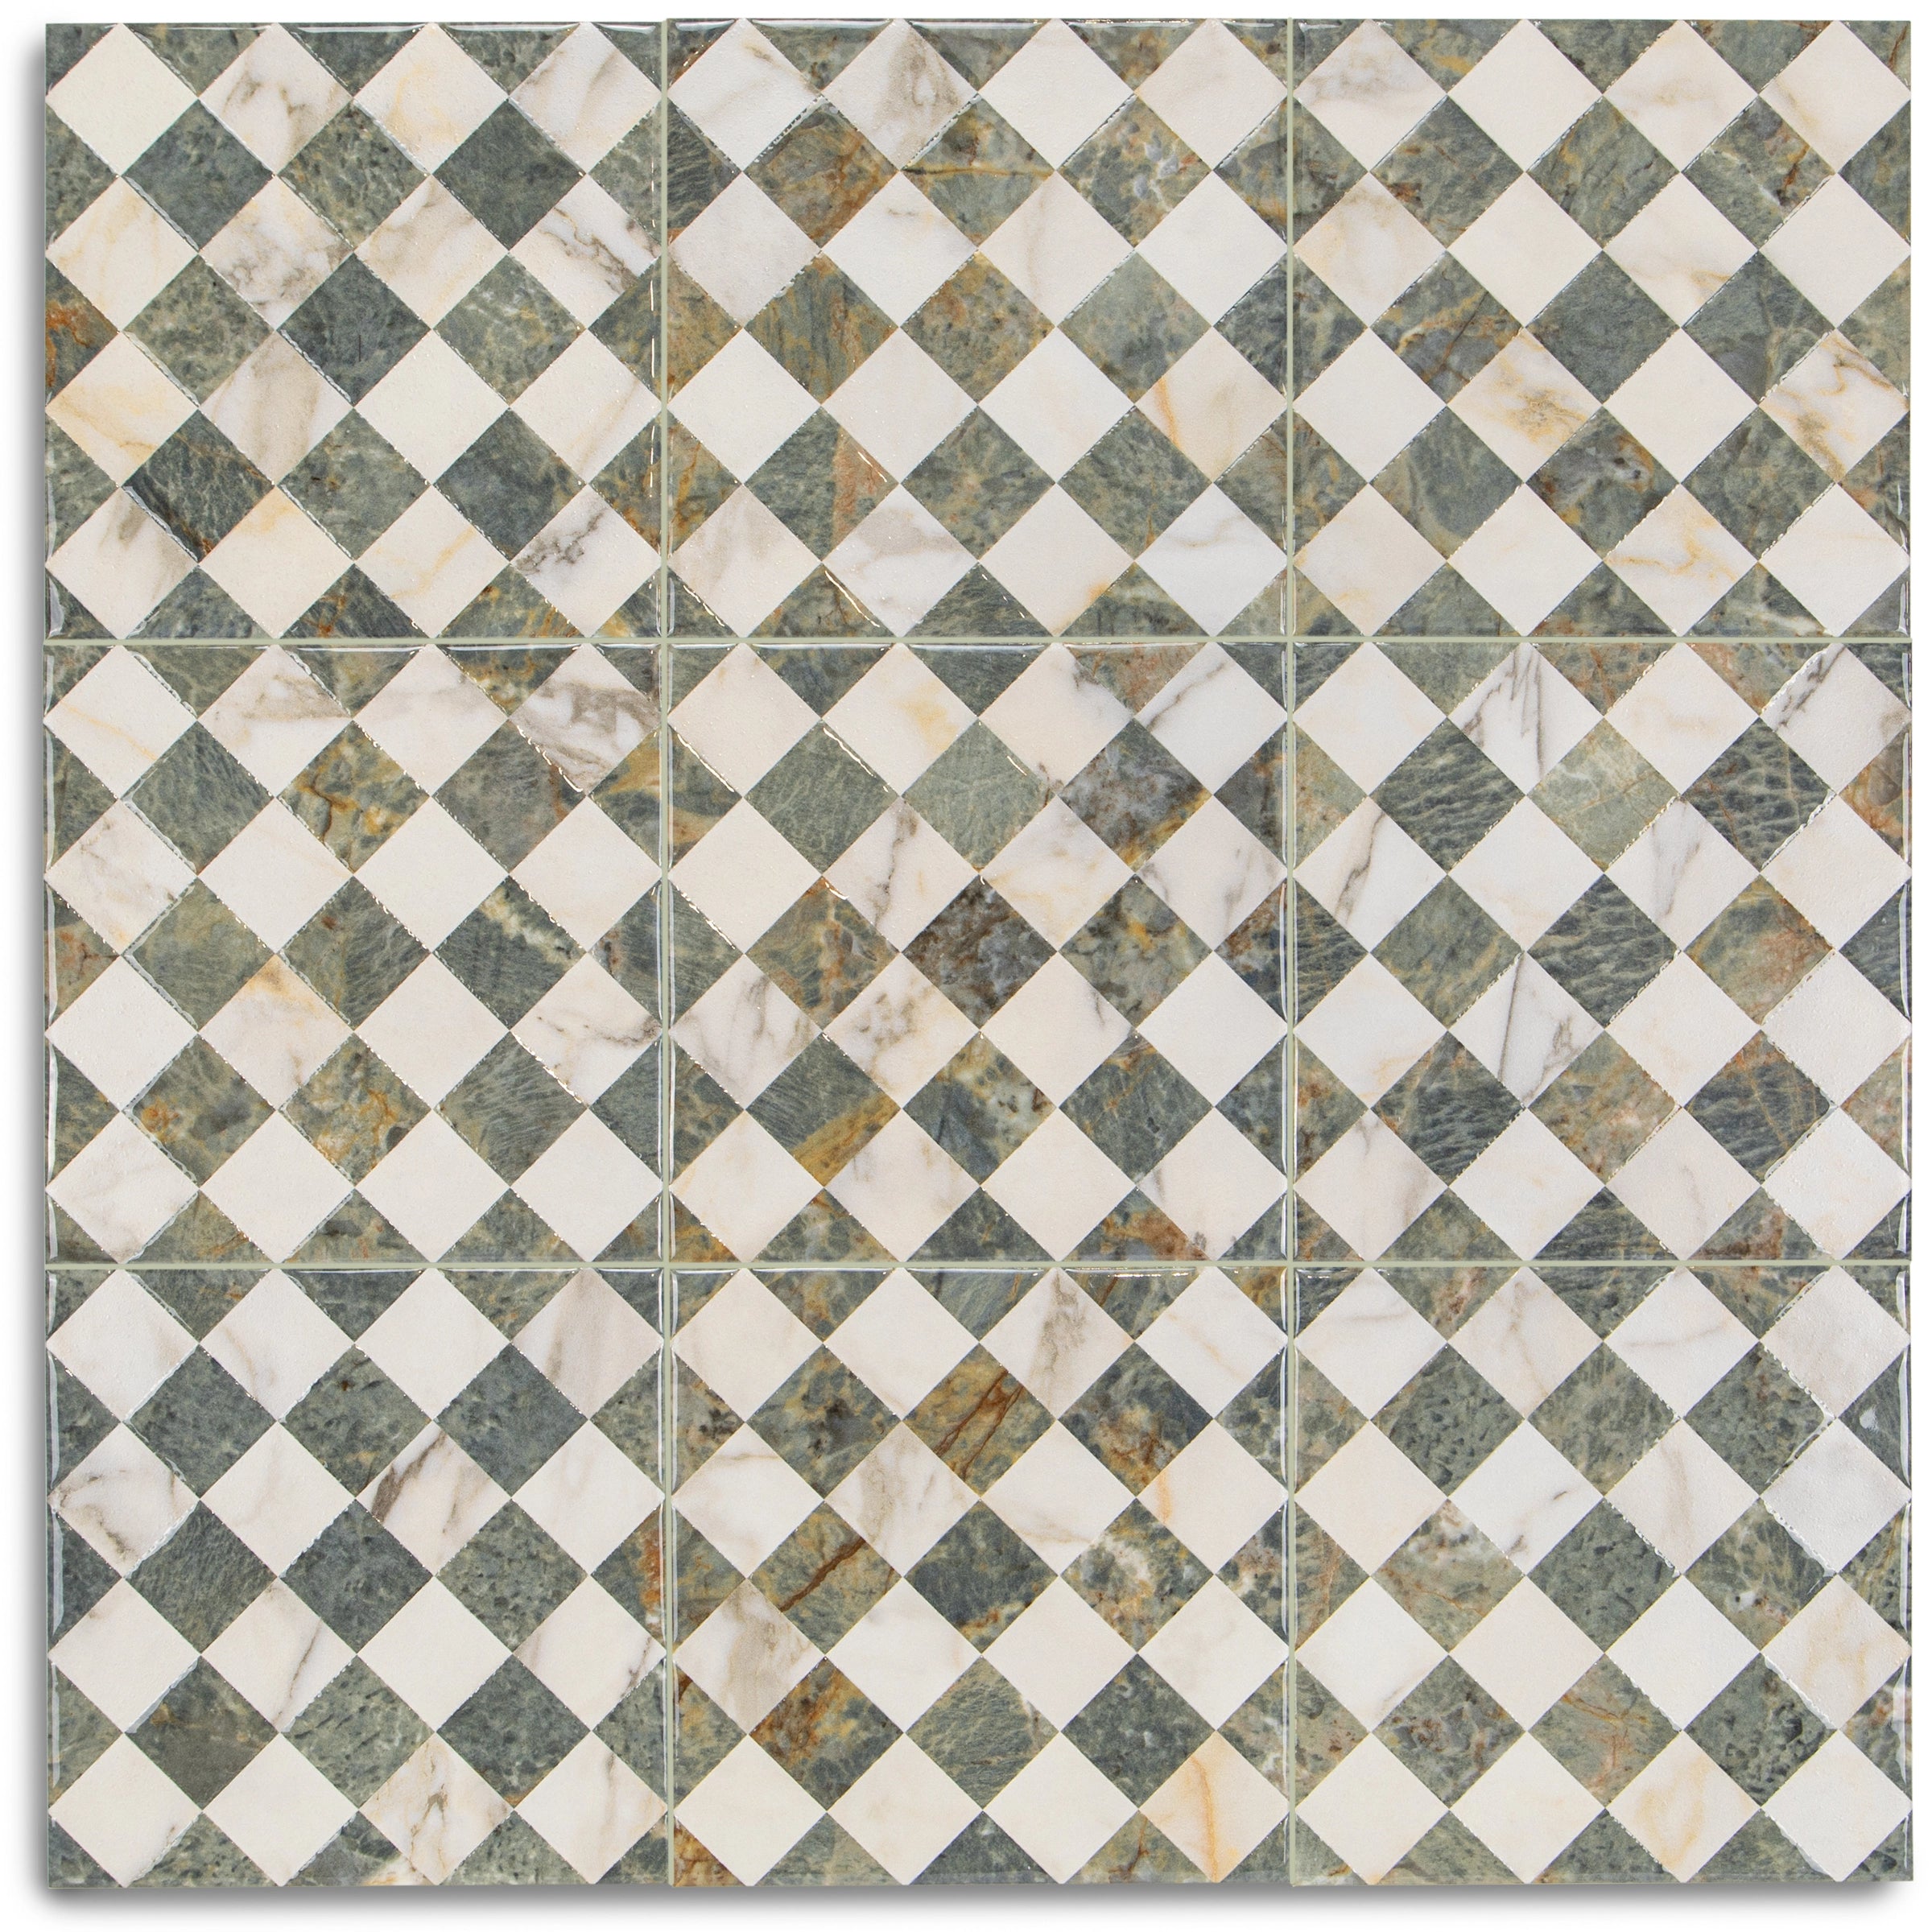


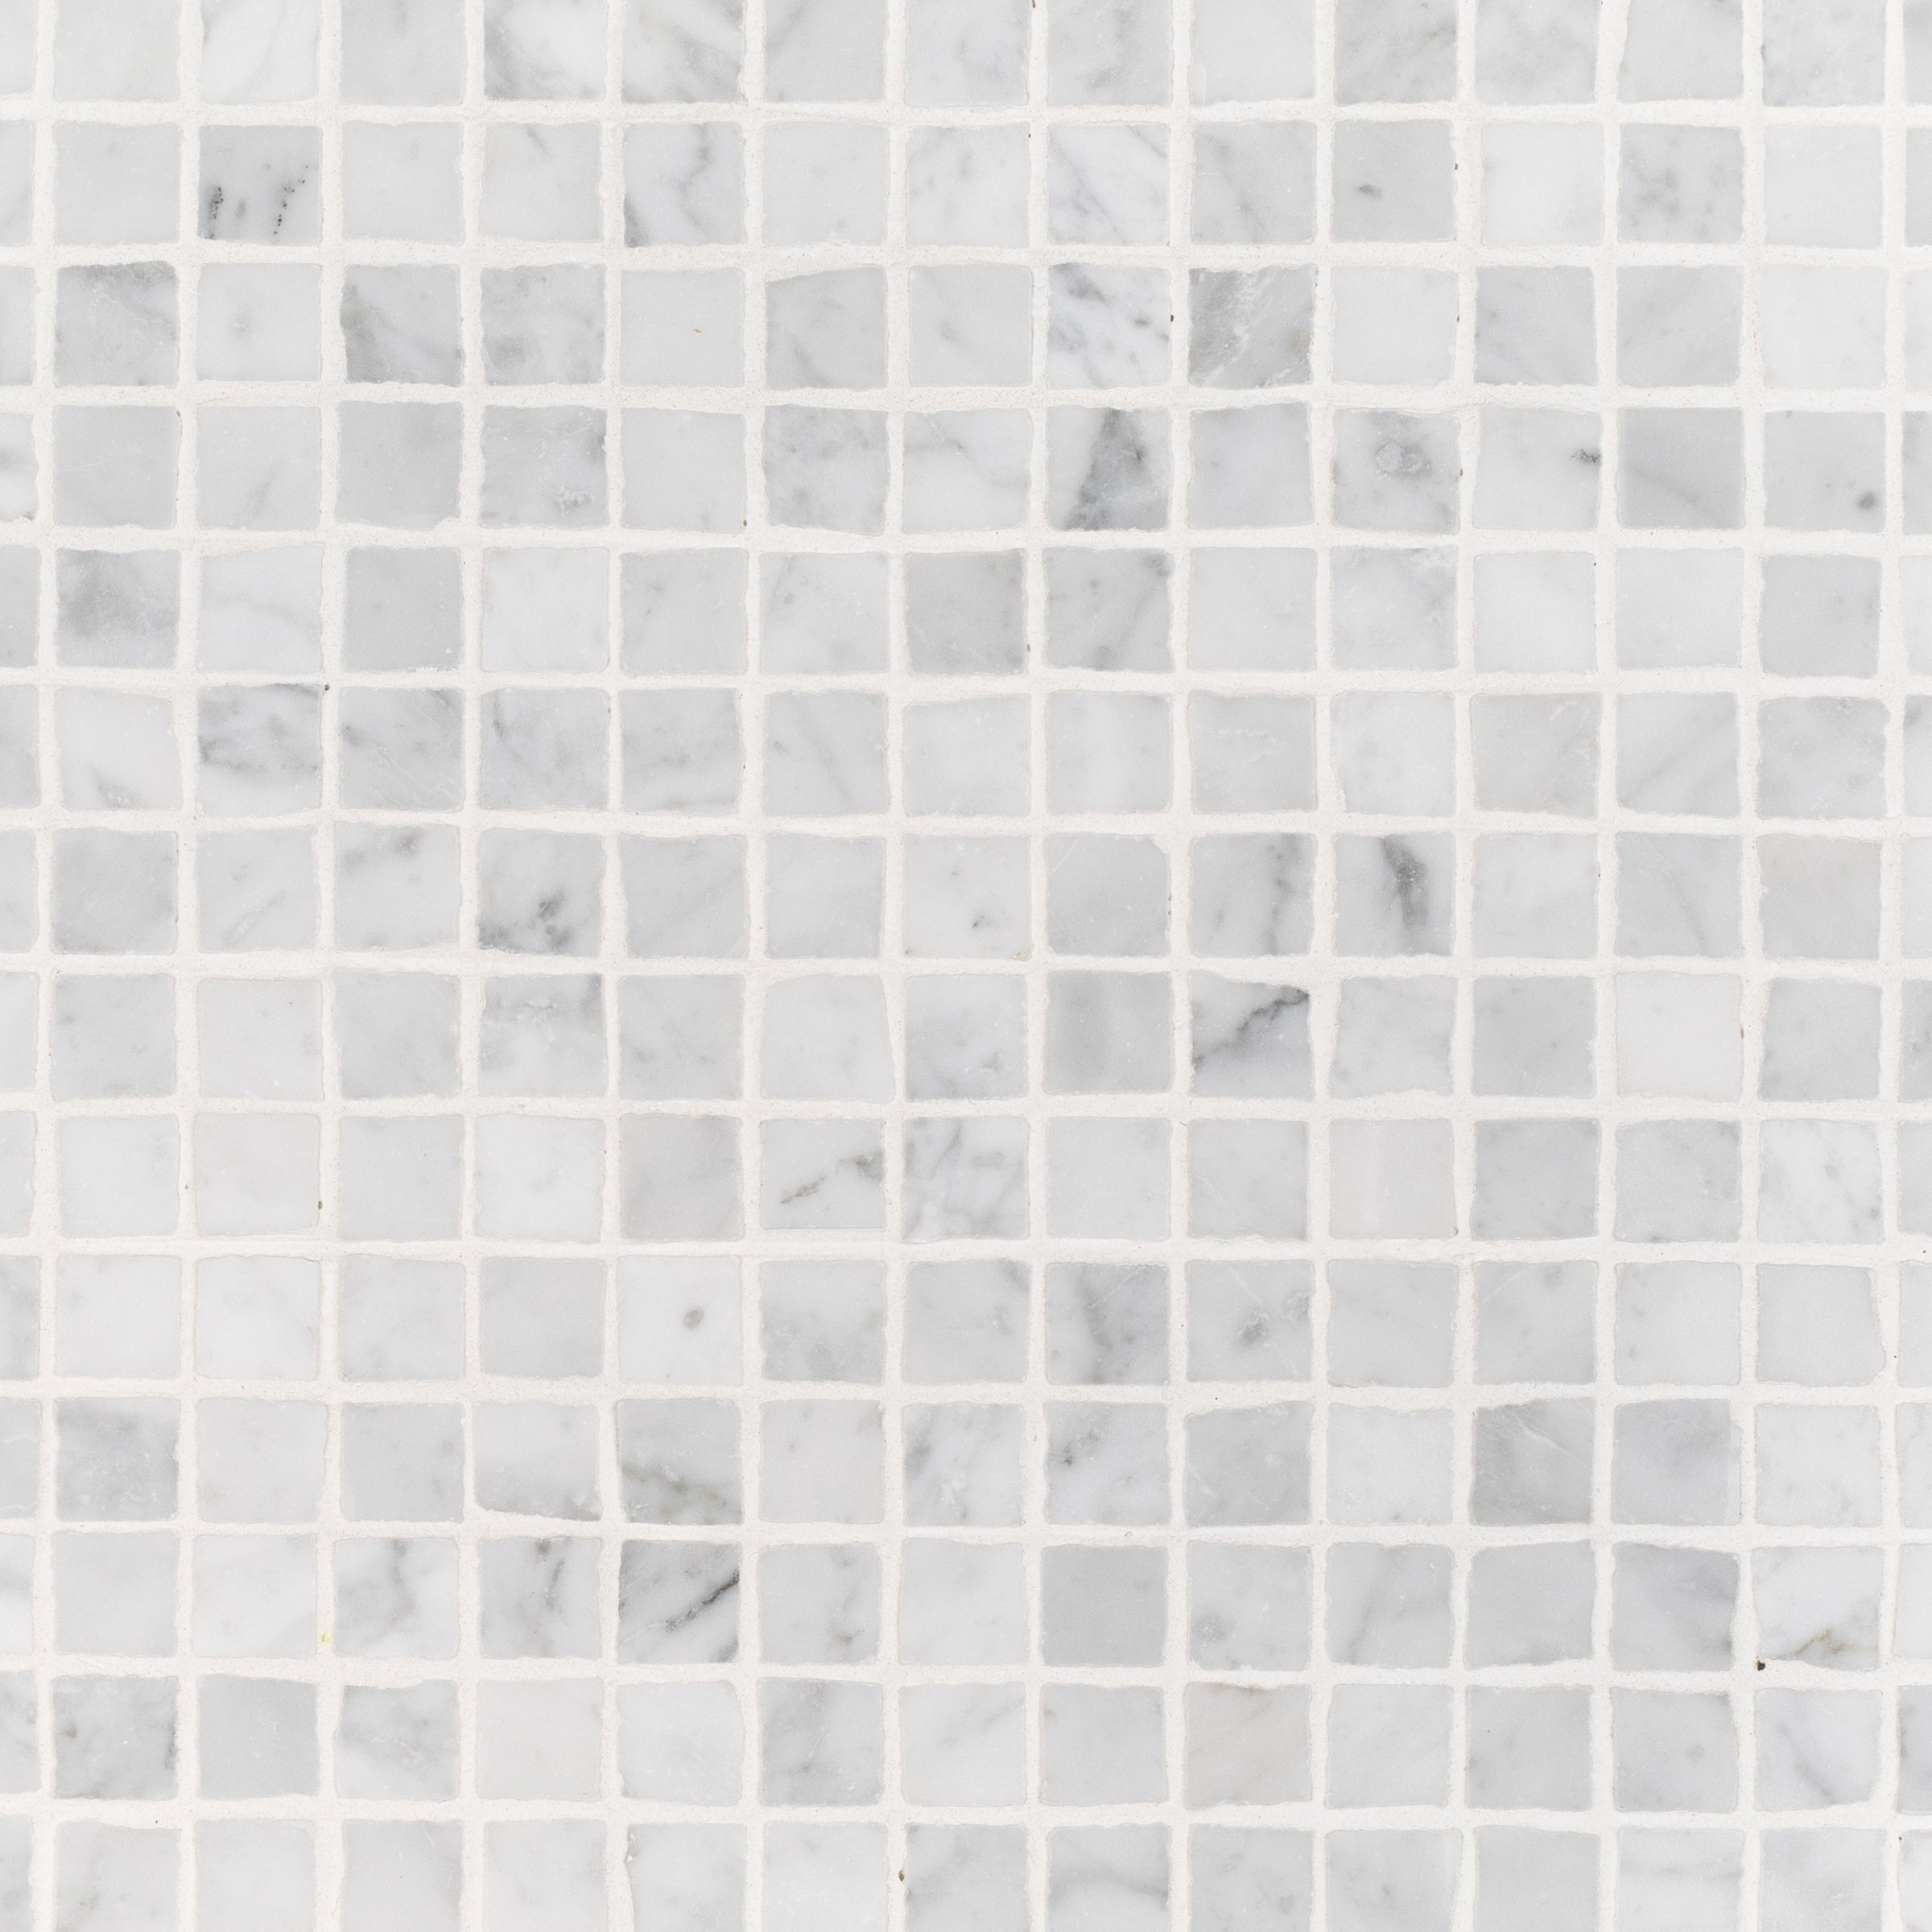
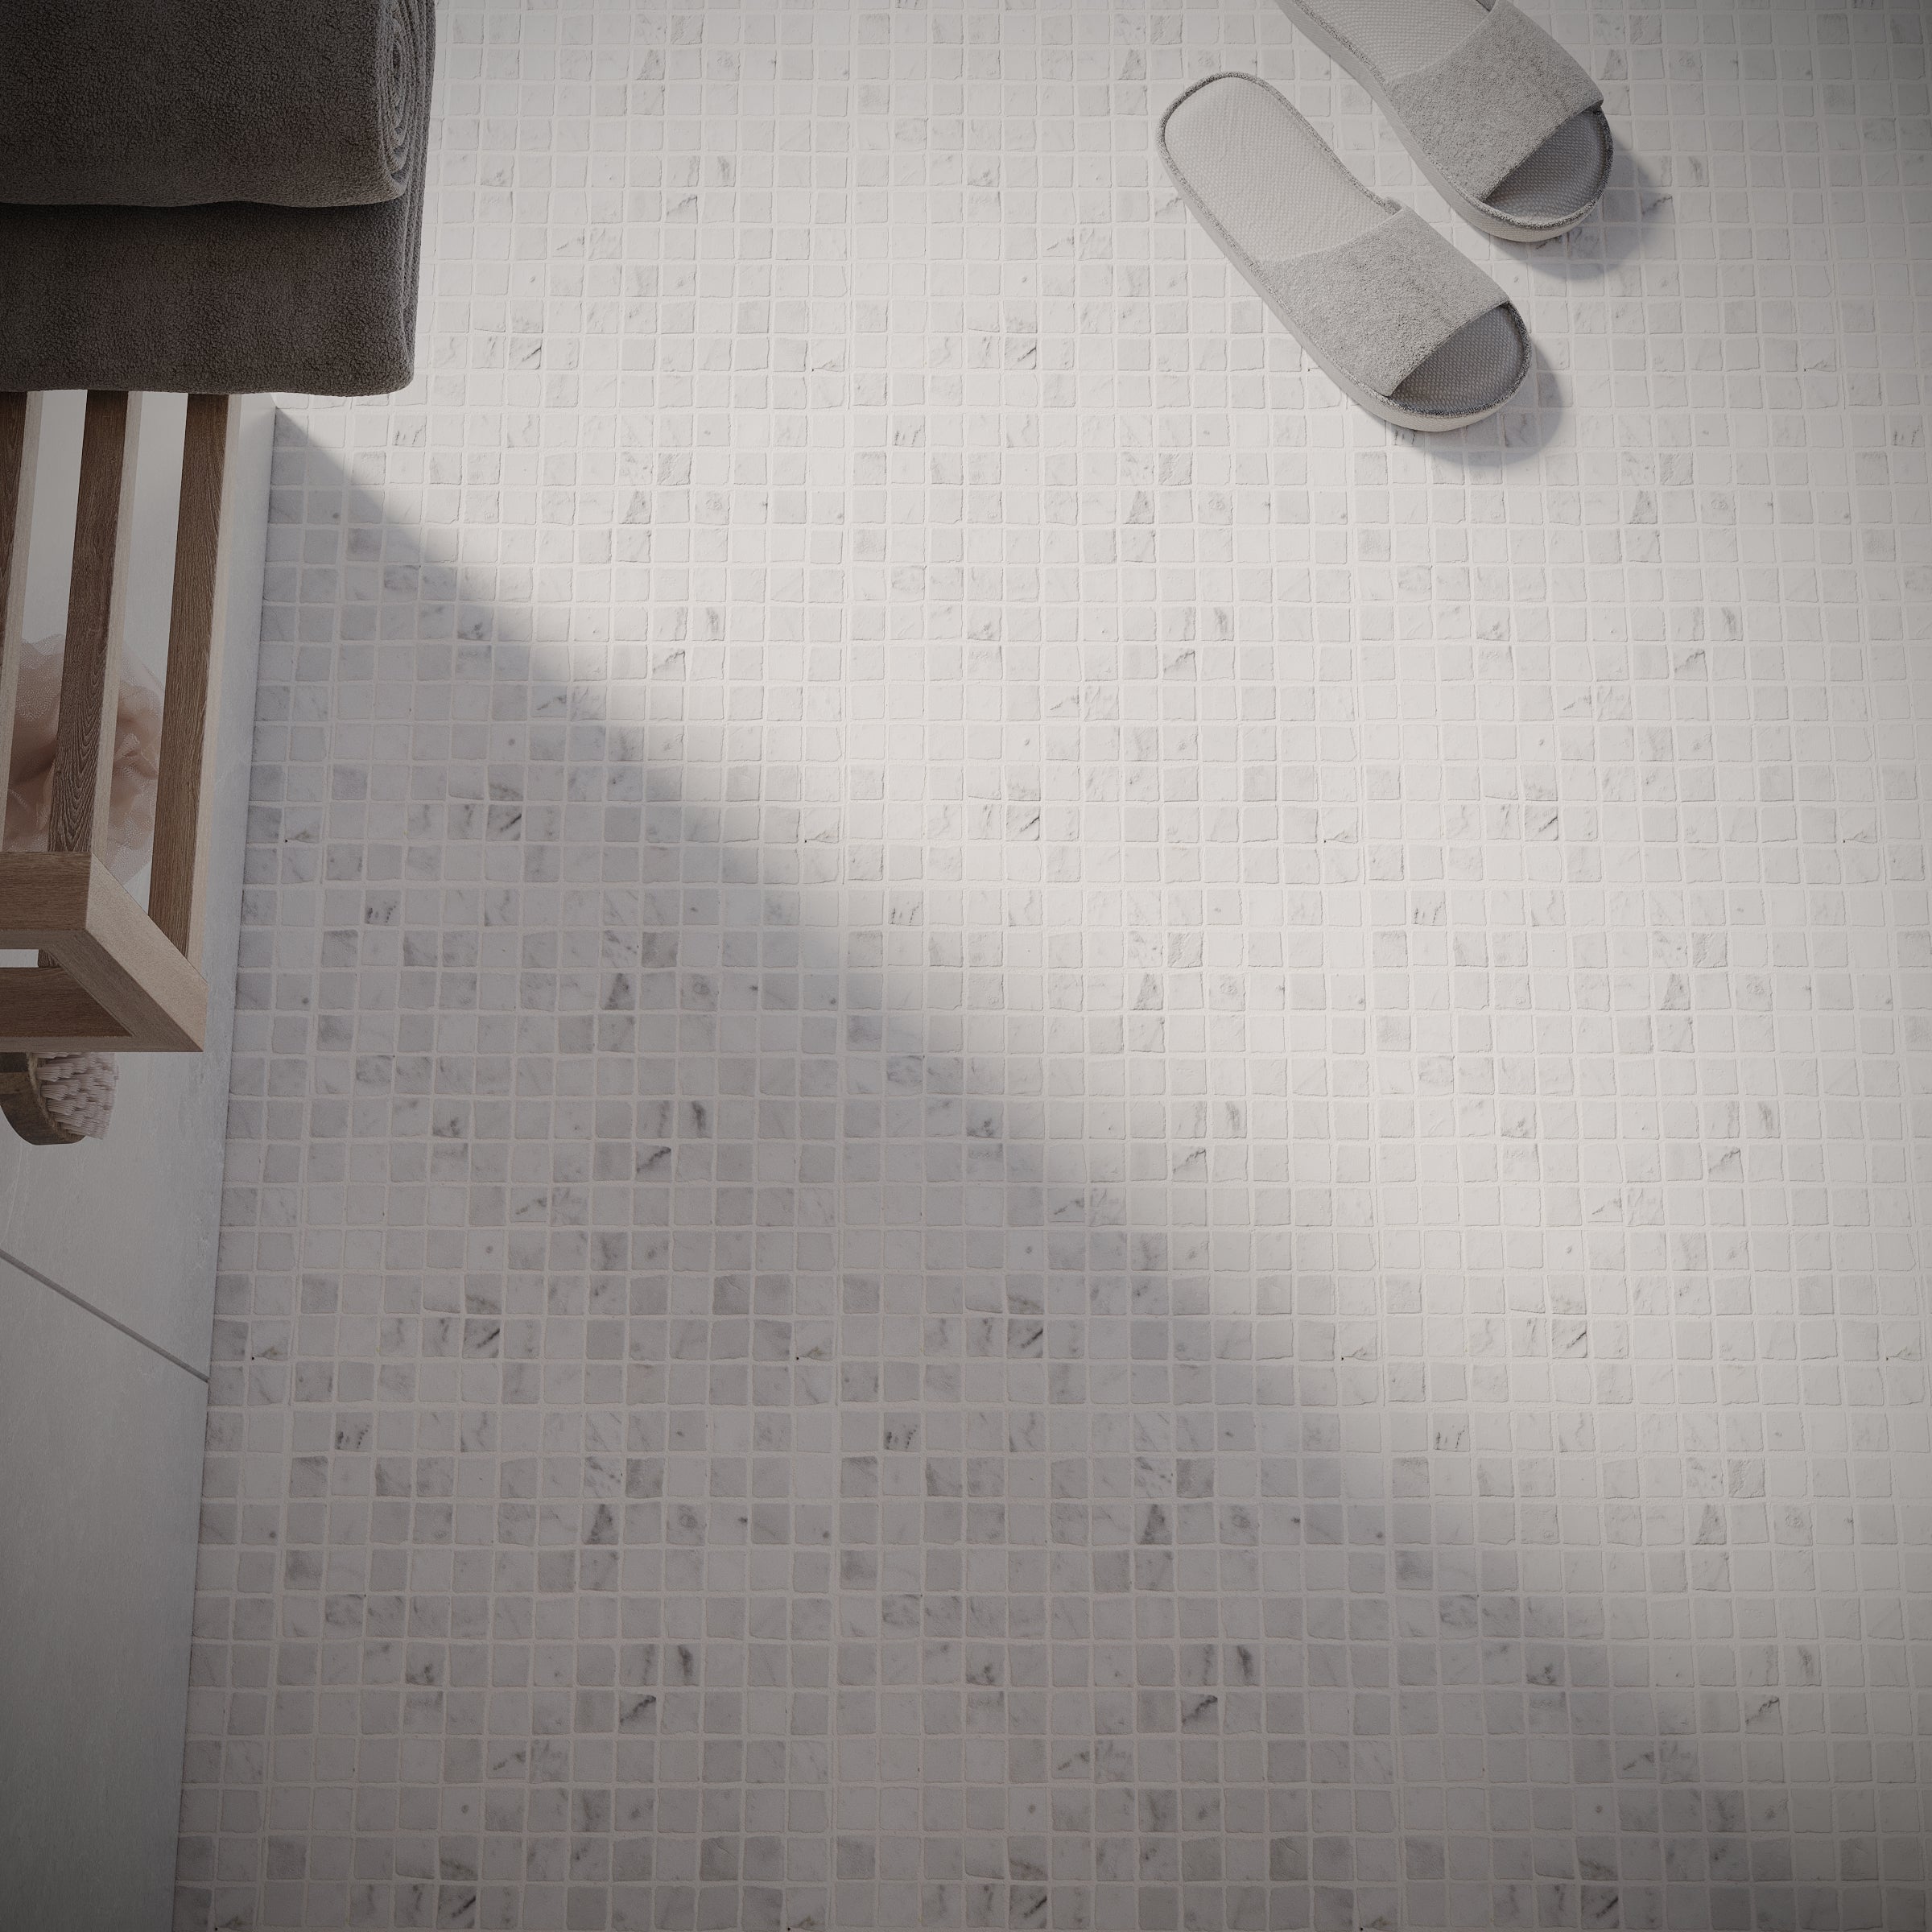
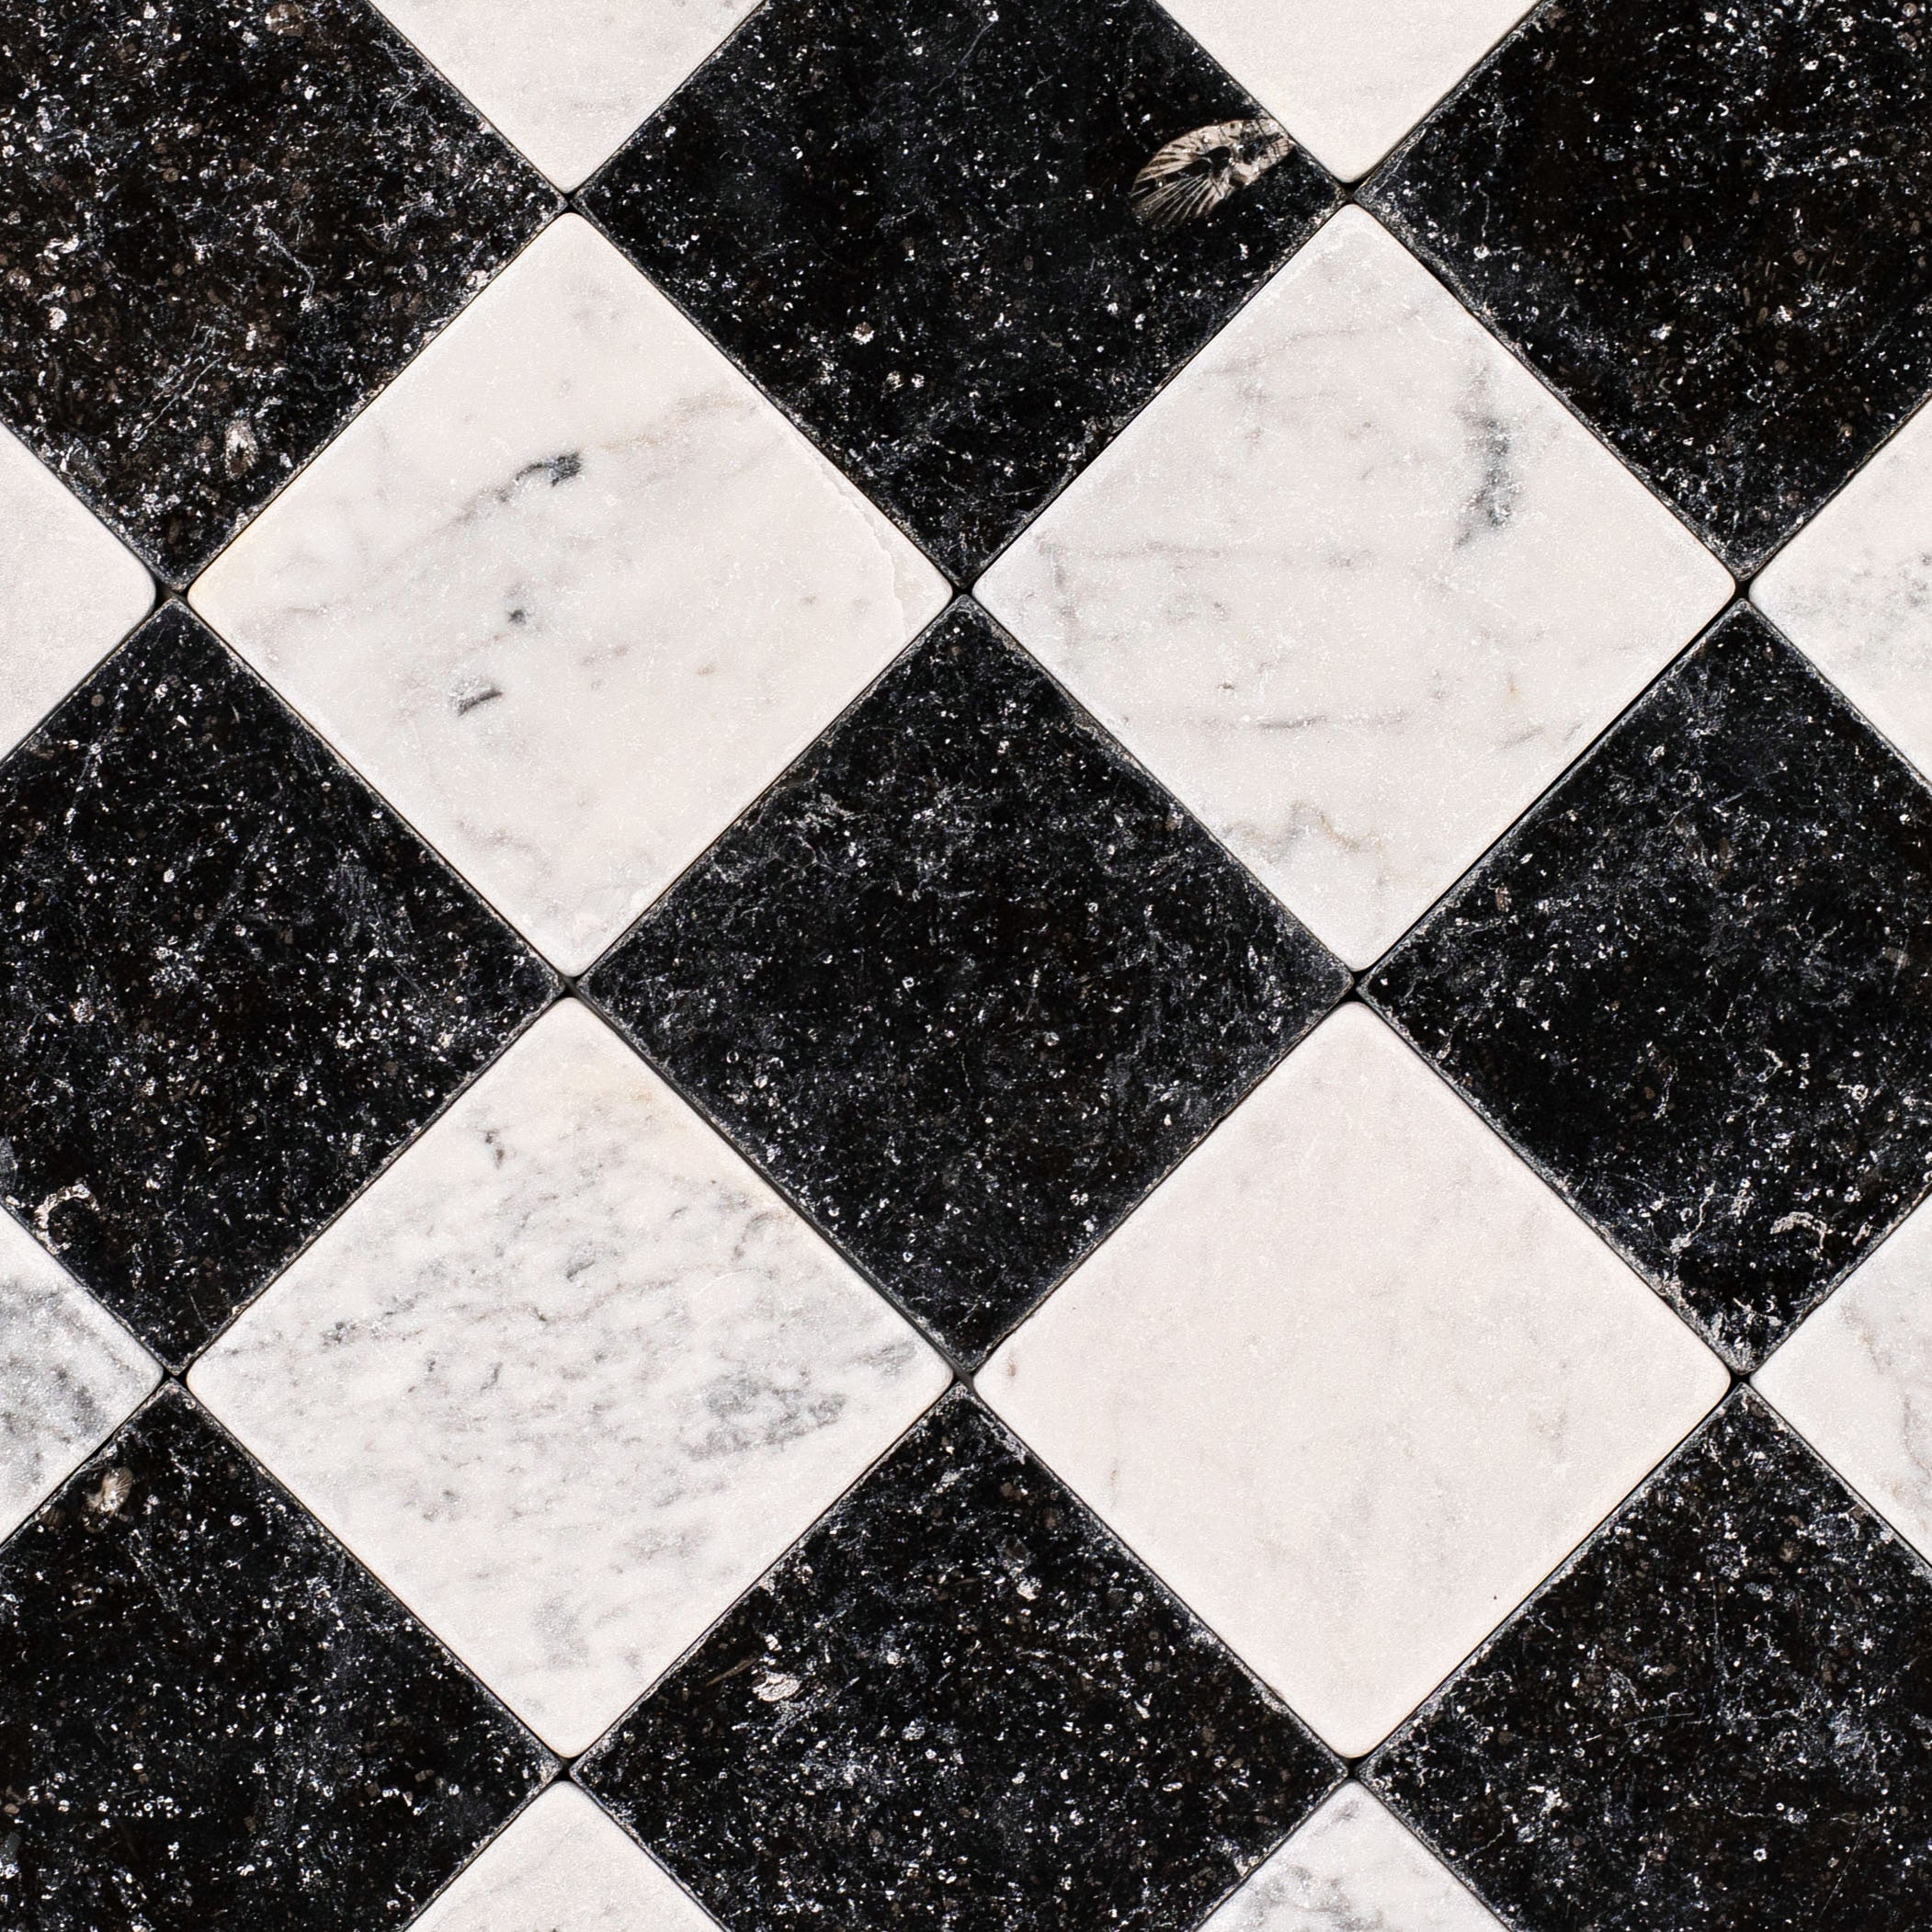
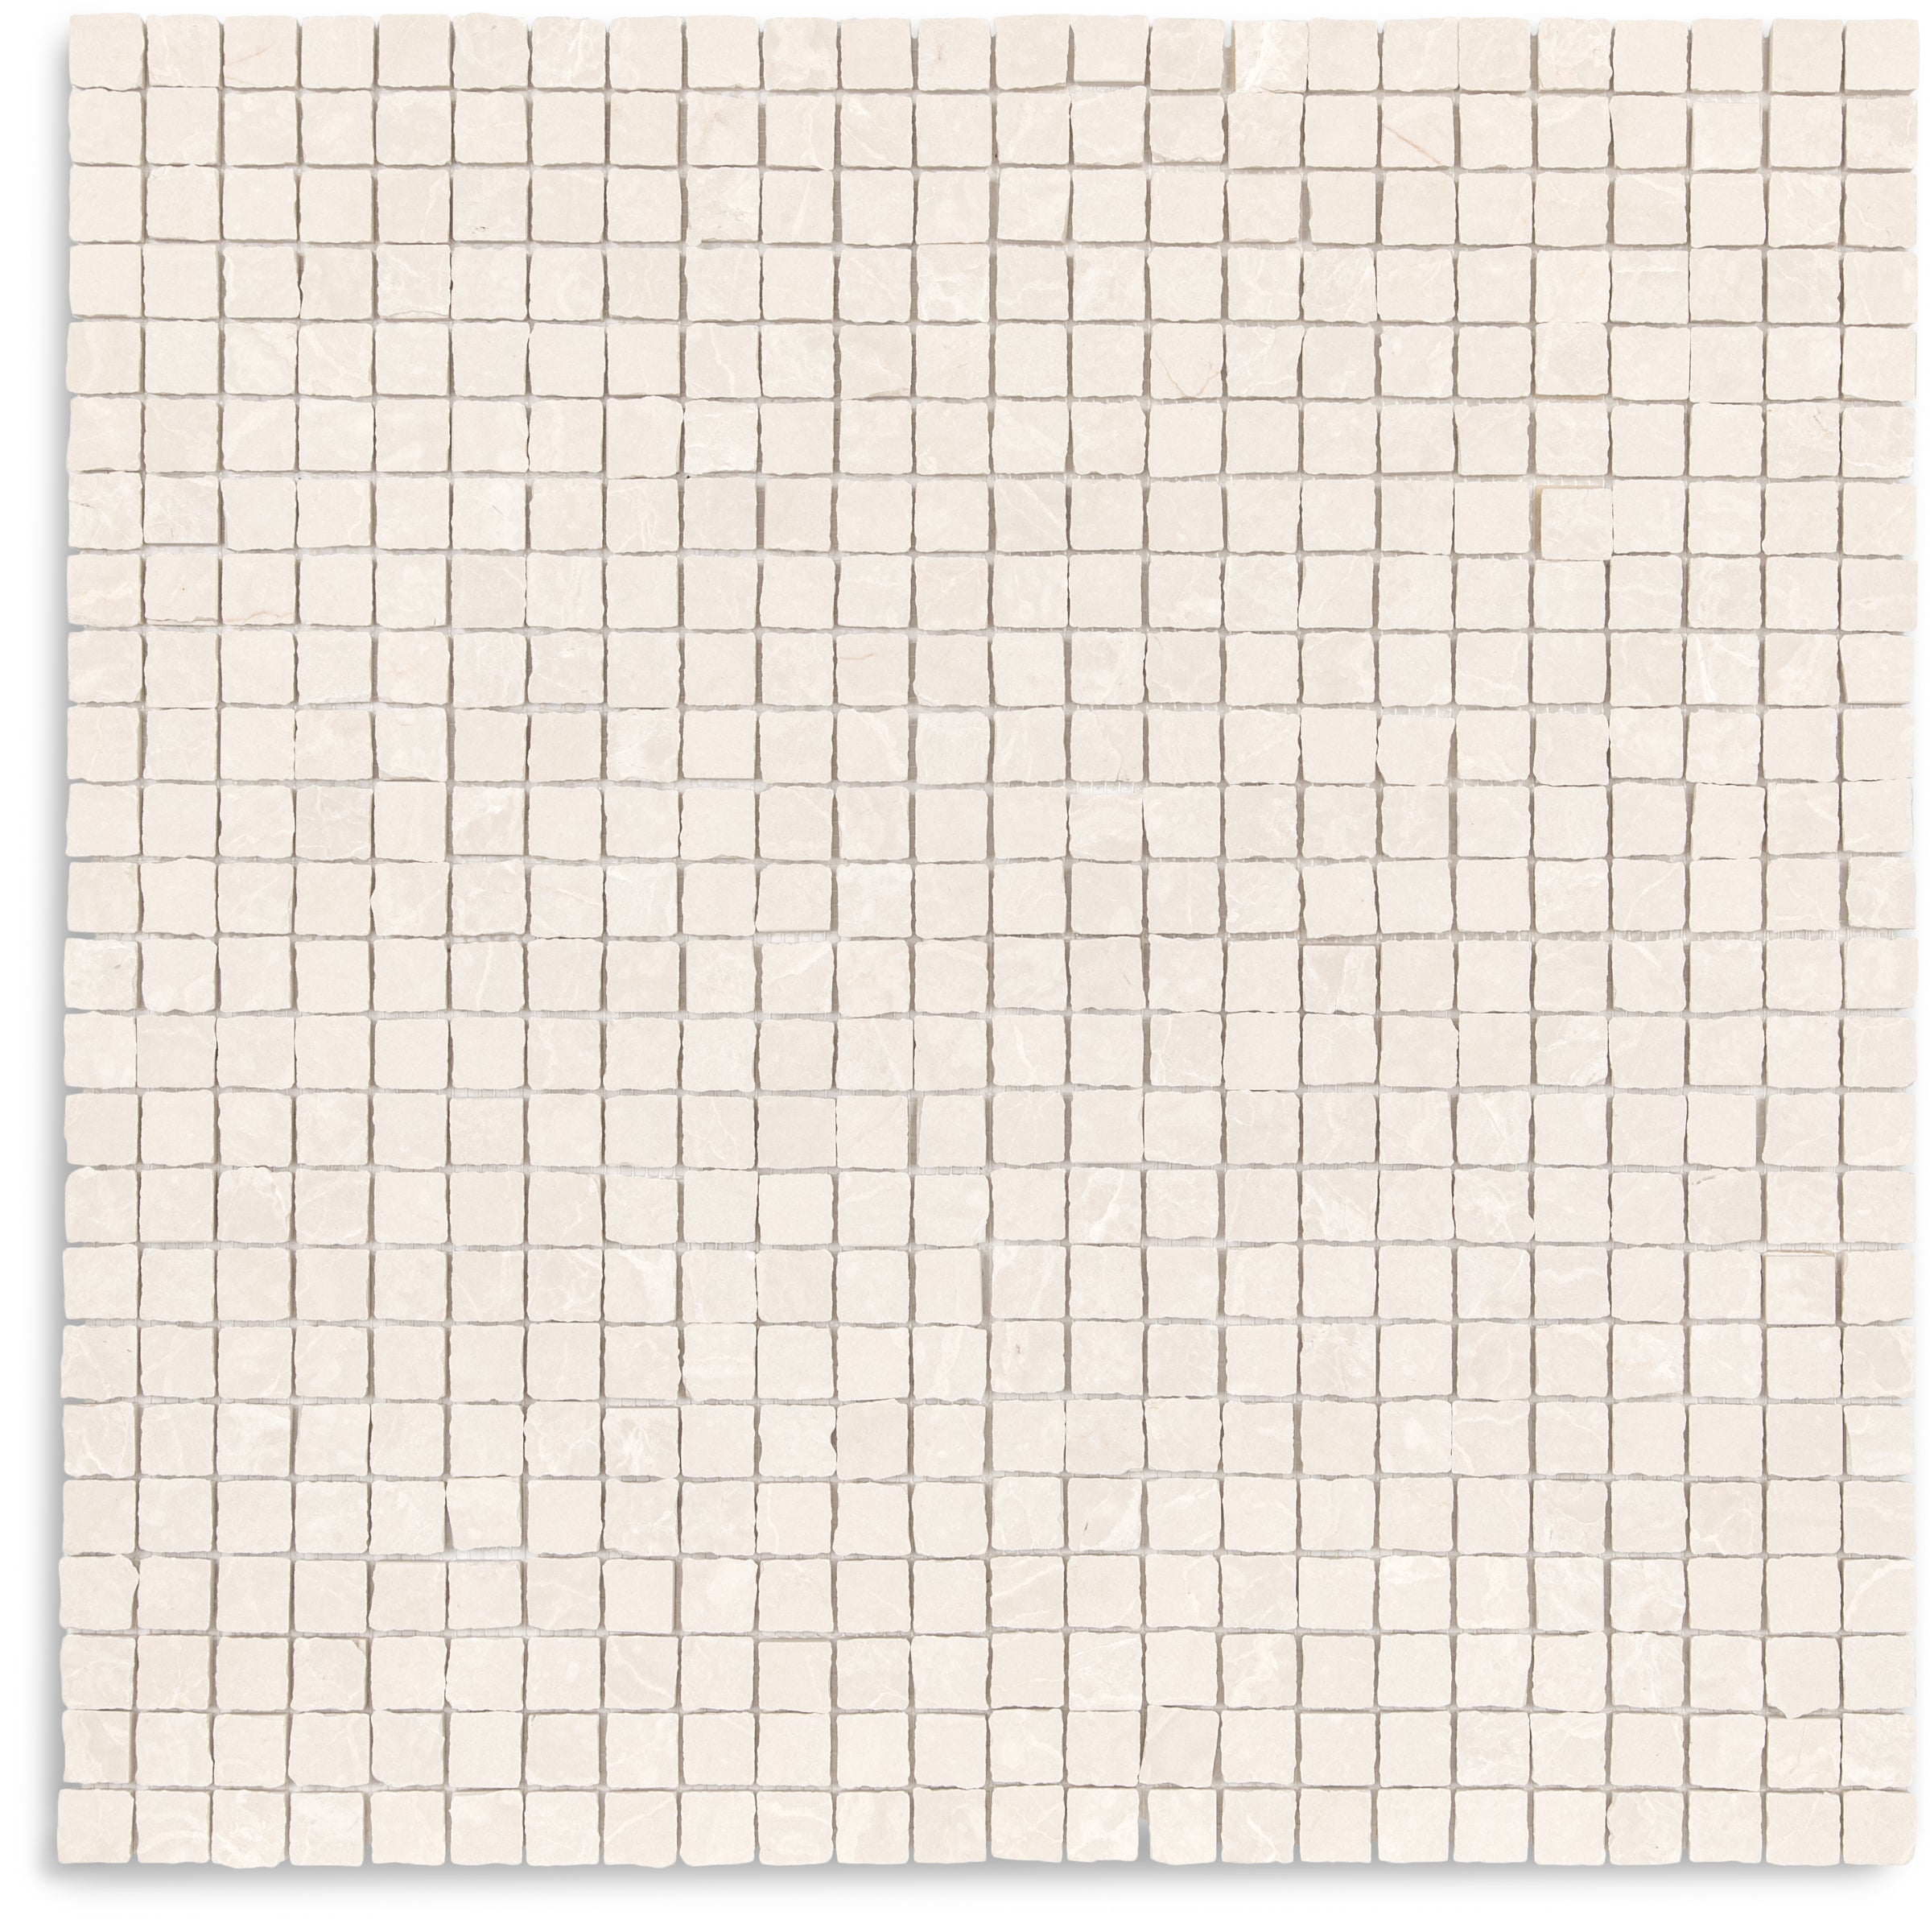
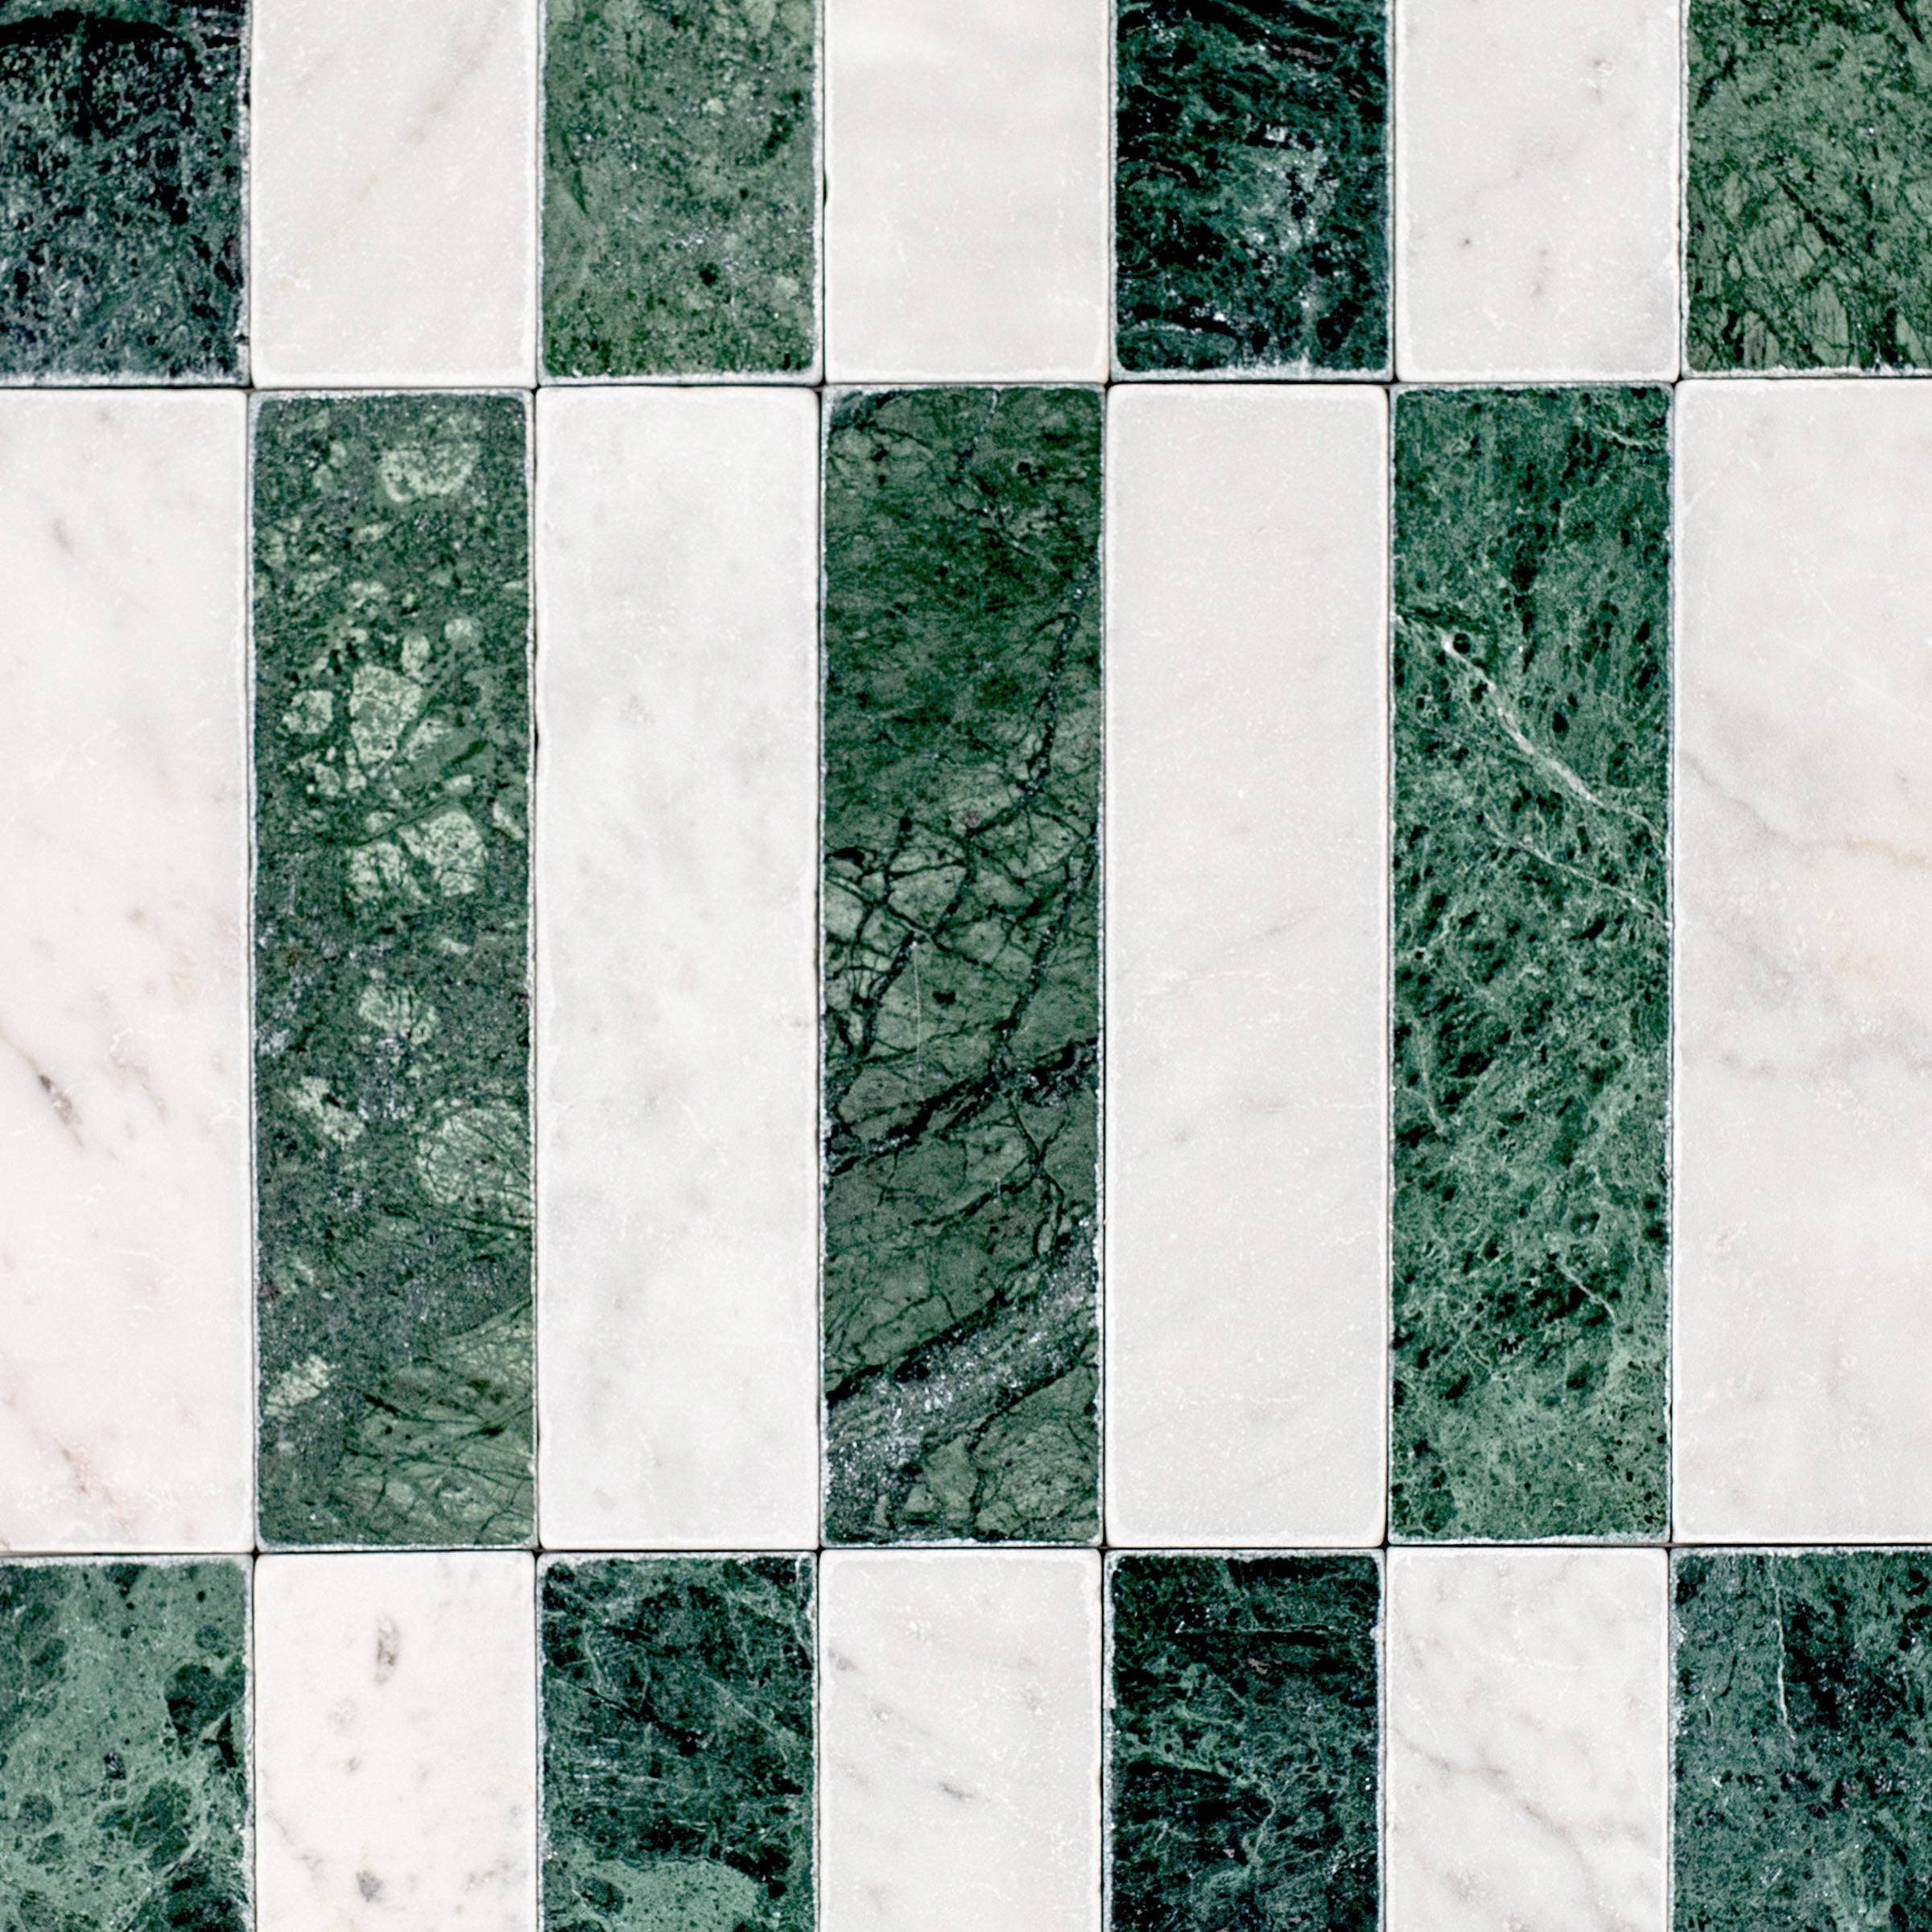
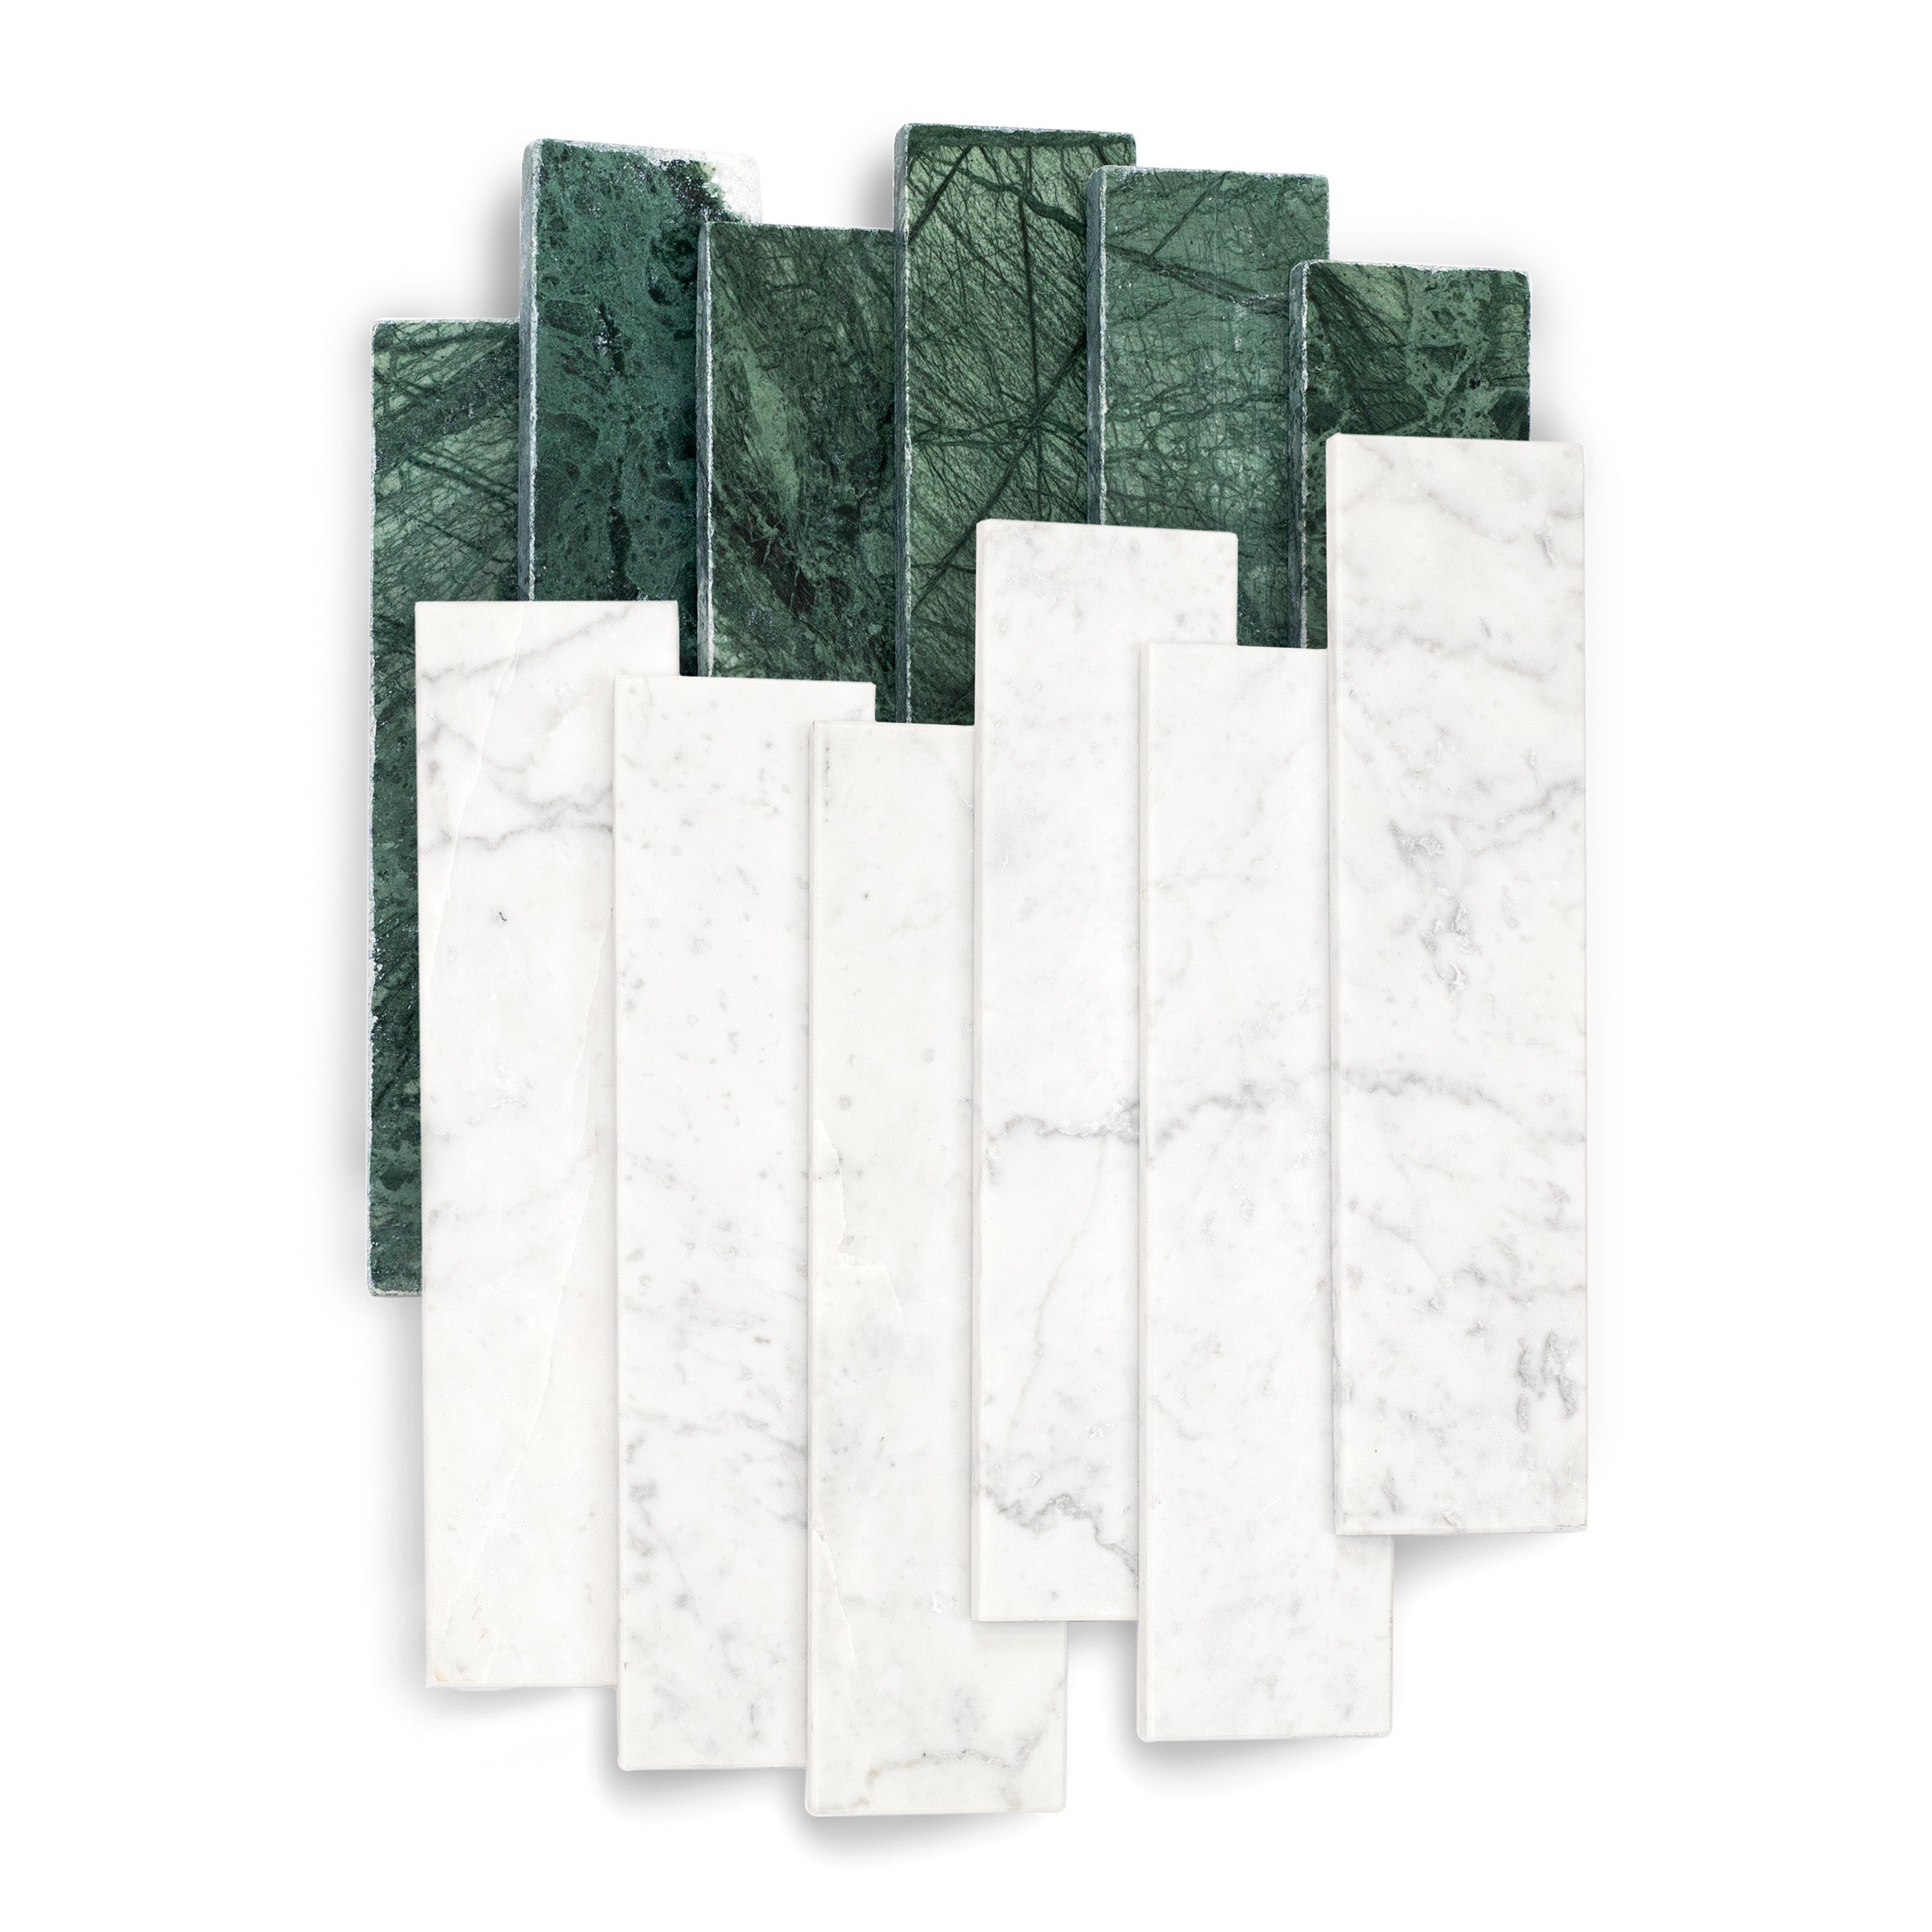
White & Ecru Octagon Zellige Mosaic
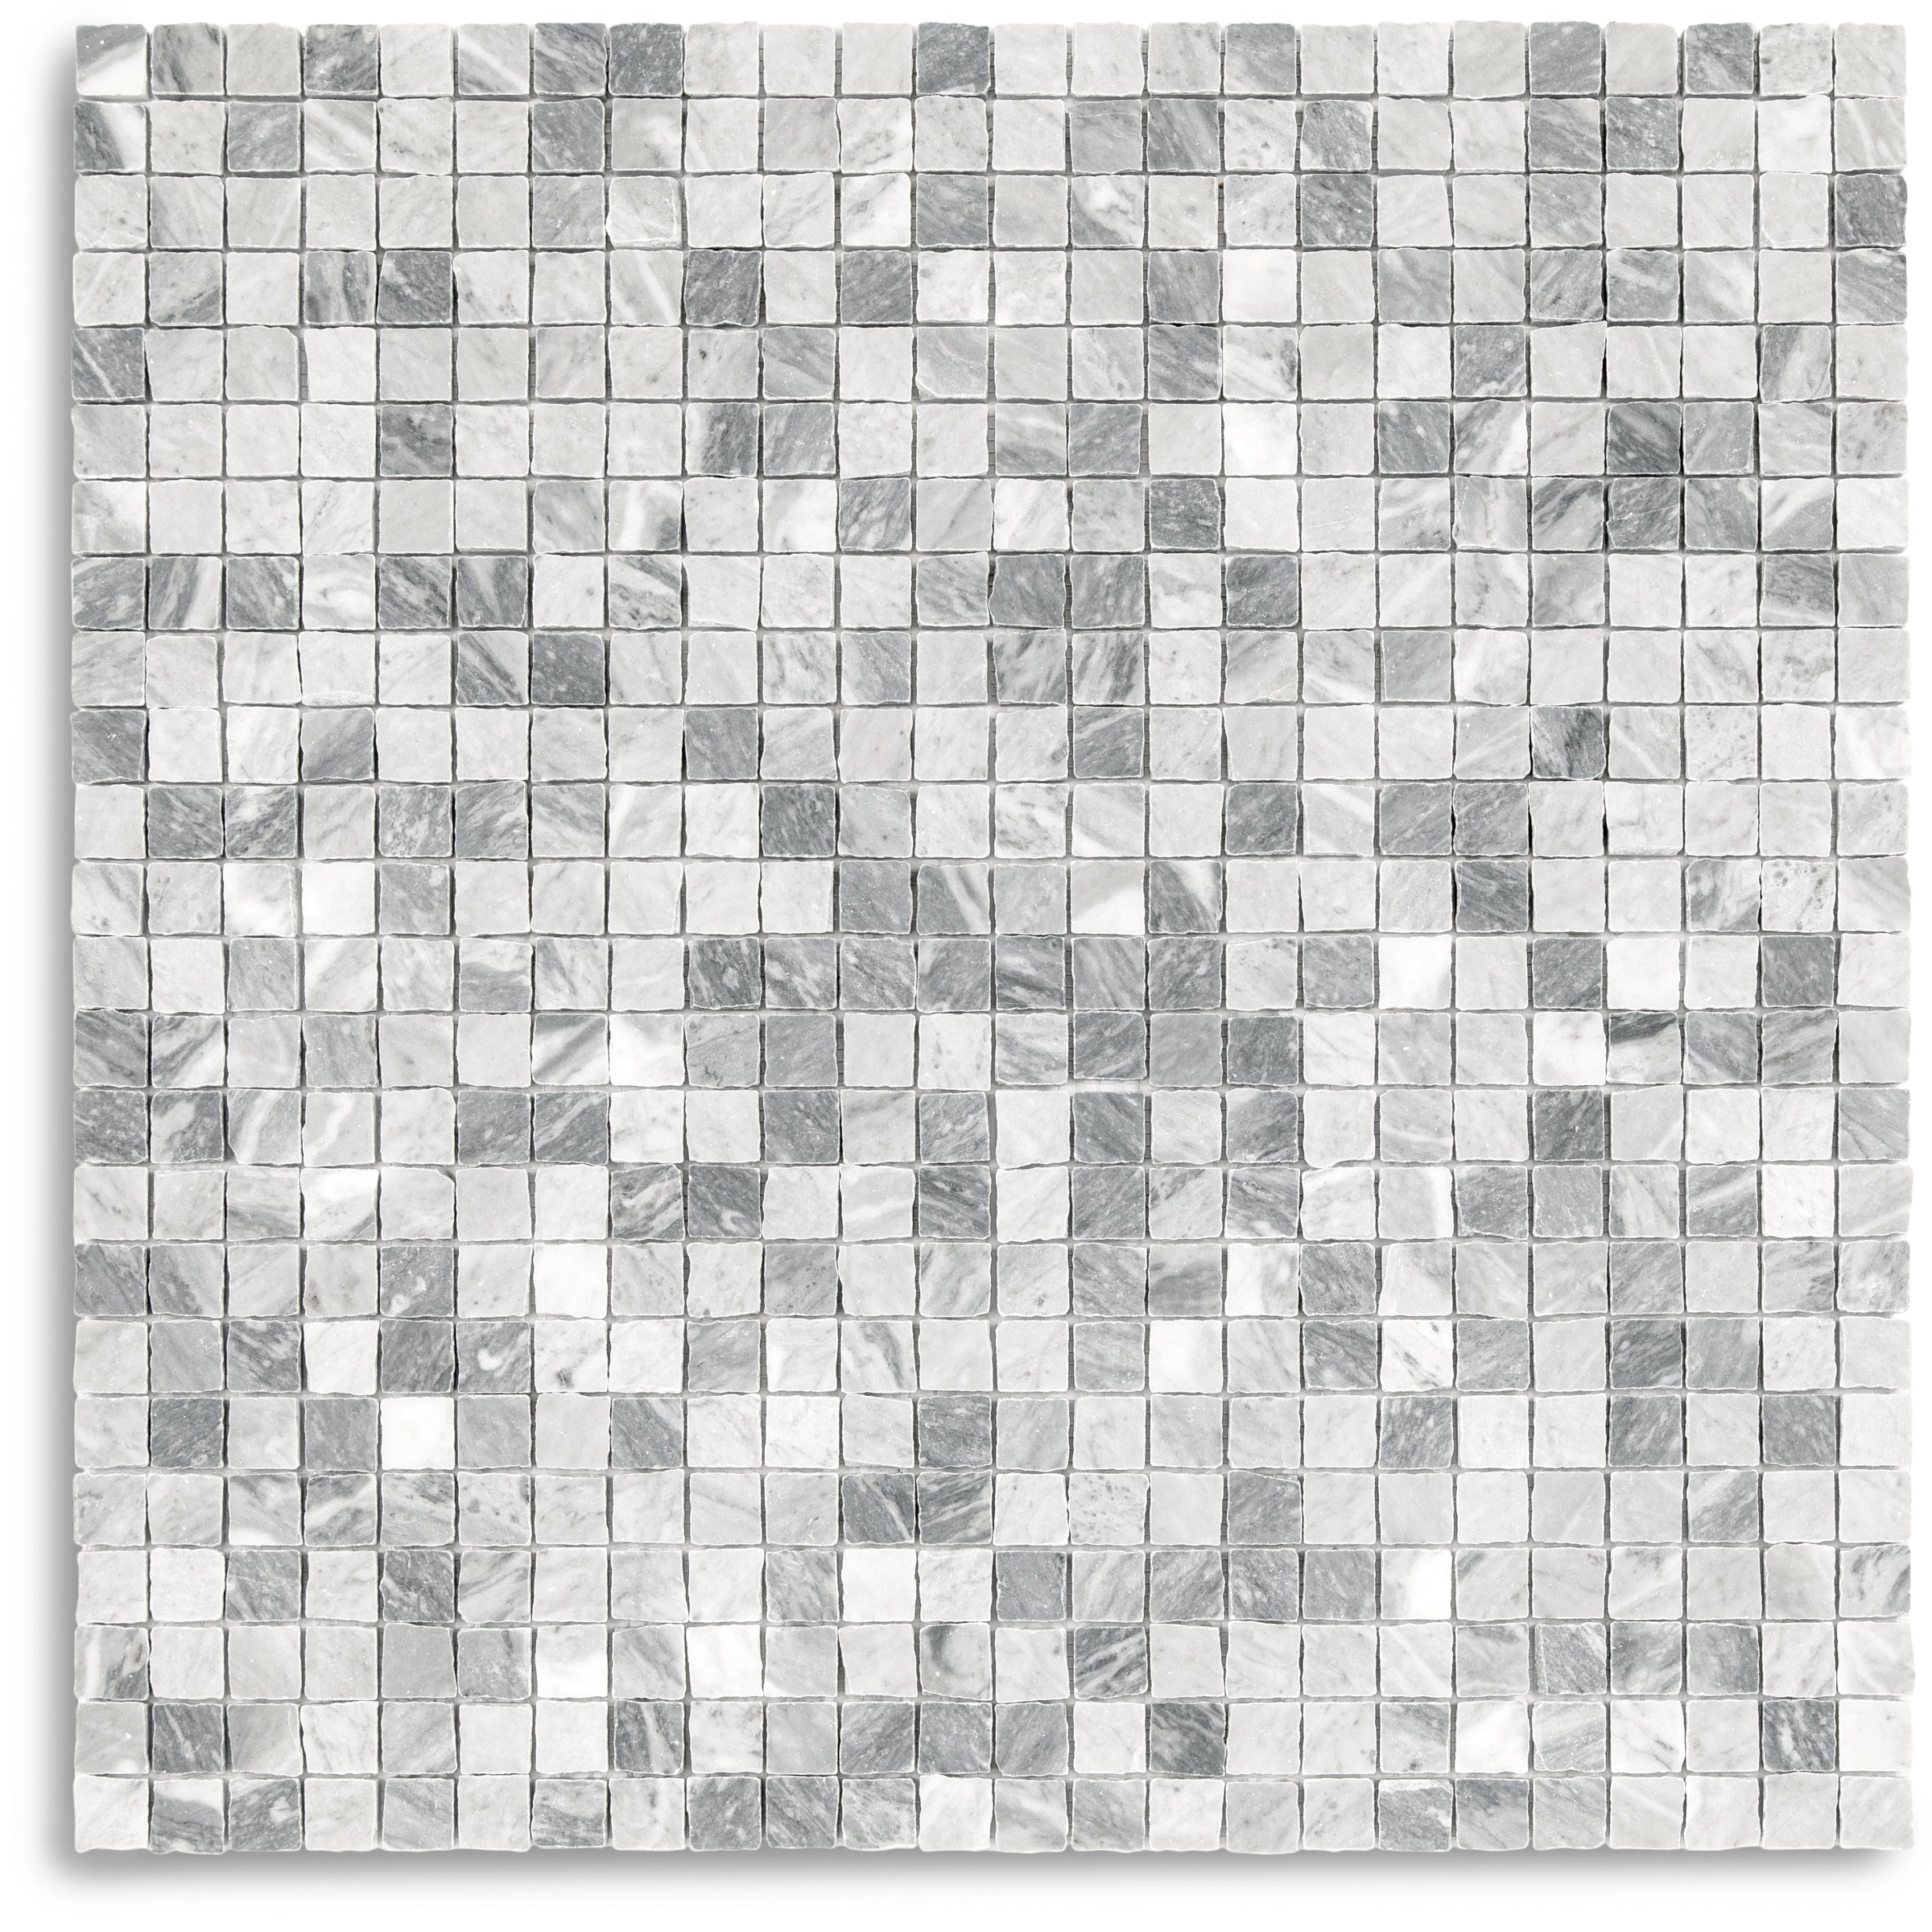
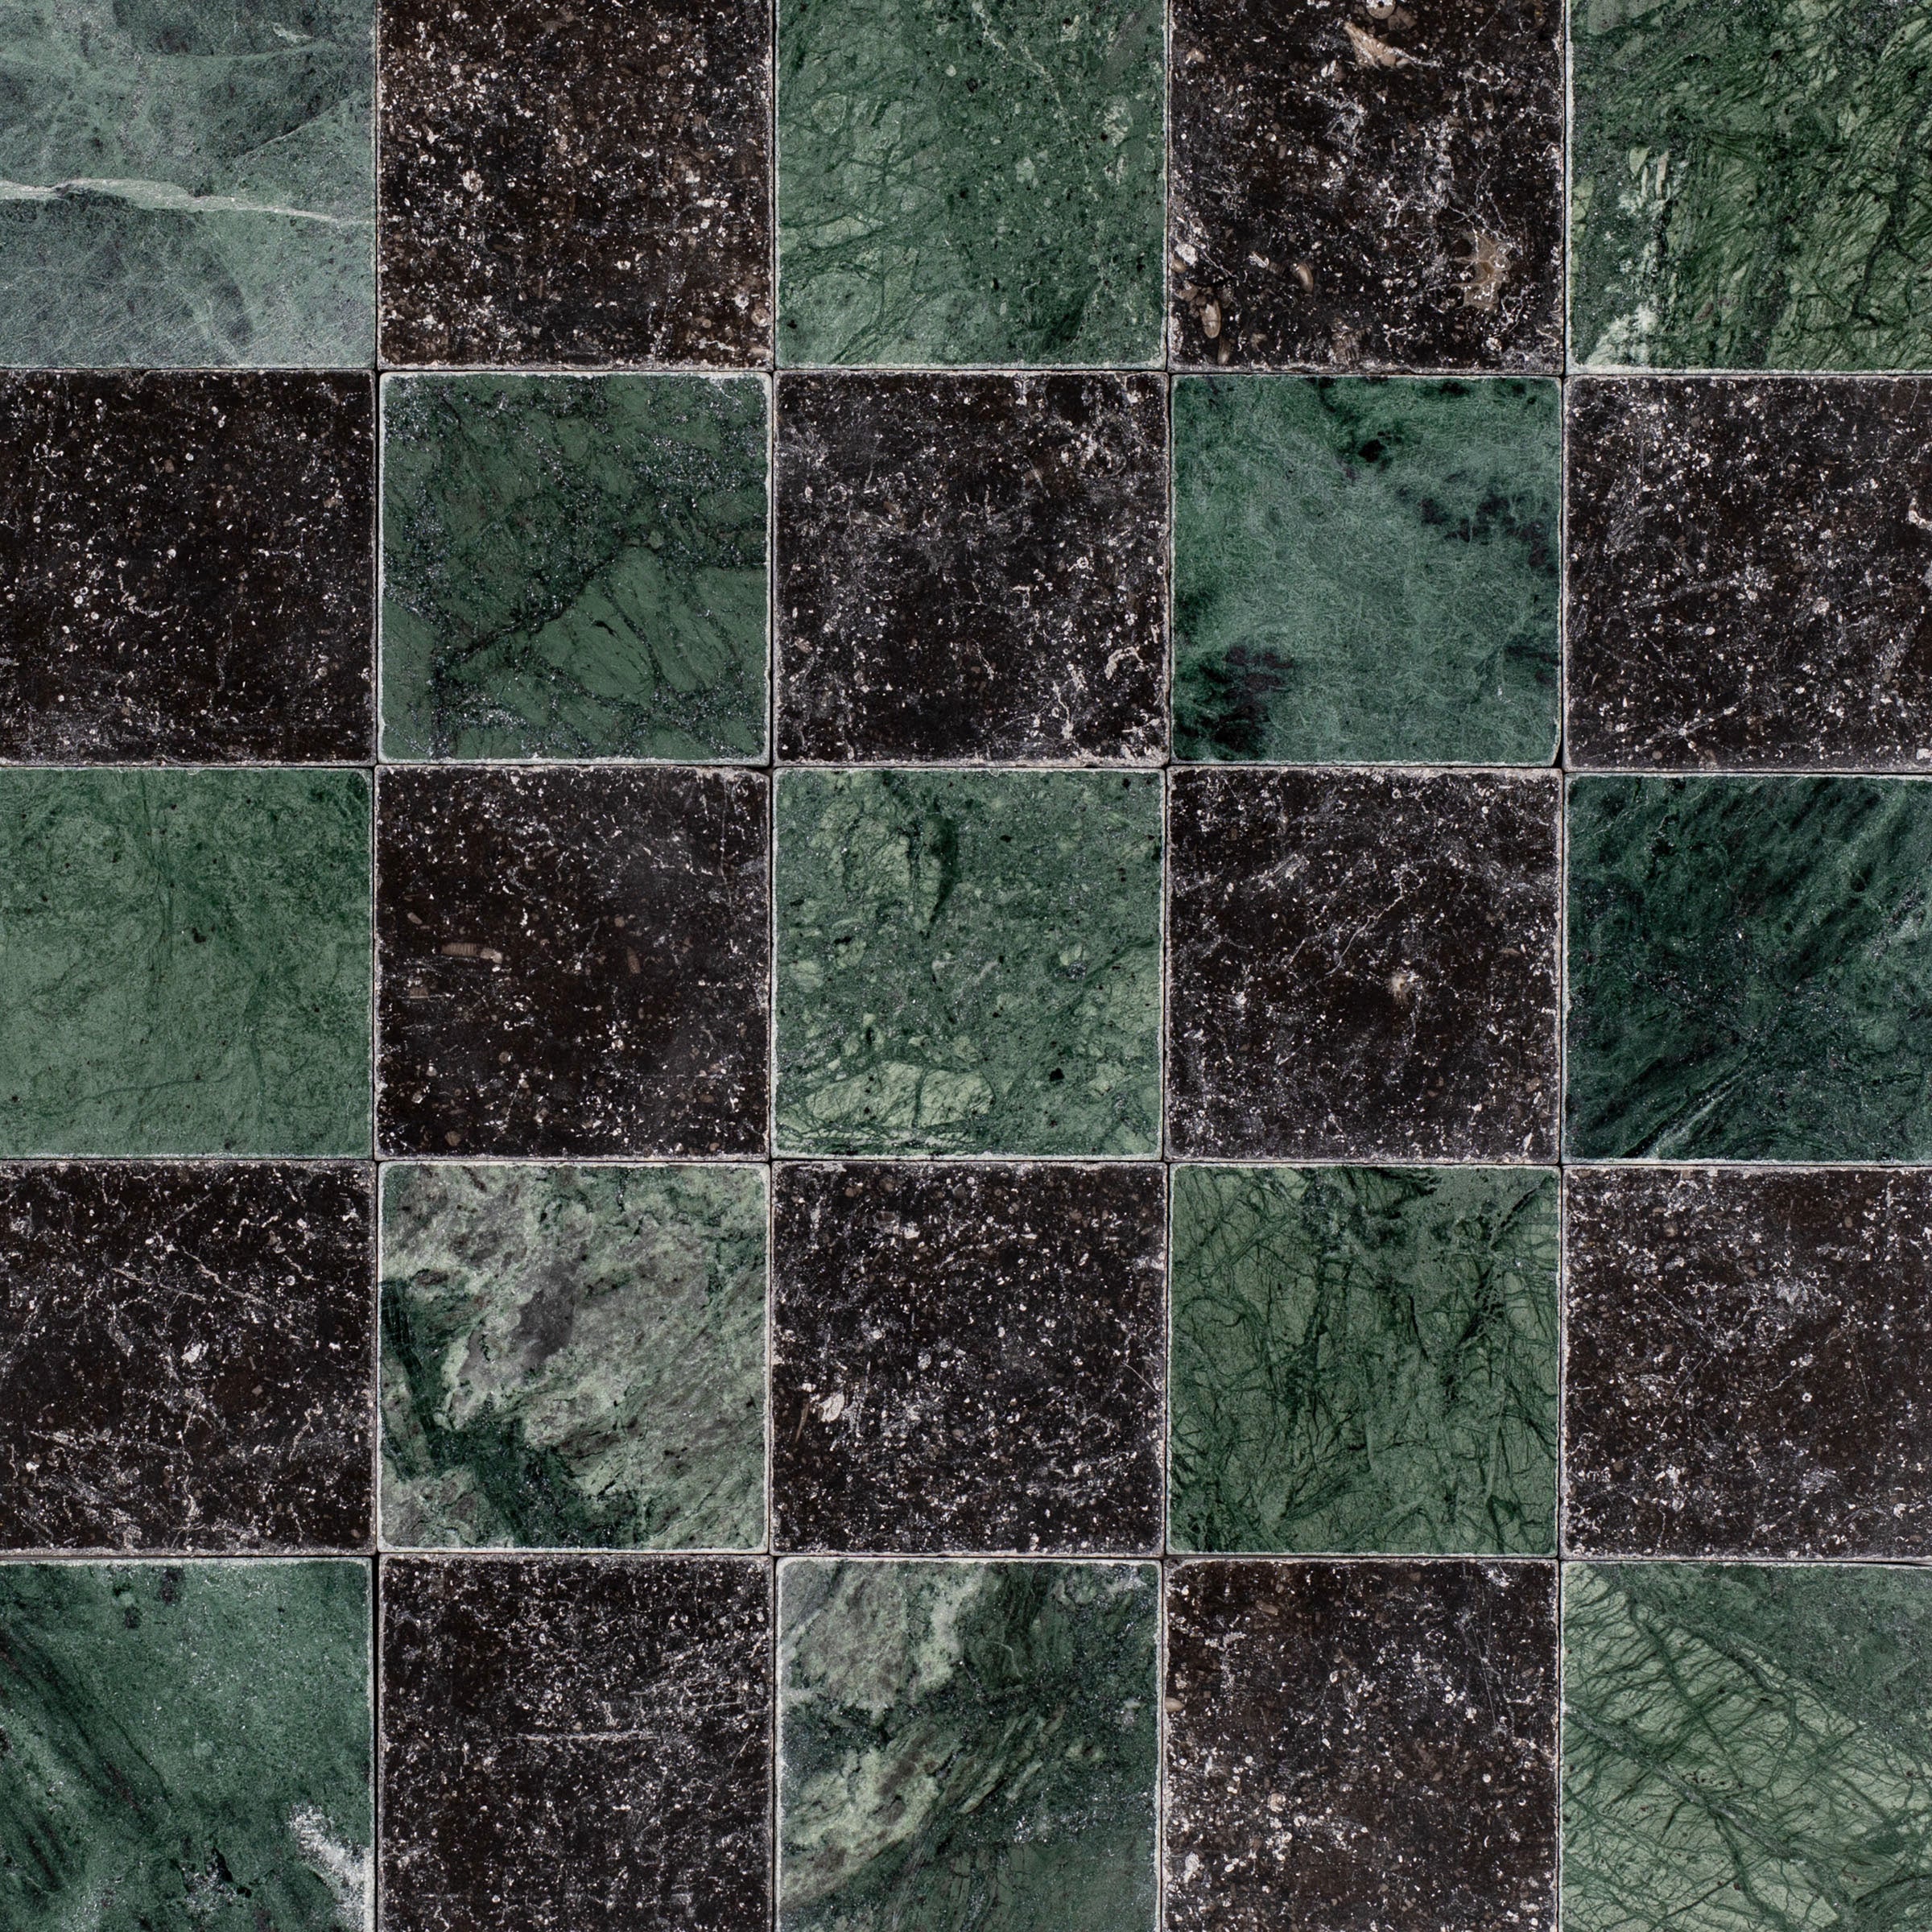
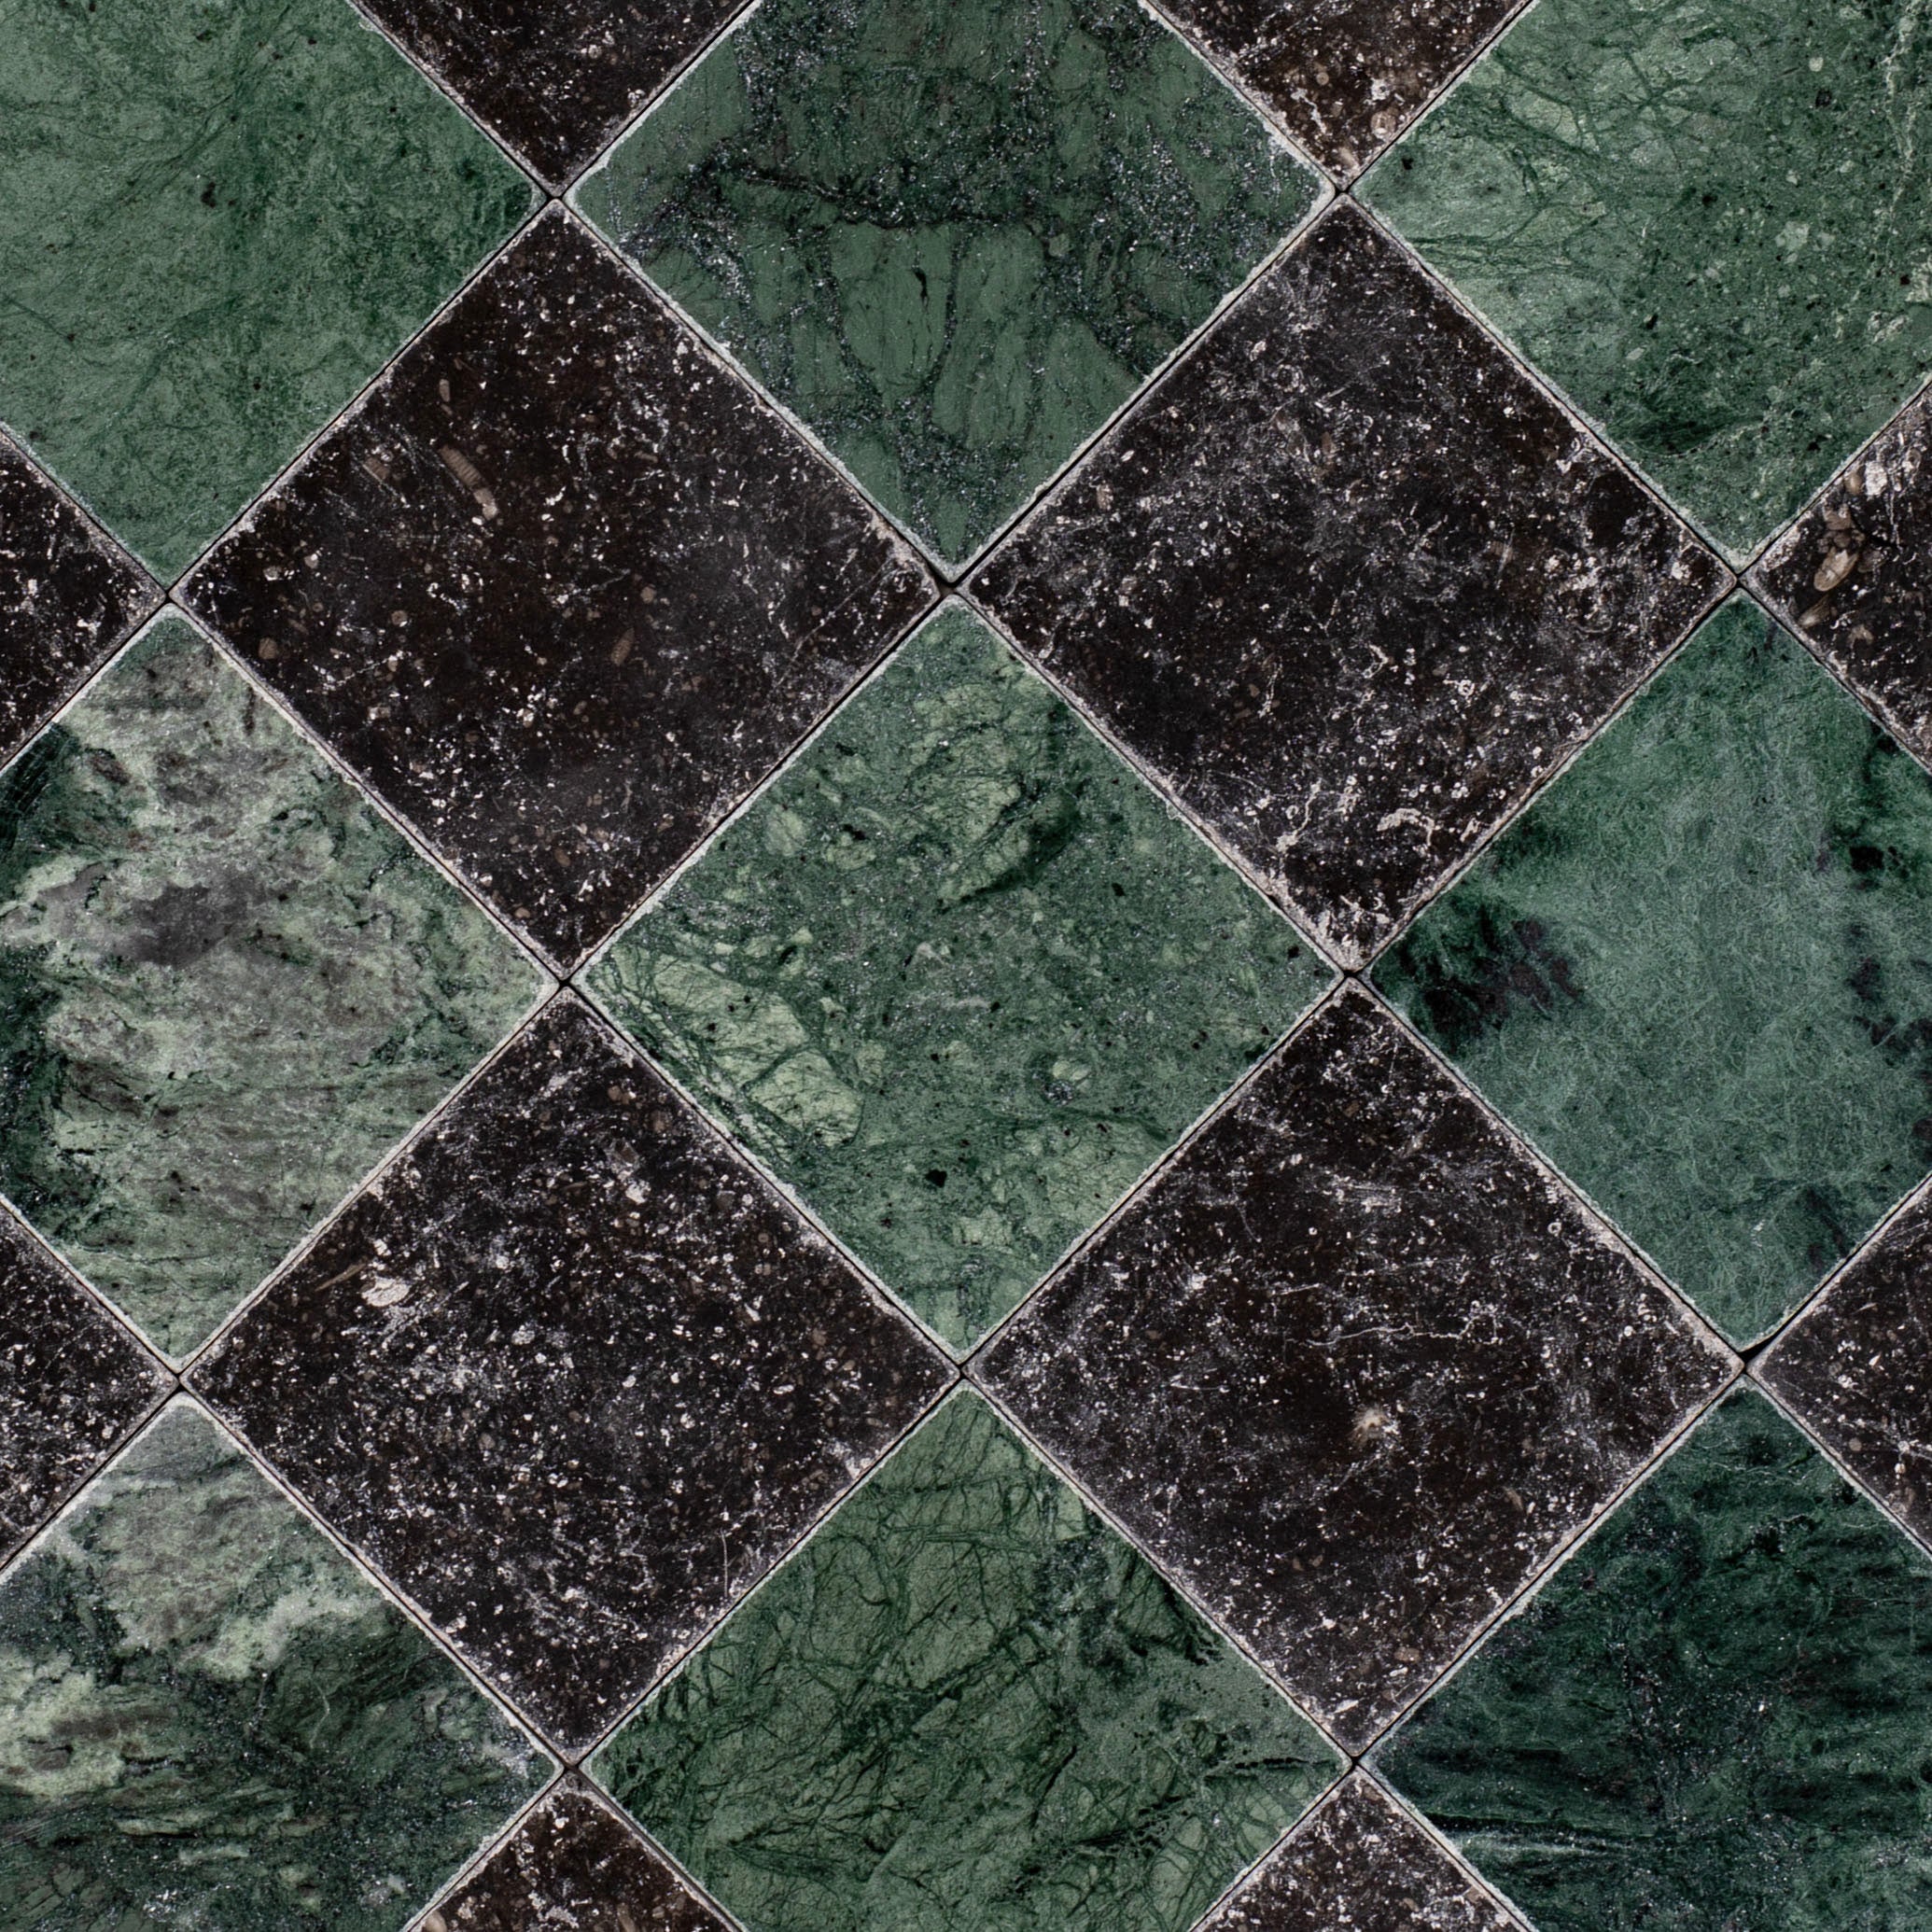
Thassos, Carrara, Bardiglio Gingham Marble Mosaic

Cotto Deco Terracotta Look Matte Porcelain Tile


White & Ecru 2x2 Zellige Checkerboard Mosaic
Murano Honed Italian Terrazzo Tile


Cotto Terracotta Look Matte Porcelain Tile

Chiaro Deco Terracotta Look Matte Porcelain Tile


Unglazed & White Octagon Zellige Mosaic

Carrara Bardiglio Tumbled Stone Checkerboard


White & Black Octagon Zellige Mosaic


Beige Limestone Look 3D Matte Porcelain Tile
Cream Limestone Look 3D Matte Porcelain Tile

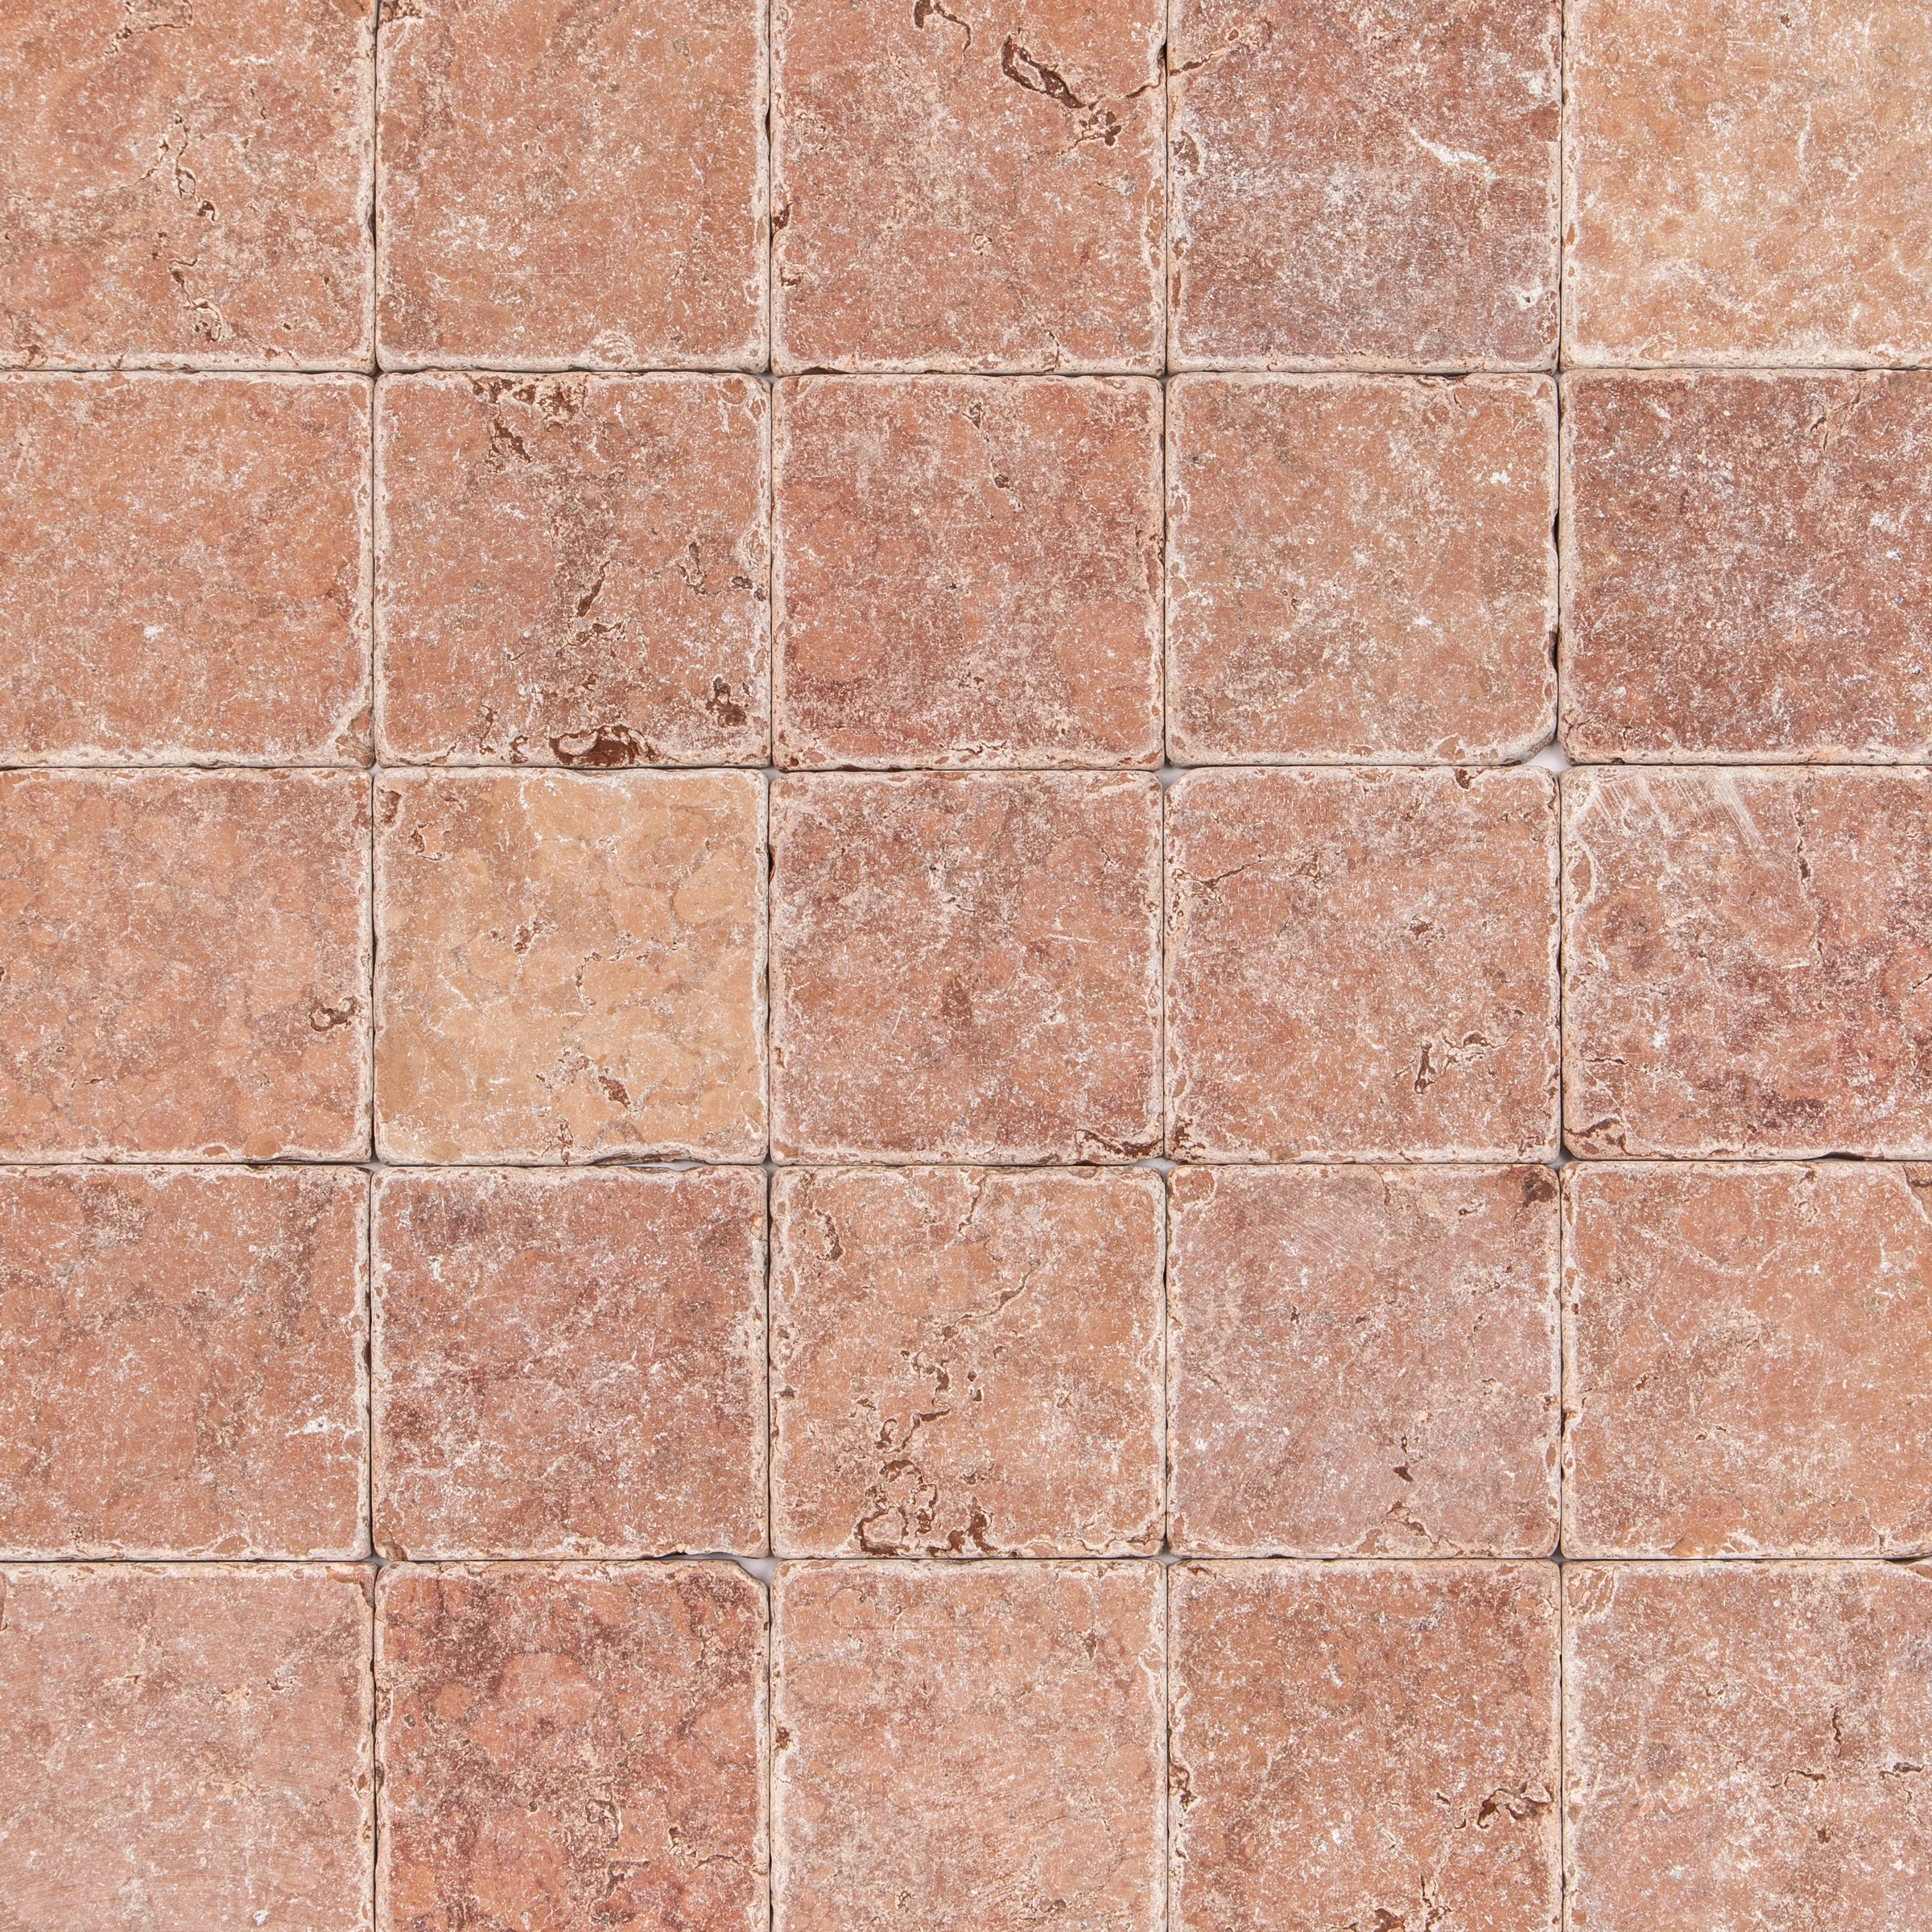
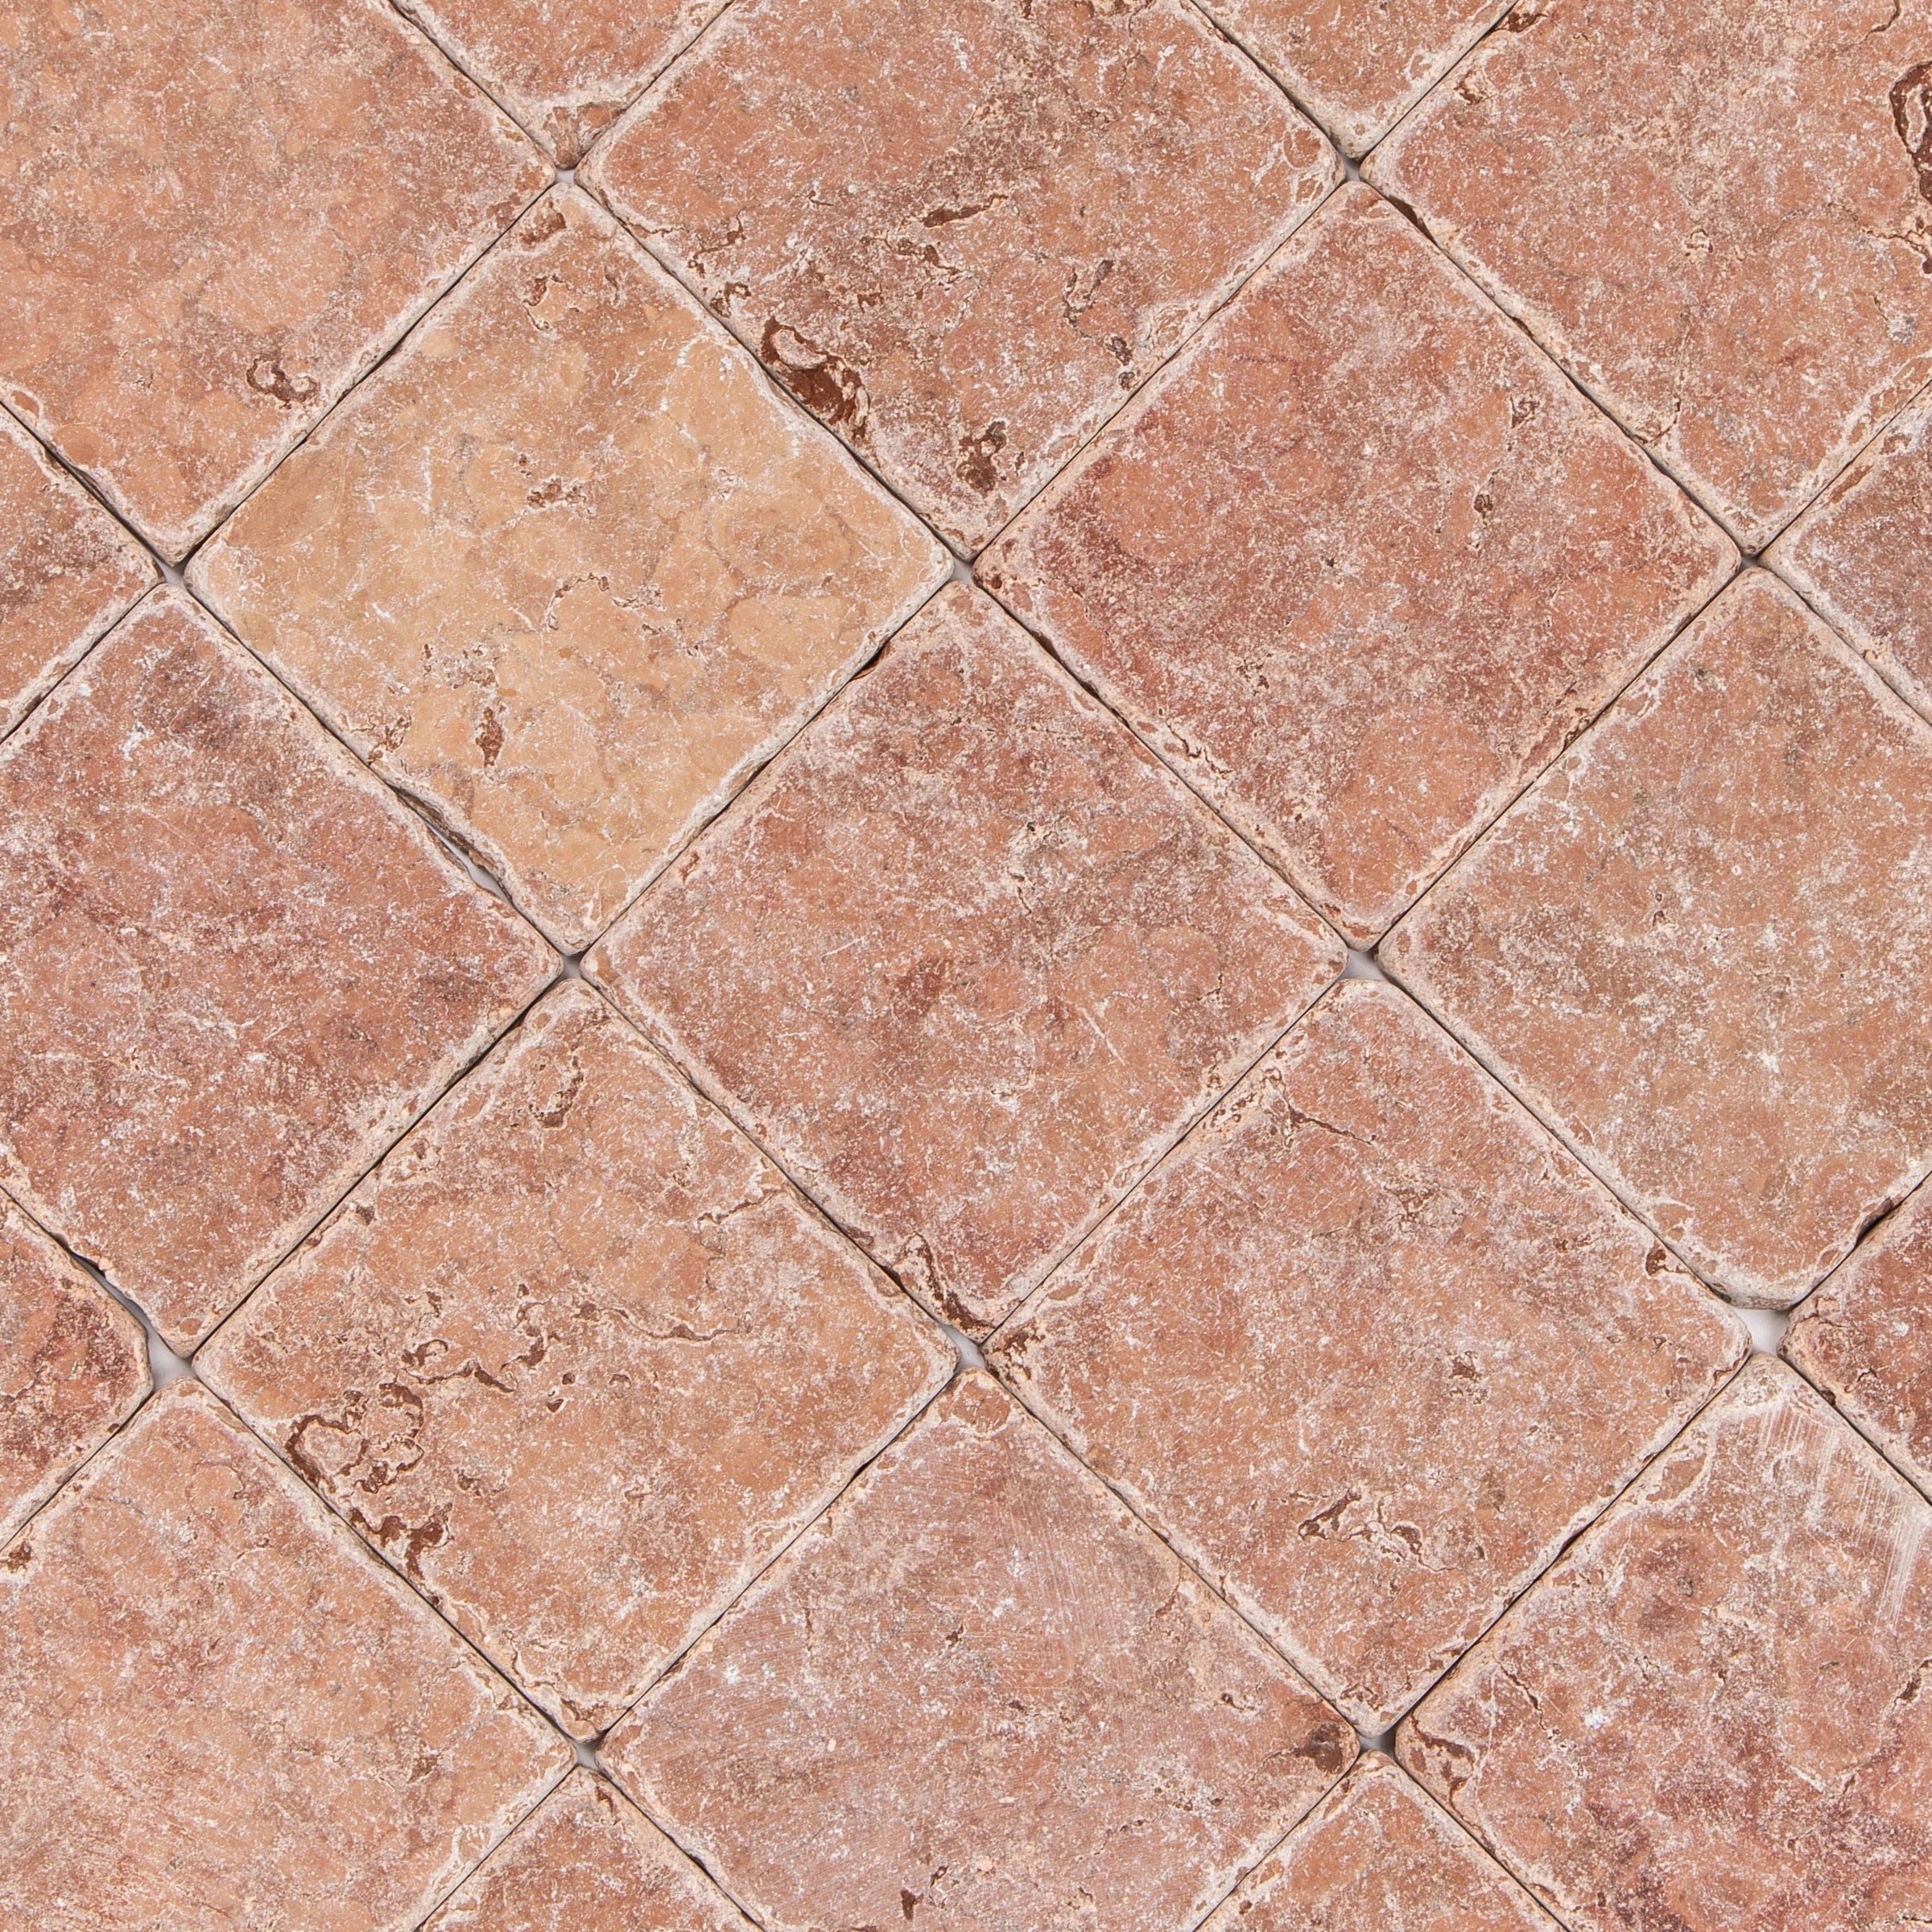
Rosso Verona Tumbled Marble Tile


Travertino Moka Stone Look Porcelain Tile
Apple 12x24 3D Glossy Porcelain Tile
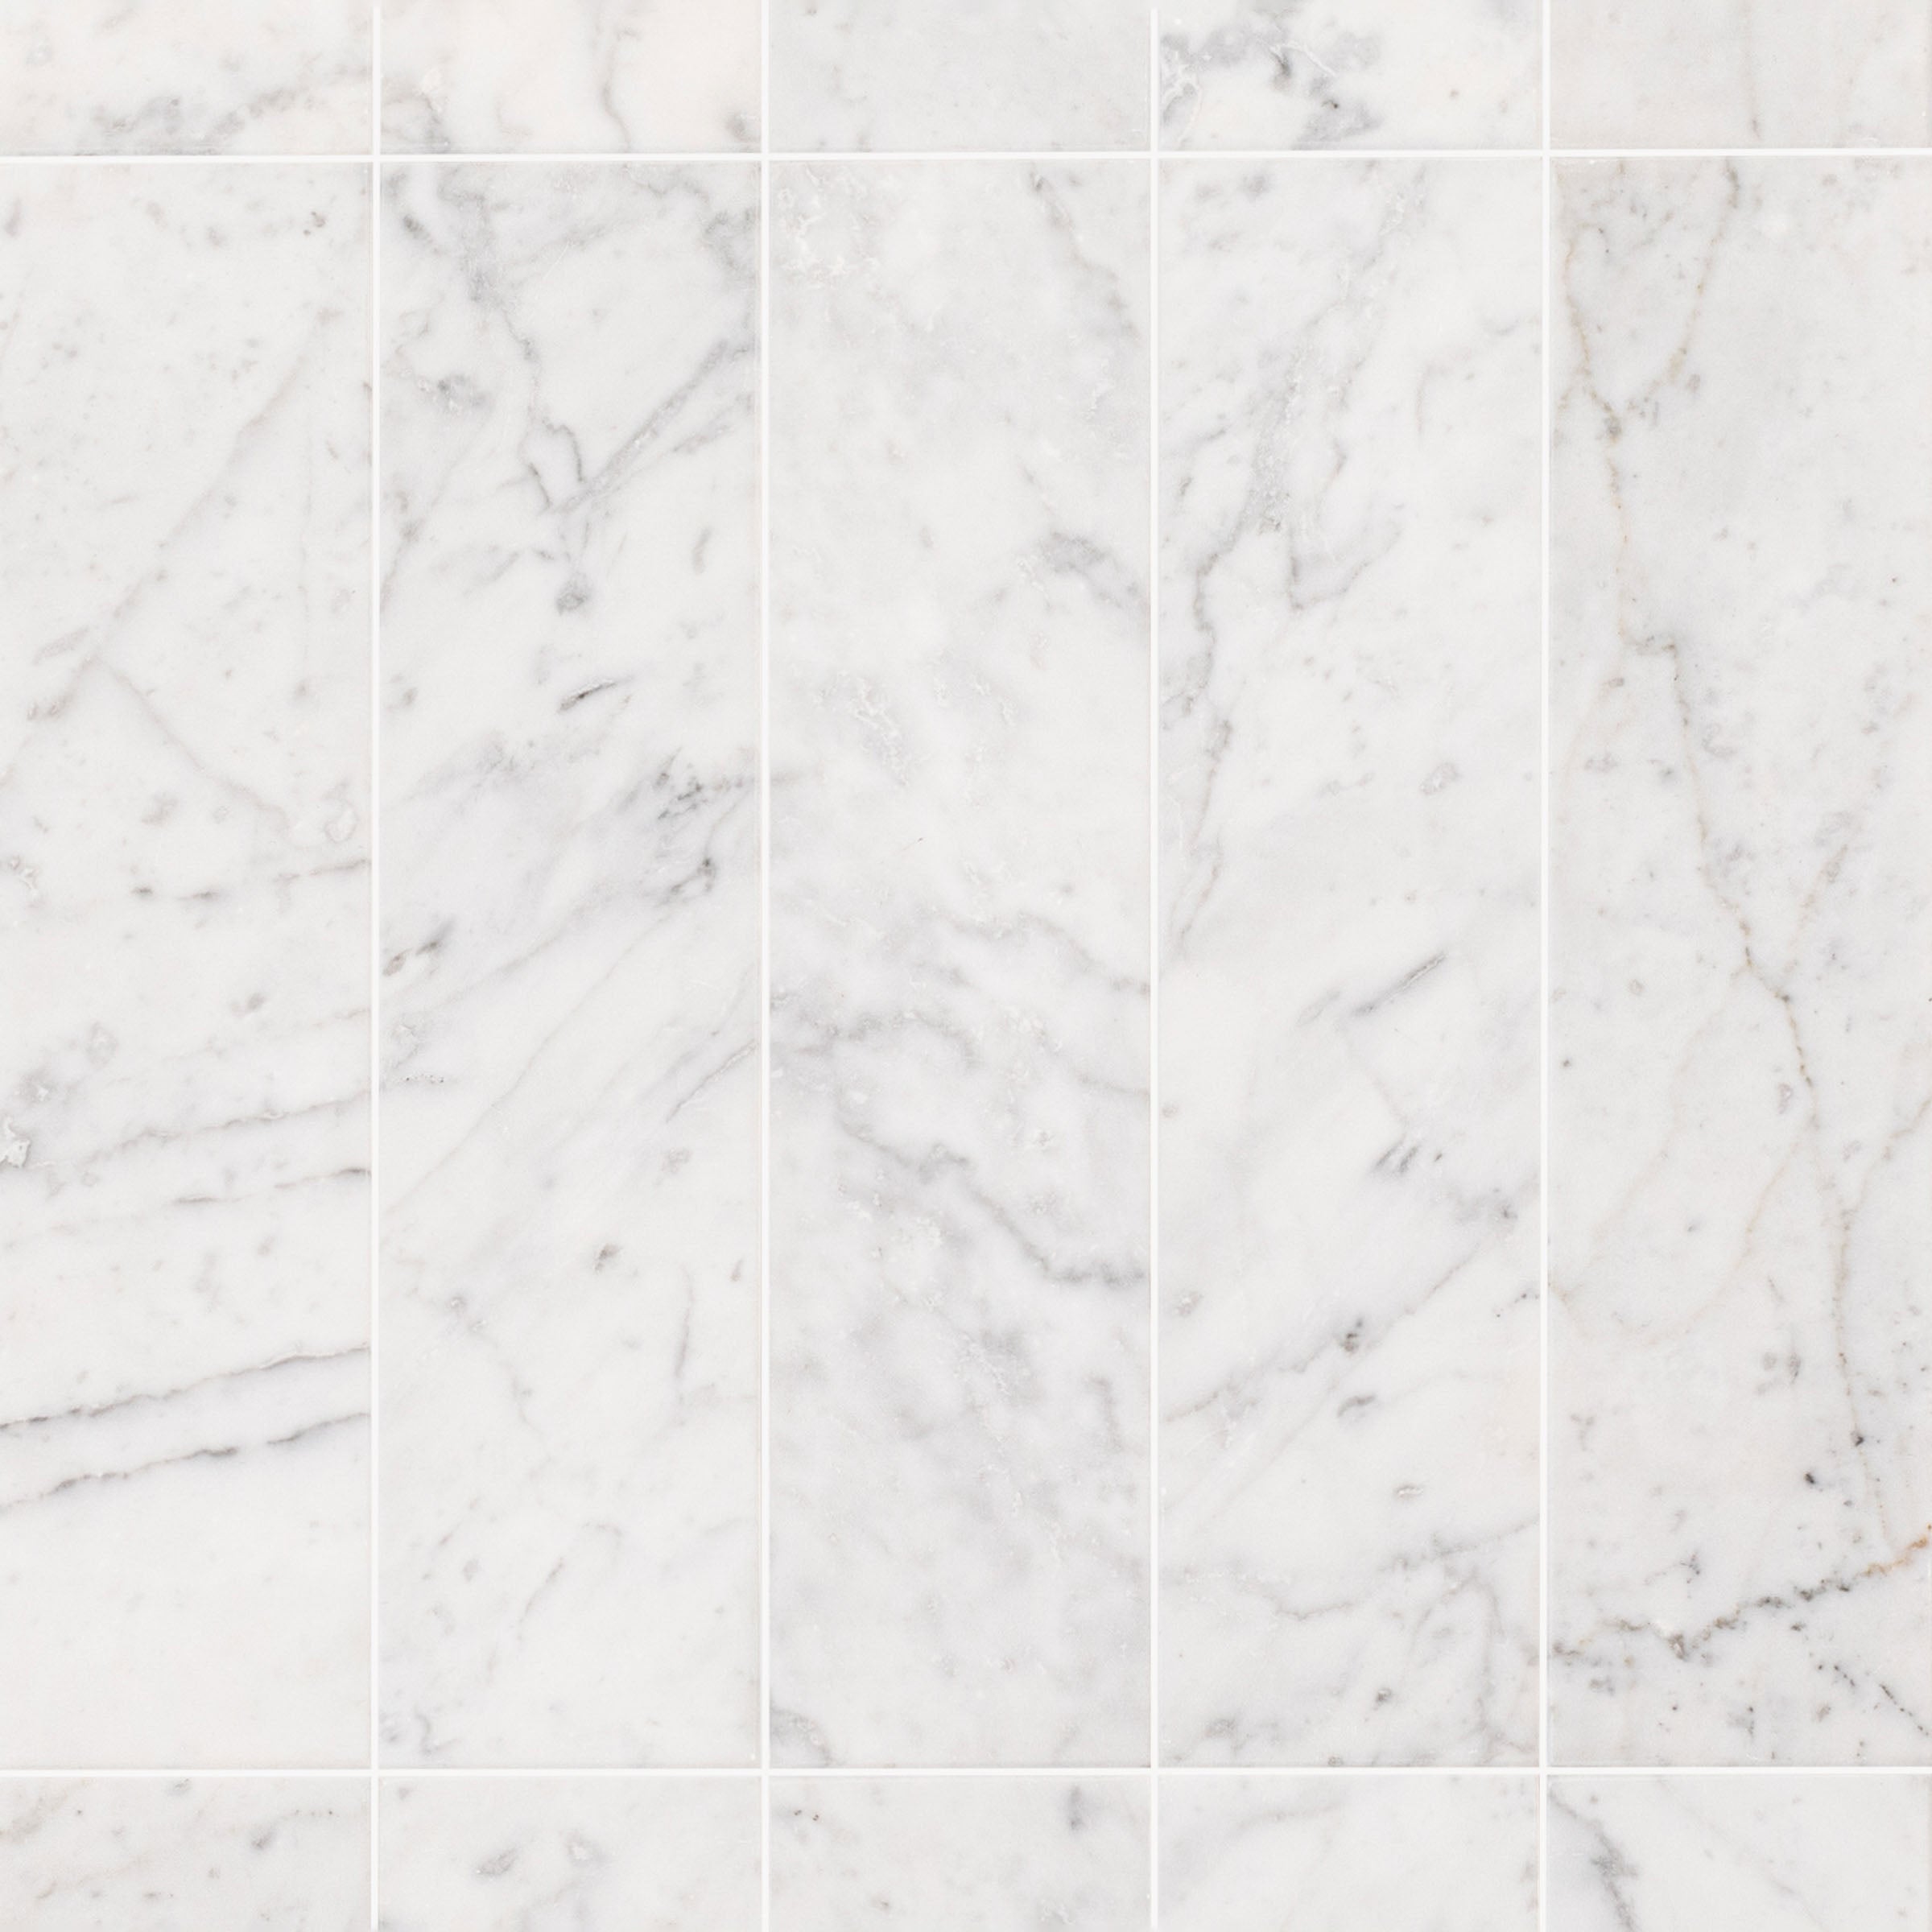
Bianco Carrara Honed Marble Tile
Amazzonite Matte Marble Look Porcelain Tile
Travertino 3D Matte Porcelain Tile

White Multi-Color Matte Porcelain Tile


Rosso Verona 1x1 Hand Chipped Marble Mosaic


Cream 12x24 3D Gloss Porcelain Tile
Navy 12x24 3D Gloss Porcelain Tile
Almond Cement Look Matte Porcelain Tile

Natura Terracotta Look Matte Porcelain Tile


Cream 2x2 Forma Porcelain Mosaic
White & Ecru Octagon Zellige Mosaic
Thassos, Carrara, Bardiglio Gingham Marble Mosaic
Cotto Deco Terracotta Look Matte Porcelain Tile
White & Ecru 2x2 Zellige Checkerboard Mosaic
Murano Honed Italian Terrazzo Tile
Cotto Terracotta Look Matte Porcelain Tile
Chiaro Deco Terracotta Look Matte Porcelain Tile
Unglazed & White Octagon Zellige Mosaic
Carrara Bardiglio Tumbled Stone Checkerboard
White & Black Octagon Zellige Mosaic


Beige Limestone Look 3D Matte Porcelain Tile
Cream Limestone Look 3D Matte Porcelain Tile
Rosso Verona Tumbled Marble Tile
Apple 12x24 3D Glossy Porcelain Tile
Bianco Carrara Honed Marble Tile
Travertino Moka Stone Look Porcelain Tile
Rosso Verona 1x1 Hand Chipped Marble Mosaic
Amazzonite Matte Marble Look Porcelain Tile
Travertino 3D Matte Porcelain Tile
White Multi-Color Matte Porcelain Tile
Cream 12x24 3D Gloss Porcelain Tile
Navy 12x24 3D Gloss Porcelain Tile
Natura Terracotta Look Matte Porcelain Tile
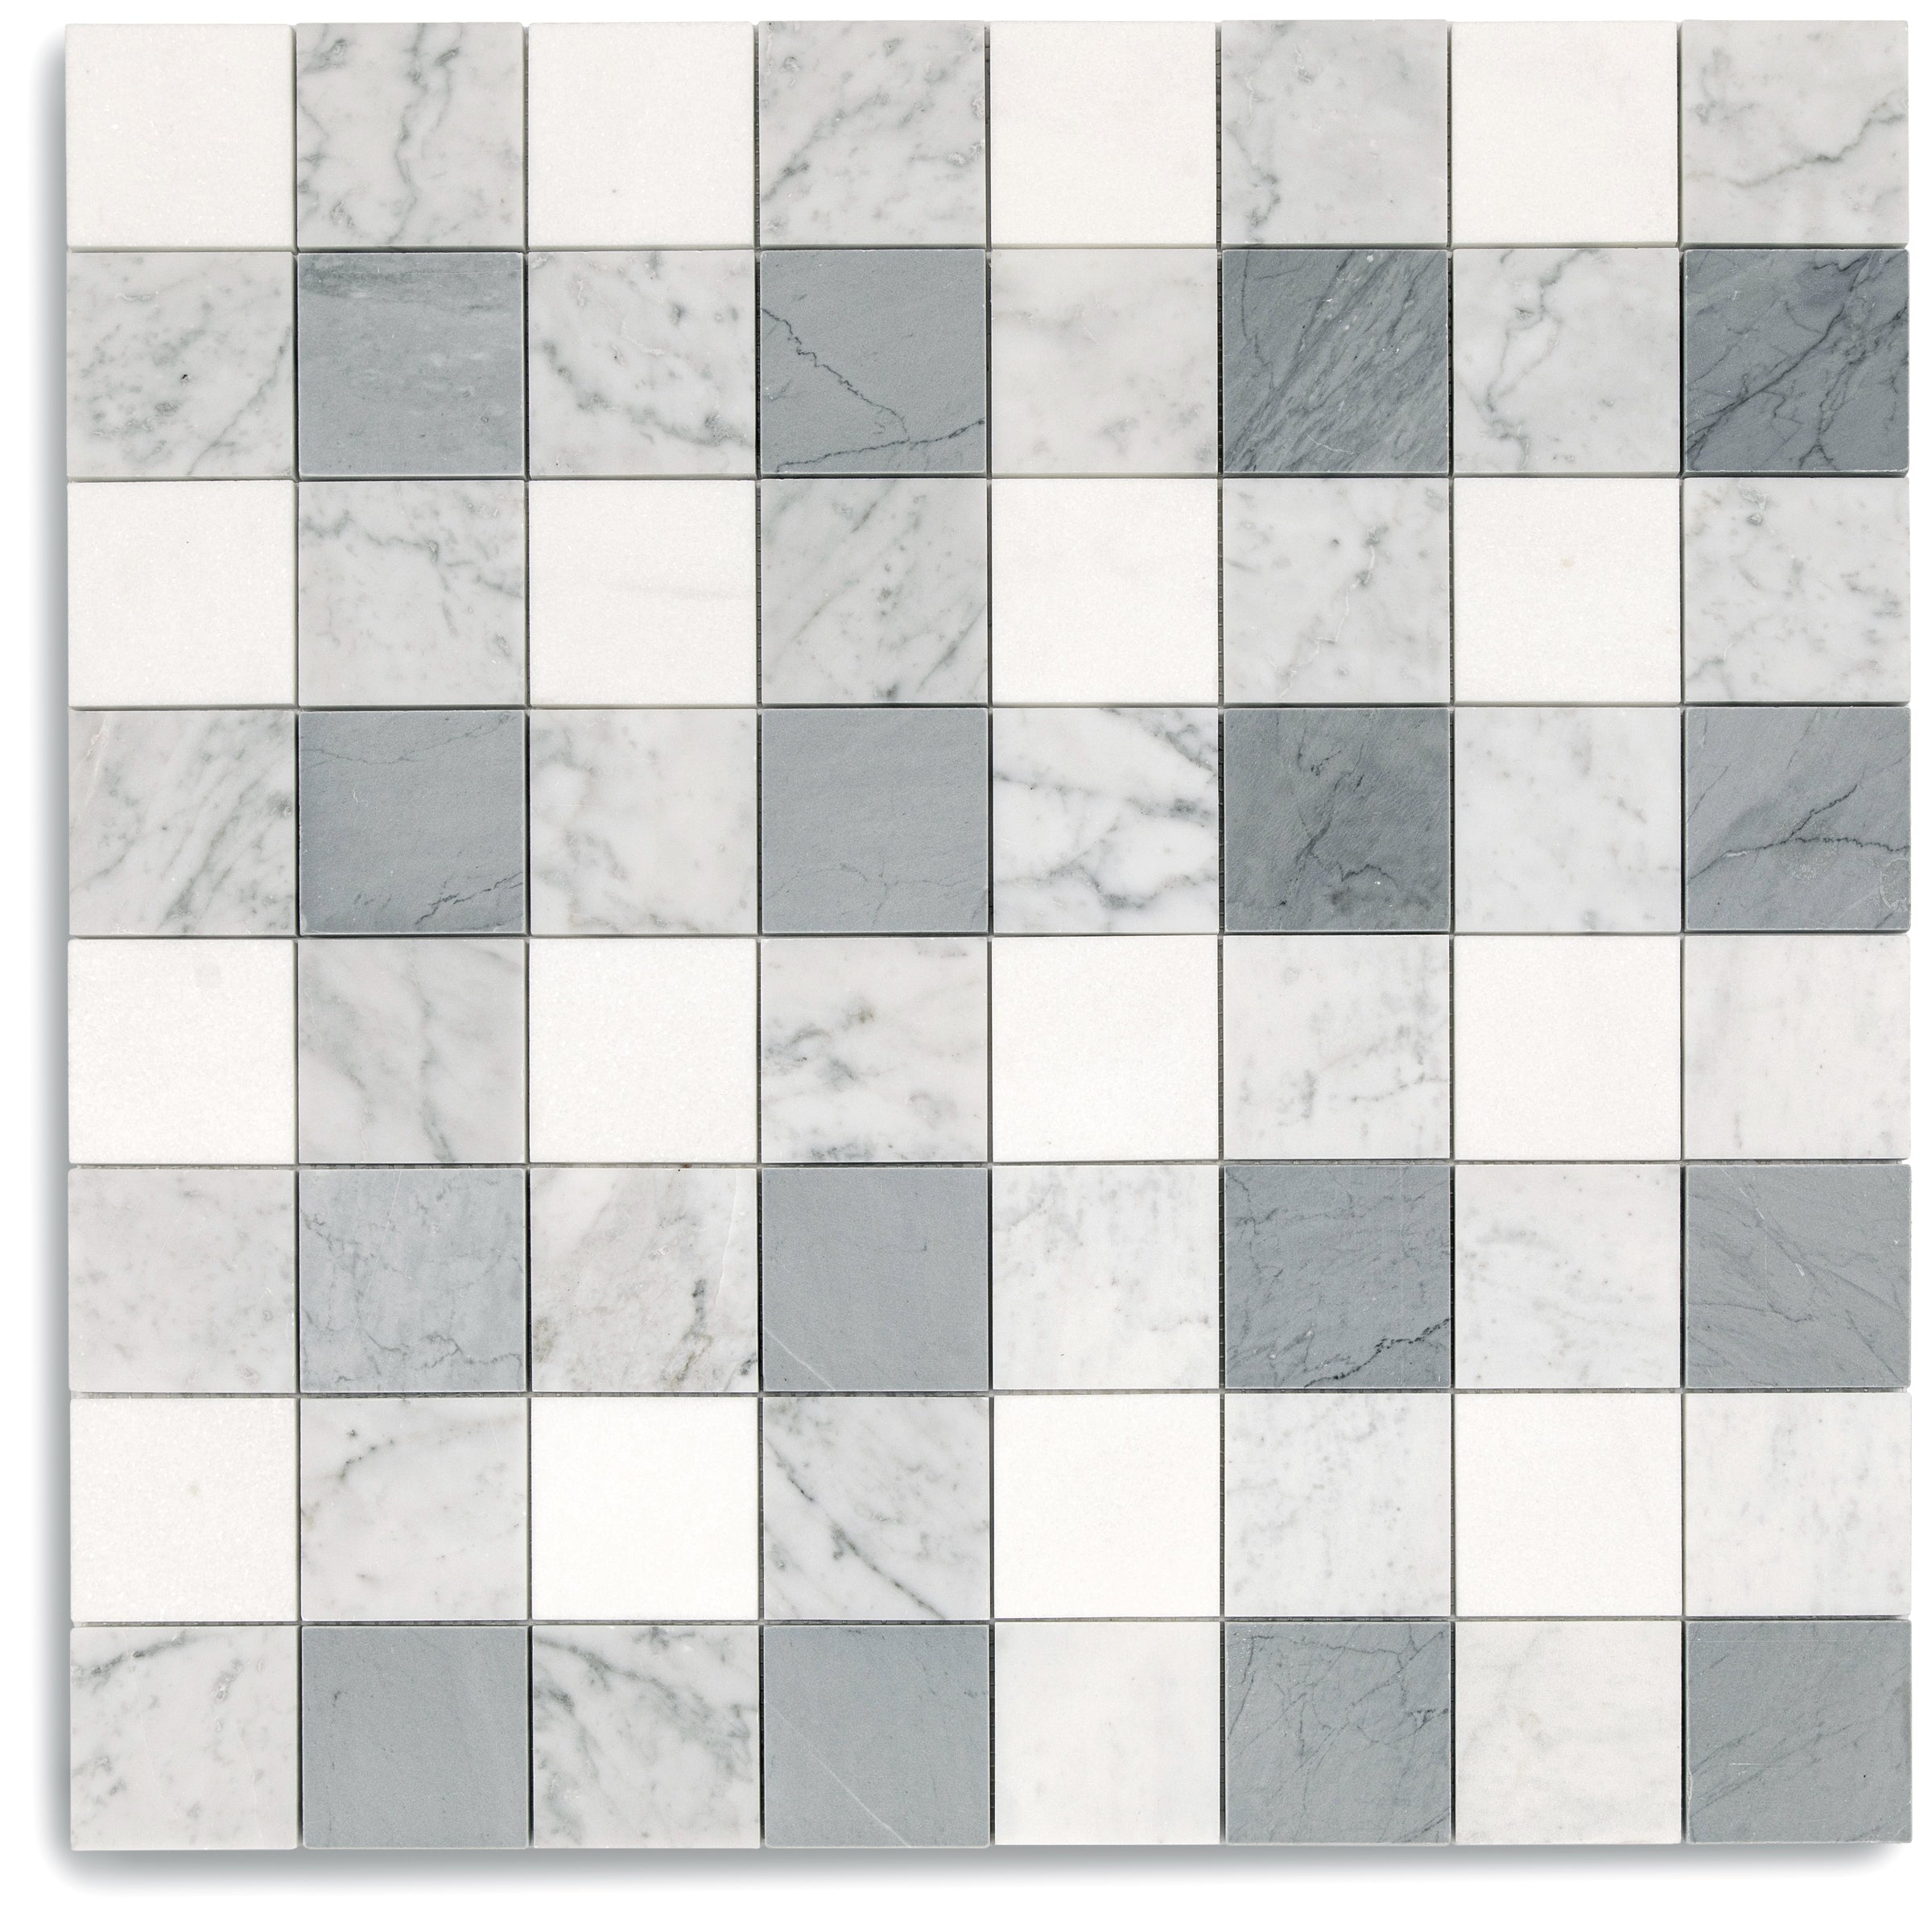
Bianco Carrara Octagon w/ Nero Marquina Dot Mosaic
White & Ecru Octagon Zellige Mosaic
Thassos, Carrara, Bardiglio Gingham Marble Mosaic
Cotto Deco Terracotta Look Matte Porcelain Tile
White & Ecru 2x2 Zellige Checkerboard Mosaic
Murano Honed Italian Terrazzo Tile
Cotto Terracotta Look Matte Porcelain Tile
Chiaro Deco Terracotta Look Matte Porcelain Tile
Unglazed & White Octagon Zellige Mosaic
Carrara Bardiglio Tumbled Stone Checkerboard
White & Black Octagon Zellige Mosaic
Beige Limestone Look 3D Matte Porcelain Tile
Cream Limestone Look 3D Matte Porcelain Tile
Rosso Verona Tumbled Marble Tile
Travertino Moka Stone Look Porcelain Tile
Bianco Carrara Honed Marble Tile
Rosso Verona 1x1 Hand Chipped Marble Mosaic
Amazzonite Matte Marble Look Porcelain Tile
Travertino 3D Matte Porcelain Tile
White Multi-Color Matte Porcelain Tile
Spider Gold Matte Marble Look Porcelain Tile
Cream 2x2 Forma Porcelain Mosaic


Cotto 2x2 Forma Porcelain Mosaic
Bianco Carrara Octagon w/ Nero Marquina Dot Mosaic
Almond Cement Look Matte Porcelain Tile
Natura Terracotta Look Matte Porcelain Tile


Star & Cross Classic Terracotta Tile
Bardiglio Desert Tea Tumbled Stone Checker Stripe
Breccia Capraia 3D Mable Look Porcelain Tile
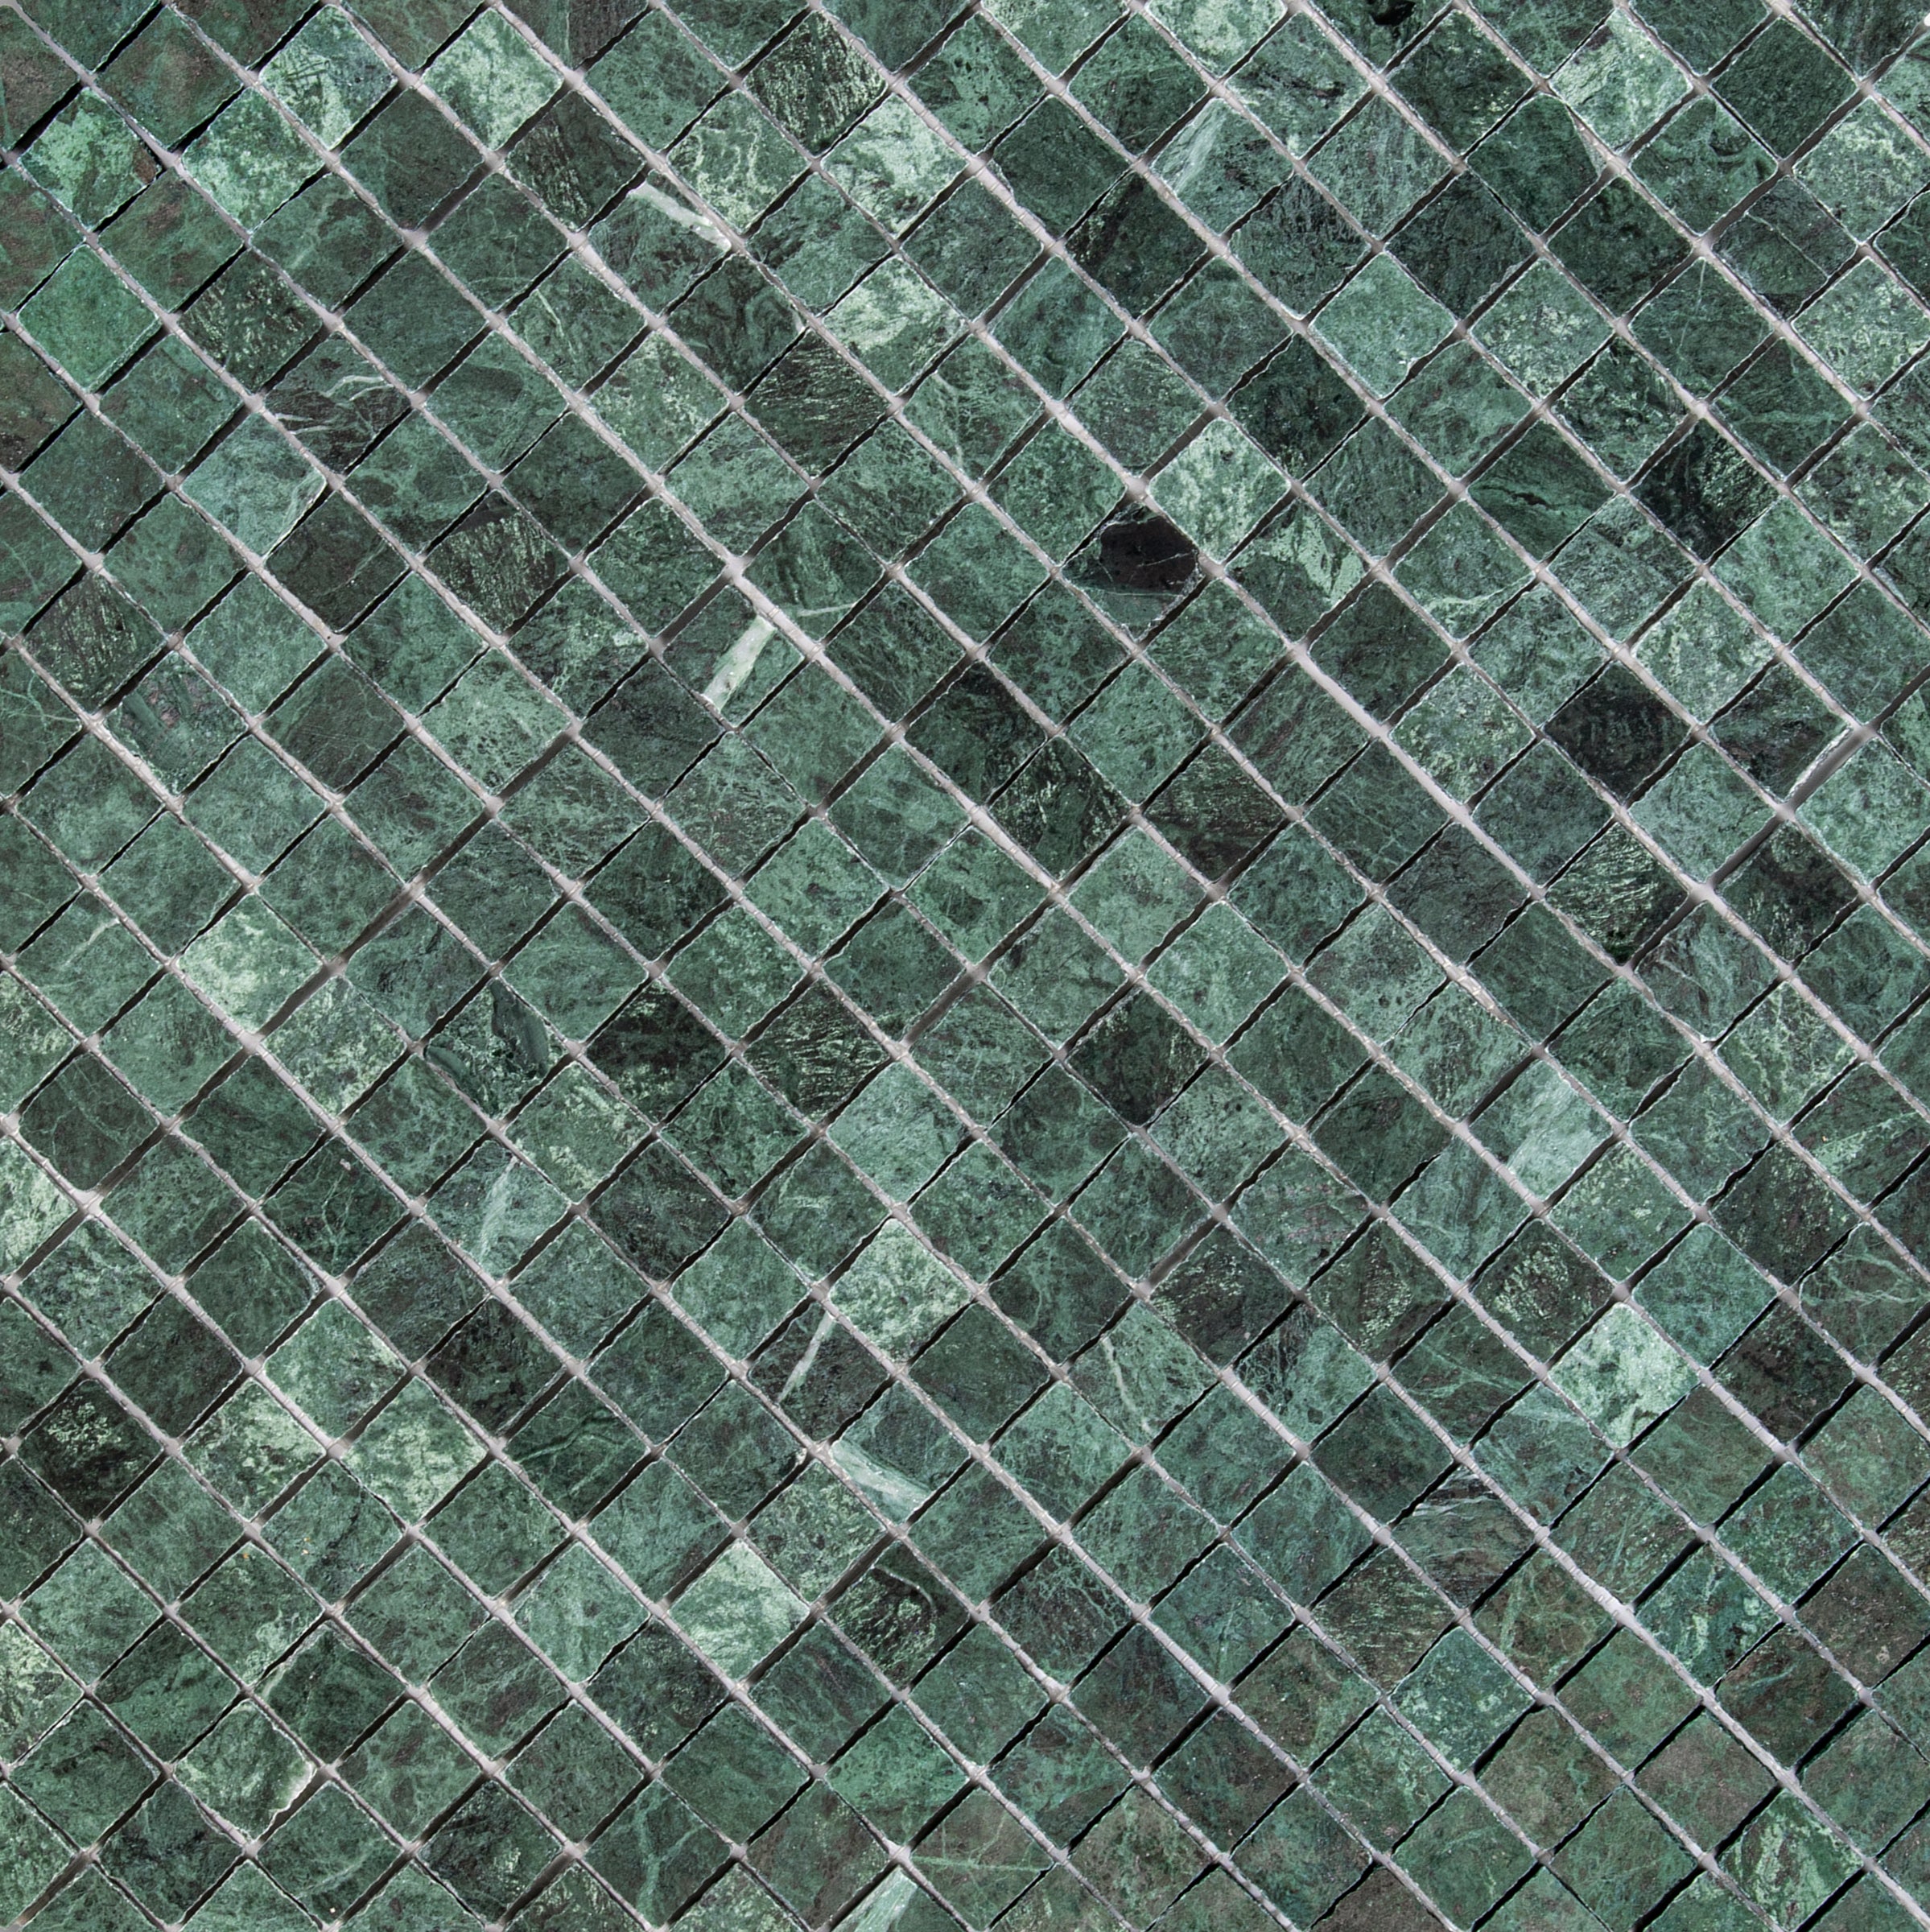
Verde Guatemala Tumbled Marble Tile
White & Ecru Octagon Zellige Mosaic
Thassos, Carrara, Bardiglio Gingham Marble Mosaic
Cotto Deco Terracotta Look Matte Porcelain Tile
White & Ecru 2x2 Zellige Checkerboard Mosaic
Murano Honed Italian Terrazzo Tile
Cotto Terracotta Look Matte Porcelain Tile
Chiaro Deco Terracotta Look Matte Porcelain Tile
Unglazed & White Octagon Zellige Mosaic
Carrara Bardiglio Tumbled Stone Checkerboard
White & Black Octagon Zellige Mosaic
Beige Limestone Look 3D Matte Porcelain Tile
Cream Limestone Look 3D Matte Porcelain Tile
Rosso Verona Tumbled Marble Tile
Travertino Moka Stone Look Porcelain Tile
Apple 12x24 3D Glossy Porcelain Tile
Bianco Carrara Honed Marble Tile
Rosso Verona 1x1 Hand Chipped Marble Mosaic
Amazzonite Matte Marble Look Porcelain Tile
Travertino 3D Matte Porcelain Tile
White Multi-Color Matte Porcelain Tile
Bianco Carrara Octagon w/ Nero Marquina Dot Mosaic
Cream 12x24 3D Gloss Porcelain Tile
Navy 12x24 3D Gloss Porcelain Tile
Almond Cement Look Matte Porcelain Tile
Beige Limestone Look 3D Matte Porcelain Tile
Cream Limestone Look 3D Matte Porcelain Tile
Bianco Carrara Honed Marble Tile
Apple 12x24 3D Glossy Porcelain Tile
Spider Gold Matte Marble Look Porcelain Tile
Cream 12x24 3D Gloss Porcelain Tile
Navy 12x24 3D Gloss Porcelain Tile
Silver Limestone Look 3D Matte Porcelain Tile
Taj Matte Marble Look Porcelain Tile
Pearl Hammered Limestone Look Matte Porcelain Tile
Almond Hammered Limestone Look Matte Porcelain Tile
Montblack Matte Marble Look Porcelain Tile
Ivory Marble Look Matte Porcelain Tile
Nude 12x24 3D Gloss Porcelain Tile
Royal Grey Satin Marble Look Porcelain Tile
White & Ecru Octagon Zellige Mosaic
Thassos, Carrara, Bardiglio Gingham Marble Mosaic
Cotto Deco Terracotta Look Matte Porcelain Tile
White & Ecru 2x2 Zellige Checkerboard Mosaic
Murano Honed Italian Terrazzo Tile
Chiaro Deco Terracotta Look Matte Porcelain Tile
Unglazed & White Octagon Zellige Mosaic
Carrara Bardiglio Tumbled Stone Checkerboard
White & Black Octagon Zellige Mosaic
Beige Limestone Look 3D Matte Porcelain Tile
Cream Limestone Look 3D Matte Porcelain Tile
Rosso Verona Tumbled Marble Tile
Bianco Carrara Honed Marble Tile
Travertino Moka Stone Look Porcelain Tile
Apple 12x24 3D Glossy Porcelain Tile
Travertino 3D Matte Porcelain Tile
Rosso Verona 1x1 Hand Chipped Marble Mosaic
Amazzonite Matte Marble Look Porcelain Tile
White Multi-Color Matte Porcelain Tile
Almond Cement Look Matte Porcelain Tile
Bianco Carrara Octagon w/ Nero Marquina Dot Mosaic
Cream 12x24 3D Gloss Porcelain Tile
Navy 12x24 3D Gloss Porcelain Tile
White & Ecru Octagon Zellige Mosaic
Thassos, Carrara, Bardiglio Gingham Marble Mosaic
Cotto Deco Terracotta Look Matte Porcelain Tile
White & Ecru 2x2 Zellige Checkerboard Mosaic
Murano Honed Italian Terrazzo Tile
Cotto Terracotta Look Matte Porcelain Tile
Chiaro Deco Terracotta Look Matte Porcelain Tile
Unglazed & White Octagon Zellige Mosaic
White & Black Octagon Zellige Mosaic
Carrara Bardiglio Tumbled Stone Checkerboard
Beige Limestone Look 3D Matte Porcelain Tile
Cream Limestone Look 3D Matte Porcelain Tile
Rosso Verona Tumbled Marble Tile
Travertino Moka Stone Look Porcelain Tile
Apple 12x24 3D Glossy Porcelain Tile
Bianco Carrara Honed Marble Tile
Rosso Verona 1x1 Hand Chipped Marble Mosaic
Amazzonite Matte Marble Look Porcelain Tile
Travertino 3D Matte Porcelain Tile
White Multi-Color Matte Porcelain Tile
Bianco Carrara Octagon w/ Nero Marquina Dot Mosaic
Cream 12x24 3D Gloss Porcelain Tile
Navy 12x24 3D Gloss Porcelain Tile
Almond Cement Look Matte Porcelain Tile
Bianco Carrara Honed Marble Tile
Carrara 1x1 Hand Chipped Marble Mosaic
Carrara Honed Basketweave Marble Mosaic
Carrara Running Bond Marble Mosaic
Carrara Tumbled Basketweave Marble Mosaic
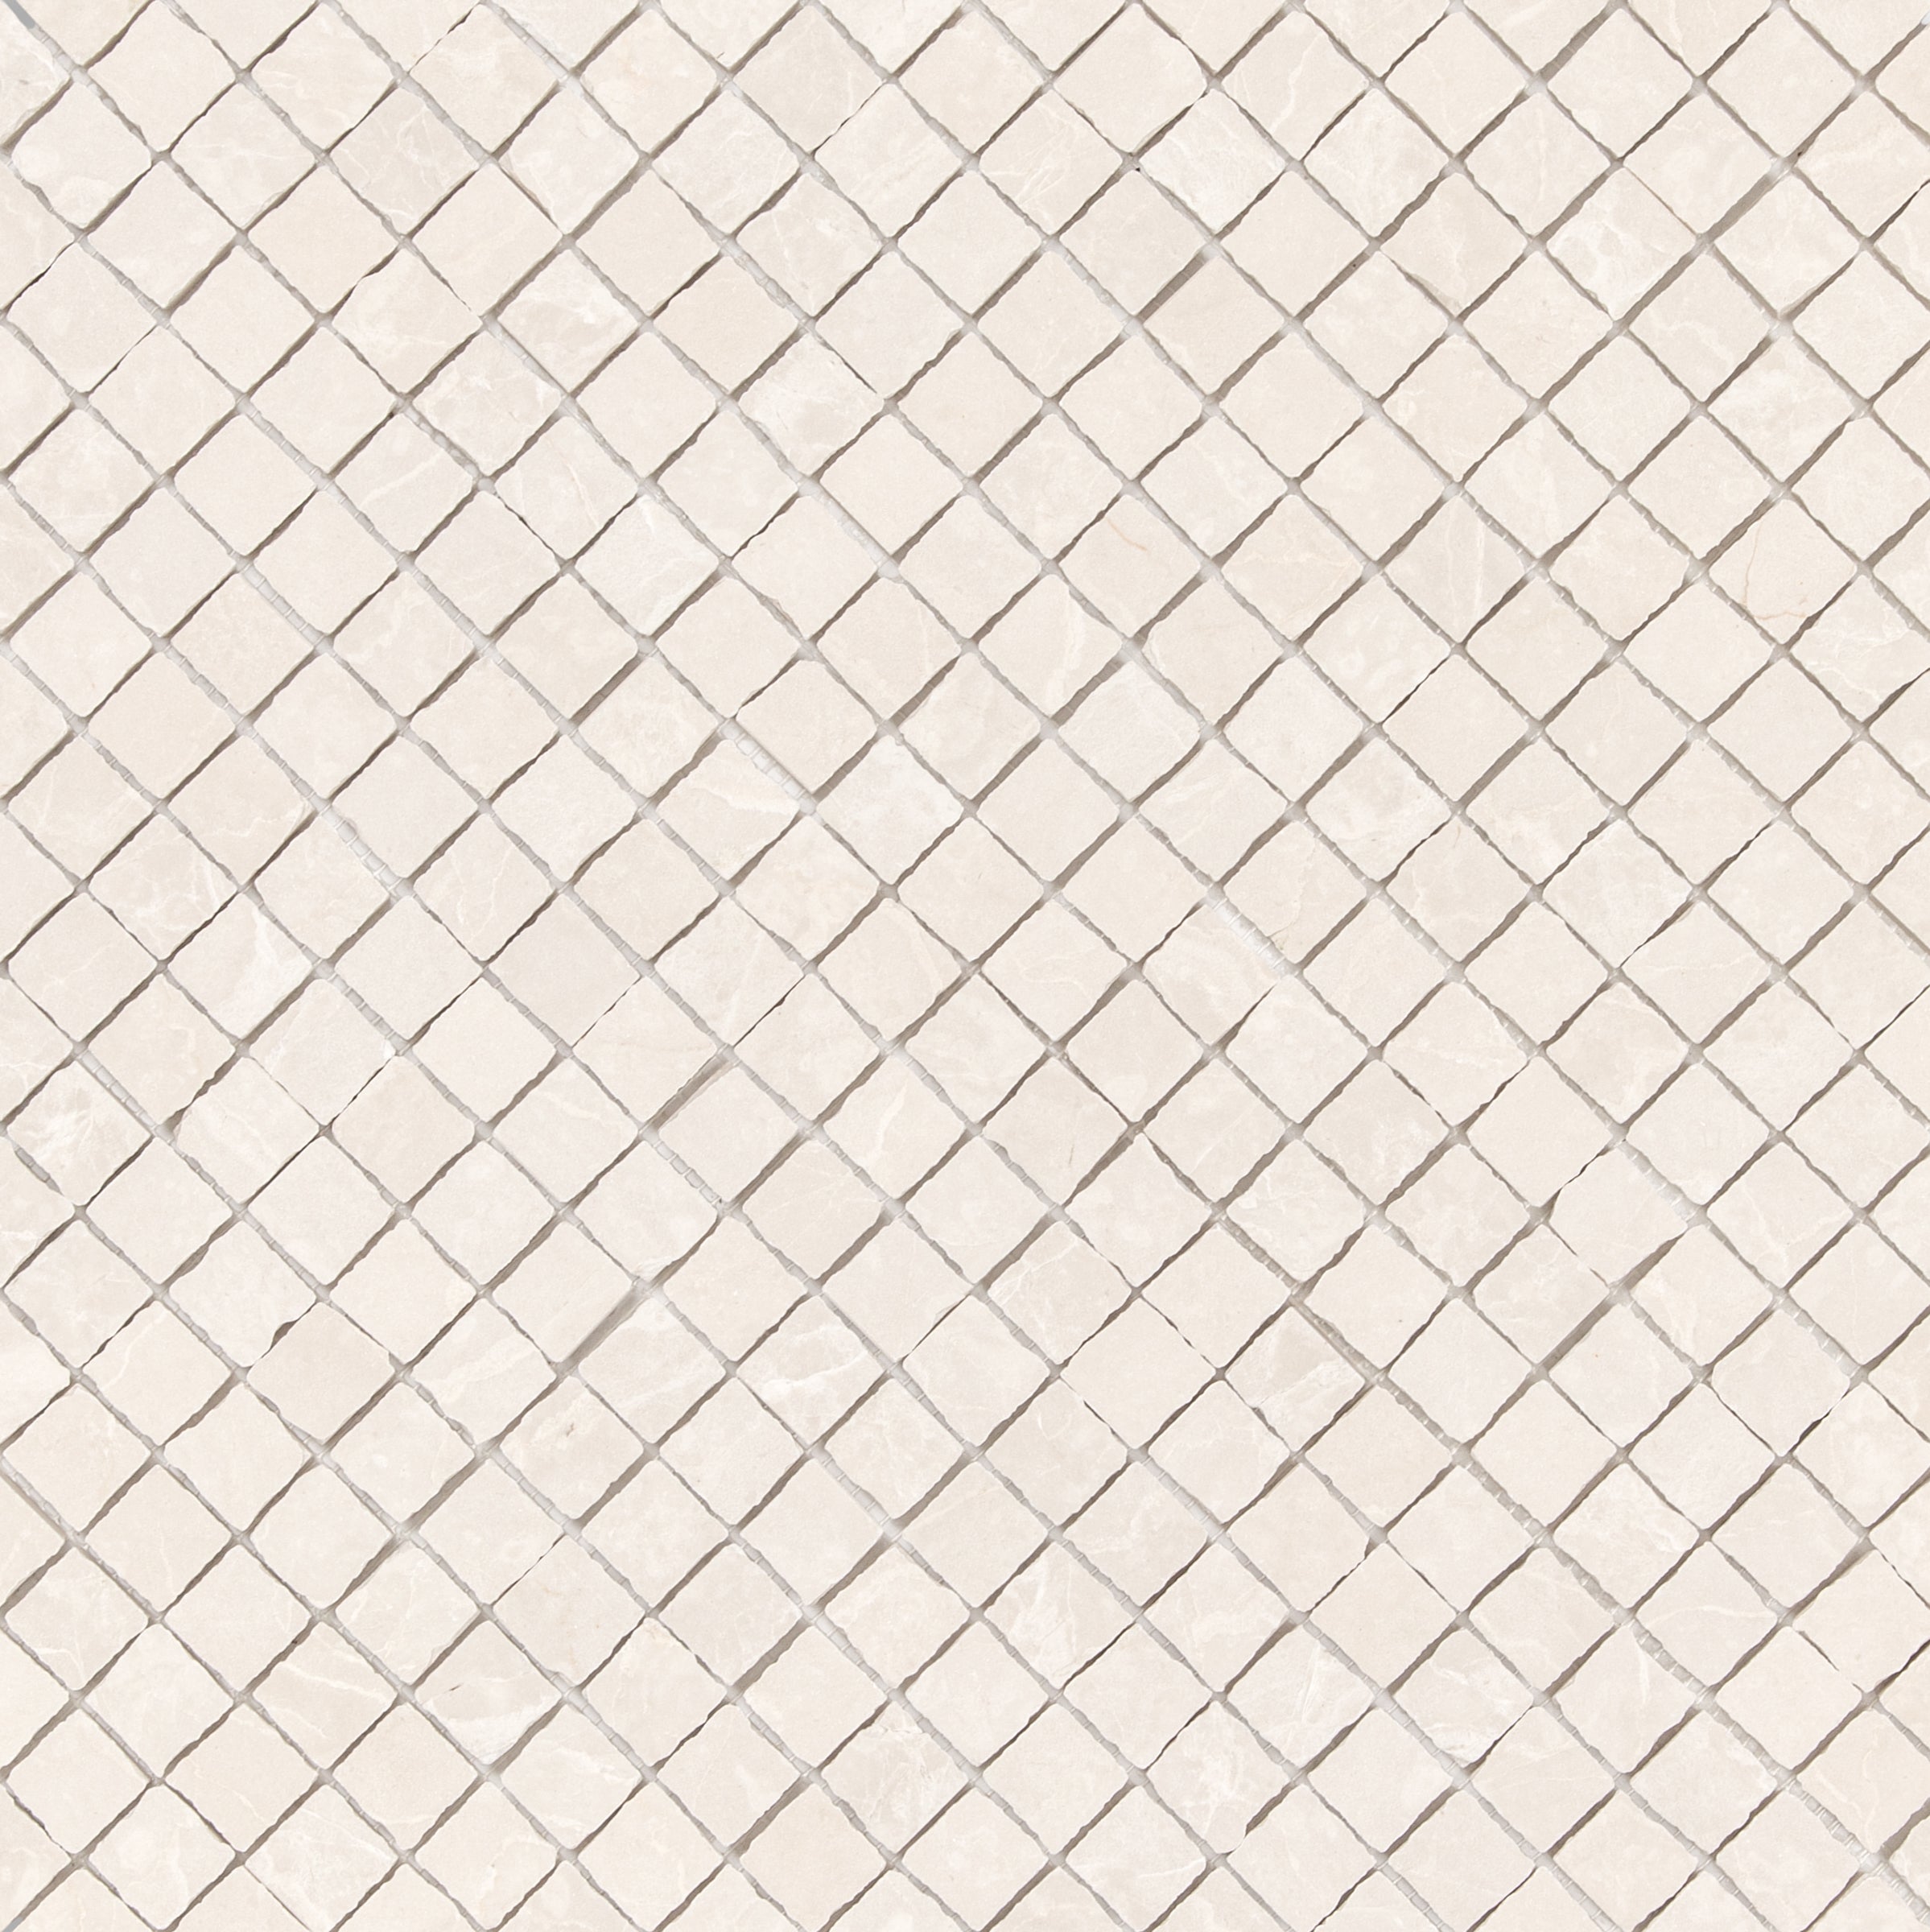
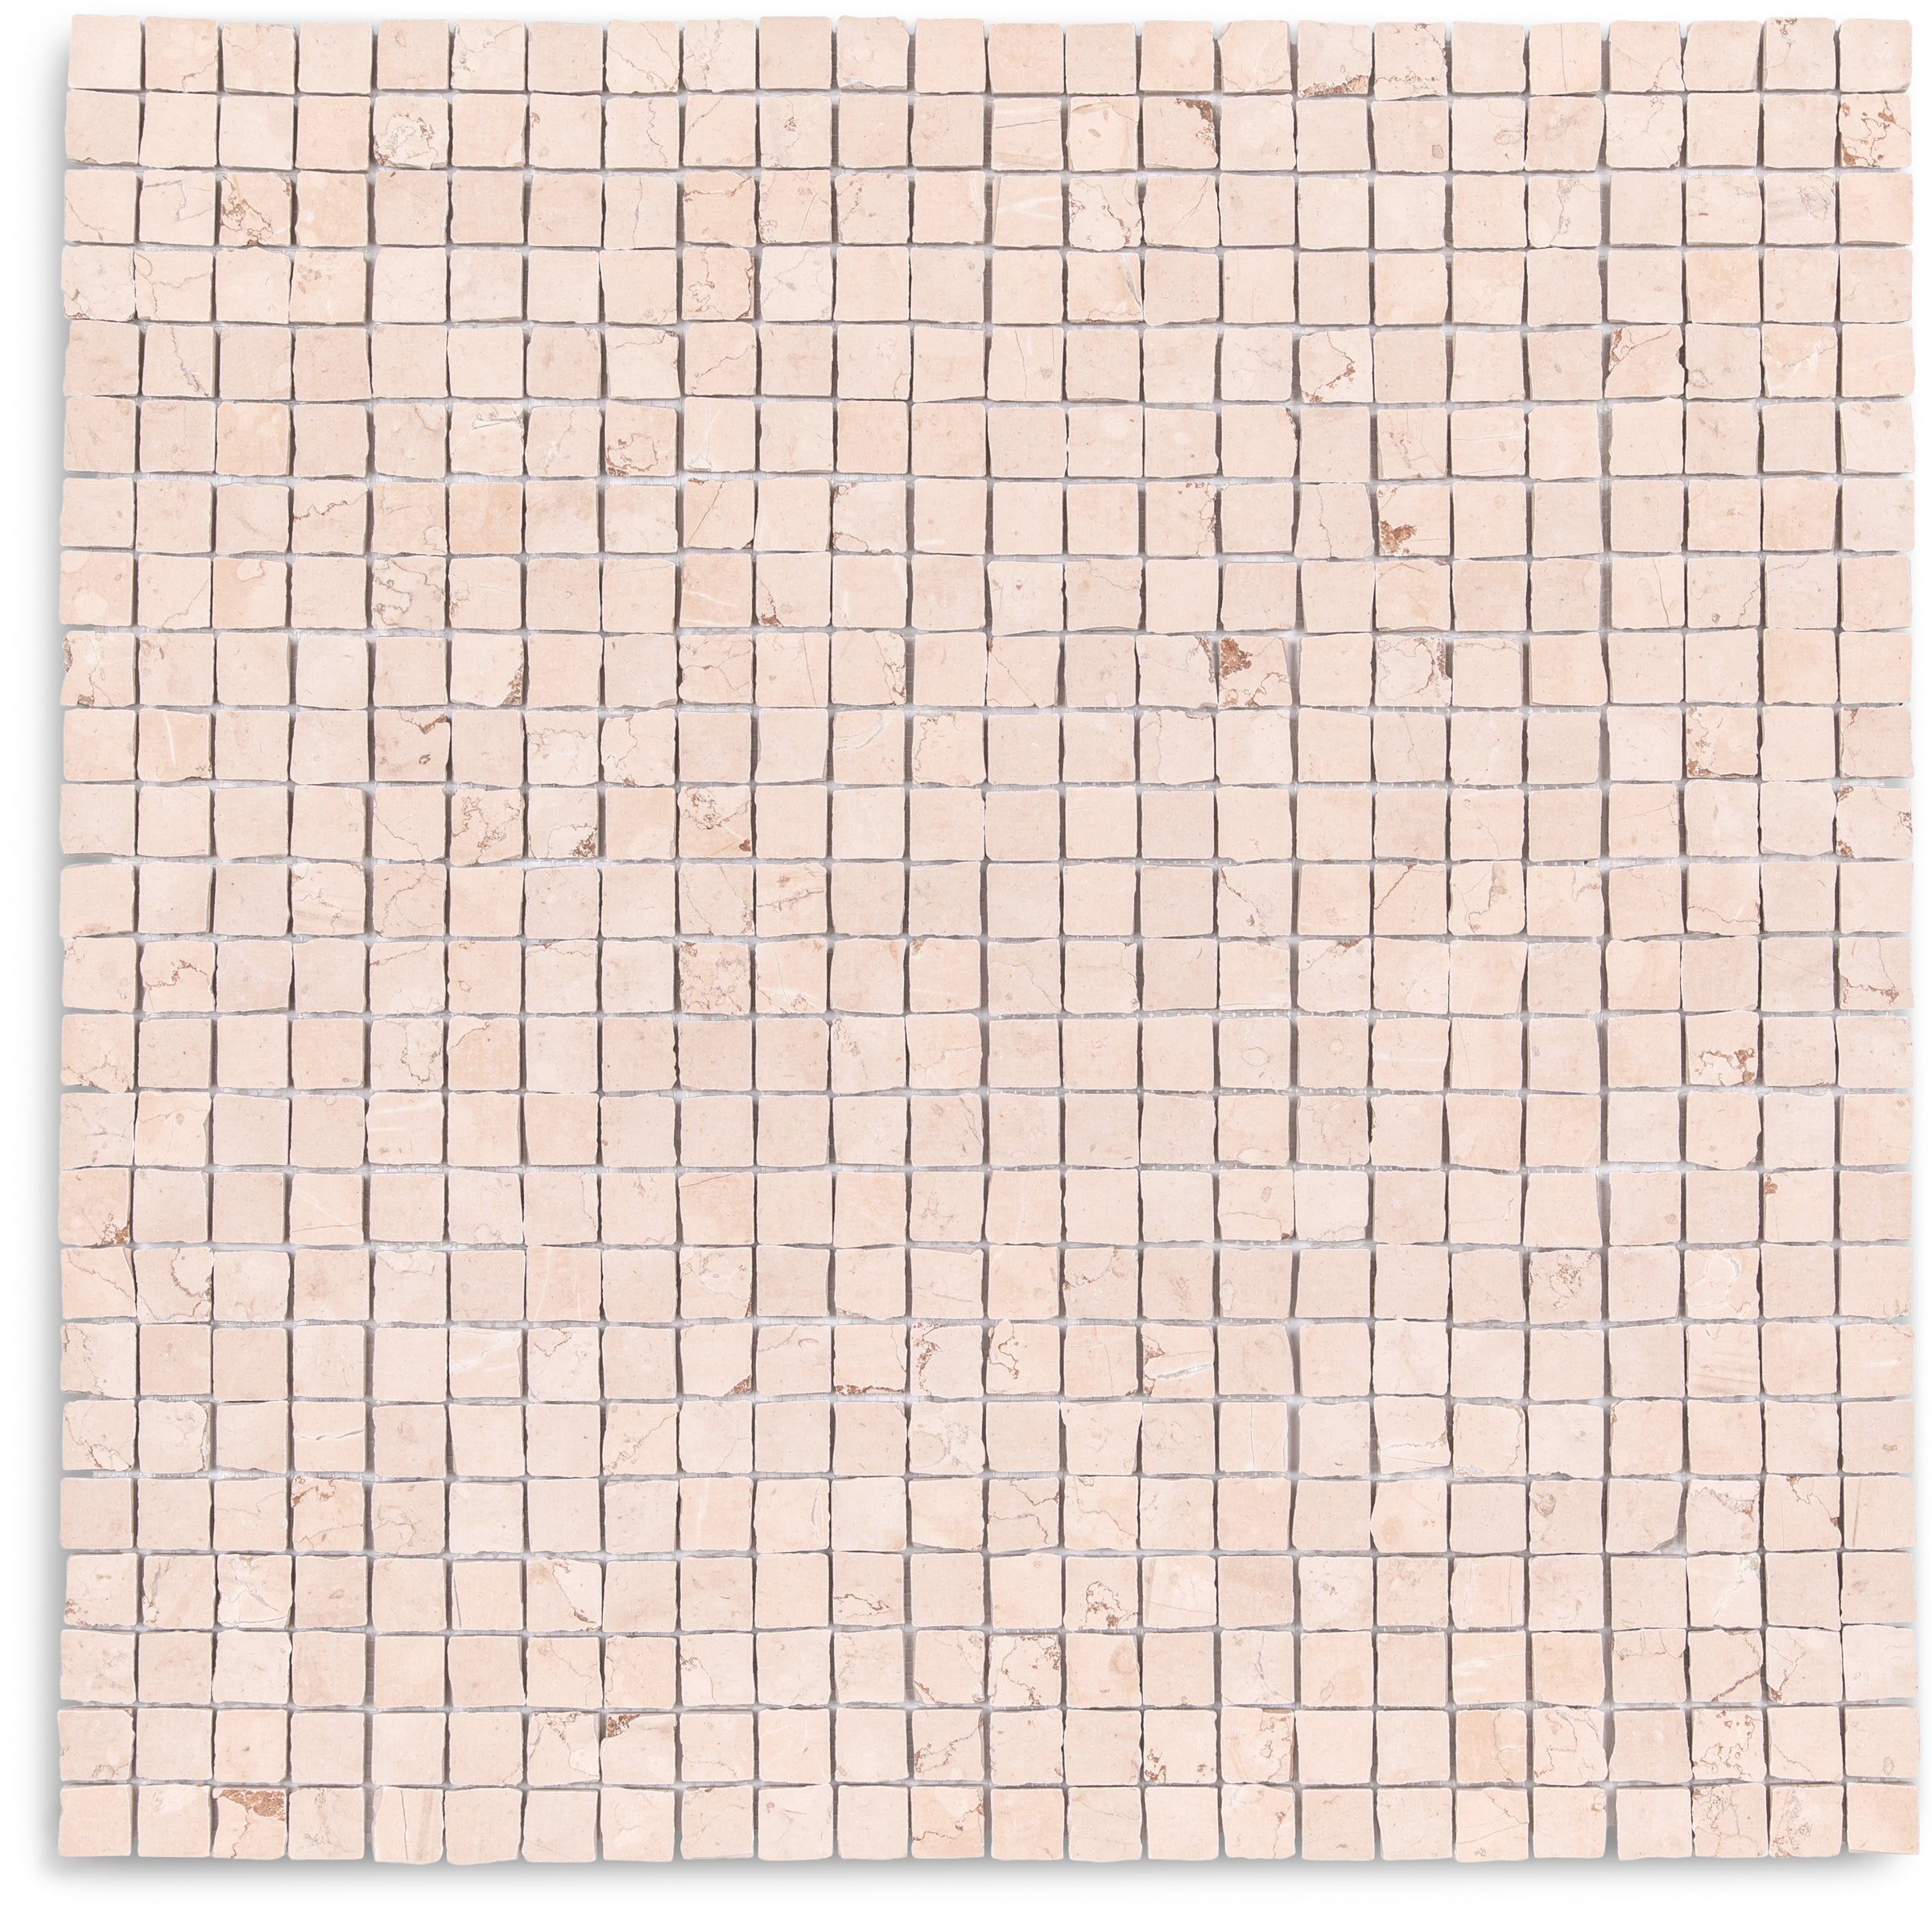
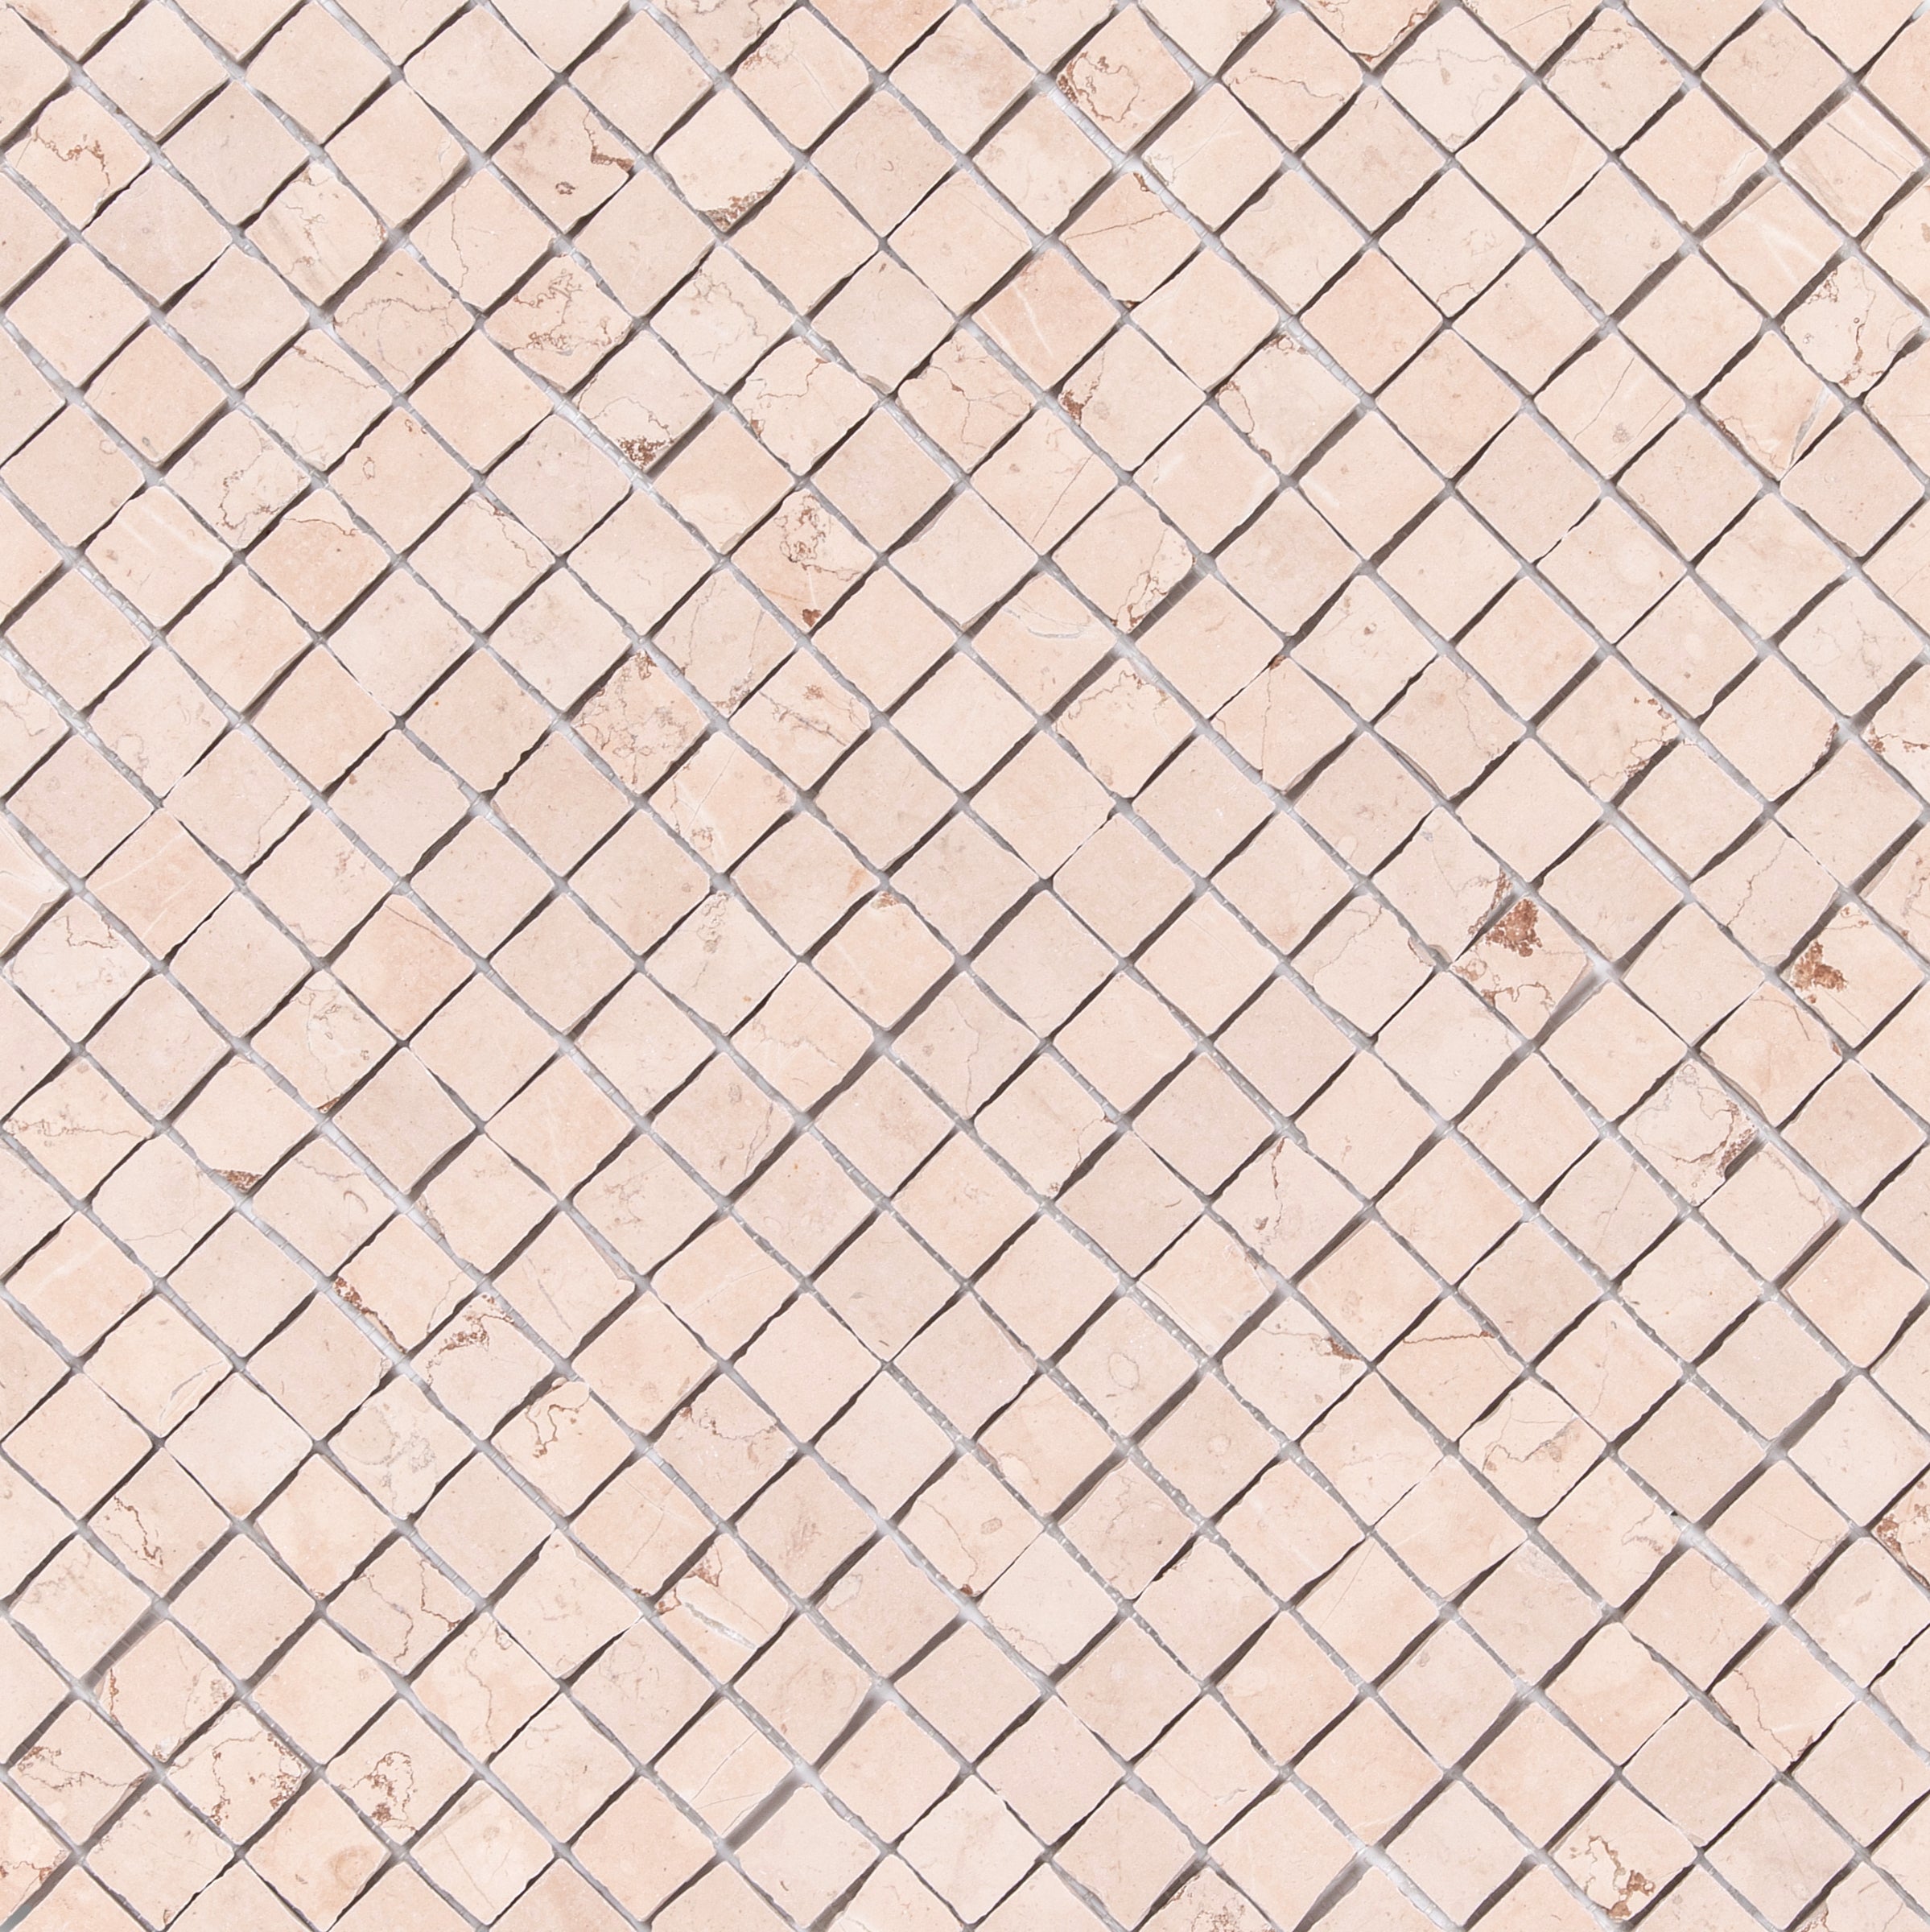
Calacatta 1x1 Hand Chipped Marble Mosaic

Calacatta Running Bond Marble Mosaic
Grigio Pearla 1x1 Hand Chipped Marble Mosaic
Bianco Carrara Octagon w/ Nero Marquina Dot Mosaic
Thassos, Carrara, Bardiglio Gingham Marble Mosaic
Rosso Verona 1x1 Hand Chipped Marble Mosaic
Calacatta Honed Italian Terrazzo Tile

Torcello Honed Italian Terrazzo Tile
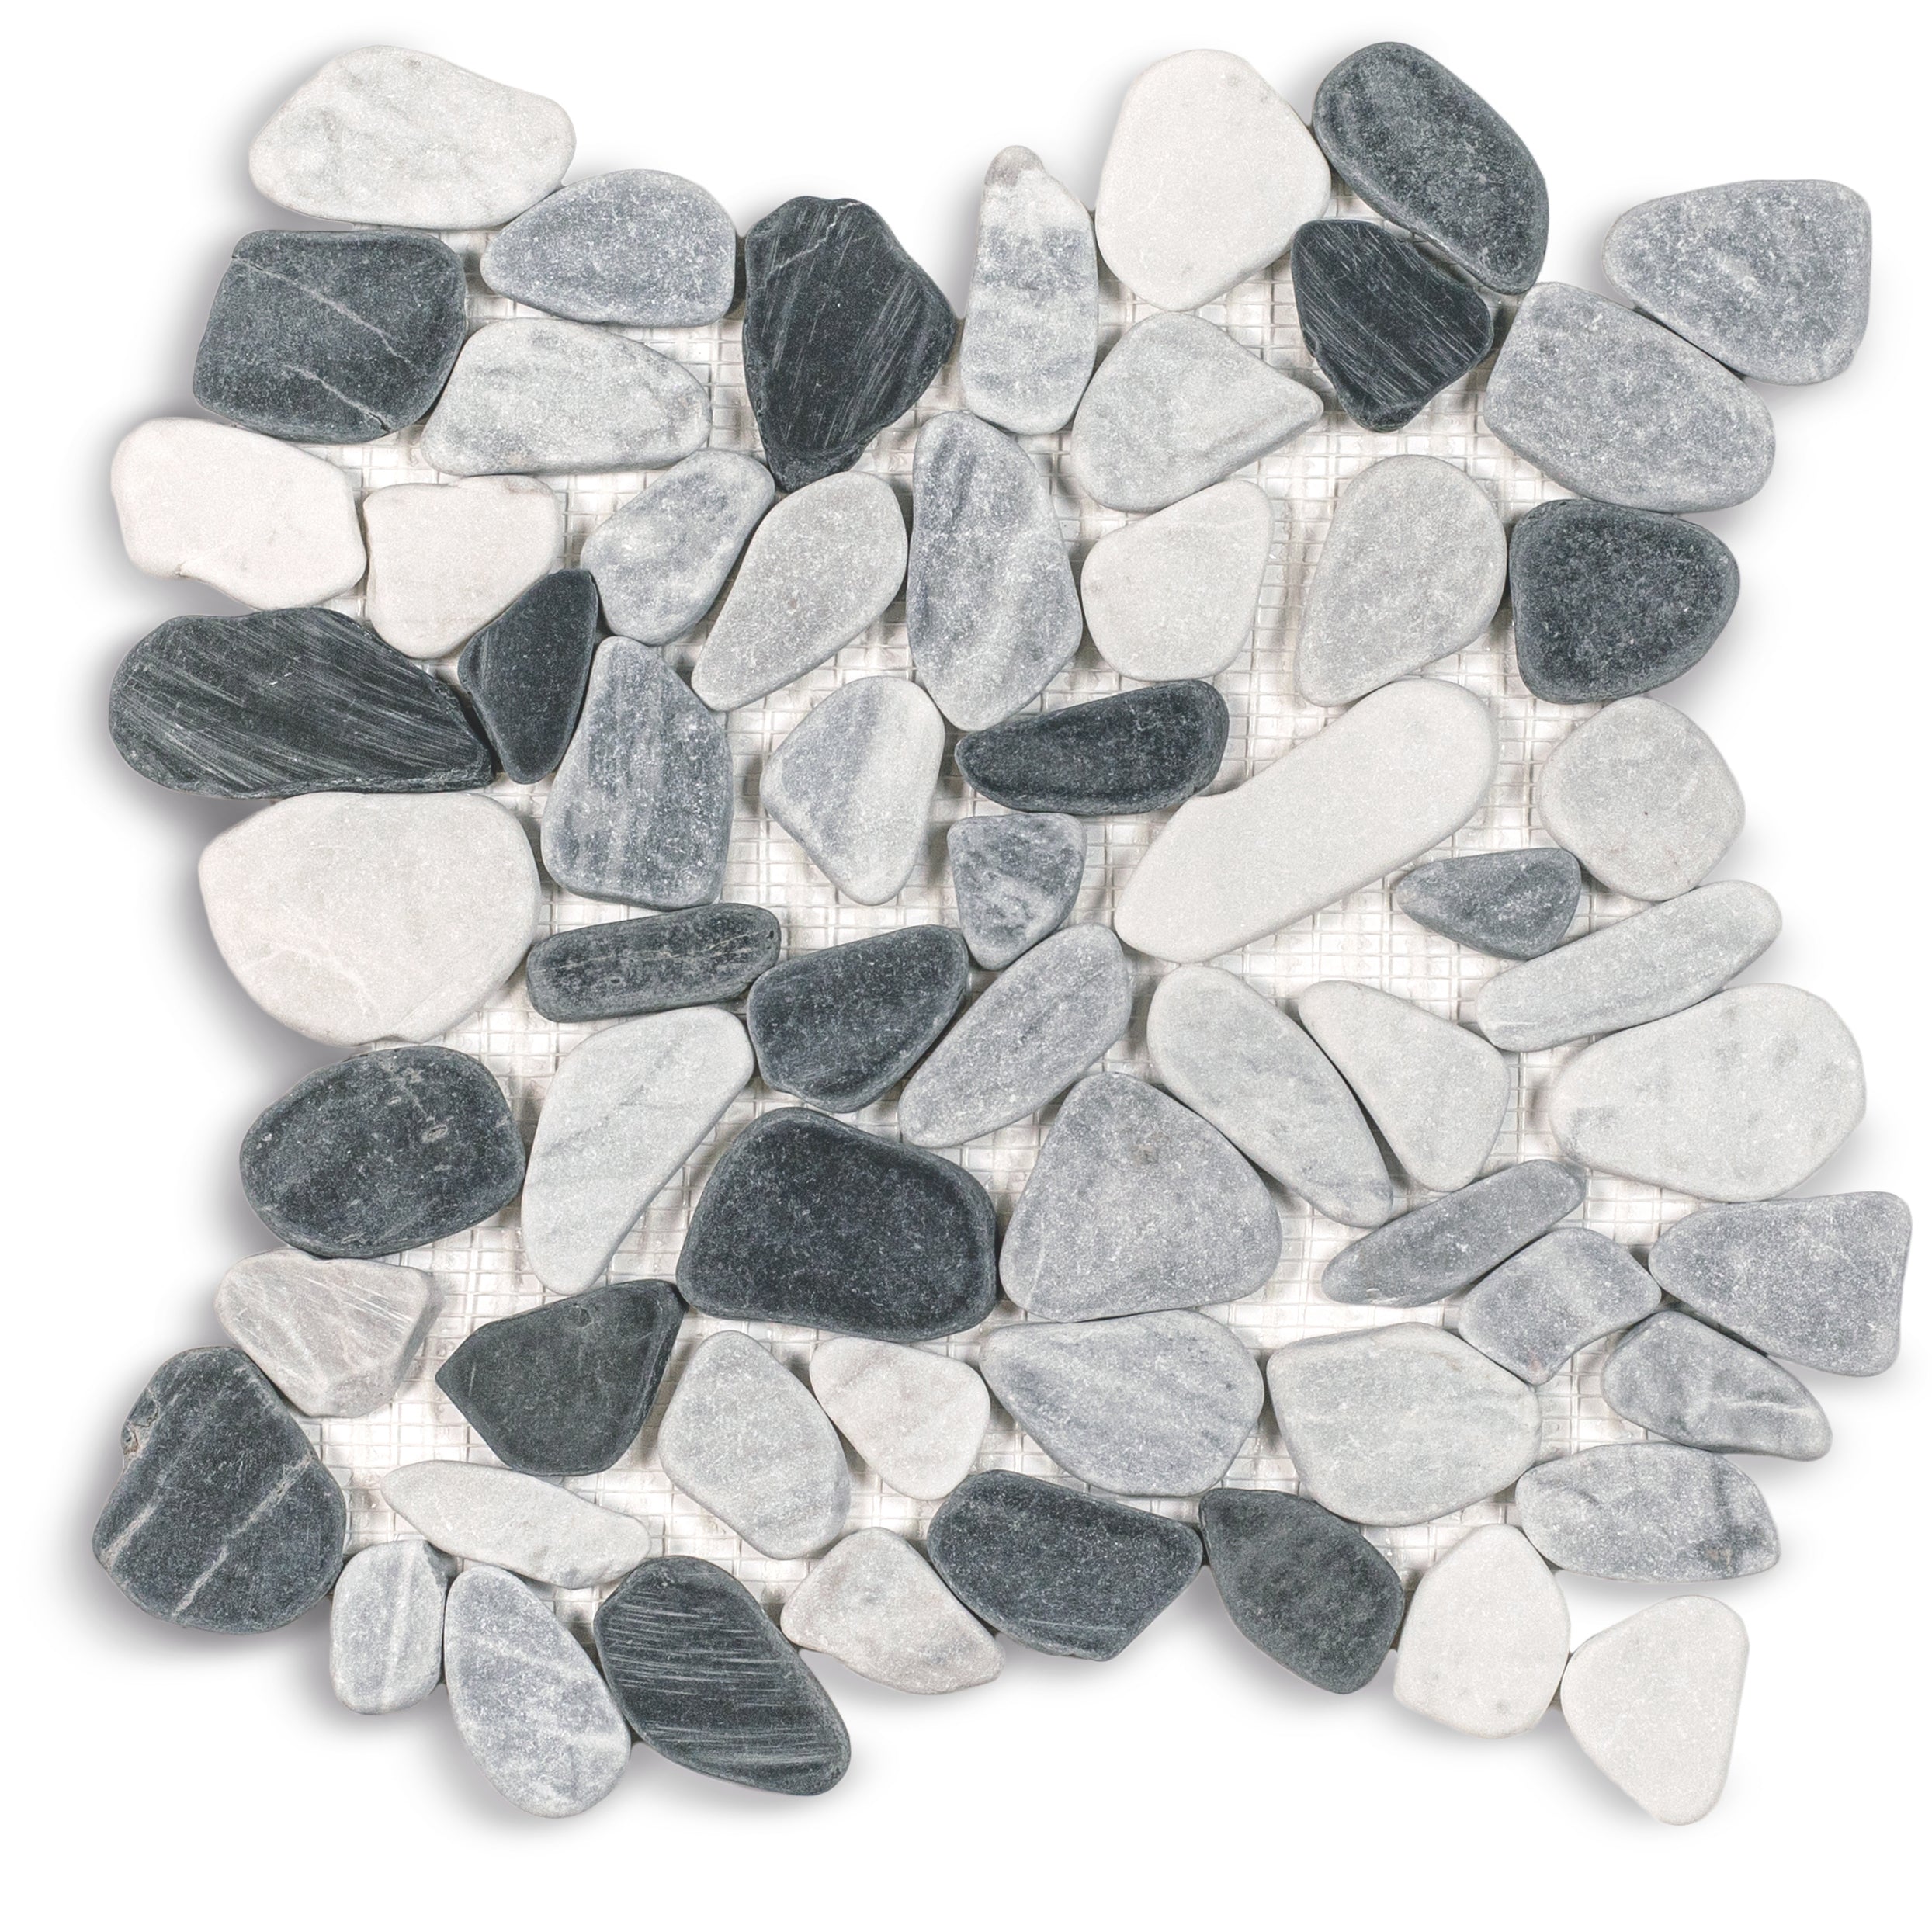
Bardiglio Tumbled Pebble Mosaic
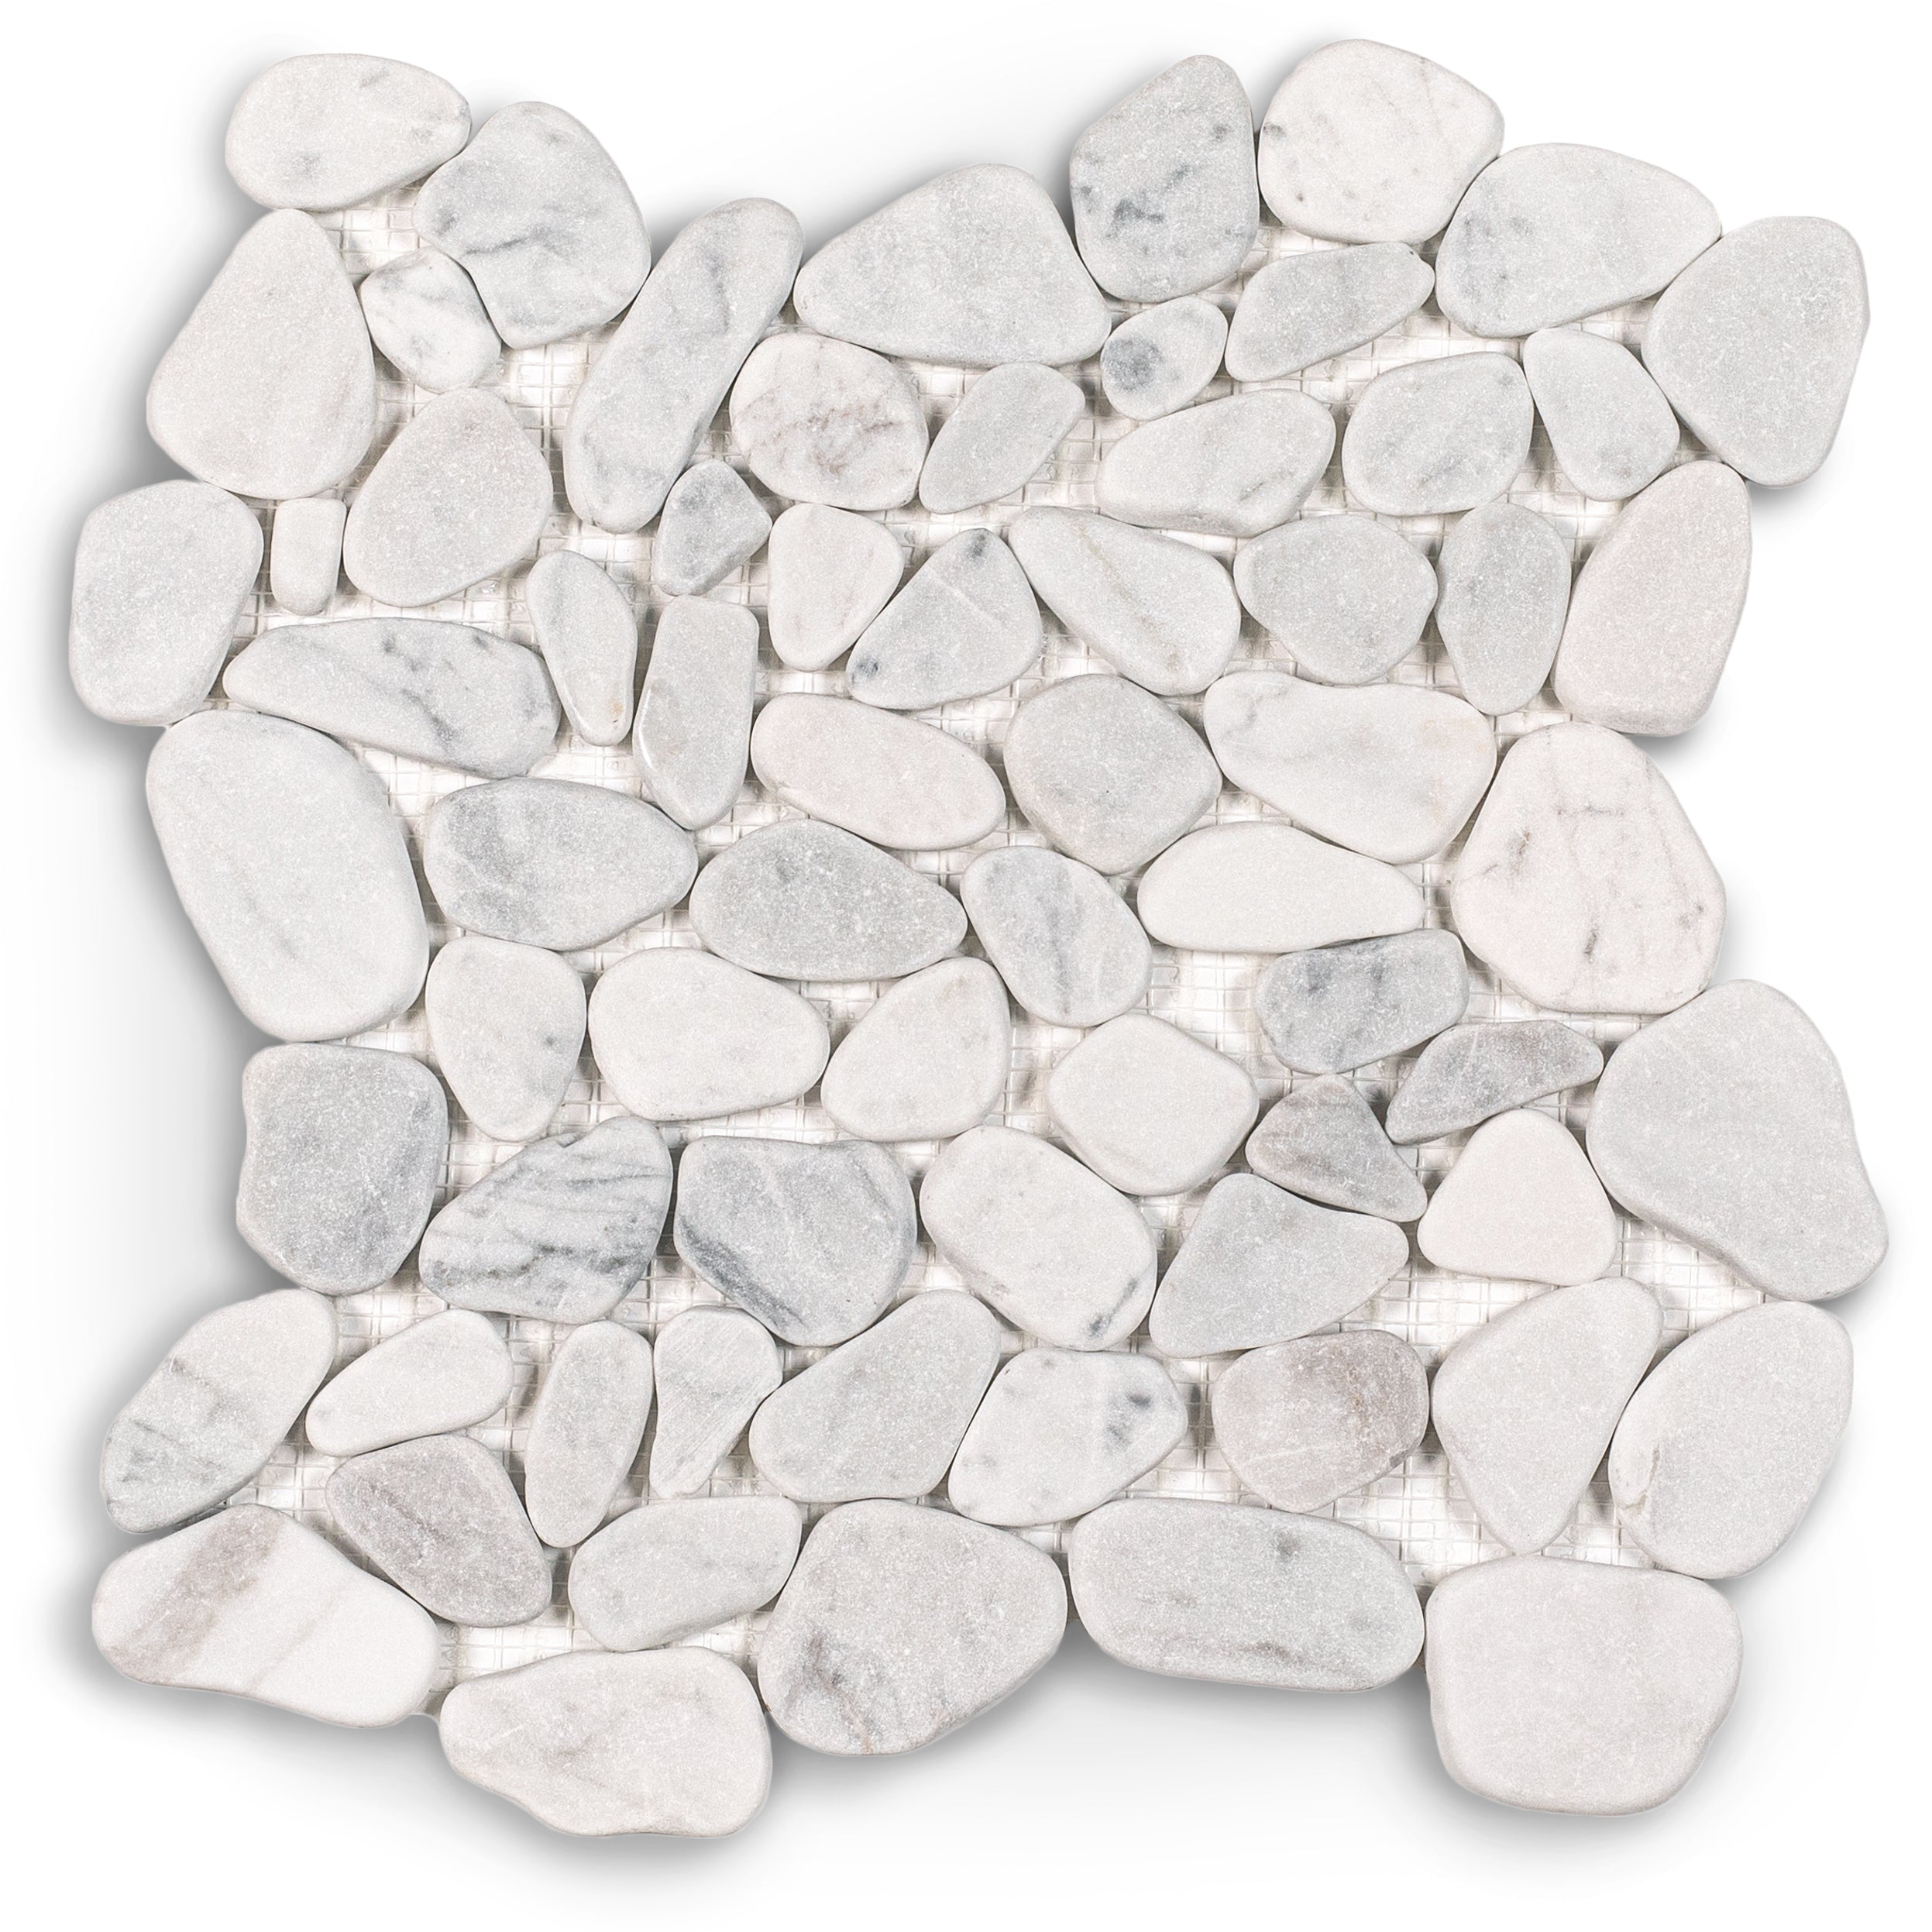
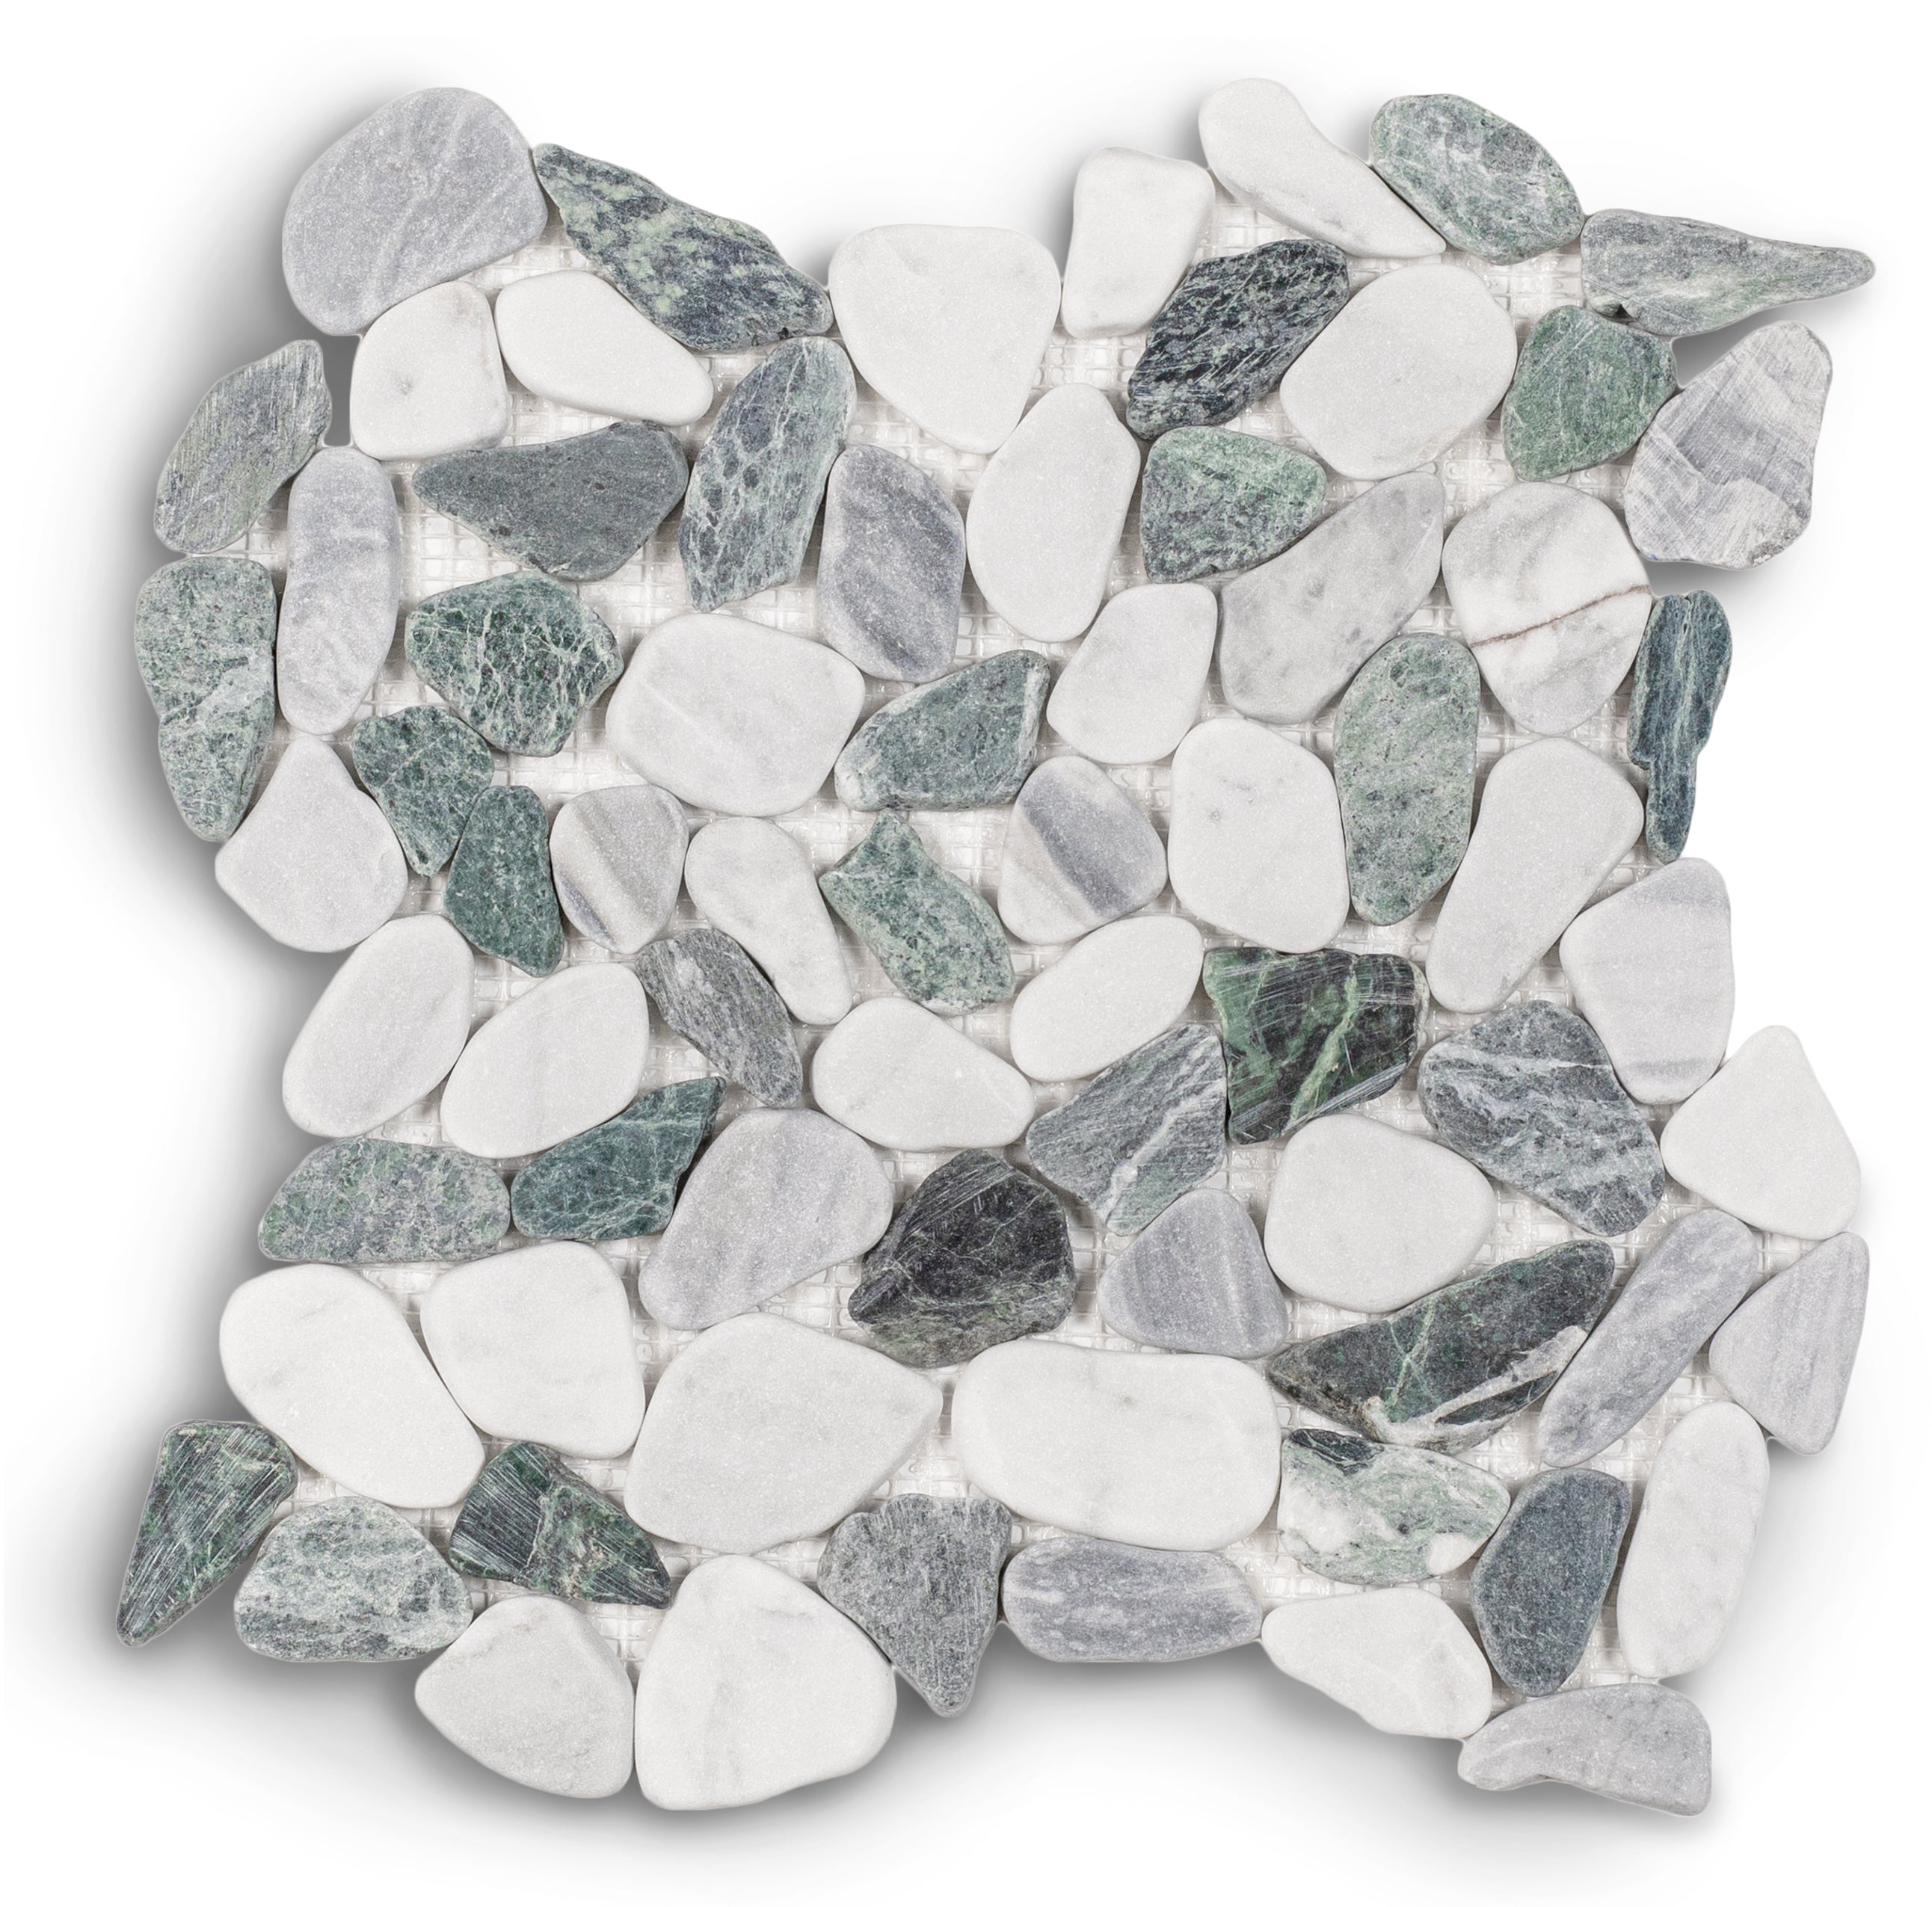
Carrara, Verde, Bardiglio Tumbled Pebble Mosaic
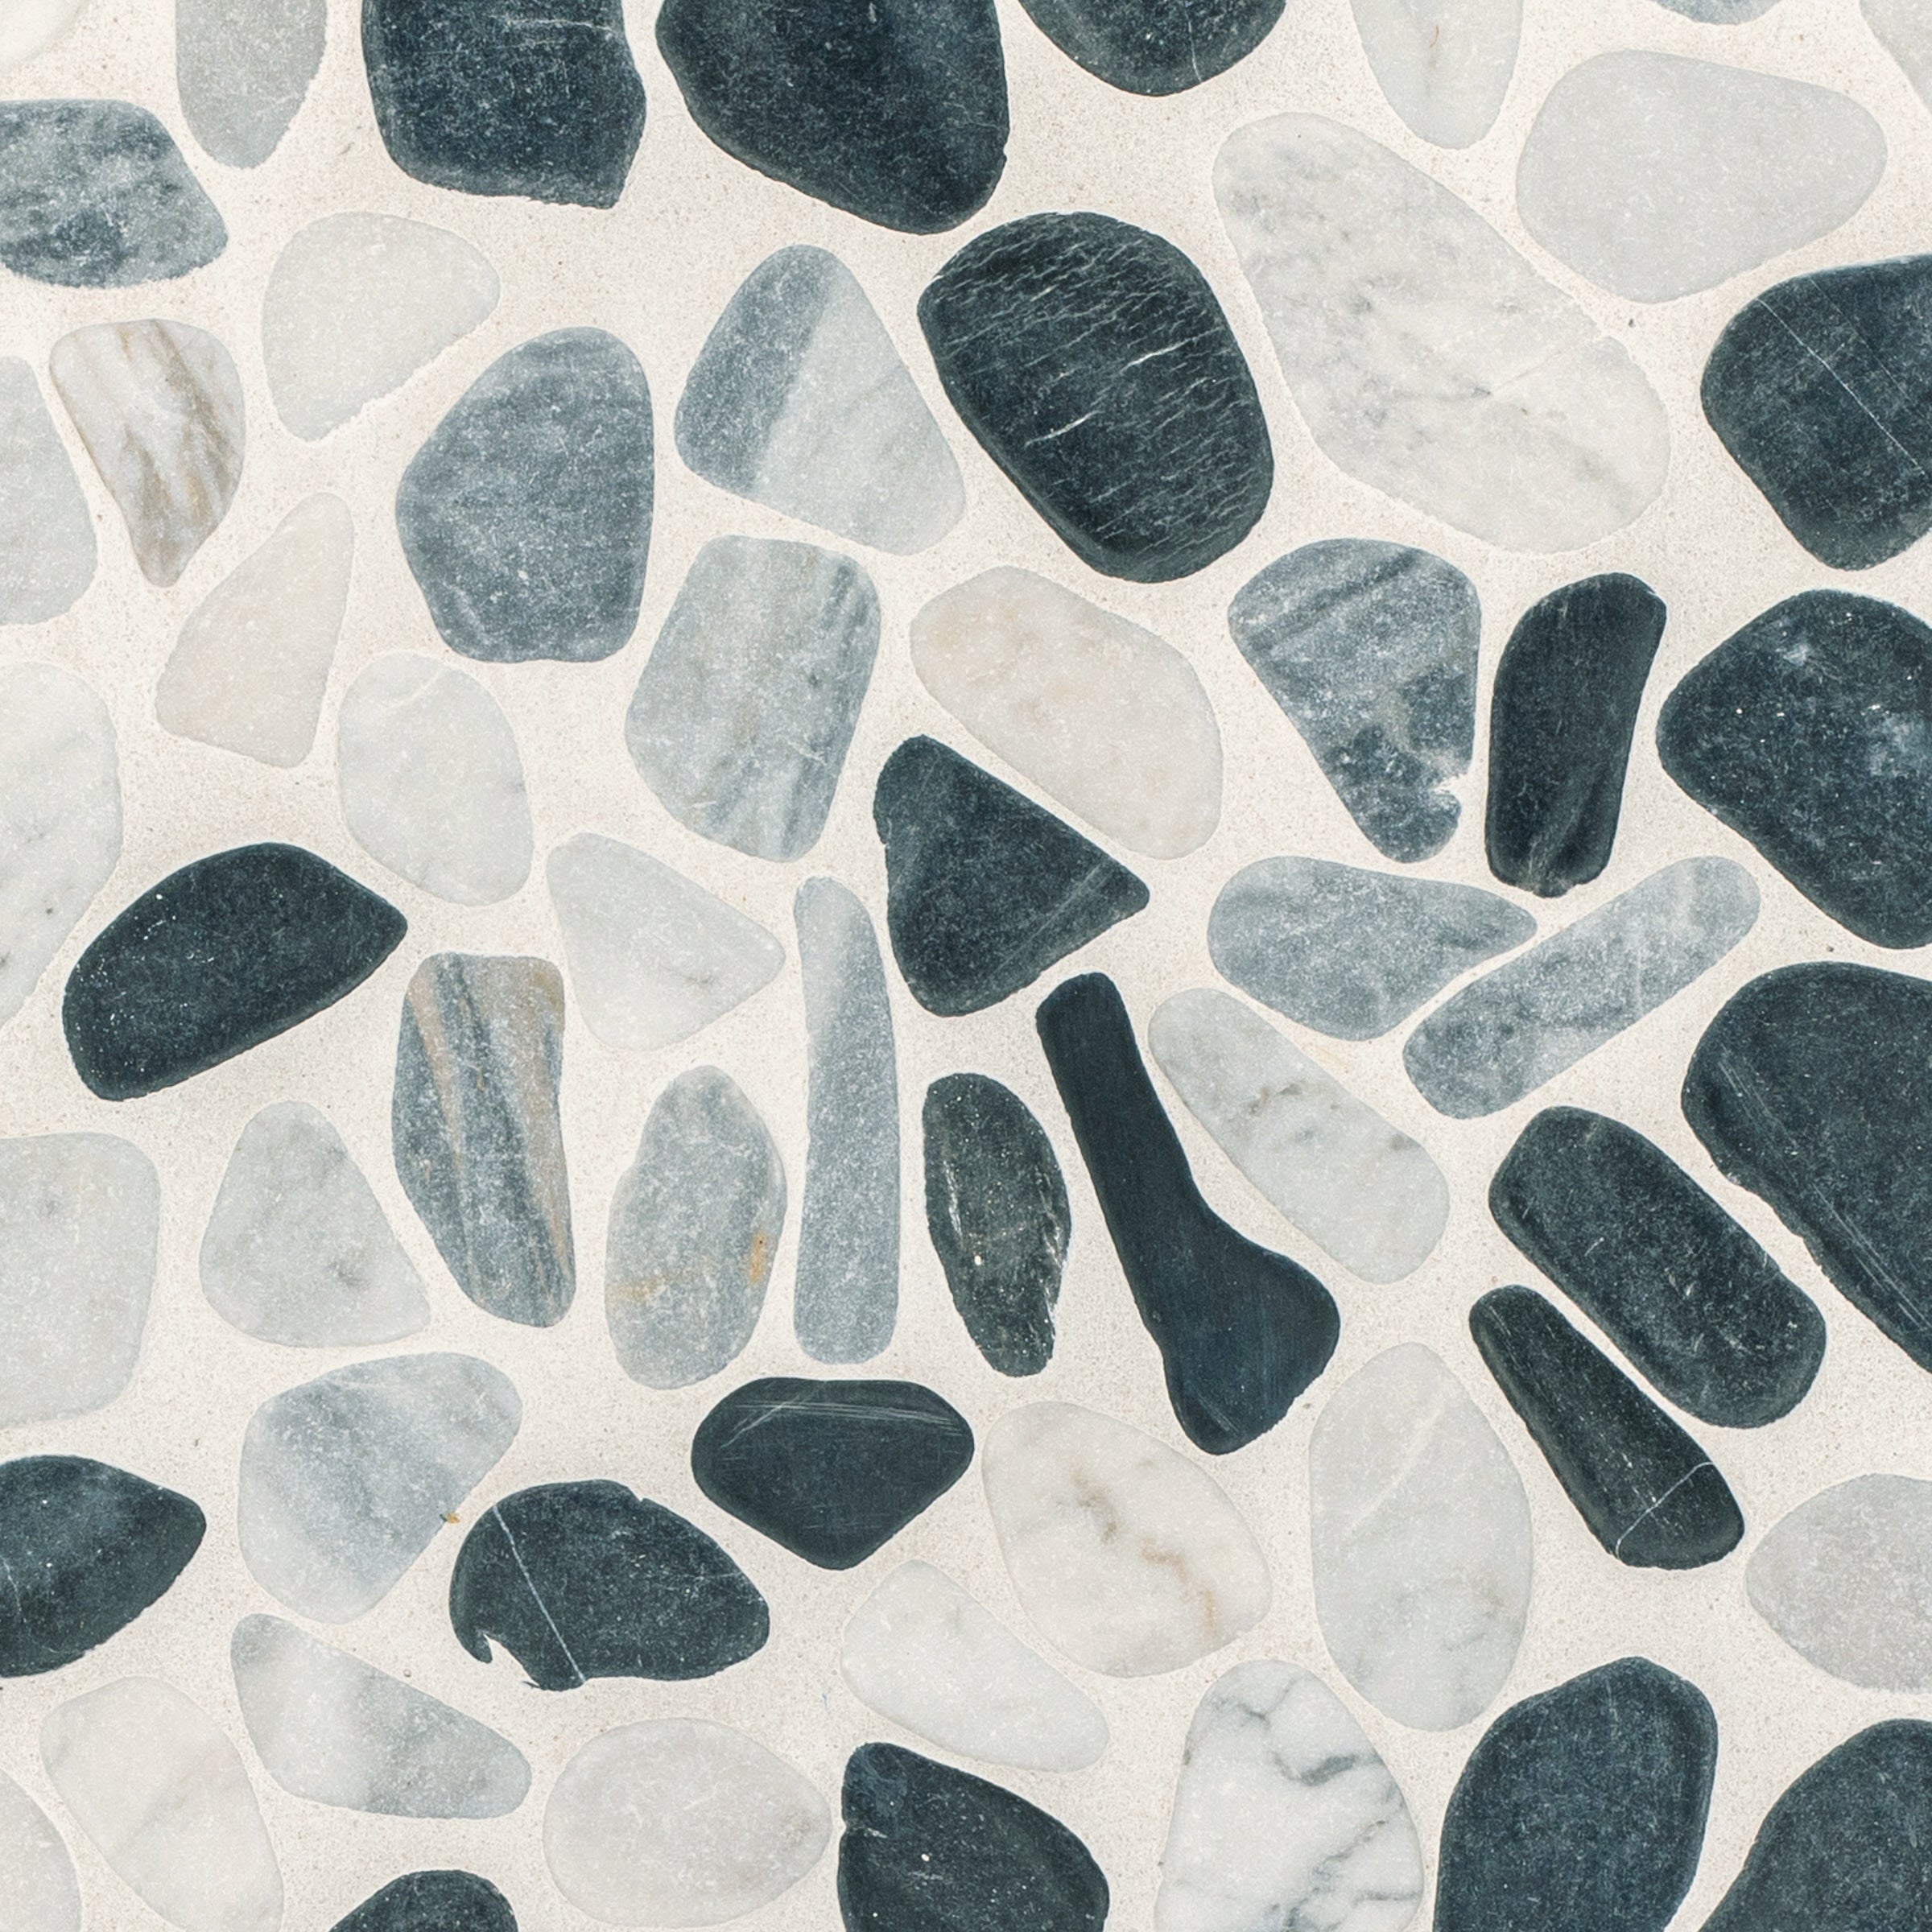
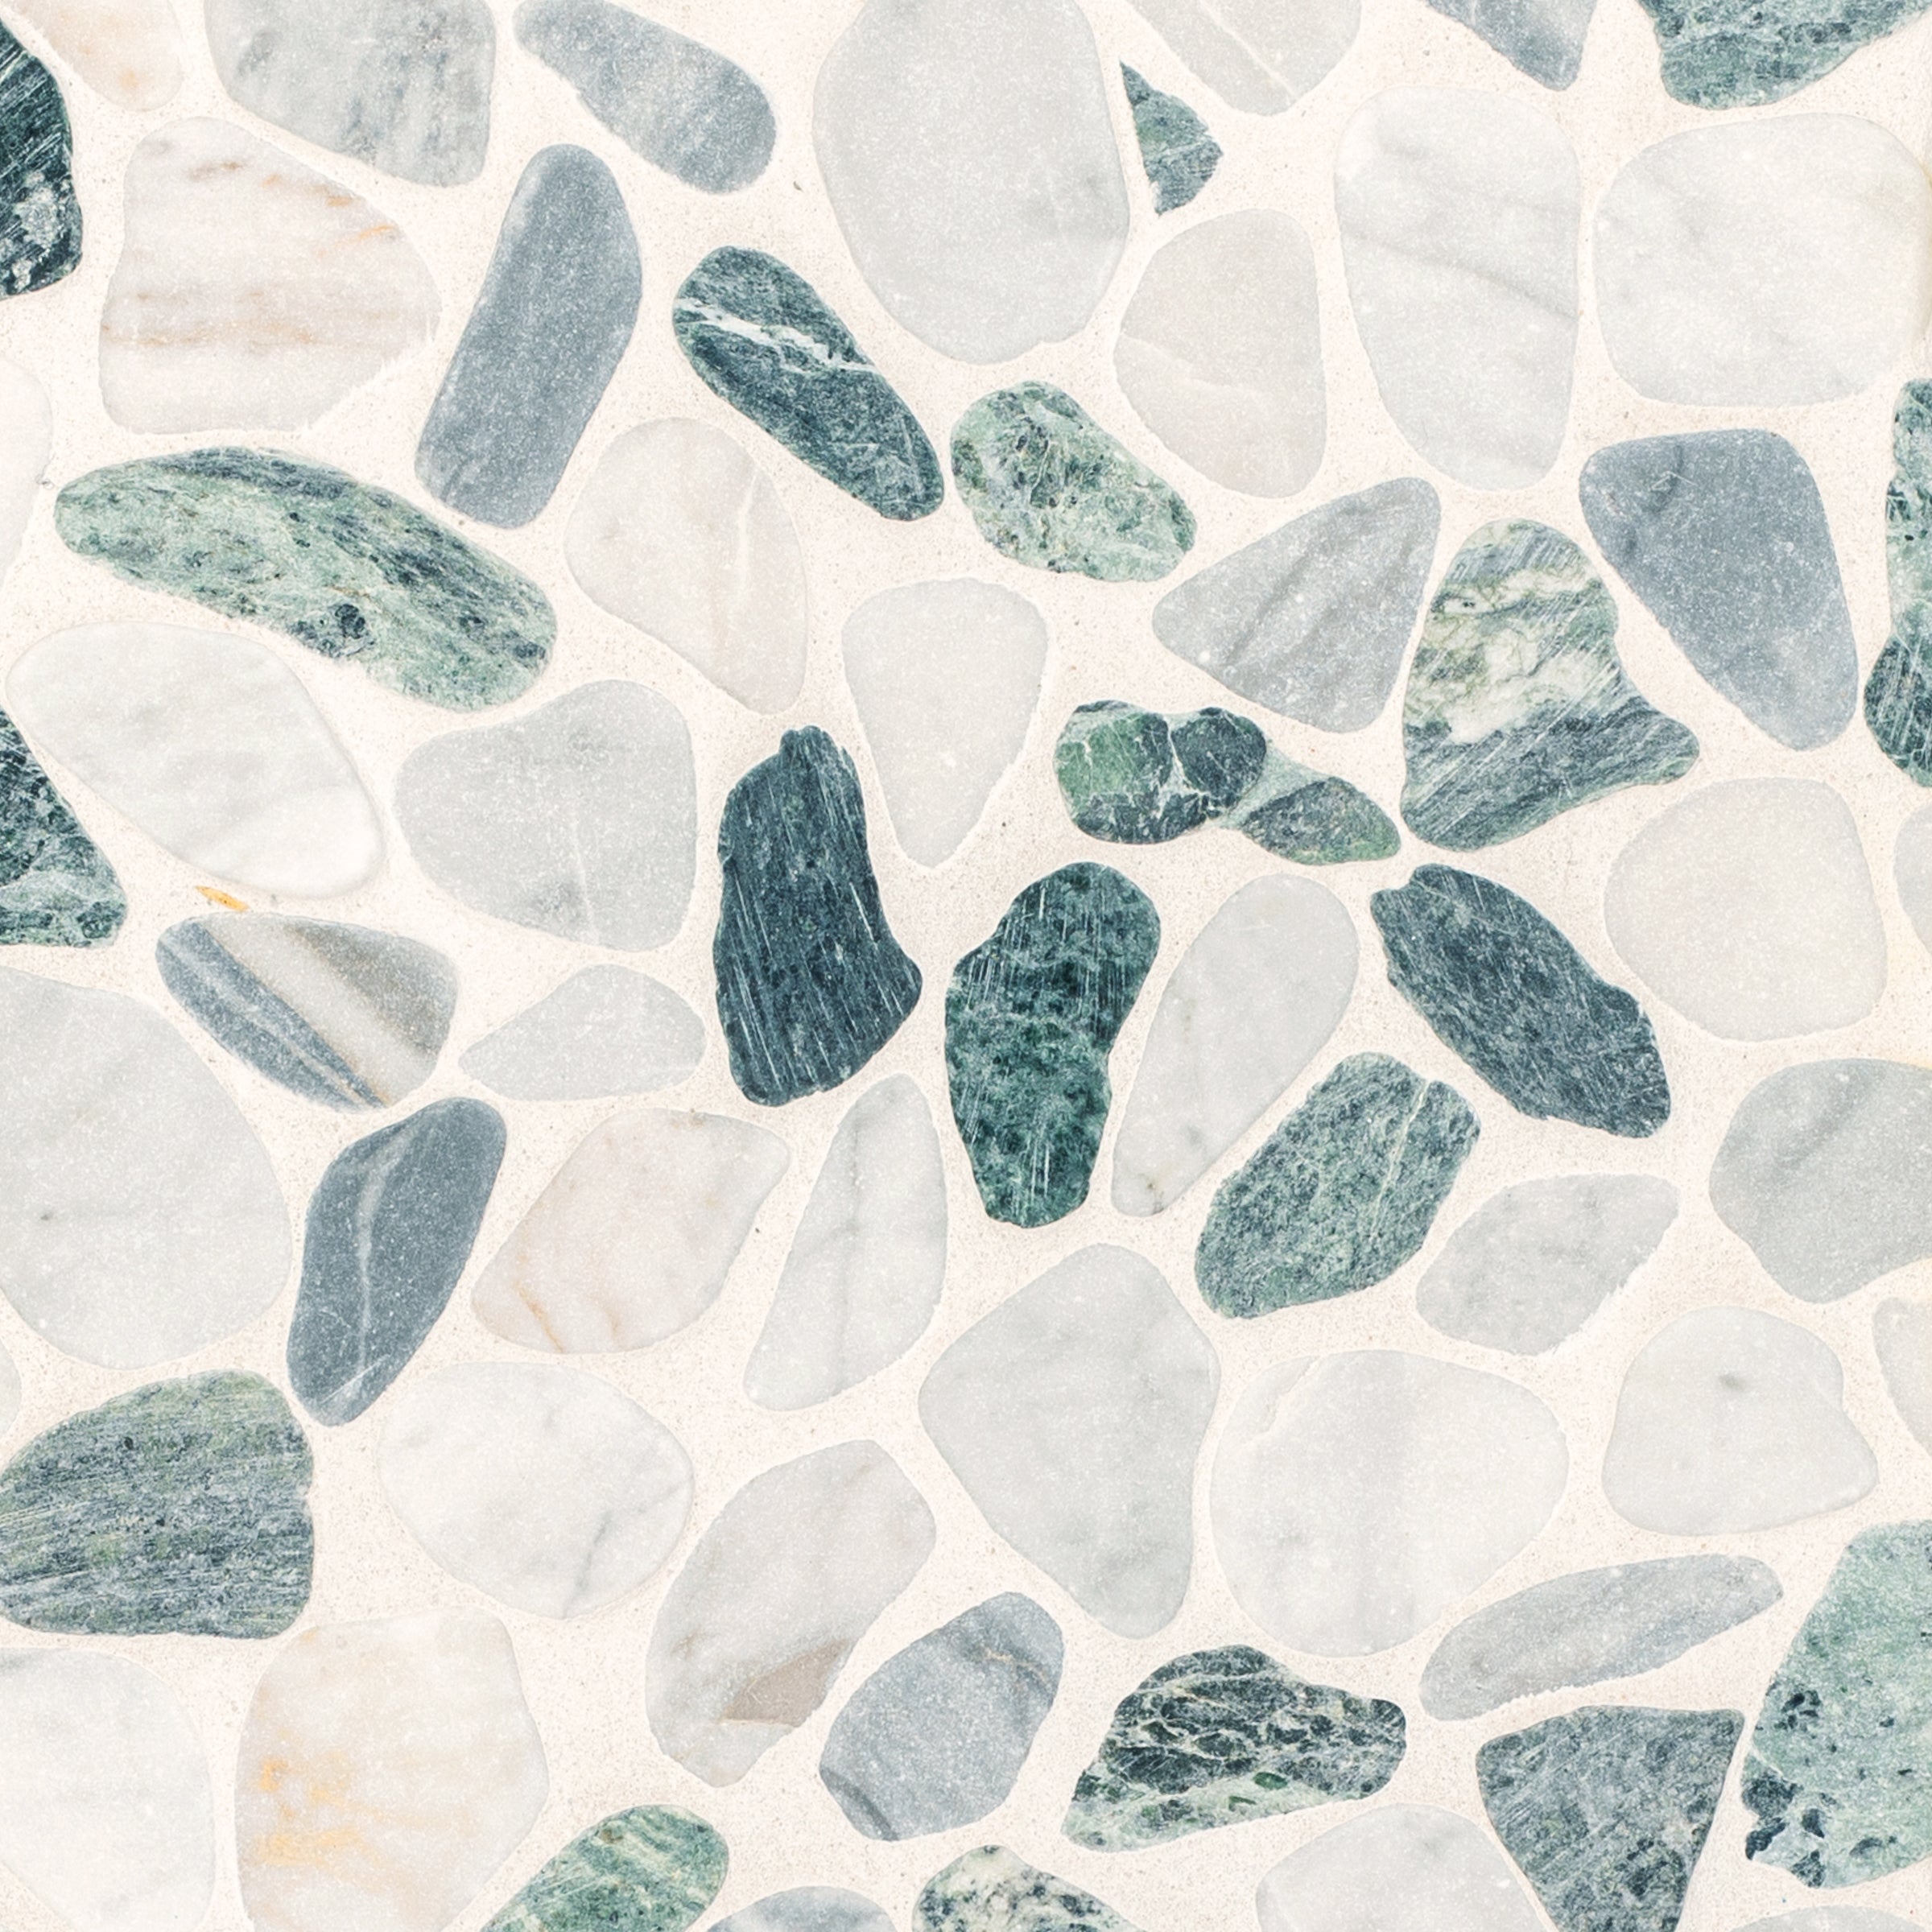
Carrara, Nero, Bardiglio Tumbled Pebble Mosaic
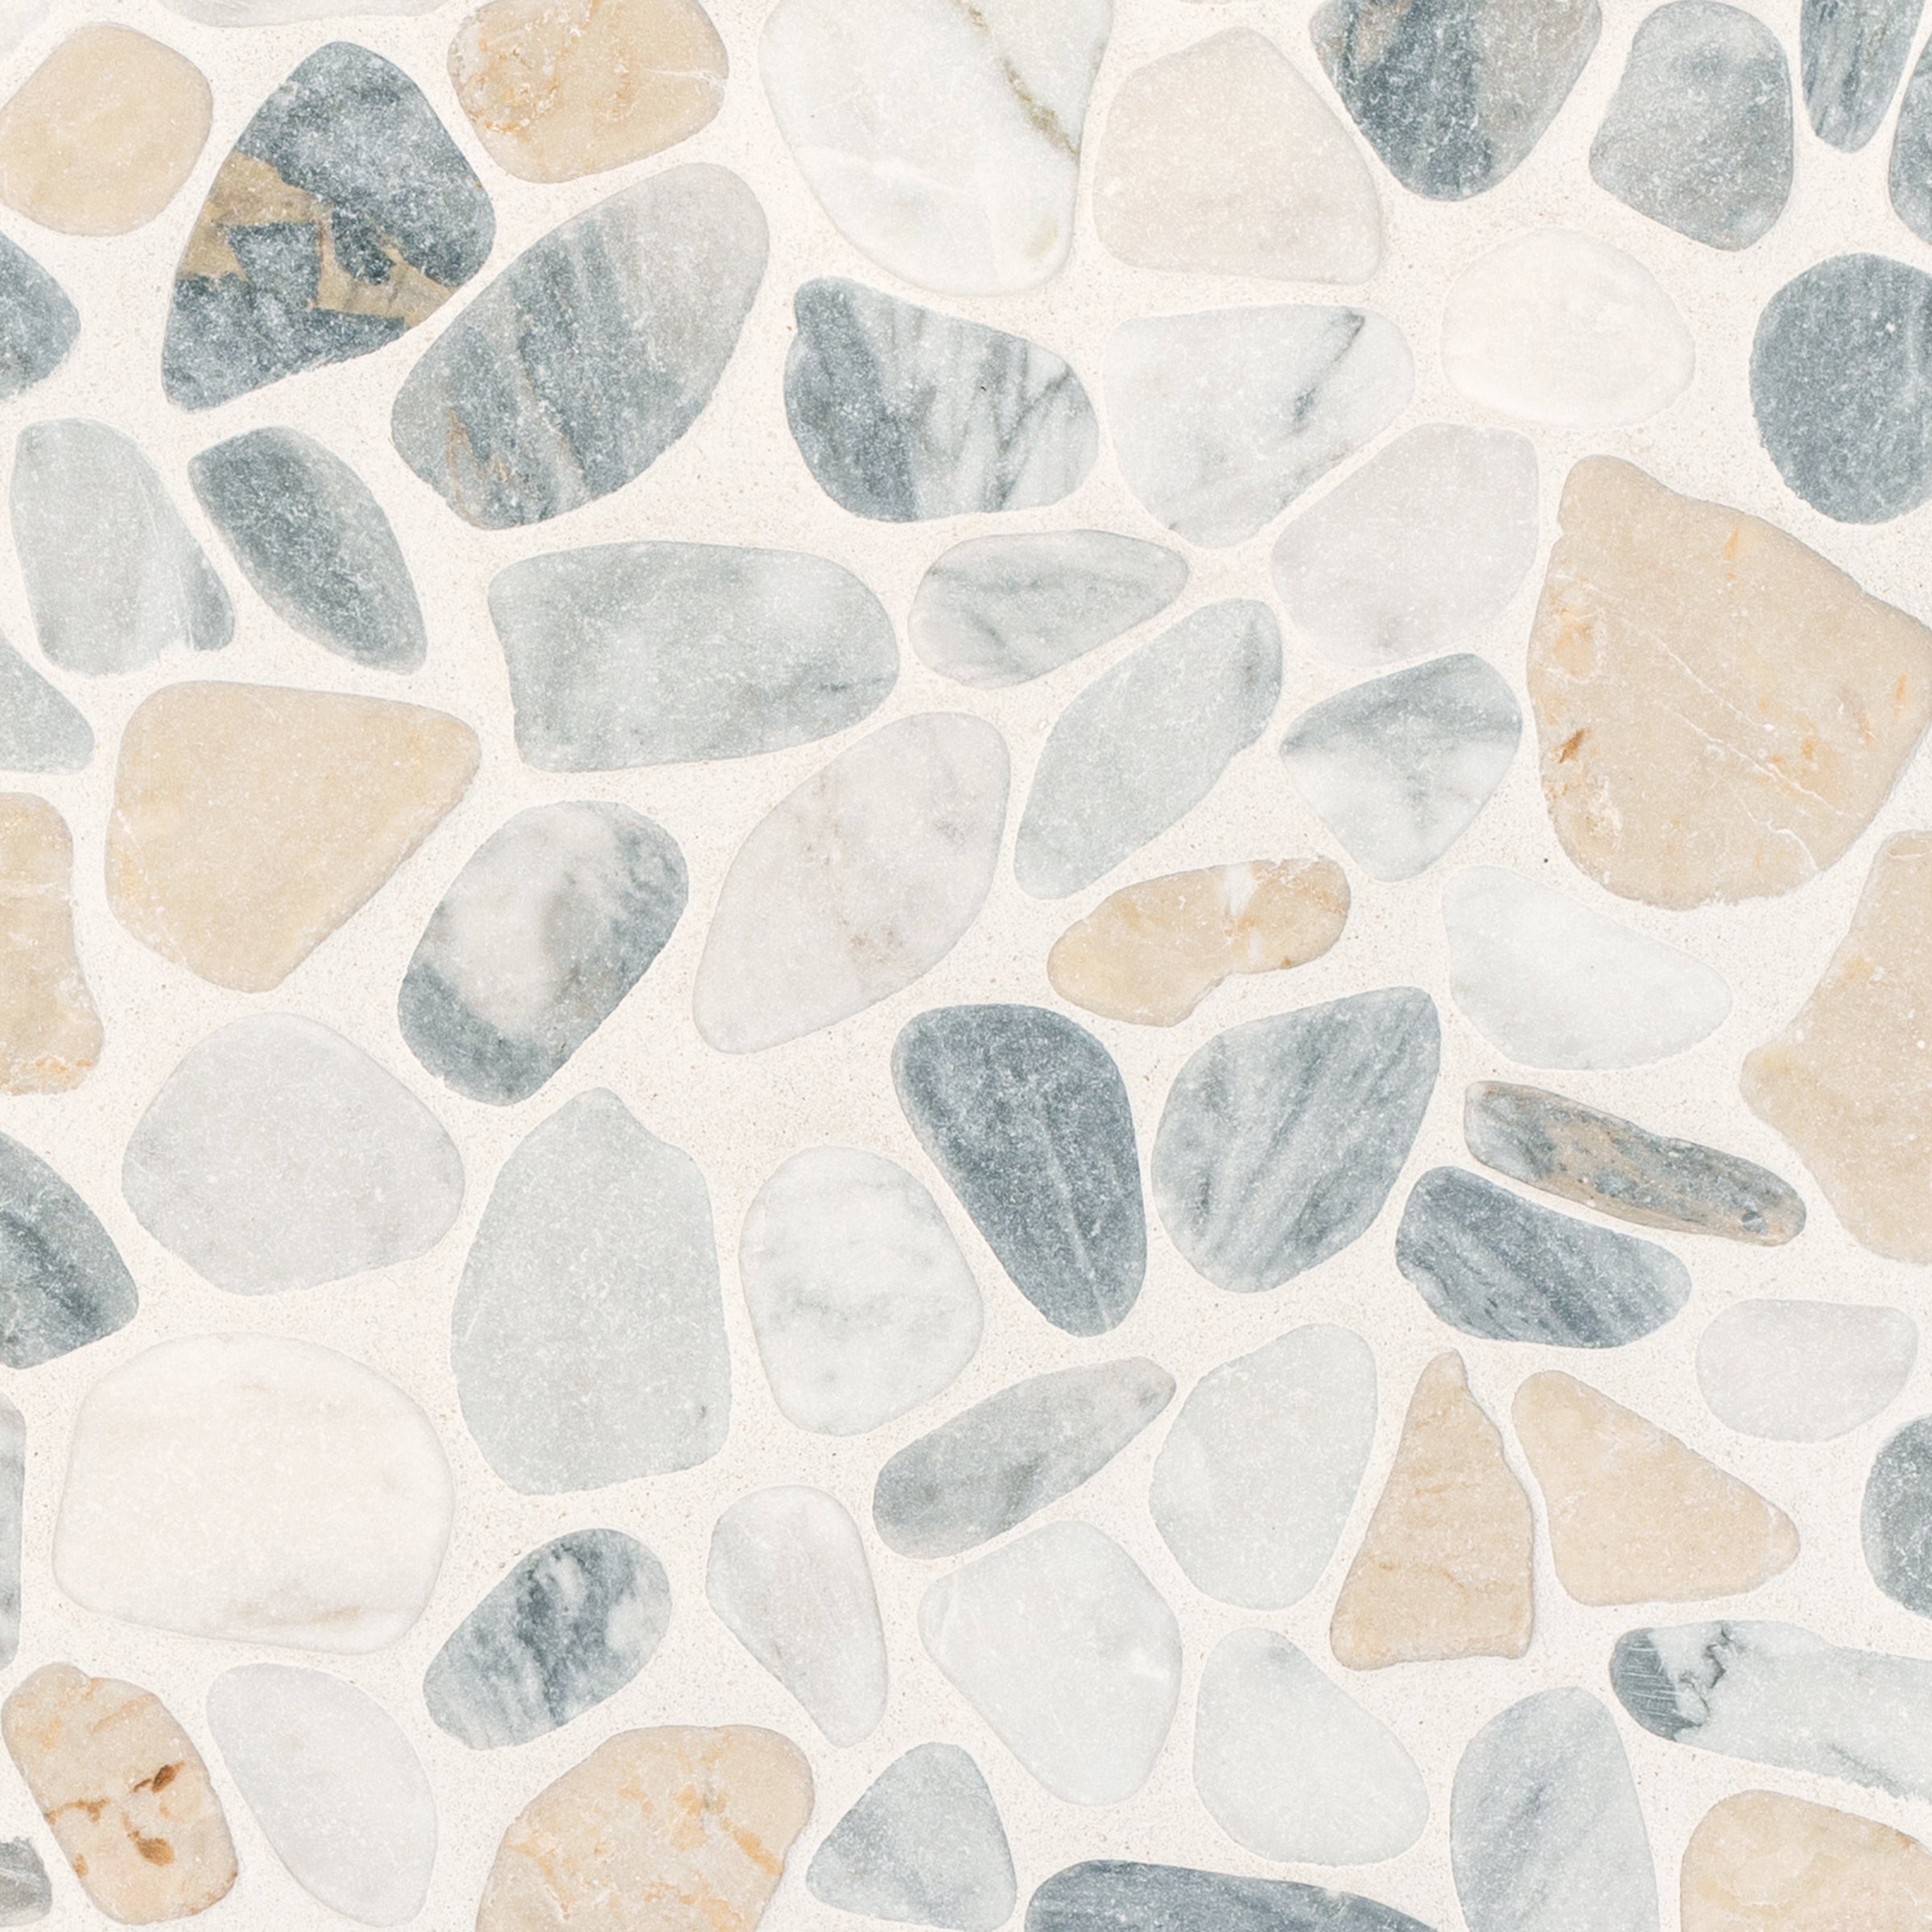
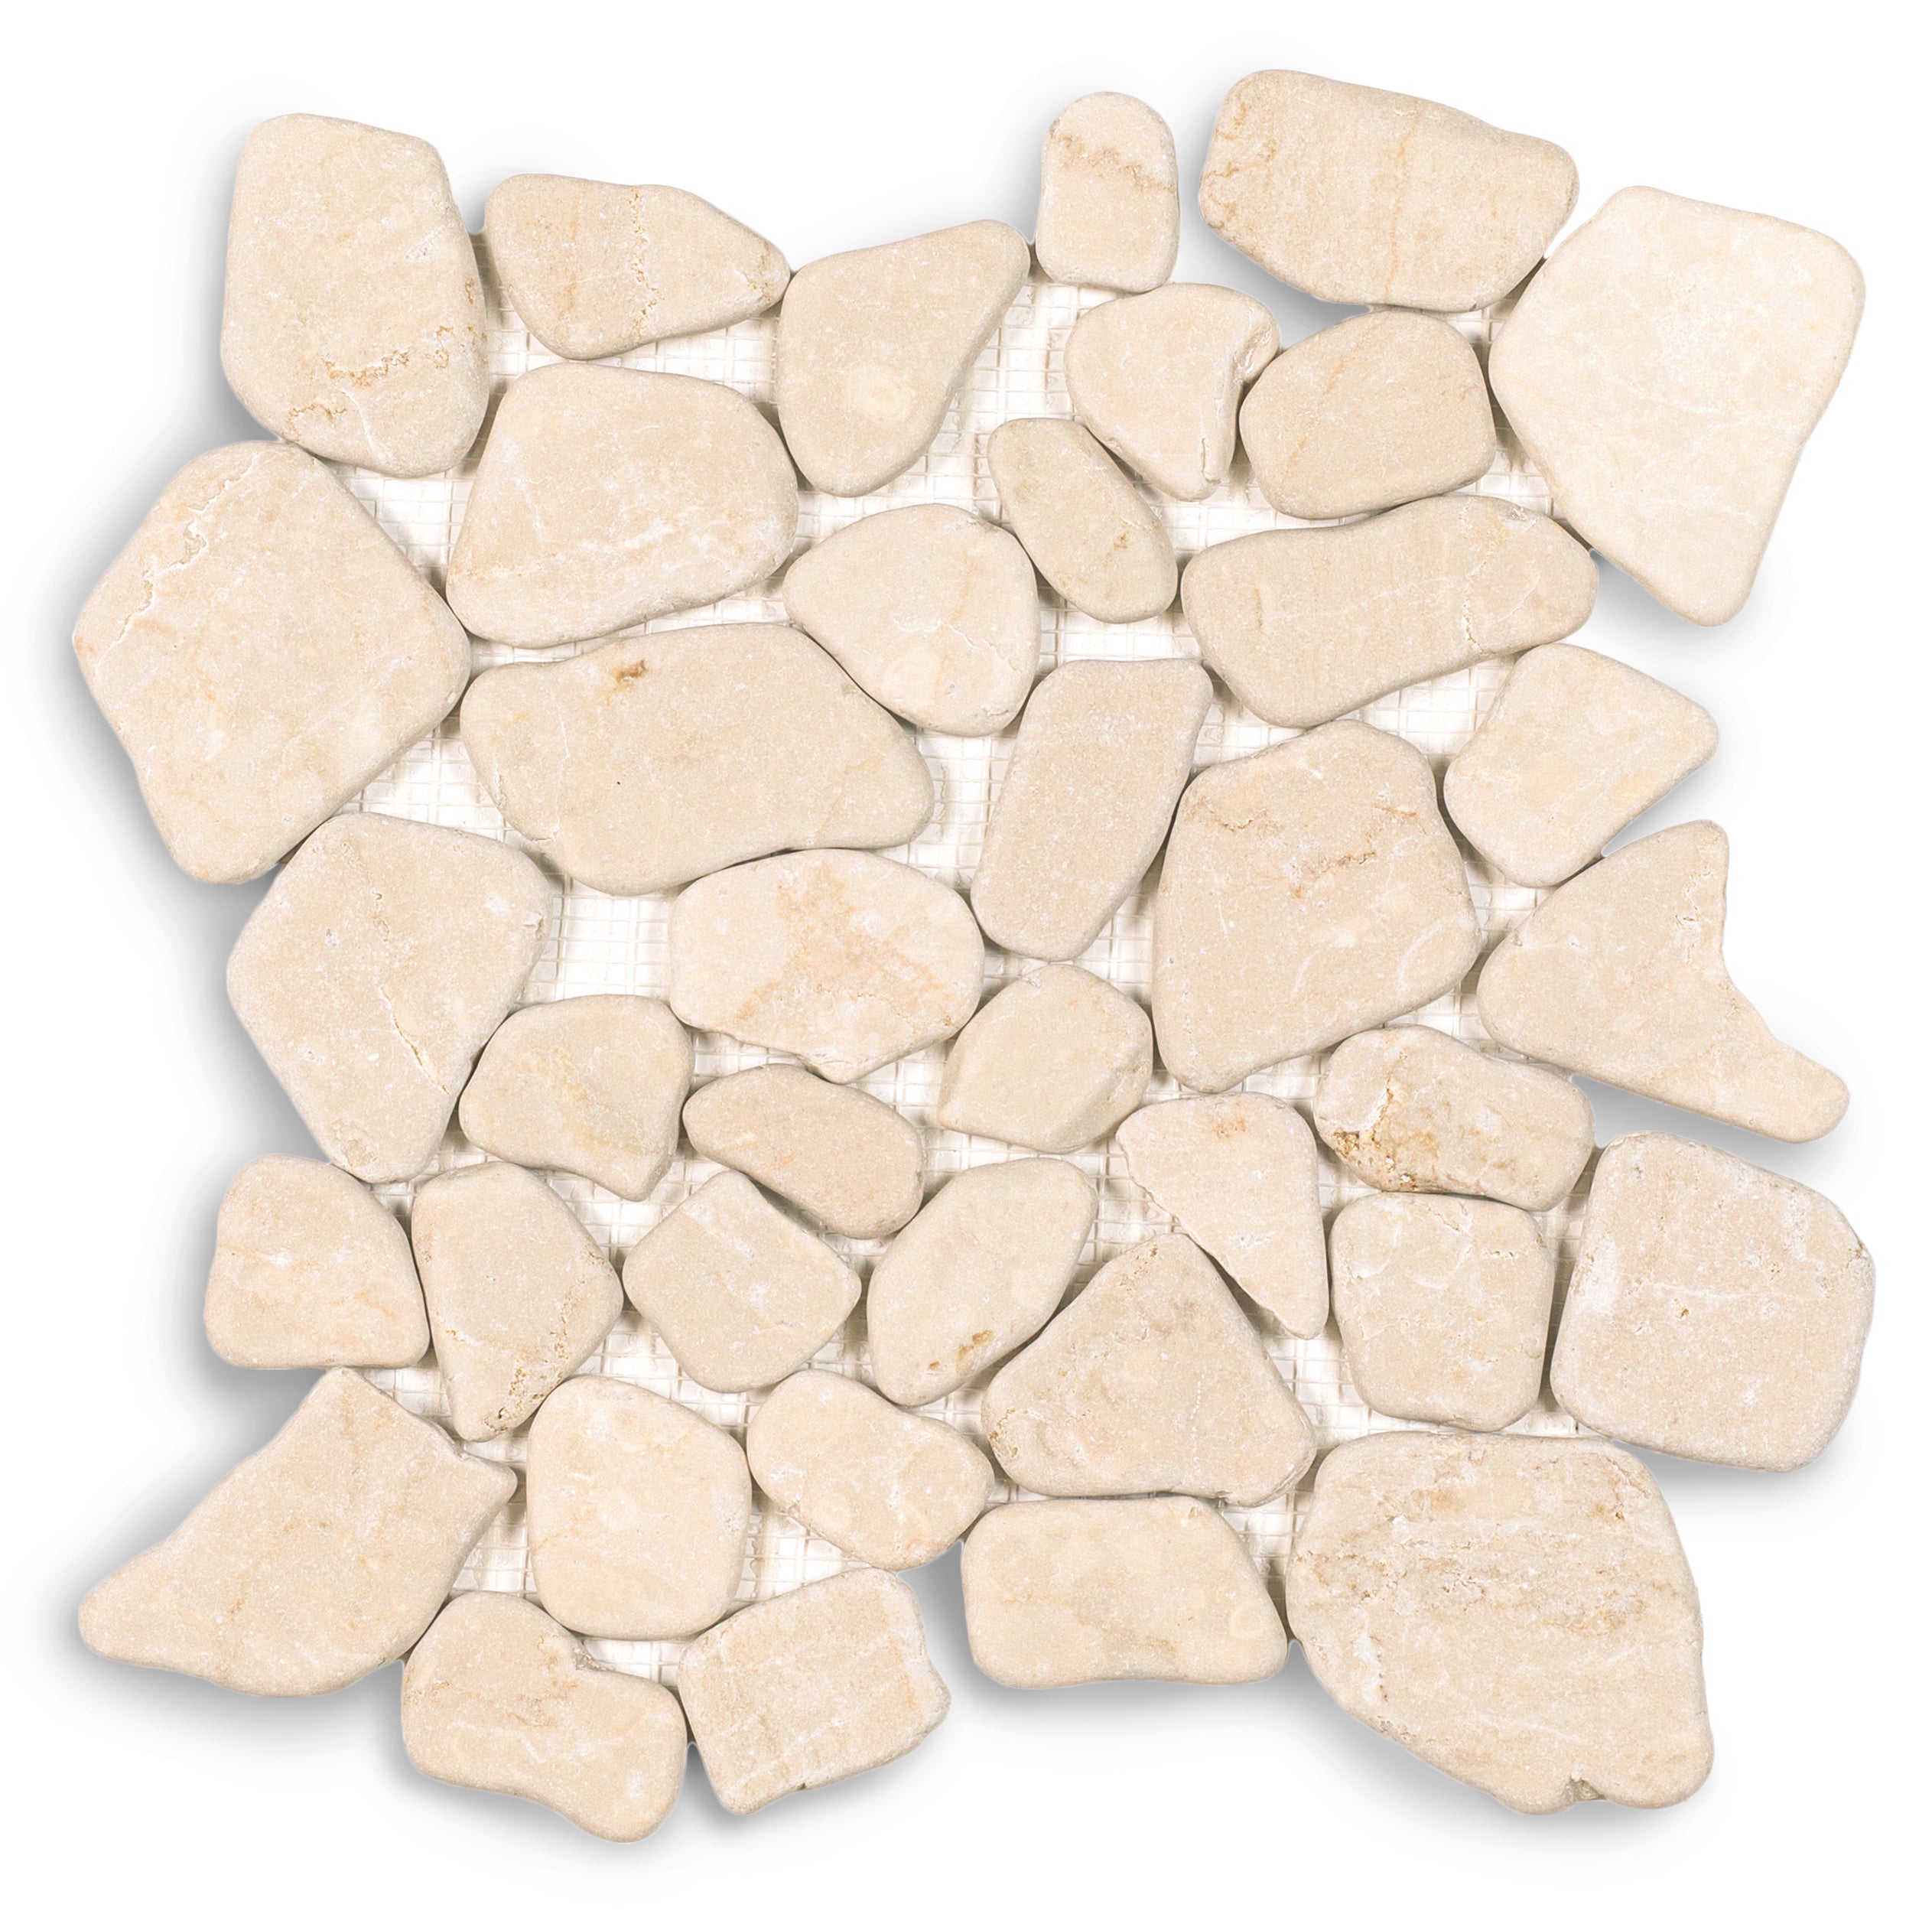
Carrara, Crema, Bardiglio Tumbled Pebble Mosaic
Rosso Verona Tumbled Marble Tile
Desert Tea Tumbled Marble Tile
Belgian Blue Tumbled Marble Tile
Verde Guatemala Tumbled Marble Tile
Belgian Blue Tumbled Marble Tile
Verde Guatemala Tumbled Marble Tile
Desert Tea Tumbled Marble Tile
Taj Matte Marble Look Porcelain Tile
Breccia Capraia 3D Mable Look Porcelain Tile

Van Gogh 1 3D Marble Look Porcelain Tile
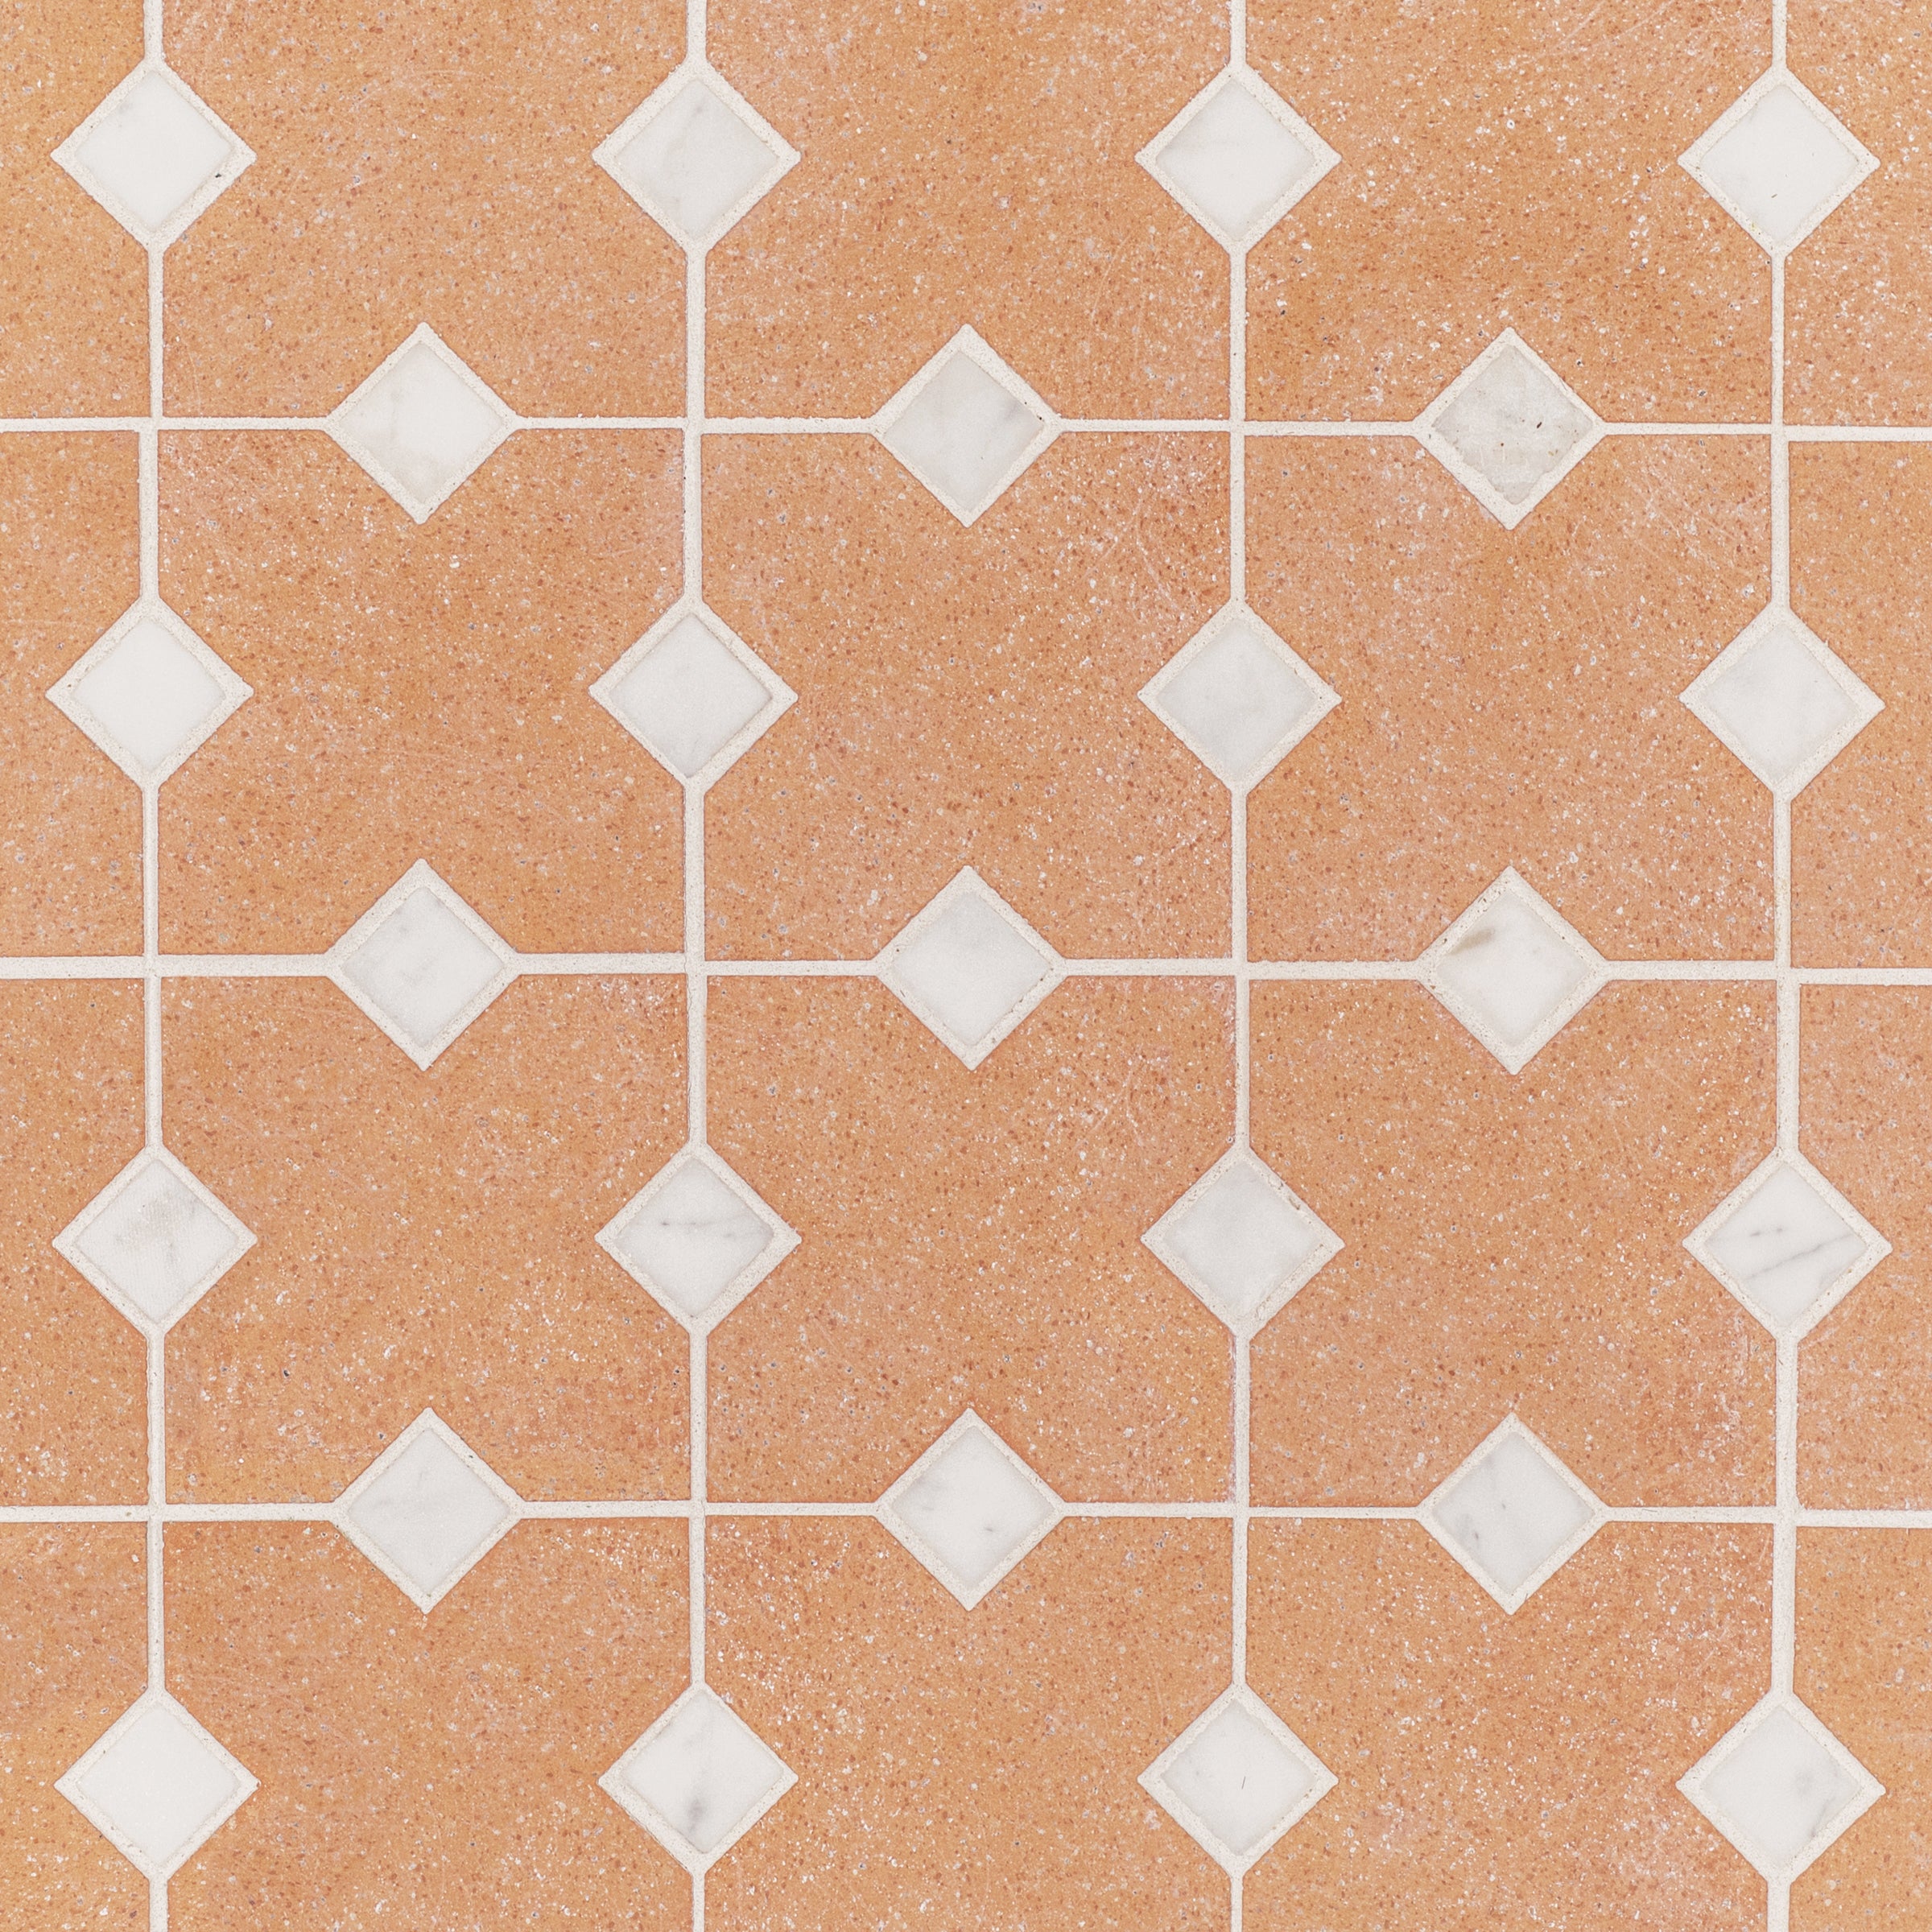
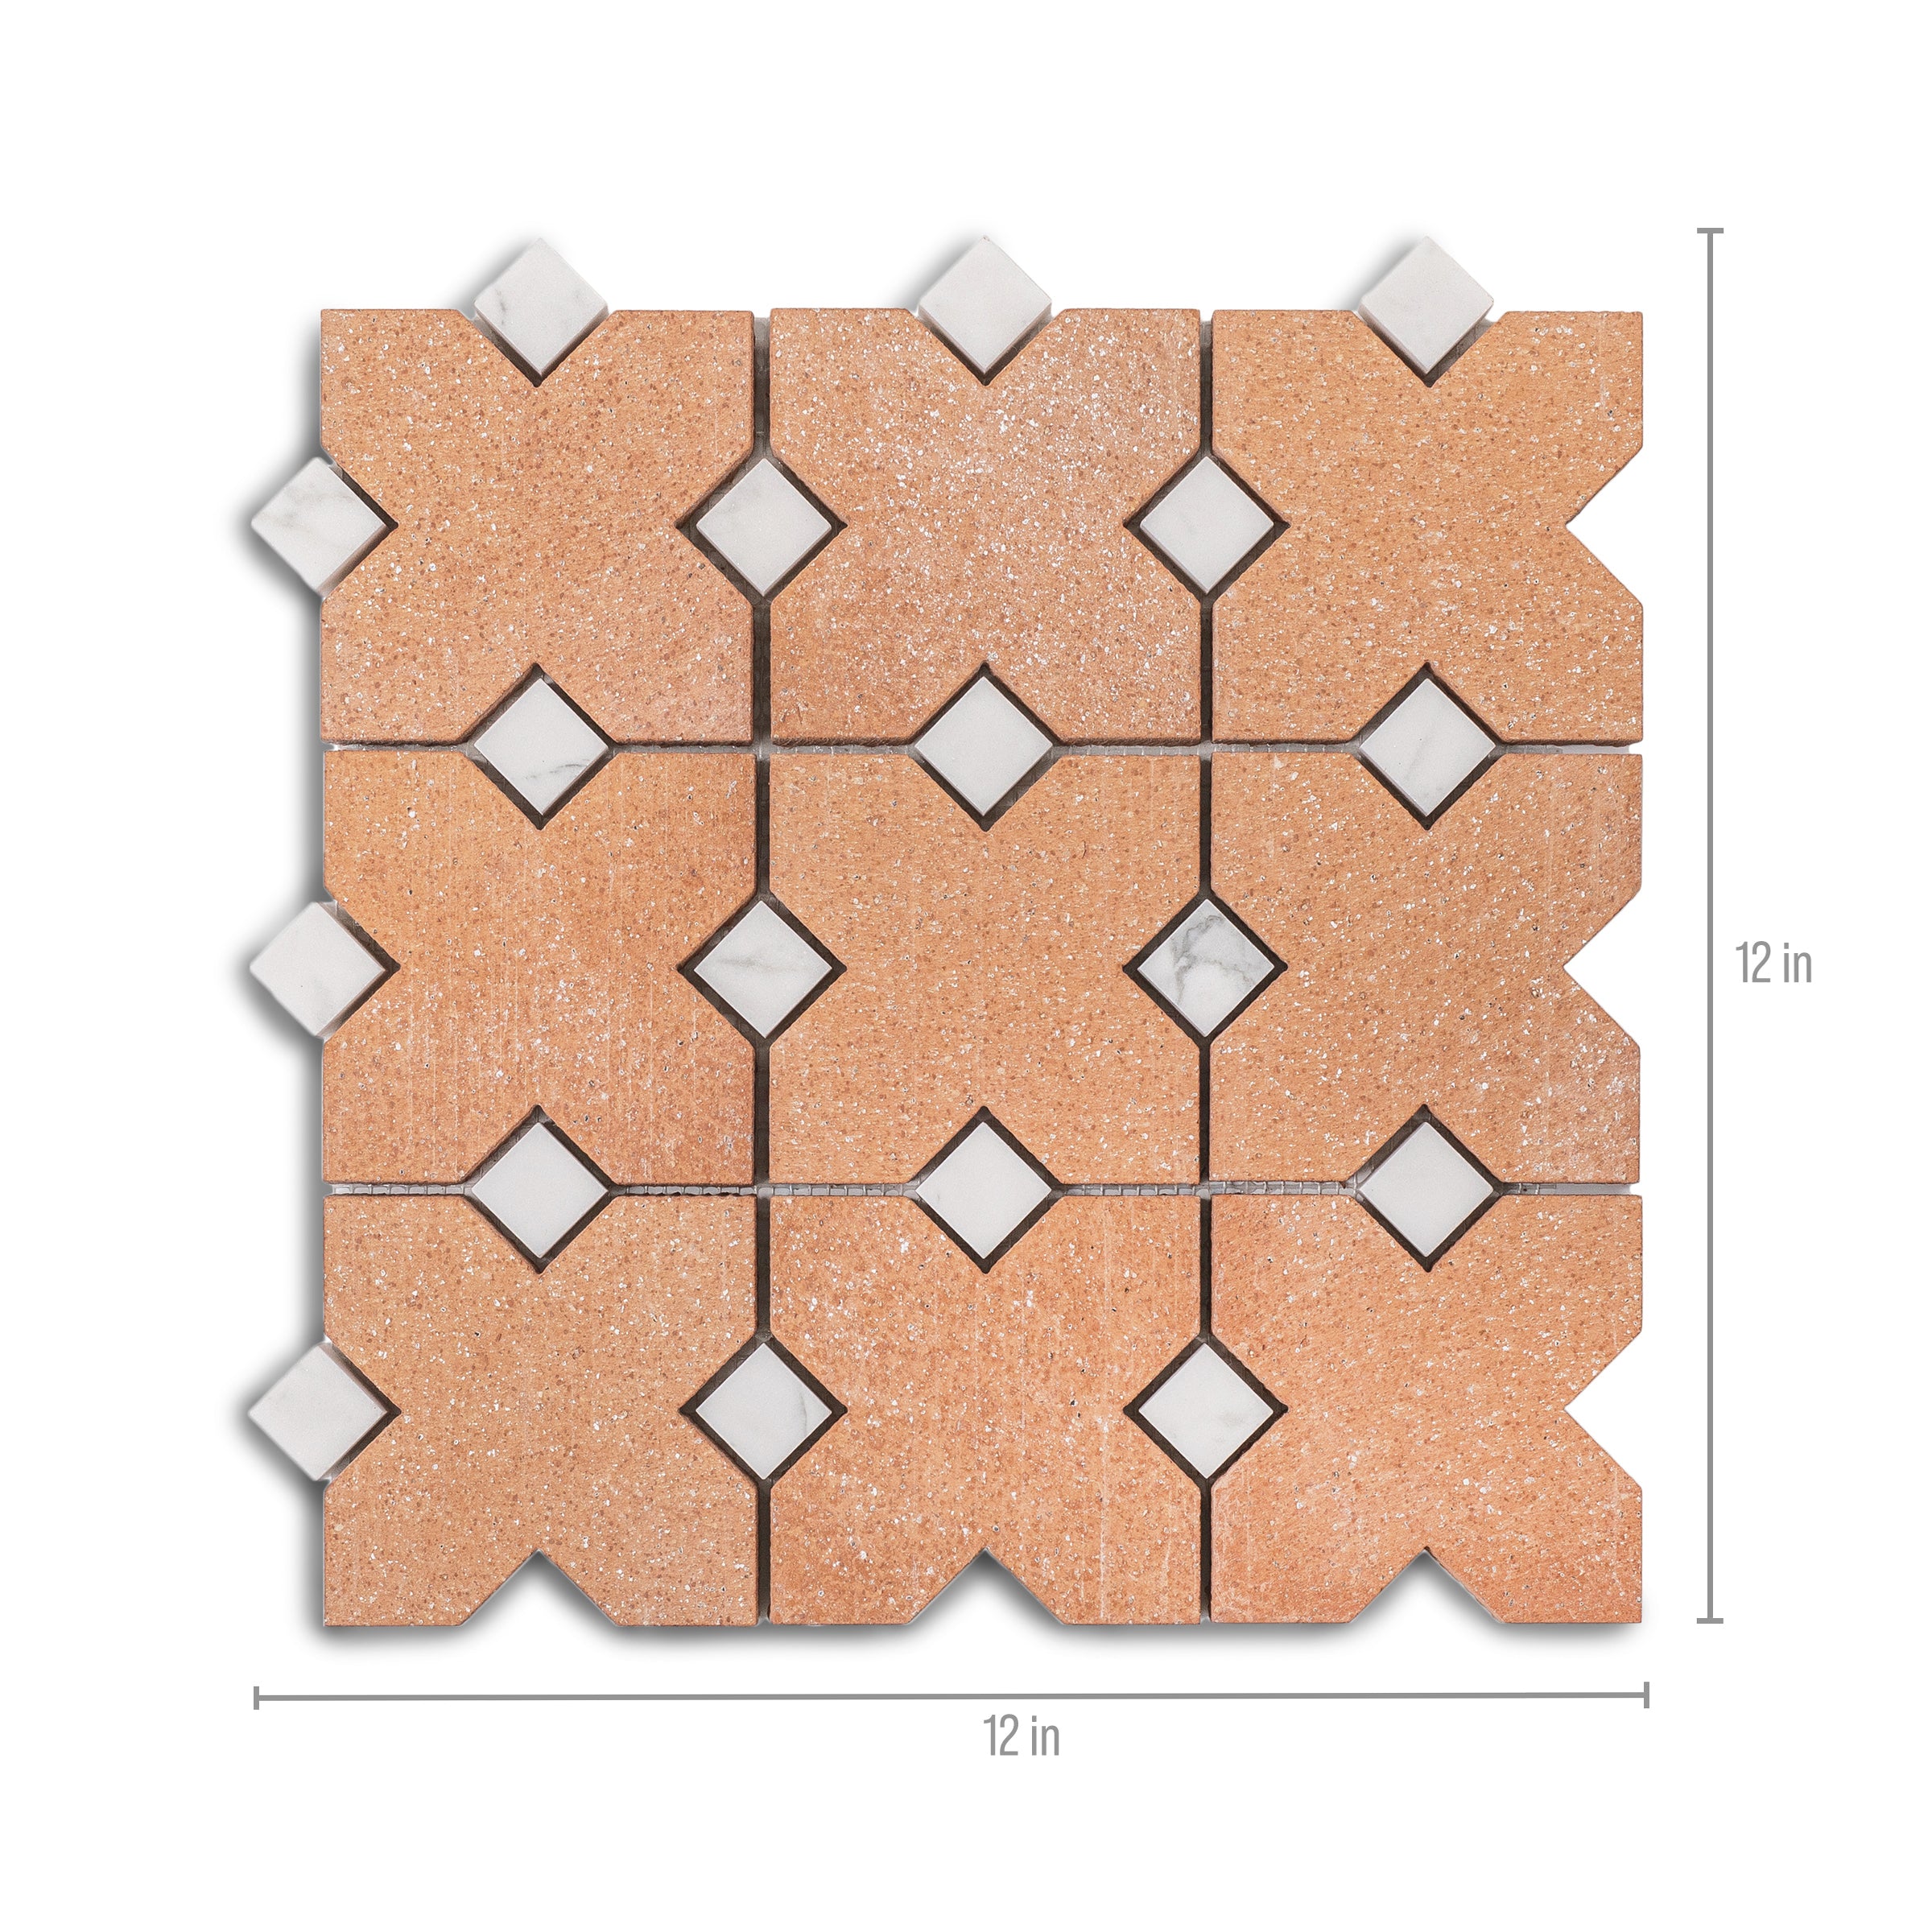
Terracotta Cross Statuario Inset Mosaic
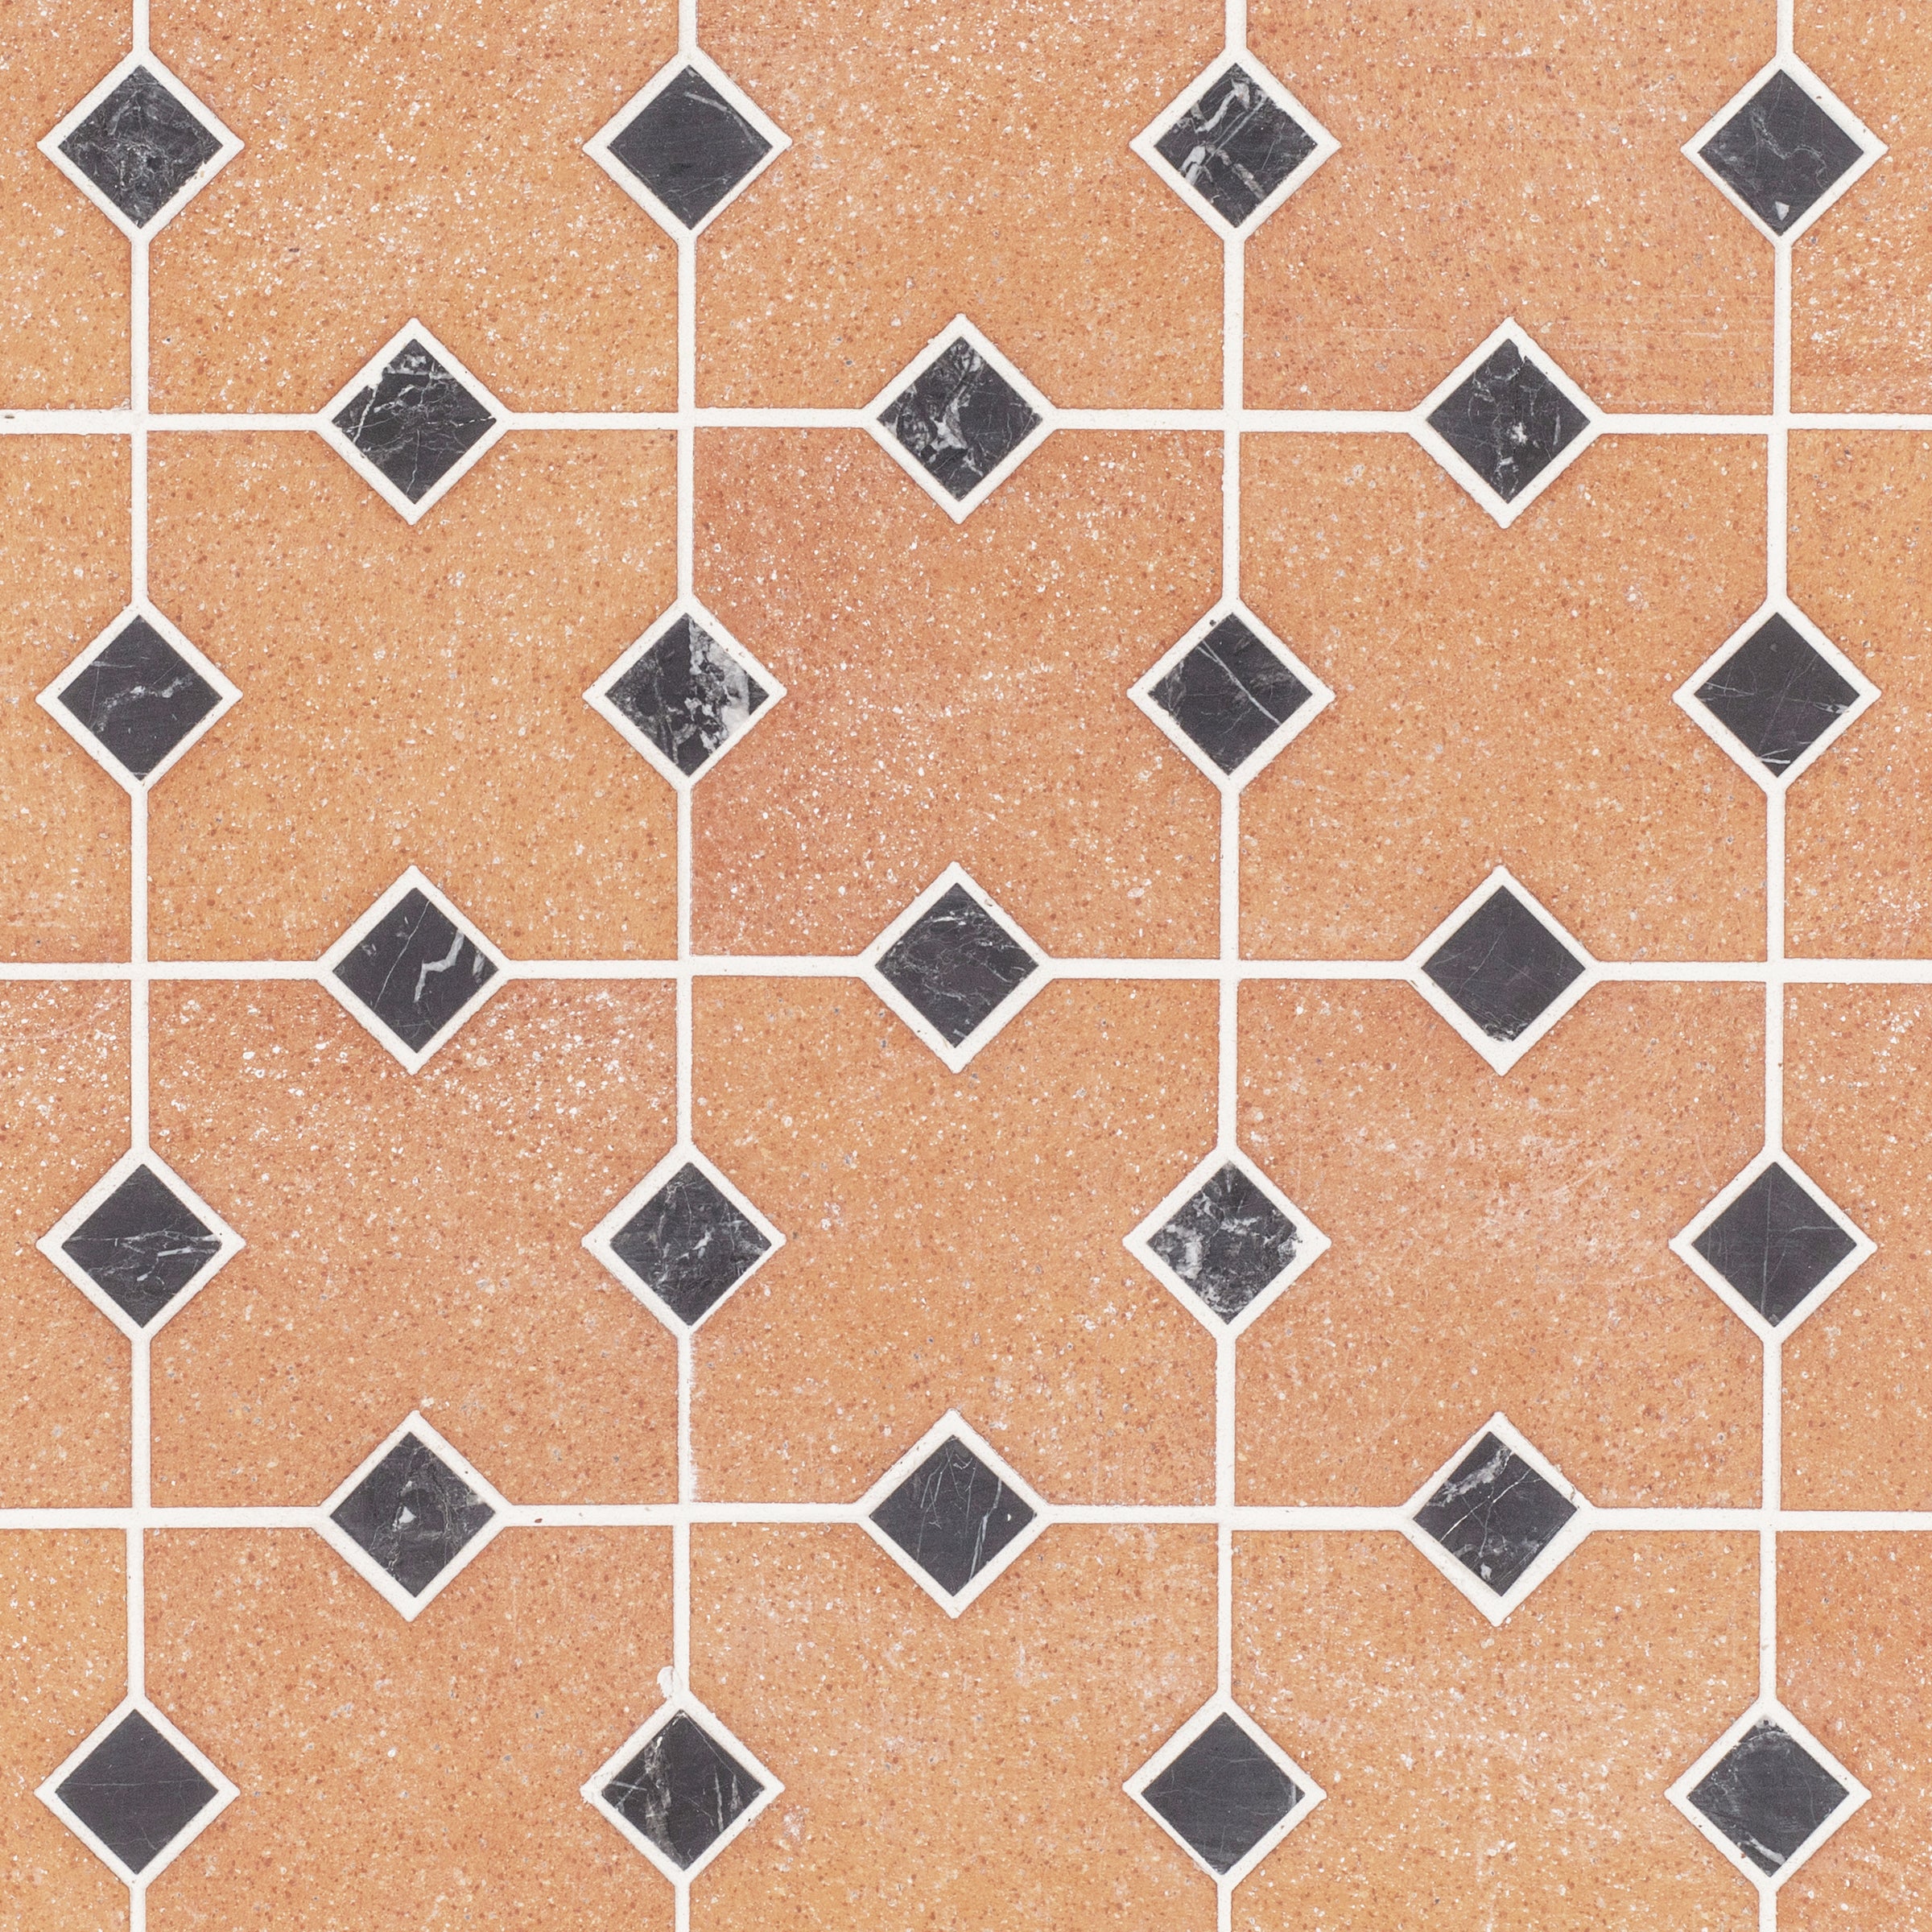
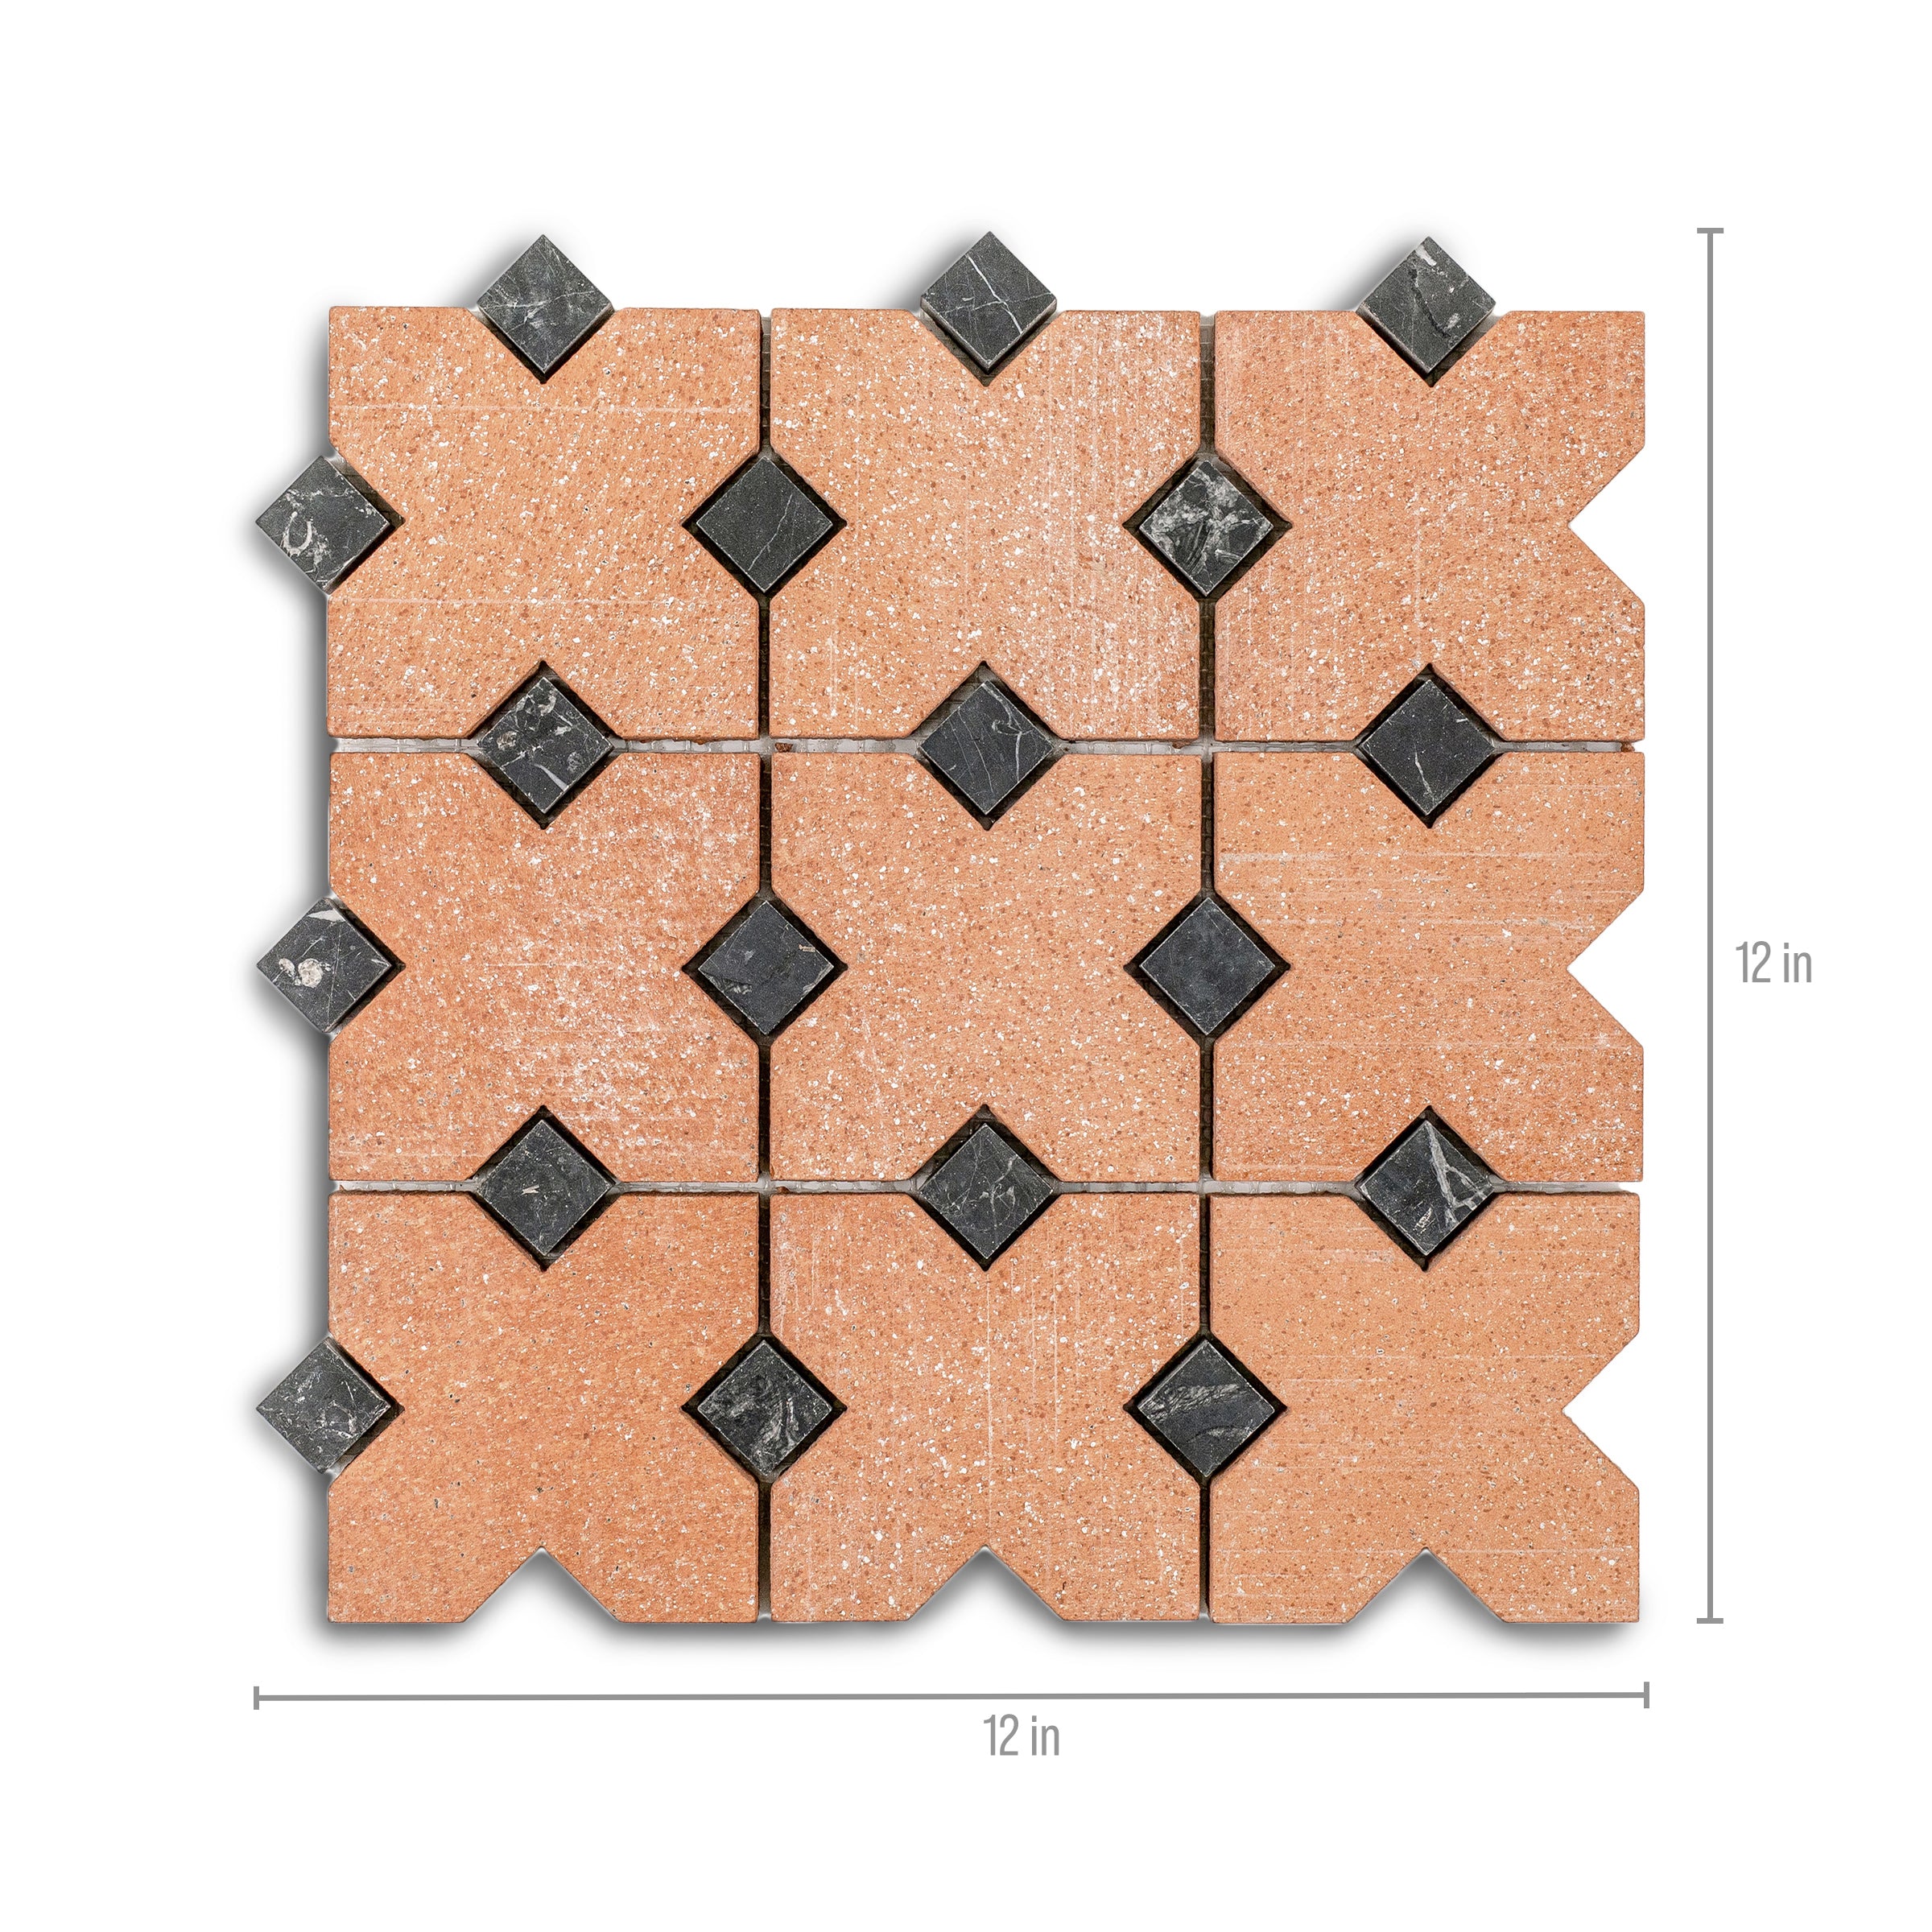
Terracotta Cross Nero Marquina Inset Mosaic
Royal Grey Satin Marble Look Porcelain Tile
Paonazzo Matte Marble Look Porcelain Tile
Ivory Marble Look Matte Porcelain Tile
Amazzonite Matte Marble Look Porcelain Tile
Montblack Matte Marble Look Porcelain Tile
Spider Gold Matte Marble Look Porcelain Tile
Carrara Belgian Blue Tumbled Stone Checkerboard
Carrara Bardiglio Tumbled Stone Checkerboard


Bardiglio Desert Tea Tumbled Stone Checkerboard


Thassos, Carrara, Bardiglio Gingham Marble Mosaic
Carrara Bardiglio Tumbled Stone Checkerboard
Rosso Verona Tumbled Marble Tile
Bianco Carrara Honed Marble Tile
Amazzonite Matte Marble Look Porcelain Tile
Rosso Verona 1x1 Hand Chipped Marble Mosaic
Spider Gold Matte Marble Look Porcelain Tile
Bianco Carrara Octagon w/ Nero Marquina Dot Mosaic
Breccia Capraia 3D Mable Look Porcelain Tile
Verde Guatemala Tumbled Marble Tile
Bardiglio Desert Tea Tumbled Stone Checker Stripe
Fior de Bosco Marble Look Porcelain Tile
White Paradise Marble Look Porcelain Tile
Calacatta Honed Italian Terrazzo Tile
Desert Tea Tumbled Marble Tile
Carrara Running Bond Marble Mosaic
Bardiglio Desert Tea Tumbled Stone Checkerboard
Van Gogh 1 3D Marble Look Porcelain Tile
Taj Matte Marble Look Porcelain Tile
Calacatta Running Bond Marble Mosaic


Carrara Verde Guatemala Tumbled Stone Checkerboard
Rosa Perlino 1x1 Chipped Mosaic

Verde Guatemala 1x1 Chipped Mosaic
Desert Tea Tumbled Marble Tile
Carrara Verde Guatemala Tumbled Stone Checker Stripe
Belgian Blue Tumbled Marble Tile
Montblack Matte Marble Look Porcelain Tile
Ivory Marble Look Matte Porcelain Tile
Torcello Honed Italian Terrazzo Tile
Travertino Chiaro Tumbled Stone Tile
Verde Guatemala Tumbled Marble Tile
Carrara 1x1 Hand Chipped Marble Mosaic
White & Ecru Octagon Zellige Mosaic
Thassos, Carrara, Bardiglio Gingham Marble Mosaic
Cotto Deco Terracotta Look Matte Porcelain Tile
White & Ecru 2x2 Zellige Checkerboard Mosaic
Murano Honed Italian Terrazzo Tile
Chiaro Deco Terracotta Look Matte Porcelain Tile
Unglazed & White Octagon Zellige Mosaic
Carrara Bardiglio Tumbled Stone Checkerboard
White & Black Octagon Zellige Mosaic
Beige Limestone Look 3D Matte Porcelain Tile
Cream Limestone Look 3D Matte Porcelain Tile
Rosso Verona Tumbled Marble Tile
Apple 12x24 3D Glossy Porcelain Tile
Travertino Moka Stone Look Porcelain Tile
Bianco Carrara Honed Marble Tile
Rosso Verona 1x1 Hand Chipped Marble Mosaic
Amazzonite Matte Marble Look Porcelain Tile
Travertino 3D Matte Porcelain Tile
White Multi-Color Matte Porcelain Tile
Cream 12x24 3D Gloss Porcelain Tile
Navy 12x24 3D Gloss Porcelain Tile
Natura Terracotta Look Matte Porcelain Tile
Cream 2x2 Forma Porcelain Mosaic

Bianco Carrara Octagon w/ Nero Marquina Dot Mosaic
Spider Gold Matte Marble Look Porcelain Tile
Almond Cement Look Matte Porcelain Tile