


NOTIFY ME WHEN AVAILABLE
We'll notify you as soon as this product or sample is back in stock / available.
Product add-on


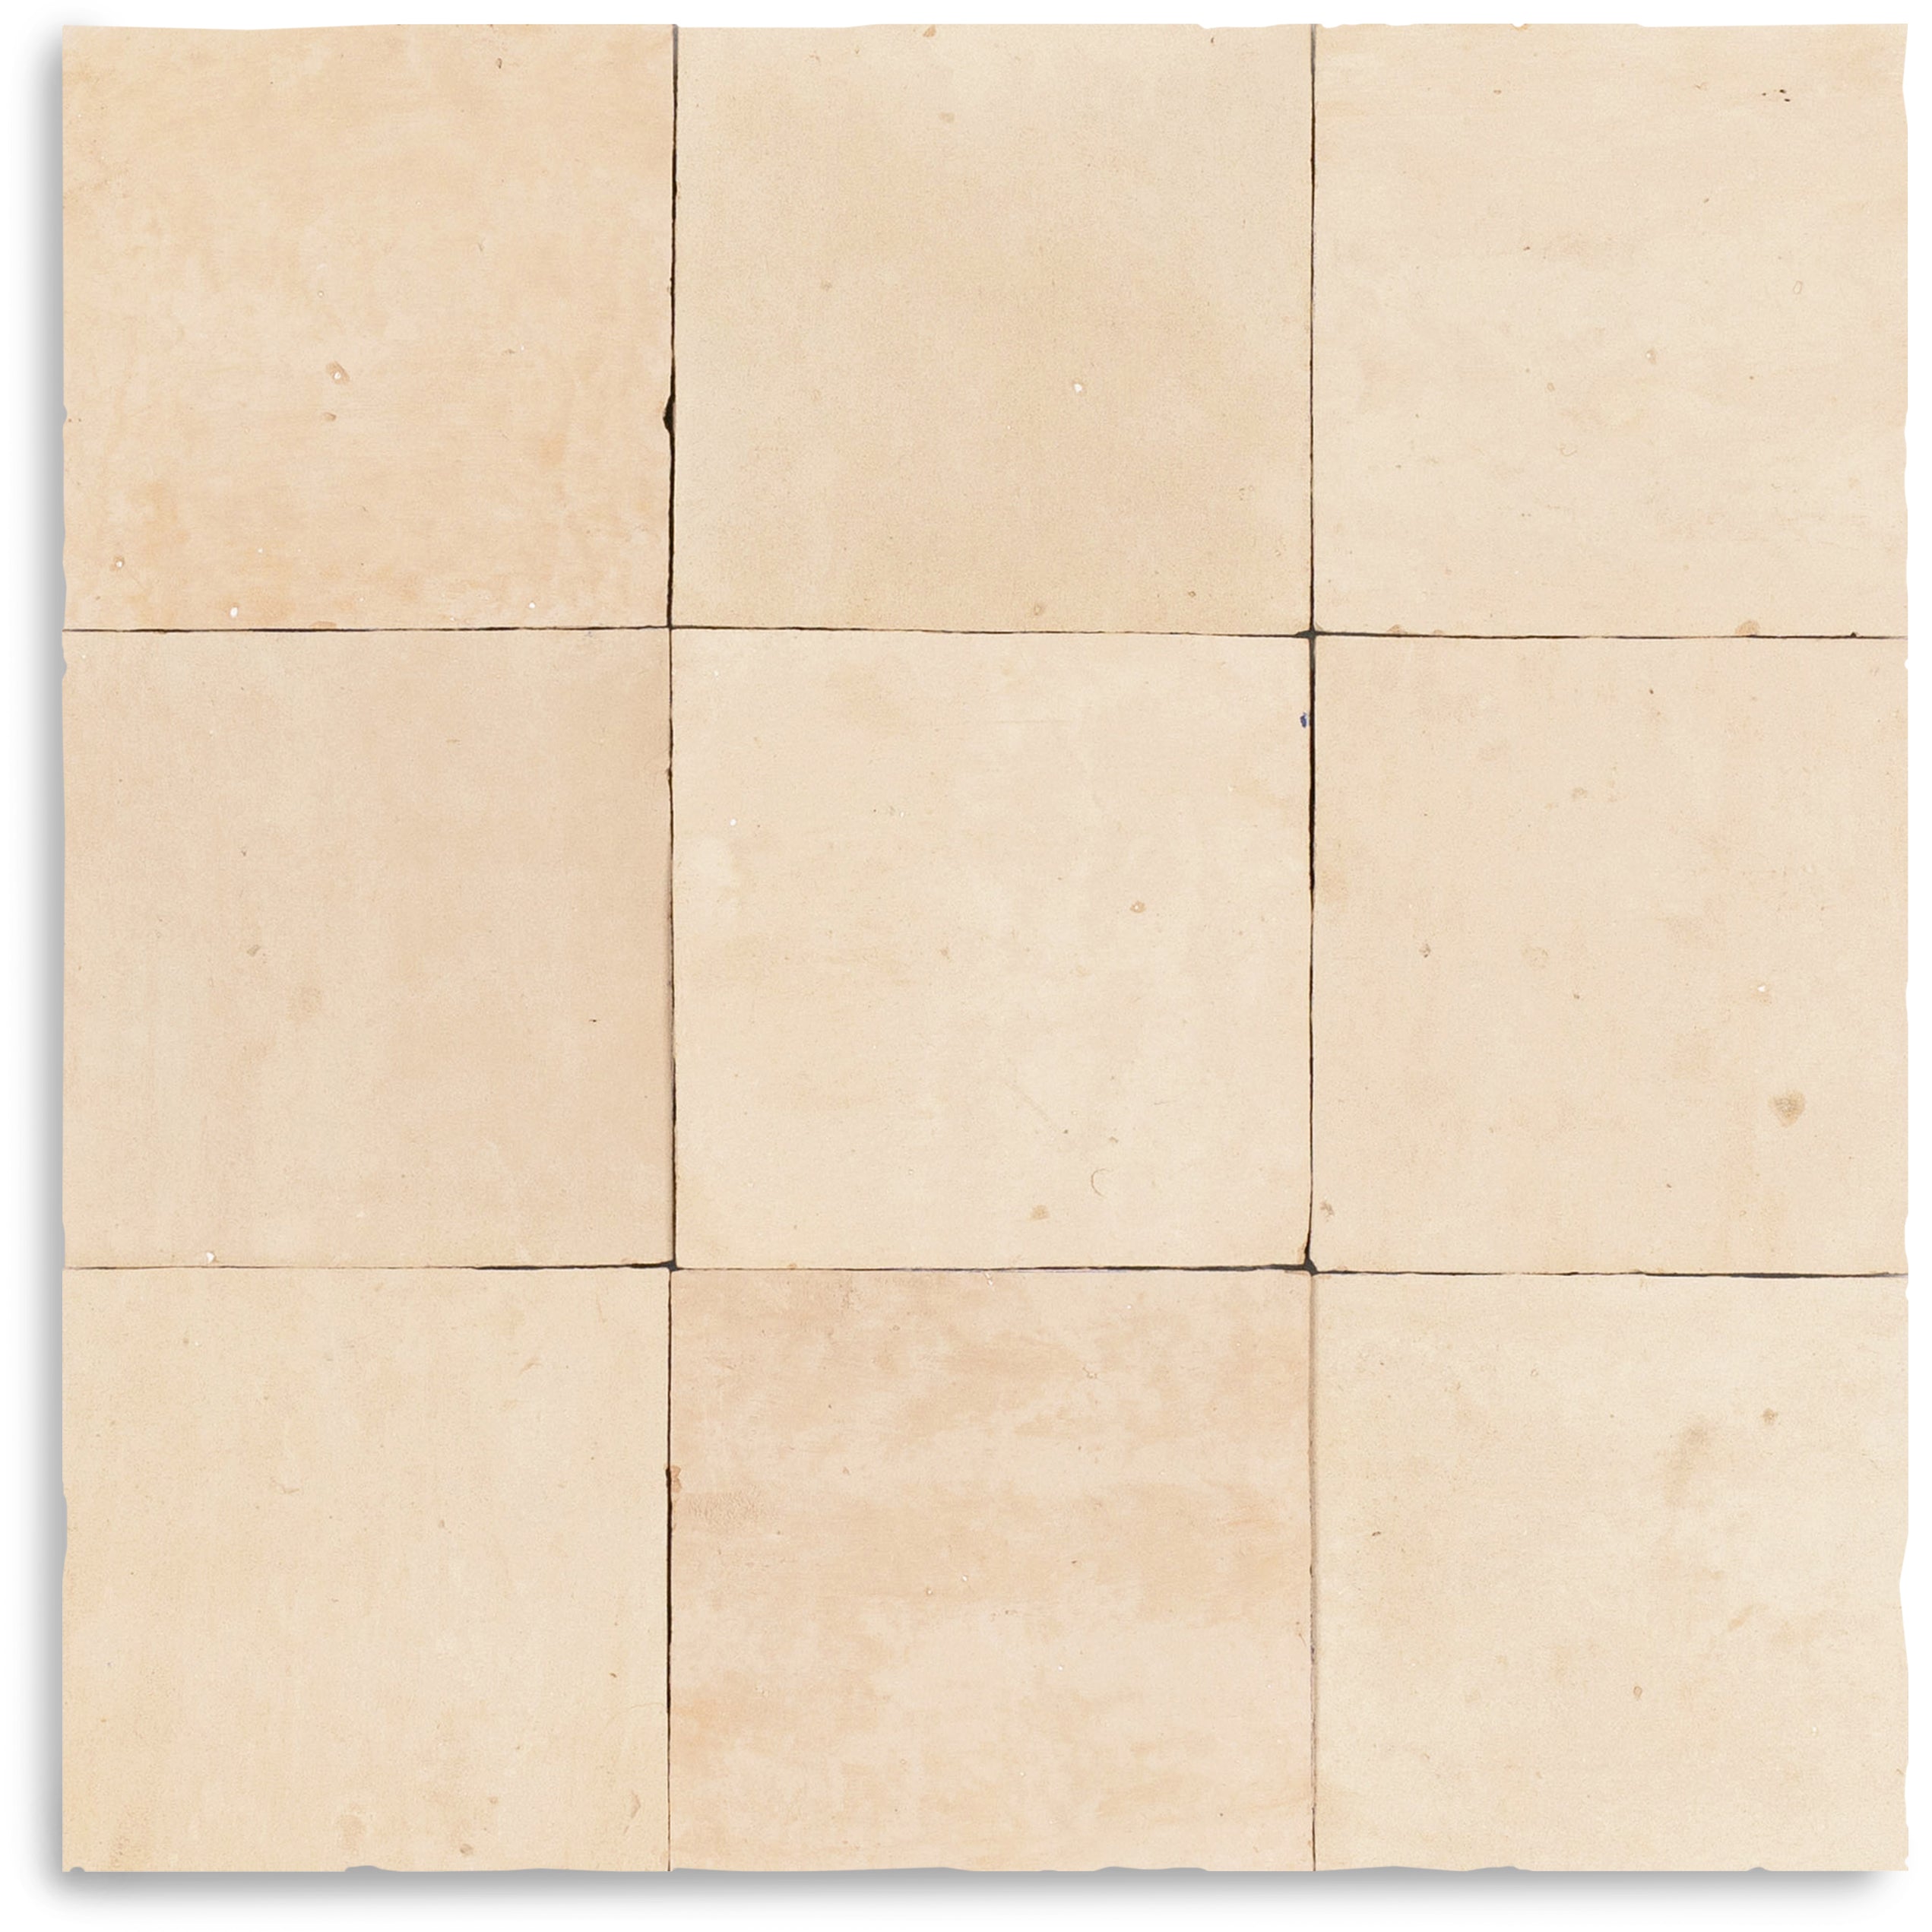
Raw & Refined
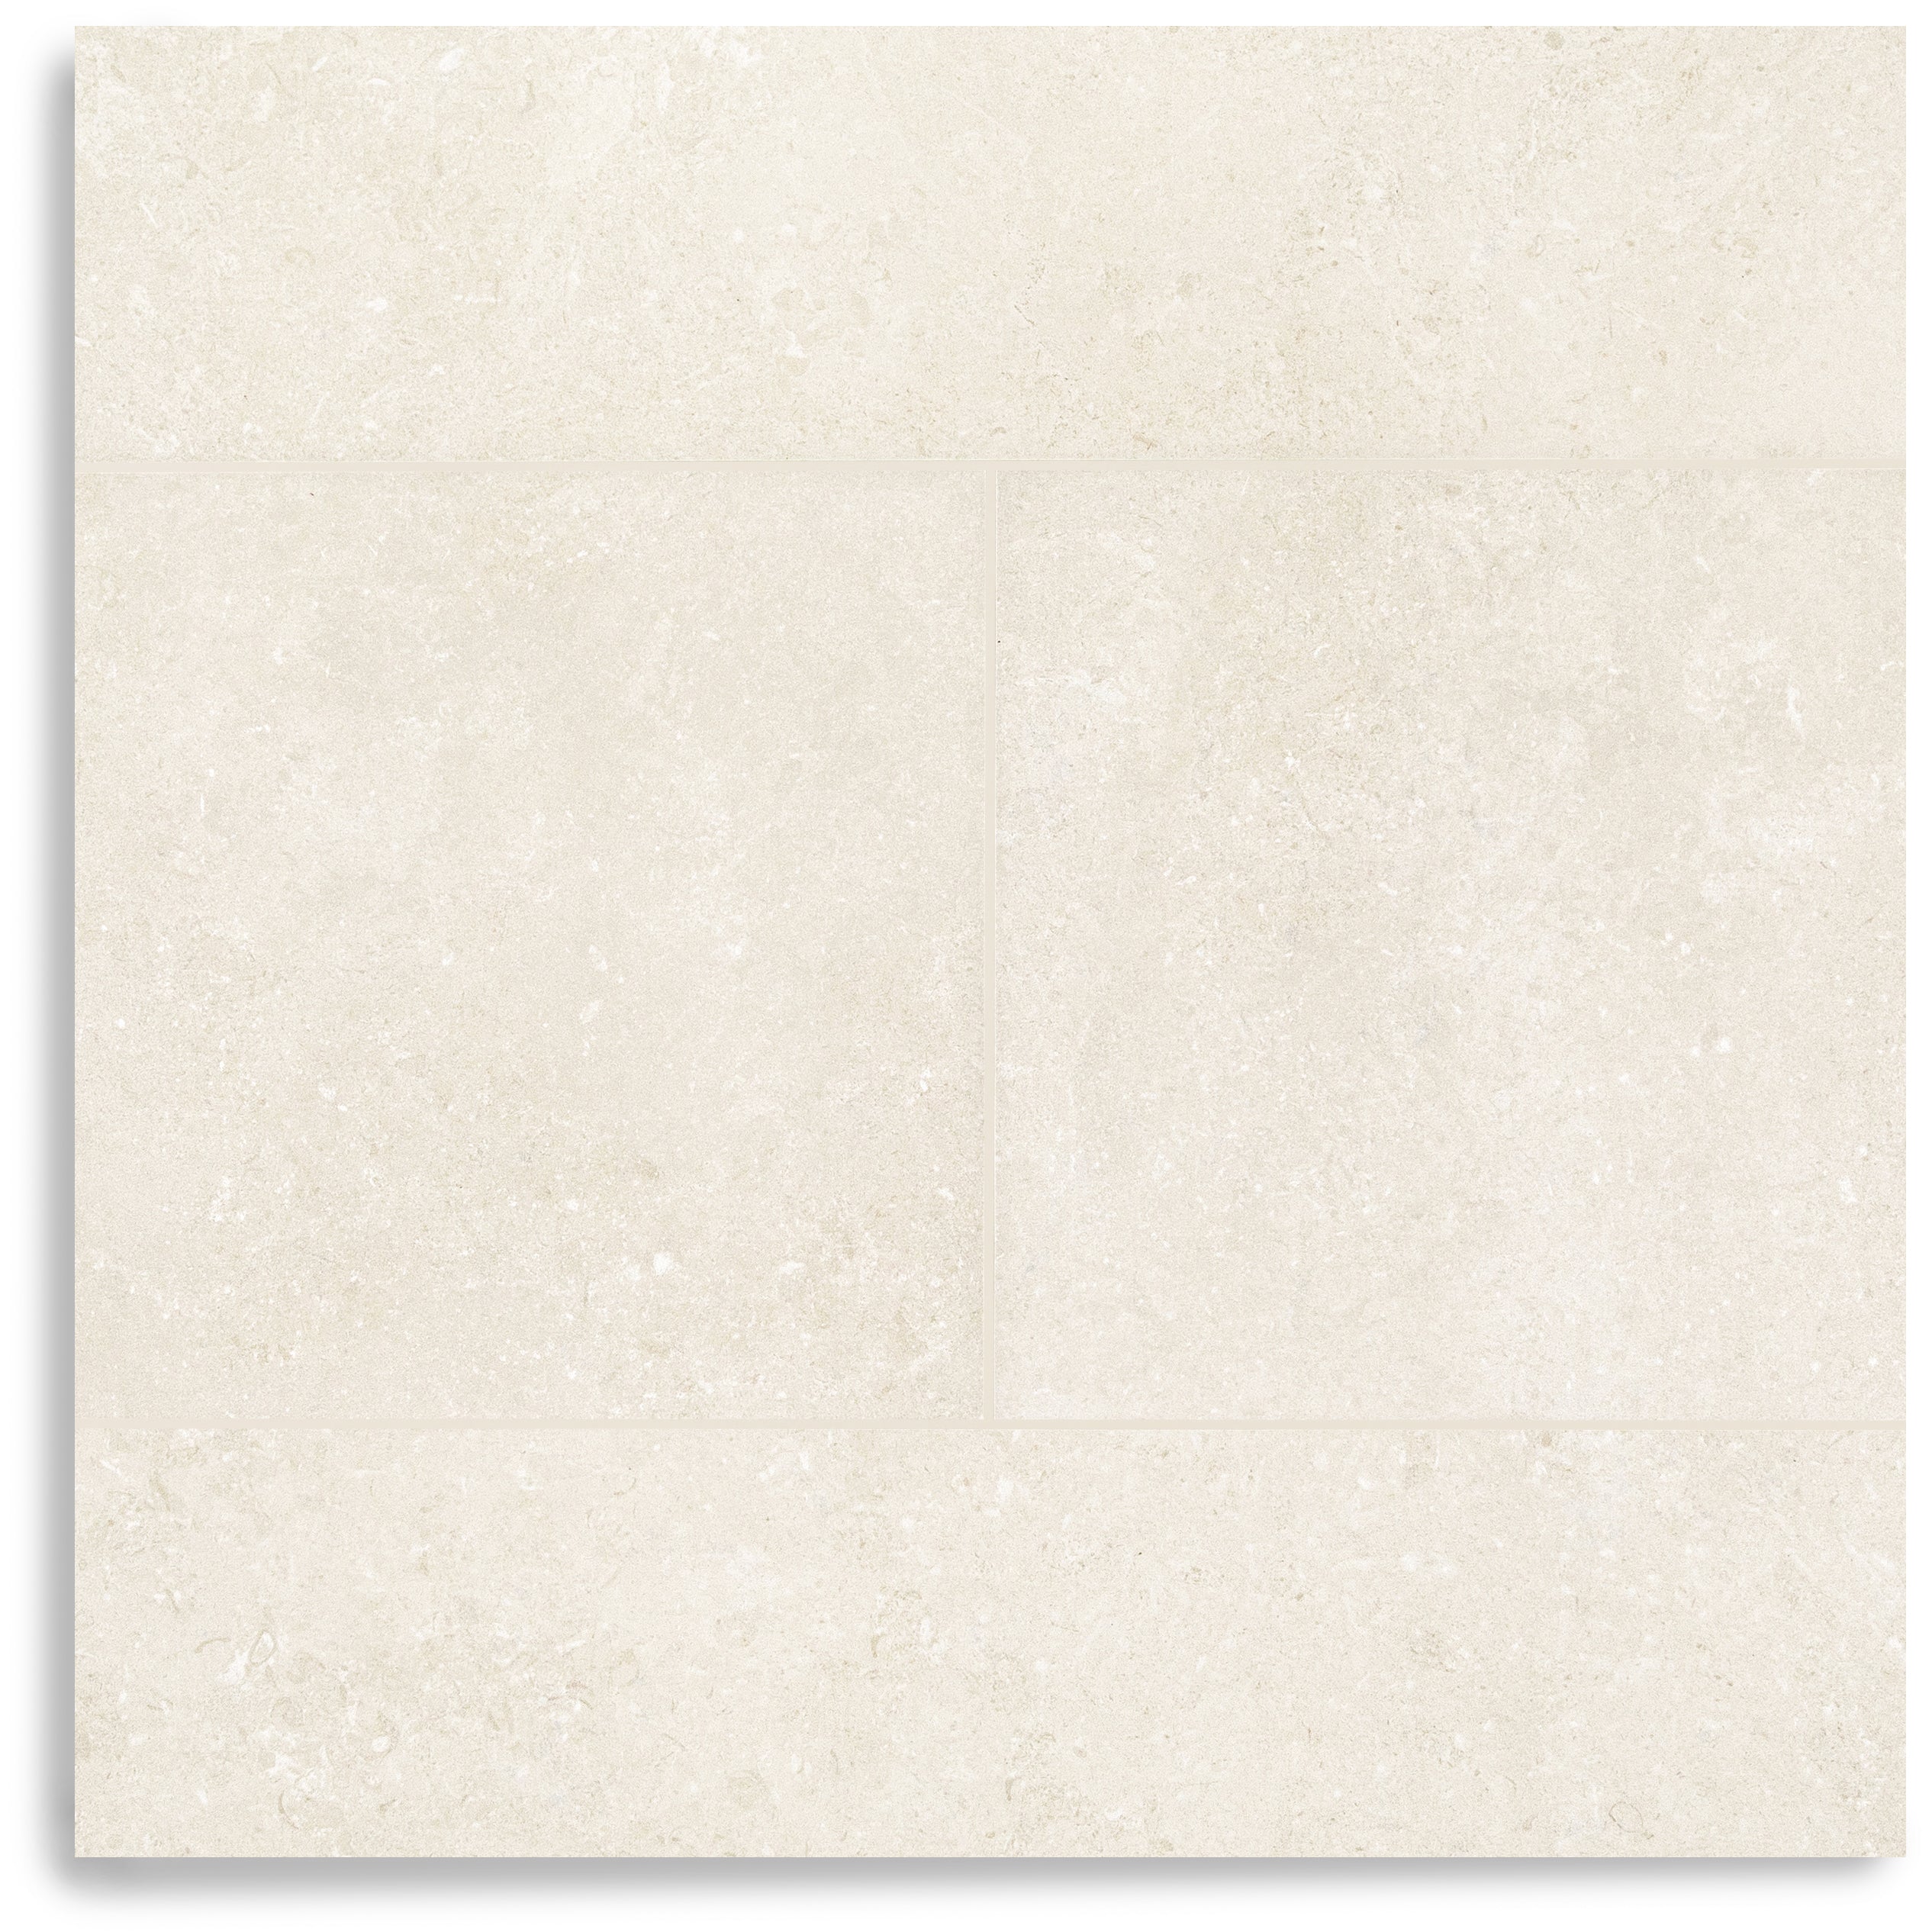
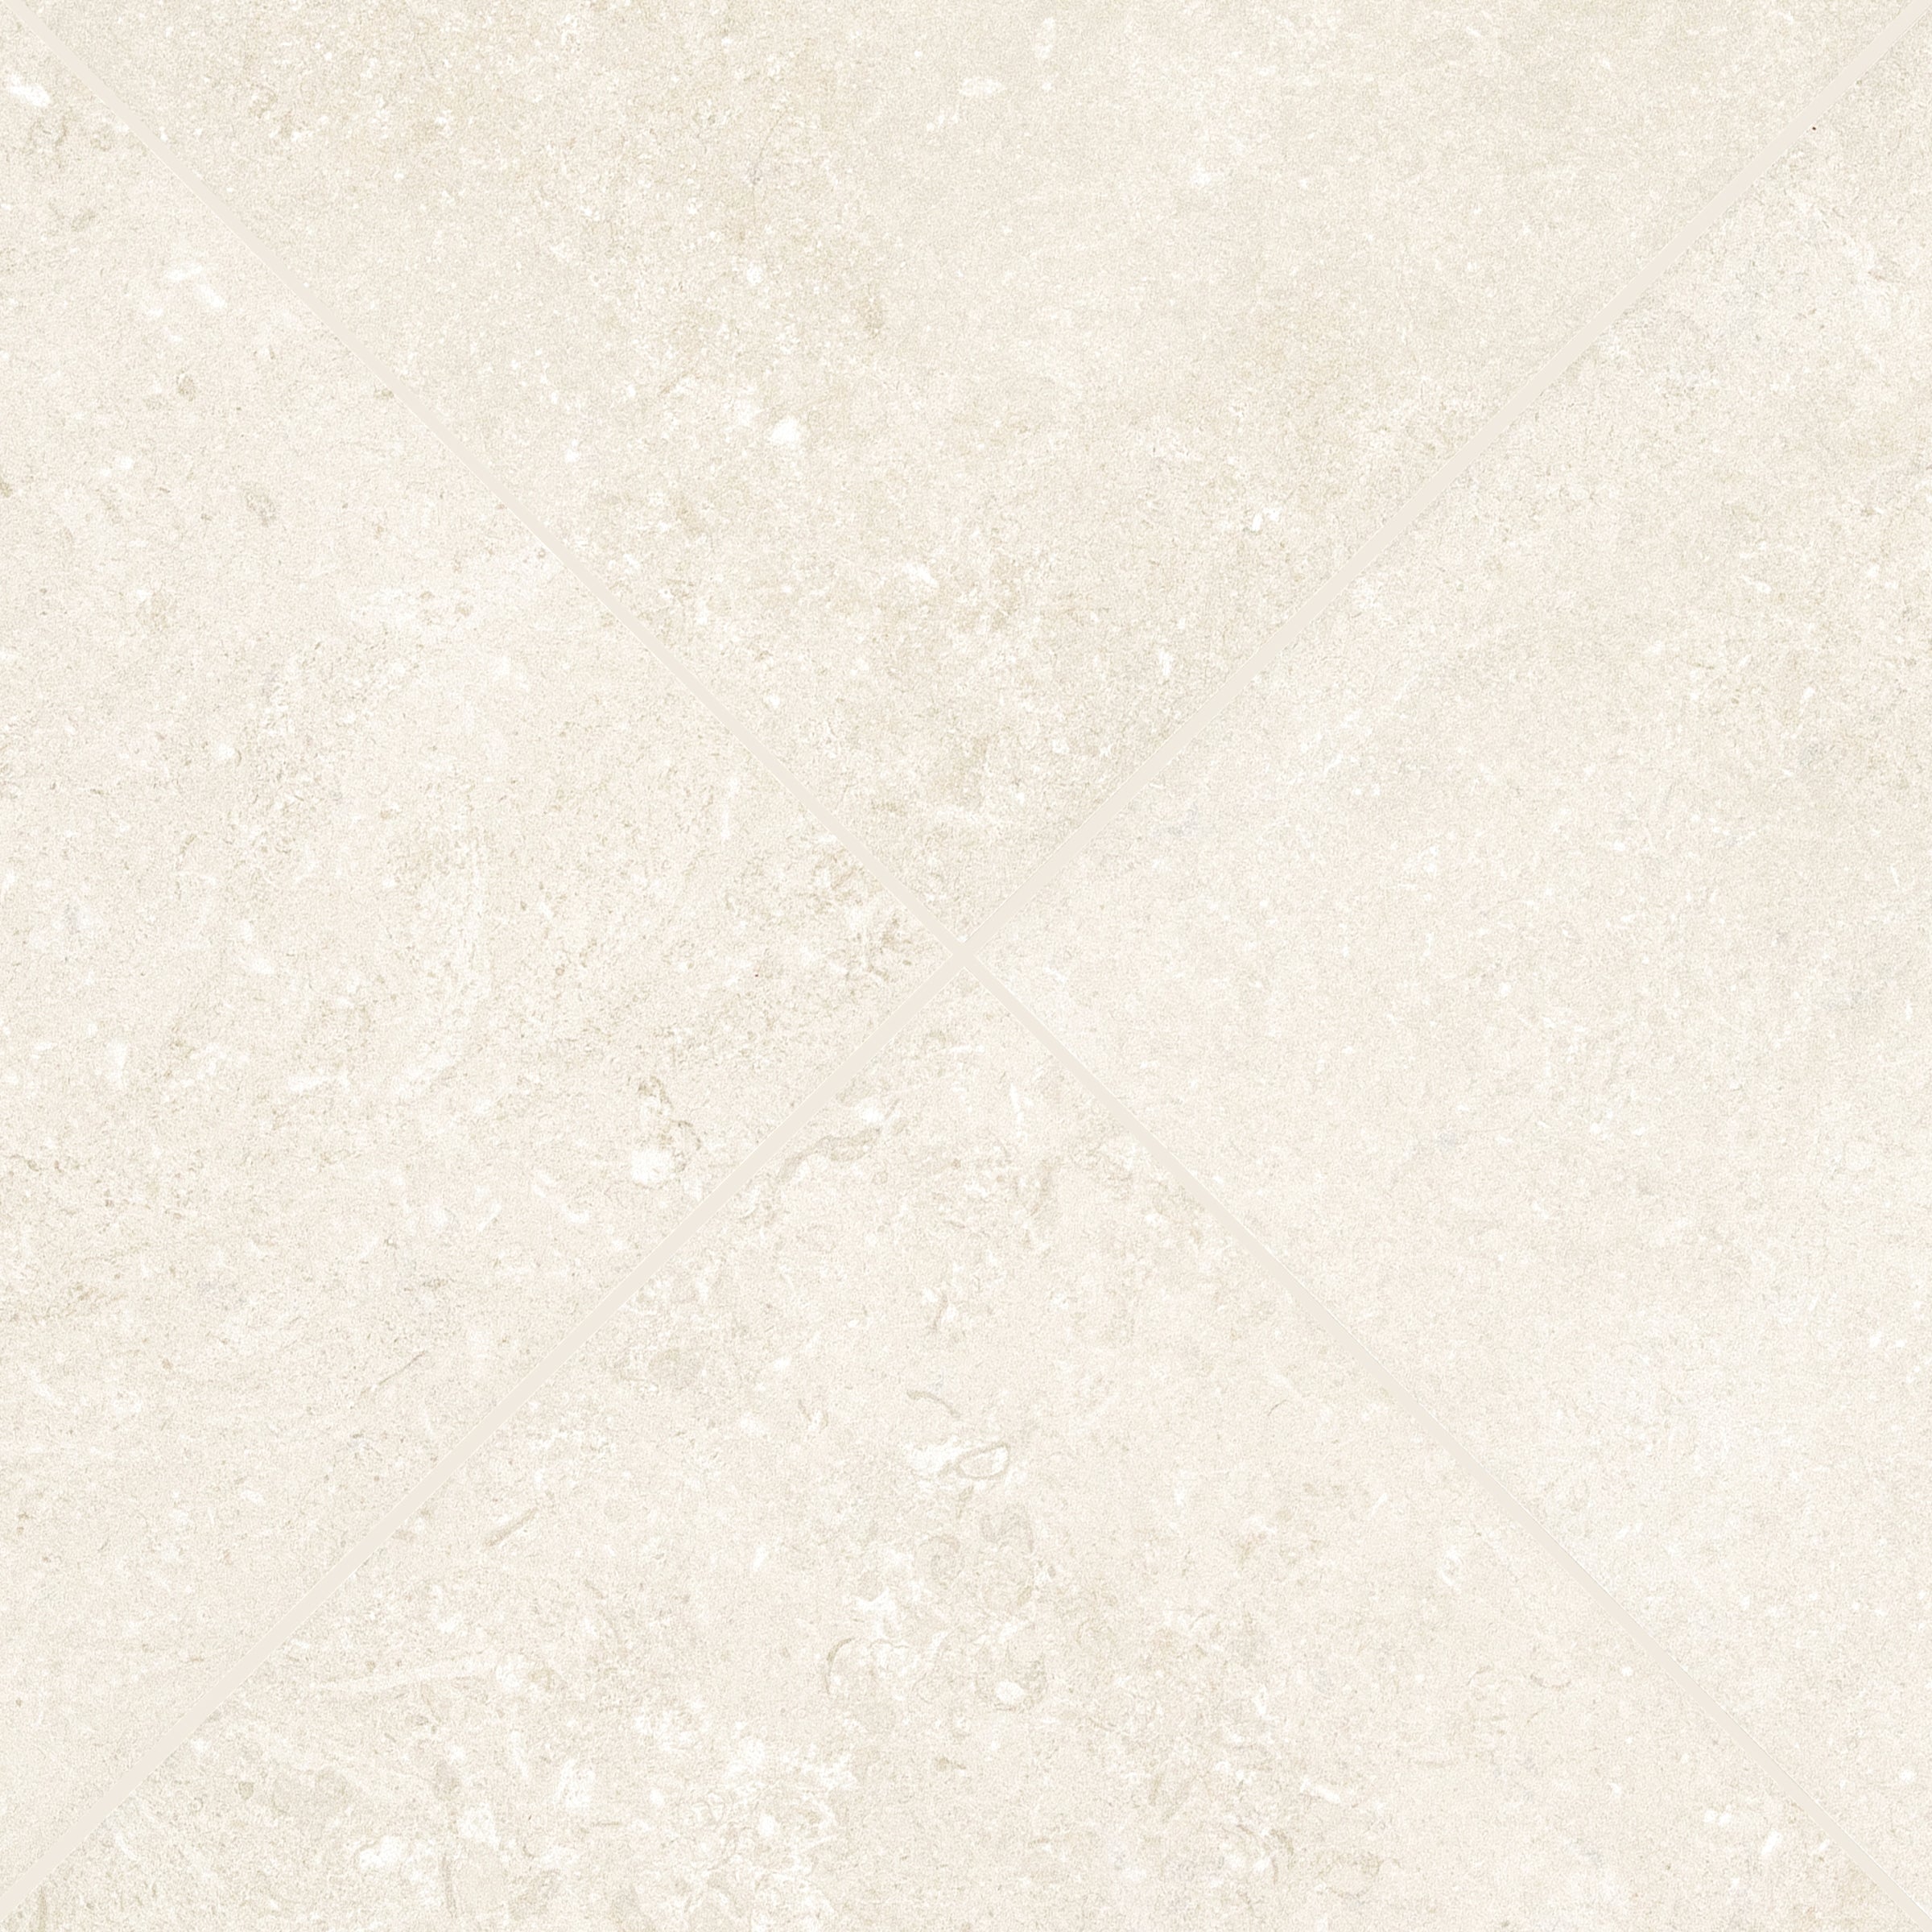
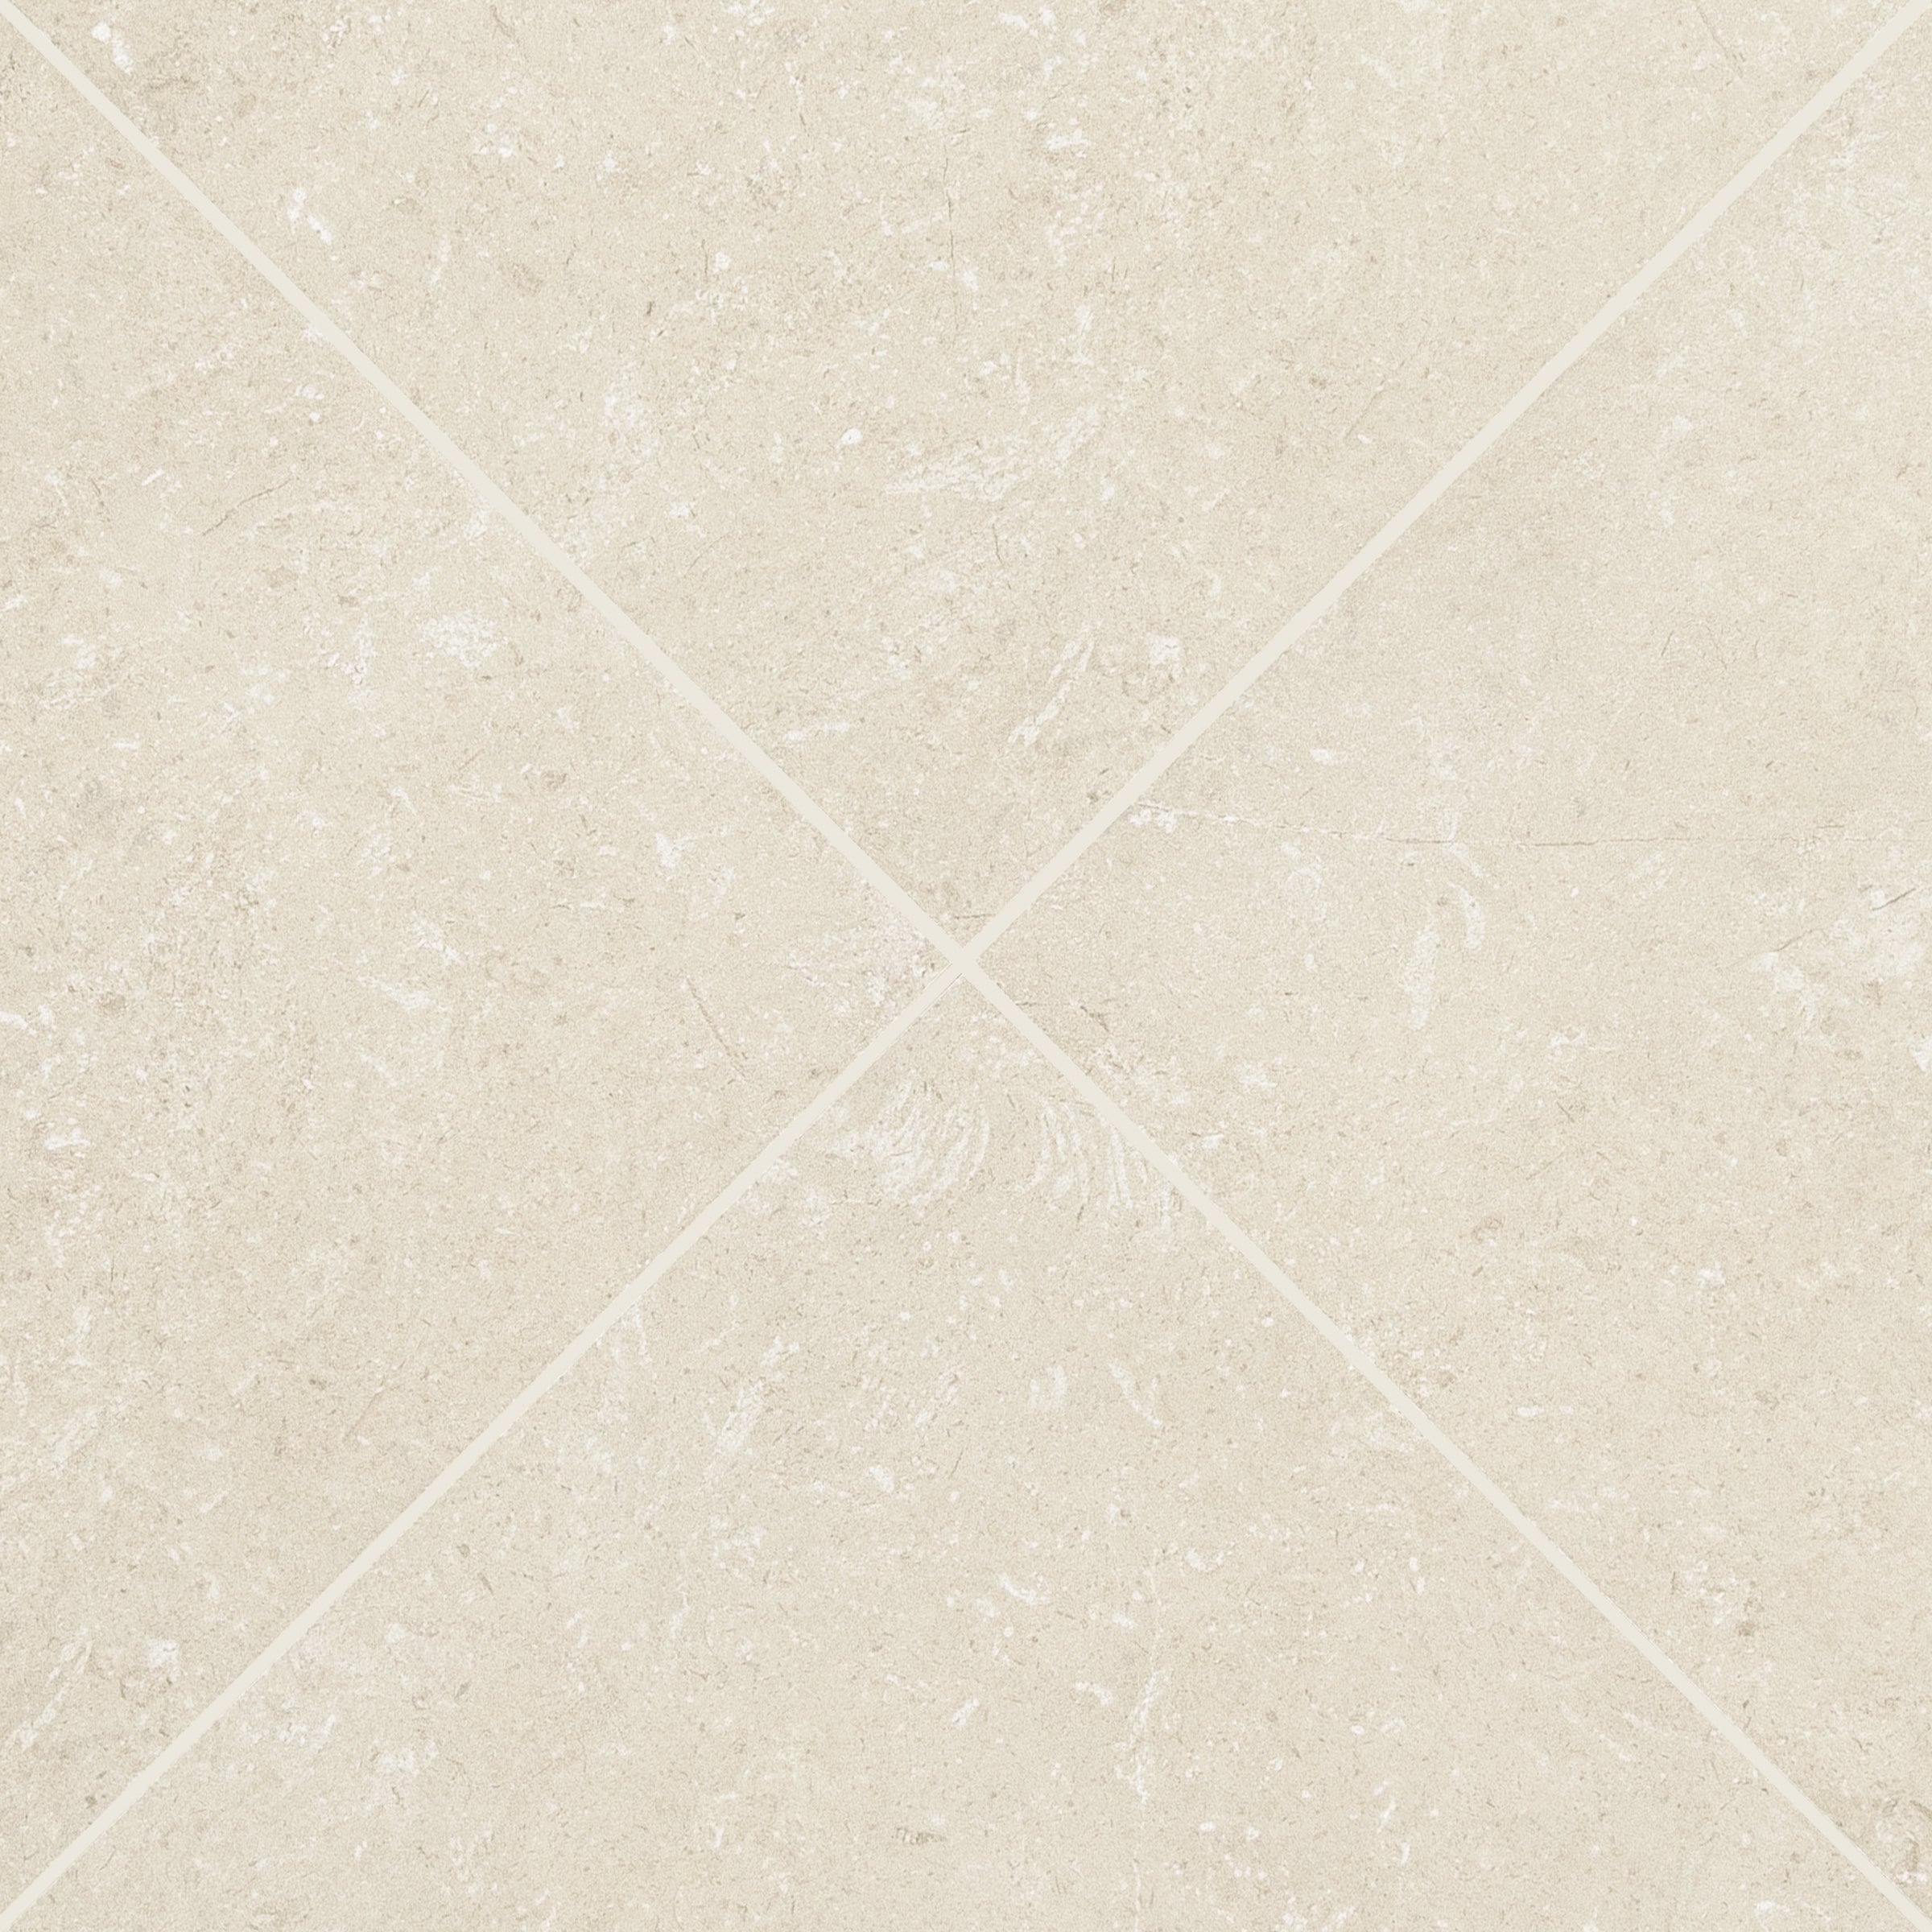
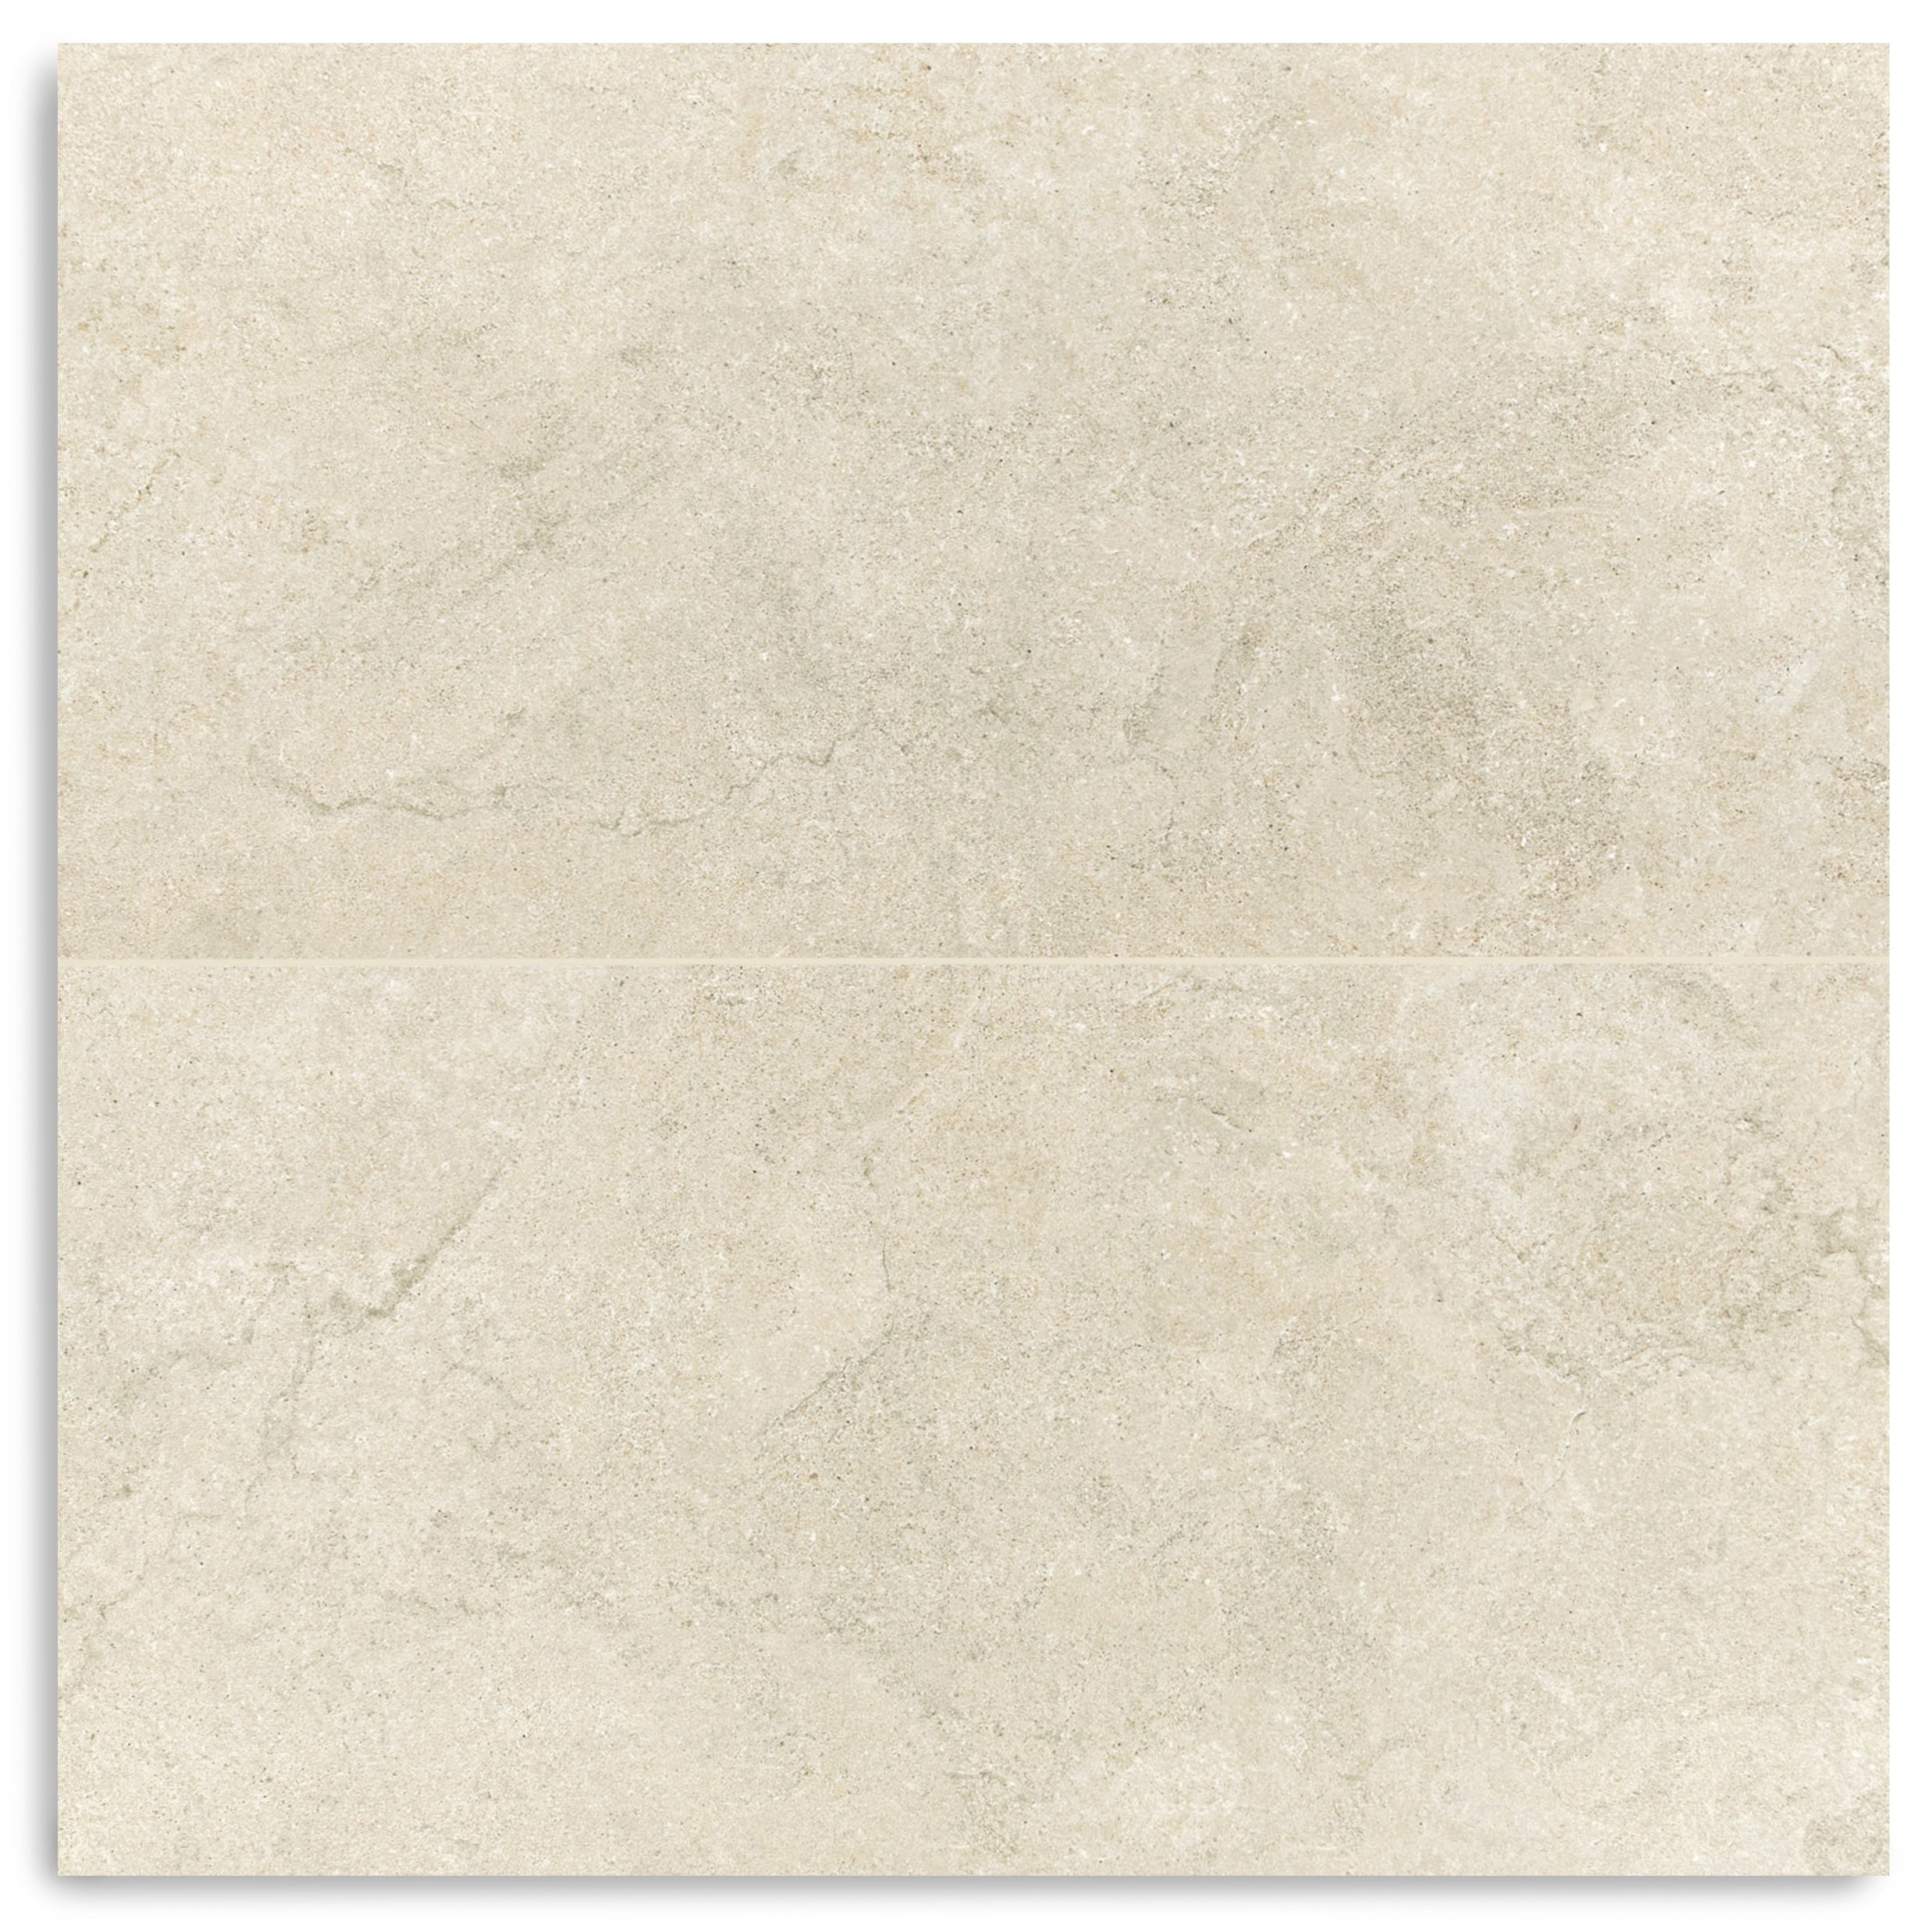
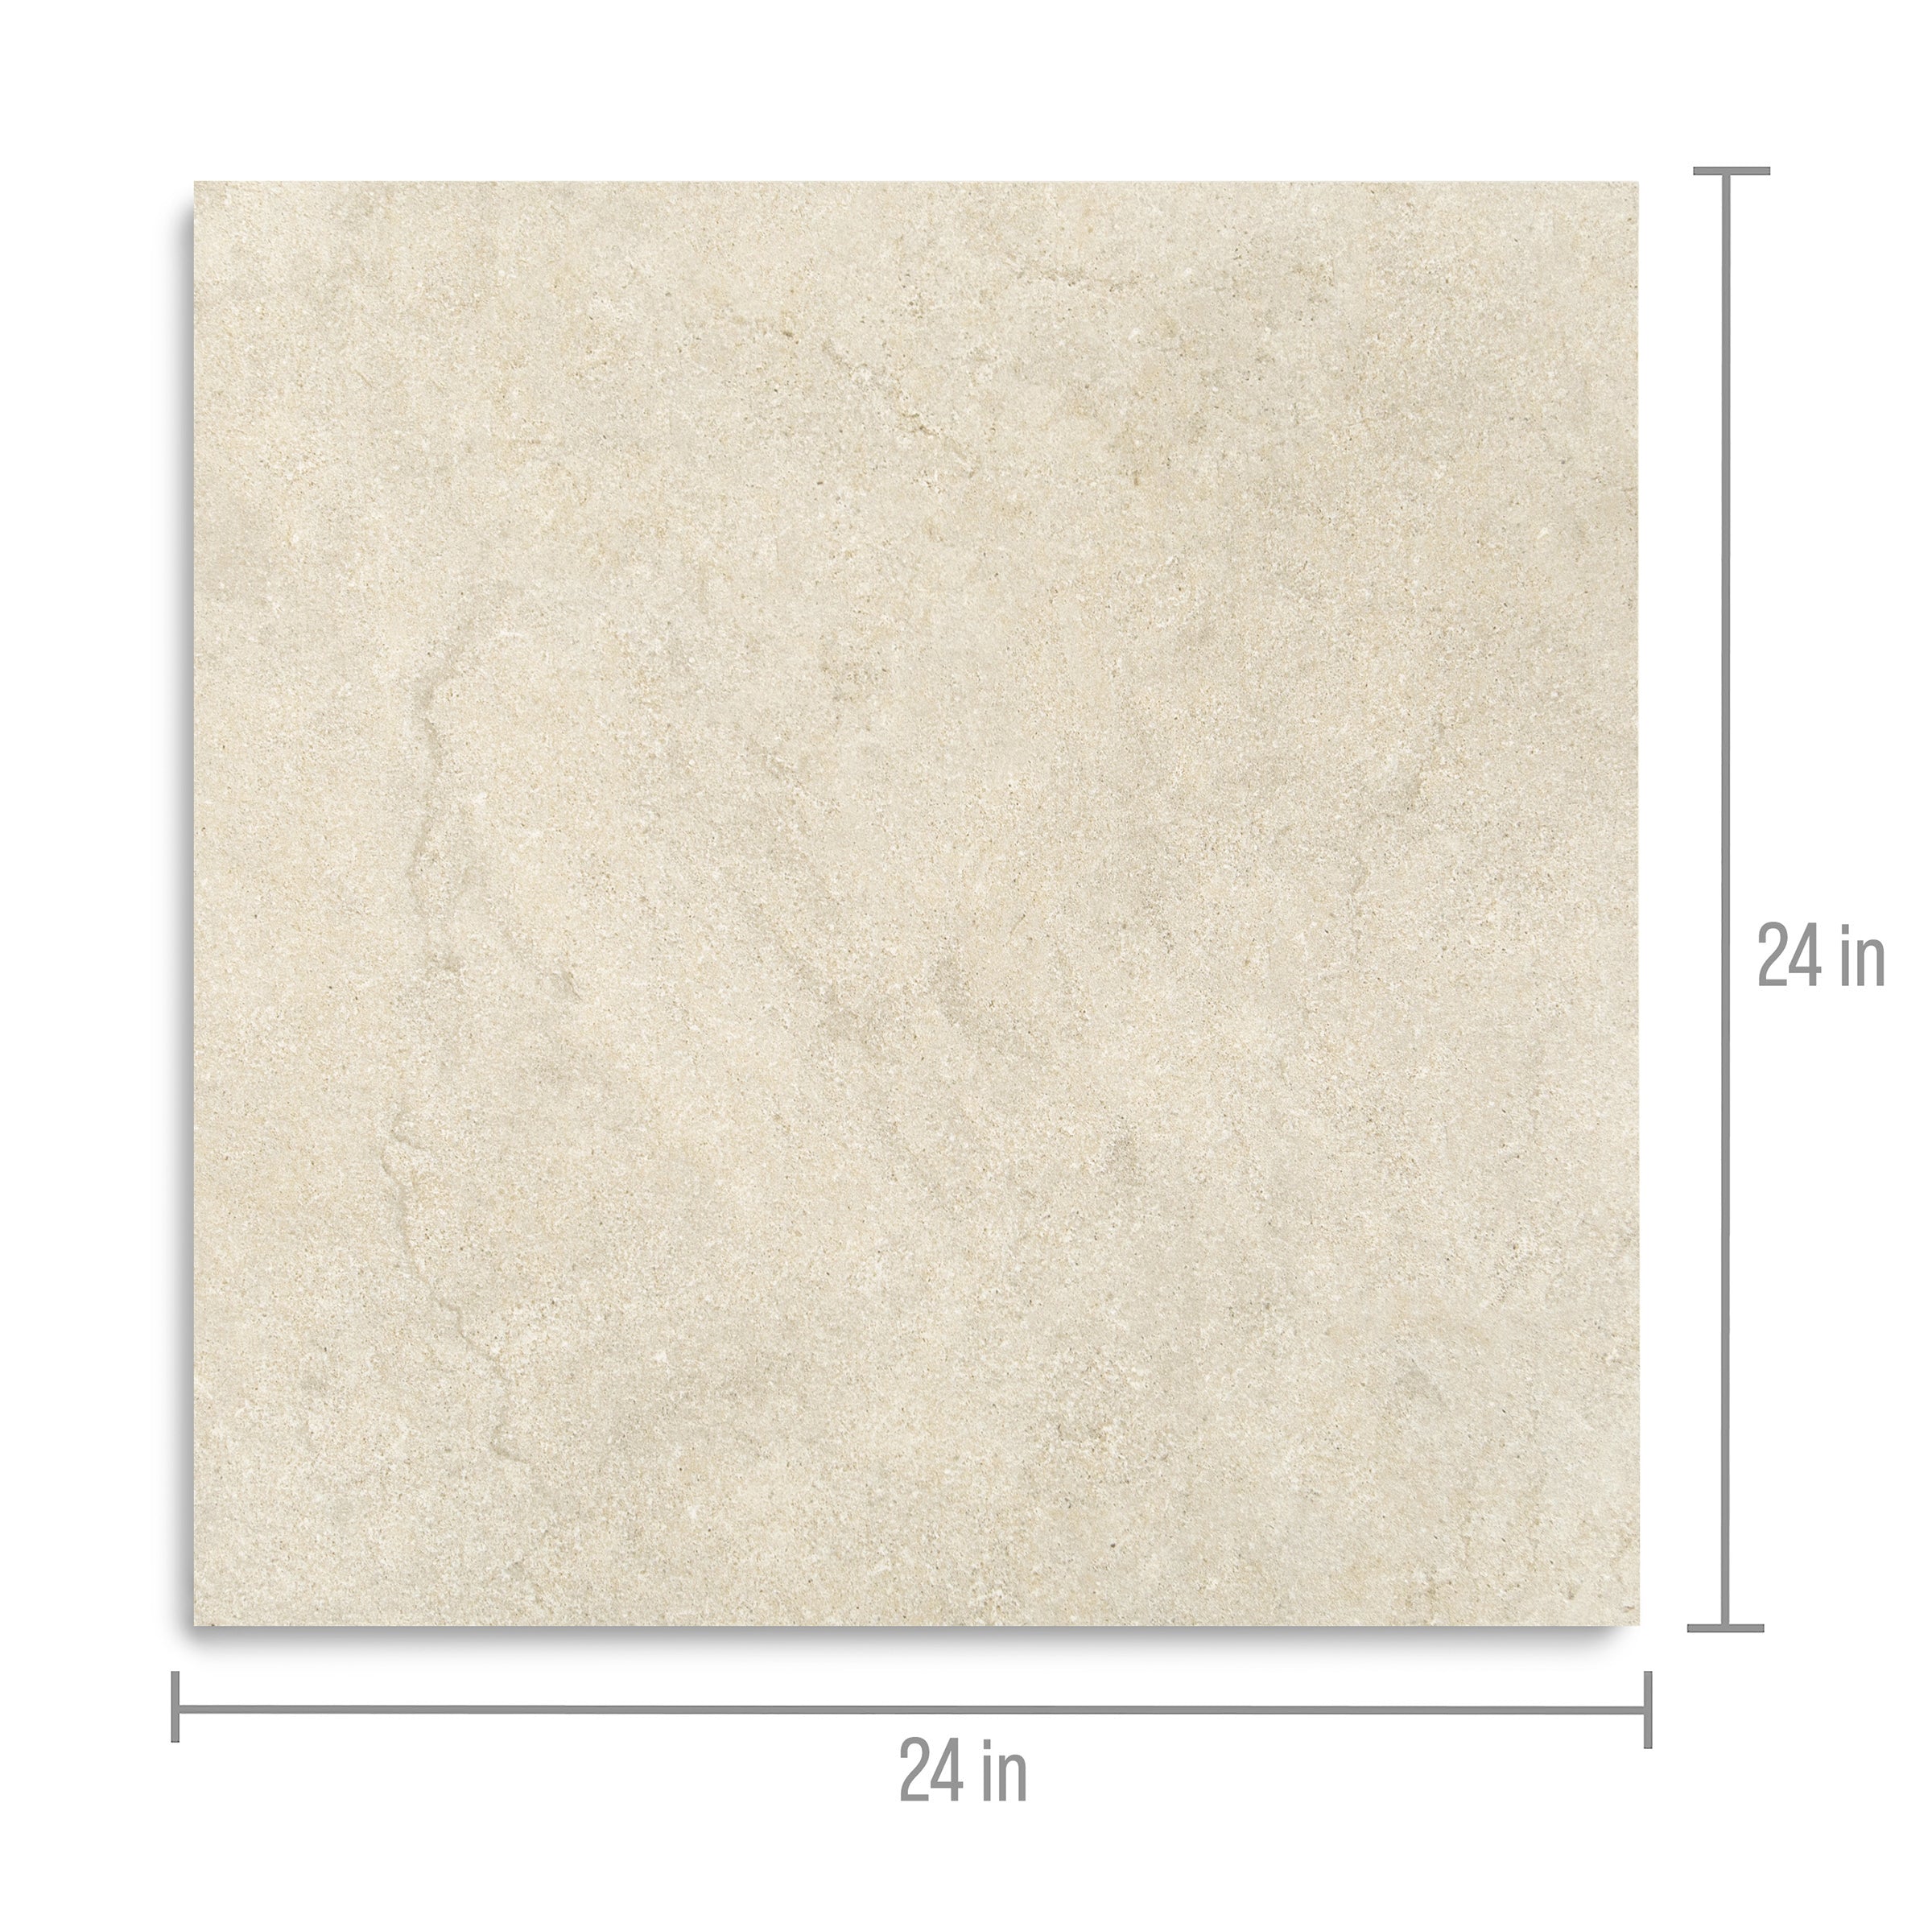
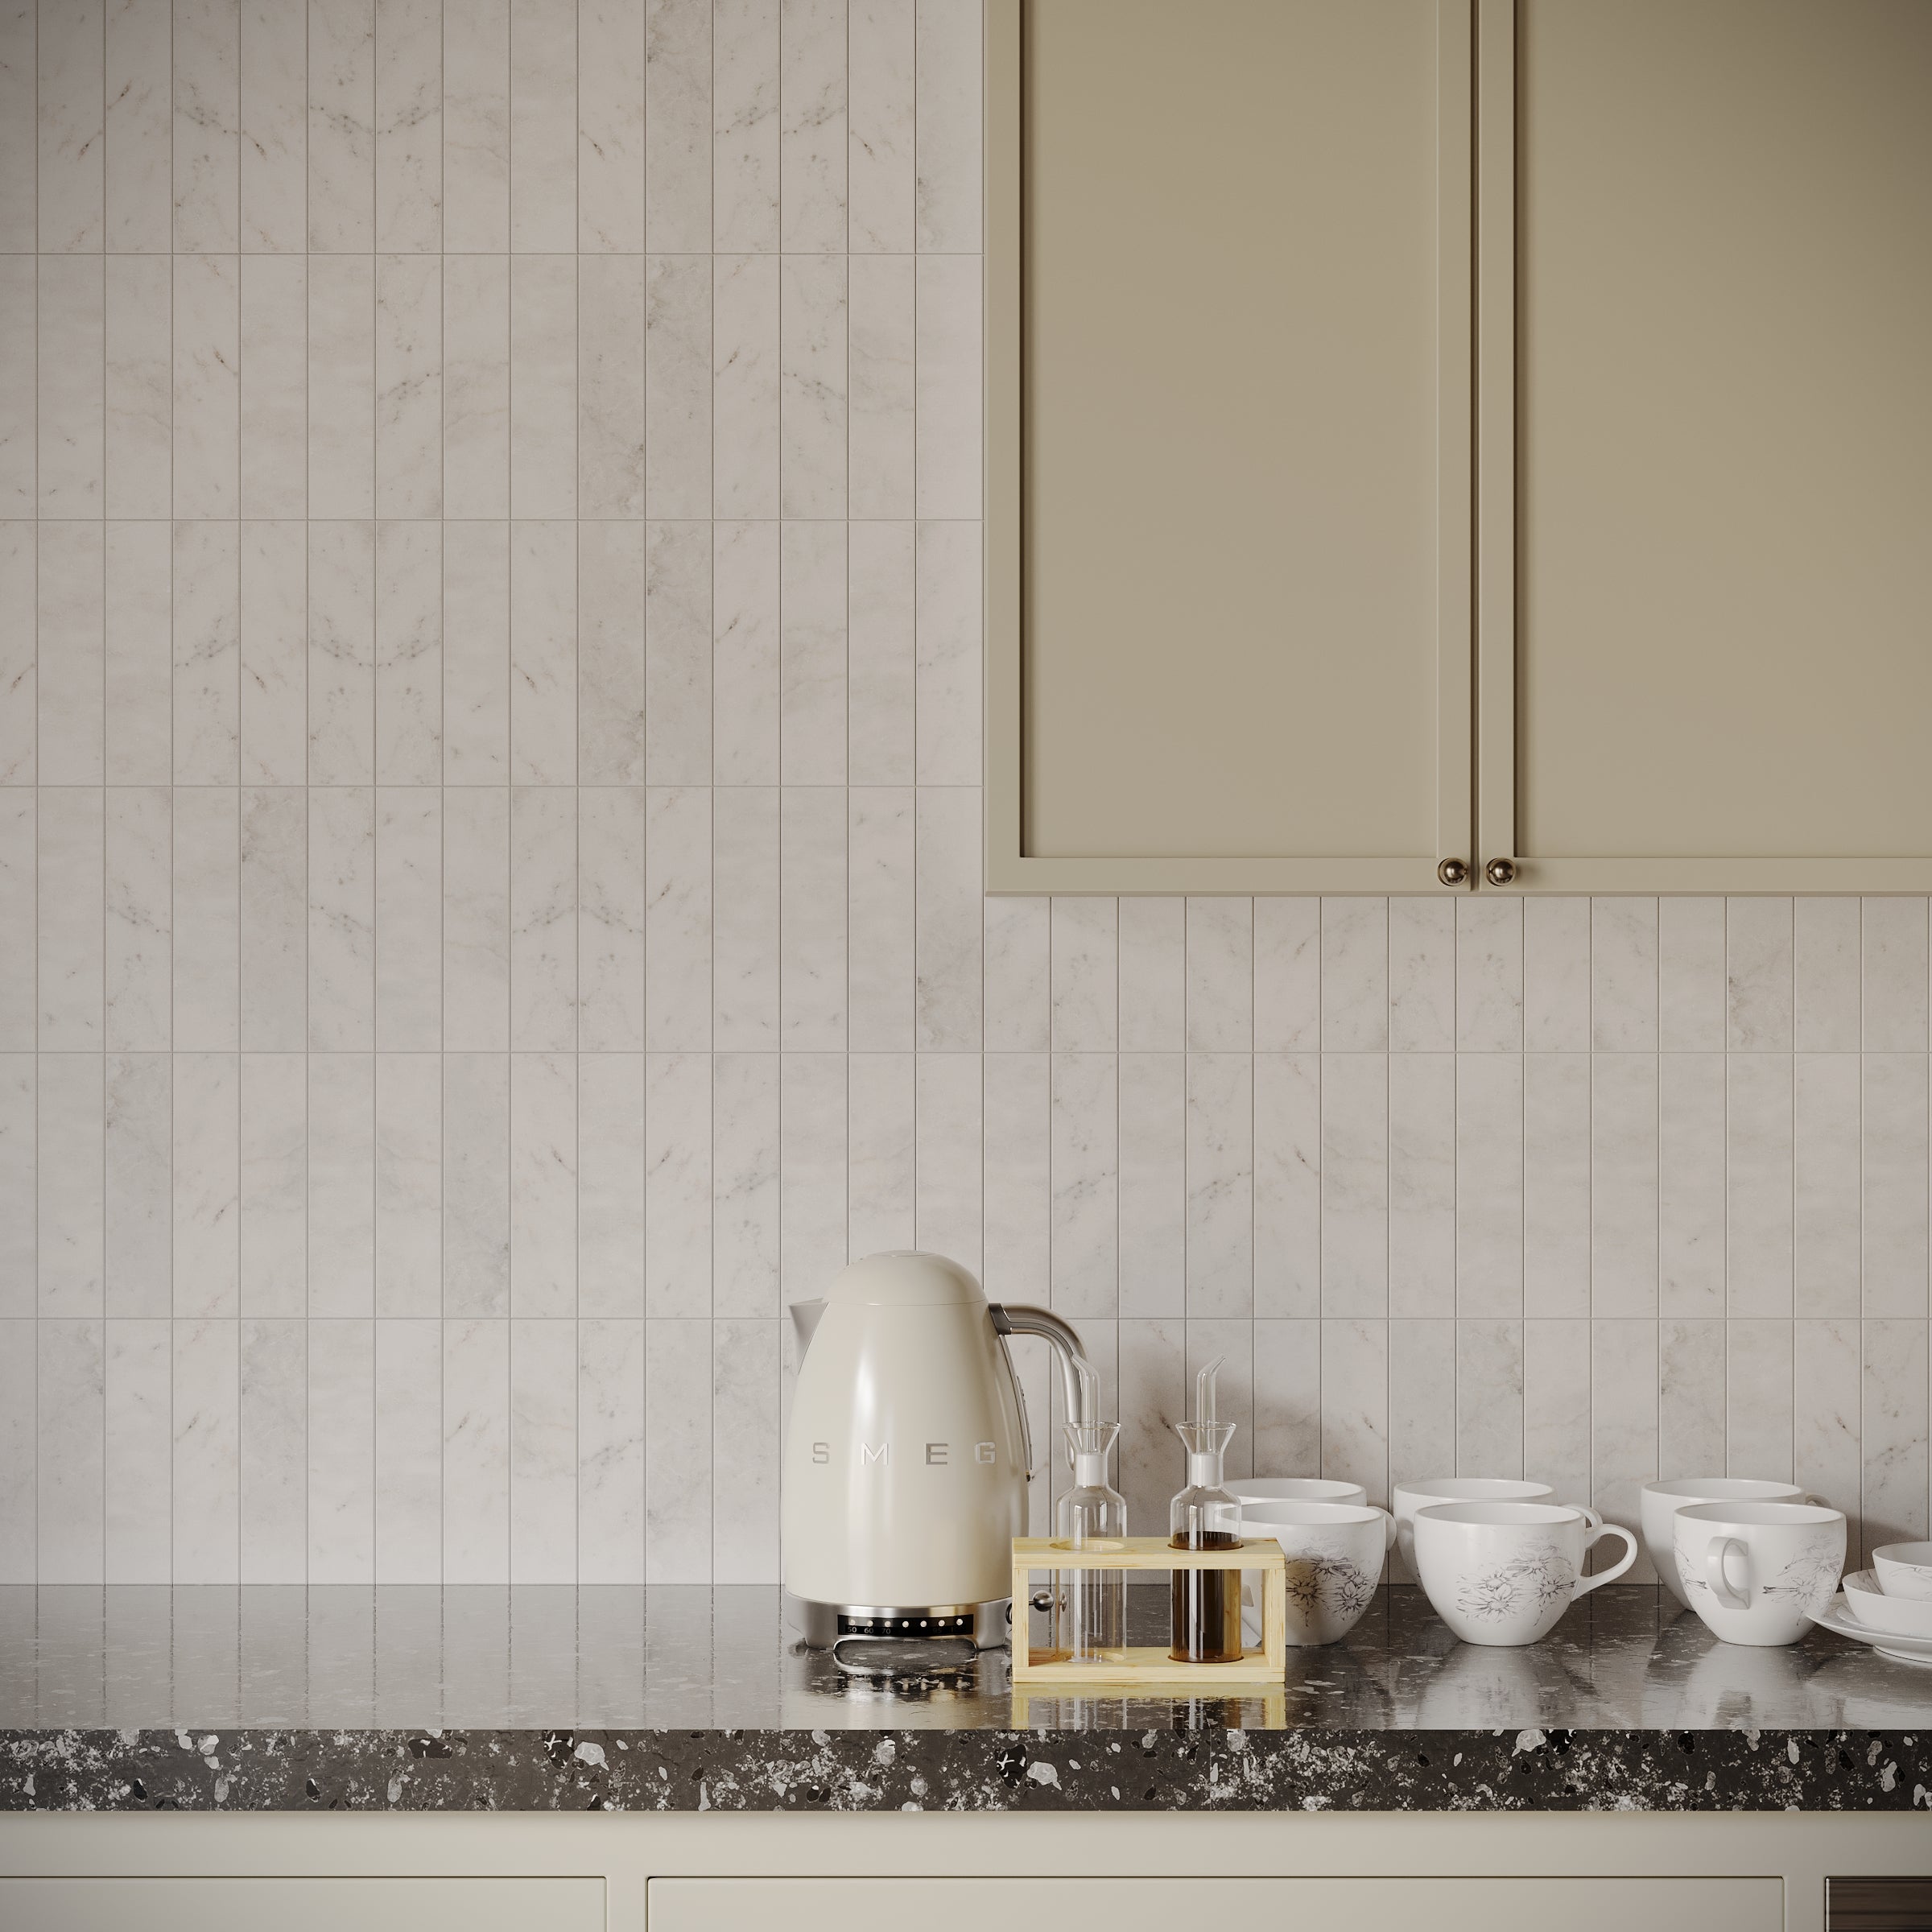
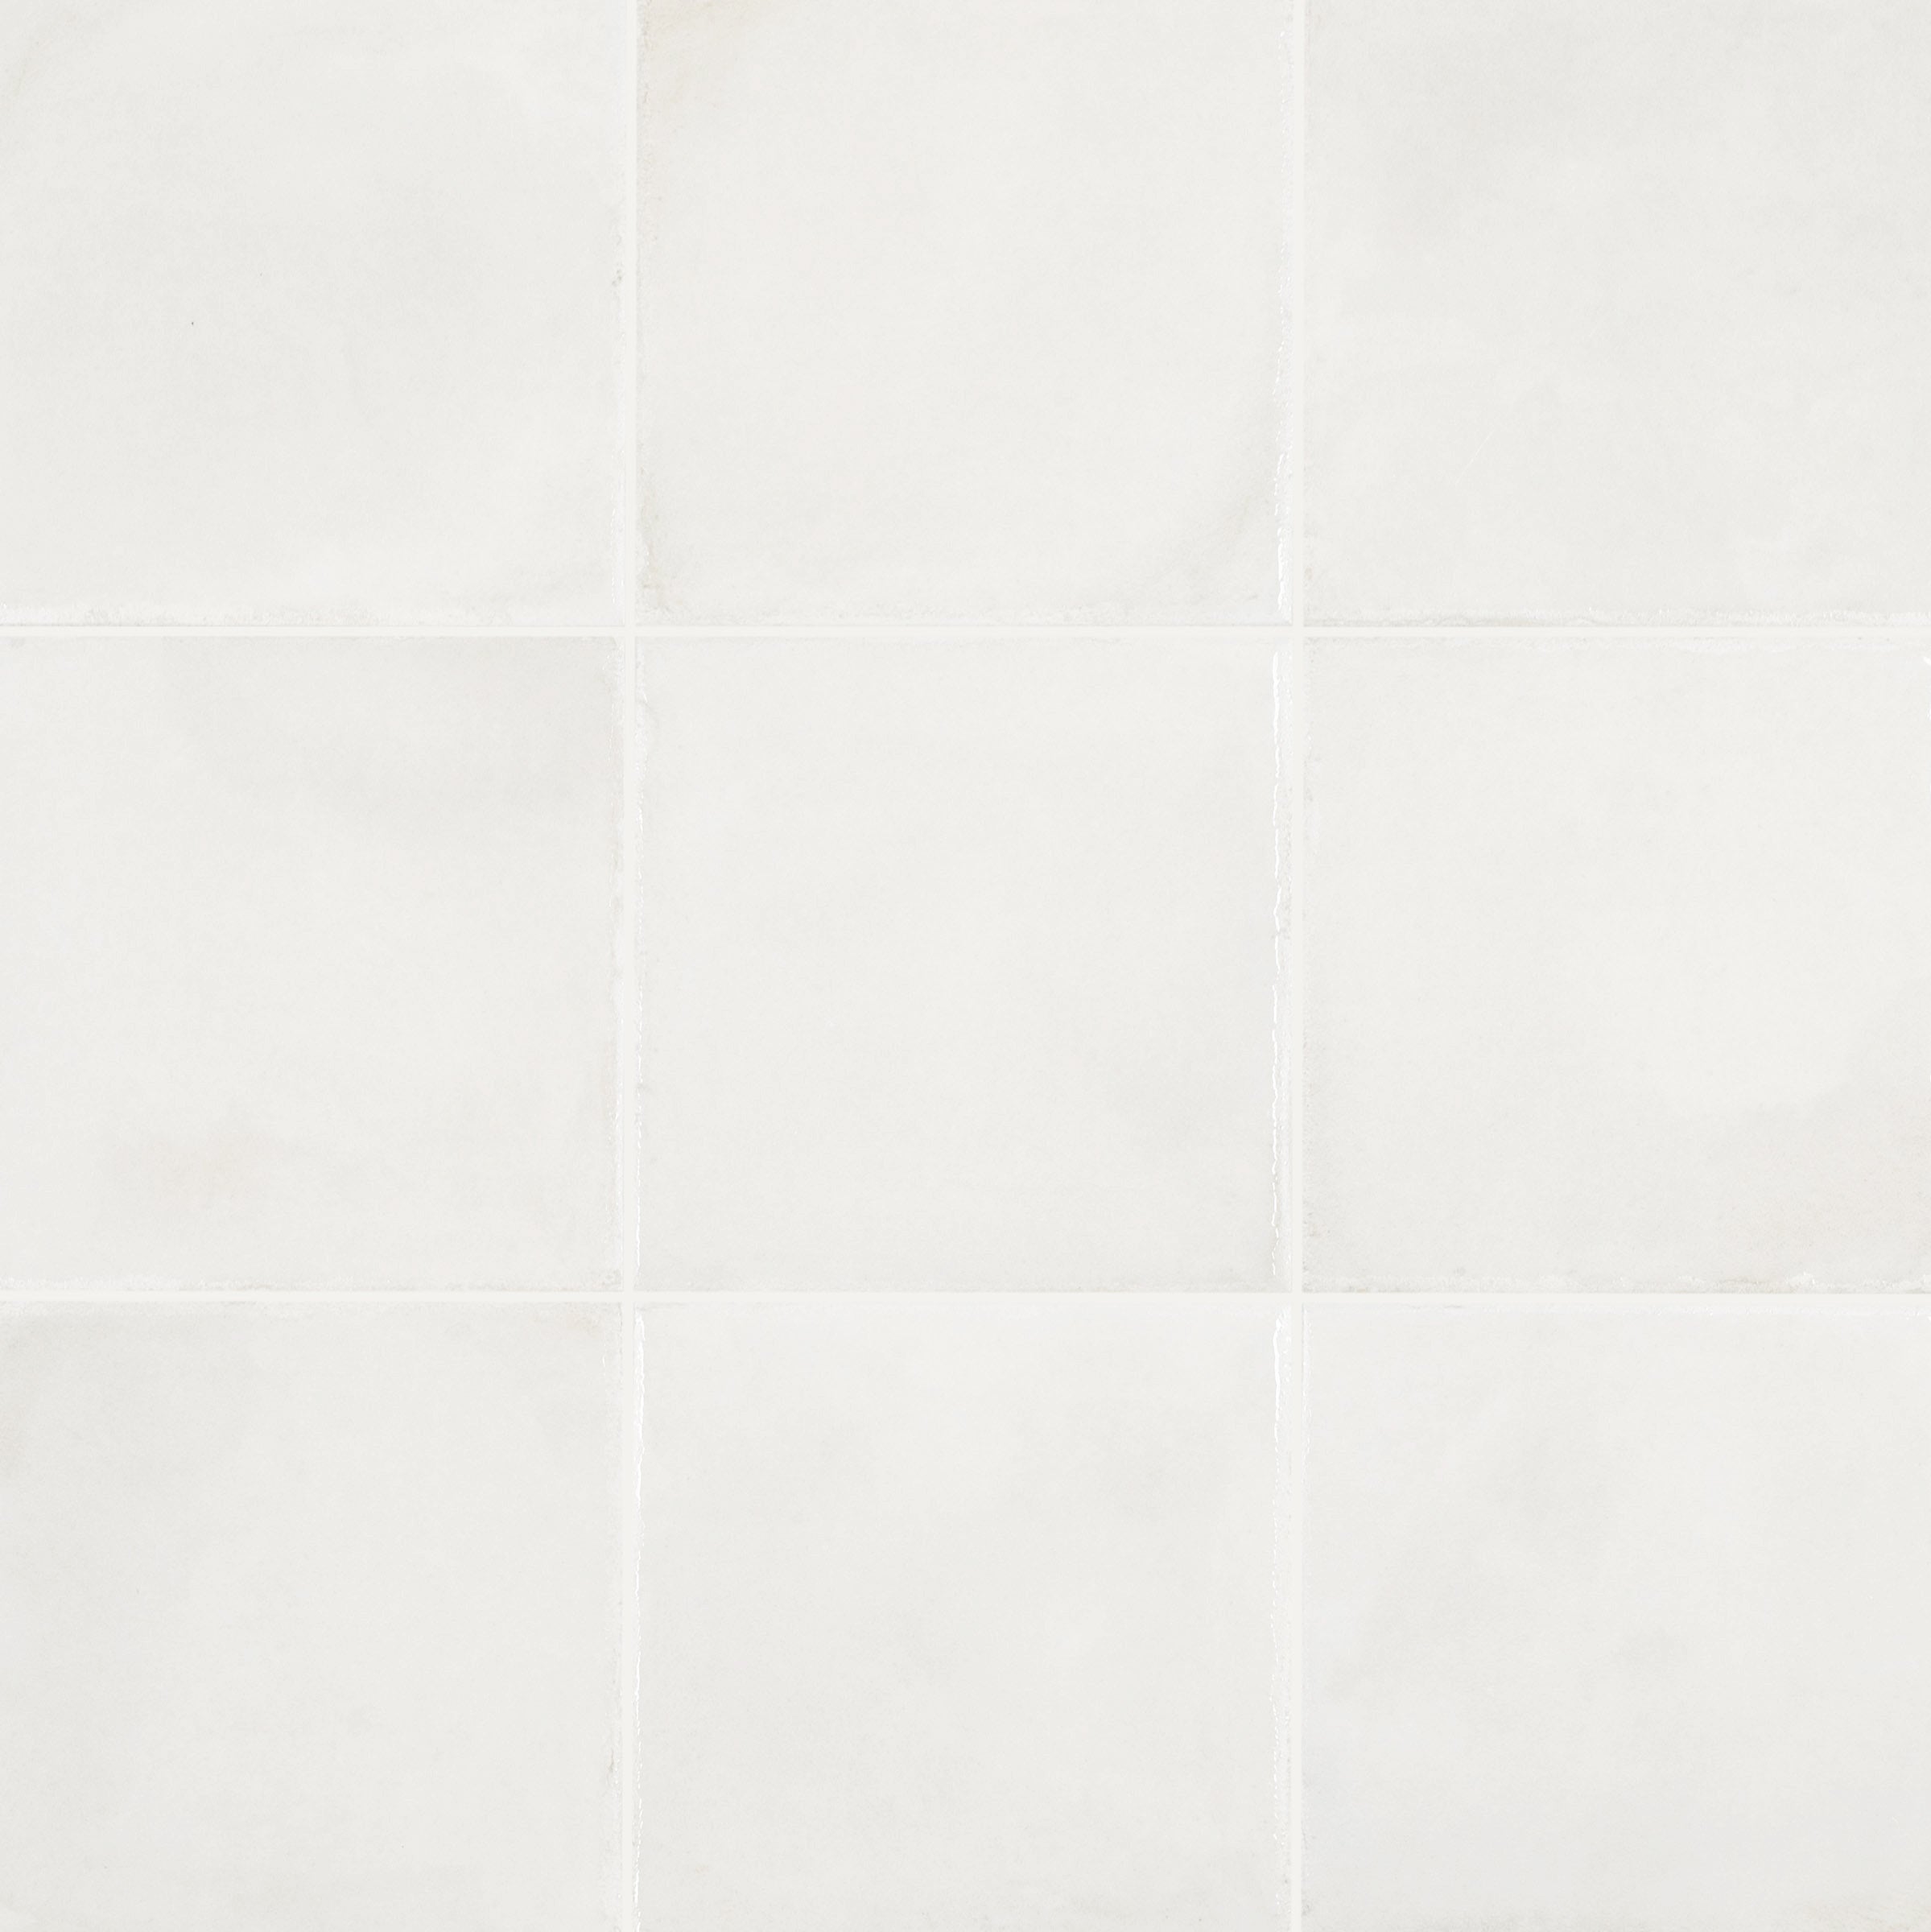
Claywork Natural sits right in the middle of the palette—a warm greige that reads like unglazed stoneware or linen left in afternoon sun. It has the quiet complexity of a material that's been worked by hand: subtle undertones that shift between taupe and sand depending on the light. Not beige, not grey—something more considered than either.

The Details
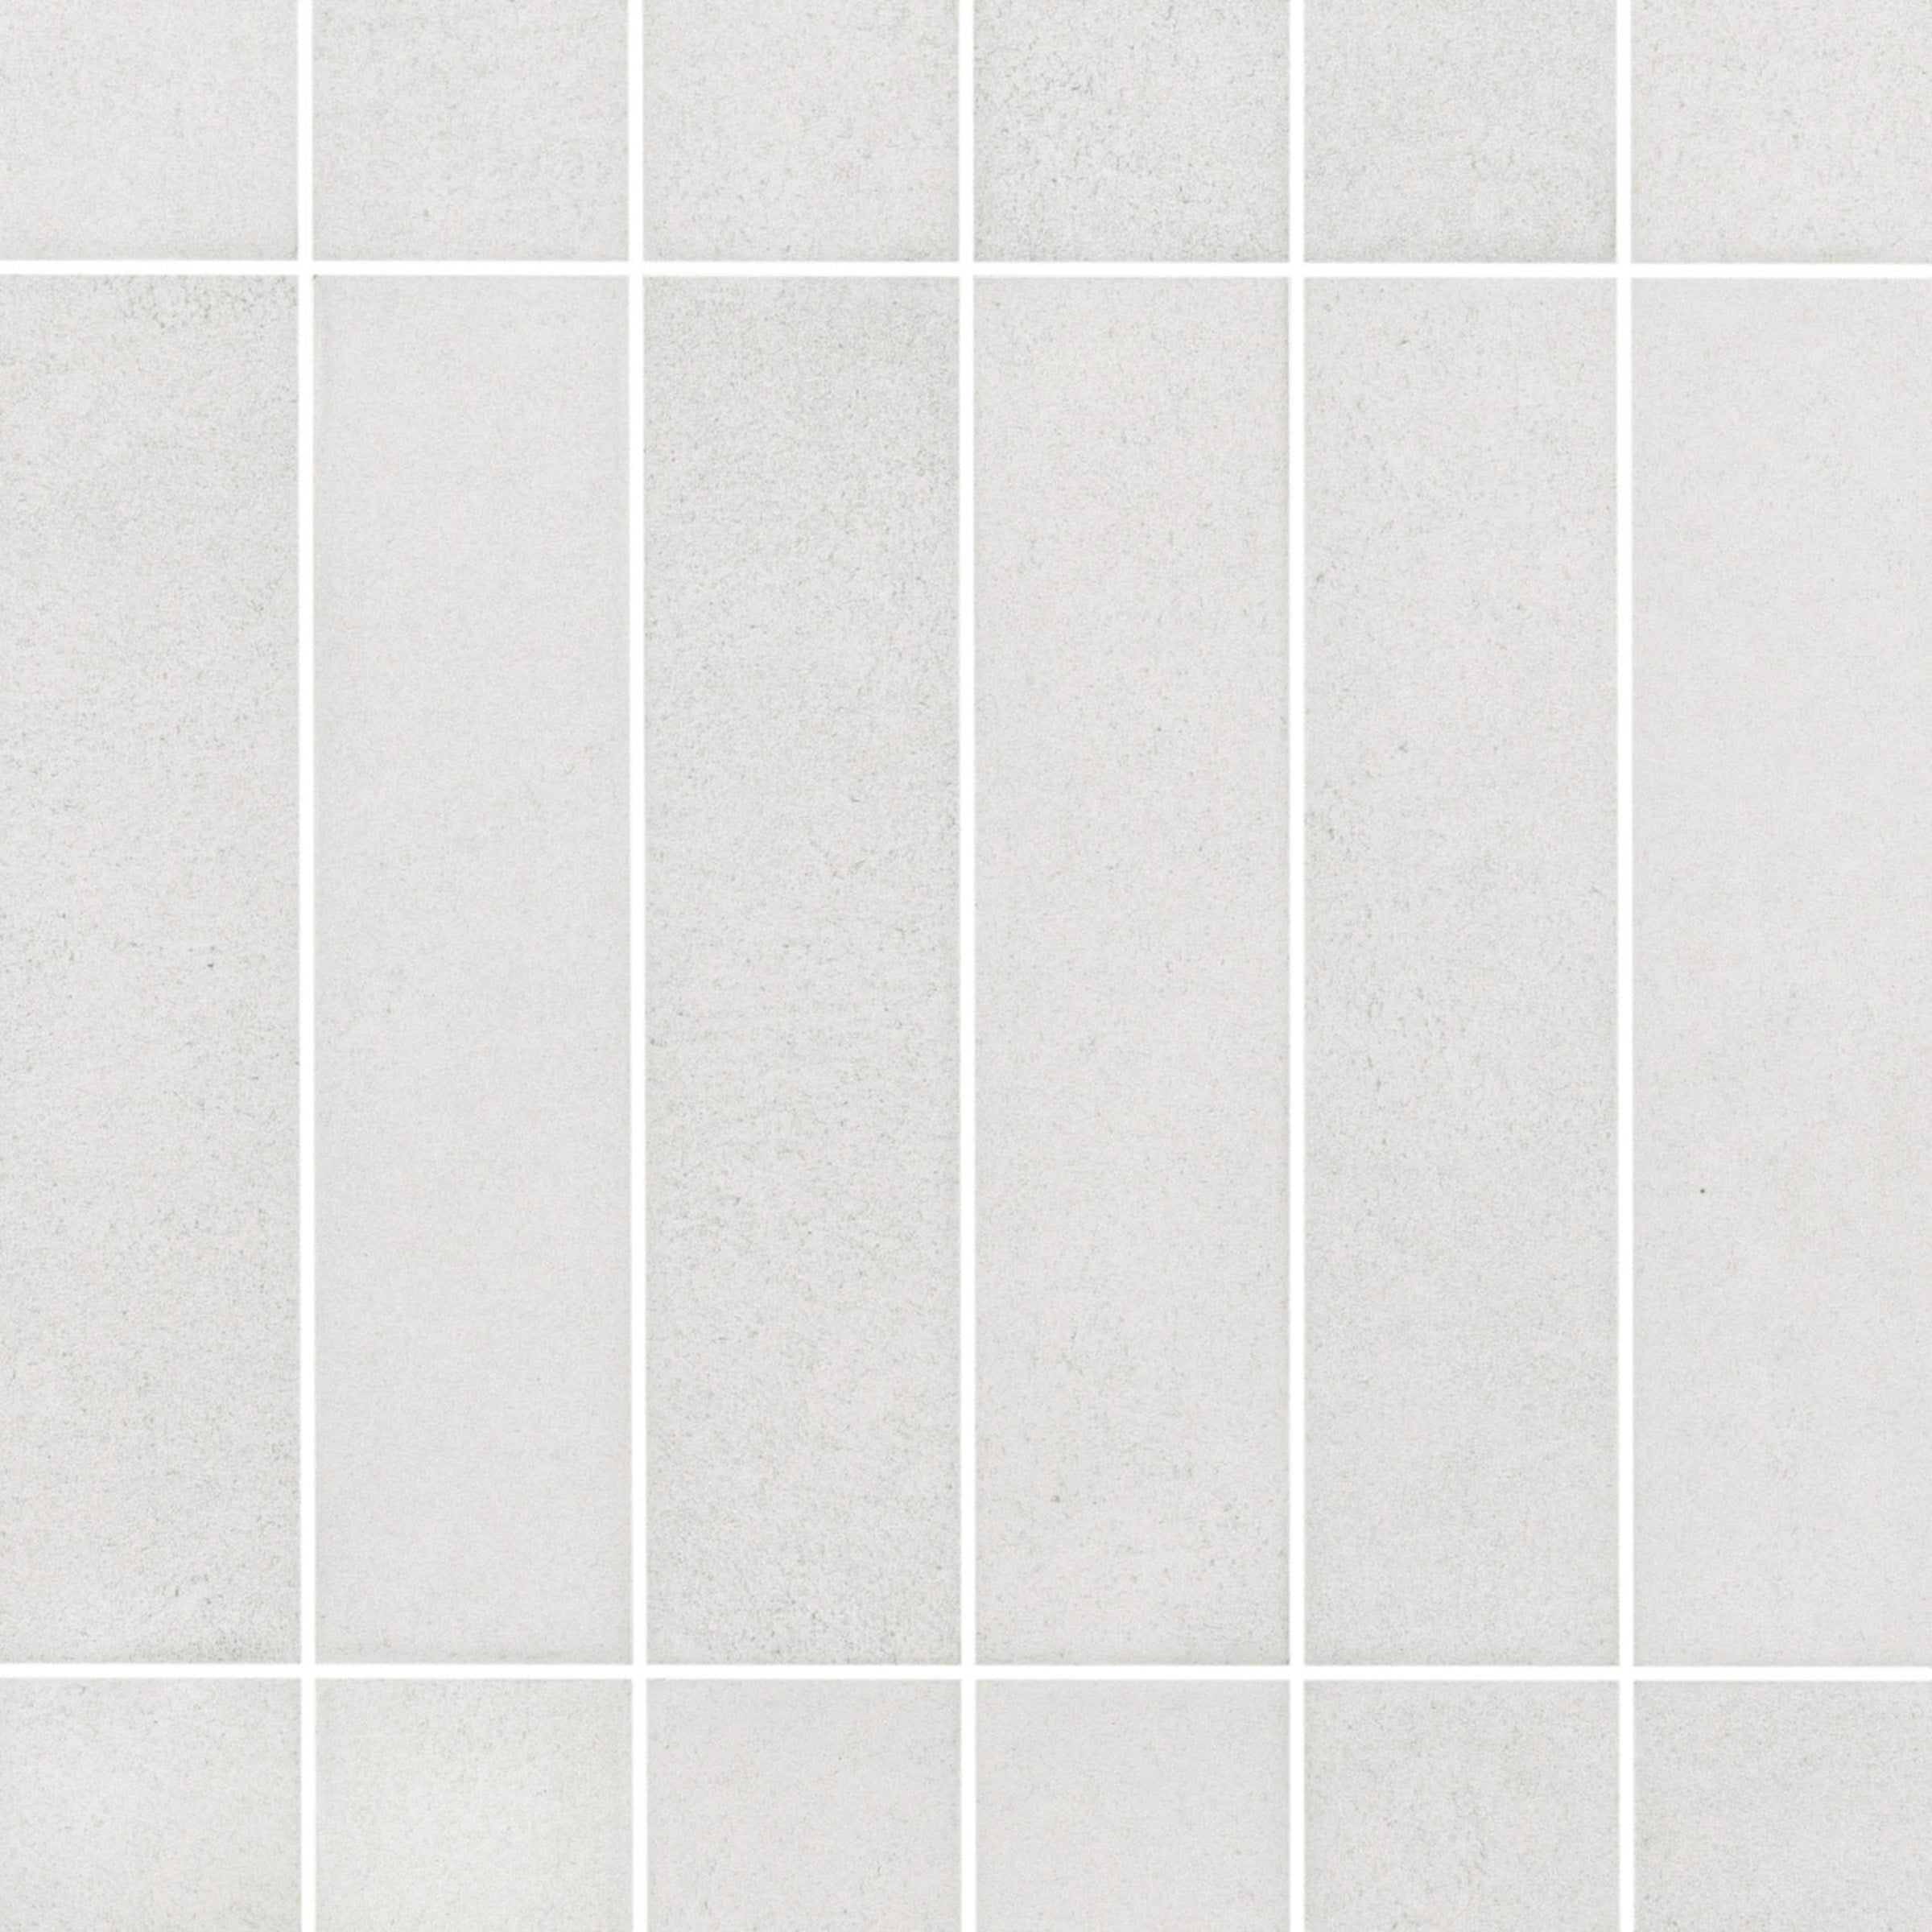
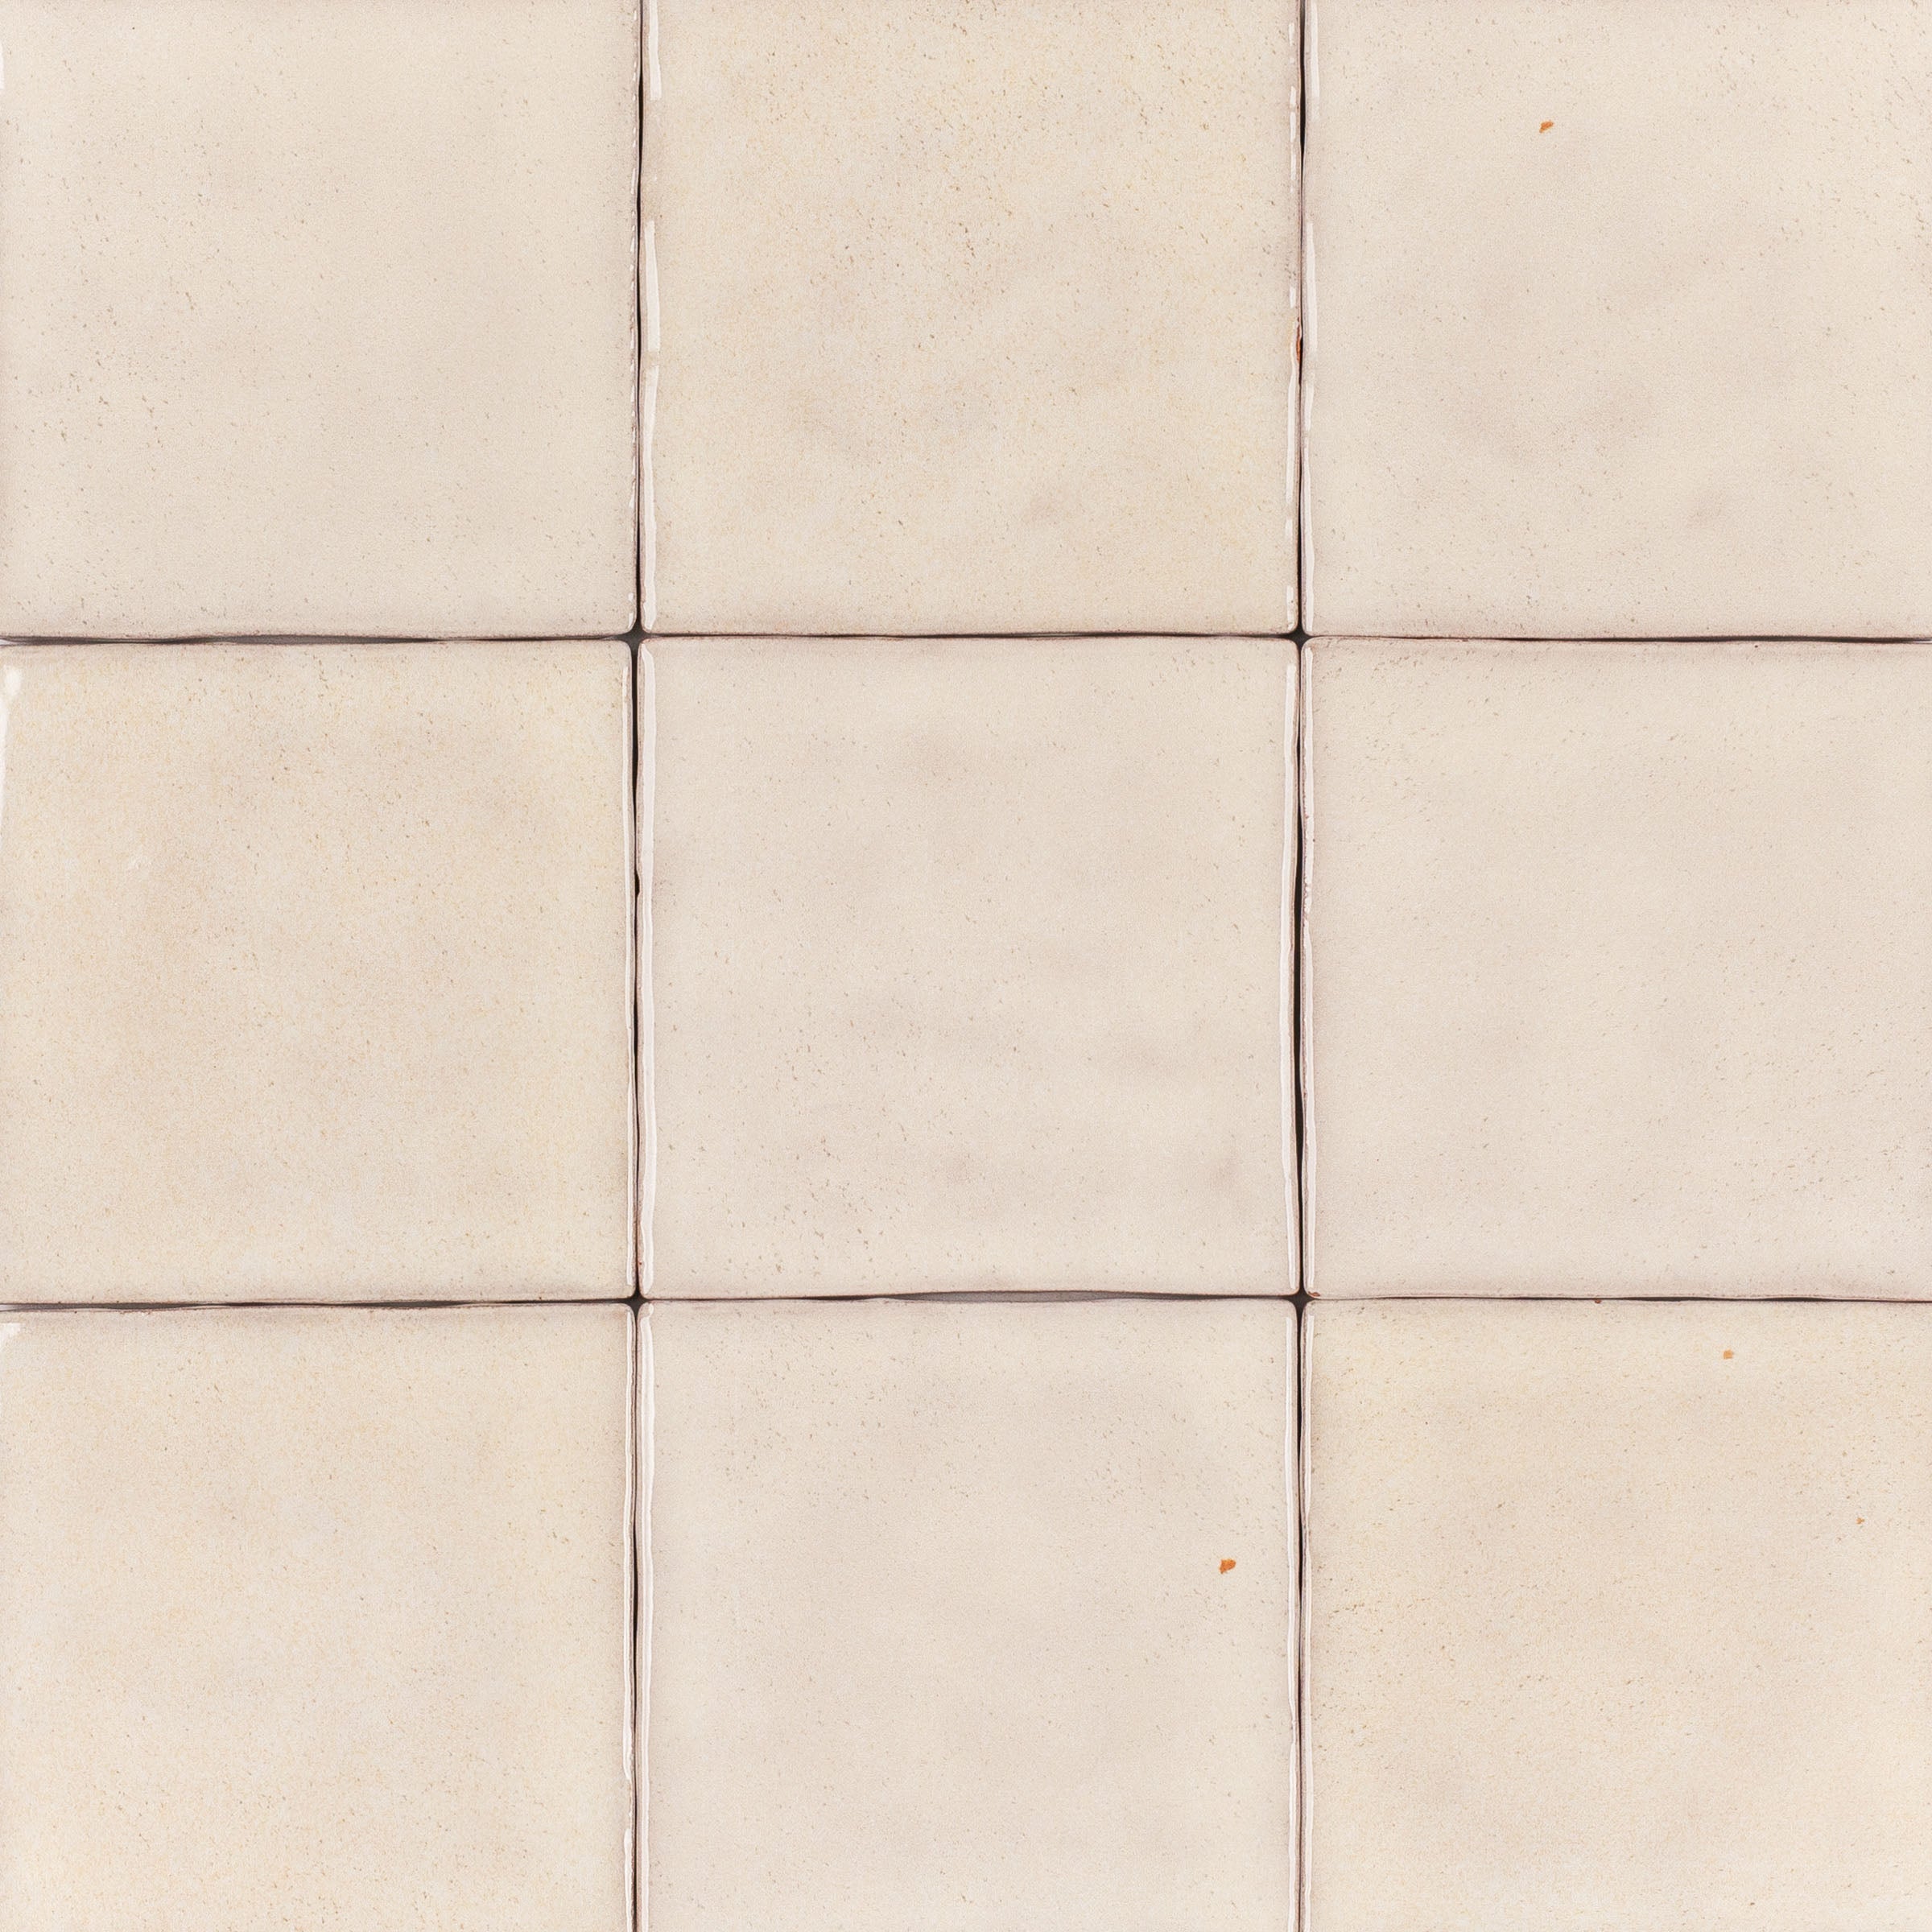
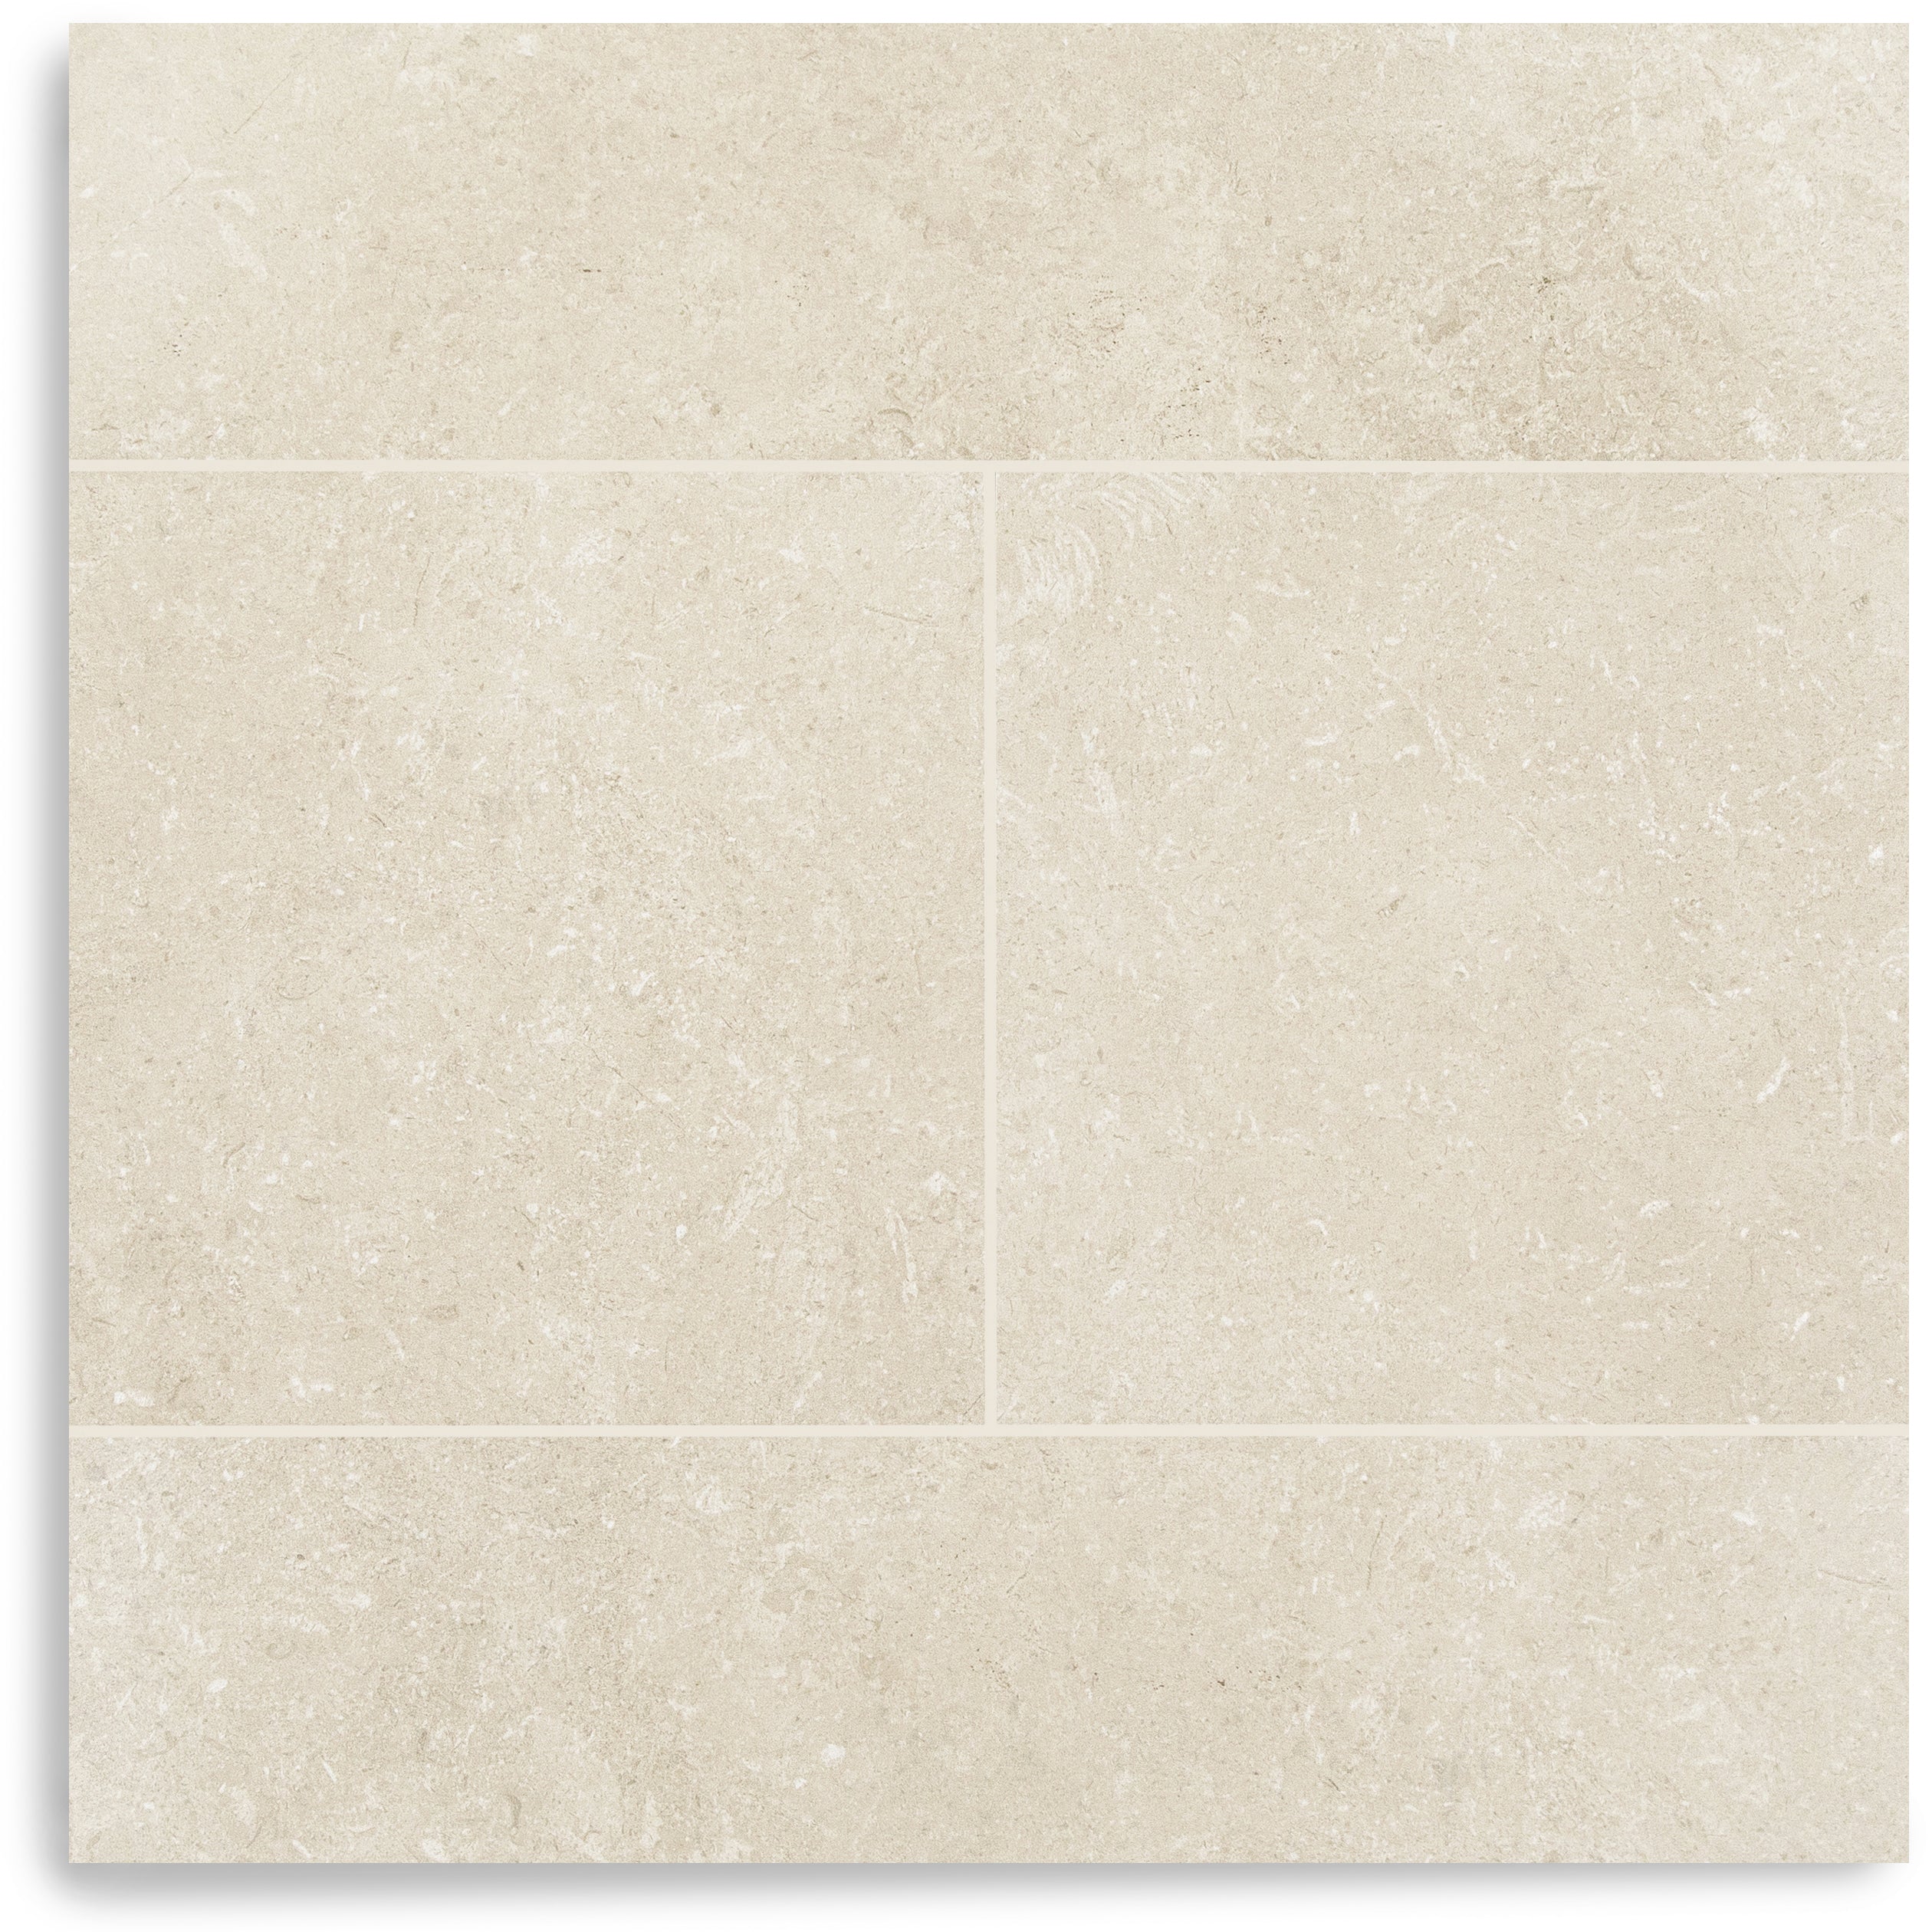
White body ceramic fired in Spain, available in 4x4" and 2x8" formats. The glossy finish adds a subtle depth to the greige tone — the color shifts slightly as light moves across it throughout the day, giving it more life than a flat surface would allow. Wall tile with non-rectified edges; a tonal grout keeps the eye on the color rather than the grid.

Style It With
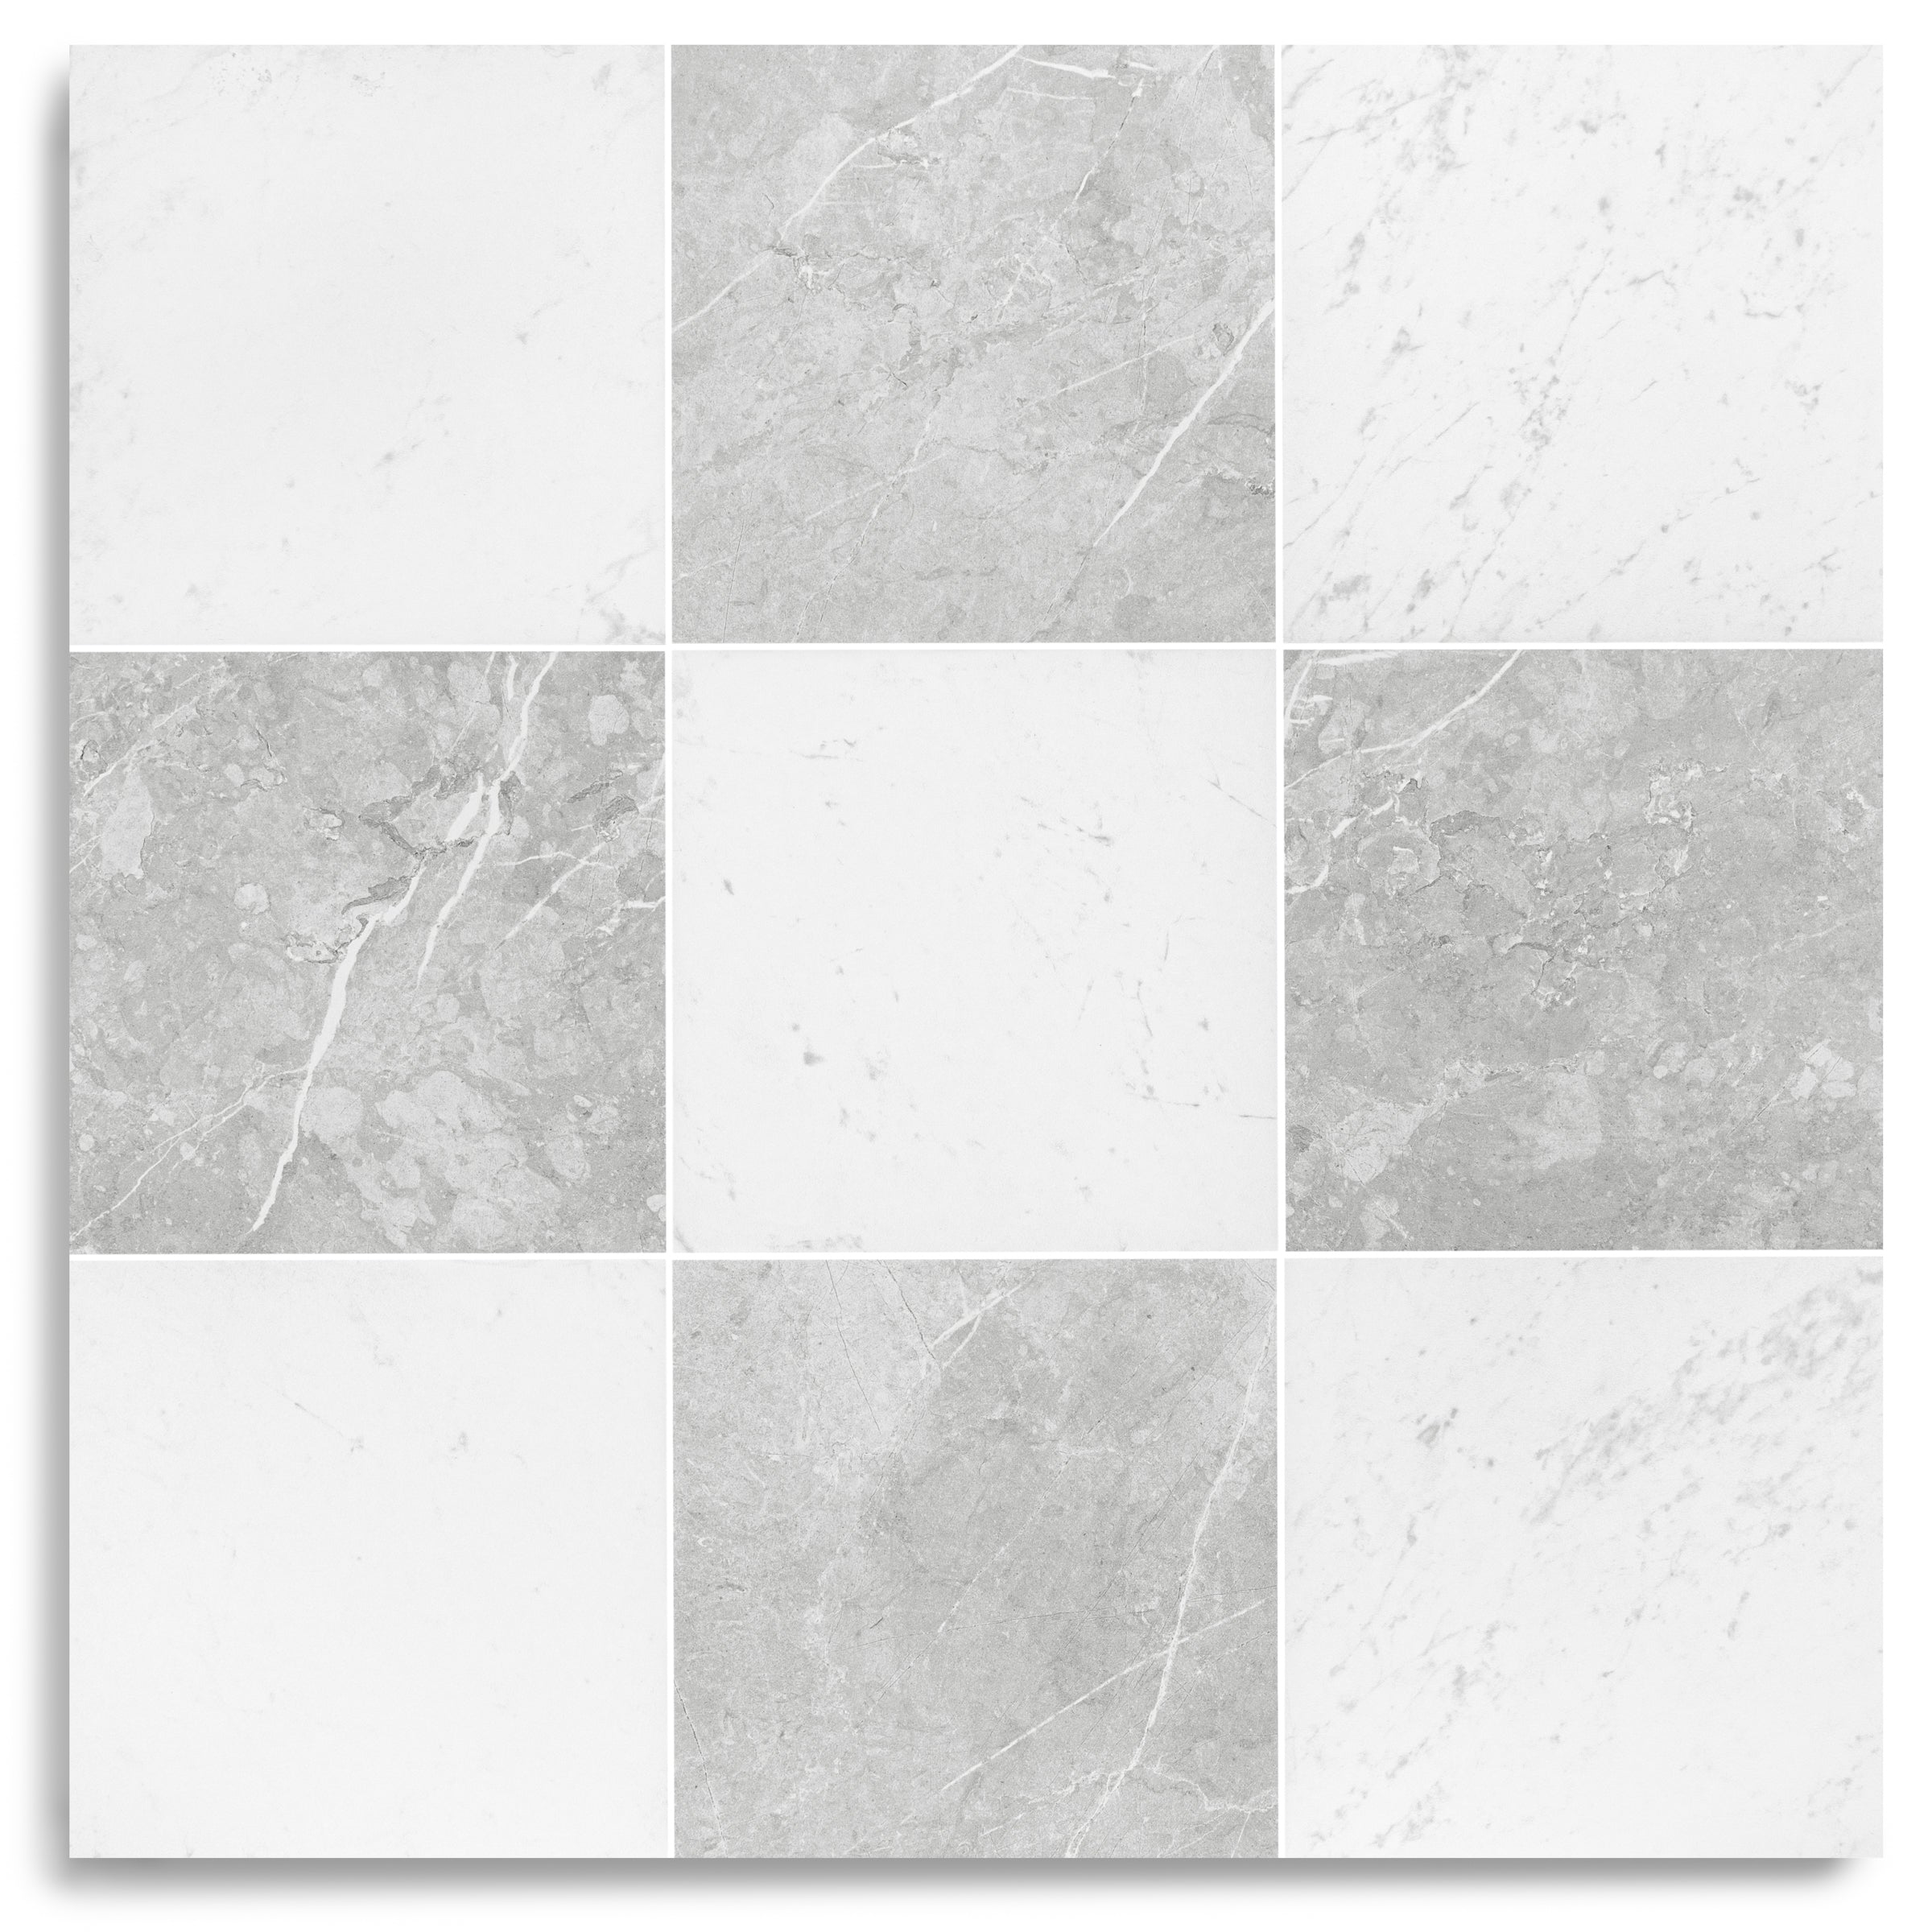
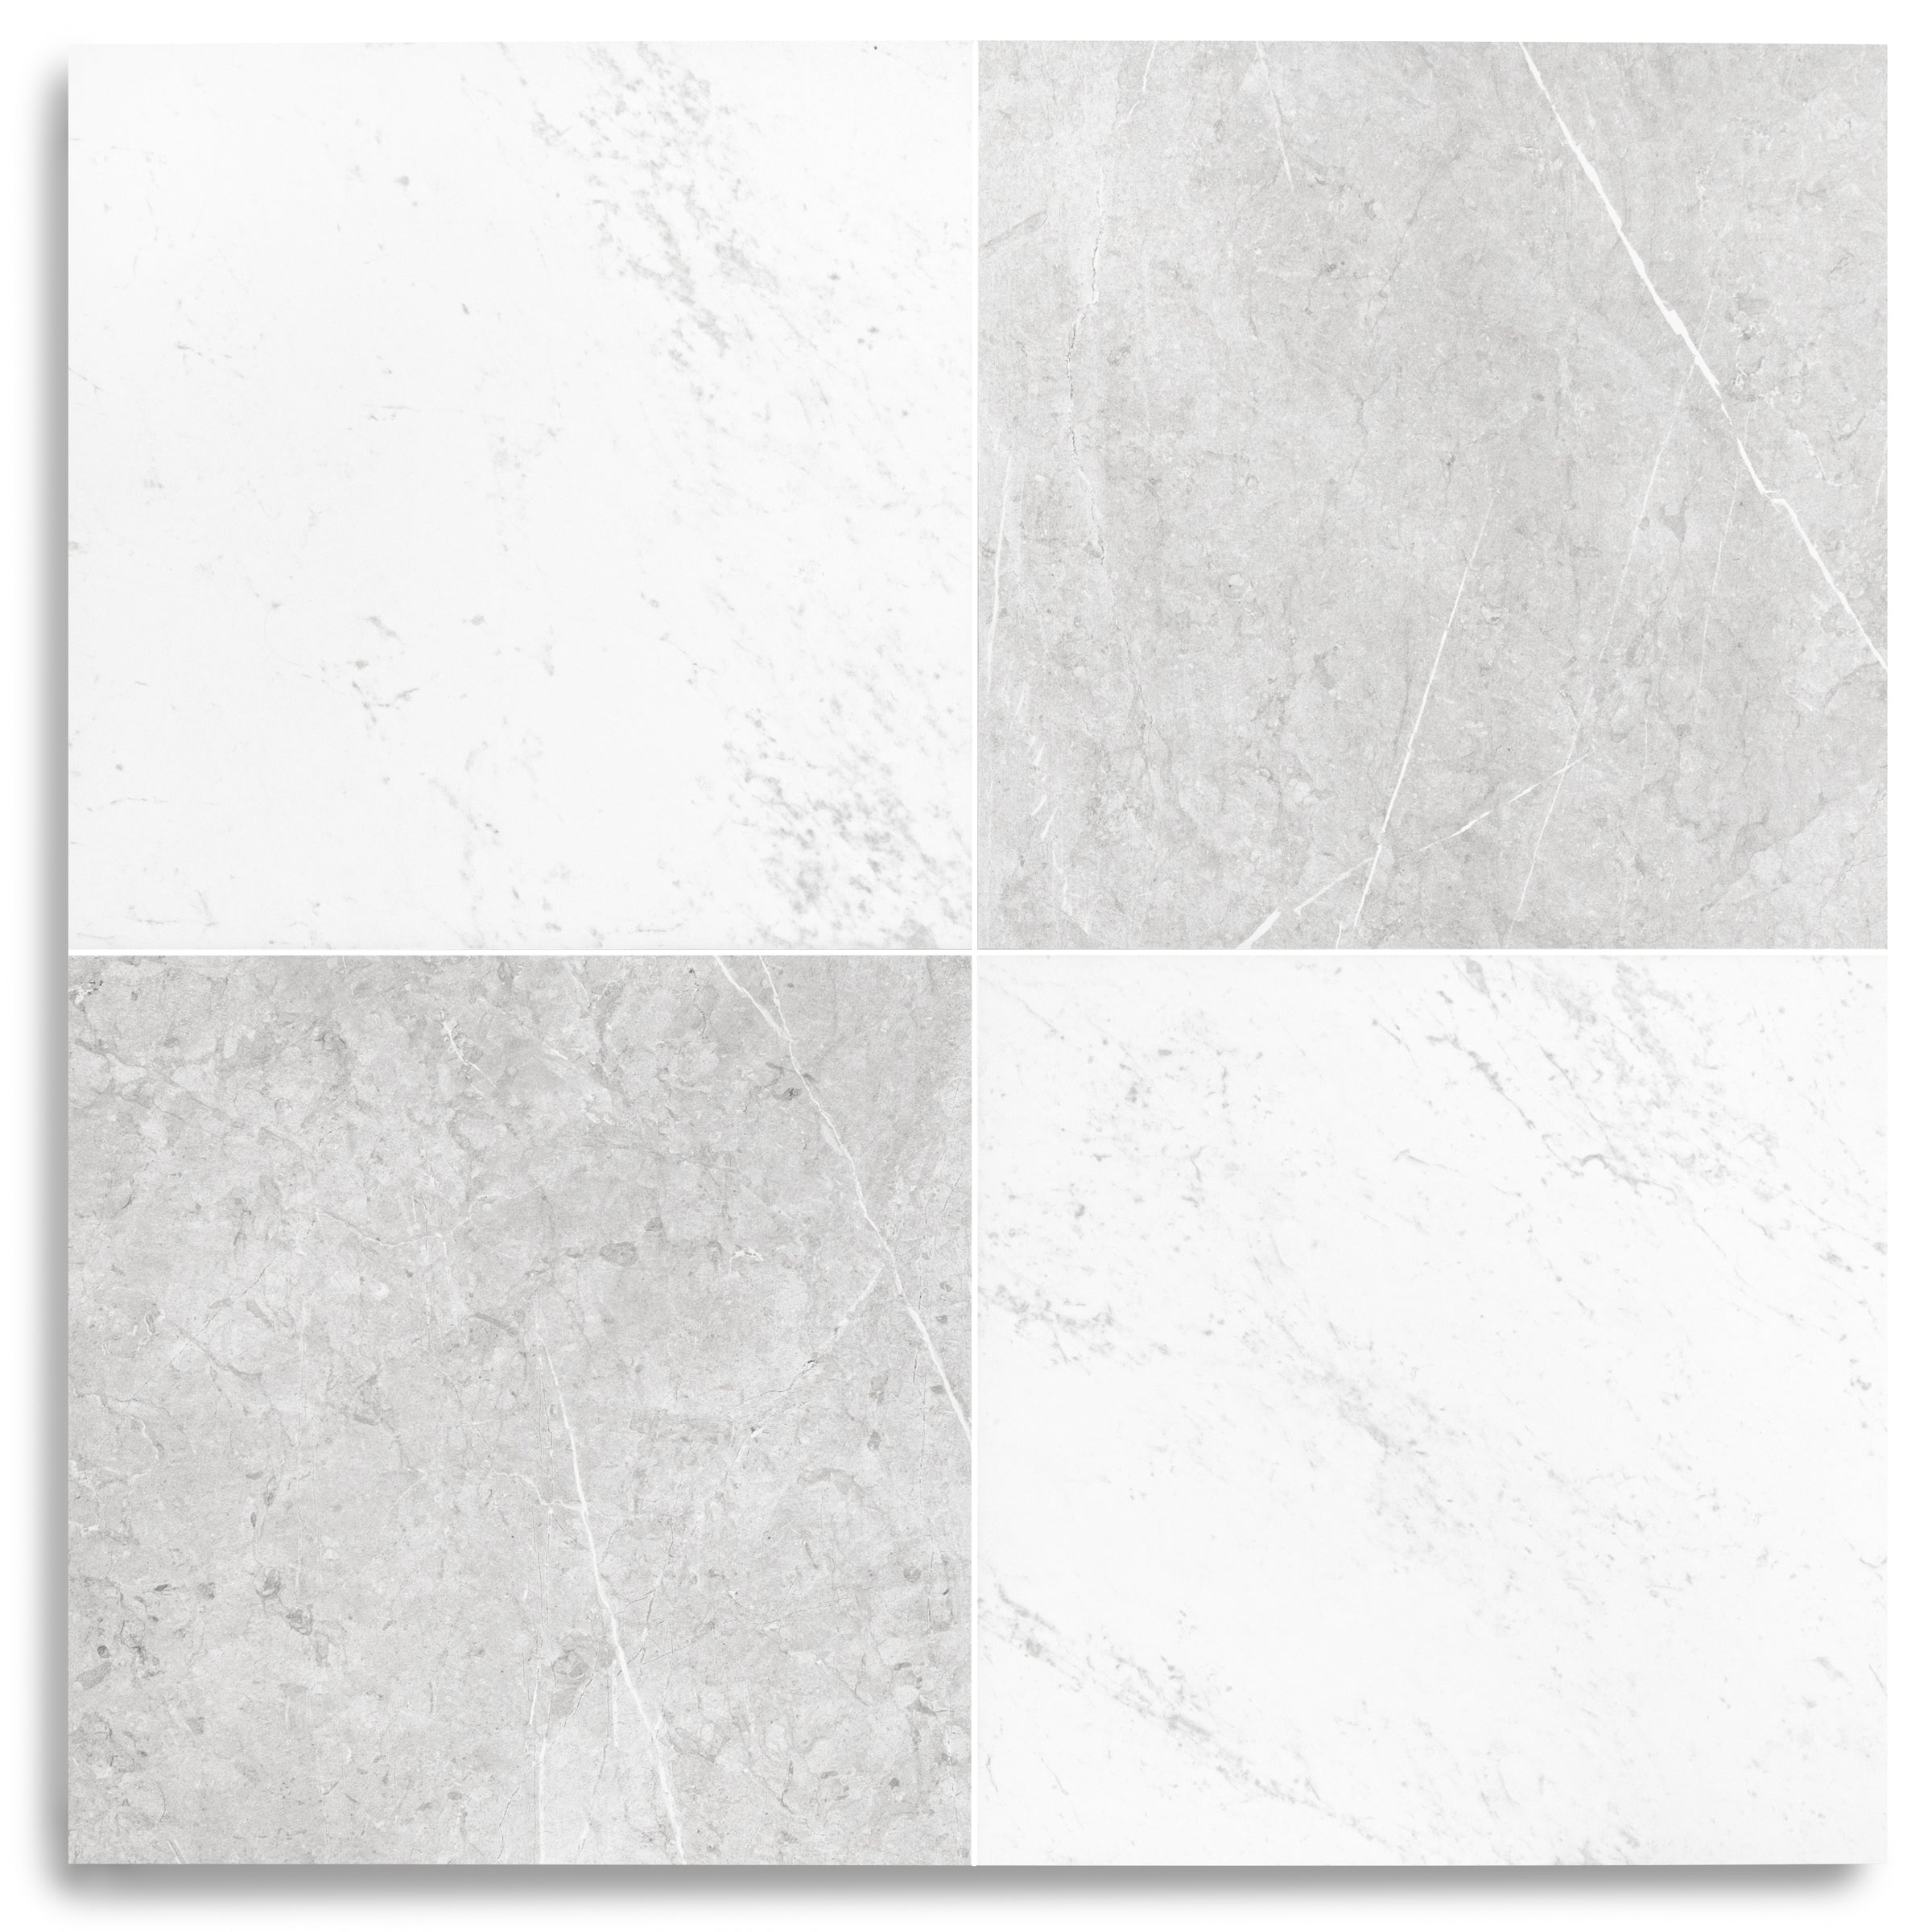
Natural is a workhorse. Pair it with warm whites for a tonal, layered bathroom or kitchen. Set it against dark cabinetry or matte black fixtures for contrast that feels deliberate rather than stark. The 2x8 format works especially well in vertical stacks for a contemporary European feel; the 4x4 lends itself to grid-set bathrooms with vintage character.
Claywork is a Spanish white body ceramic wall tile collection available in 4x4 and 2x8 formats across six handcrafted glazed colors — Cream, Natural, Cotto, Sand, Clay, and Umber. Fired in Spain and finished with a glossy glaze that brings out the warmth and depth of each color, these tiles carry the character of traditional Mediterranean ceramics into modern kitchens, bathrooms, and living spaces. The palette moves from soft warm whites through sun-bleached neutrals to rich fired earth tones and deep umber — a full spectrum of clay-inspired color that works together as a family or stands alone as a statement.
Details
Material
Ceramic
MOHS
6
Chemical Resistant
Resistant
Stain Resistant
Class 5
Collection
Claywork
Thickness
9.5mm
Country of Origin
Spain
Shade Variation
V2
Application
Walls Only
Edge
Relief
Location
Shower Walls, Backsplash, Walls
Gradient bar
Ceramic Tile Installation Guide
CERAMIC TILE INSTALLATION GUIDE
CERAMIC TILE
INSTALLATION GUIDE
A Step-by-Step Guide for Professionals and DIY Enthusiasts
BEFORE YOU BEGIN
Please read this entire guide before starting your installation. This guide provides general
recommendations and should not replace professional advice for complex installations. Reno Source
provides quality ceramic tiles and this guidance as a resource, but responsibility for the installation
process rests with the installer and homeowner.
1. OVERVIEW
Ceramic tile is one of the most reliable and versatile finish materials available. It offers durability,
low maintenance, and a timeless aesthetic that works across kitchens, bathrooms, entryways, and
living spaces. With the right preparation, most experienced installers can complete a standard room
in one to two days.
This guide walks you through each stage of a ceramic tile installation, from surface preparation
through final sealing. Follow these steps carefully and you will achieve a professional-quality result
that stands the test of time.
2. TOOLS & MATERIALS
Essential Tools
• Notched trowel (size per adhesive manufacturer recommendation)
• Rubber grout float
• Tile cutter or wet saw
• Tile nippers for curved cuts
www.therenosource.com Page 1CERAMIC TILE INSTALLATION GUIDE
• Chalk line and tape measure
• Level (48″ recommended) and carpenter’s square
• Mixing bucket and drill with paddle attachment
• Sponges and clean cloths
• Knee pads, safety glasses, dust mask, and gloves
Materials
• Ceramic tiles (order 10–15% extra for cuts and future repairs)
• Thinset mortar or tile adhesive
• Grout (sanded for joints wider than 1/8″; unsanded for narrower joints)
• Tile spacers (1/8″ to 1/4″ depending on desired joint width)
• Cement backer board and fiberglass mesh tape (if required)
• Grout sealer
3. STEP-BY-STEP INSTALLATION
Step 1: Surface Preparation
Proper surface preparation is the foundation of every successful tile installation. Investing time here
prevents cracked tiles, failing grout, and costly rework.
Clear and Clean the Area
Remove all furniture, appliances, and existing flooring. Clean the subfloor thoroughly, removing
debris, dust, adhesive residue, and paint.
Inspect and Repair the Subfloor
The subfloor must be at least 1-1/8″ thick to prevent flexing. Use a long straightedge to check for
level—variations greater than 1/8″ over 10 feet should be corrected with self-leveling compound.
Repair any cracks, holes, or damaged areas before proceeding.
Install Backer Board (If Needed)
For plywood subfloors or moisture-prone areas, install cement backer board to create a rigid,
moisture-resistant base. Secure with appropriate screws and tape all seams with fiberglass mesh
tape.
Step 2: Planning and Layout
A well-planned layout produces symmetrical, professional-looking results and minimizes waste.
Never skip this step.
1. Measure and mark the midpoint of each wall. Snap chalk lines connecting opposite
midpoints. The intersection is your starting point.
2. Dry-fit tiles along the chalk lines from center to walls without adhesive. Include spacers
between tiles to preview the layout and identify where cuts will fall.
3. Adjust the layout so tiles at walls are at least half a tile width. Small slivers look
unprofessional and are difficult to cut. Shift your starting point as needed for balance.
www.therenosource.com Page 2CERAMIC TILE INSTALLATION GUIDE
4. Consider tile placement around doorways and focal points before committing to your layout.
Step 3: Applying Thinset Mortar
Proper adhesive application is critical for a lasting installation. Work methodically in small sections.
1. Mix thinset mortar per manufacturer instructions to a smooth, peanut butter-like
consistency. Let it slake (rest) for 10 minutes, then remix briefly.
2. Using the flat side of your notched trowel, spread a thin layer onto a 3′ × 3′ section. Do not
cover your layout lines.
3. Hold the trowel at a 45° angle and comb through the mortar to create uniform ridges. These
ridges ensure proper adhesion and allow air to escape.
4. Work quickly—most thinset remains workable for only 15–20 minutes. Only spread as much
as you can tile within this window.
Step 4: Setting the Tiles
With adhesive applied, set tiles carefully and methodically.
1. Begin at the center intersection. Press the first tile firmly into the thinset with a slight
twisting motion to ensure full contact.
2. Insert spacers at each corner to maintain consistent joint width. Most ceramic tiles use 1/8″
to 1/4″ spacers.
3. Continue setting tiles outward from the center, one section at a time. Never slide tiles into
position—this pushes adhesive into the joints.
4. Check frequently with a level to ensure tiles are flat and even. Adjust by pressing down or
adding thinset as needed.
5. Mix tiles from several boxes as you work to blend any color variation naturally across the
installation.
IMPORTANT
Maintain uniform spacing between all tiles. Proper grout joint width allows for expansion and
prevents cracking. Resist the urge to push tiles closer together.
Step 5: Cutting Tiles
Most installations require cut tiles at walls and around obstacles. Choose the right method for each
situation.
Straight Cuts
Use a manual snap cutter or wet tile saw. Score the surface with firm, even pressure and snap along
the scored line. Smooth rough edges with a rubbing stone.
Curved and Notched Cuts
For cuts around pipes or fixtures, use tile nippers to remove small pieces at a time. Work gradually
toward your marked line. A rod saw handles longer curved cuts.
www.therenosource.com Page 3CERAMIC TILE INSTALLATION GUIDE
SAFETY
Always wear safety glasses when cutting tiles. Cut edges can be sharp—handle carefully and smooth
as needed before installation.
Step 6: Grouting
Allow thinset to cure for at least 24 hours before grouting. Do not walk on the tiles during this time.
1. Remove all tile spacers. Mix grout per manufacturer directions to a smooth, thick
consistency.
2. Using a rubber grout float held at 45°, spread grout diagonally across the tile surface, forcing
it deep into the joints.
3. 4. Scrape excess grout by tilting the float to 90° and moving diagonally across the tiles.
Wait 15–20 minutes for the grout to begin setting, then wipe the surface with a damp sponge
in circular motions. Rinse the sponge frequently.
5. After the grout has fully cured (typically 24–72 hours), buff away remaining haze with a dry
cloth.
Step 7: Sealing and Finishing
Sealing protects your grout from moisture, stains, and mildew. This final step extends the life of your
installation.
1. Wait for grout to fully cure per manufacturer recommendations—typically 48 to 72 hours.
2. Apply grout sealer using a small brush applicator directly on the grout lines, or spray over the
entire surface if using a spray sealer.
3. Allow the sealer to penetrate for the time specified by the manufacturer, then wipe any excess
from the tile surface.
4. Reapply sealer annually or as recommended to maintain protection.
4. TIPS & WARNINGS
Pro Tips
• Never skip the dry-fit layout. It prevents costly mistakes and ensures professional results.
• Back-butter large tiles (apply thinset to both the floor and tile back) for complete coverage
and stronger adhesion.
• Clean grout residue promptly—dried grout haze is significantly harder to remove.
• Allow proper curing time at each stage. Rushing is the most common cause of installation
failure.
• Keep spare tiles from your installation for future repairs.
Safety Precautions
• Always wear appropriate PPE: safety glasses, gloves, knee pads, and a dust mask when
cutting tiles.
• Work in well-ventilated areas, especially when cutting.
www.therenosource.com Page 4CERAMIC TILE INSTALLATION GUIDE
• Keep tools and materials away from children.
• Follow all manufacturer safety guidelines for equipment and materials.
When to Call a Professional
For installations involving structural modifications, waterproofing (showers, wet rooms), radiant
floor heating systems, or subfloor repairs, we strongly recommend consulting a licensed contractor
or tile installation professional. Complex projects may require permits and inspections—check your
local building codes before beginning work.
5. CARE & MAINTENANCE
Ceramic tile is low-maintenance by nature, but a few simple habits will keep your installation looking
its best for years.
• Sweep or vacuum regularly to prevent grit buildup that can scratch the glaze over time.
• Mop with a pH-neutral tile cleaner and warm water. Avoid excessive water.
• Wipe up spills promptly, especially on grout lines.
• Reseal grout annually or as recommended by the sealer manufacturer.
• Use felt pads under furniture legs and place mats at entryways to reduce wear.
AVOID
Do not use acidic cleaners (vinegar, citrus-based products), bleach, ammonia, or abrasive scrubbers
on ceramic tile or grout. These products can damage the finish and degrade the grout over time.
6. PRODUCT & LIABILITY INFORMATION
Ceramic tiles vary by manufacturer, production batch, and composition. Always test adhesives,
grouts, and sealers on a sample area before full application. Results may differ based on
environmental conditions, substrate type, and installation technique. Refer to specific product
documentation for detailed instructions.
This guide is provided for informational purposes only. Reno Source and its authors assume no
responsibility for injuries, damages, or losses resulting from the use of this information. Users
assume all risks associated with tile installation. Always prioritize safety and consult qualified
professionals when in doubt.
Reno Source • Finish Materials • Based in the USA
www.therenosource.com | help@therenosource.com
www.therenosource.com Page 5
From the same collection


White & Ecru Octagon Zellige Mosaic


Cotto Deco Terracotta Look Matte Porcelain Tile


White & Ecru 2x2 Zellige Checkerboard Mosaic


Chiaro Deco Terracotta Look Matte Porcelain Tile


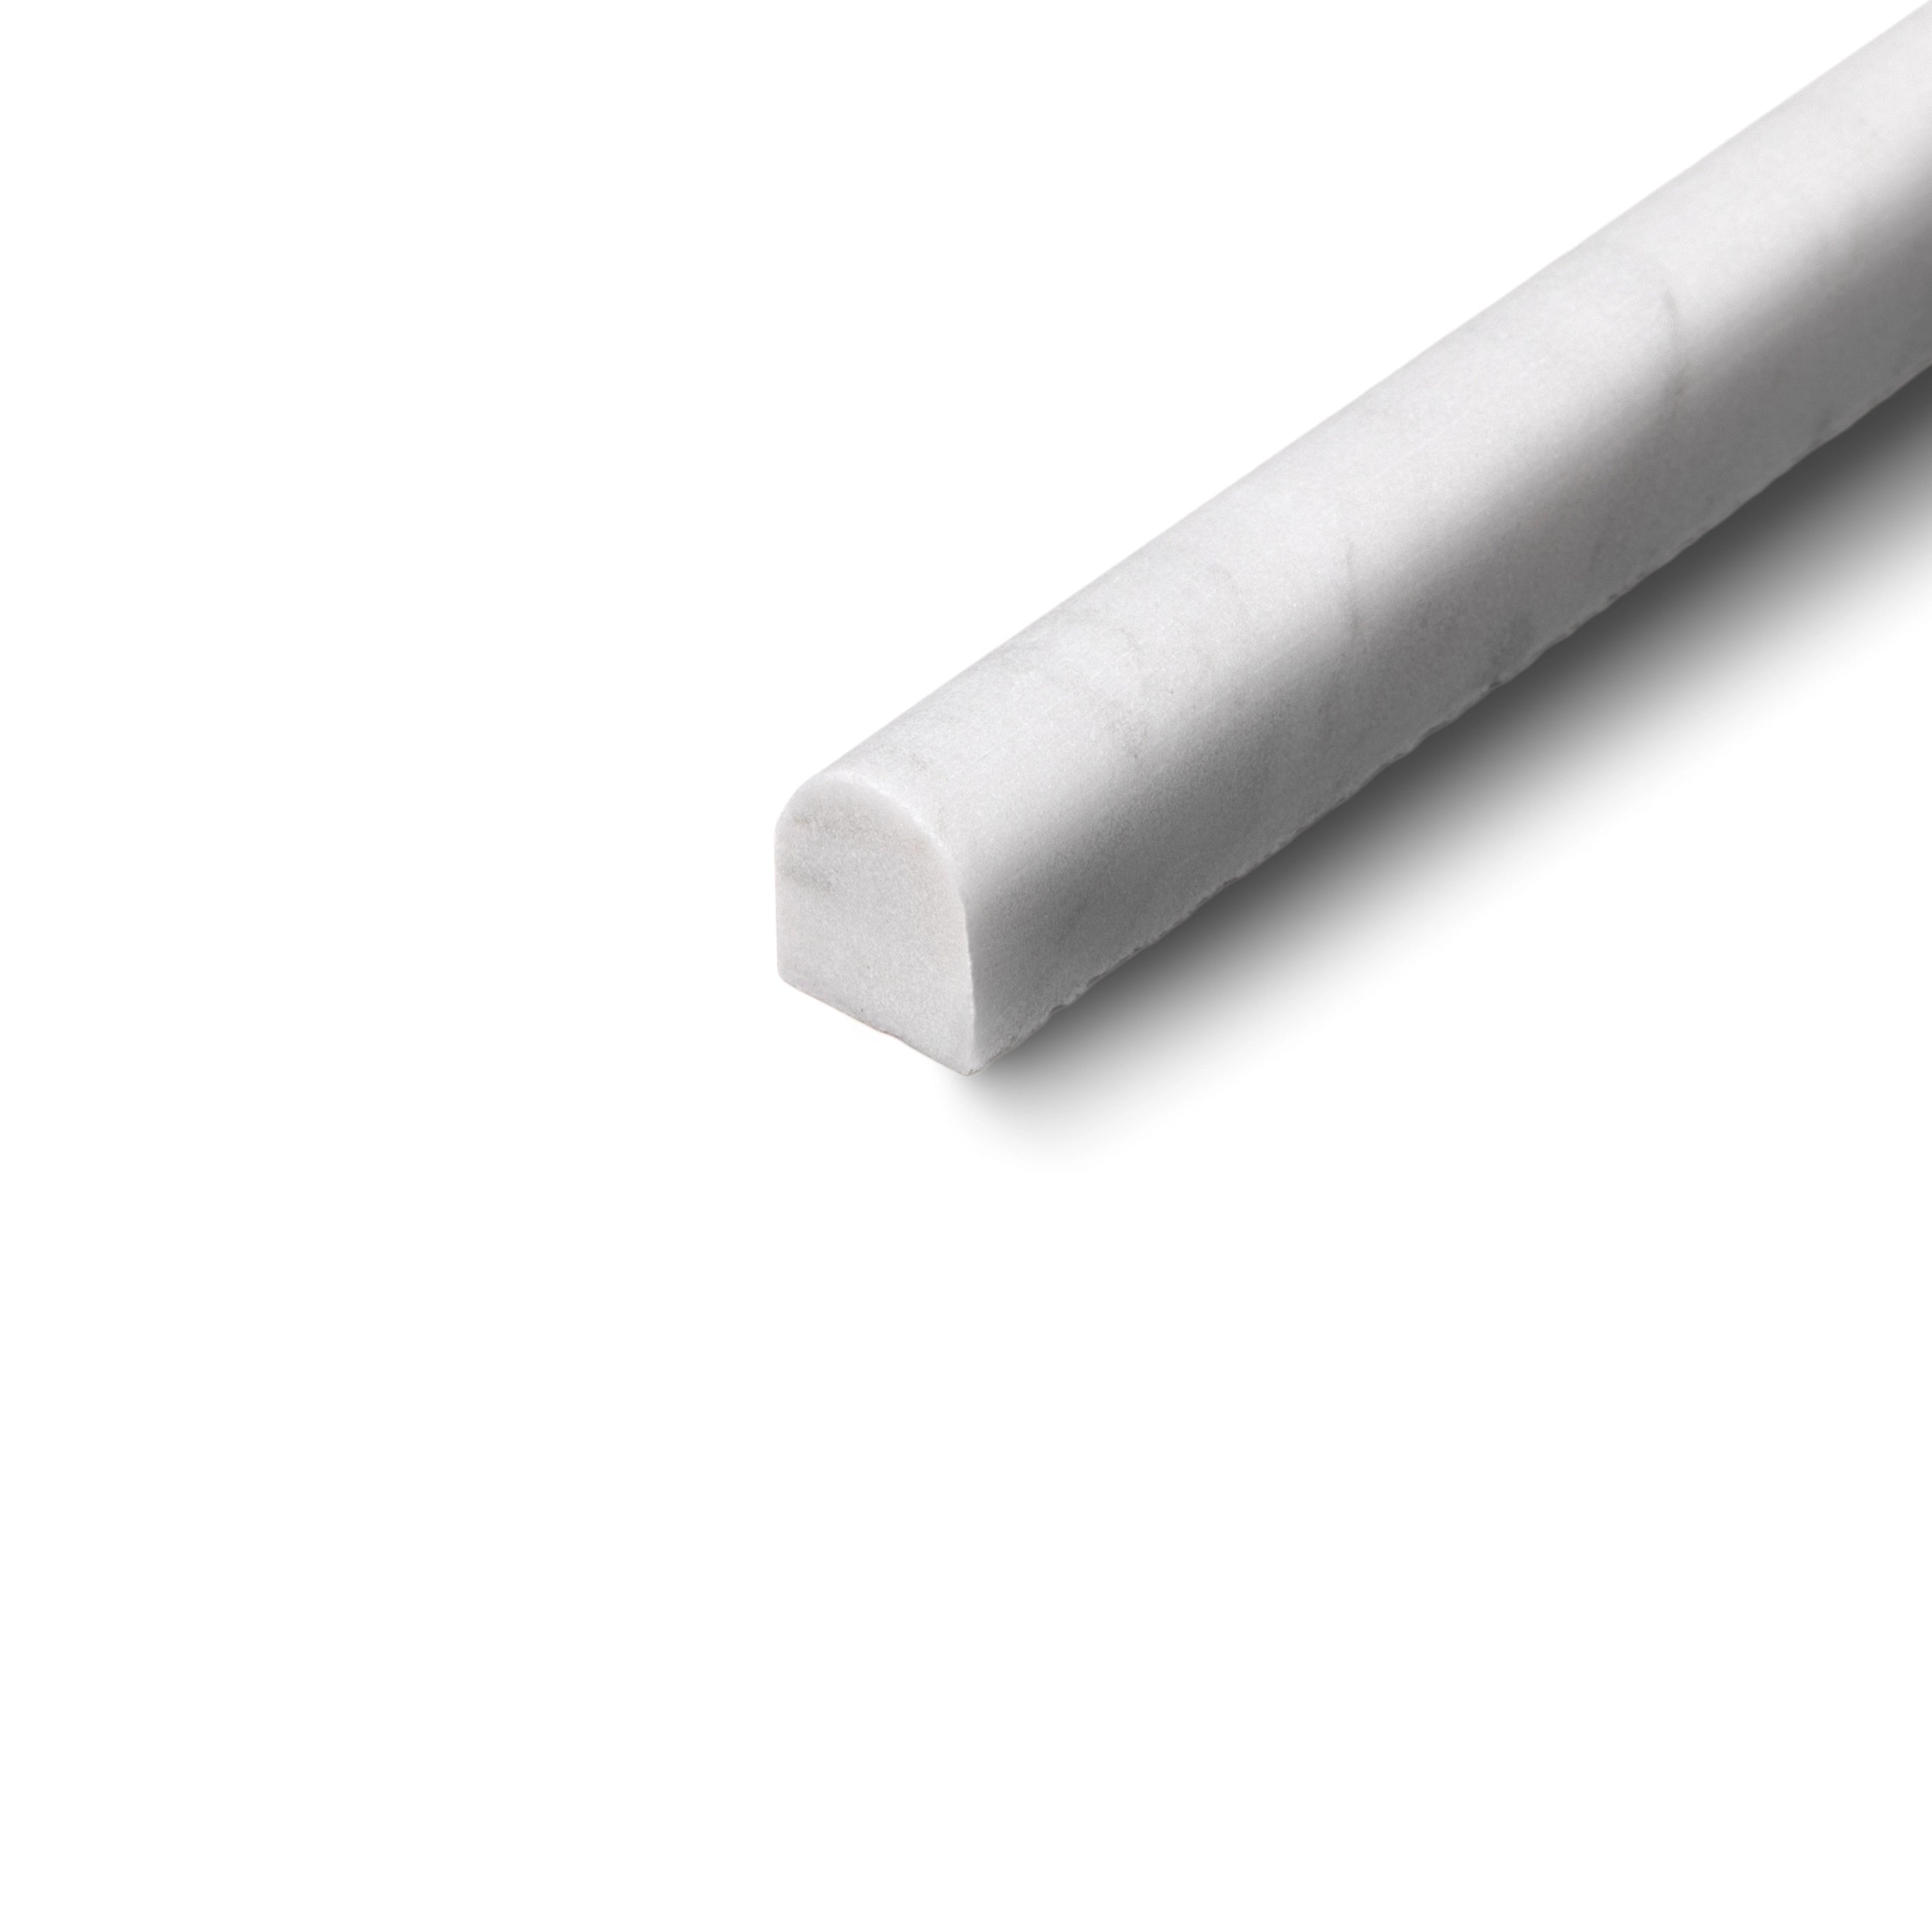


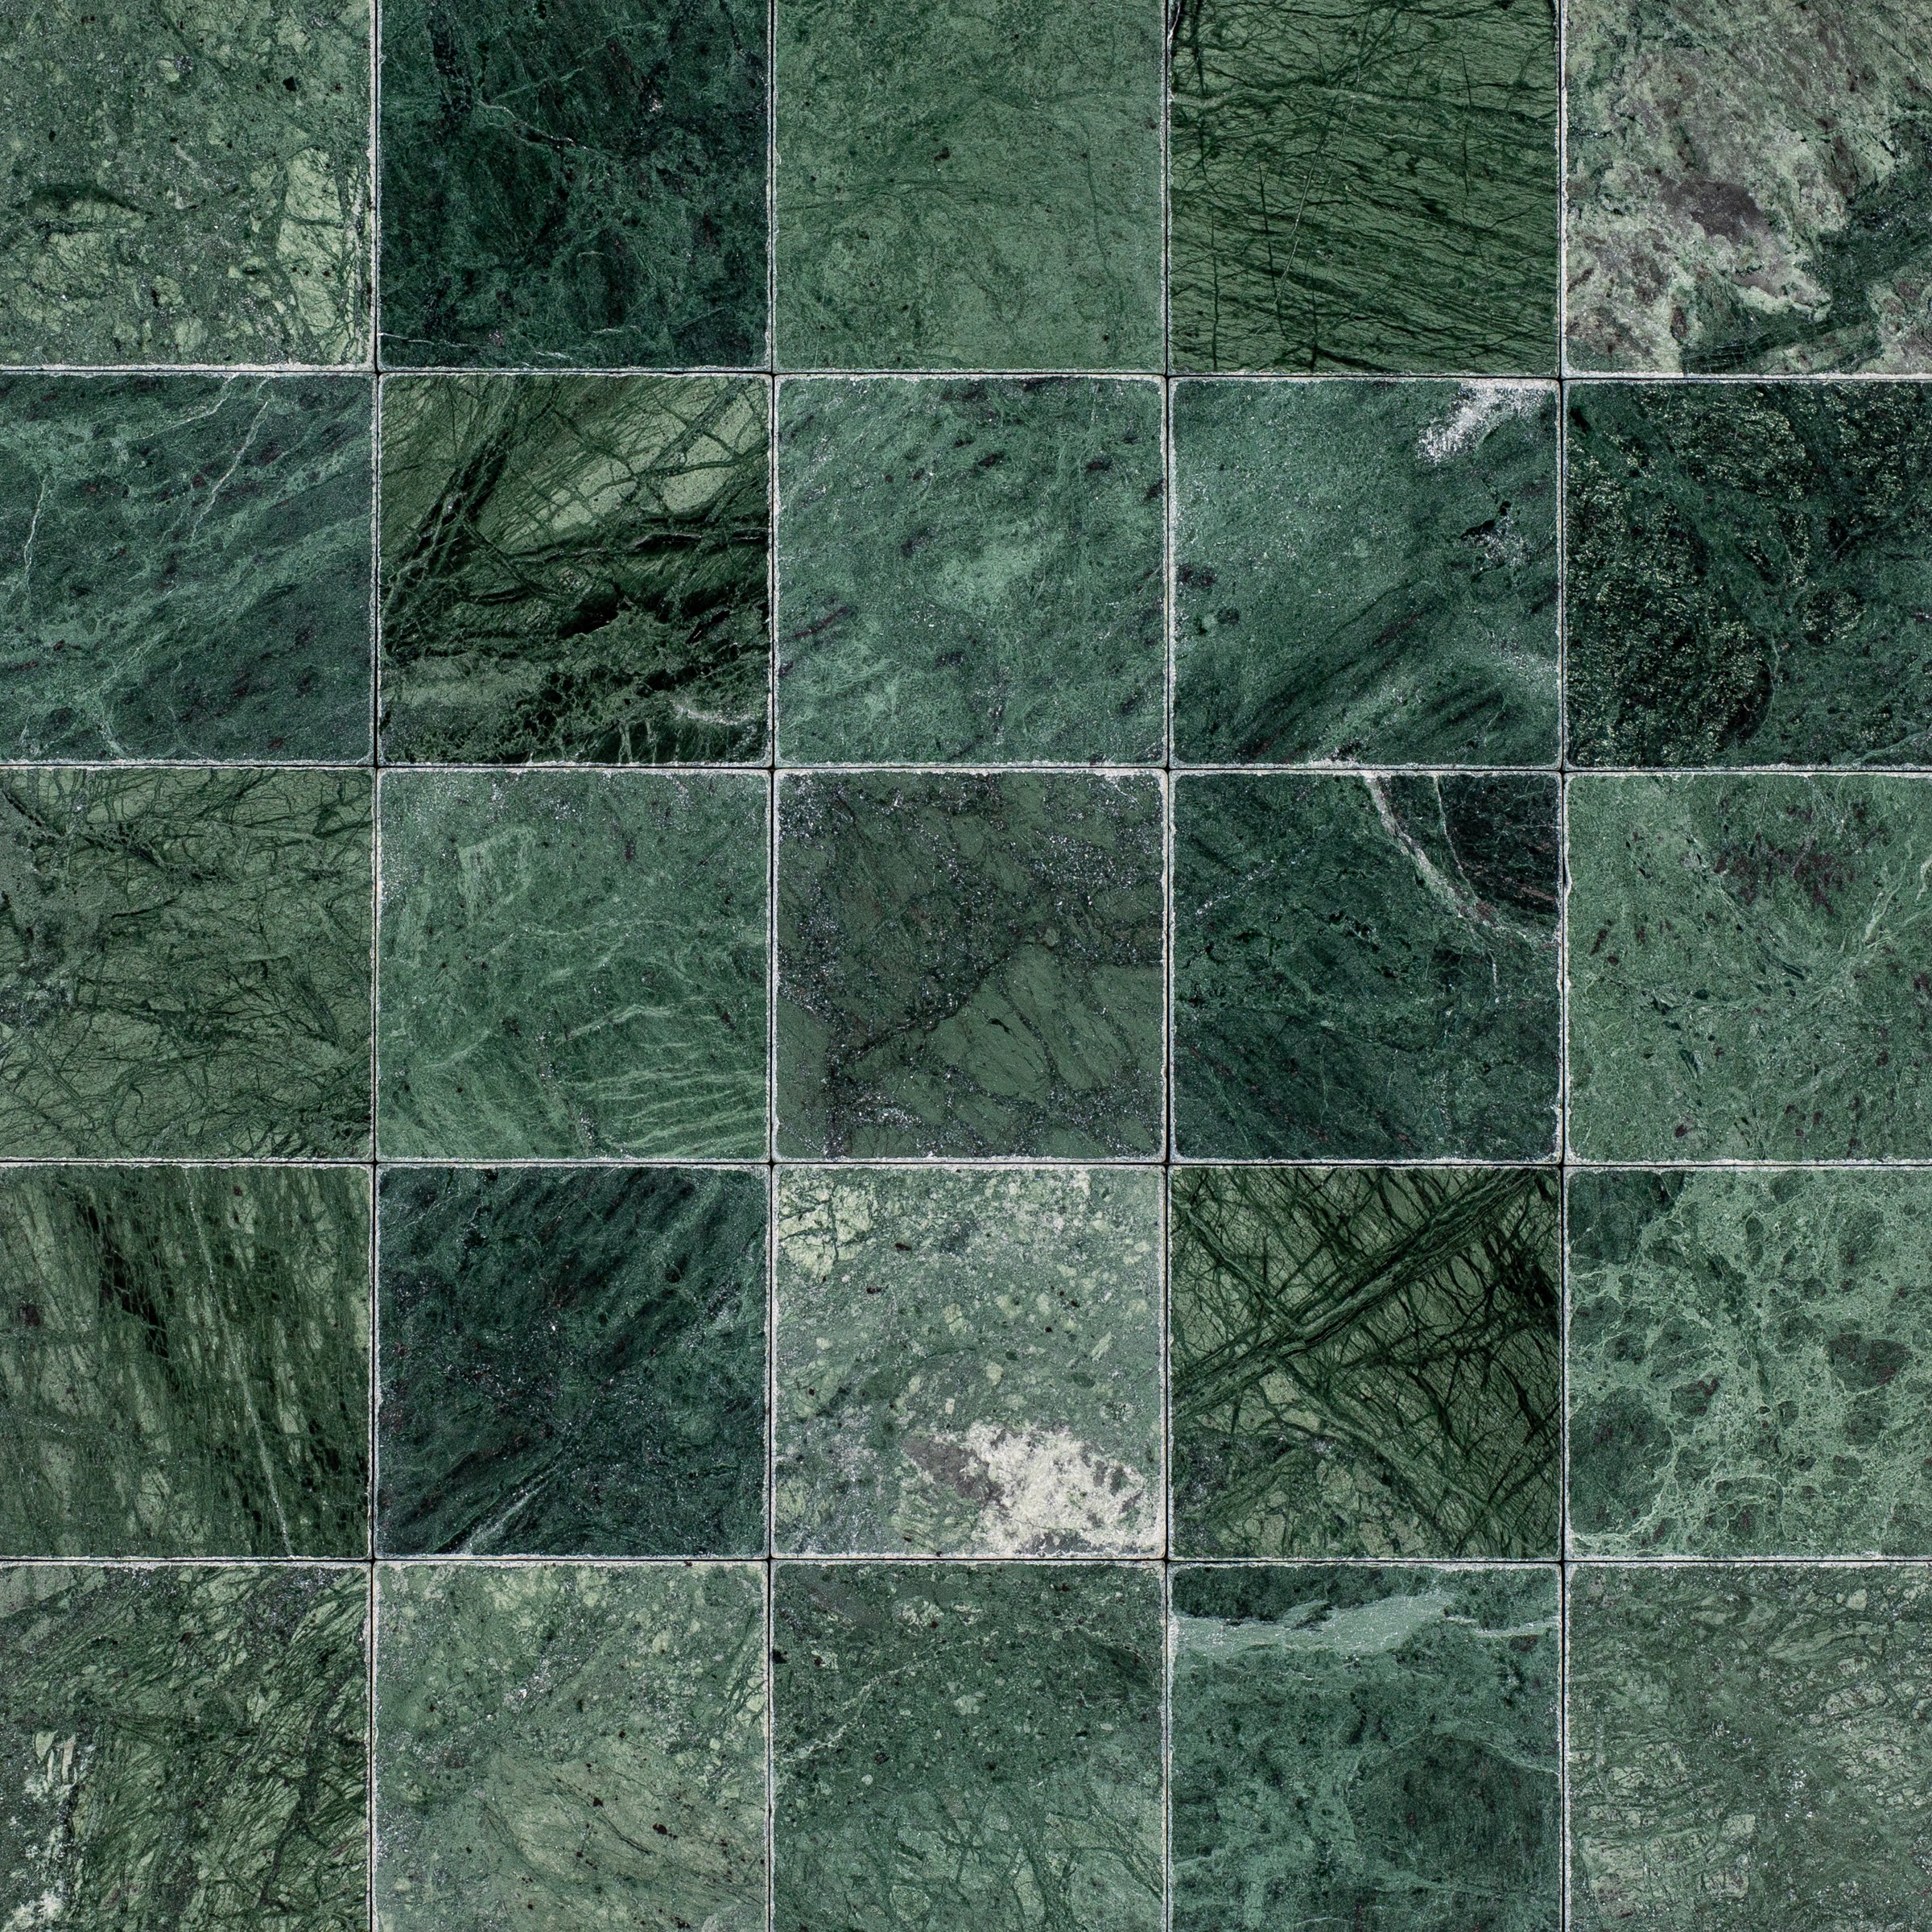
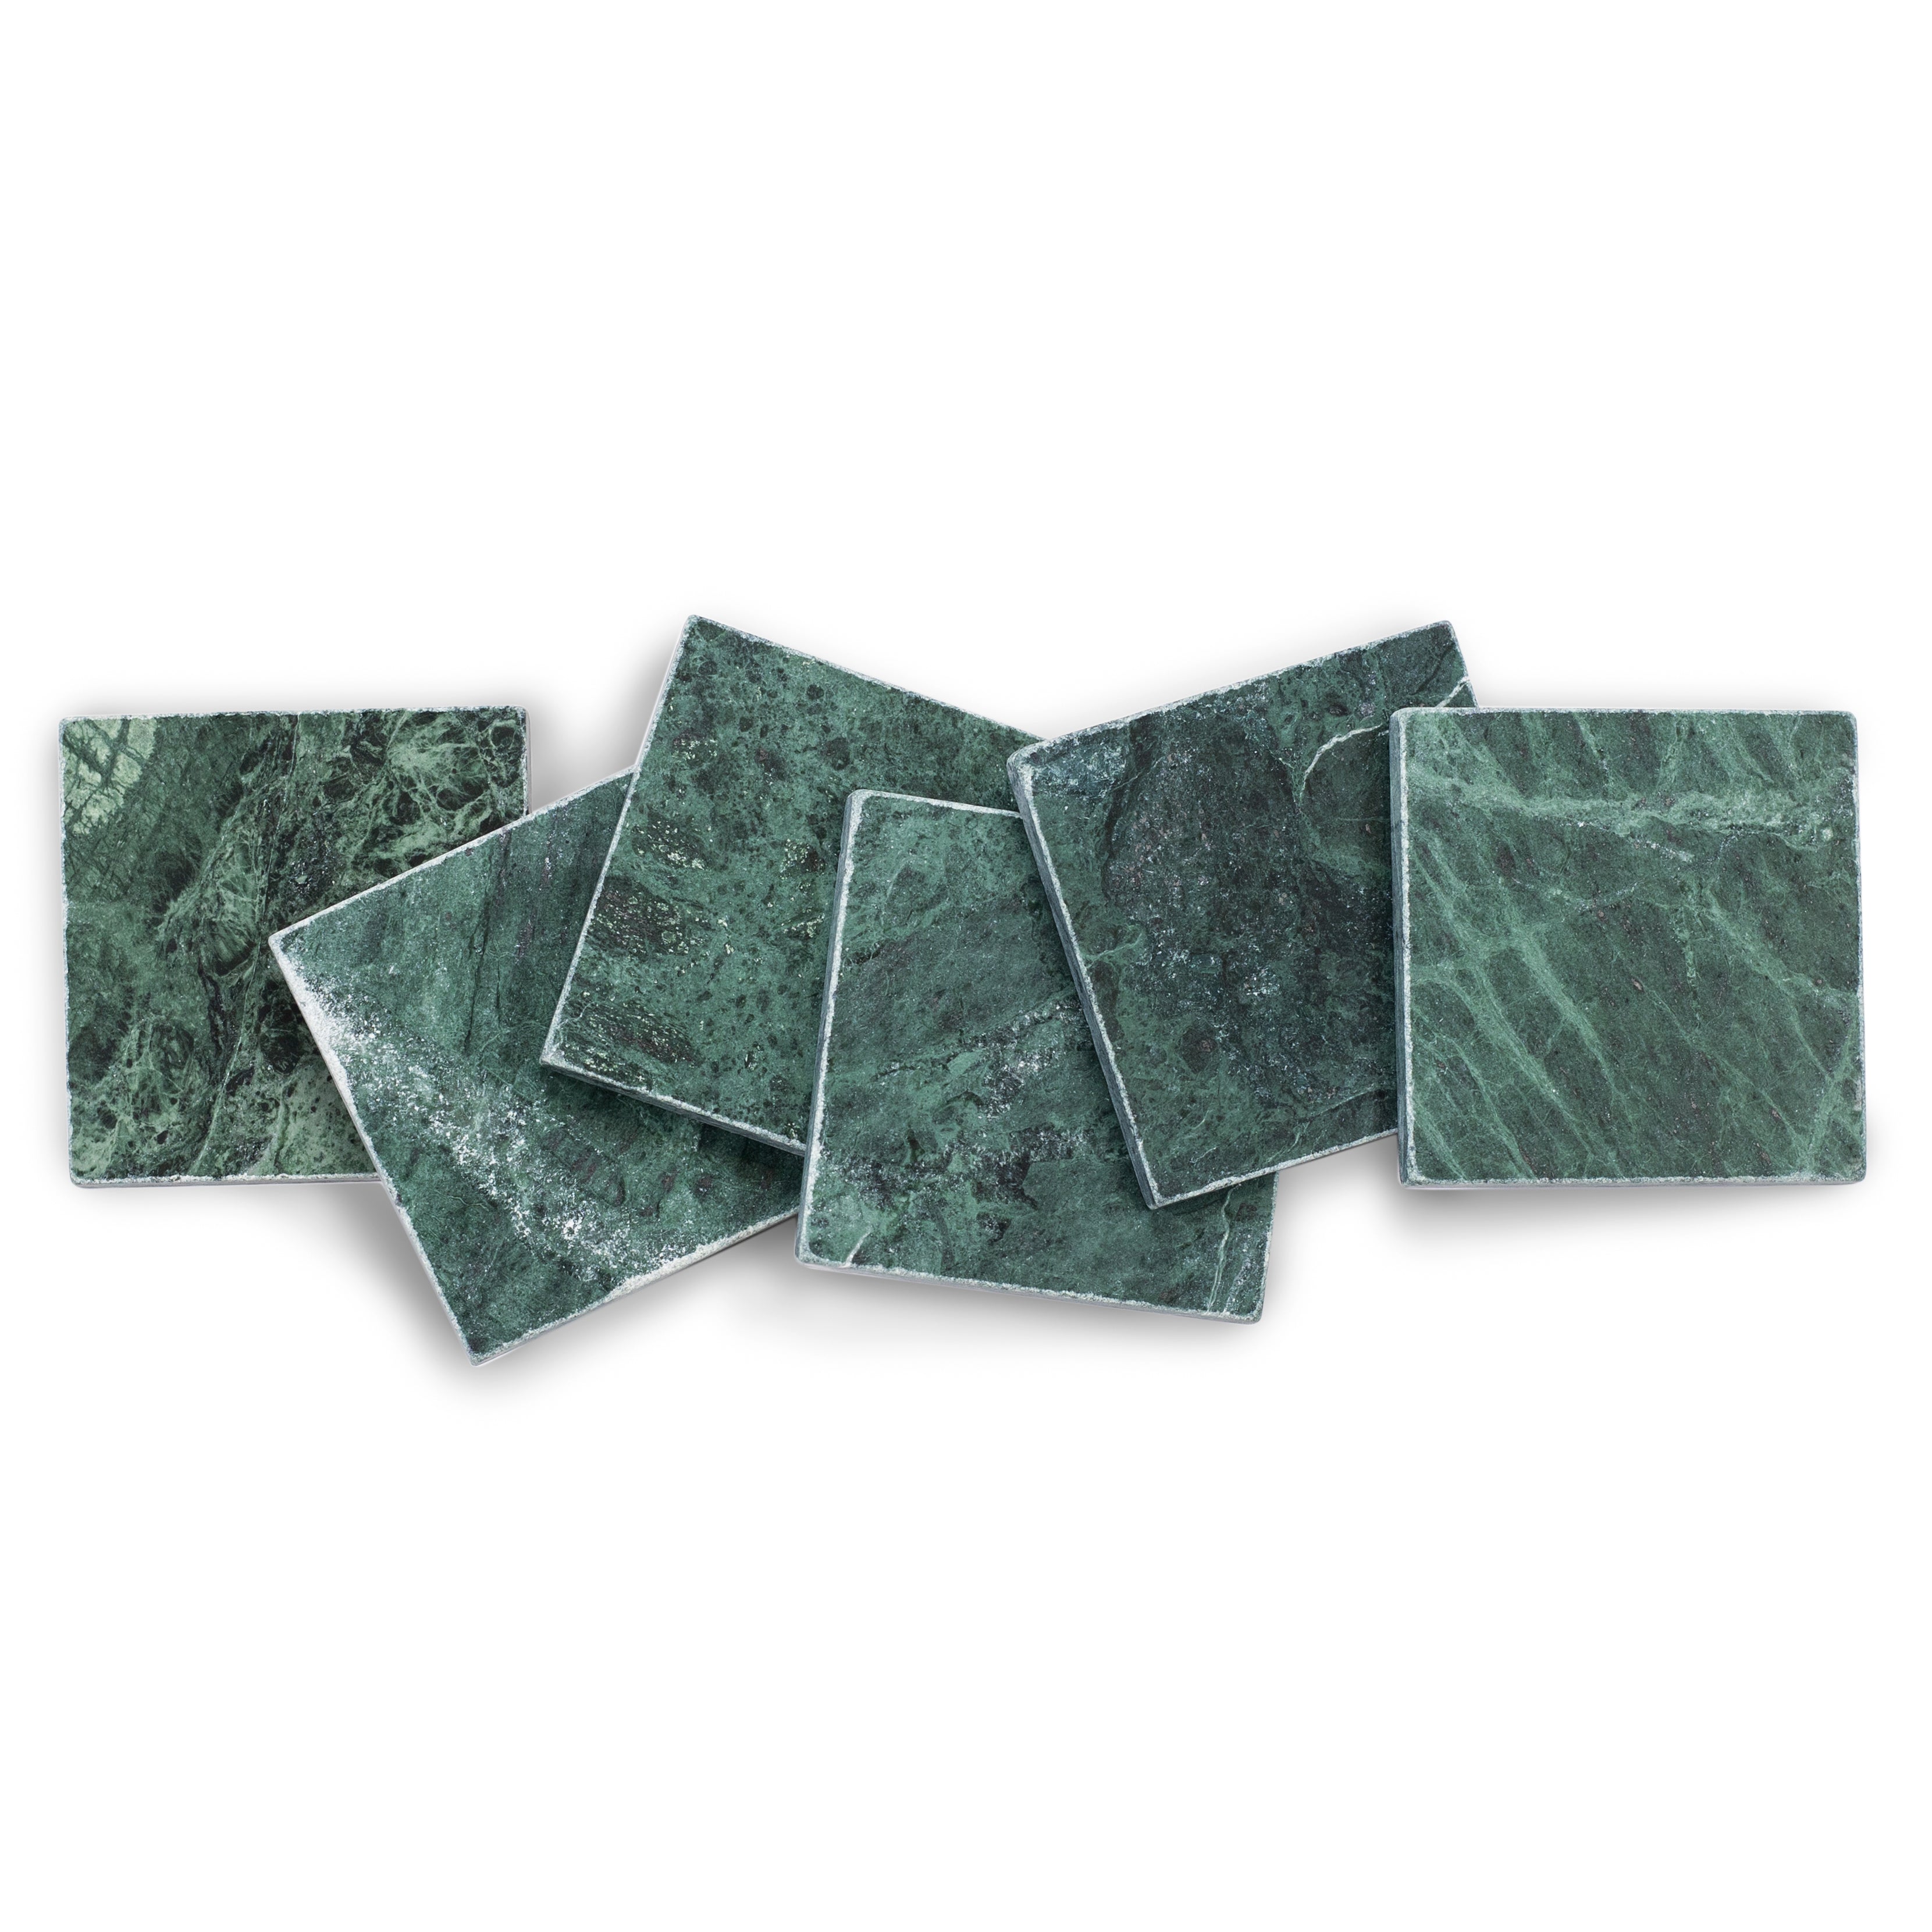
Verde Guatemala Tumbled Marble Tile
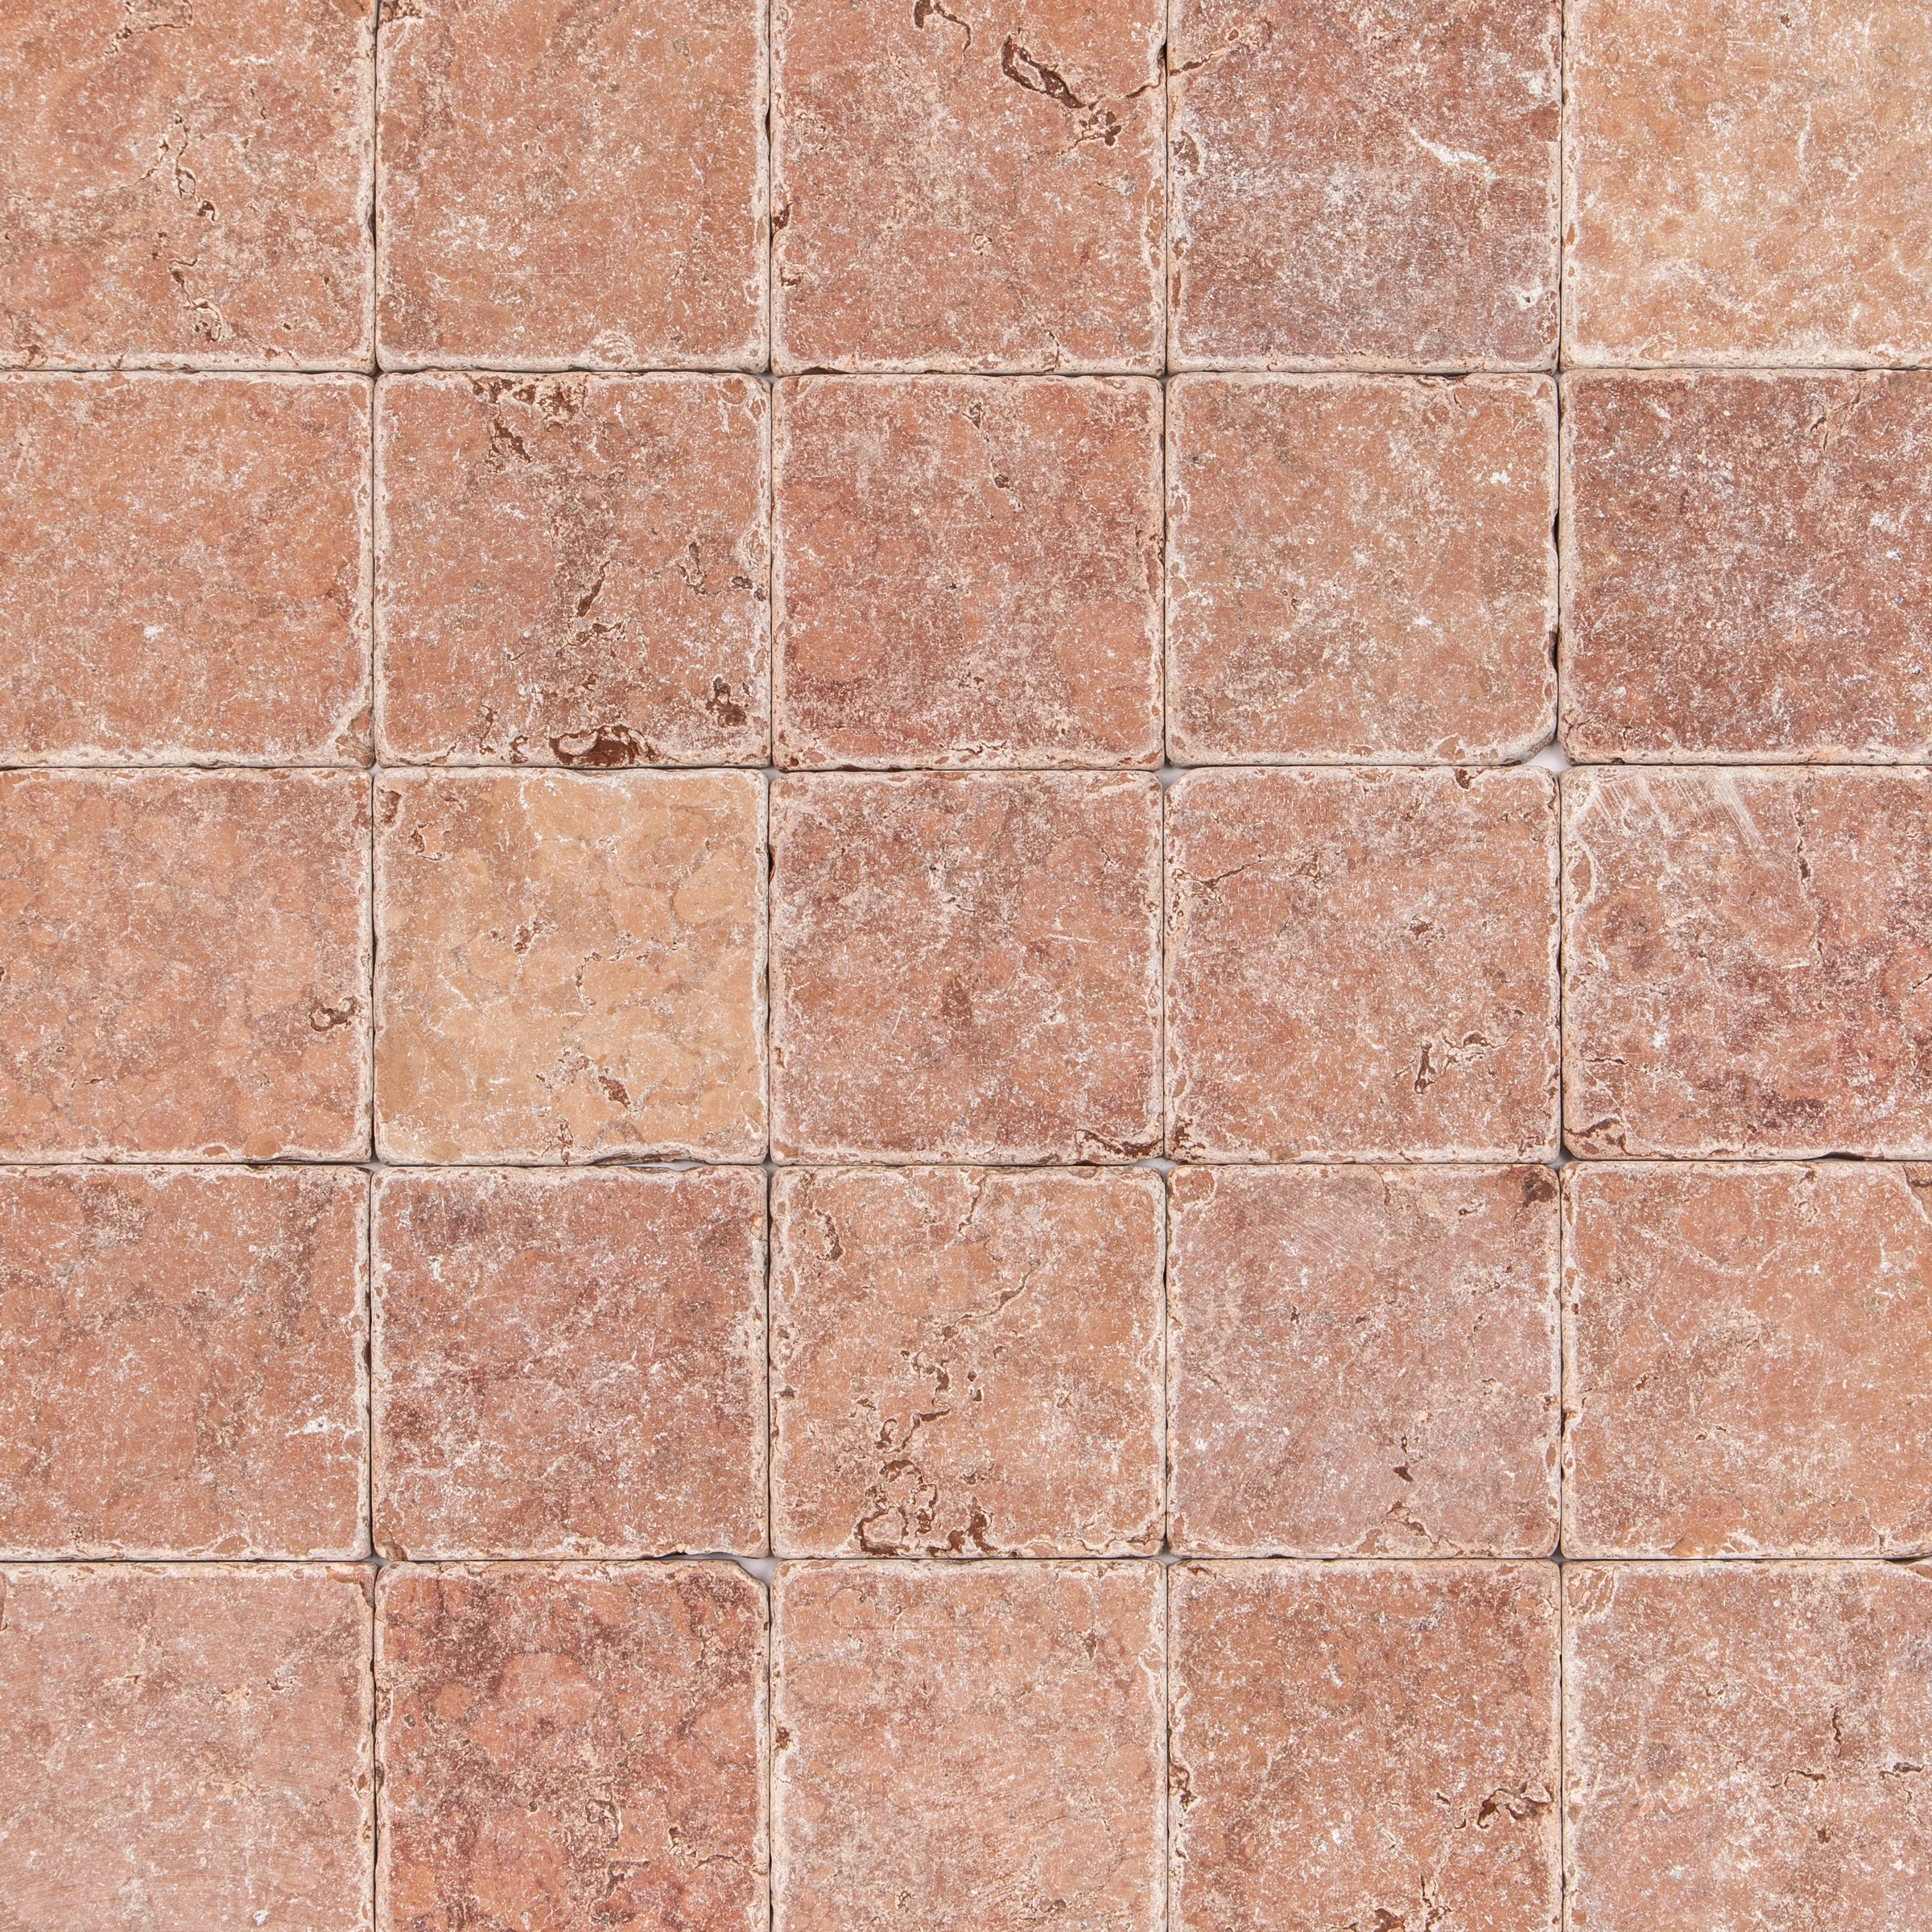
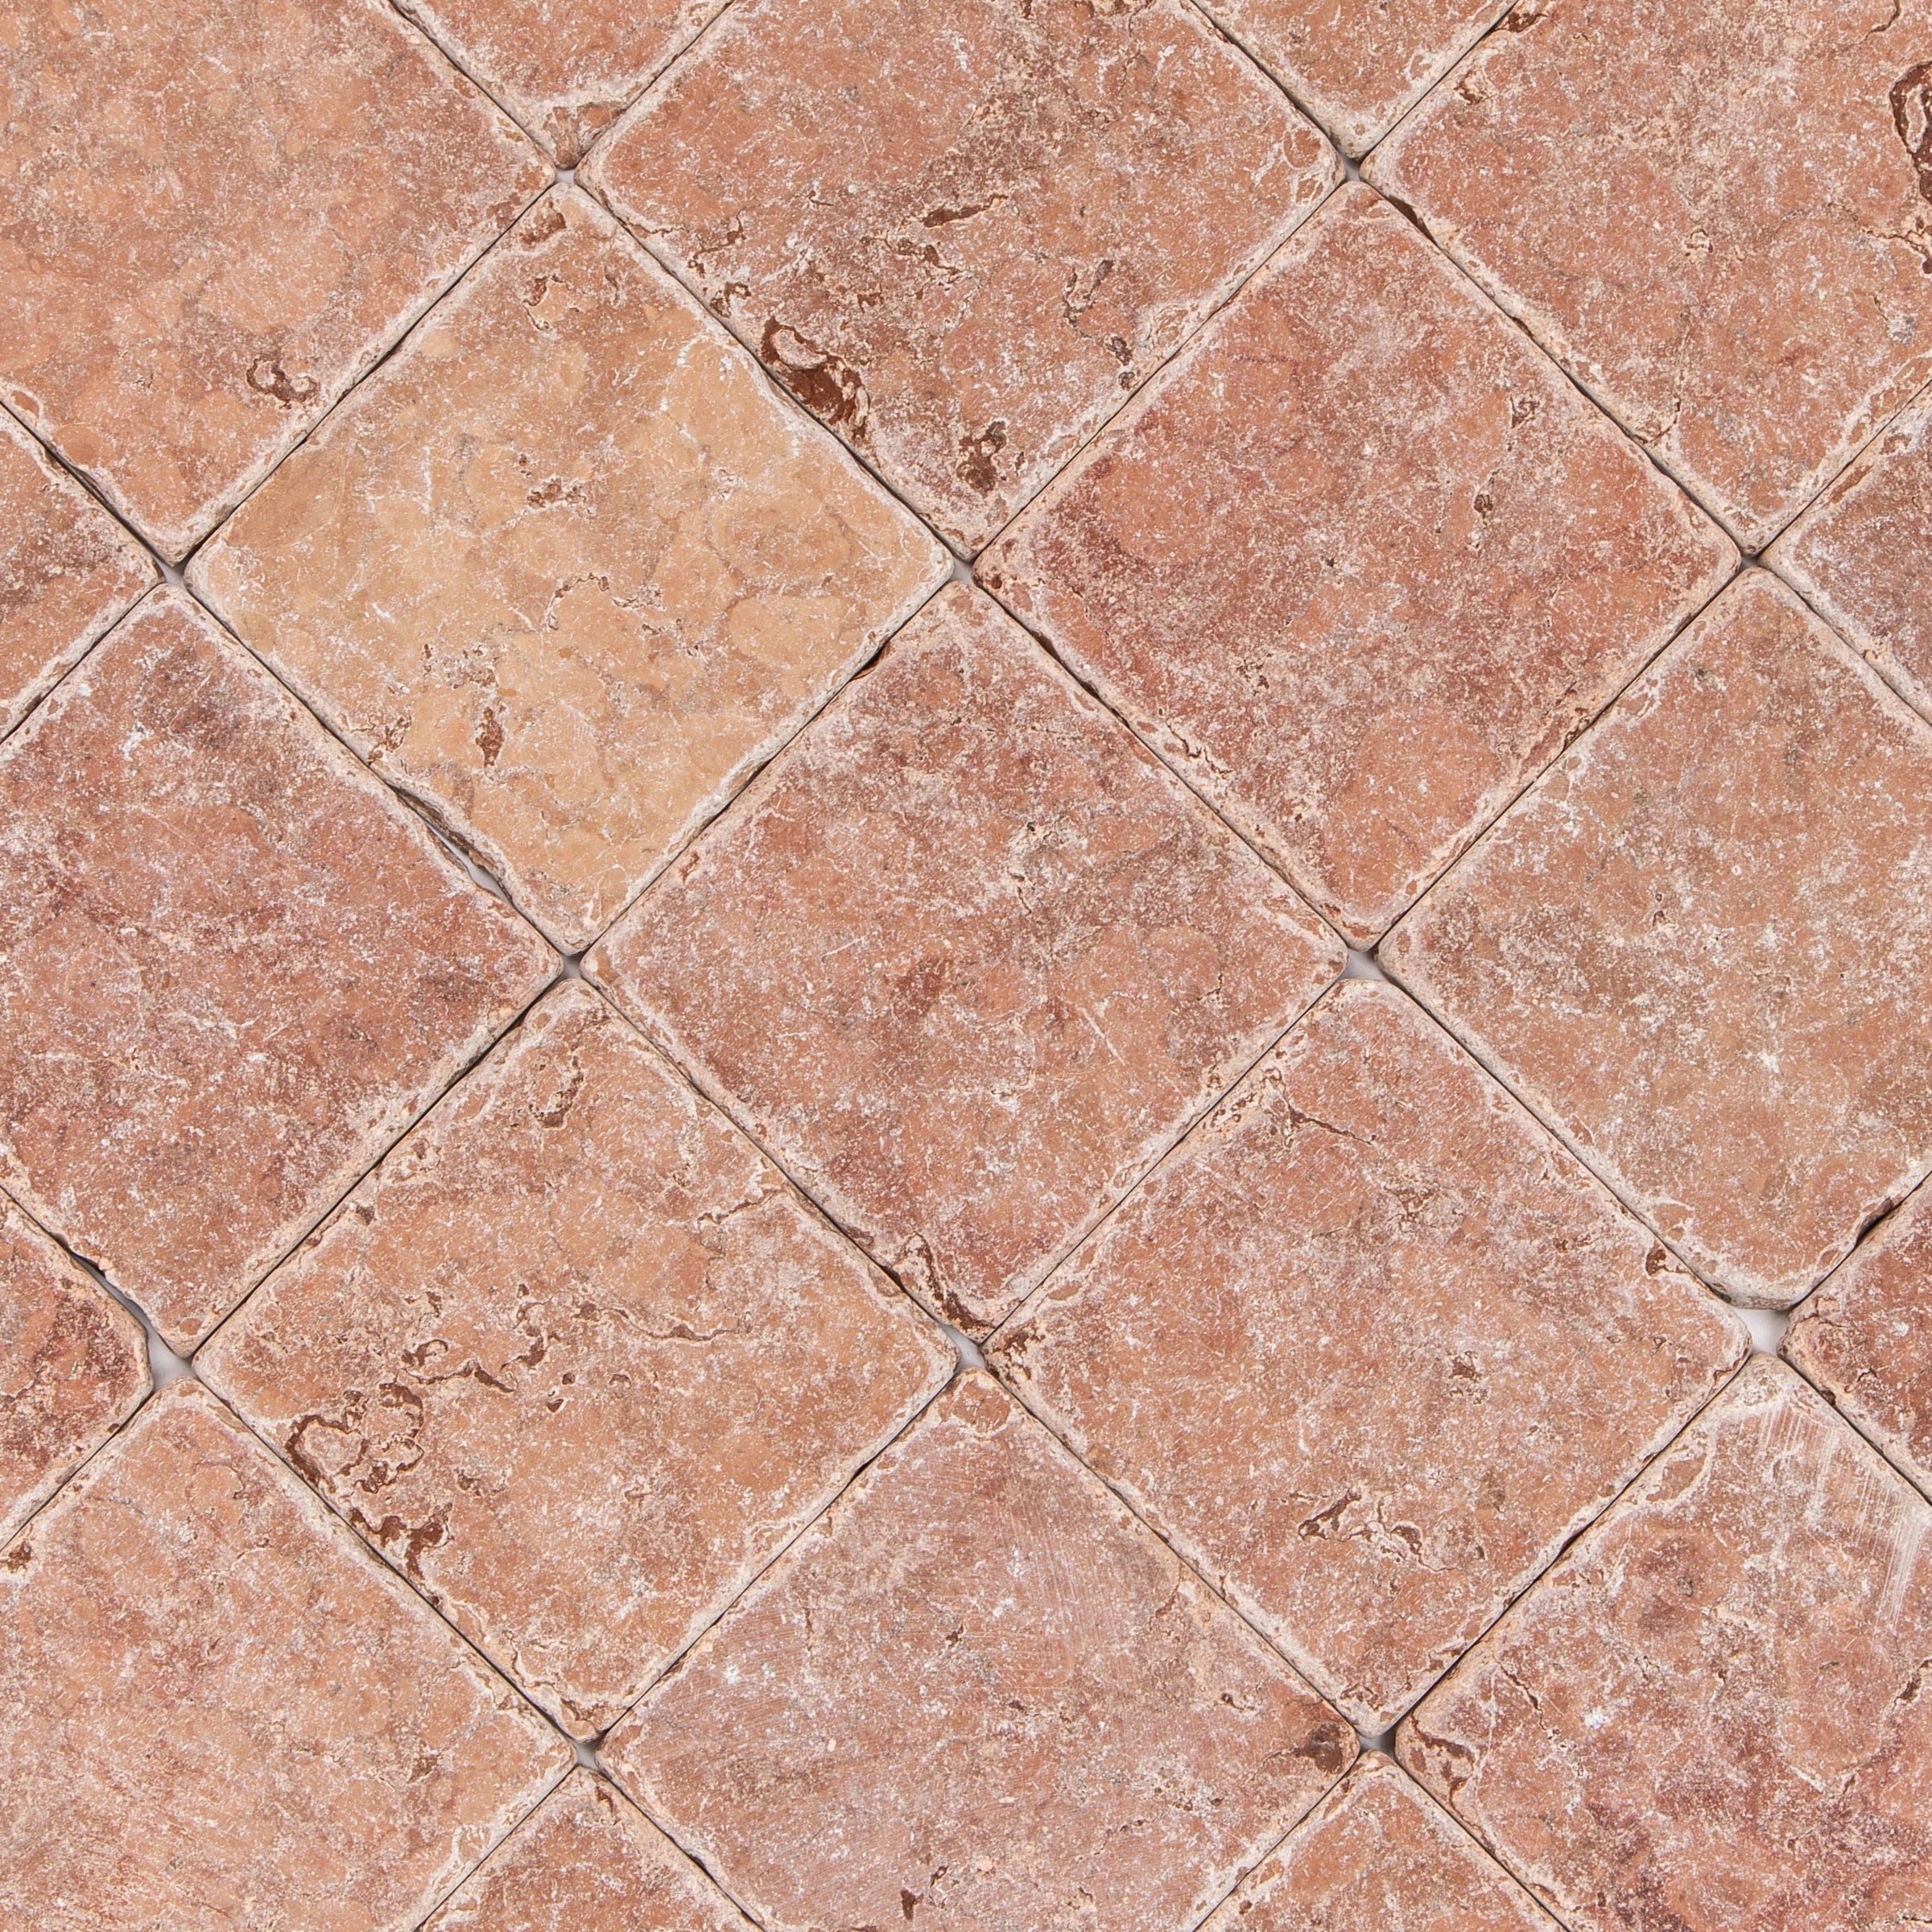
Rosso Verona Tumbled Marble Tile
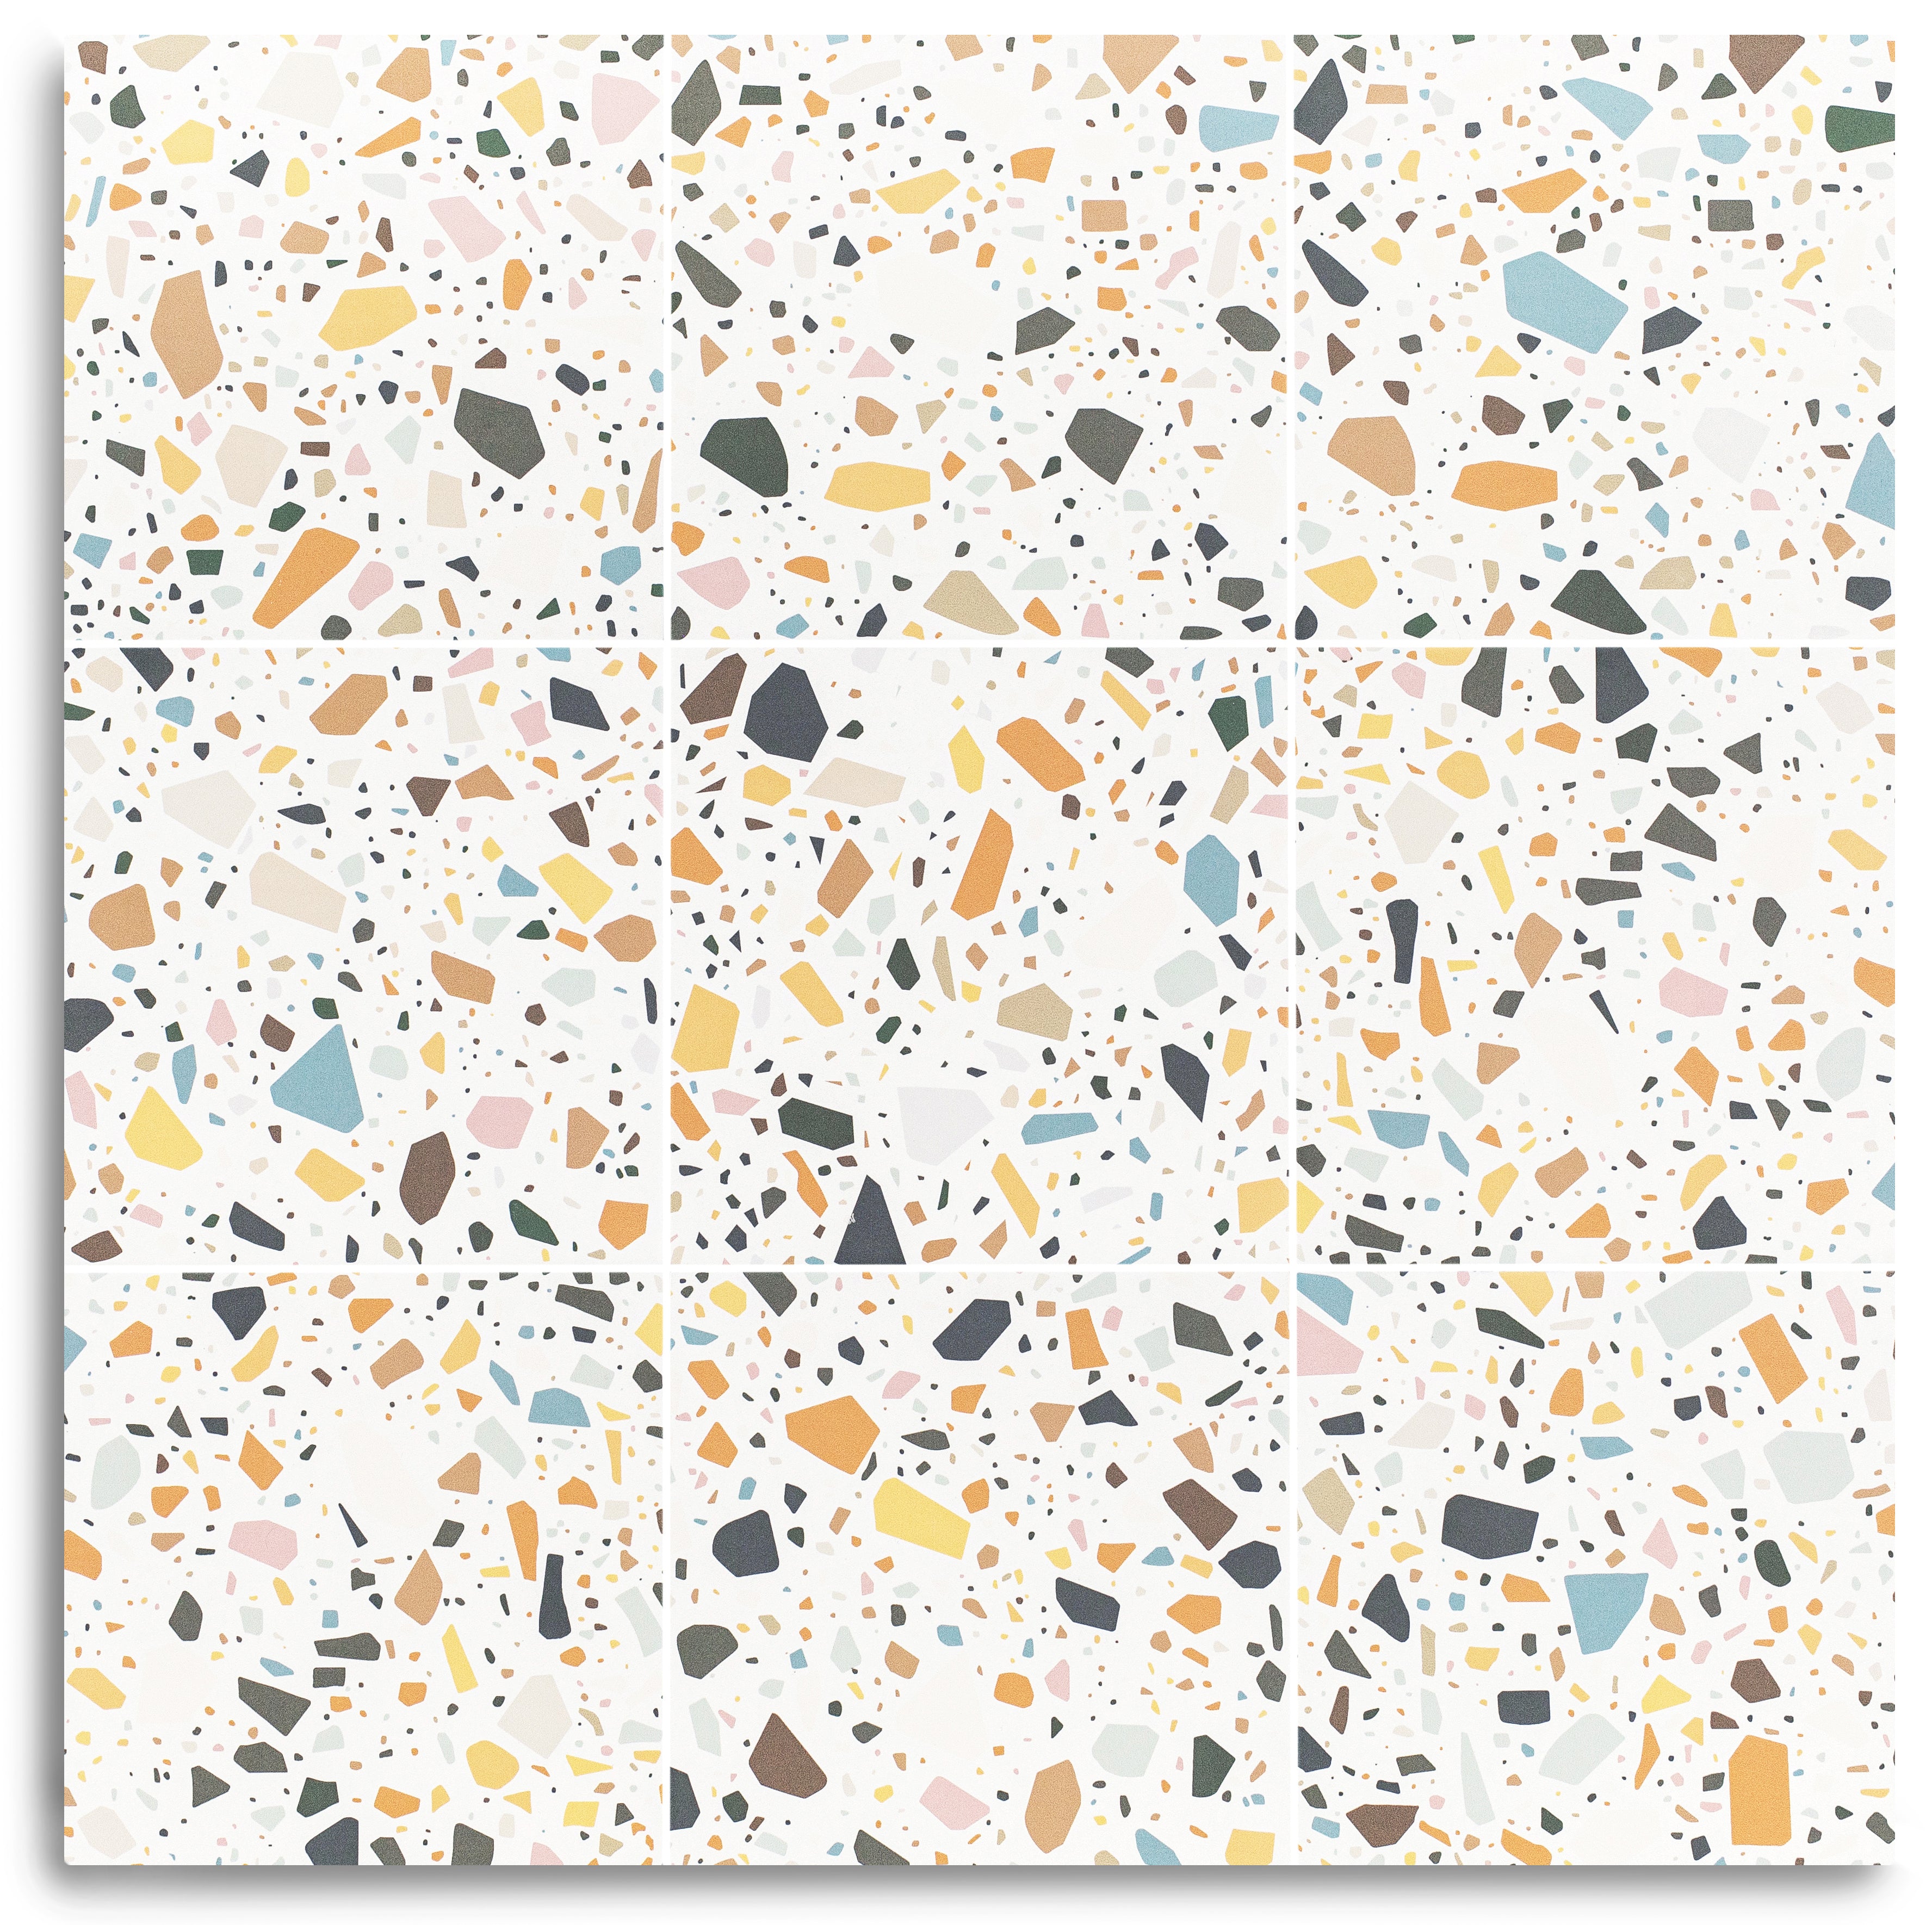

White Multi-Color Matte Porcelain Tile


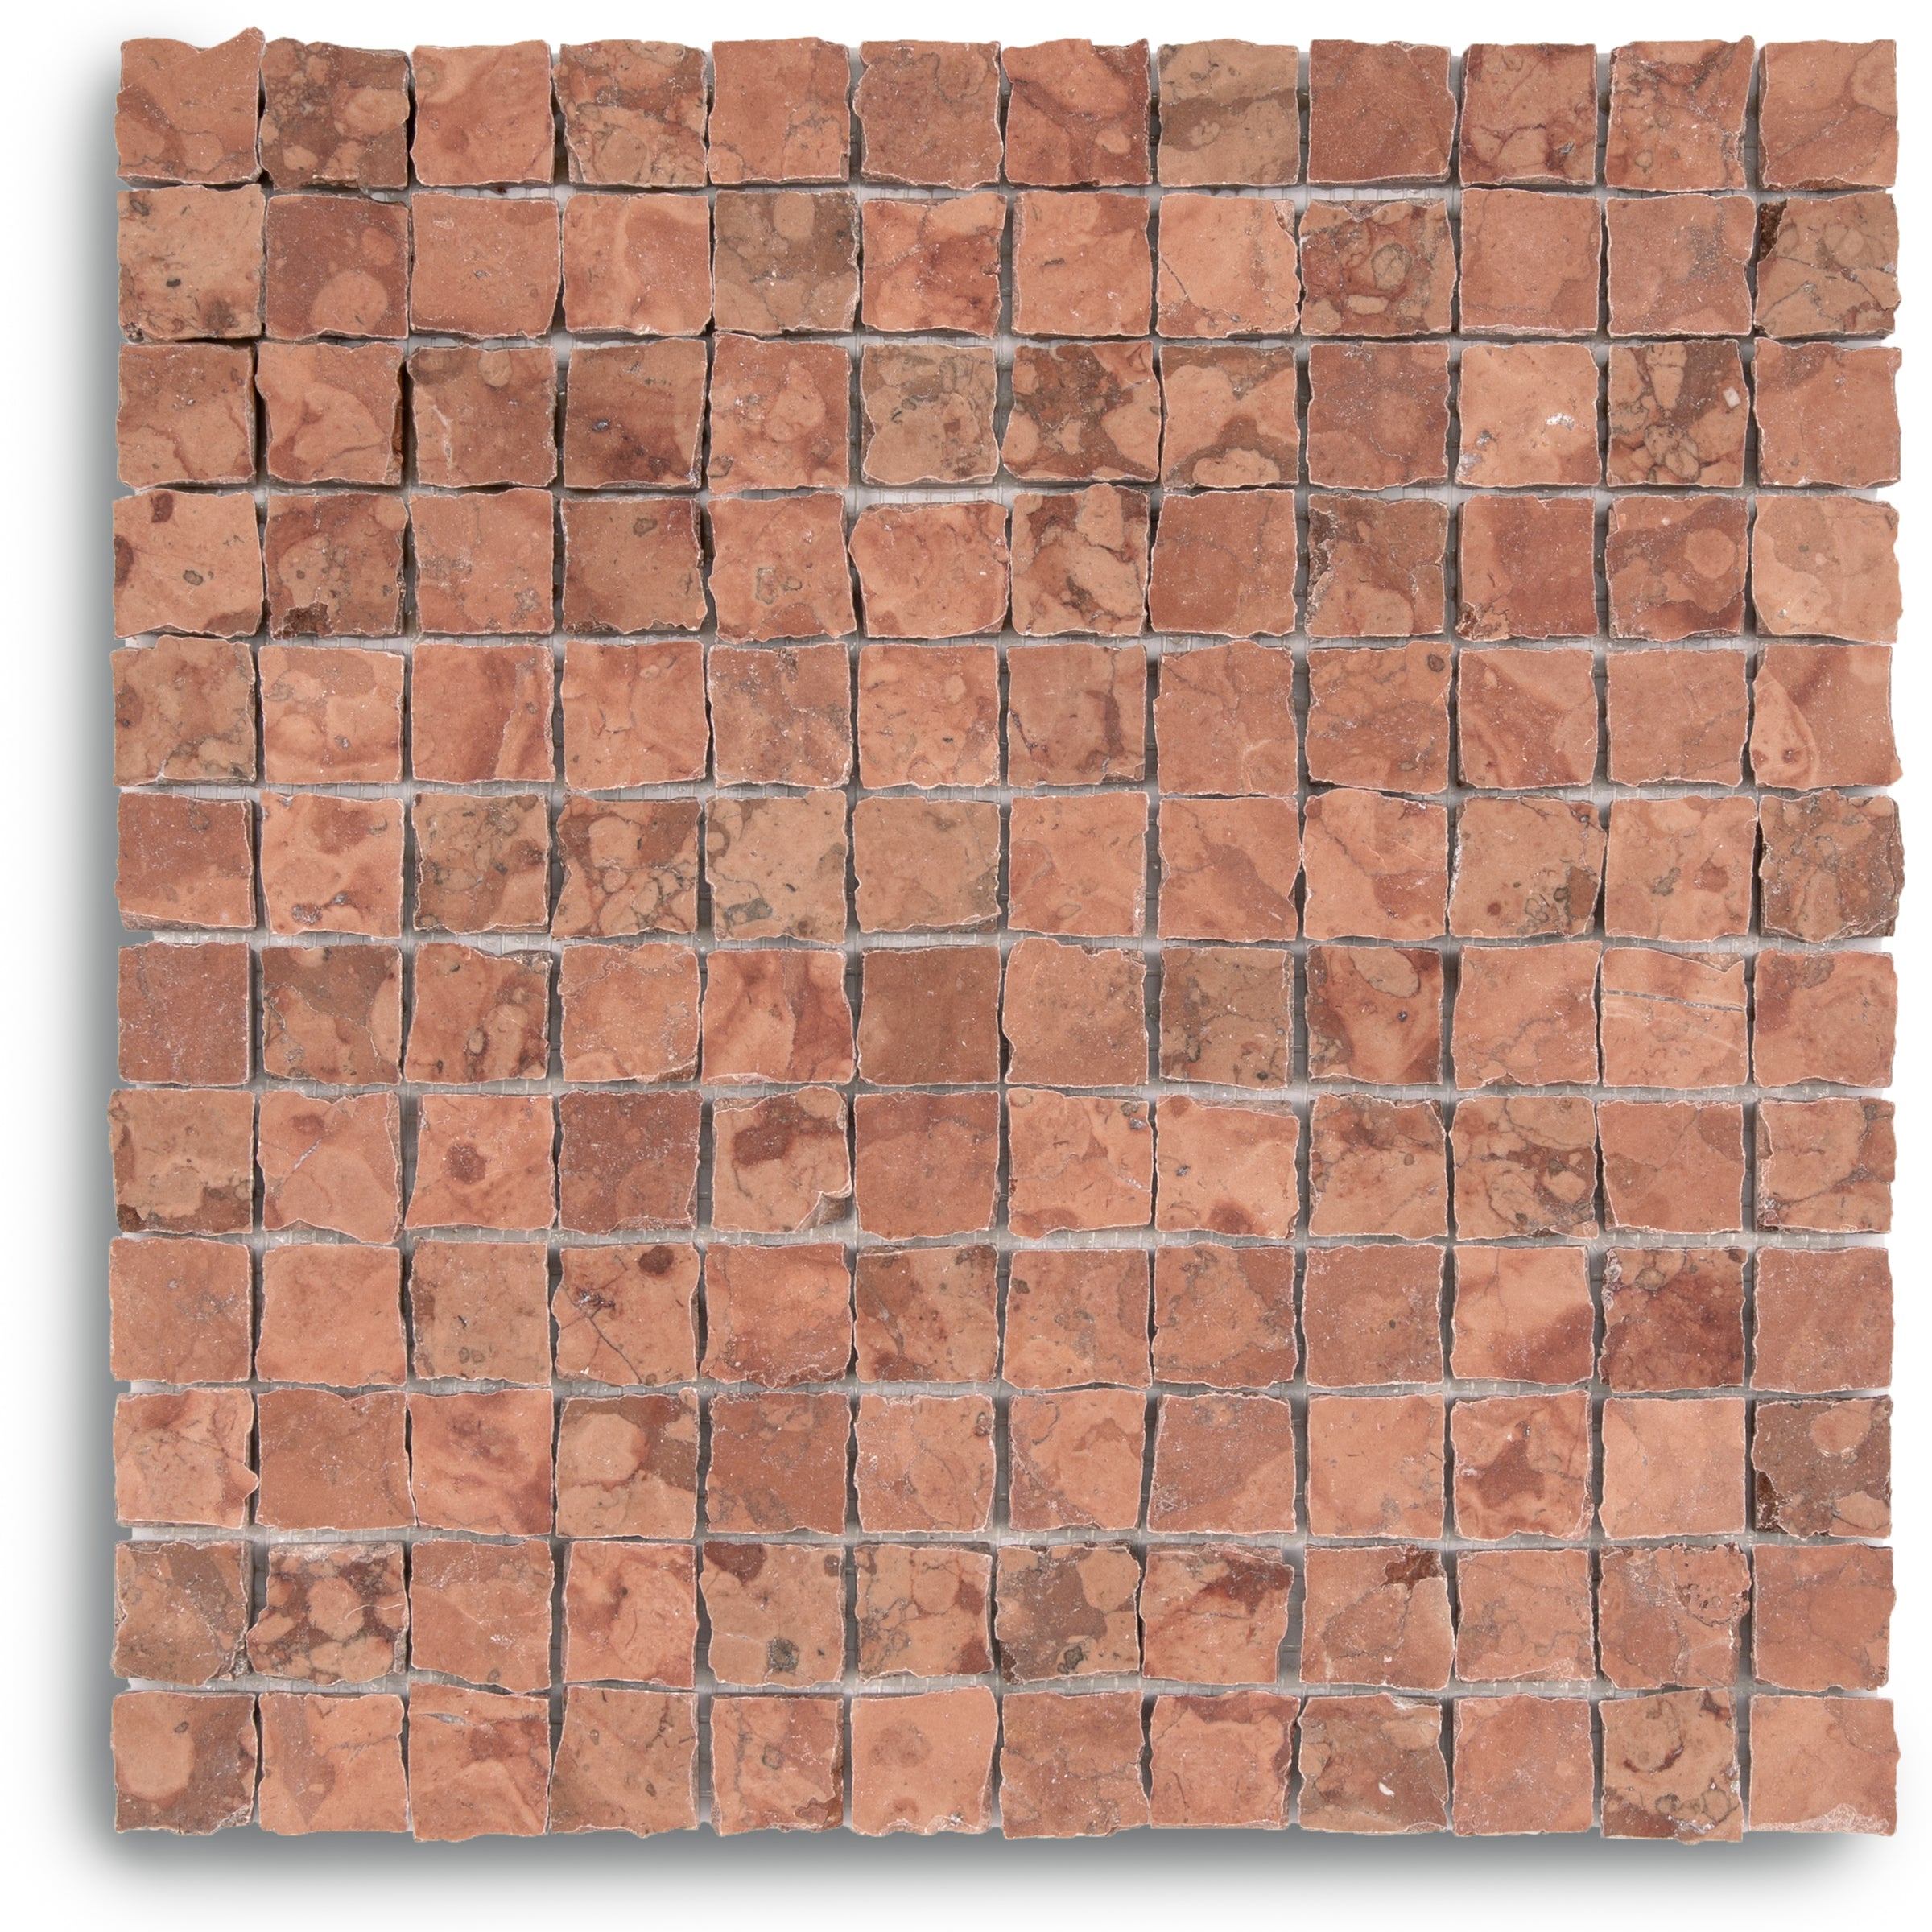
Rosso Verona 1x1 Hand Chipped Marble Mosaic


Crimson 3x6 Glossy Ceramic Tile


Cream 2x2 Forma Porcelain Mosaic


Cotto 2x2 Forma Porcelain Mosaic


Unglazed & White Octagon Zellige Mosaic


Black Multi-Color Matte Porcelain Tile

Star & Cross Classic Terracotta Tile


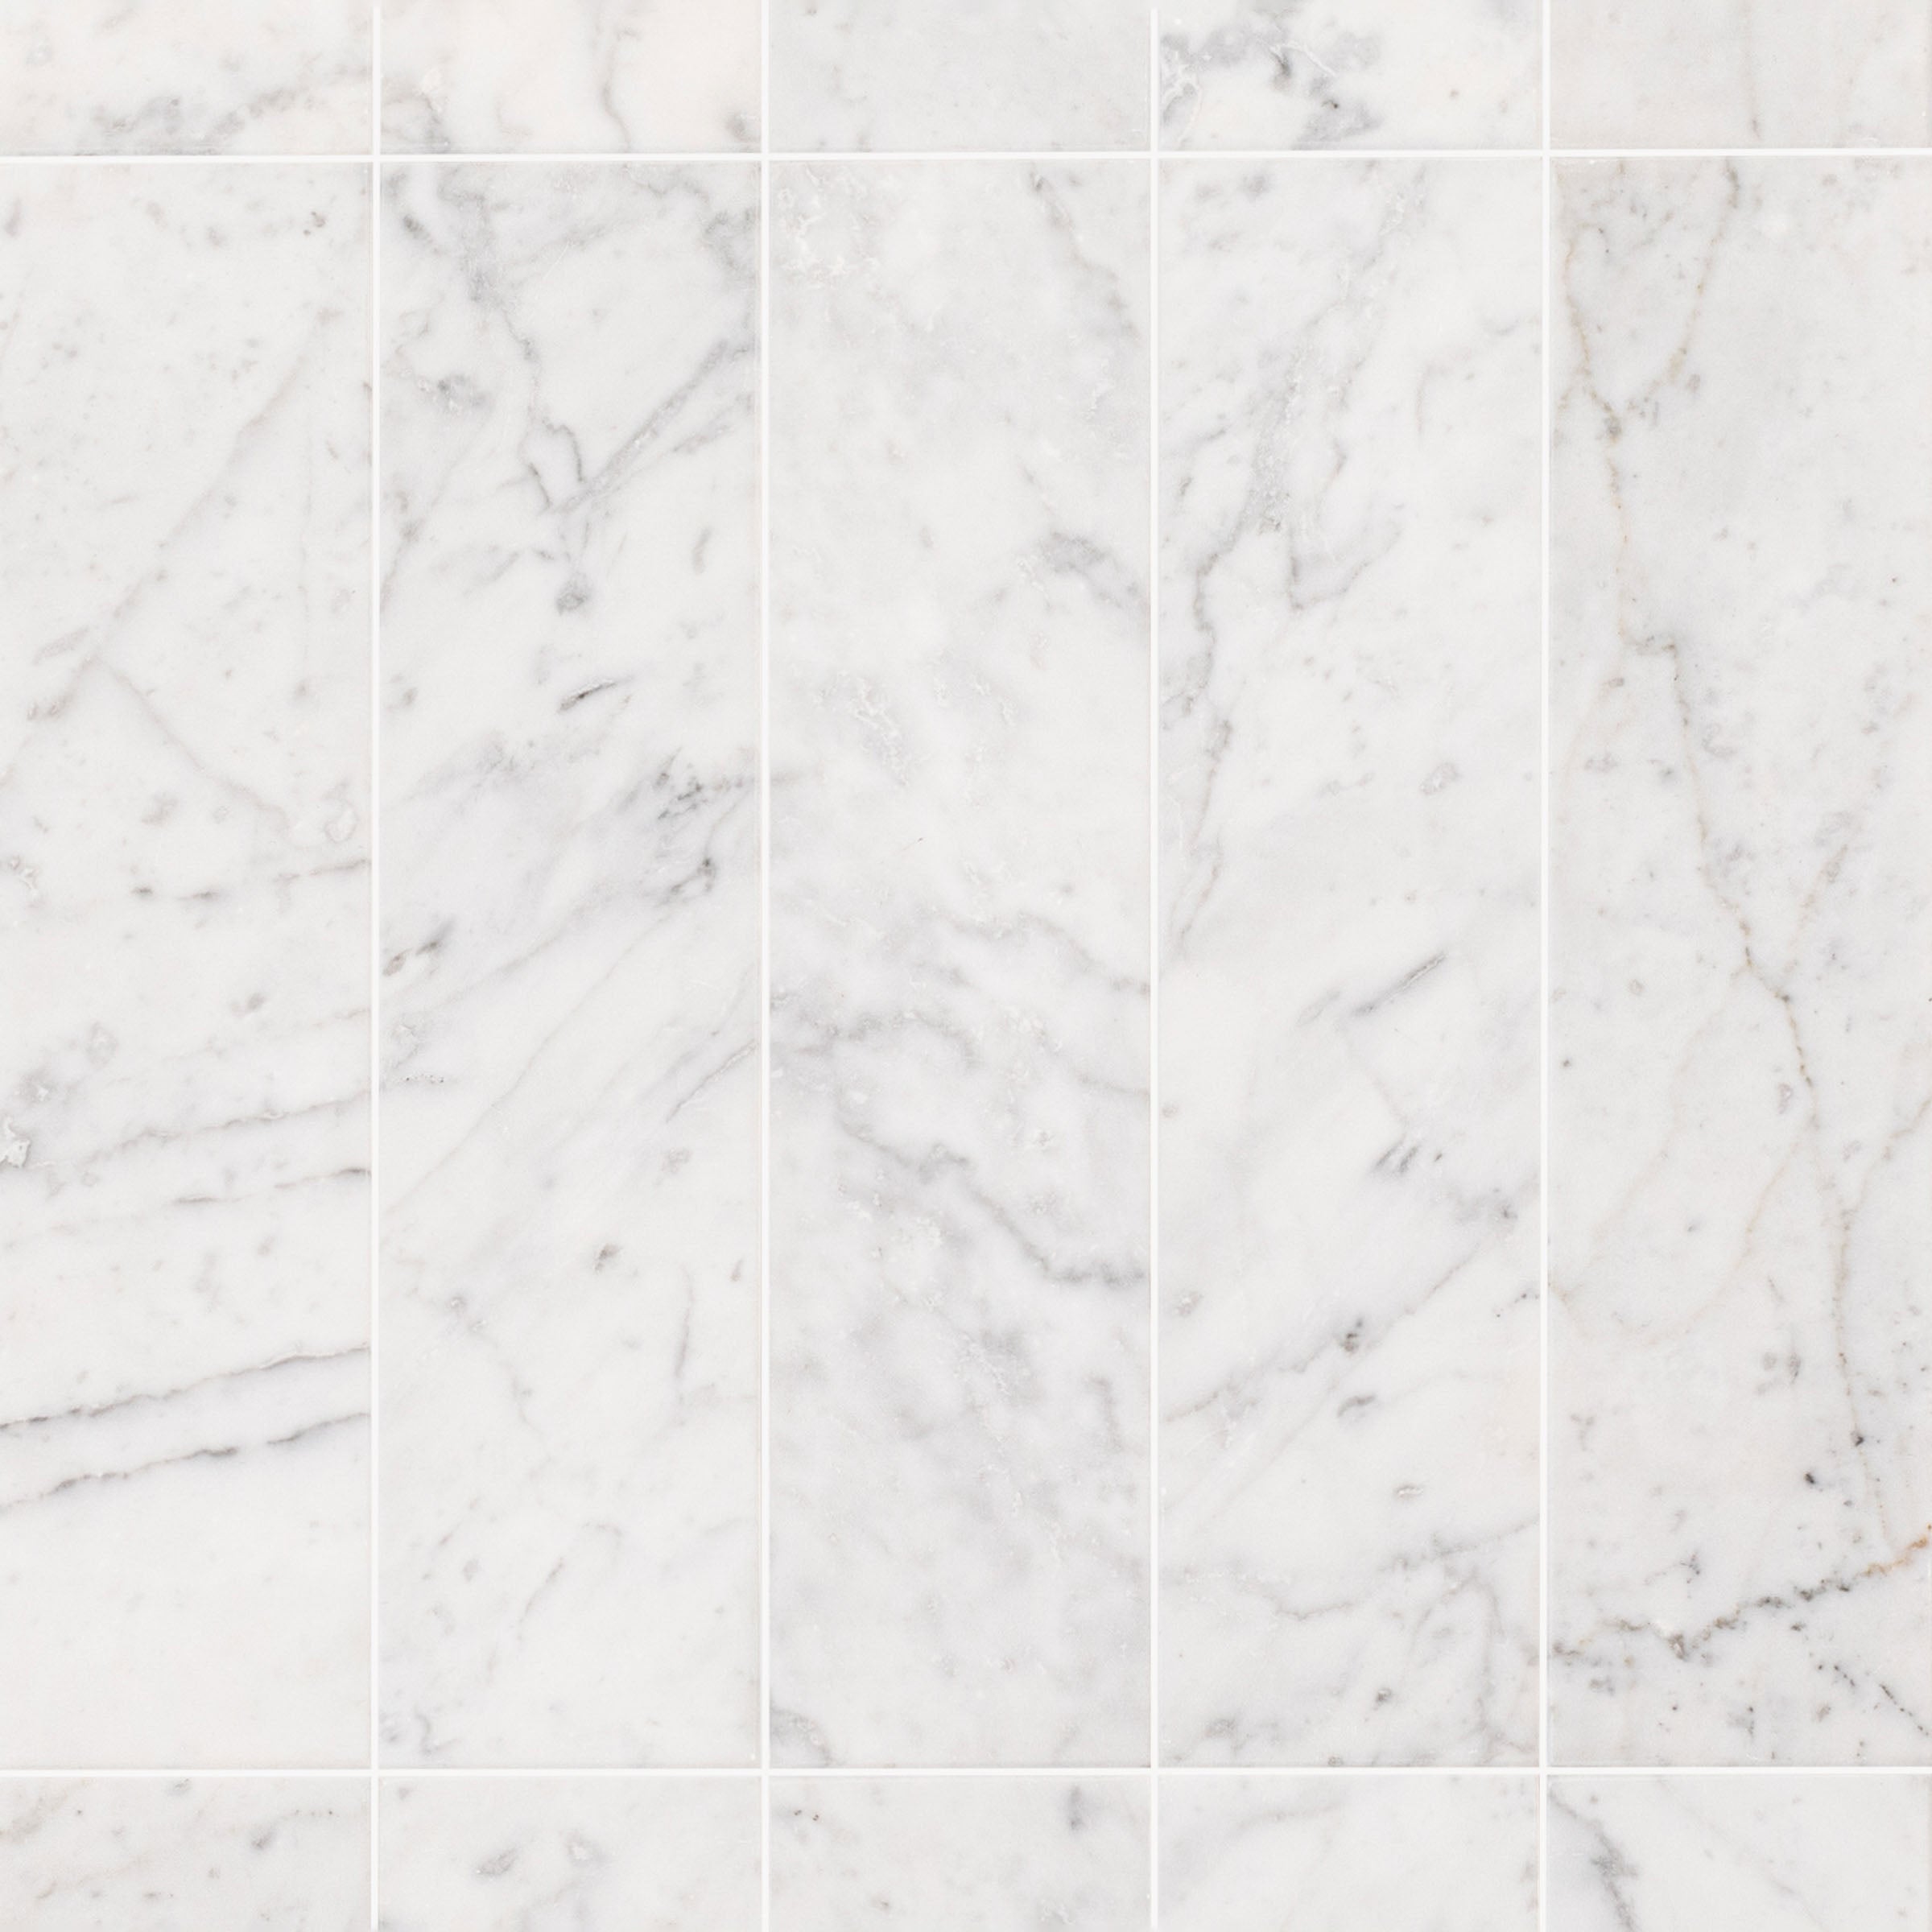
Carrara Running Bond Marble Mosaic
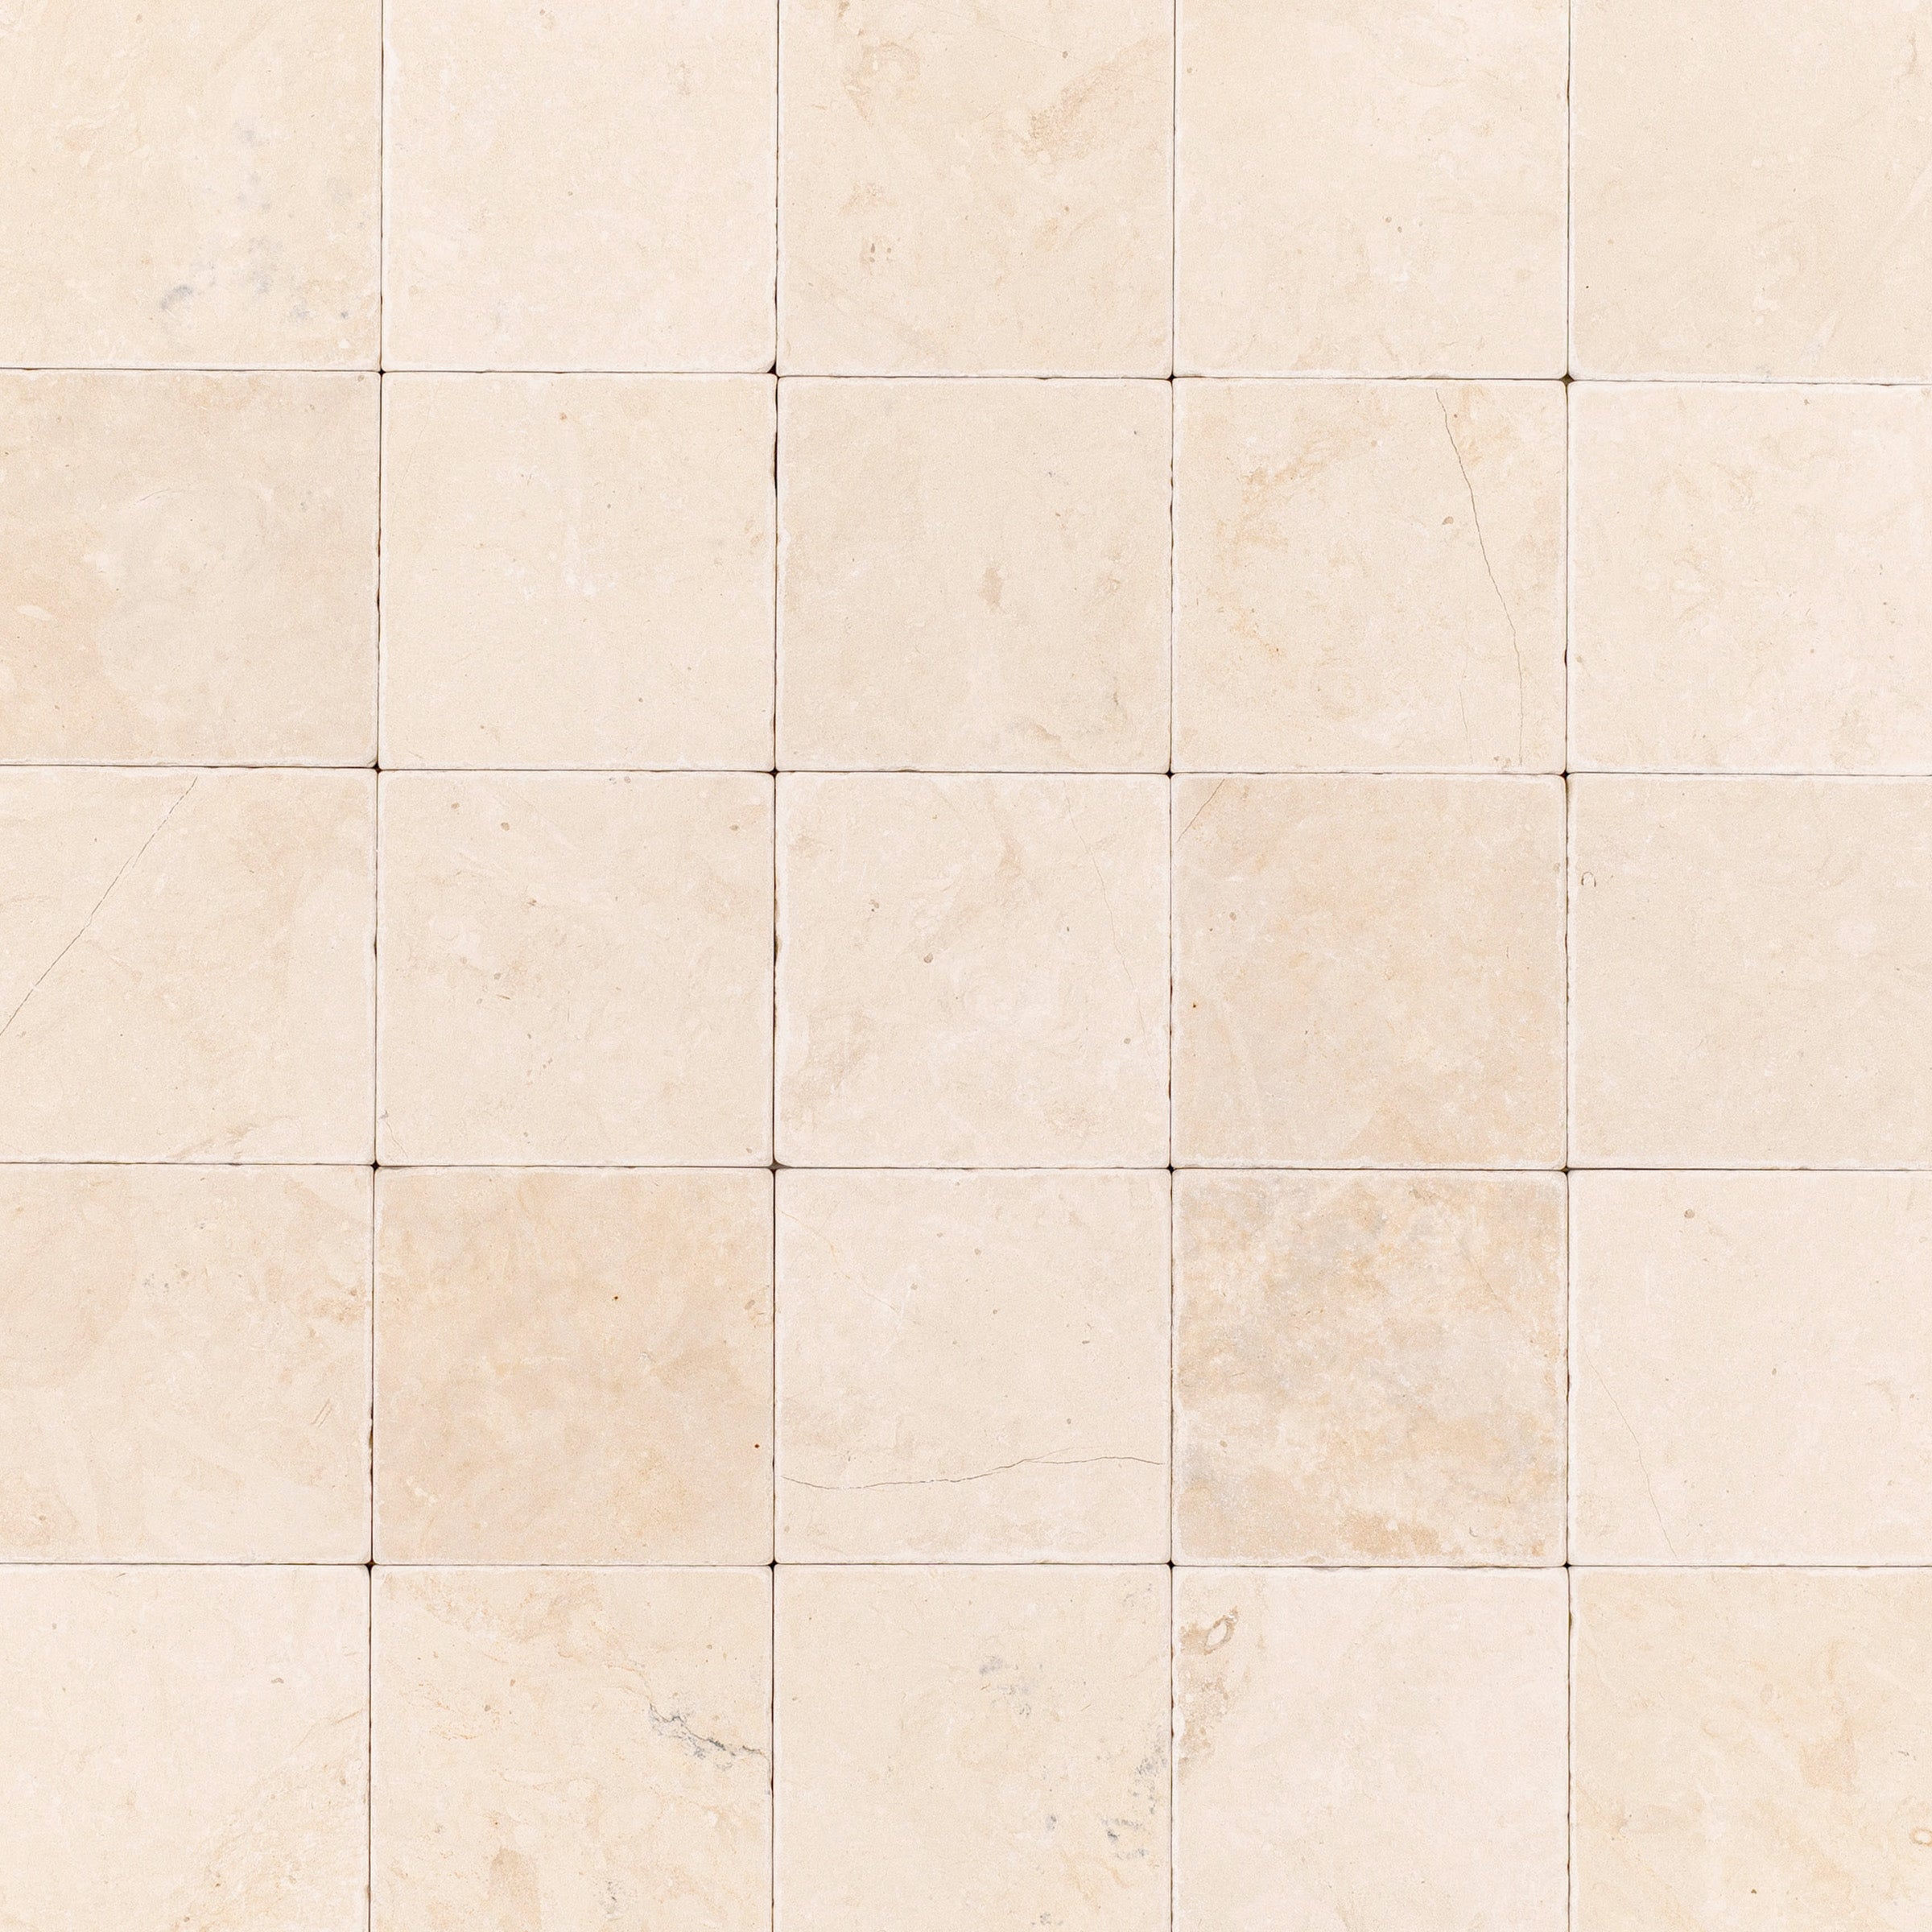
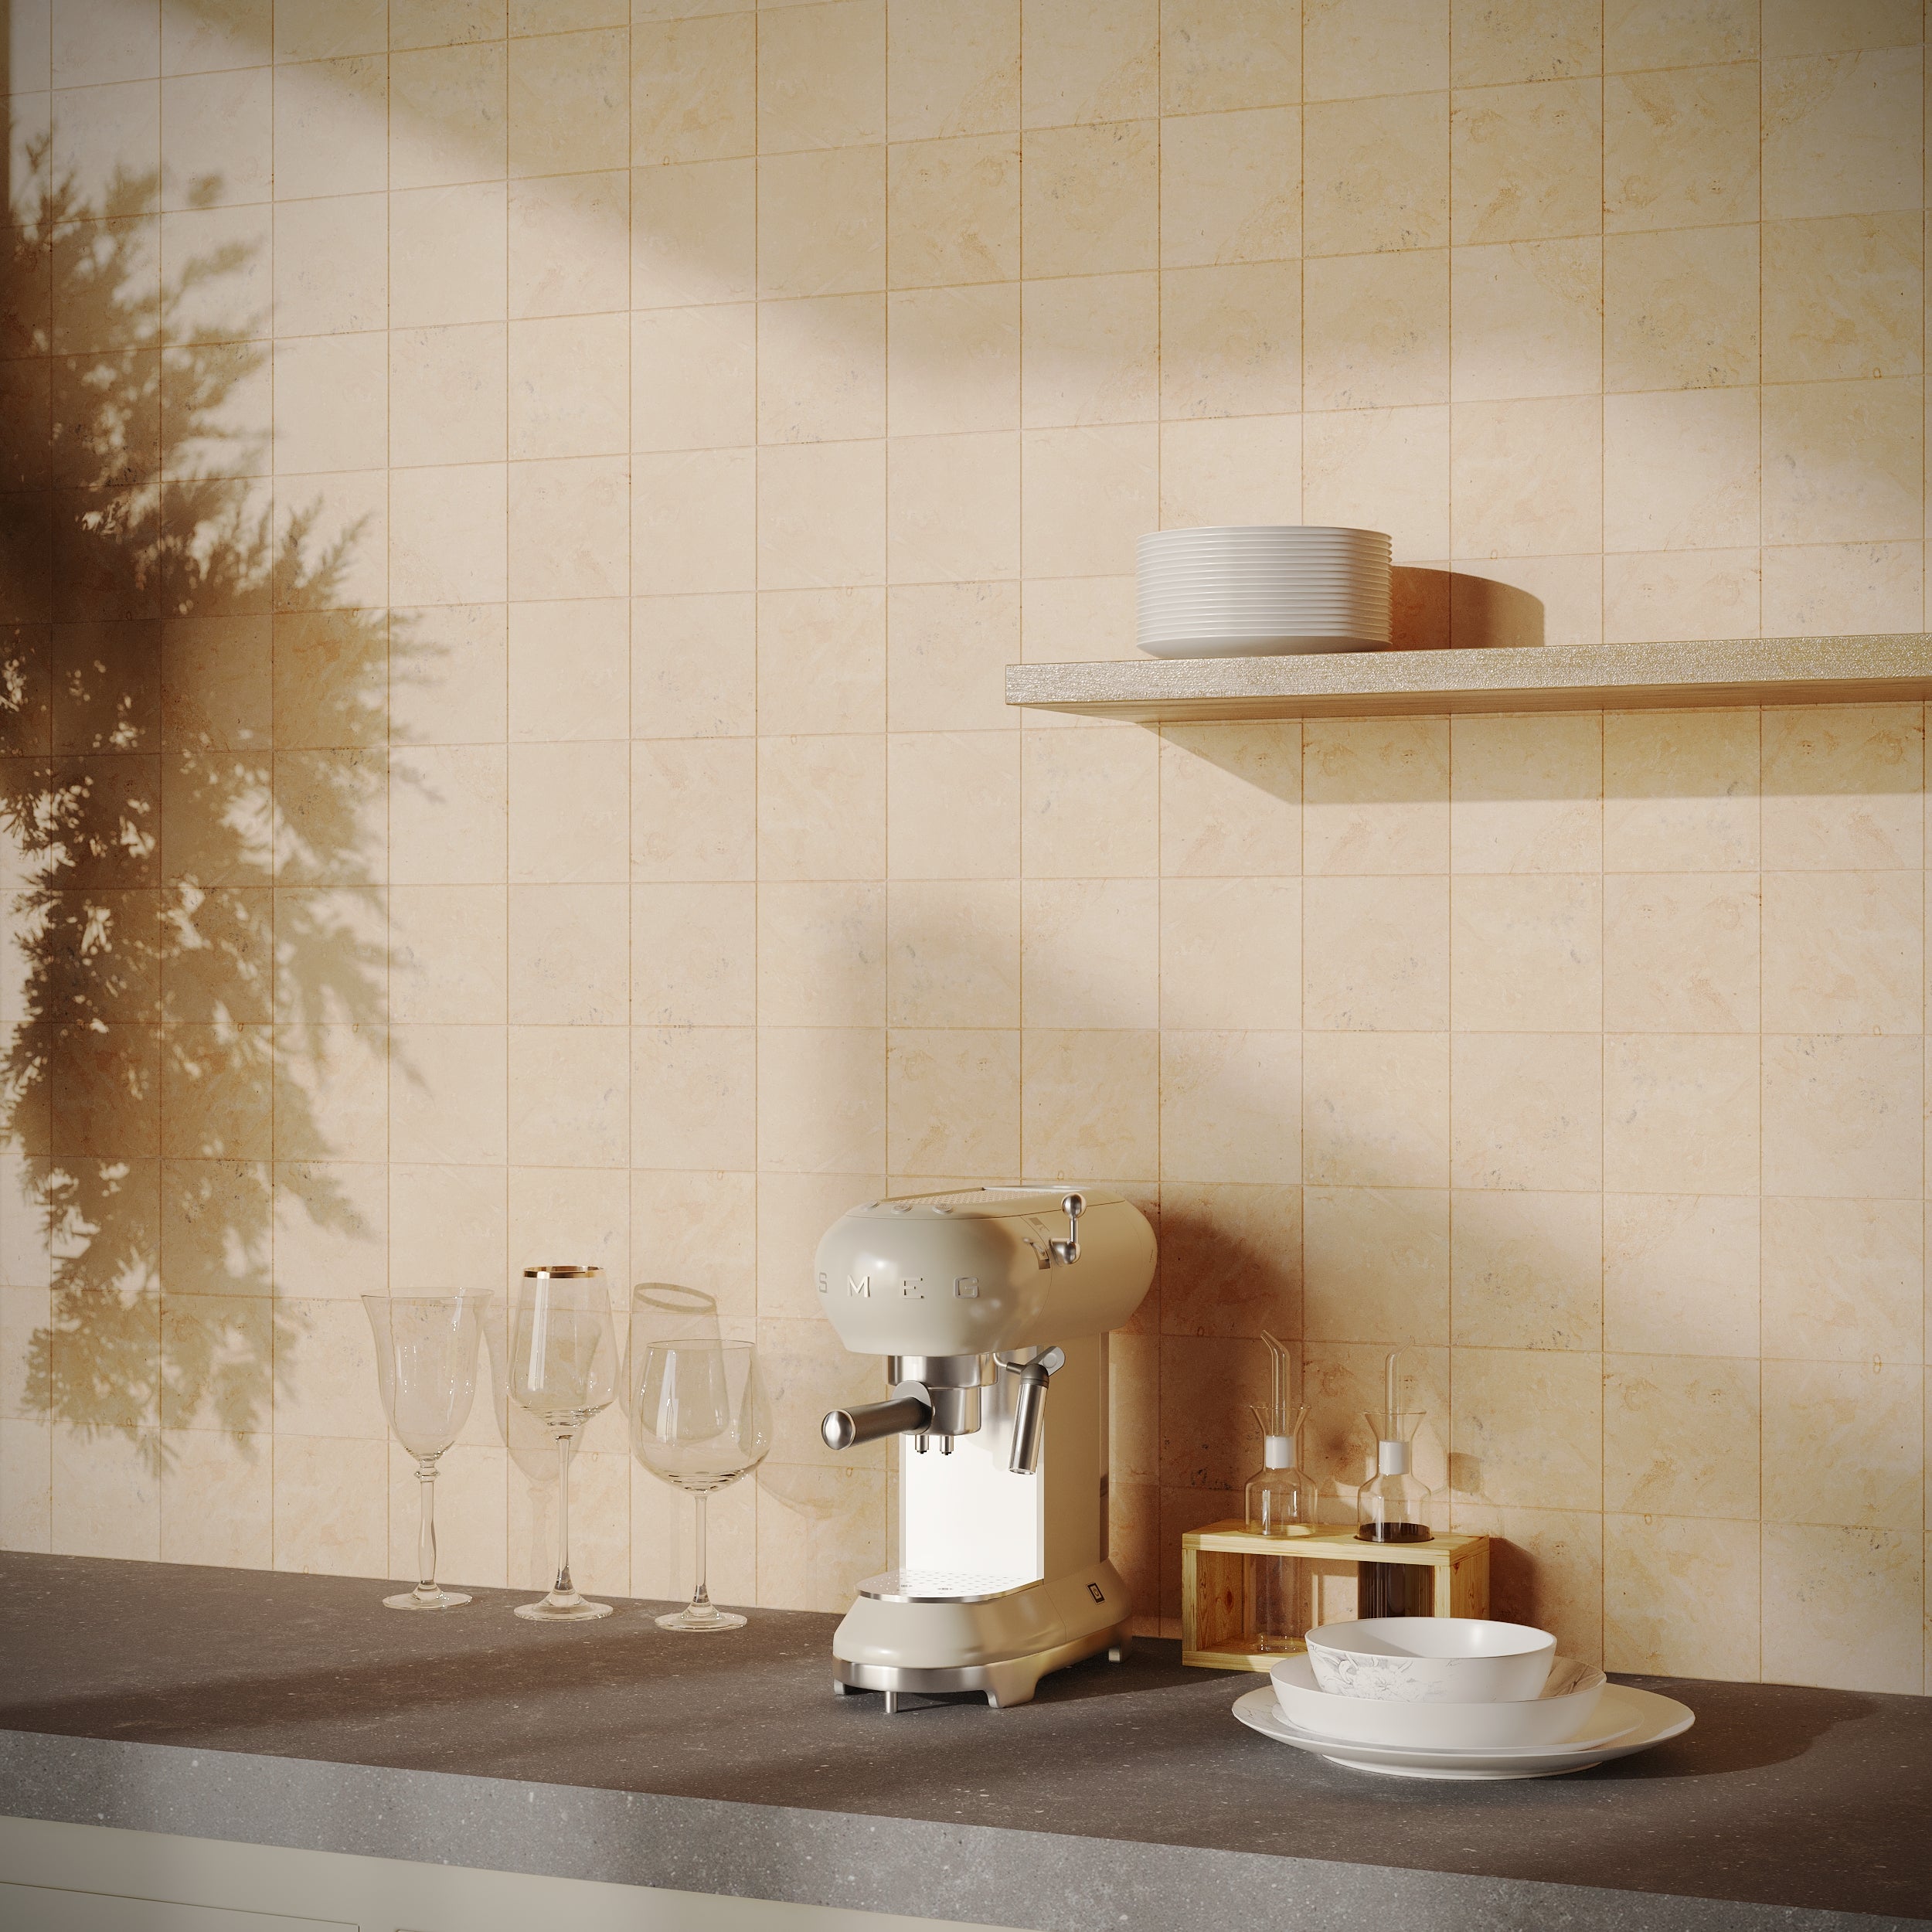
Desert Tea Tumbled Marble Tile


Natura Terracotta Look Matte Porcelain Tile


Crema Terracotta Look Matte Porcelain Tile


White & Ecru Octagon Zellige Mosaic
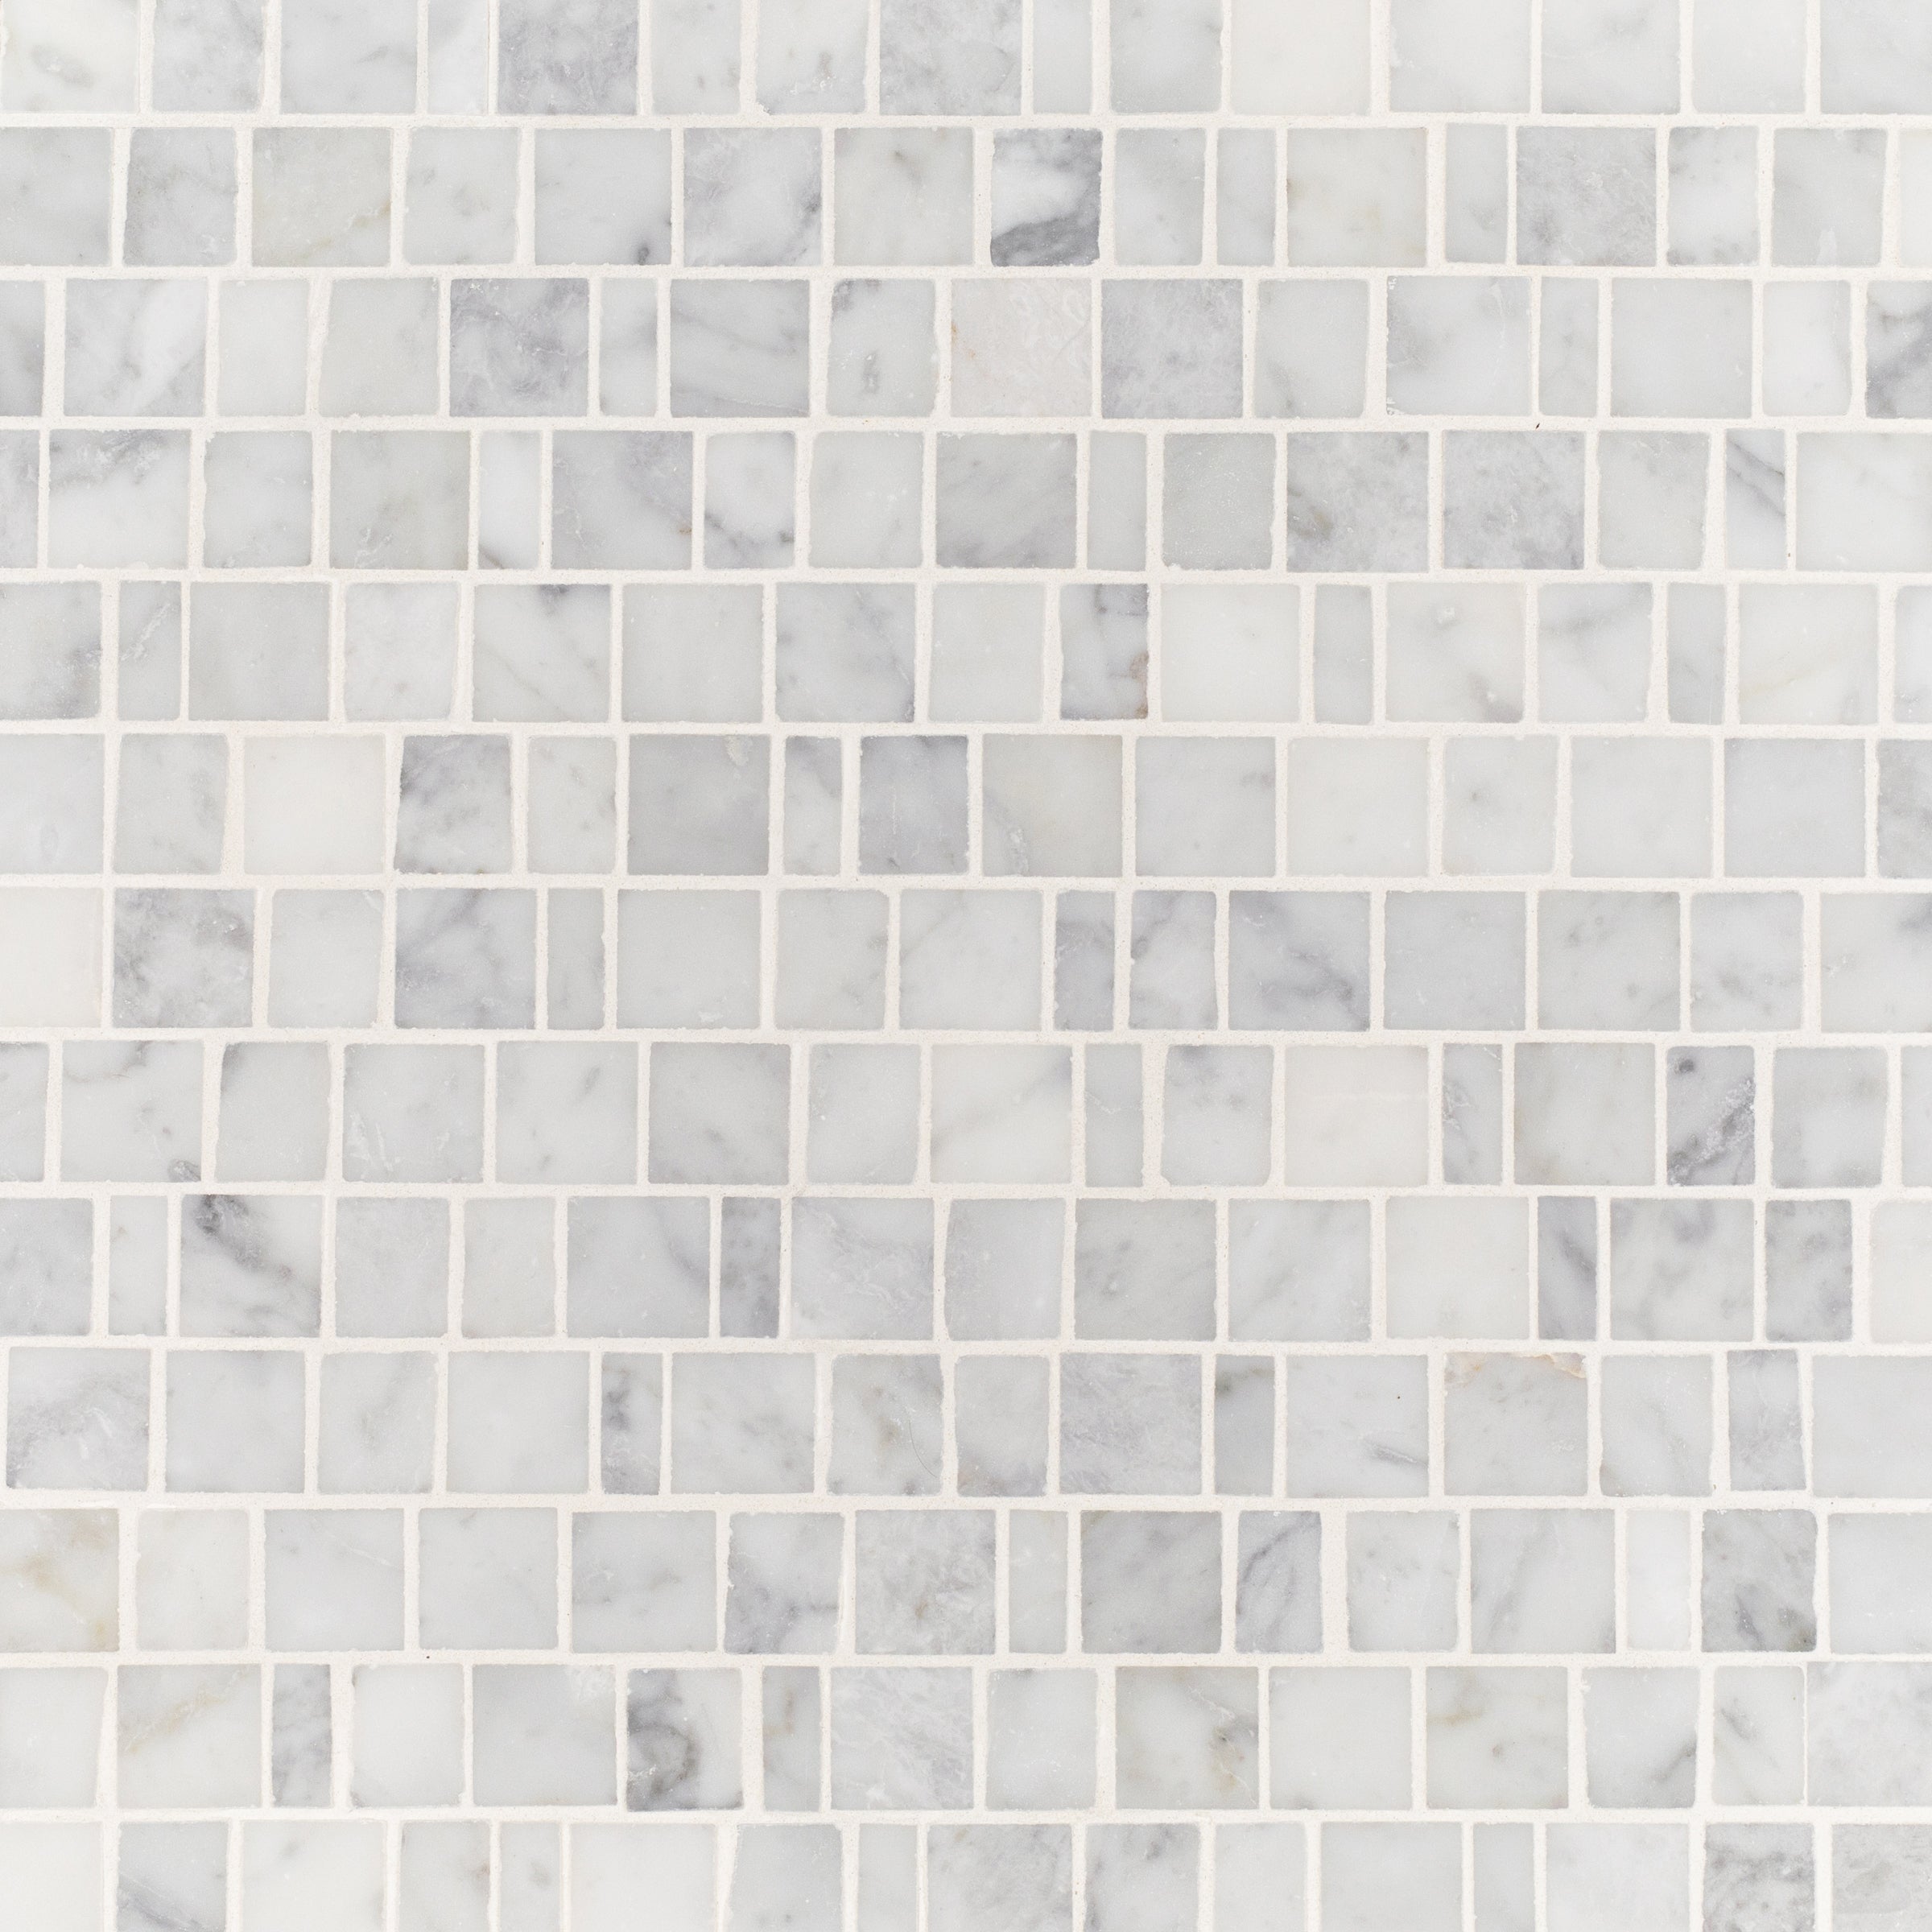
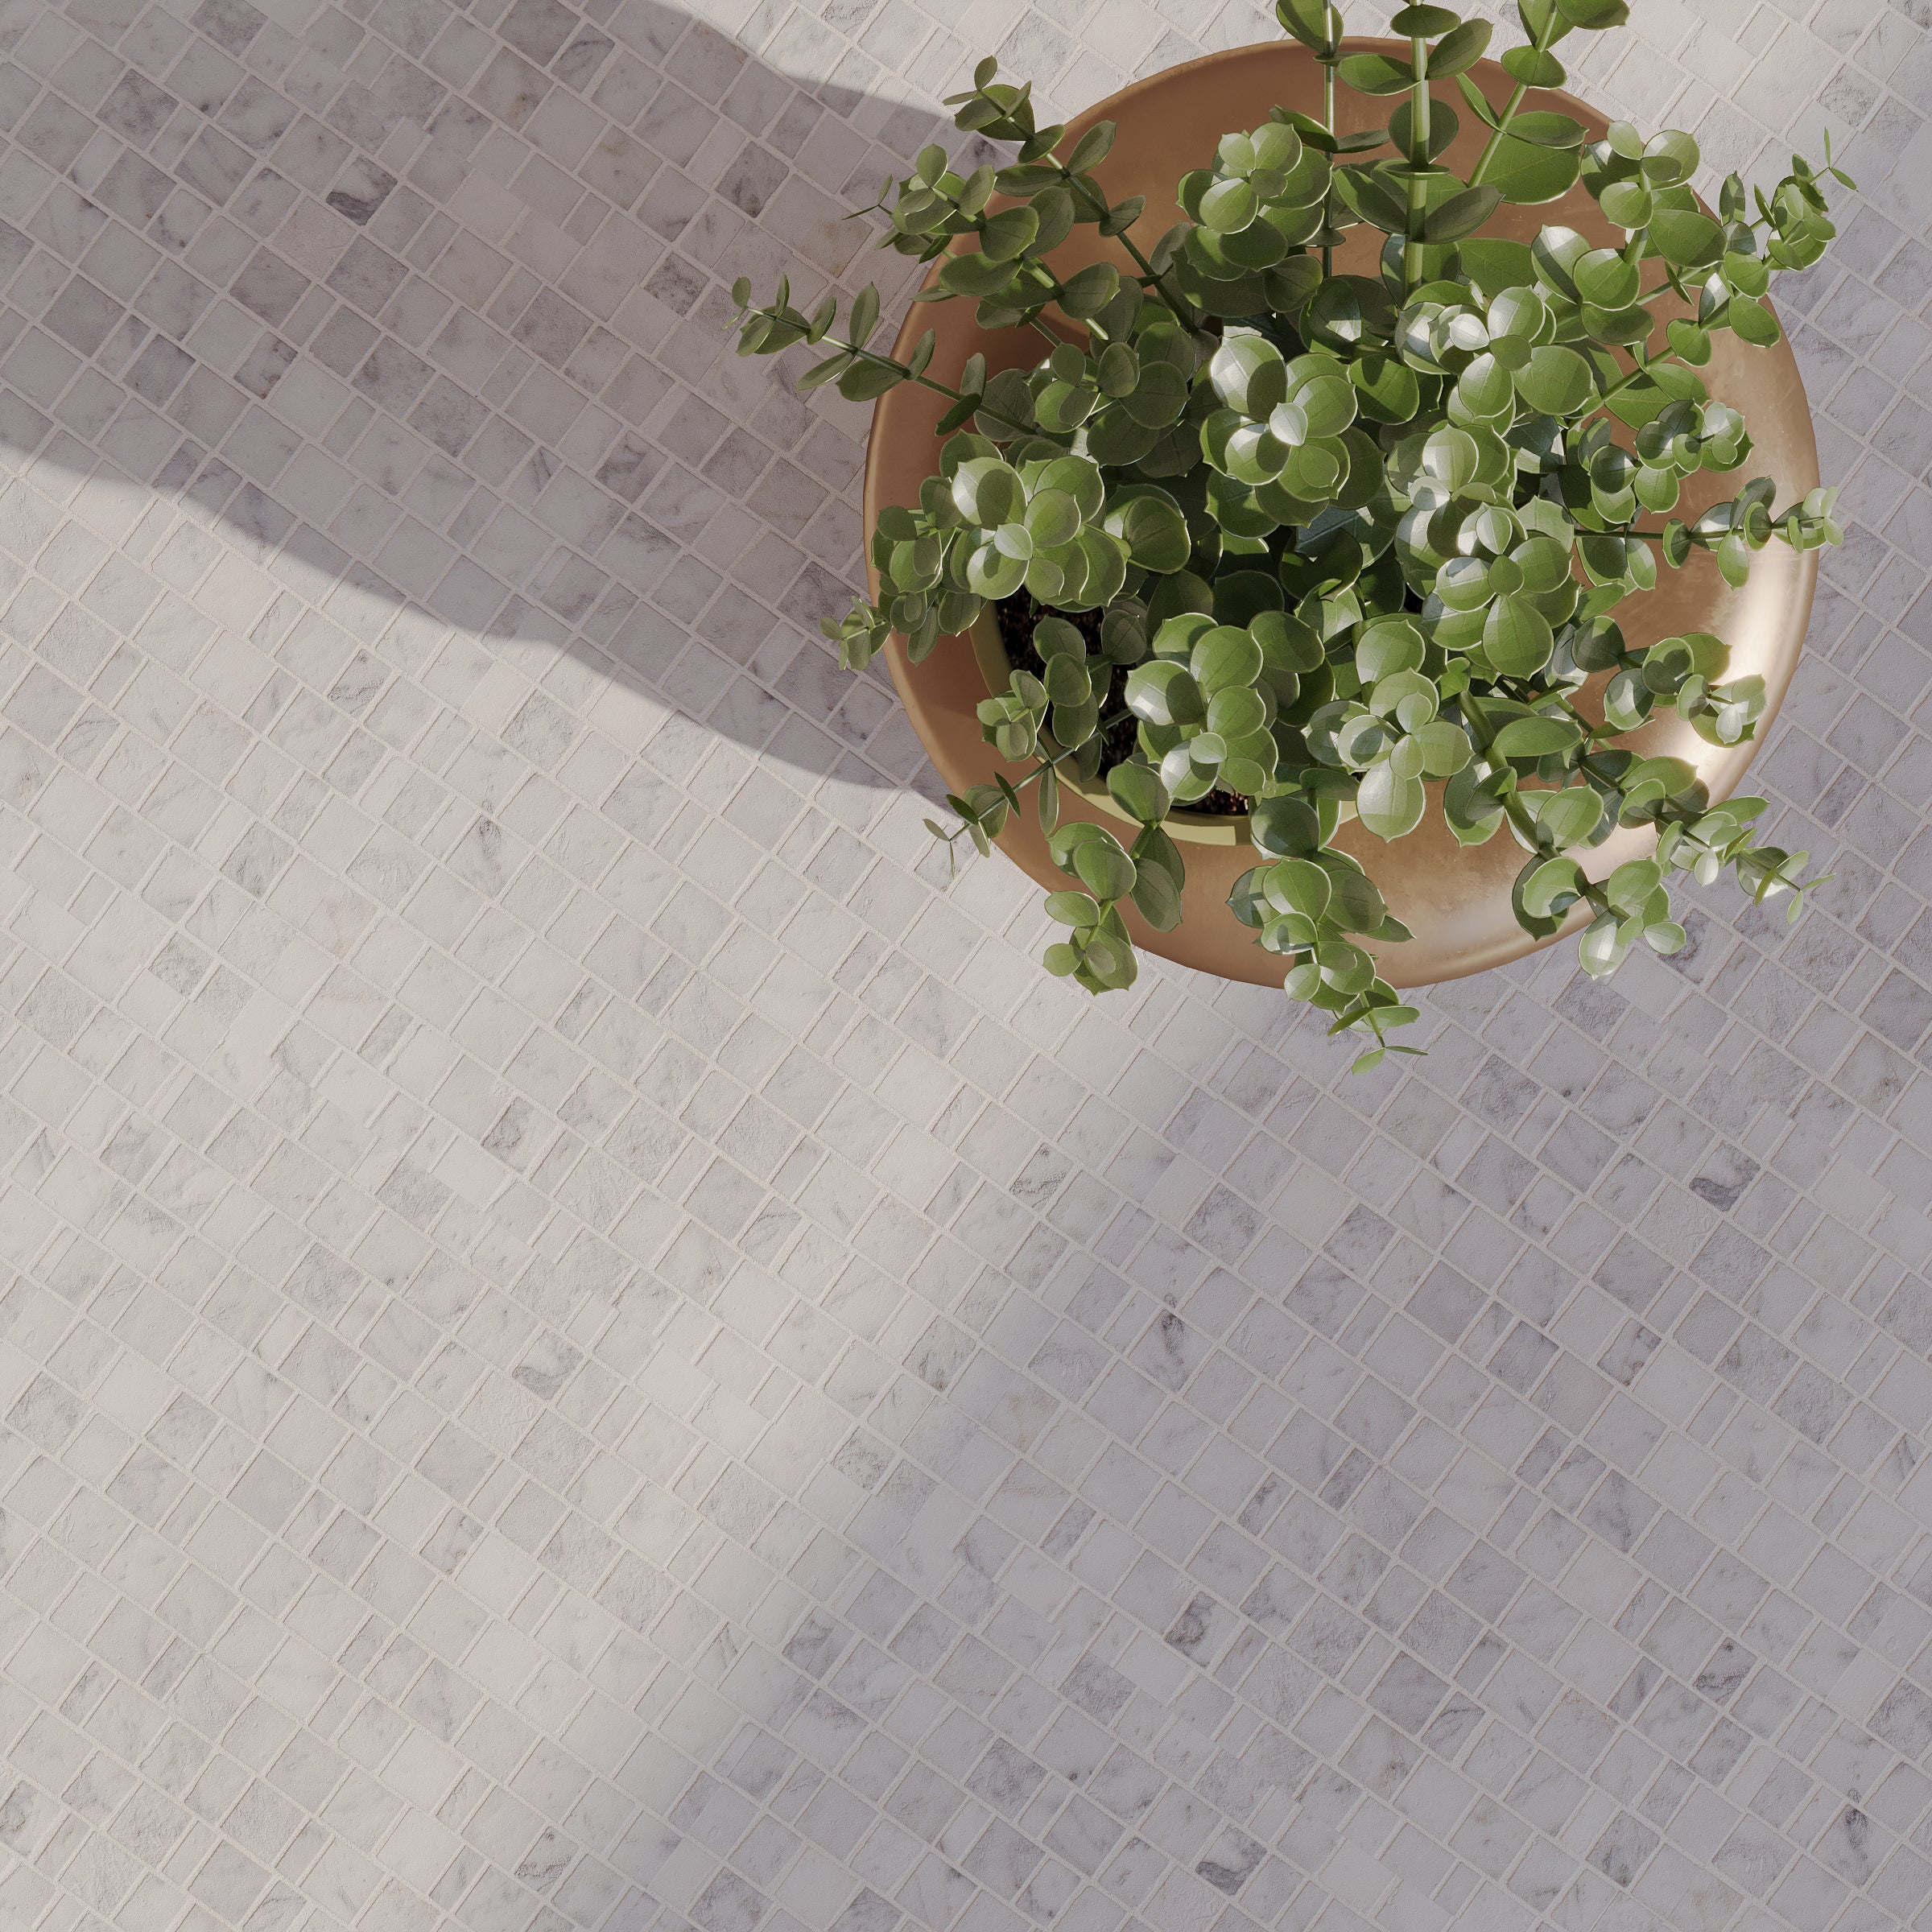
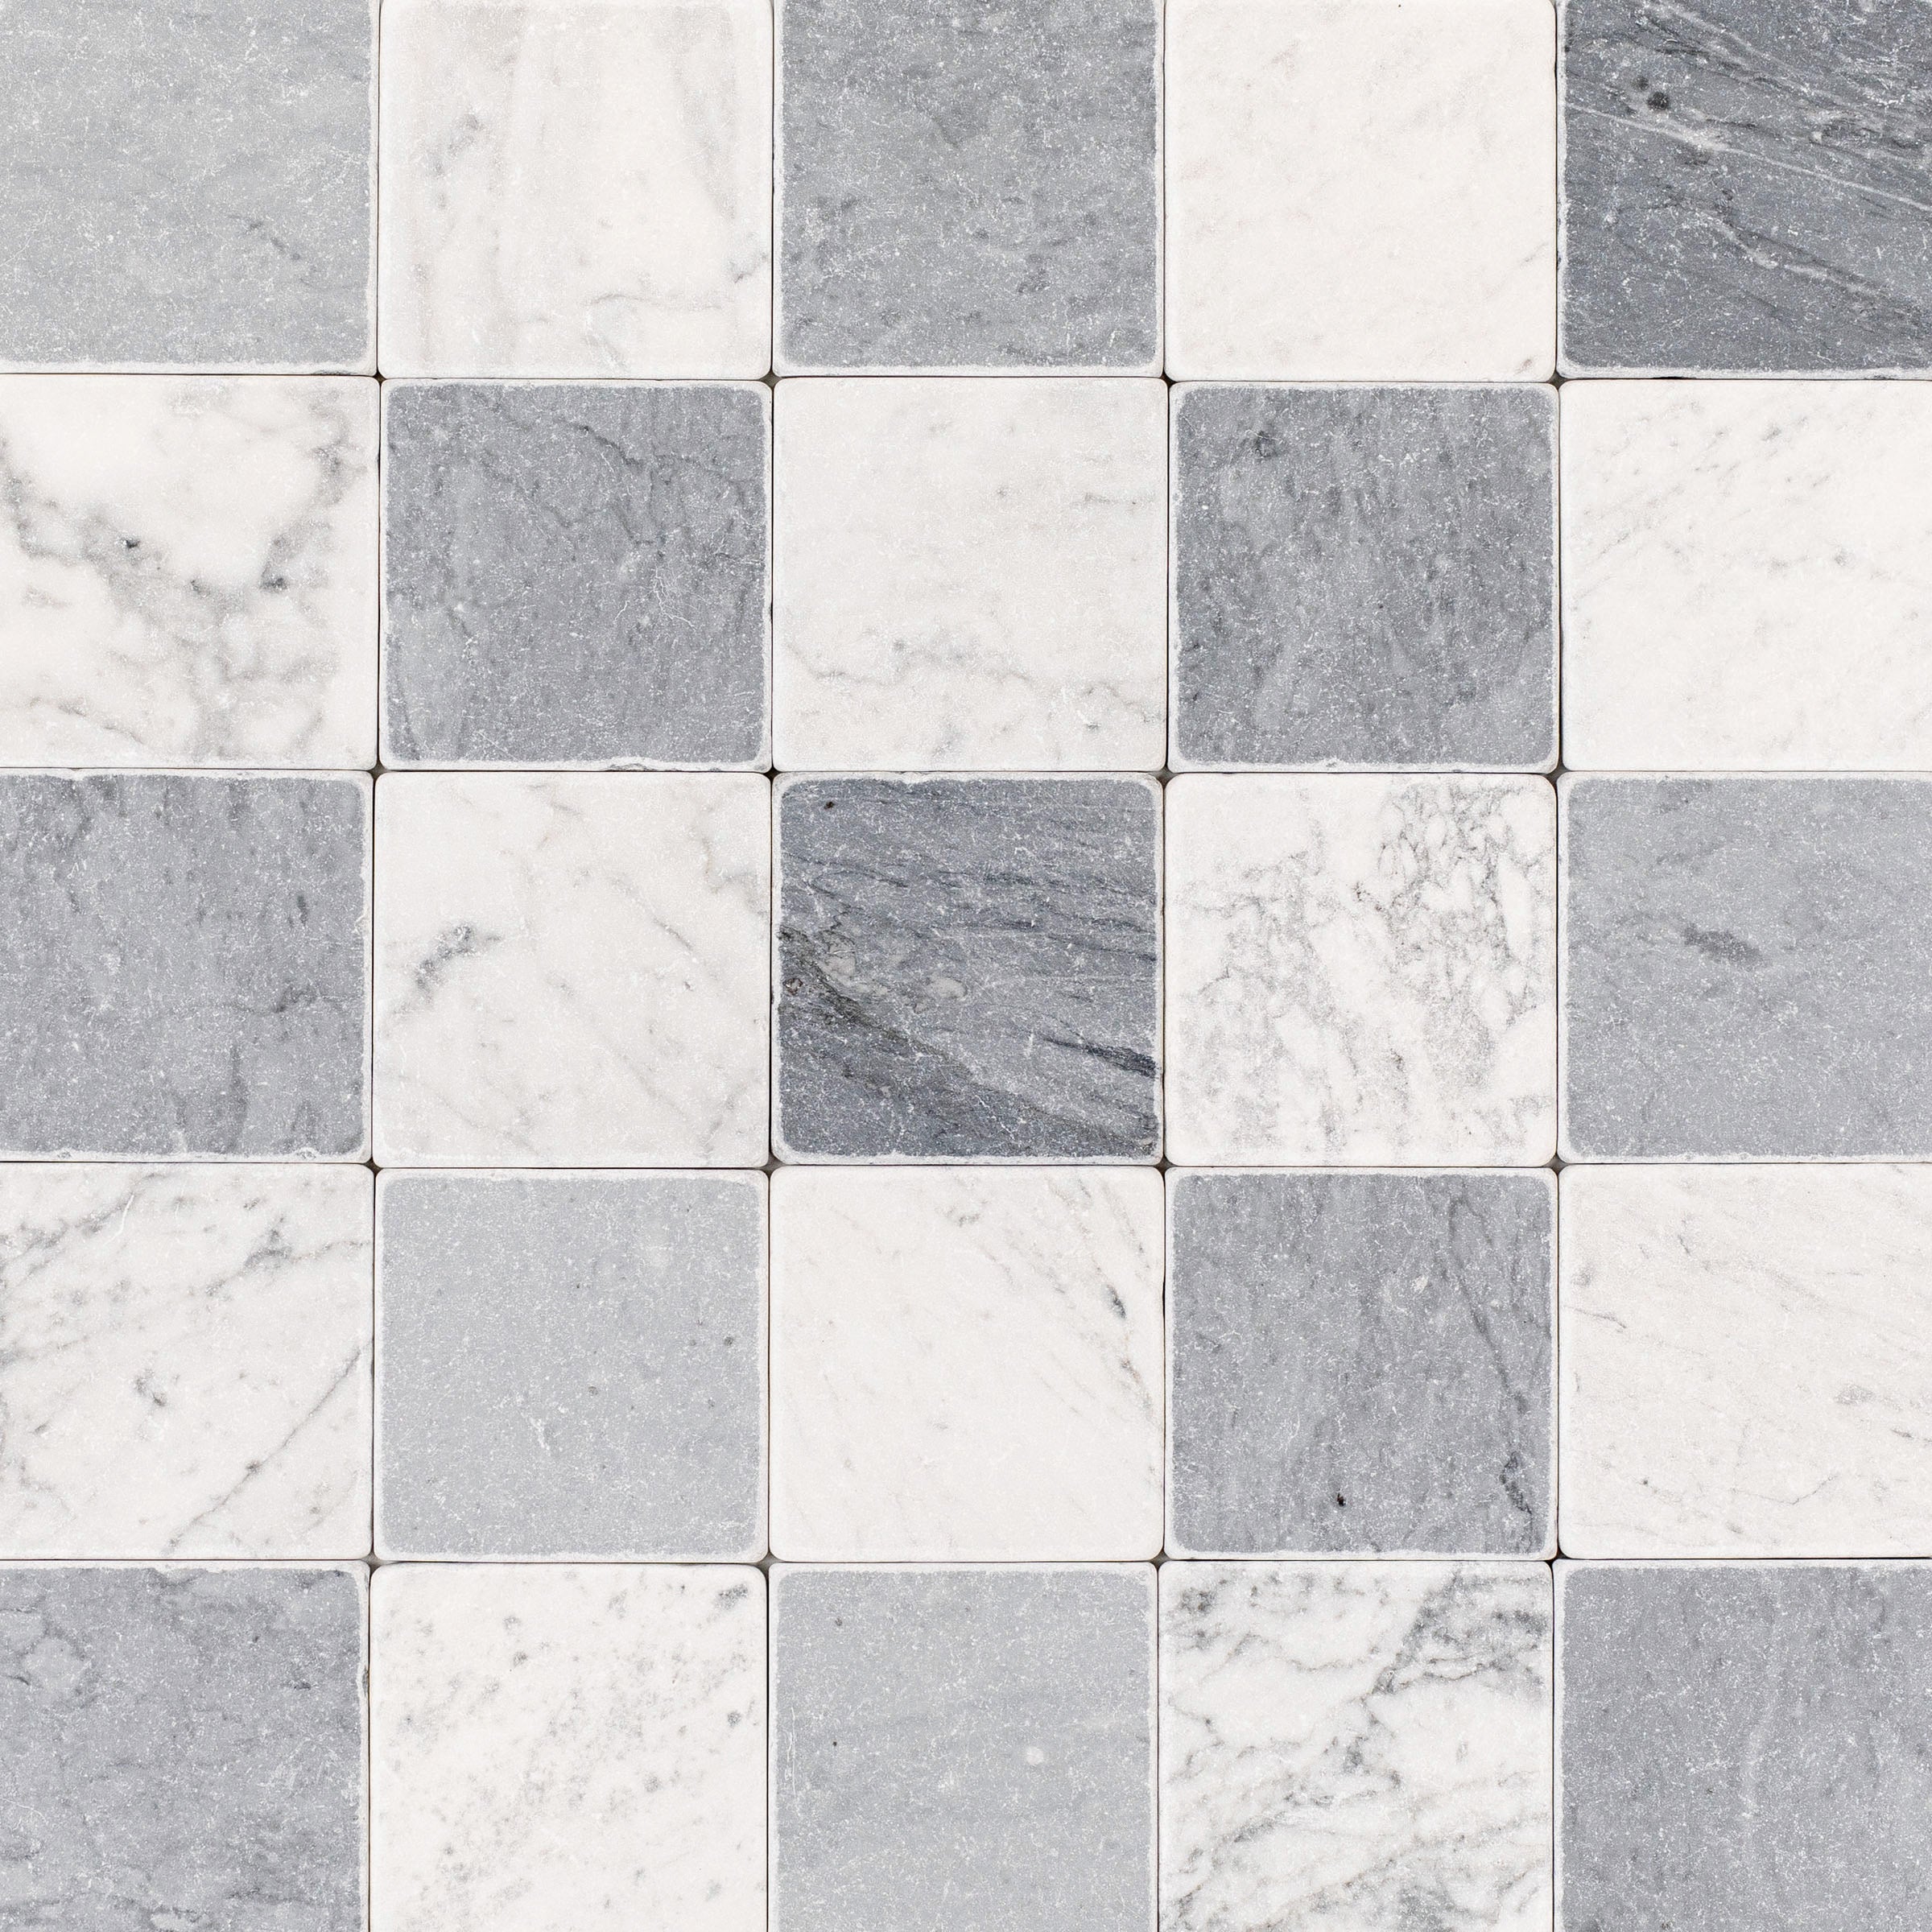
Thassos, Carrara, Bardiglio Gingham Marble Mosaic
Cotto Deco Terracotta Look Matte Porcelain Tile
White & Ecru 2x2 Zellige Checkerboard Mosaic


Cotto Terracotta Look Matte Porcelain Tile


Murano Honed Italian Terrazzo Tile
Cream Limestone Look 3D Matte Porcelain Tile


Apple 12x24 3D Glossy Porcelain Tile
Beige Limestone Look 3D Matte Porcelain Tile


Navy 12x24 3D Gloss Porcelain Tile
Chiaro Deco Terracotta Look Matte Porcelain Tile
Travertino Moka Stone Look Porcelain Tile

Fior de Bosco Marble Look Porcelain Tile

Carrara Bardiglio Tumbled Stone Checkerboard


Cream 12x24 3D Gloss Porcelain Tile
Bianco Carrara Honed Marble Tile
Verde Guatemala Tumbled Marble Tile
Borgogna 3D Matte Porcelain Tile


White & Black Octagon Zellige Mosaic


Calacatta Honed Italian Terrazzo Tile
White Multi-Color Matte Porcelain Tile
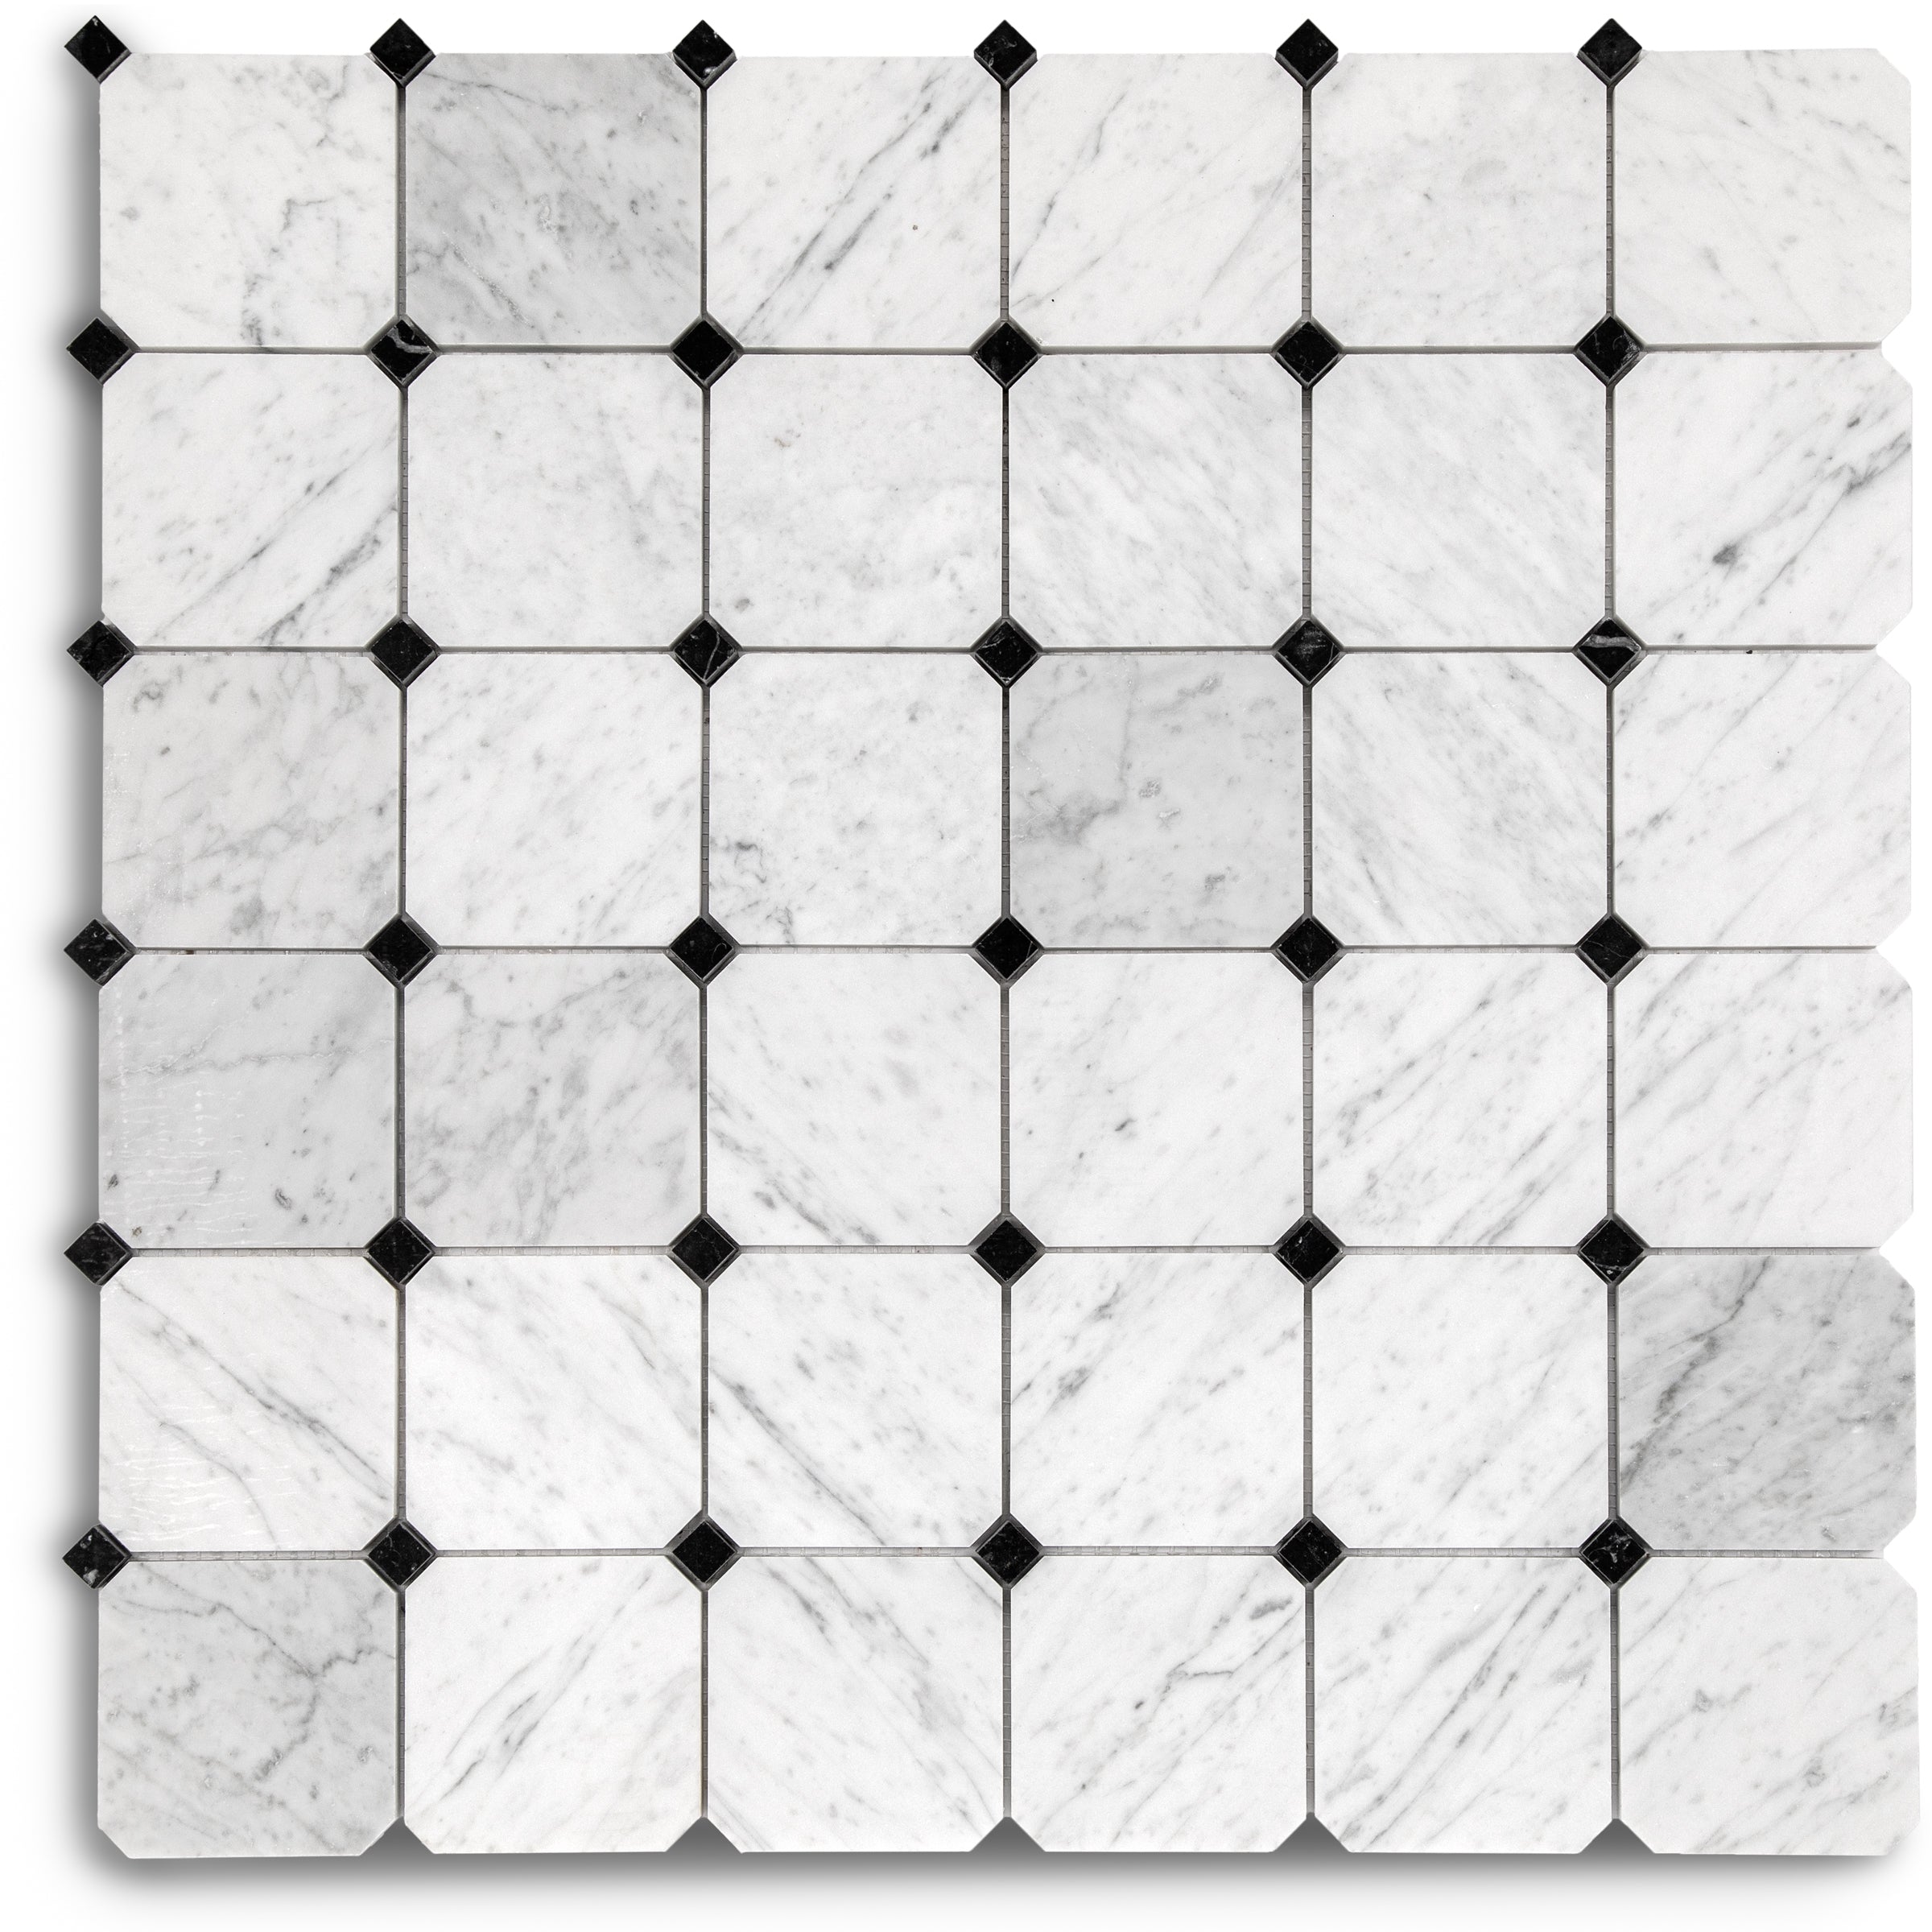
Bianco Carrara Octagon w/ Nero Marquina Dot Mosaic
Rosso Verona Tumbled Marble Tile
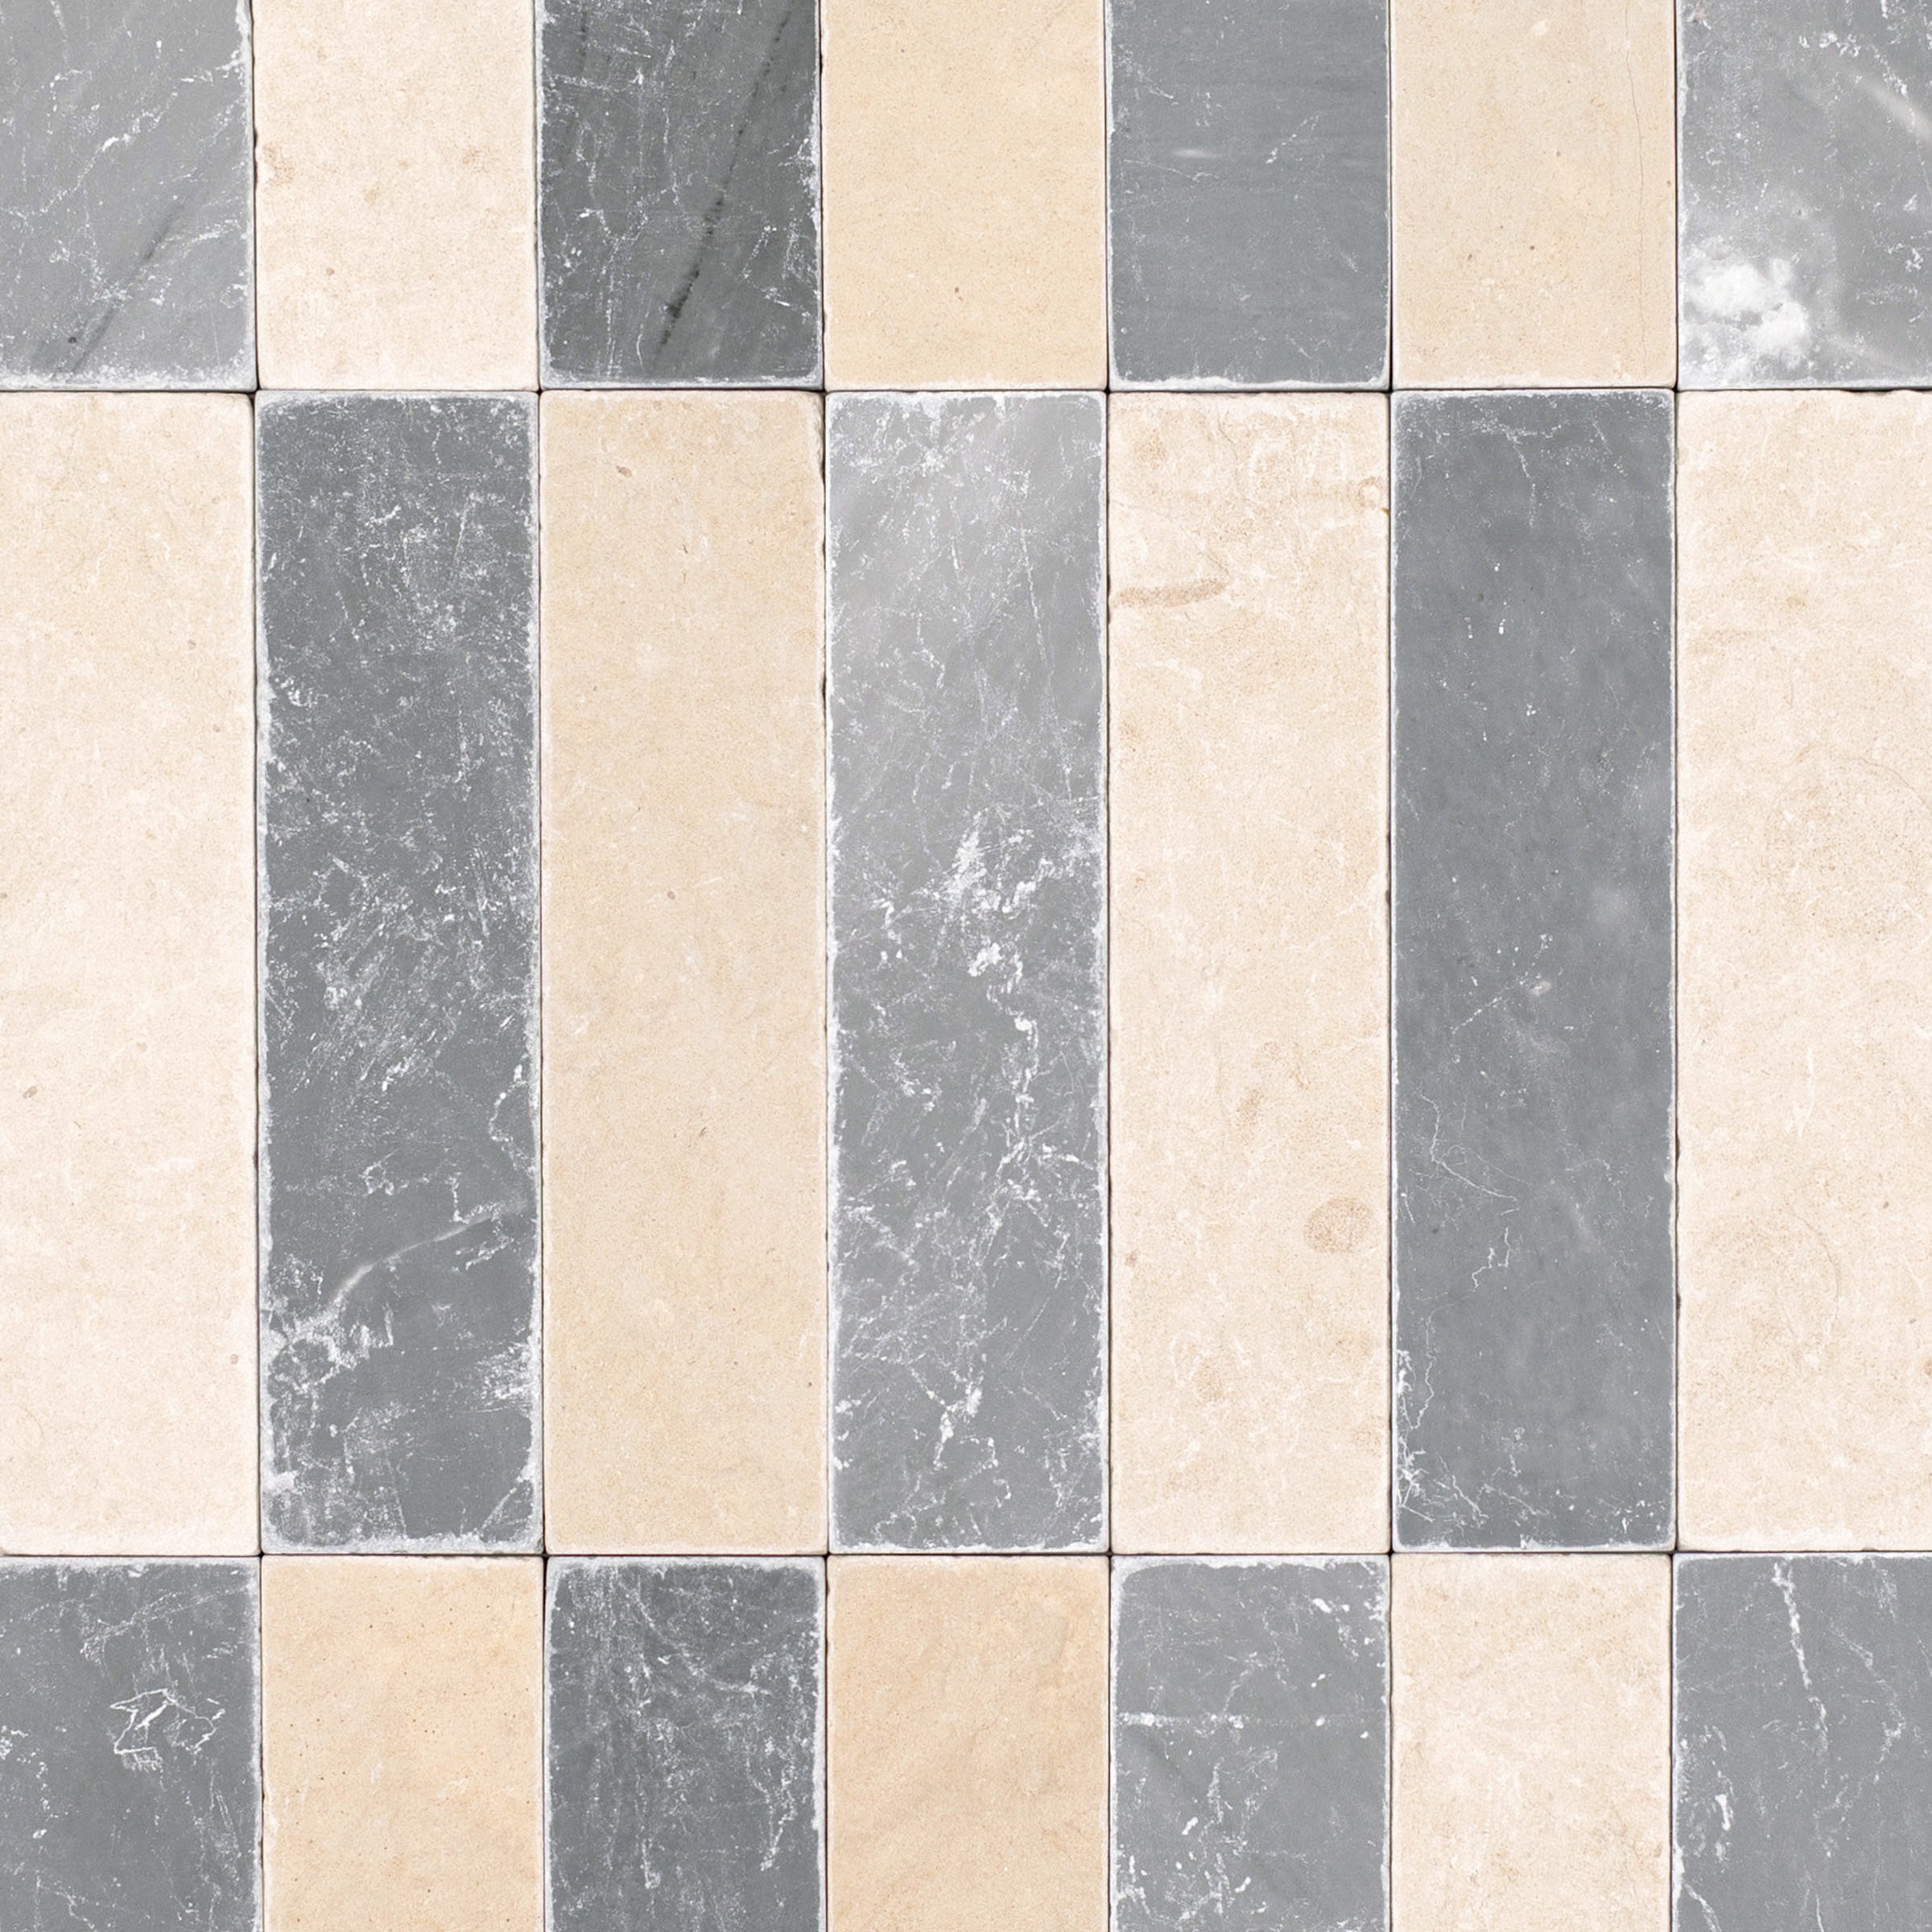
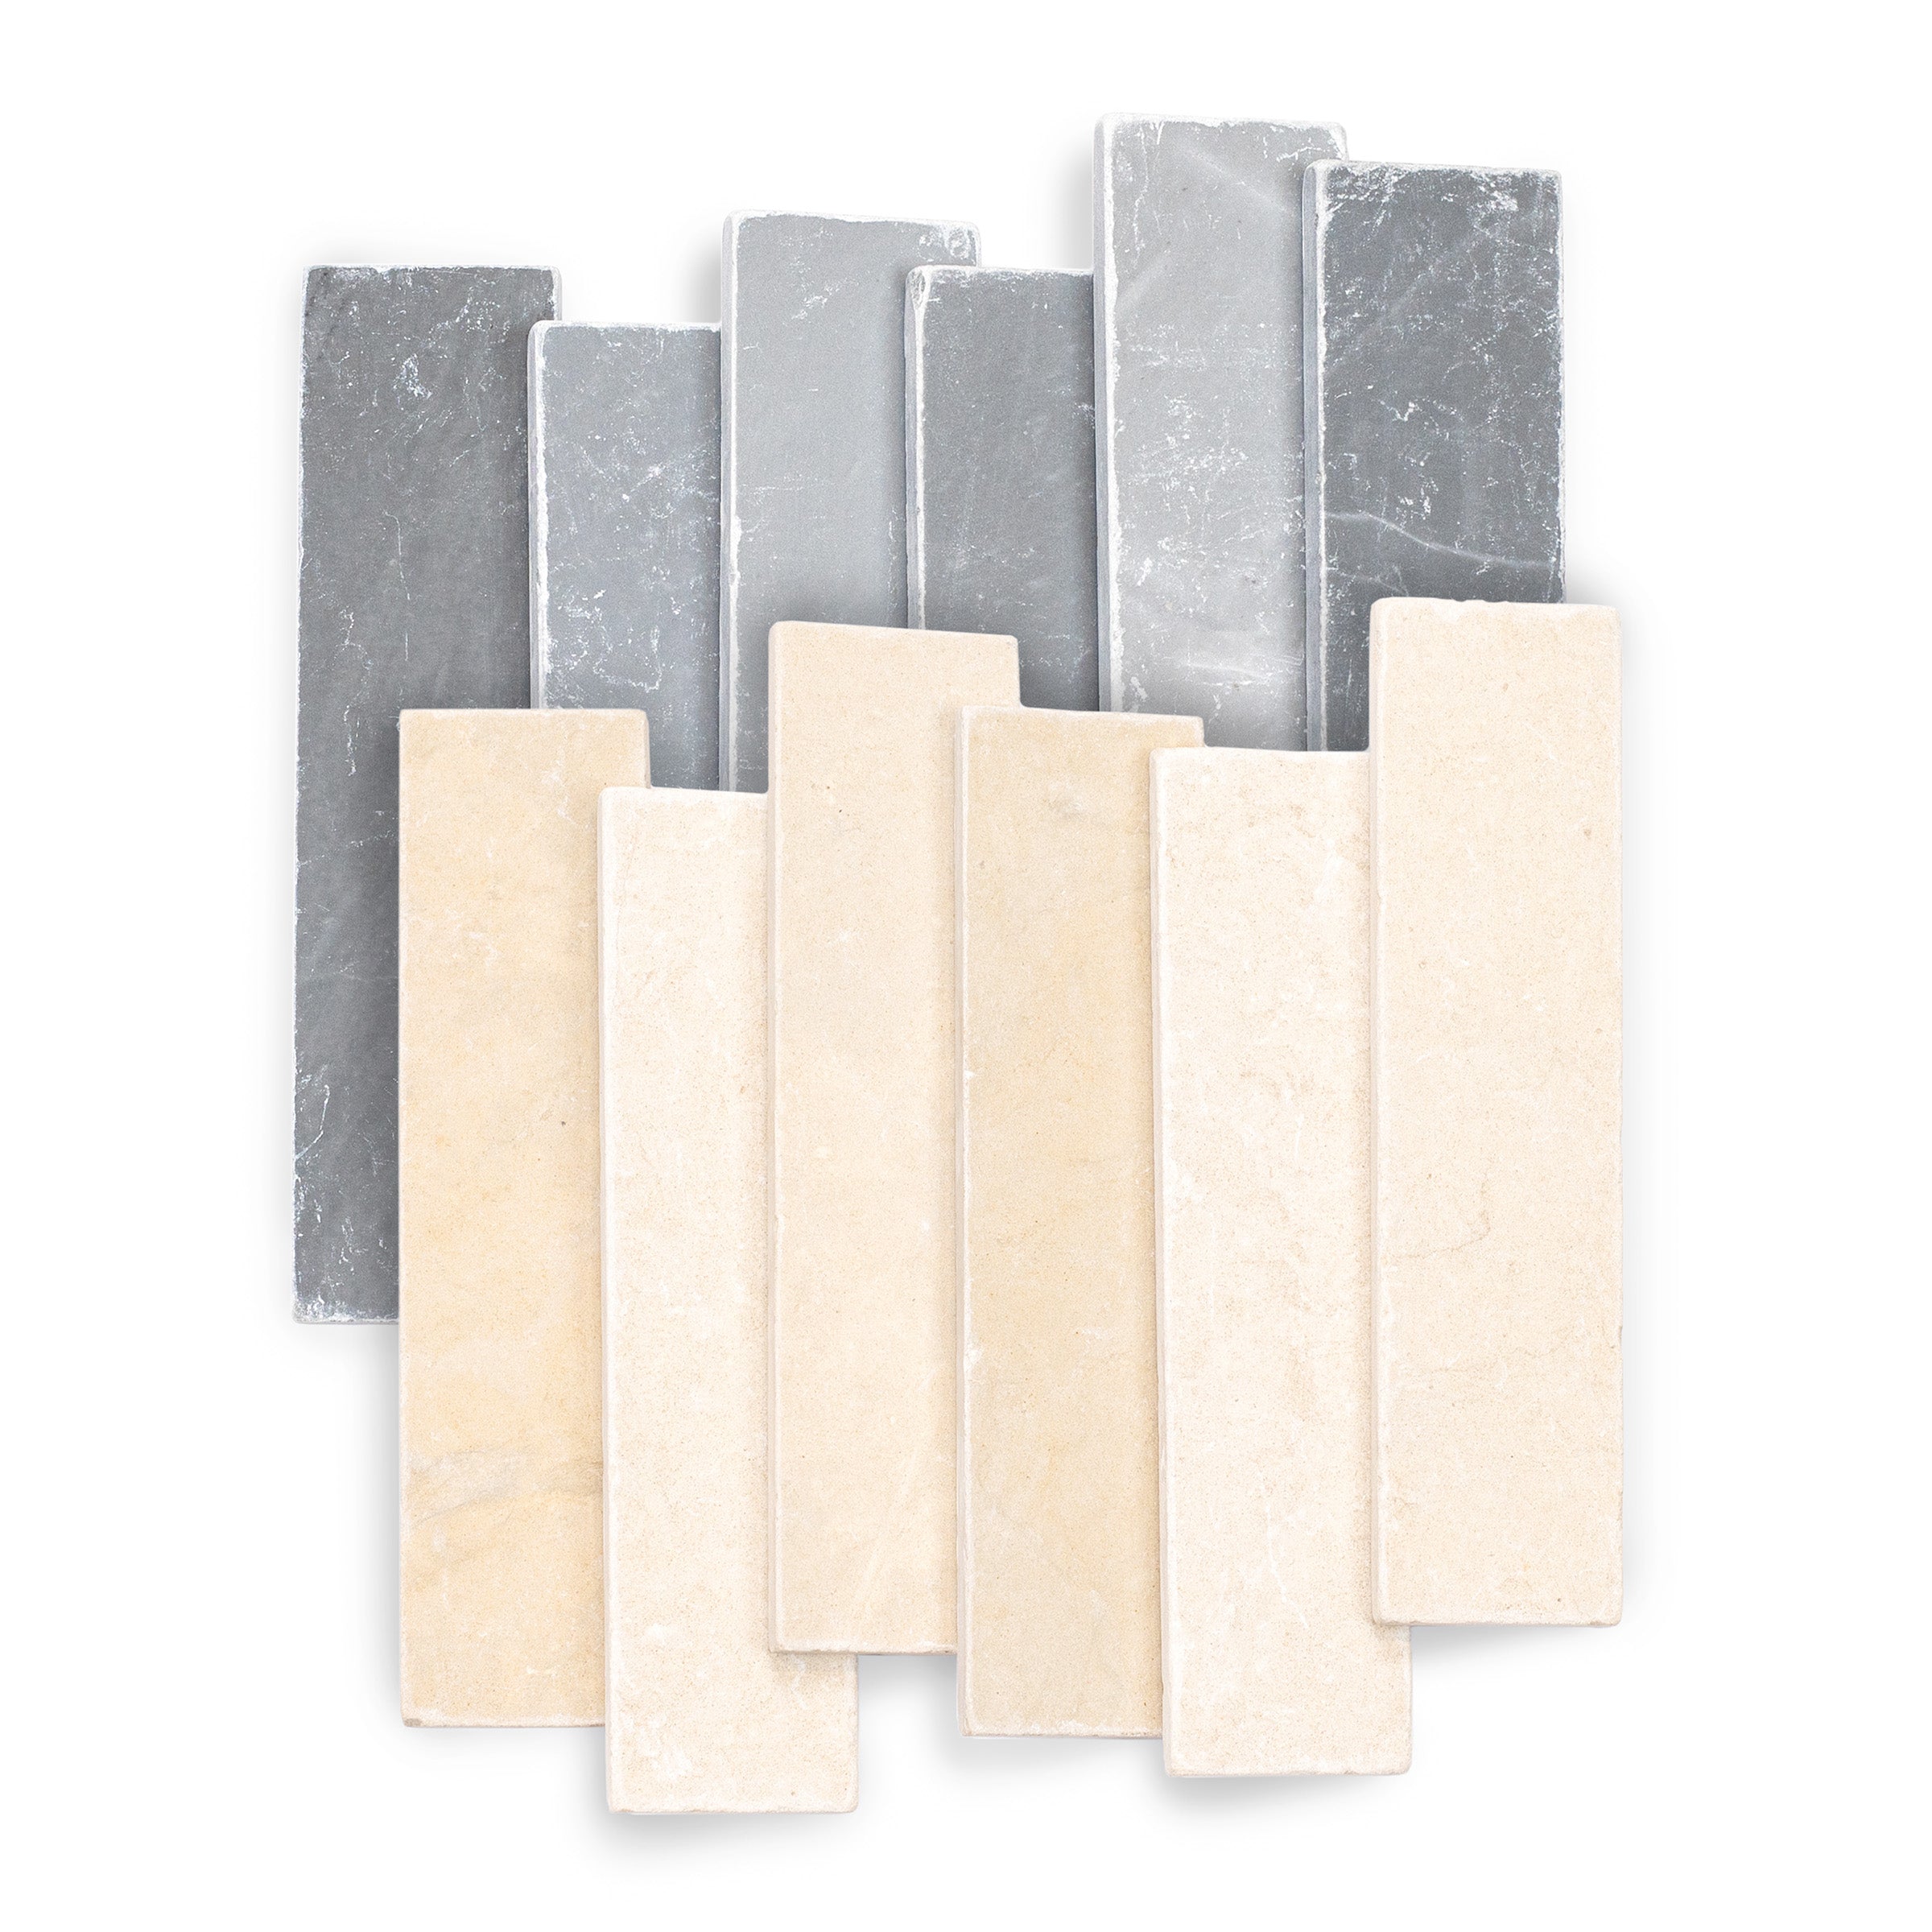
Bardiglio Desert Tea Tumbled Stone Checker Stripe
Honey Slats 24x48 Wood Look Porcelain Tile
Almond Cement Look Matte Porcelain Tile
Travertino 3D Matte Porcelain Tile


Dark White 3x12 Glossy Ceramic Tile


Marine 3x6 Glossy Ceramic Tile


White 3x12 Glossy Ceramic Tile


Terracotta 3x6 Glossy Ceramic Tile


Terracotta 3x12 Glossy Ceramic Tile


Marine 3x12 Glossy Ceramic Tile


Olive 3x12 Glossy Ceramic Tile


Dark White 3x6 Glossy Ceramic Tile
Crimson 3x6 Glossy Ceramic Tile
White & Ecru Octagon Zellige Mosaic
Thassos, Carrara, Bardiglio Gingham Marble Mosaic
Cotto Deco Terracotta Look Matte Porcelain Tile
White & Ecru 2x2 Zellige Checkerboard Mosaic
Cotto Terracotta Look Matte Porcelain Tile
Murano Honed Italian Terrazzo Tile
Apple 12x24 3D Glossy Porcelain Tile
Cream Limestone Look 3D Matte Porcelain Tile
Navy 12x24 3D Gloss Porcelain Tile
Beige Limestone Look 3D Matte Porcelain Tile
Chiaro Deco Terracotta Look Matte Porcelain Tile
Travertino Moka Stone Look Porcelain Tile
Cream 12x24 3D Gloss Porcelain Tile
Bianco Carrara Honed Marble Tile
Fior de Bosco Marble Look Porcelain Tile
Bianco Carrara Octagon w/ Nero Marquina Dot Mosaic
Carrara Bardiglio Tumbled Stone Checkerboard
Verde Guatemala Tumbled Marble Tile
Rosso Verona Tumbled Marble Tile
Borgogna 3D Matte Porcelain Tile
White & Black Octagon Zellige Mosaic
Calacatta Honed Italian Terrazzo Tile
White Multi-Color Matte Porcelain Tile
Rosso Verona 1x1 Hand Chipped Marble Mosaic
Bardiglio Desert Tea Tumbled Stone Checker Stripe
Honey Slats 24x48 Wood Look Porcelain Tile
Almond Cement Look Matte Porcelain Tile
White & Ecru Octagon Zellige Mosaic
Thassos, Carrara, Bardiglio Gingham Marble Mosaic
Cotto Deco Terracotta Look Matte Porcelain Tile
White & Ecru 2x2 Zellige Checkerboard Mosaic
Cotto Terracotta Look Matte Porcelain Tile
Murano Honed Italian Terrazzo Tile
Cream Limestone Look 3D Matte Porcelain Tile
Apple 12x24 3D Glossy Porcelain Tile
Beige Limestone Look 3D Matte Porcelain Tile
Navy 12x24 3D Gloss Porcelain Tile
Chiaro Deco Terracotta Look Matte Porcelain Tile
Travertino Moka Stone Look Porcelain Tile
Fior de Bosco Marble Look Porcelain Tile
Bianco Carrara Octagon w/ Nero Marquina Dot Mosaic
Carrara Bardiglio Tumbled Stone Checkerboard
Cream 12x24 3D Gloss Porcelain Tile
Bianco Carrara Honed Marble Tile
Verde Guatemala Tumbled Marble Tile
Rosso Verona Tumbled Marble Tile
Borgogna 3D Matte Porcelain Tile
White & Black Octagon Zellige Mosaic
Calacatta Honed Italian Terrazzo Tile
White Multi-Color Matte Porcelain Tile
Rosso Verona 1x1 Hand Chipped Marble Mosaic
Bardiglio Desert Tea Tumbled Stone Checker Stripe
Honey Slats 24x48 Wood Look Porcelain Tile
Almond Cement Look Matte Porcelain Tile
White & Ecru Octagon Zellige Mosaic
Thassos, Carrara, Bardiglio Gingham Marble Mosaic
Cotto Deco Terracotta Look Matte Porcelain Tile
White & Ecru 2x2 Zellige Checkerboard Mosaic
Murano Honed Italian Terrazzo Tile
Cream Limestone Look 3D Matte Porcelain Tile
Apple 12x24 3D Glossy Porcelain Tile
Beige Limestone Look 3D Matte Porcelain Tile
Navy 12x24 3D Gloss Porcelain Tile
Chiaro Deco Terracotta Look Matte Porcelain Tile
Travertino Moka Stone Look Porcelain Tile
Bianco Carrara Honed Marble Tile
Borgogna 3D Matte Porcelain Tile
Fior de Bosco Marble Look Porcelain Tile
Bianco Carrara Octagon w/ Nero Marquina Dot Mosaic
Carrara Bardiglio Tumbled Stone Checkerboard
Cream 12x24 3D Gloss Porcelain Tile
Verde Guatemala Tumbled Marble Tile
Rosso Verona Tumbled Marble Tile
White & Black Octagon Zellige Mosaic
Calacatta Honed Italian Terrazzo Tile
White Multi-Color Matte Porcelain Tile
Almond Cement Look Matte Porcelain Tile
Travertino 3D Matte Porcelain Tile
Rosso Verona 1x1 Hand Chipped Marble Mosaic
Bardiglio Desert Tea Tumbled Stone Checker Stripe
Honey Slats 24x48 Wood Look Porcelain Tile
White & Ecru Octagon Zellige Mosaic
Thassos, Carrara, Bardiglio Gingham Marble Mosaic
Cotto Deco Terracotta Look Matte Porcelain Tile
White & Ecru 2x2 Zellige Checkerboard Mosaic
Cotto Terracotta Look Matte Porcelain Tile
Murano Honed Italian Terrazzo Tile
Cream Limestone Look 3D Matte Porcelain Tile
Apple 12x24 3D Glossy Porcelain Tile
Beige Limestone Look 3D Matte Porcelain Tile
Navy 12x24 3D Gloss Porcelain Tile
Chiaro Deco Terracotta Look Matte Porcelain Tile
Travertino Moka Stone Look Porcelain Tile
Fior de Bosco Marble Look Porcelain Tile
Bianco Carrara Octagon w/ Nero Marquina Dot Mosaic
Cream 12x24 3D Gloss Porcelain Tile
Bianco Carrara Honed Marble Tile
Rosso Verona Tumbled Marble Tile
Borgogna 3D Matte Porcelain Tile
White & Black Octagon Zellige Mosaic
Calacatta Honed Italian Terrazzo Tile
White Multi-Color Matte Porcelain Tile
Carrara Bardiglio Tumbled Stone Checkerboard
Rosso Verona 1x1 Hand Chipped Marble Mosaic
Honey Slats 24x48 Wood Look Porcelain Tile
Almond Cement Look Matte Porcelain Tile
Travertino 3D Matte Porcelain Tile
Star & Cross Classic Terracotta Tile
Chiaro Deco Terracotta Look Matte Porcelain Tile
Natura Terracotta Look Matte Porcelain Tile
Crema Terracotta Look Matte Porcelain Tile
Cotto Deco Terracotta Look Matte Porcelain Tile
White Multi-Color Matte Porcelain Tile


Silhouettes Gloss Porcelain Tile


Rosso Textured Terracotta Tile


Natural Textured Terracotta Tile


Classic Square Textured Terracotta Tile


Chocolate Textured Terracotta Tile
Black Multi-Color Matte Porcelain Tile