


NOTIFY ME WHEN AVAILABLE
We'll notify you as soon as this product or sample is back in stock / available.
Product add-on


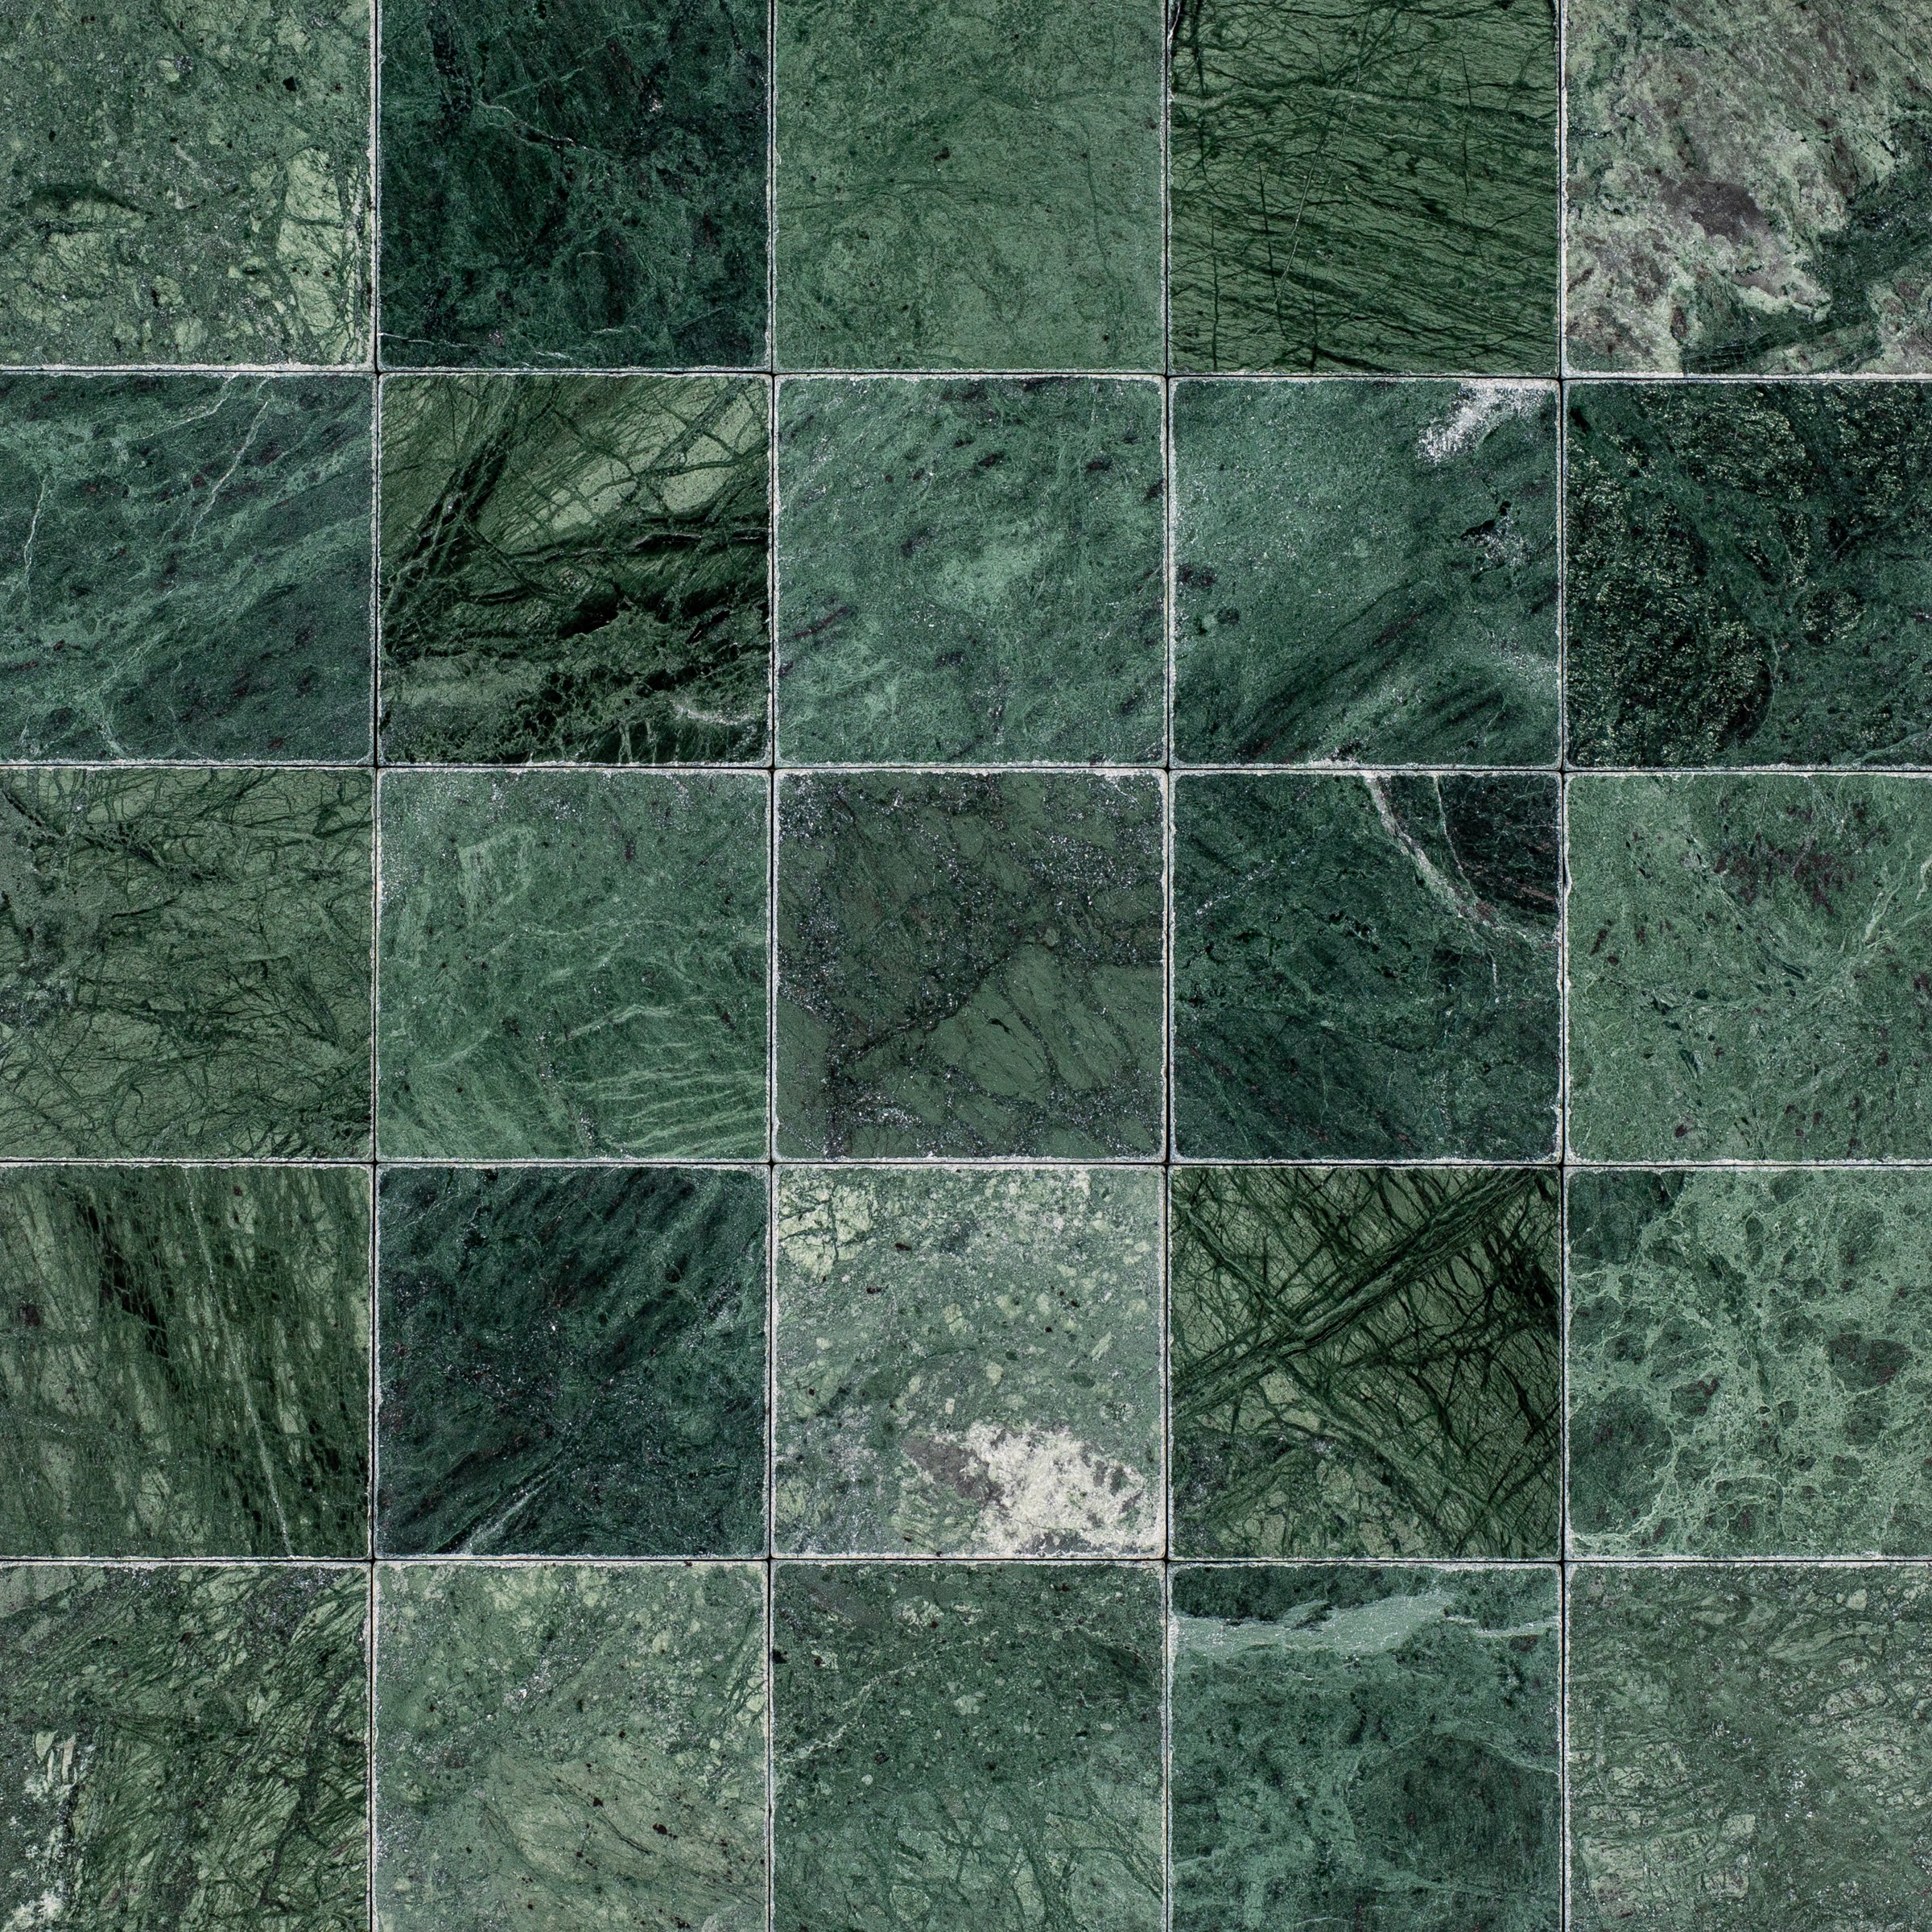
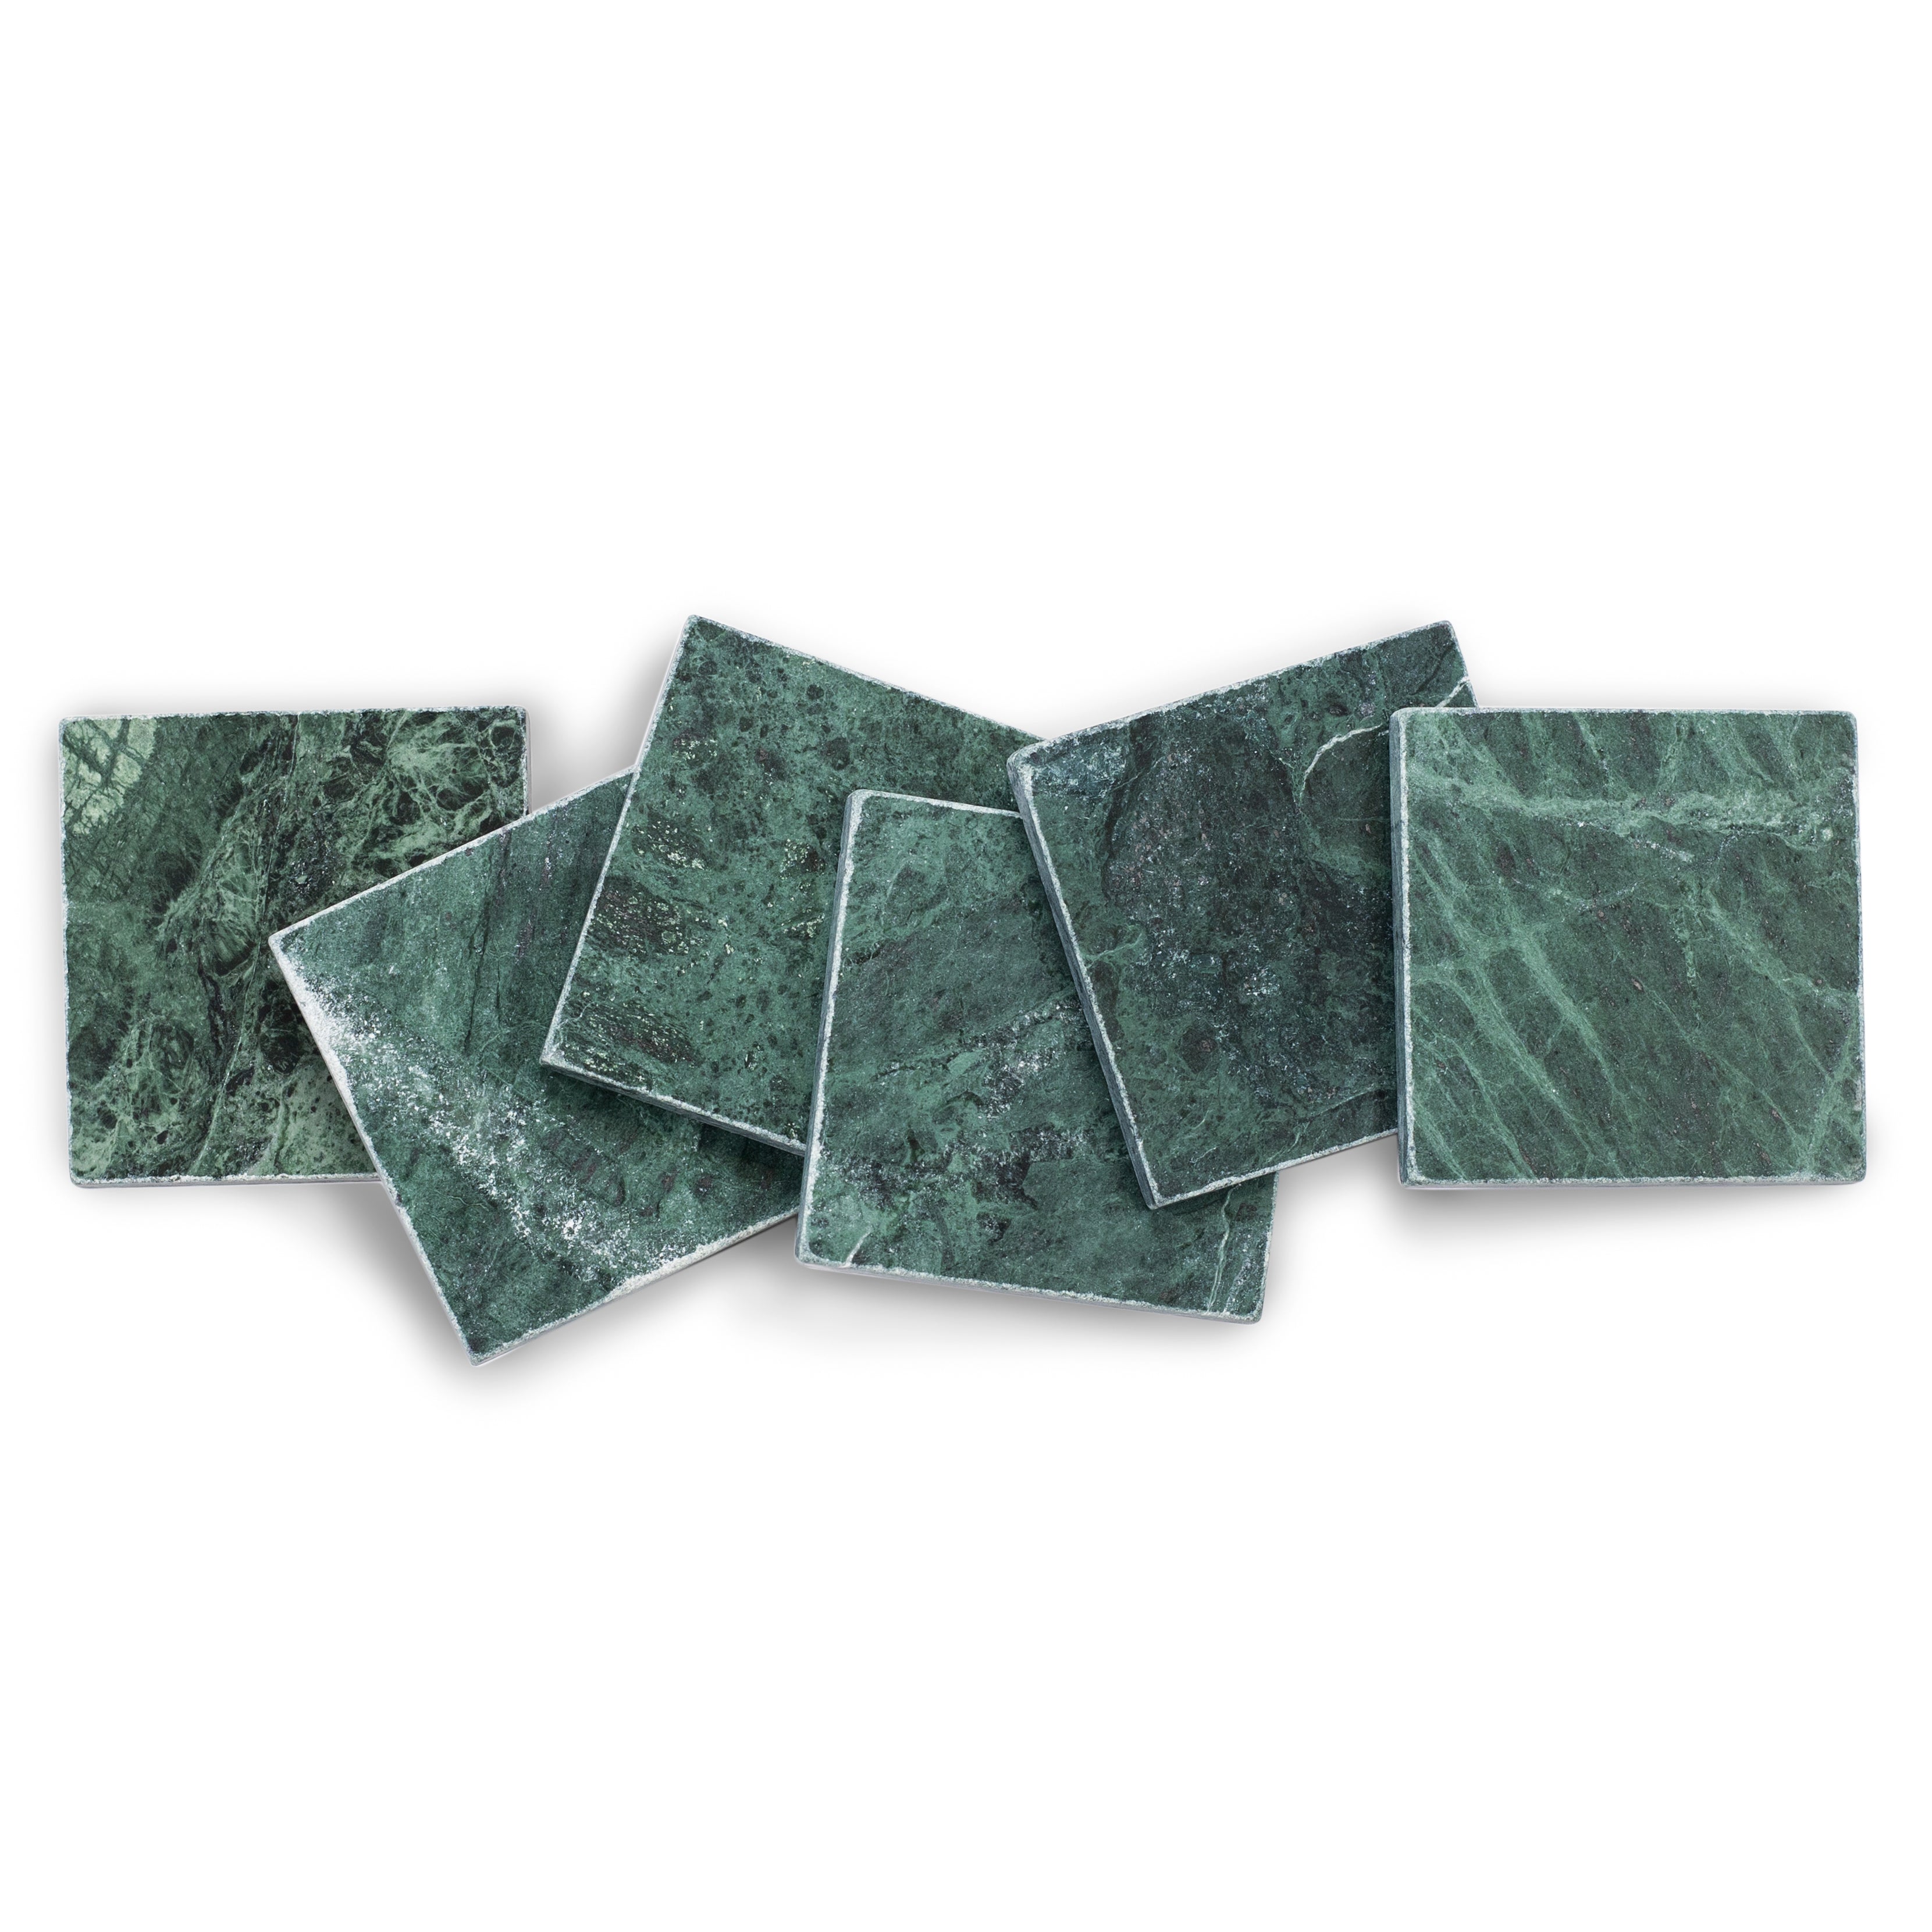
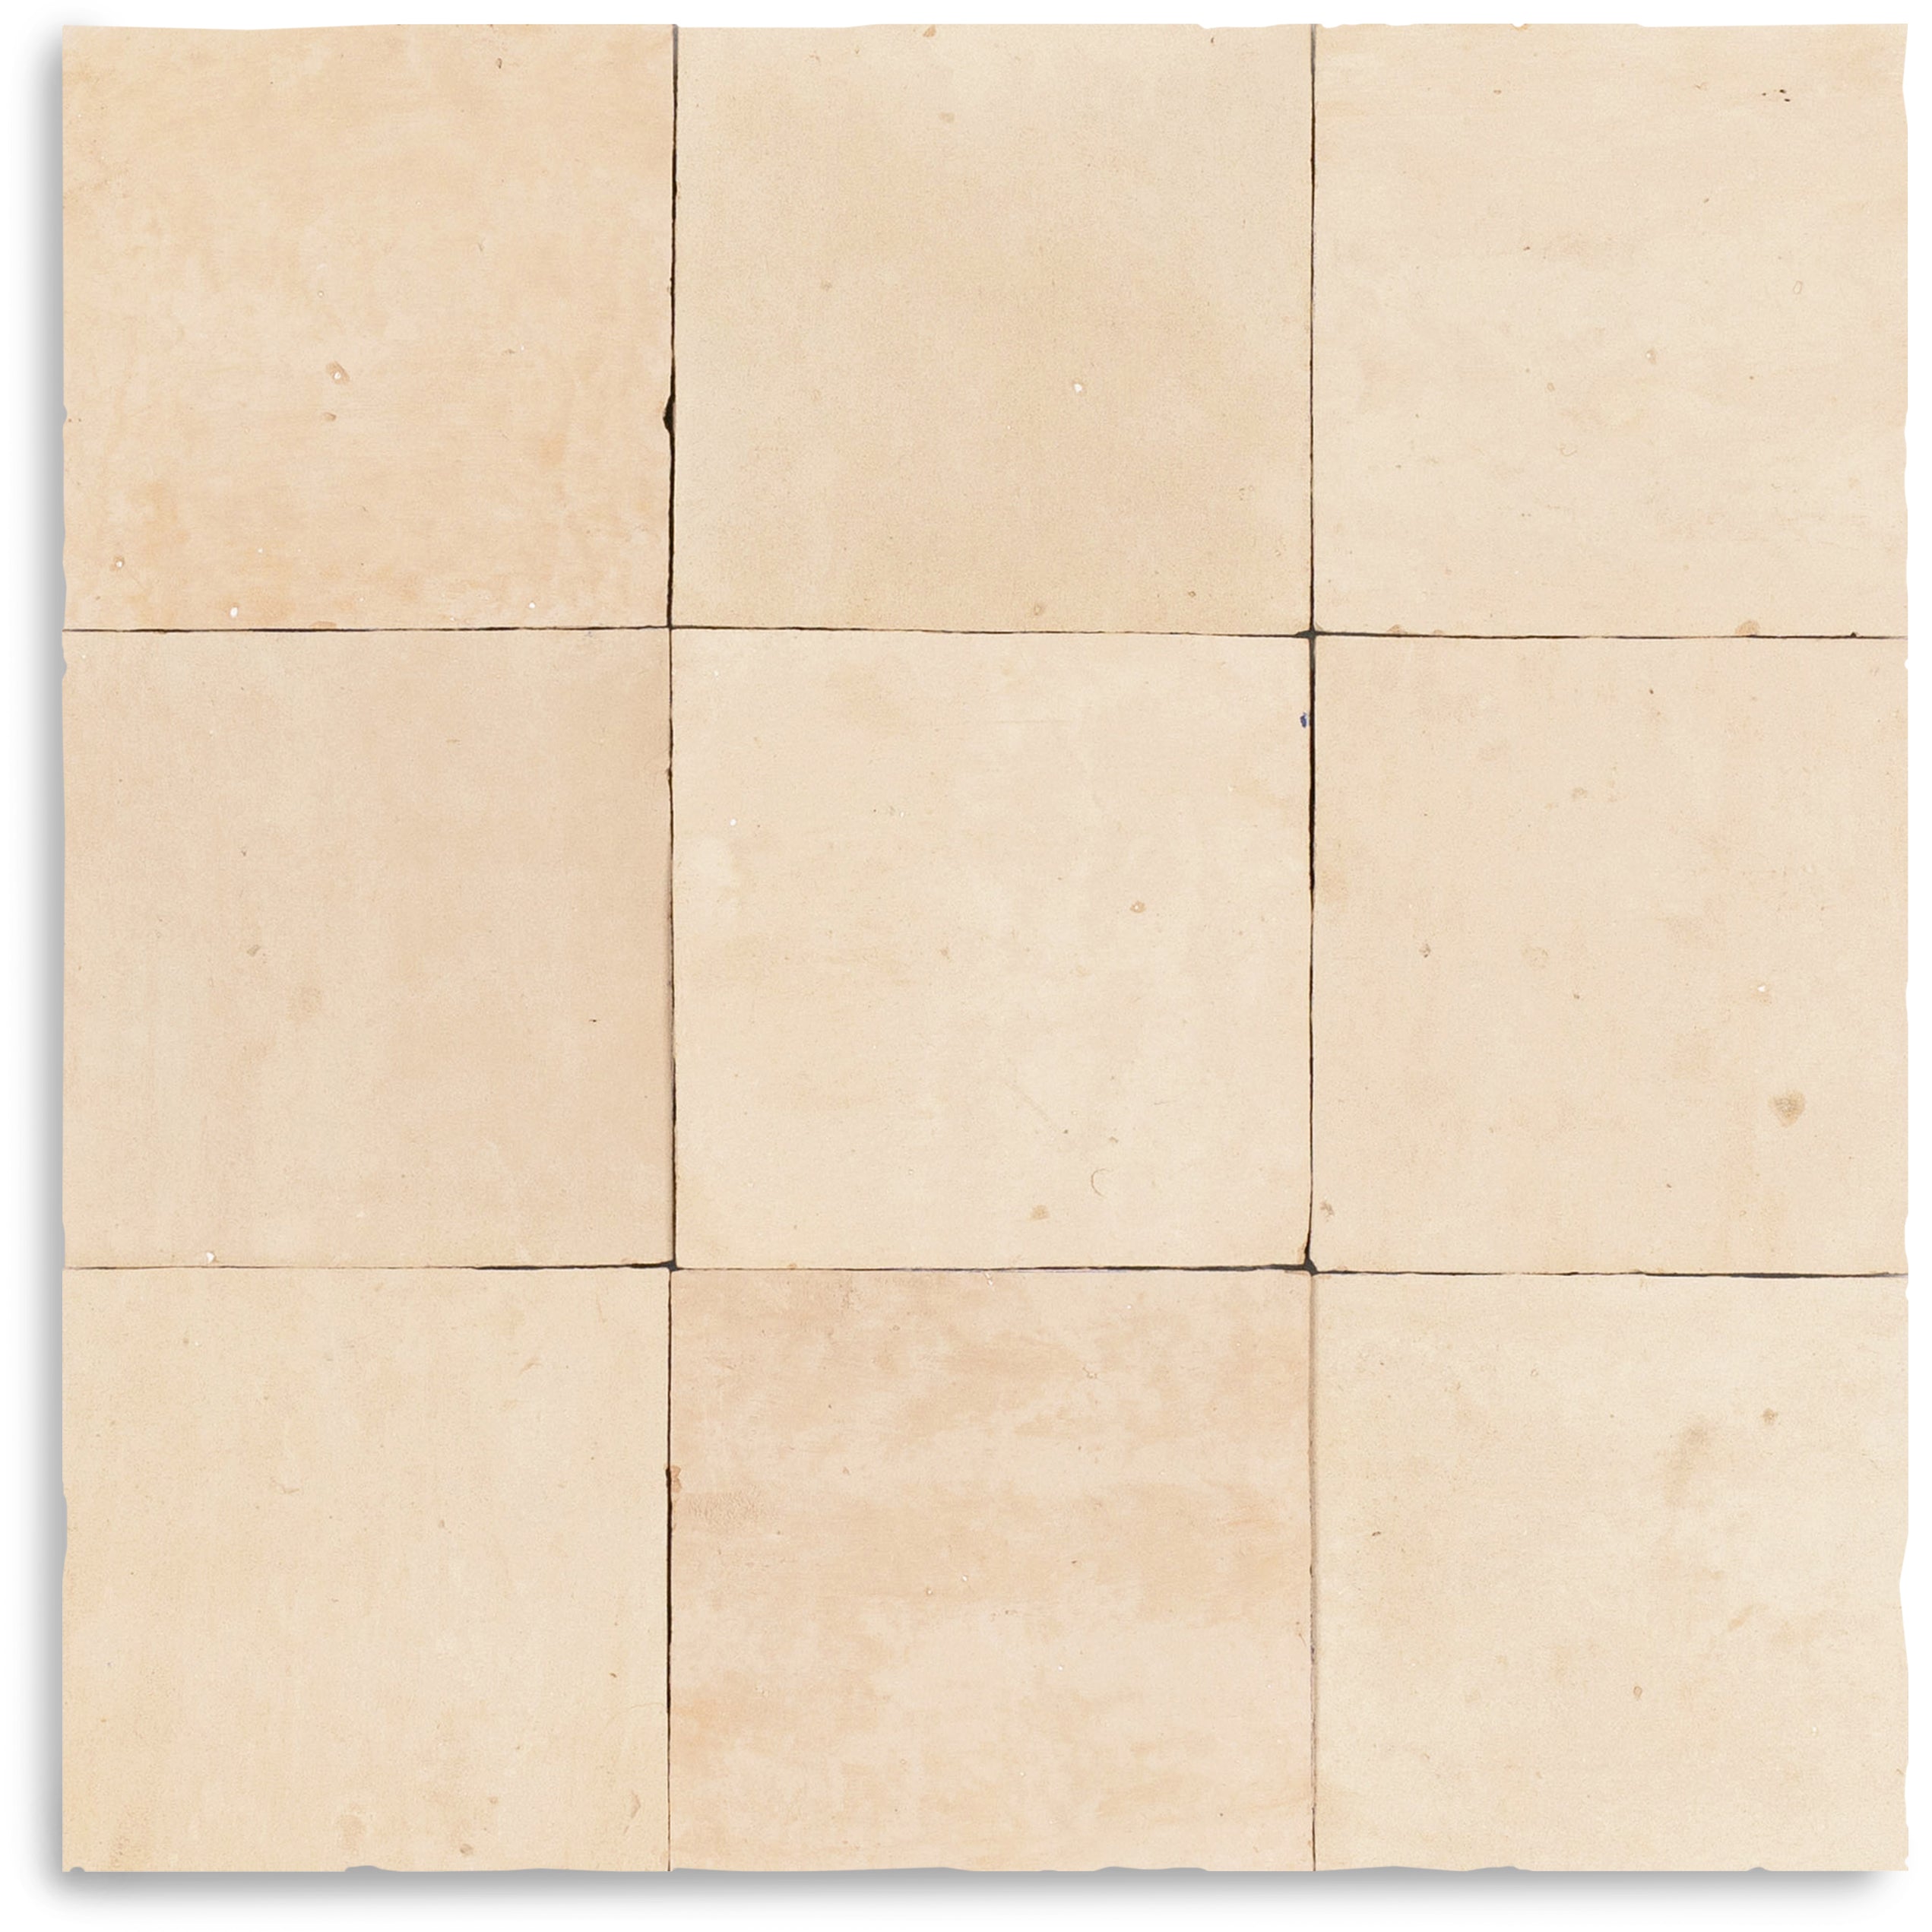
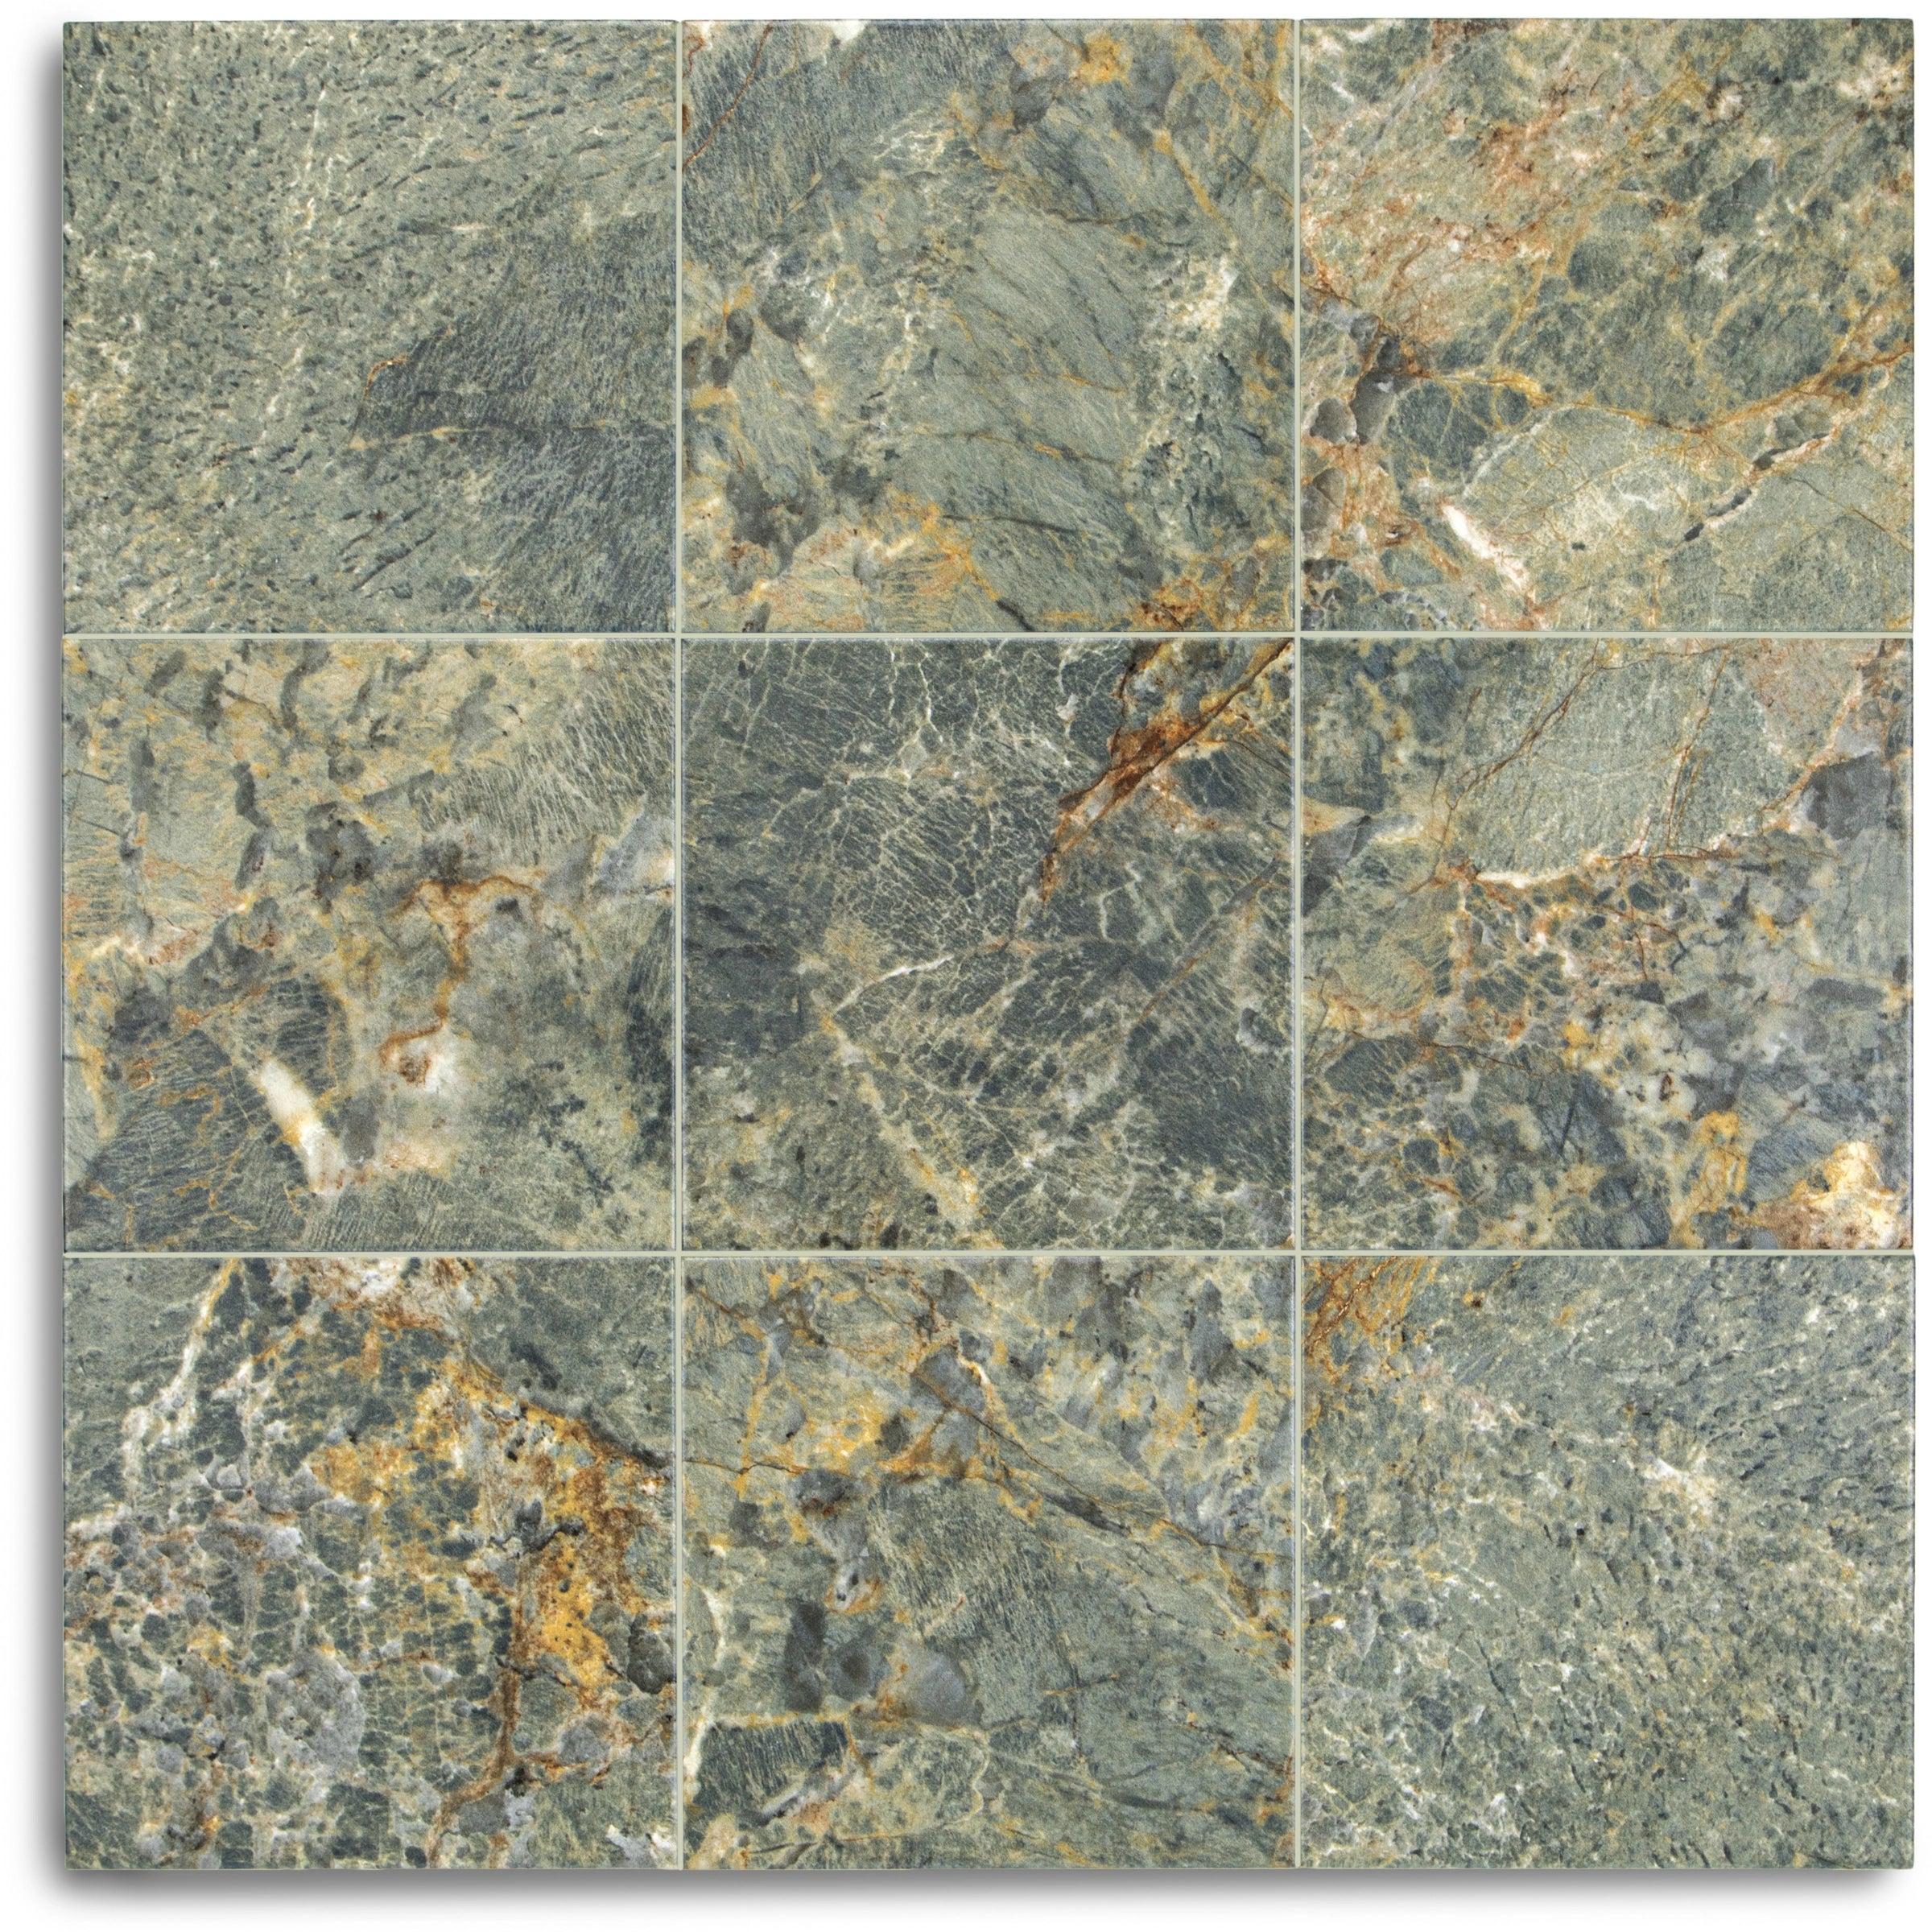
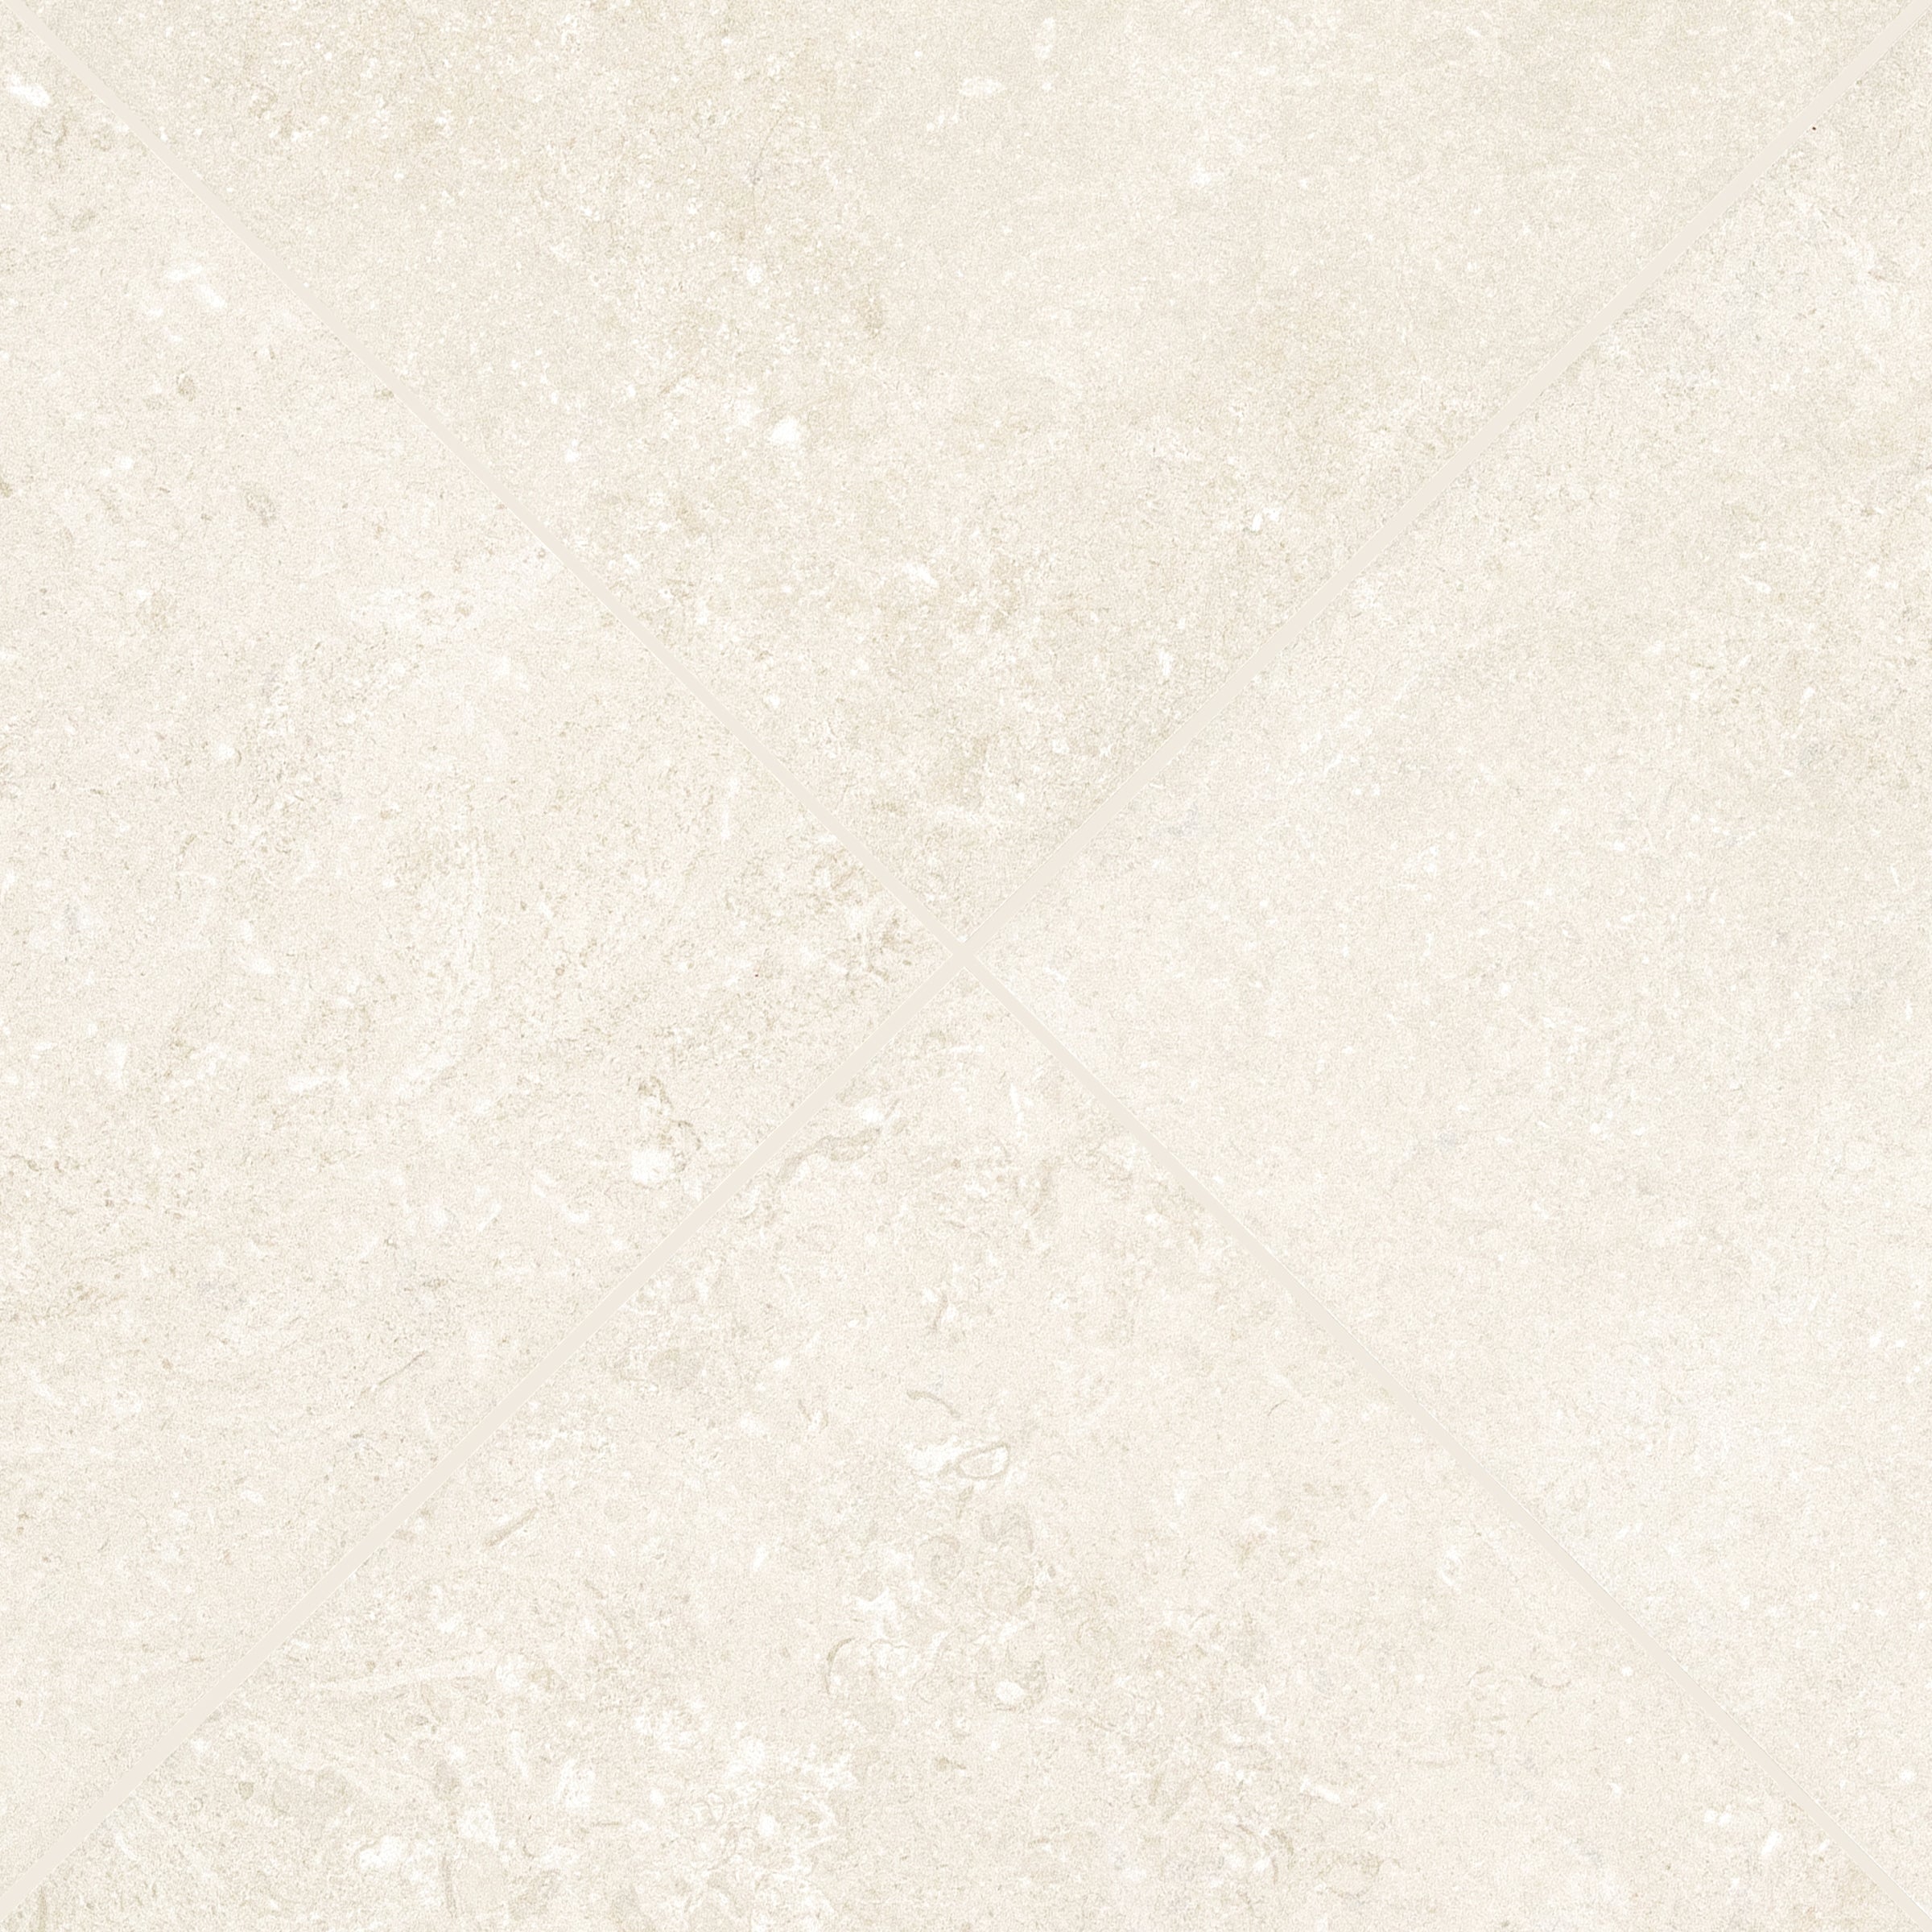
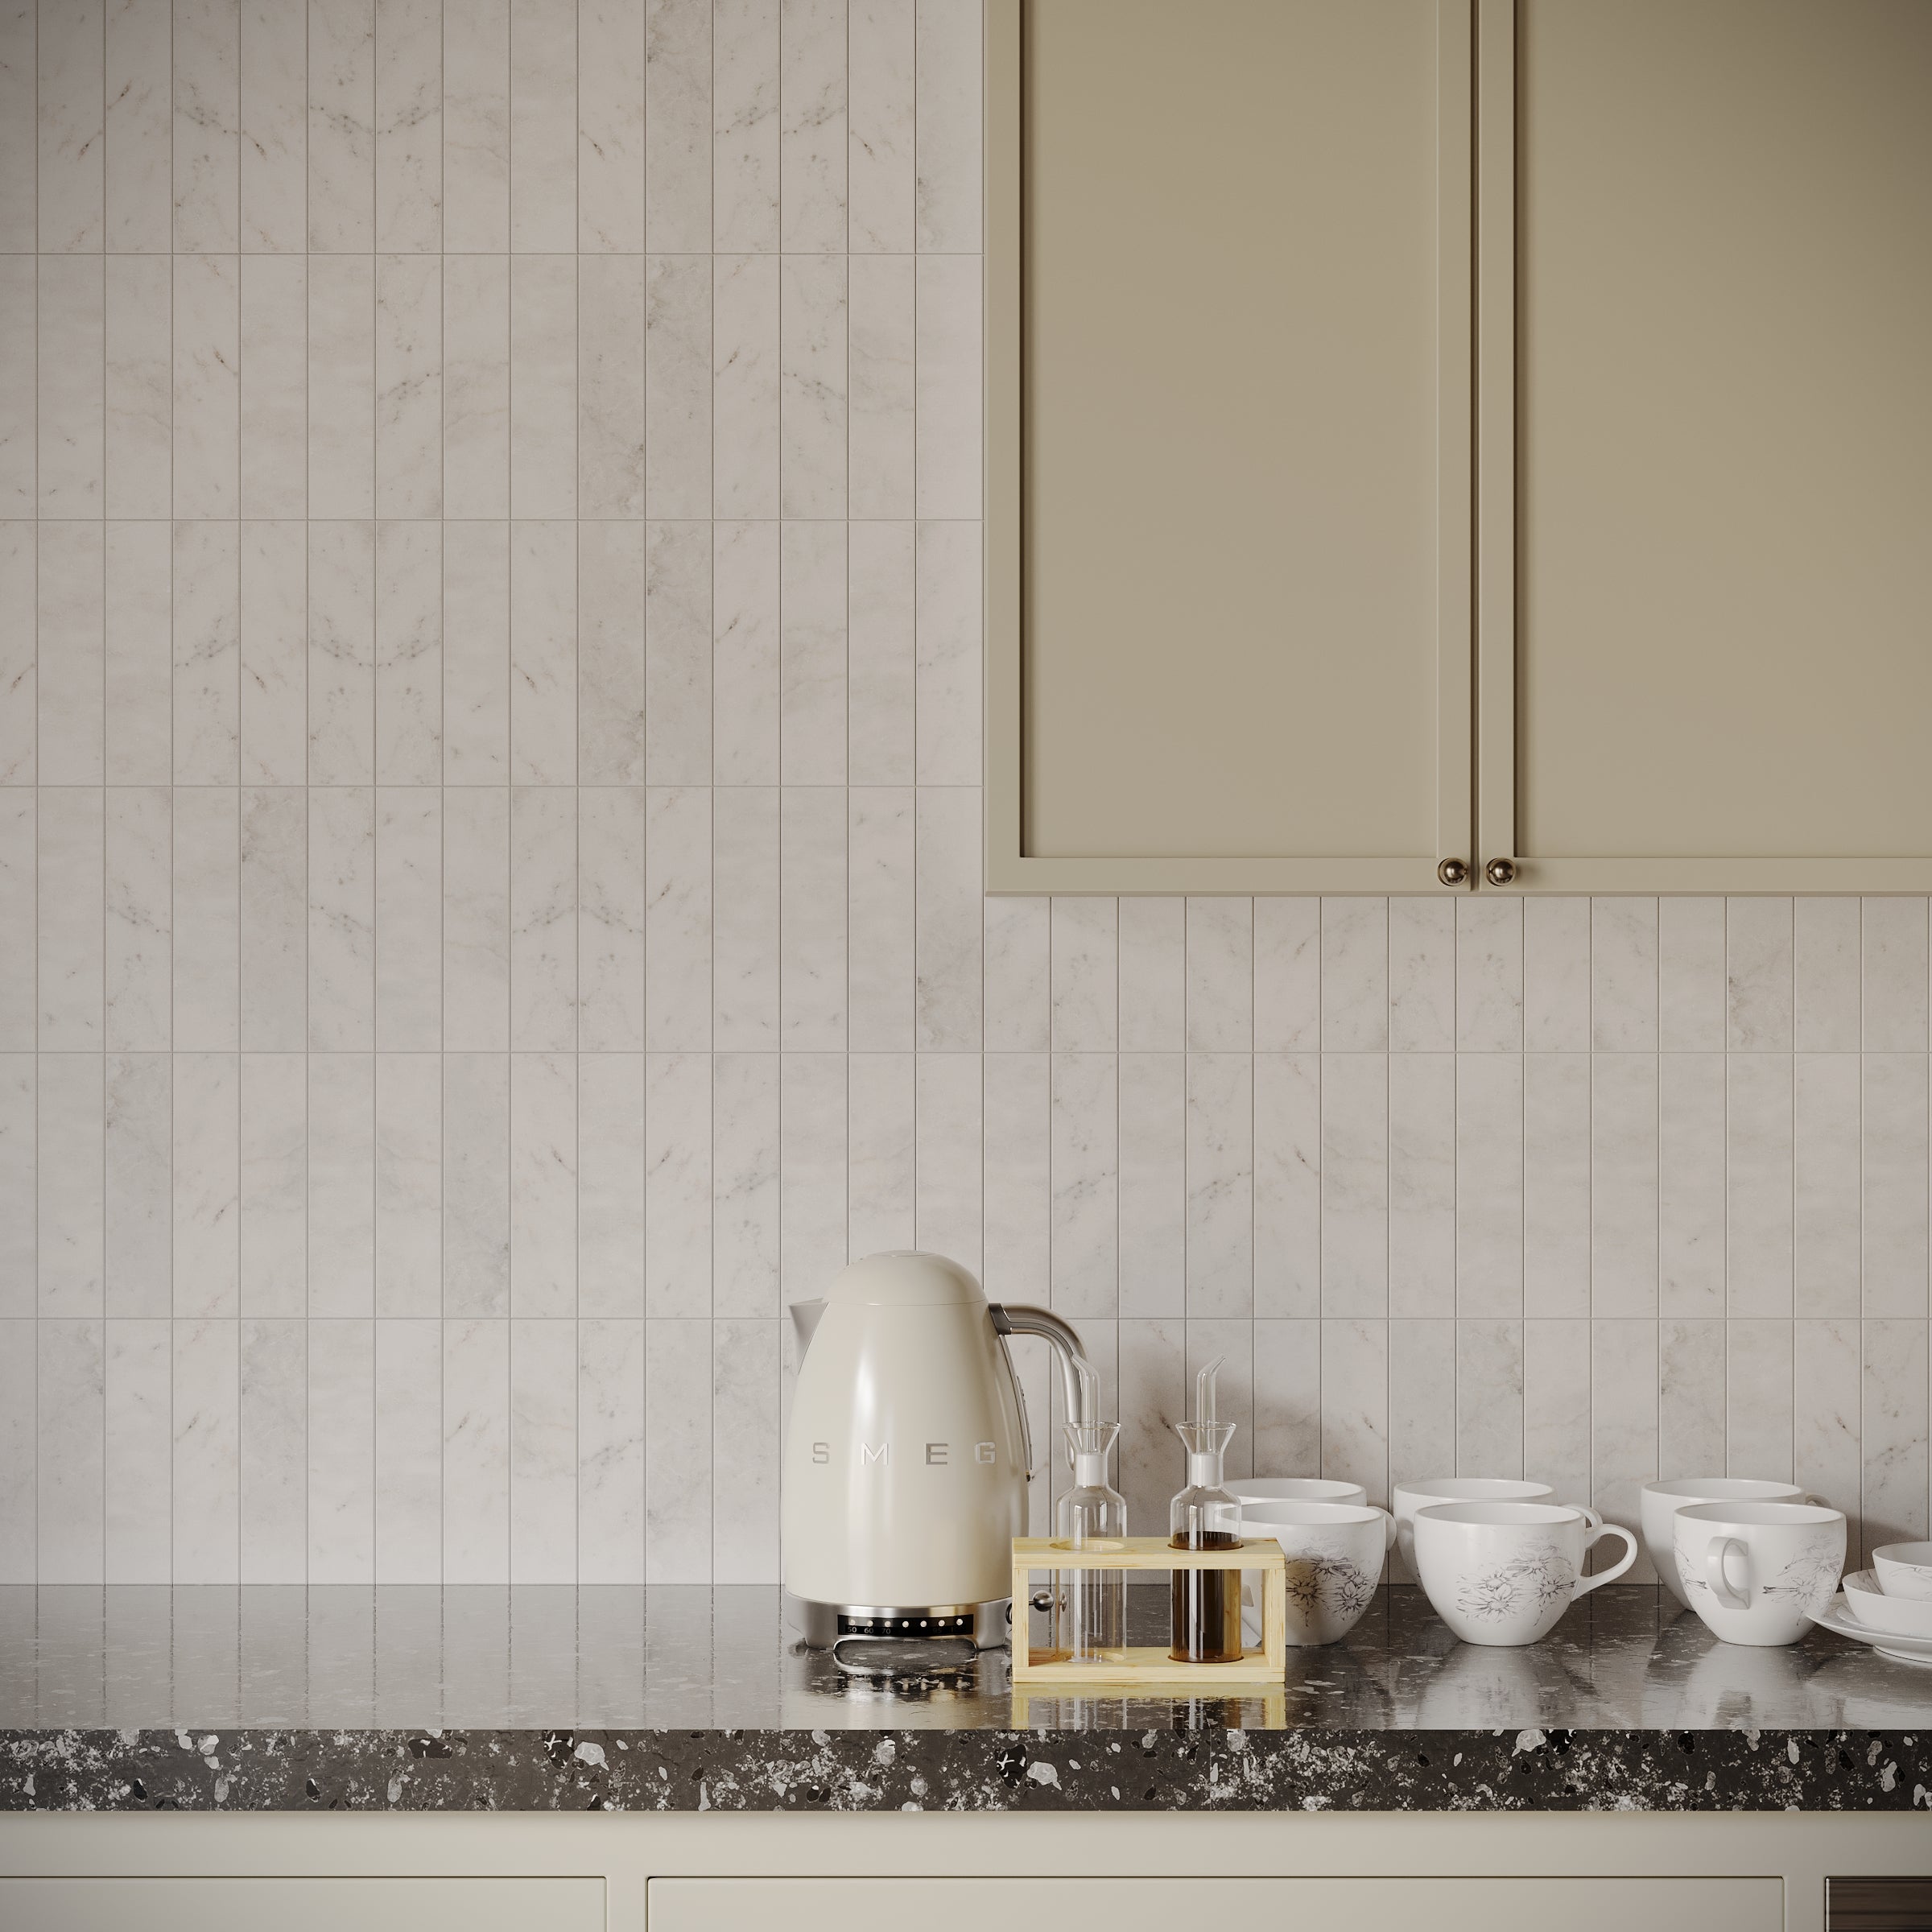
Quiet green, centuries in the making.
Fern is a muted sage green with silvery undertones that feels timeless rather than trendy. The full body color has the depth and softness of old Italian ceramics, and the handmade surface adds subtle variation from tile to tile that keeps the overall look natural and relaxed. It's green that grounds a space without demanding attention.

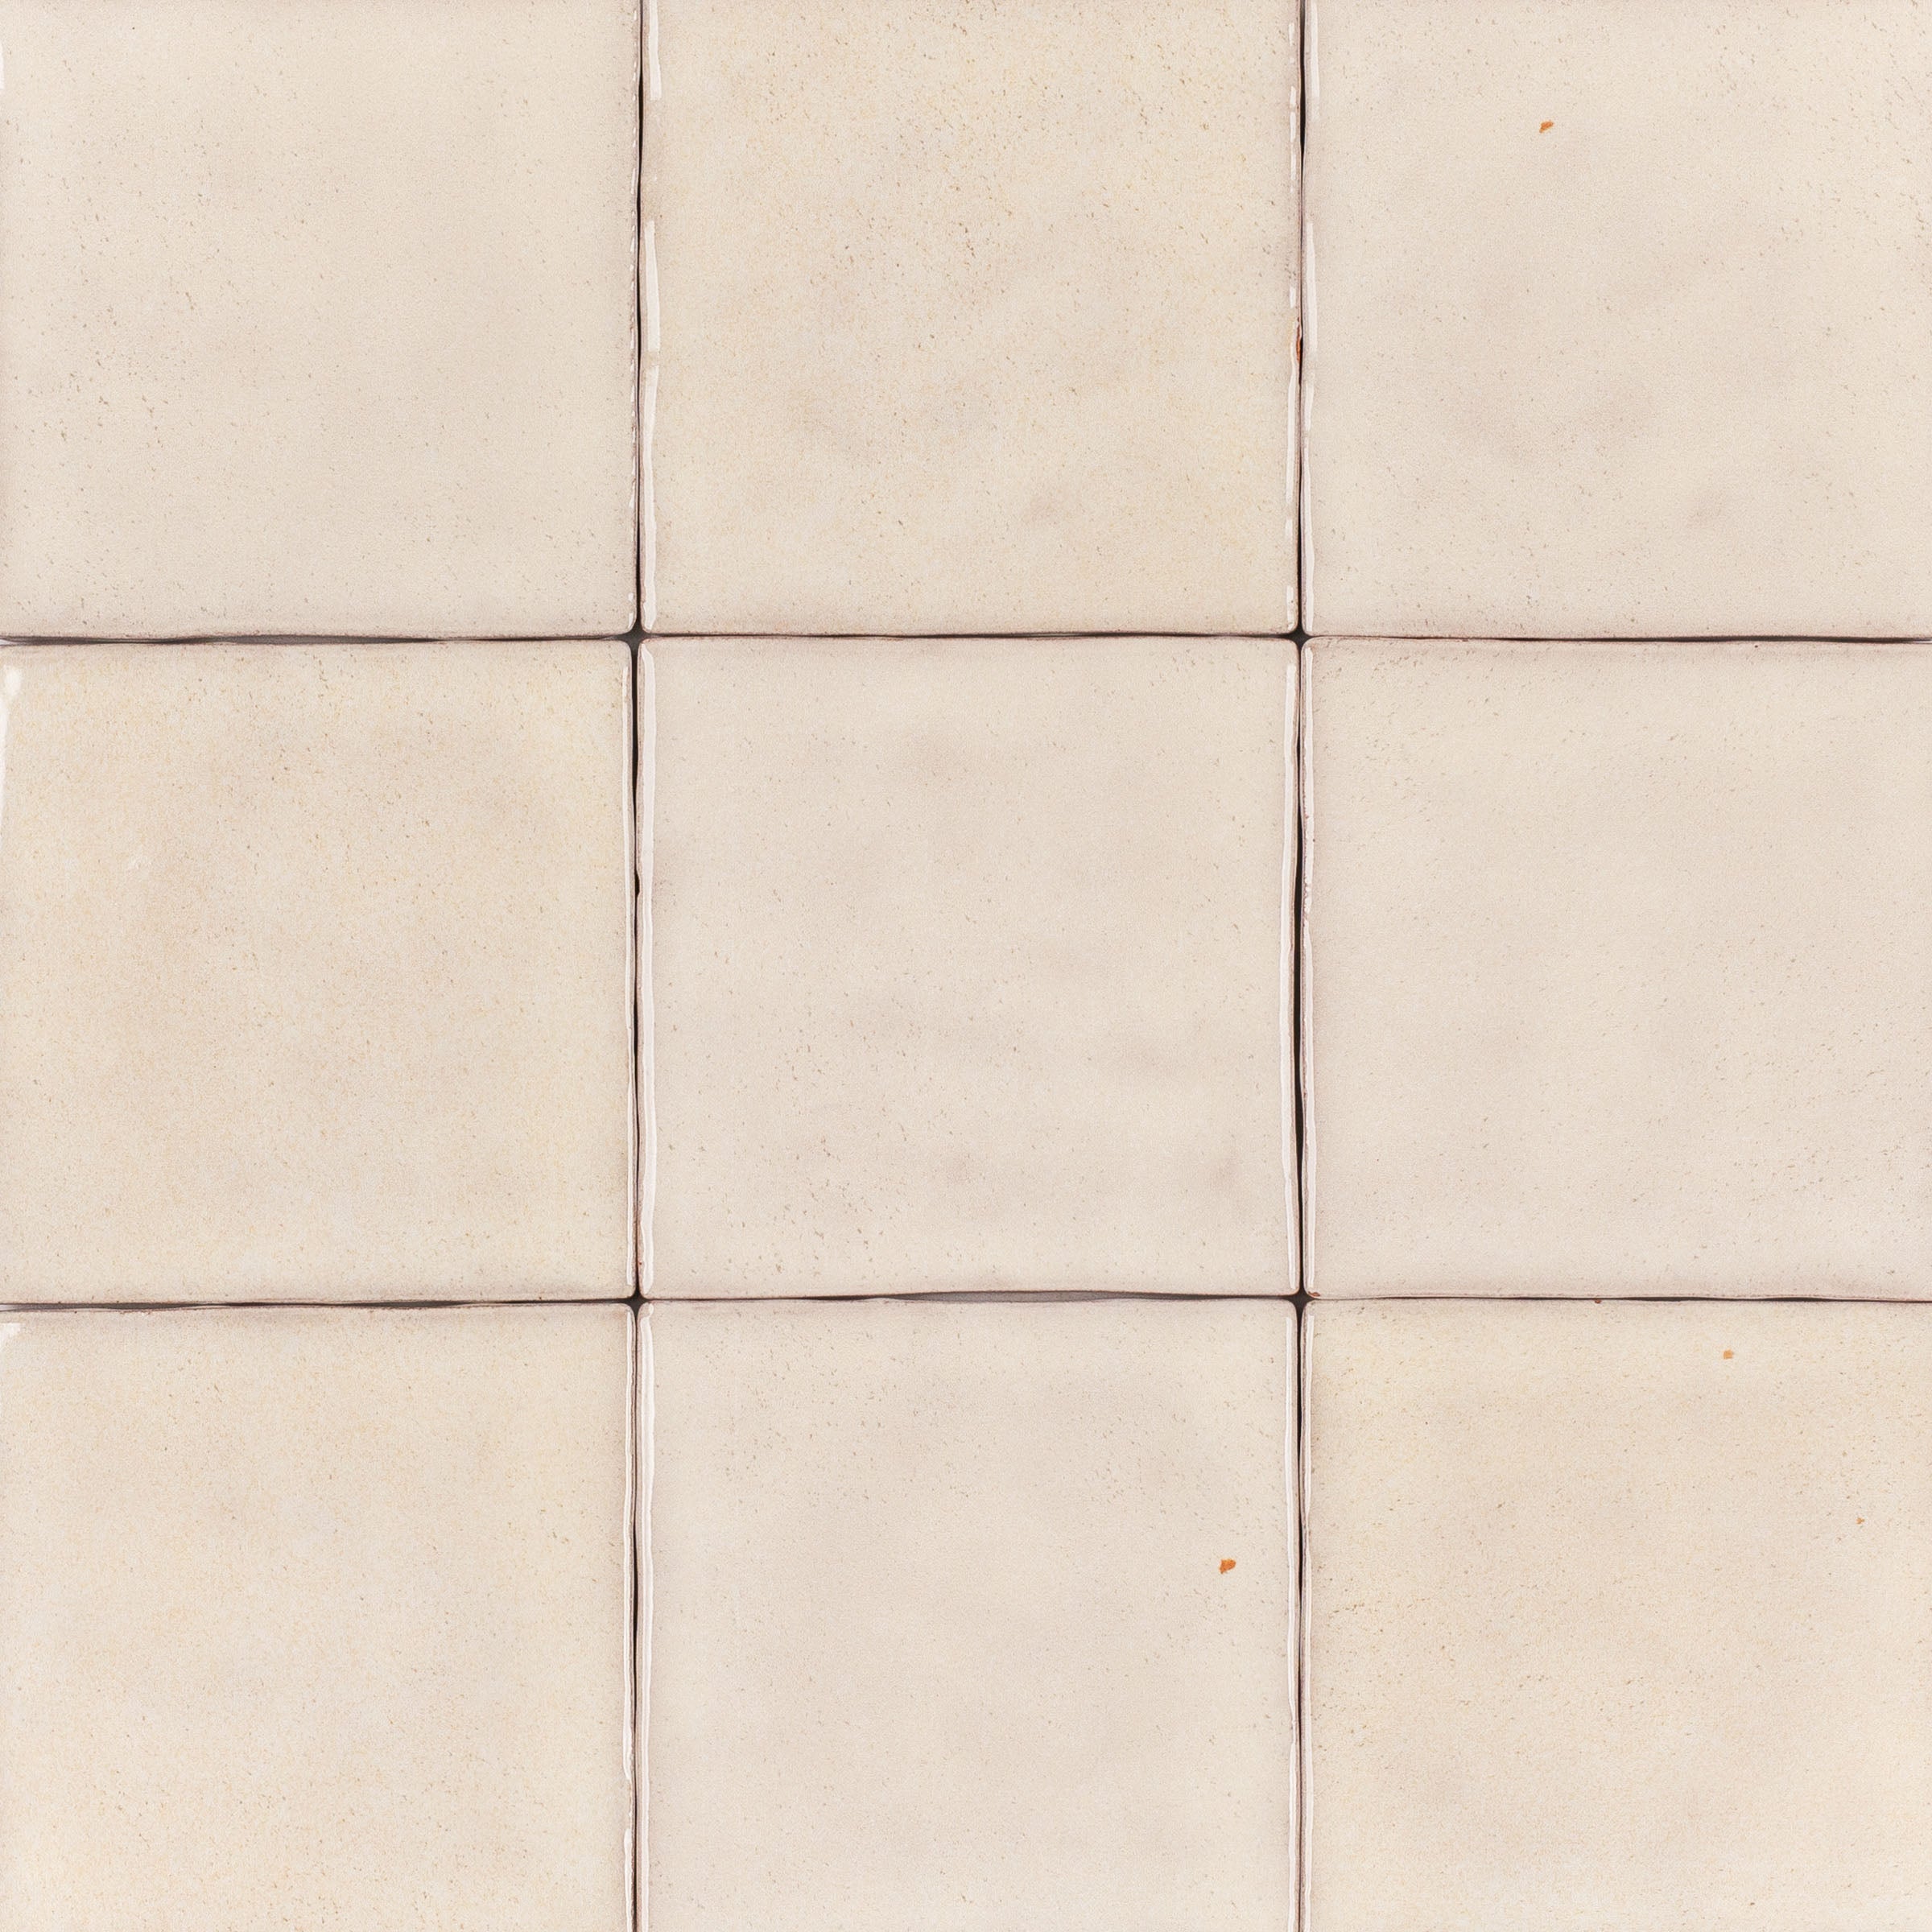
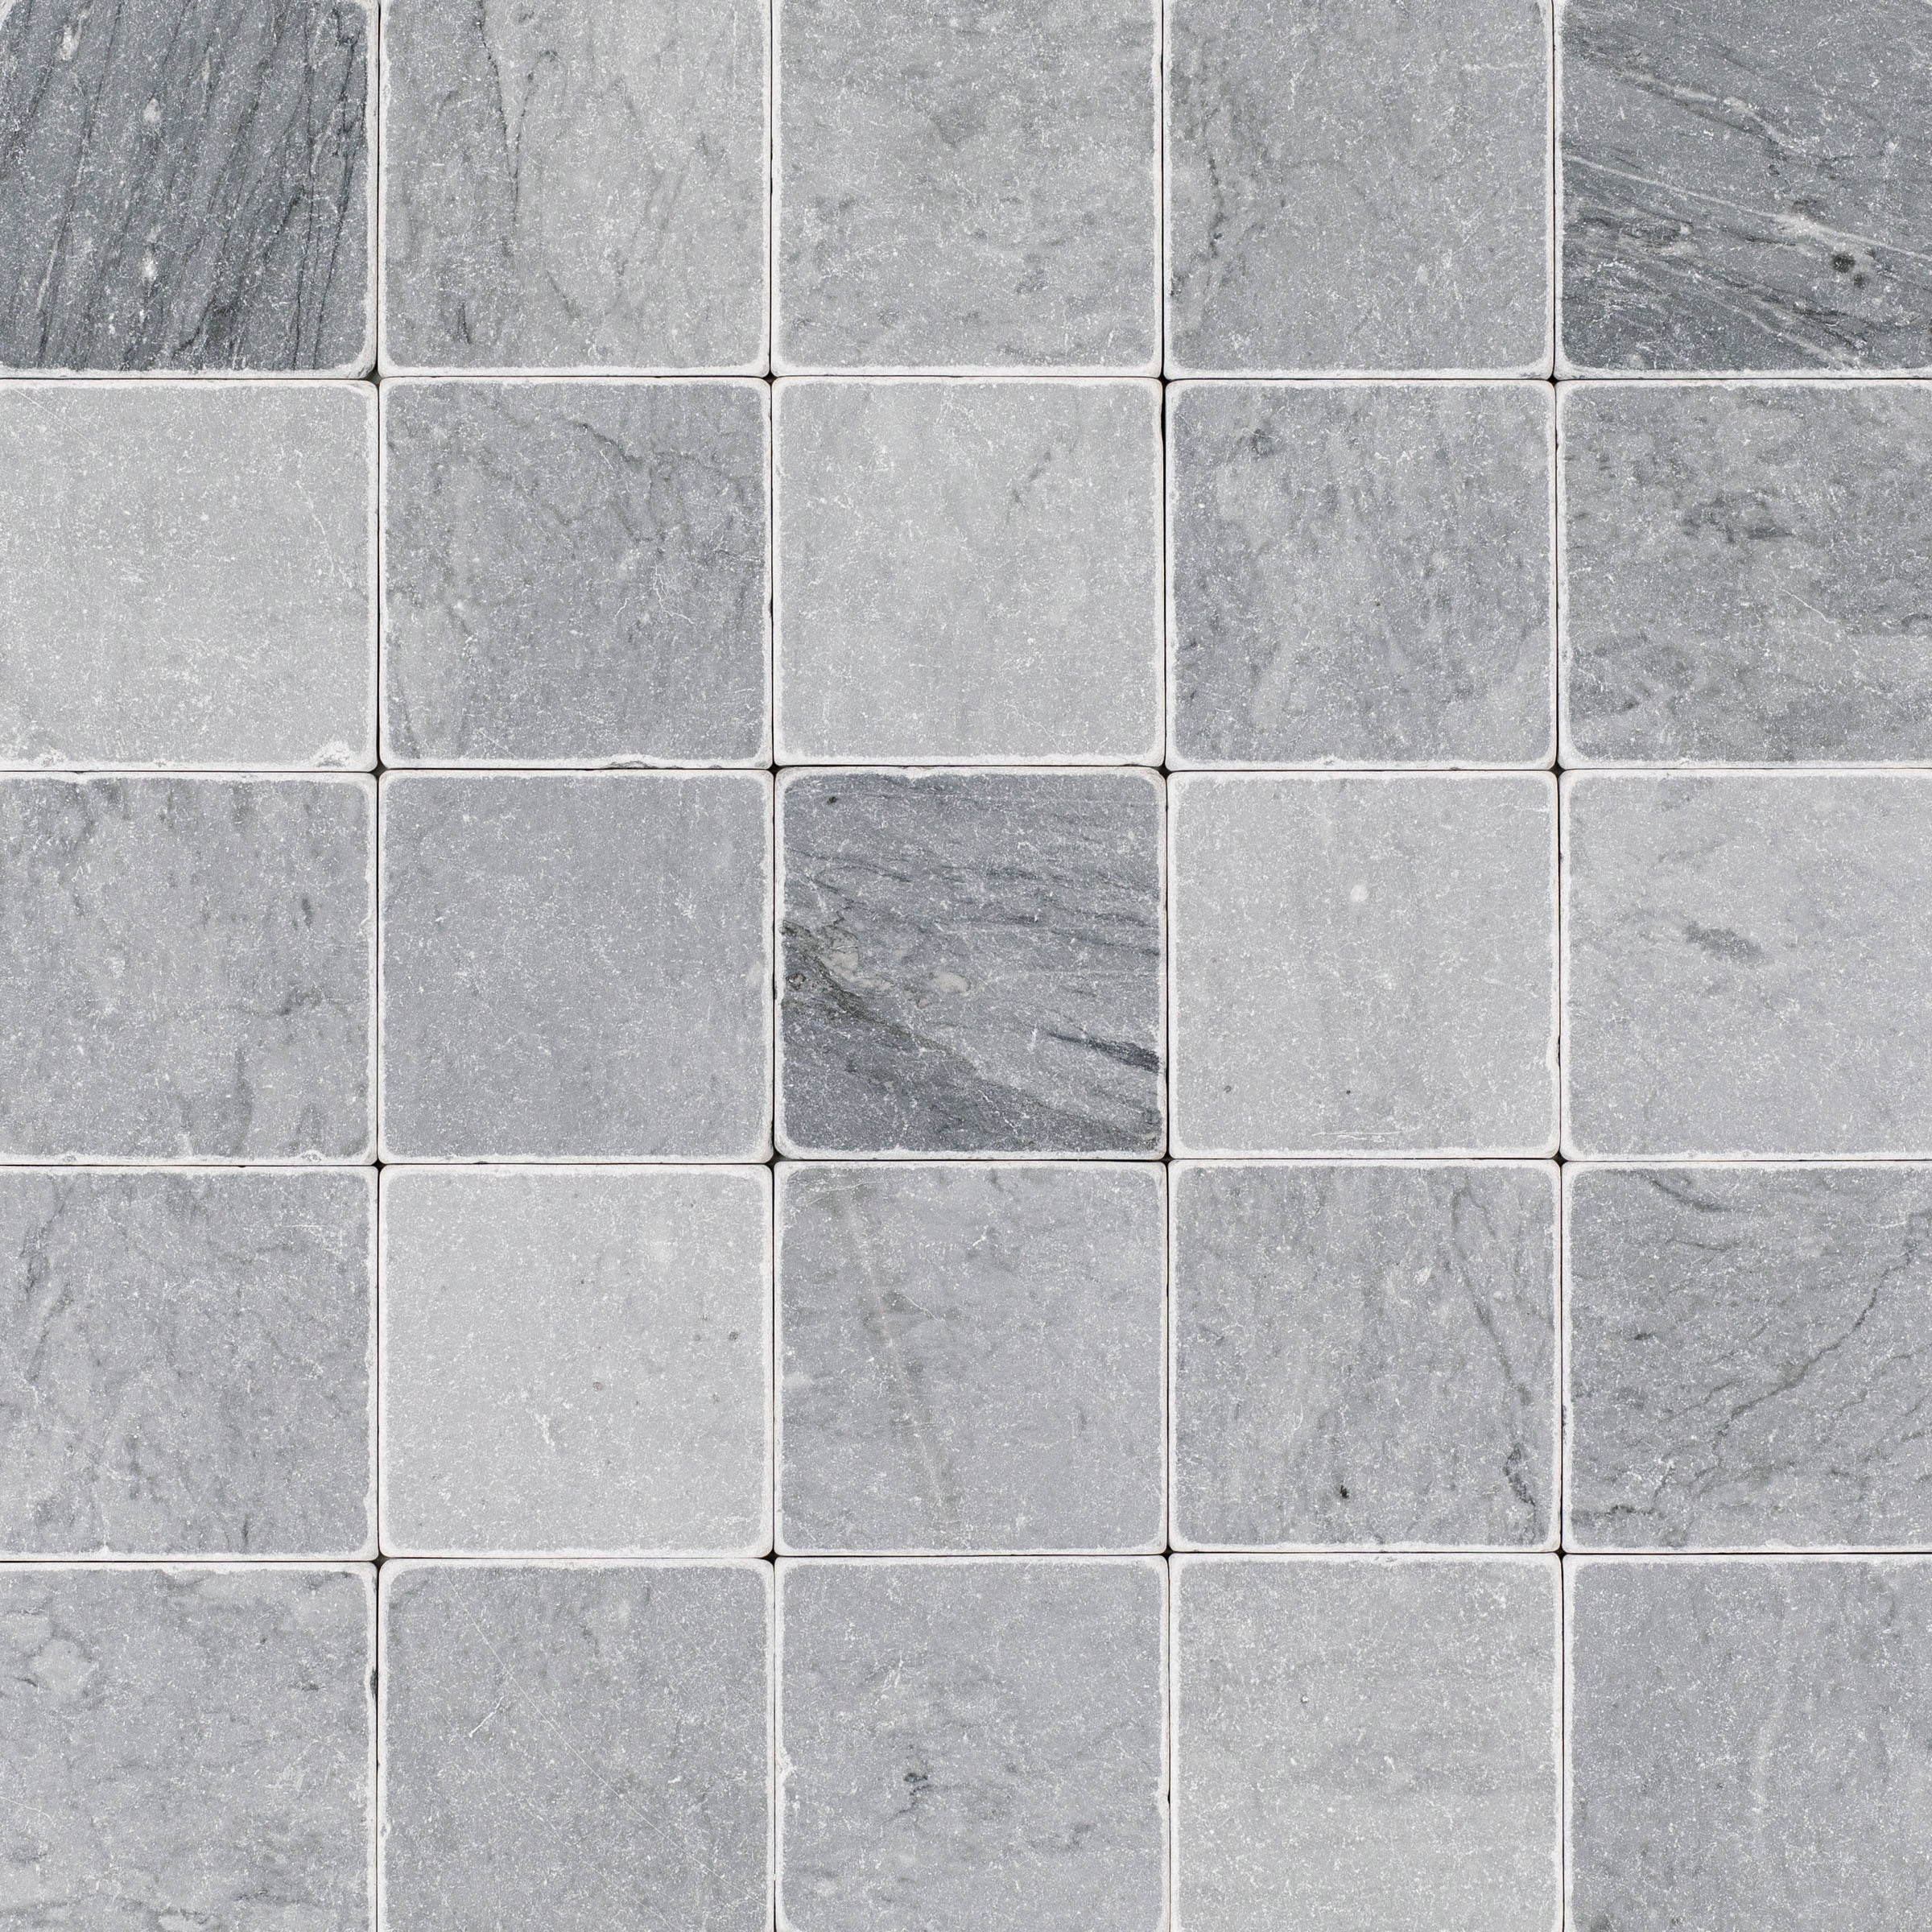
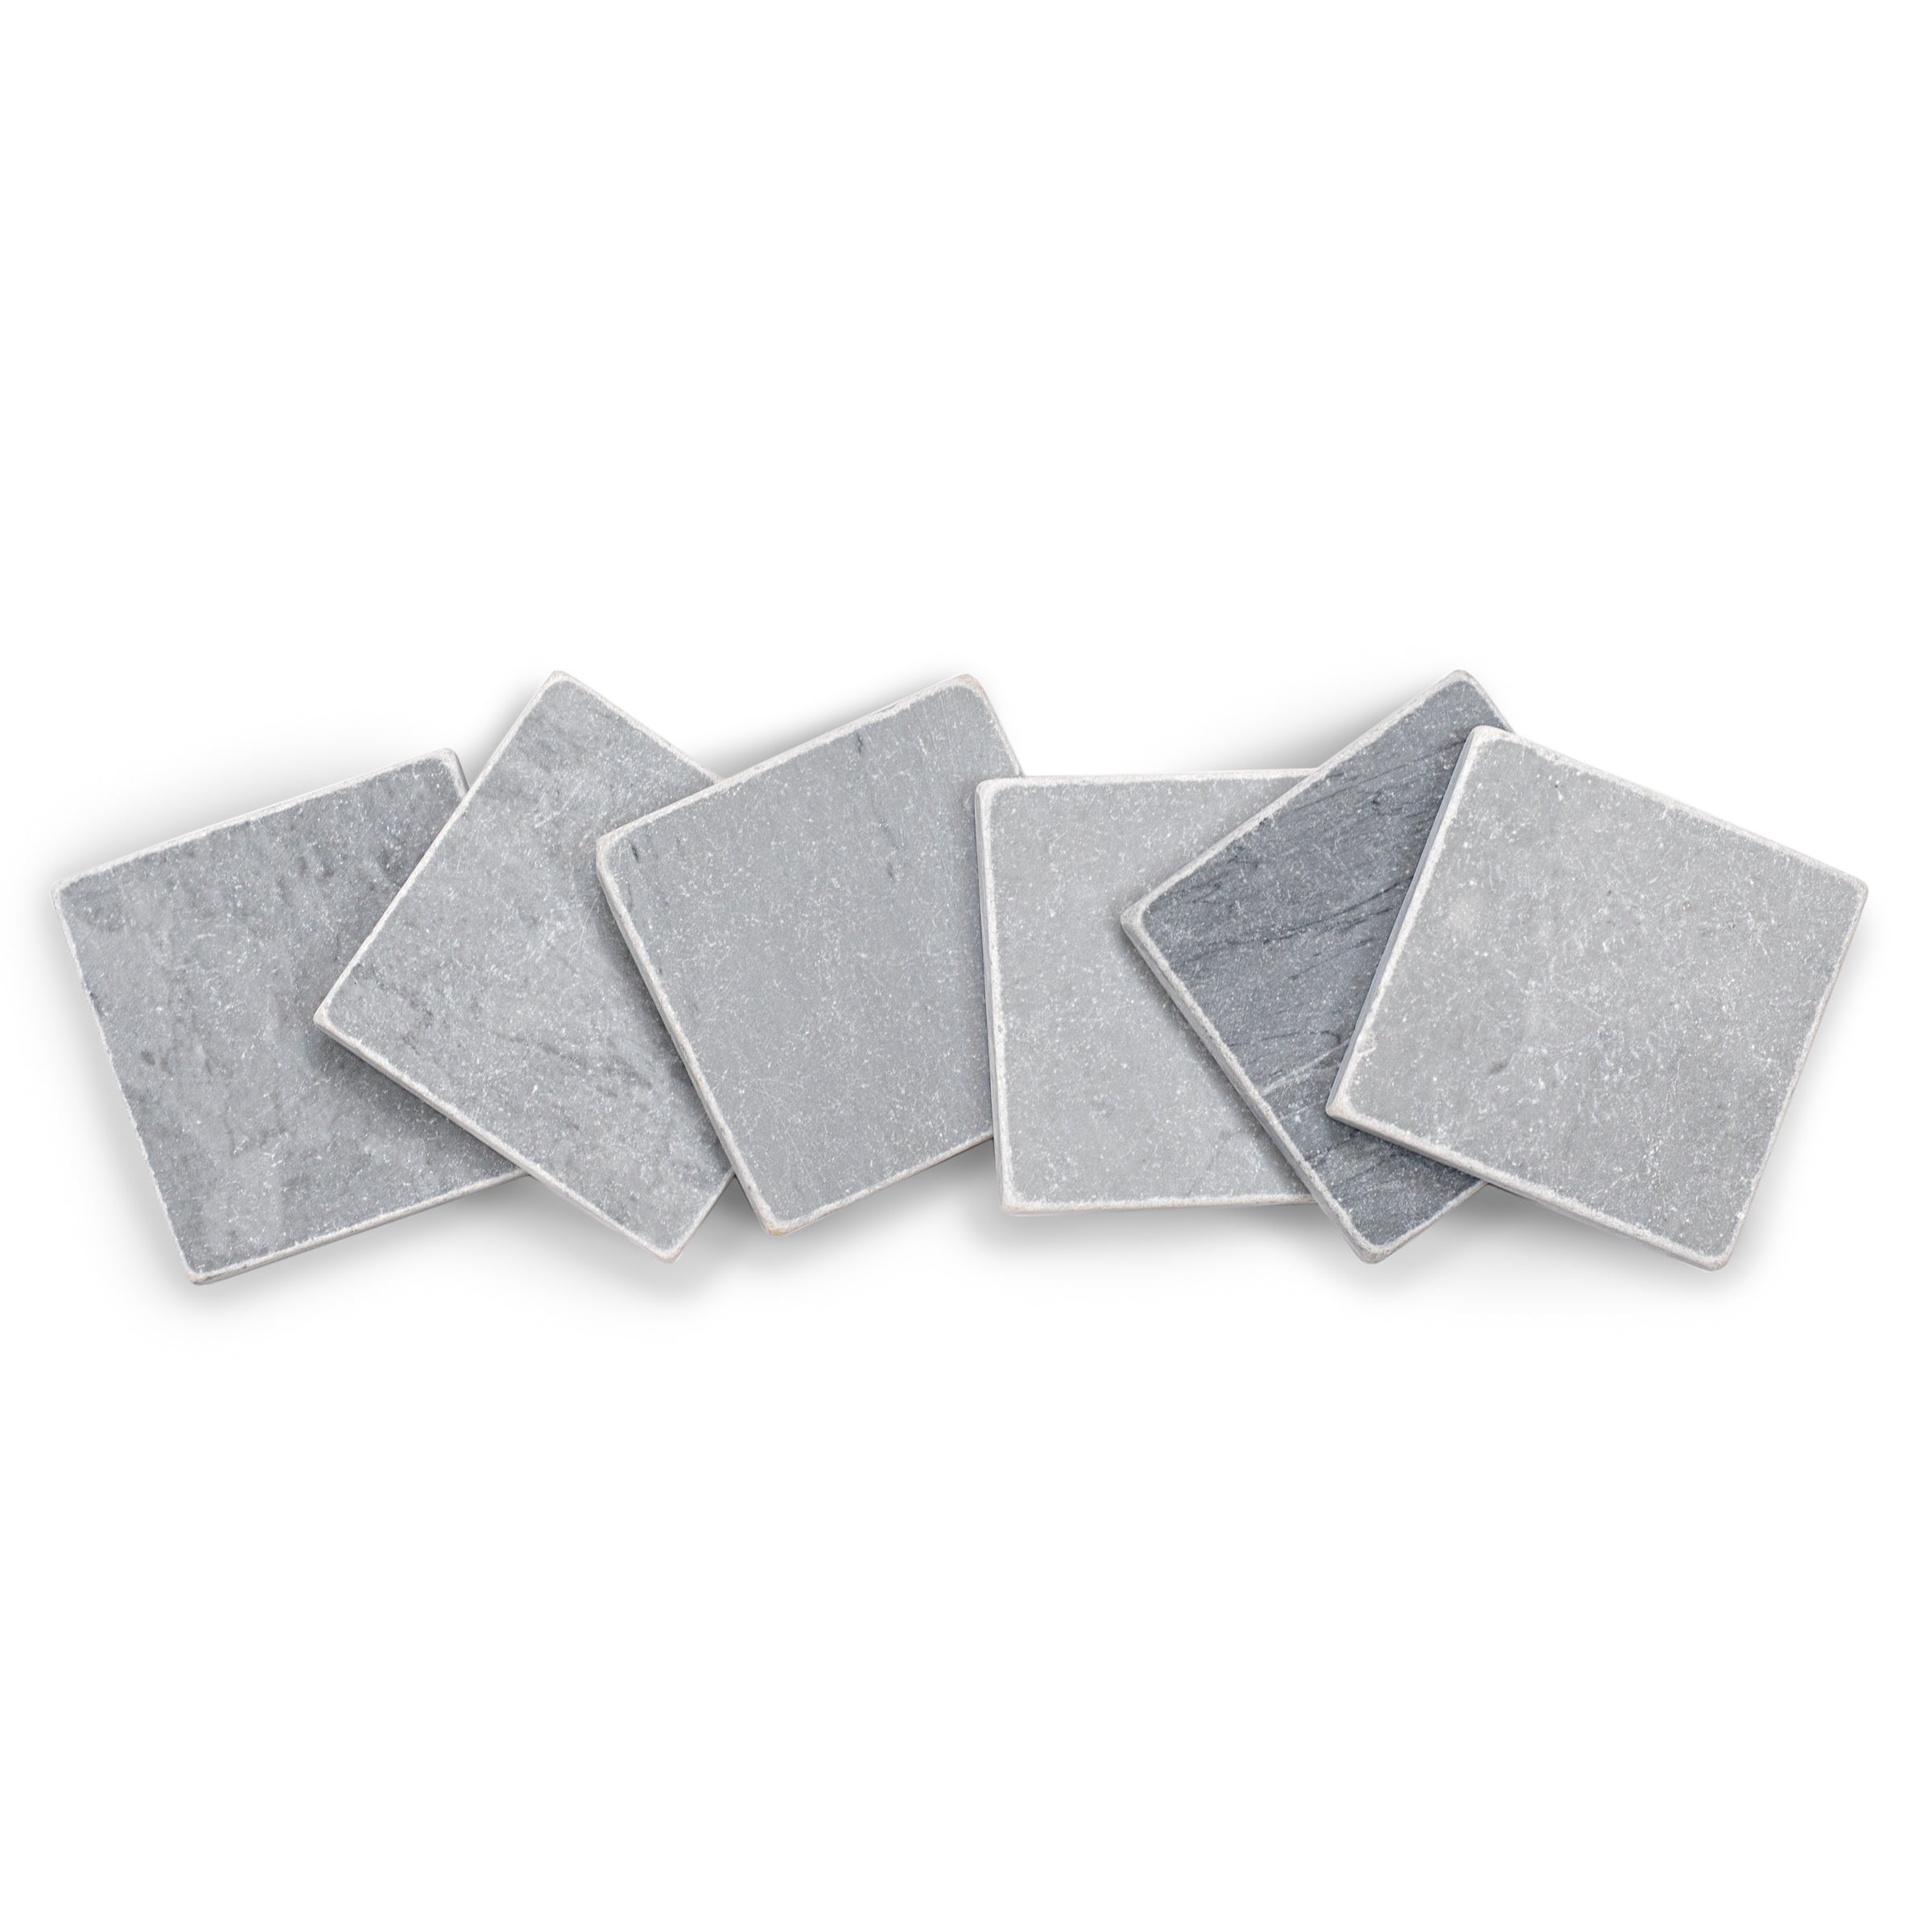
Handcrafted Italian terracotta, built for real life.
These 4x4 tiles are full body colored and kiln fired from natural clays. Suitable for floors and walls, indoors and out. Frost resistant and radiant heat compatible with an R12 anti slip rating. V2 slight variation means every tile is unique, creating the visual texture that makes handmade tile worth the investment.

Organic elegance.
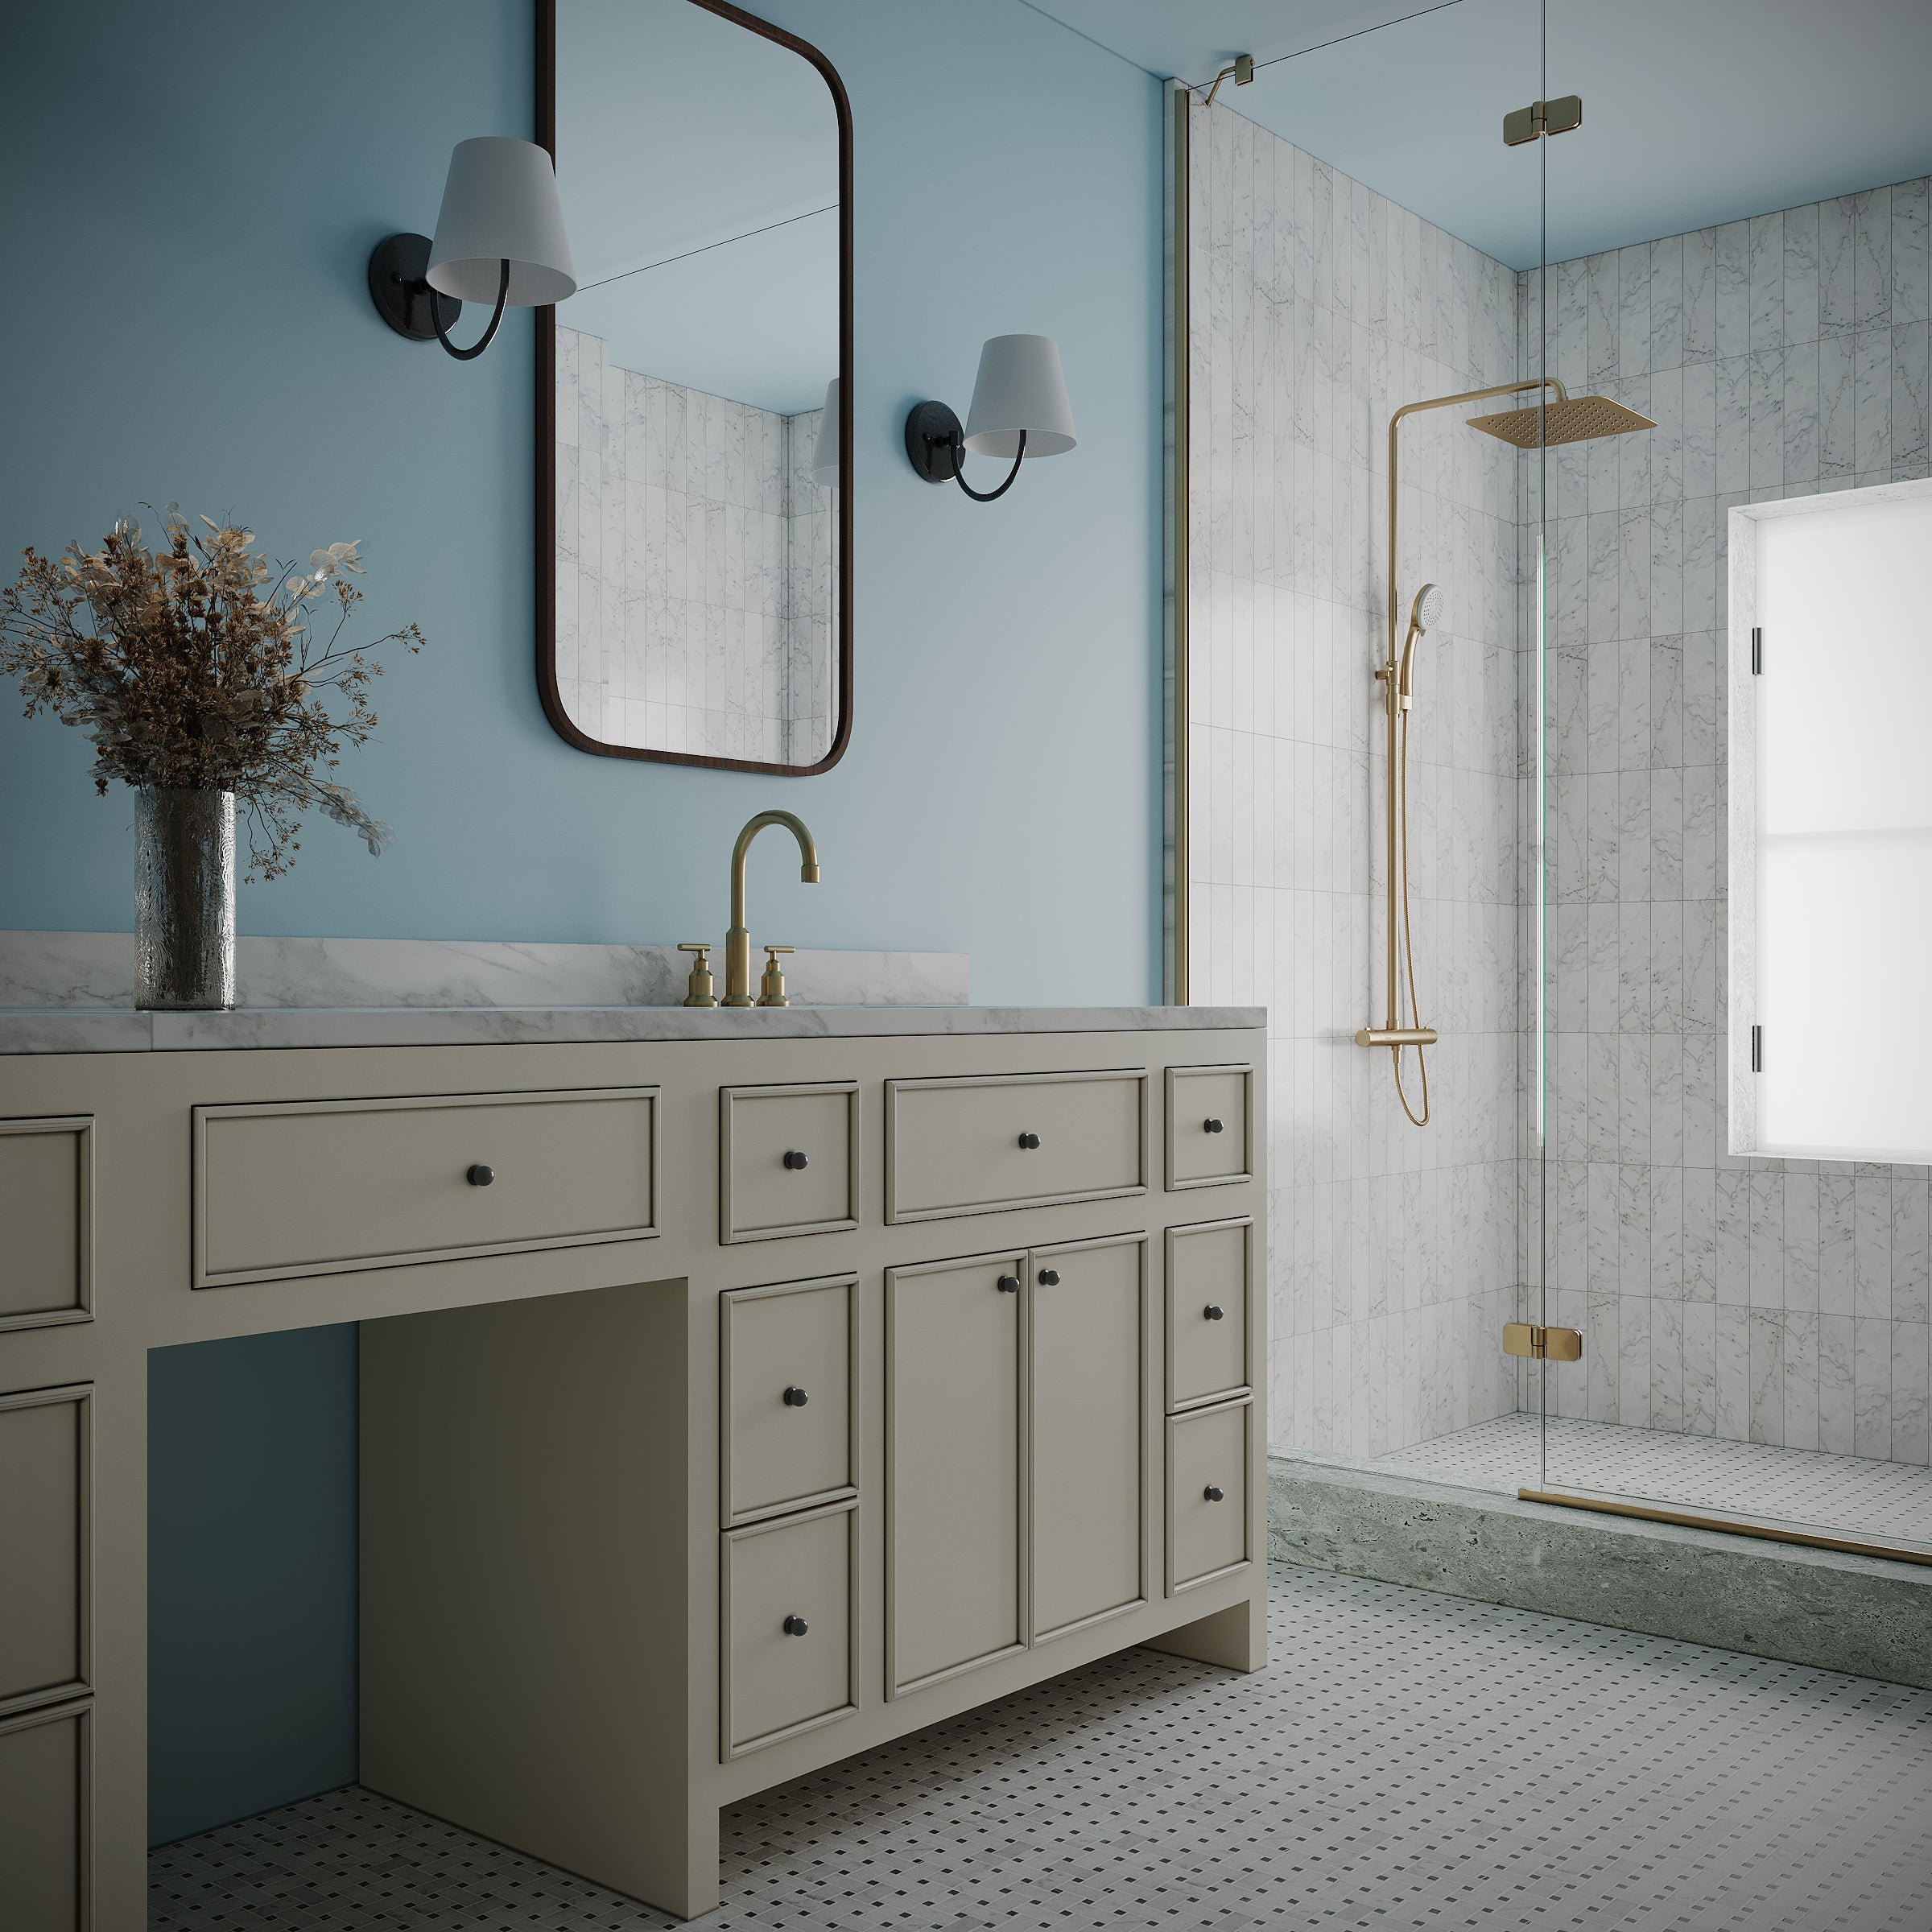
Fern wants natural companions — terracotta pots, raw wood, woven jute, weathered stone. Use it as a full wall in a bathroom for that collected European feel, or as a backsplash accent against warm white cabinets. Beautiful paired with Linen or Mushroom for an earthy, layered installation that feels like it's been there forever.


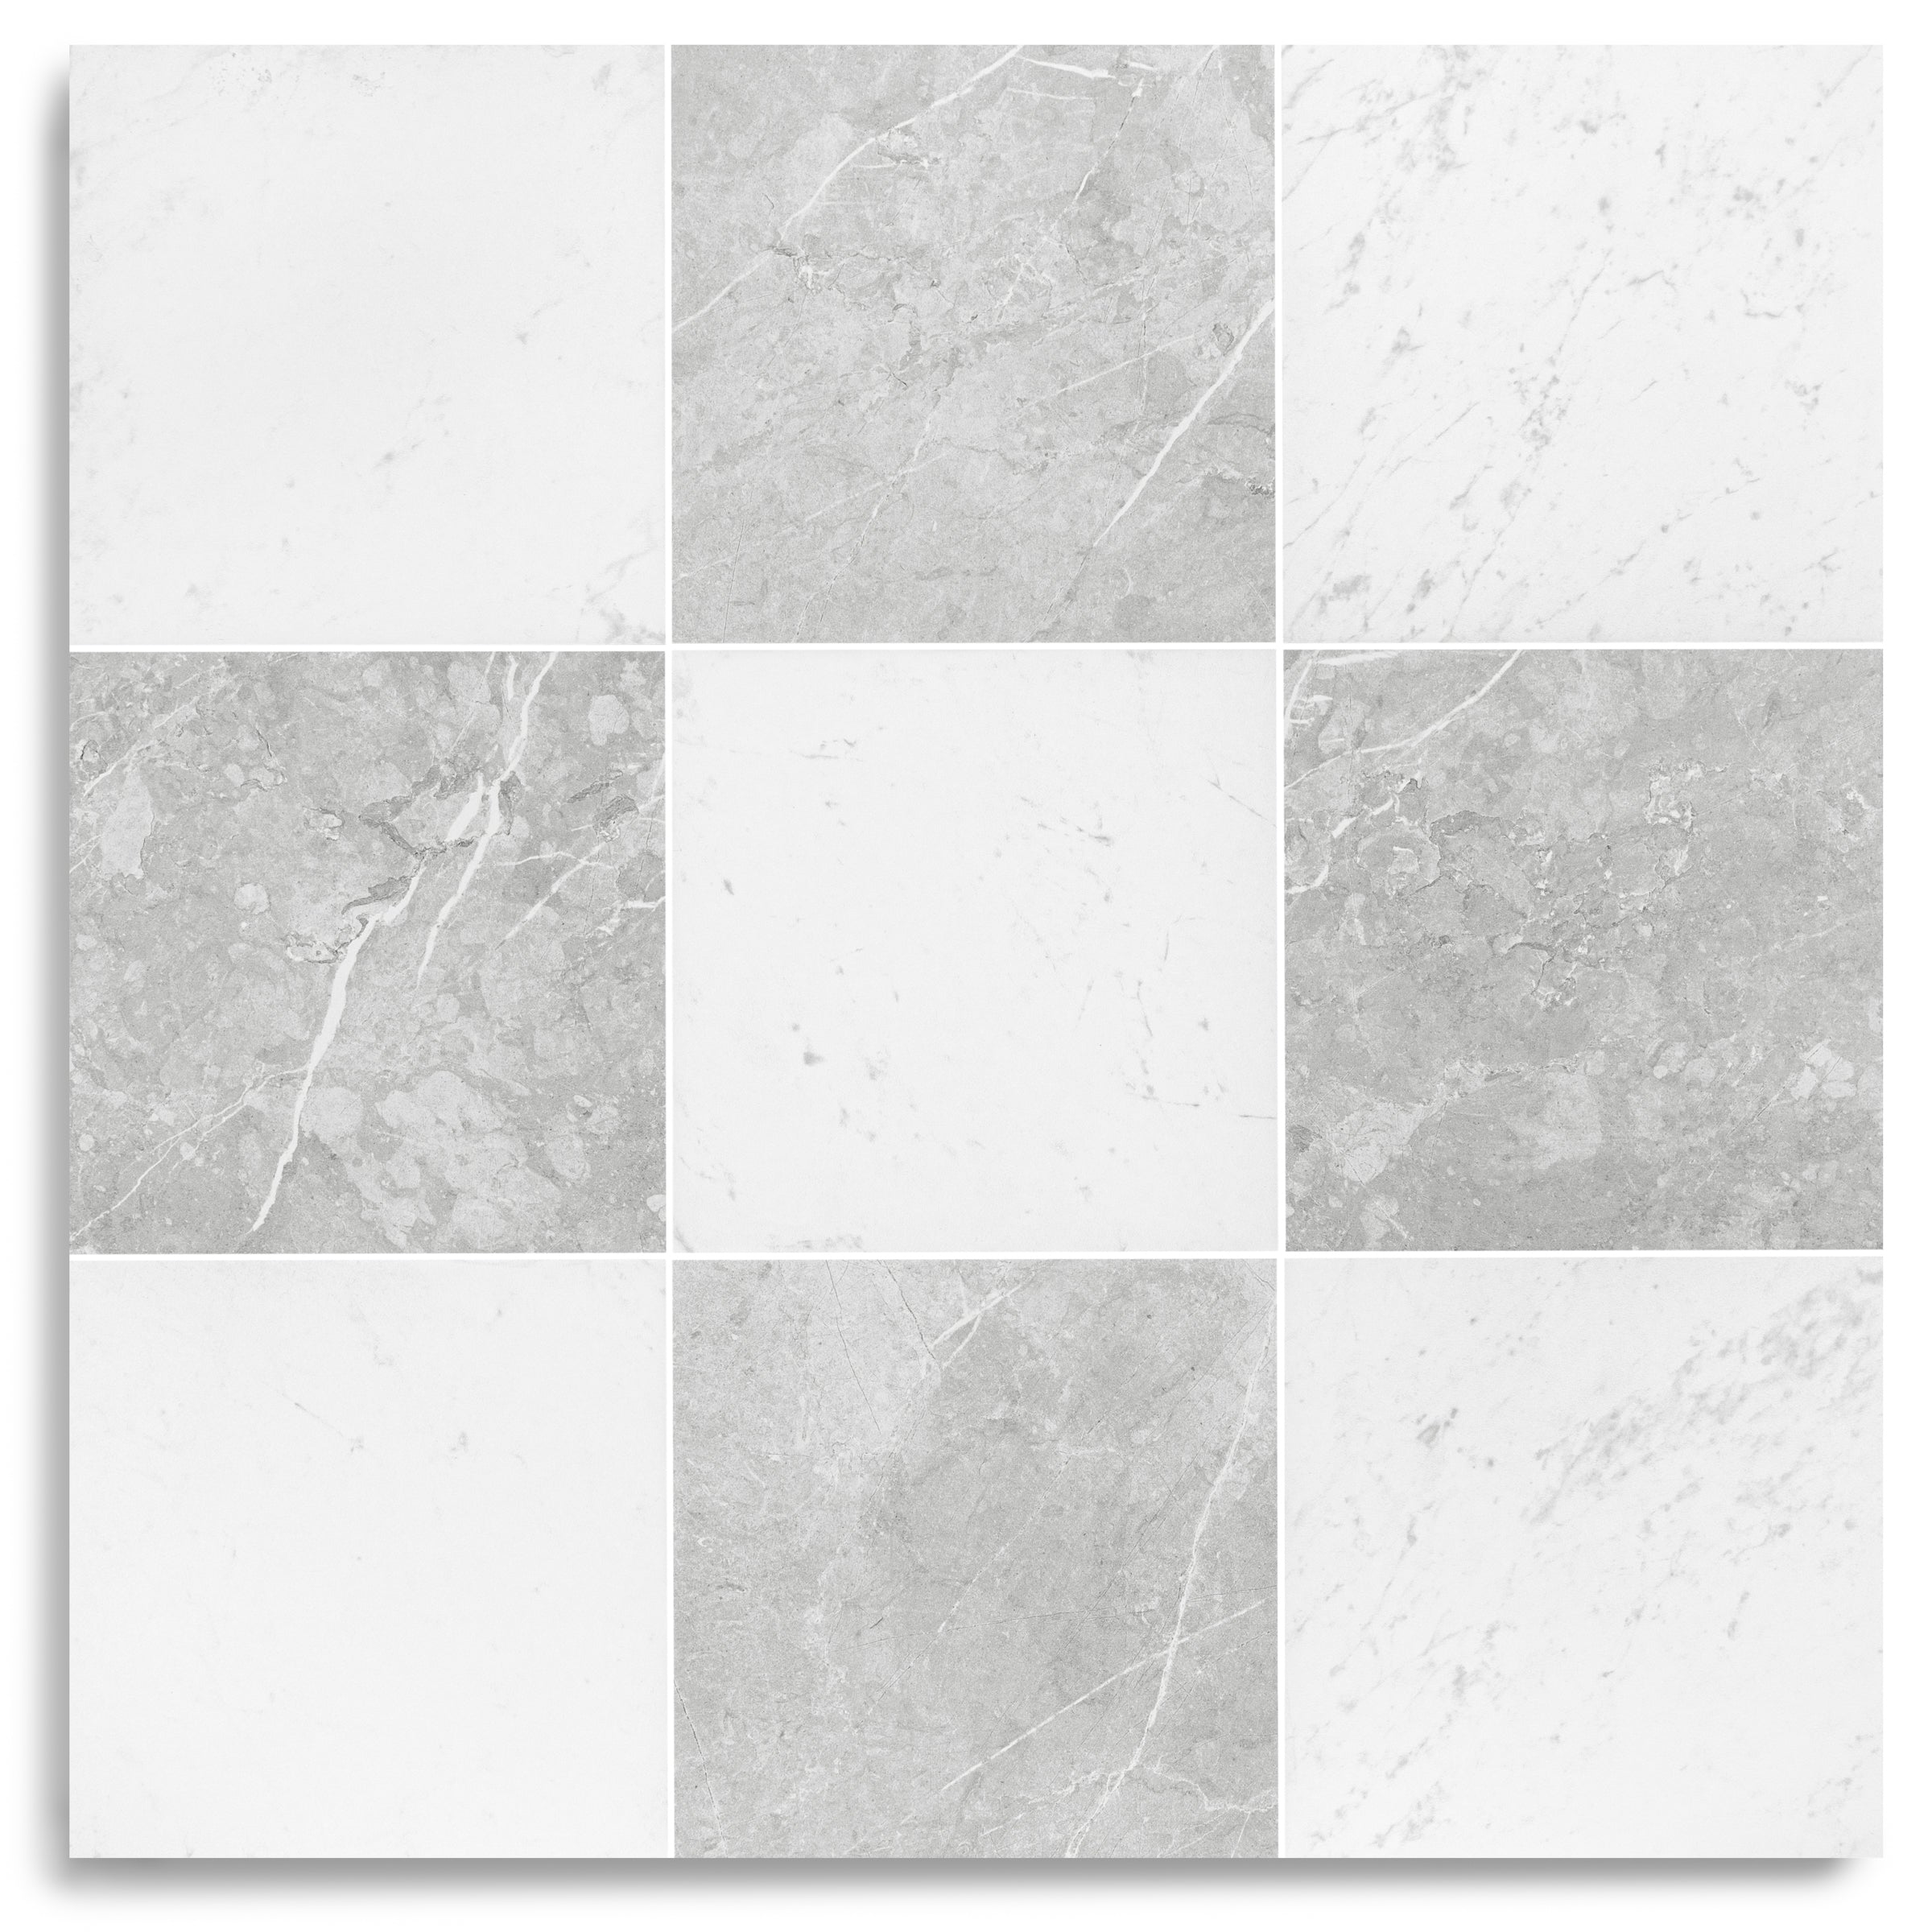
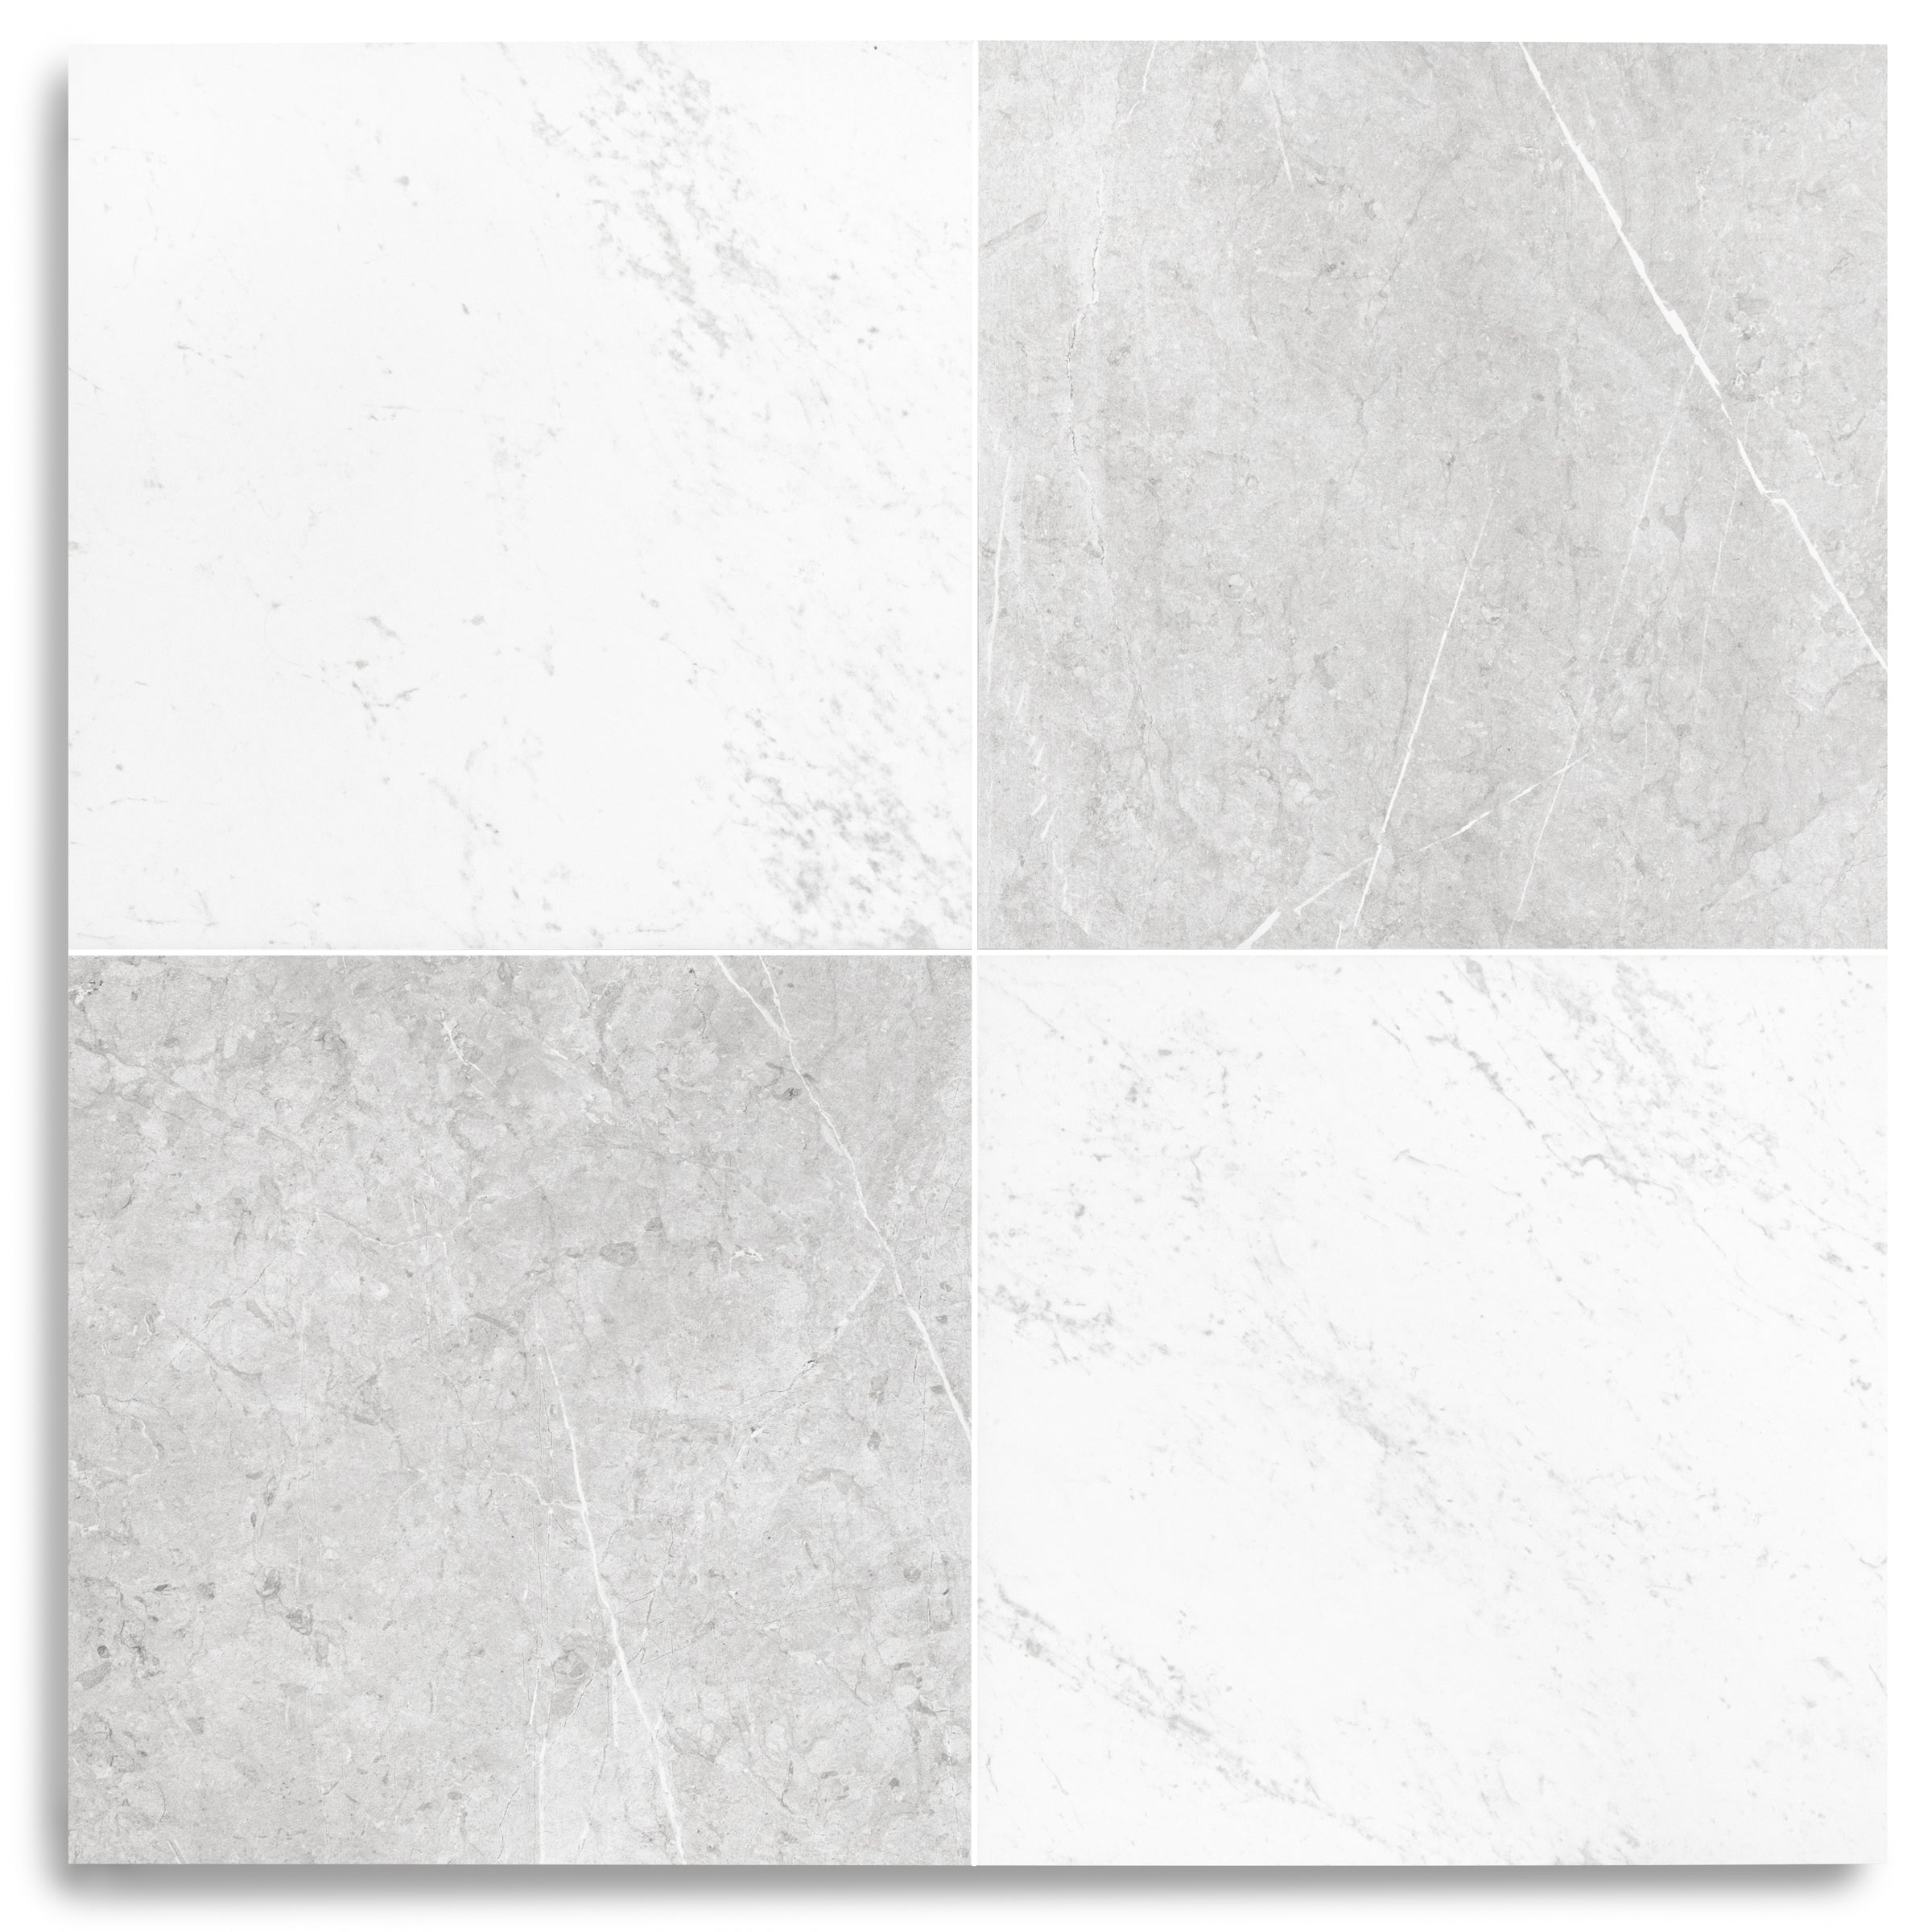
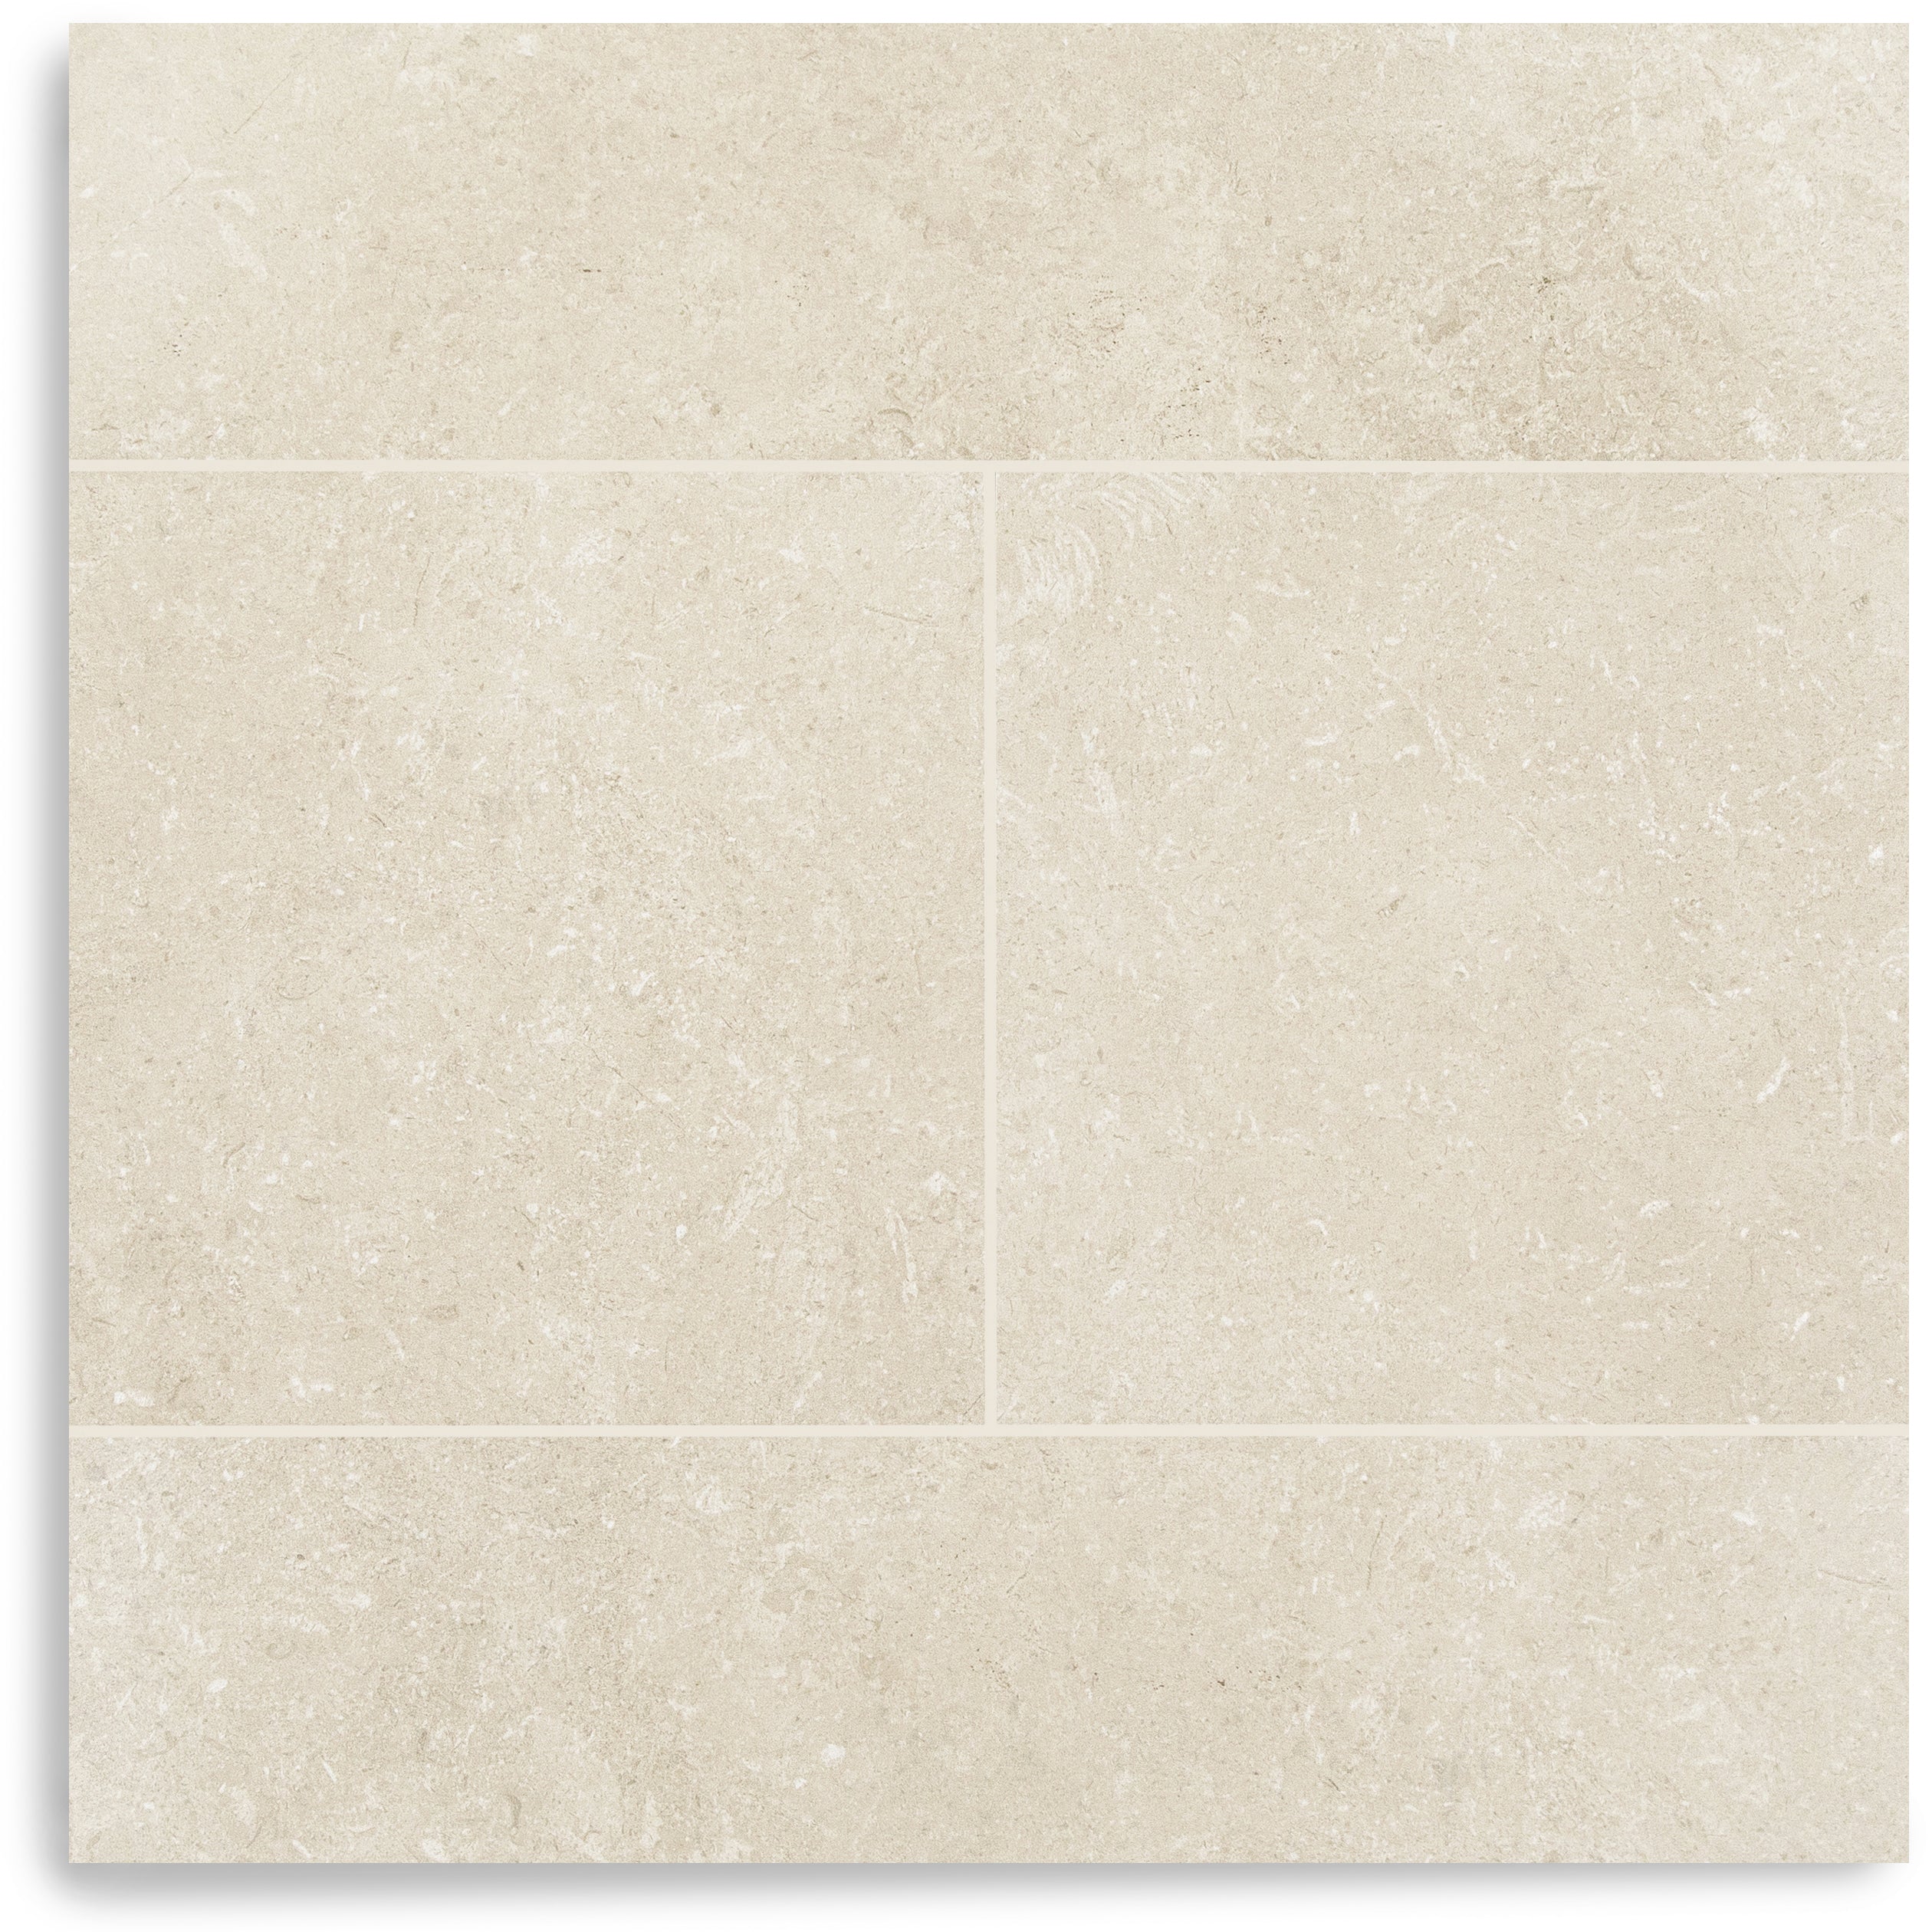
The Art of Pattern
How you lay a tile can completely transform the look and feel of a space. From the timeless rhythm of a horizontal offset to the bold geometry of herringbone, the clean precision of stacked horizontal, or the architectural edge of a vertical offset, each pattern tells a different design story. Whether you’re after calm uniformity or visual movement, the right layout can elevate even the simplest tile into something extraordinary.
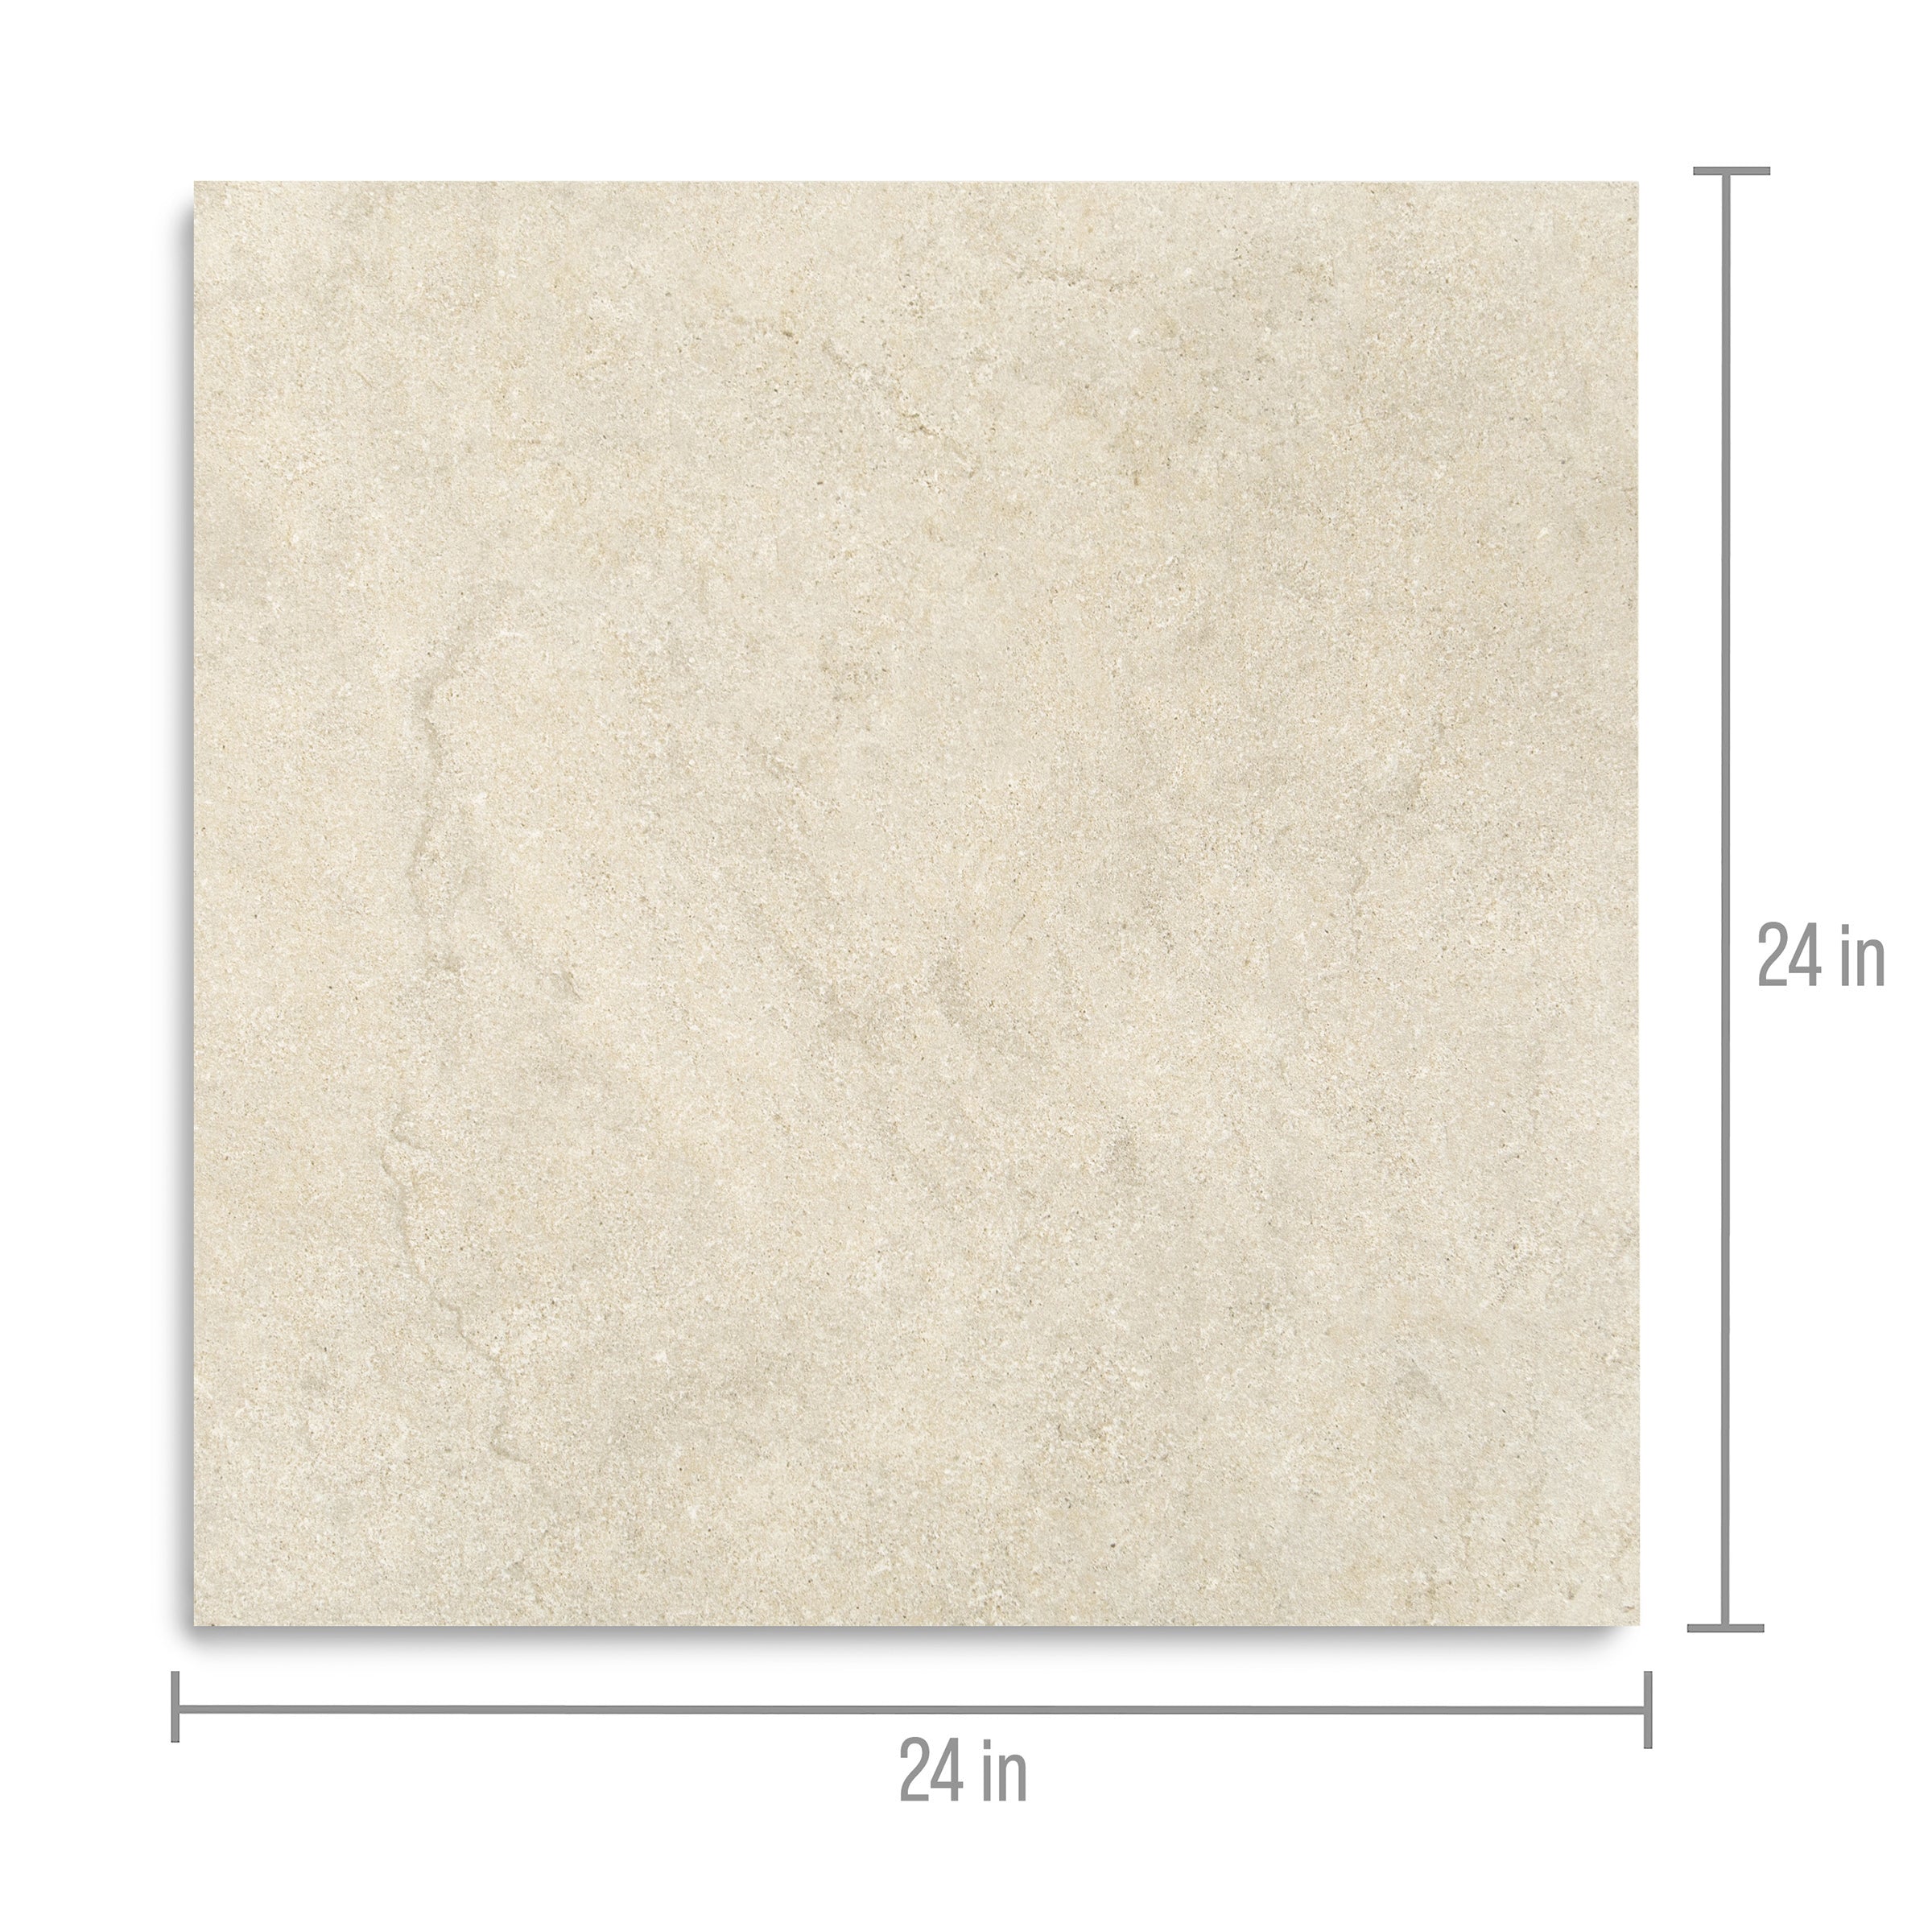
The Argilla Collection is handcrafted Italian terracotta tile in a classic 4x4 format, made from natural clays and colored all the way through the tile body. Available in six soft, earthy tones including Ivory, Linen, Mushroom, Fern, Sky, and Pewter, each tile is shaped by hand and kiln fired, carrying the subtle variations in color and texture that only artisanal production can deliver. Frost resistant with an R12 anti-slip rating, Argilla is rated for floors and walls, indoors and out, and is compatible with radiant floor heating. Whether you are designing a kitchen backsplash, a bathroom floor, or an outdoor accent wall, this is terracotta tile with old world soul and modern performance.
Details
Material
Handmade Terracotta
Finish
Matte
Water Absorption
>10%
Frost Resistant
Yes
Stain Resistant
If Sealed
Seal Required
Yes
DCOF
>.42
Collection
Argilla
Thickness
10mm
Country of Origin
Italy
Shade Variation
V2
Shape
Square
Application
Floors and Walls
Reccomended Grout Joint
Min 3mm
Edge
Handmade
Location
Floors, Walls, Showers, Backsplash
Gradient bar
Terracotta Tile Installation Guide
TERRACOTTA TILE INSTALLATION GUIDE
A Professional Guide to Handcrafted Clay Tile Installation
Reno Source
www.therenosource.com
BEFORE YOU BEGIN
Artisanal terracotta tile installation requires experience with handmade, porous materials. If you are new to tile installation, we strongly recommend hiring a professional installer with terracotta experience. We are here to provide beautiful tile, but what happens next depends on you and your installer. The guidelines below exist for good reason, skipping steps often leads to costly repairs.
-
OVERVIEW
Terracotta tiles, also known as cotto tiles, are handcrafted clay tiles valued for their natural warmth, character, and timeless appearance. Unlike manufactured tile, terracotta is porous and requires specialized installation techniques, especially during sealing and grouting, to ensure durability and long-term performance. This guide covers the full process from surface preparation through final finishing.
Inspection and Ordering
Inspect all tiles upon delivery for damage, color variation, and sizing. Order 15 to 20 percent overage to account for cuts, breakage, and future repairs. Handmade tiles vary in size, typically within a 5 to 8 millimeter tolerance, which is normal and part of their character. Blend tiles from multiple boxes during installation to ensure even color distribution.
Quick Reference
Overage to Order: 15 to 20 percent
Concrete Cure Time: Minimum 28 days
Grout Joint Width: 1/8 inch to 3/8 inch, 3 to 10 millimeters
Trowel Size: 1/2 inch by 1/2 inch square notch
Thinset Cure Time: 24 to 48 hours before sealing
Pre Grout Sealer Coats: 2 to 3 coats until saturated
Grout Cure Time: 24 to 72 hours
Full Cure Before Heavy Use: 7 days
Reseal Frequency: Every 1 to 3 years
-
TOOLS AND MATERIALS
Required Tools
Water cooled wet saw with diamond blade. Notched trowel, 1/2 inch by 1/2 inch square notch. Margin trowel for back buttering. Soft rubber mallet. Four foot level. Grout float. Buckets and sponges. Paint brushes or rollers for sealer application. Clean cloths. Safety glasses, gloves, knee pads, and respirator.
Materials
Thinset mortar should be a cement based flexible adhesive rated C2 TE S1. White thinset is recommended. Neutral cleaner such as Fila Cleanall. Penetrating sealer such as Fila MP90 Eco Plus. Grout should be sanded for joints 1/4 inch or wider and unsanded for narrower joints, using a neutral color. Optional finishing wax such as Fila Protective Wax in matte or satin. Tile spacers sized for the desired joint width.
-
STEP BY STEP INSTALLATION
Step 1 Surface Preparation
The subfloor must be clean, level, dry, and structurally sound. Terracotta tiles are heavy and require a stable substrate.
For concrete subfloors, new concrete must cure for a minimum of 28 days. Moisture content should be below 4 percent. Clean thoroughly to remove dust, debris, oils, and curing compounds. Fill cracks and level uneven areas with an appropriate patching compound.
For wood subfloors, install cement backer board a minimum of 1/4 inch thick using thinset and screws. Ensure the assembly meets deflection requirements of at least L 360.
Leveling should be done using a self leveling compound as needed. The surface should be flat within 1/8 inch over 10 feet. Grind high spots and fill low spots as required.
In wet areas such as bathrooms or kitchens, apply a liquid or sheet waterproofing membrane according to manufacturer instructions and allow it to fully cure before proceeding.
Step 2 Layout and Planning
Begin layout from the center of the room and work outward. Use spacers to simulate grout joints. Blend tiles from multiple boxes to distribute color variation evenly. Avoid narrow cuts at edges, ideally keeping cuts larger than half a tile. Plan transitions at doorways and changes in flooring. Due to size variation in handmade tiles, wider grout joints are recommended, typically between 1/8 inch and 3/8 inch.
Step 3 Cutting
Always use a water cooled wet saw with a diamond blade designed for natural stone or terracotta. Do not use snap cutters or dry cutting methods, as terracotta will chip or crack. Mark cut lines clearly on the tile face. Ensure adequate water flow to the blade. Feed the tile slowly without forcing it. Support the tile fully during cutting. Rinse cut tiles immediately to remove slurry and allow edges to dry completely before installation. Cutting creates slurry that can stain unprotected tile surfaces, so tiles should be cleaned immediately after cutting.
Step 4 Installation
Apply thinset to the subfloor using a 1/2 inch by 1/2 inch square notched trowel. Work in sections small enough to stay within the mortar’s open time, usually 15 to 20 minutes. Hold the trowel at a 45 degree angle to create even ridges. Back butter each tile by applying a thin layer of thinset to the back using a margin trowel. This step is essential for porous terracotta and ensures full adhesive coverage.
Set tiles by pressing them firmly into the thinset with a slight twisting motion. Use a soft rubber mallet to gently tap tiles into place. Check for level frequently and adjust spacing as needed due to size variation. Insert spacers between tiles. Remove any excess thinset immediately, as dried mortar is very difficult to remove from terracotta. Allow the installation to cure for 24 to 48 hours before walking on the tiles or proceeding to sealing. Humid conditions may require additional curing time.
Step 5 Sealing Before Grouting
Terracotta tiles must be sealed before grouting. Failure to do so will result in permanent staining from grout pigments penetrating the porous tile surface. Clean tiles thoroughly and ensure they are completely dry. Apply a generous coat of penetrating sealer using a brush or roller. Allow the sealer to penetrate for 15 to 30 minutes, then wipe away any excess that has not absorbed. Allow the surface to dry for a minimum of 4 hours. Apply 2 to 3 additional coats until the tiles are fully saturated and no longer absorb sealer. Wait 24 hours before grouting.
To test seal effectiveness, apply a few drops of water to the tile surface. If water beads and does not absorb, the seal is adequate. If water absorbs, apply additional coats.
Step 6 Grouting
Select a neutral grout color that complements the terracotta. Cream, tan, or terracotta toned grouts typically work well. Mix grout according to manufacturer instructions to a peanut butter like consistency. Using a grout float held at a 45 degree angle, work grout diagonally into joints. Ensure joints are fully filled with no voids. Allow grout to firm slightly for 10 to 20 minutes, then wipe diagonally with a damp sponge, rinsing frequently. Allow grout to cure for 24 to 72 hours before applying the final seal.
Step 7 Final Finishing
After grout has fully cured, apply a final coat of penetrating sealer or finishing wax to the entire surface, including grout joints. This provides added protection and enhances the natural appearance of the tile. For a traditional soft sheen, an optional protective wax can be applied and buffed to the desired finish. Wax will deepen the color and add protection. Allow the floor to cure for 7 days before heavy use or placing furniture. Avoid moisture and rugs during this period.
-
TIPS AND WARNINGS
Always pre seal before grouting, this is the most important step in terracotta installation. Back butter every tile to ensure proper adhesion. Blend tiles from multiple boxes throughout installation. Clean thinset and grout immediately from tile surfaces. Use wider grout joints to accommodate size variation. Test sealers and grouts on spare tiles before full installation. Keep spare tiles for future repairs.
Troubleshooting
Grout staining is typically caused by failure to seal before grouting and may be permanent. Efflorescence appears as white powder caused by mineral migration and can be cleaned with a pH neutral cleaner followed by resealing. Hollow sounds indicate poor adhesive bond and require tile removal and reset. Cracked tiles are usually caused by subfloor movement or impact and should be replaced after addressing the structural issue. Sealer haze results from applying sealer too thick or on a damp surface and can often be resolved by buffing or stripping and resealing.
-
CARE AND MAINTENANCE
Sweep or vacuum regularly to remove dirt and grit. Mop with a pH neutral cleaner diluted in warm water. Use minimal water and dry the floor after mopping. Blot spills immediately rather than rubbing. Avoid acidic cleaners, bleach, ammonia, steam cleaners, abrasive pads, or harsh chemicals.
Depending on traffic, reseal terracotta floors every 1 to 3 years. If water no longer beads on the surface and instead absorbs, resealing is required.
-
PRODUCT AND LIABILITY INFORMATION
This guide is provided for informational purposes only. Reno Source provides quality terracotta tiles but is not responsible for installation methods, material choices, workmanship, or maintenance. The installer and homeowner assume all responsibility for installation outcomes. When in doubt, consult a professional installer with terracotta experience.
Reno Source
Finish Materials
Based in the USA
www.therenosource.com
help@therenosource.com
From the same collection


White & Ecru Octagon Zellige Mosaic


Cotto Deco Terracotta Look Matte Porcelain Tile


White & Ecru 2x2 Zellige Checkerboard Mosaic


Chiaro Deco Terracotta Look Matte Porcelain Tile


Verde Guatemala Tumbled Marble Tile
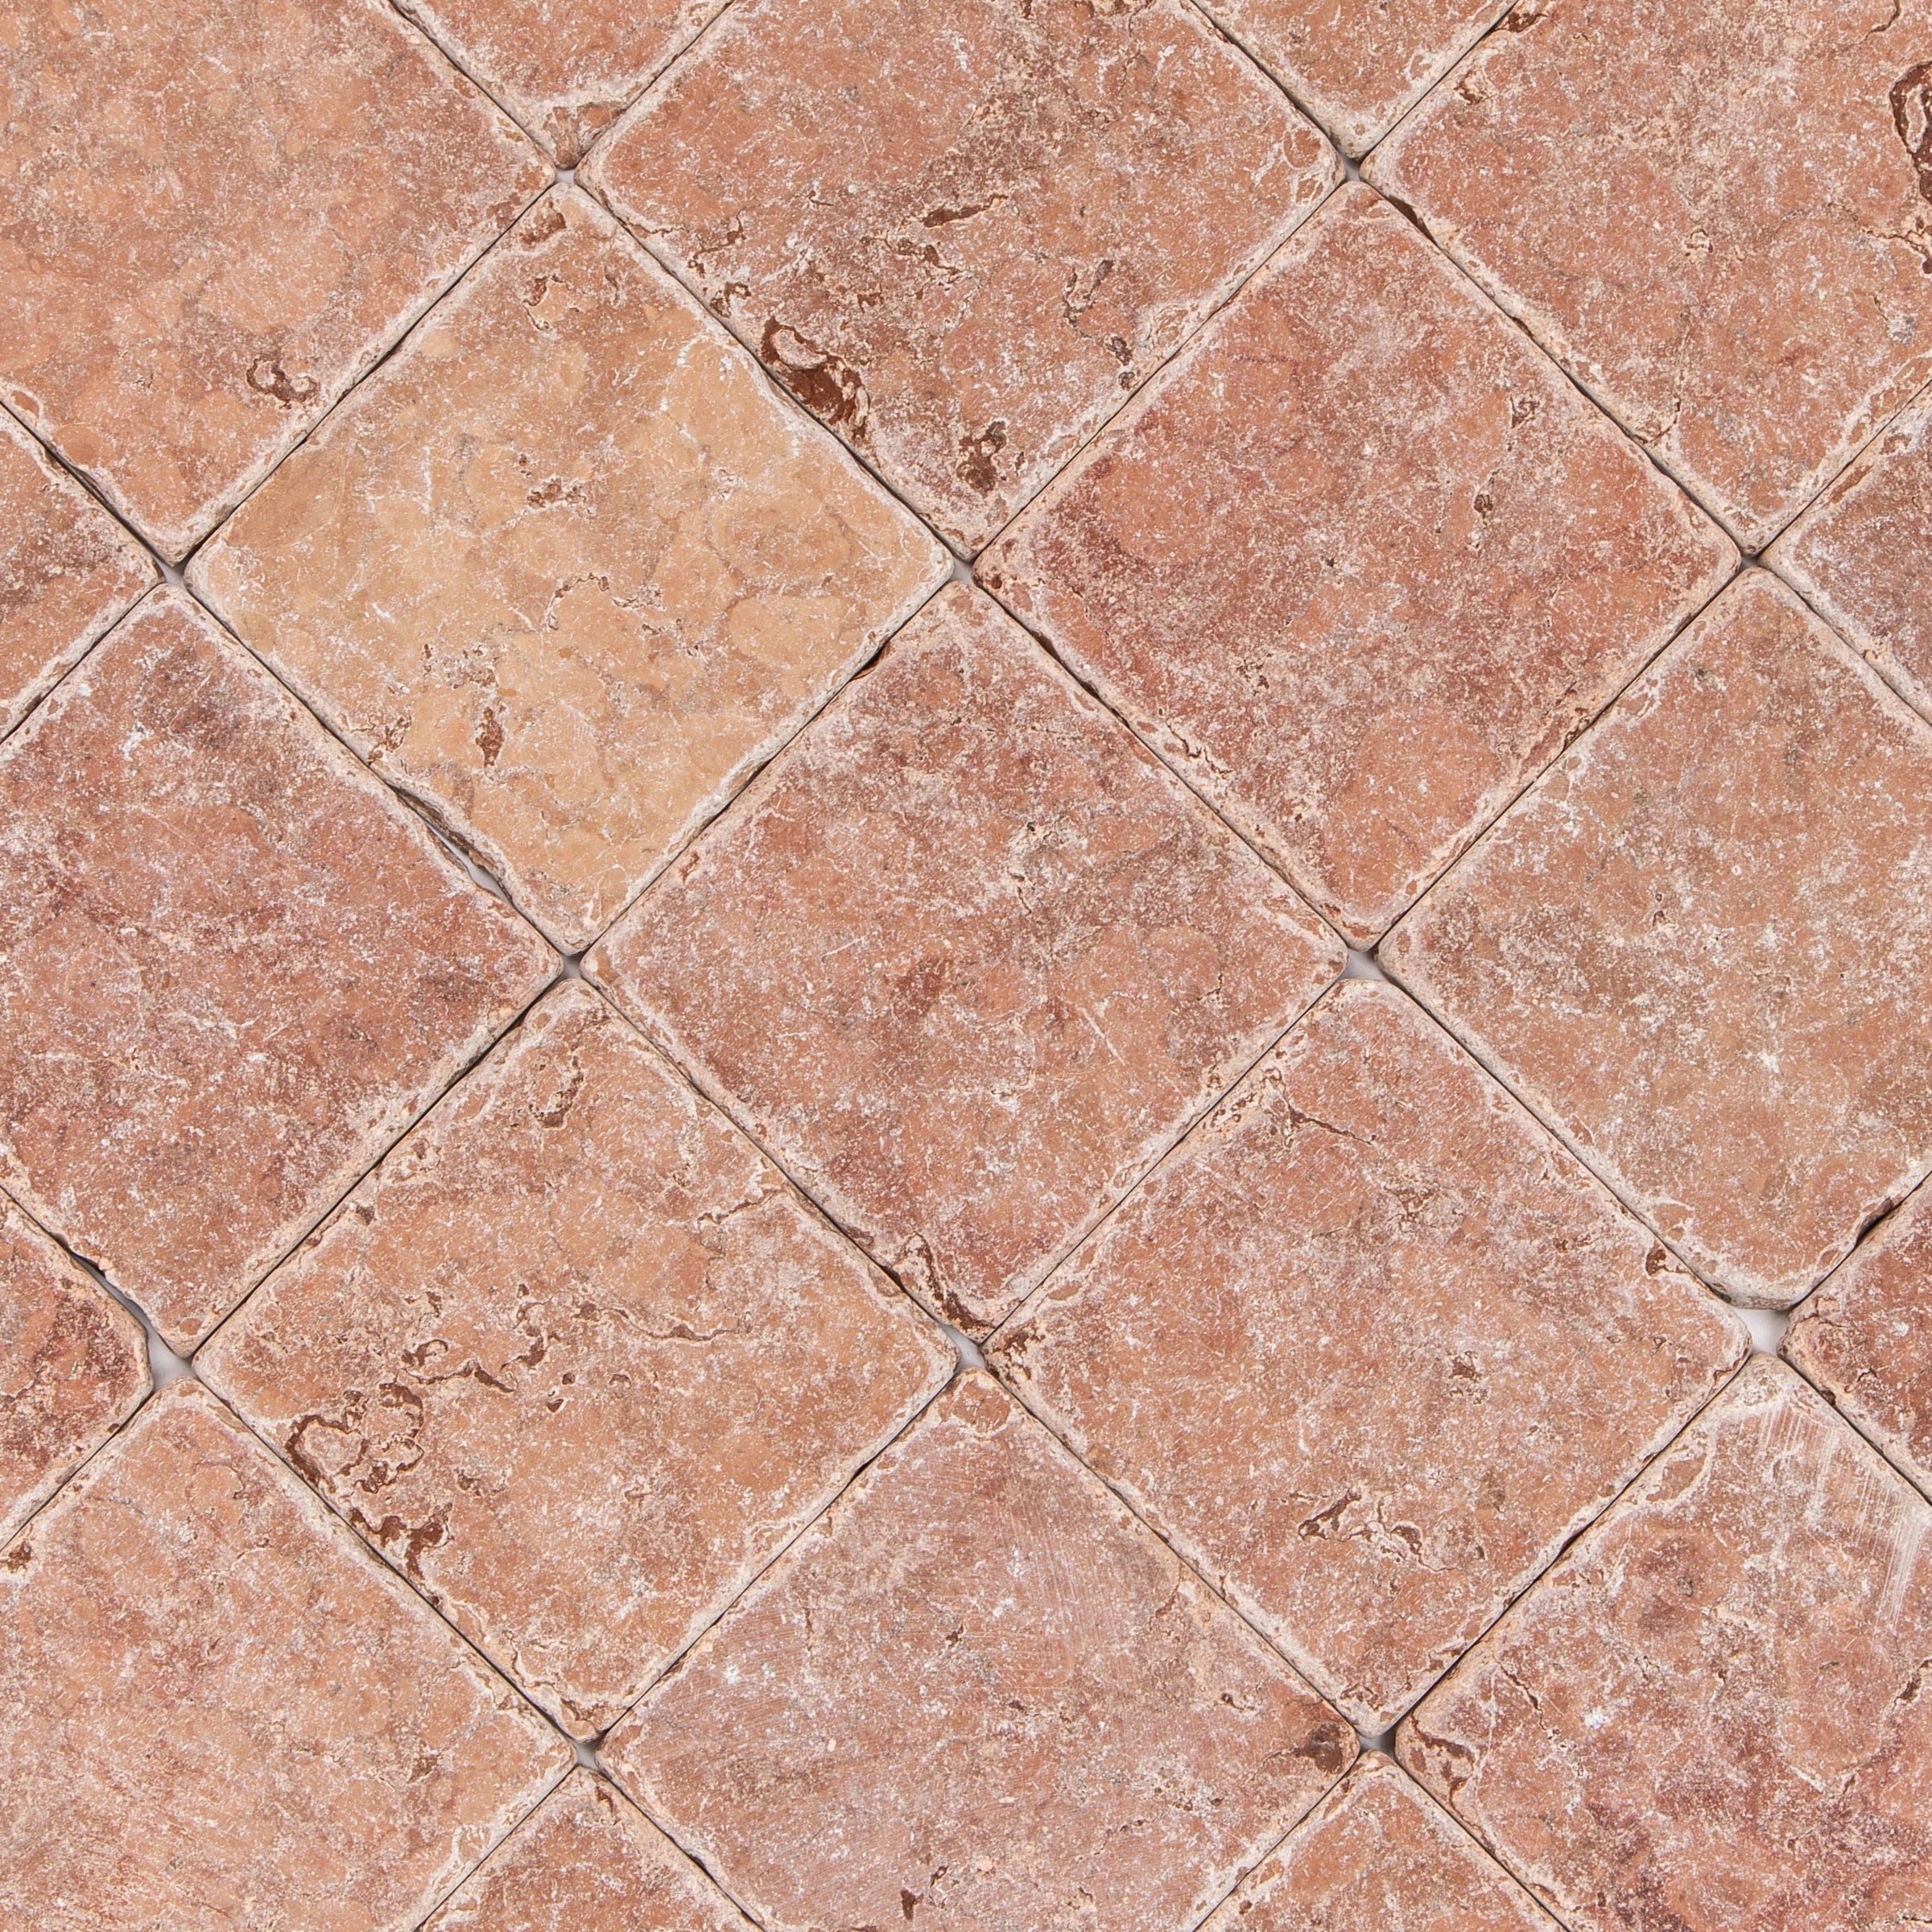
Rosso Verona Tumbled Marble Tile

White Multi-Color Matte Porcelain Tile


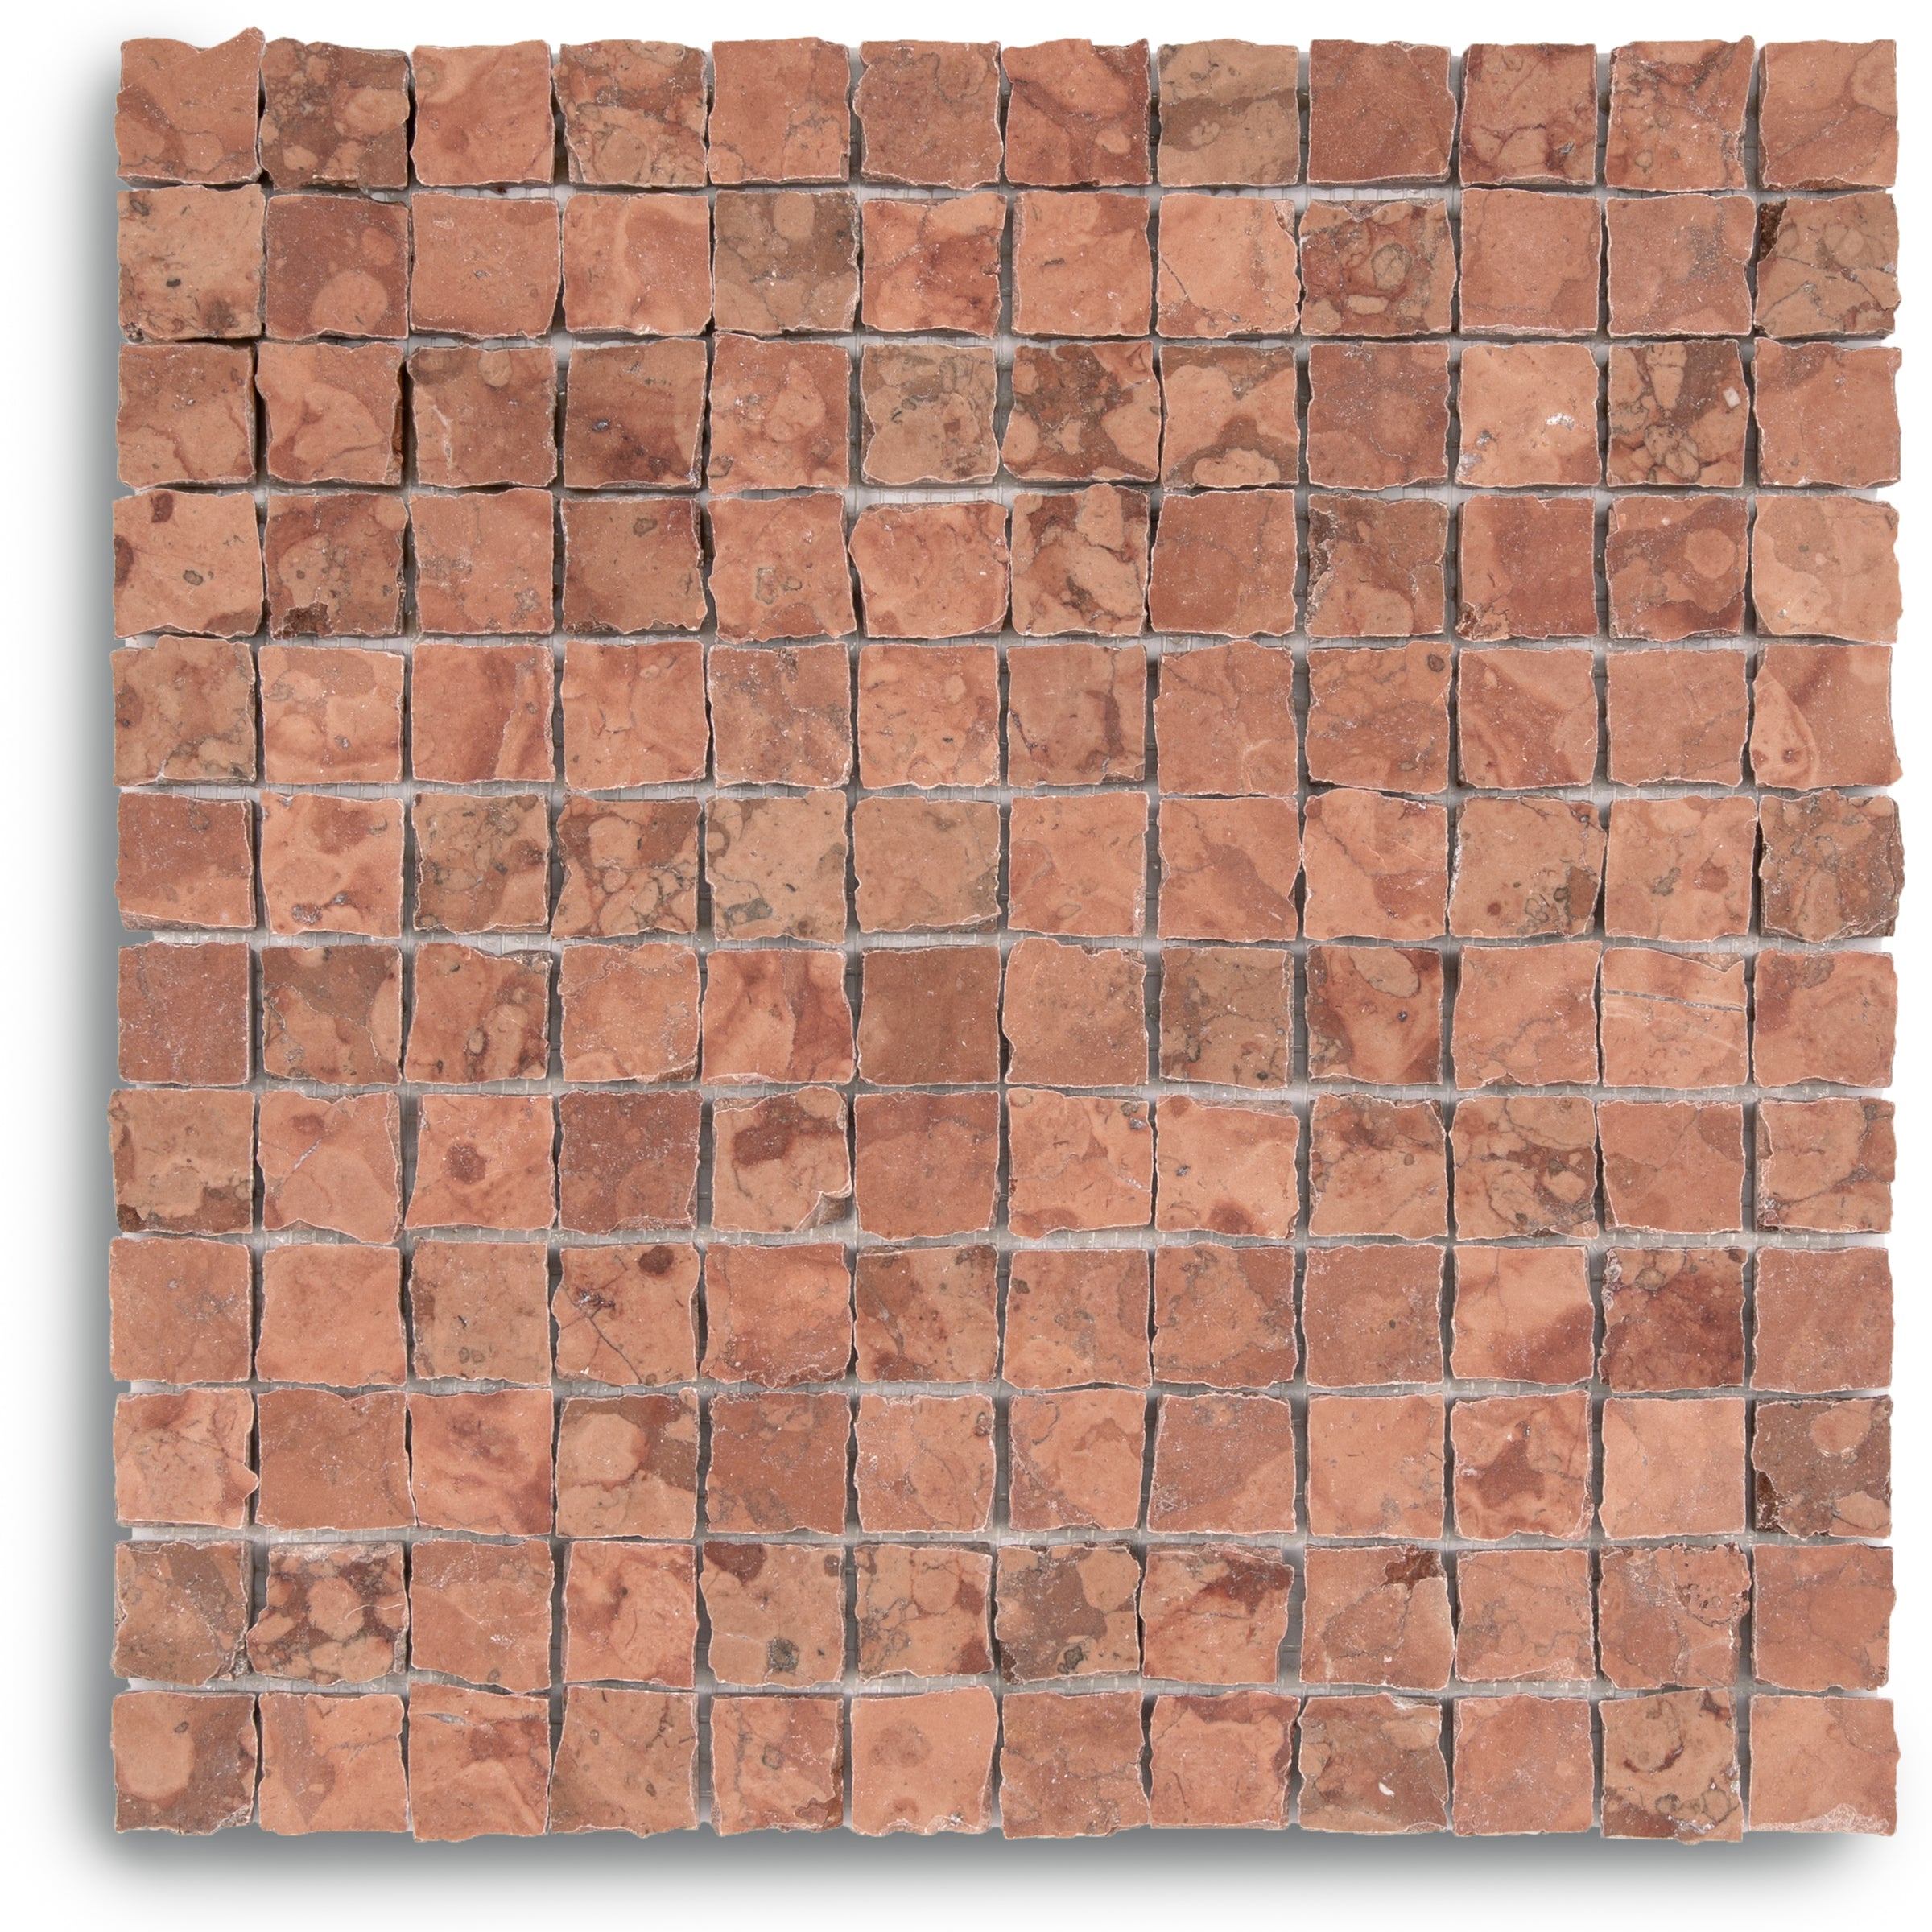
Rosso Verona 1x1 Hand Chipped Marble Mosaic


Crimson 3x6 Glossy Ceramic Tile


Cream 2x2 Forma Porcelain Mosaic


Cotto 2x2 Forma Porcelain Mosaic


Unglazed & White Octagon Zellige Mosaic


Black Multi-Color Matte Porcelain Tile

Star & Cross Classic Terracotta Tile


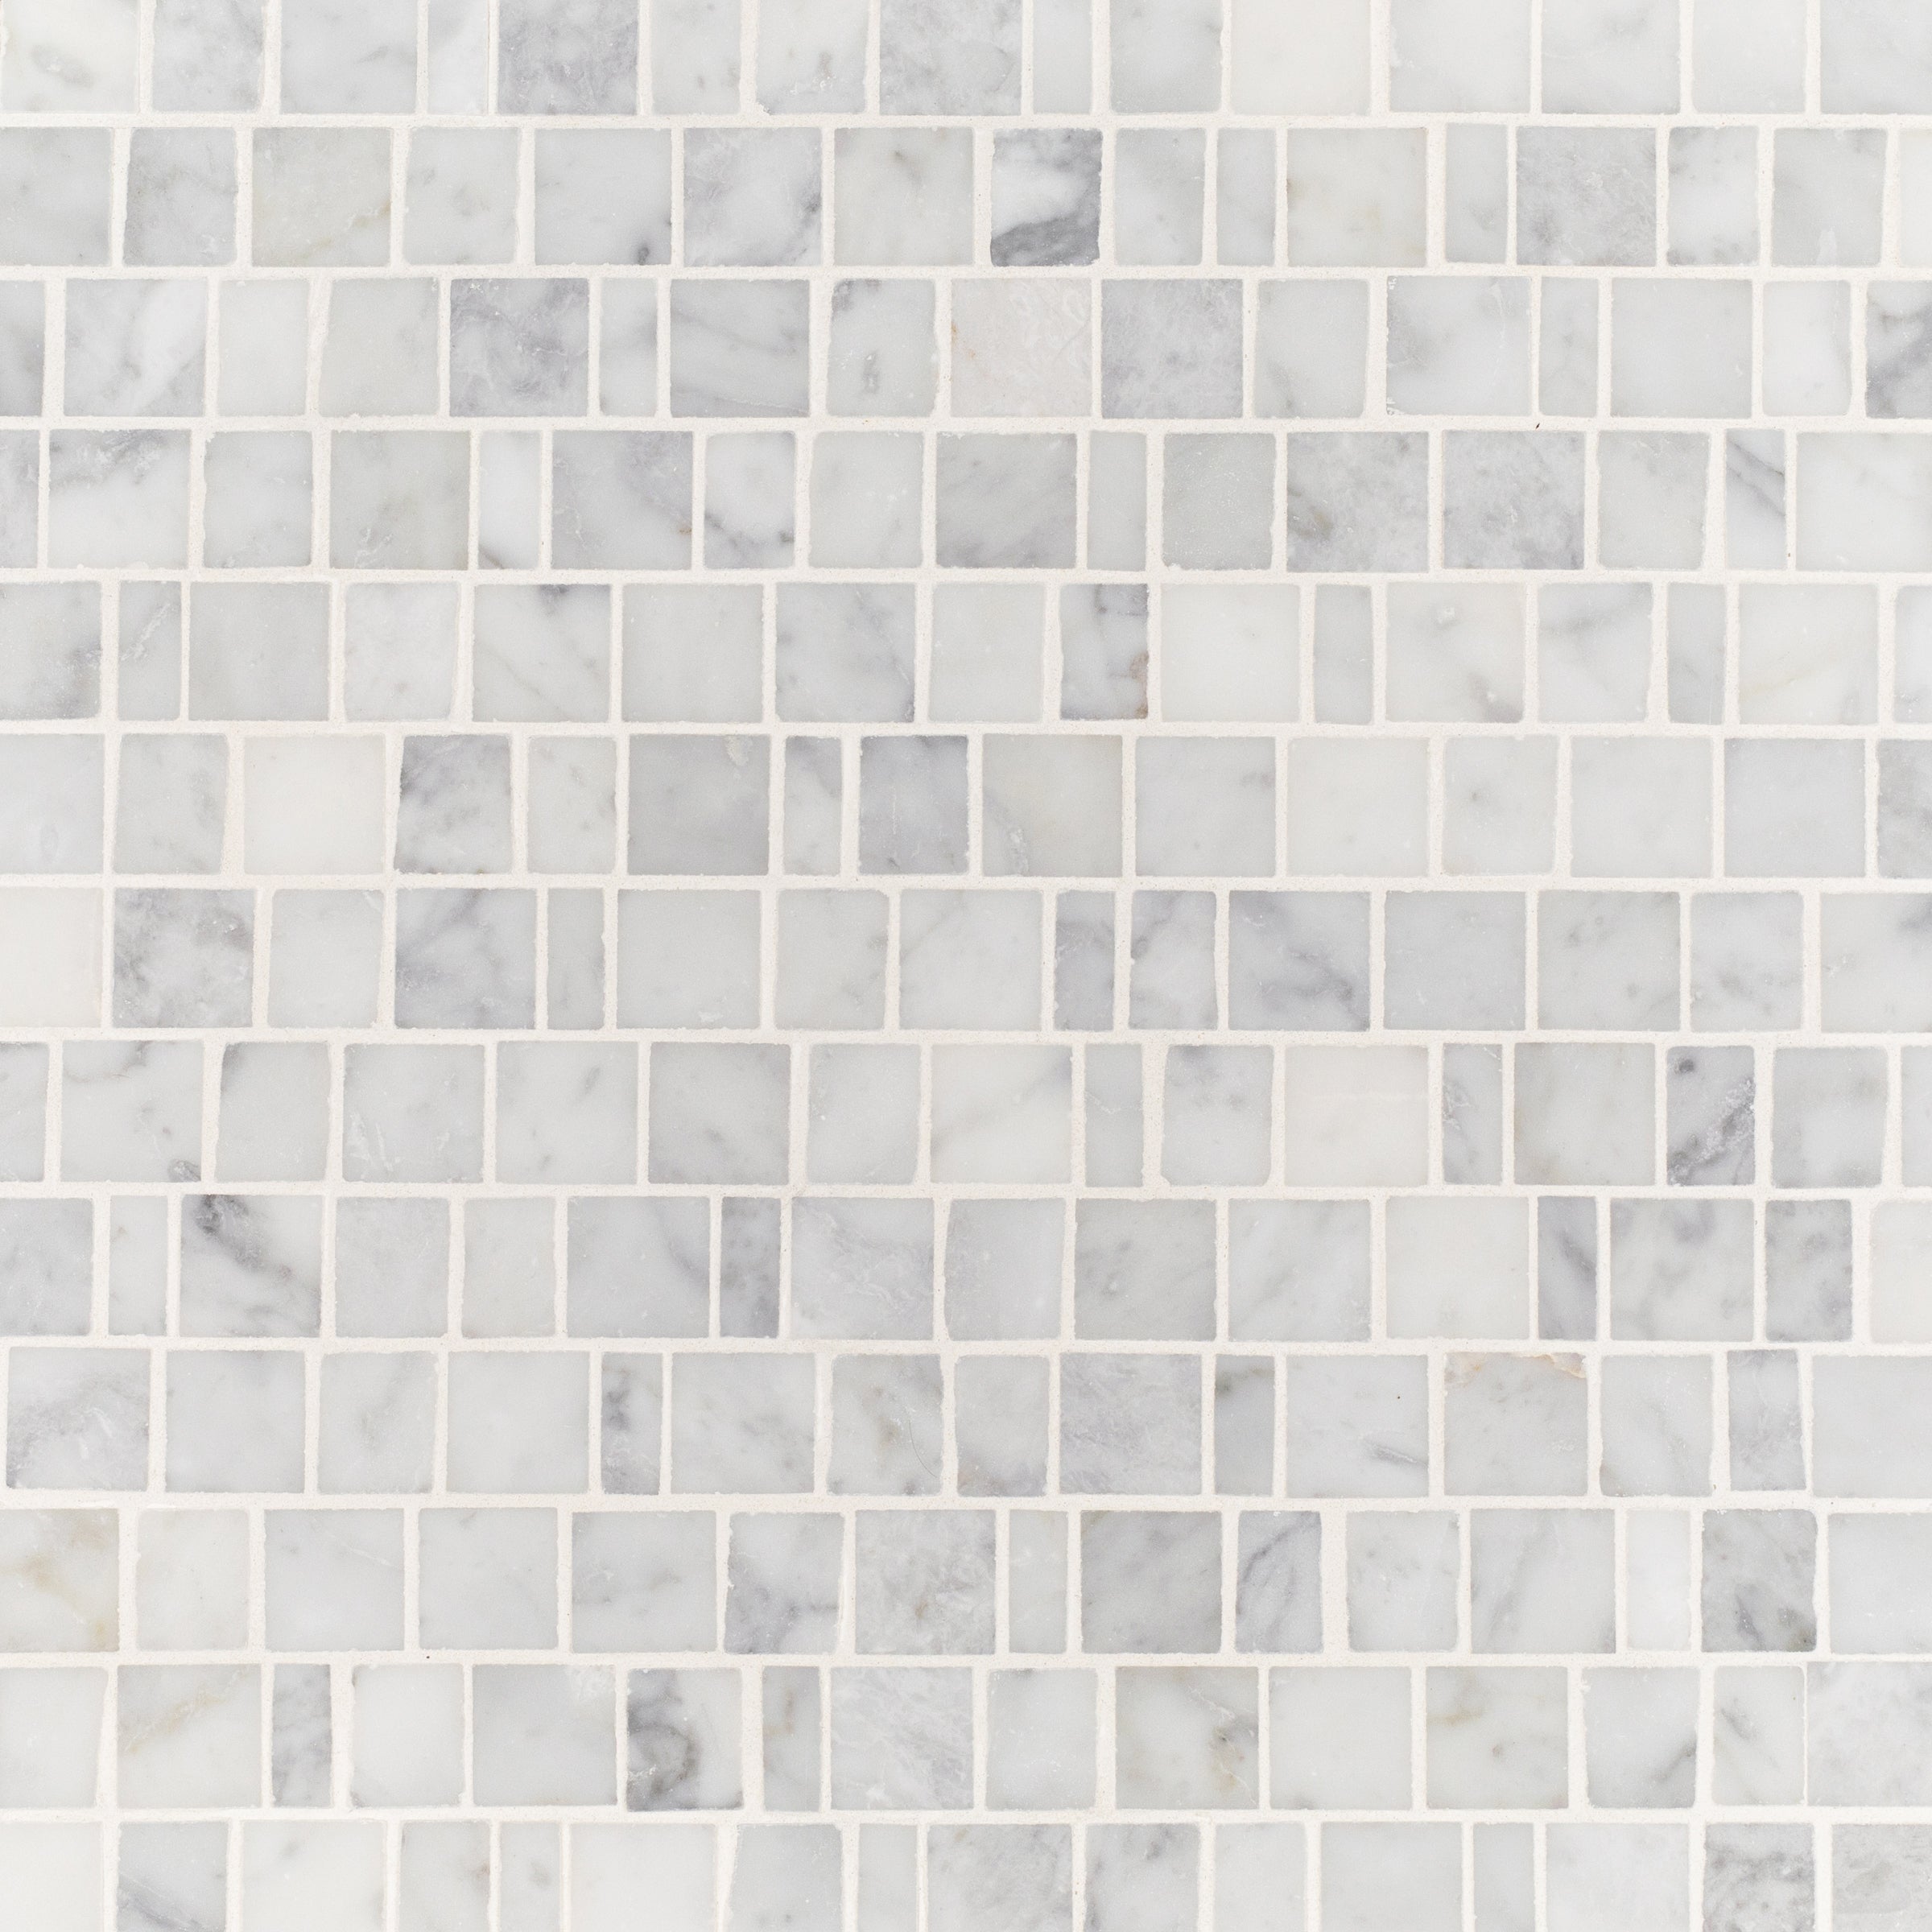
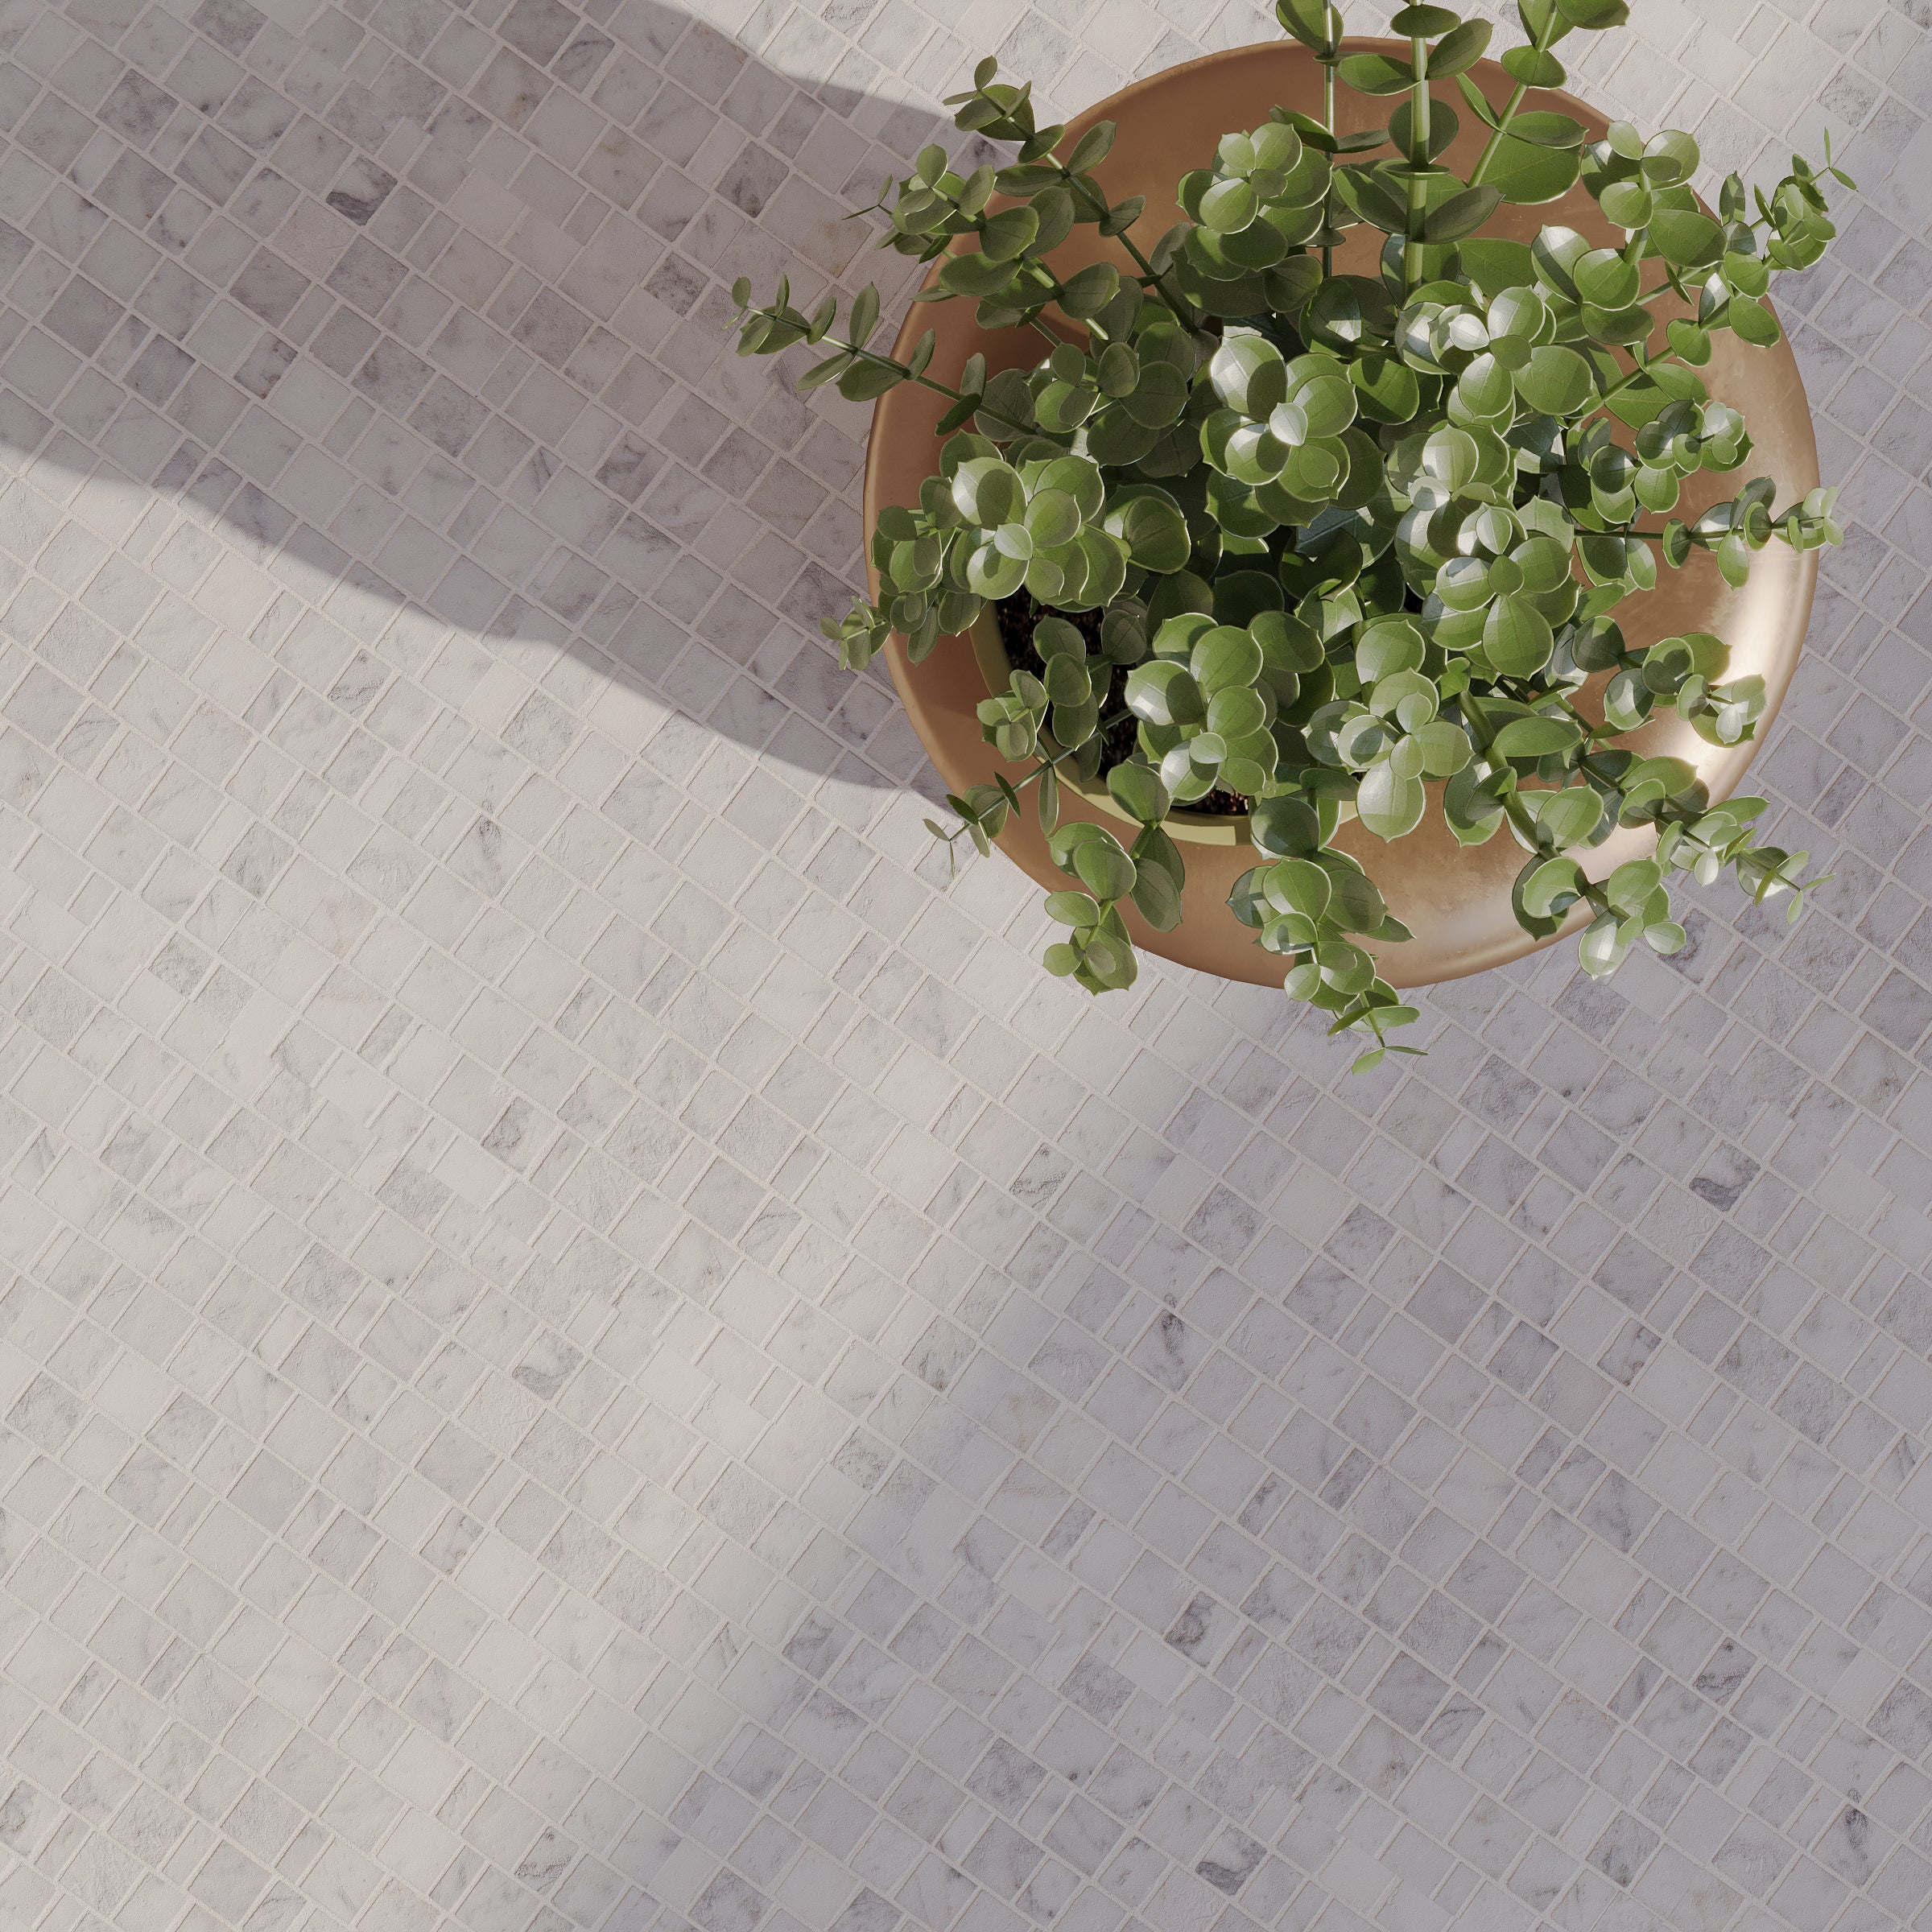
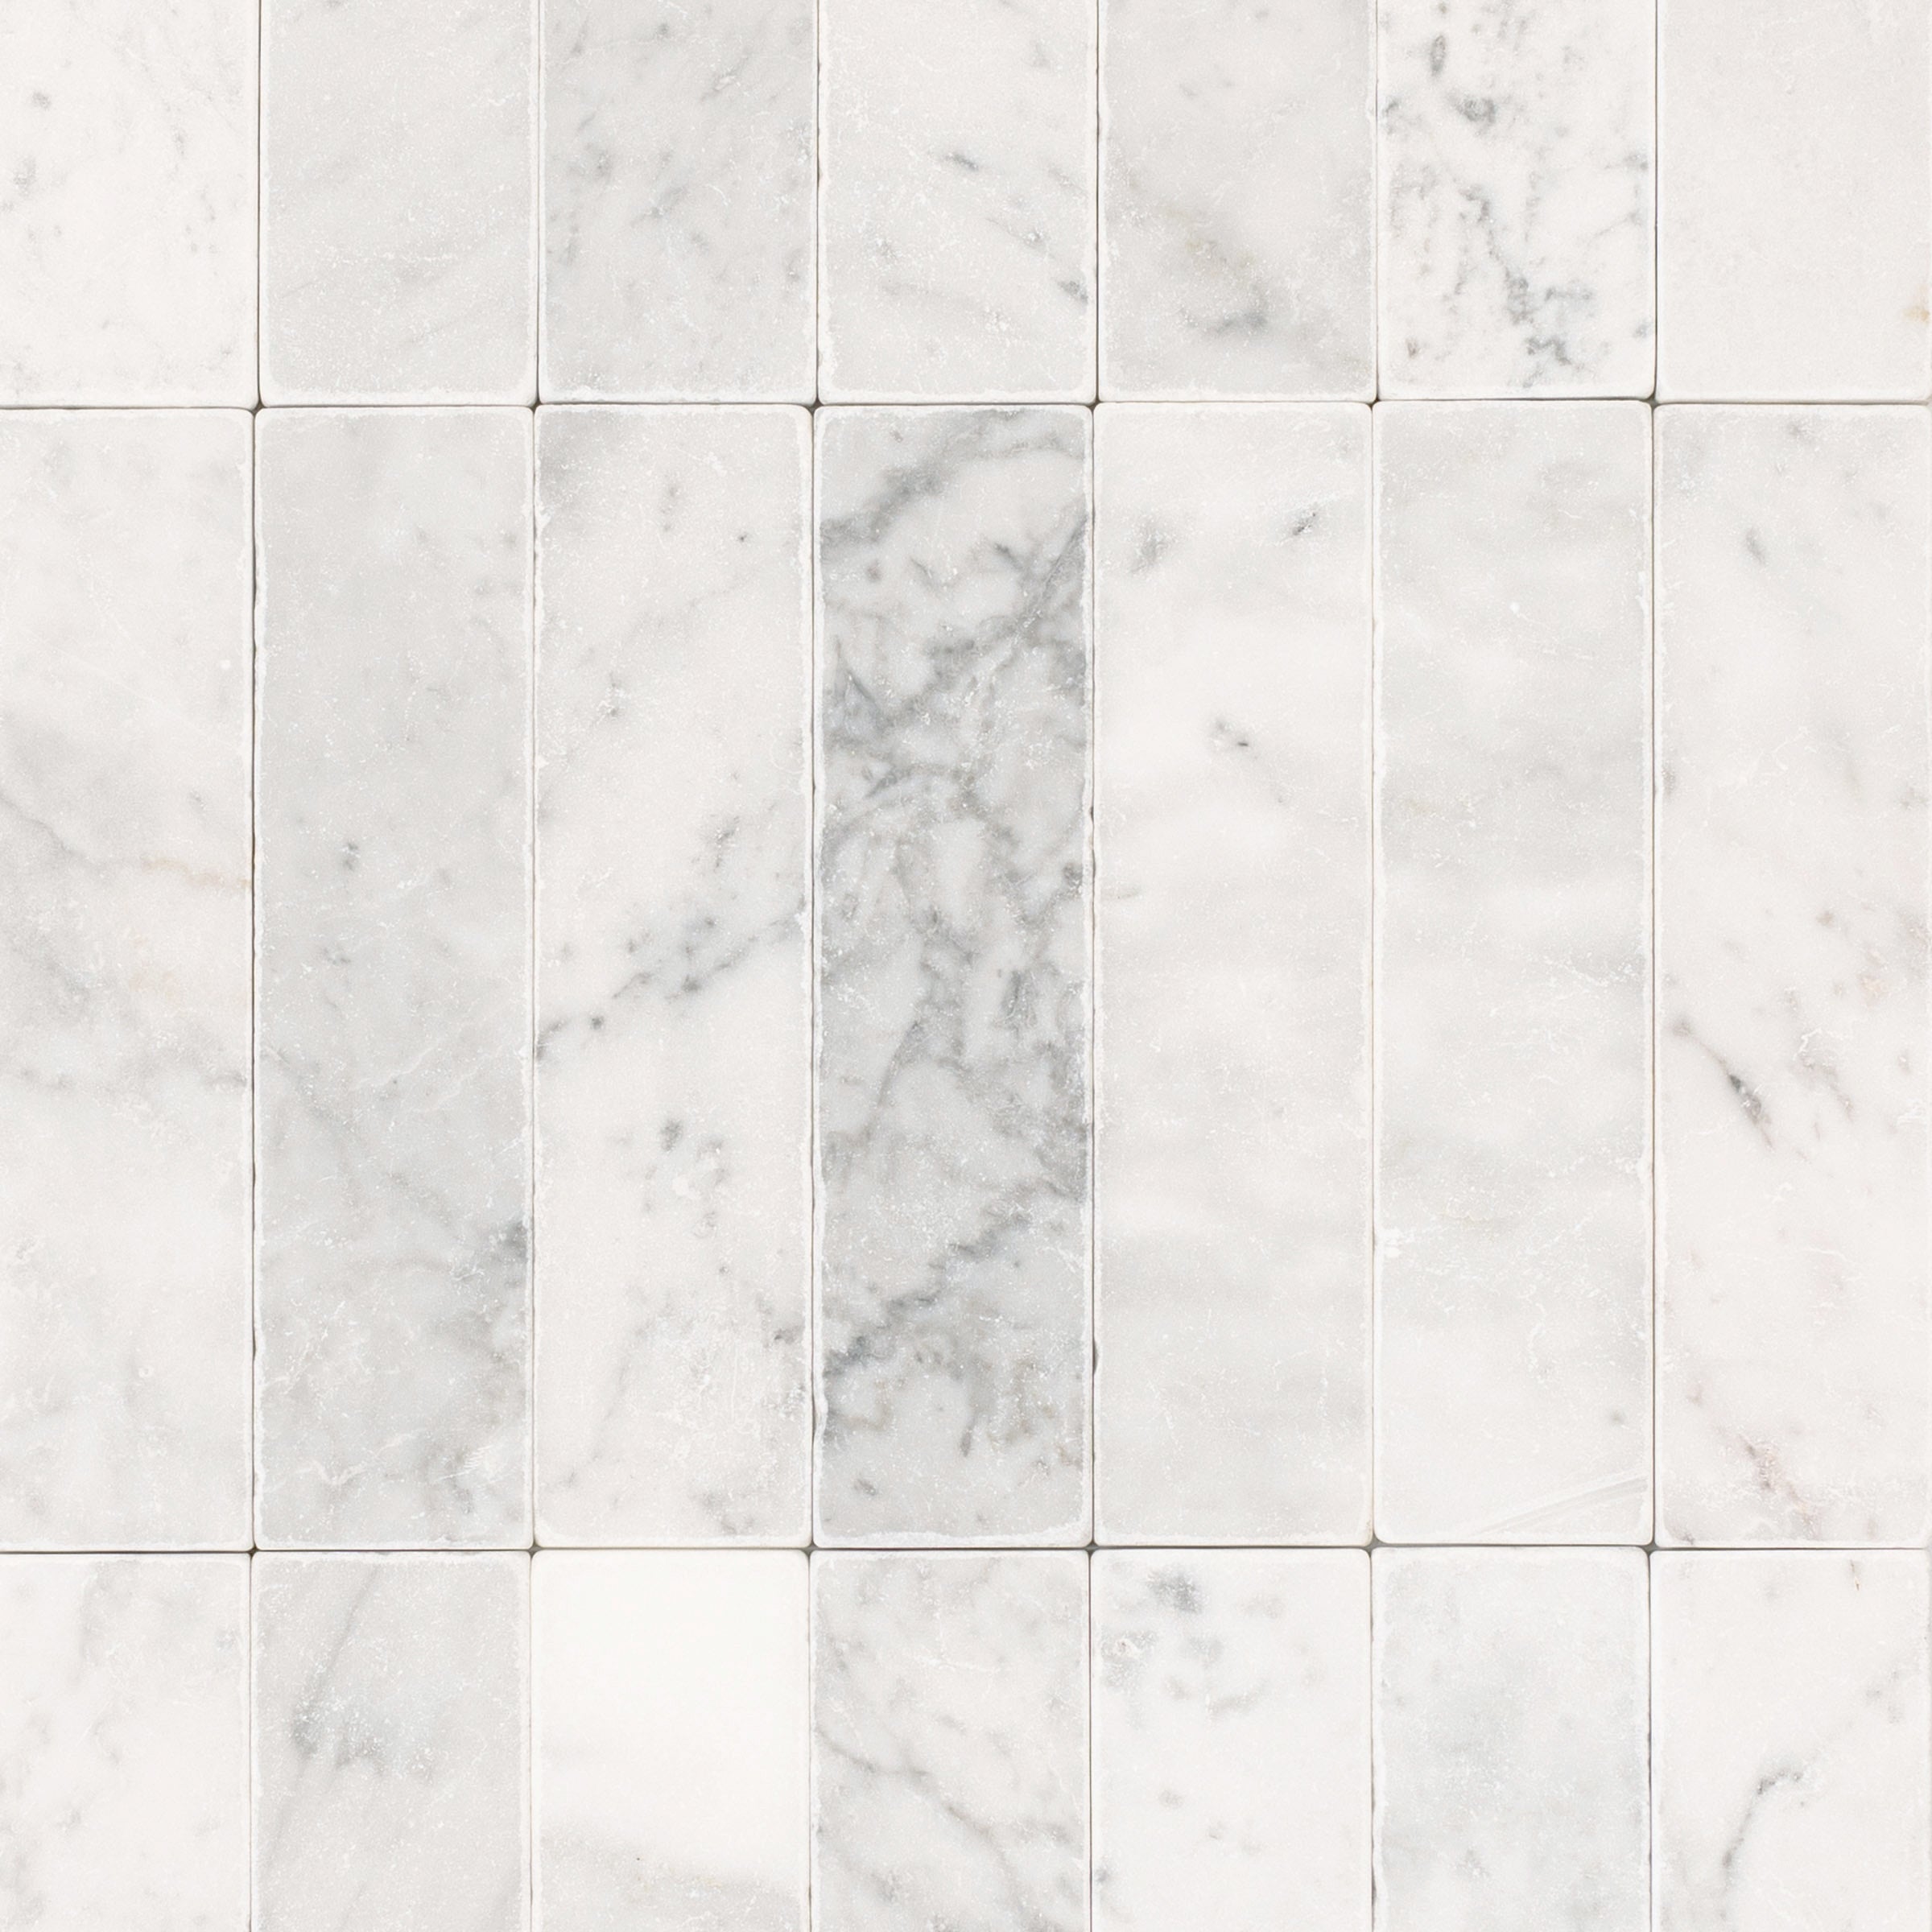
Carrara Running Bond Marble Mosaic
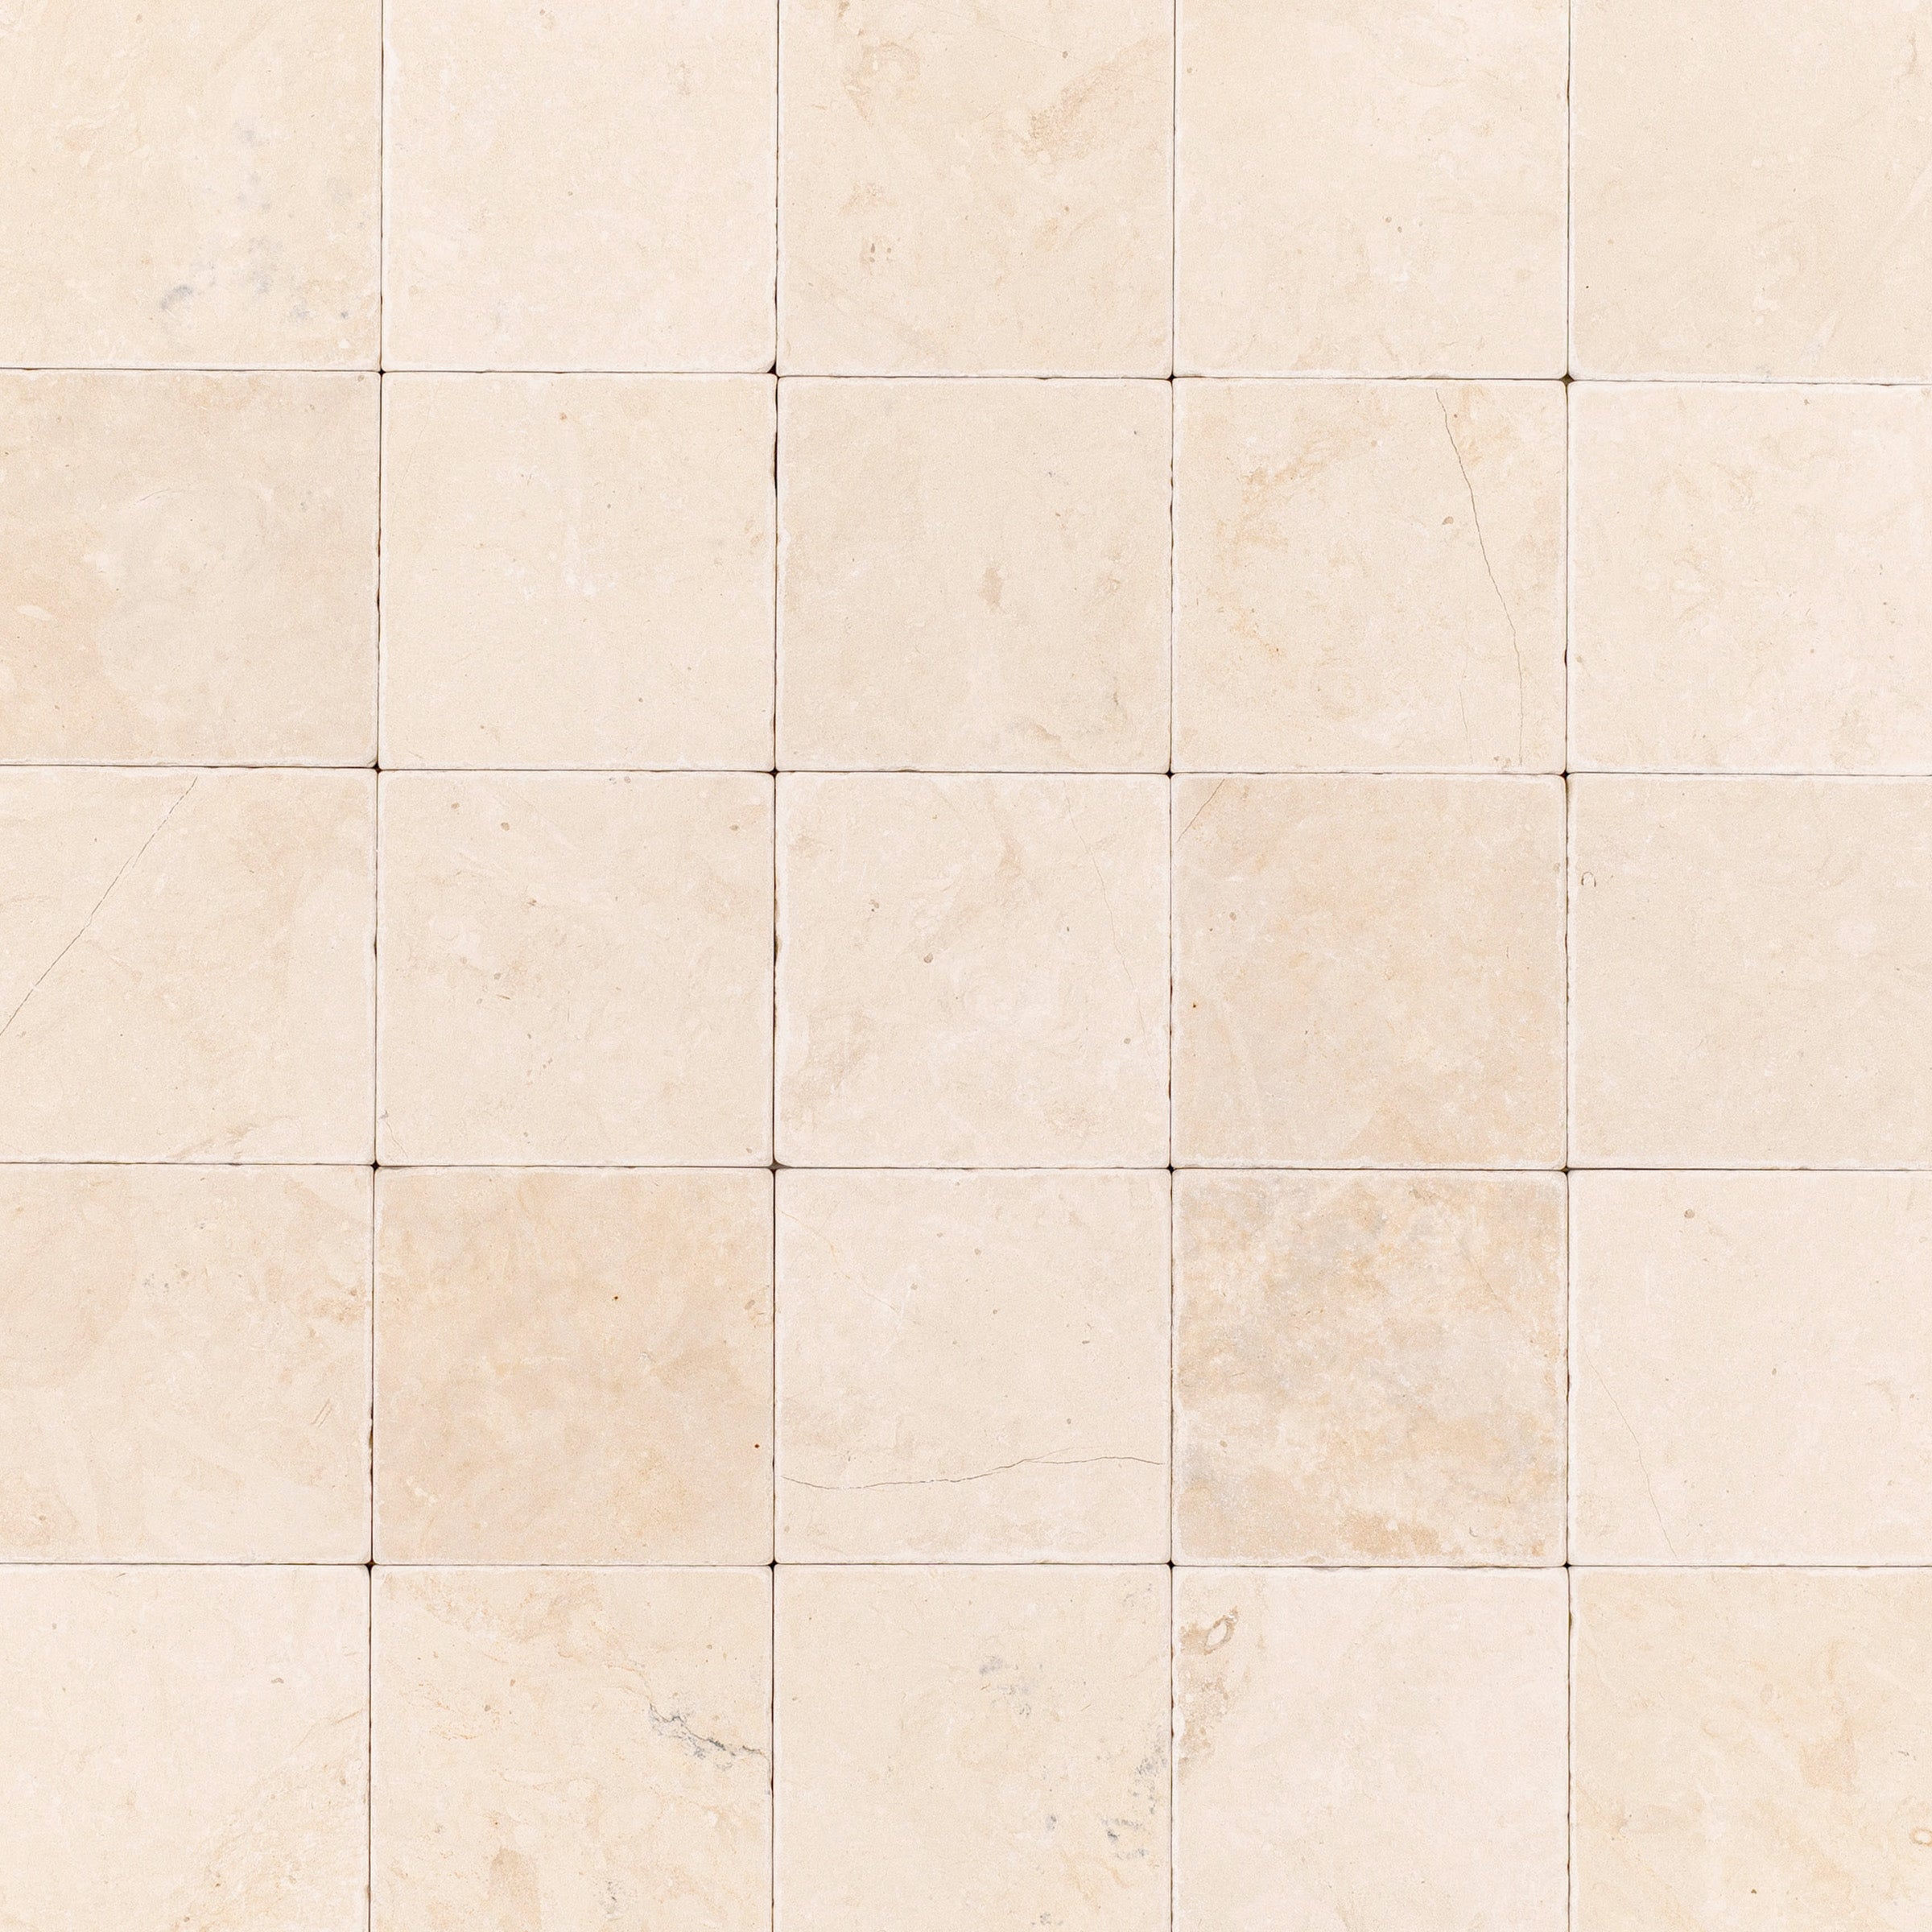
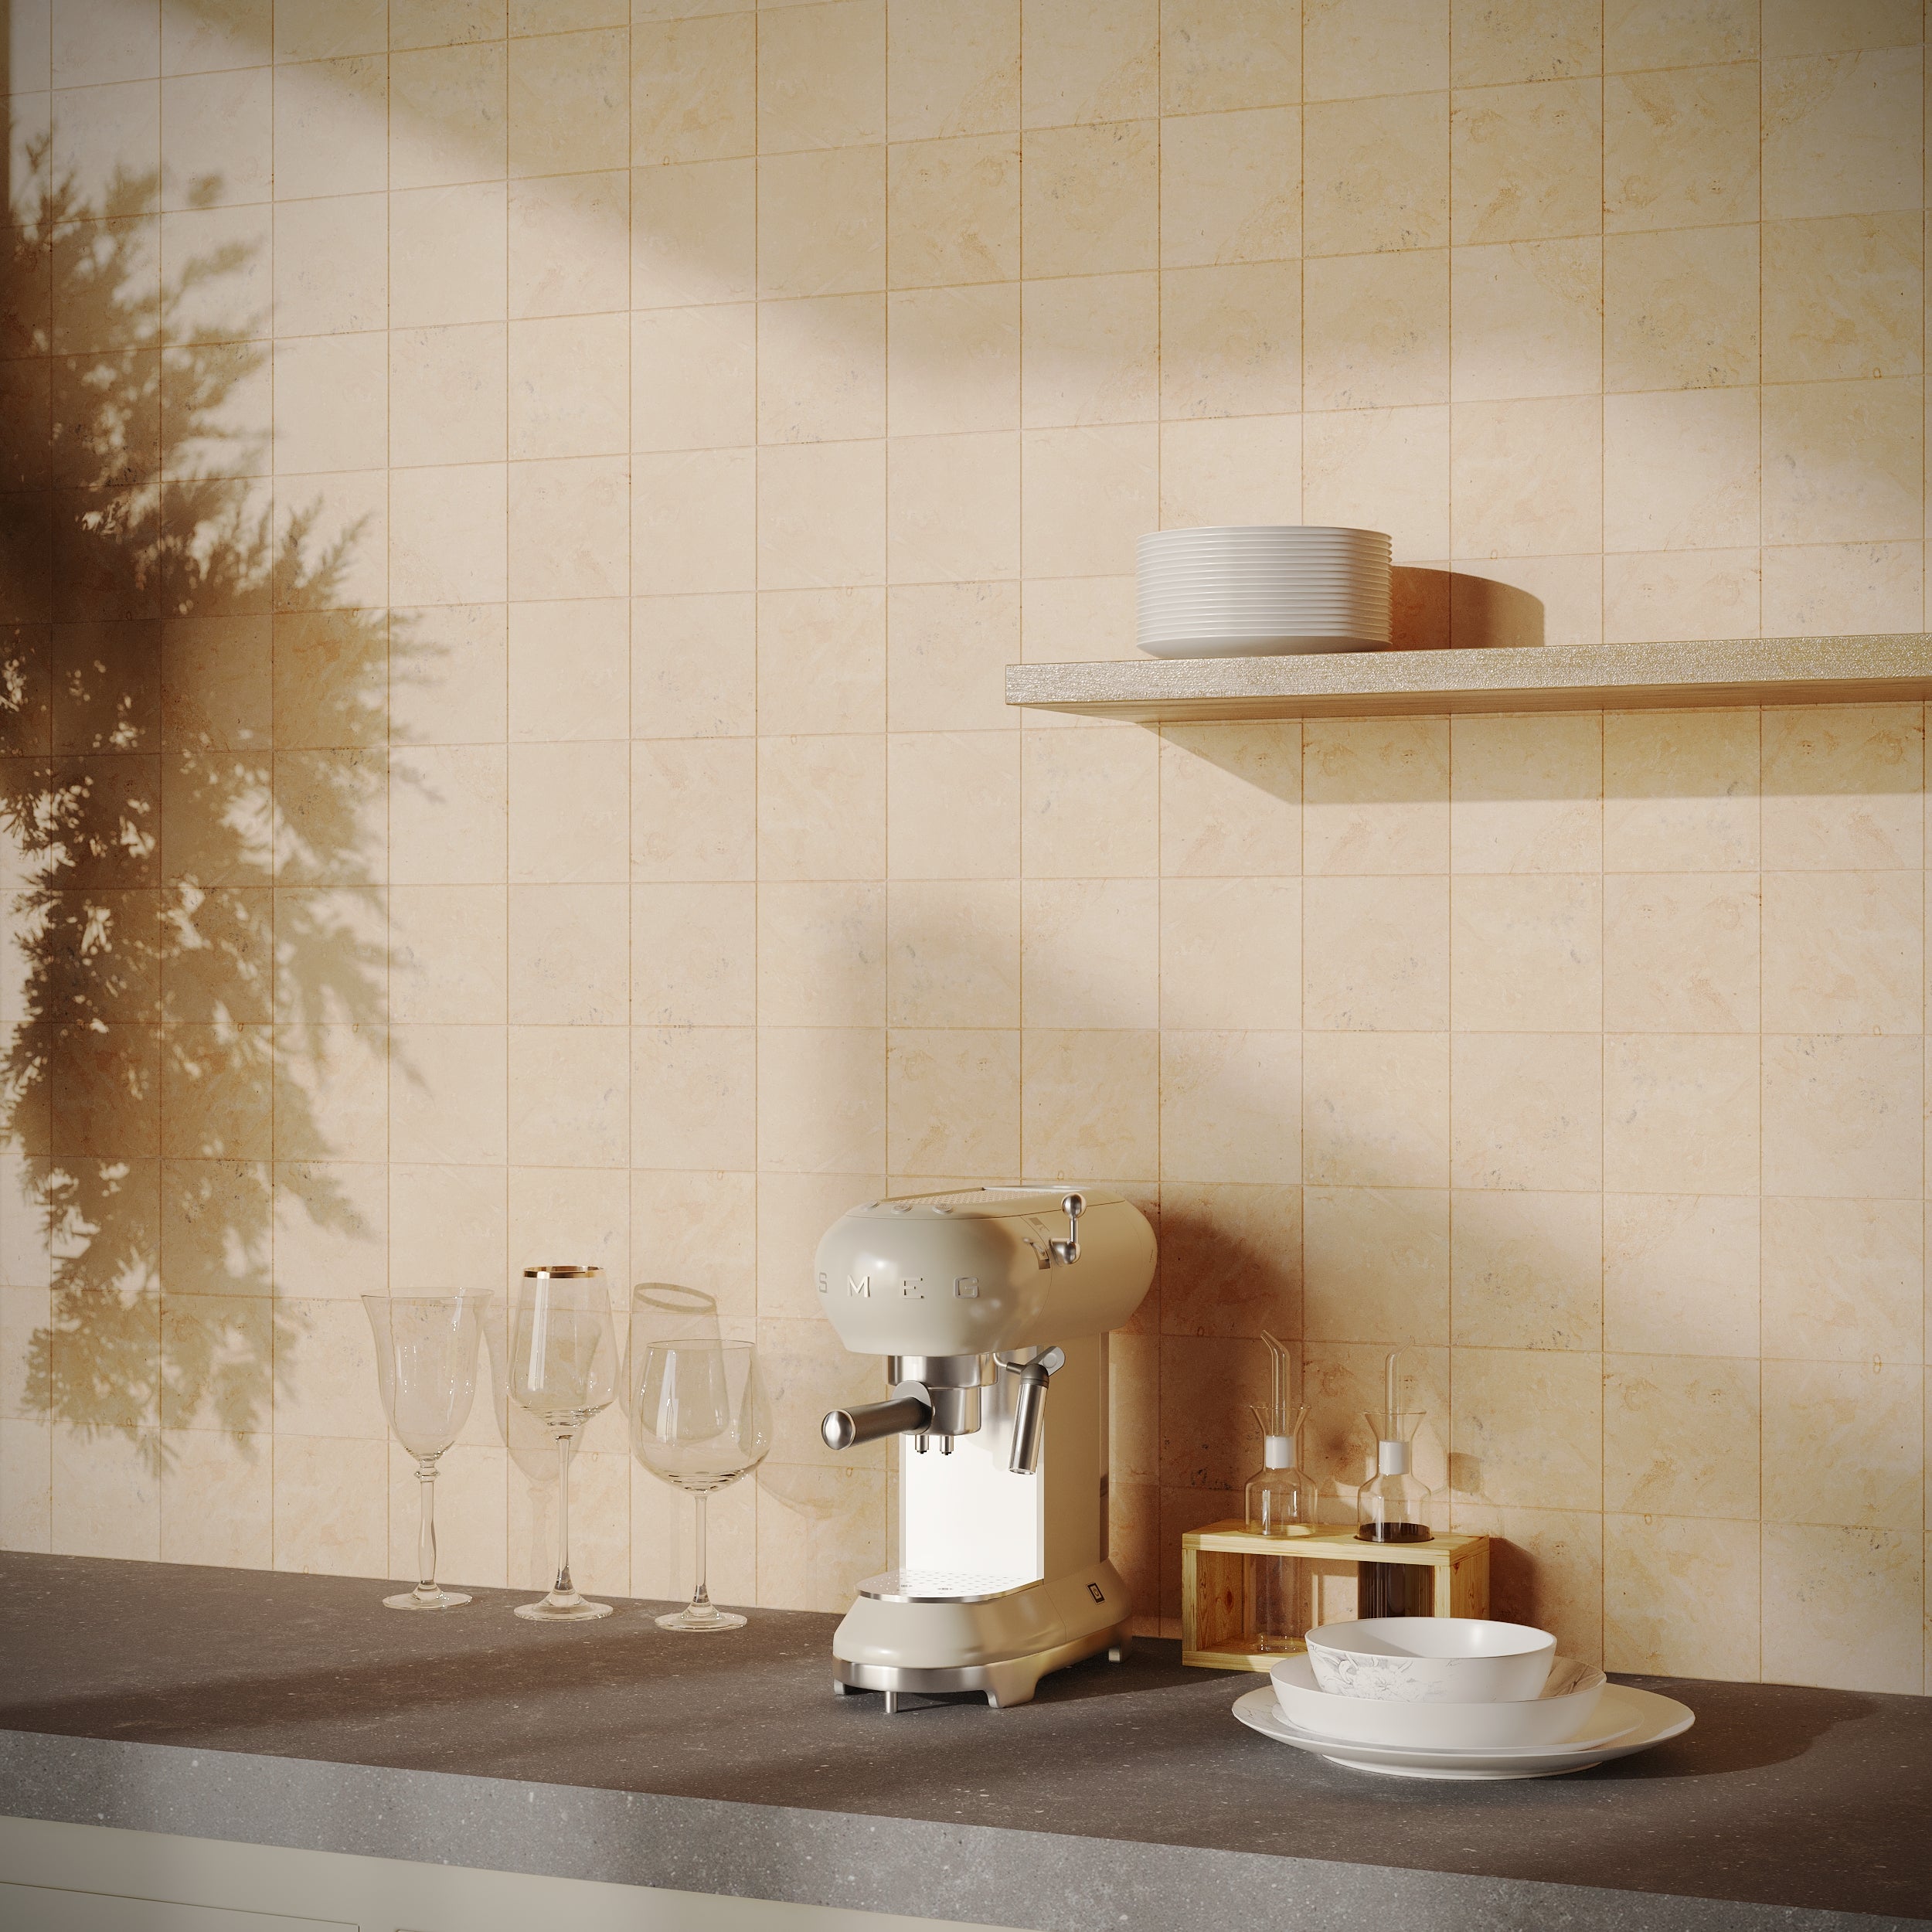
Desert Tea Tumbled Marble Tile


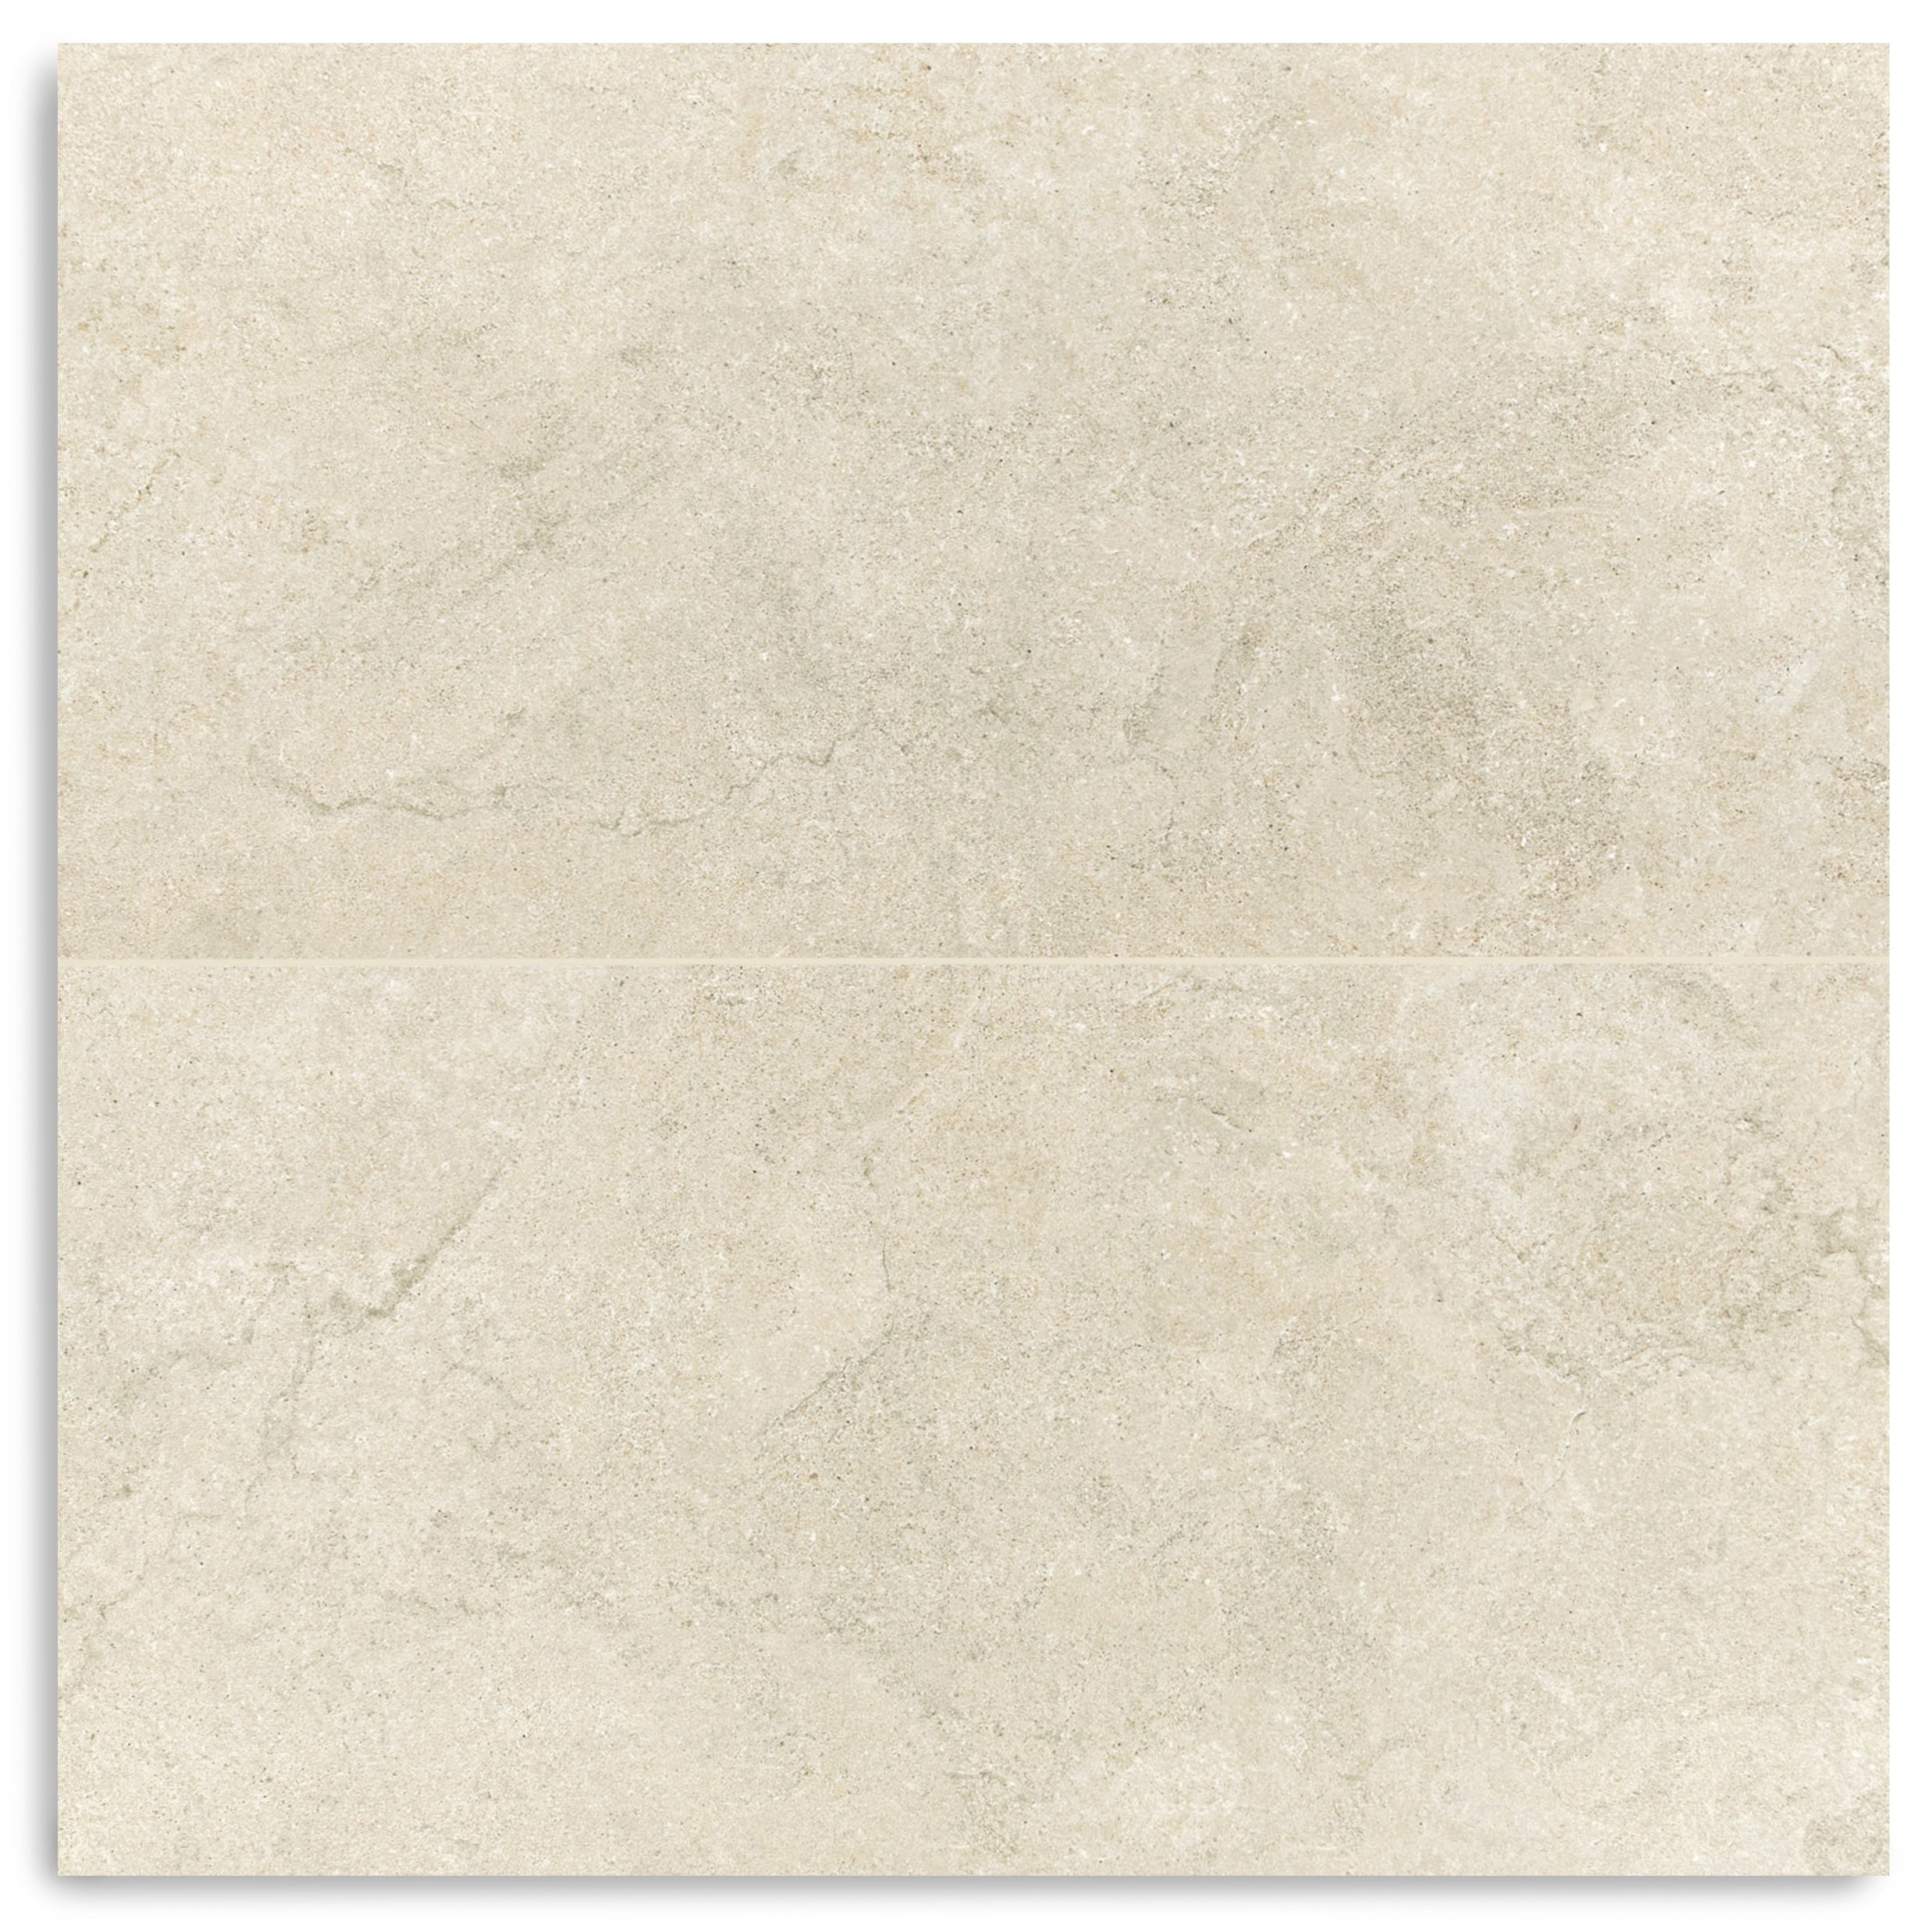
Natura Terracotta Look Matte Porcelain Tile


Crema Terracotta Look Matte Porcelain Tile


White & Ecru Octagon Zellige Mosaic
Thassos, Carrara, Bardiglio Gingham Marble Mosaic
Cotto Deco Terracotta Look Matte Porcelain Tile
White & Ecru 2x2 Zellige Checkerboard Mosaic


Cotto Terracotta Look Matte Porcelain Tile


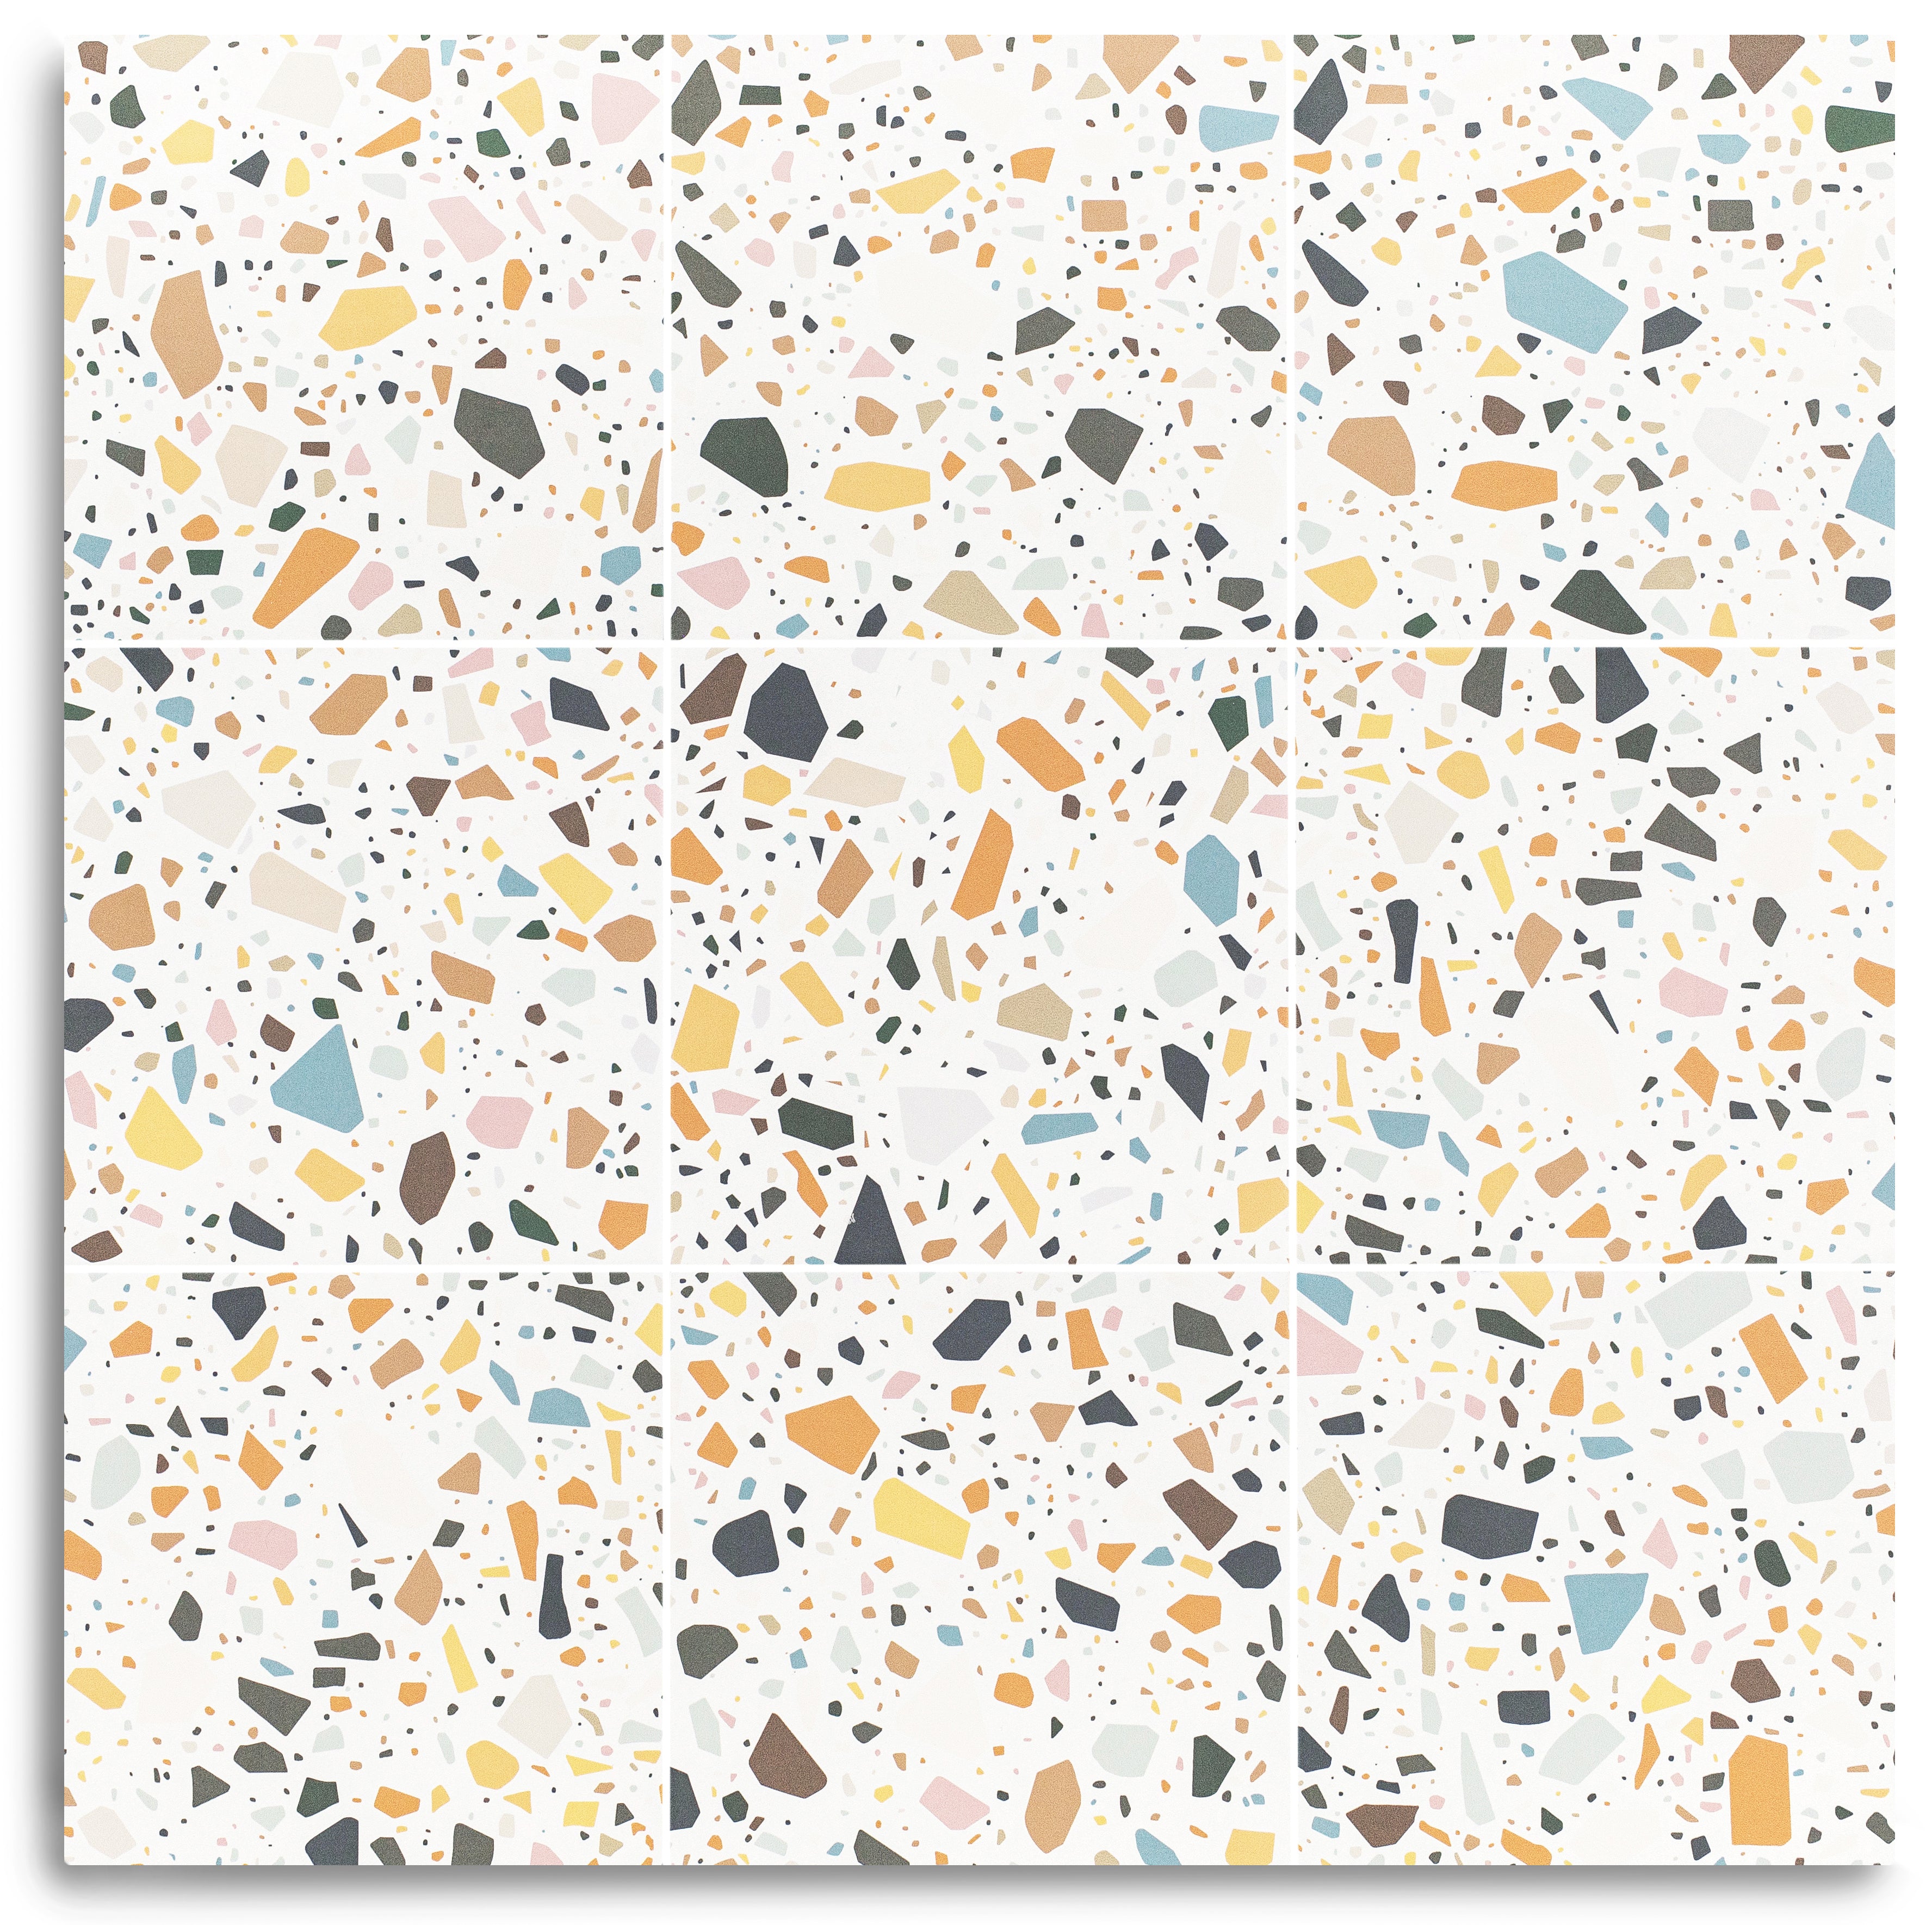
Murano Honed Italian Terrazzo Tile
Cream Limestone Look 3D Matte Porcelain Tile


Apple 12x24 3D Glossy Porcelain Tile
Beige Limestone Look 3D Matte Porcelain Tile


Navy 12x24 3D Gloss Porcelain Tile
Chiaro Deco Terracotta Look Matte Porcelain Tile
Travertino Moka Stone Look Porcelain Tile

Fior de Bosco Marble Look Porcelain Tile
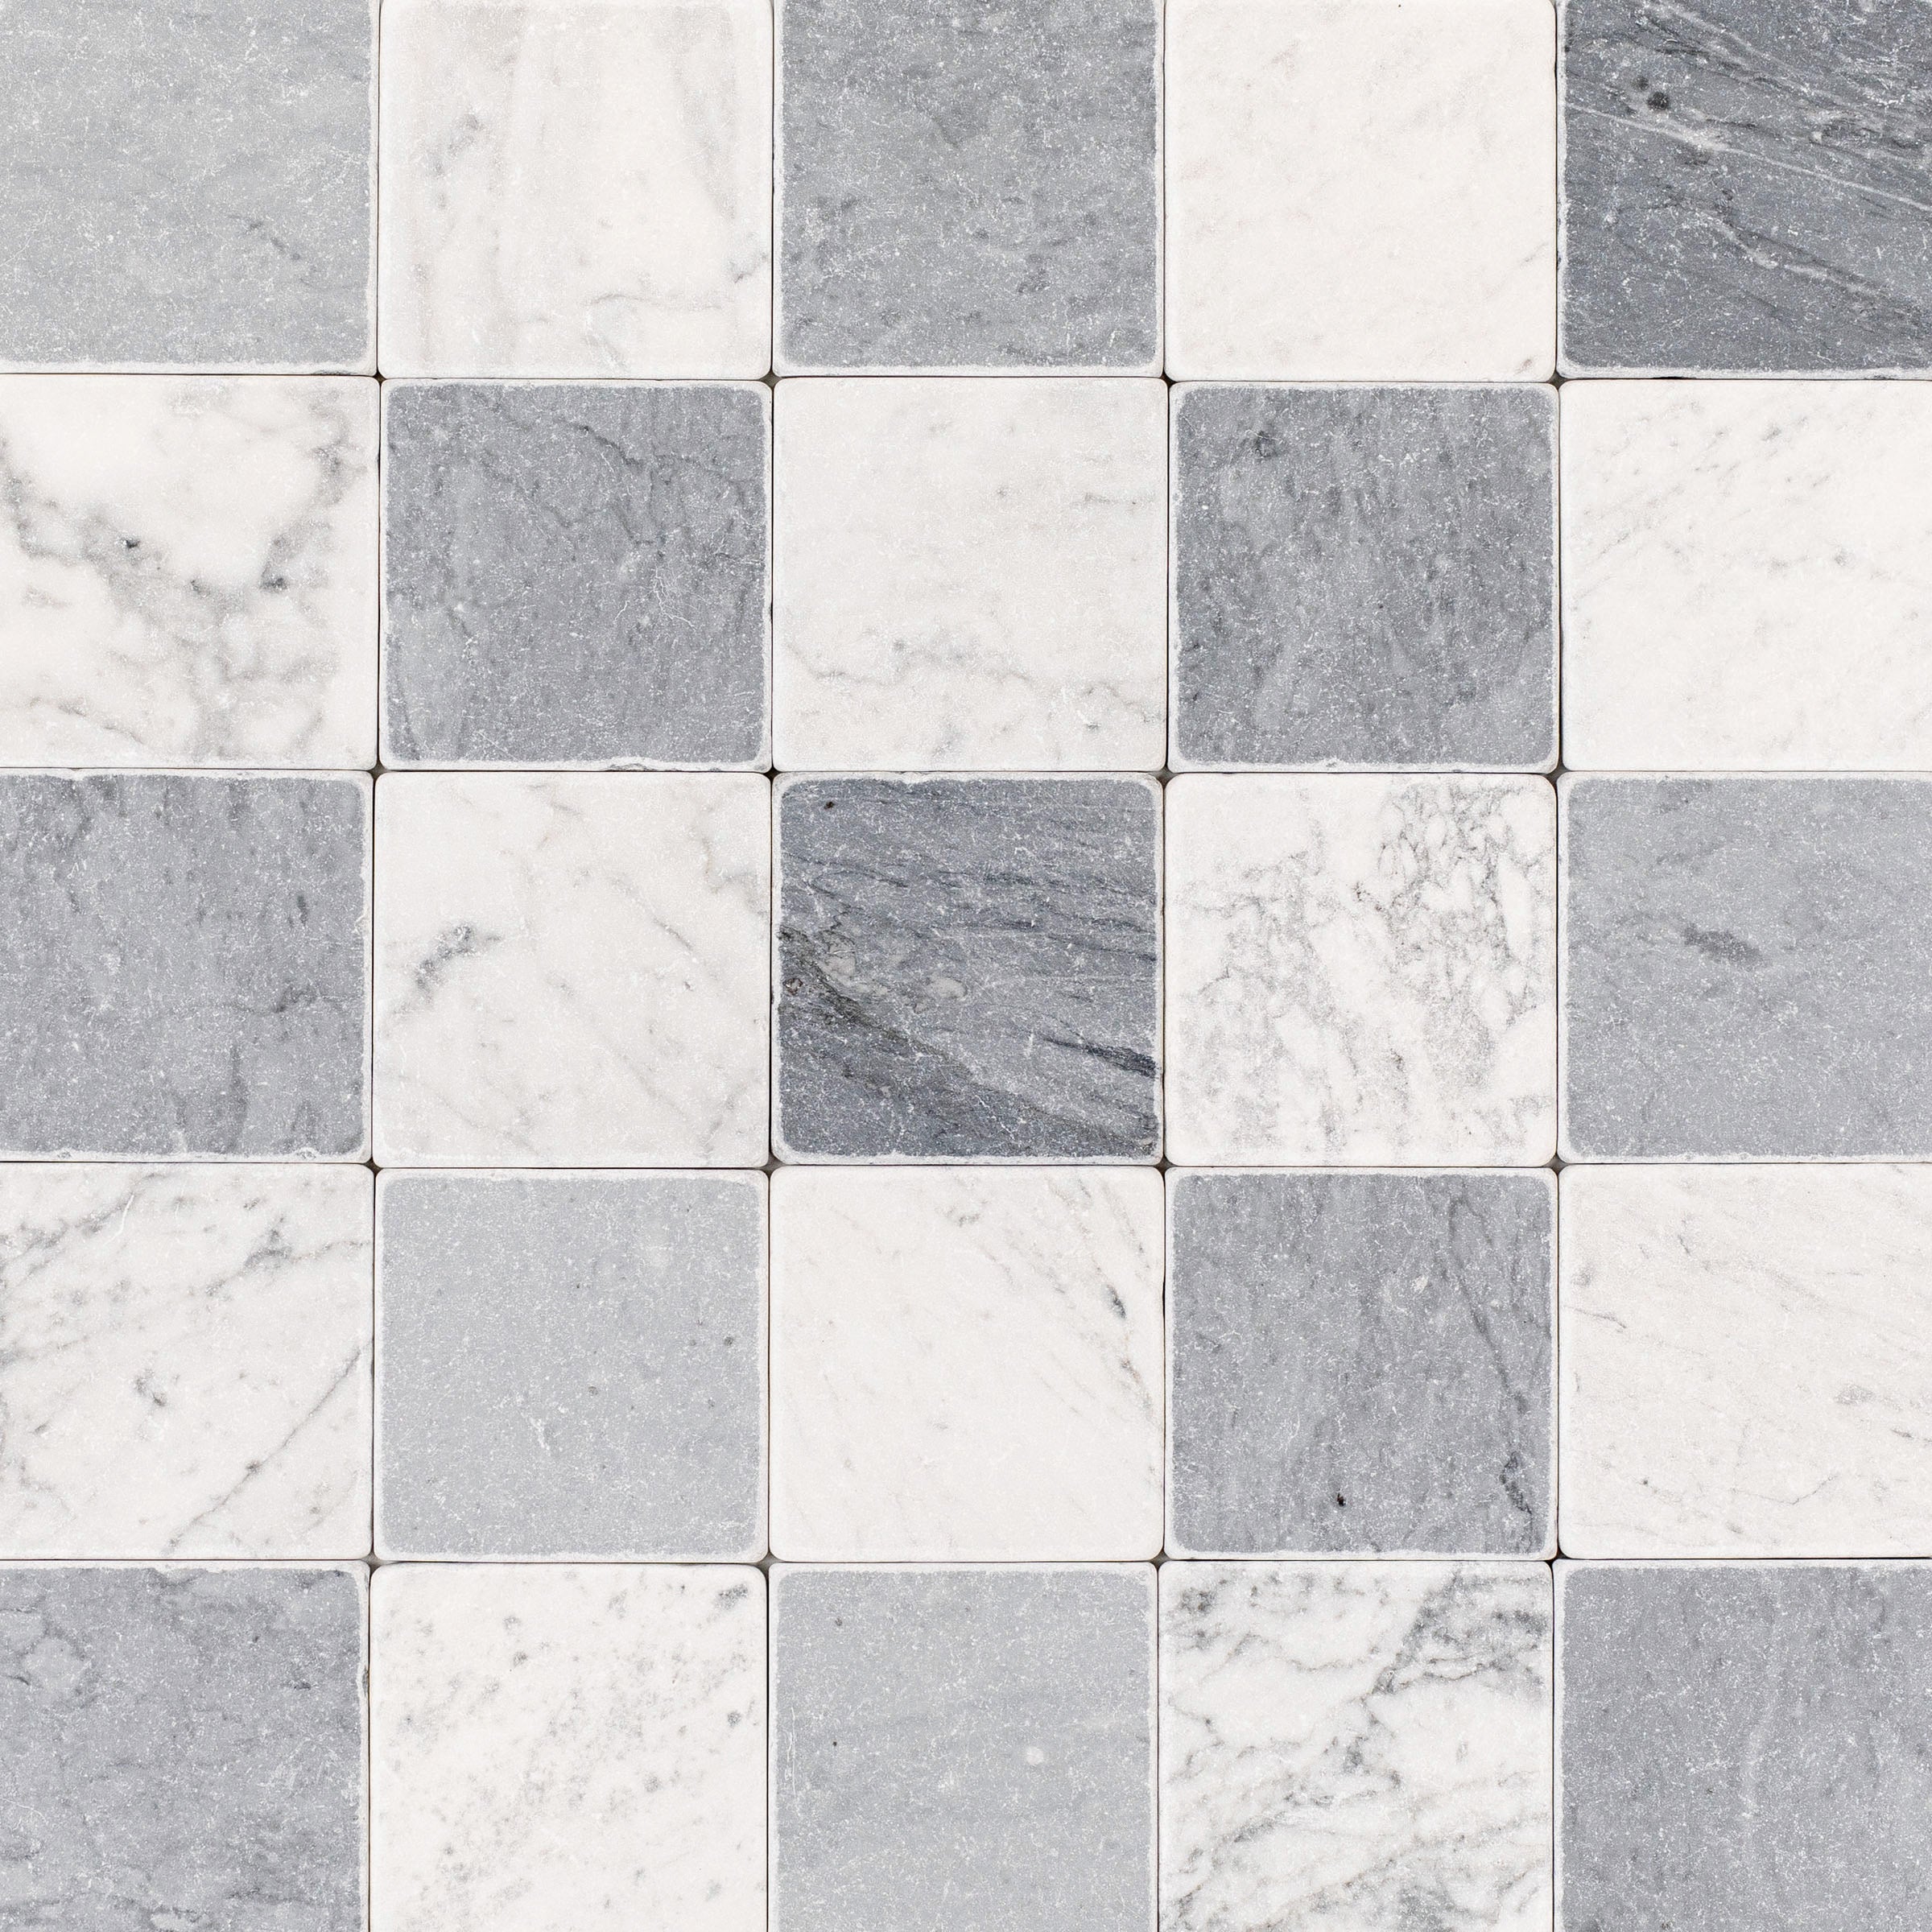

Carrara Bardiglio Tumbled Stone Checkerboard


Cream 12x24 3D Gloss Porcelain Tile
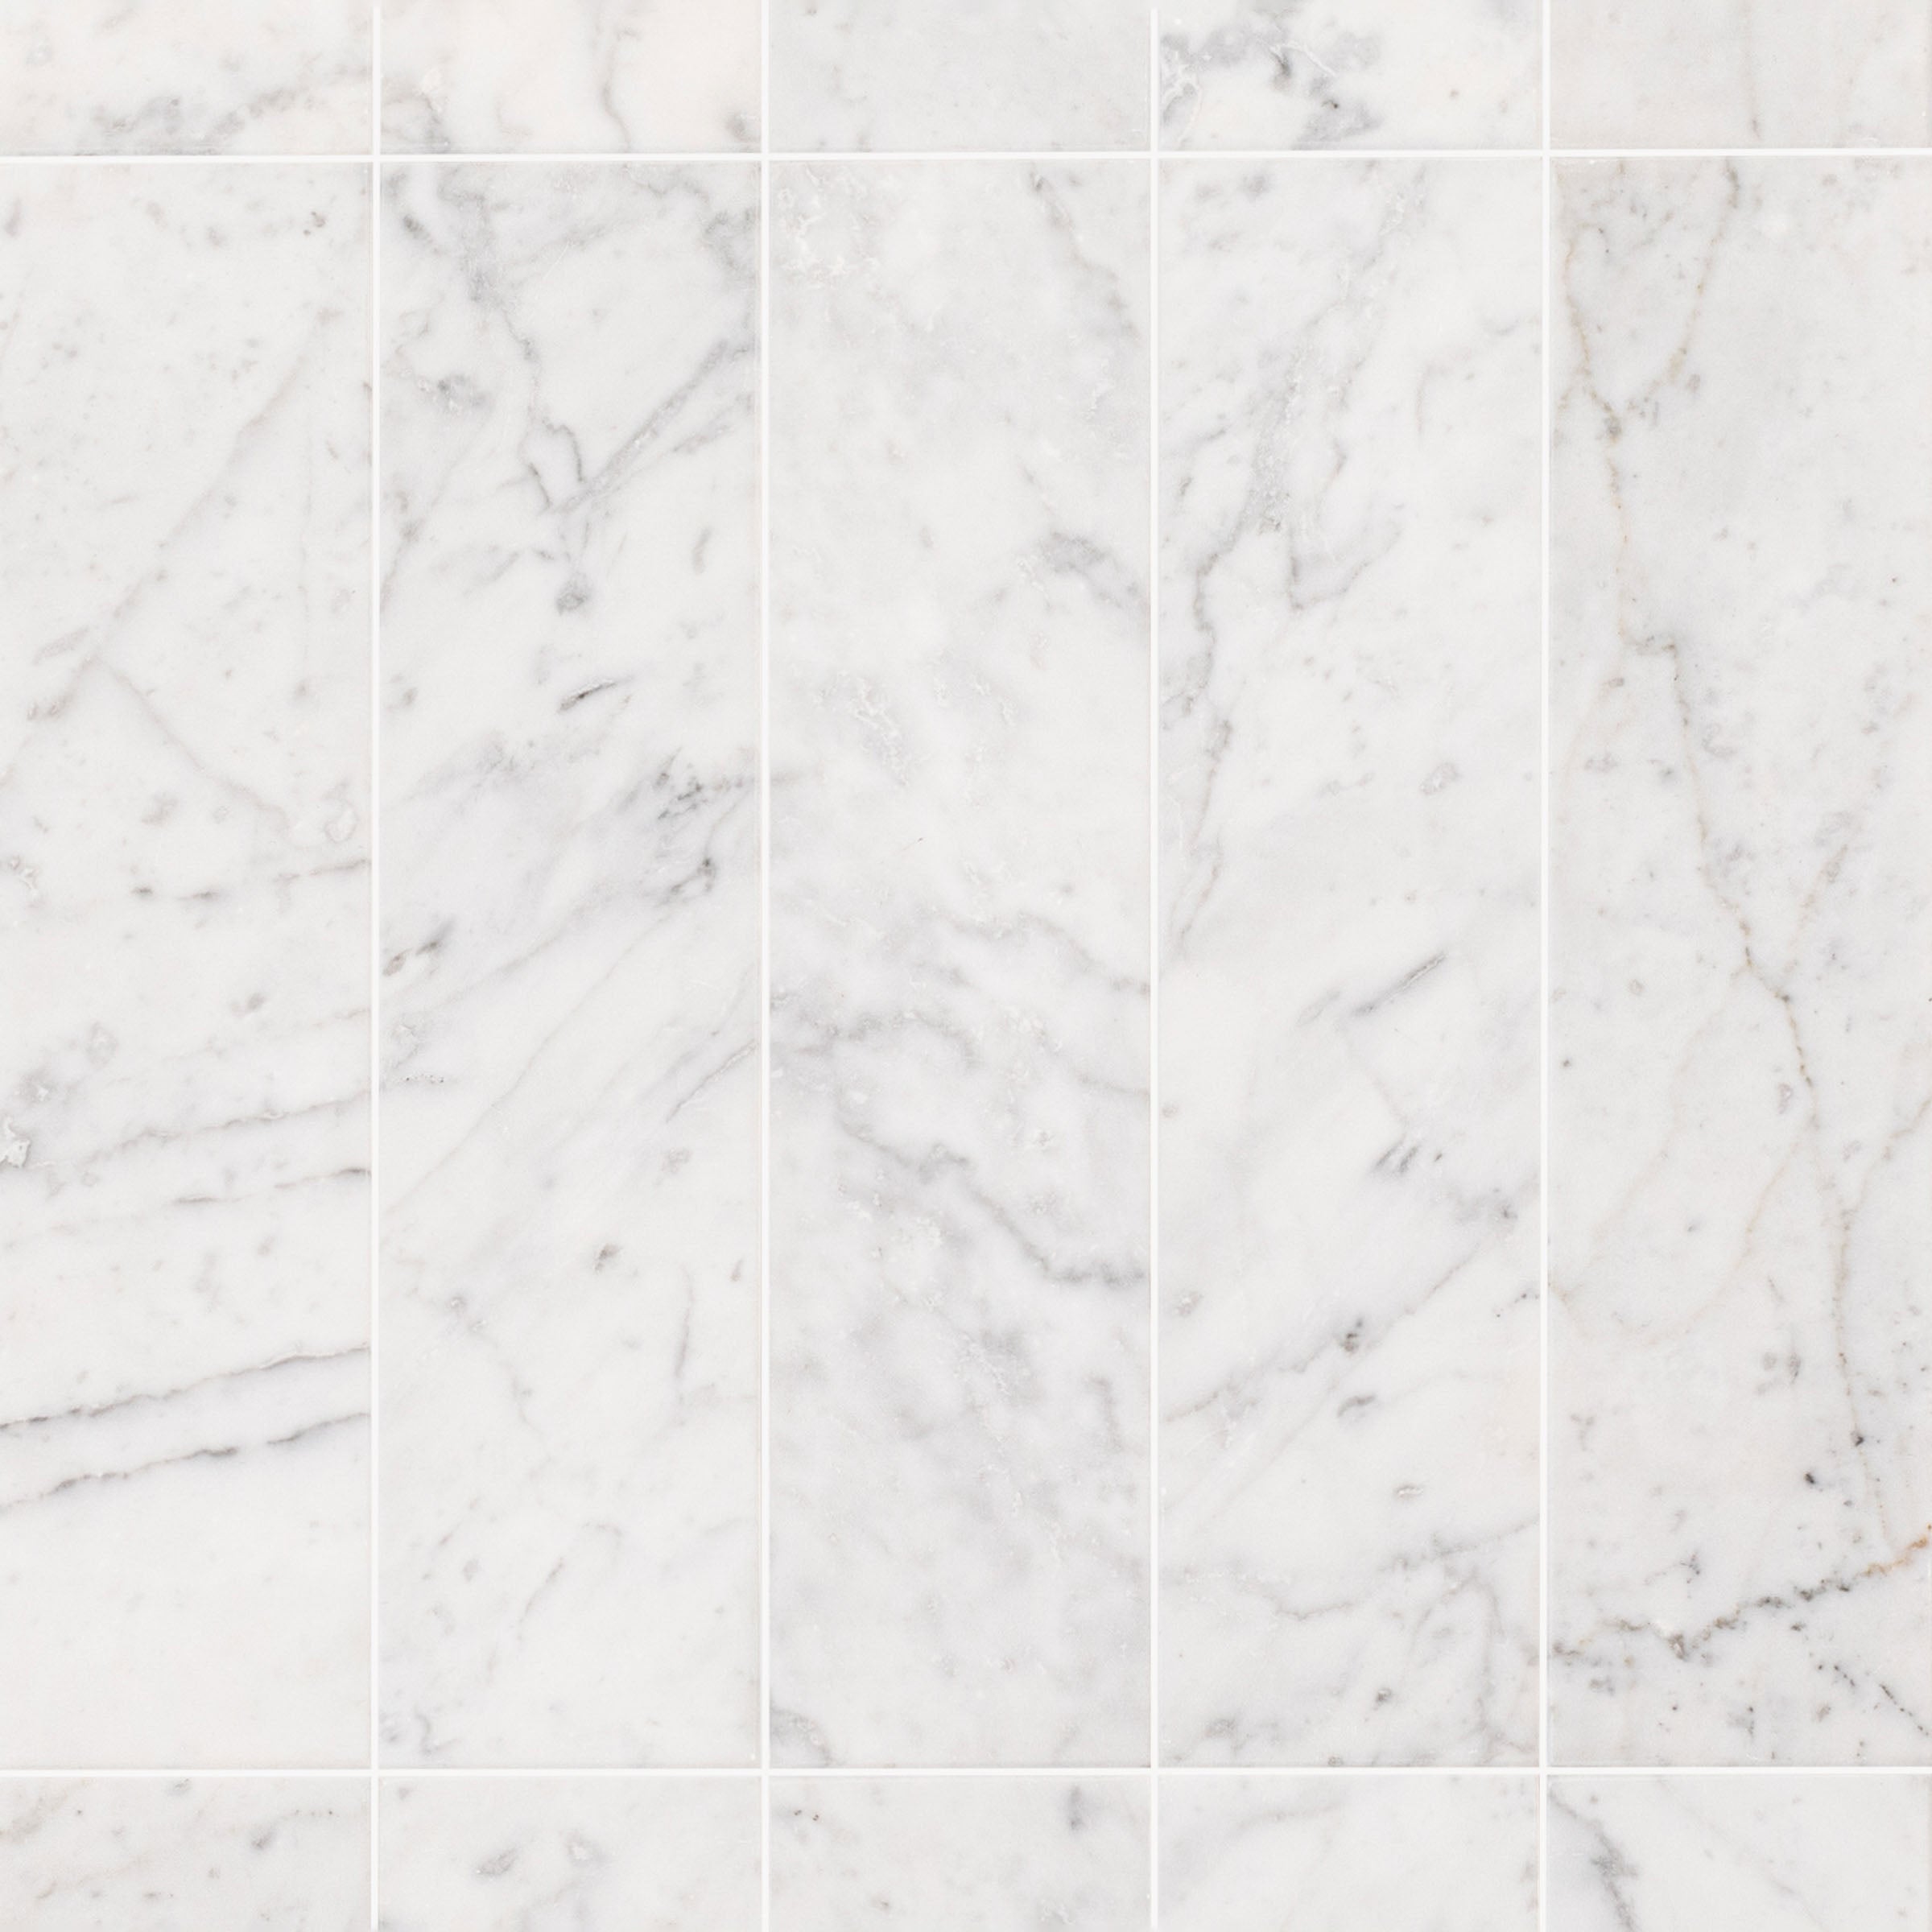
Bianco Carrara Honed Marble Tile
Verde Guatemala Tumbled Marble Tile
Borgogna 3D Matte Porcelain Tile


White & Black Octagon Zellige Mosaic


Calacatta Honed Italian Terrazzo Tile
White Multi-Color Matte Porcelain Tile
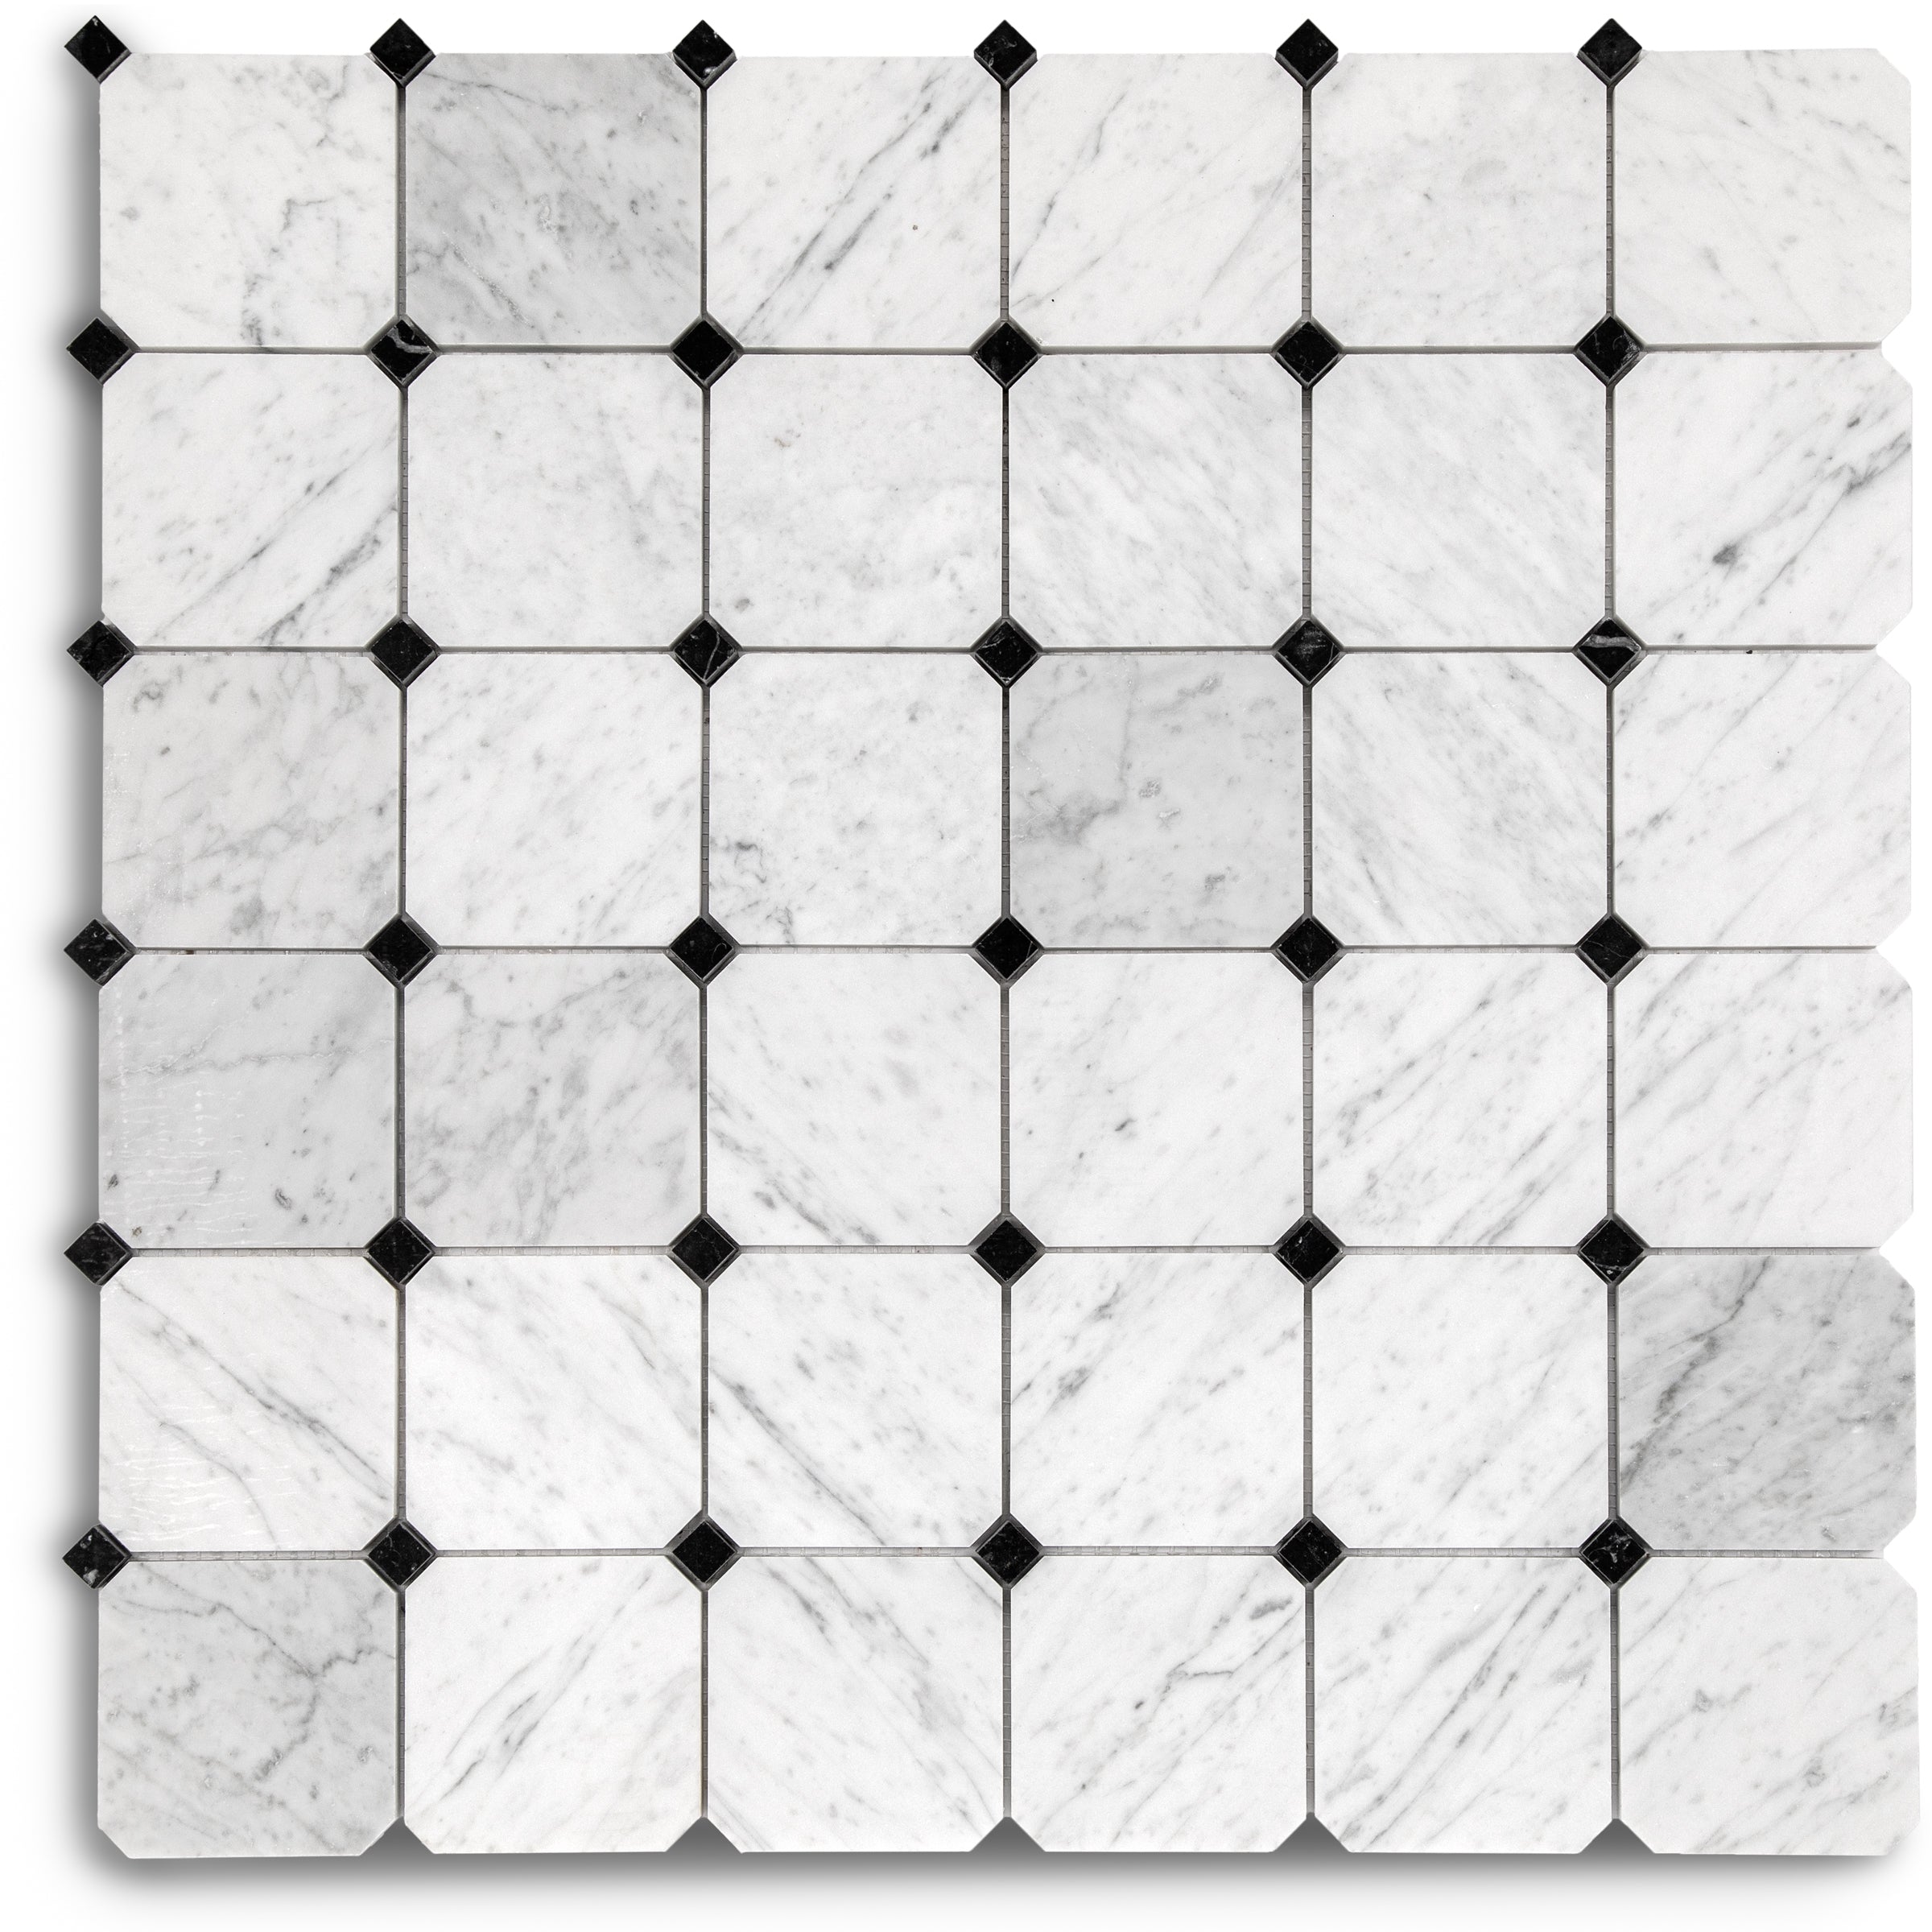
Bianco Carrara Octagon w/ Nero Marquina Dot Mosaic
Rosso Verona Tumbled Marble Tile
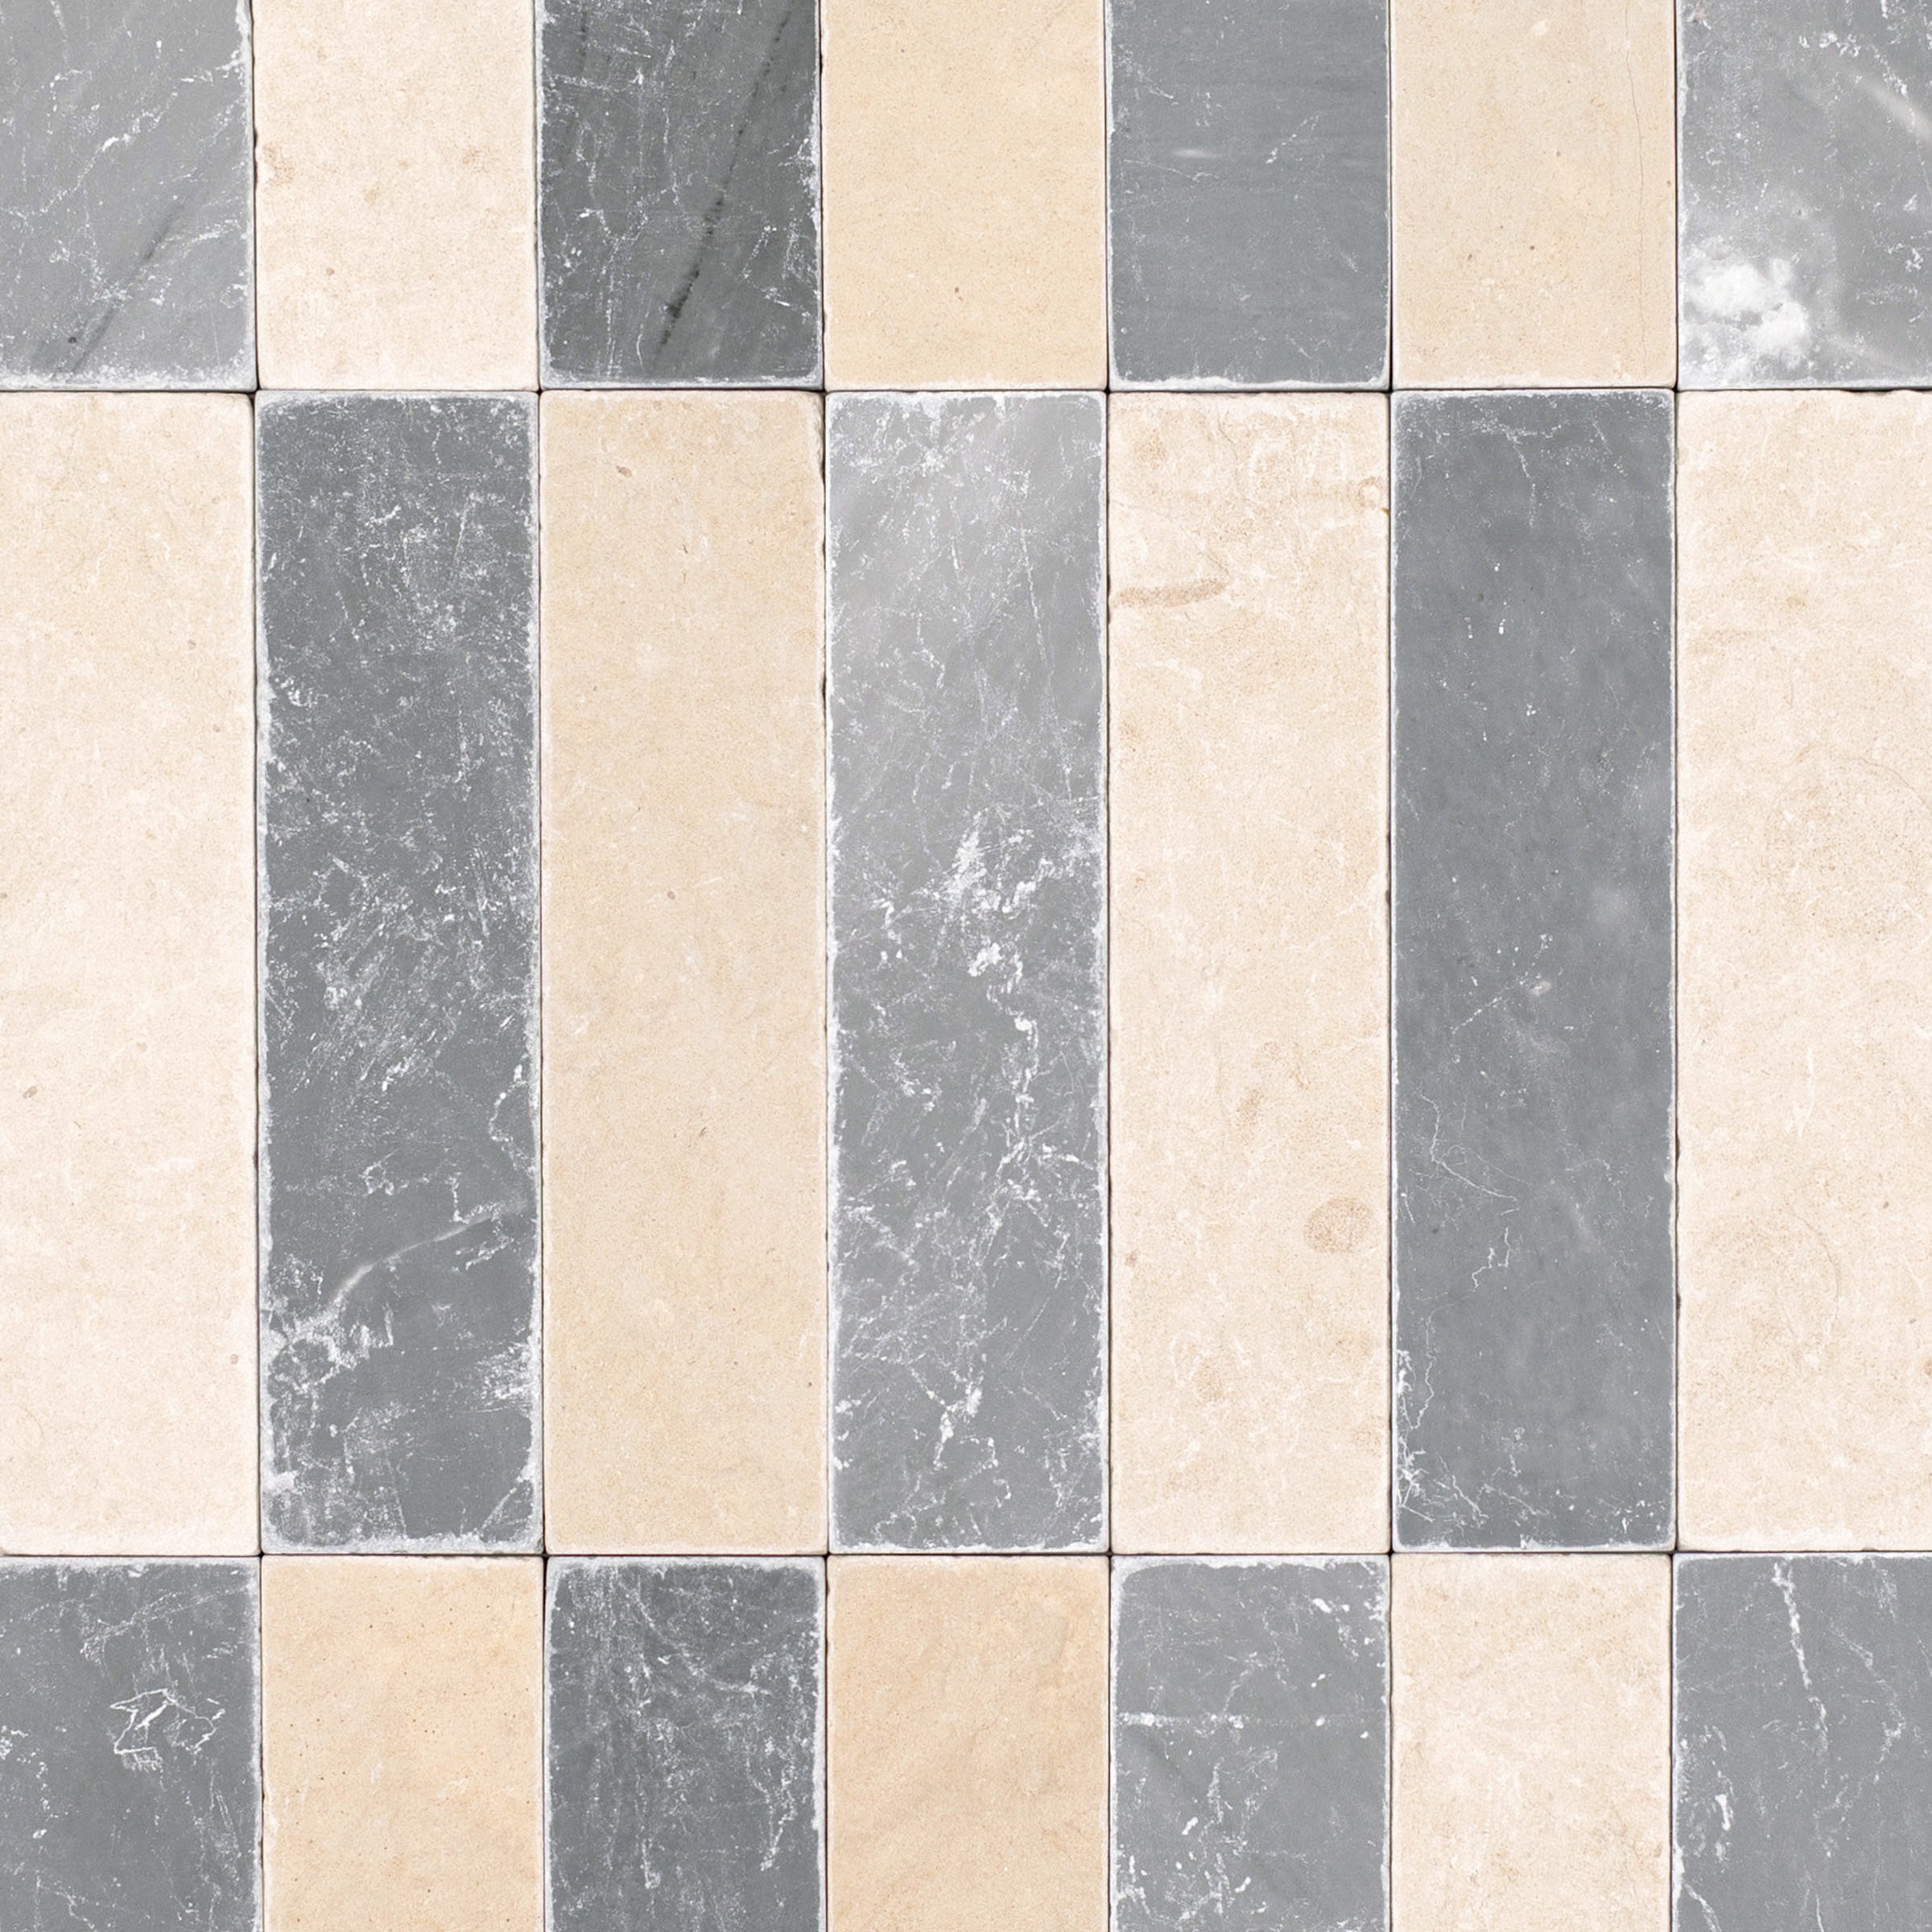
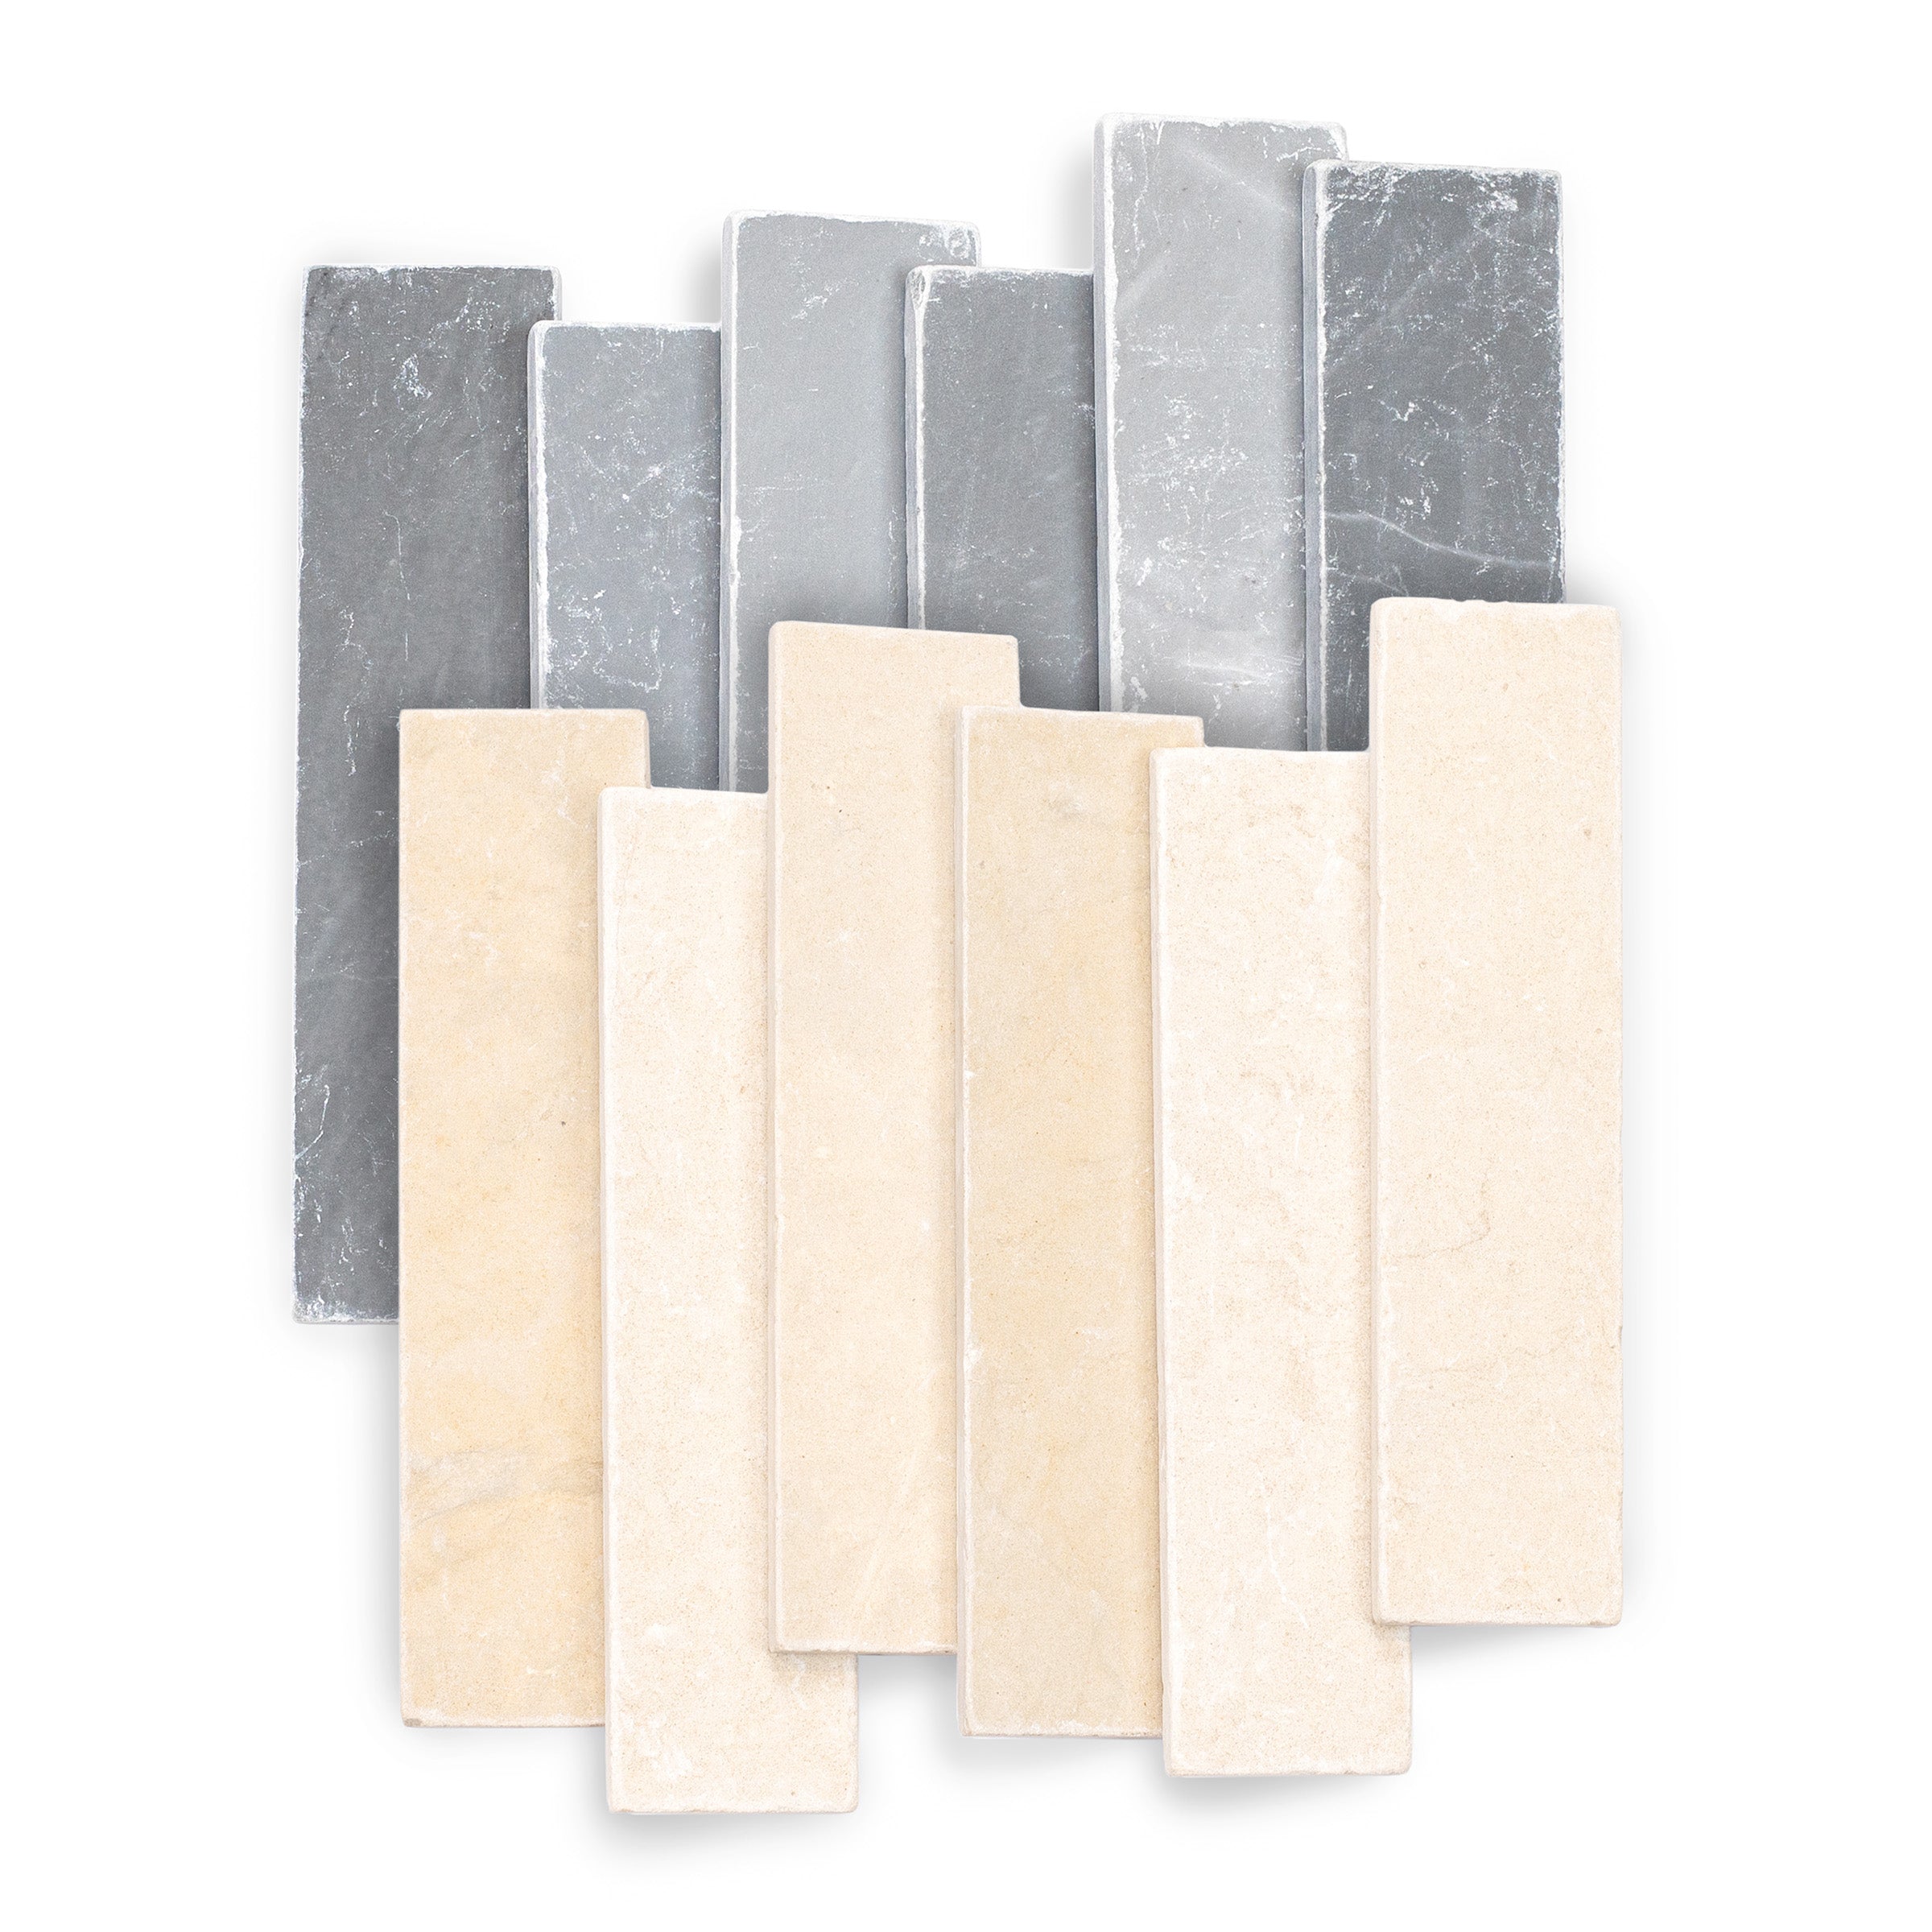
Bardiglio Desert Tea Tumbled Stone Checker Stripe
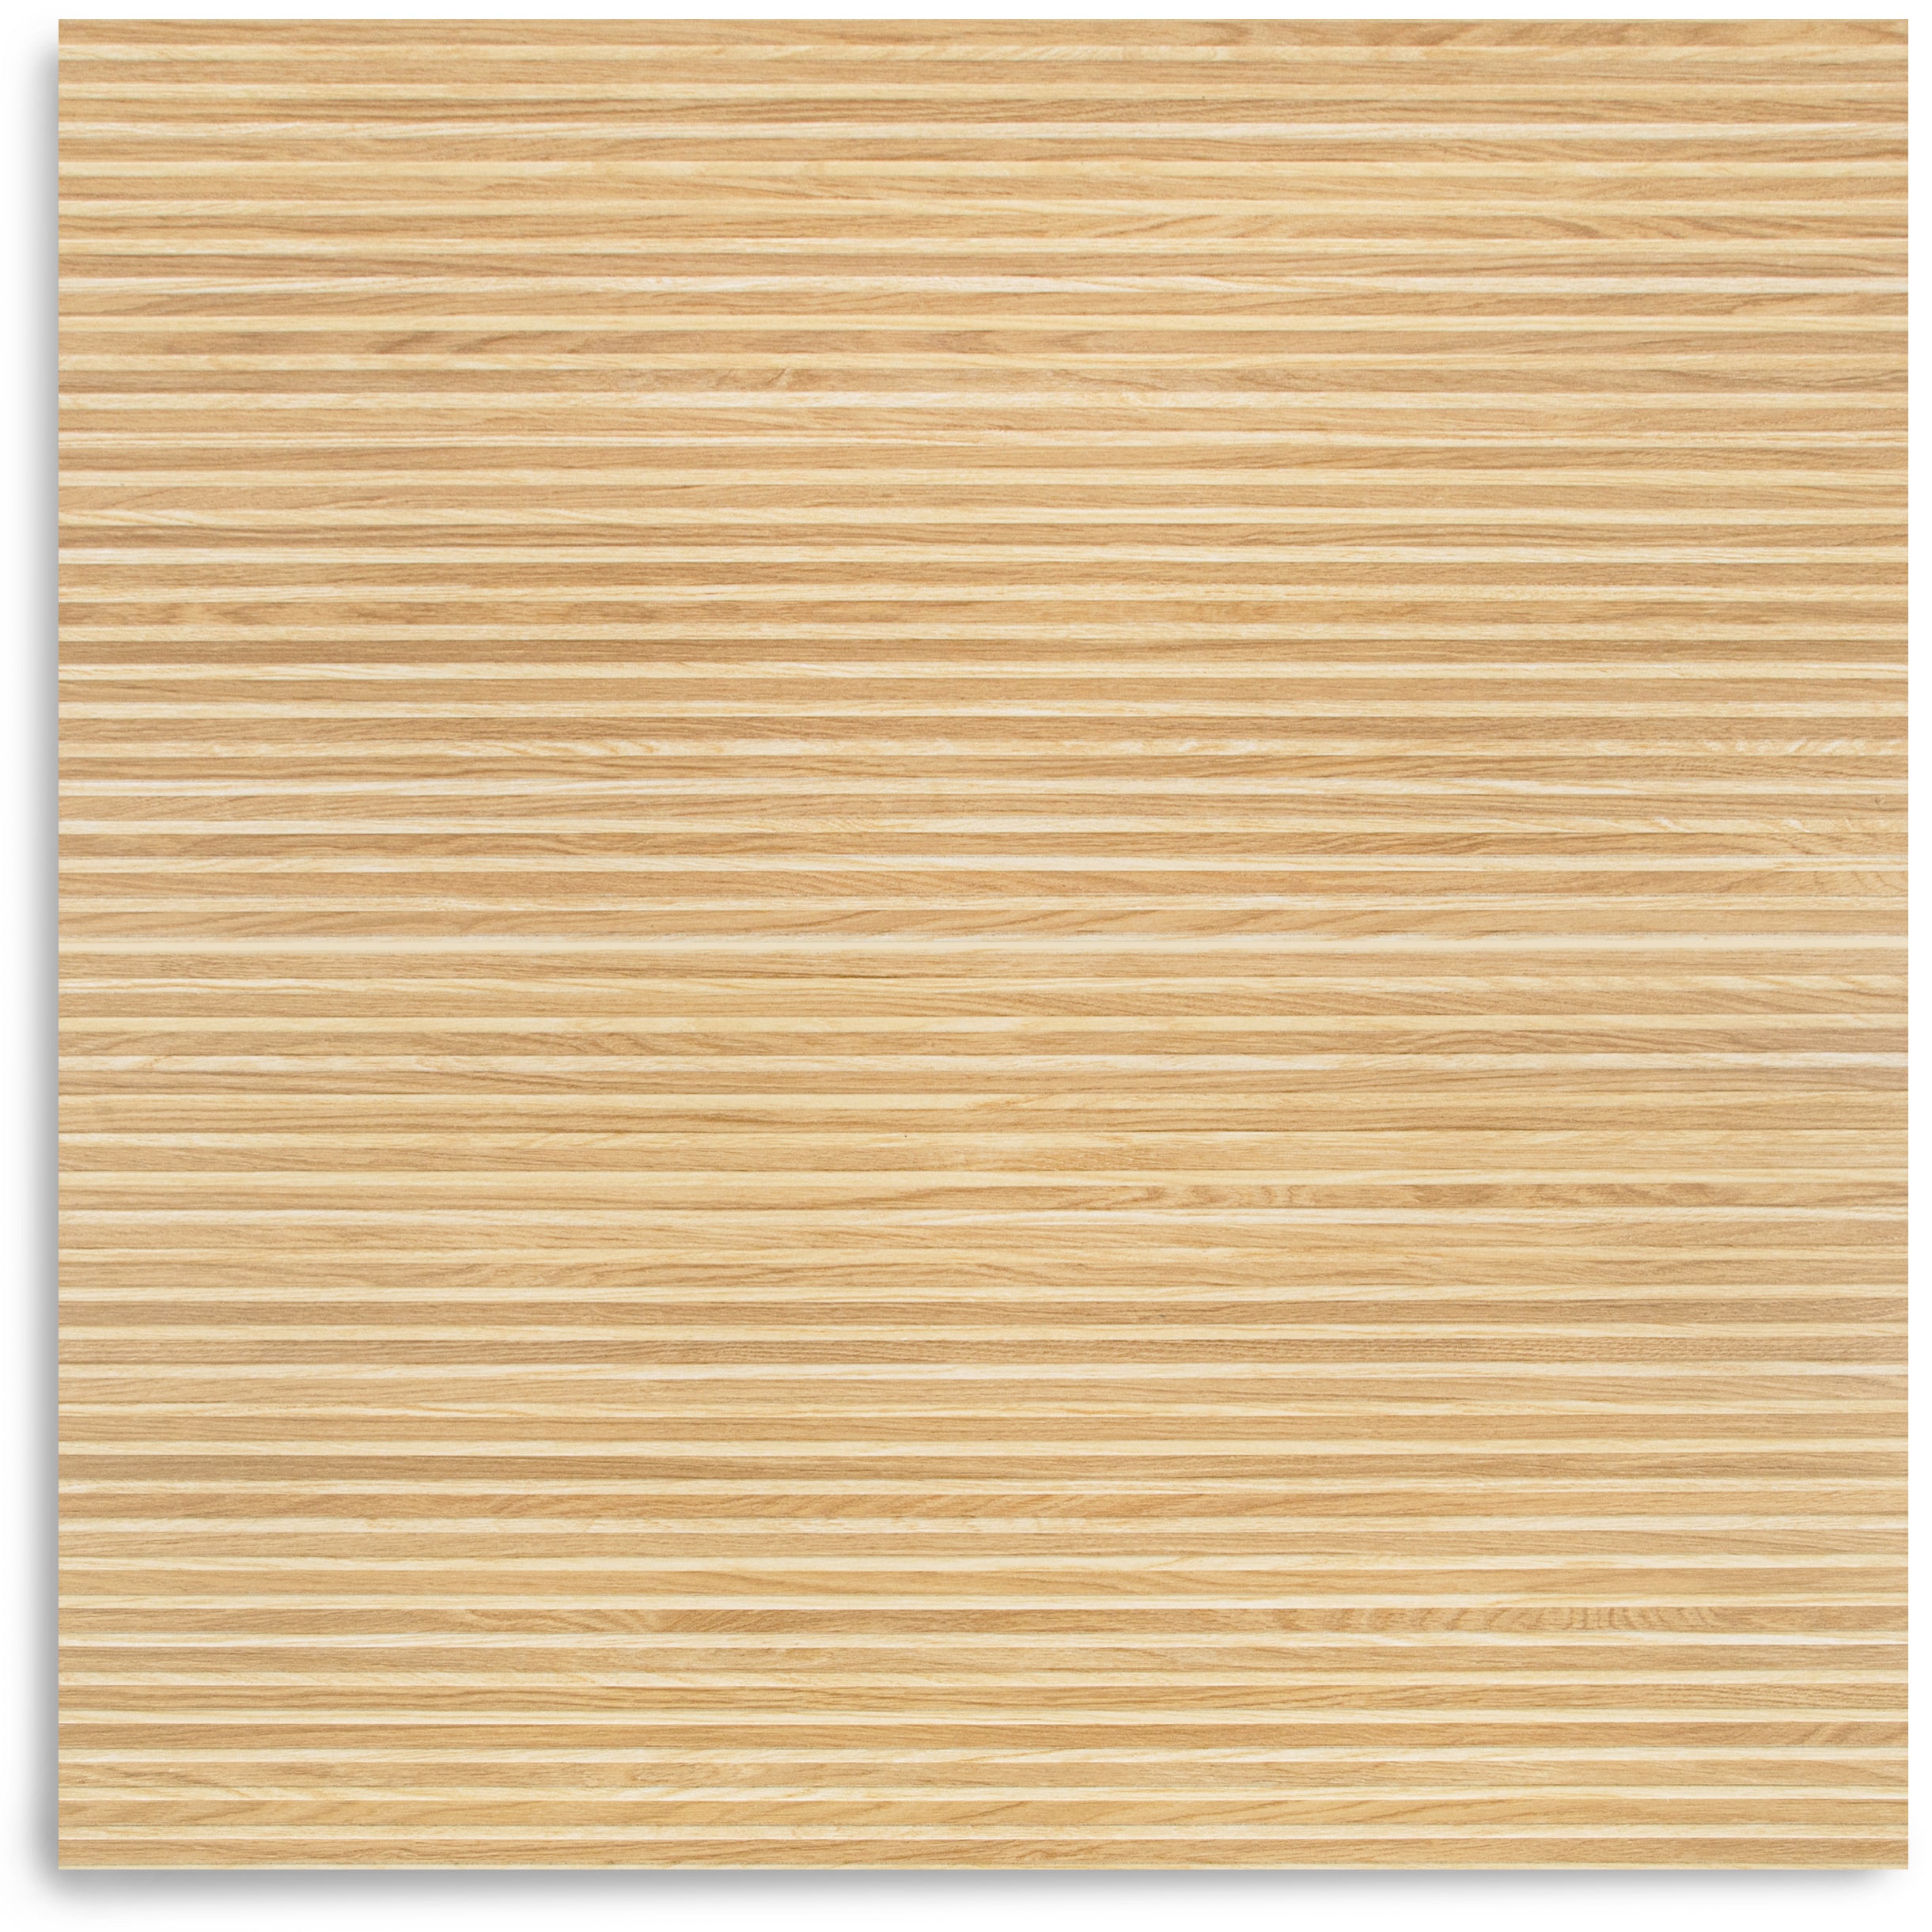
Honey Slats 24x48 Wood Look Porcelain Tile
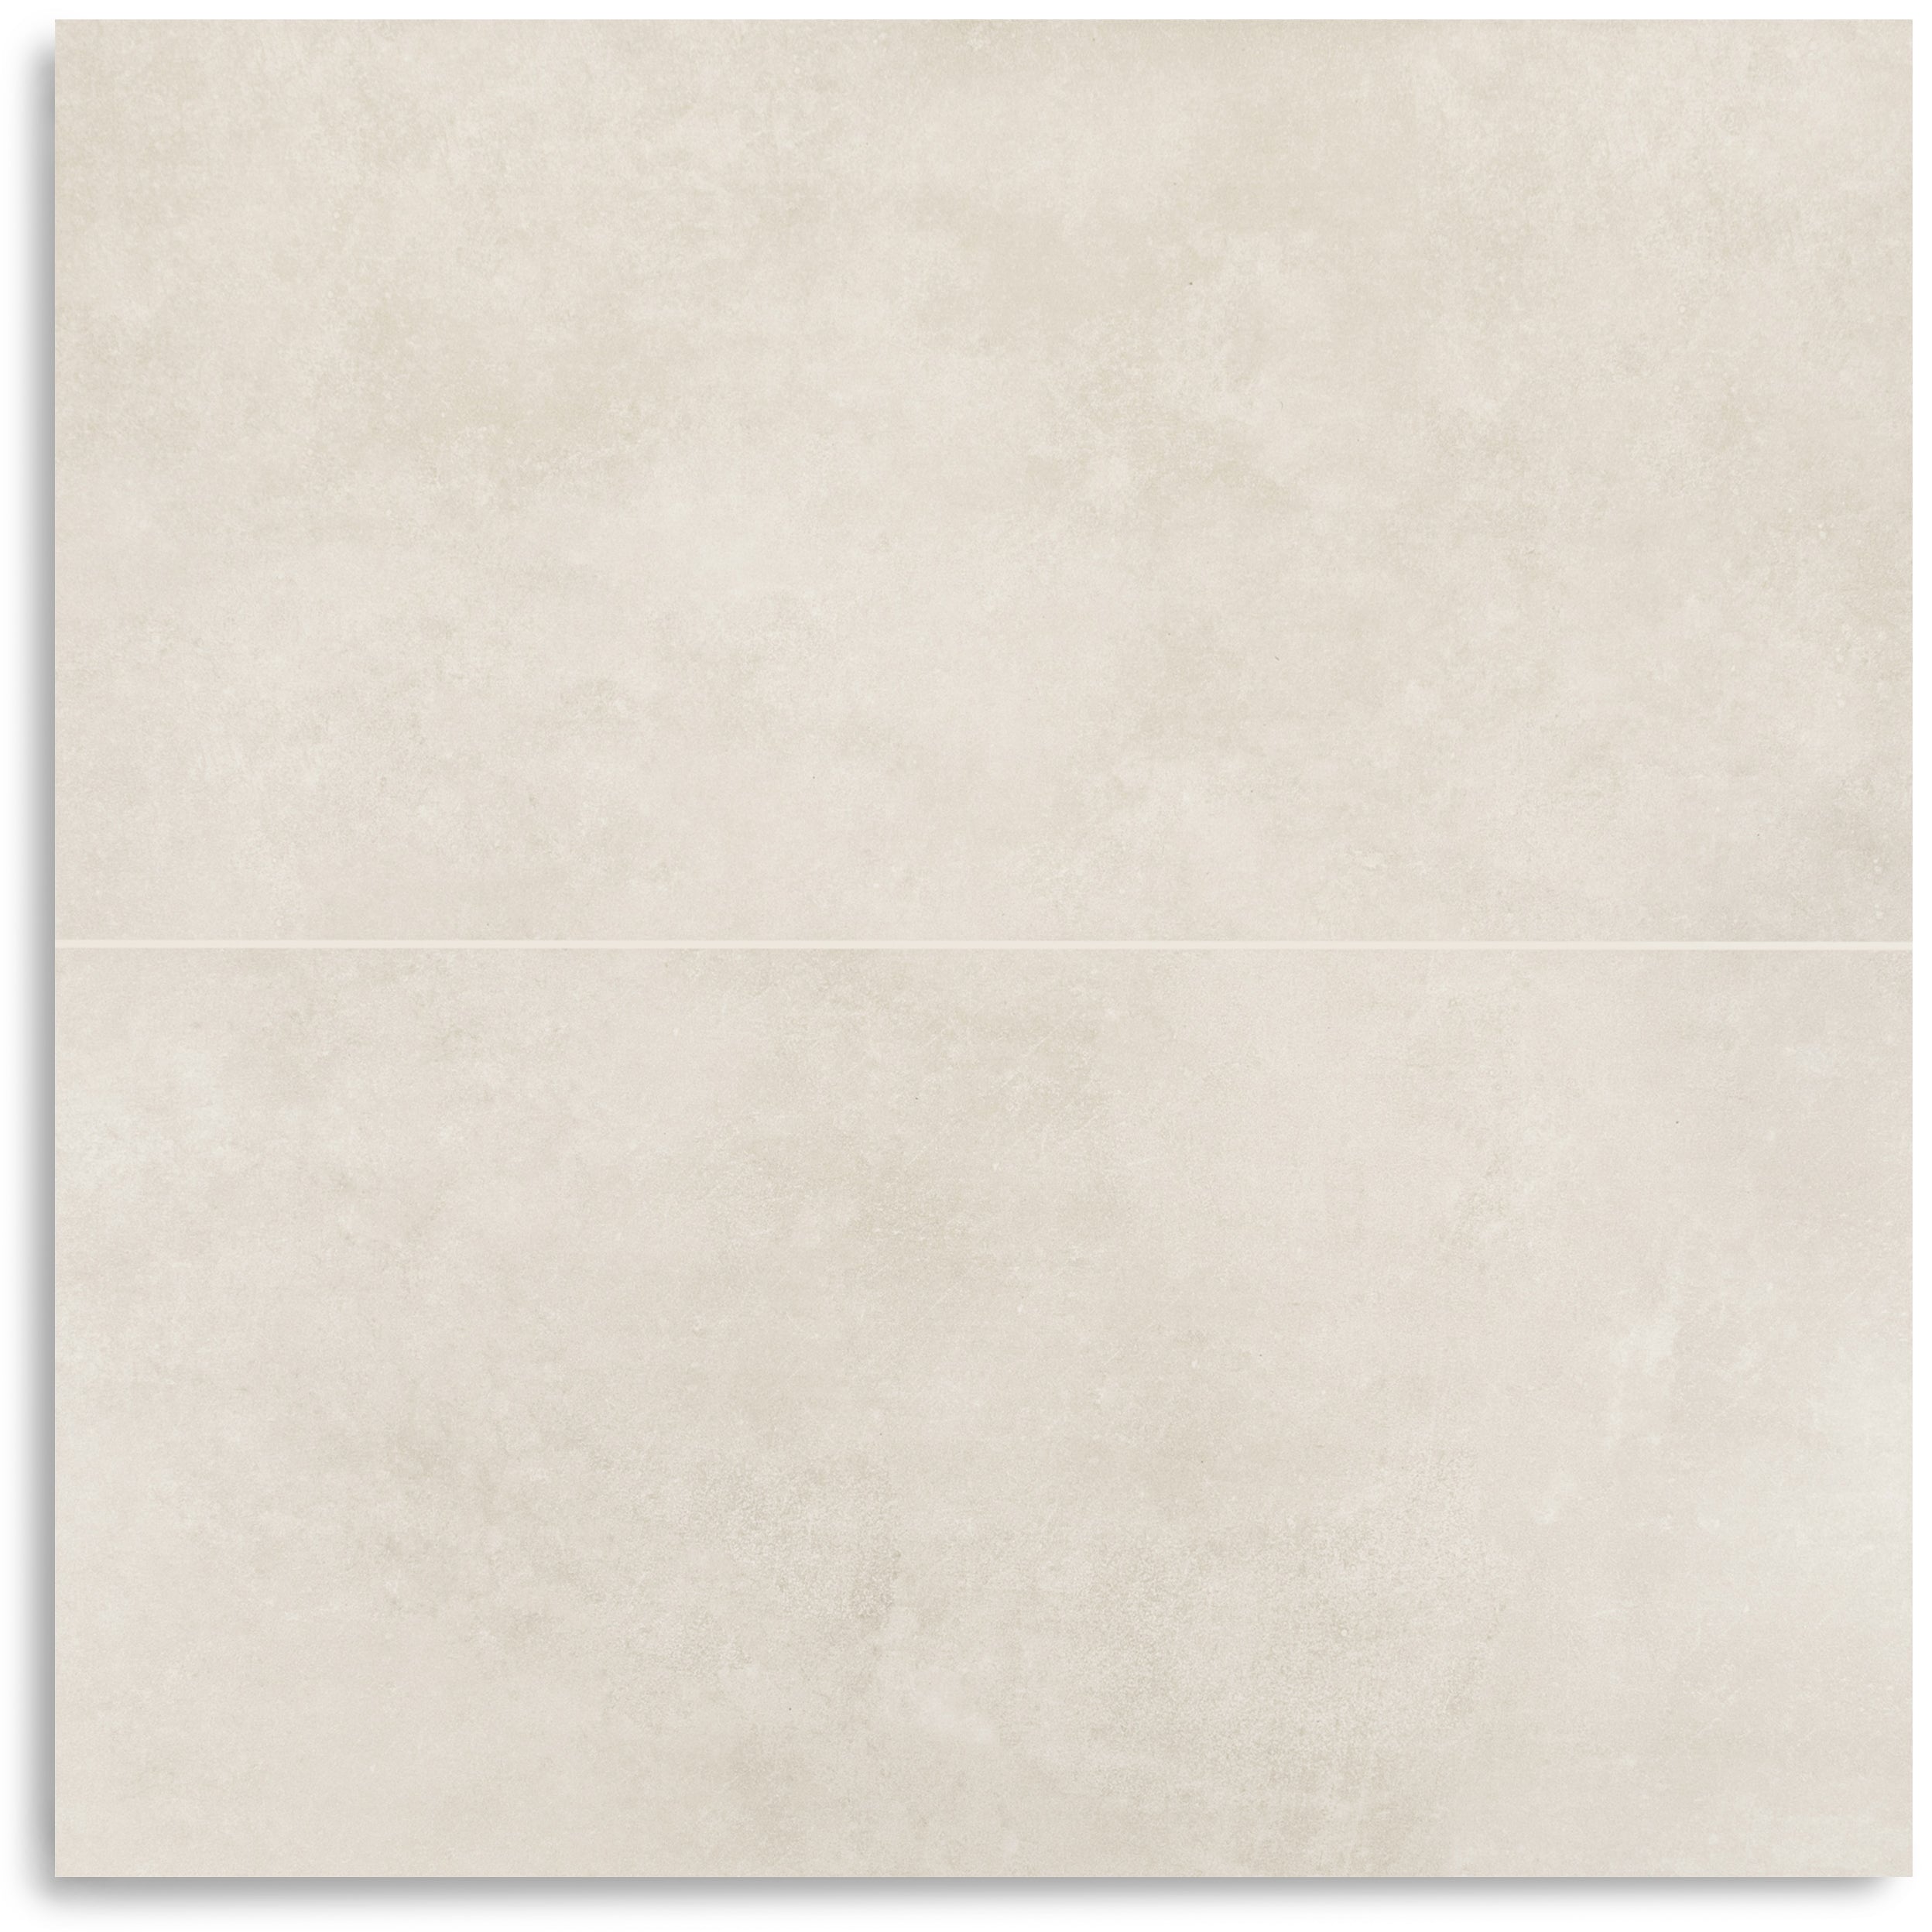
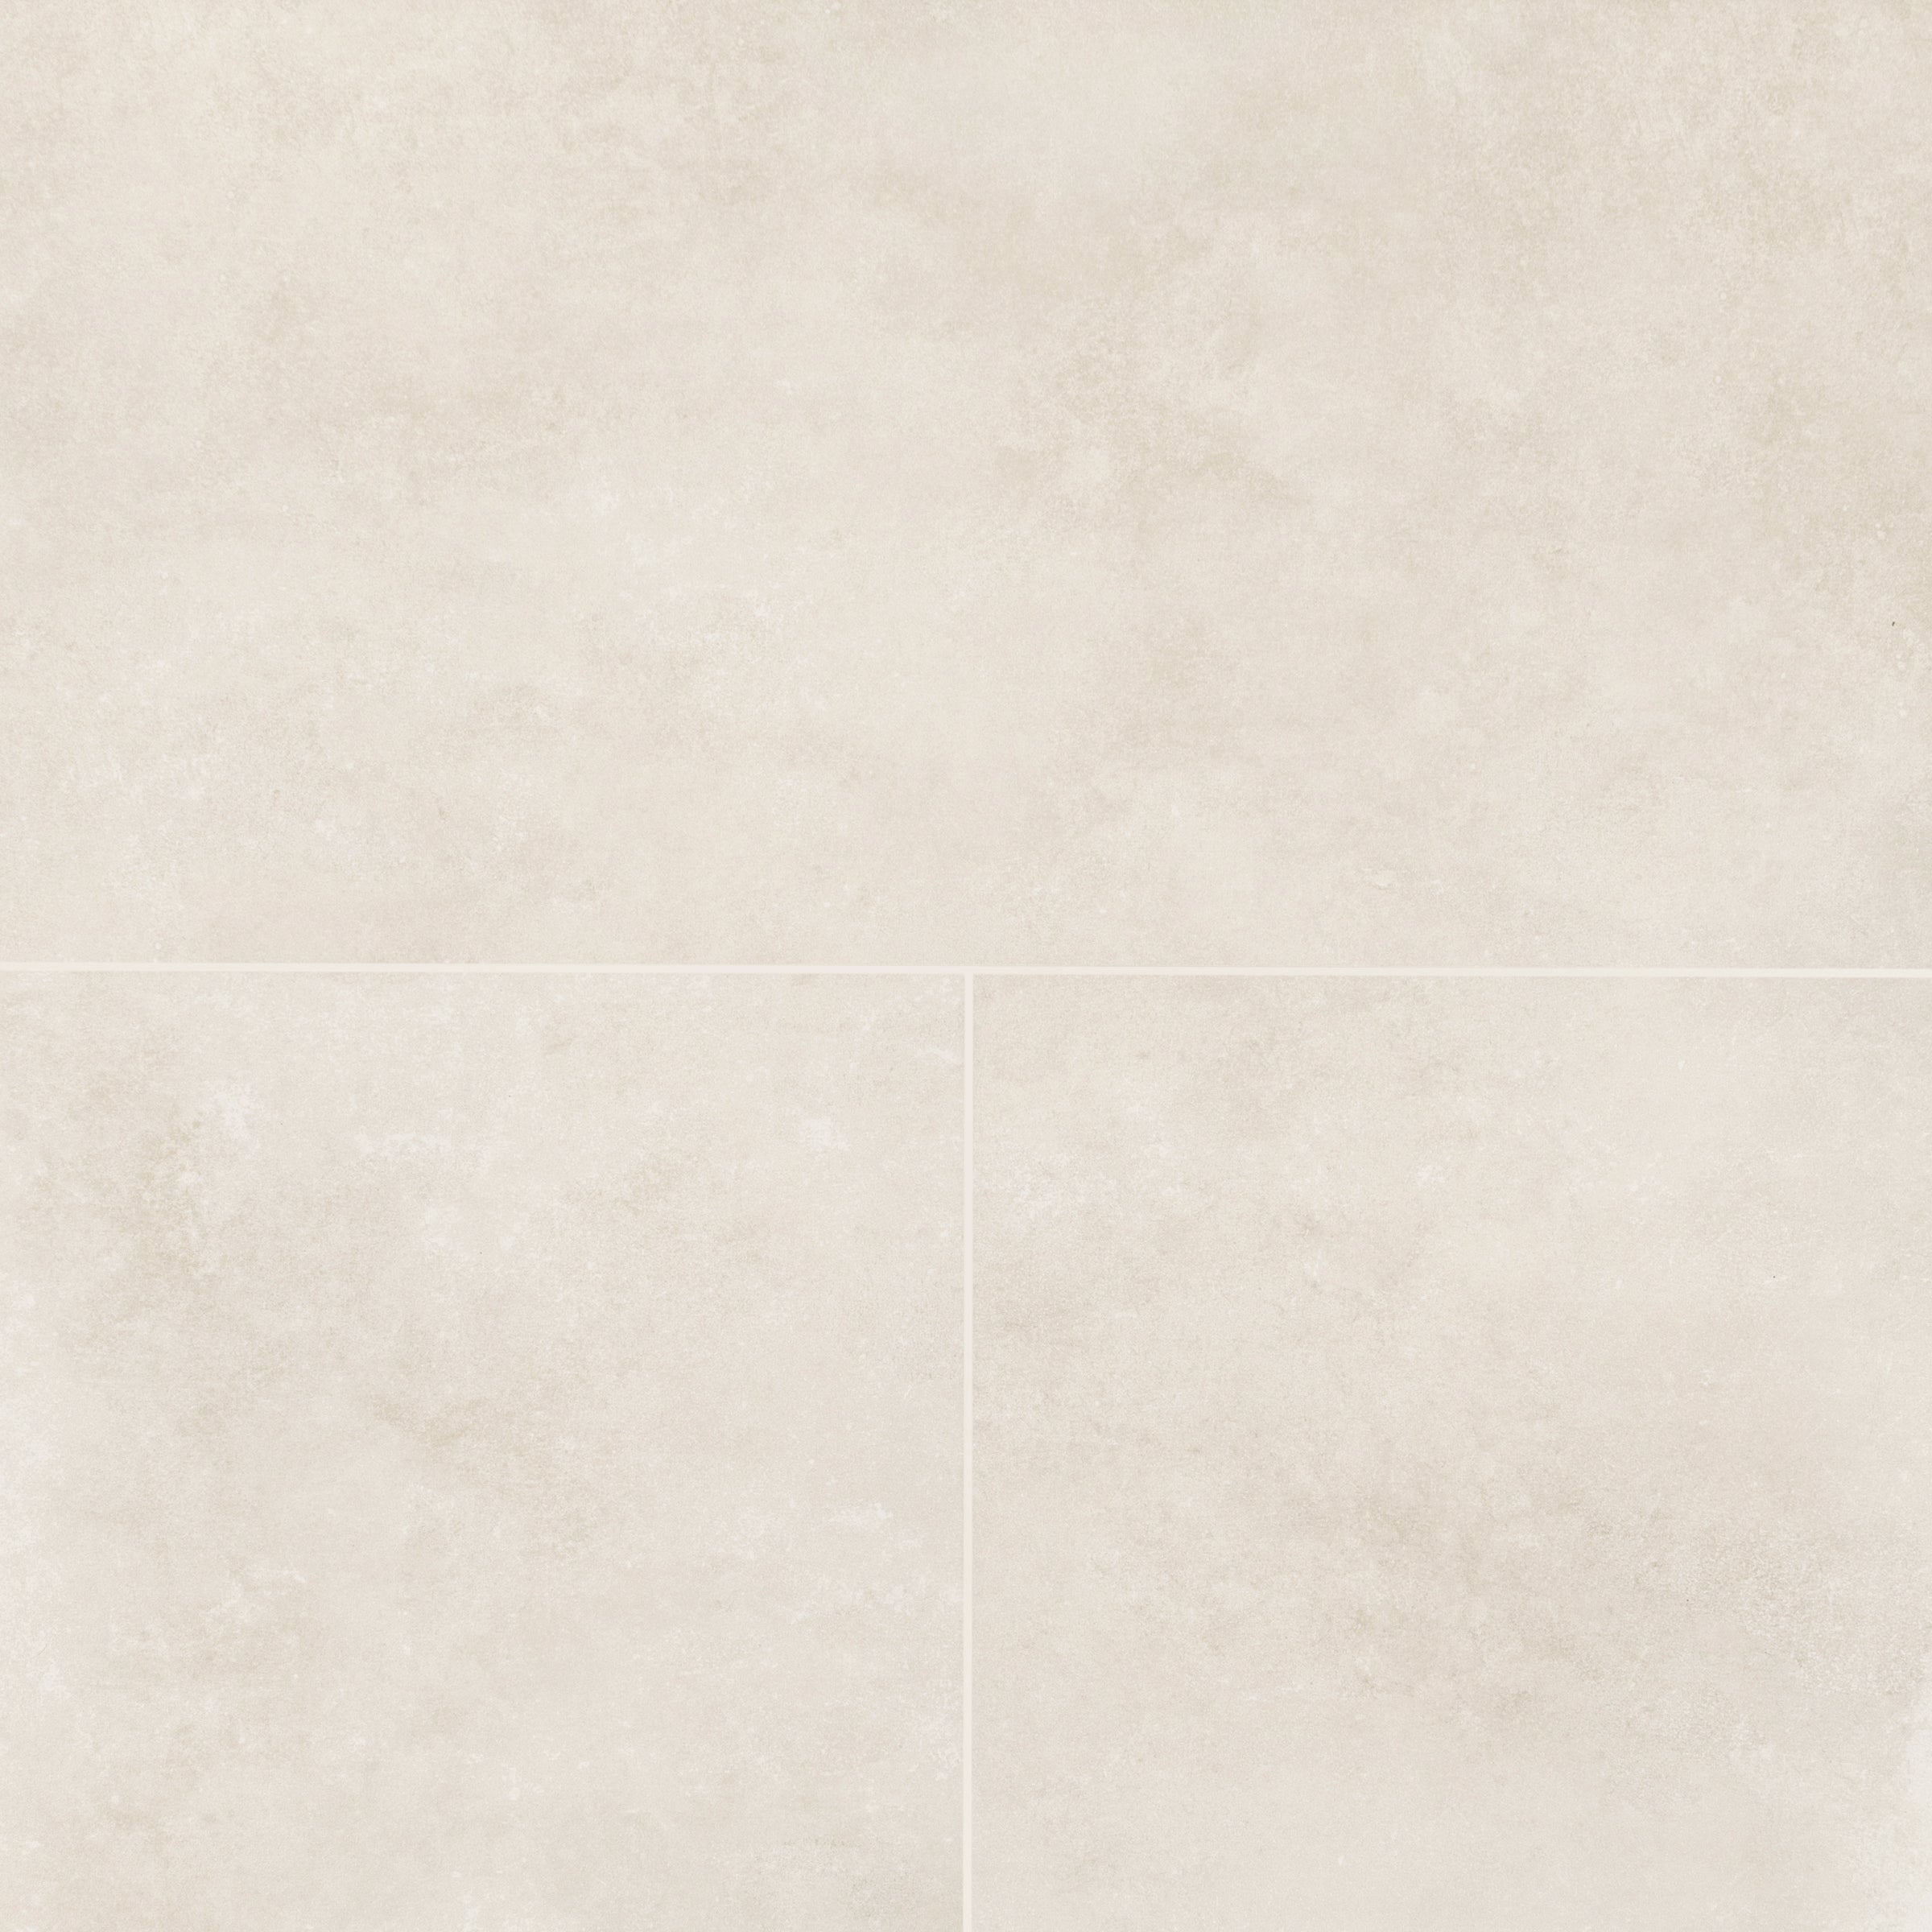
Almond Cement Look Matte Porcelain Tile
Travertino 3D Matte Porcelain Tile
White & Ecru Octagon Zellige Mosaic
Thassos, Carrara, Bardiglio Gingham Marble Mosaic
Cotto Deco Terracotta Look Matte Porcelain Tile
White & Ecru 2x2 Zellige Checkerboard Mosaic
Cotto Terracotta Look Matte Porcelain Tile
Murano Honed Italian Terrazzo Tile
Apple 12x24 3D Glossy Porcelain Tile
Cream Limestone Look 3D Matte Porcelain Tile
Navy 12x24 3D Gloss Porcelain Tile
Beige Limestone Look 3D Matte Porcelain Tile
Chiaro Deco Terracotta Look Matte Porcelain Tile
Travertino Moka Stone Look Porcelain Tile
Cream 12x24 3D Gloss Porcelain Tile
Bianco Carrara Honed Marble Tile
Fior de Bosco Marble Look Porcelain Tile
Bianco Carrara Octagon w/ Nero Marquina Dot Mosaic
Carrara Bardiglio Tumbled Stone Checkerboard
Verde Guatemala Tumbled Marble Tile
Rosso Verona Tumbled Marble Tile
Borgogna 3D Matte Porcelain Tile
White & Black Octagon Zellige Mosaic
Calacatta Honed Italian Terrazzo Tile
White Multi-Color Matte Porcelain Tile
Rosso Verona 1x1 Hand Chipped Marble Mosaic
Bardiglio Desert Tea Tumbled Stone Checker Stripe
Honey Slats 24x48 Wood Look Porcelain Tile
Almond Cement Look Matte Porcelain Tile
White & Ecru Octagon Zellige Mosaic
Thassos, Carrara, Bardiglio Gingham Marble Mosaic
Cotto Deco Terracotta Look Matte Porcelain Tile
White & Ecru 2x2 Zellige Checkerboard Mosaic
Cotto Terracotta Look Matte Porcelain Tile
Murano Honed Italian Terrazzo Tile
Cream Limestone Look 3D Matte Porcelain Tile
Apple 12x24 3D Glossy Porcelain Tile
Beige Limestone Look 3D Matte Porcelain Tile
Navy 12x24 3D Gloss Porcelain Tile
Chiaro Deco Terracotta Look Matte Porcelain Tile
Travertino Moka Stone Look Porcelain Tile
Fior de Bosco Marble Look Porcelain Tile
Bianco Carrara Octagon w/ Nero Marquina Dot Mosaic
Carrara Bardiglio Tumbled Stone Checkerboard
Cream 12x24 3D Gloss Porcelain Tile
Bianco Carrara Honed Marble Tile
Verde Guatemala Tumbled Marble Tile
Rosso Verona Tumbled Marble Tile
Borgogna 3D Matte Porcelain Tile
White & Black Octagon Zellige Mosaic
Calacatta Honed Italian Terrazzo Tile
White Multi-Color Matte Porcelain Tile
Rosso Verona 1x1 Hand Chipped Marble Mosaic
Bardiglio Desert Tea Tumbled Stone Checker Stripe
Honey Slats 24x48 Wood Look Porcelain Tile
Almond Cement Look Matte Porcelain Tile
White & Ecru Octagon Zellige Mosaic
Thassos, Carrara, Bardiglio Gingham Marble Mosaic
Cotto Deco Terracotta Look Matte Porcelain Tile
White & Ecru 2x2 Zellige Checkerboard Mosaic
Murano Honed Italian Terrazzo Tile
Cream Limestone Look 3D Matte Porcelain Tile
Apple 12x24 3D Glossy Porcelain Tile
Beige Limestone Look 3D Matte Porcelain Tile
Navy 12x24 3D Gloss Porcelain Tile
Chiaro Deco Terracotta Look Matte Porcelain Tile
Travertino Moka Stone Look Porcelain Tile
Bianco Carrara Honed Marble Tile
Borgogna 3D Matte Porcelain Tile
Fior de Bosco Marble Look Porcelain Tile
Bianco Carrara Octagon w/ Nero Marquina Dot Mosaic
Carrara Bardiglio Tumbled Stone Checkerboard
Cream 12x24 3D Gloss Porcelain Tile
Verde Guatemala Tumbled Marble Tile
Rosso Verona Tumbled Marble Tile
White & Black Octagon Zellige Mosaic
Calacatta Honed Italian Terrazzo Tile
White Multi-Color Matte Porcelain Tile
Almond Cement Look Matte Porcelain Tile
Travertino 3D Matte Porcelain Tile
Rosso Verona 1x1 Hand Chipped Marble Mosaic
Bardiglio Desert Tea Tumbled Stone Checker Stripe
Honey Slats 24x48 Wood Look Porcelain Tile
White & Ecru Octagon Zellige Mosaic
Thassos, Carrara, Bardiglio Gingham Marble Mosaic
Cotto Deco Terracotta Look Matte Porcelain Tile
White & Ecru 2x2 Zellige Checkerboard Mosaic
Cotto Terracotta Look Matte Porcelain Tile
Murano Honed Italian Terrazzo Tile
Cream Limestone Look 3D Matte Porcelain Tile
Apple 12x24 3D Glossy Porcelain Tile
Beige Limestone Look 3D Matte Porcelain Tile
Navy 12x24 3D Gloss Porcelain Tile
Chiaro Deco Terracotta Look Matte Porcelain Tile
Travertino Moka Stone Look Porcelain Tile
Fior de Bosco Marble Look Porcelain Tile
Bianco Carrara Octagon w/ Nero Marquina Dot Mosaic
Cream 12x24 3D Gloss Porcelain Tile
Bianco Carrara Honed Marble Tile
Rosso Verona Tumbled Marble Tile
Borgogna 3D Matte Porcelain Tile
White & Black Octagon Zellige Mosaic
Calacatta Honed Italian Terrazzo Tile
White Multi-Color Matte Porcelain Tile
Carrara Bardiglio Tumbled Stone Checkerboard
Rosso Verona 1x1 Hand Chipped Marble Mosaic
Honey Slats 24x48 Wood Look Porcelain Tile
Almond Cement Look Matte Porcelain Tile
Travertino 3D Matte Porcelain Tile
Star & Cross Classic Terracotta Tile
White & Ecru Octagon Zellige Mosaic
Thassos, Carrara, Bardiglio Gingham Marble Mosaic
Cotto Deco Terracotta Look Matte Porcelain Tile
White & Ecru 2x2 Zellige Checkerboard Mosaic
Murano Honed Italian Terrazzo Tile
Cream Limestone Look 3D Matte Porcelain Tile
Apple 12x24 3D Glossy Porcelain Tile
Beige Limestone Look 3D Matte Porcelain Tile
Chiaro Deco Terracotta Look Matte Porcelain Tile
Carrara Bardiglio Tumbled Stone Checkerboard
Borgogna 3D Matte Porcelain Tile
Calacatta Honed Italian Terrazzo Tile
Rosso Verona Tumbled Marble Tile
White & Black Octagon Zellige Mosaic
White Multi-Color Matte Porcelain Tile
Bardiglio Desert Tea Tumbled Stone Checker Stripe
Travertino 3D Matte Porcelain Tile
Almond Cement Look Matte Porcelain Tile
Cream 2x2 Forma Porcelain Mosaic
Cotto 2x2 Forma Porcelain Mosaic
Unglazed & White Octagon Zellige Mosaic


Cotto Cream Pink Forma Butterfly Porcelain Mosaic
Black Multi-Color Matte Porcelain Tile
Star & Cross Classic Terracotta Tile


Natura Terracotta Look Matte Porcelain Tile
Crema Terracotta Look Matte Porcelain Tile


Burano Honed Italian Terrazzo Tile
Chiaro Deco Terracotta Look Matte Porcelain Tile
Natura Terracotta Look Matte Porcelain Tile
Crema Terracotta Look Matte Porcelain Tile
Cotto Deco Terracotta Look Matte Porcelain Tile
White Multi-Color Matte Porcelain Tile


Silhouettes Gloss Porcelain Tile


Rosso Textured Terracotta Tile


Natural Textured Terracotta Tile


Classic Square Textured Terracotta Tile


Chocolate Textured Terracotta Tile
Black Multi-Color Matte Porcelain Tile
Cotto Deco Terracotta Look Matte Porcelain Tile
Cotto Terracotta Look Matte Porcelain Tile
Chiaro Deco Terracotta Look Matte Porcelain Tile
Star & Cross Classic Terracotta Tile
Crema Terracotta Look Matte Porcelain Tile
Natura Terracotta Look Matte Porcelain Tile
Rosso Textured Terracotta Tile
Classic Square Textured Terracotta Tile


Chocolate 2" Hexagon Textured Terracotta Mosaic
Chocolate Textured Terracotta Tile