


NOTIFY ME WHEN AVAILABLE
We'll notify you as soon as this product or sample is back in stock / available.
Product add-on

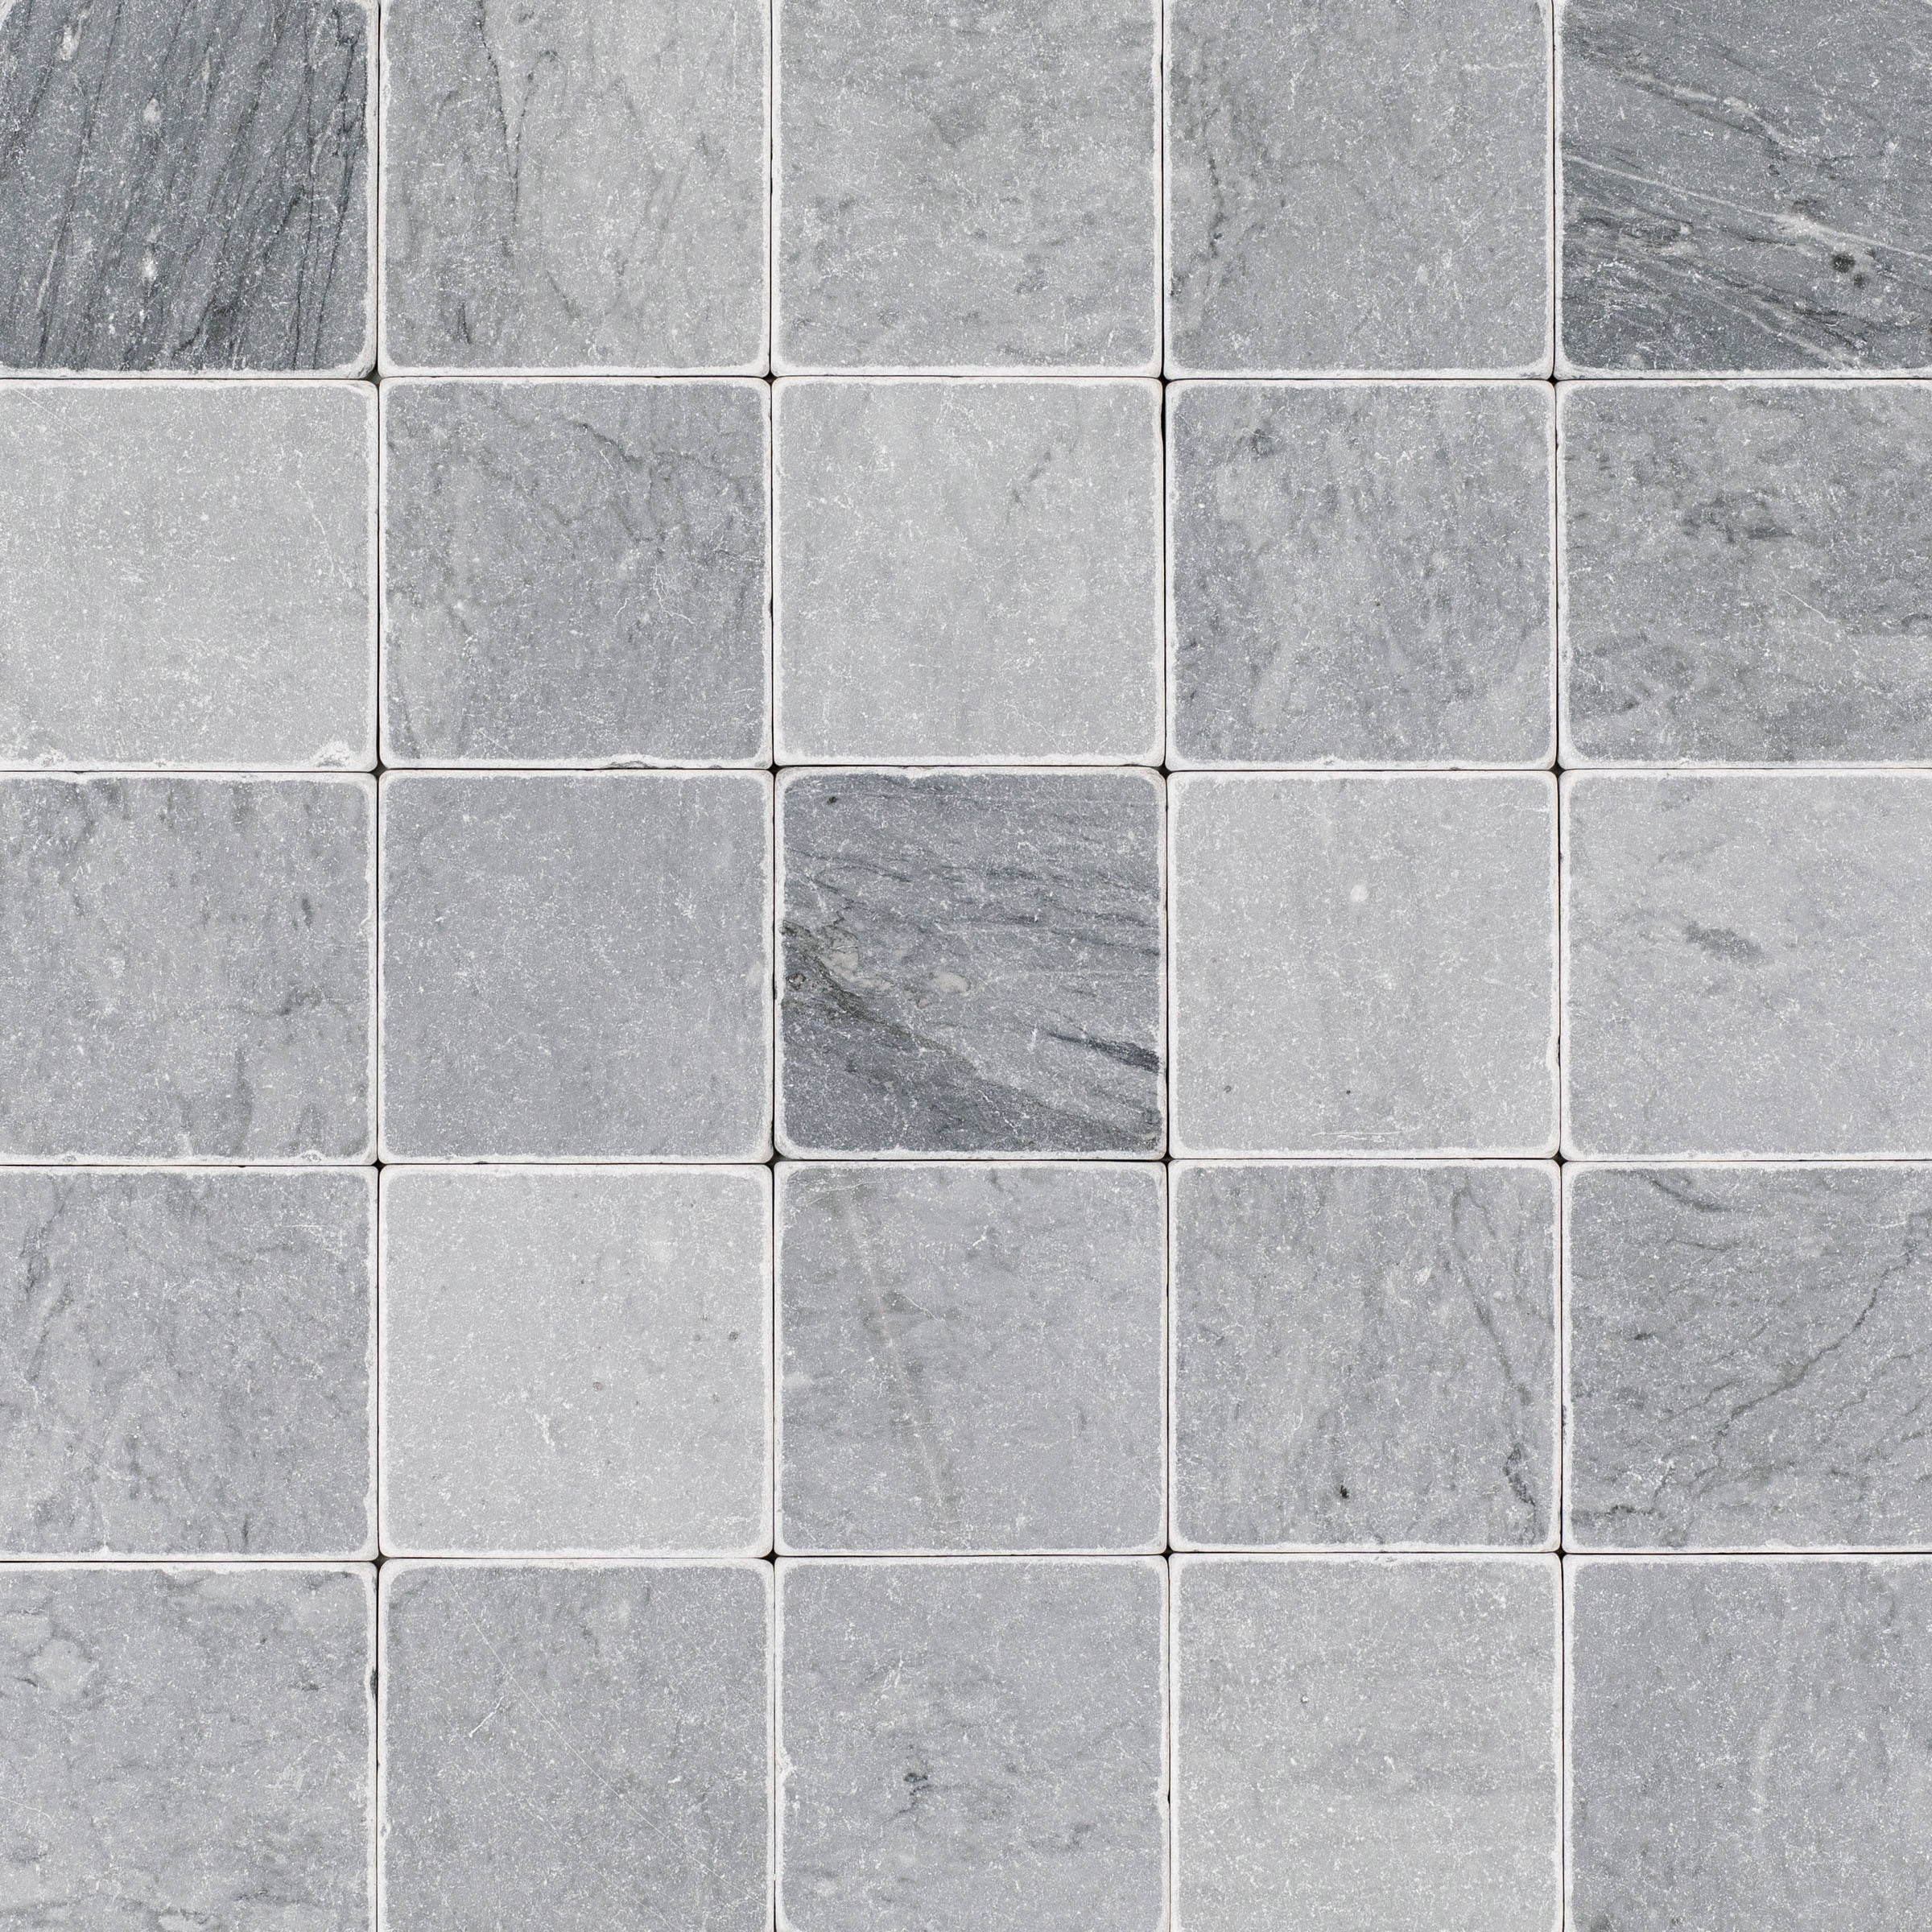
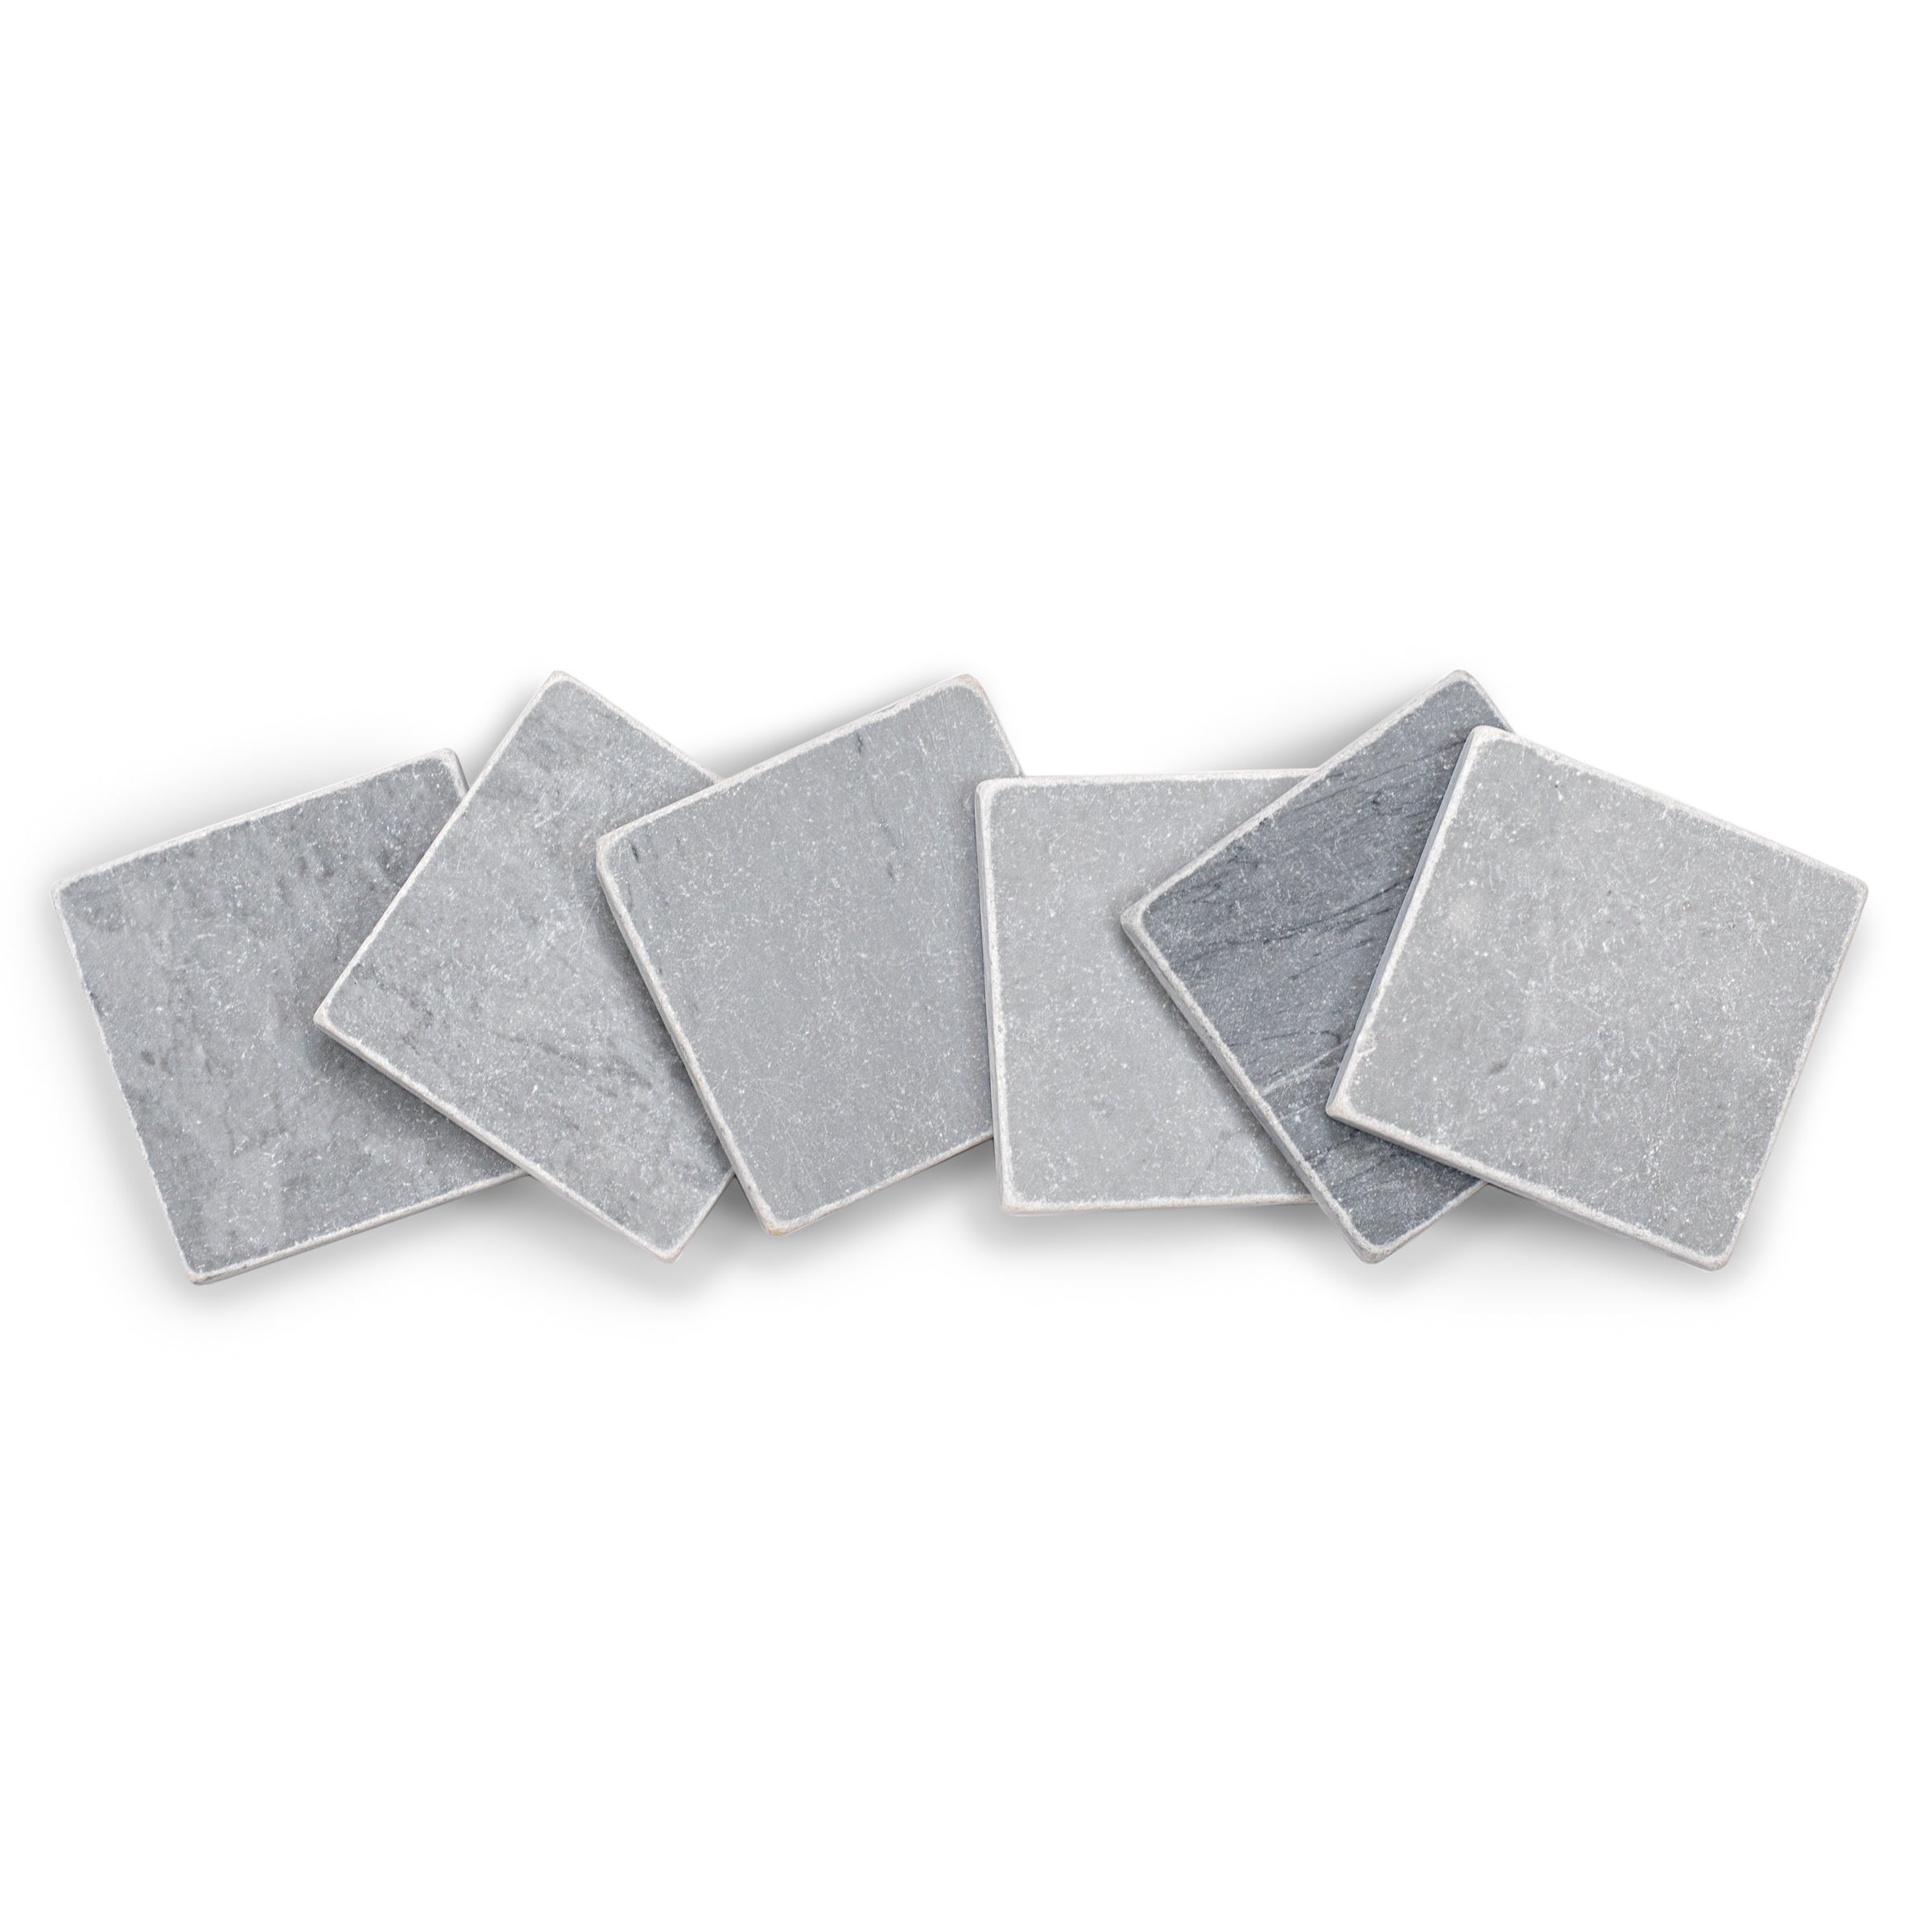
Authentic Moroccan Craft
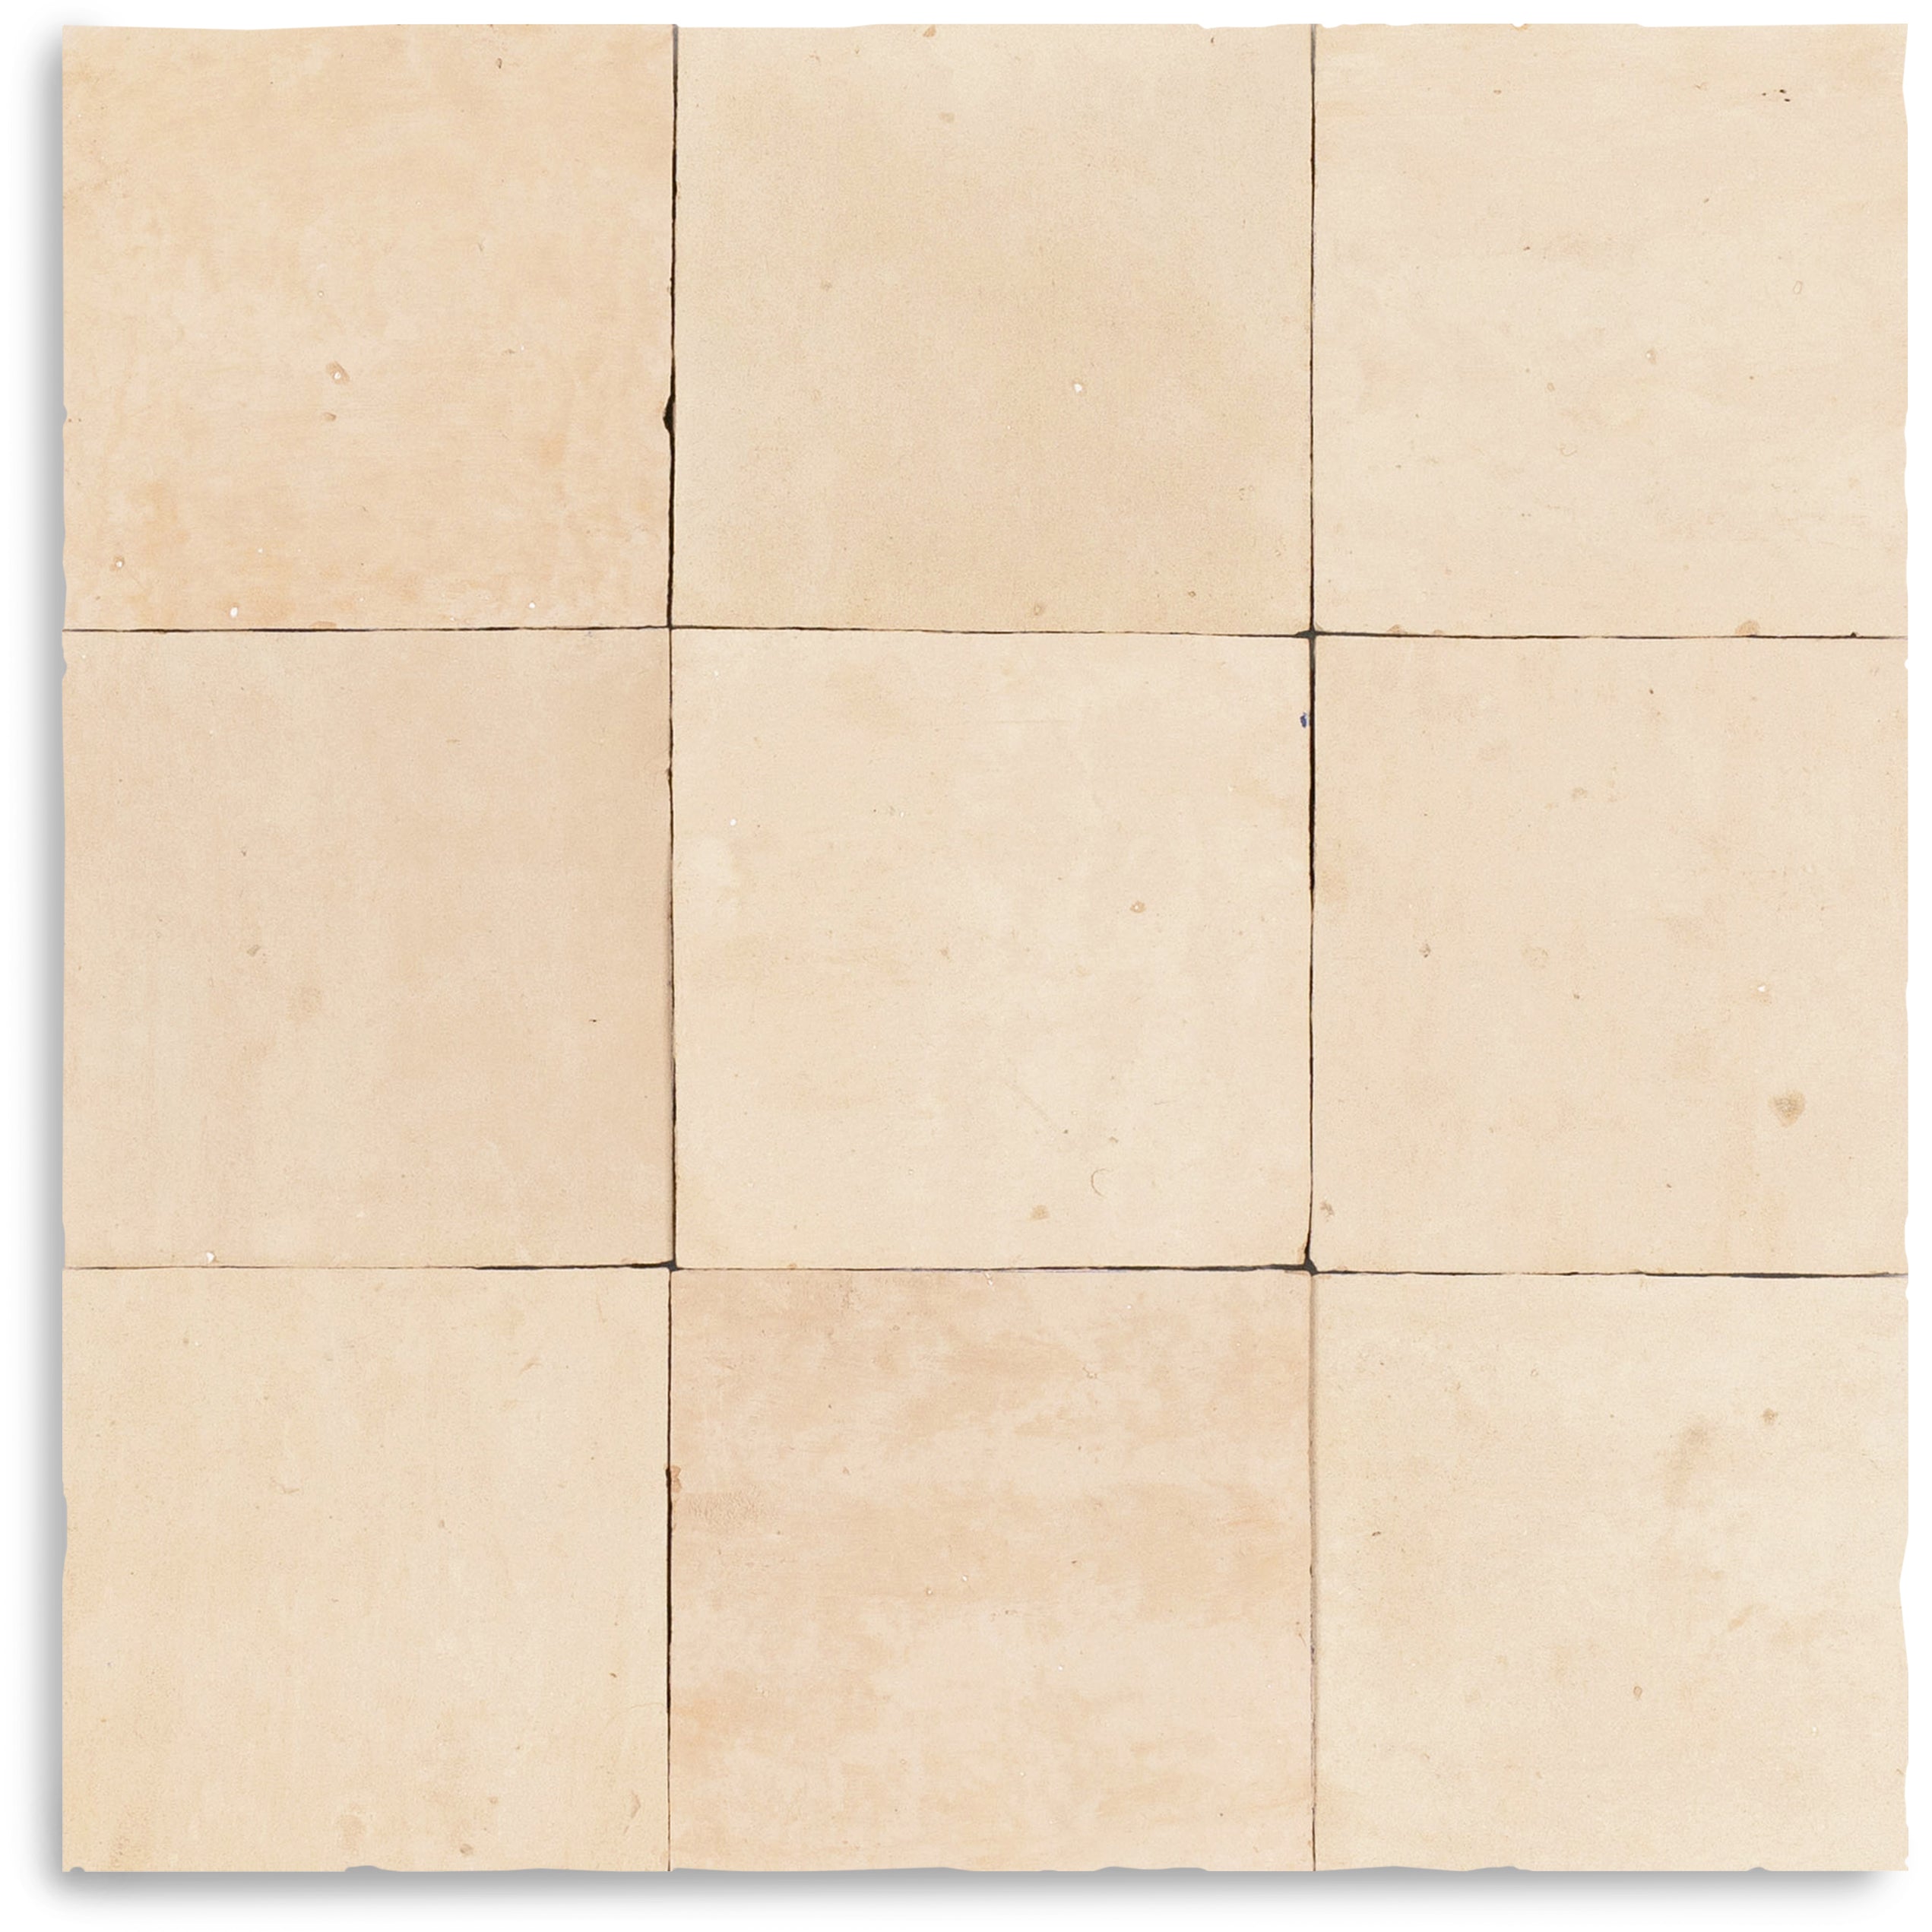
Handmade in Morocco, our Zellige Tiles carry forward centuries of tradition. Each piece is hand-cut, kiln-fired, and finished by skilled artisans, creating subtle variations in tone, edge, and surface. These natural imperfections are what make Zellige truly one-of-a-kind.

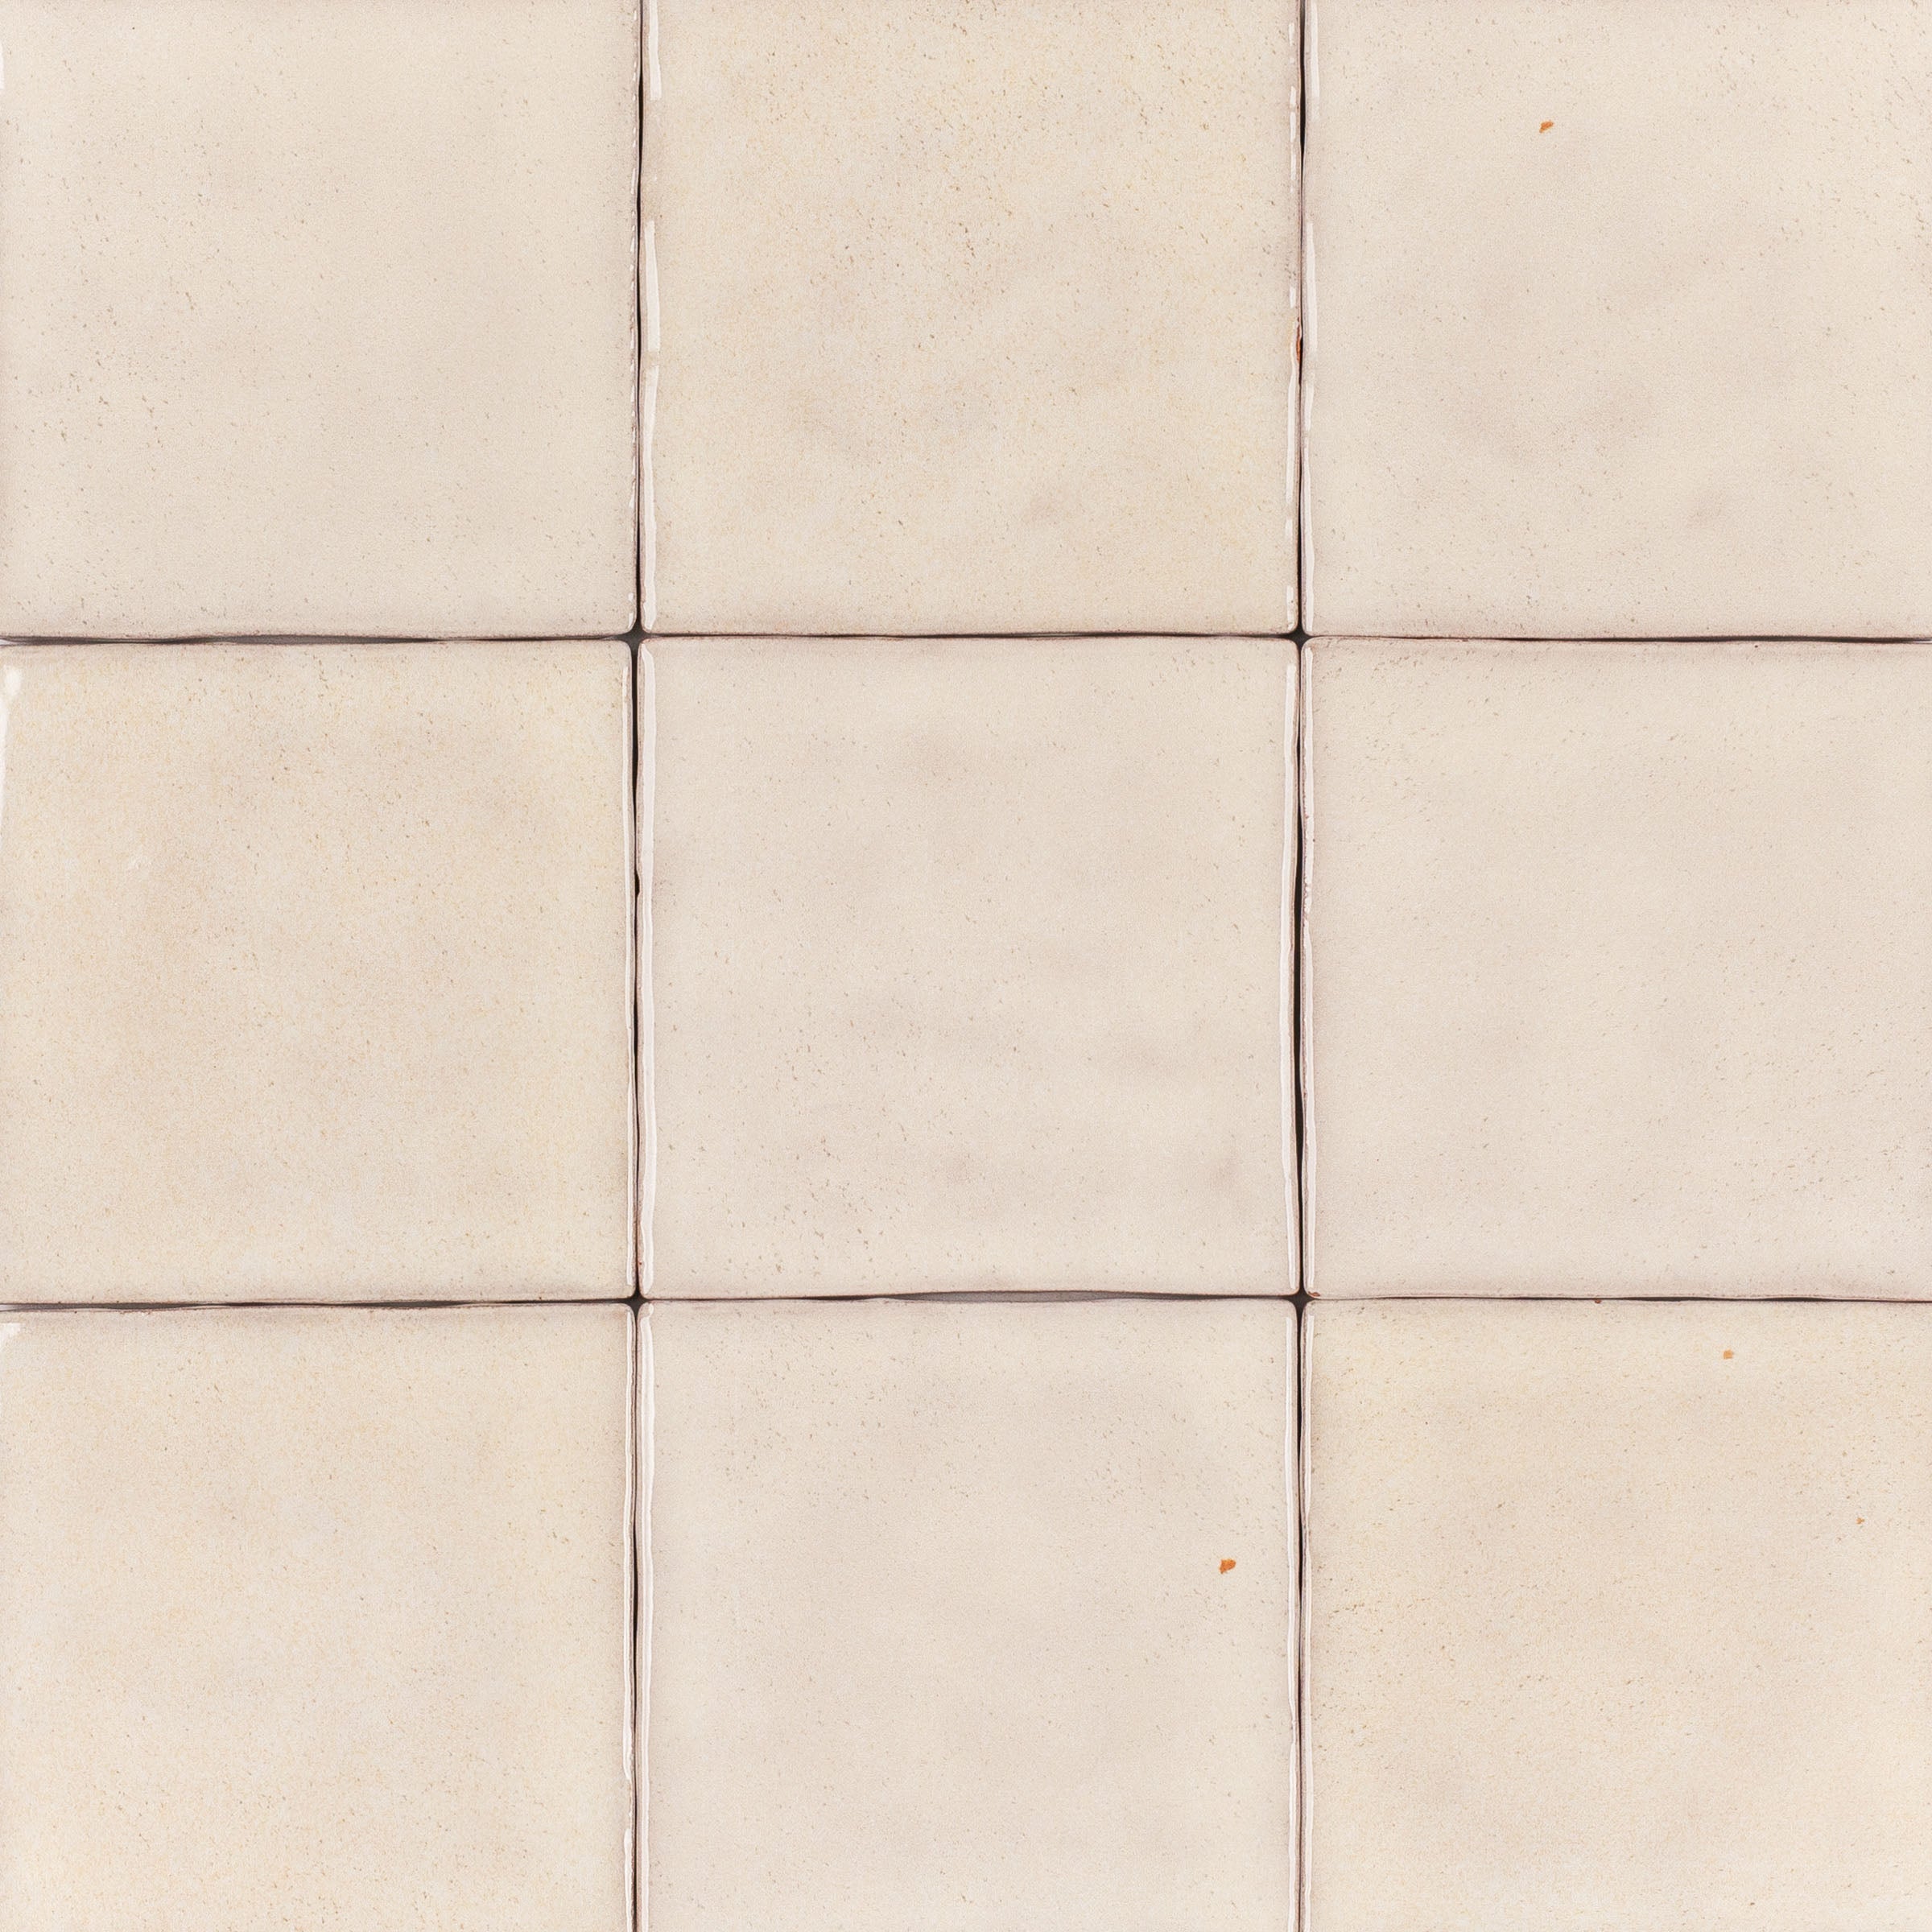
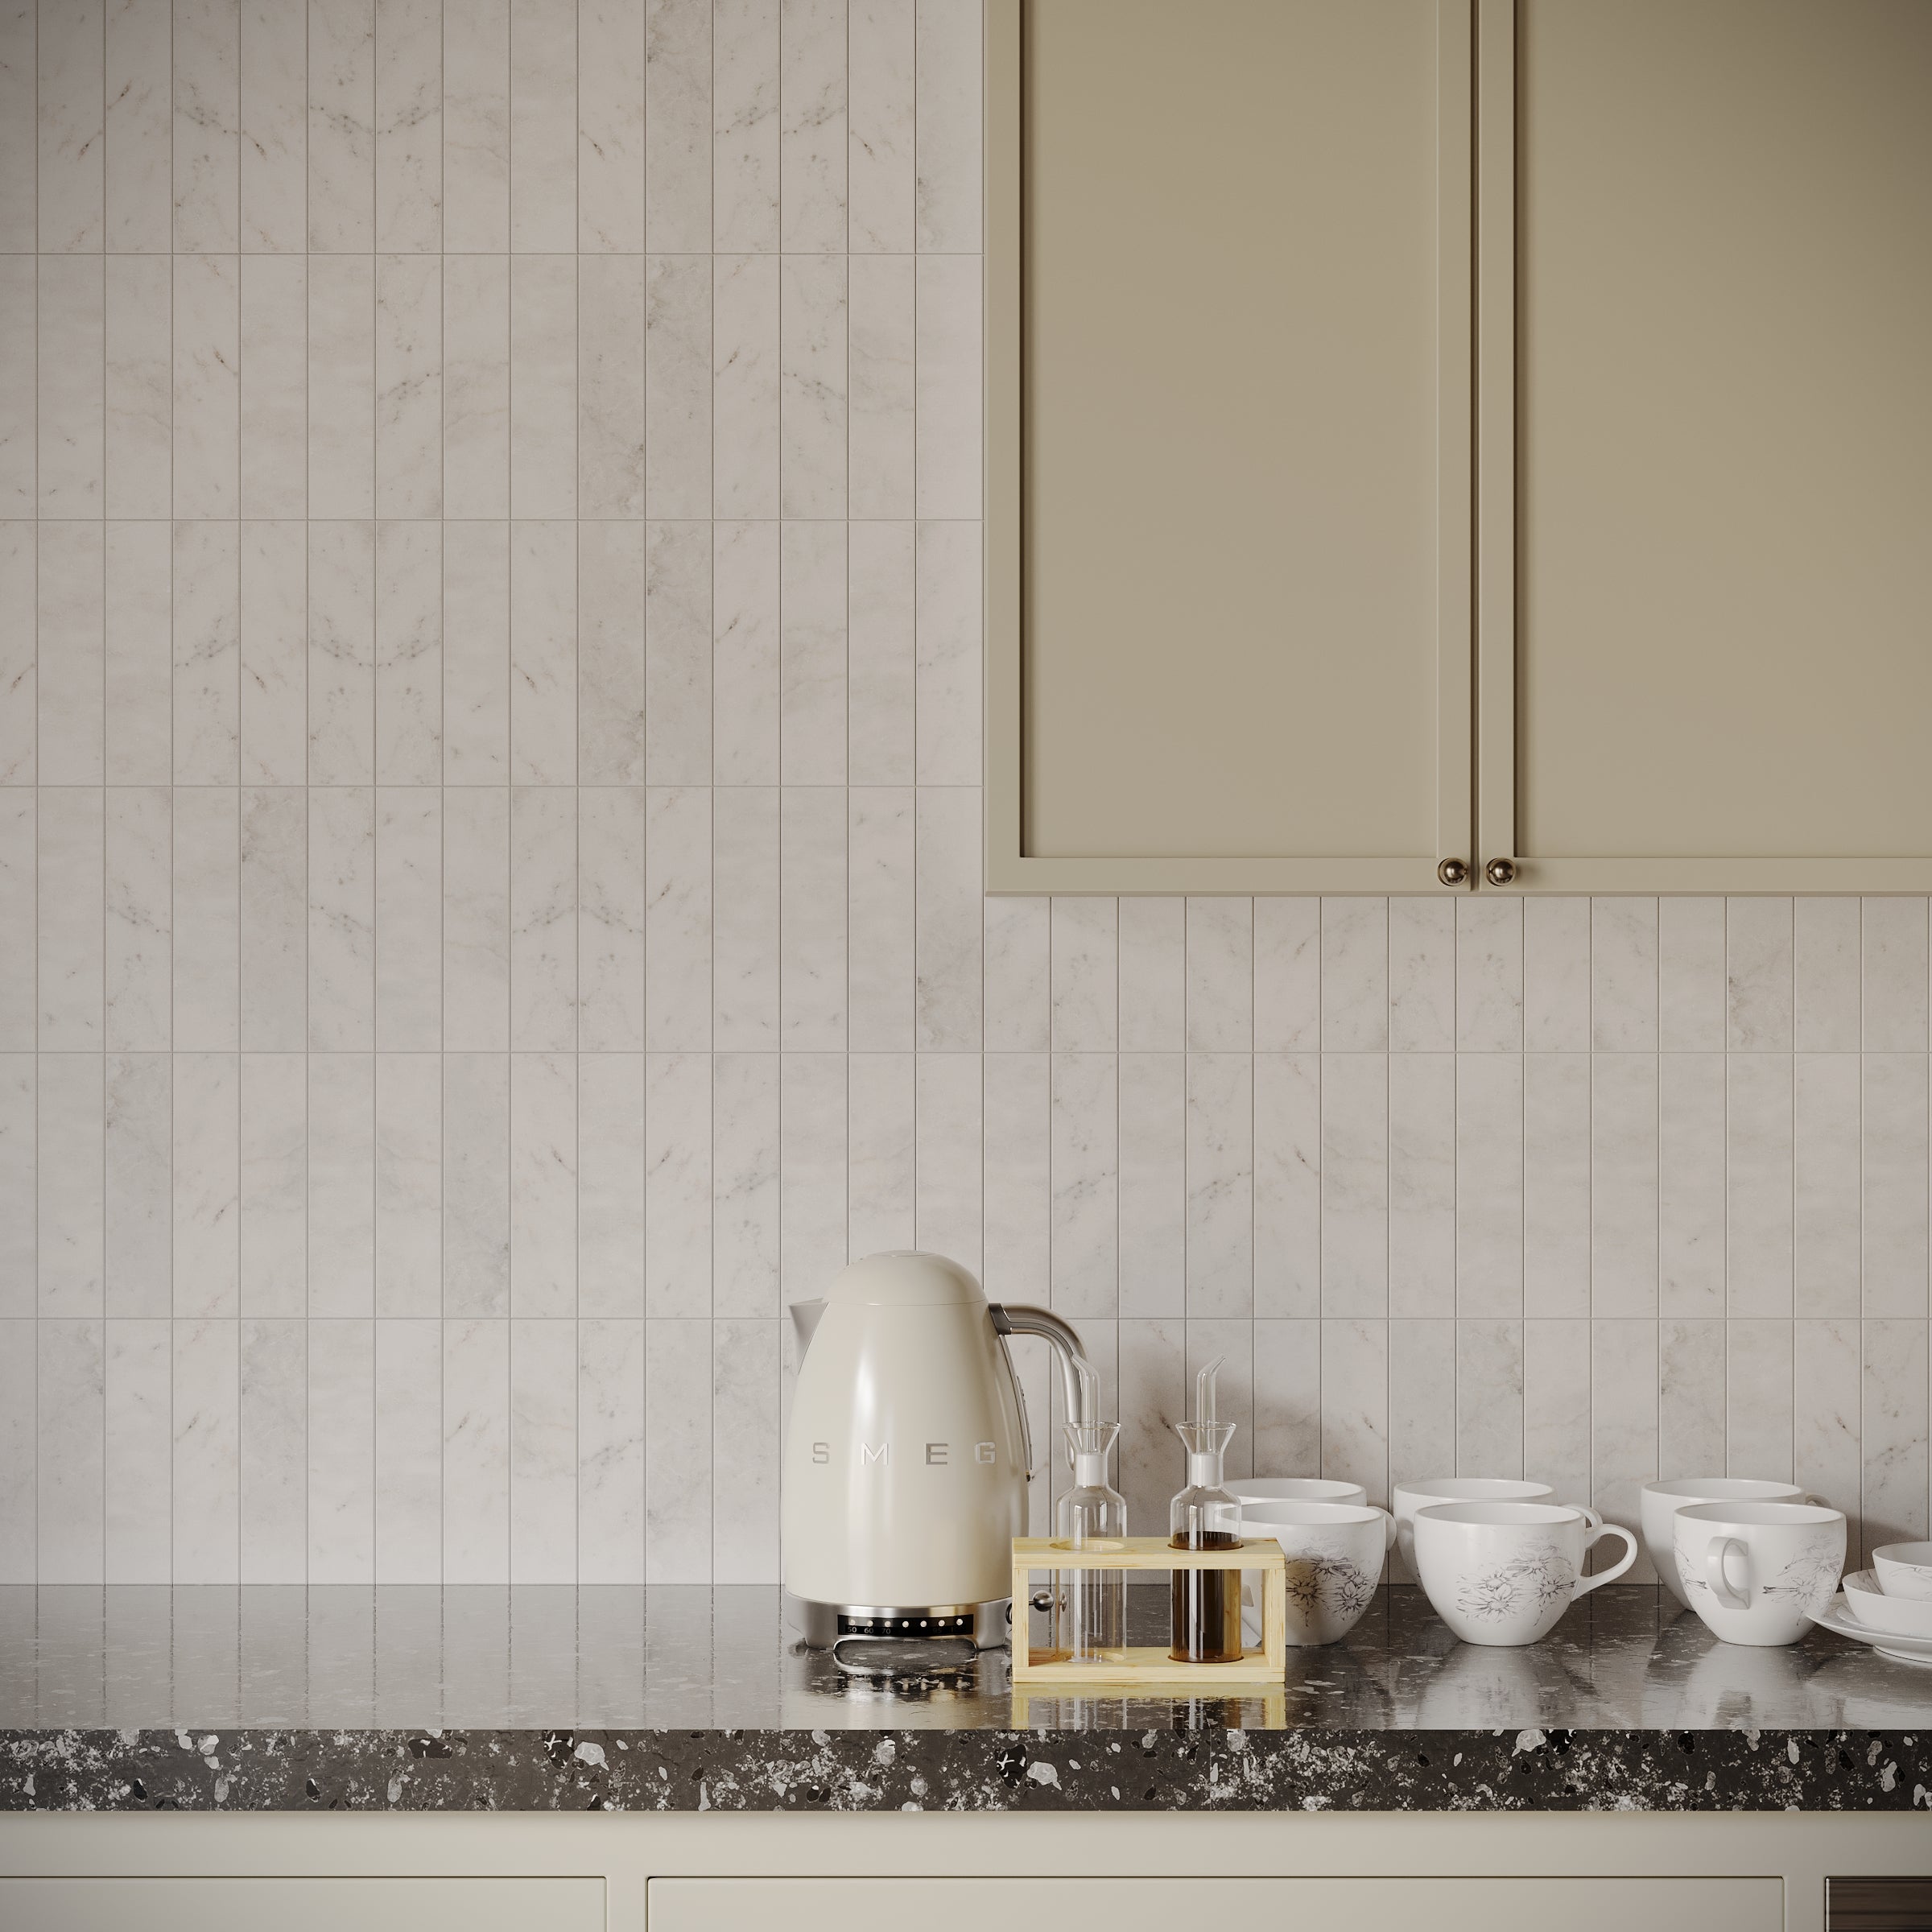
Glossy, Light-Reflective Finish
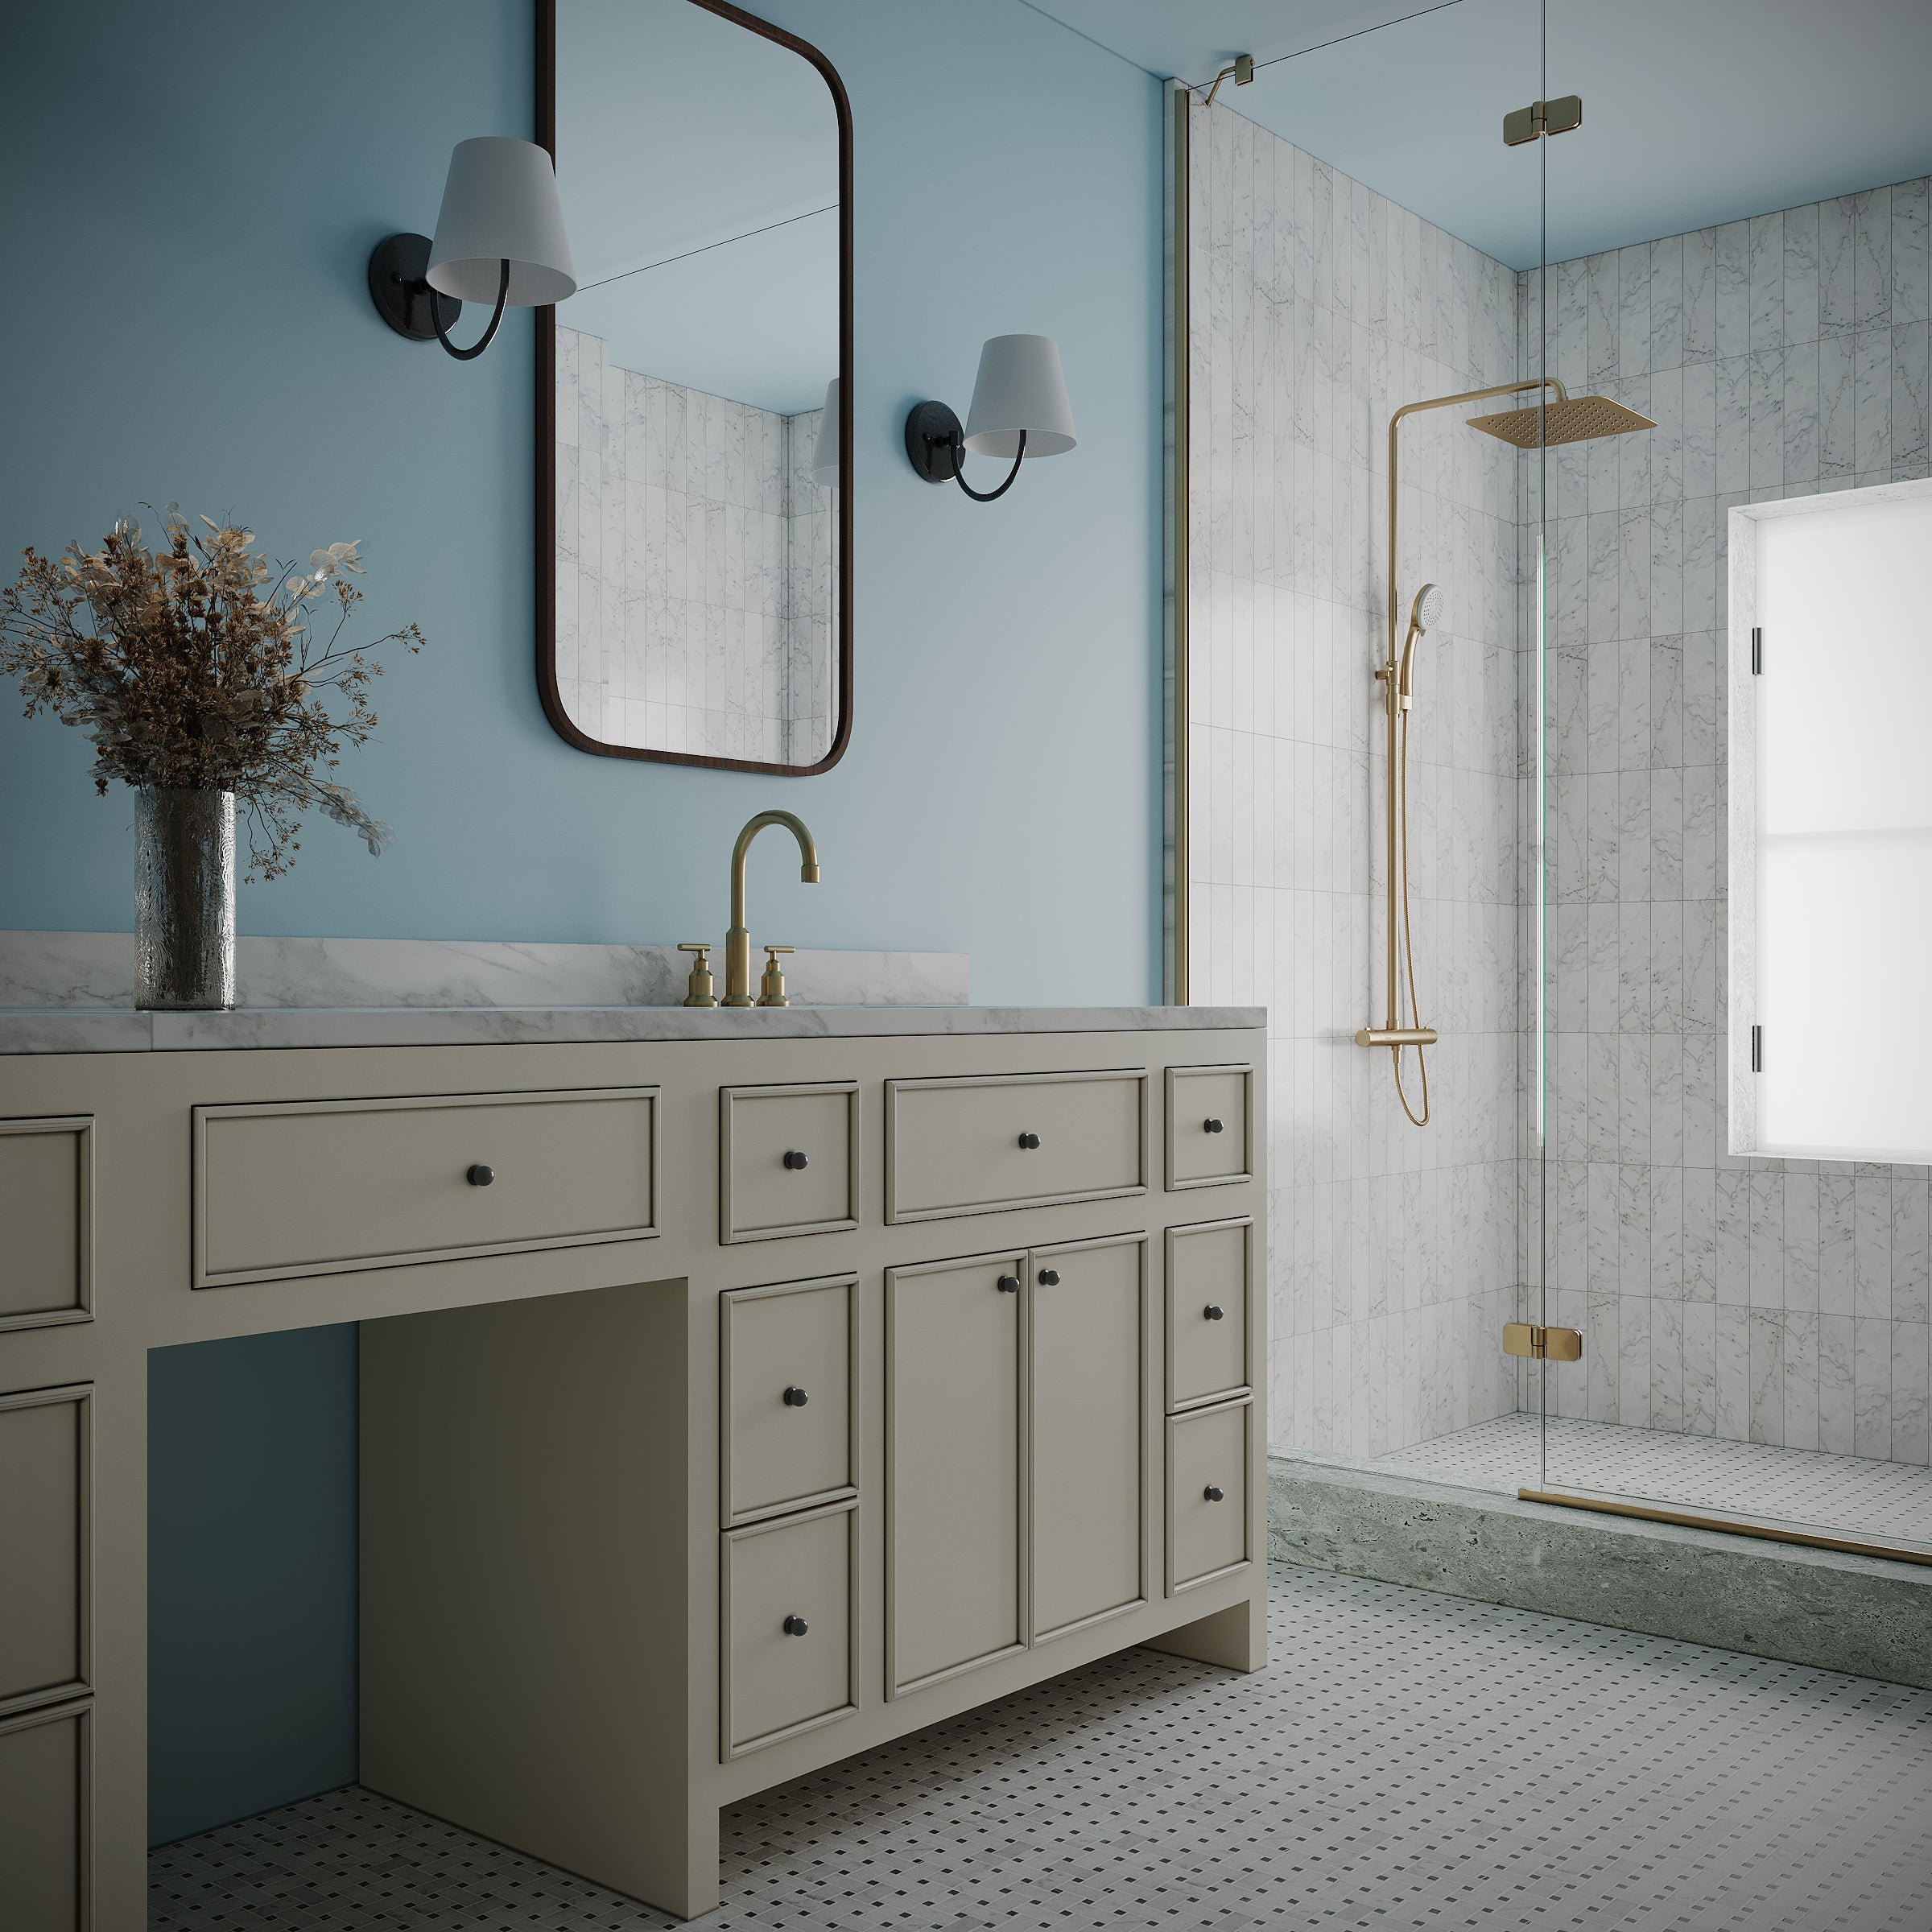
With their shimmering glaze and rich depth of color, Zellige tiles transform kitchens, bathrooms, and feature walls into vibrant focal points. The reflective surface and irregular edges capture light beautifully, giving dimension and movement to every installation.

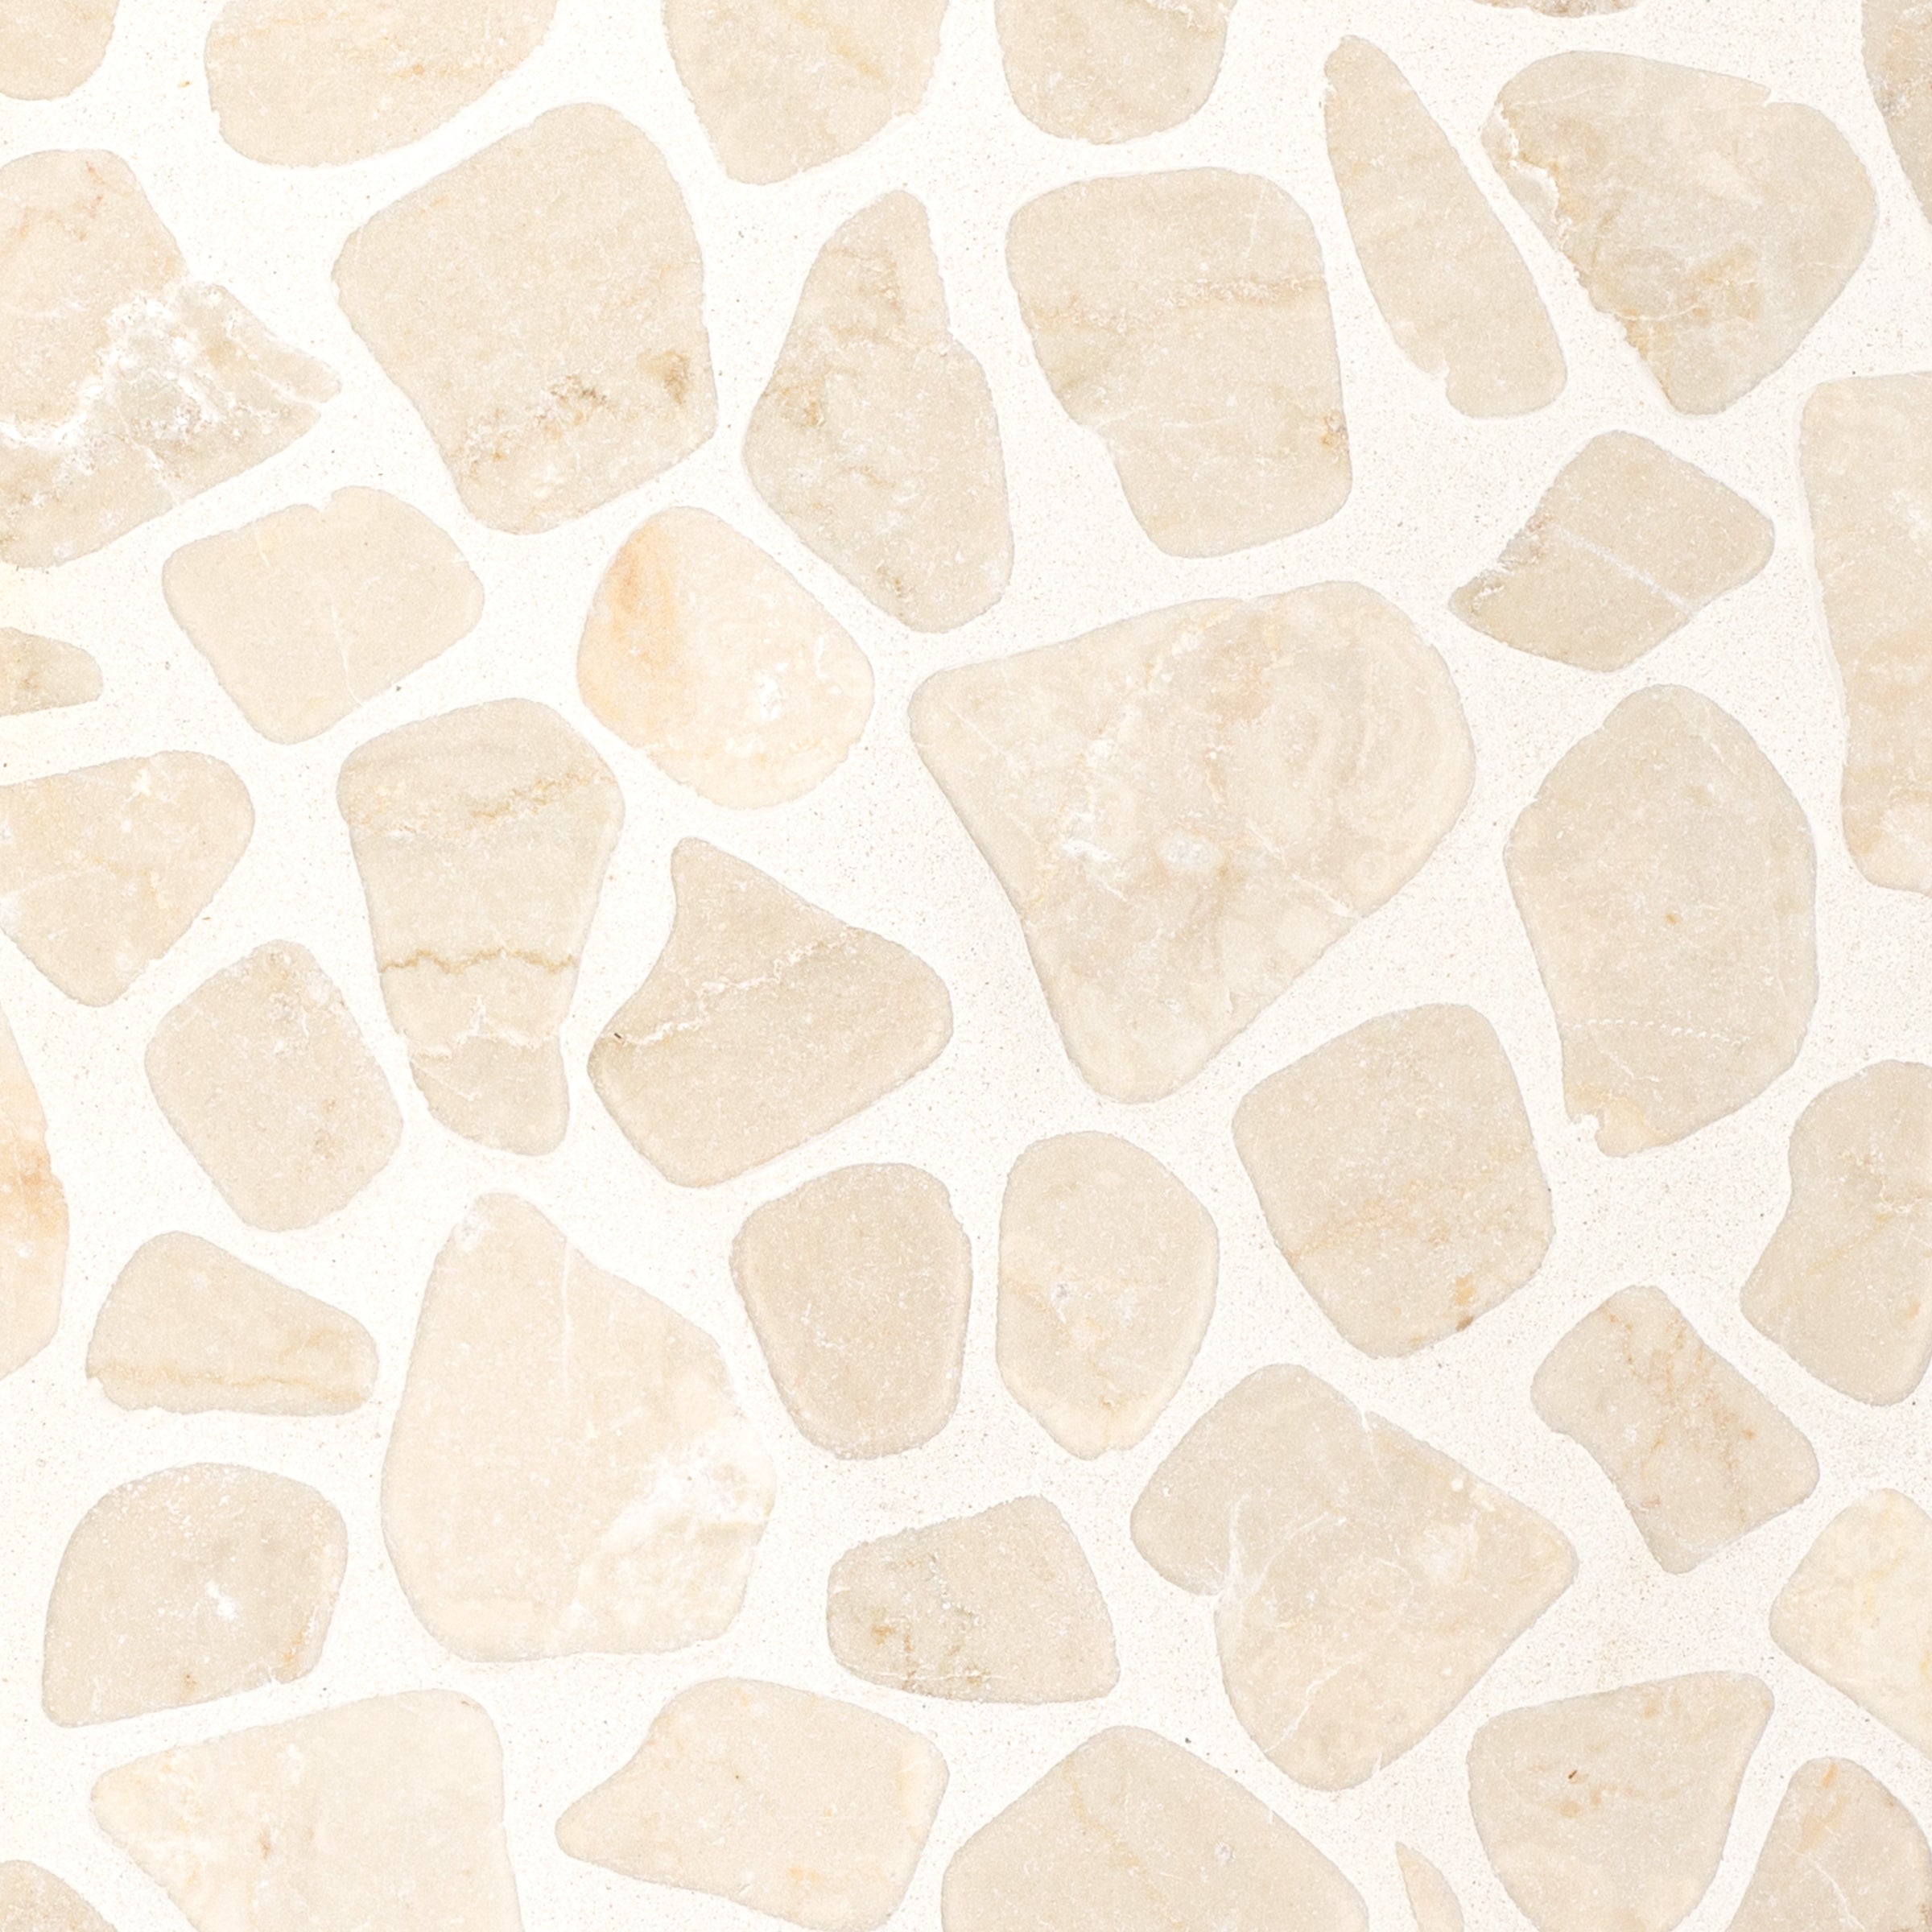
Timeless Design Versatility
Perfect for backsplashes, showers, fireplaces, and accent walls, Zellige bridges old world artistry with modern design. Durable, distinctive, and always unique, these tiles deliver artisanal character and cultural richness to residential and commercial spaces alike.
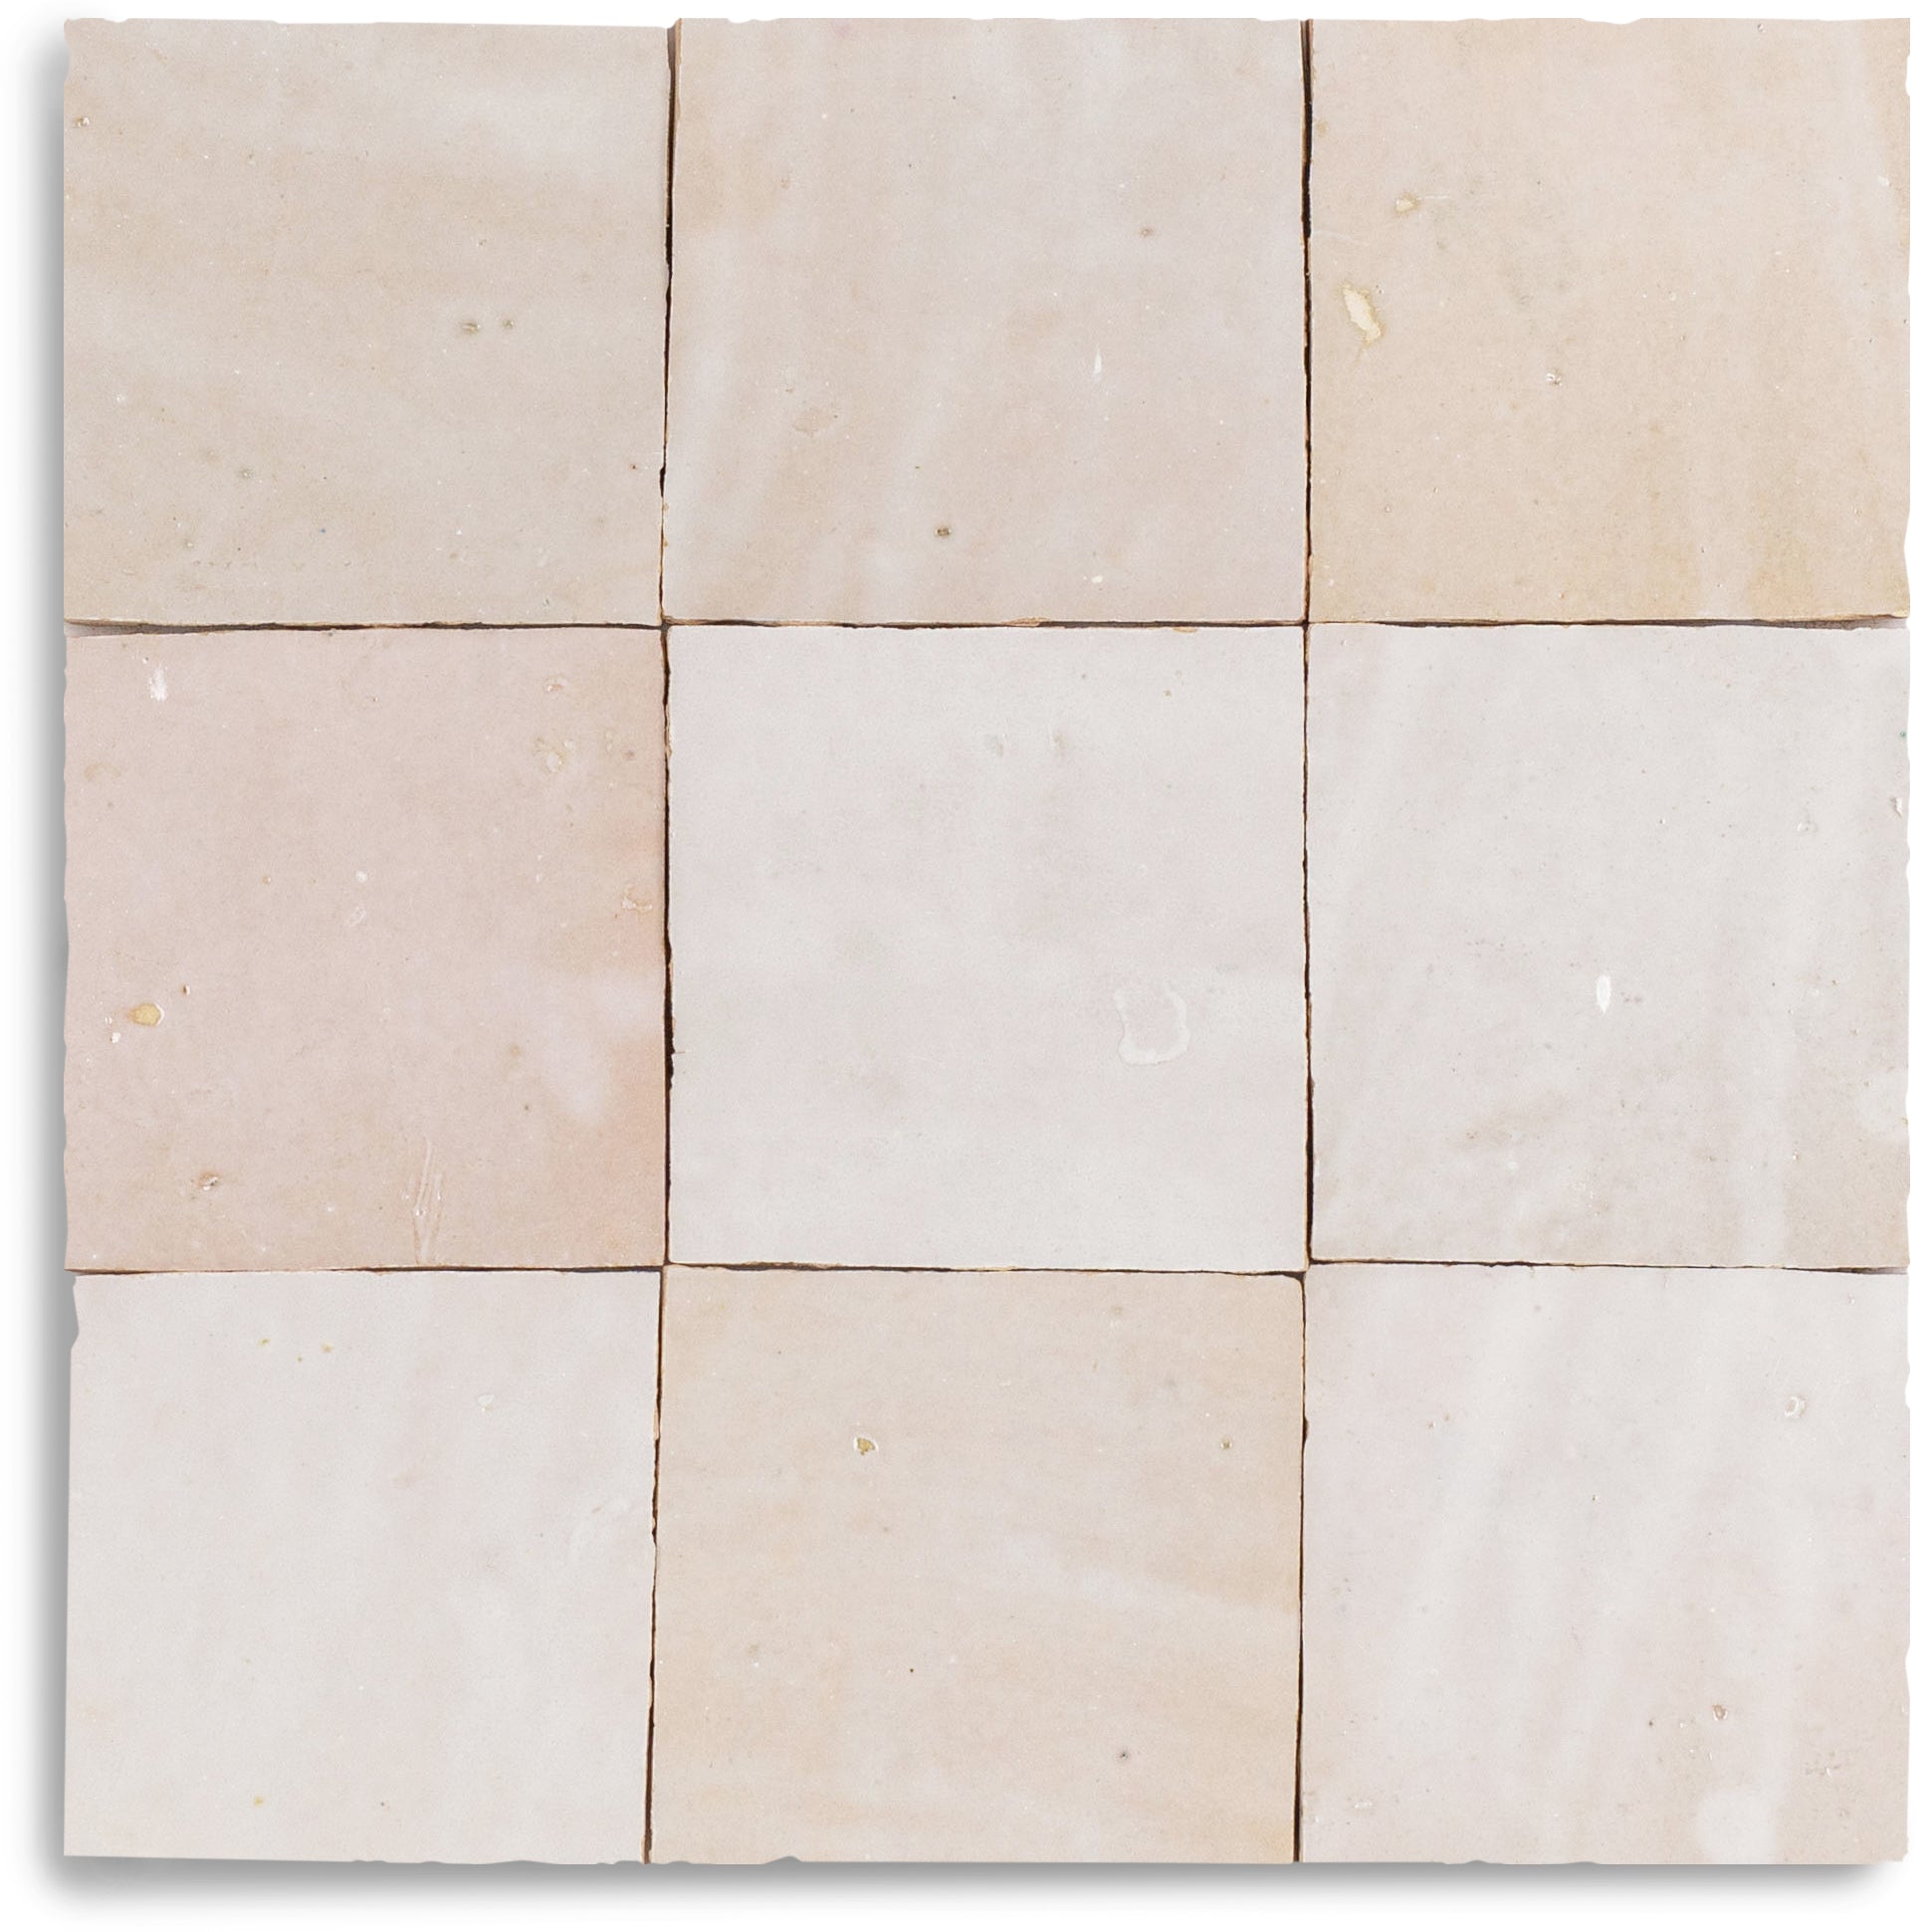
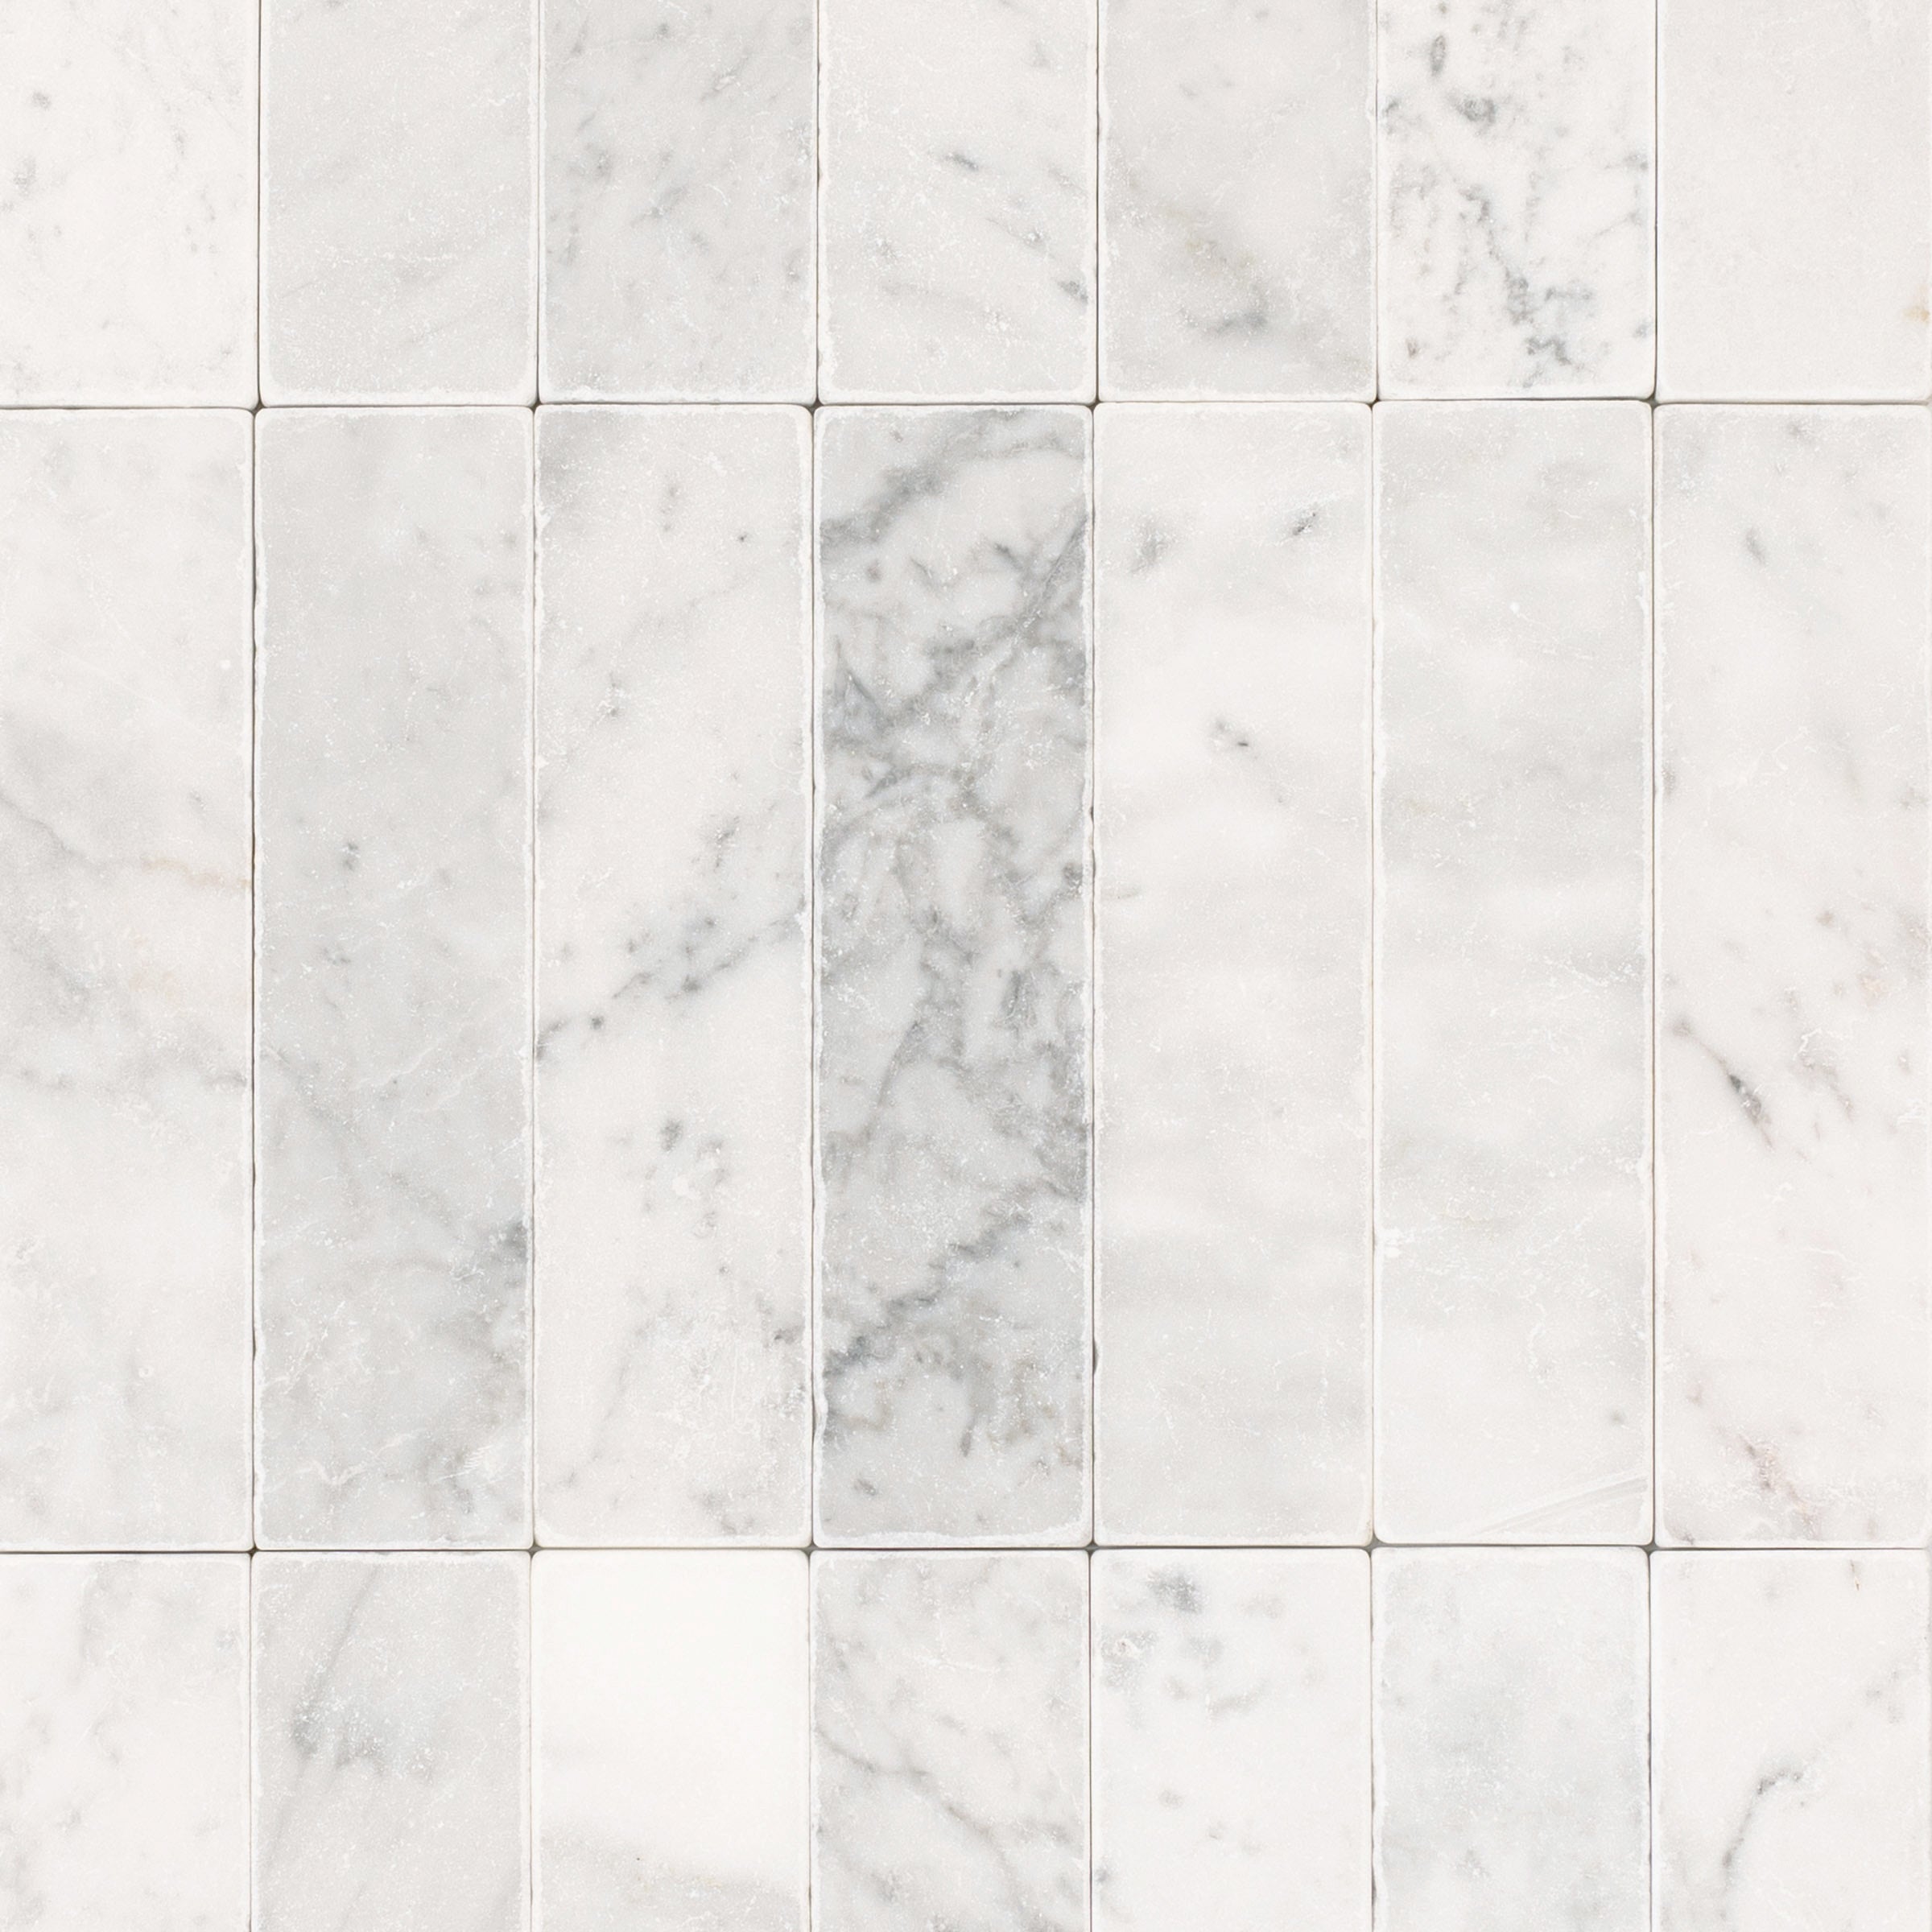
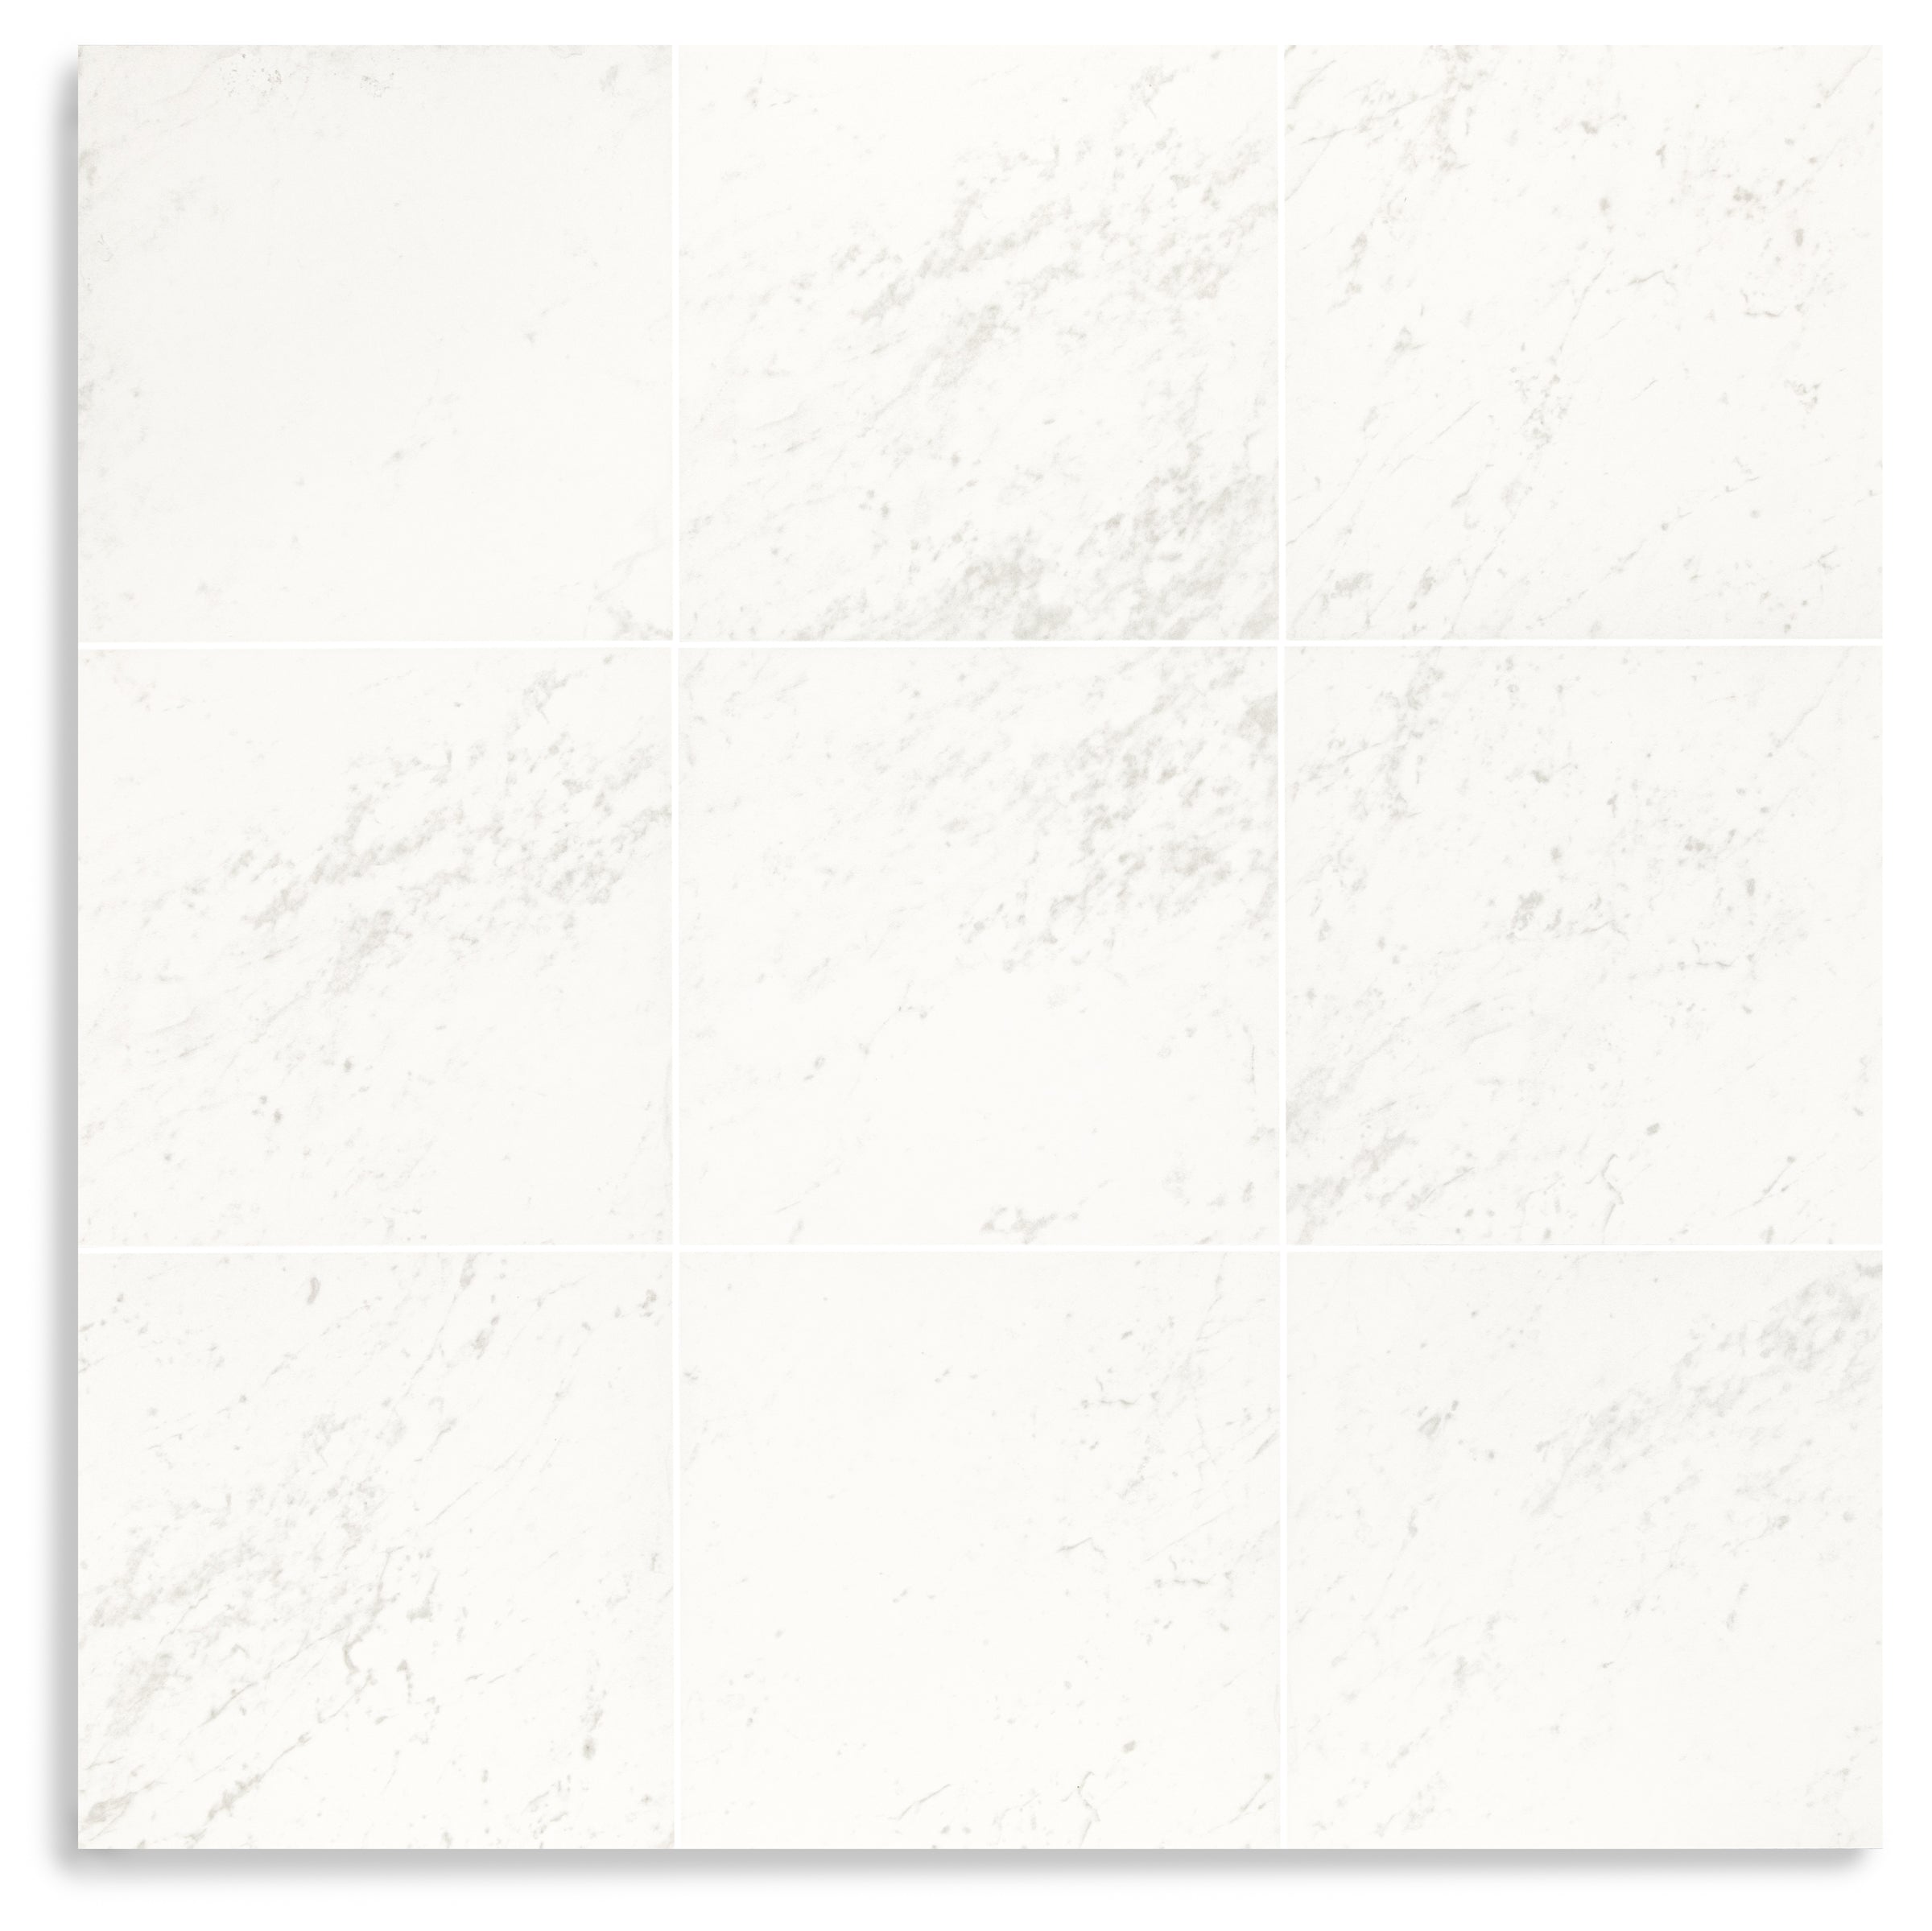
Our White Glazed Zellige Tile delivers the luminous, handmade character of traditional Moroccan zellige in the most versatile color in the collection. The surface catches light differently across every tile, creating a dimensional effect that makes standard subway tile look flat by comparison. Subtle crazing in the glaze and soft tonal shifts from bright white to warm cream give it a lived in elegance that works as a kitchen backsplash, bathroom wall tile, or full shower surround. It's the safest choice that still manages to feel special — and the reason white zellige tile has become the go to for designers who want old world texture without the risk.
Packaging
Pieces/Box
100
Sf/Box
8.33
Lbs./Box
39.34
Boxes/Pallet
36
Lbs./Pallet
1456.24
Details
Material
Ceramic
Chemical Resistant
Yes
Water Absorption
22%
Frost Resistant
No
Stain Resistant
Most Products
Sealing Required
Recommended
Collection
Zellige
Nominal Size
2"x6"
Country of Origin
Morocco
Shade Variation
V3
Shape
Square
Application
Walls, Floors
Recommended Grout Joint
1/16"
Locations
Walls, Floors, Shower Walls, Backsplash
Look
Zellige
Thickness
9/16"
Gradient bar
Zellige Tile Installation Guide
ZELLIGE TILE INSTALLATION GUIDE
Moroccan Zellige Tile Installation Guide
A Comprehensive Guide for DIY Homeowners and Professional Installers
Reno Source
www.therenosource.com
BEFORE YOU BEGIN
Zellige tiles require specialized knowledge and techniques that differ significantly from standard ceramic or porcelain tile installation. We strongly recommend working with a tile professional who has direct experience installing handmade Moroccan tiles. Attempting installation without proper expertise often leads to unsatisfactory results and unnecessary material waste. Reno Source provides these tiles and this installation guidance as a resource but cannot assume responsibility for the installation process or any issues that arise during or after installation. Following these guidelines carefully will help ensure the best possible outcome for your project.
-
OVERVIEW
Zellige, pronounced zell eej, is a traditional form of terra cotta tilework that originated in Morocco more than a thousand years ago. Artisans in Fez continue to produce these tiles using techniques passed down through generations. Each tile is hand formed from local clay, glazed with natural mineral pigments, and fired in wood burning kilns. The result is a tile with exceptional depth and movement. Glazes pool and shift during firing, creating surfaces that reflect light in complex ways. No two tiles are identical, and this variation is central to the appeal of authentic zellige. When installed properly, a zellige surface has a luminous, almost liquid quality that cannot be replicated by machine made tiles.
Natural Variations to Expect
Authentic zellige tiles include a wide range of natural characteristics. Surface texture may include subtle waves, dimples, and undulations in the glaze. Color variation occurs naturally, with shifts in tone and depth even within the same color batch. Tile thickness can vary up to approximately 1.5 millimeters, and edges are intentionally irregular. Fine crazing patterns in the glaze are common and considered a desirable feature rather than a defect. Minor imperfections such as small chips, pits, or glaze inconsistencies may appear on approximately 15 to 20 percent of tiles. These qualities define the beauty of zellige. If a uniform, machine precise appearance is preferred, zellige may not be the right material for the project.
This guide primarily addresses glazed zellige tile. If installing unglazed natural zellige, pay close attention to sections specifically labeled for unglazed material, as key steps differ.
-
TOOLS AND MATERIALS
Required tools include a notched trowel sized either one quarter inch by one quarter inch or three sixteenths inch by three sixteenths inch V notch, a flat margin trowel for back buttering, a rubber grout float, clean buckets for soaking and mixing, a mixing paddle and drill, a wet saw with diamond blade, tile nippers, two foot and four foot levels, measuring tape and pencil, sponges and clean cloths, eye protection, and a dust mask.
Materials required include a flexible medium bed white thinset mortar. Gray thinset should never be used, as it can show through the translucent glaze and alter the appearance of the tile. Unsanded grout is required due to the narrow joint spacing typical of zellige installations. A penetrating sealer is recommended for wet areas and required for all unglazed installations, with Fila MP90 Eco Plus recommended. Appropriate substrates include cement board, concrete, or drywall for backsplashes only. Waterproof membranes are required for showers, floors, and any wet installations.
-
STEP BY STEP INSTALLATION
Step 1 Inspecting the Tile
Open all boxes and inspect tiles for shipping damage before installation. Verify quantities and ensure sufficient material is available before beginning. Spread tiles from multiple boxes to view the full range of color and surface variation. Contact Reno Source with any questions before installation begins, as concerns regarding tile characteristics cannot be addressed after tiles are installed. Order a minimum of 15 percent additional material for cuts, waste, breakage, and future repairs. For a more curated or selective installation, ordering 20 to 25 percent extra material is recommended.
Step 2 Surface Preparation
The substrate must be structurally sound, flat, clean, and dry. The surface must be rigid with no flex or movement. Flatness must be within one eighth inch over ten feet. Use leveling compound to correct low areas and grind high spots as needed. Remove all dust, paint, oils, and contaminants that could interfere with adhesion. Moisture within the substrate can cause adhesion failure and efflorescence, appearing as white mineral deposits.
For wet areas such as showers or tub surrounds, apply a waterproof membrane over the entire installation area. Use waterproof cement board where required. Seal all seams, corners, and penetrations and allow waterproofing materials to cure fully before proceeding.
Step 3 Layout Planning
Discuss the desired aesthetic with the installer before setting tile. Zellige can be installed to emphasize its handmade irregularity or arranged for a cleaner and more controlled look. Lighting conditions significantly affect appearance, as direct light enhances brightness while shadowed light deepens color. View tiles in the actual installation space before finalizing layout decisions. Grout color plays a major role in the final appearance. Matching grout creates a seamless surface, while contrasting grout highlights individual tiles. Perform a full dry layout using tiles from all boxes, positioning tiles with pronounced features thoughtfully and planning cuts around obstacles. Photograph the dry layout for reference during installation.
Step 4 Preparing and Setting Tiles
Glazed zellige tiles should be briefly soaked in room temperature water for one to two minutes before installation to remove dust and improve adhesion. Unglazed zellige should never be soaked, as water absorption into the porous clay can cause efflorescence that is extremely difficult to remove.
Mix thinset according to manufacturer instructions to a thick paste like consistency. Spread thinset onto the substrate in small sections using the notched trowel. Back butter every tile with a thin layer of thinset, which is critical for handmade tile installations. Comb thinset in consistent directions on both the tile and substrate to eliminate air pockets.
Set tiles by pressing them firmly into place using the heel of your hand. Do not use a rubber mallet, as the force can crack delicate handmade tiles. Traditional zellige installations use very minimal spacing, typically one millimeter or less, with a maximum recommended joint width of one sixteenth inch. Small wedge spacers may be used to maintain consistency. Some height variation between tiles is normal and expected. Clean thinset that squeezes up between tiles immediately.
Step 5 Cutting
Use a wet saw with a diamond blade for precise cuts. Tile nippers can be used for small adjustments. Wear eye protection and ensure adequate ventilation during cutting.
Step 6 Curing
Allow thinset to cure fully for 24 to 48 hours depending on site conditions. Do not walk on floor installations or apply pressure to wall tiles during this period.
Step 7 Grouting
Use unsanded grout mixed to a slightly looser consistency than typical grout to allow it to flow into the narrow joints. Work grout into joints using a rubber float held at an angle, moving diagonally across the surface to avoid pulling grout from joints. Fill small pits and chips in the tile surface, as grout will help visually blend these imperfections. Work in small sections and wipe excess grout after 15 to 20 minutes using a damp sponge with diagonal strokes. Polish the surface with a soft dry cloth once grout haze appears. Do not allow grout to dry on the tile surface, as dried grout can permanently damage the delicate glaze and removal may scratch the finish.
Step 8 Sealing
For glazed zellige installed in dry locations such as backsplashes or fireplace surrounds, sealing is not required. For glazed zellige in wet locations such as showers or tub surrounds, apply a penetrating sealer only after grout has fully cured. Allow approximately 28 days before sealing wet area installations.
Unglazed zellige must be sealed both before and after grouting. Before grouting, apply a penetrating sealer and allow it to dry completely. After grouting, apply a matte finish protective wax in thin coats. Unglazed installations should be resealed every one to two years depending on wear and exposure.
-
TIPS AND WARNINGS
Successful zellige installations require patience, careful planning, and experienced workmanship. Blend tiles thoroughly from all boxes throughout installation. Clean continuously as you work, as dried thinset and grout are difficult to remove. Always use white thinset, as gray thinset can show through translucent glazes. Keep spare tiles for future repairs, as later batches may vary in color. Embrace the natural imperfections of the tile, as they are what give zellige its distinctive character.
Common issues include uneven surfaces caused by inconsistent thinset application, grout haze from grout left on the surface too long, and efflorescence caused by moisture migration. Proper back buttering, frequent cleaning, and moisture control help prevent these issues.
-
CARE AND MAINTENANCE
Clean zellige surfaces with a soft damp cloth and mild pH neutral soap when needed. Dry with a soft towel to prevent water spots. Avoid acidic cleaners such as vinegar or citrus products, bleach, abrasive tools, ammonia, or harsh solvents, as these can damage the glaze. Re seal wet area installations annually or as needed. Inspect grout lines periodically and repair cracks promptly. Address water intrusion immediately. Over time, zellige will develop a natural patina that enhances its character.
-
PRODUCT AND LIABILITY INFORMATION
Reno Source provides quality zellige tiles and this installation guidance as a resource only. Responsibility for installation methods, material selection, and workmanship rests with the installer and homeowner. By proceeding with installation, you acknowledge that you understand the unique characteristics and requirements of zellige tile.
Reno Source
Finish Materials
Based in the USA
www.therenosource.com
help@therenosource.com
From the same collection


White & Ecru Octagon Zellige Mosaic


Cotto Deco Terracotta Look Matte Porcelain Tile


White & Ecru 2x2 Zellige Checkerboard Mosaic


Chiaro Deco Terracotta Look Matte Porcelain Tile


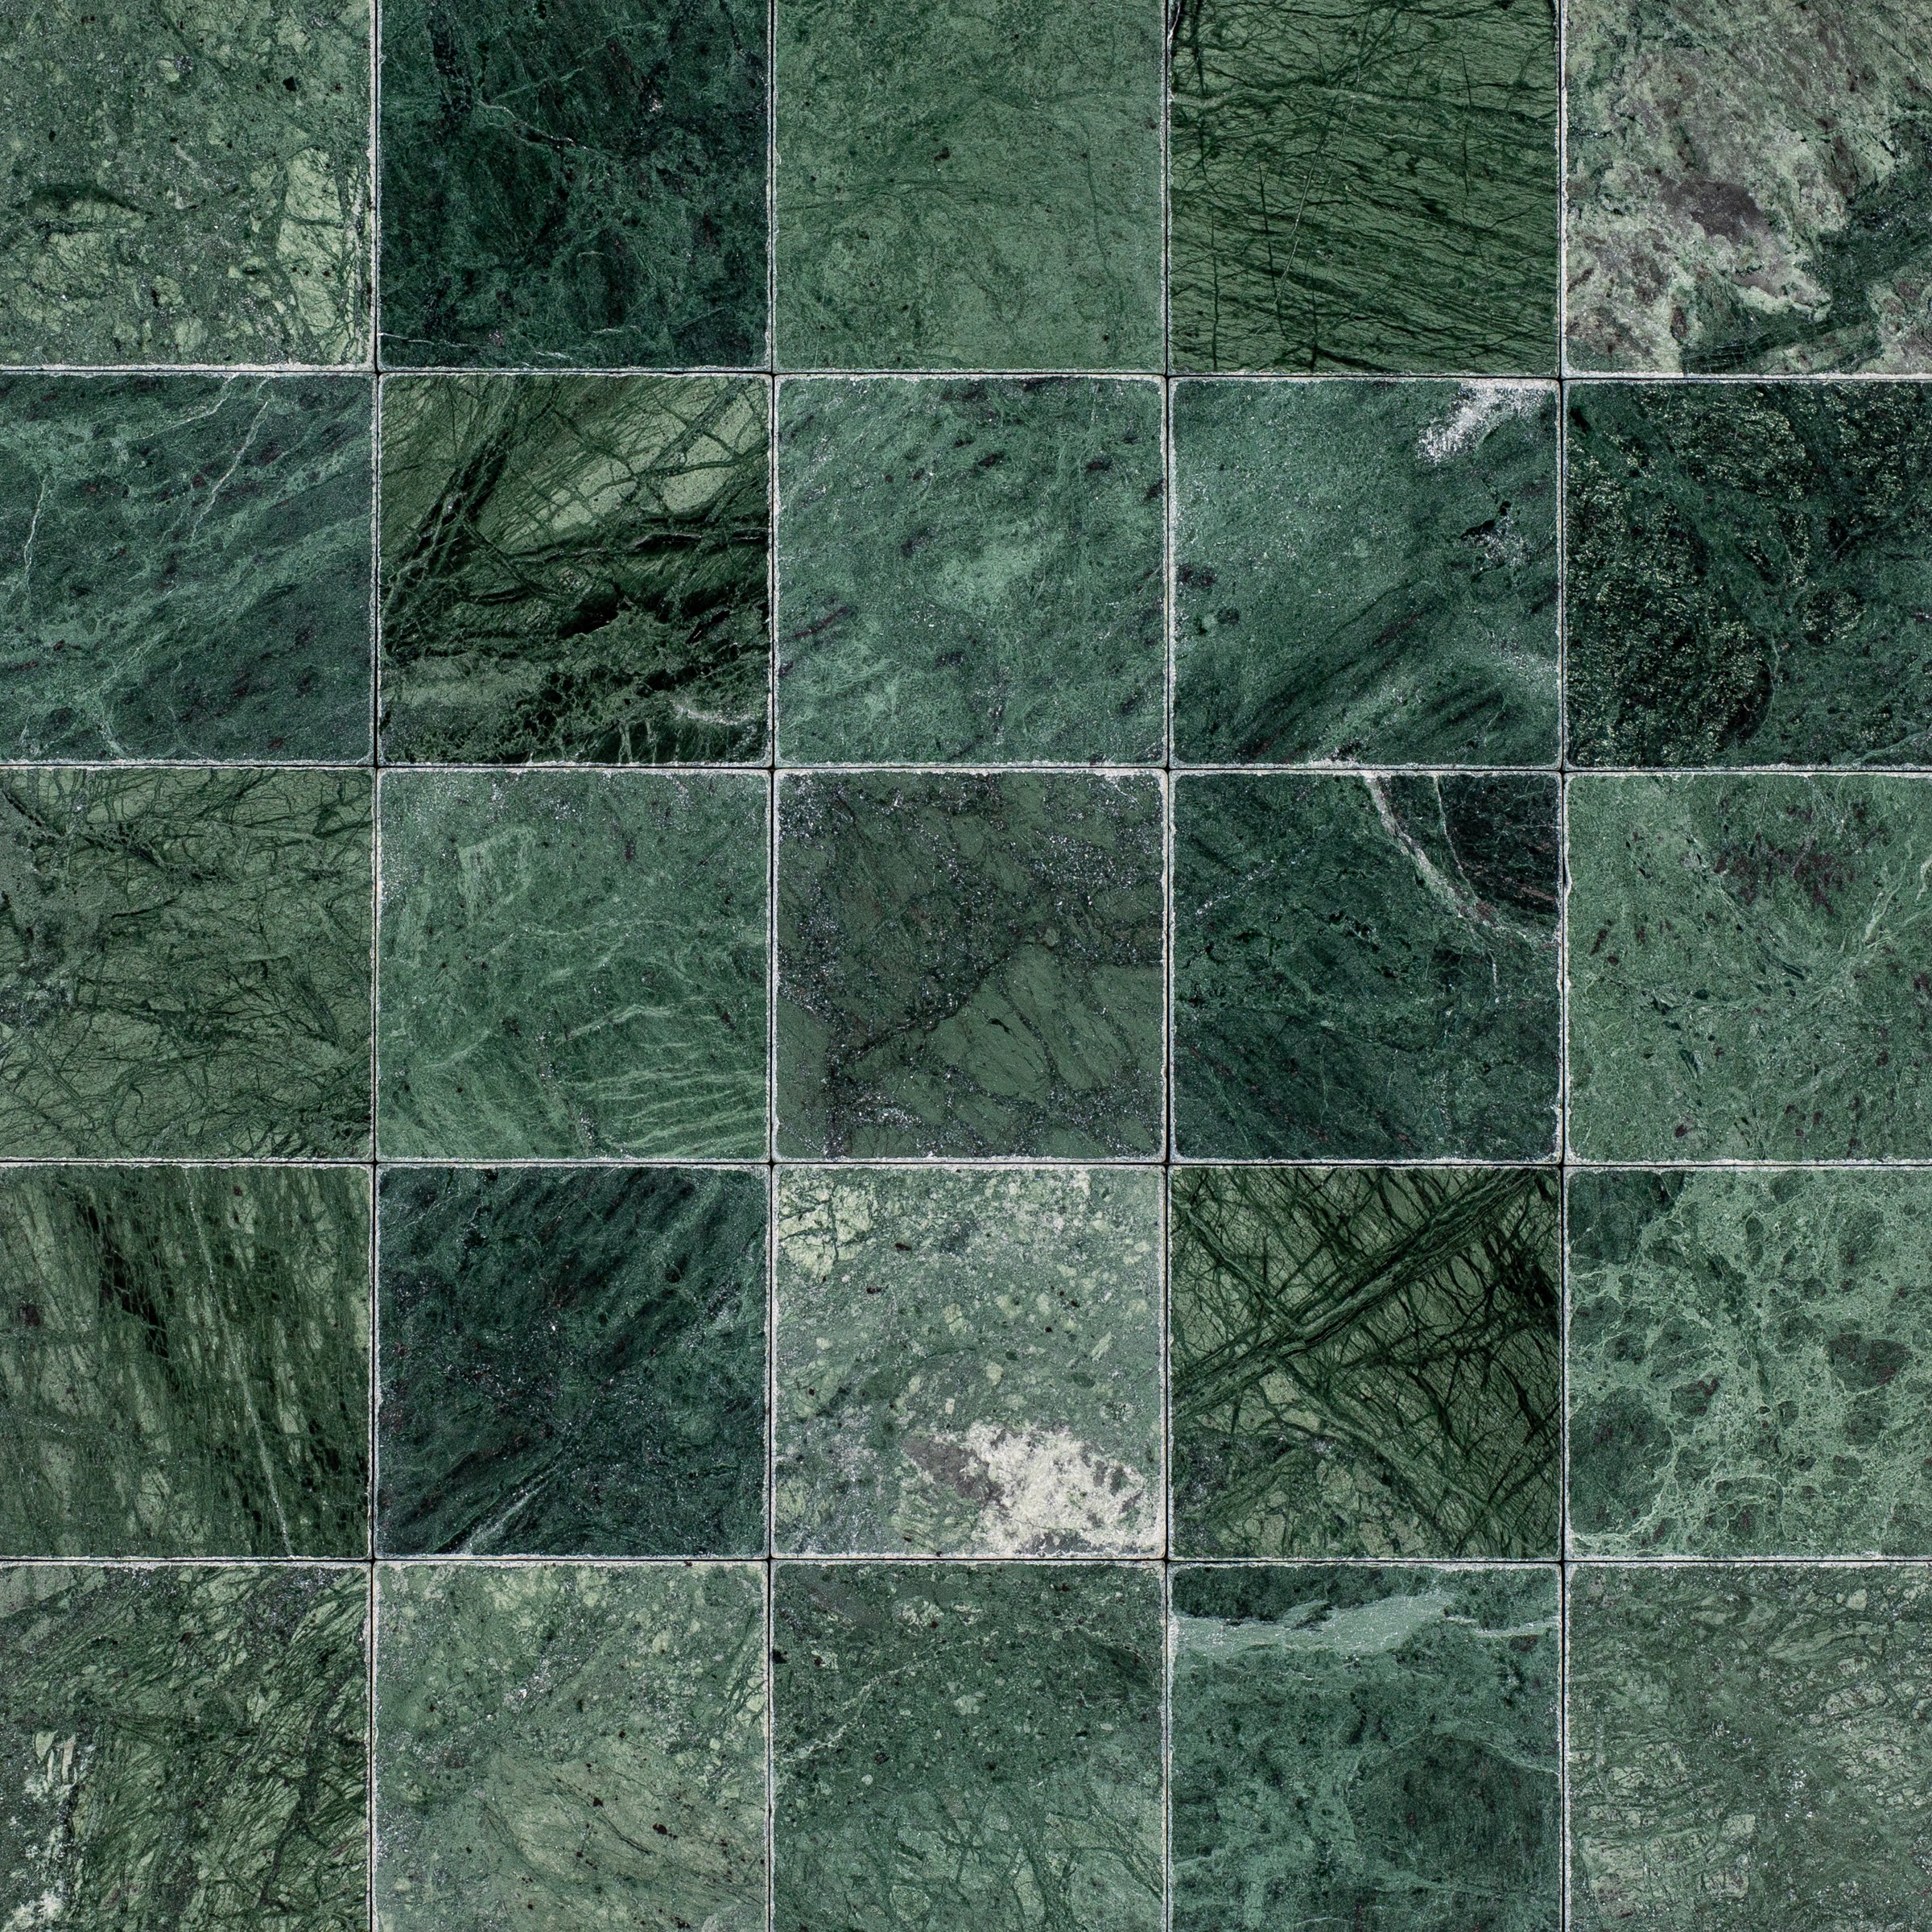
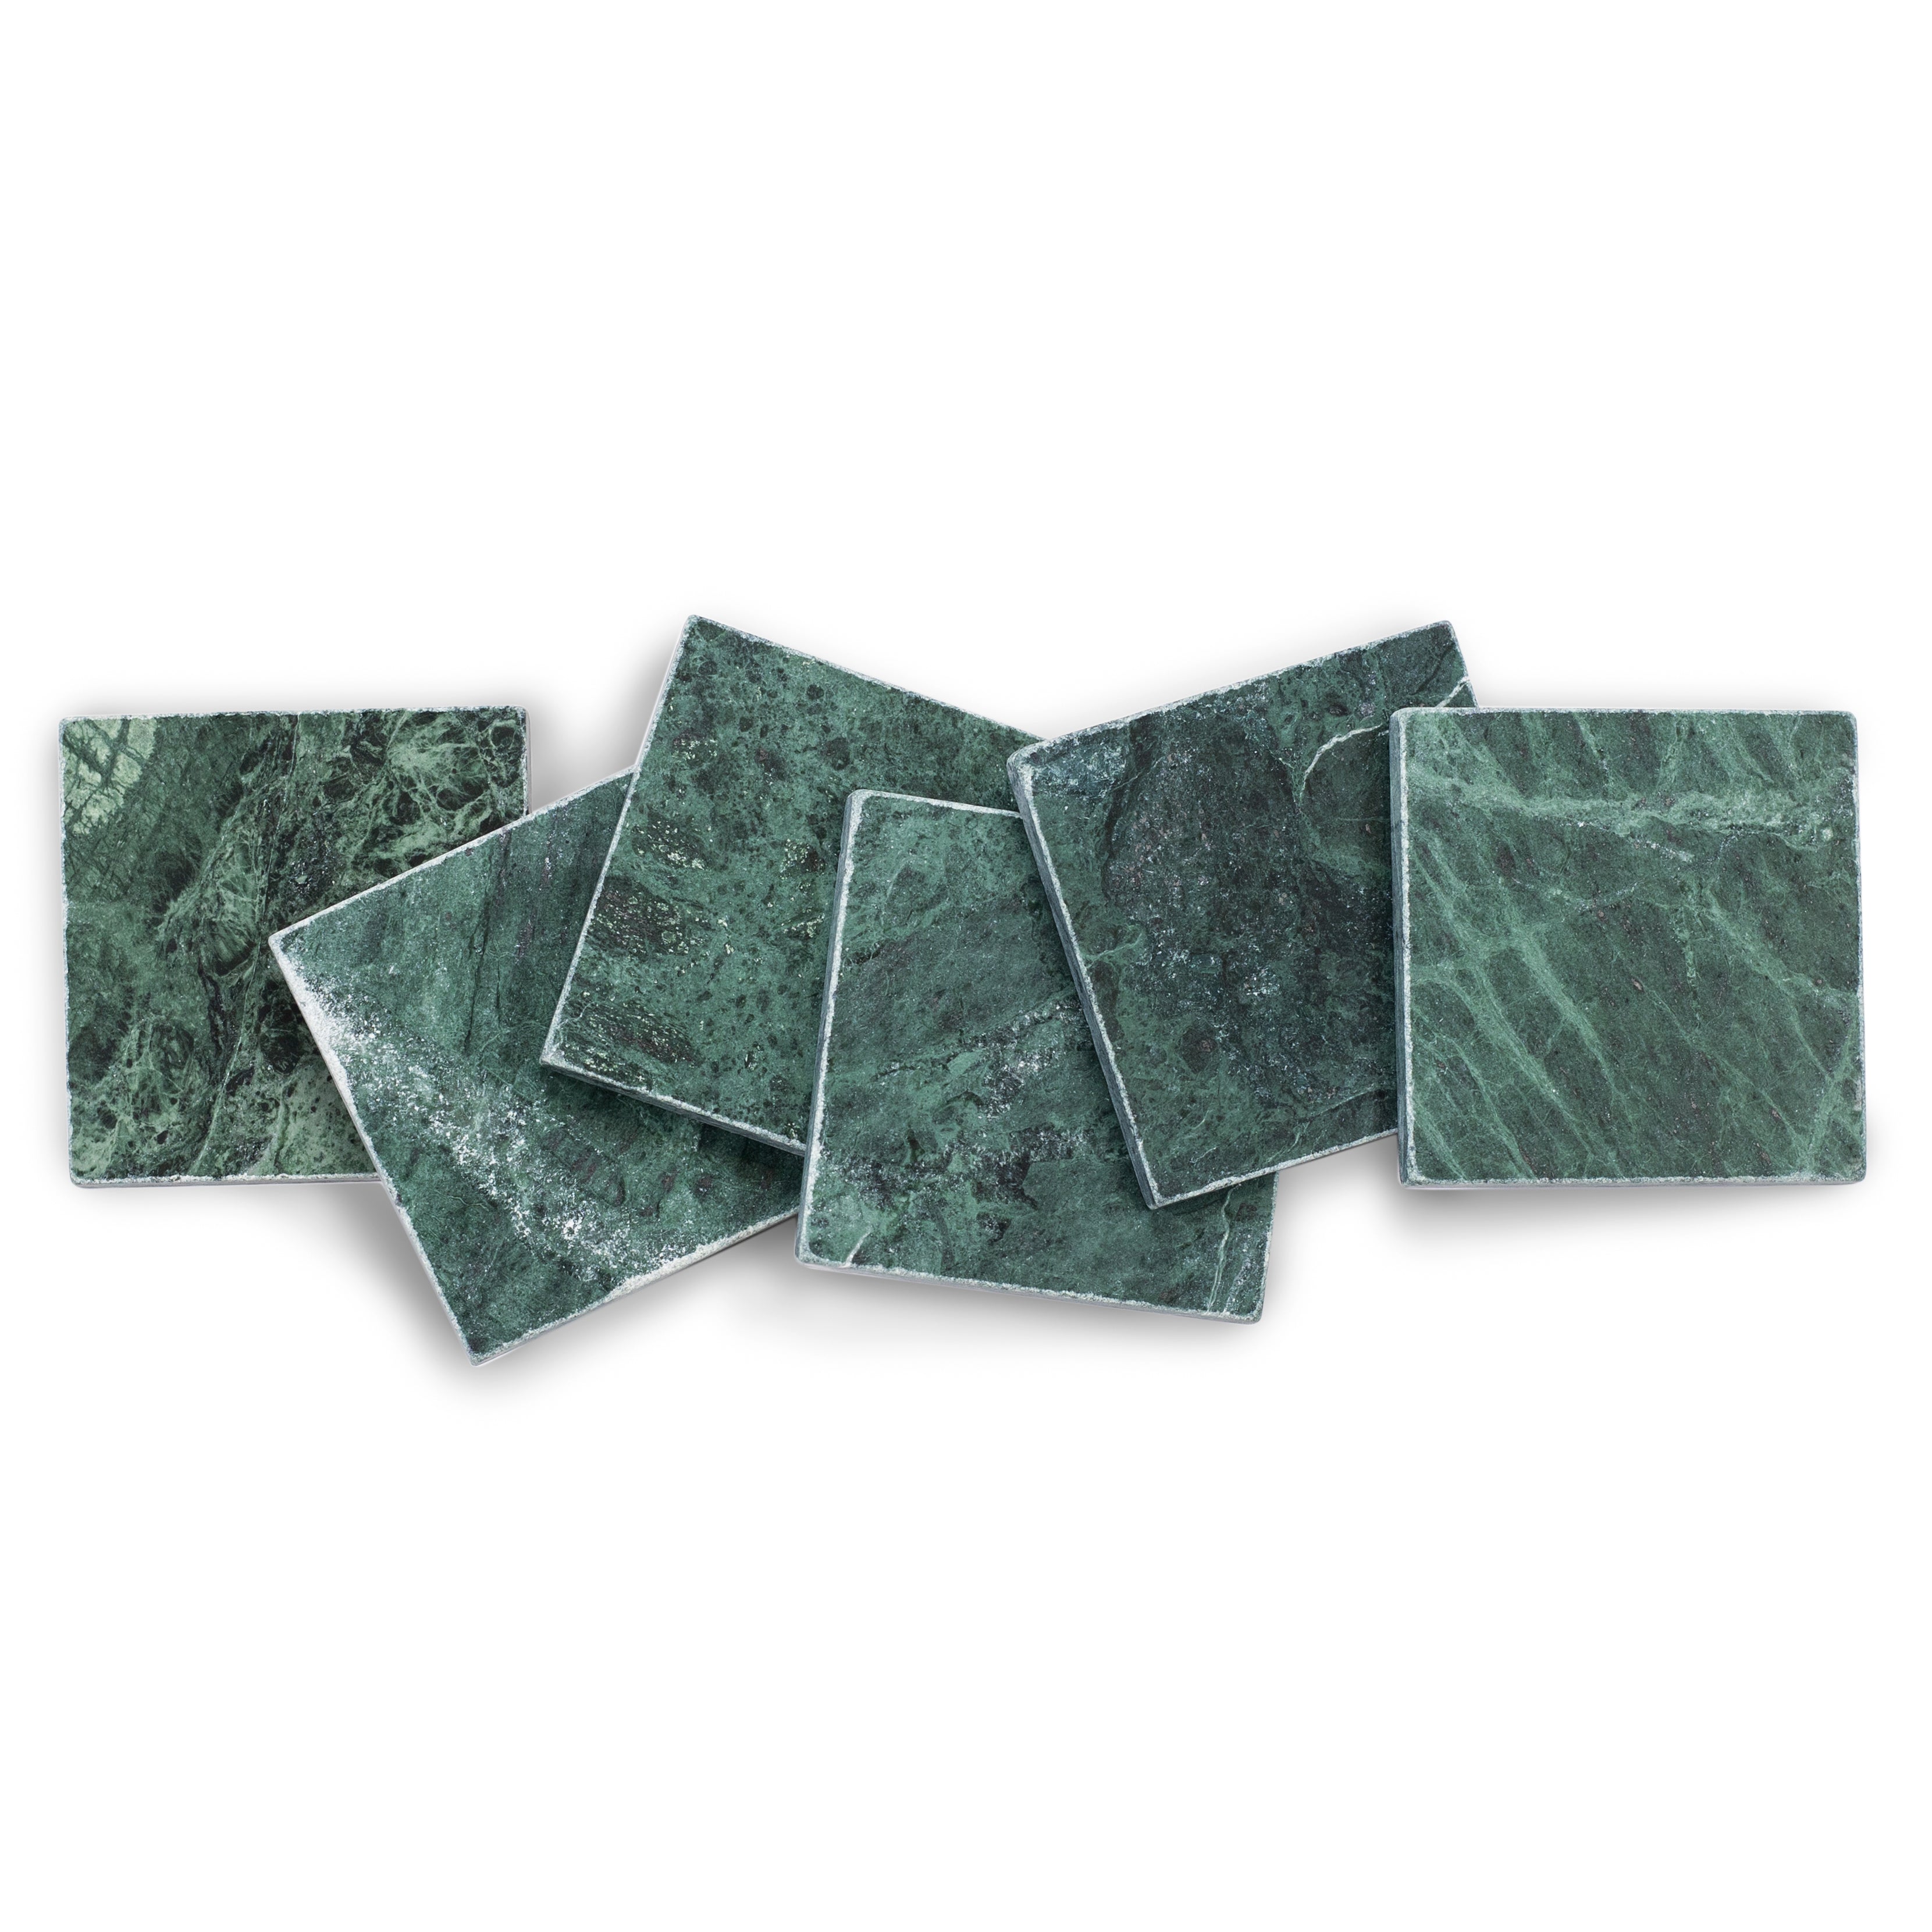
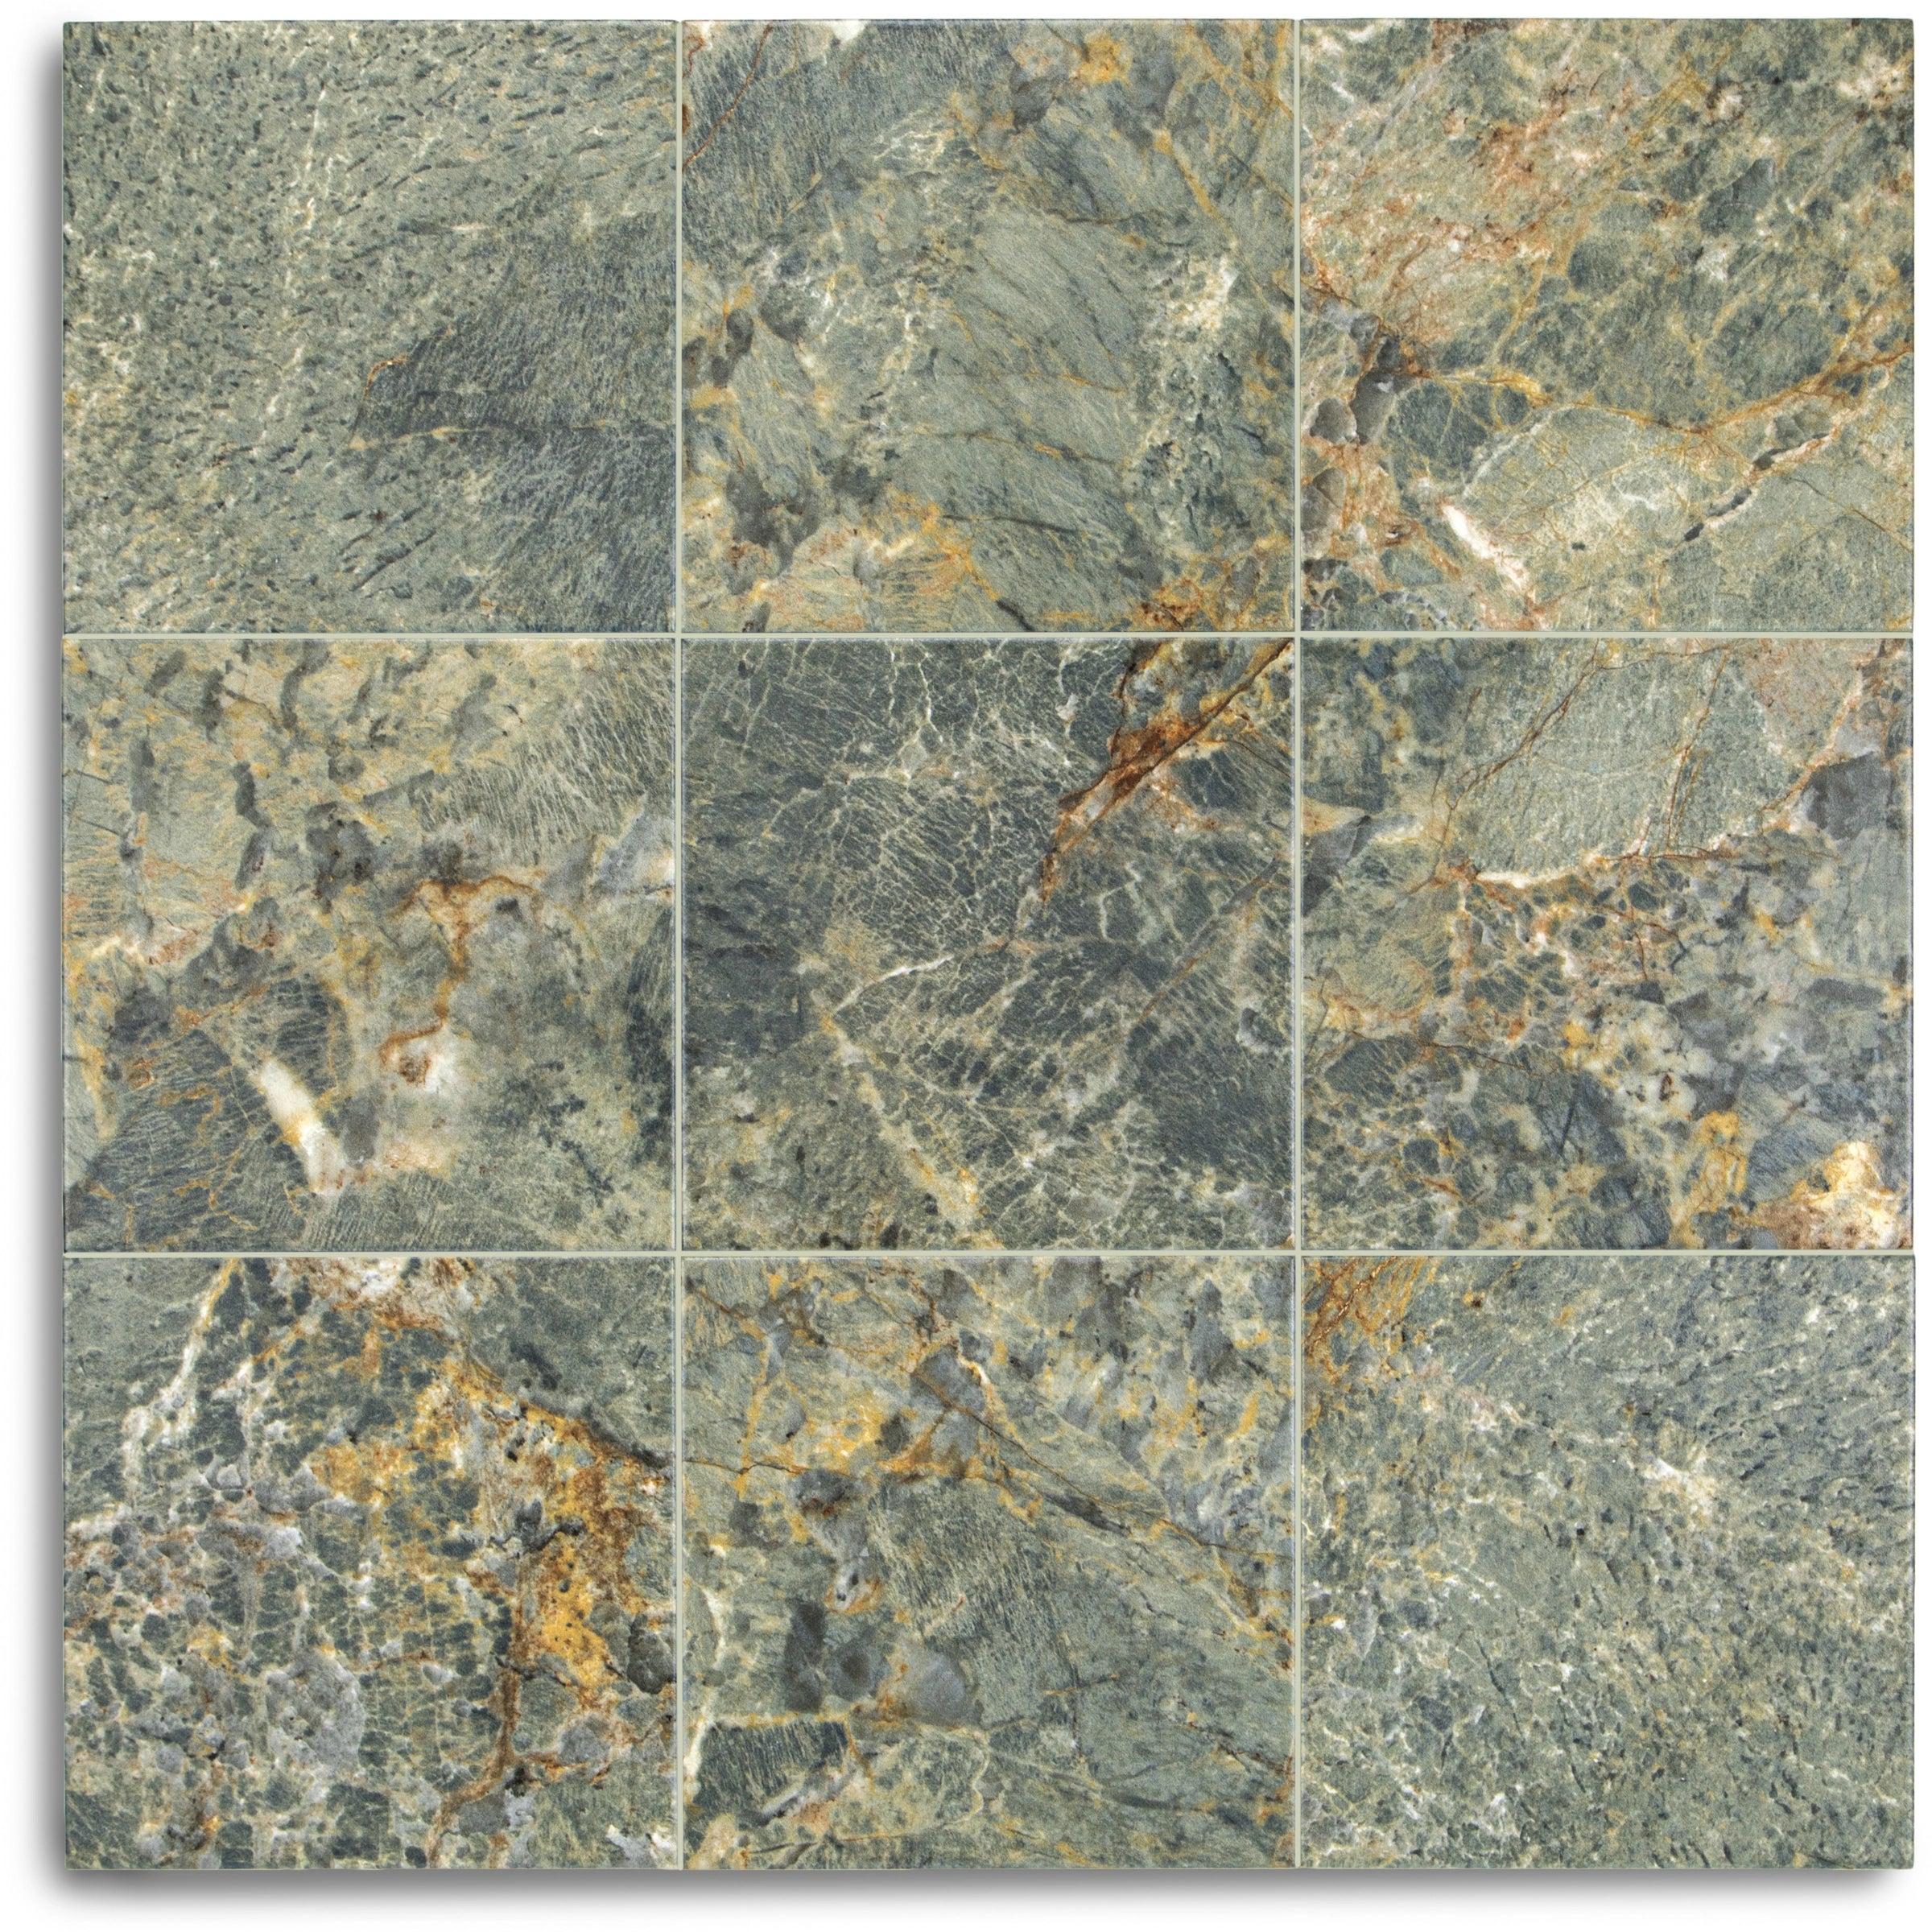
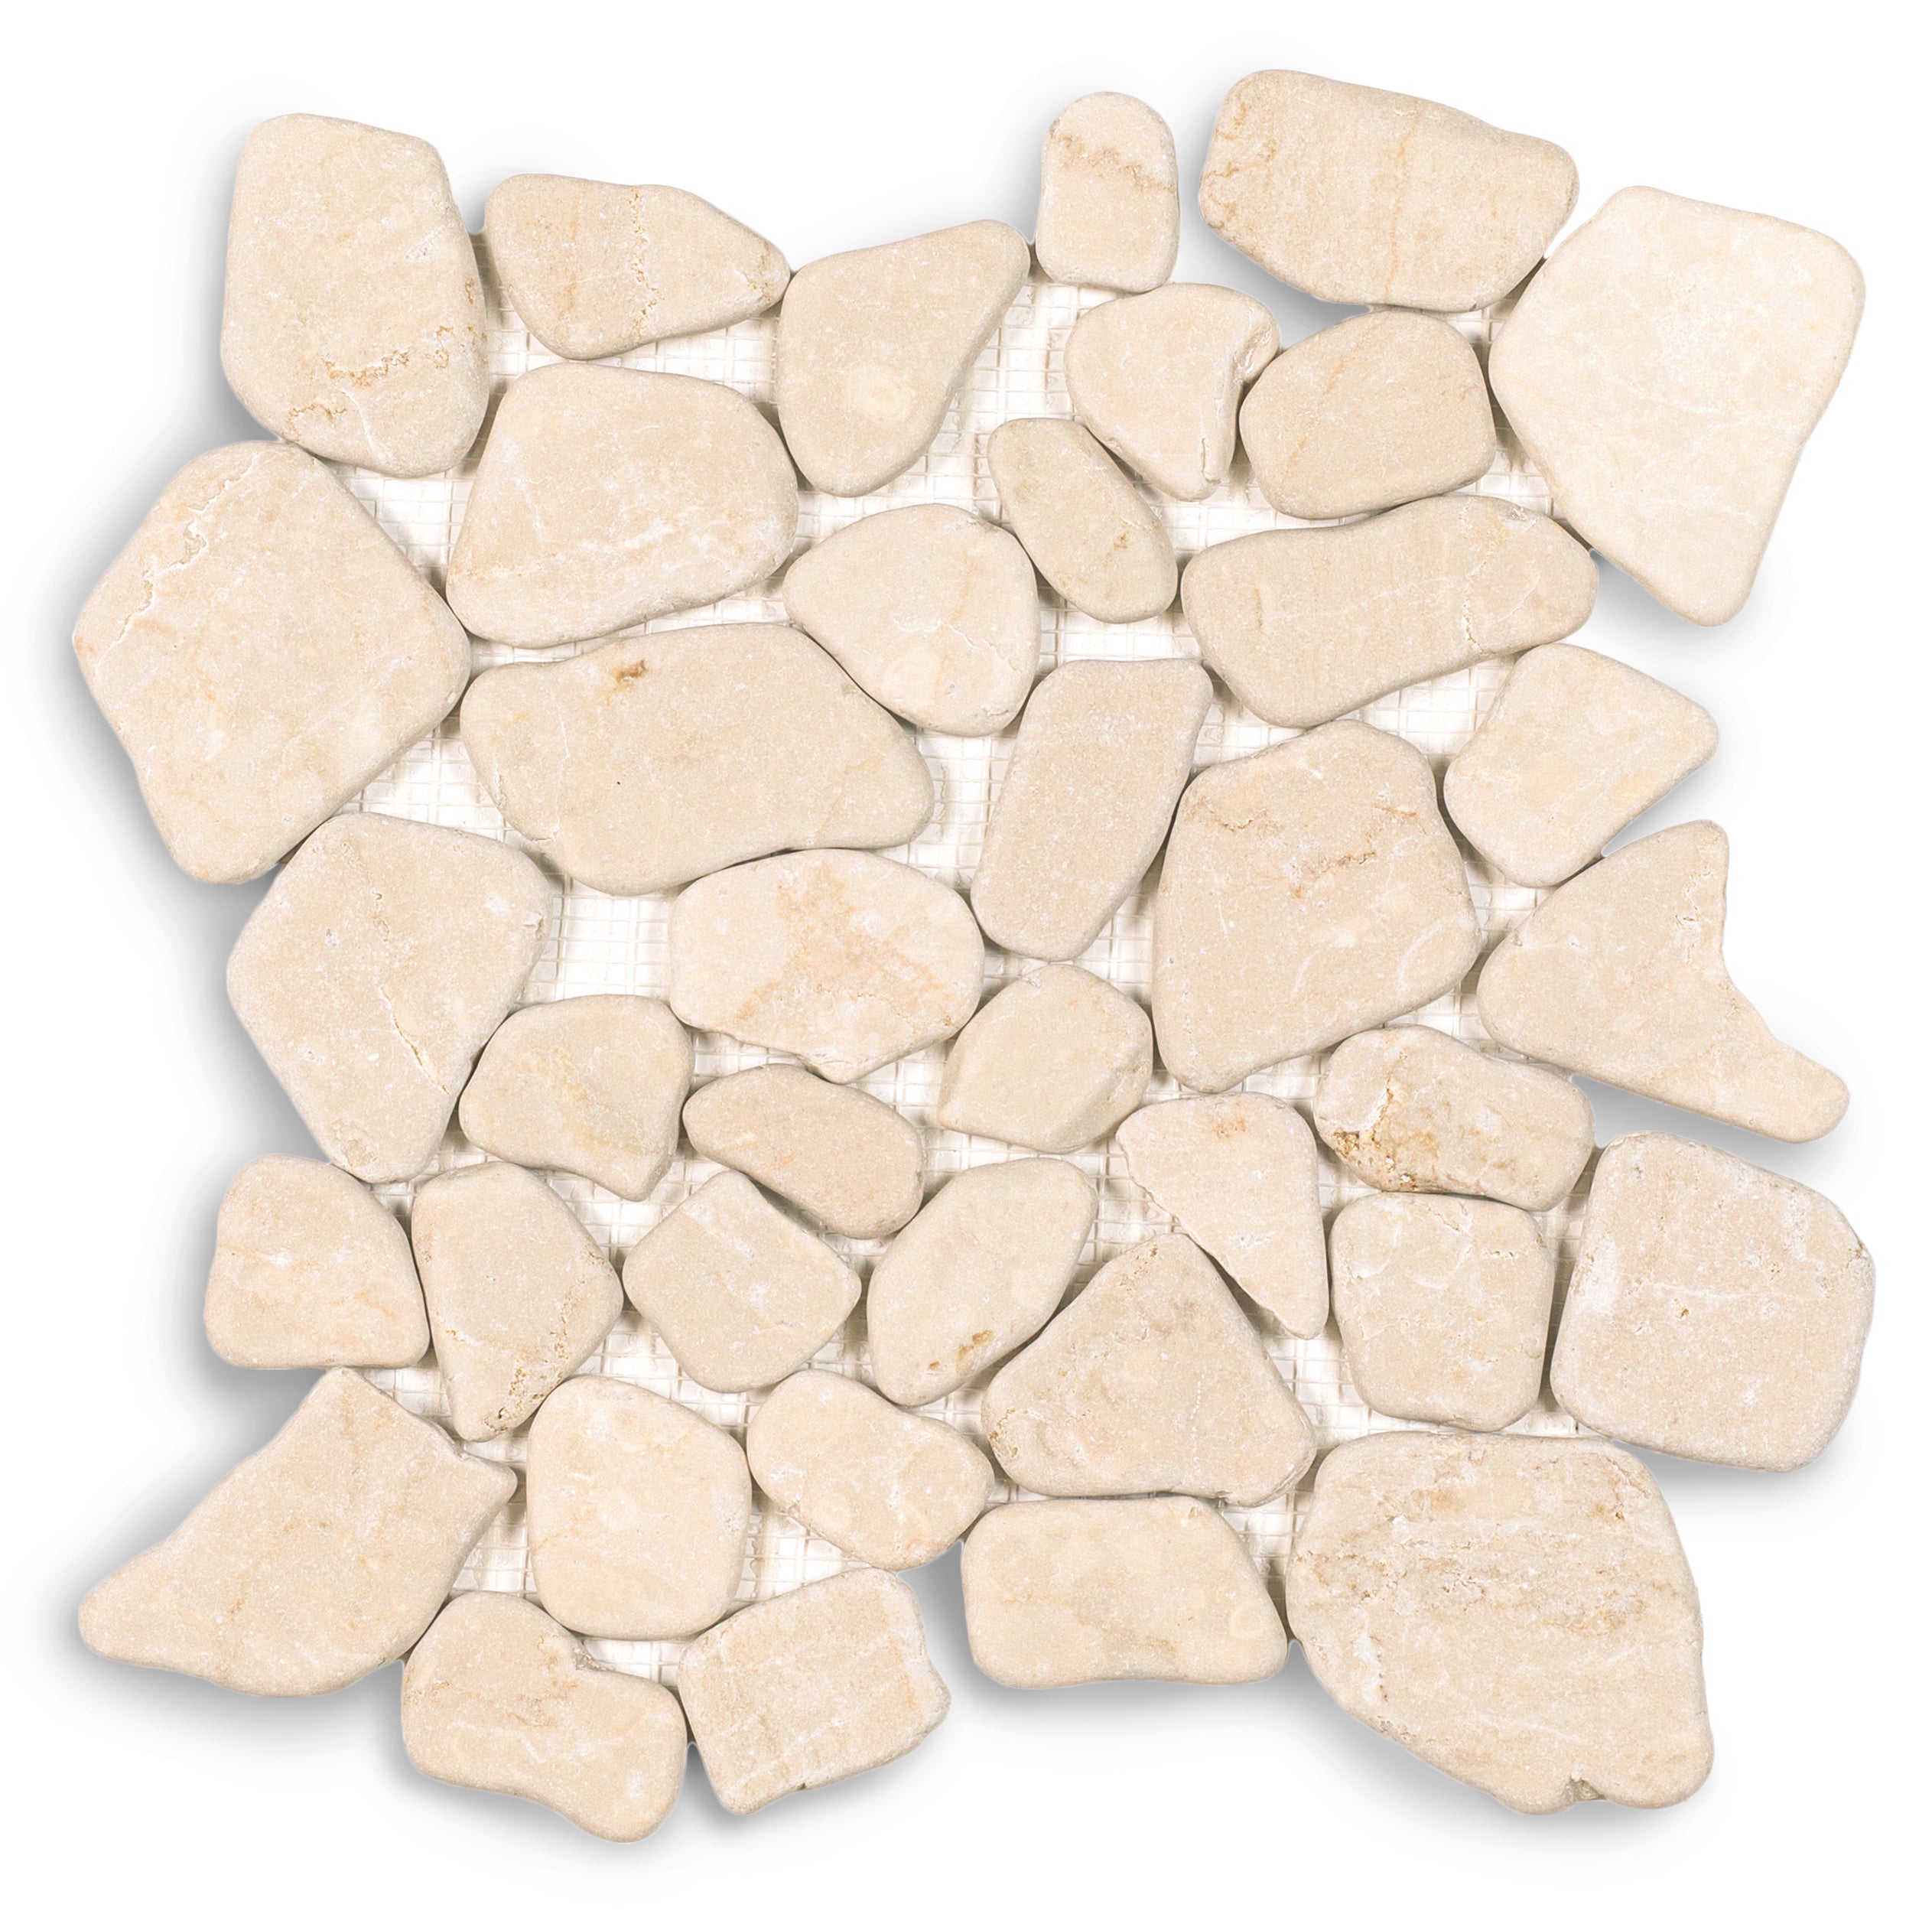
Verde Guatemala Tumbled Marble Tile
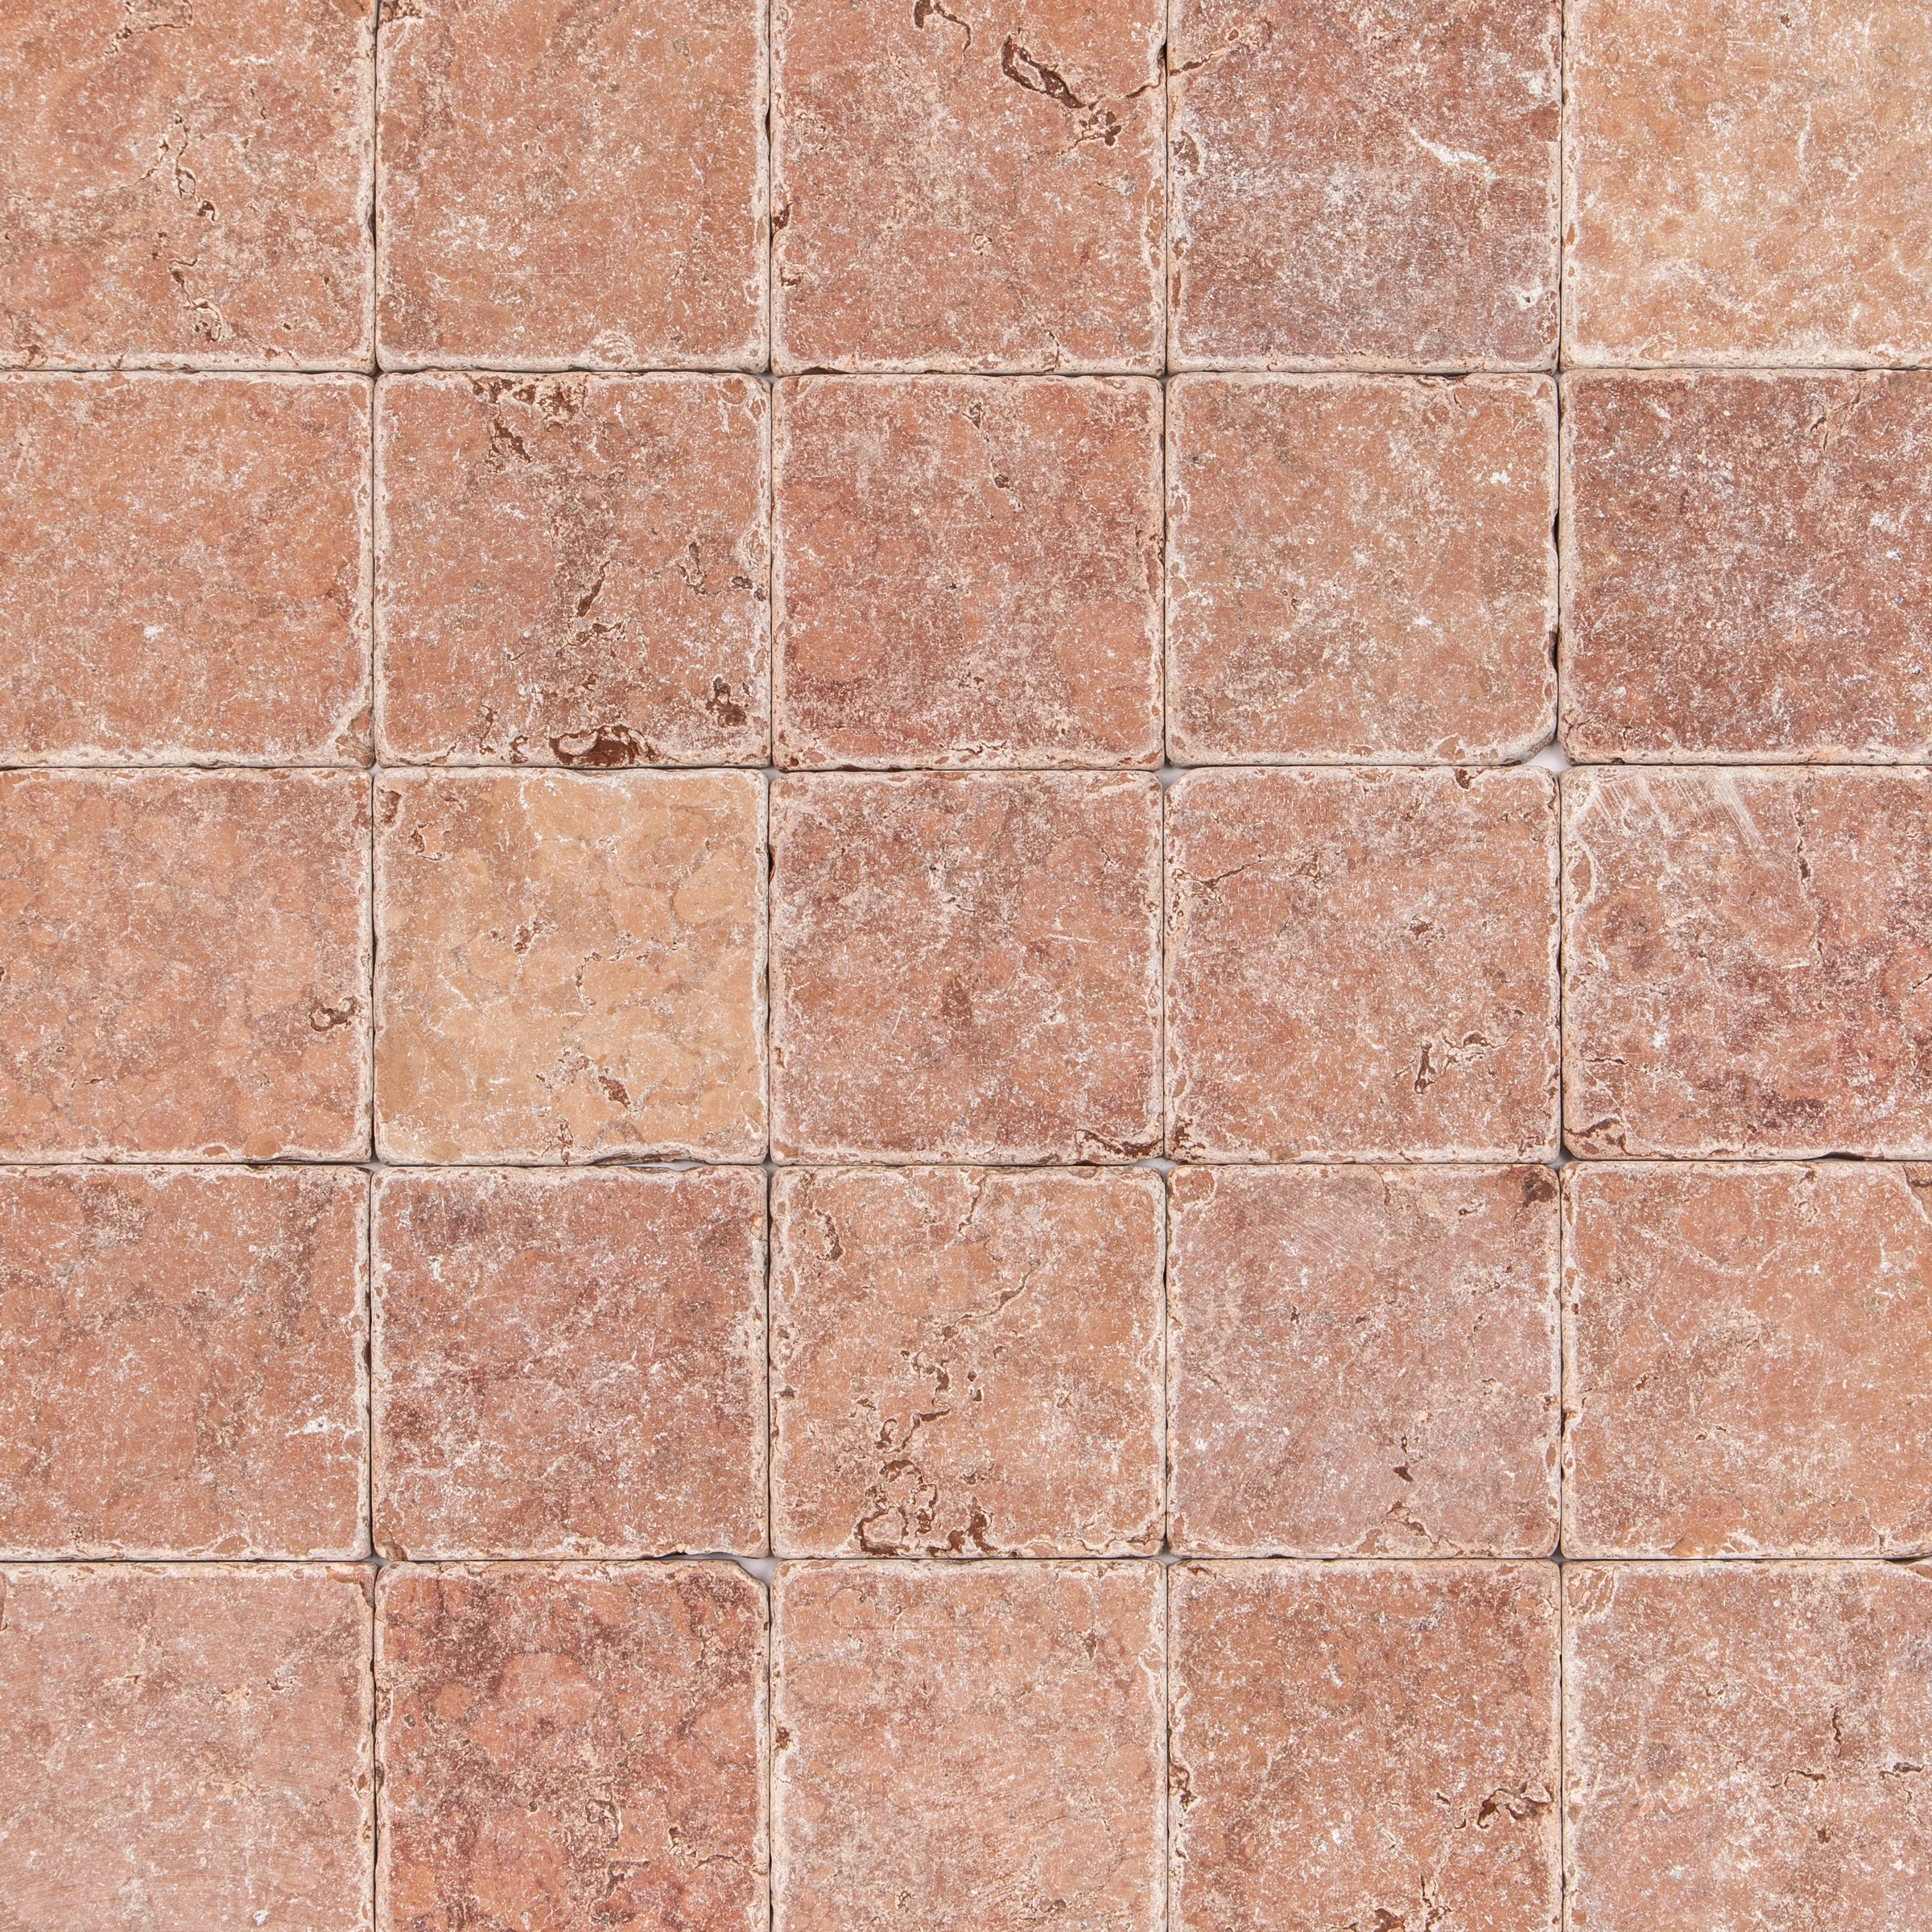
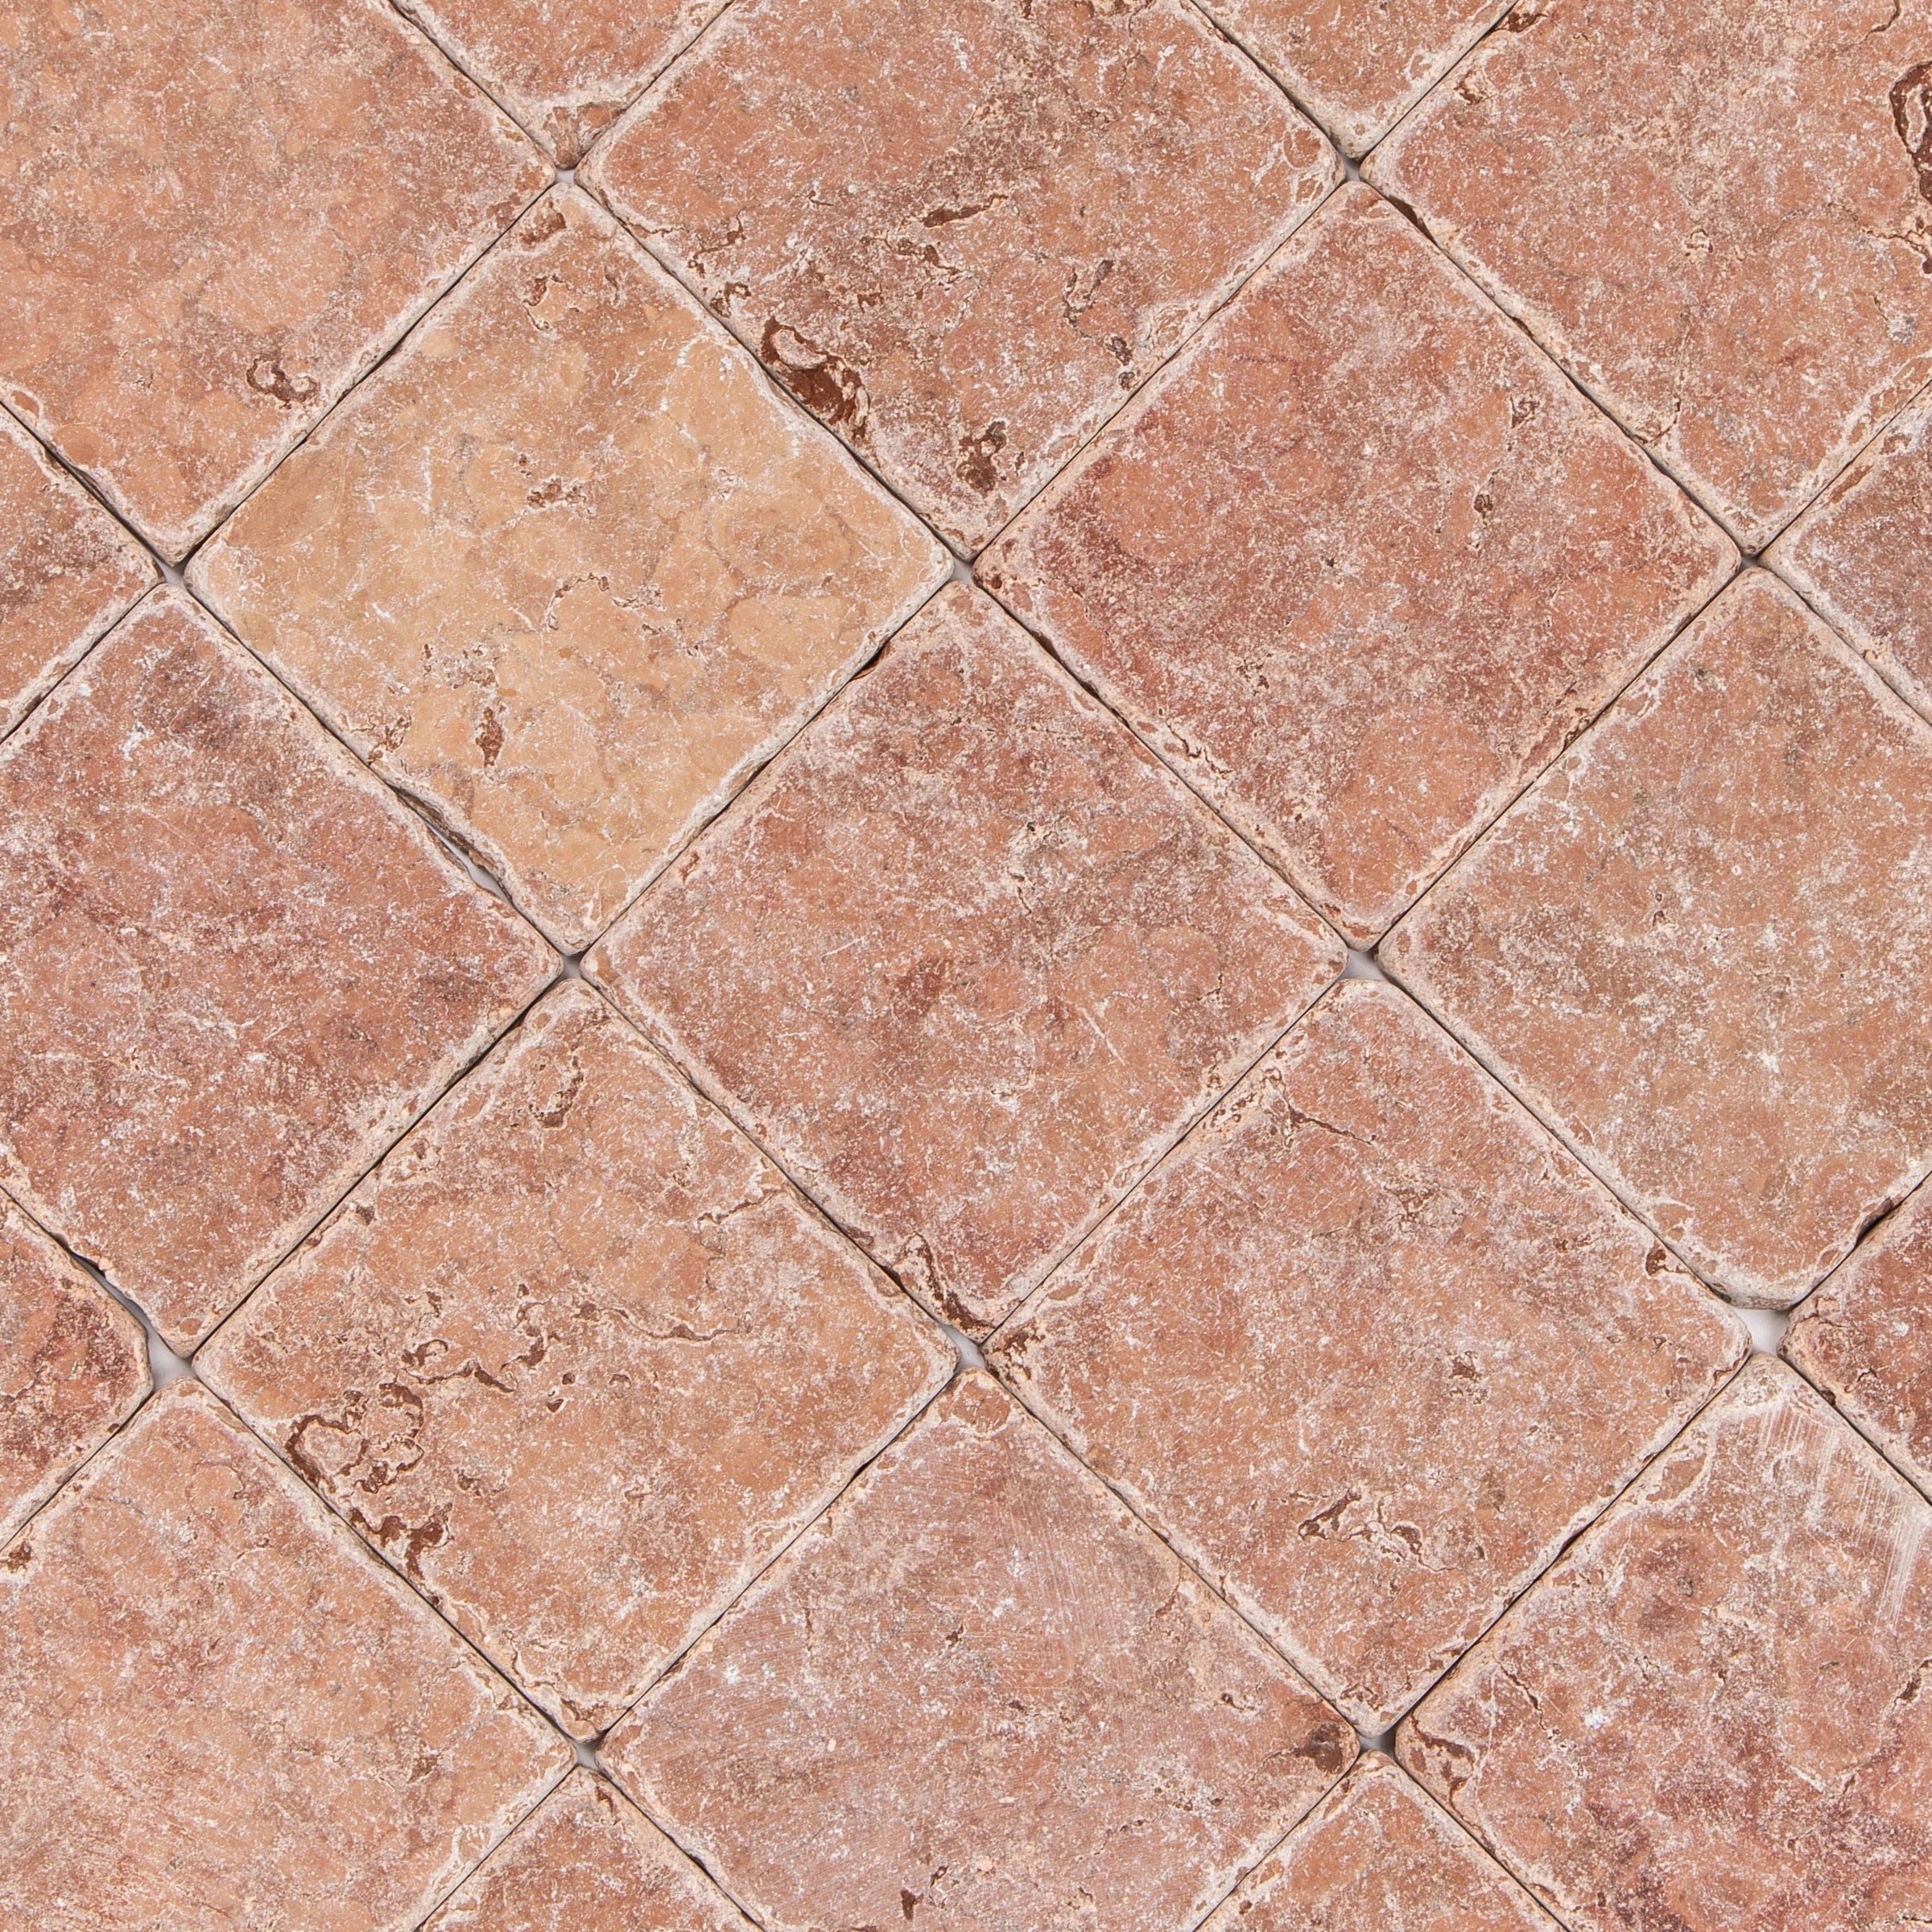
Rosso Verona Tumbled Marble Tile

White Multi-Color Matte Porcelain Tile


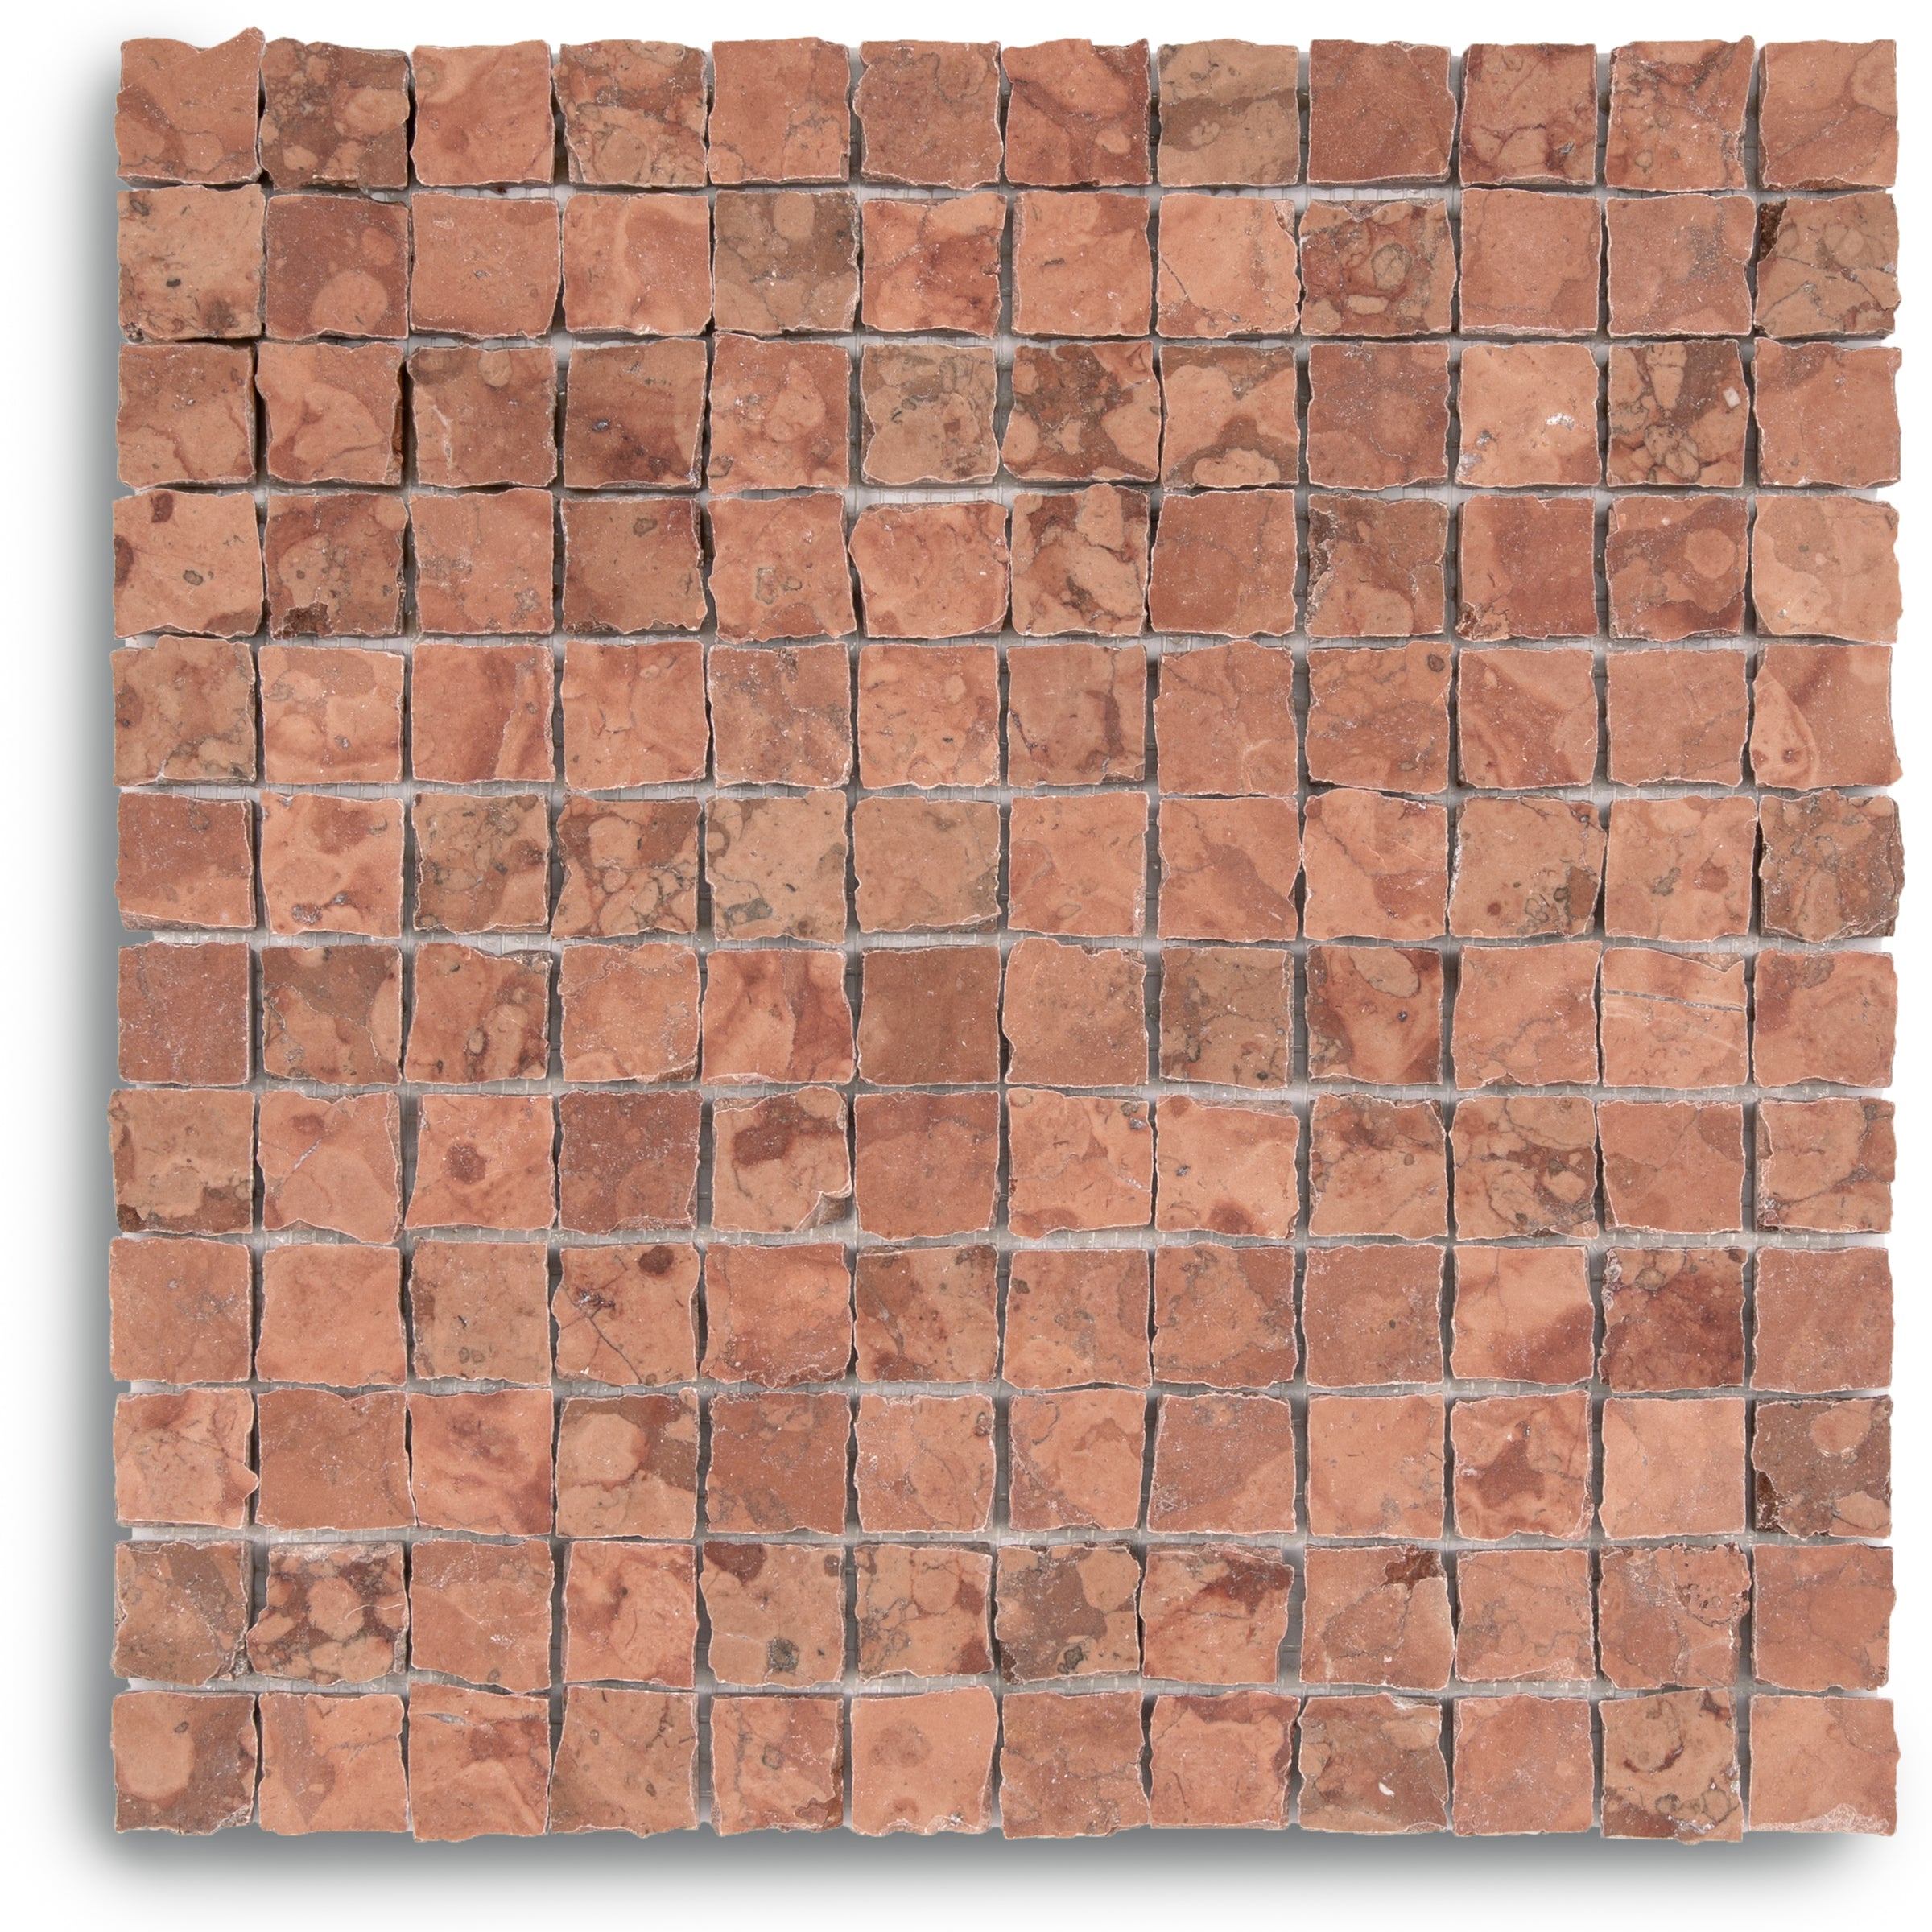
Rosso Verona 1x1 Hand Chipped Marble Mosaic


Crimson 3x6 Glossy Ceramic Tile


Cream 2x2 Forma Porcelain Mosaic


Cotto 2x2 Forma Porcelain Mosaic


Unglazed & White Octagon Zellige Mosaic


Black Multi-Color Matte Porcelain Tile

Star & Cross Classic Terracotta Tile


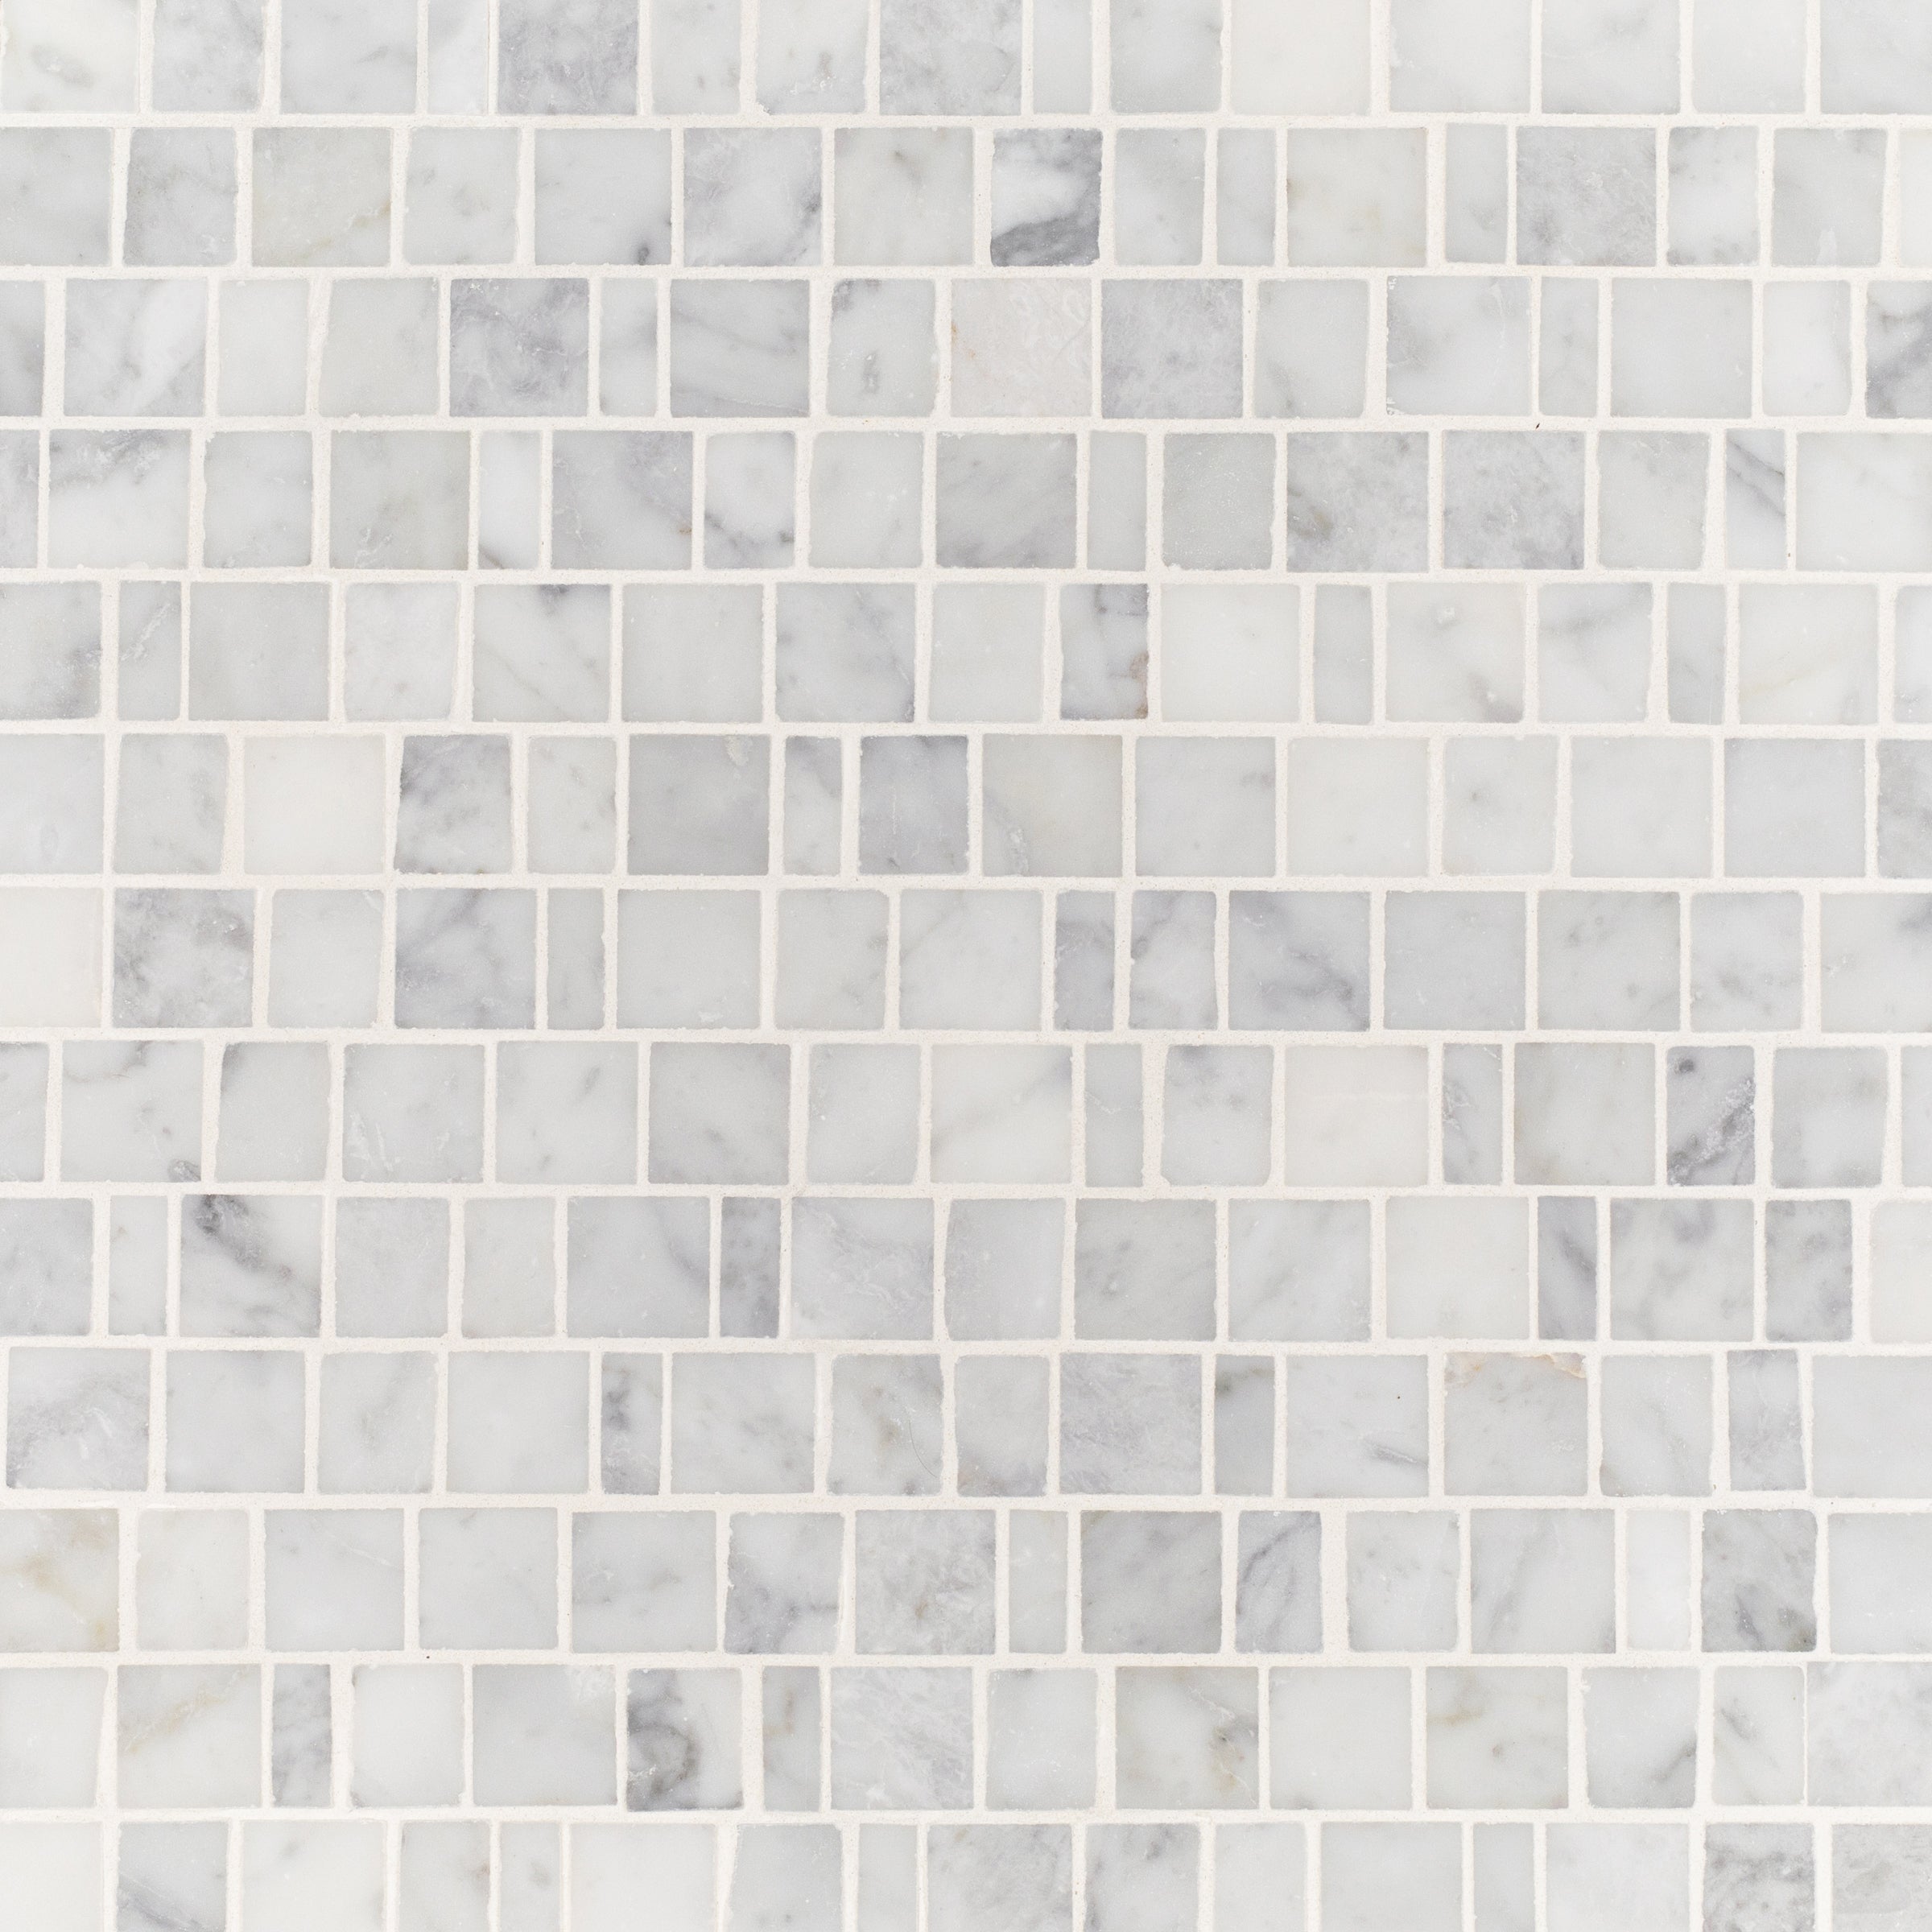
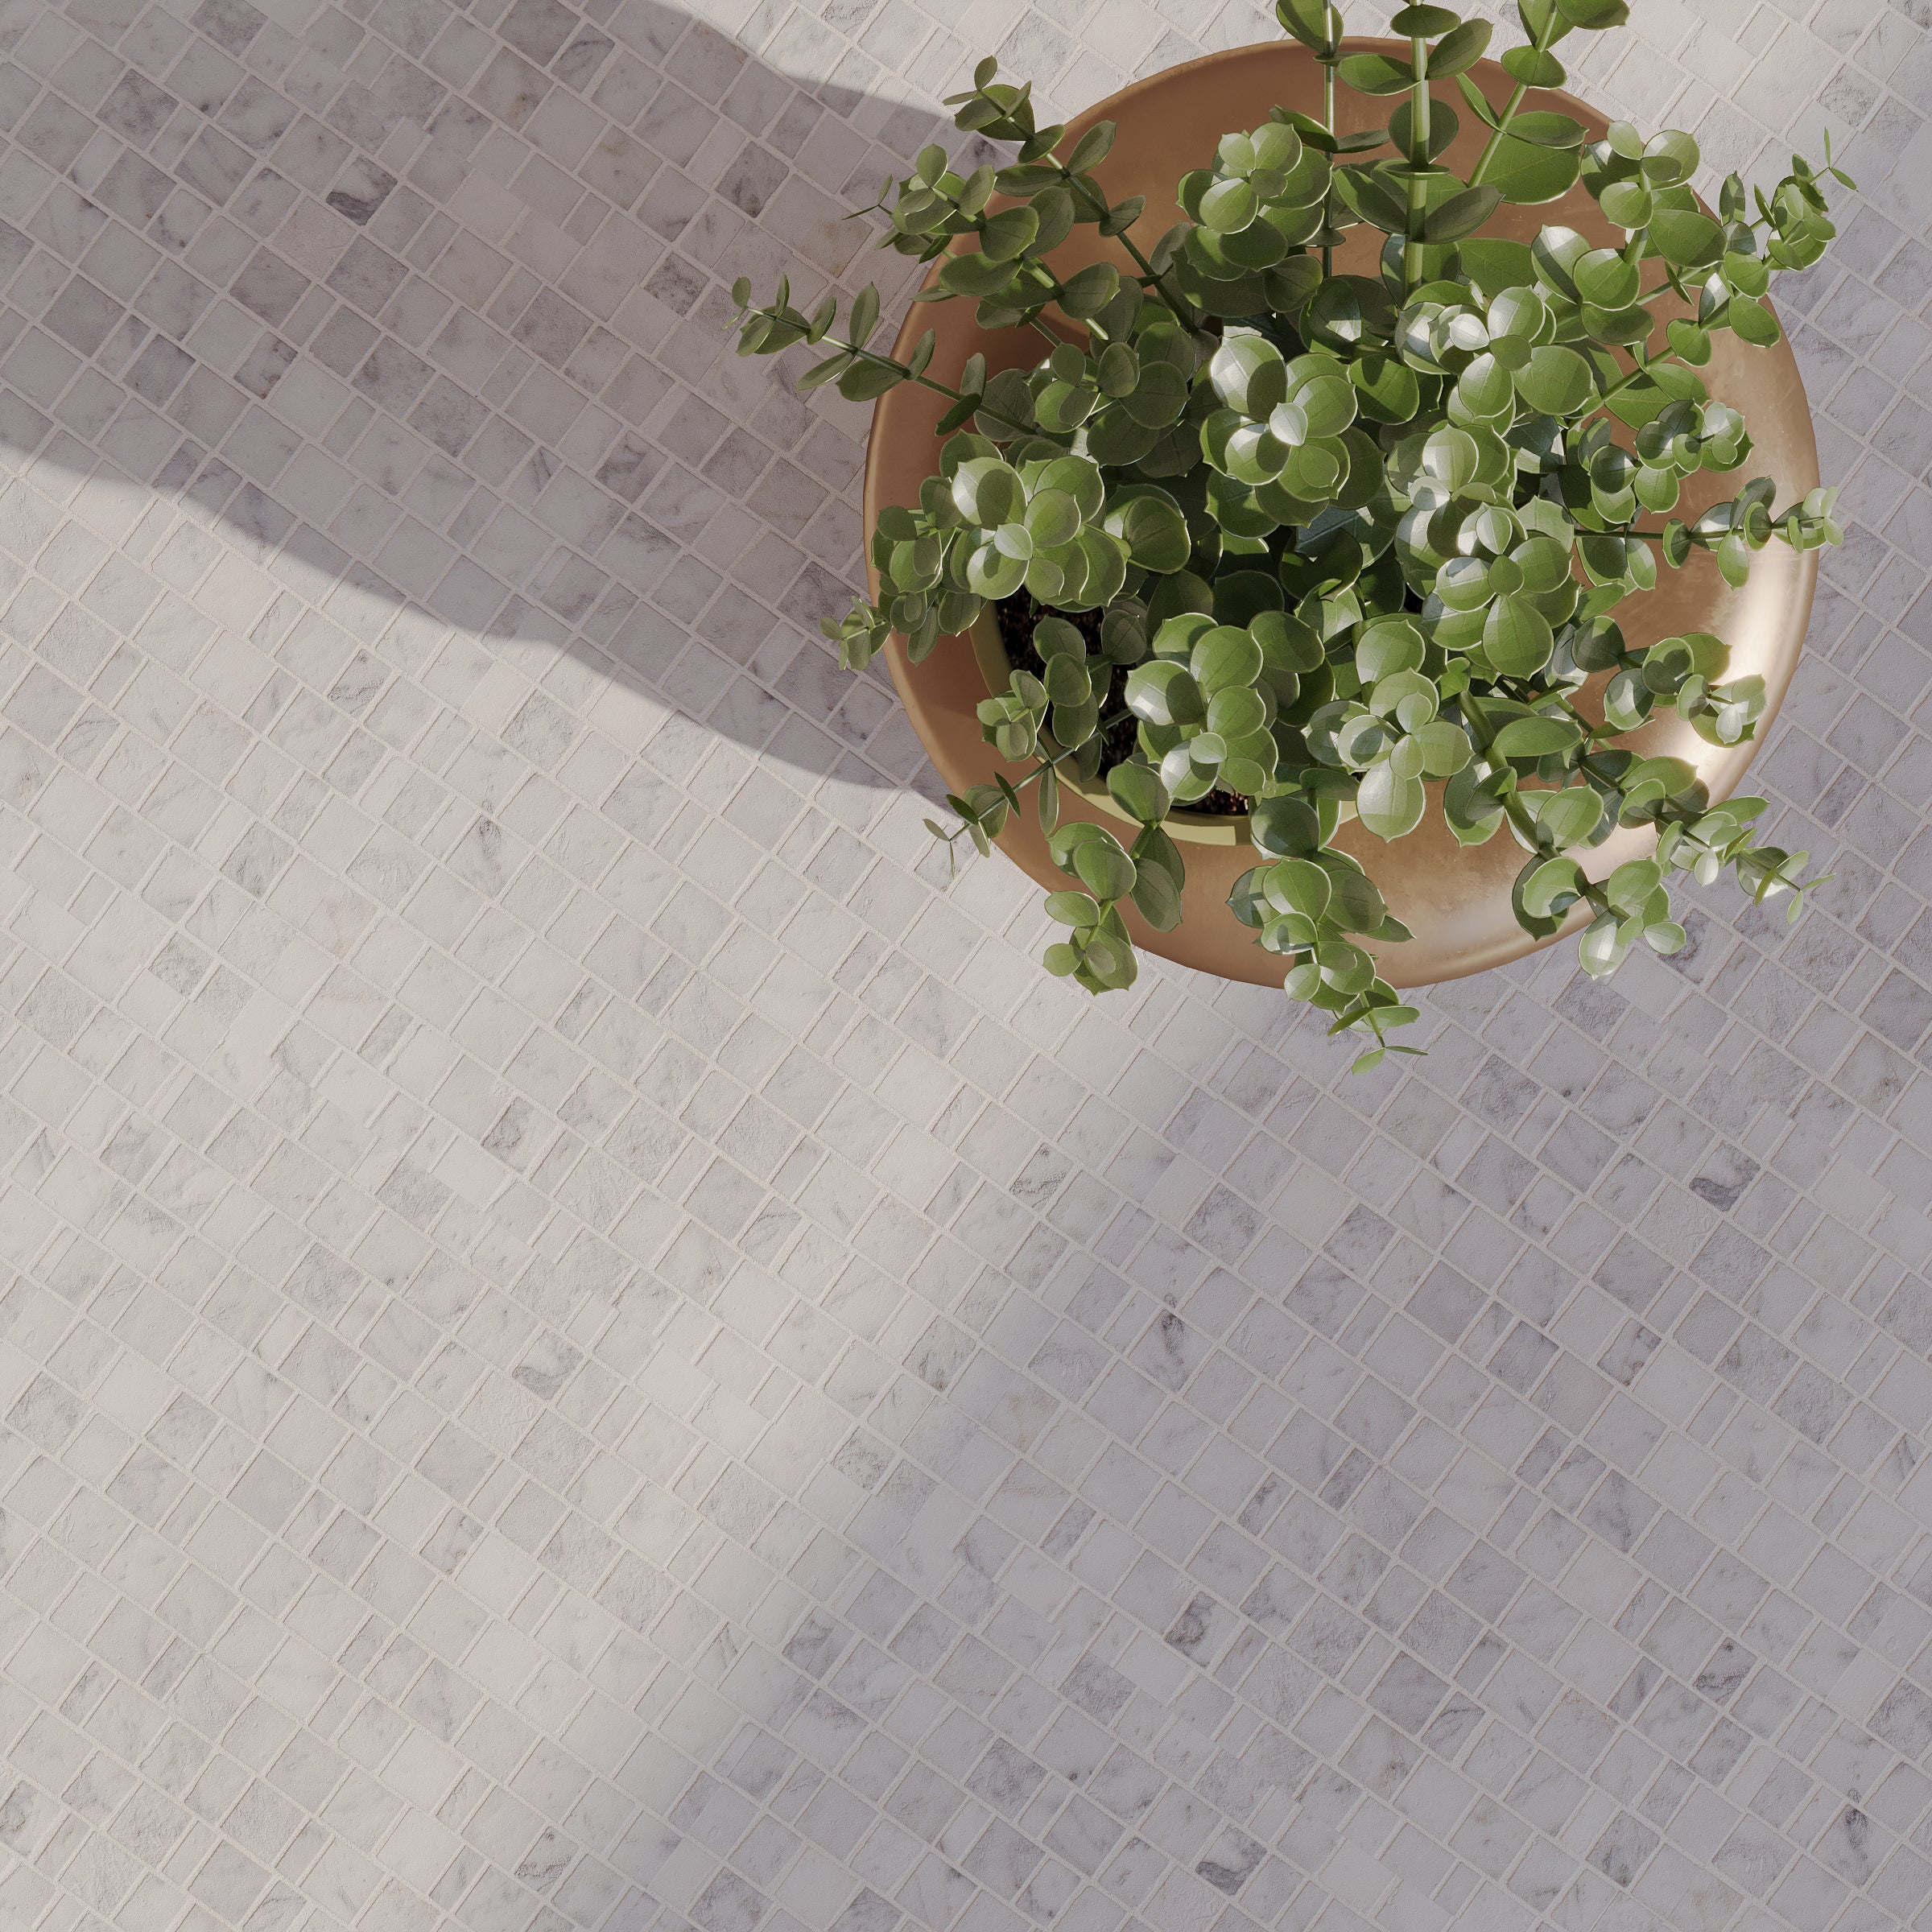
Carrara Running Bond Marble Mosaic
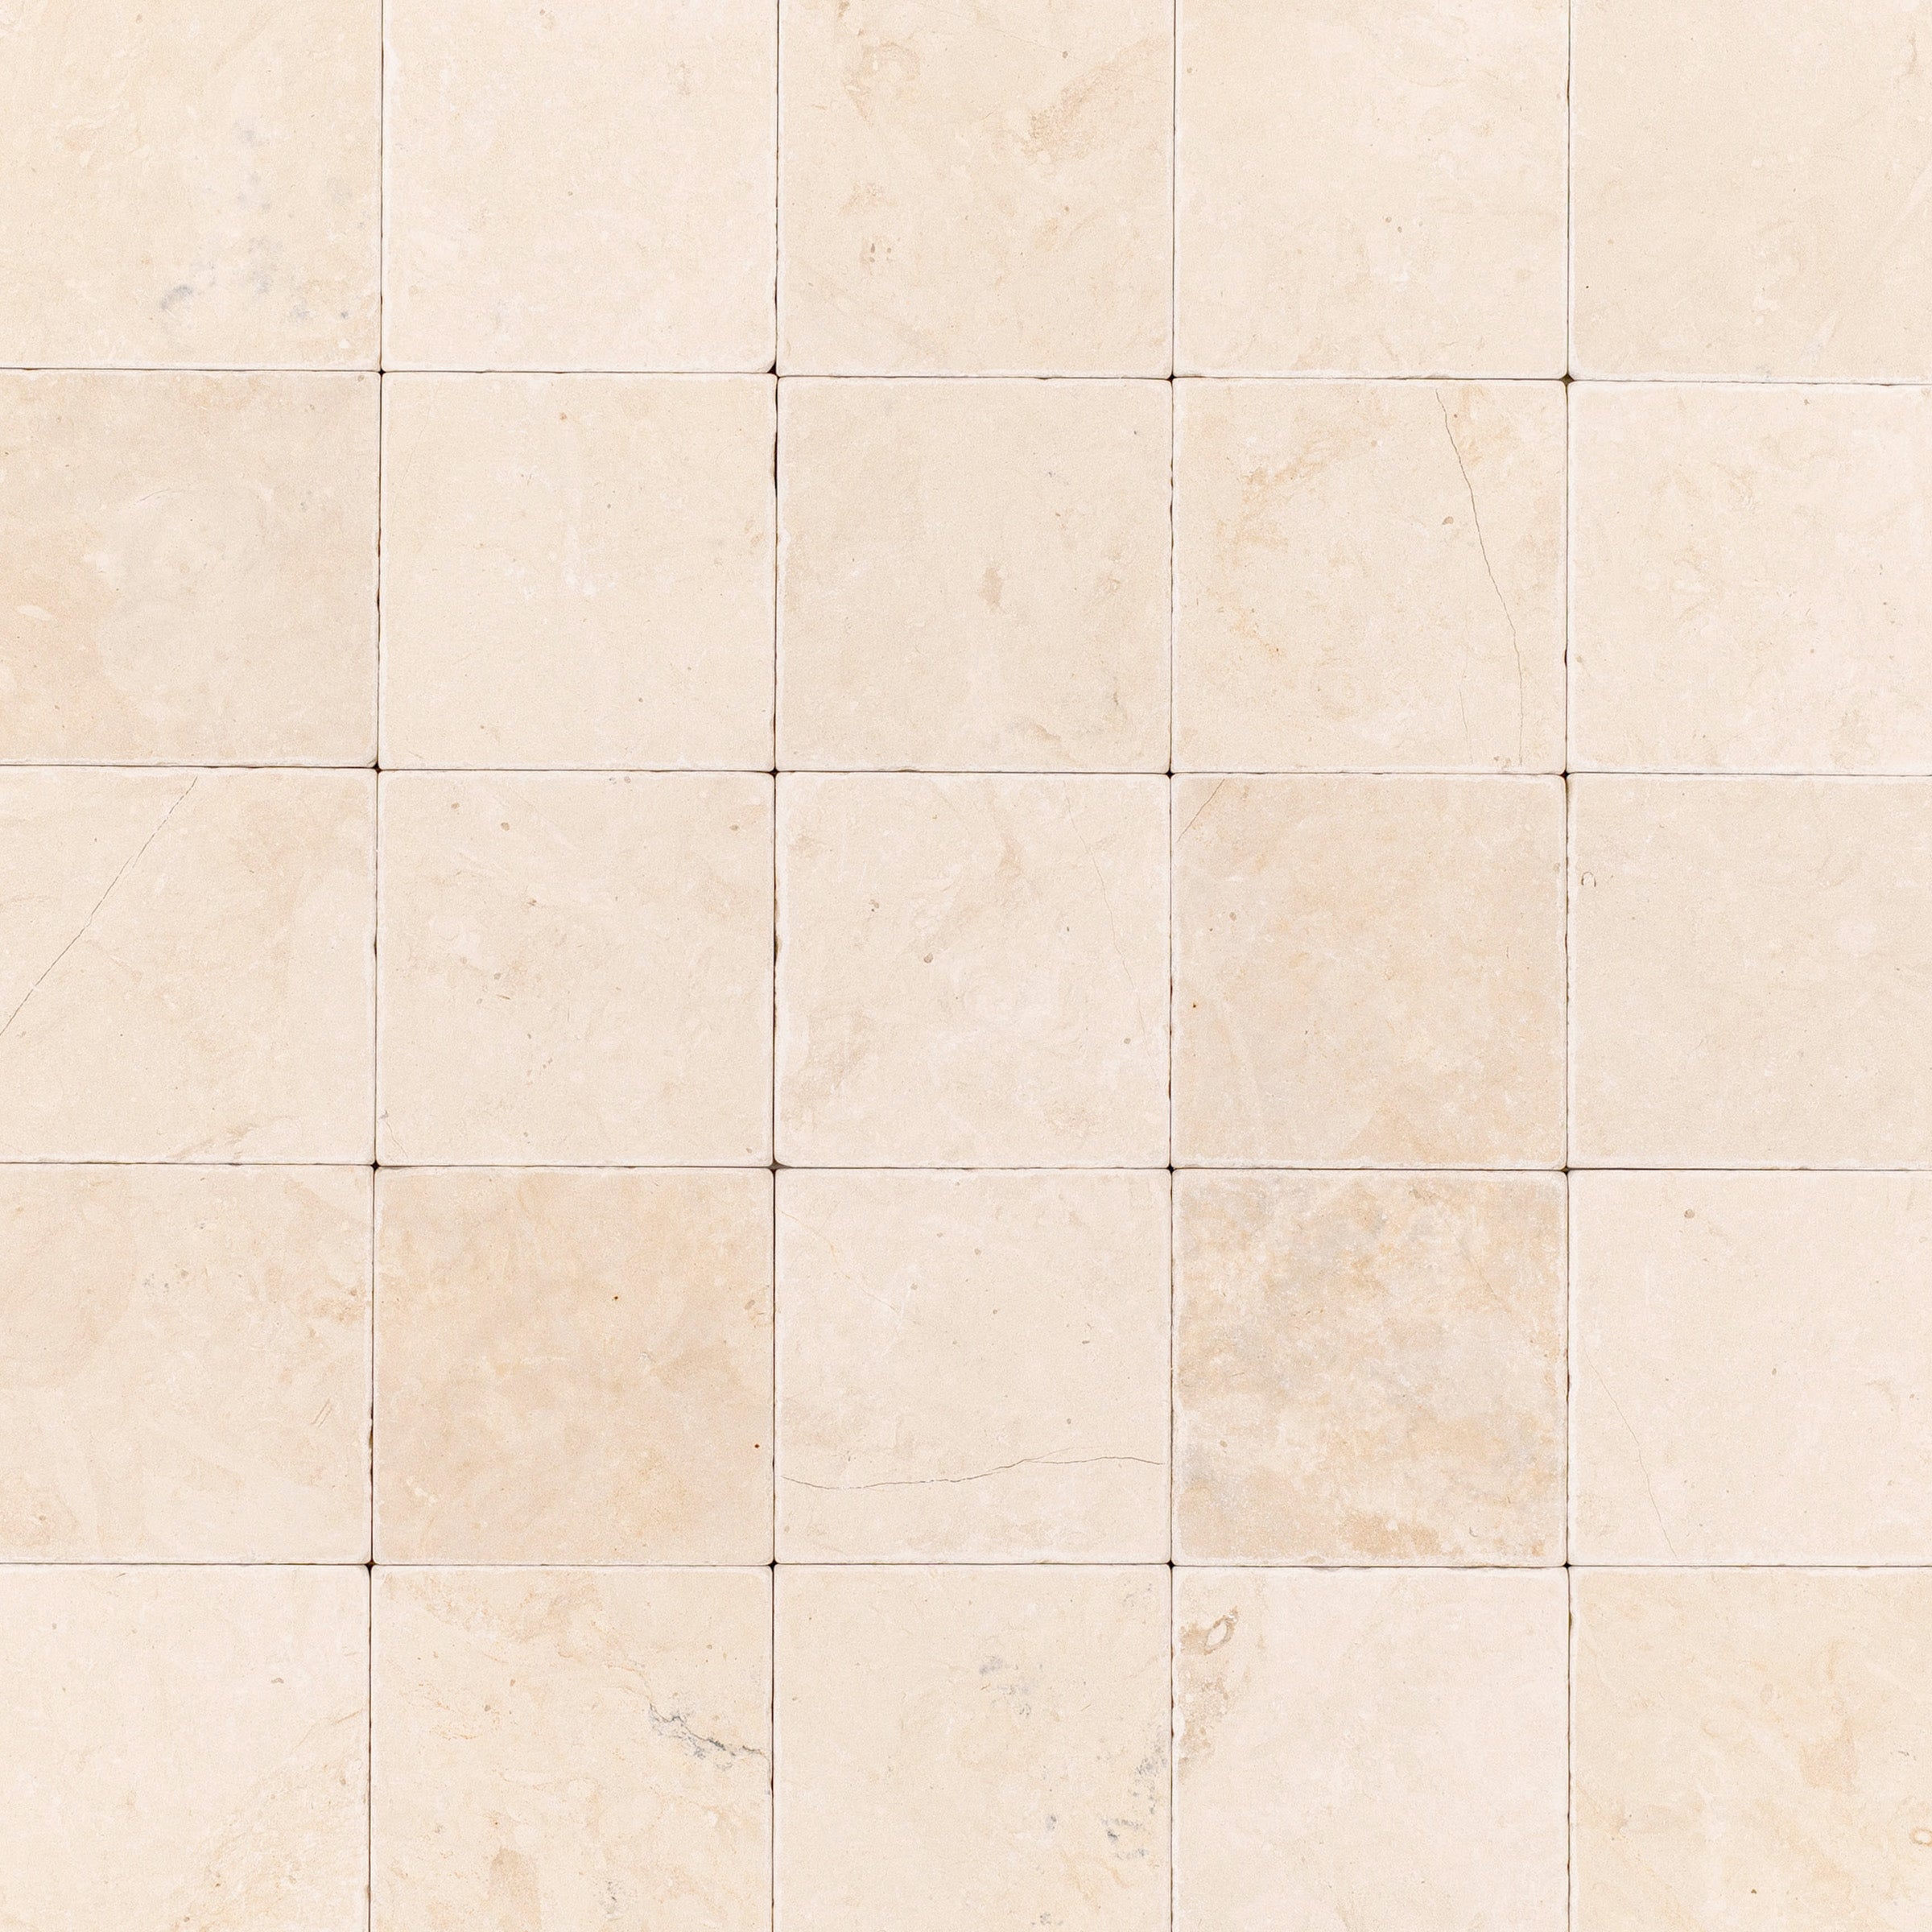
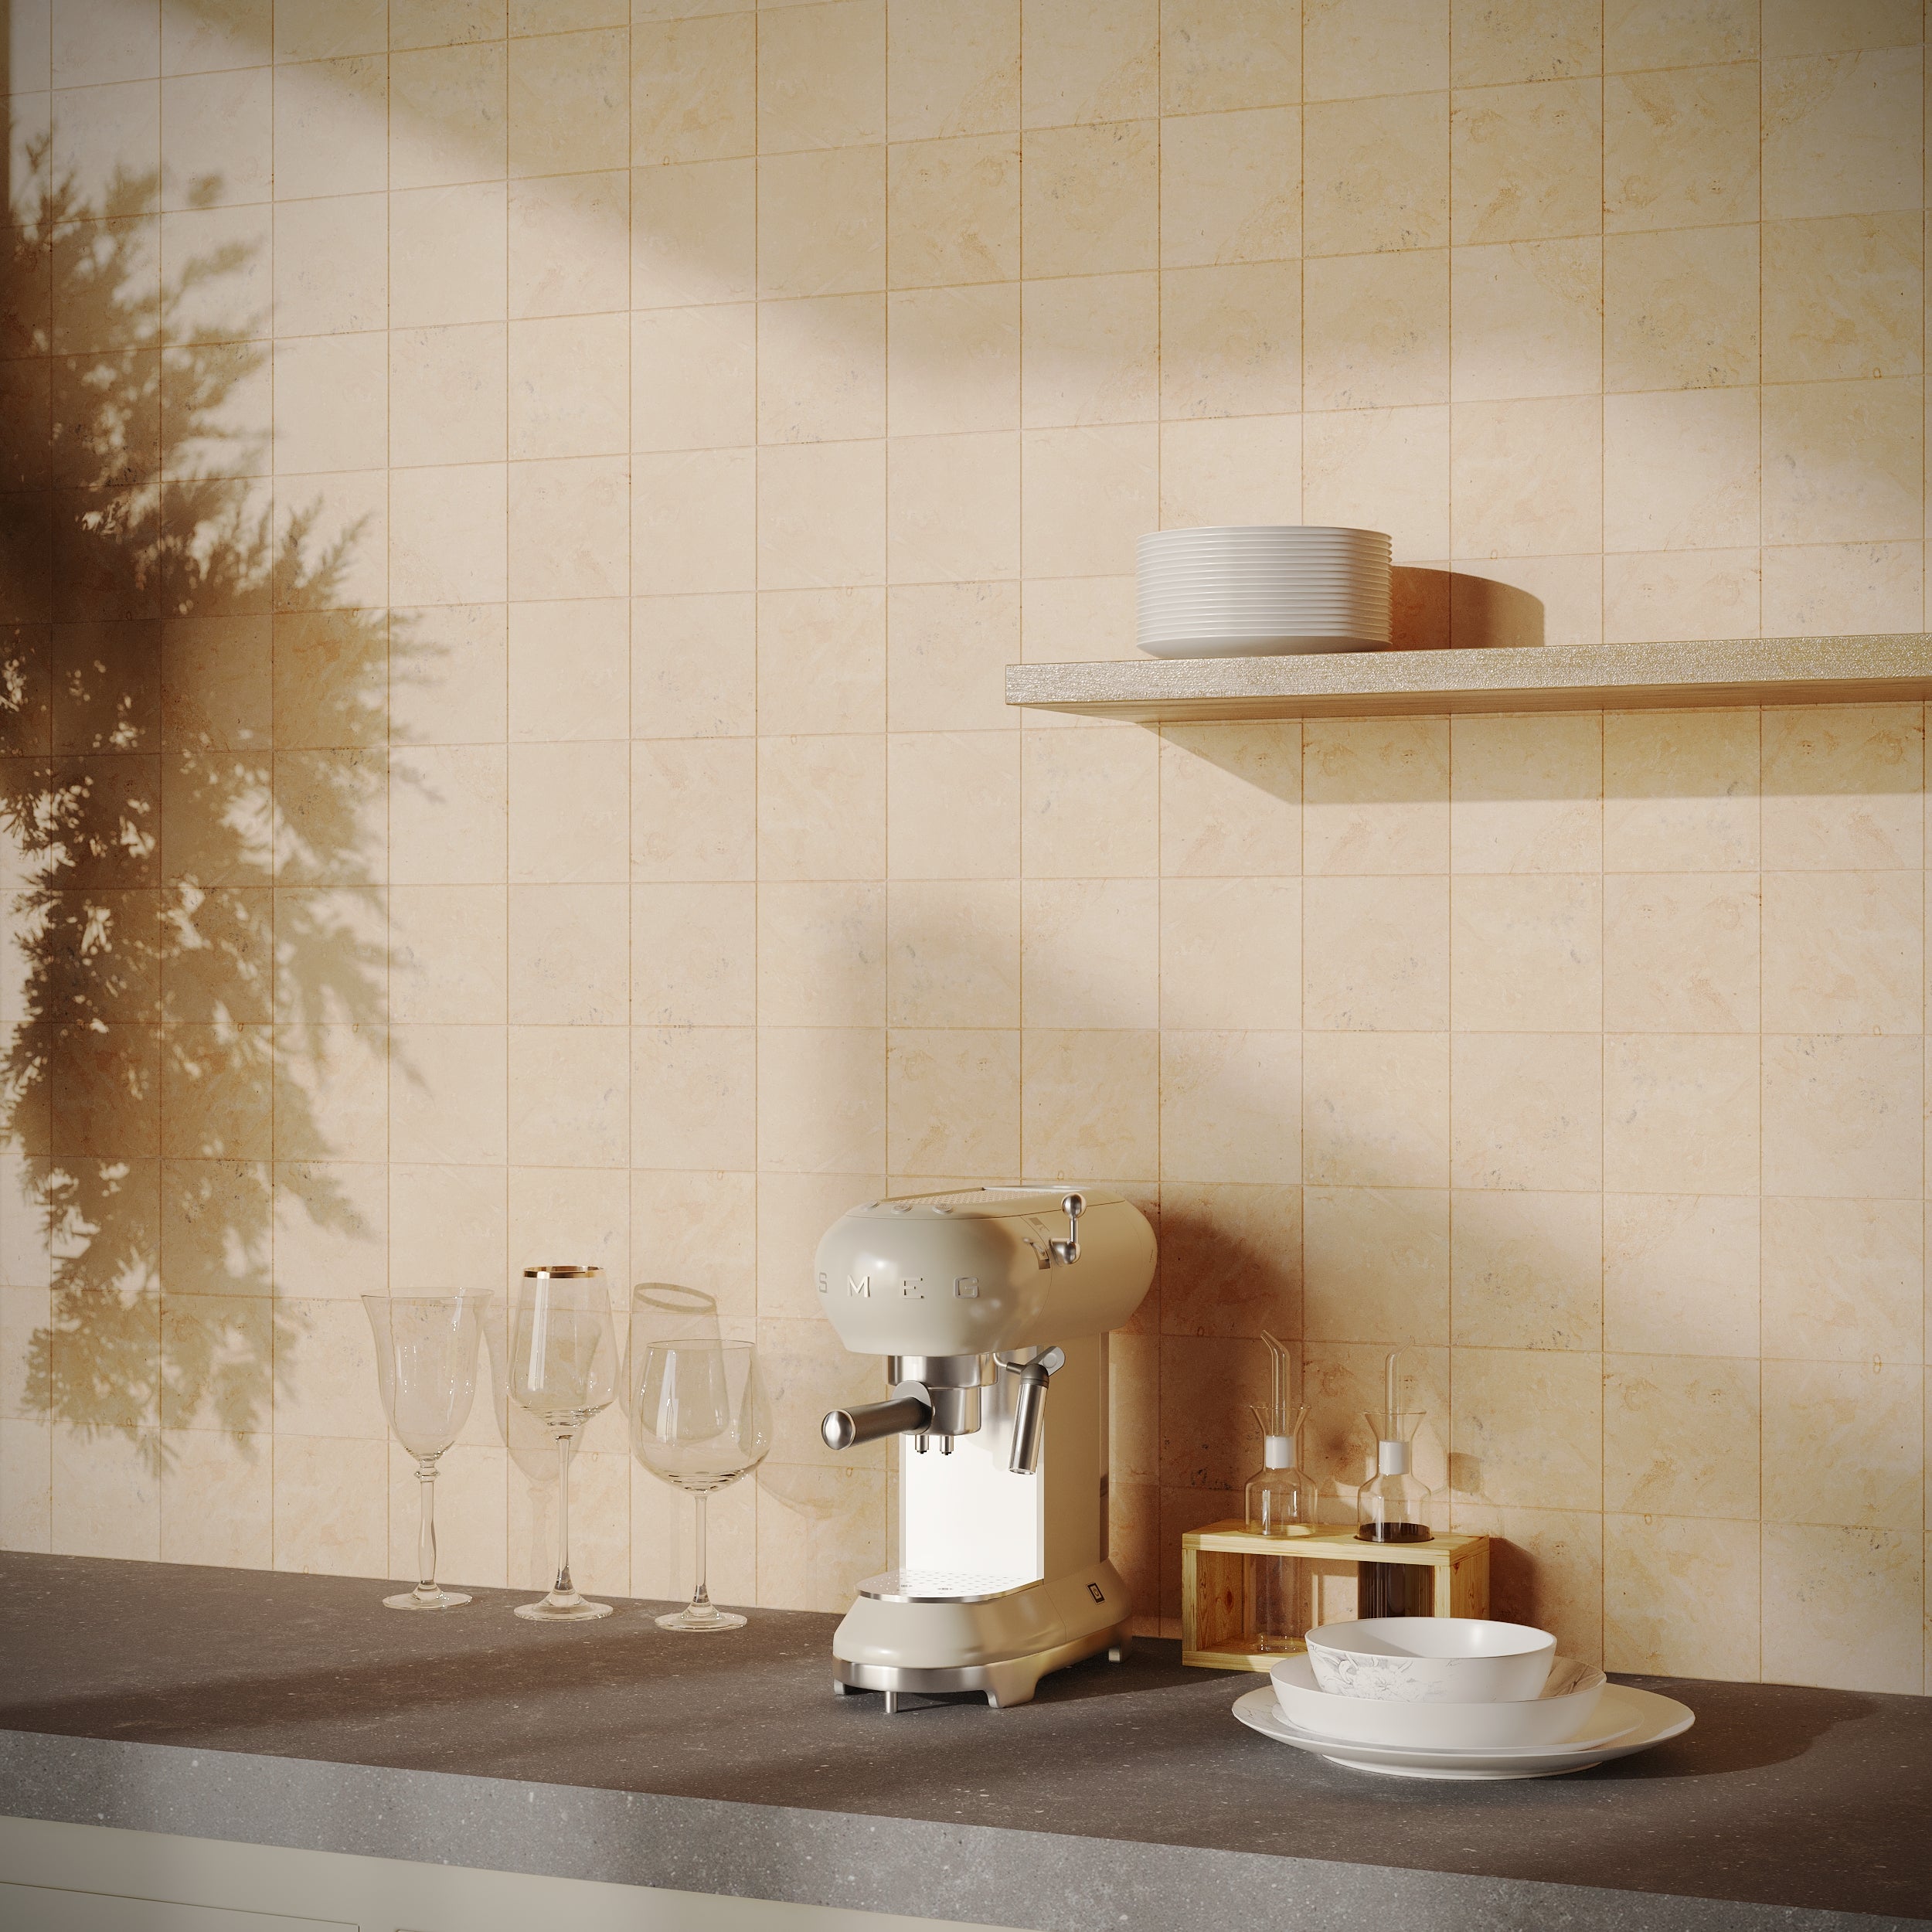
Desert Tea Tumbled Marble Tile


Natura Terracotta Look Matte Porcelain Tile


Crema Terracotta Look Matte Porcelain Tile


White & Ecru Octagon Zellige Mosaic
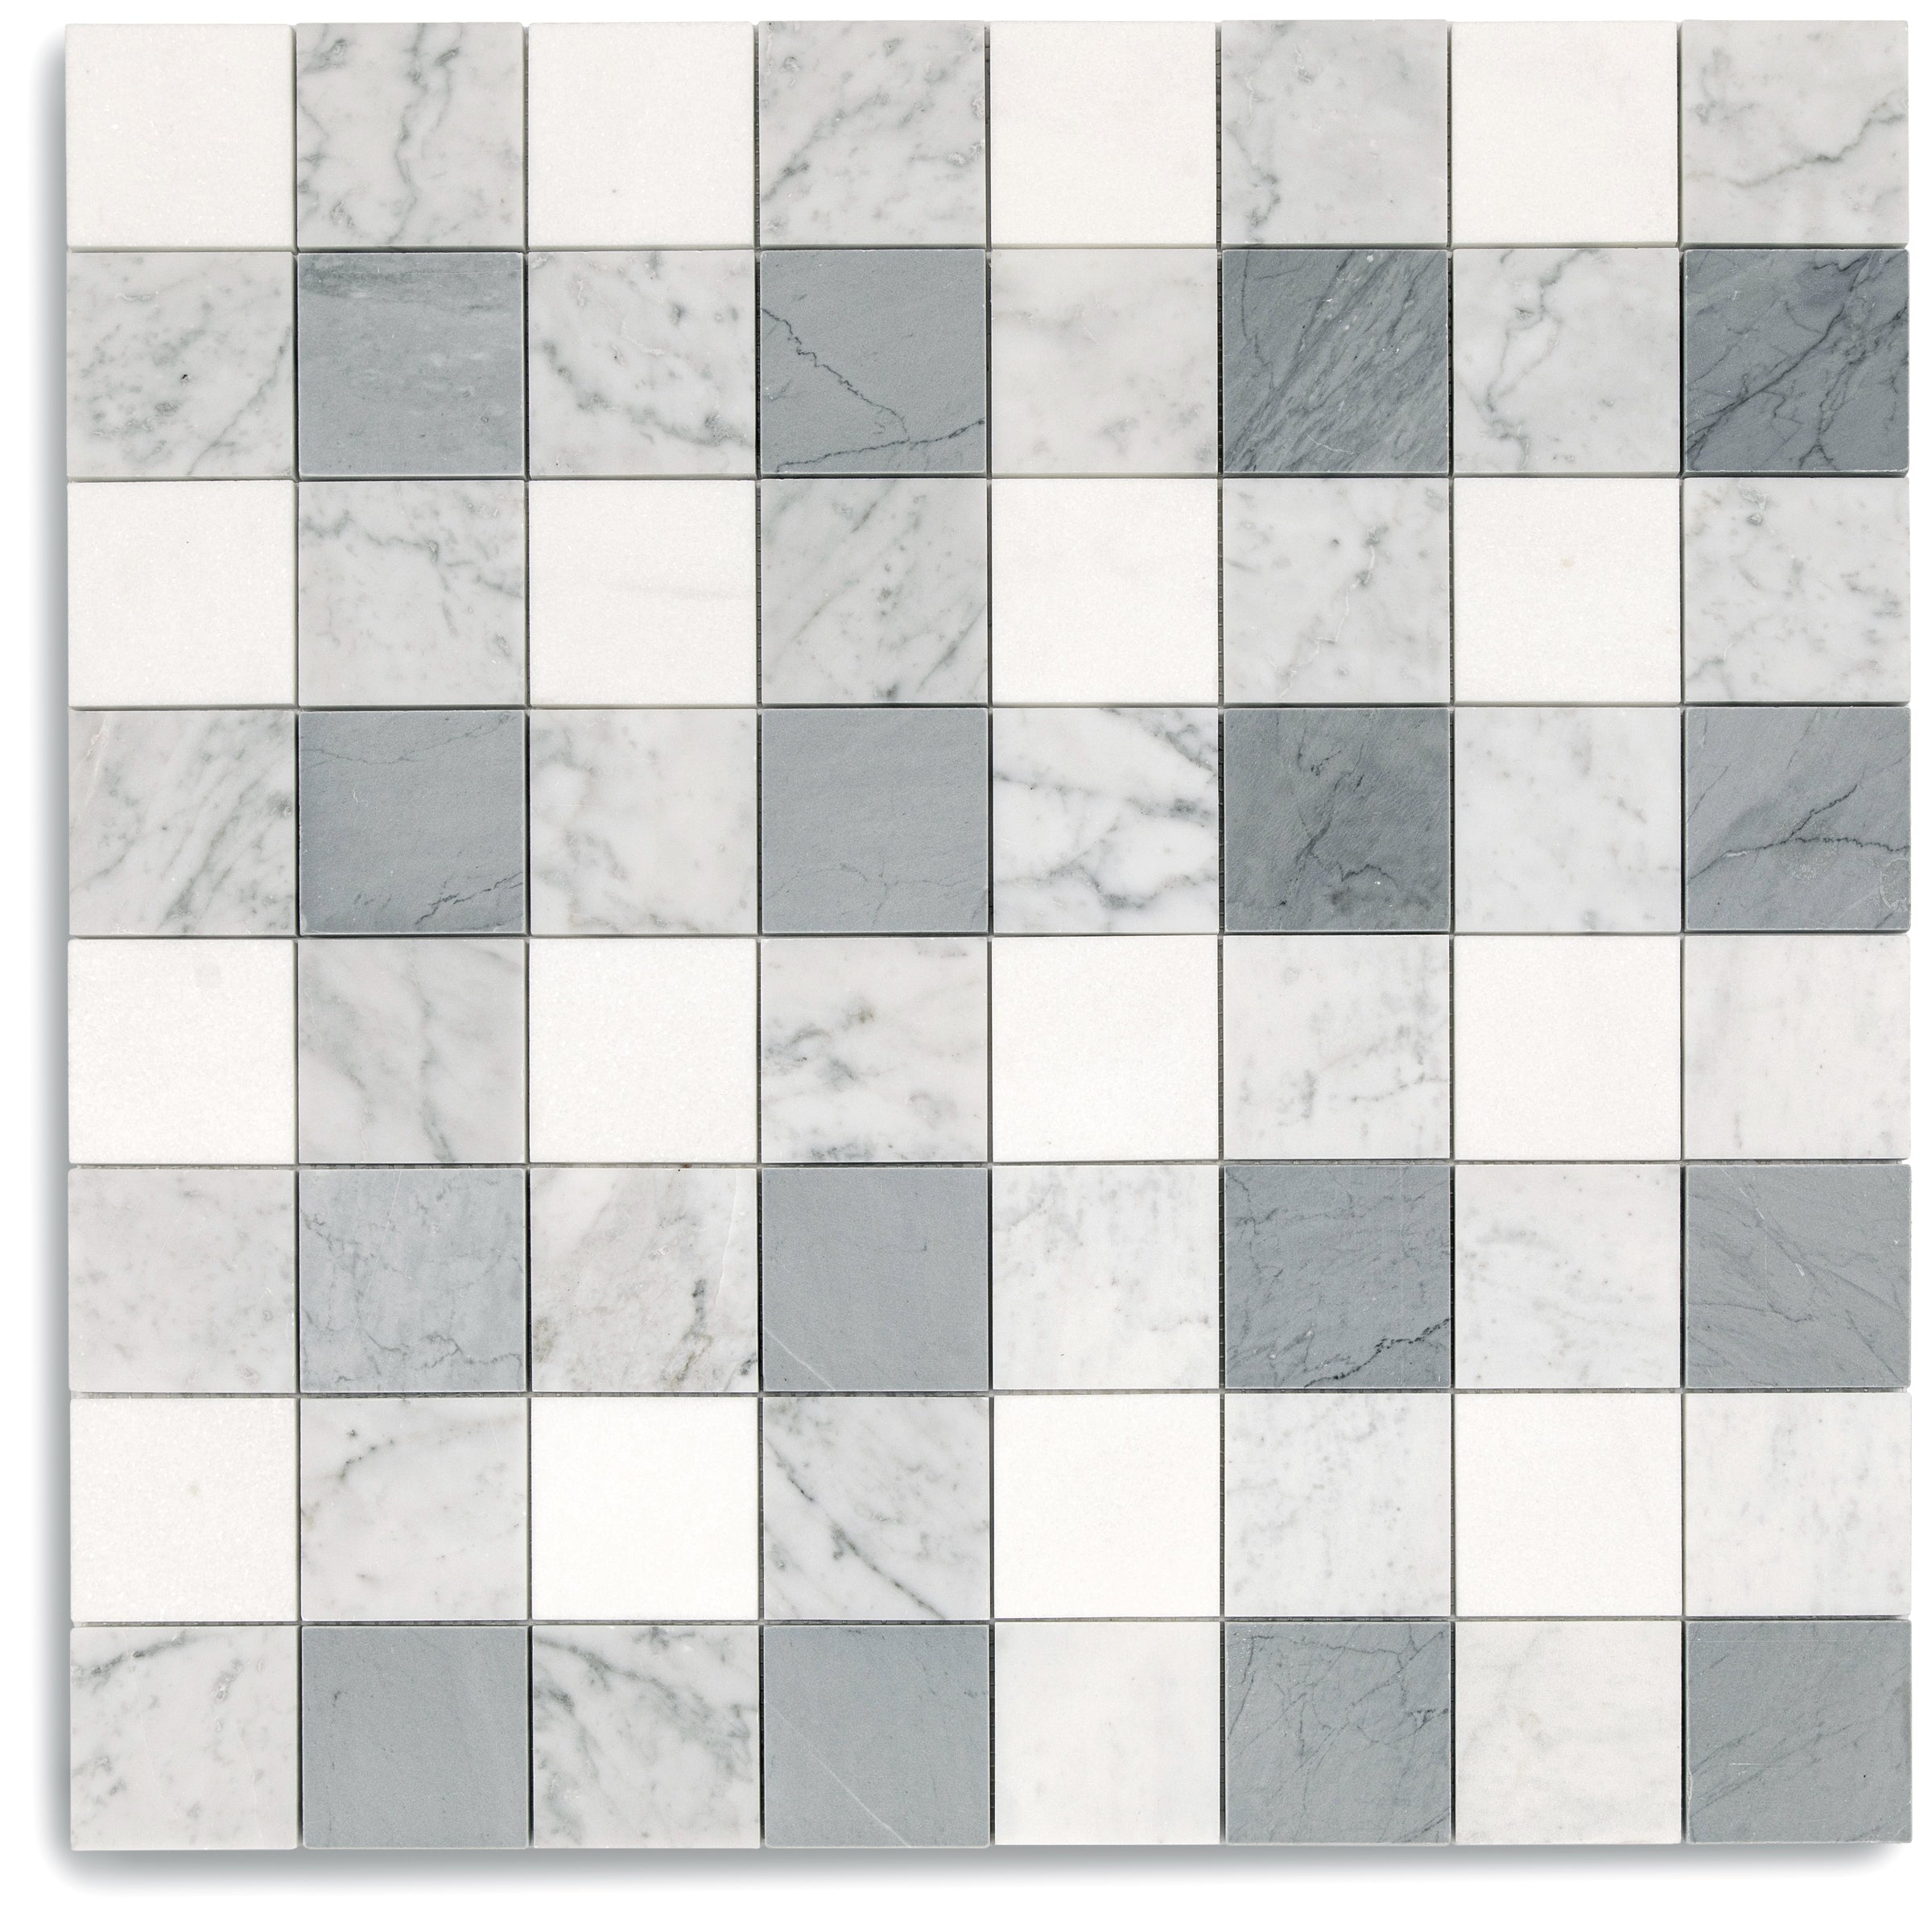
Thassos, Carrara, Bardiglio Gingham Marble Mosaic
Cotto Deco Terracotta Look Matte Porcelain Tile
White & Ecru 2x2 Zellige Checkerboard Mosaic


Cotto Terracotta Look Matte Porcelain Tile


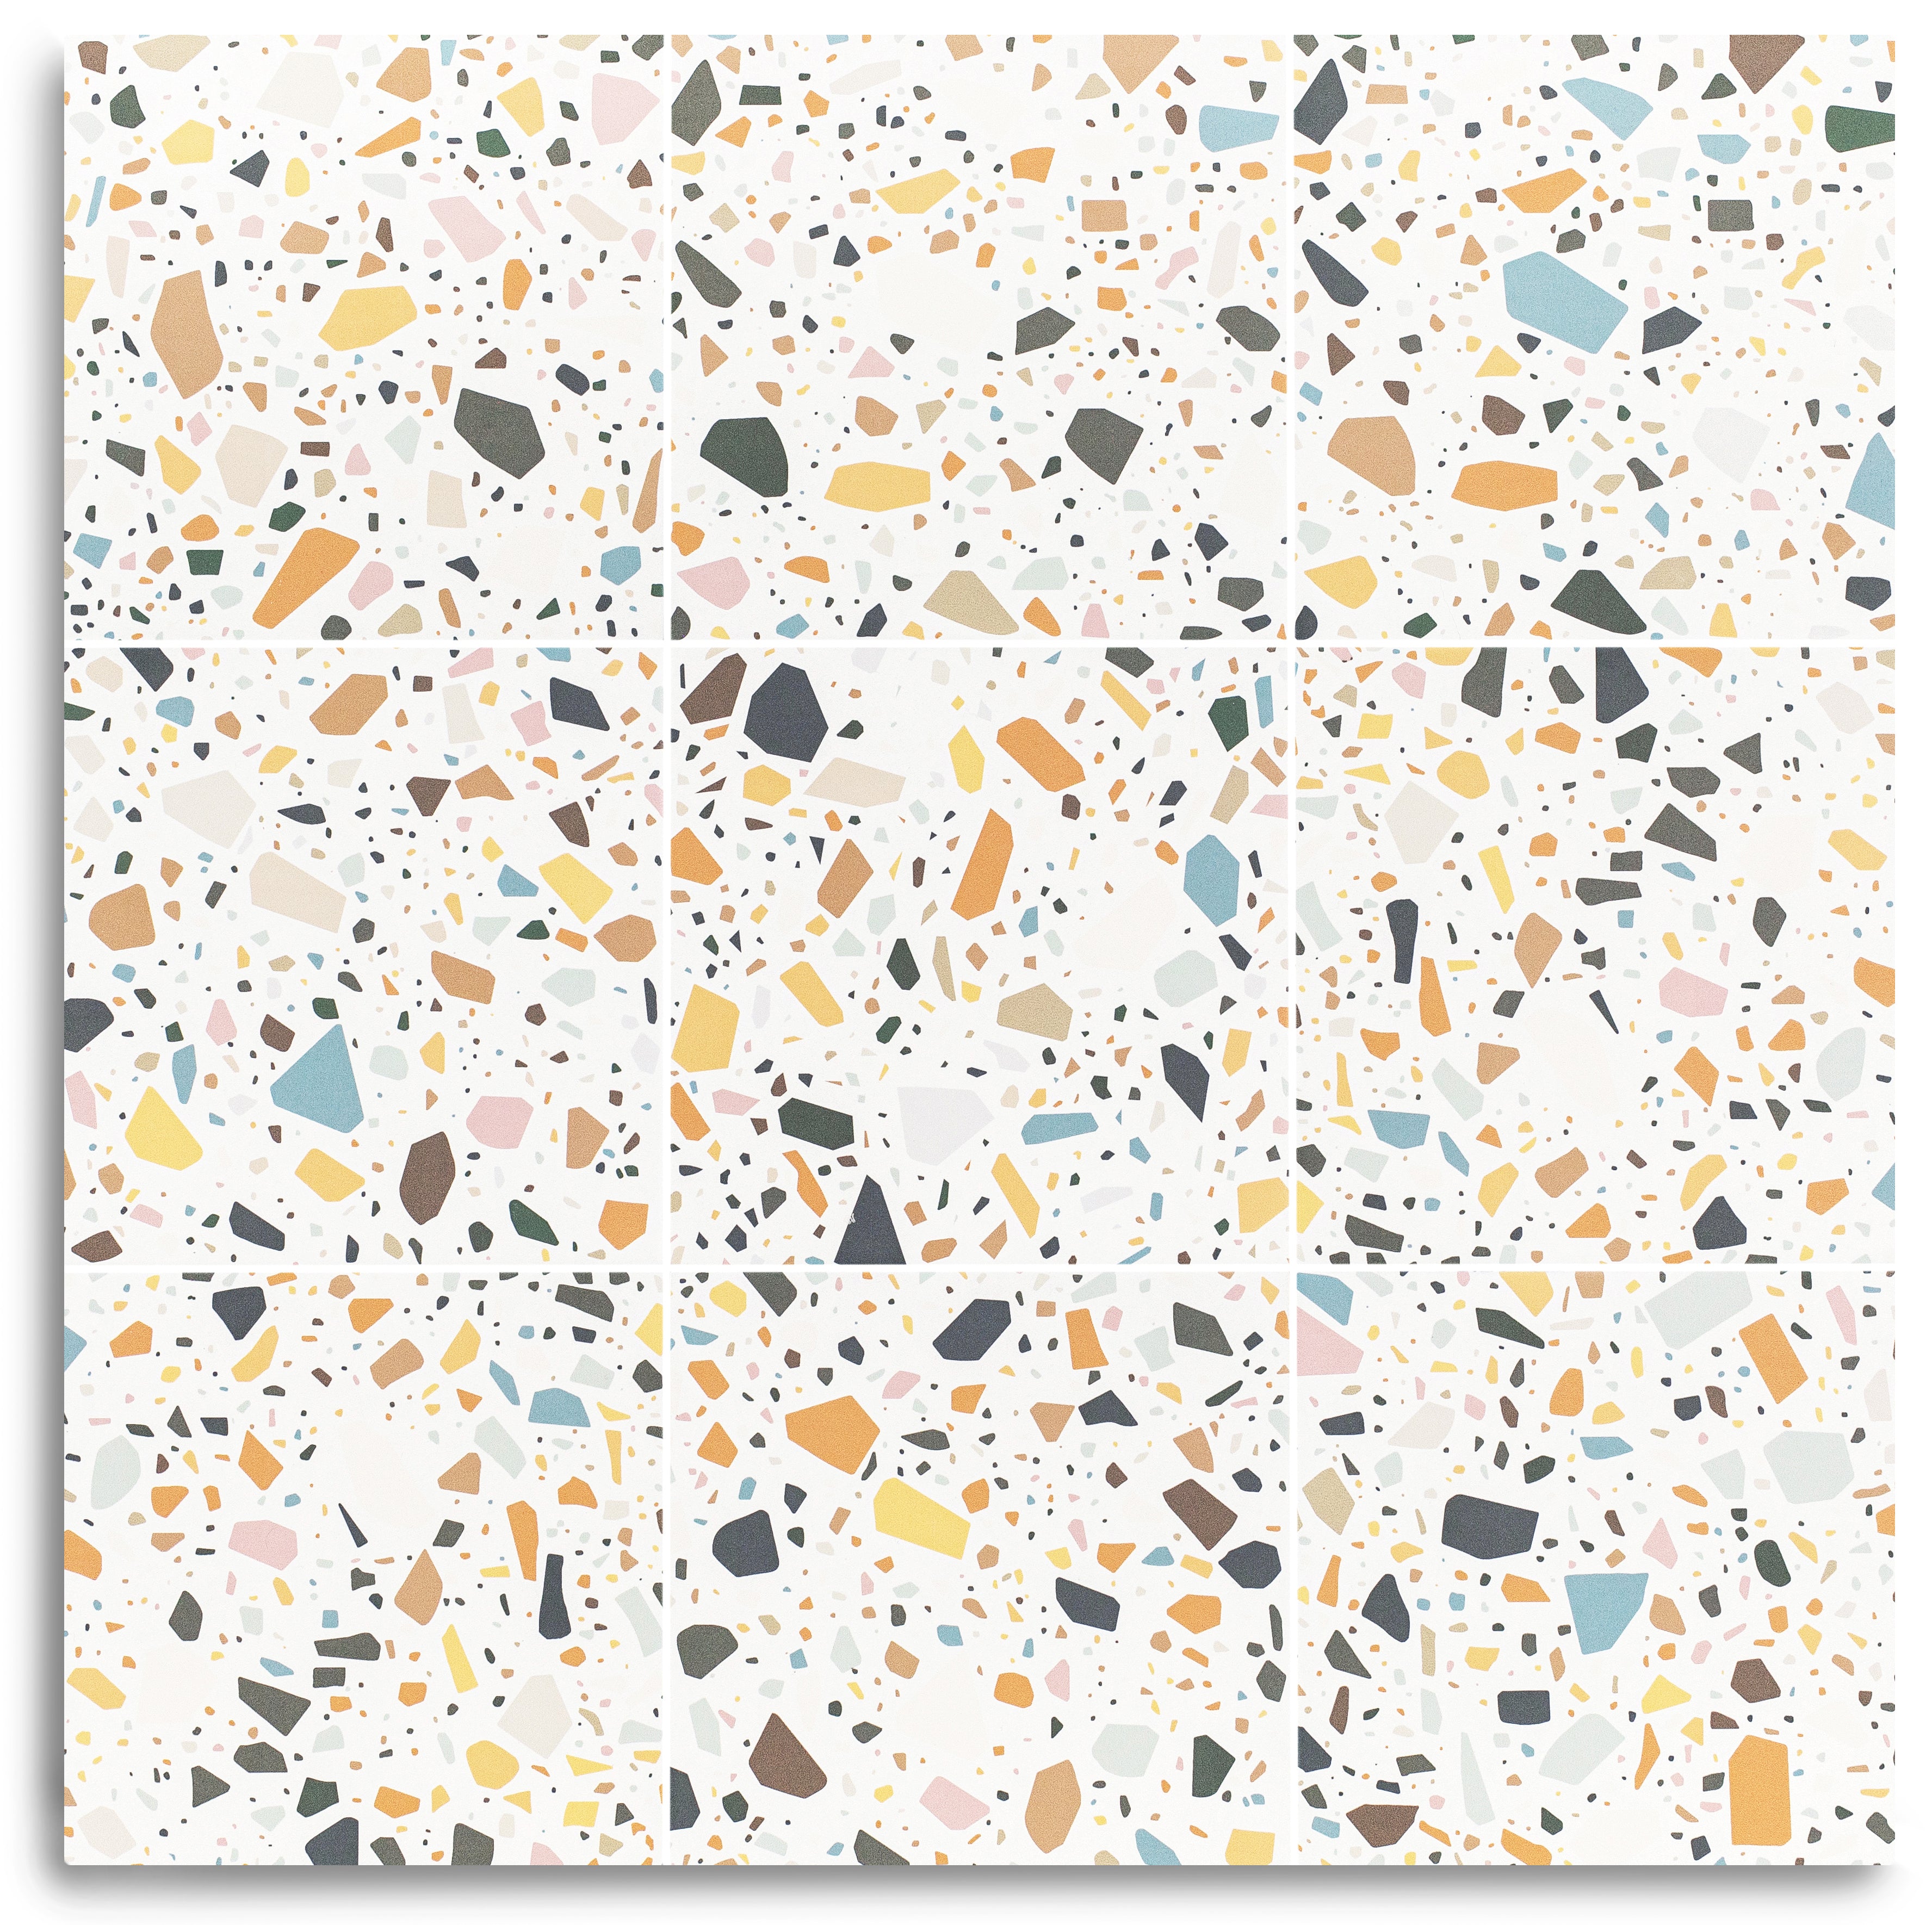
Murano Honed Italian Terrazzo Tile
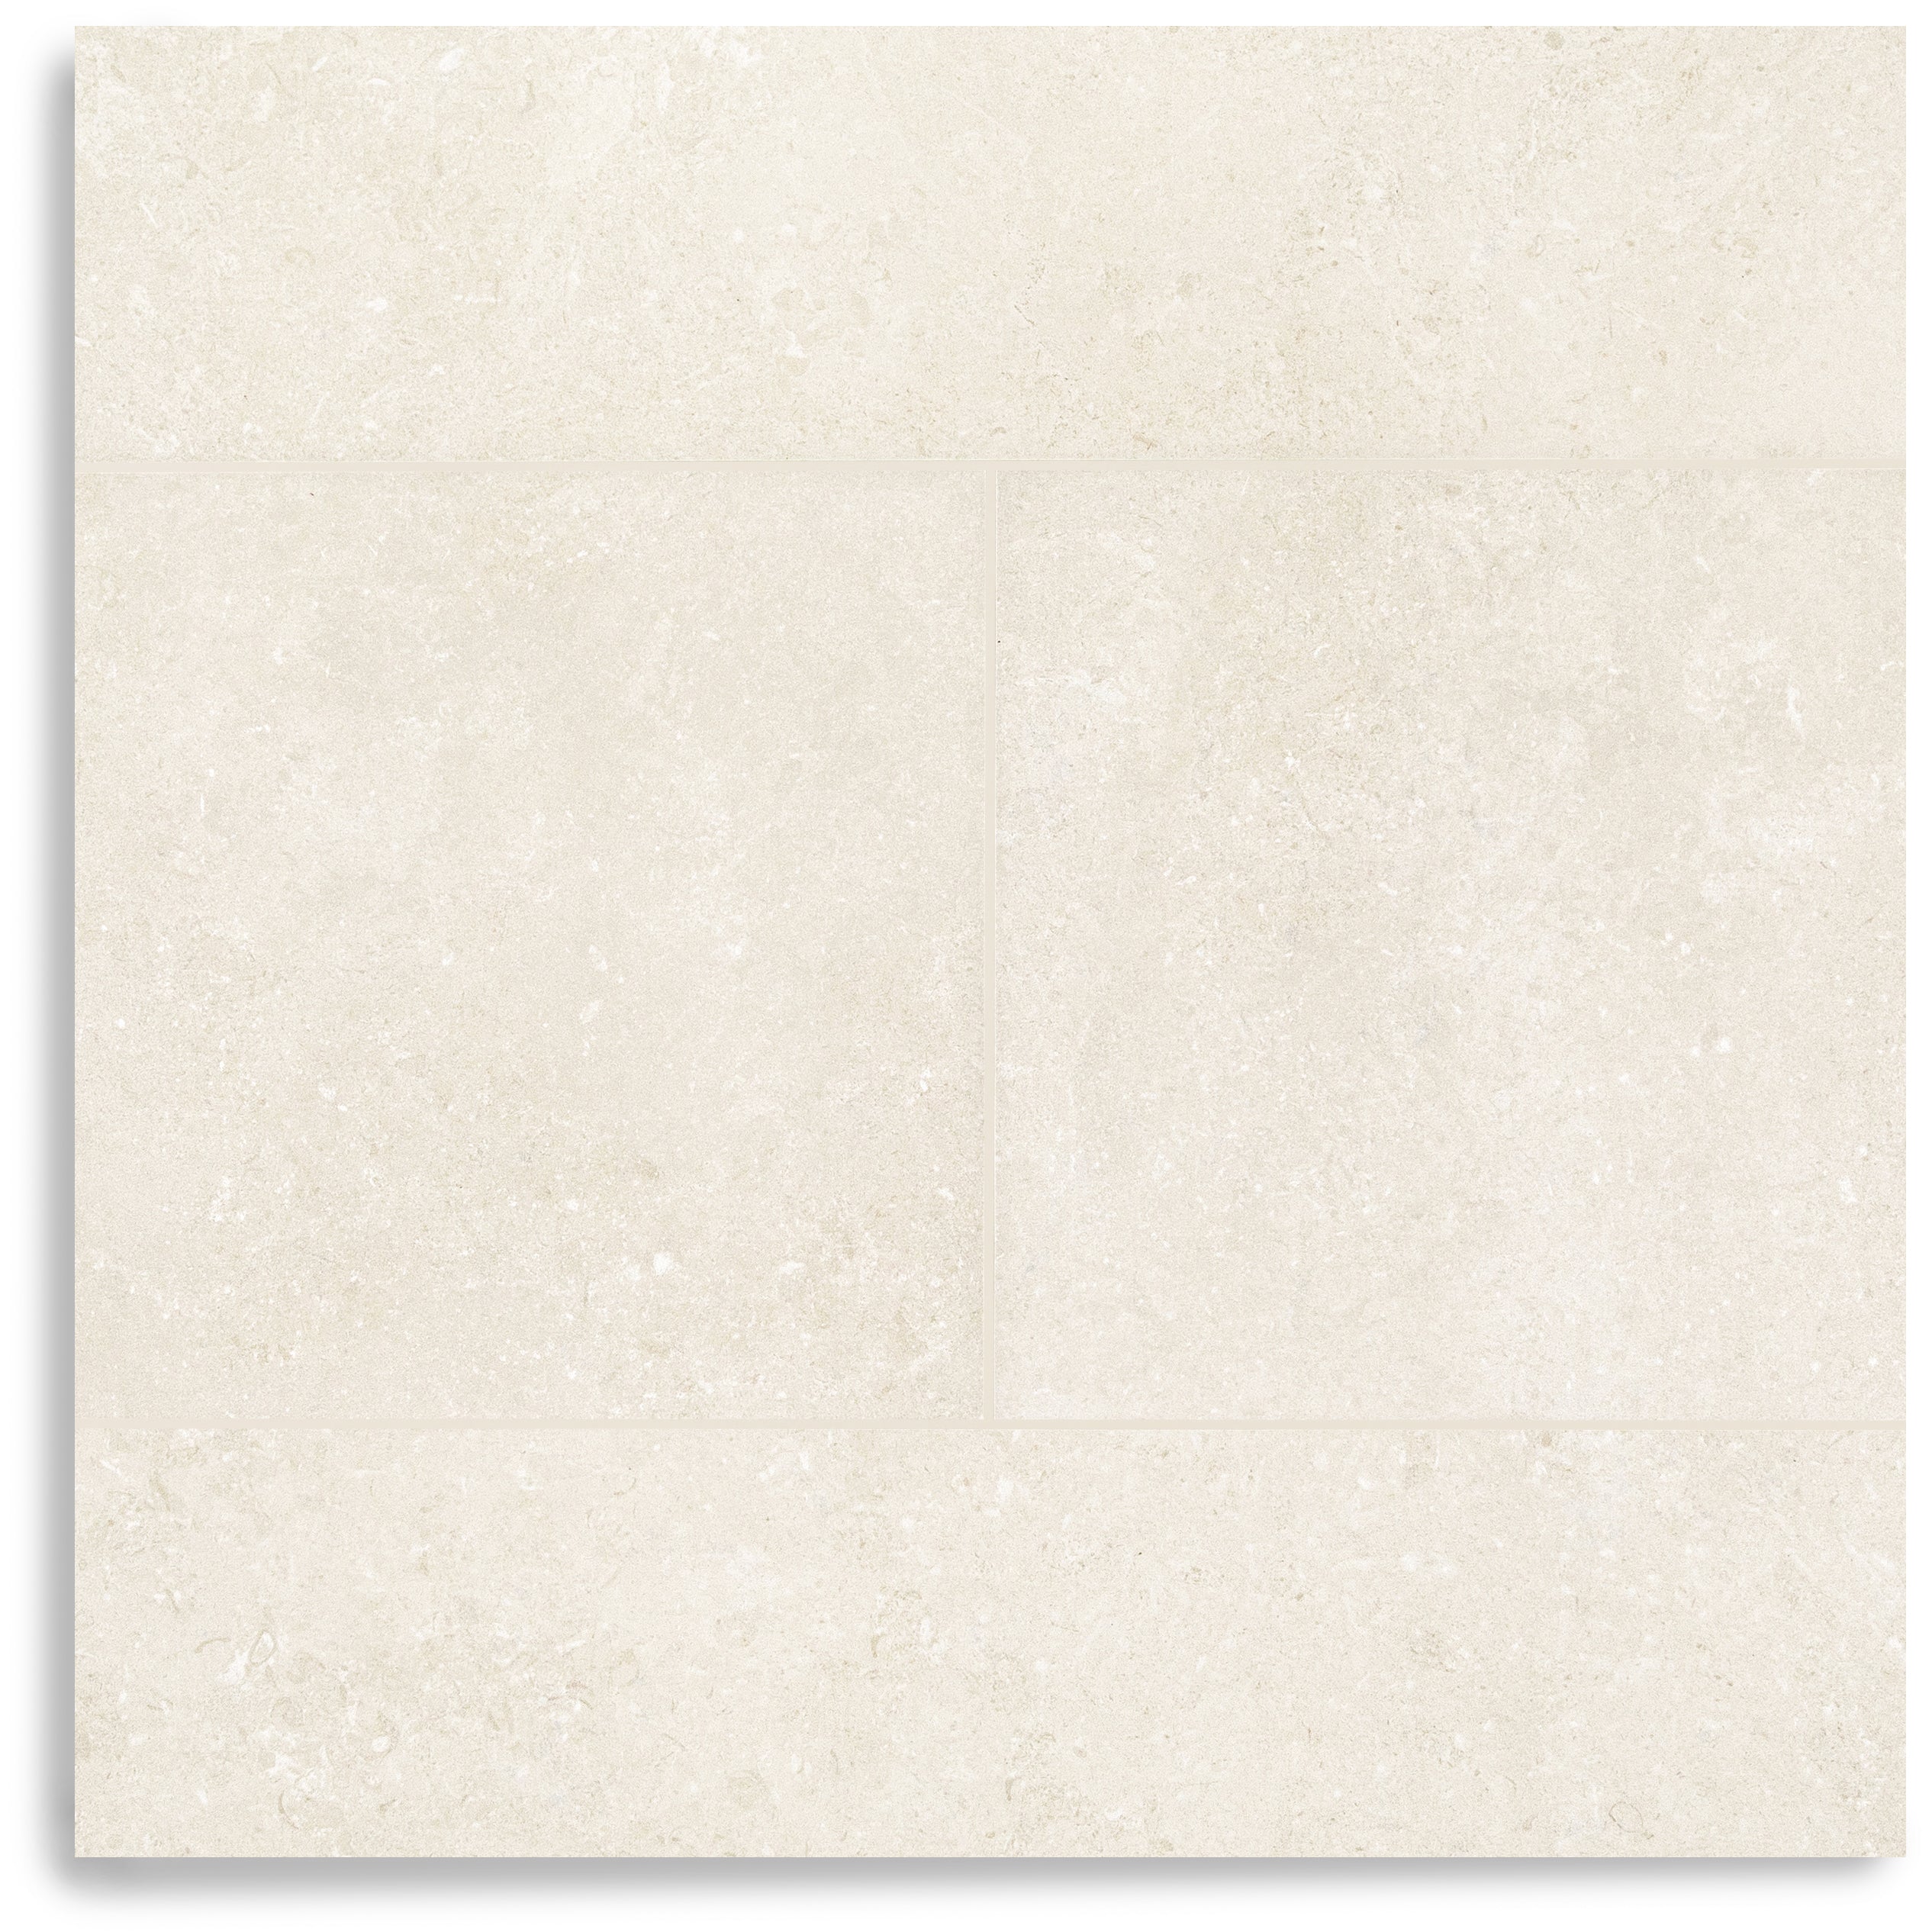
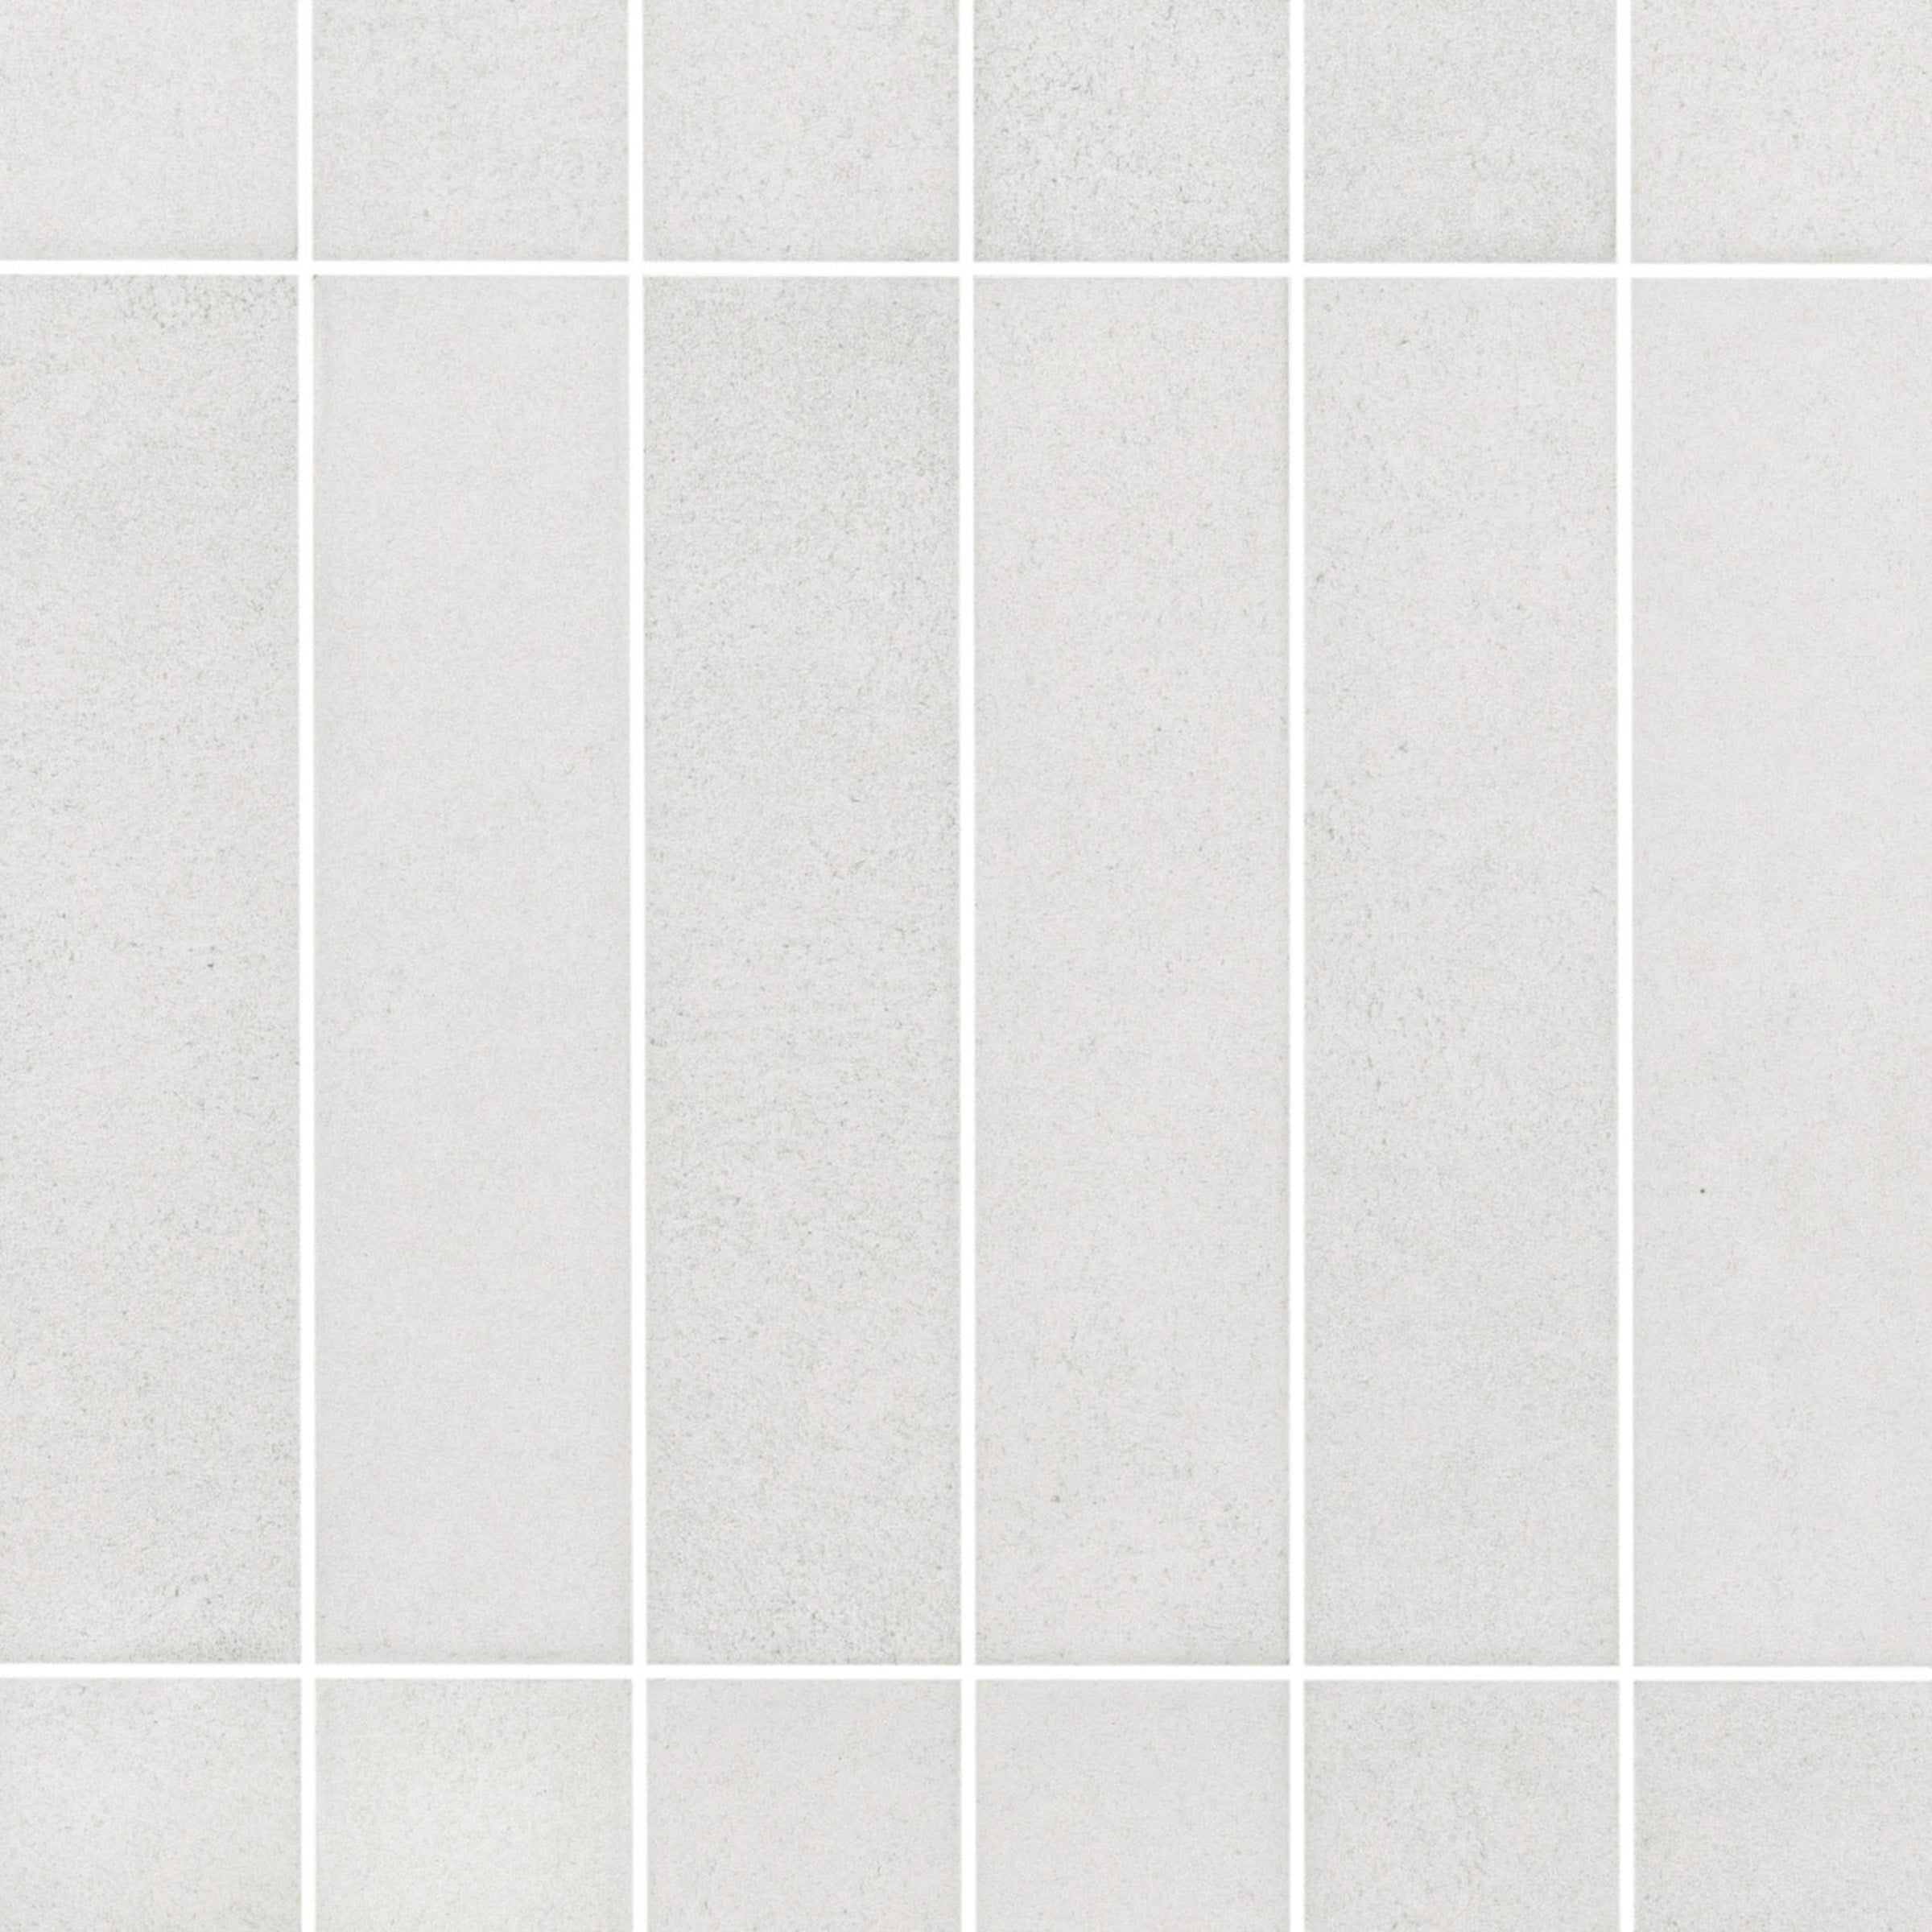
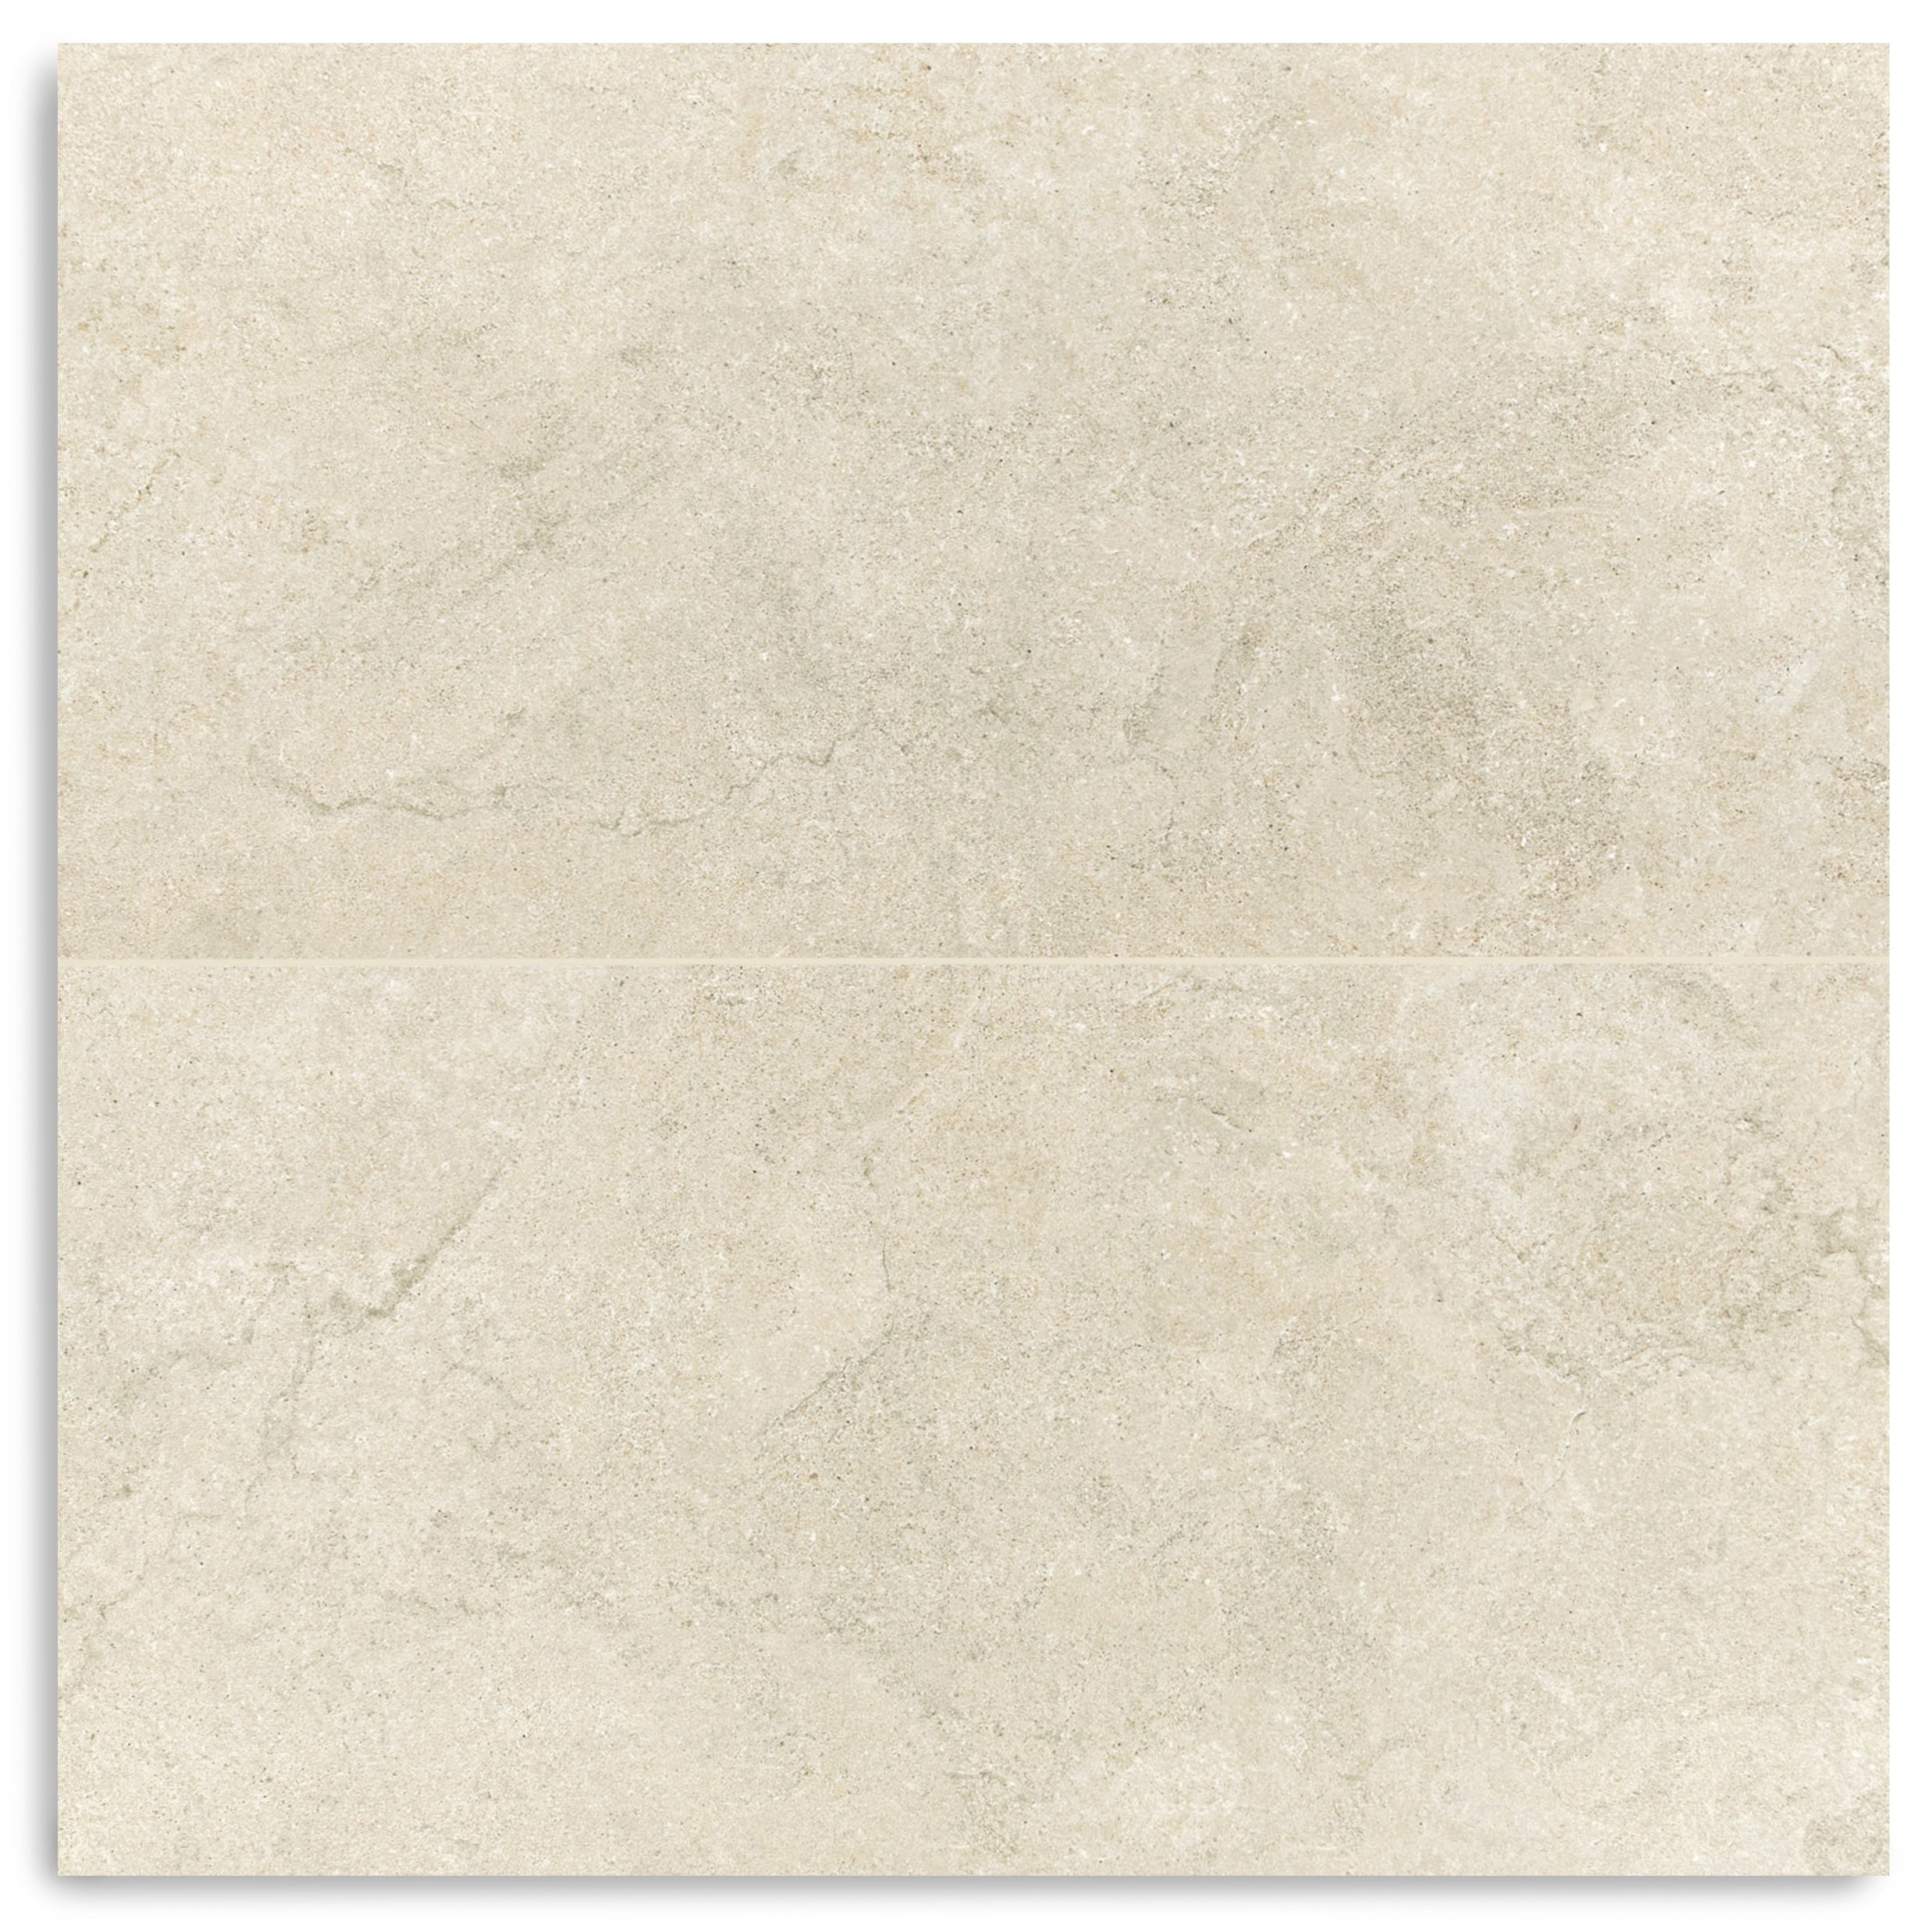
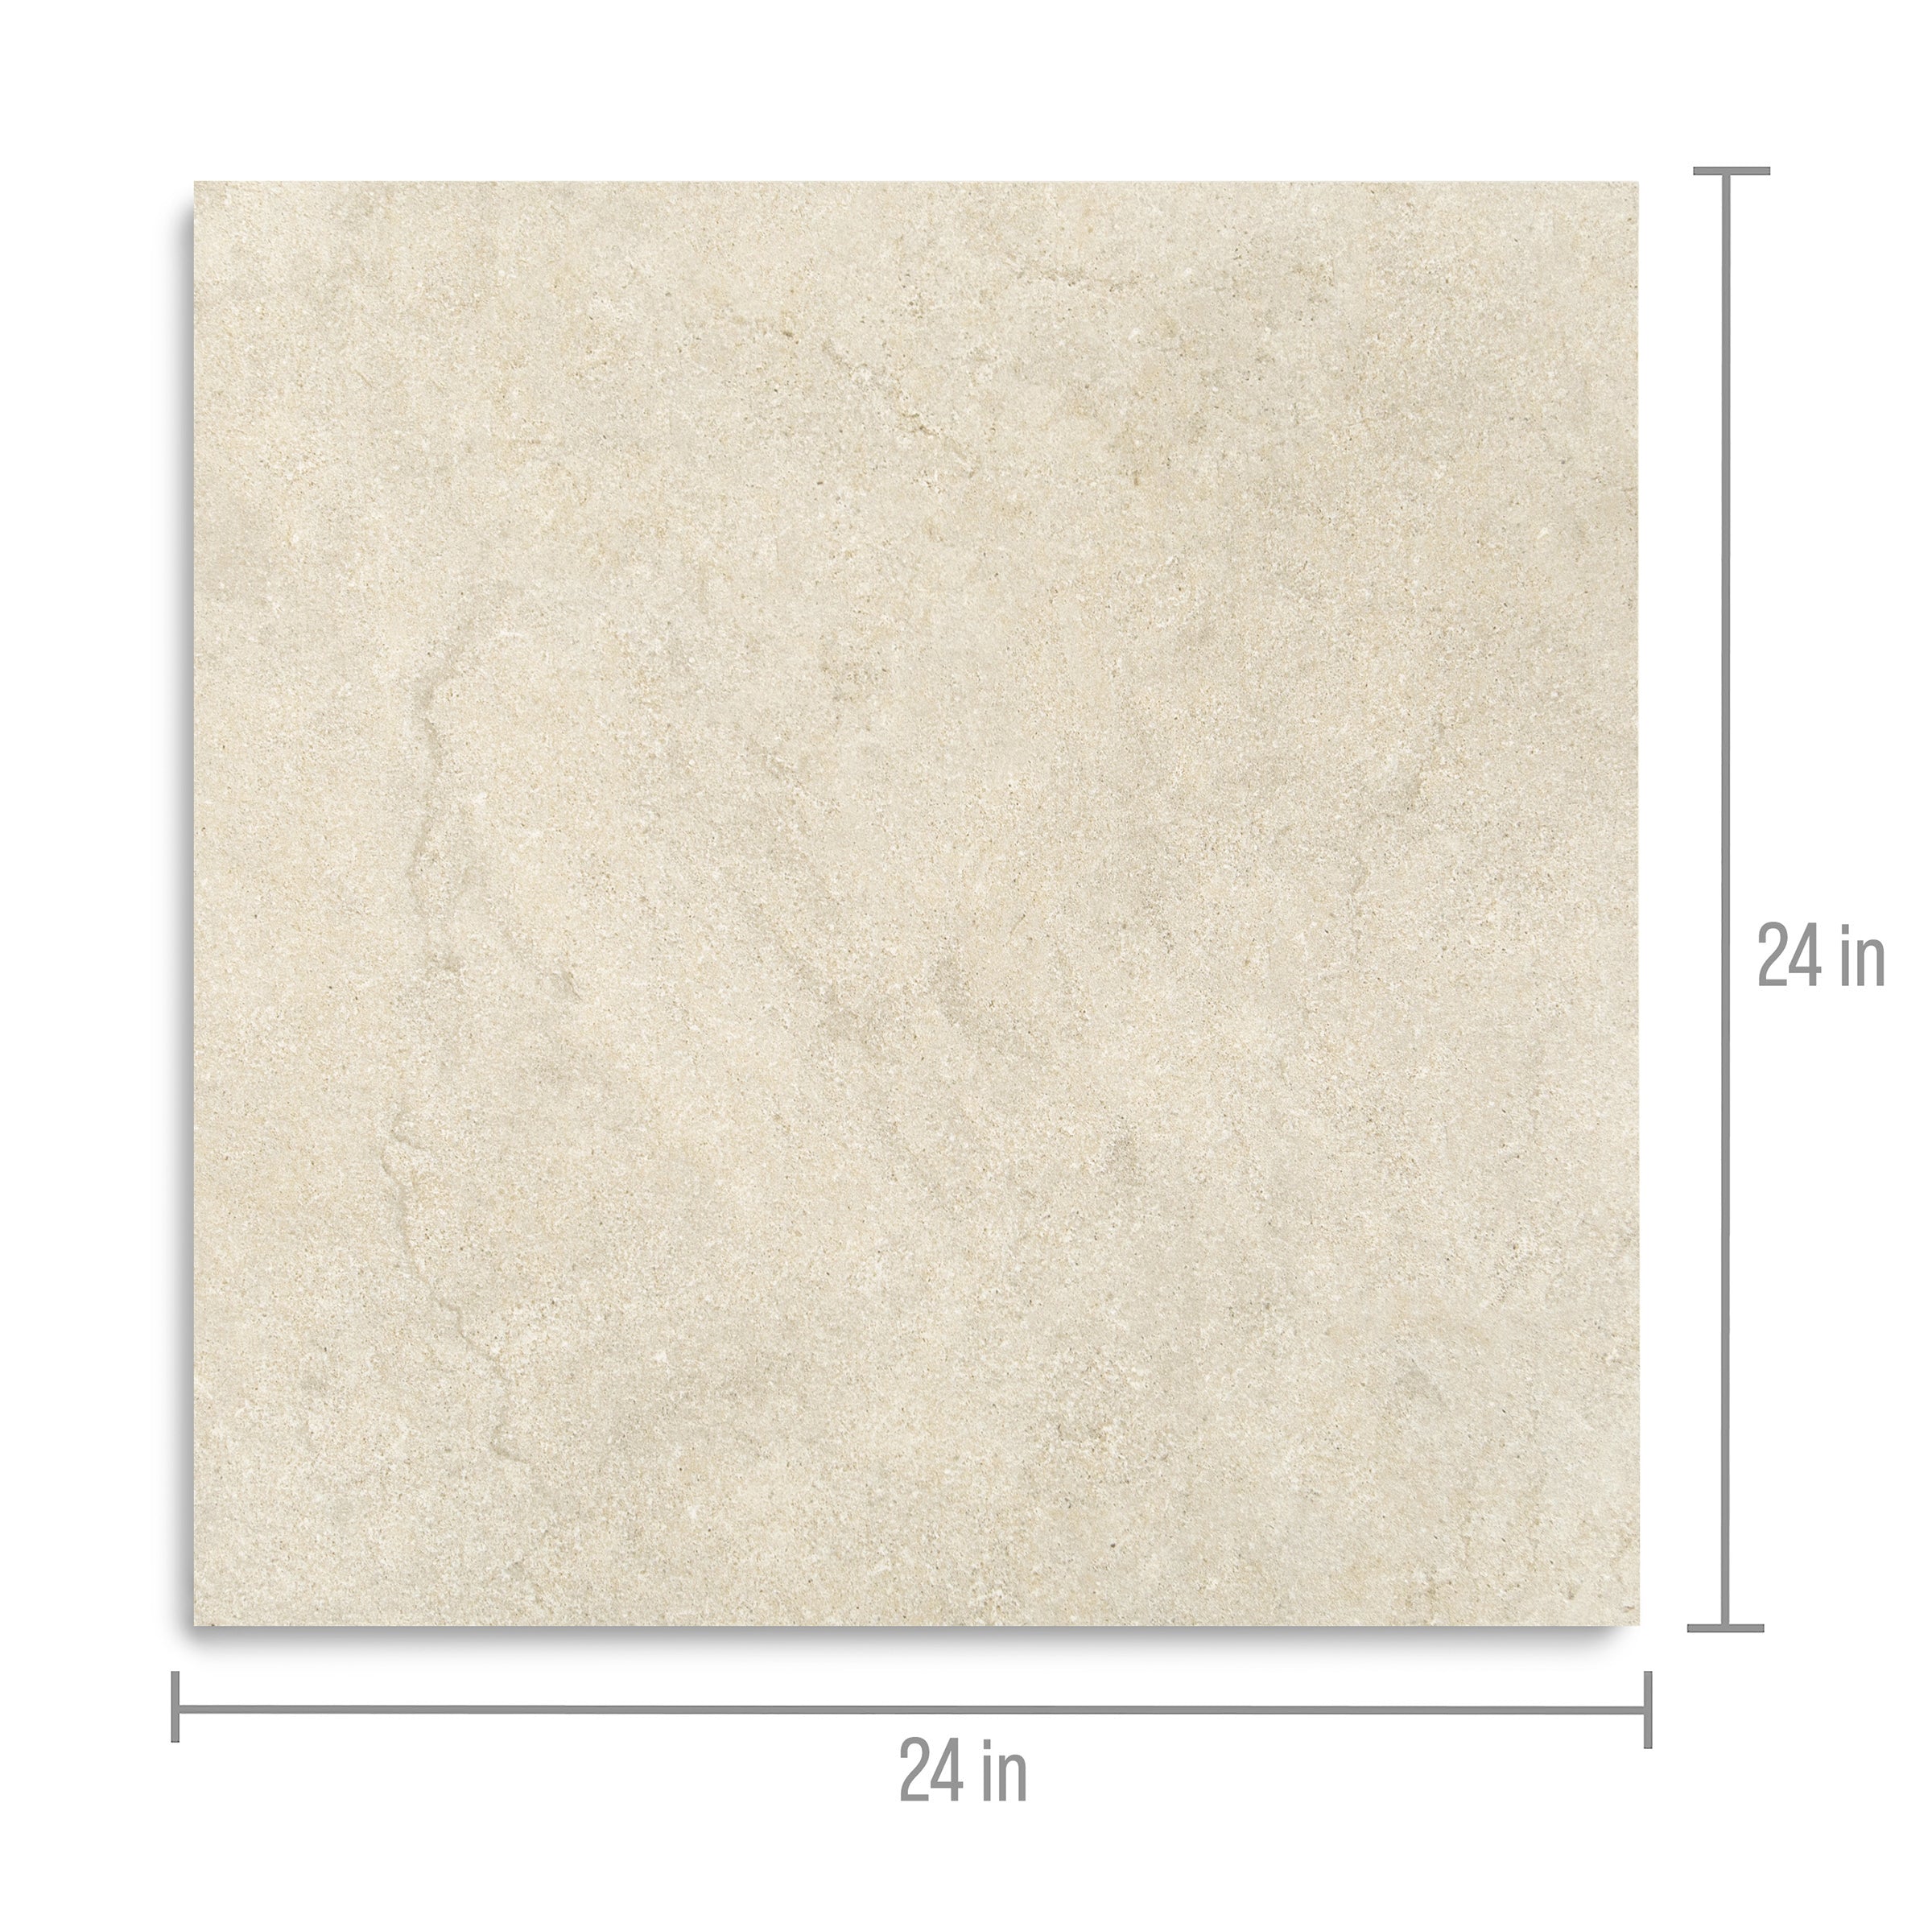
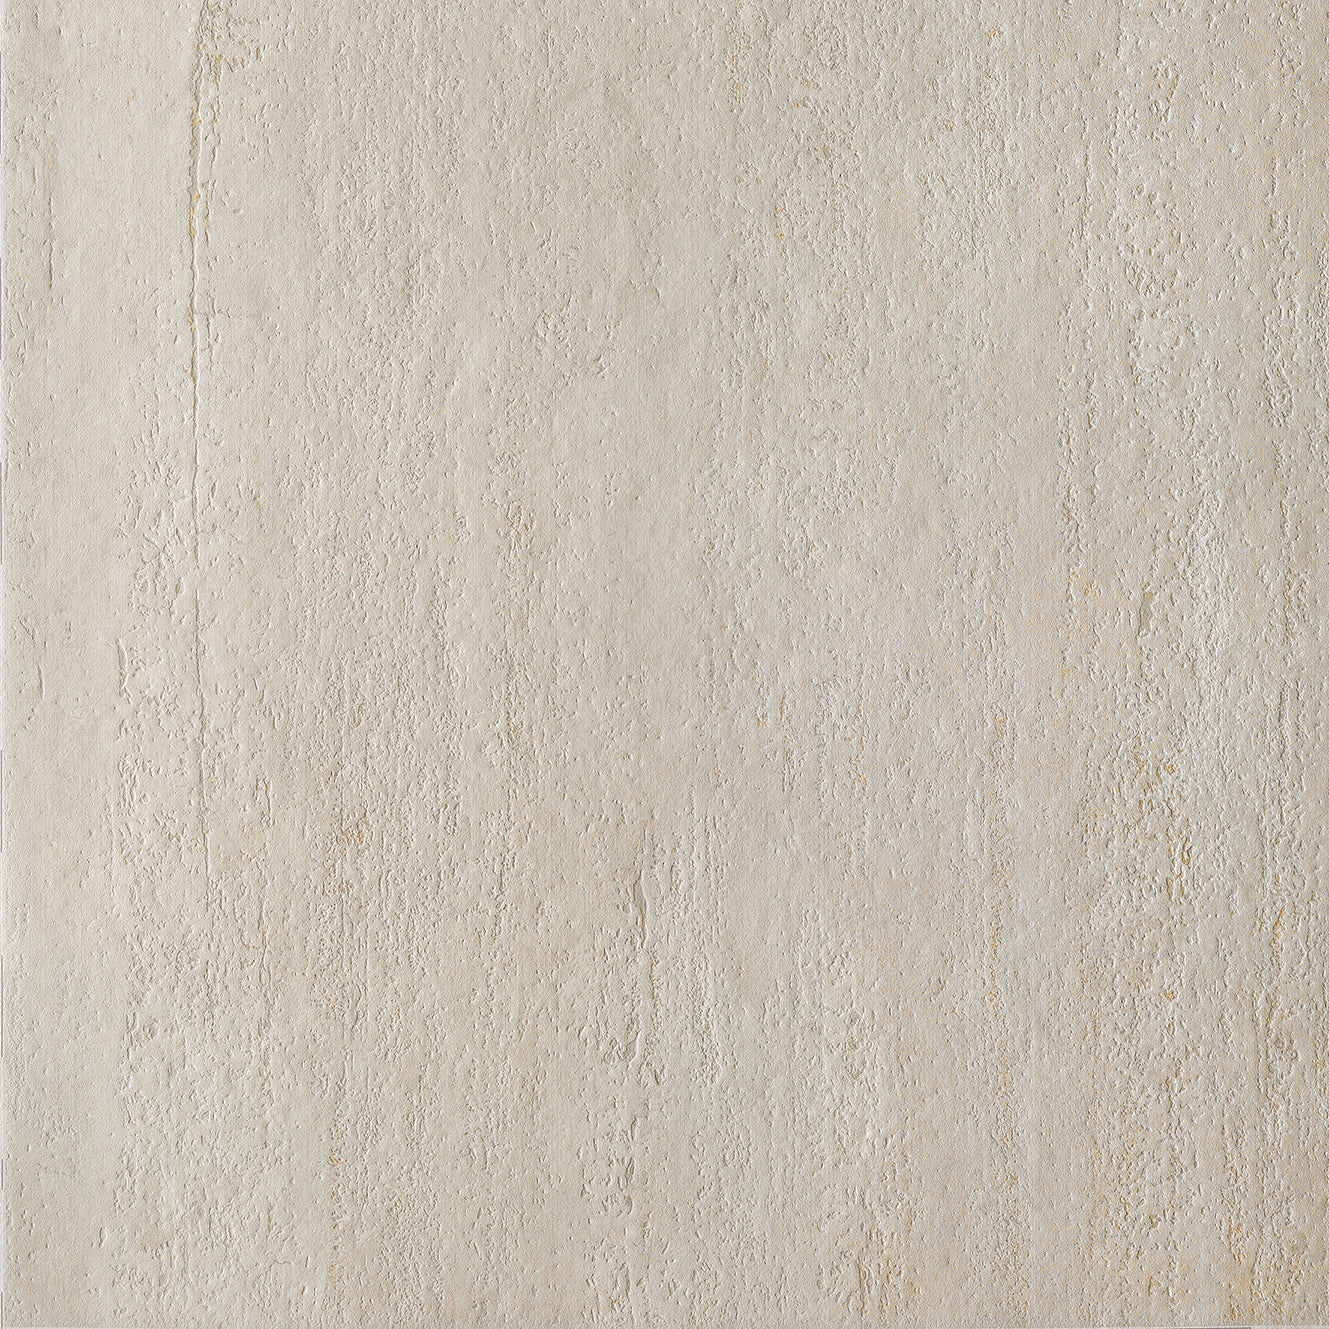
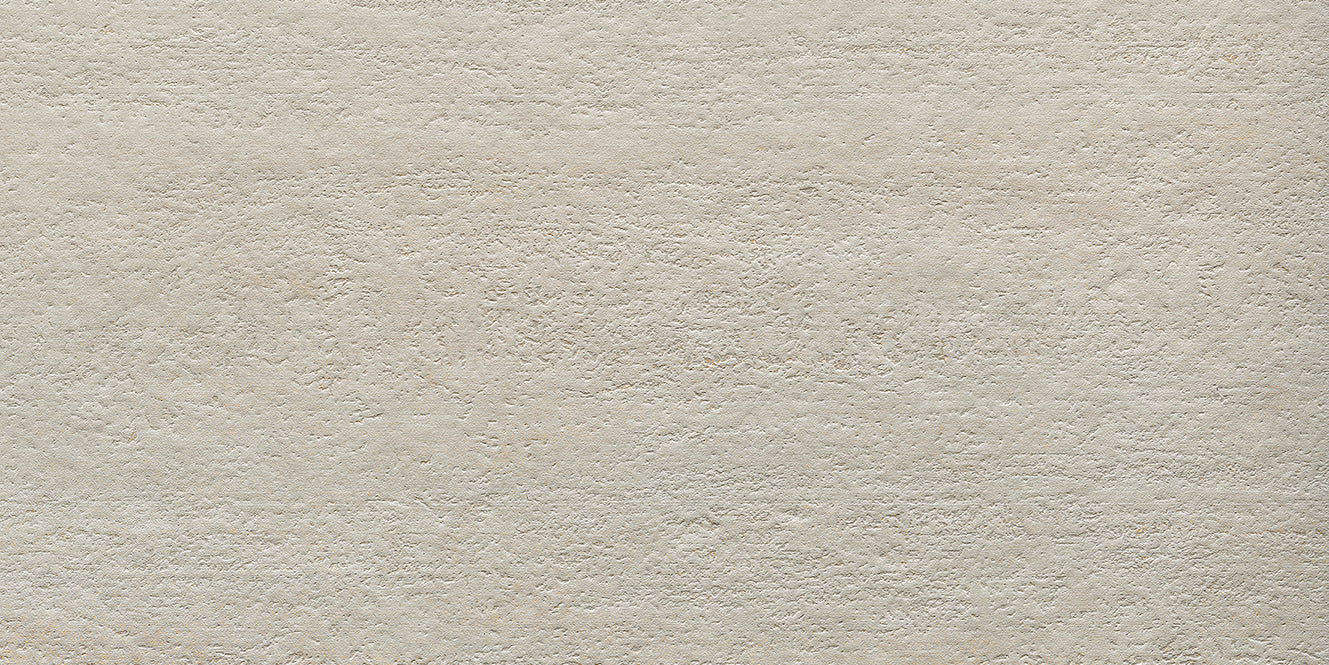
Cream Limestone Look 3D Matte Porcelain Tile


Apple 12x24 3D Glossy Porcelain Tile
Beige Limestone Look 3D Matte Porcelain Tile


Navy 12x24 3D Gloss Porcelain Tile
Chiaro Deco Terracotta Look Matte Porcelain Tile
Travertino Moka Stone Look Porcelain Tile

Fior de Bosco Marble Look Porcelain Tile
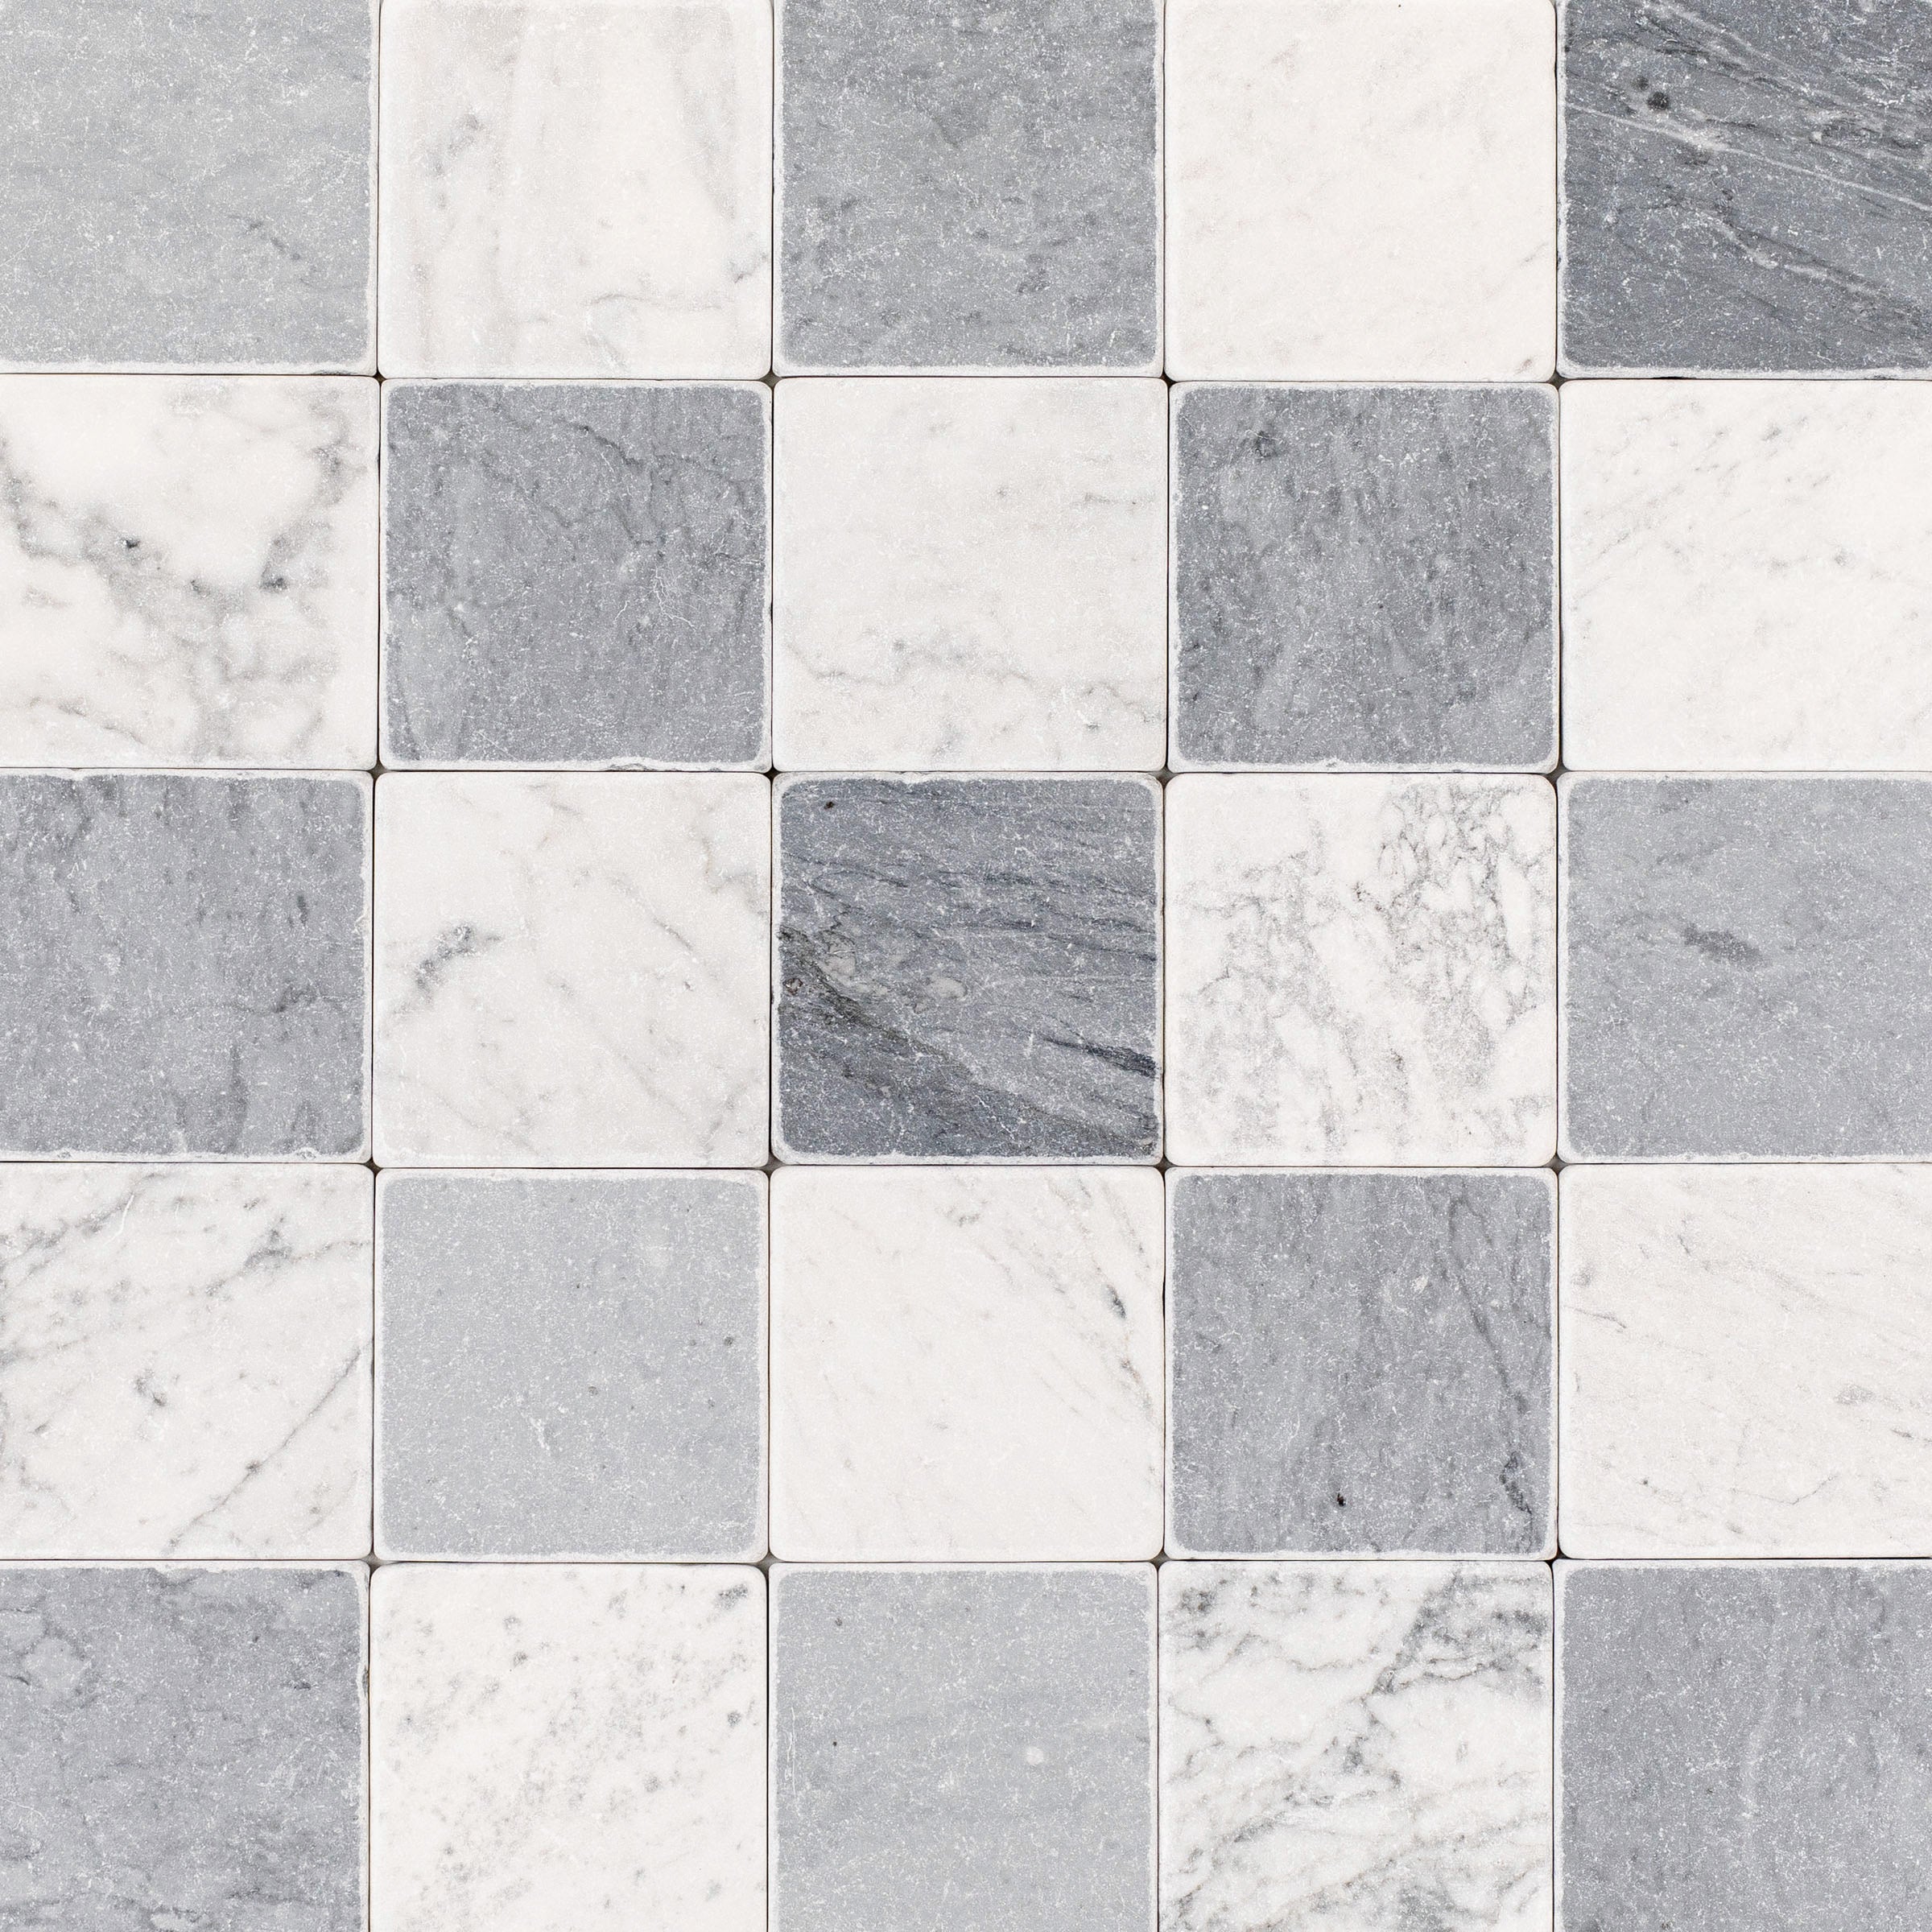

Carrara Bardiglio Tumbled Stone Checkerboard


Cream 12x24 3D Gloss Porcelain Tile
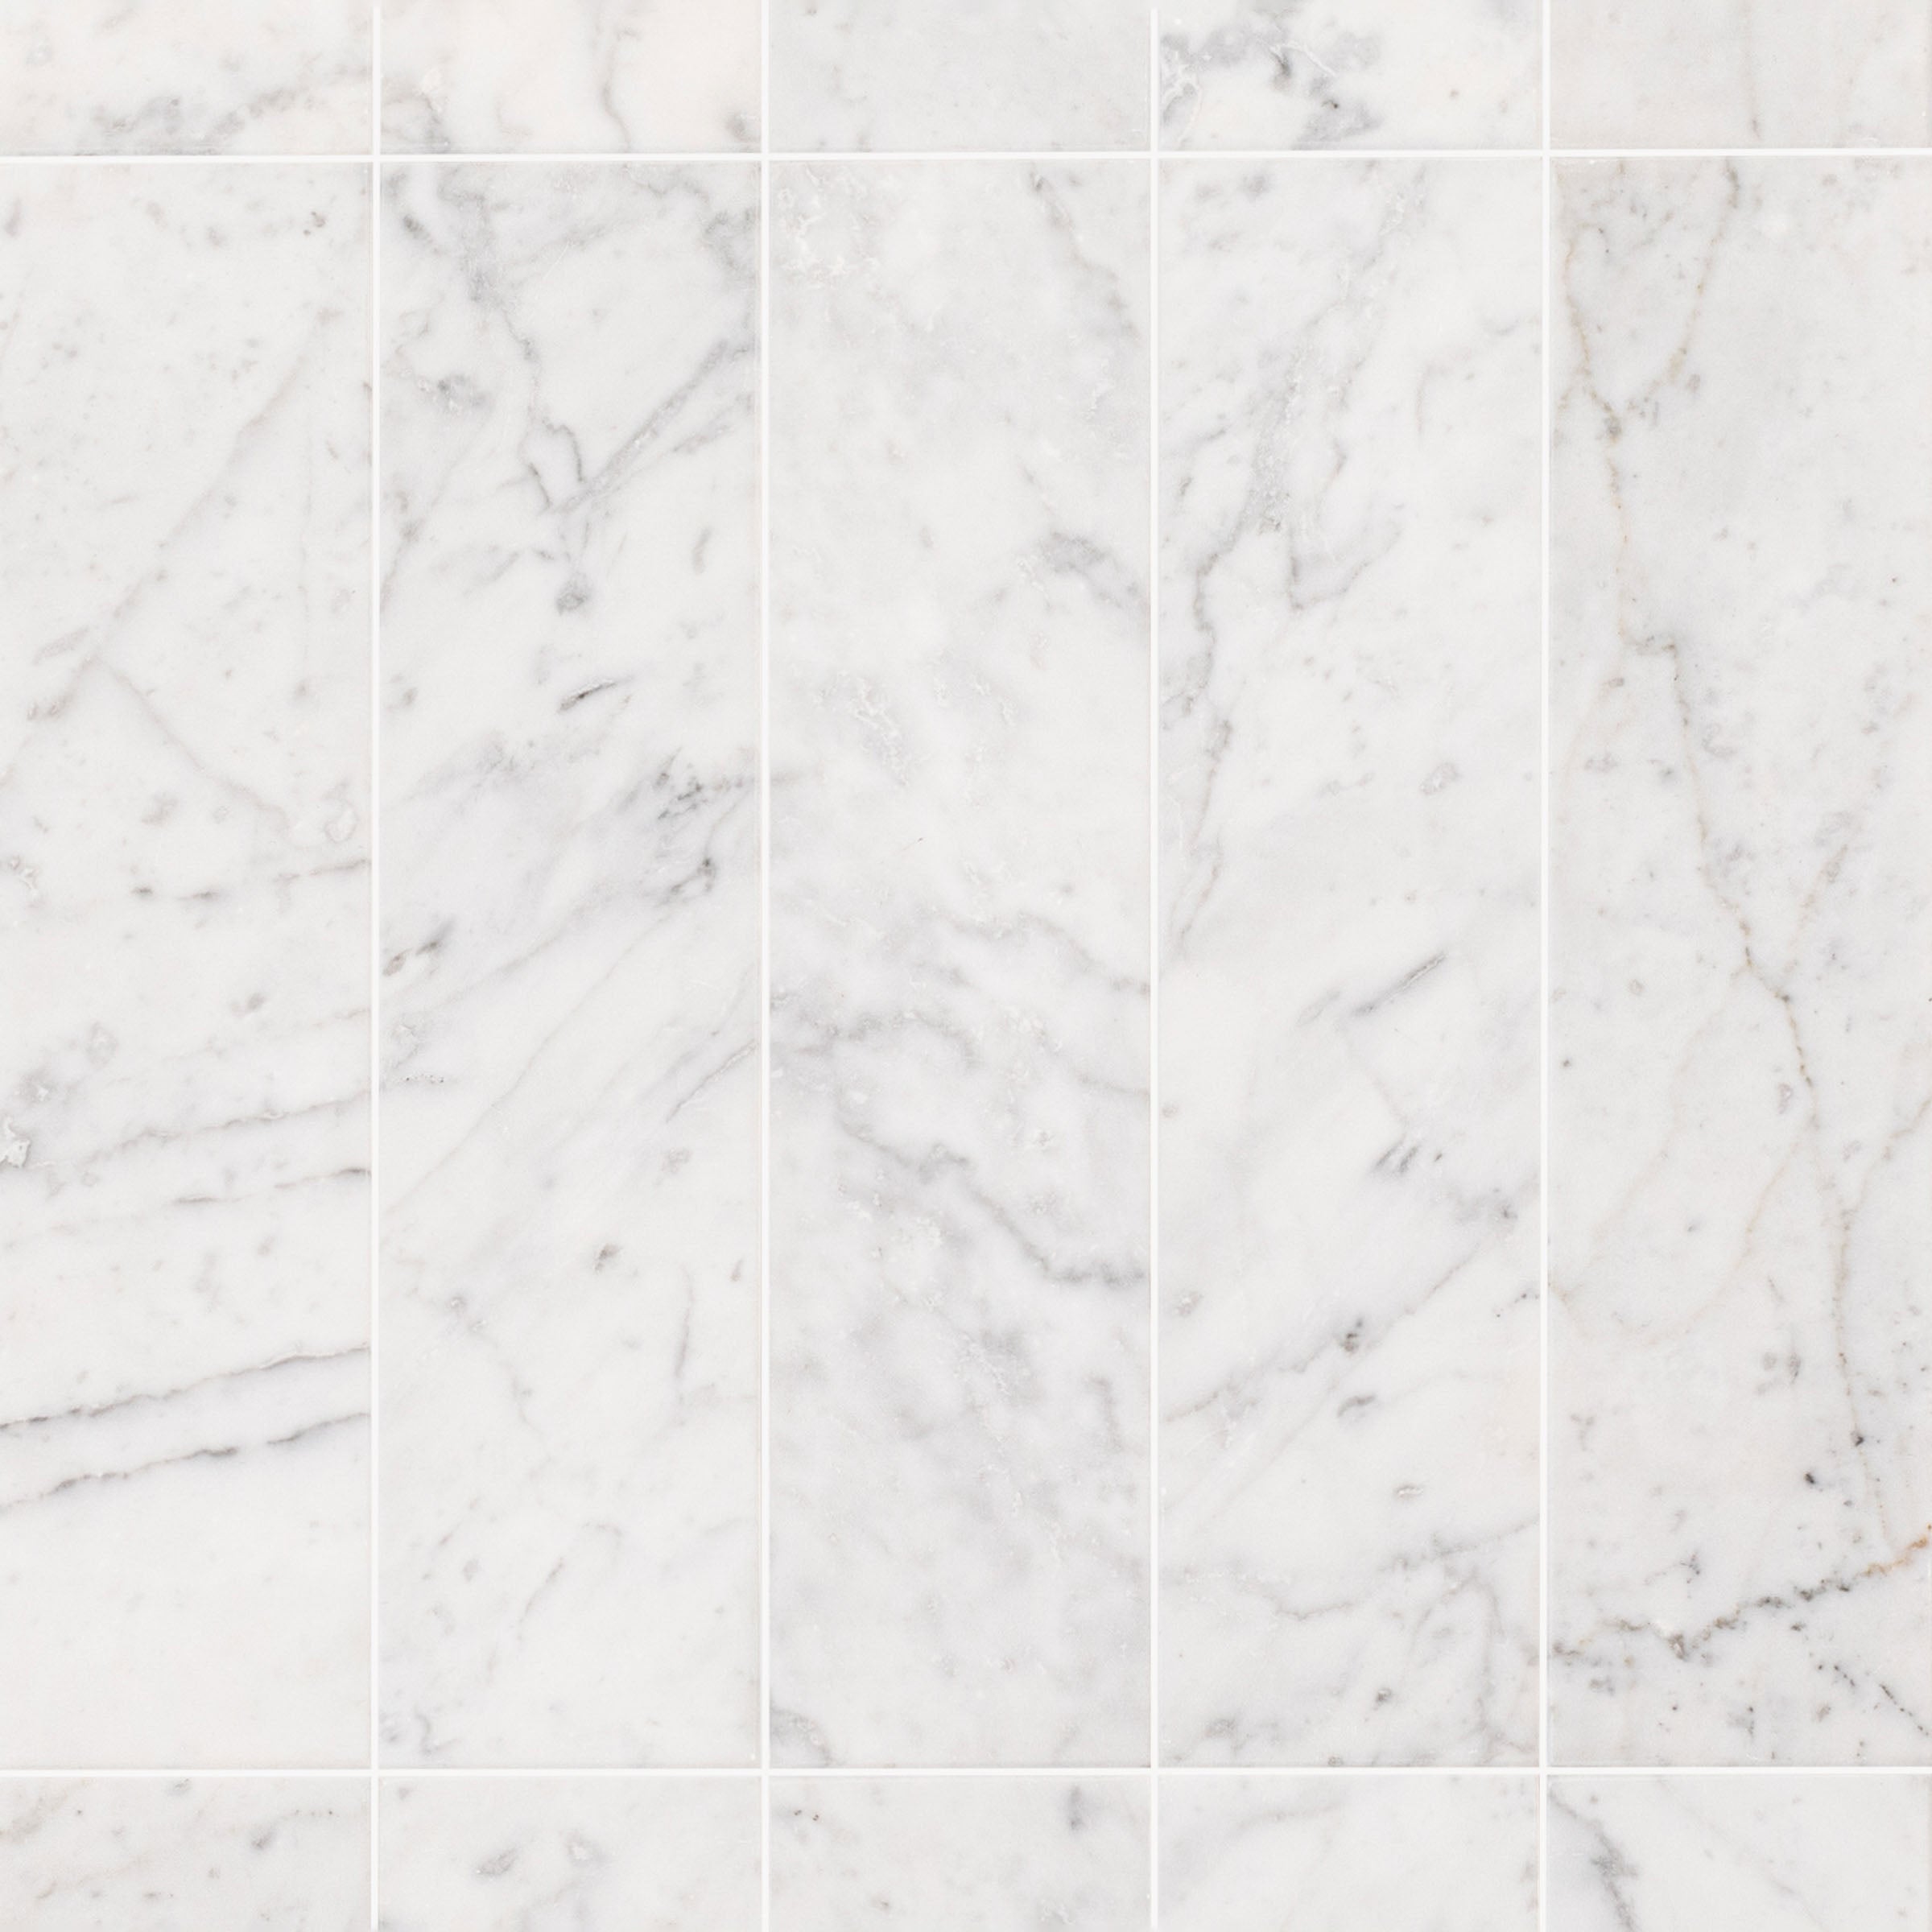
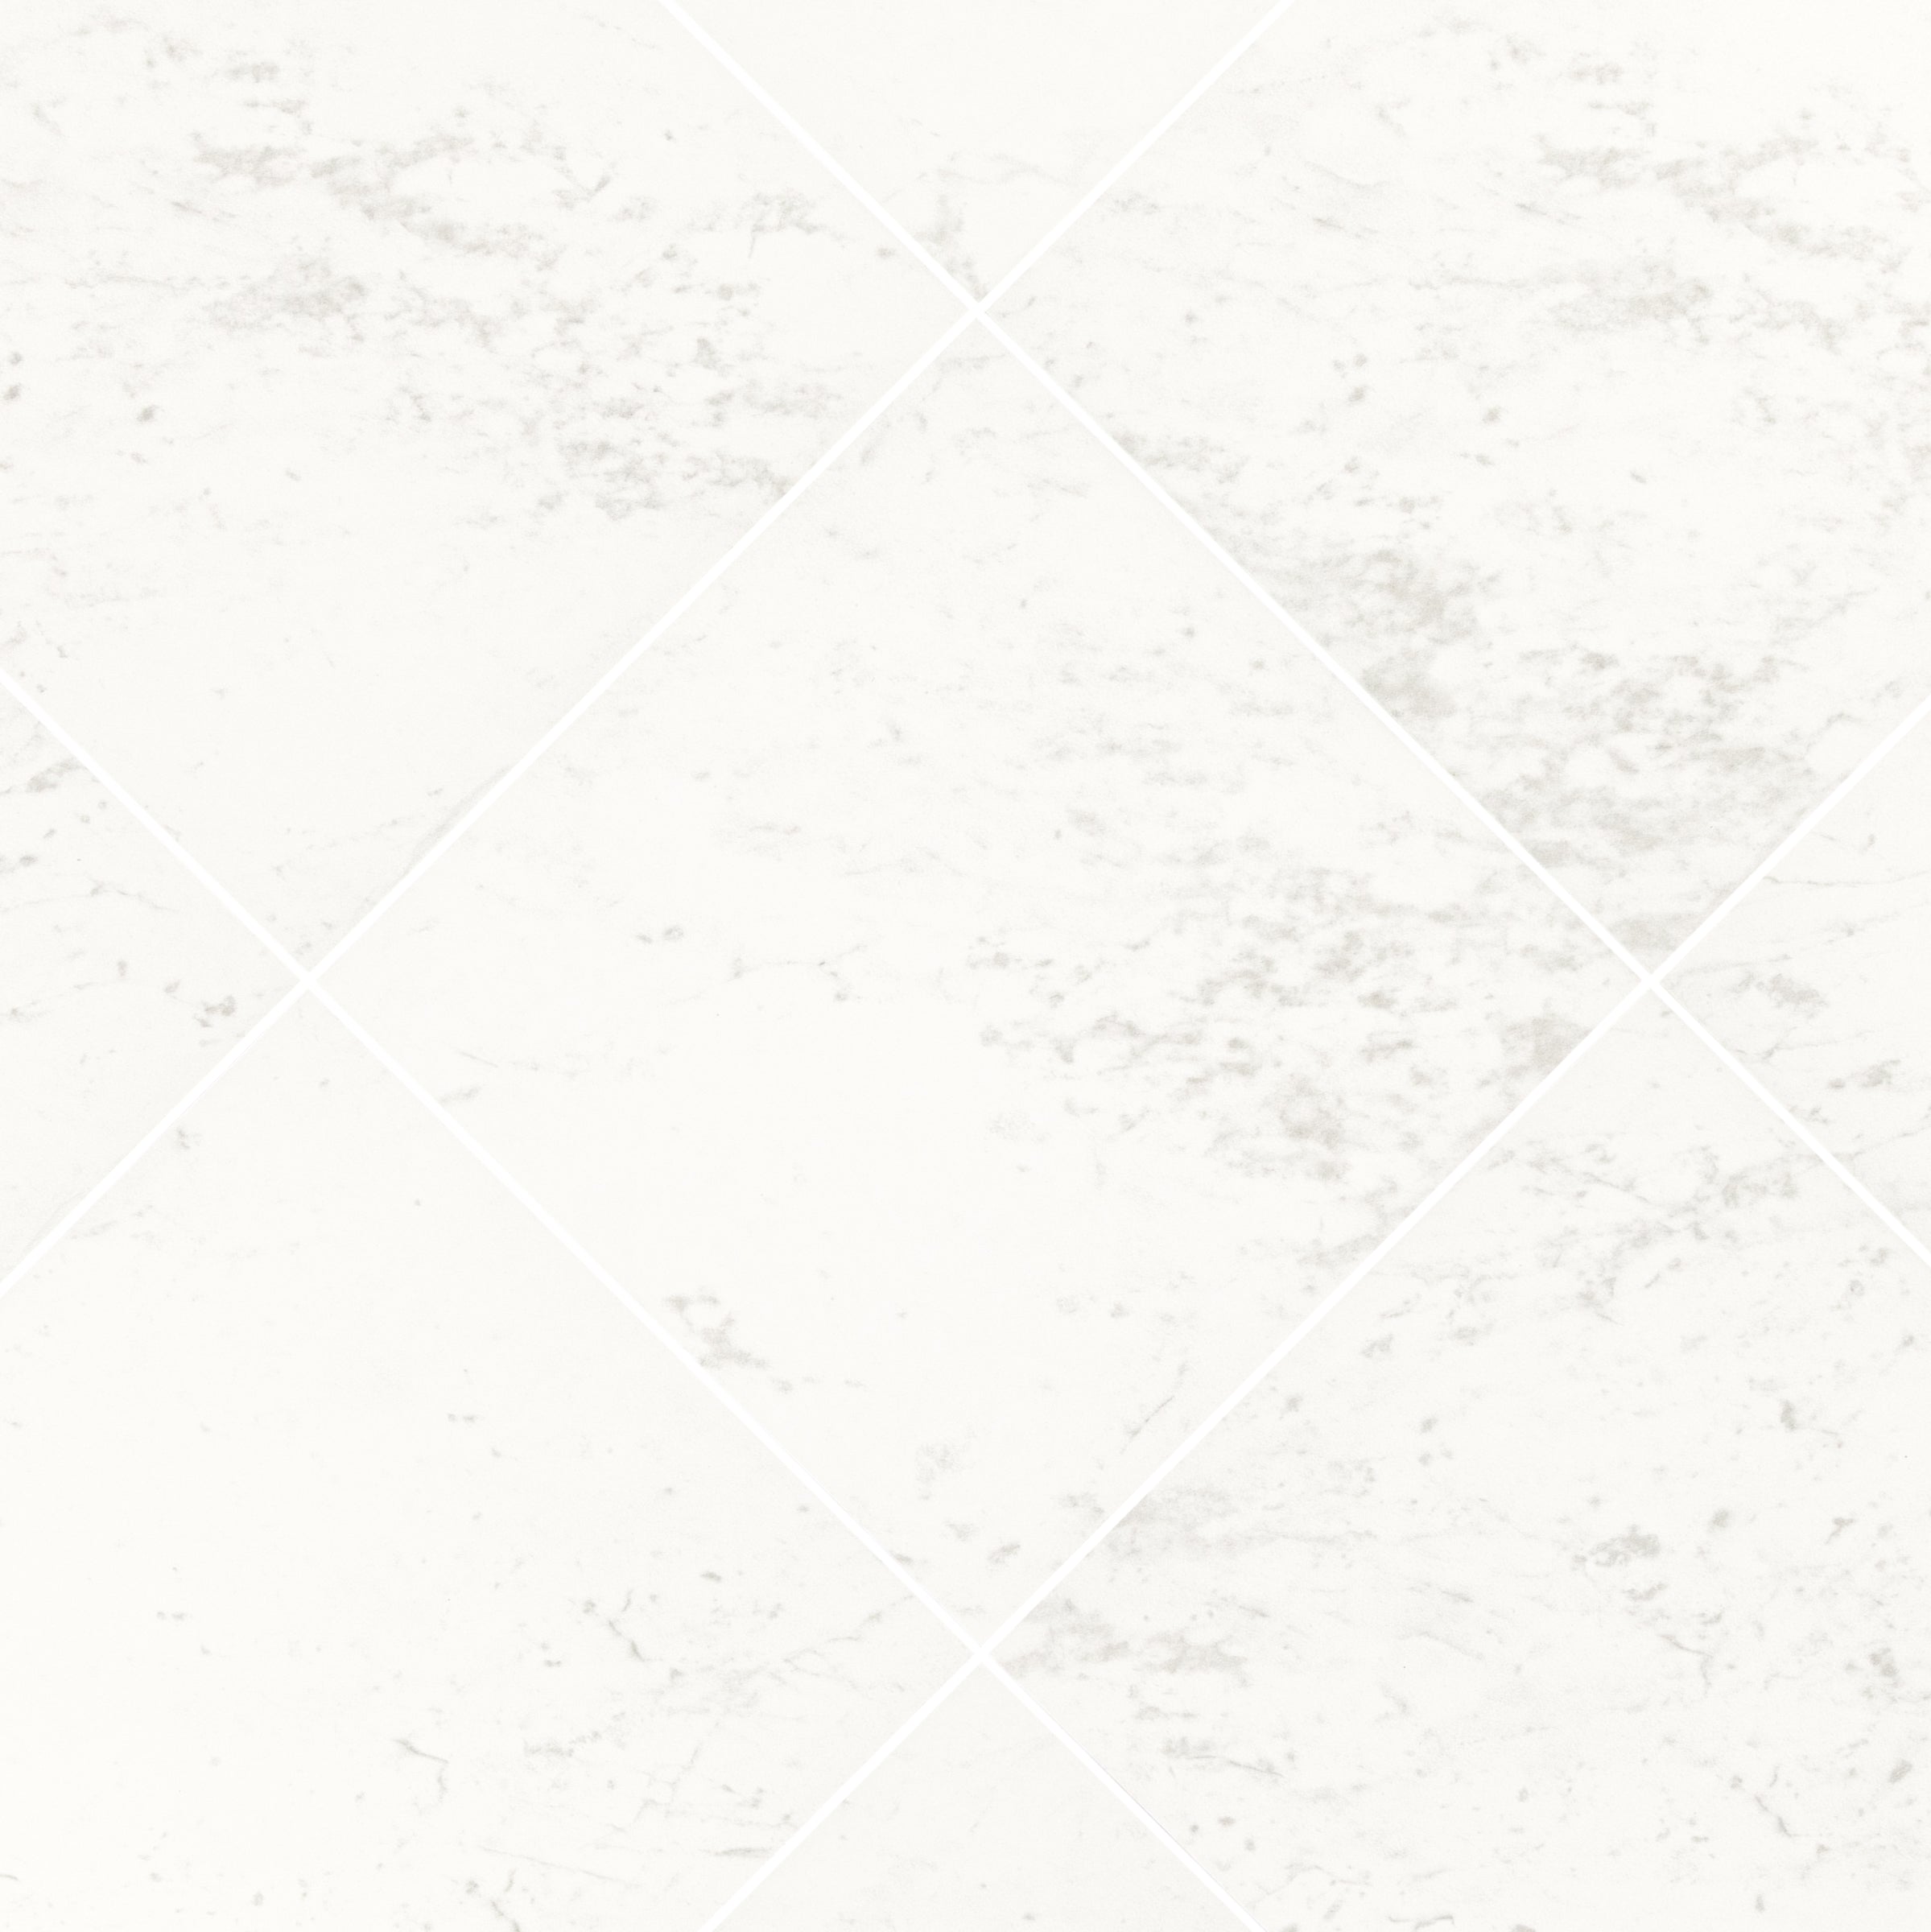
Bianco Carrara Honed Marble Tile
Verde Guatemala Tumbled Marble Tile
Borgogna 3D Matte Porcelain Tile


White & Black Octagon Zellige Mosaic


Calacatta Honed Italian Terrazzo Tile
White Multi-Color Matte Porcelain Tile
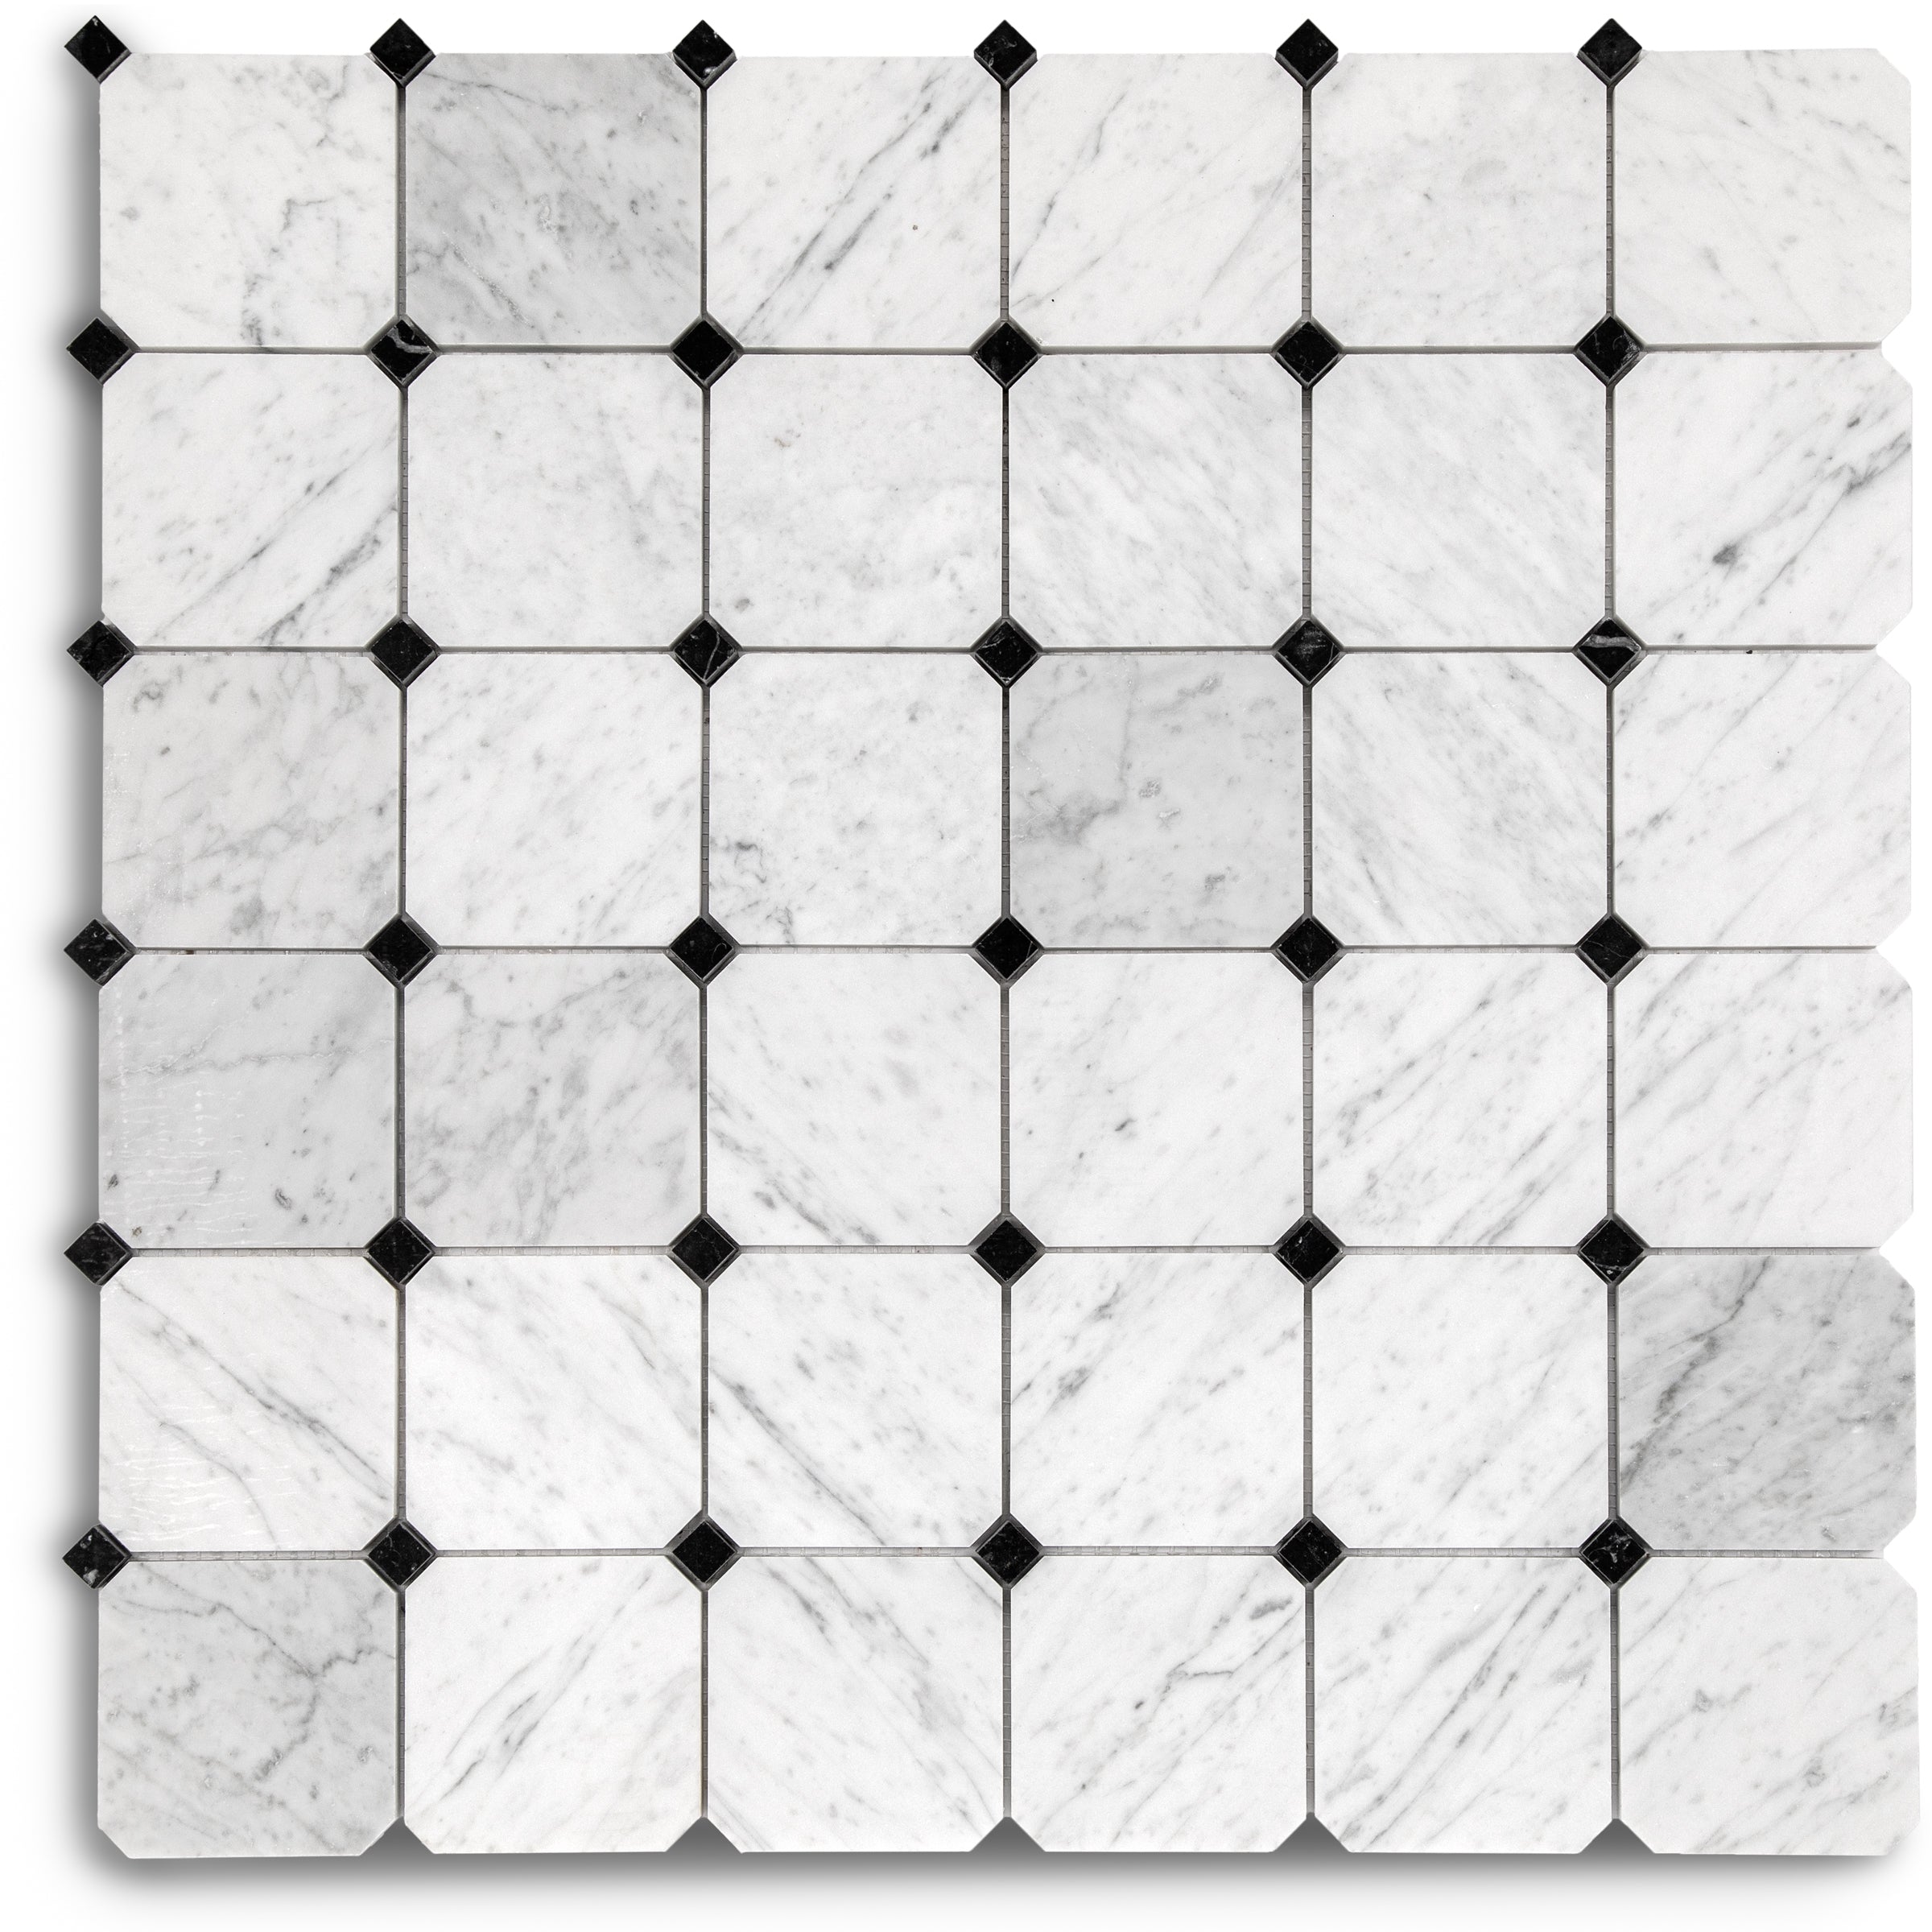
Bianco Carrara Octagon w/ Nero Marquina Dot Mosaic
Rosso Verona Tumbled Marble Tile
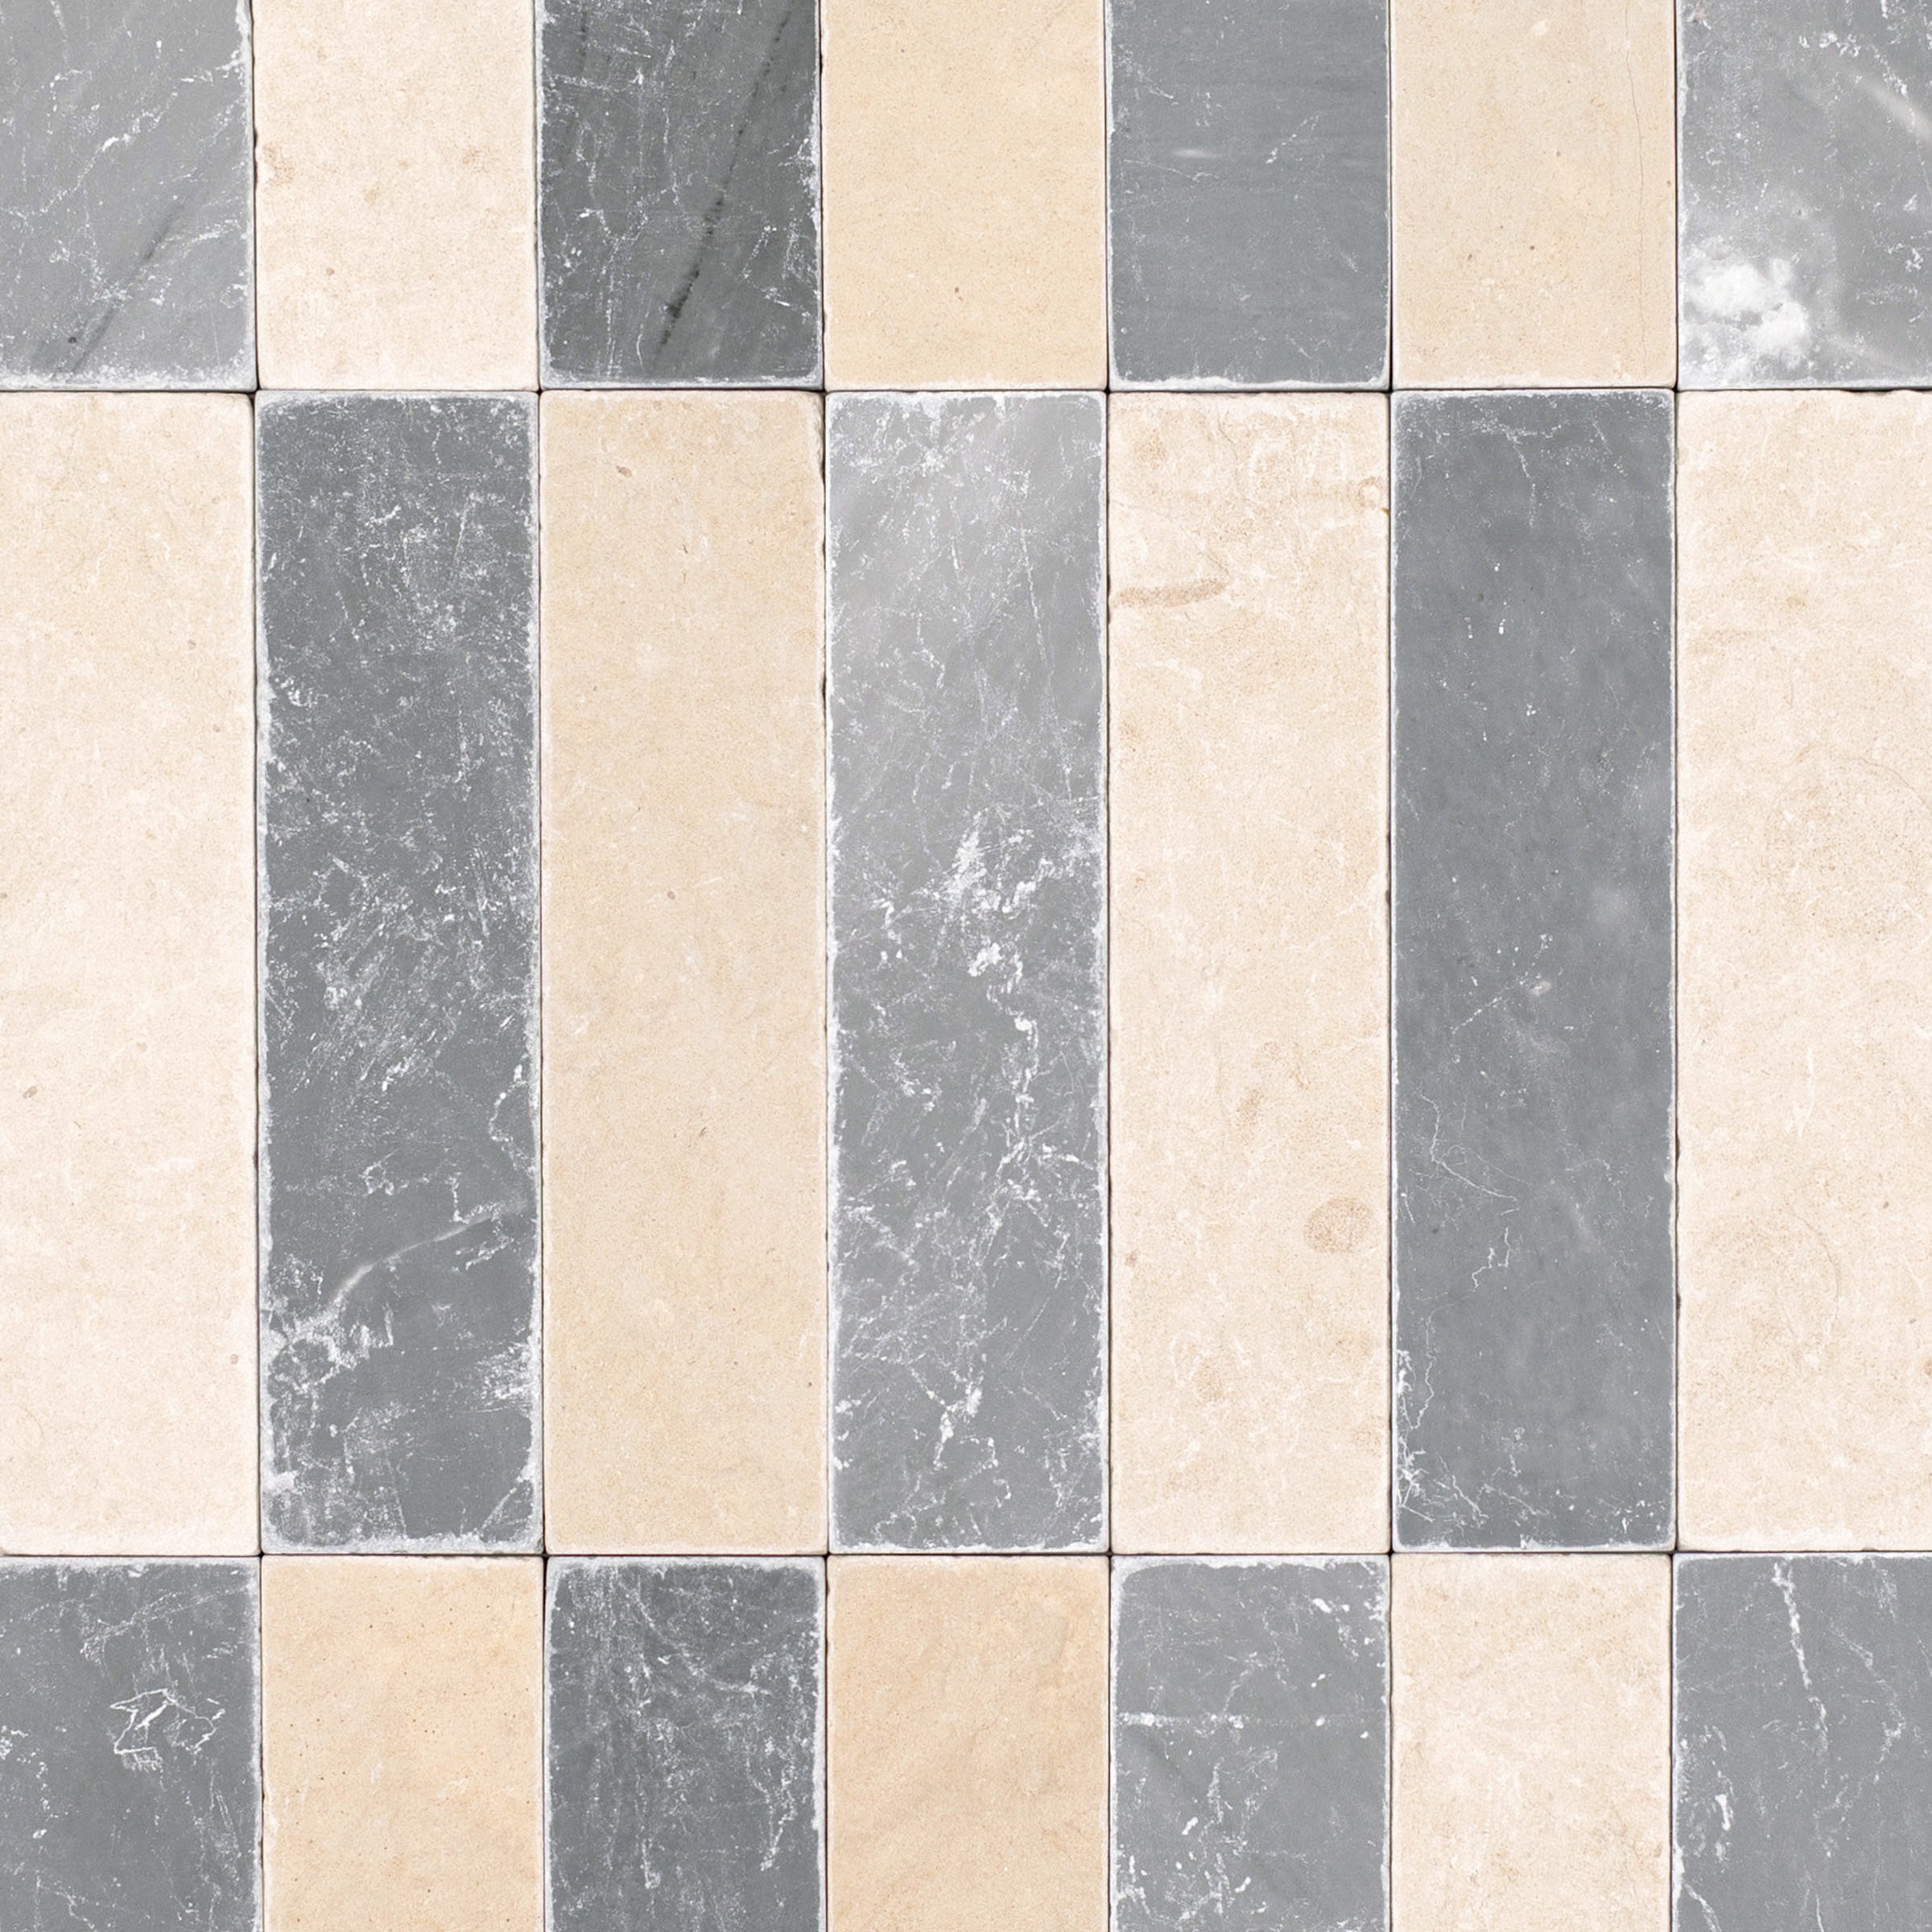
Bardiglio Desert Tea Tumbled Stone Checker Stripe
Honey Slats 24x48 Wood Look Porcelain Tile
Almond Cement Look Matte Porcelain Tile
Travertino 3D Matte Porcelain Tile
White & Ecru Octagon Zellige Mosaic
Thassos, Carrara, Bardiglio Gingham Marble Mosaic
Cotto Deco Terracotta Look Matte Porcelain Tile
White & Ecru 2x2 Zellige Checkerboard Mosaic
Cotto Terracotta Look Matte Porcelain Tile
Murano Honed Italian Terrazzo Tile
Apple 12x24 3D Glossy Porcelain Tile
Cream Limestone Look 3D Matte Porcelain Tile
Navy 12x24 3D Gloss Porcelain Tile
Beige Limestone Look 3D Matte Porcelain Tile
Chiaro Deco Terracotta Look Matte Porcelain Tile
Travertino Moka Stone Look Porcelain Tile
Cream 12x24 3D Gloss Porcelain Tile
Bianco Carrara Honed Marble Tile
Fior de Bosco Marble Look Porcelain Tile
Bianco Carrara Octagon w/ Nero Marquina Dot Mosaic
Carrara Bardiglio Tumbled Stone Checkerboard
Verde Guatemala Tumbled Marble Tile
Rosso Verona Tumbled Marble Tile
Borgogna 3D Matte Porcelain Tile
White & Black Octagon Zellige Mosaic
Calacatta Honed Italian Terrazzo Tile
White Multi-Color Matte Porcelain Tile
Rosso Verona 1x1 Hand Chipped Marble Mosaic
Bardiglio Desert Tea Tumbled Stone Checker Stripe
Honey Slats 24x48 Wood Look Porcelain Tile
Almond Cement Look Matte Porcelain Tile
White & Ecru Octagon Zellige Mosaic
Thassos, Carrara, Bardiglio Gingham Marble Mosaic
Cotto Deco Terracotta Look Matte Porcelain Tile
White & Ecru 2x2 Zellige Checkerboard Mosaic
Murano Honed Italian Terrazzo Tile
Cream Limestone Look 3D Matte Porcelain Tile
Apple 12x24 3D Glossy Porcelain Tile
Beige Limestone Look 3D Matte Porcelain Tile
Navy 12x24 3D Gloss Porcelain Tile
Chiaro Deco Terracotta Look Matte Porcelain Tile
Travertino Moka Stone Look Porcelain Tile
Fior de Bosco Marble Look Porcelain Tile
Bianco Carrara Octagon w/ Nero Marquina Dot Mosaic
Borgogna 3D Matte Porcelain Tile
Verde Guatemala Tumbled Marble Tile
Rosso Verona Tumbled Marble Tile
White & Black Octagon Zellige Mosaic
Calacatta Honed Italian Terrazzo Tile
Carrara Bardiglio Tumbled Stone Checkerboard
Cream 12x24 3D Gloss Porcelain Tile
White Multi-Color Matte Porcelain Tile
Rosso Verona 1x1 Hand Chipped Marble Mosaic
Bardiglio Desert Tea Tumbled Stone Checker Stripe
Travertino 3D Matte Porcelain Tile
Honey Slats 24x48 Wood Look Porcelain Tile
Cream 2x2 Forma Porcelain Mosaic
Cotto 2x2 Forma Porcelain Mosaic
Unglazed & White Octagon Zellige Mosaic


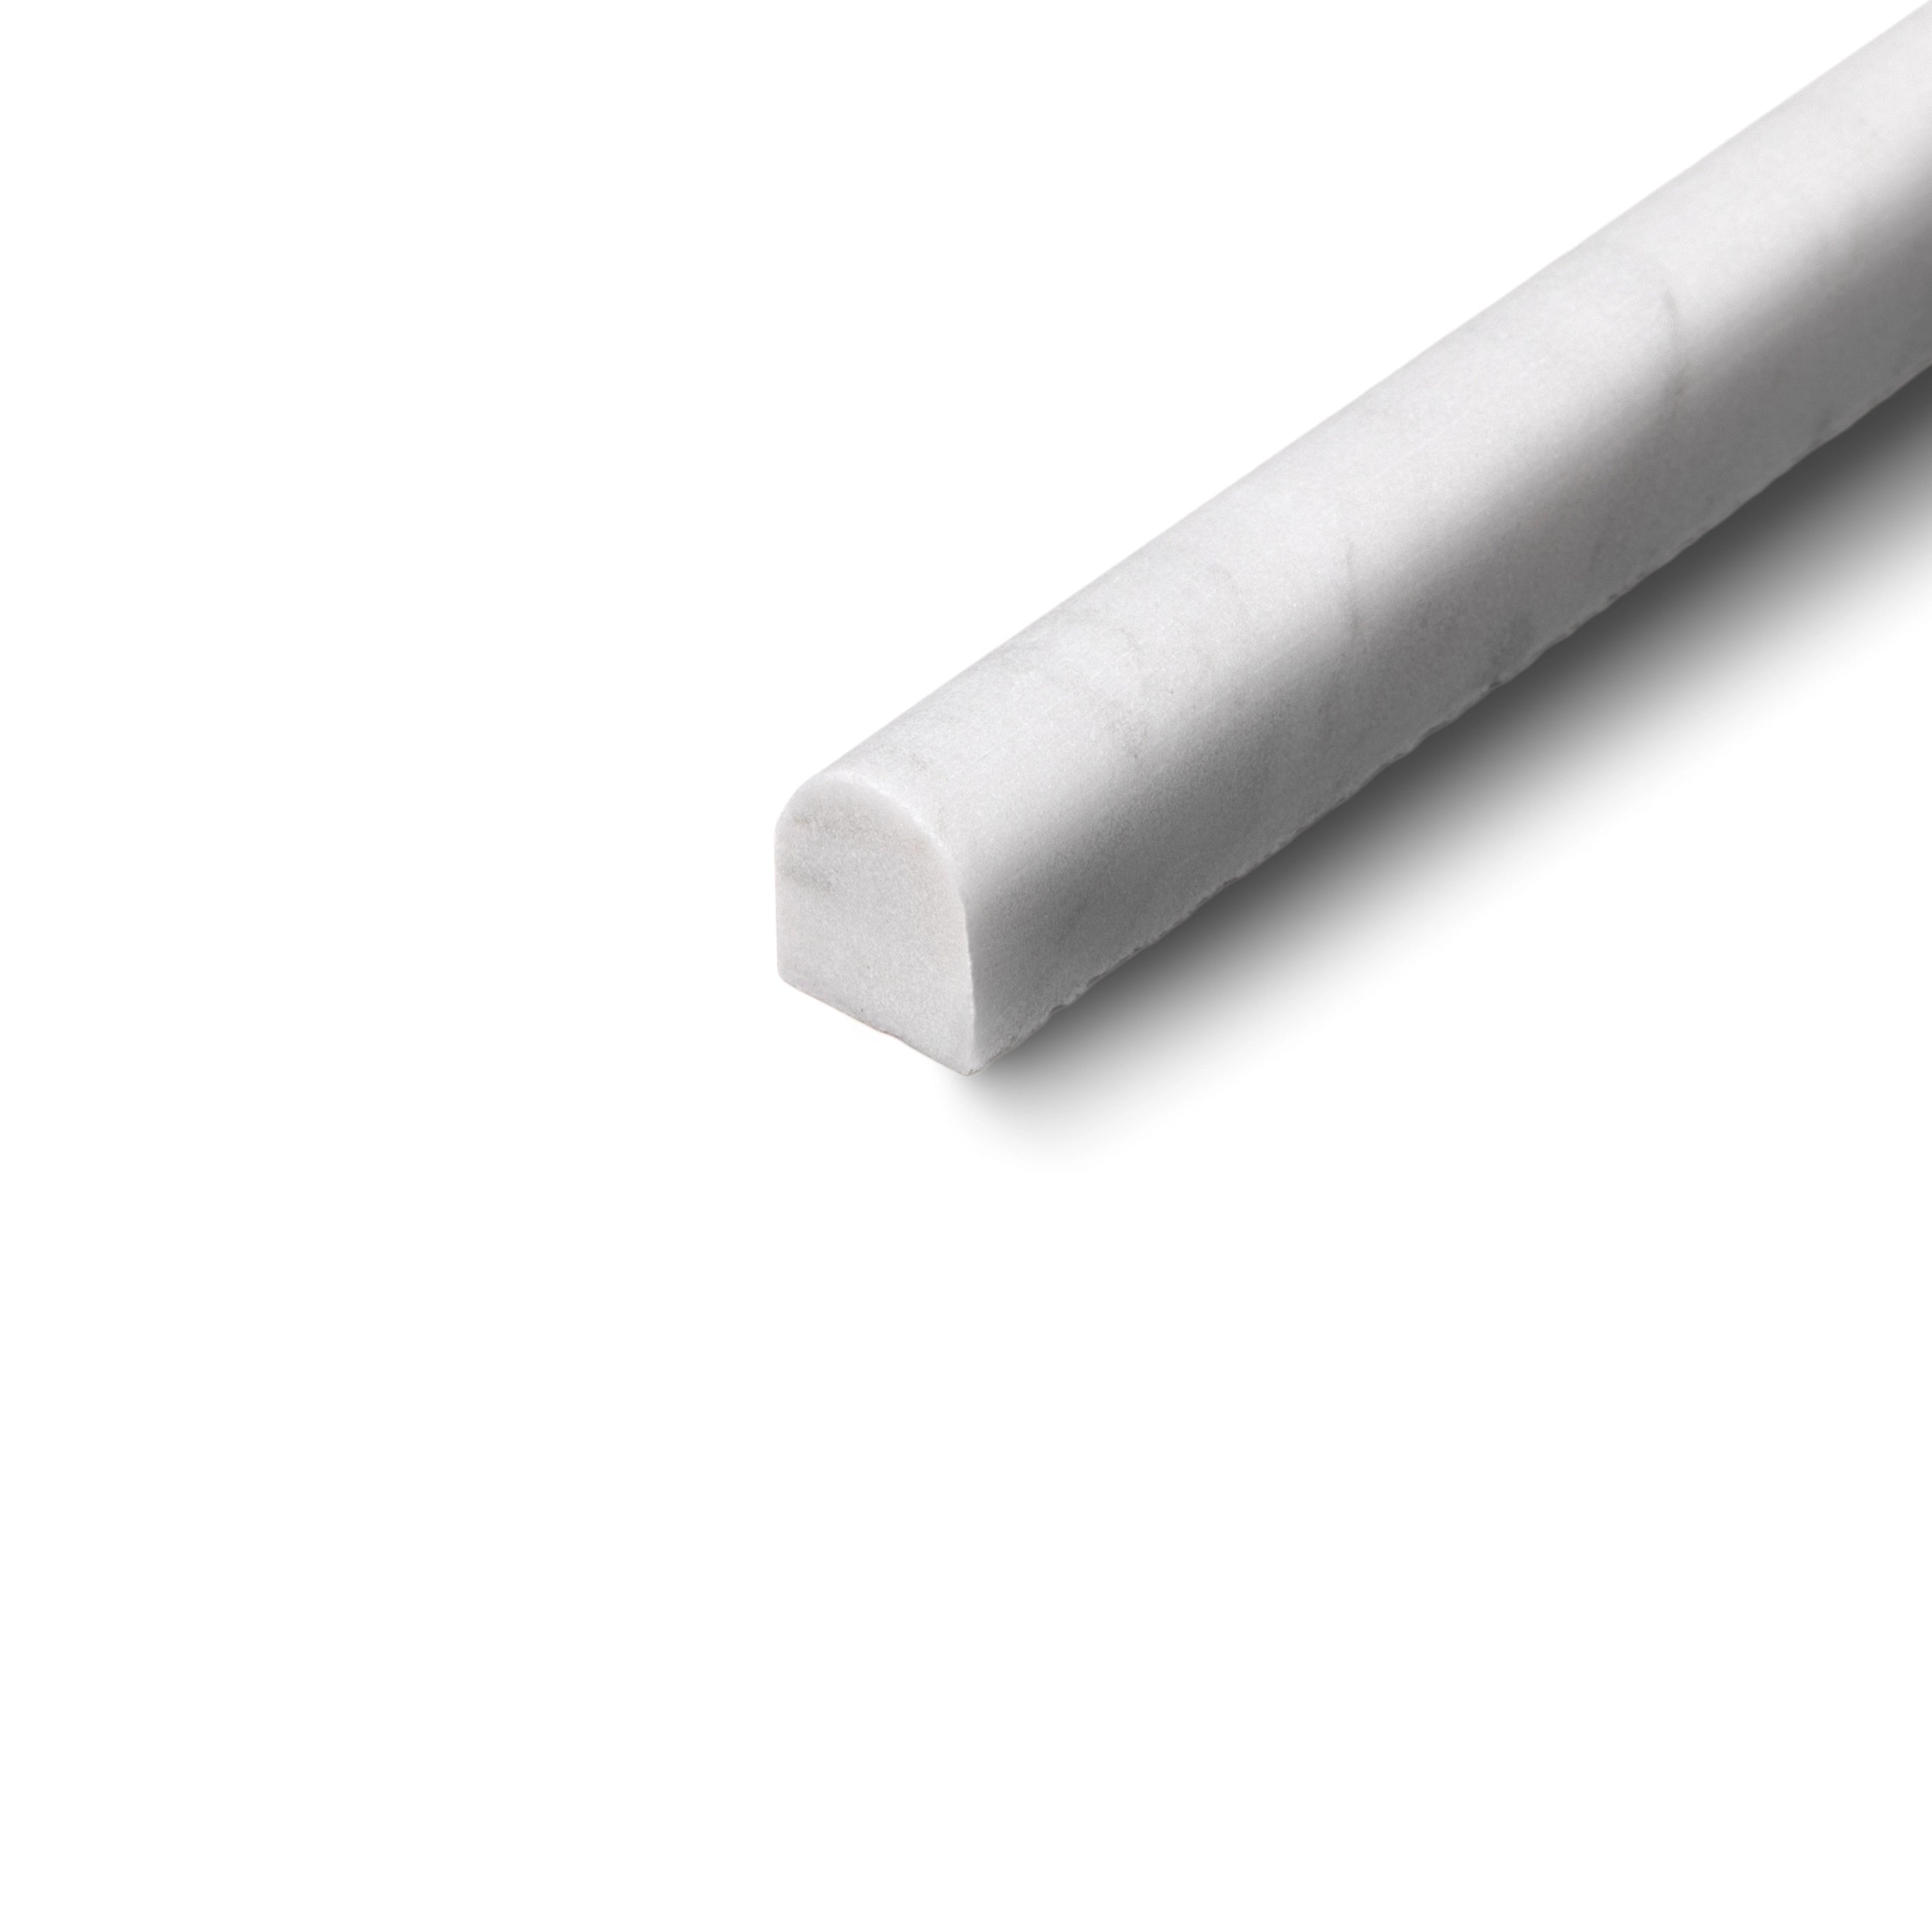
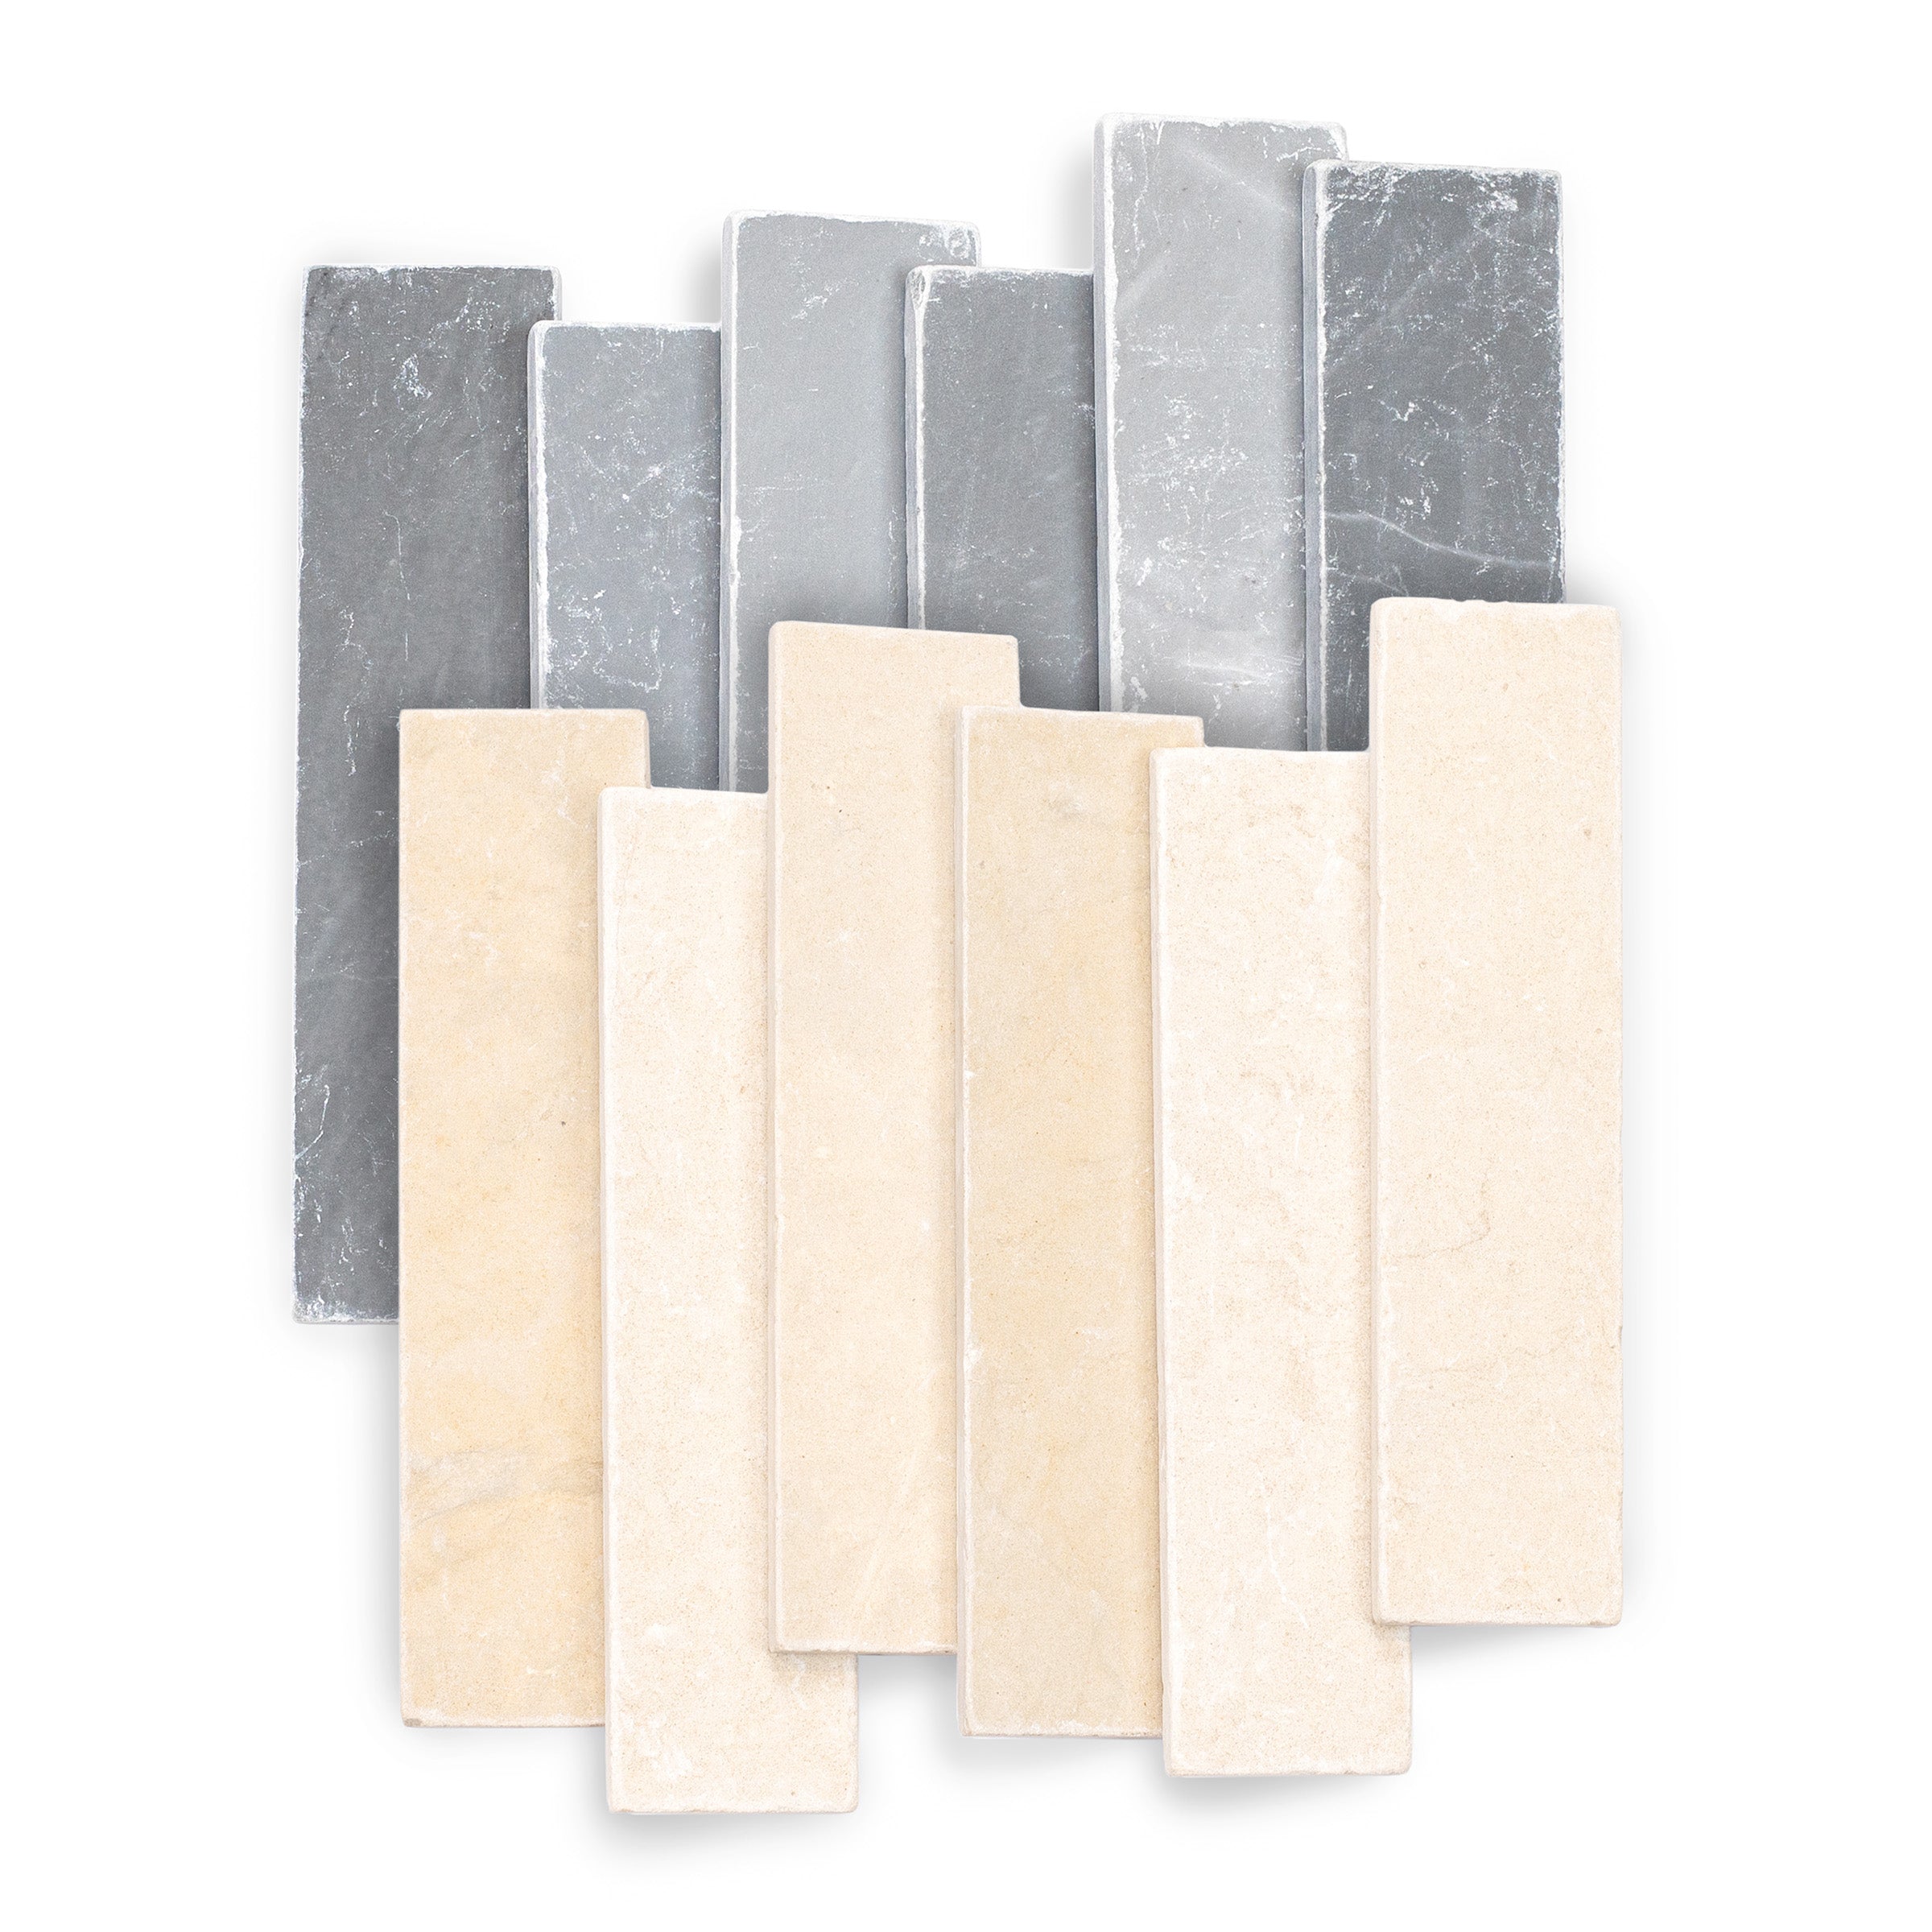
Natural Unglazed Zellige Plinth


Midnight Glazed Zellige Plinth
White & Black Octagon Zellige Mosaic
White & Ecru Octagon Zellige Mosaic


Unglazed & Black Octagon Zellige Mosaic
Unglazed & White Octagon Zellige Mosaic
White & Ecru 2x2 Zellige Checkerboard Mosaic


White & Oxblood 2x2 Zellige Checkerboard Mosaic


White & Jade 2x2 Zellige Checkerboard Mosaic


White & Black 2x2 Zellige Checkerboard Mosaic


White & Ecru Octagon Zellige Mosaic
Thassos, Carrara, Bardiglio Gingham Marble Mosaic
Cotto Deco Terracotta Look Matte Porcelain Tile
White & Ecru 2x2 Zellige Checkerboard Mosaic
Cotto Terracotta Look Matte Porcelain Tile
Murano Honed Italian Terrazzo Tile
Cream Limestone Look 3D Matte Porcelain Tile
Apple 12x24 3D Glossy Porcelain Tile
Beige Limestone Look 3D Matte Porcelain Tile
Navy 12x24 3D Gloss Porcelain Tile
Chiaro Deco Terracotta Look Matte Porcelain Tile
Travertino Moka Stone Look Porcelain Tile
Fior de Bosco Marble Look Porcelain Tile
Bianco Carrara Octagon w/ Nero Marquina Dot Mosaic
Carrara Bardiglio Tumbled Stone Checkerboard
Cream 12x24 3D Gloss Porcelain Tile
Bianco Carrara Honed Marble Tile
Verde Guatemala Tumbled Marble Tile
Rosso Verona Tumbled Marble Tile
Borgogna 3D Matte Porcelain Tile
White & Black Octagon Zellige Mosaic
Calacatta Honed Italian Terrazzo Tile
White Multi-Color Matte Porcelain Tile
Rosso Verona 1x1 Hand Chipped Marble Mosaic
Bardiglio Desert Tea Tumbled Stone Checker Stripe
Honey Slats 24x48 Wood Look Porcelain Tile
Almond Cement Look Matte Porcelain Tile
White & Ecru Octagon Zellige Mosaic
Thassos, Carrara, Bardiglio Gingham Marble Mosaic
Cotto Deco Terracotta Look Matte Porcelain Tile
White & Ecru 2x2 Zellige Checkerboard Mosaic
Murano Honed Italian Terrazzo Tile
Cream Limestone Look 3D Matte Porcelain Tile
Apple 12x24 3D Glossy Porcelain Tile
Beige Limestone Look 3D Matte Porcelain Tile
Navy 12x24 3D Gloss Porcelain Tile
Chiaro Deco Terracotta Look Matte Porcelain Tile
Travertino Moka Stone Look Porcelain Tile
Bianco Carrara Honed Marble Tile
Borgogna 3D Matte Porcelain Tile
Fior de Bosco Marble Look Porcelain Tile
Bianco Carrara Octagon w/ Nero Marquina Dot Mosaic
Carrara Bardiglio Tumbled Stone Checkerboard
Cream 12x24 3D Gloss Porcelain Tile
Verde Guatemala Tumbled Marble Tile
Rosso Verona Tumbled Marble Tile
White & Black Octagon Zellige Mosaic
Calacatta Honed Italian Terrazzo Tile
White Multi-Color Matte Porcelain Tile
Almond Cement Look Matte Porcelain Tile
Travertino 3D Matte Porcelain Tile
Rosso Verona 1x1 Hand Chipped Marble Mosaic
Bardiglio Desert Tea Tumbled Stone Checker Stripe
Honey Slats 24x48 Wood Look Porcelain Tile
White & Ecru Octagon Zellige Mosaic
Thassos, Carrara, Bardiglio Gingham Marble Mosaic
Cotto Deco Terracotta Look Matte Porcelain Tile
White & Ecru 2x2 Zellige Checkerboard Mosaic
Cotto Terracotta Look Matte Porcelain Tile
Murano Honed Italian Terrazzo Tile
Cream Limestone Look 3D Matte Porcelain Tile
Apple 12x24 3D Glossy Porcelain Tile
Beige Limestone Look 3D Matte Porcelain Tile
Navy 12x24 3D Gloss Porcelain Tile
Chiaro Deco Terracotta Look Matte Porcelain Tile
Travertino Moka Stone Look Porcelain Tile
Fior de Bosco Marble Look Porcelain Tile
Bianco Carrara Octagon w/ Nero Marquina Dot Mosaic
Cream 12x24 3D Gloss Porcelain Tile
Bianco Carrara Honed Marble Tile
Rosso Verona Tumbled Marble Tile
Borgogna 3D Matte Porcelain Tile
White & Black Octagon Zellige Mosaic
Calacatta Honed Italian Terrazzo Tile
White Multi-Color Matte Porcelain Tile
Carrara Bardiglio Tumbled Stone Checkerboard
Rosso Verona 1x1 Hand Chipped Marble Mosaic
Honey Slats 24x48 Wood Look Porcelain Tile
Almond Cement Look Matte Porcelain Tile
Travertino 3D Matte Porcelain Tile
Star & Cross Classic Terracotta Tile
White & Ecru Octagon Zellige Mosaic
Thassos, Carrara, Bardiglio Gingham Marble Mosaic
Cotto Deco Terracotta Look Matte Porcelain Tile
White & Ecru 2x2 Zellige Checkerboard Mosaic
Murano Honed Italian Terrazzo Tile
Cream Limestone Look 3D Matte Porcelain Tile
Apple 12x24 3D Glossy Porcelain Tile
Beige Limestone Look 3D Matte Porcelain Tile
Chiaro Deco Terracotta Look Matte Porcelain Tile
Carrara Bardiglio Tumbled Stone Checkerboard
Borgogna 3D Matte Porcelain Tile
Calacatta Honed Italian Terrazzo Tile
Rosso Verona Tumbled Marble Tile
White & Black Octagon Zellige Mosaic
White Multi-Color Matte Porcelain Tile
Bardiglio Desert Tea Tumbled Stone Checker Stripe
Travertino 3D Matte Porcelain Tile
Almond Cement Look Matte Porcelain Tile
Cream 2x2 Forma Porcelain Mosaic
Cotto 2x2 Forma Porcelain Mosaic
Unglazed & White Octagon Zellige Mosaic


Cotto Cream Pink Forma Butterfly Porcelain Mosaic
Black Multi-Color Matte Porcelain Tile
Star & Cross Classic Terracotta Tile


Natura Terracotta Look Matte Porcelain Tile
Crema Terracotta Look Matte Porcelain Tile


Burano Honed Italian Terrazzo Tile