


NOTIFY ME WHEN AVAILABLE
We'll notify you as soon as this product or sample is back in stock / available.
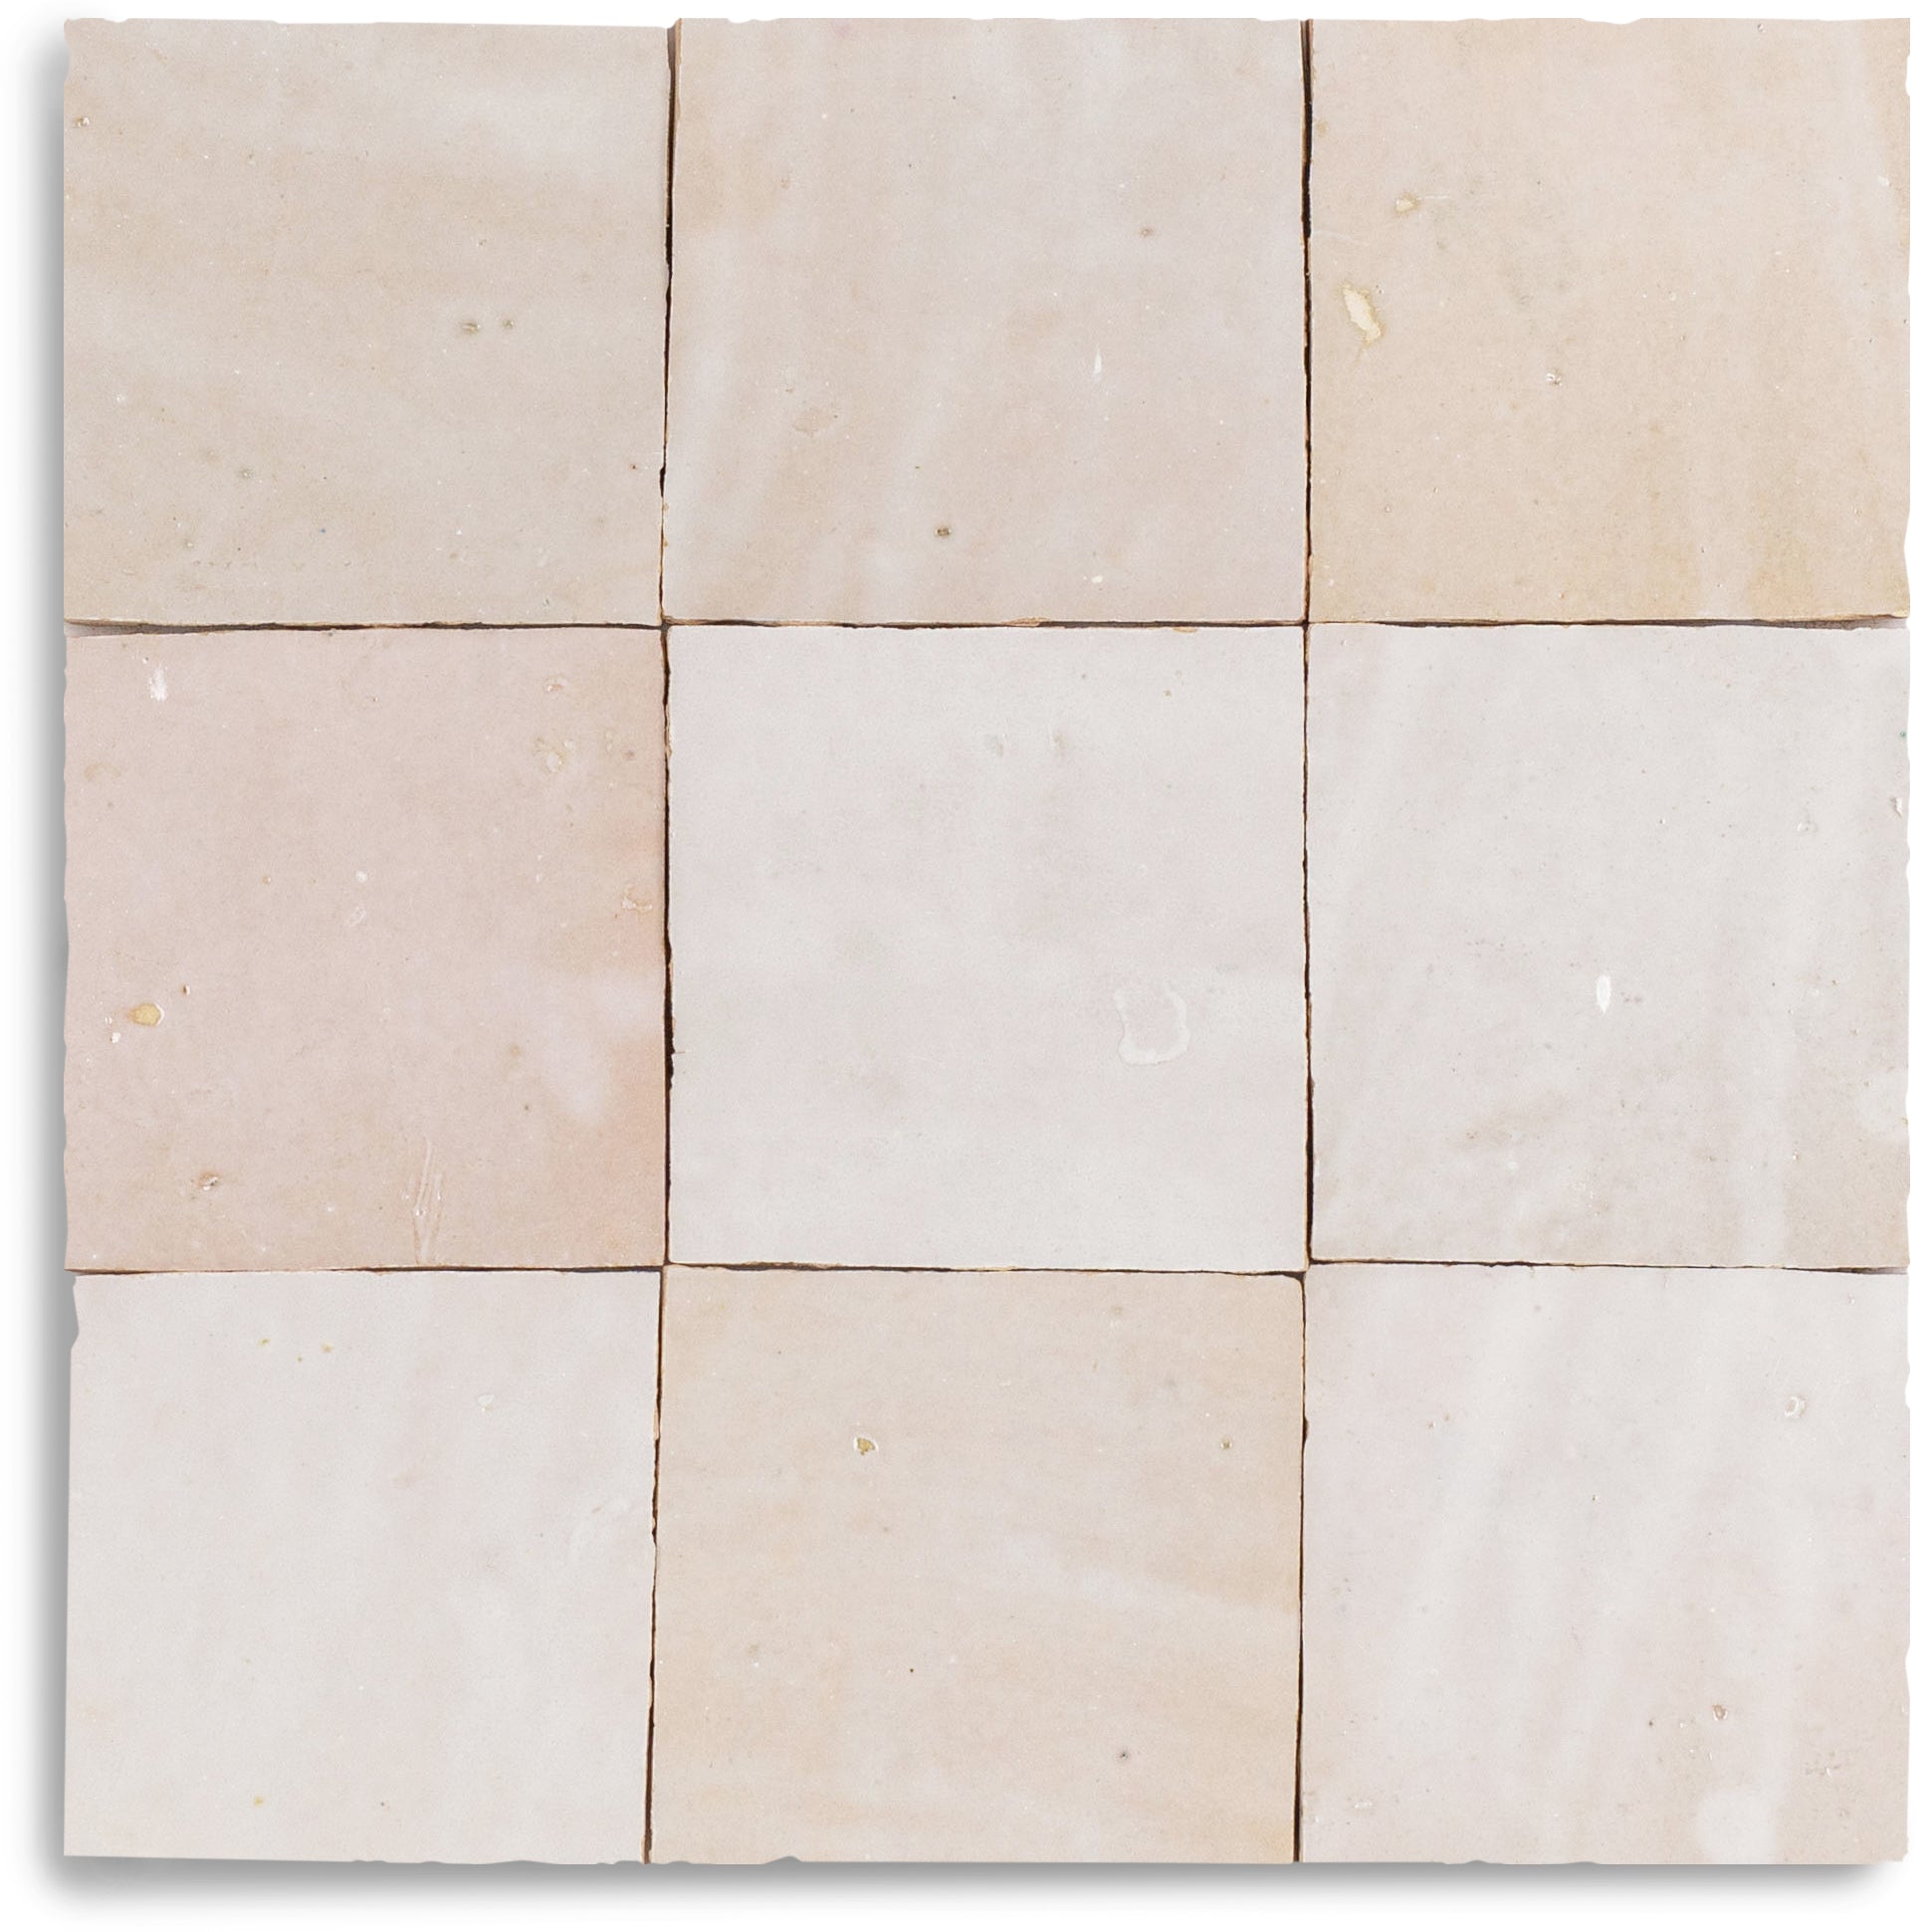
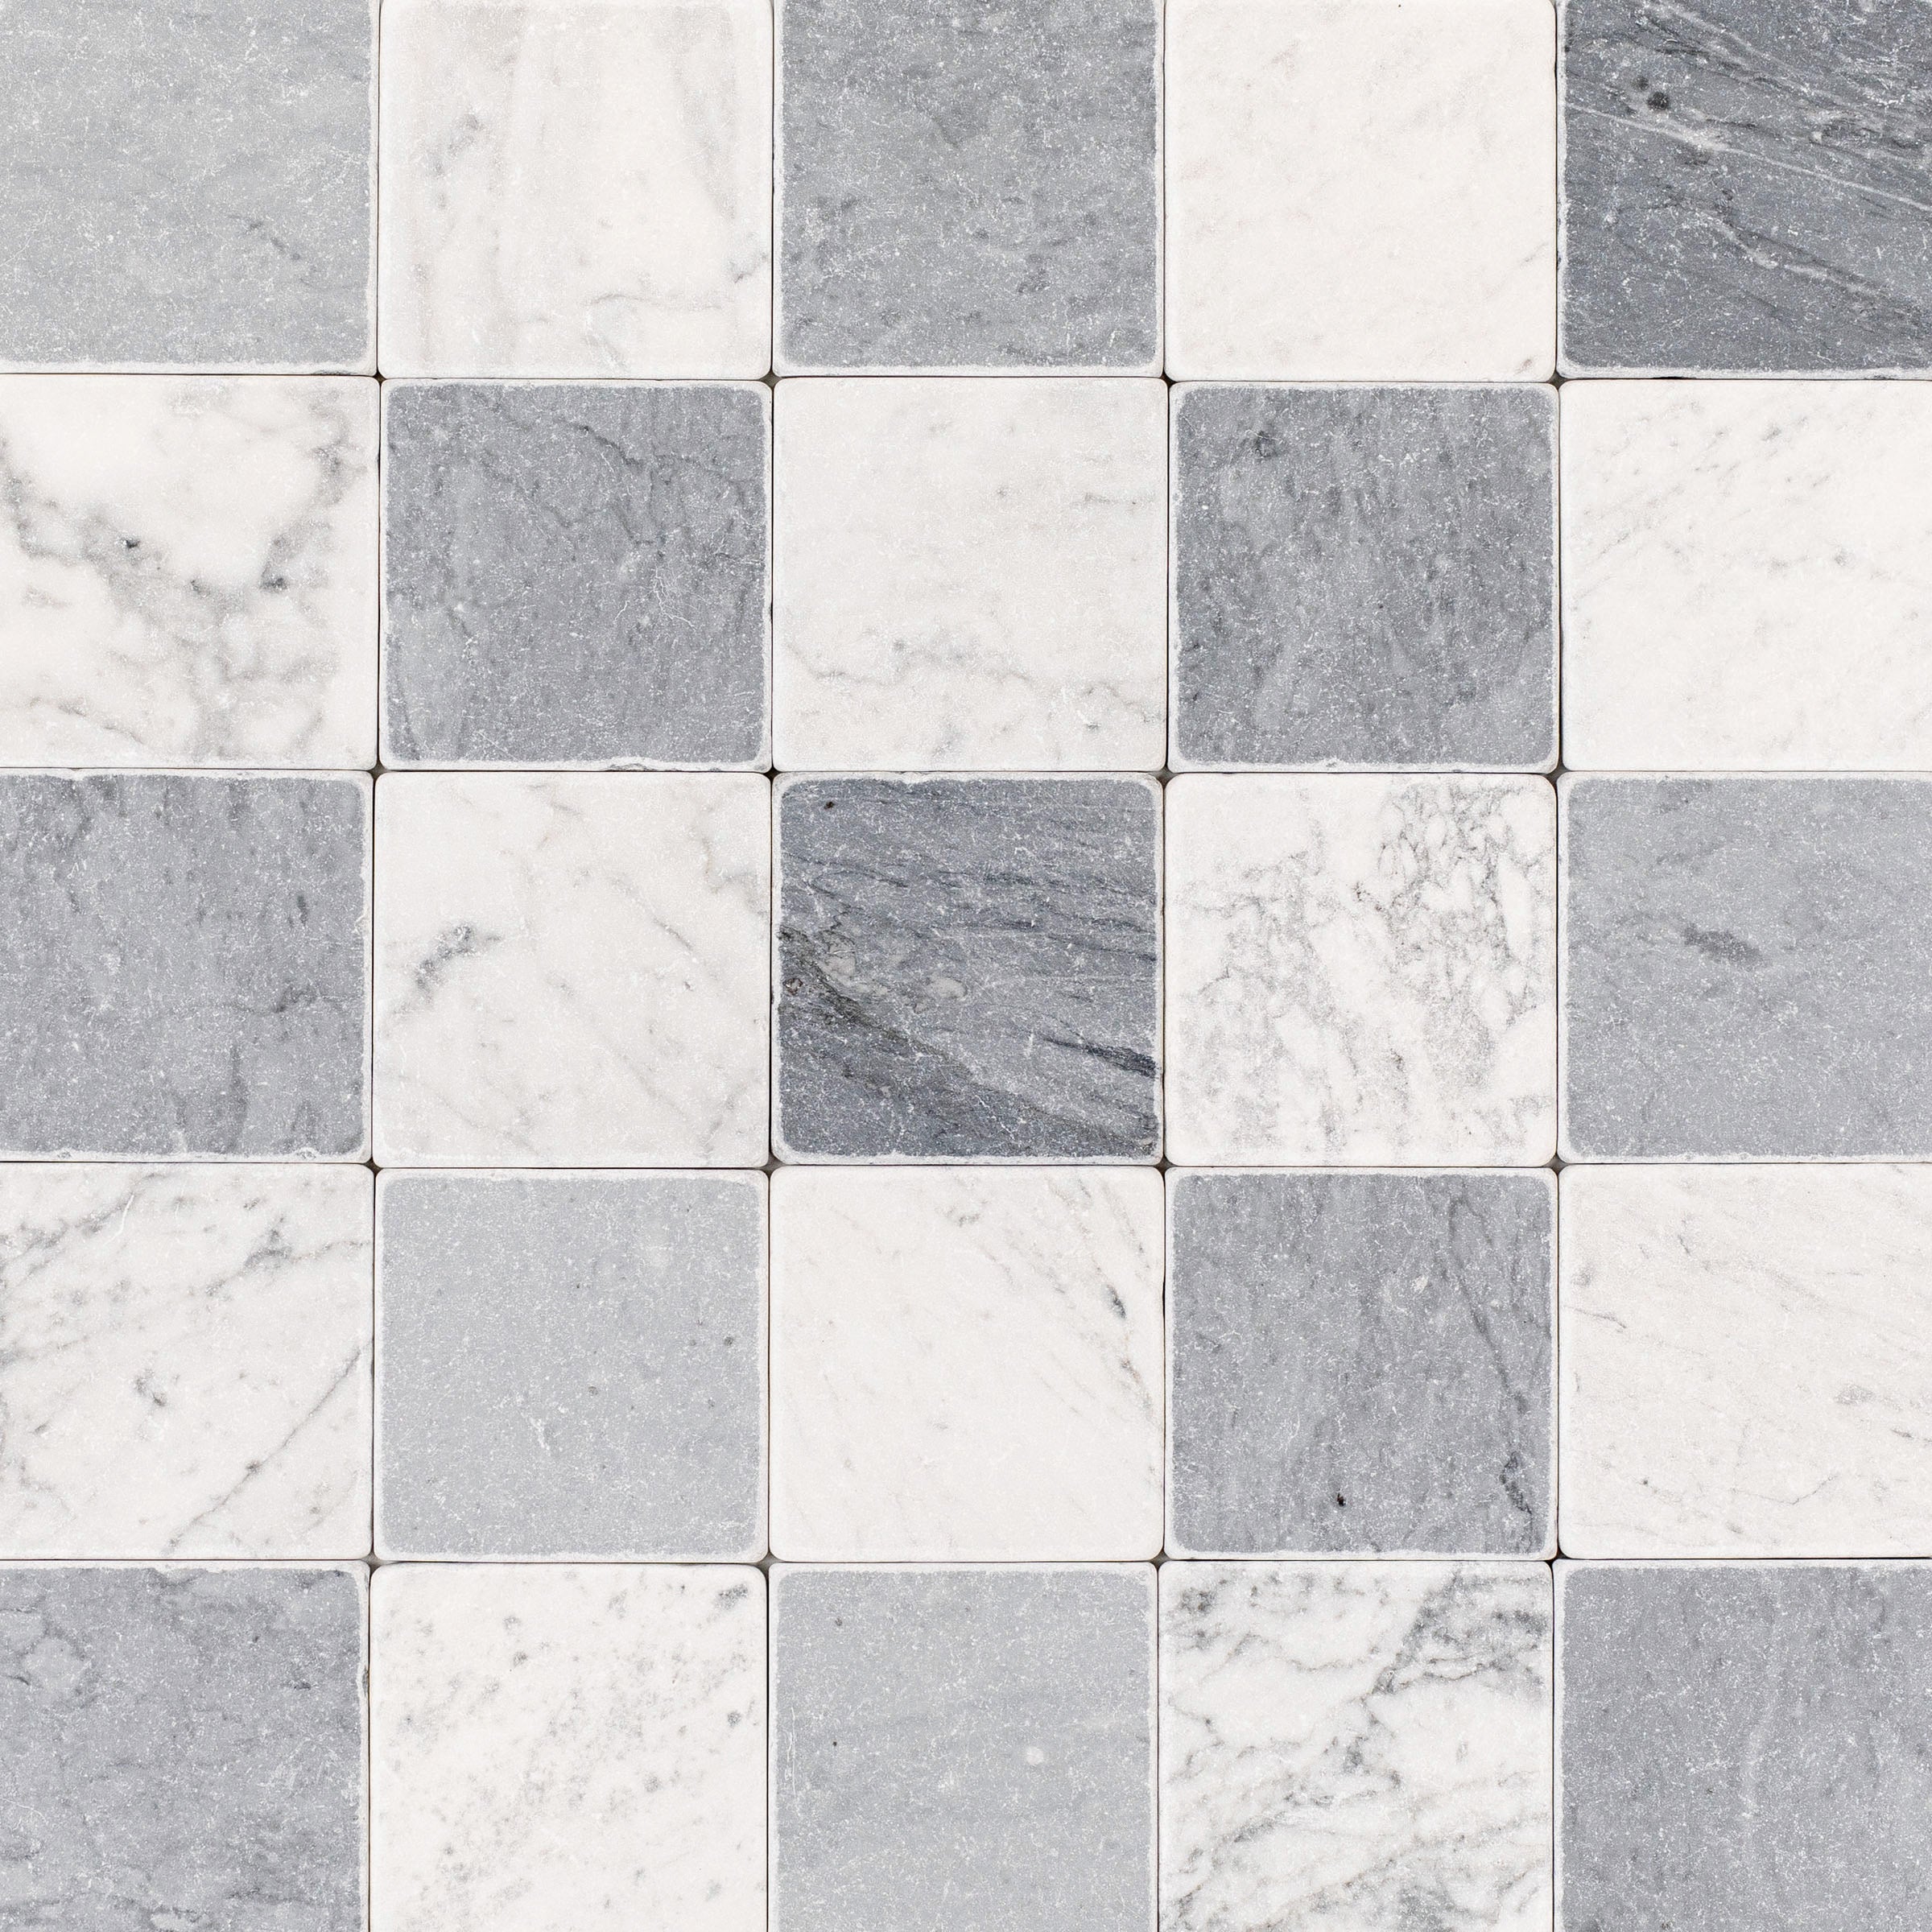
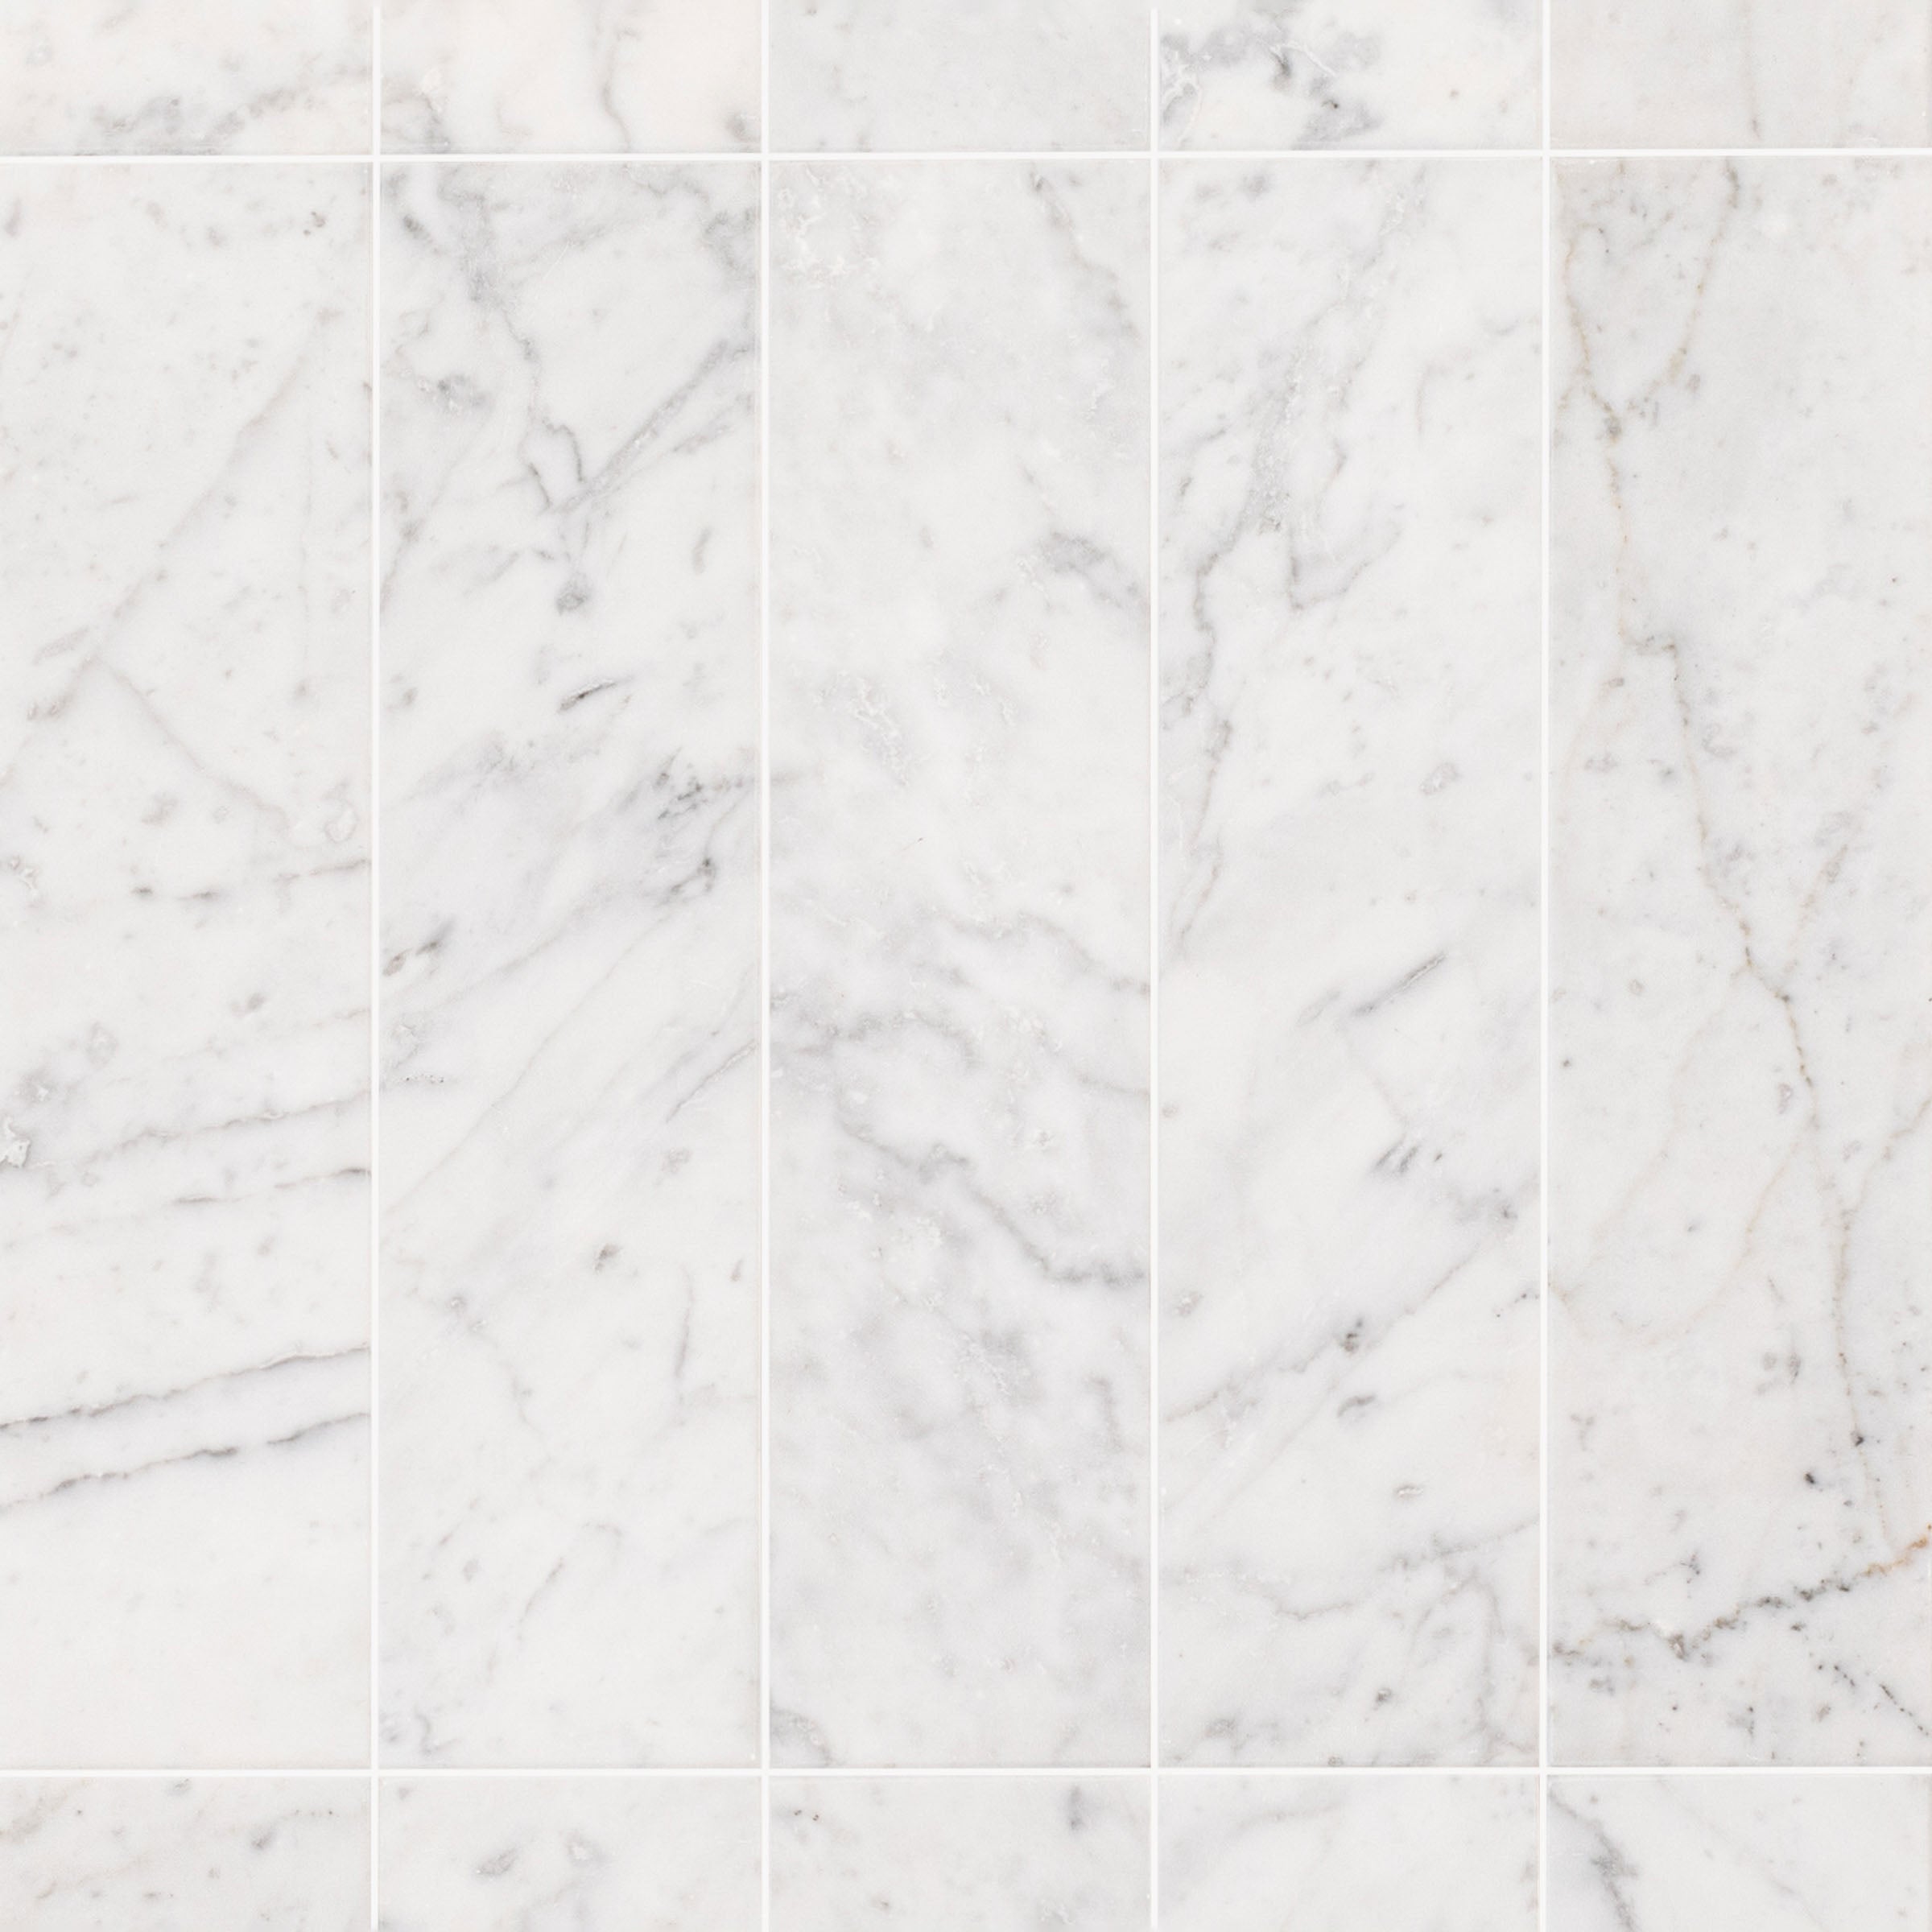
Product add-on
Product Highlights
Details:
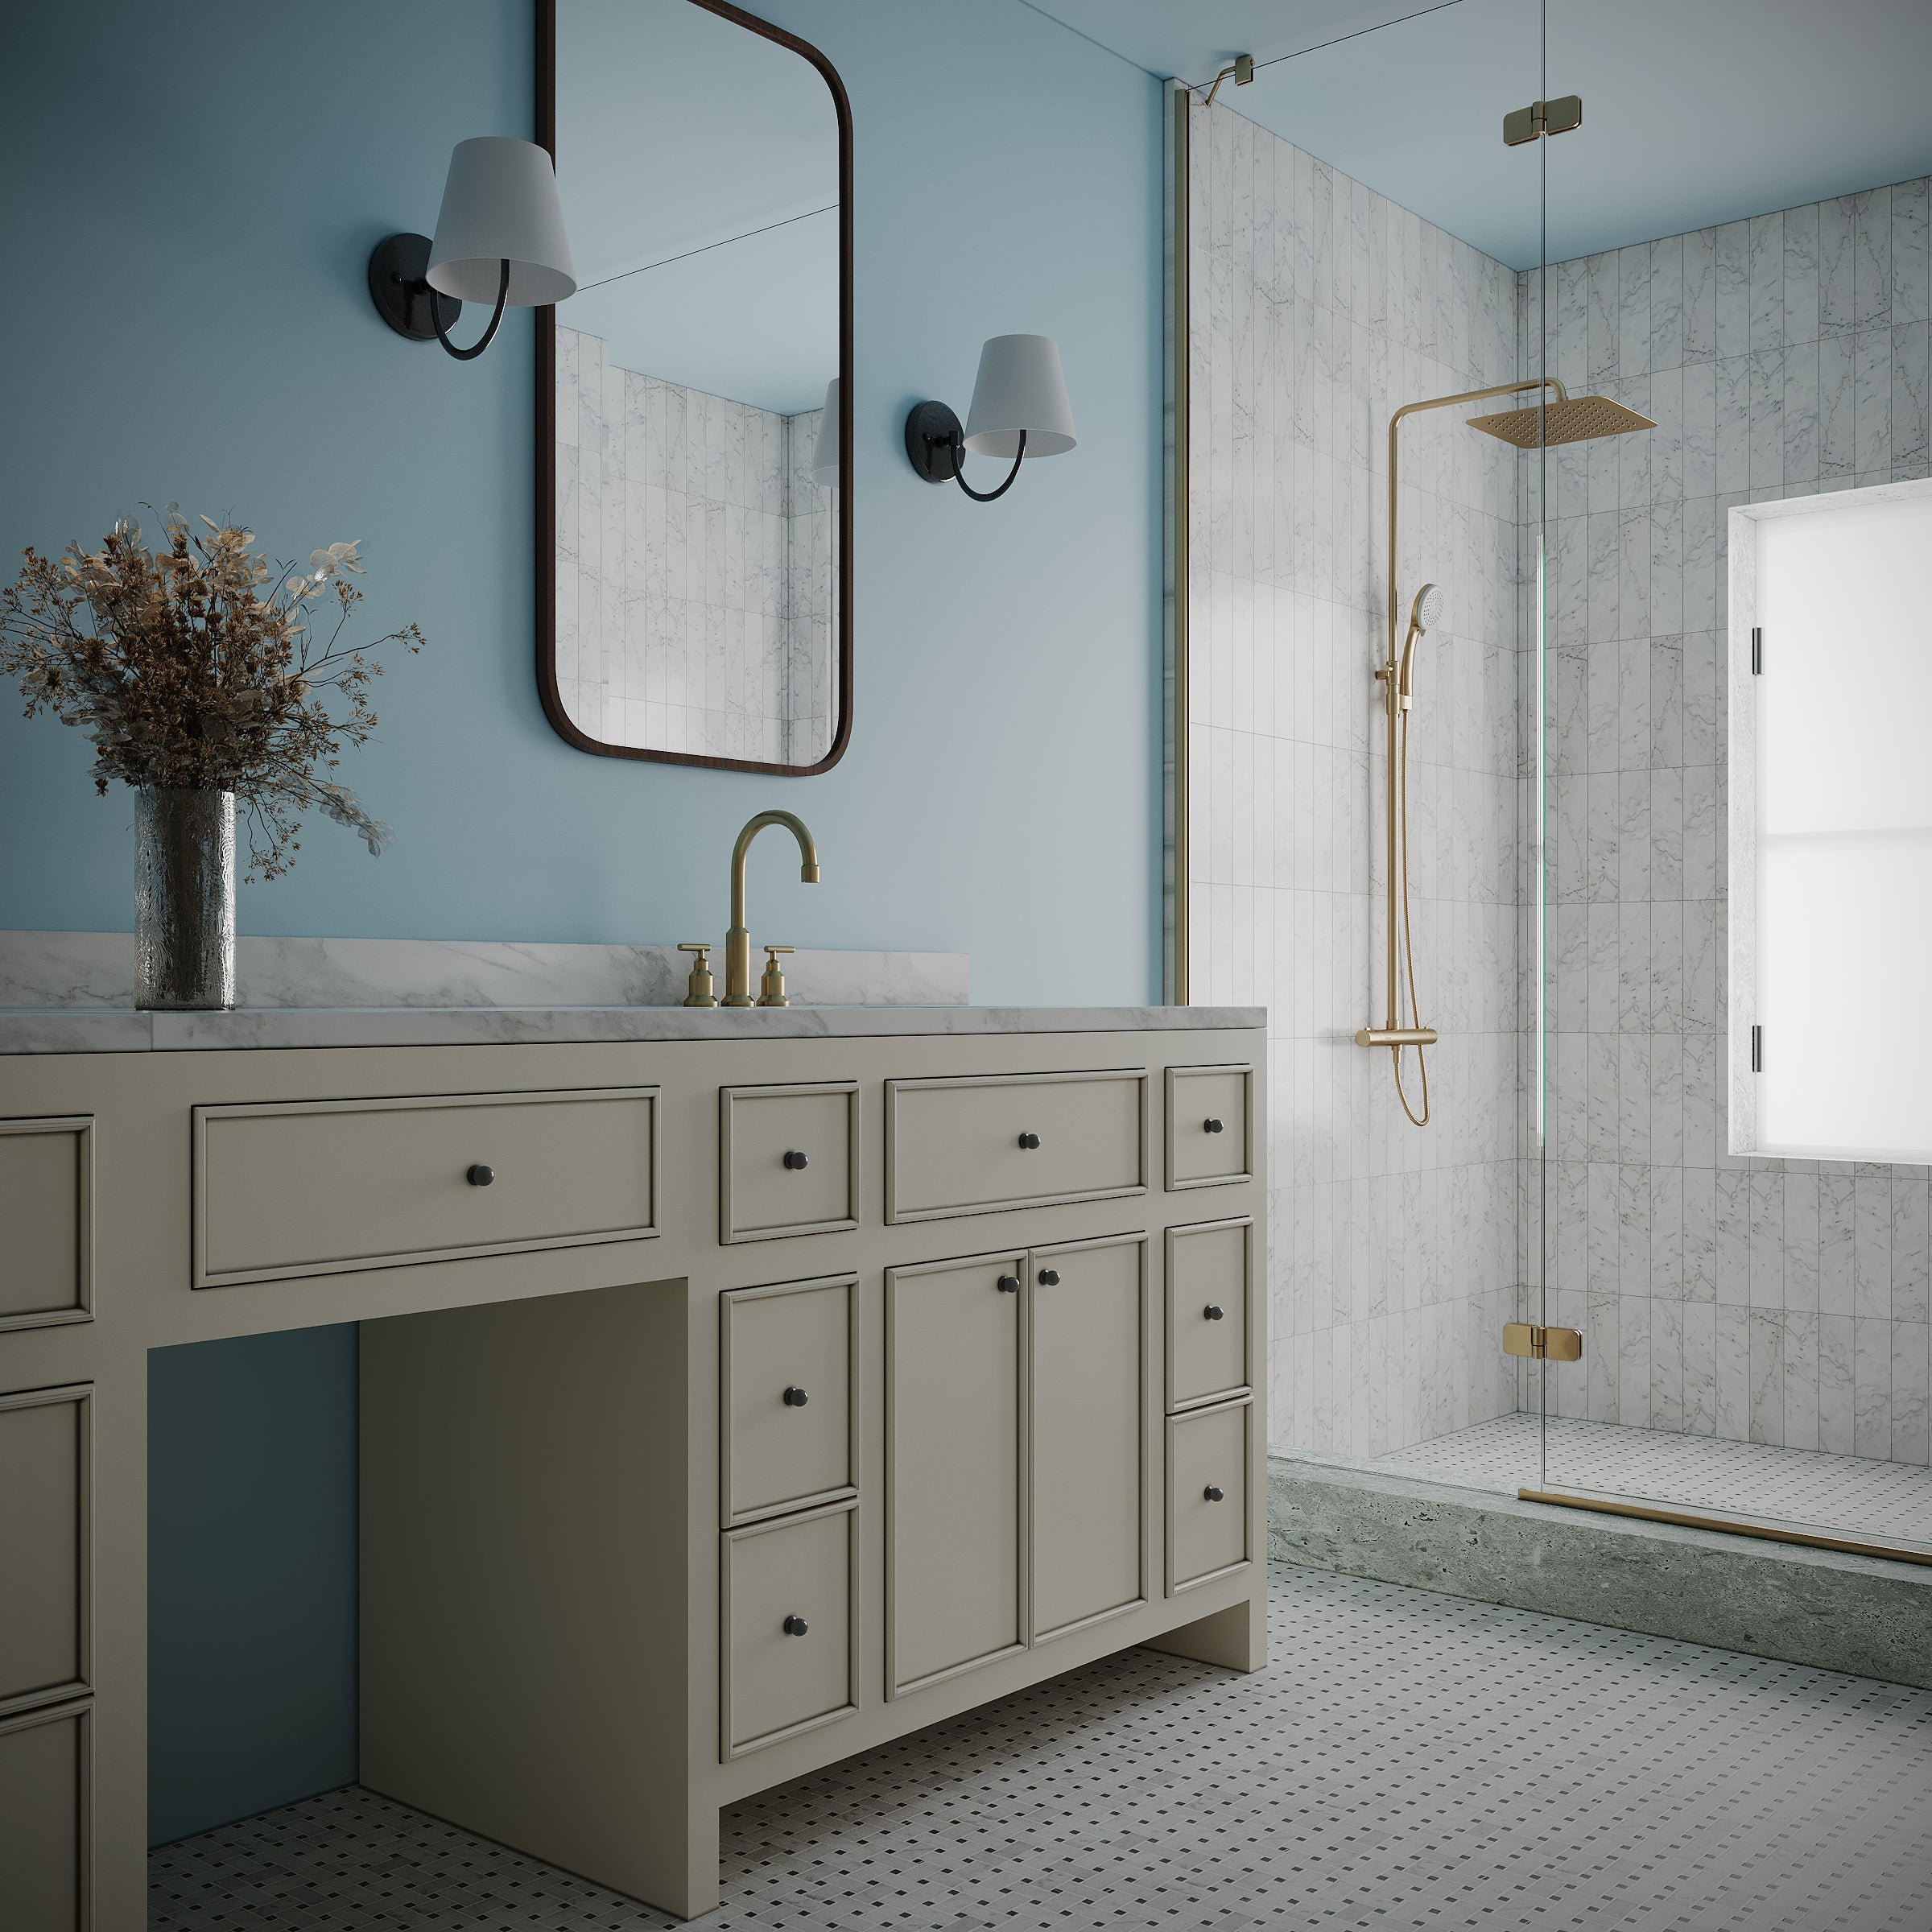
Engineered for Strength, Stability & Quiet Comfort
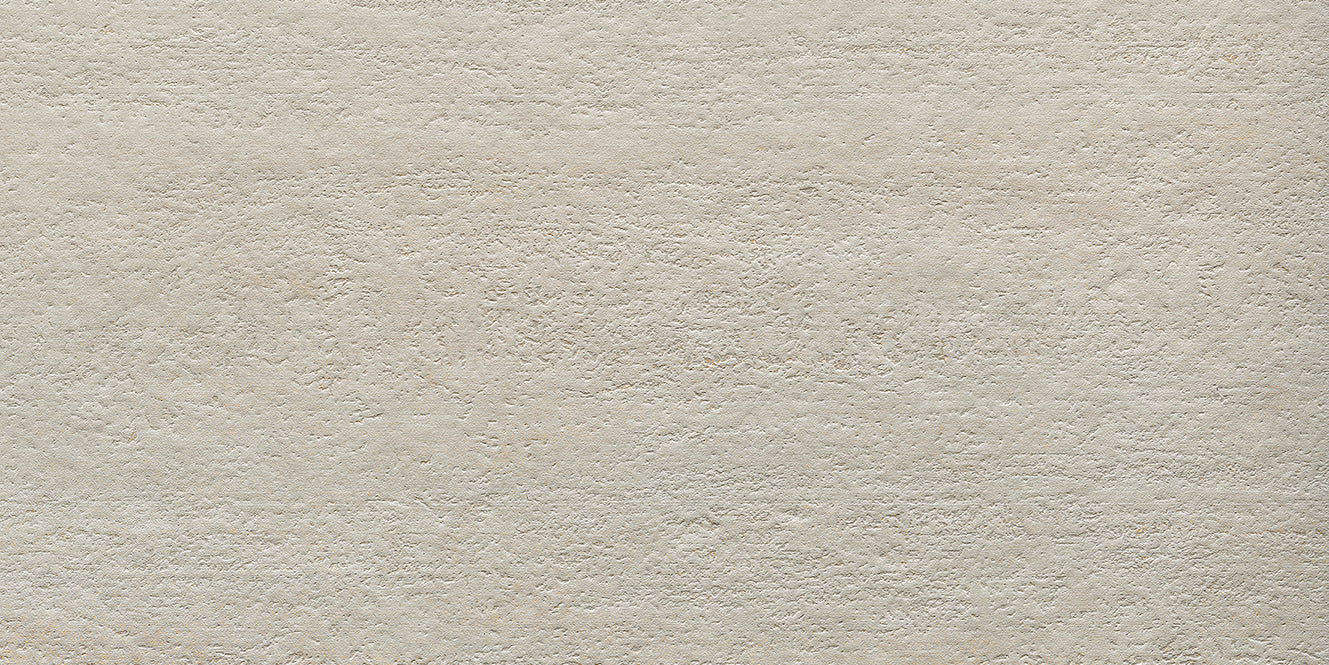
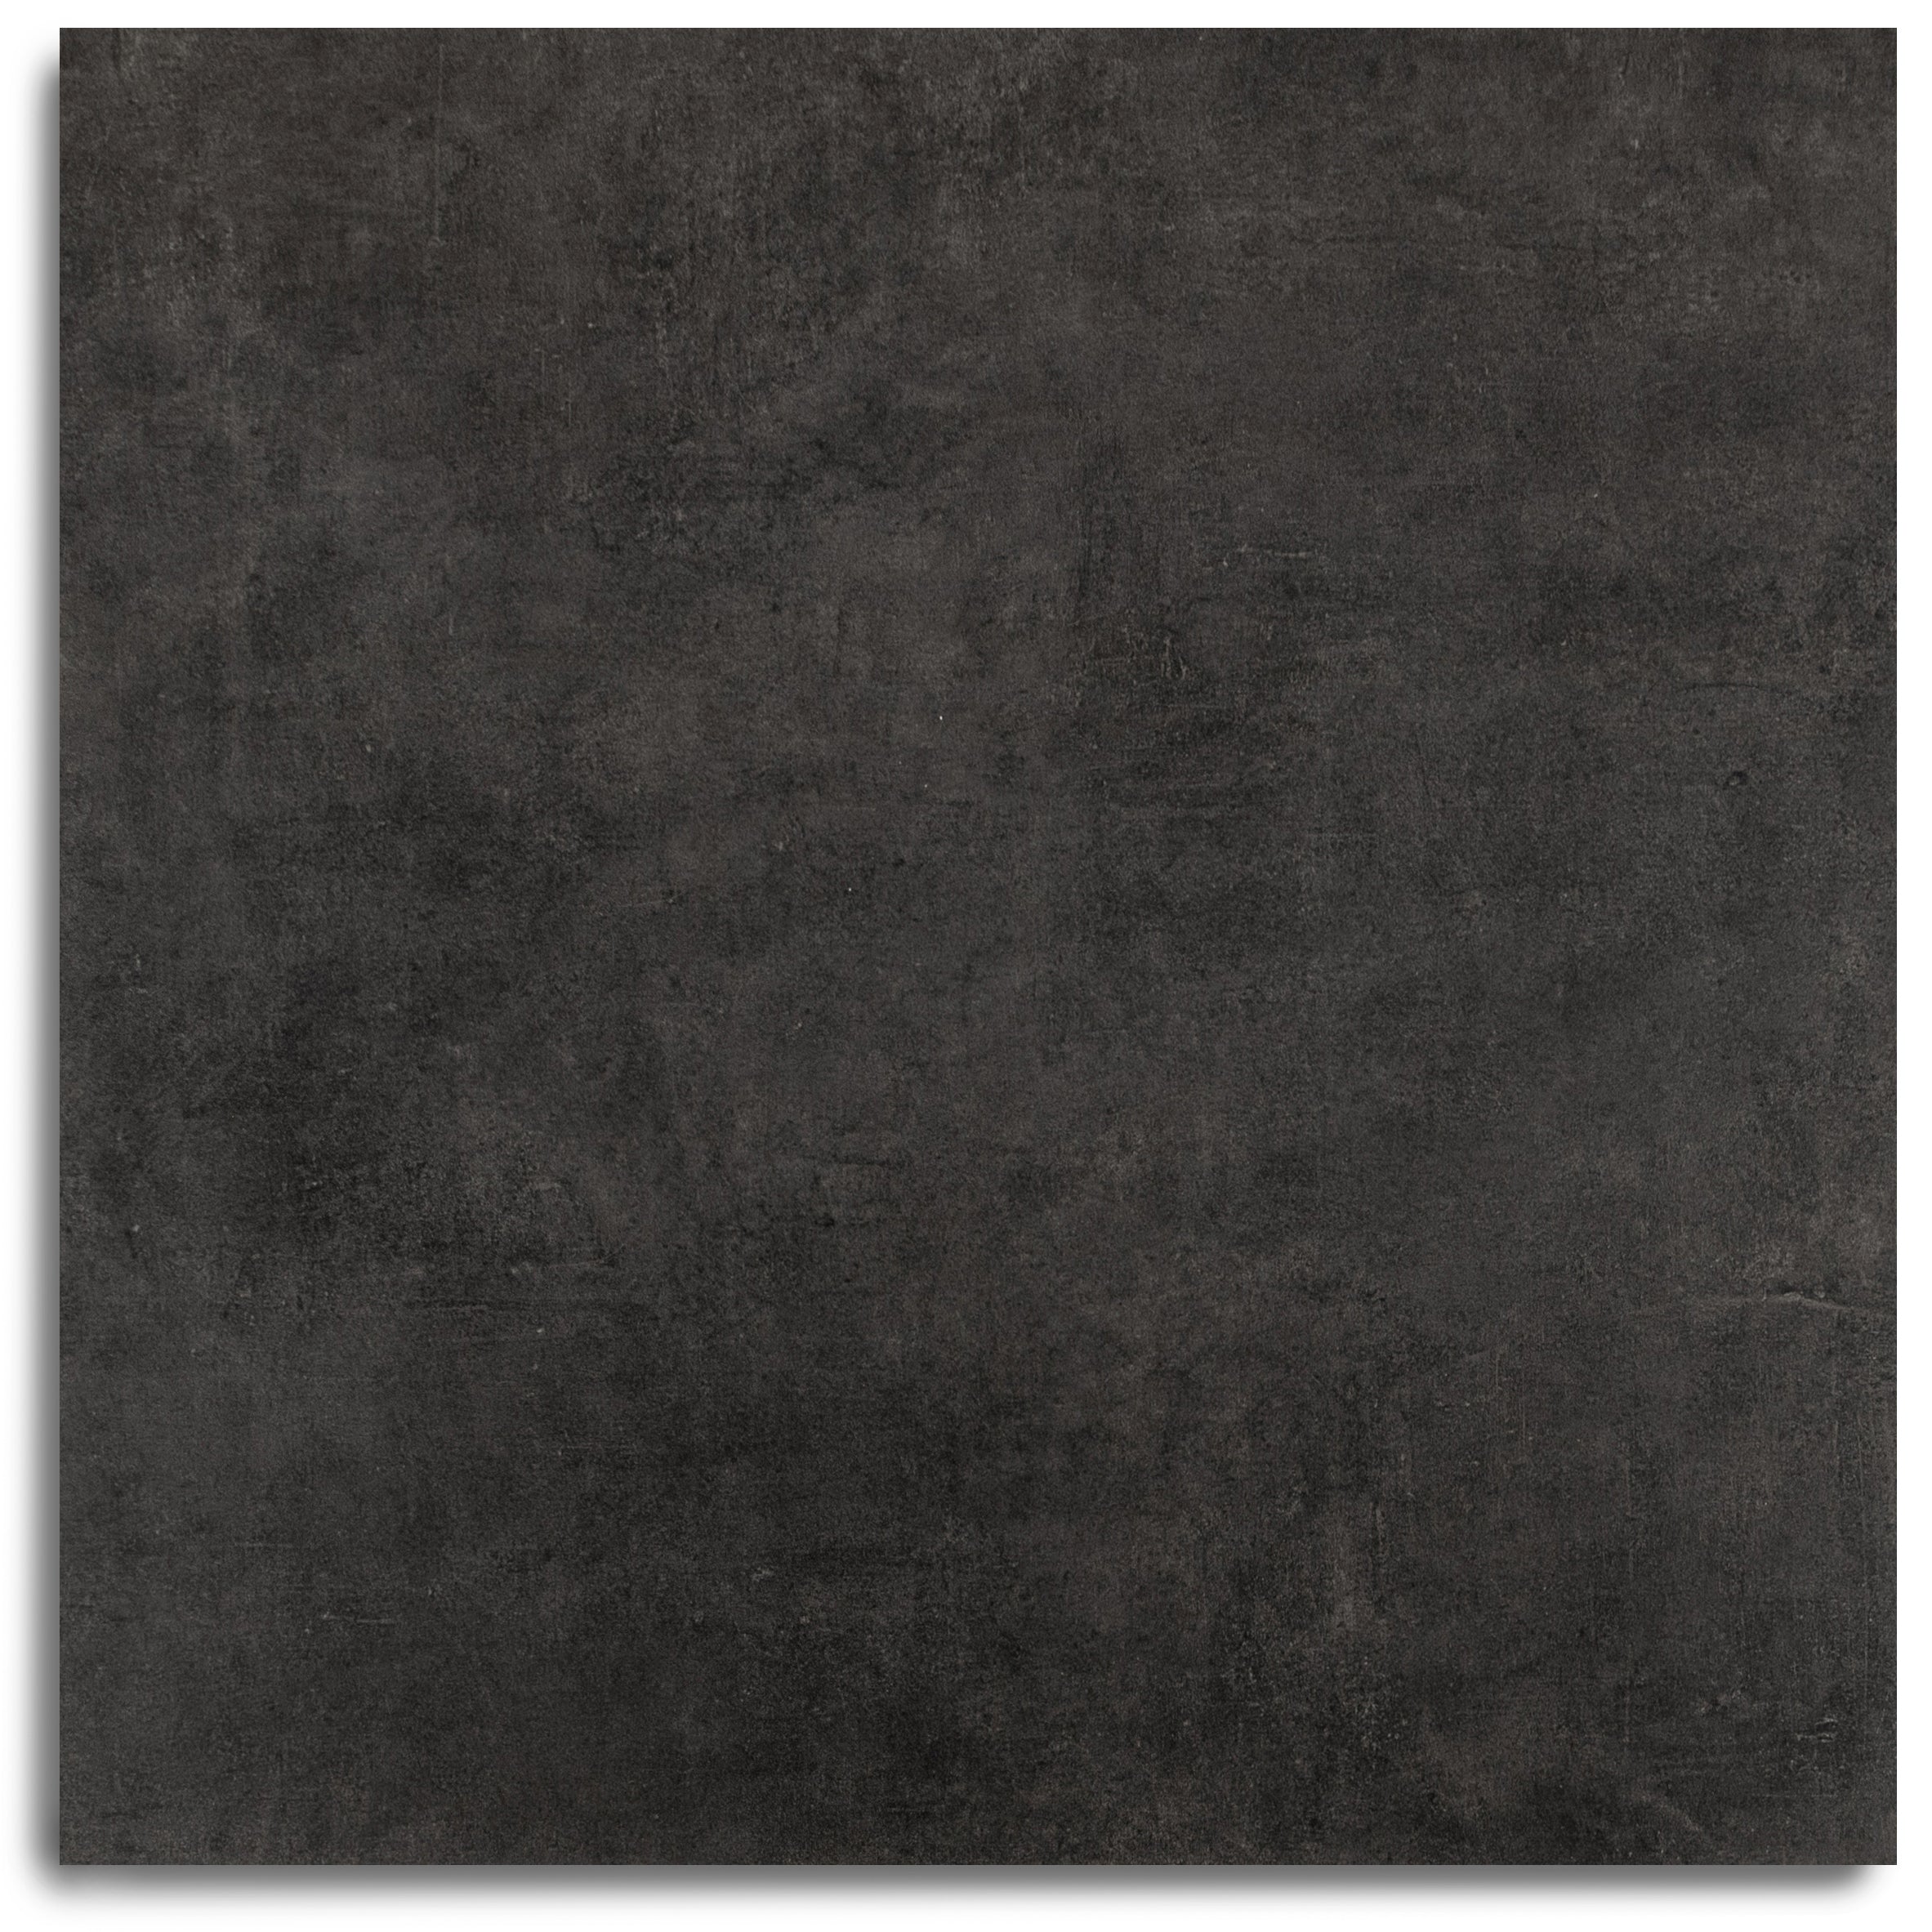
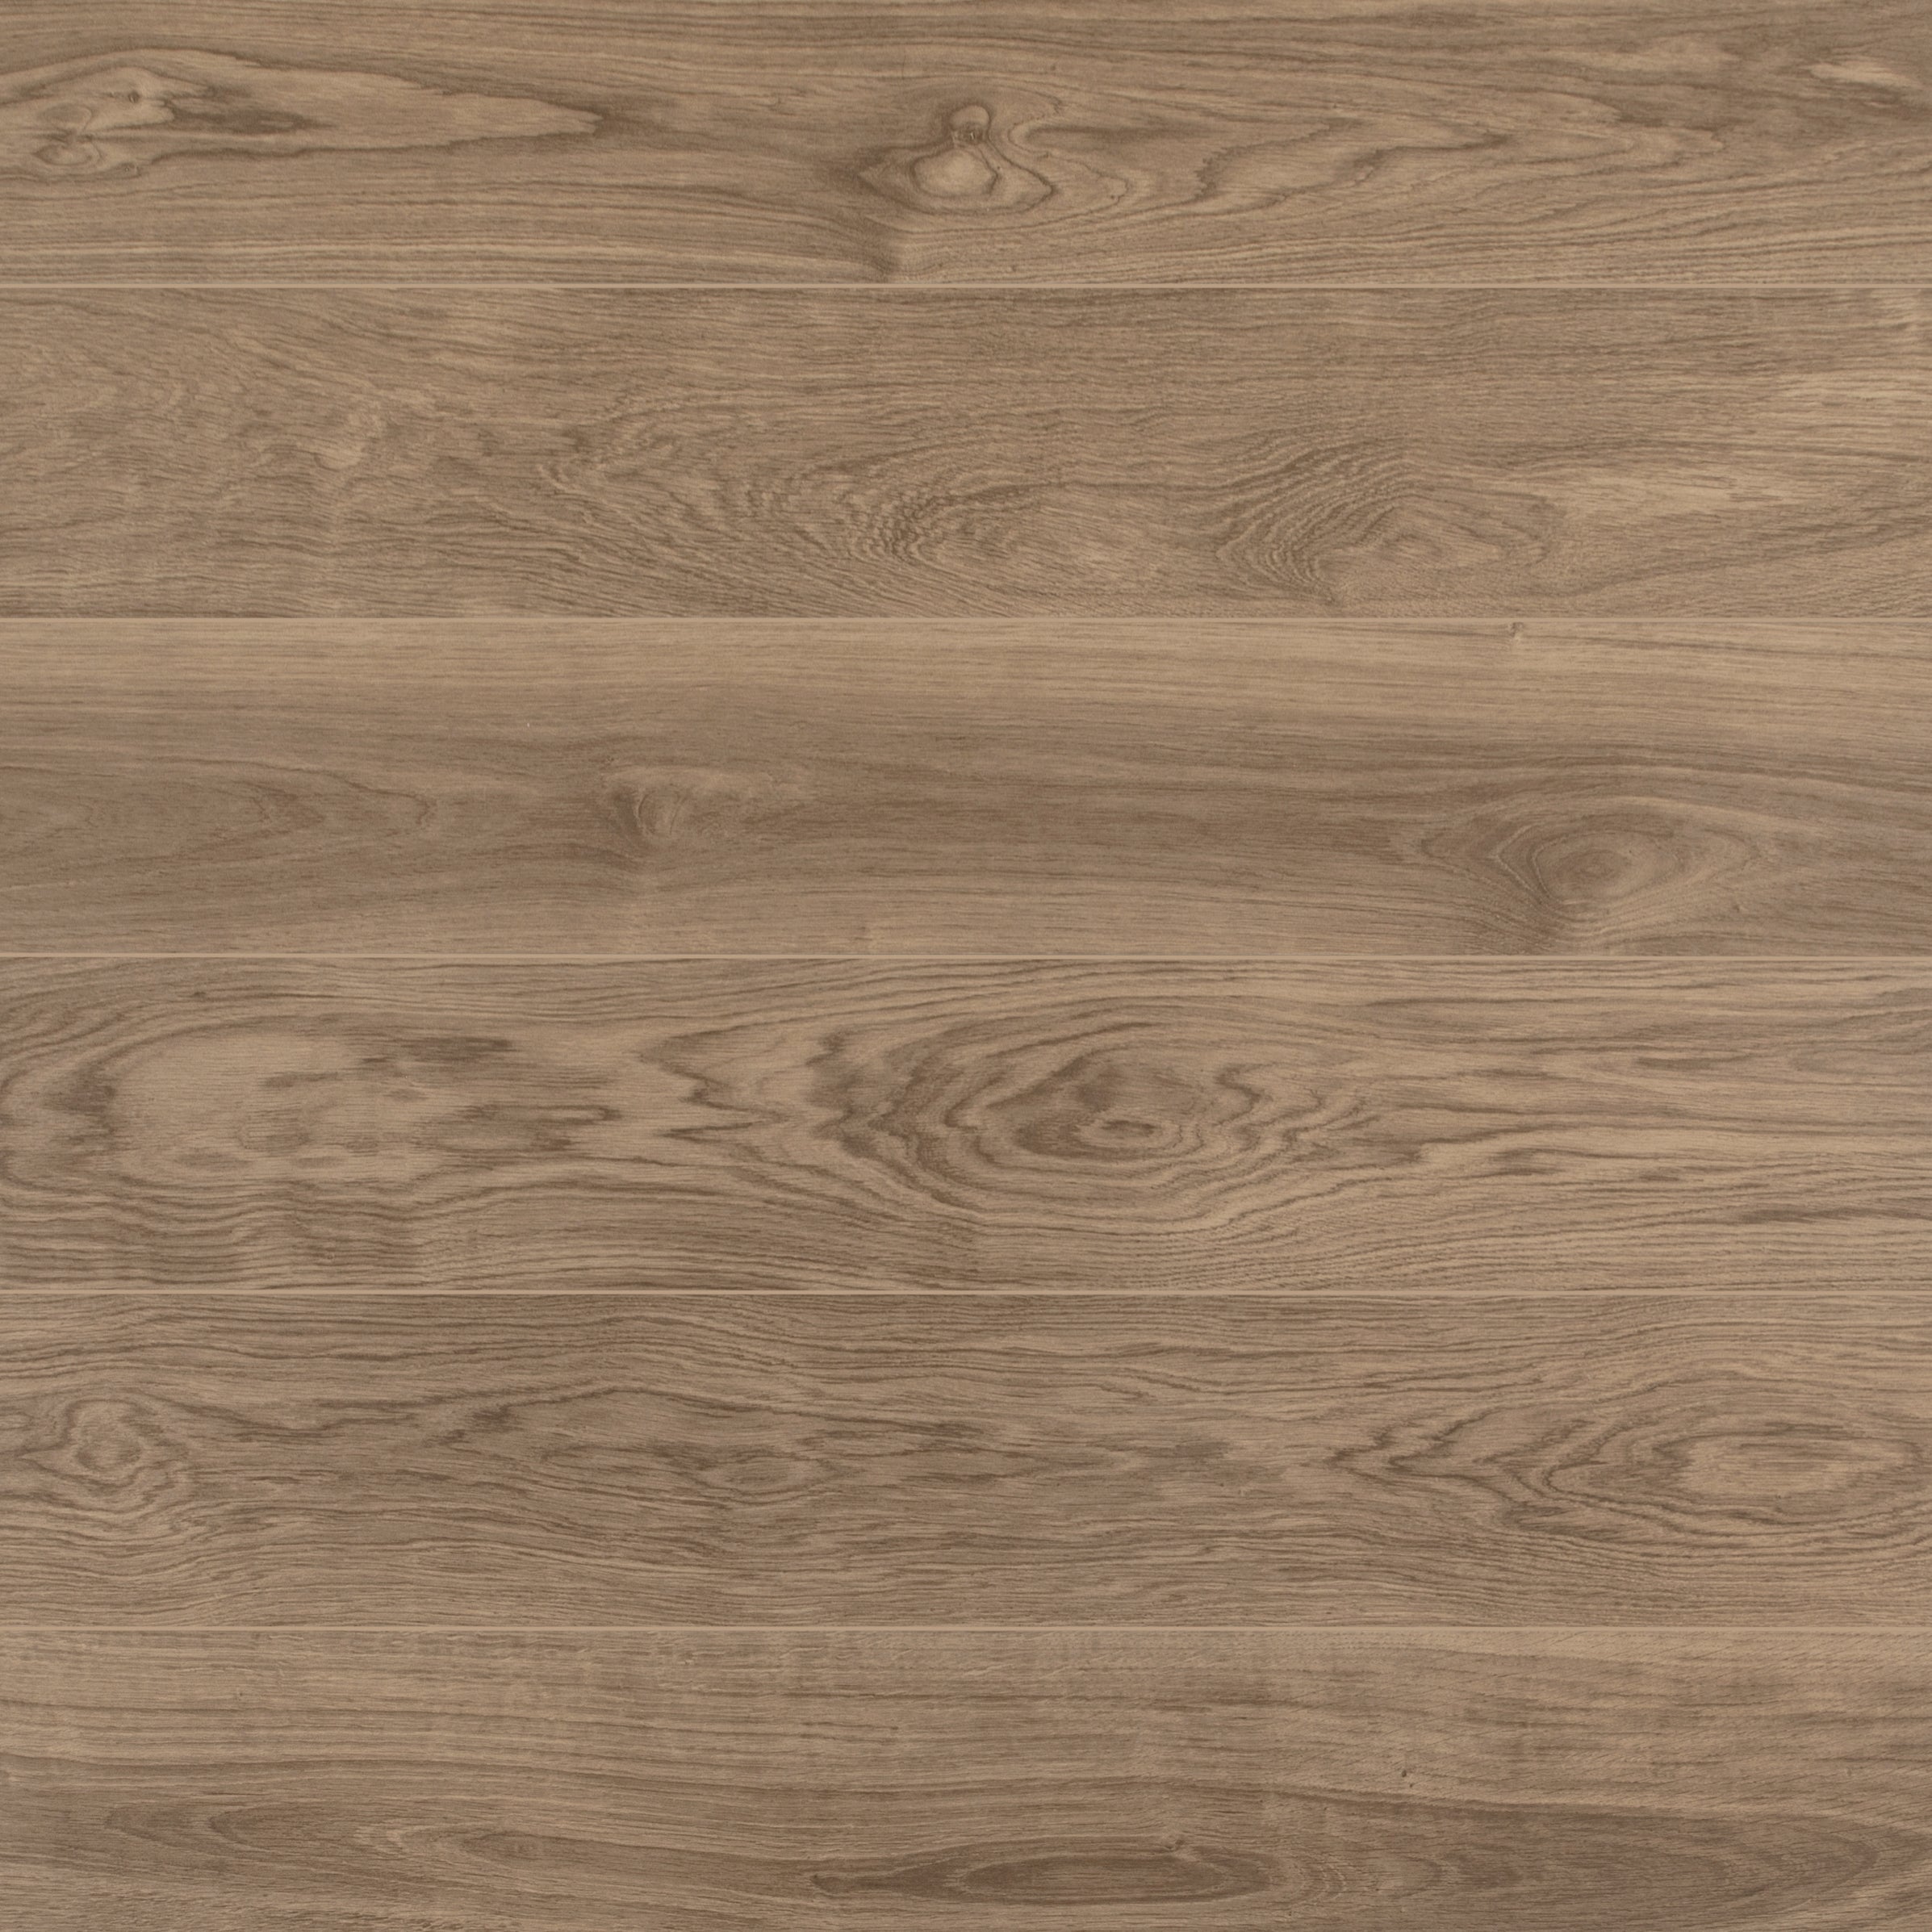
Color No. 11 is built on a dense 5mm rigid core paired with a 0.55mm (22 mil) wear layer delivering outstanding scratch, stain, and dent resistance for high-traffic homes and multi-family environments. The attached 1.5mm IXPE underpad provides meaningful acoustic performance and enhanced underfoot comfort. Its click system combines Unilin on the long side with Valinge 5G on the short side for fast, secure installation, while the 100% waterproof construction performs reliably above or below grade. Free from VOCs, phthalates, and formaldehyde, it meets both FloorScore and GREENGUARD Gold indoor air quality standards.
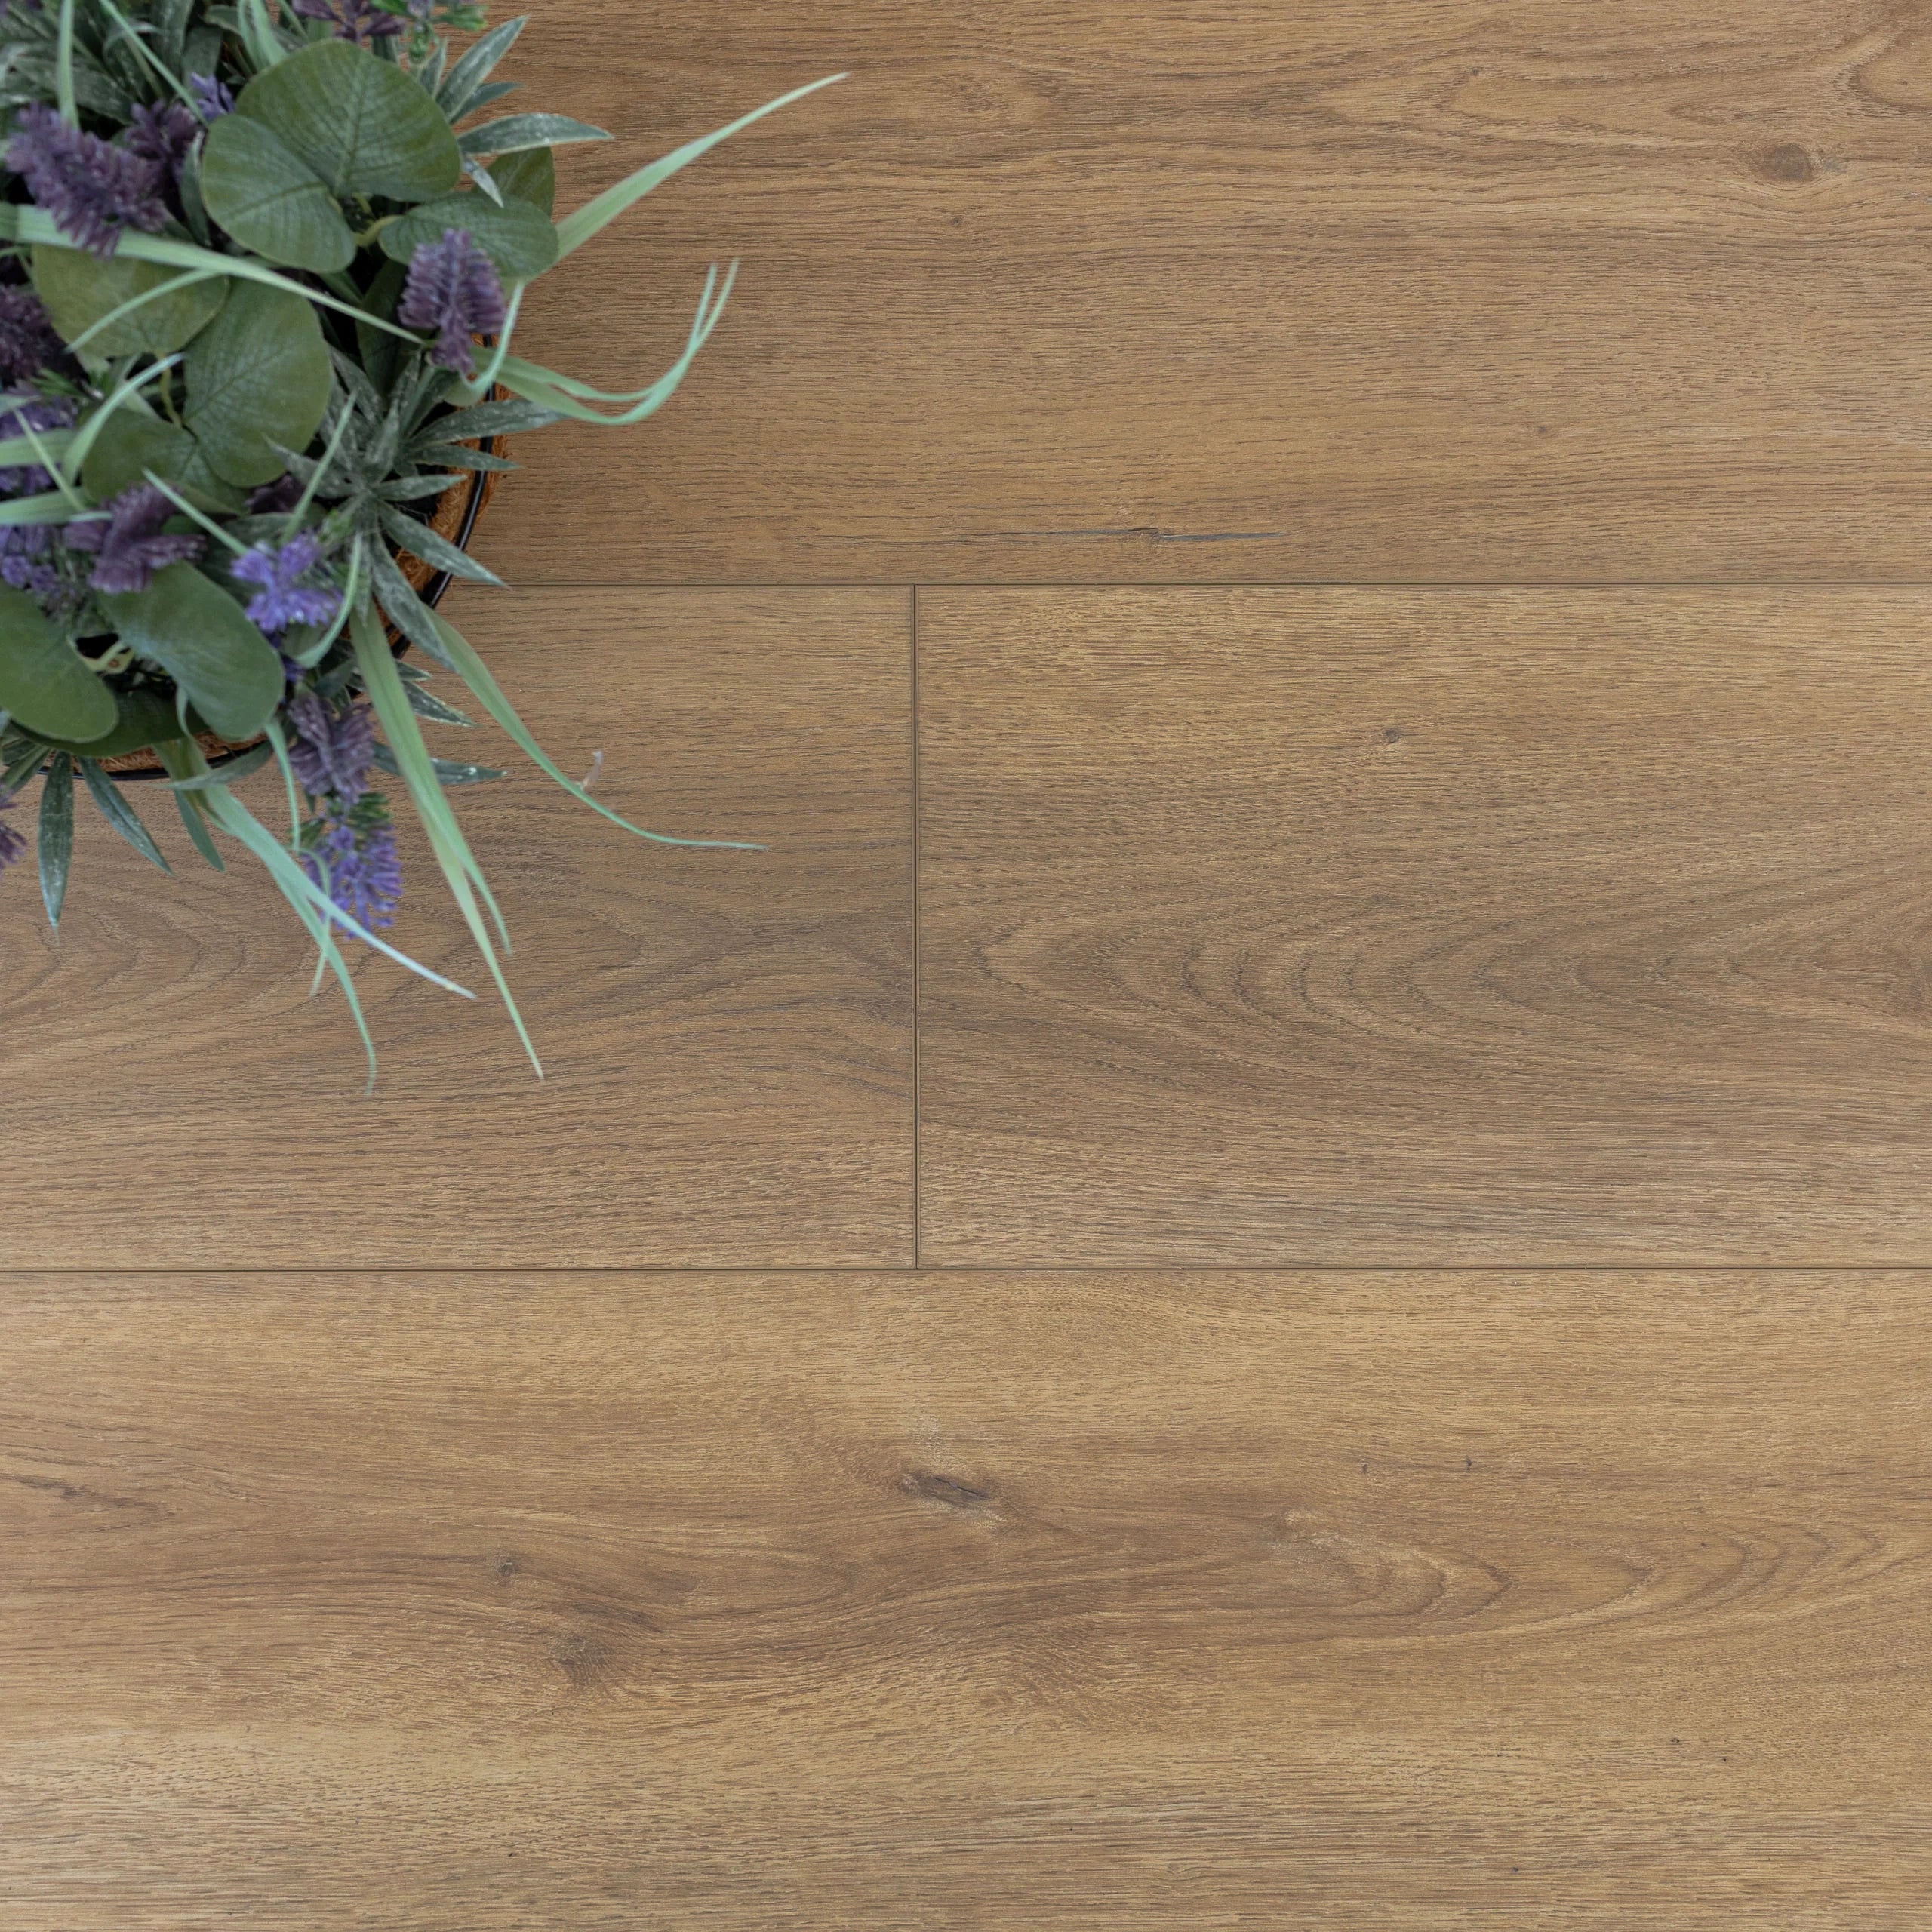
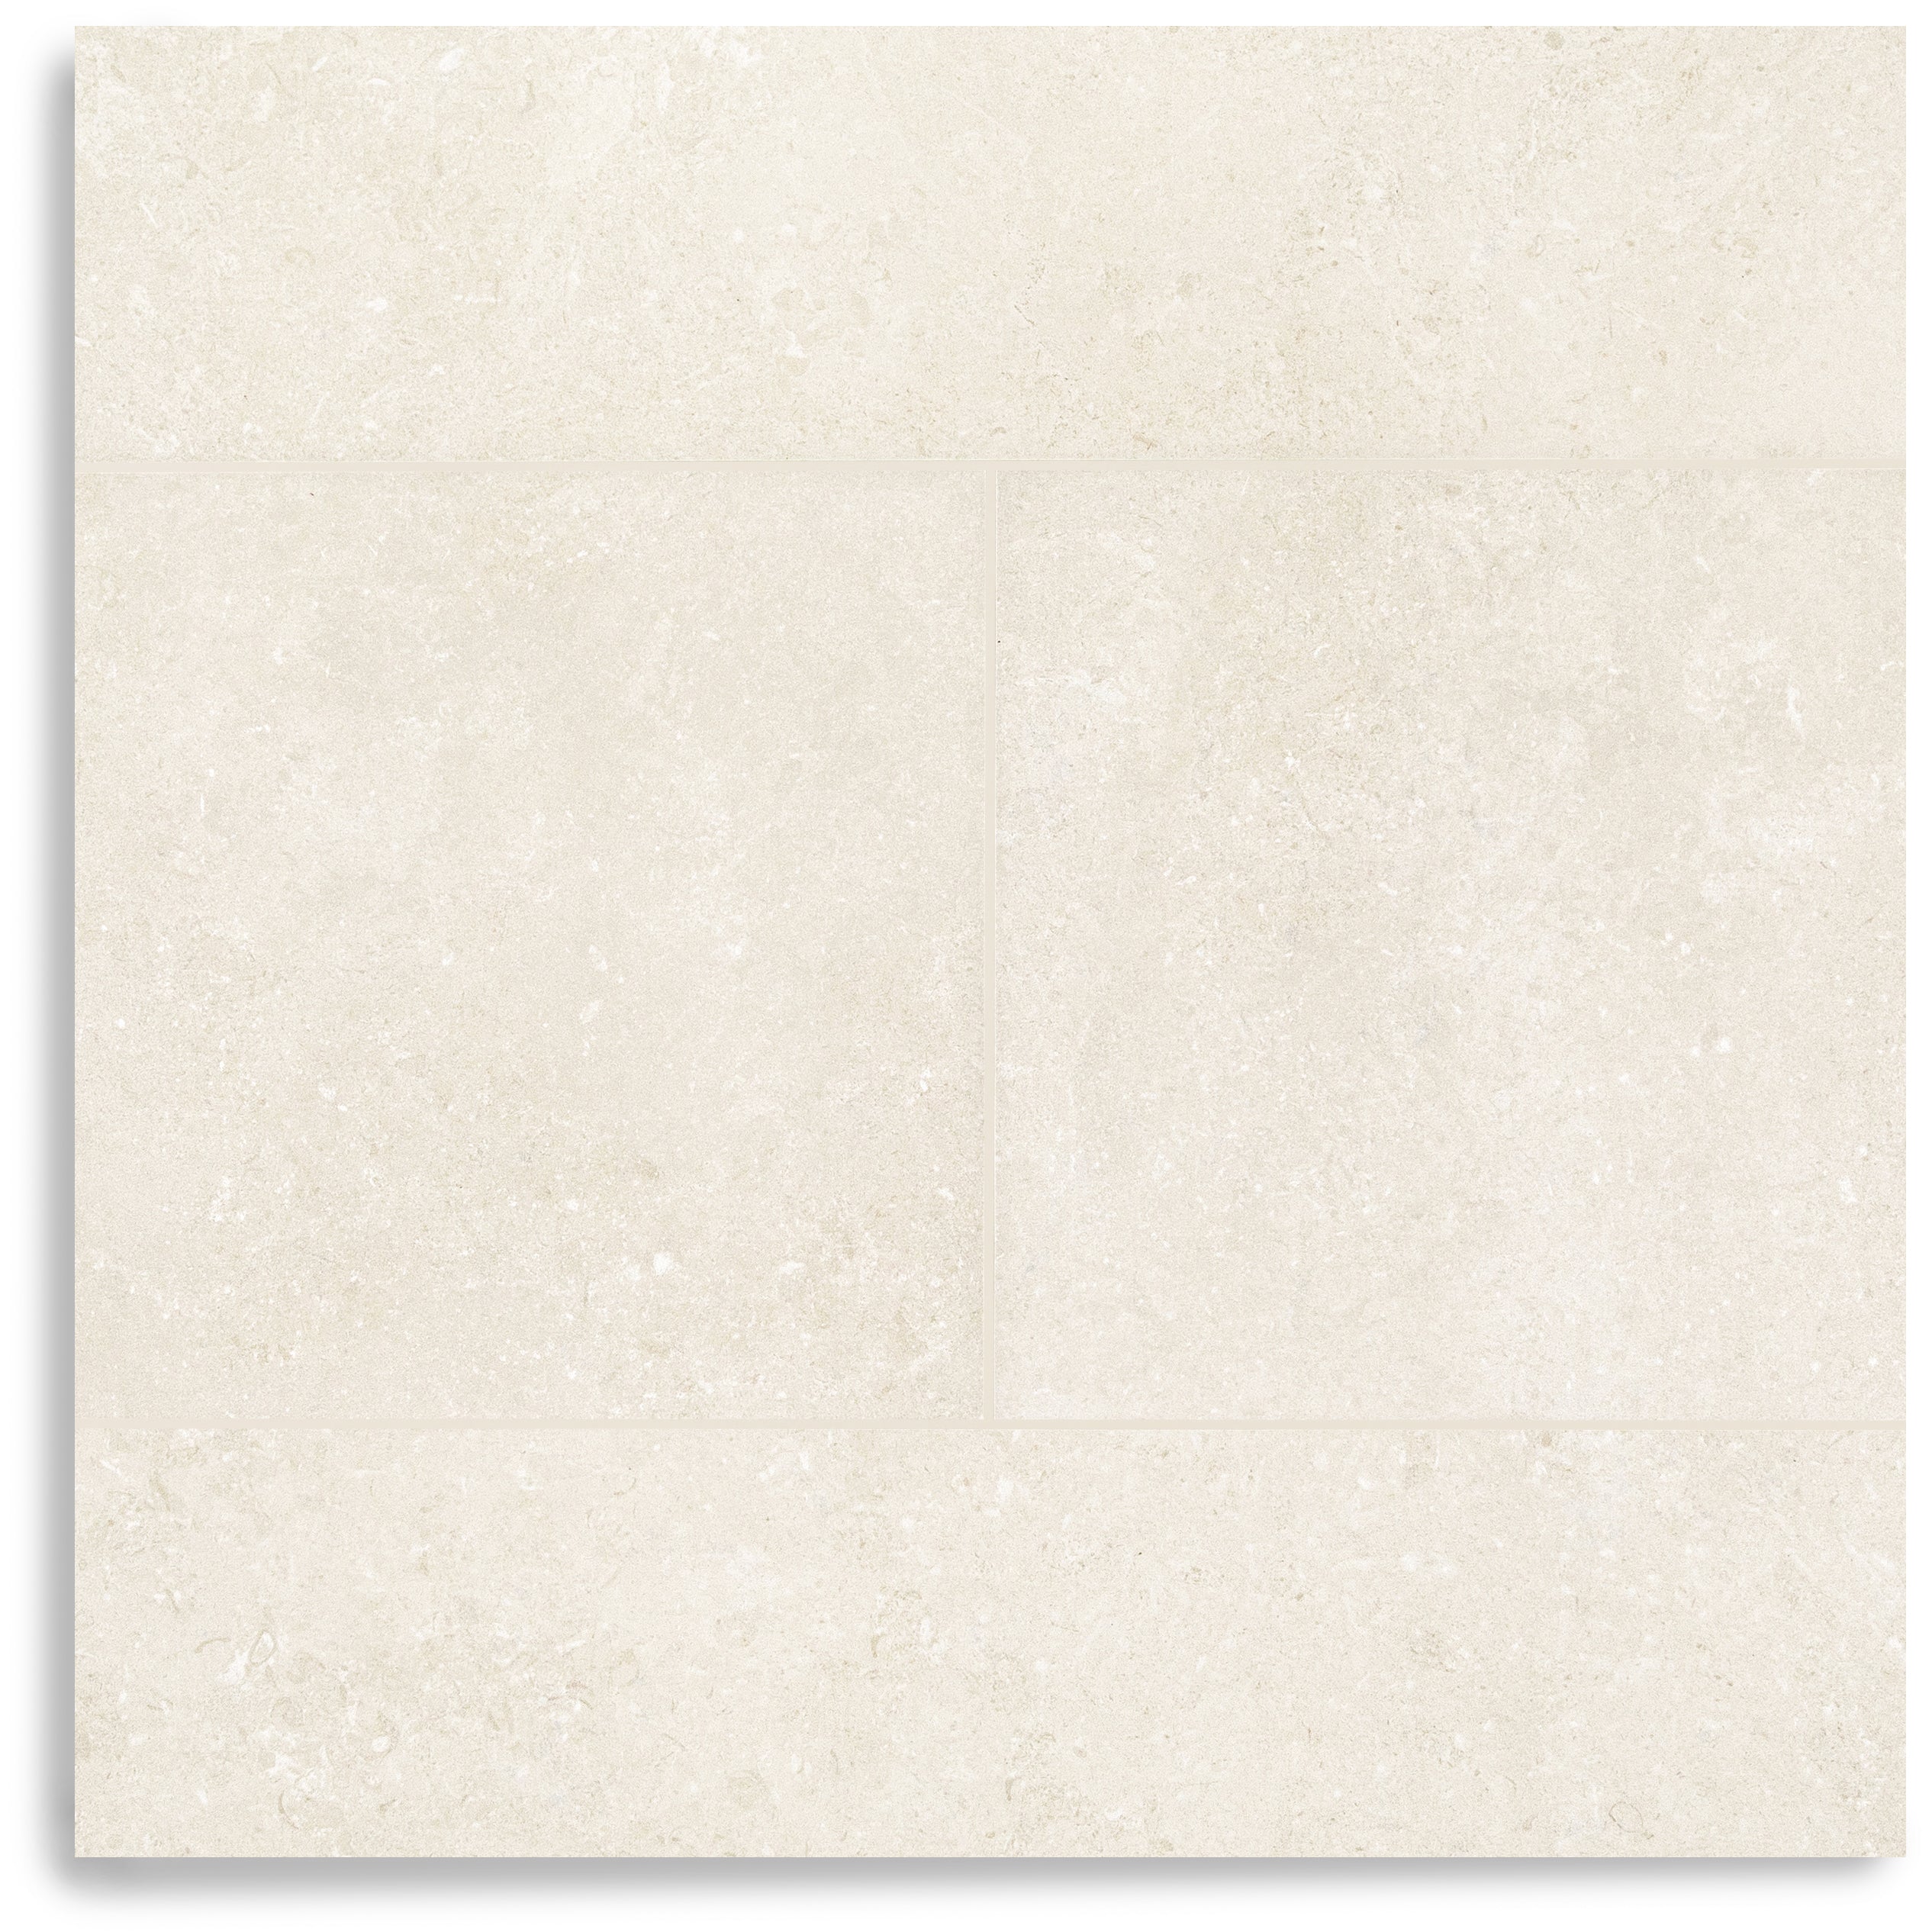
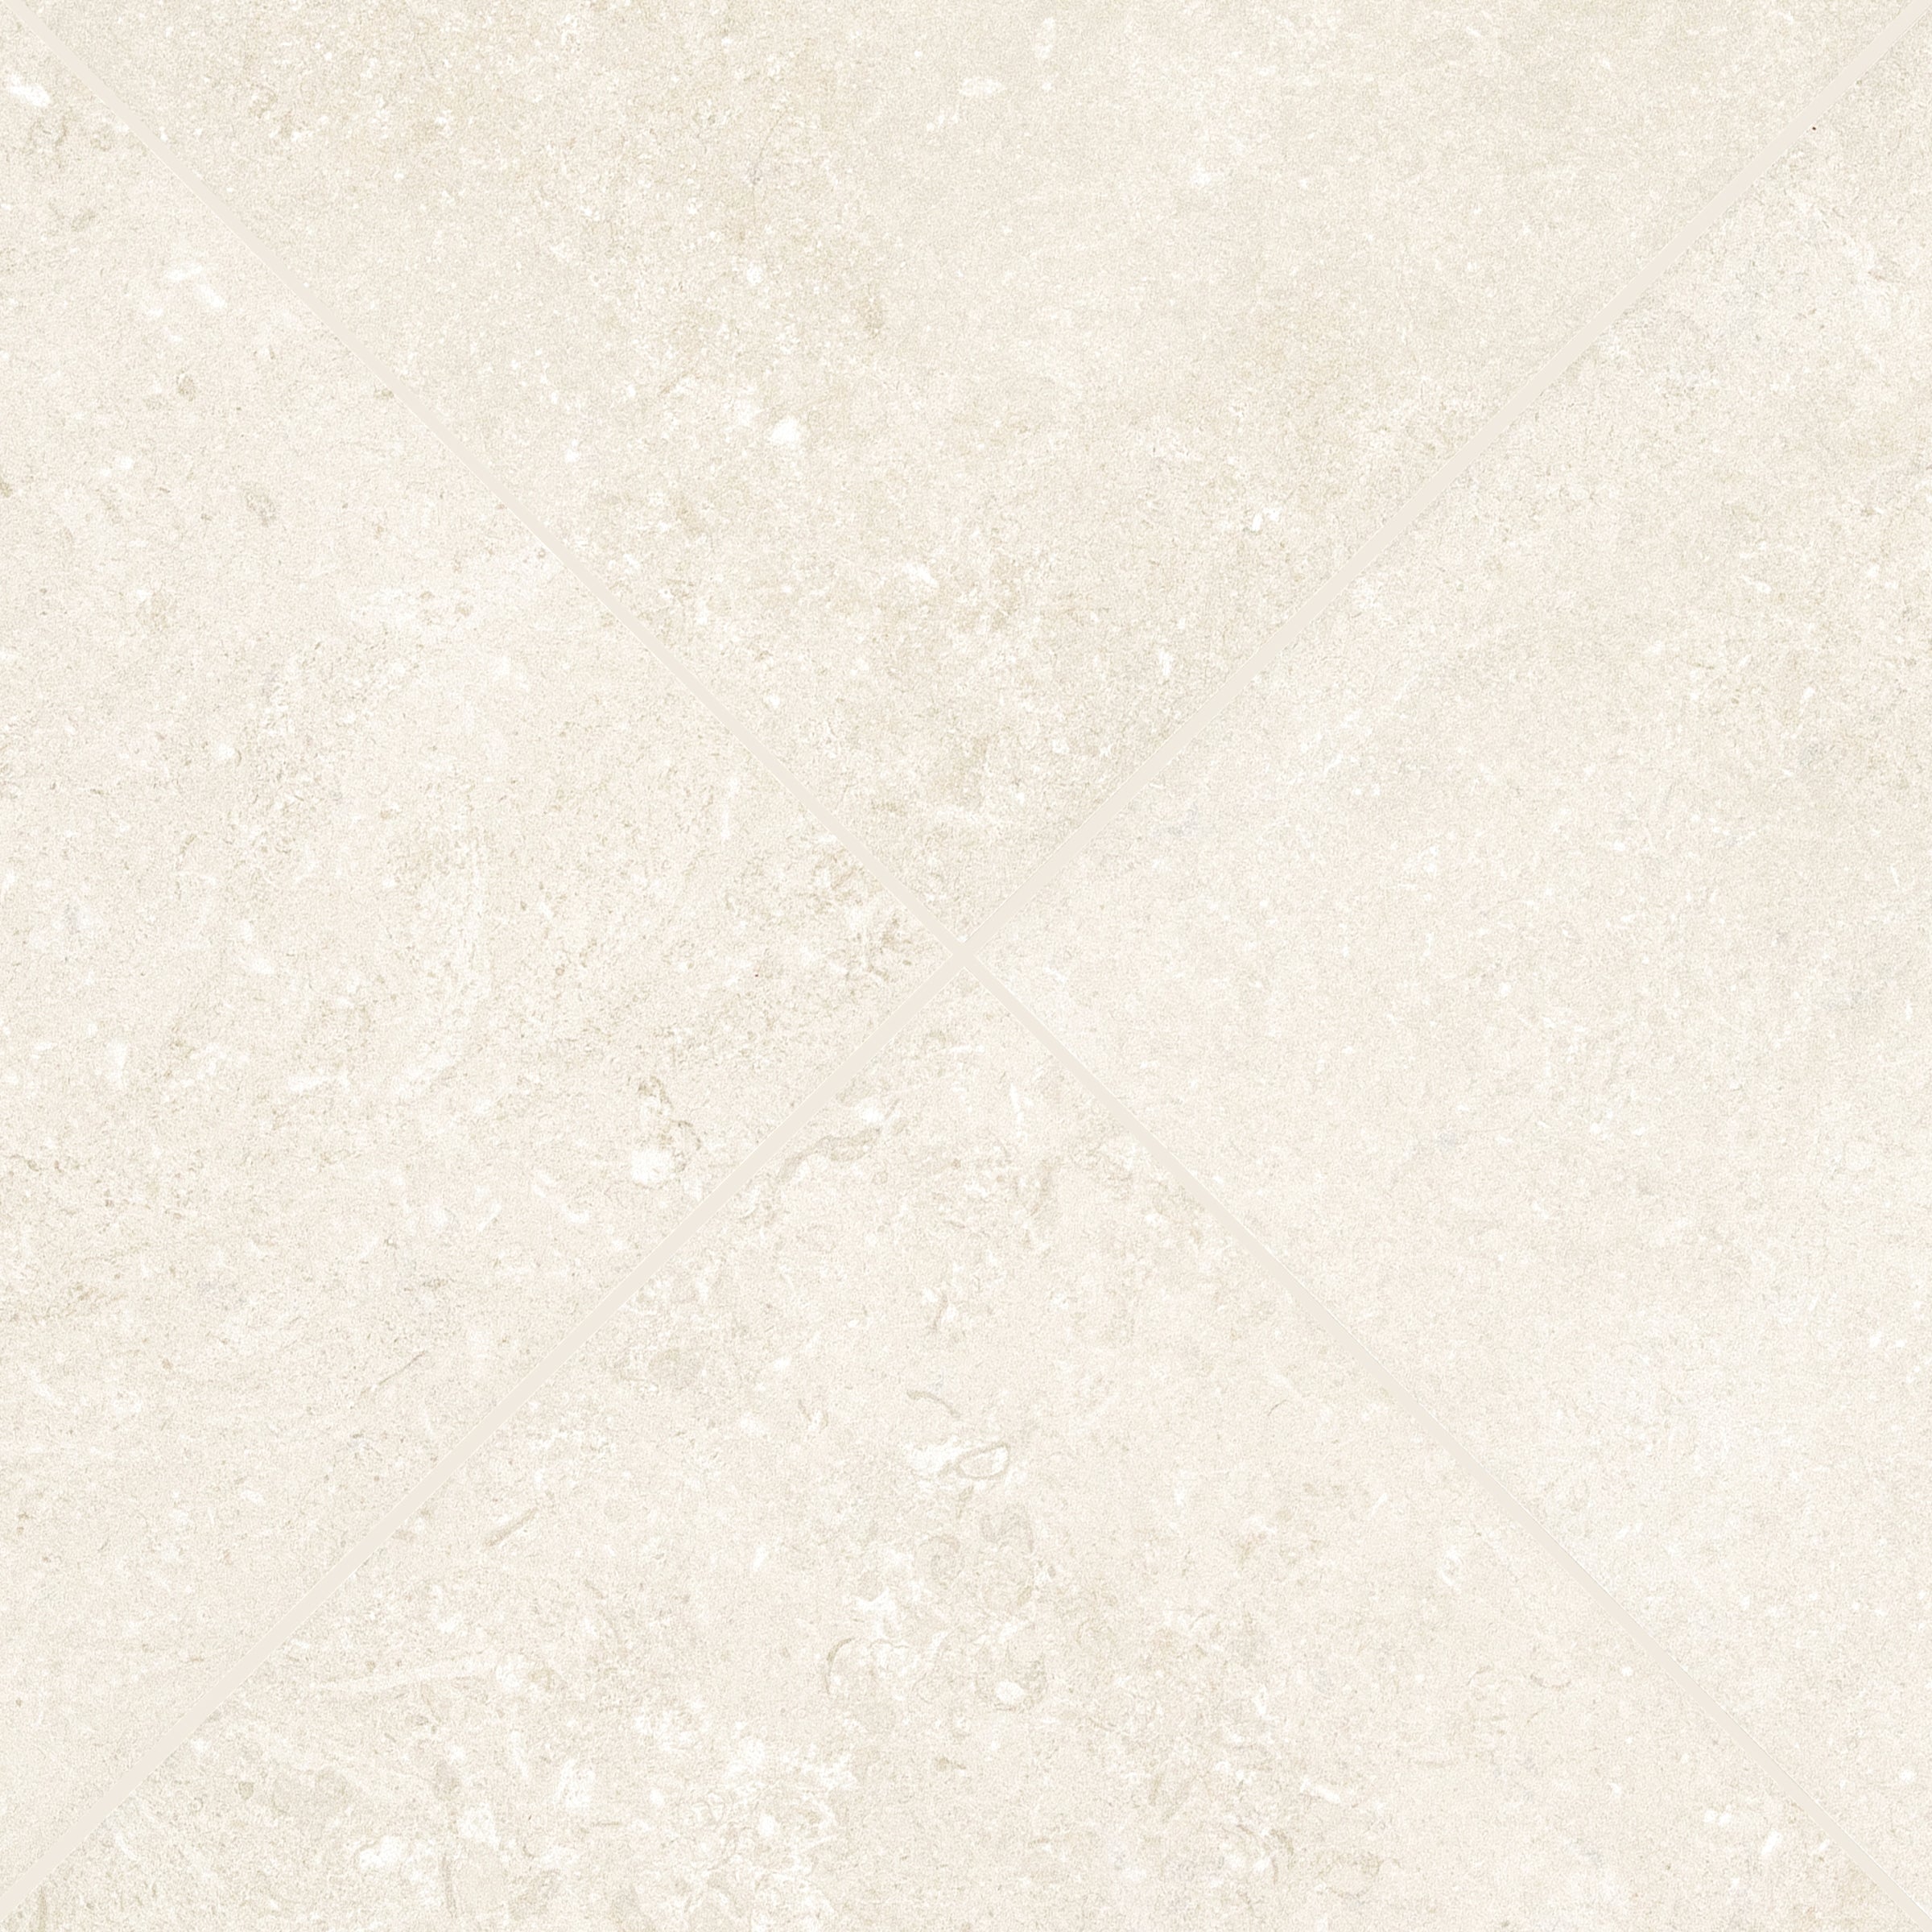
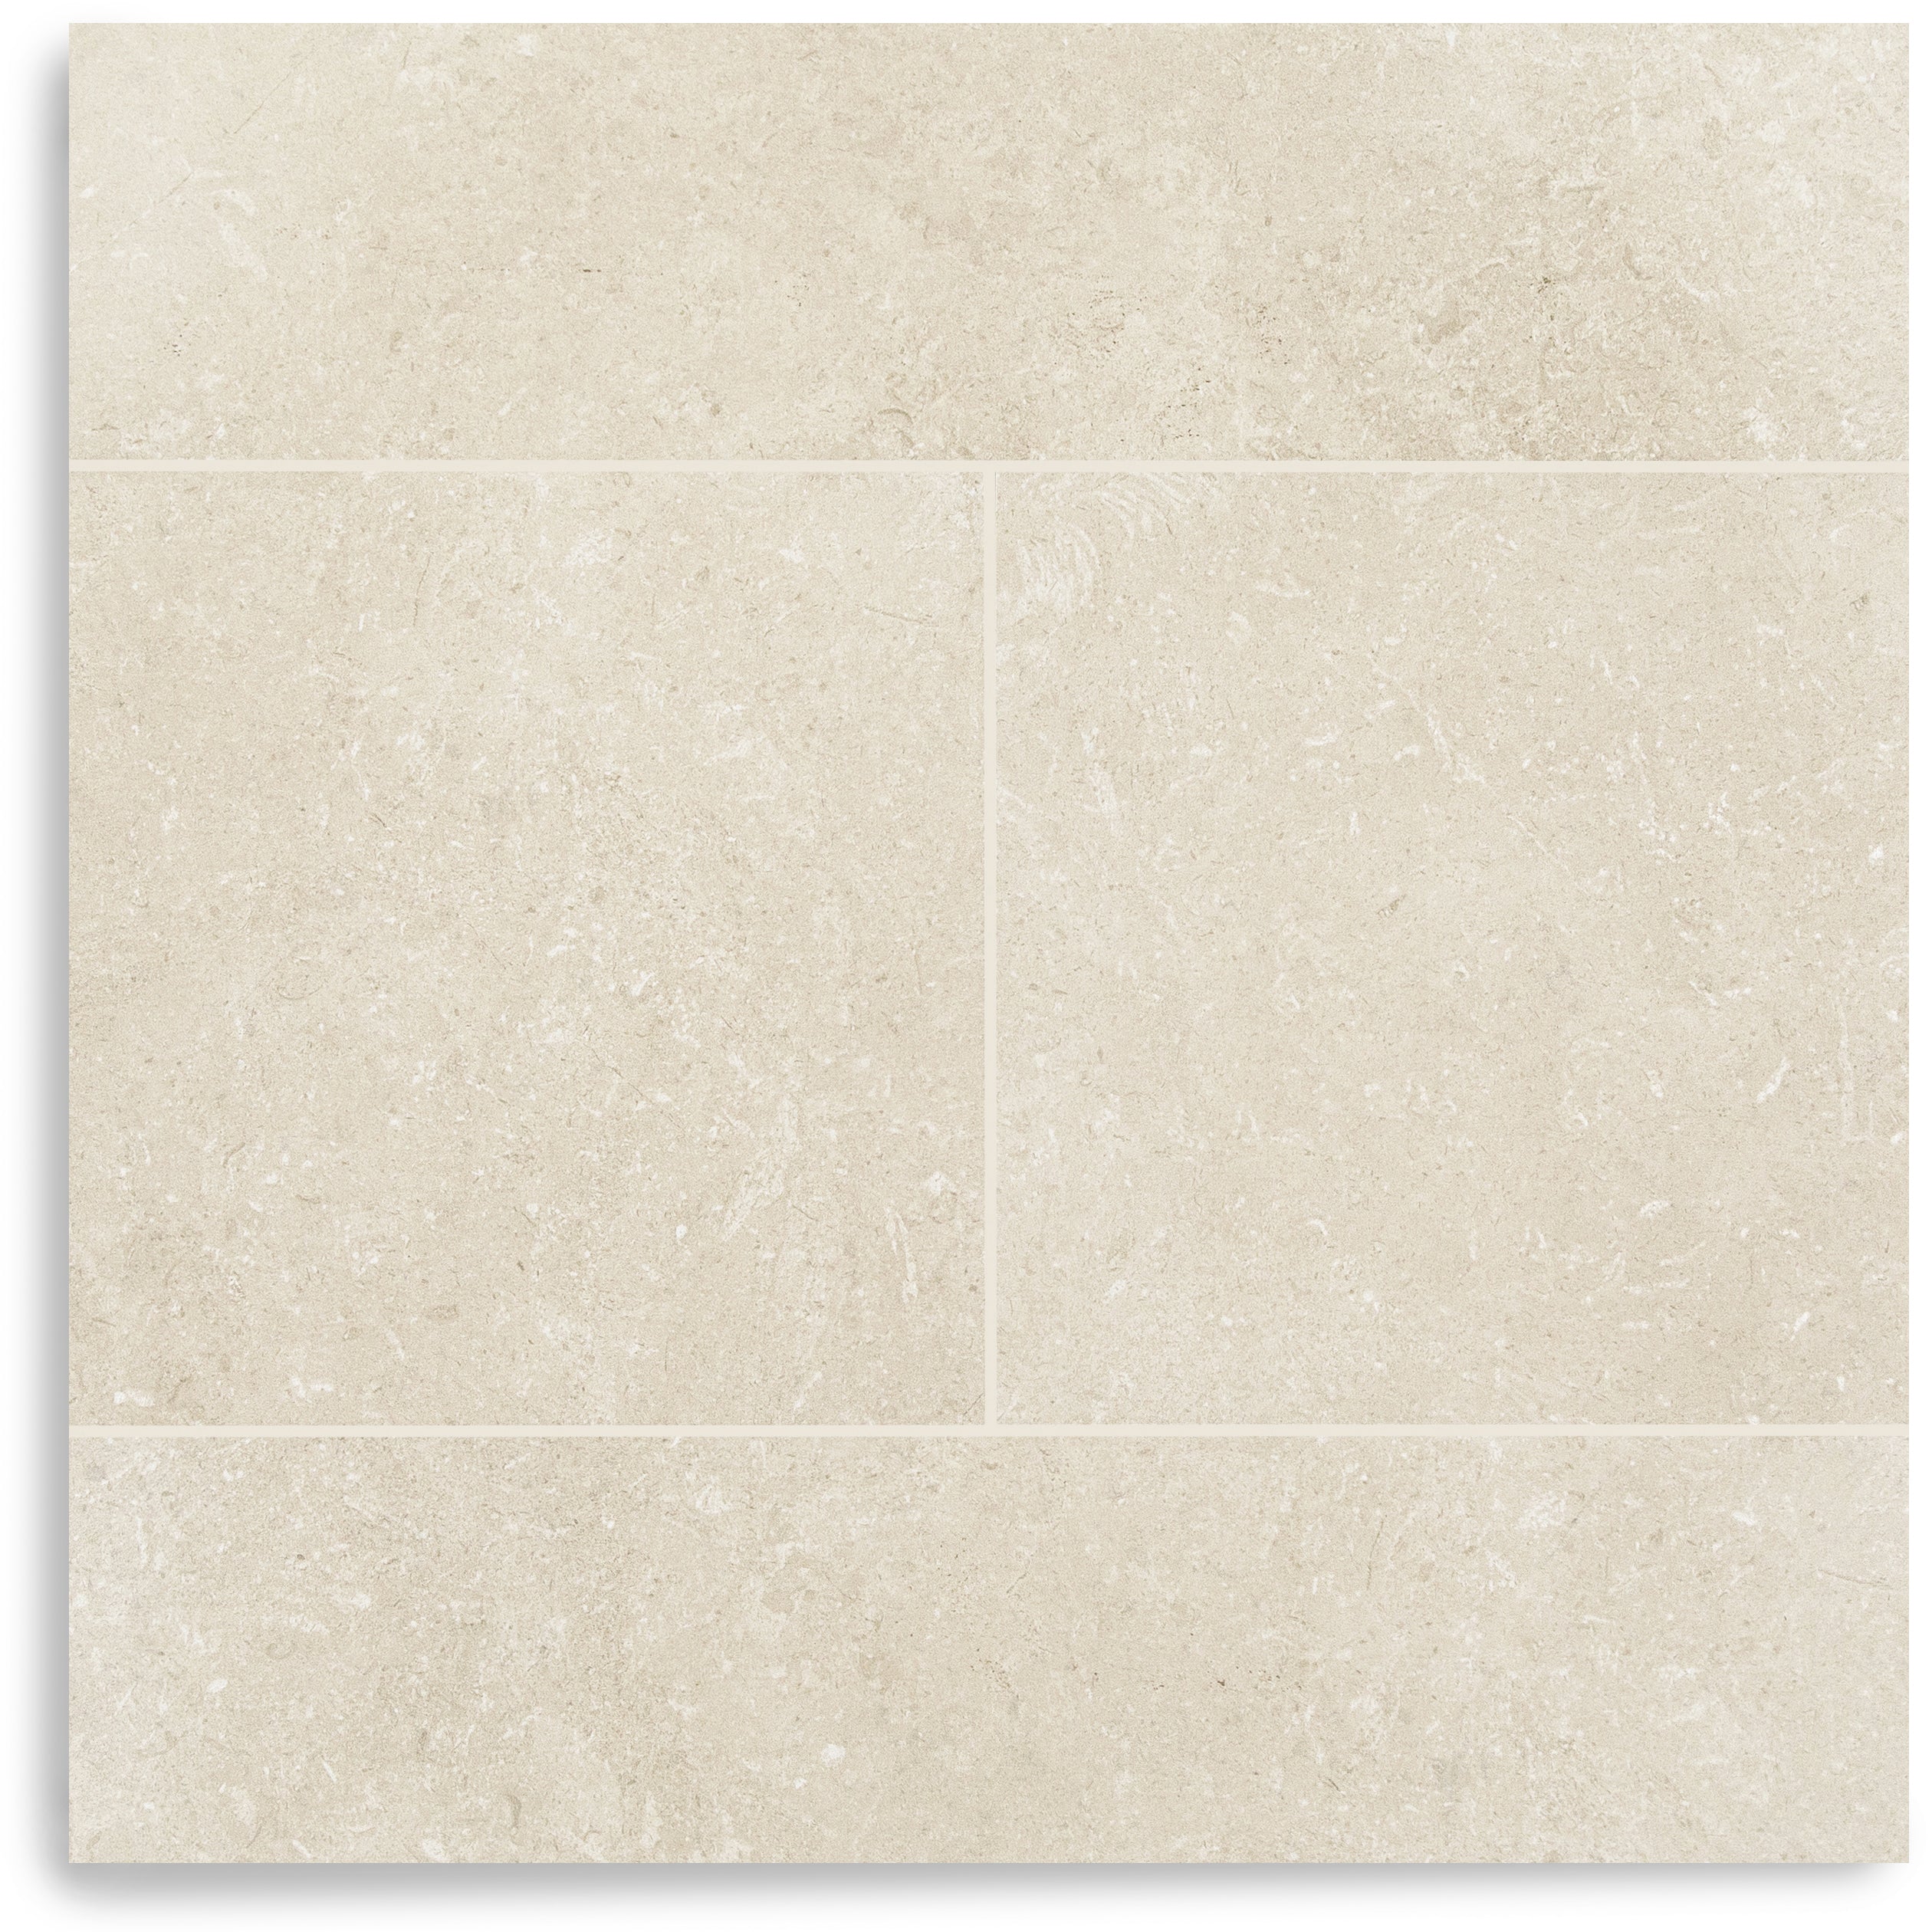
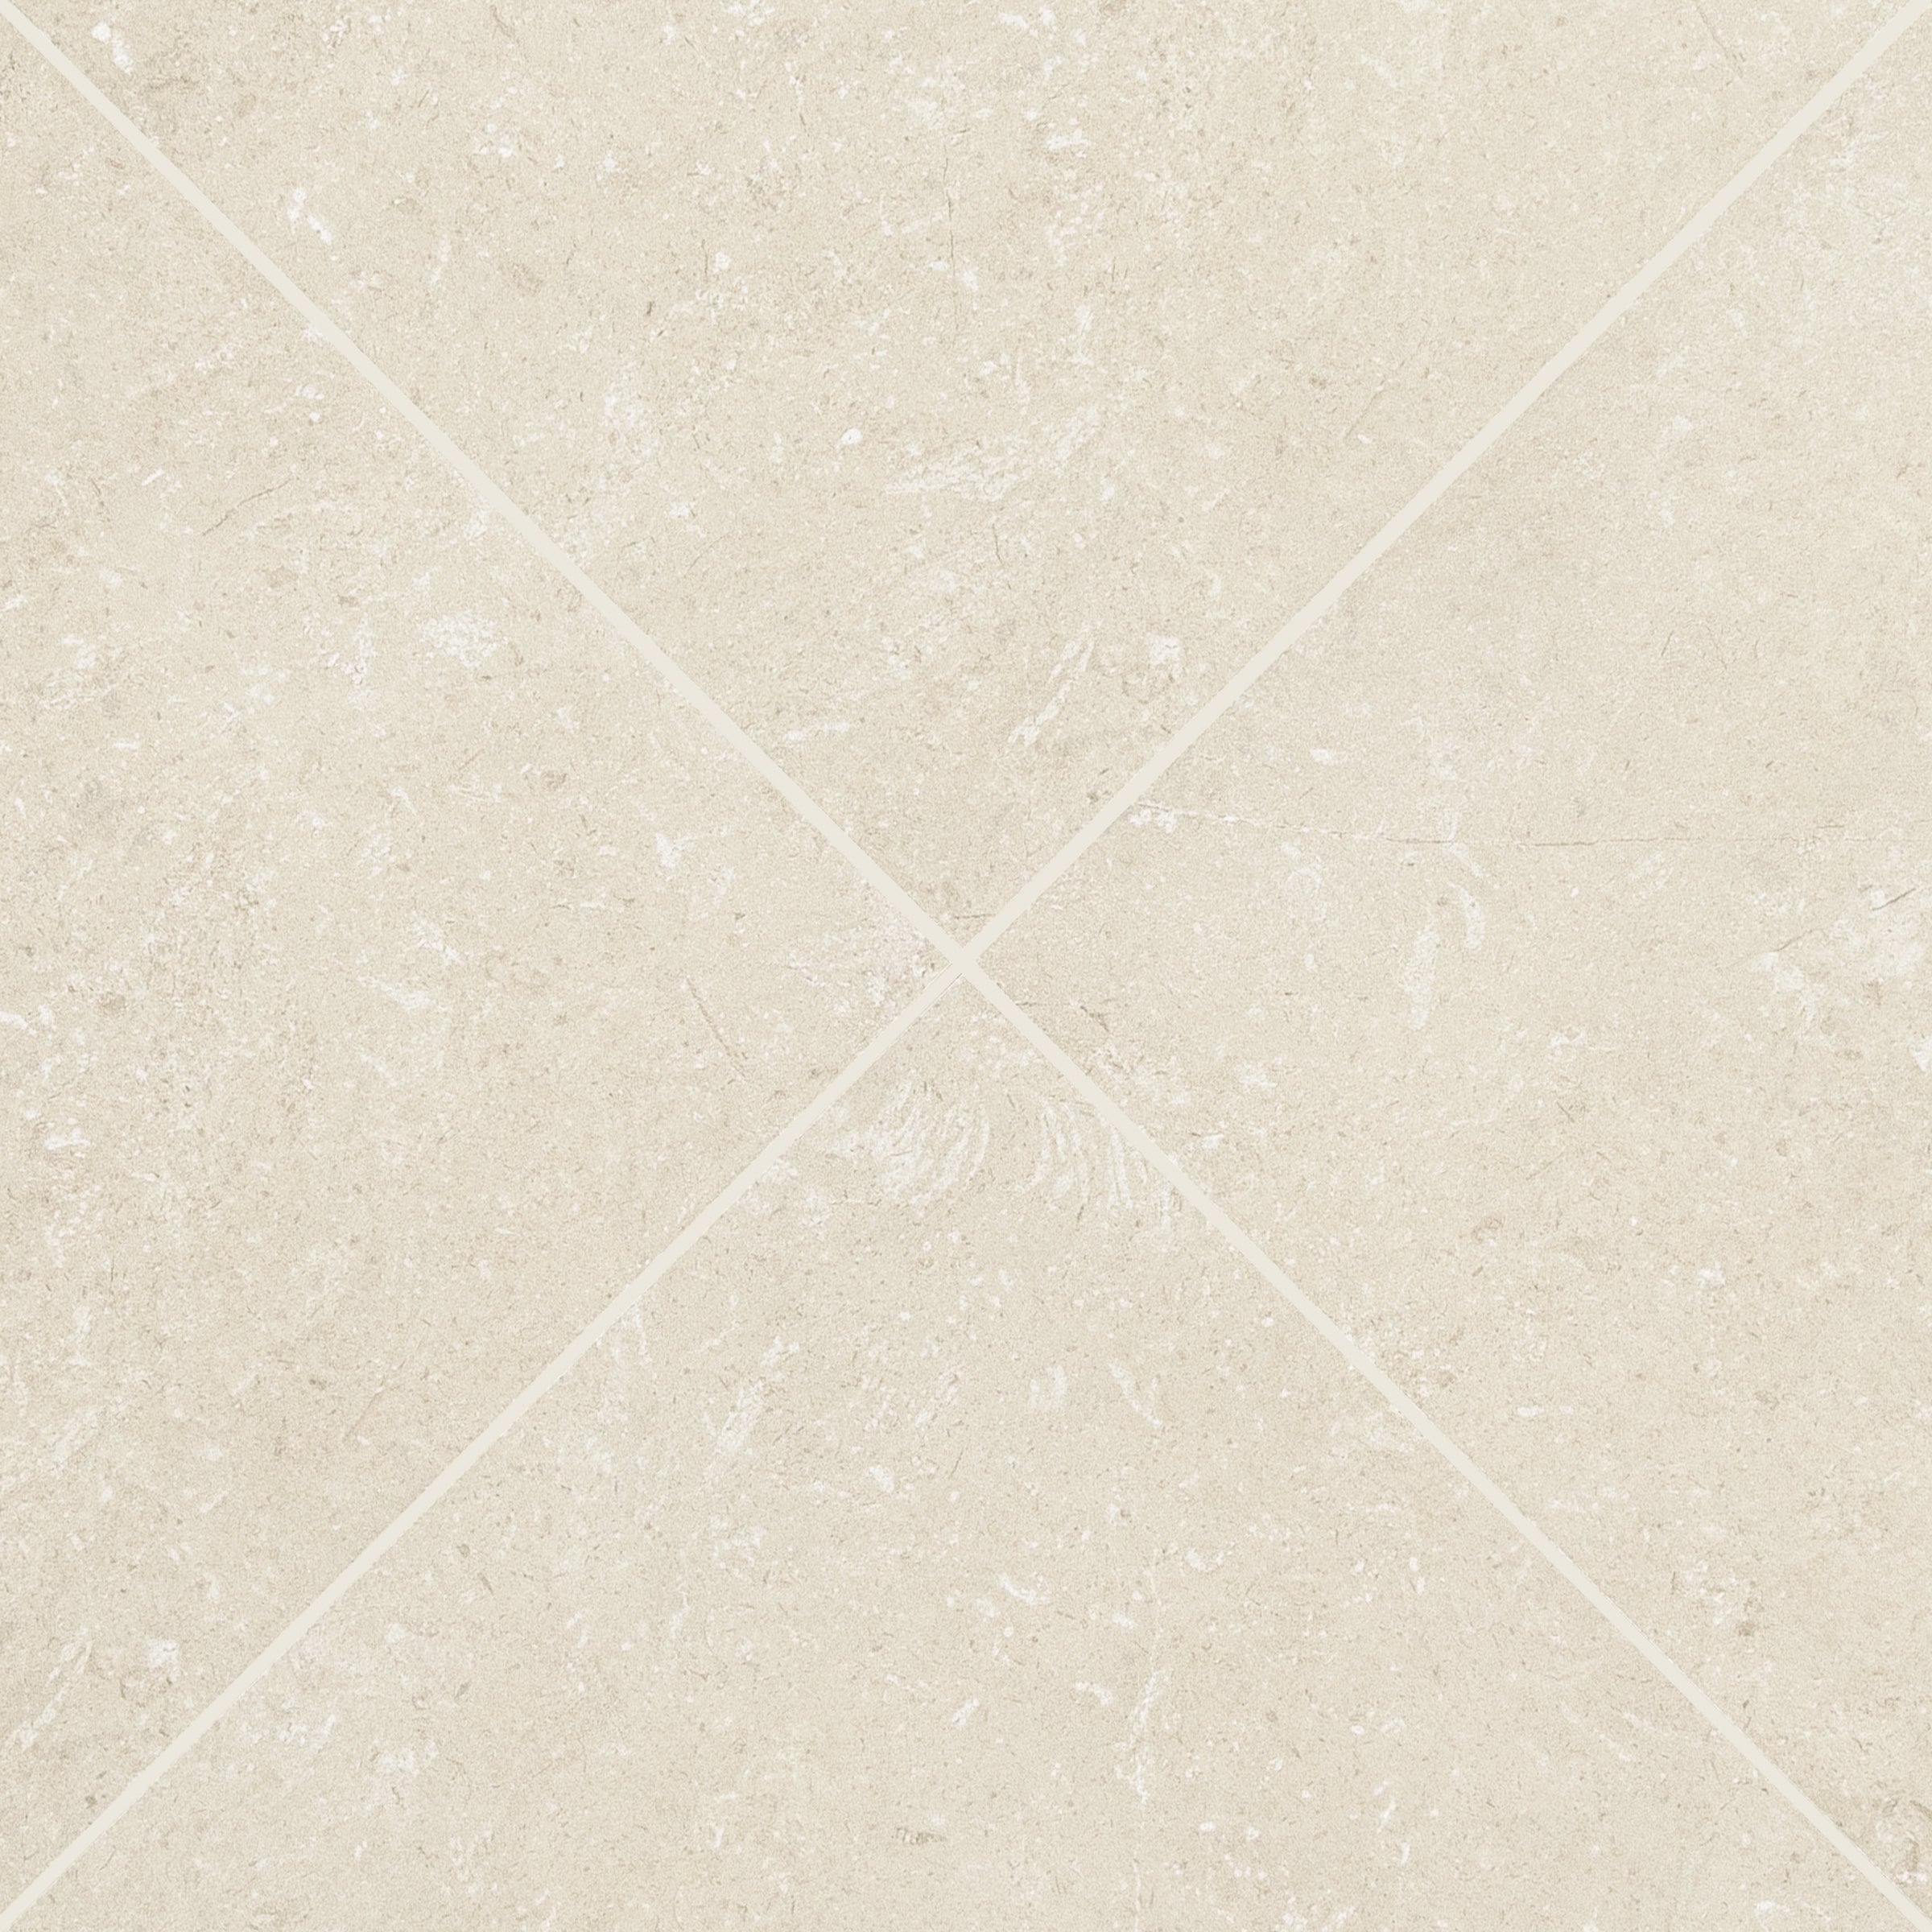
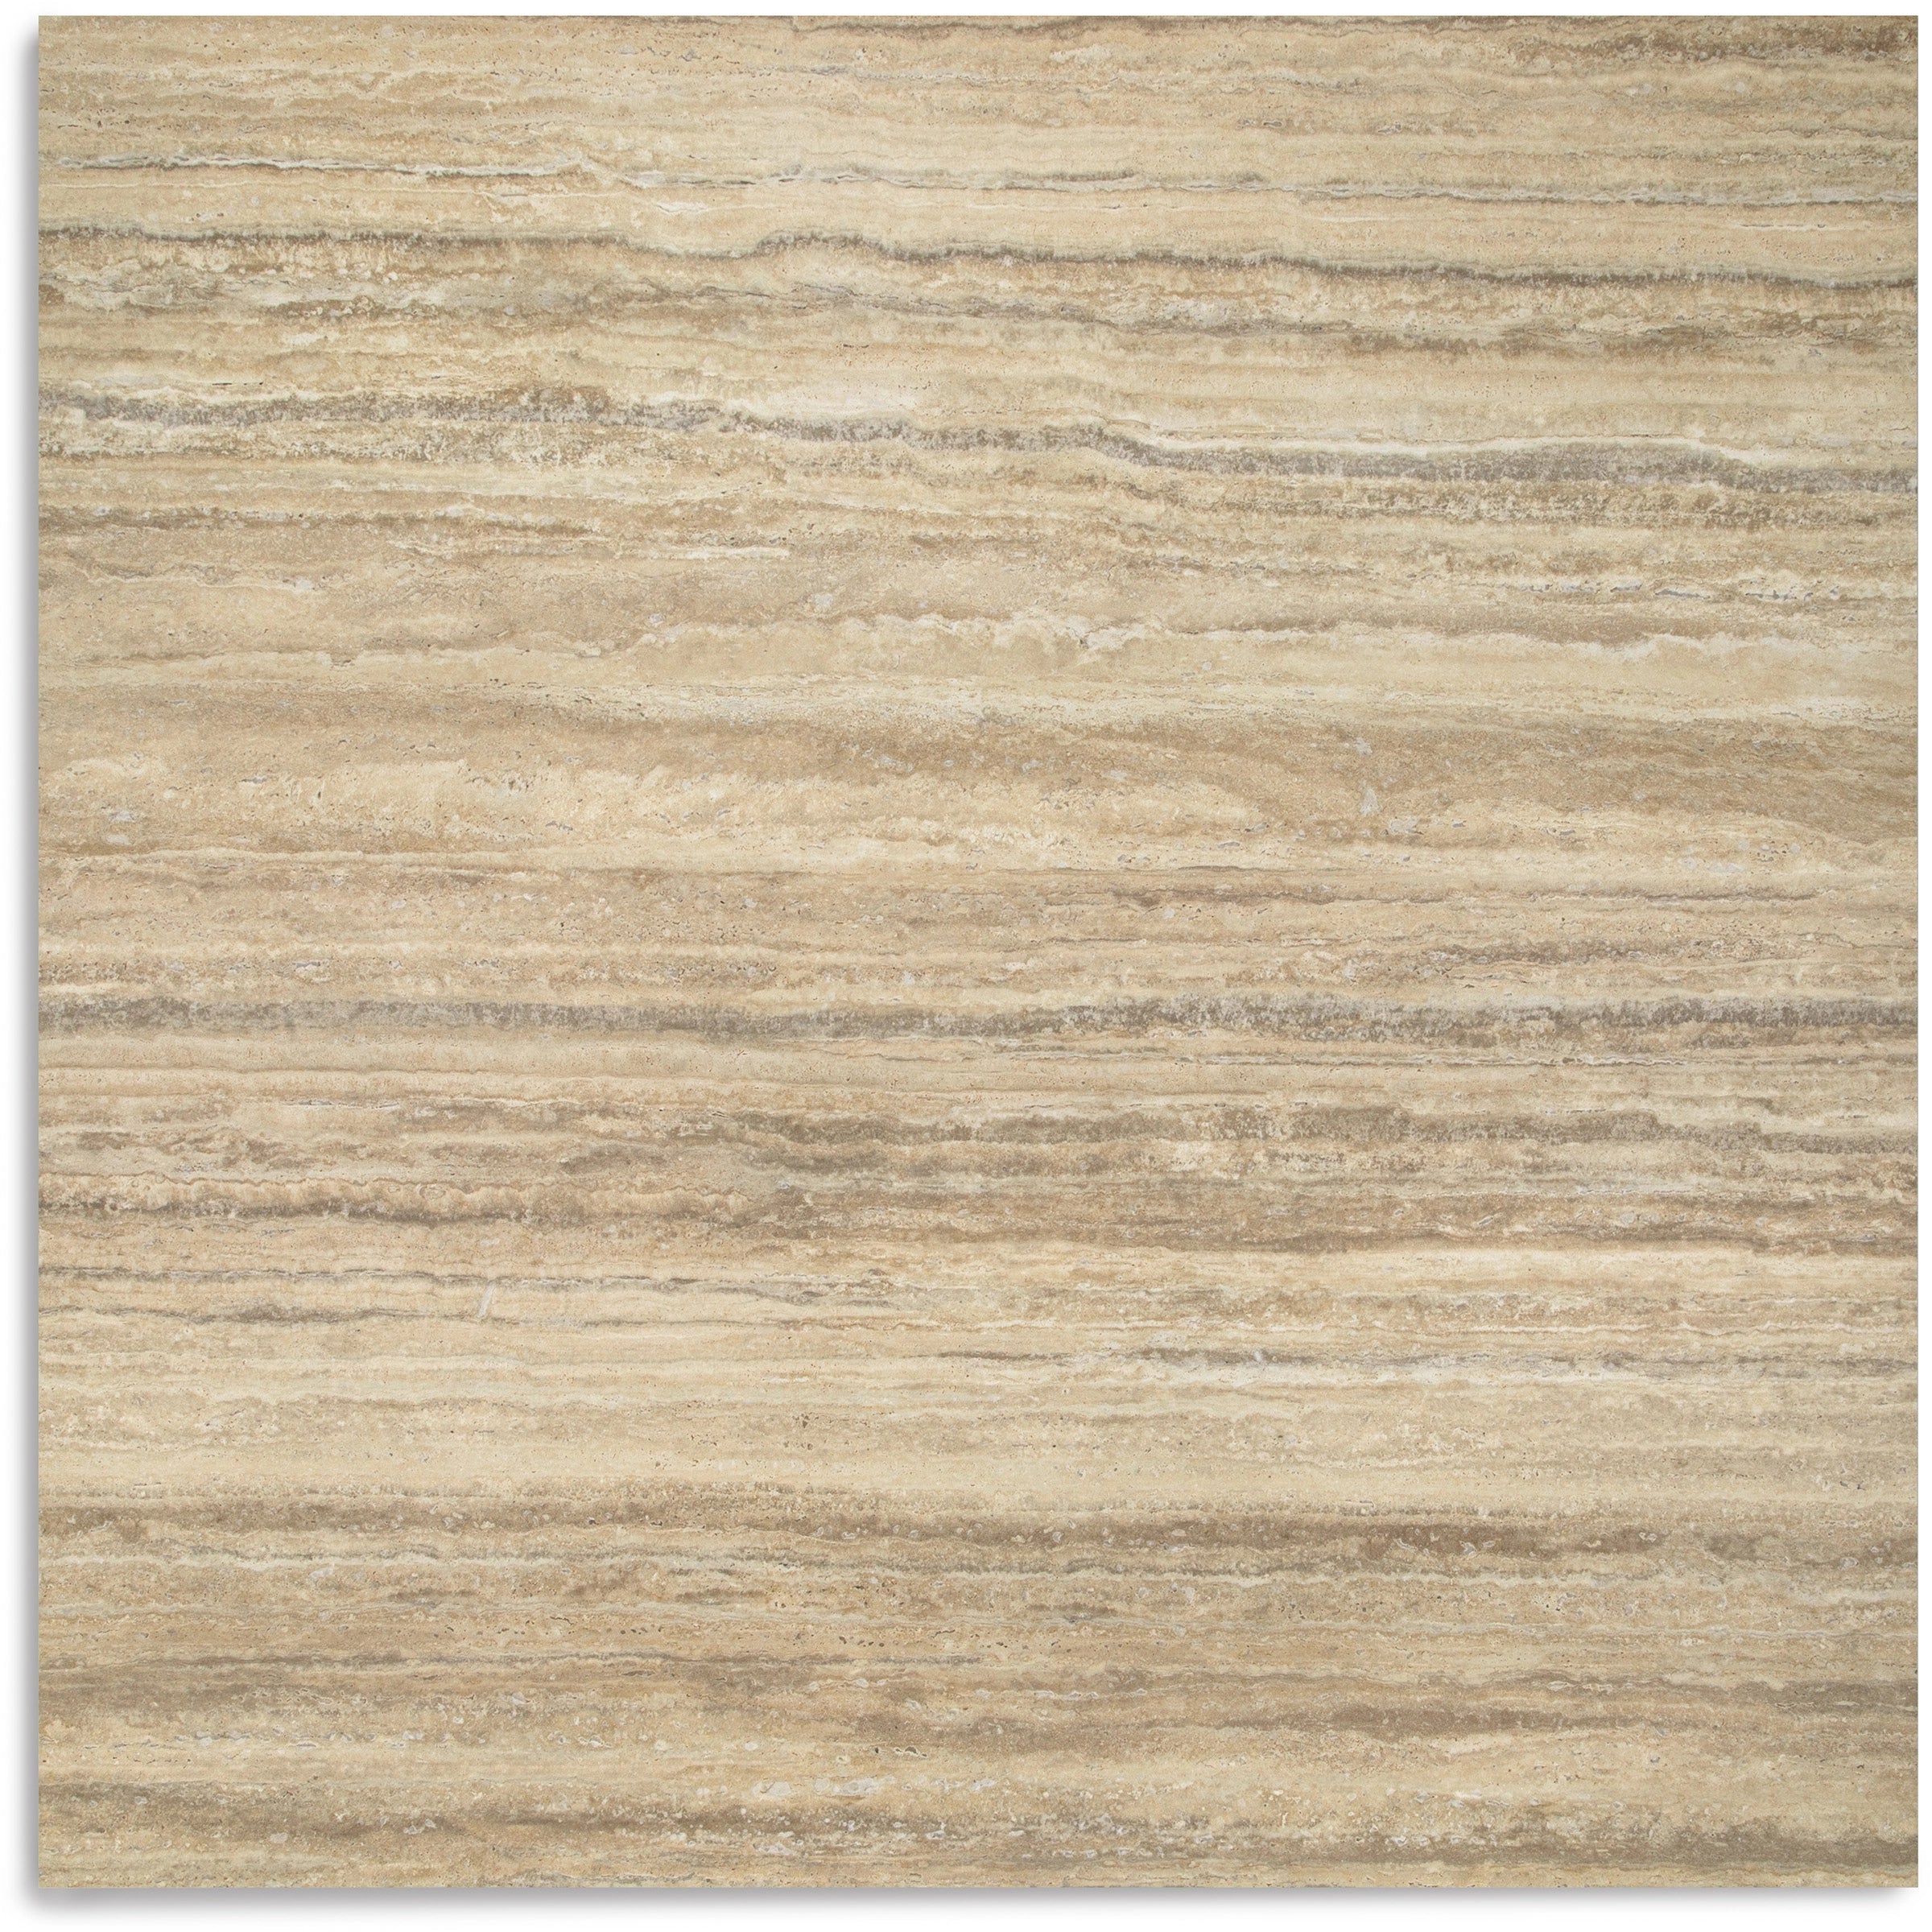
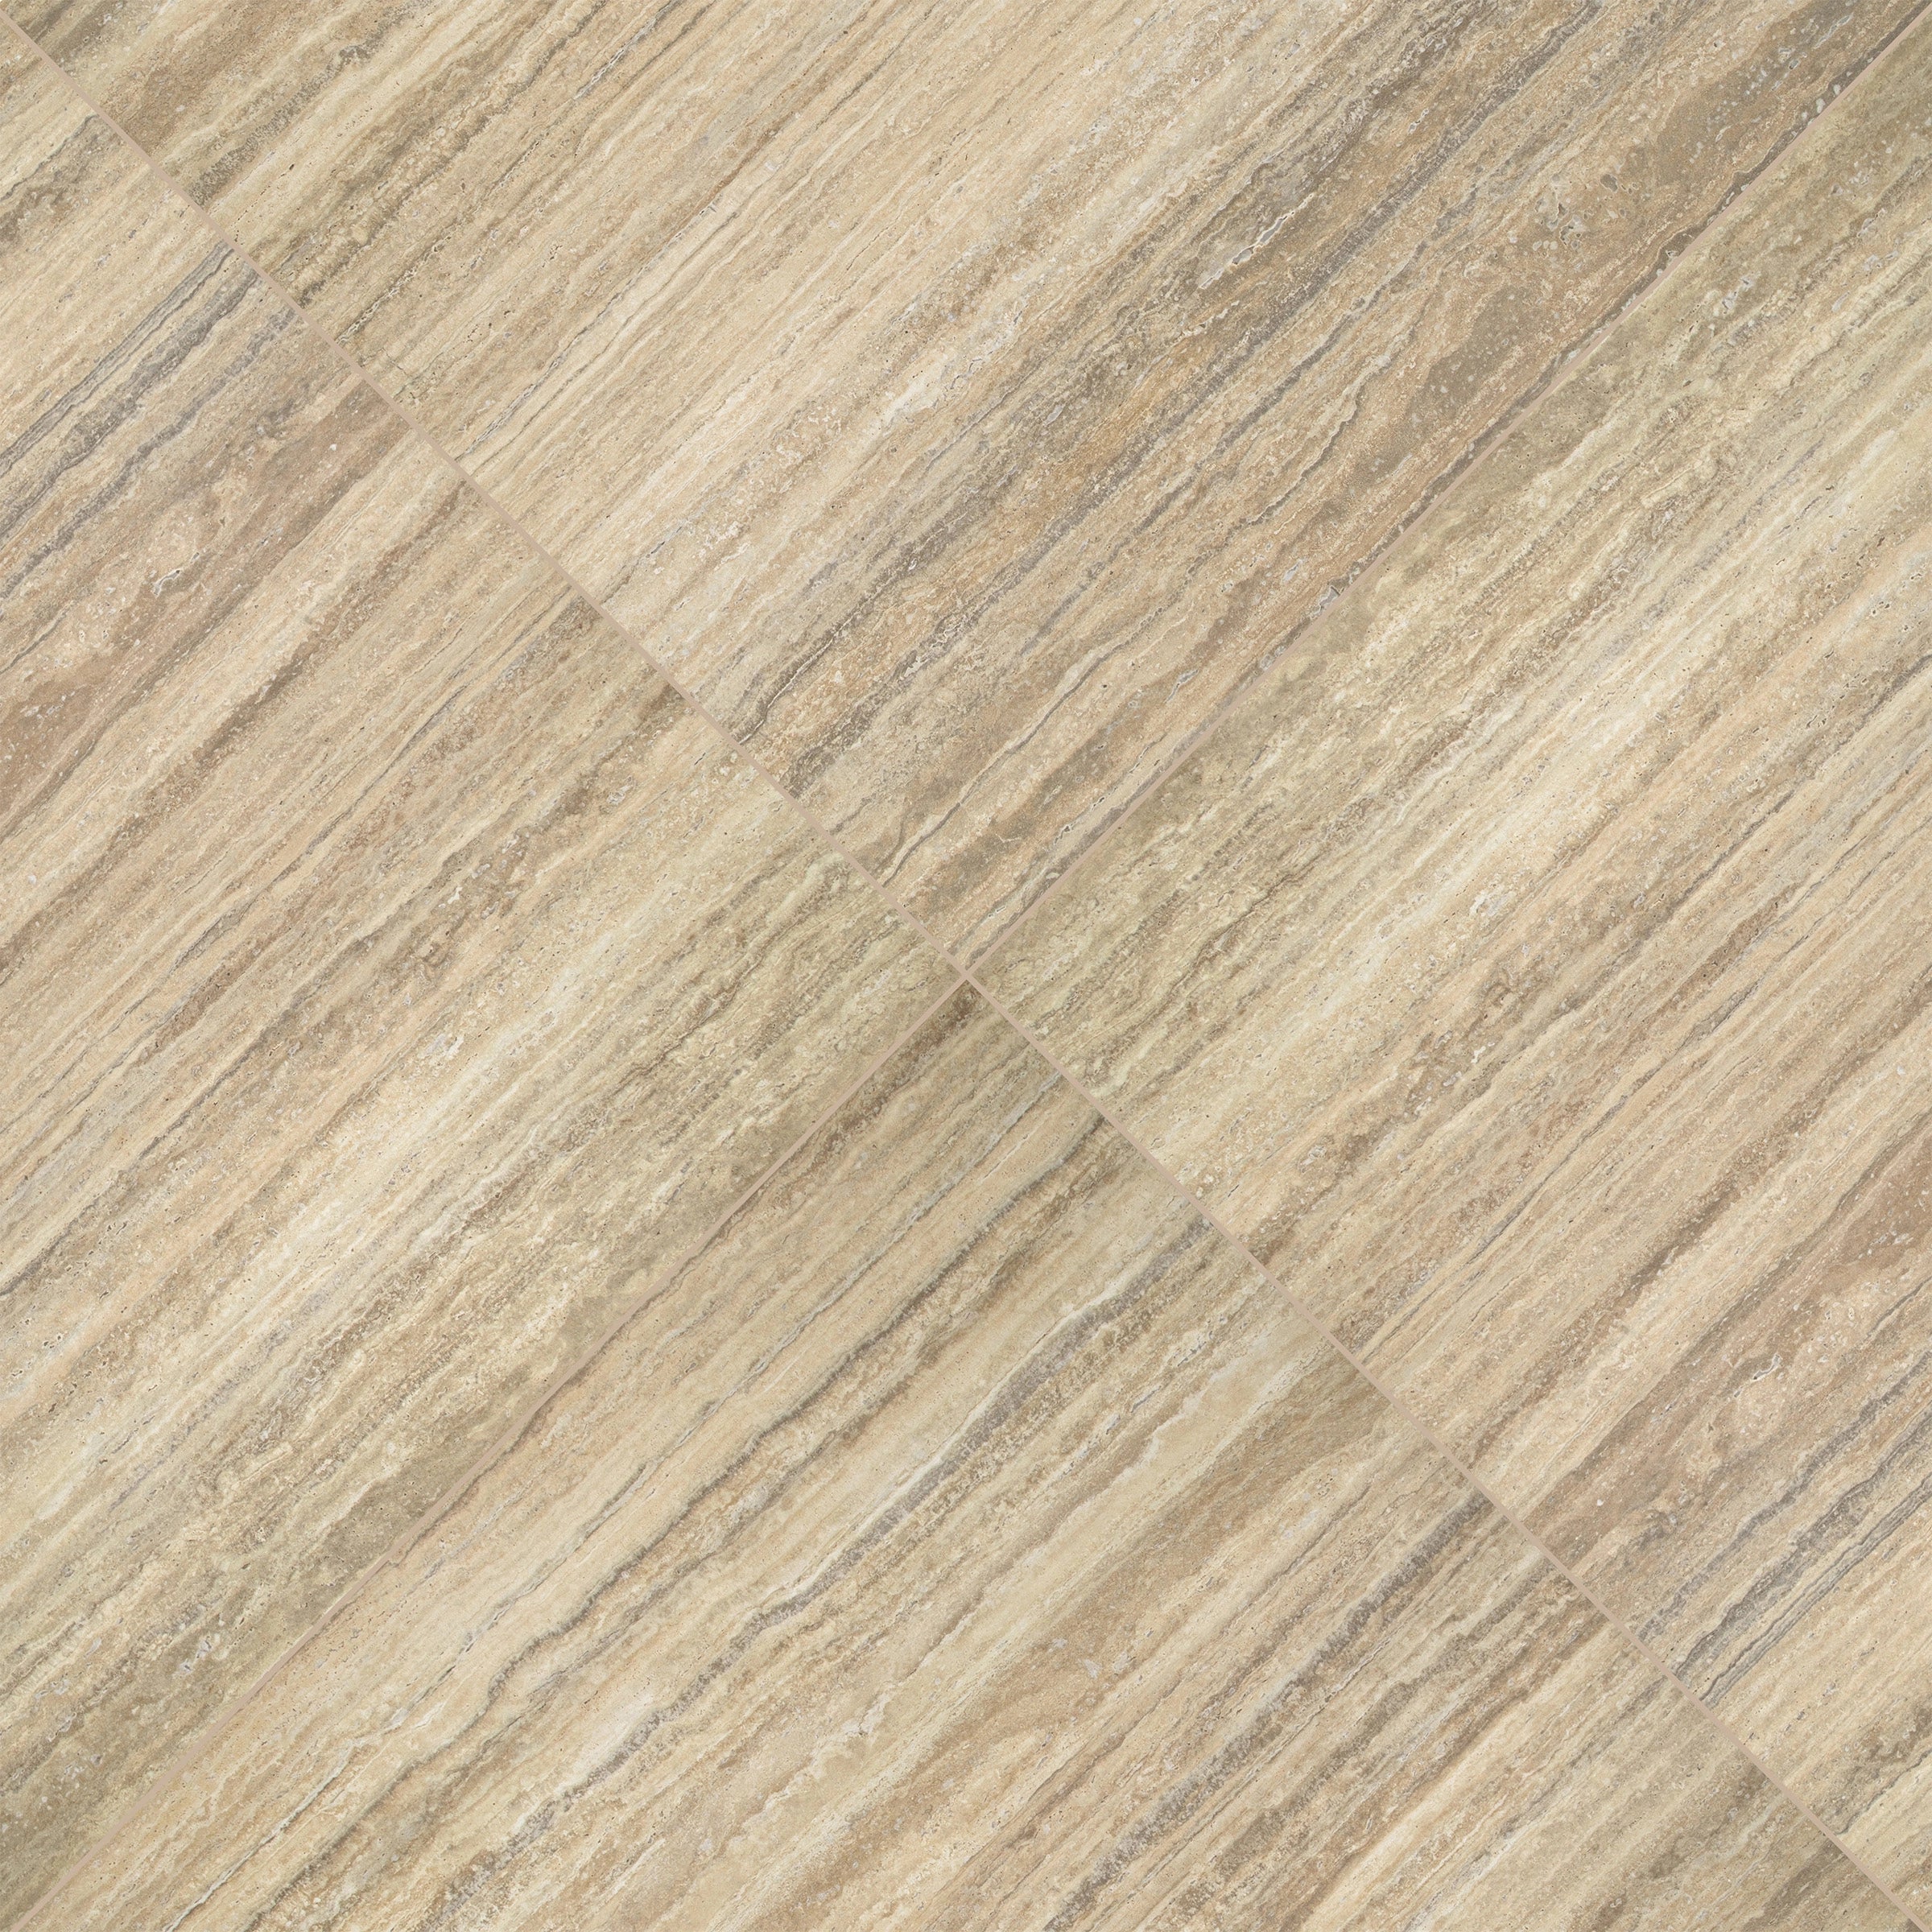
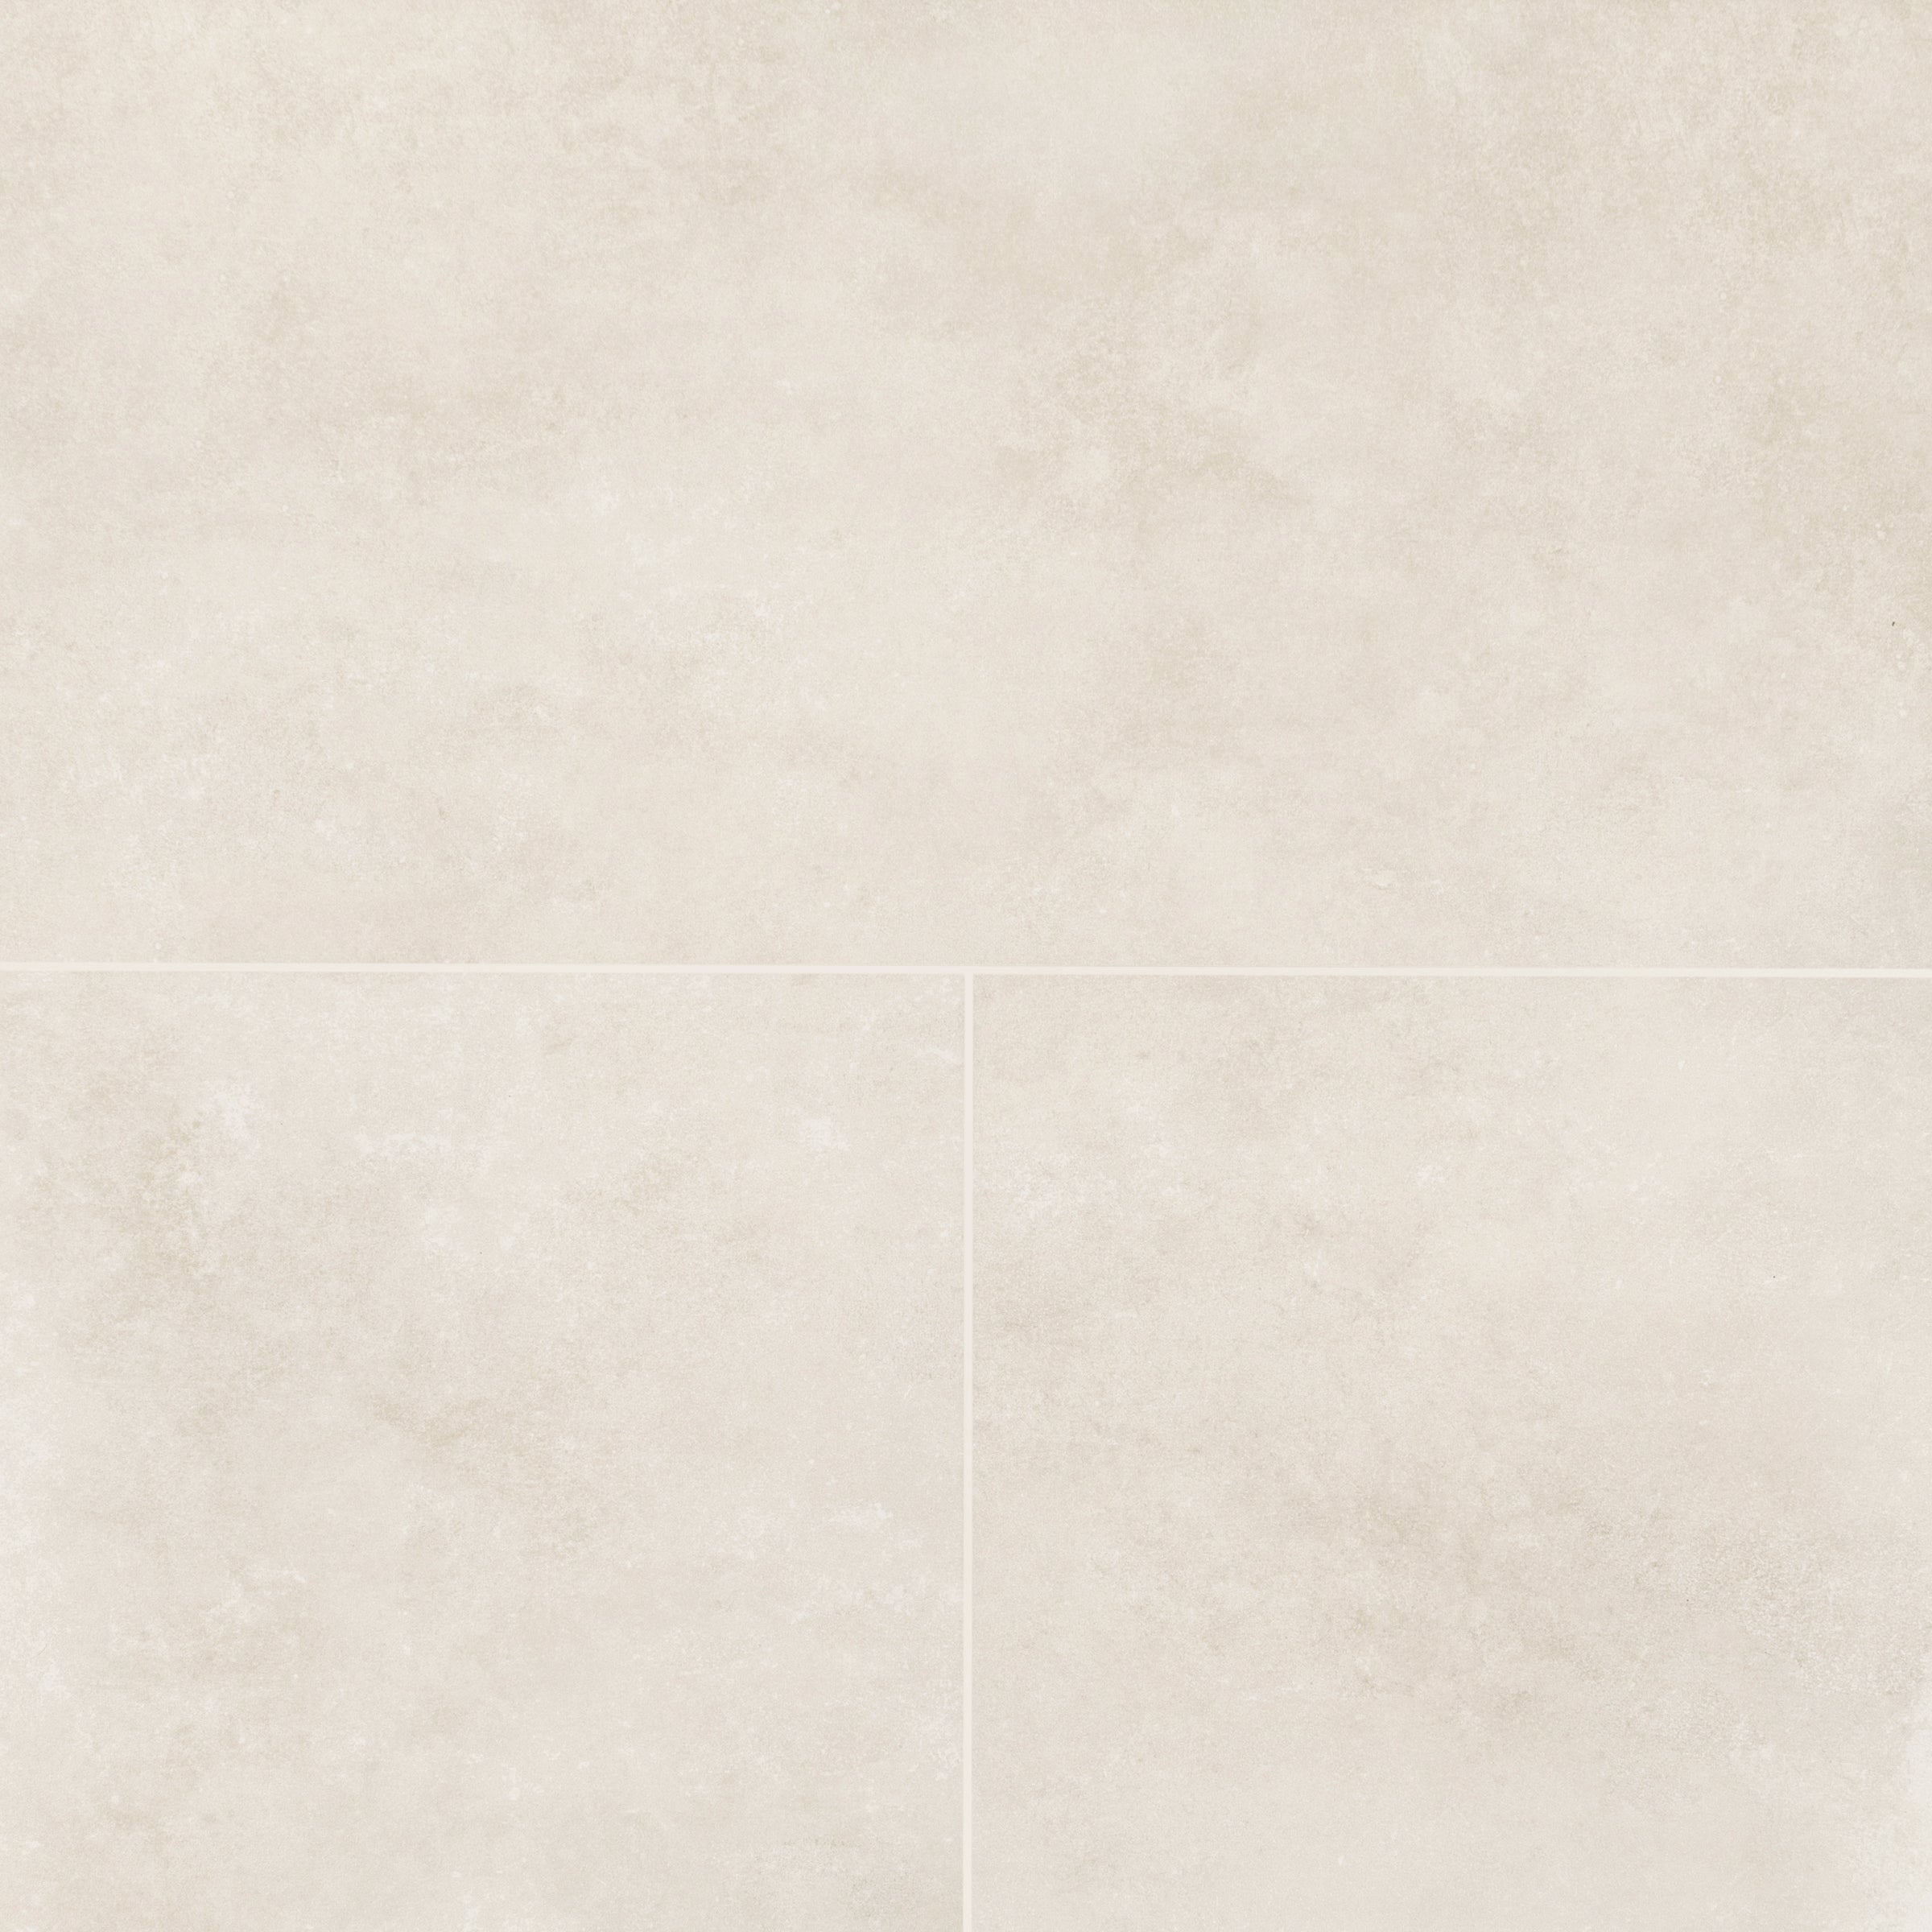
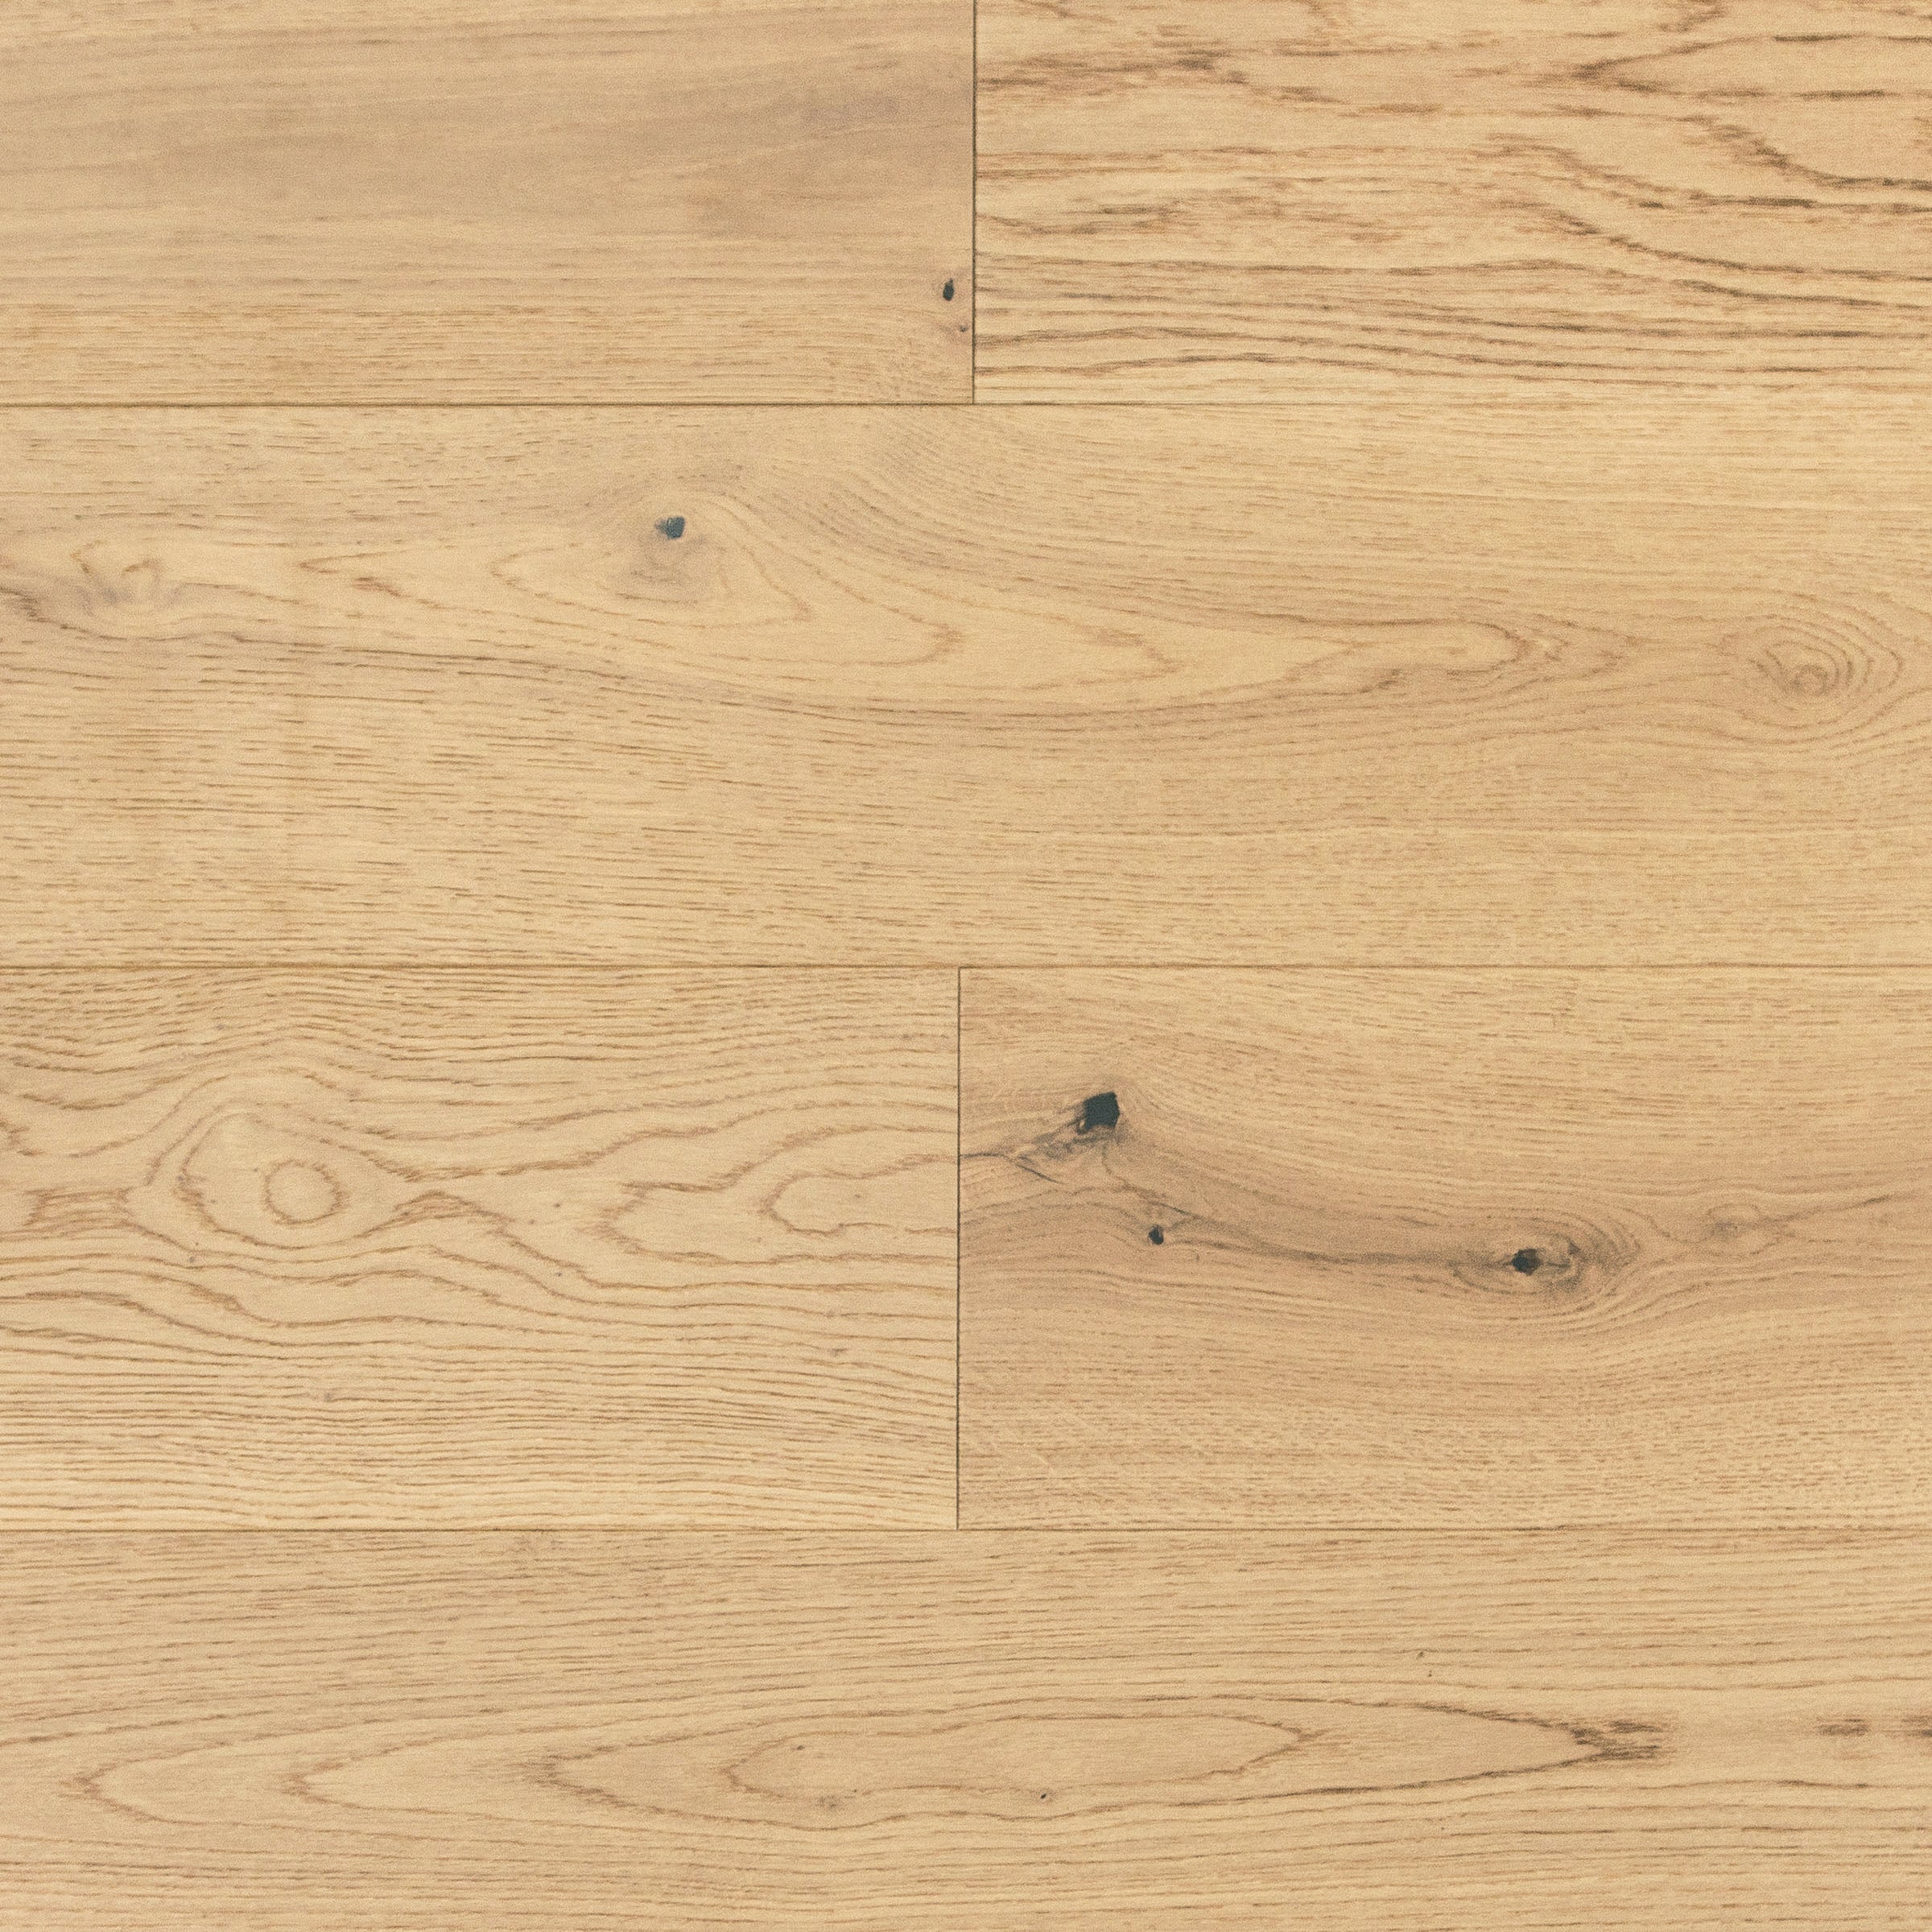
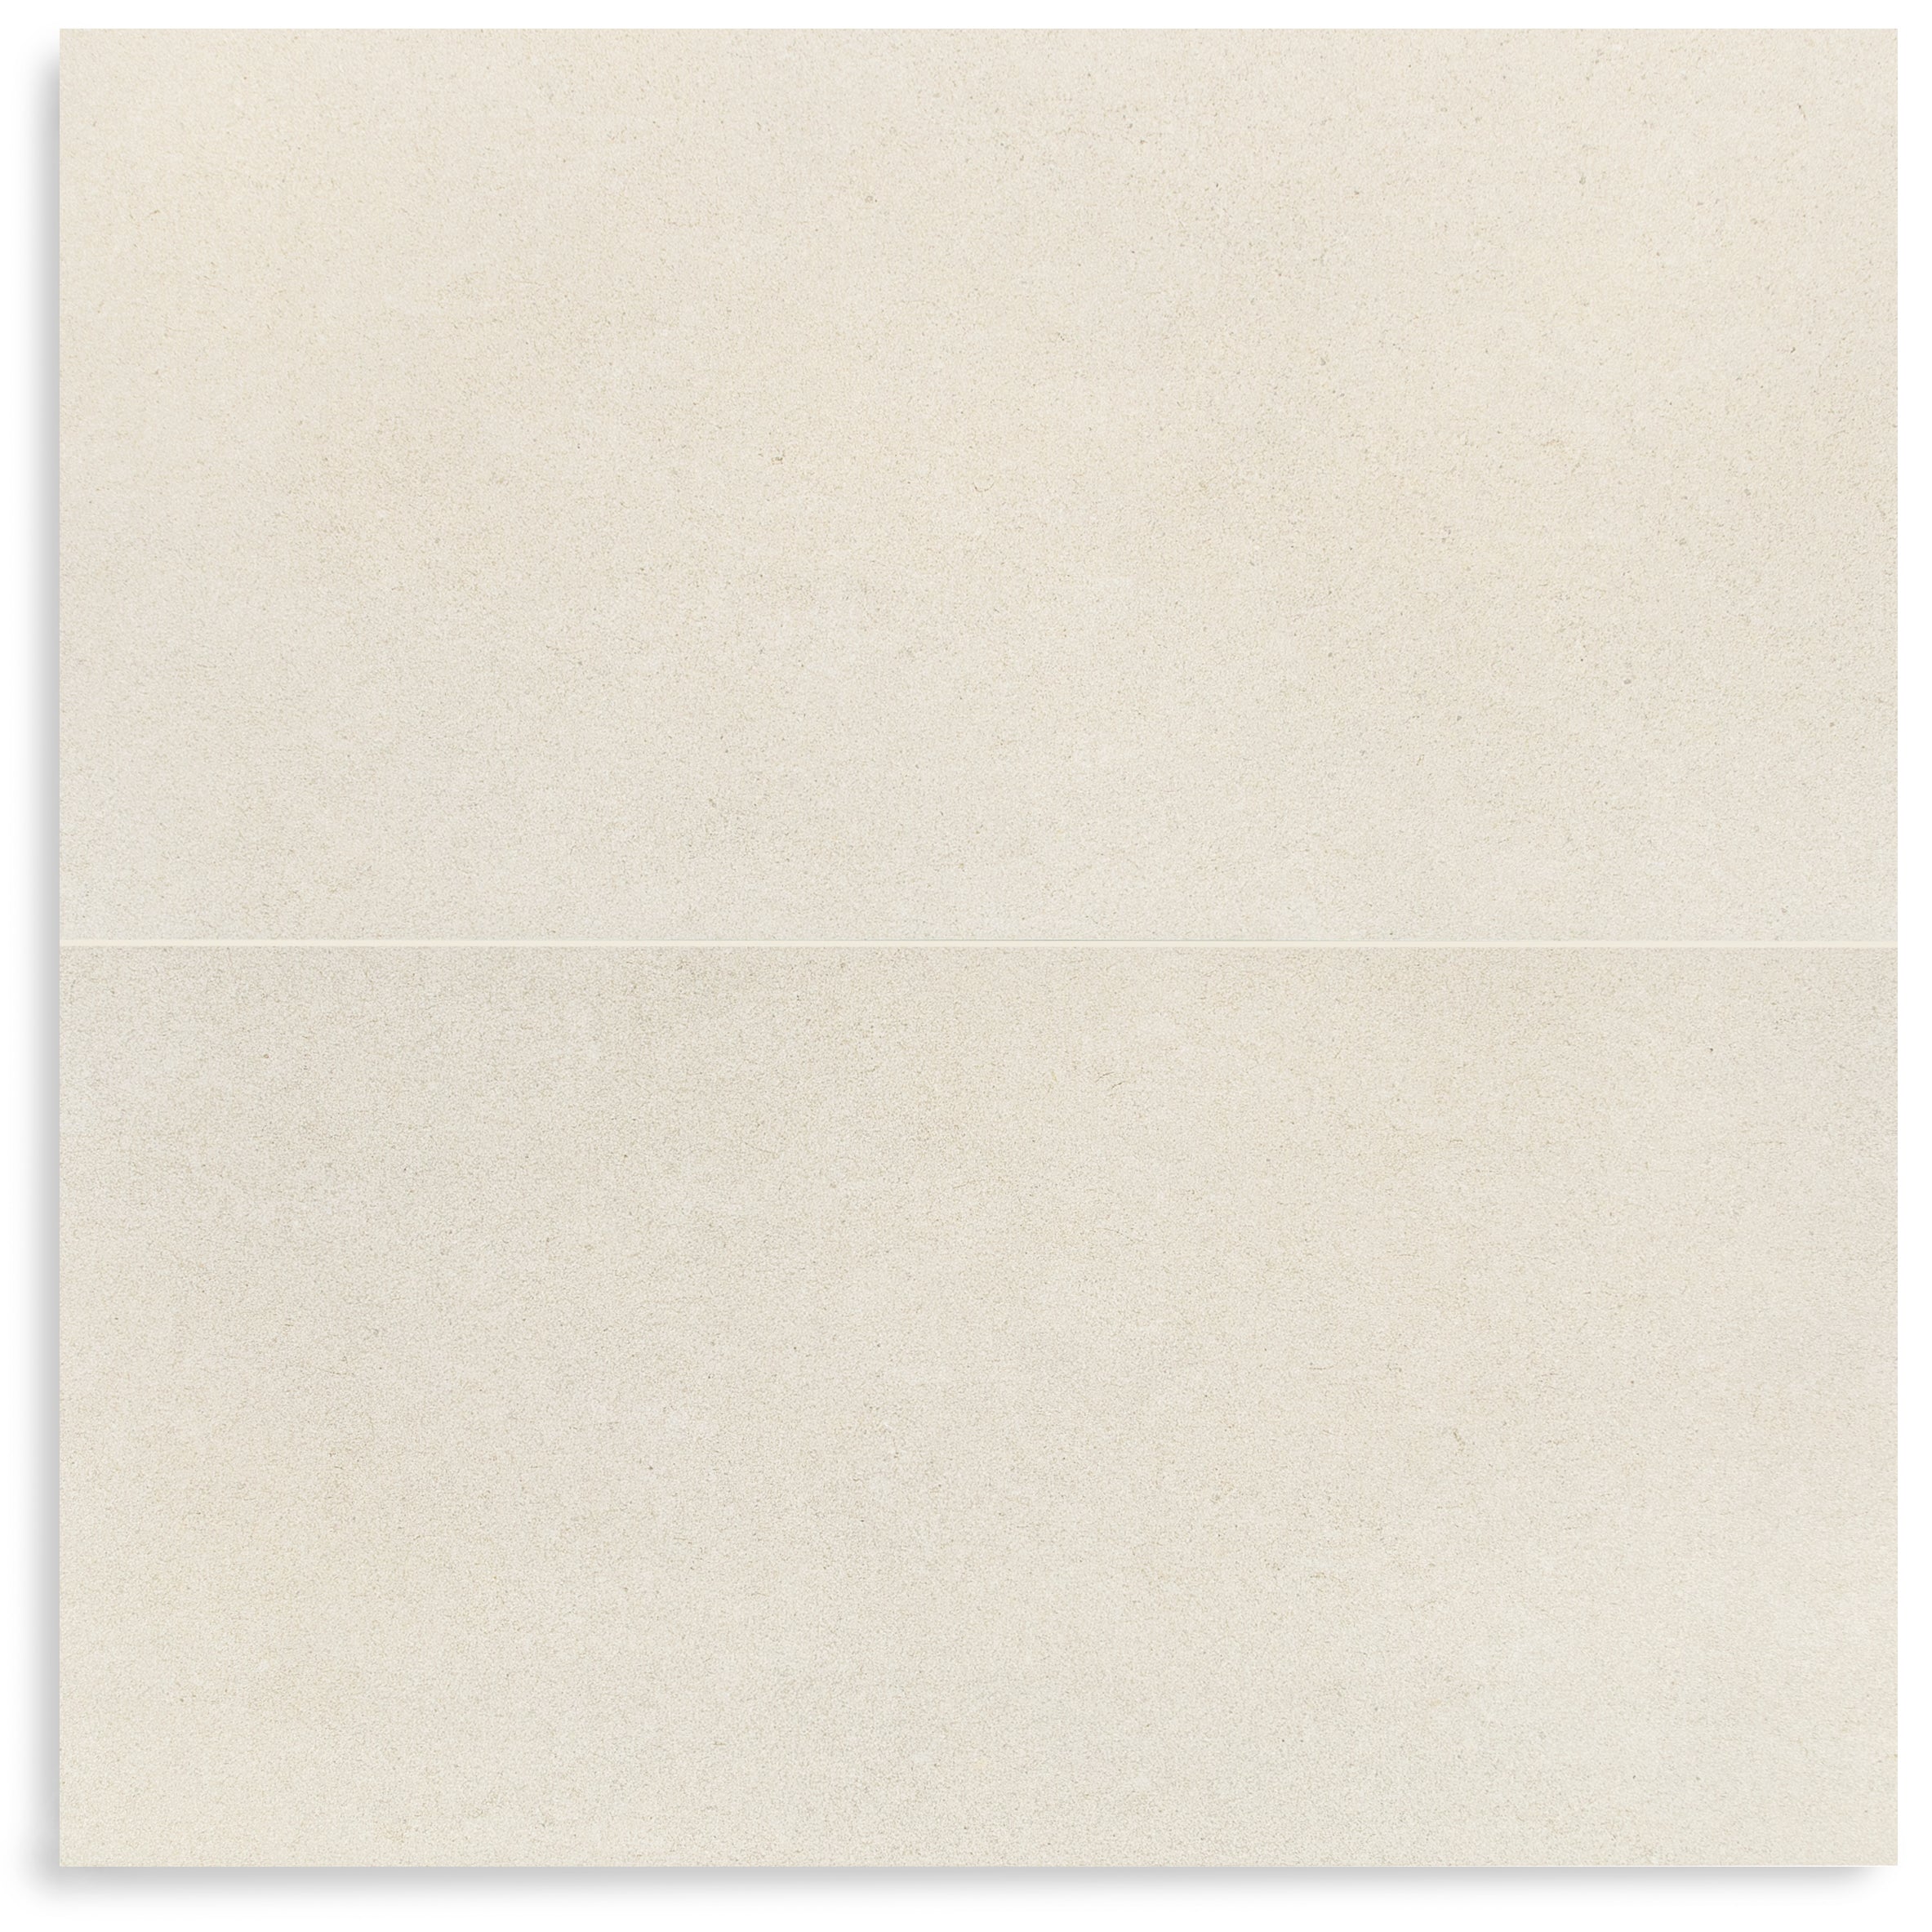
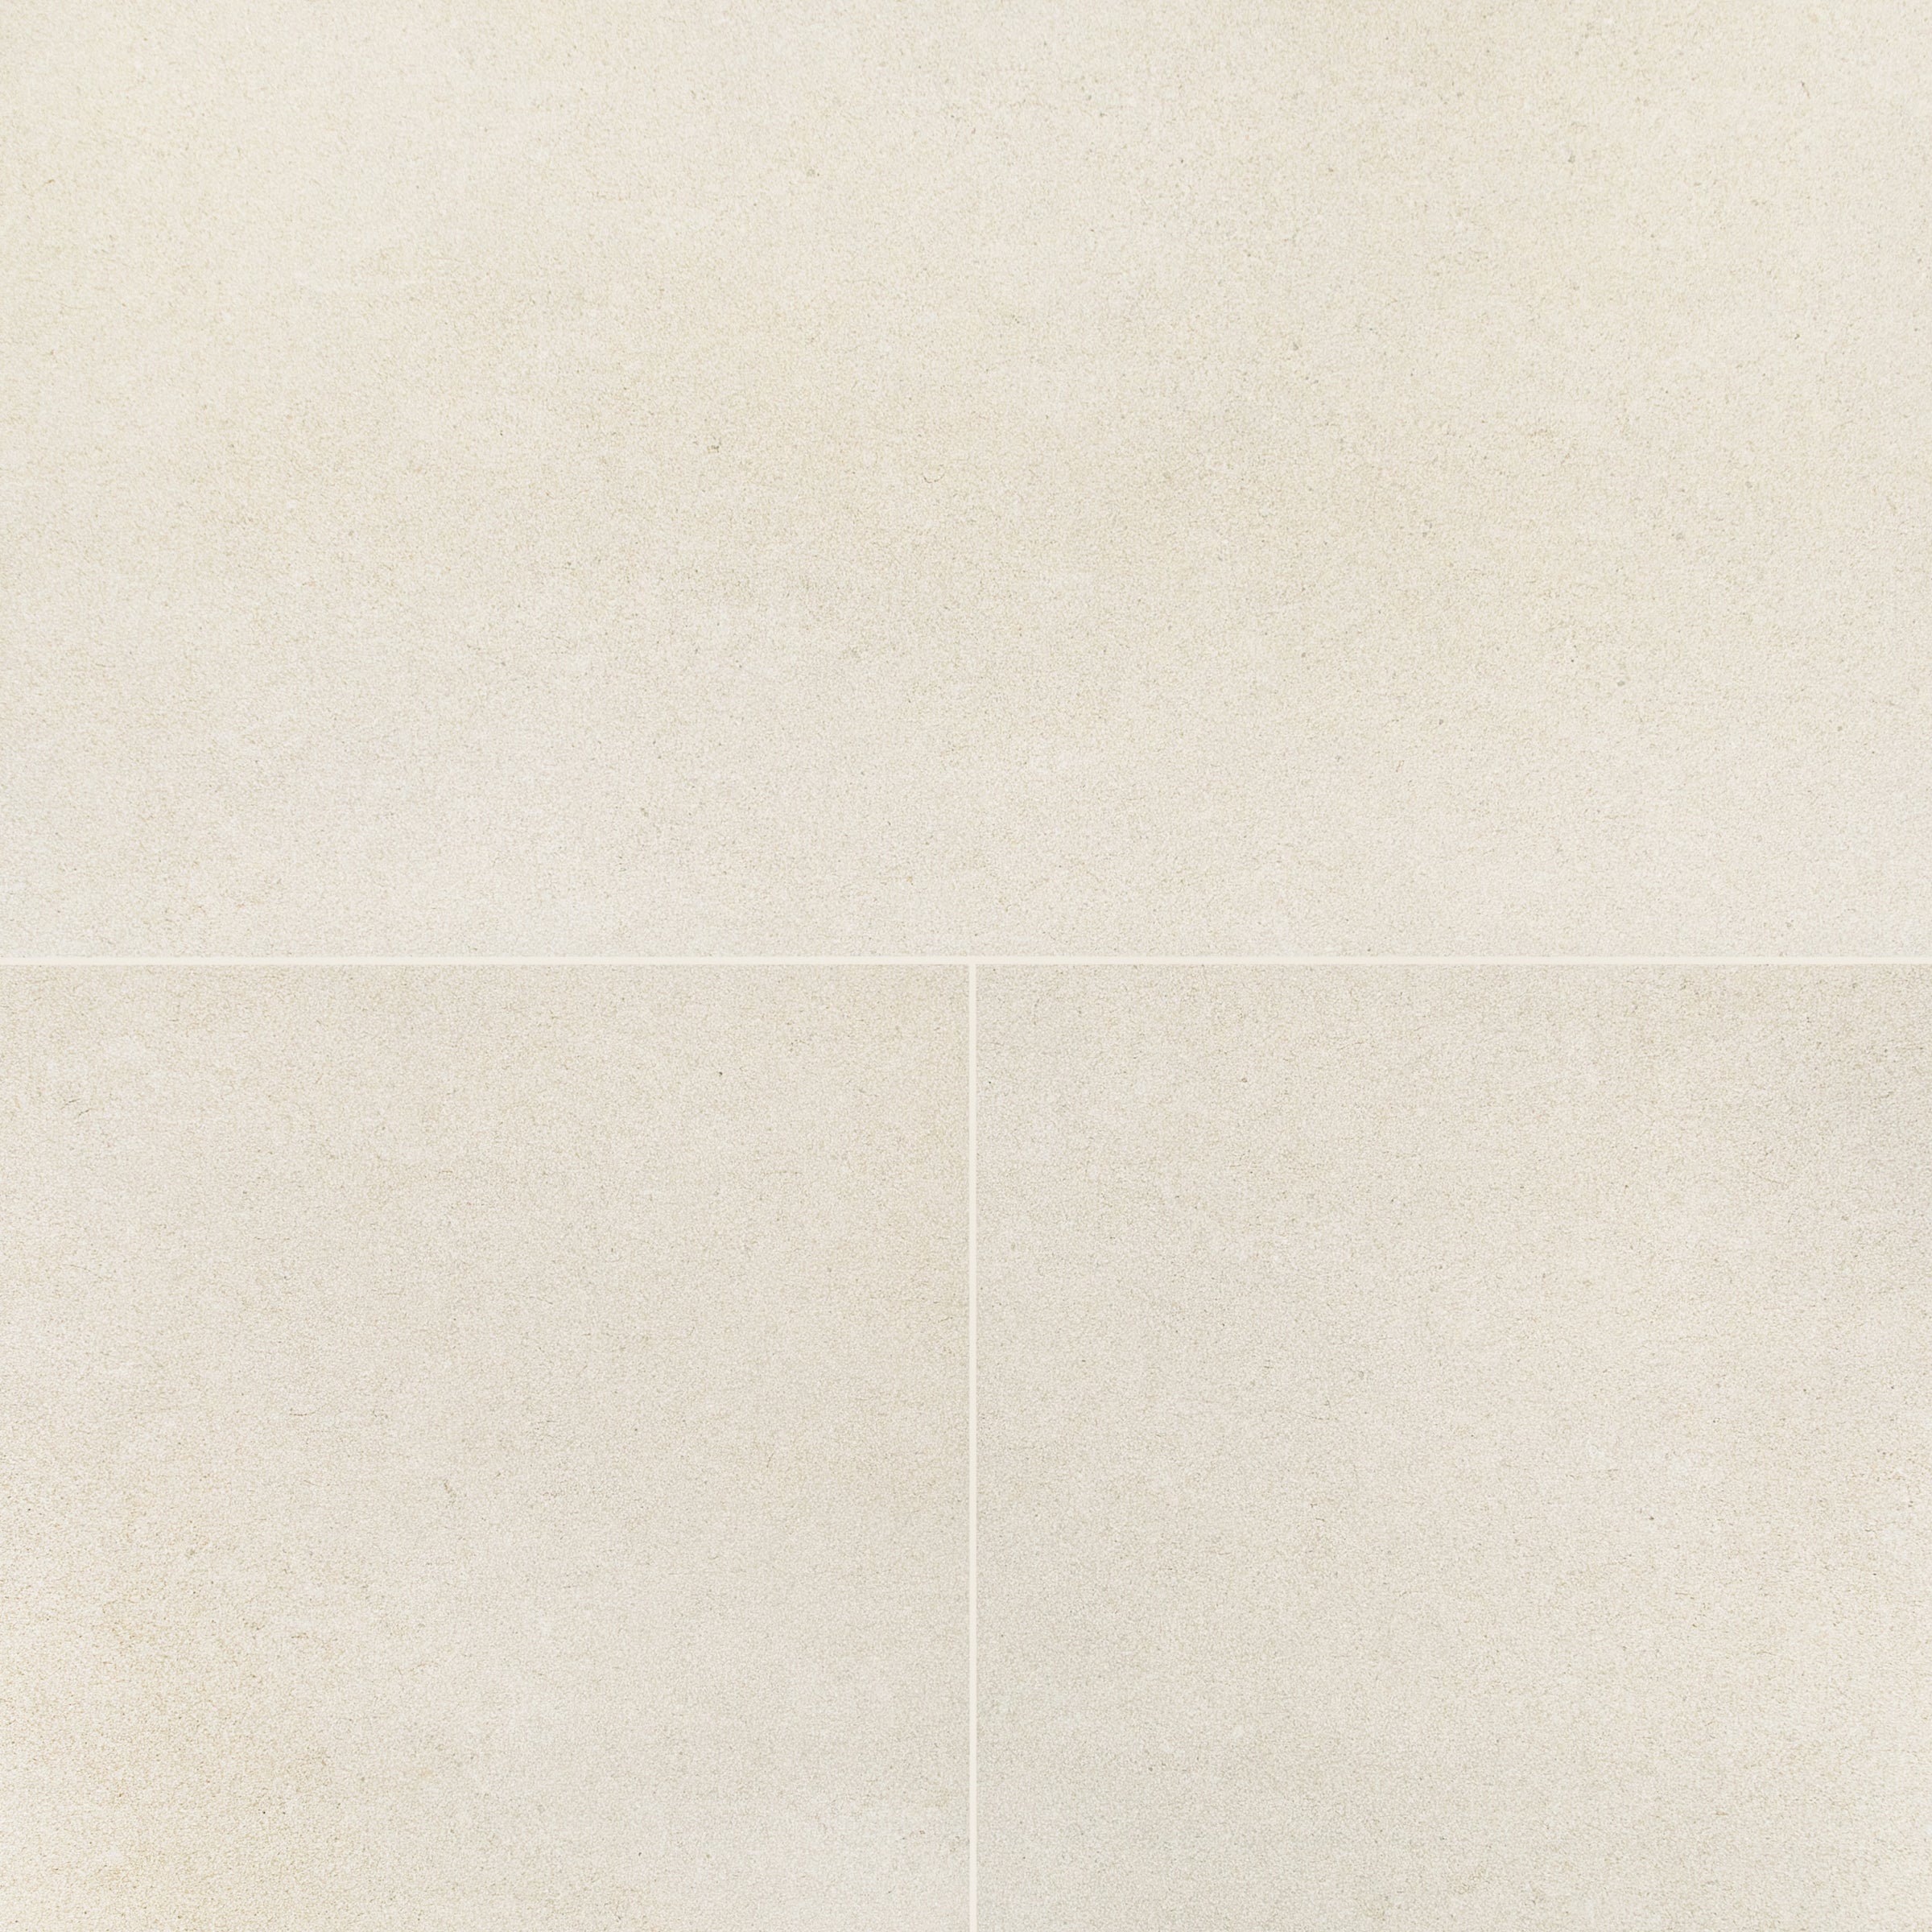
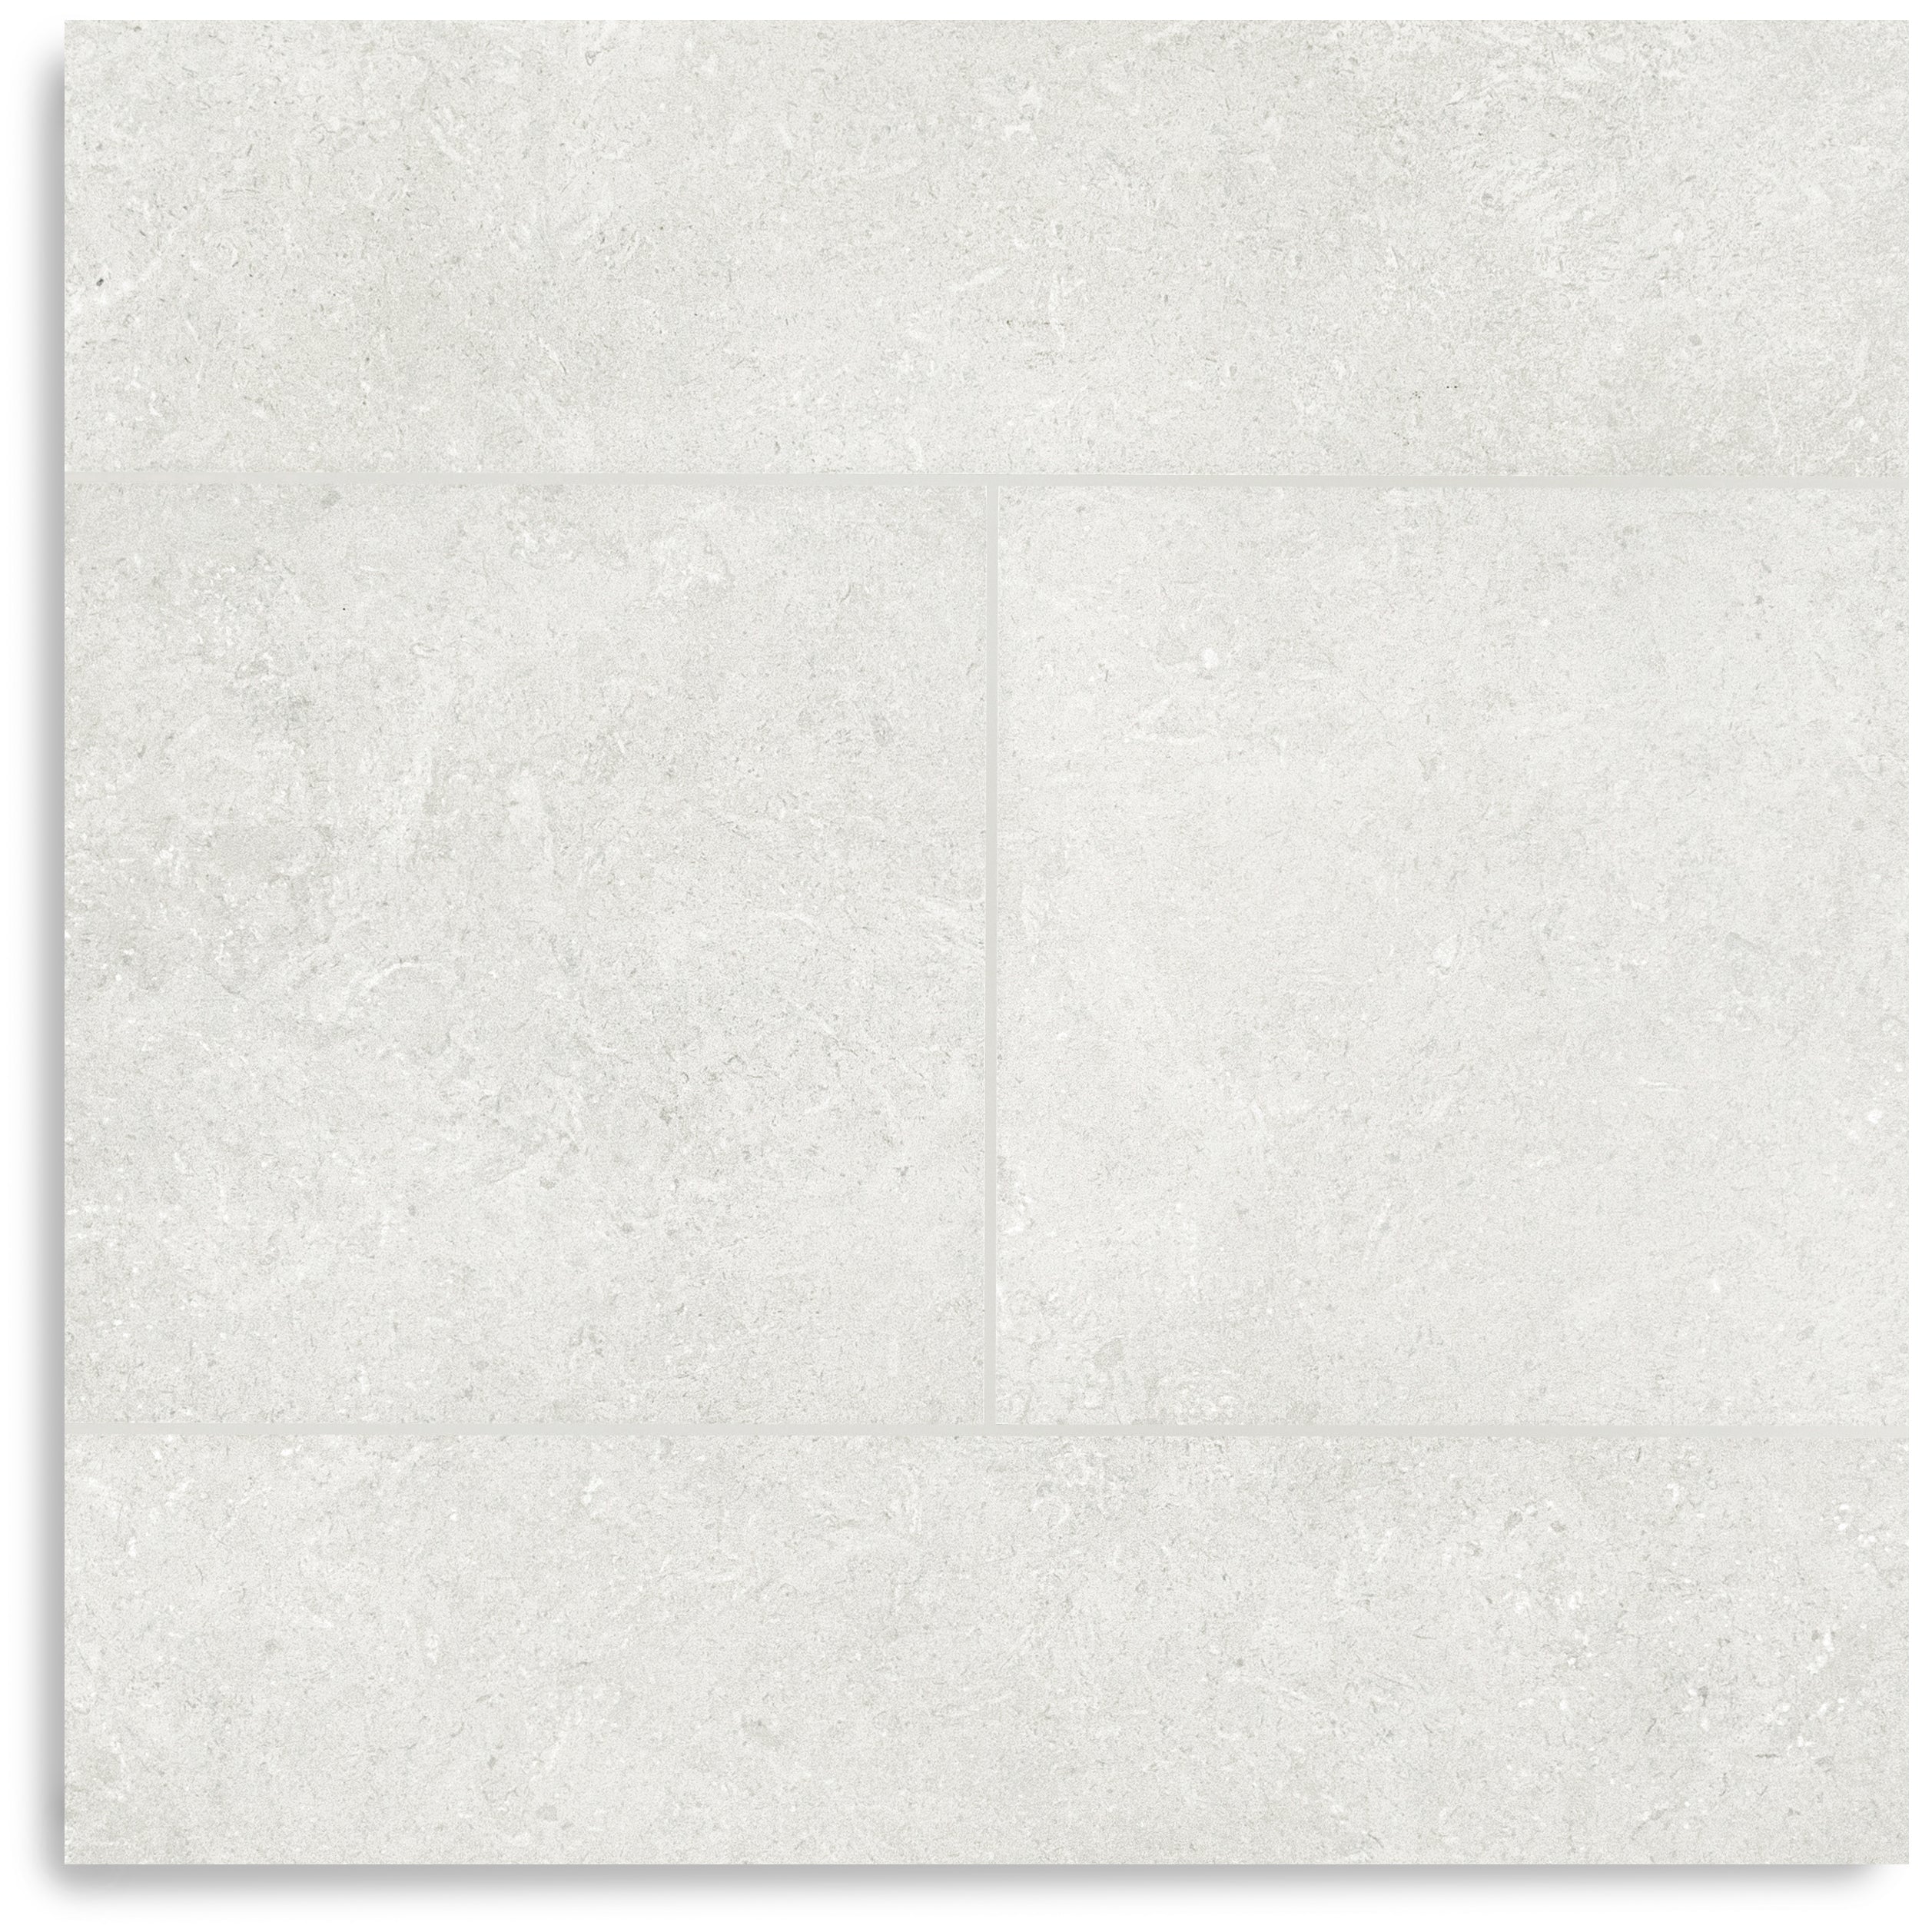
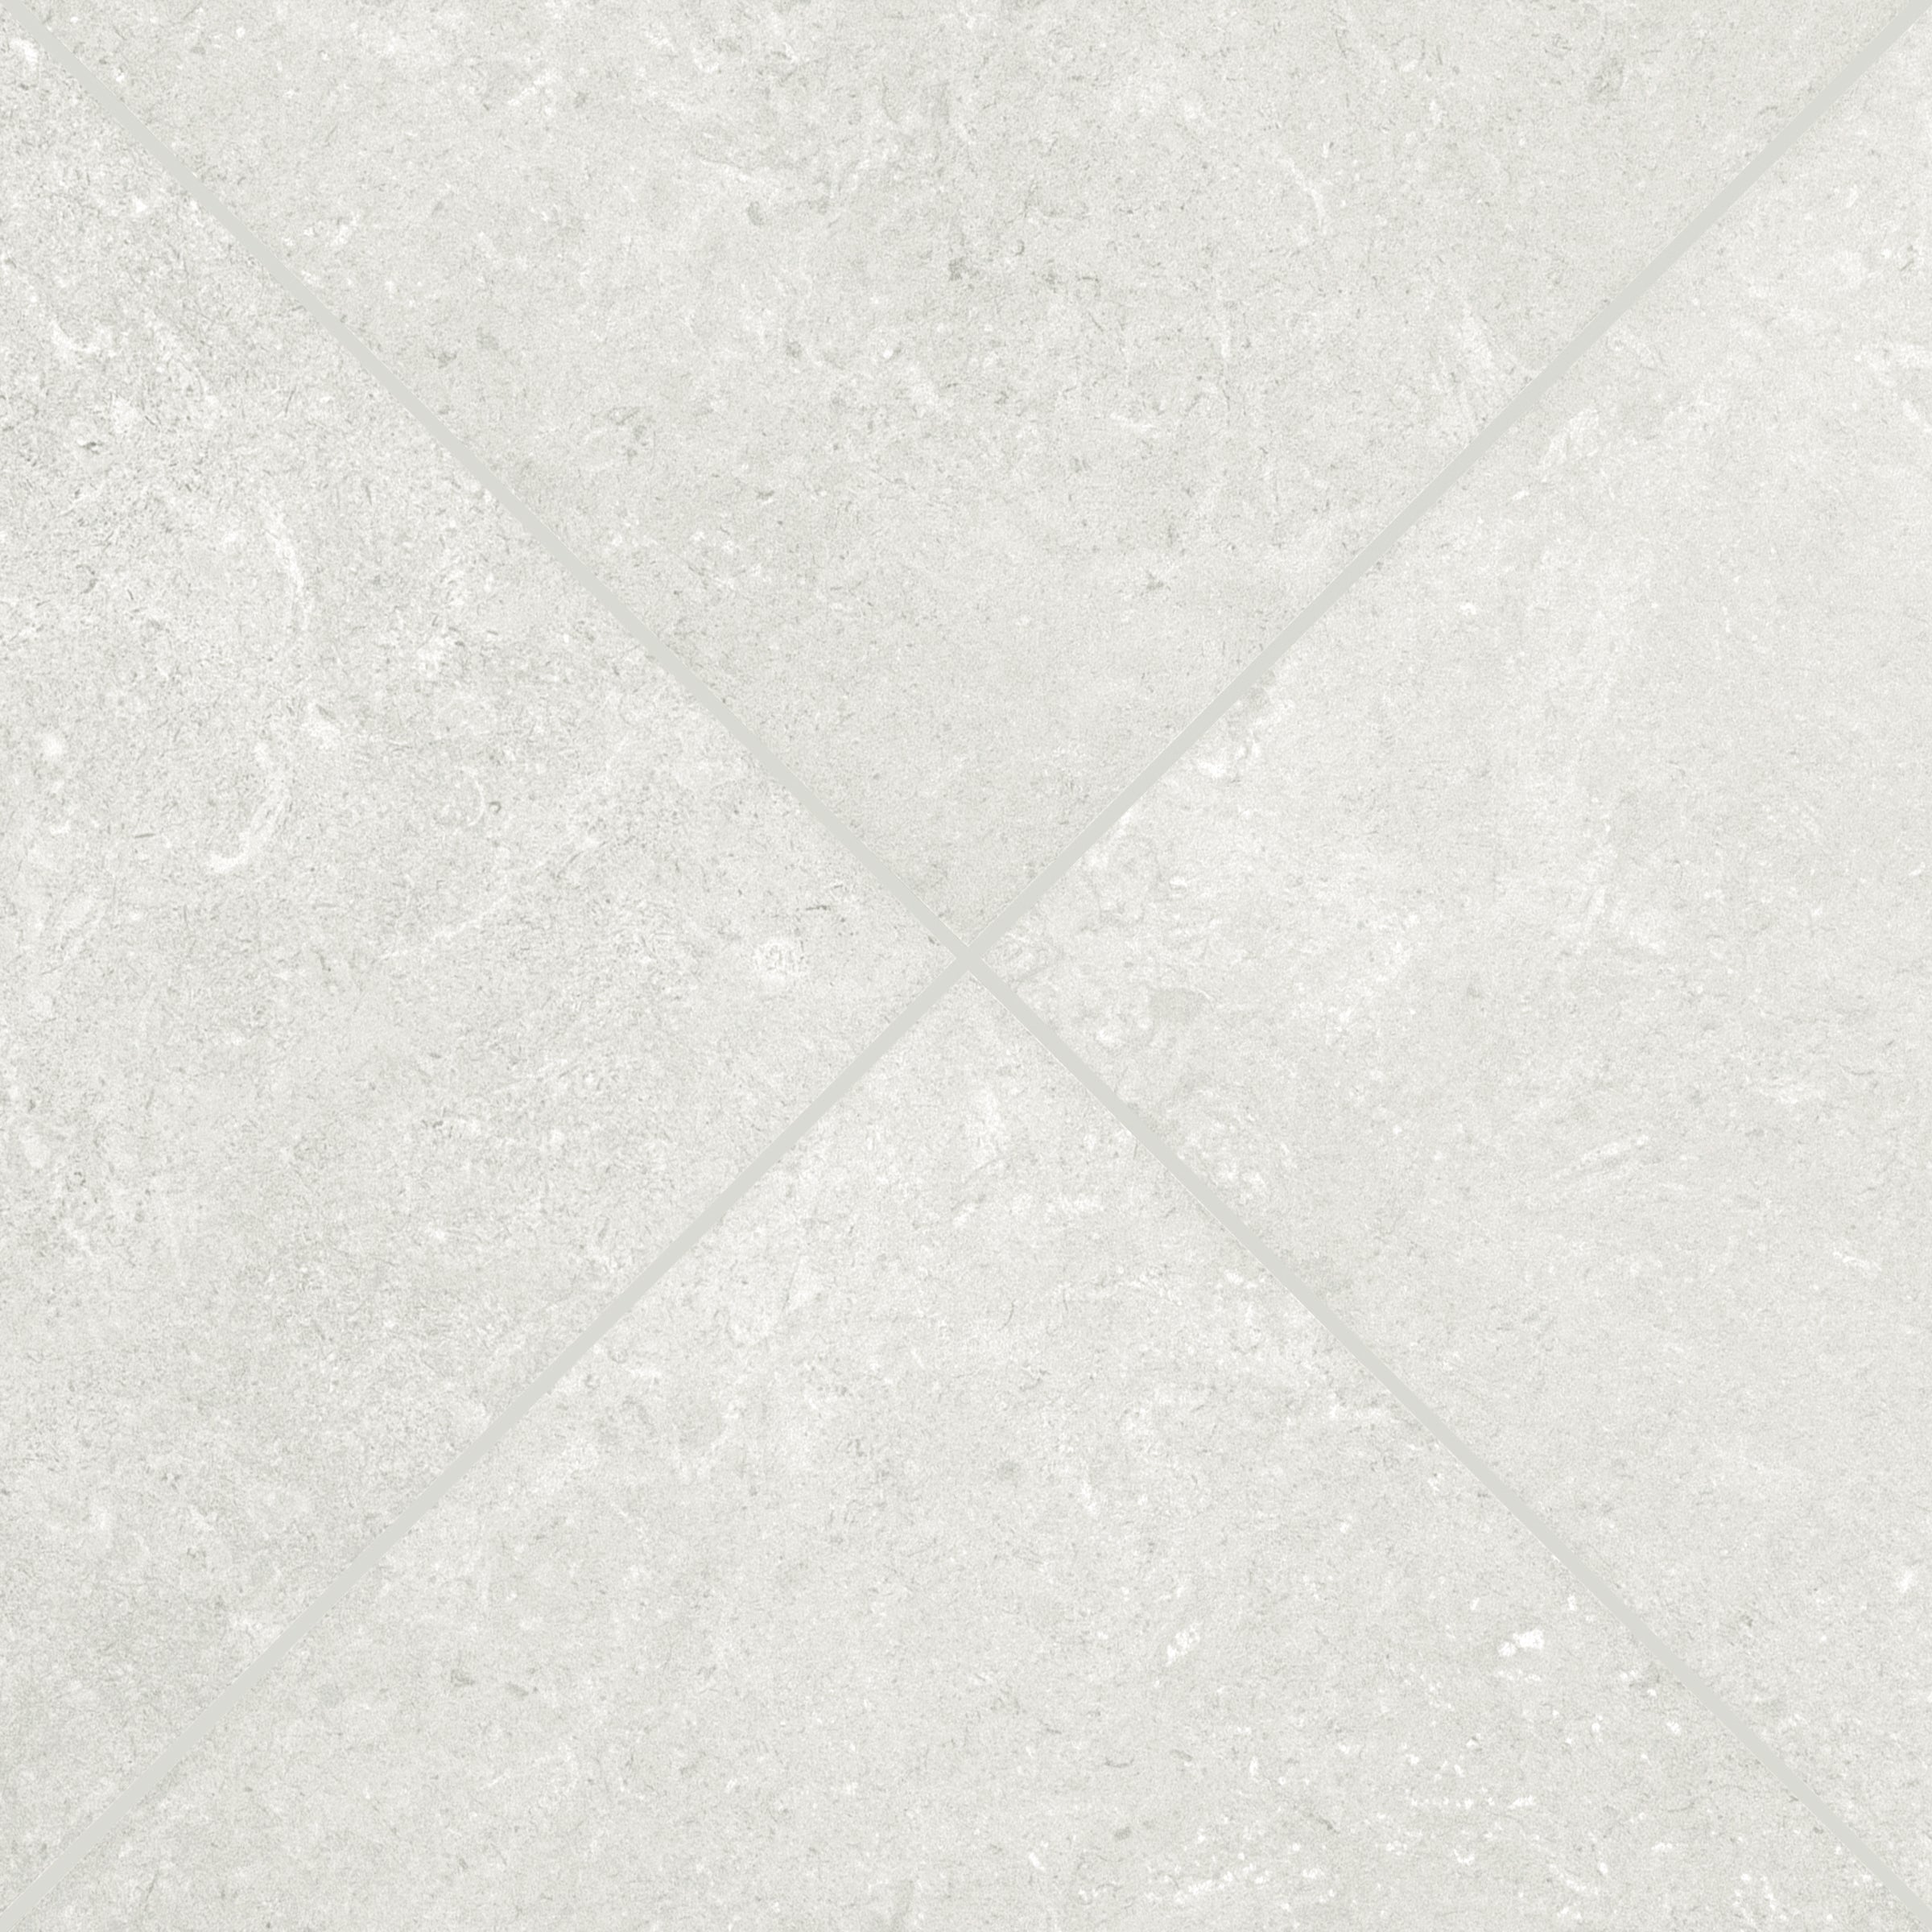
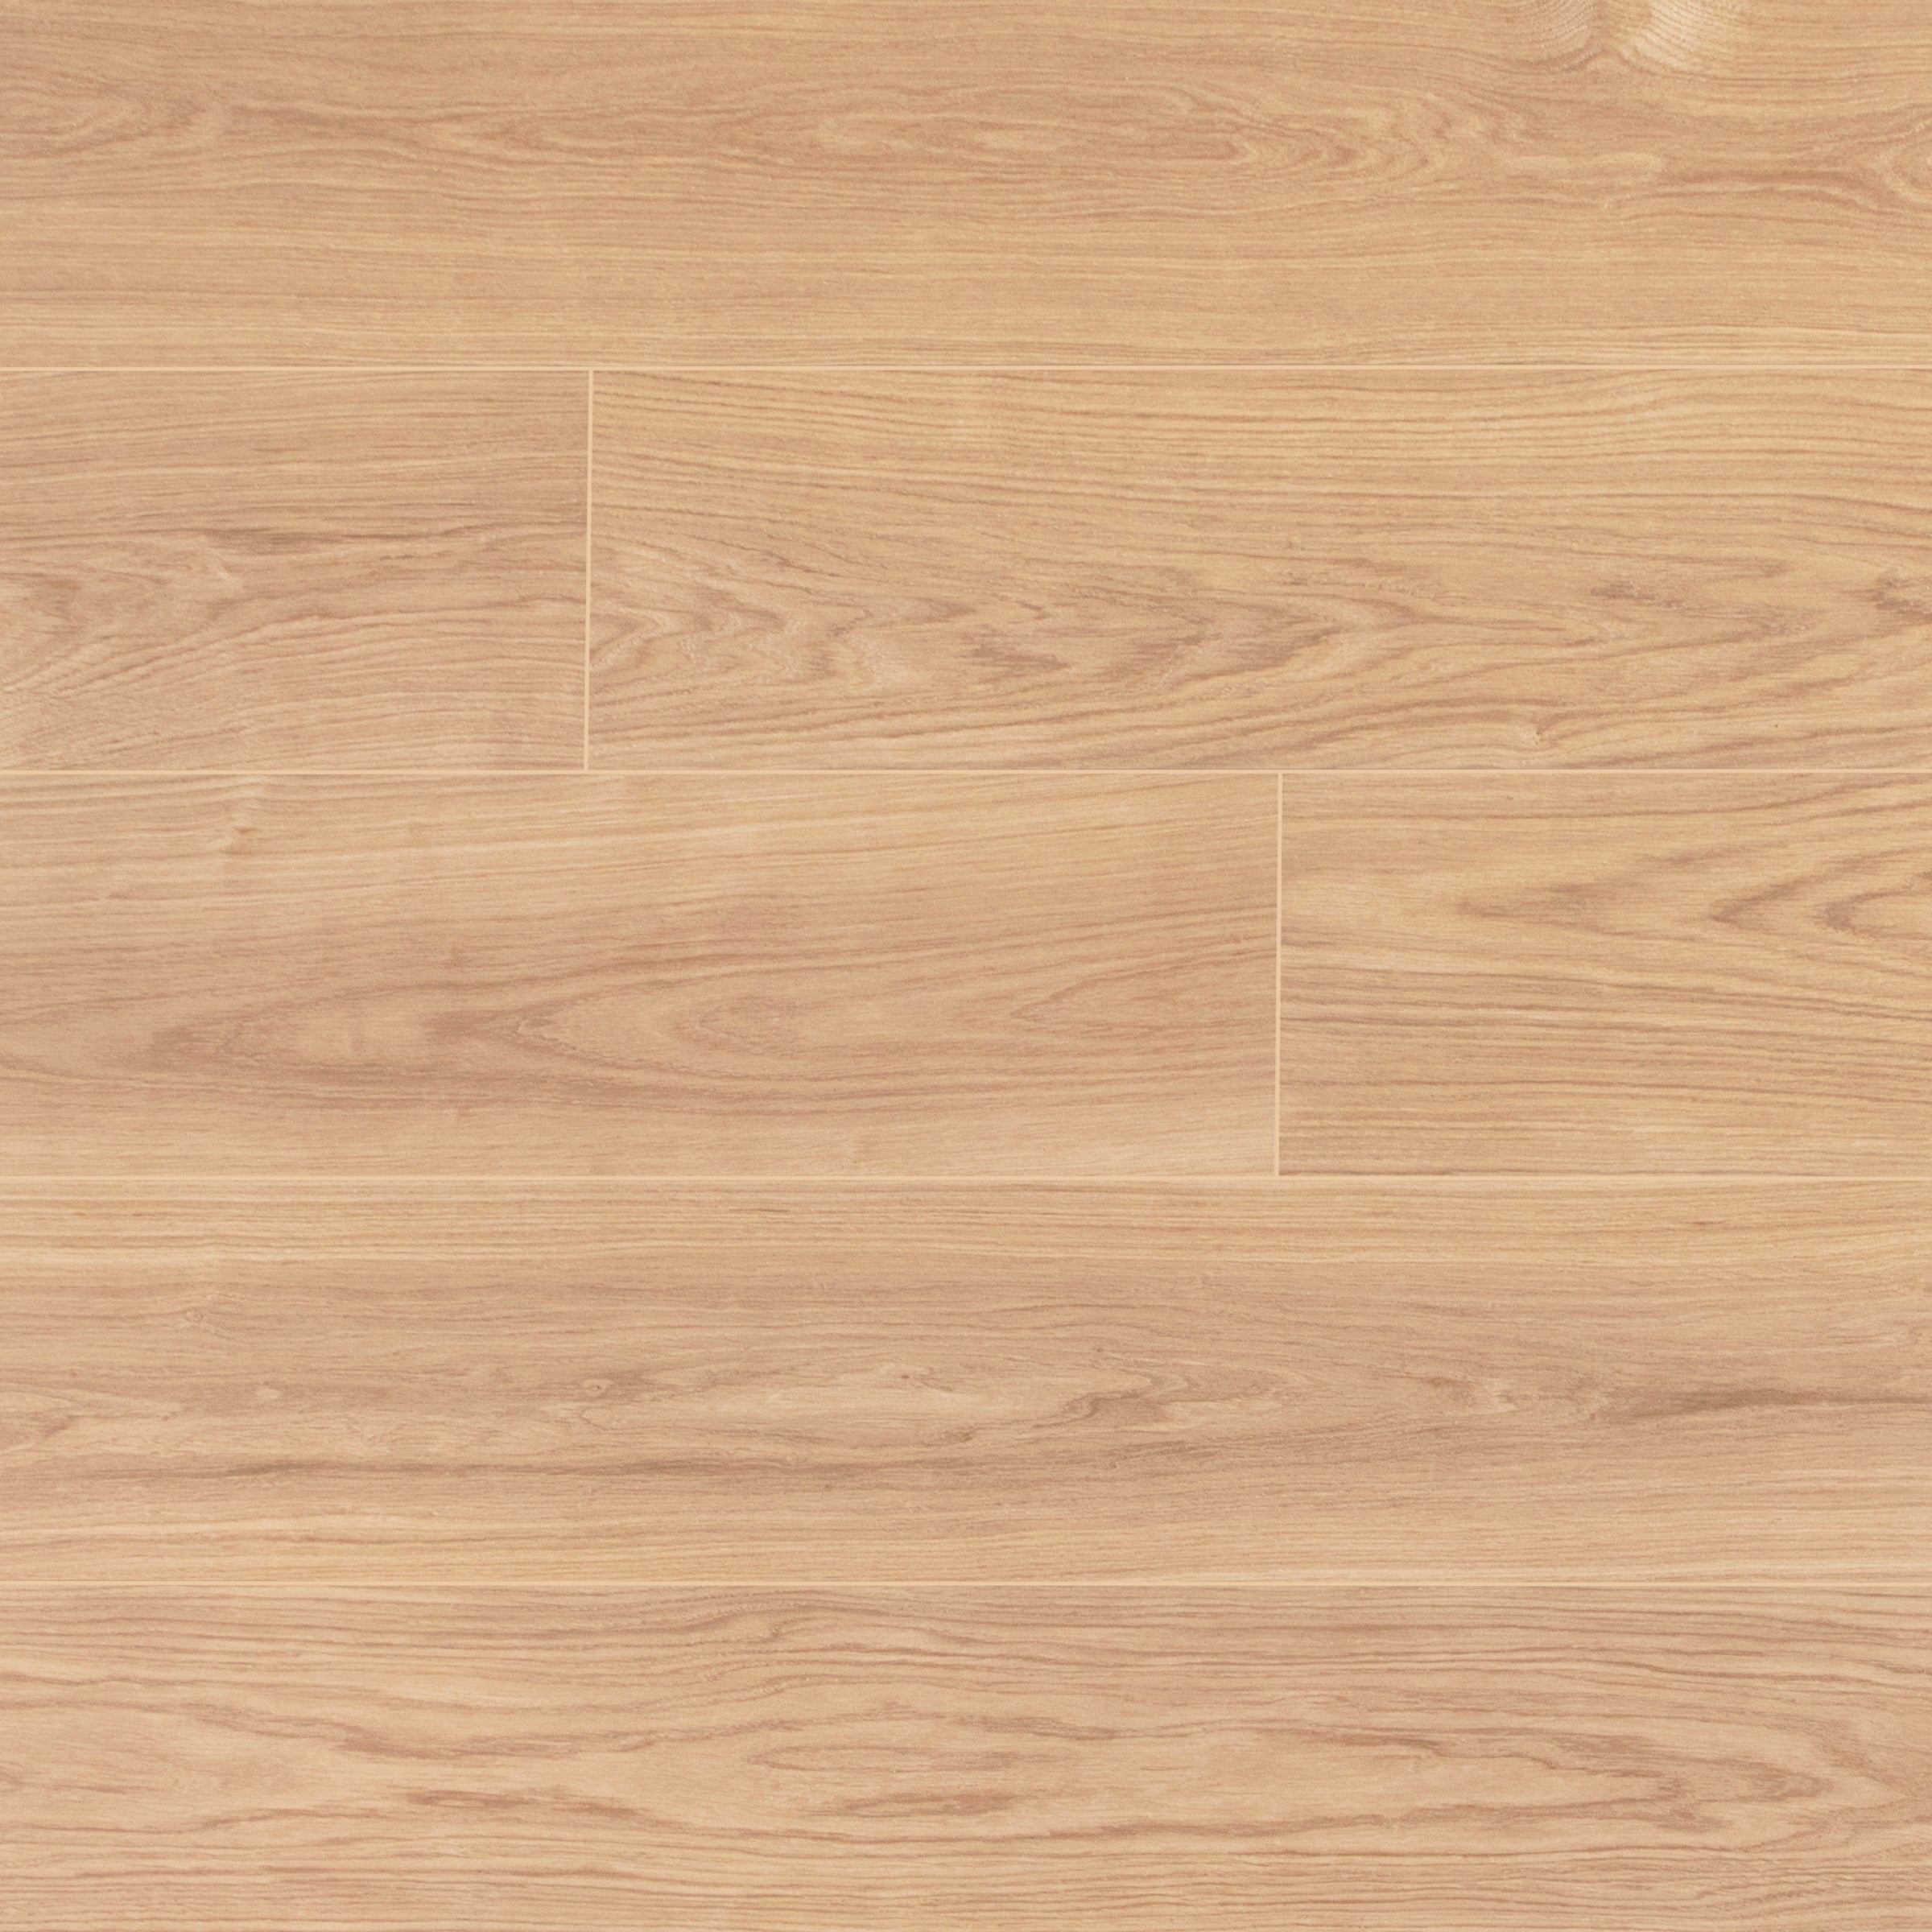
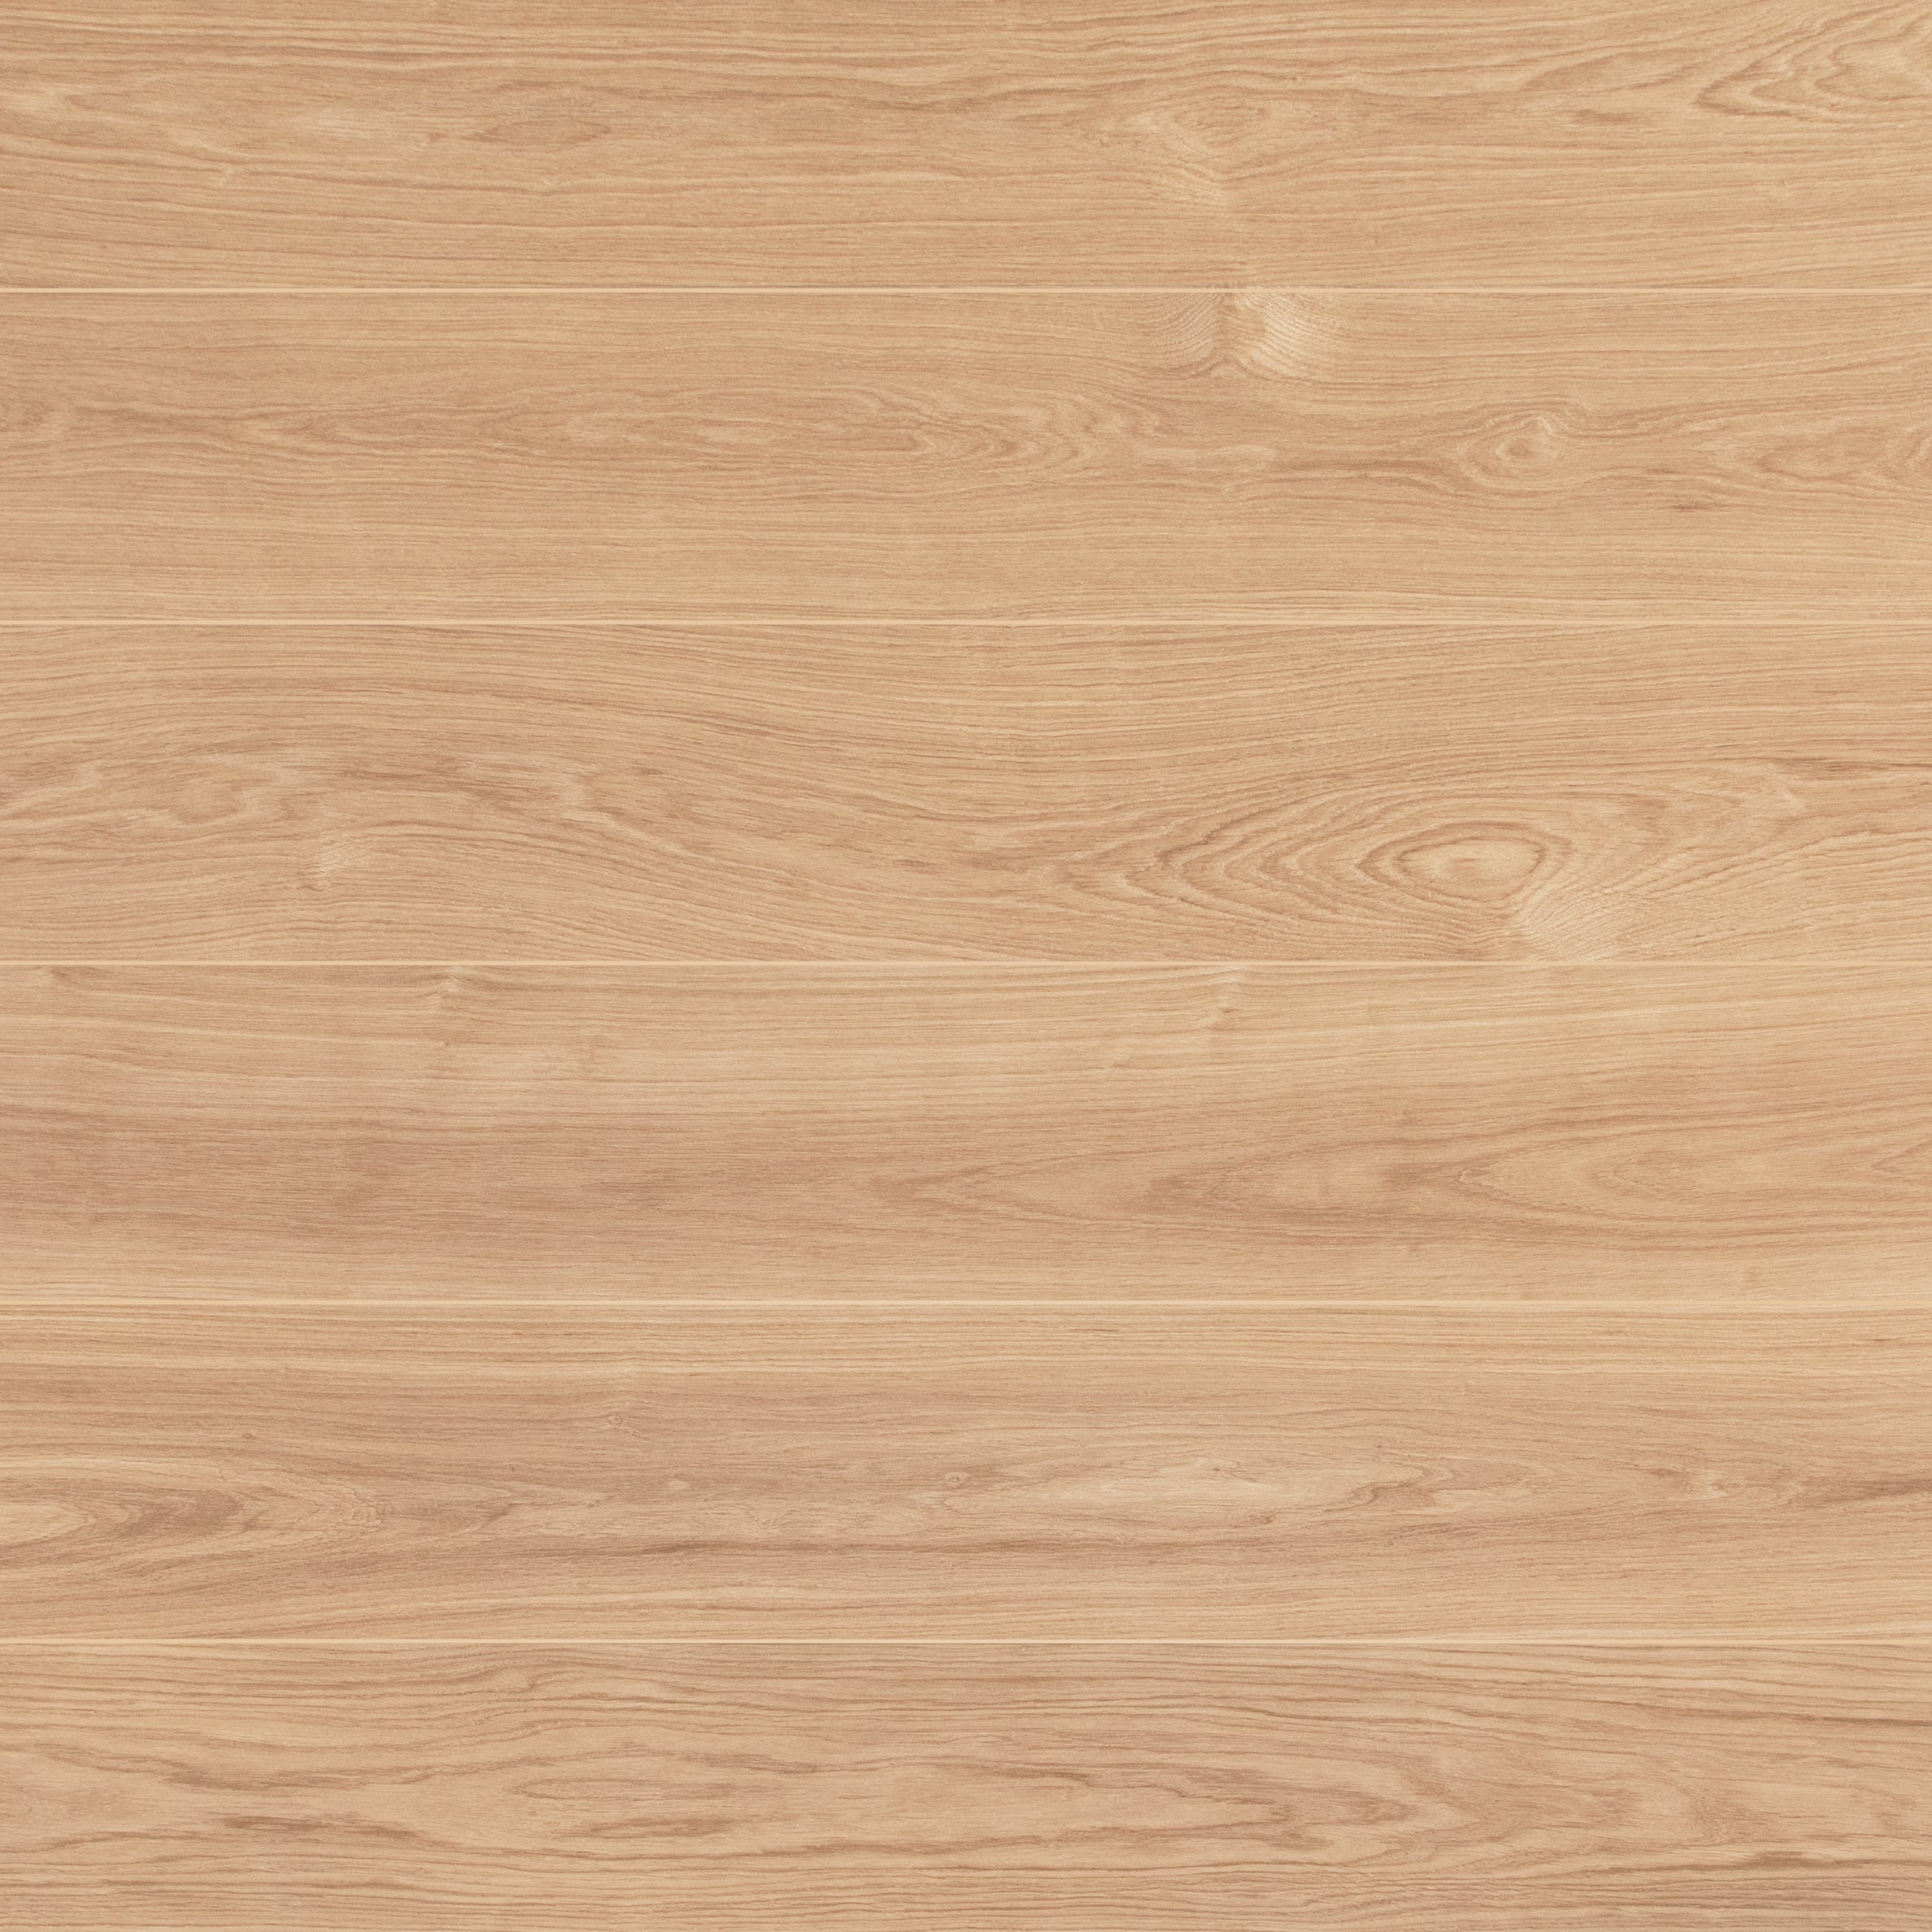
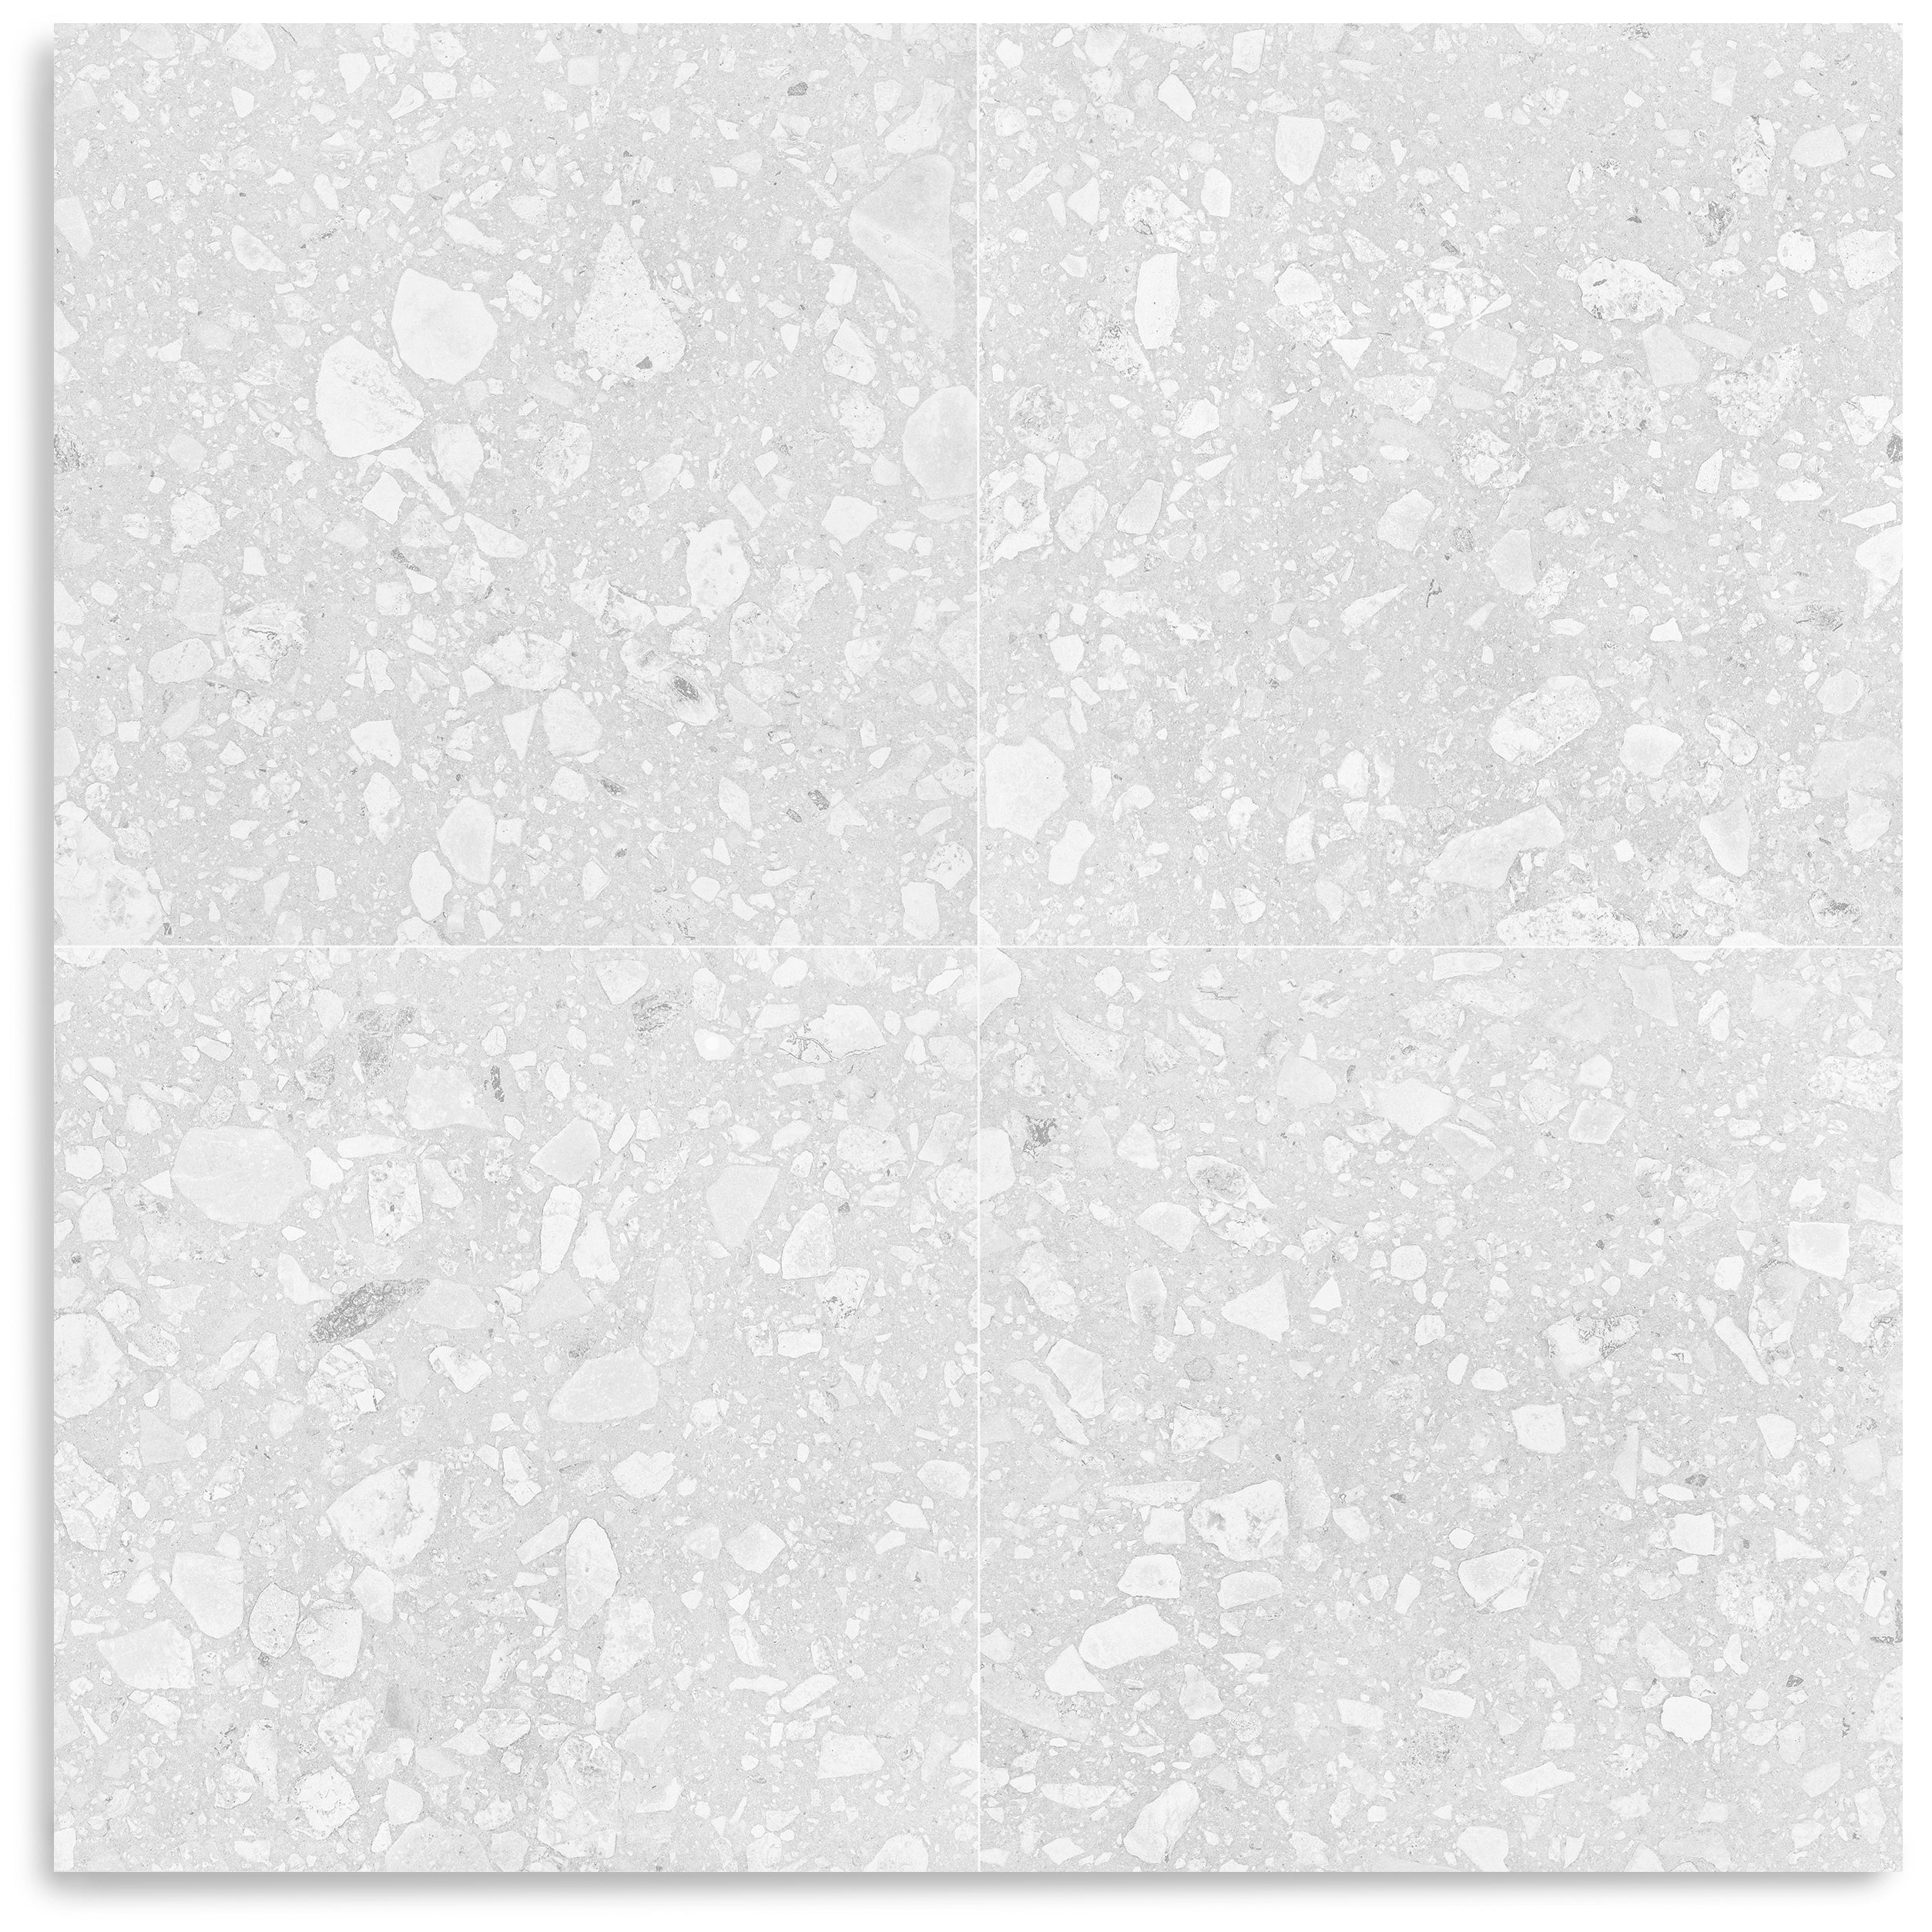
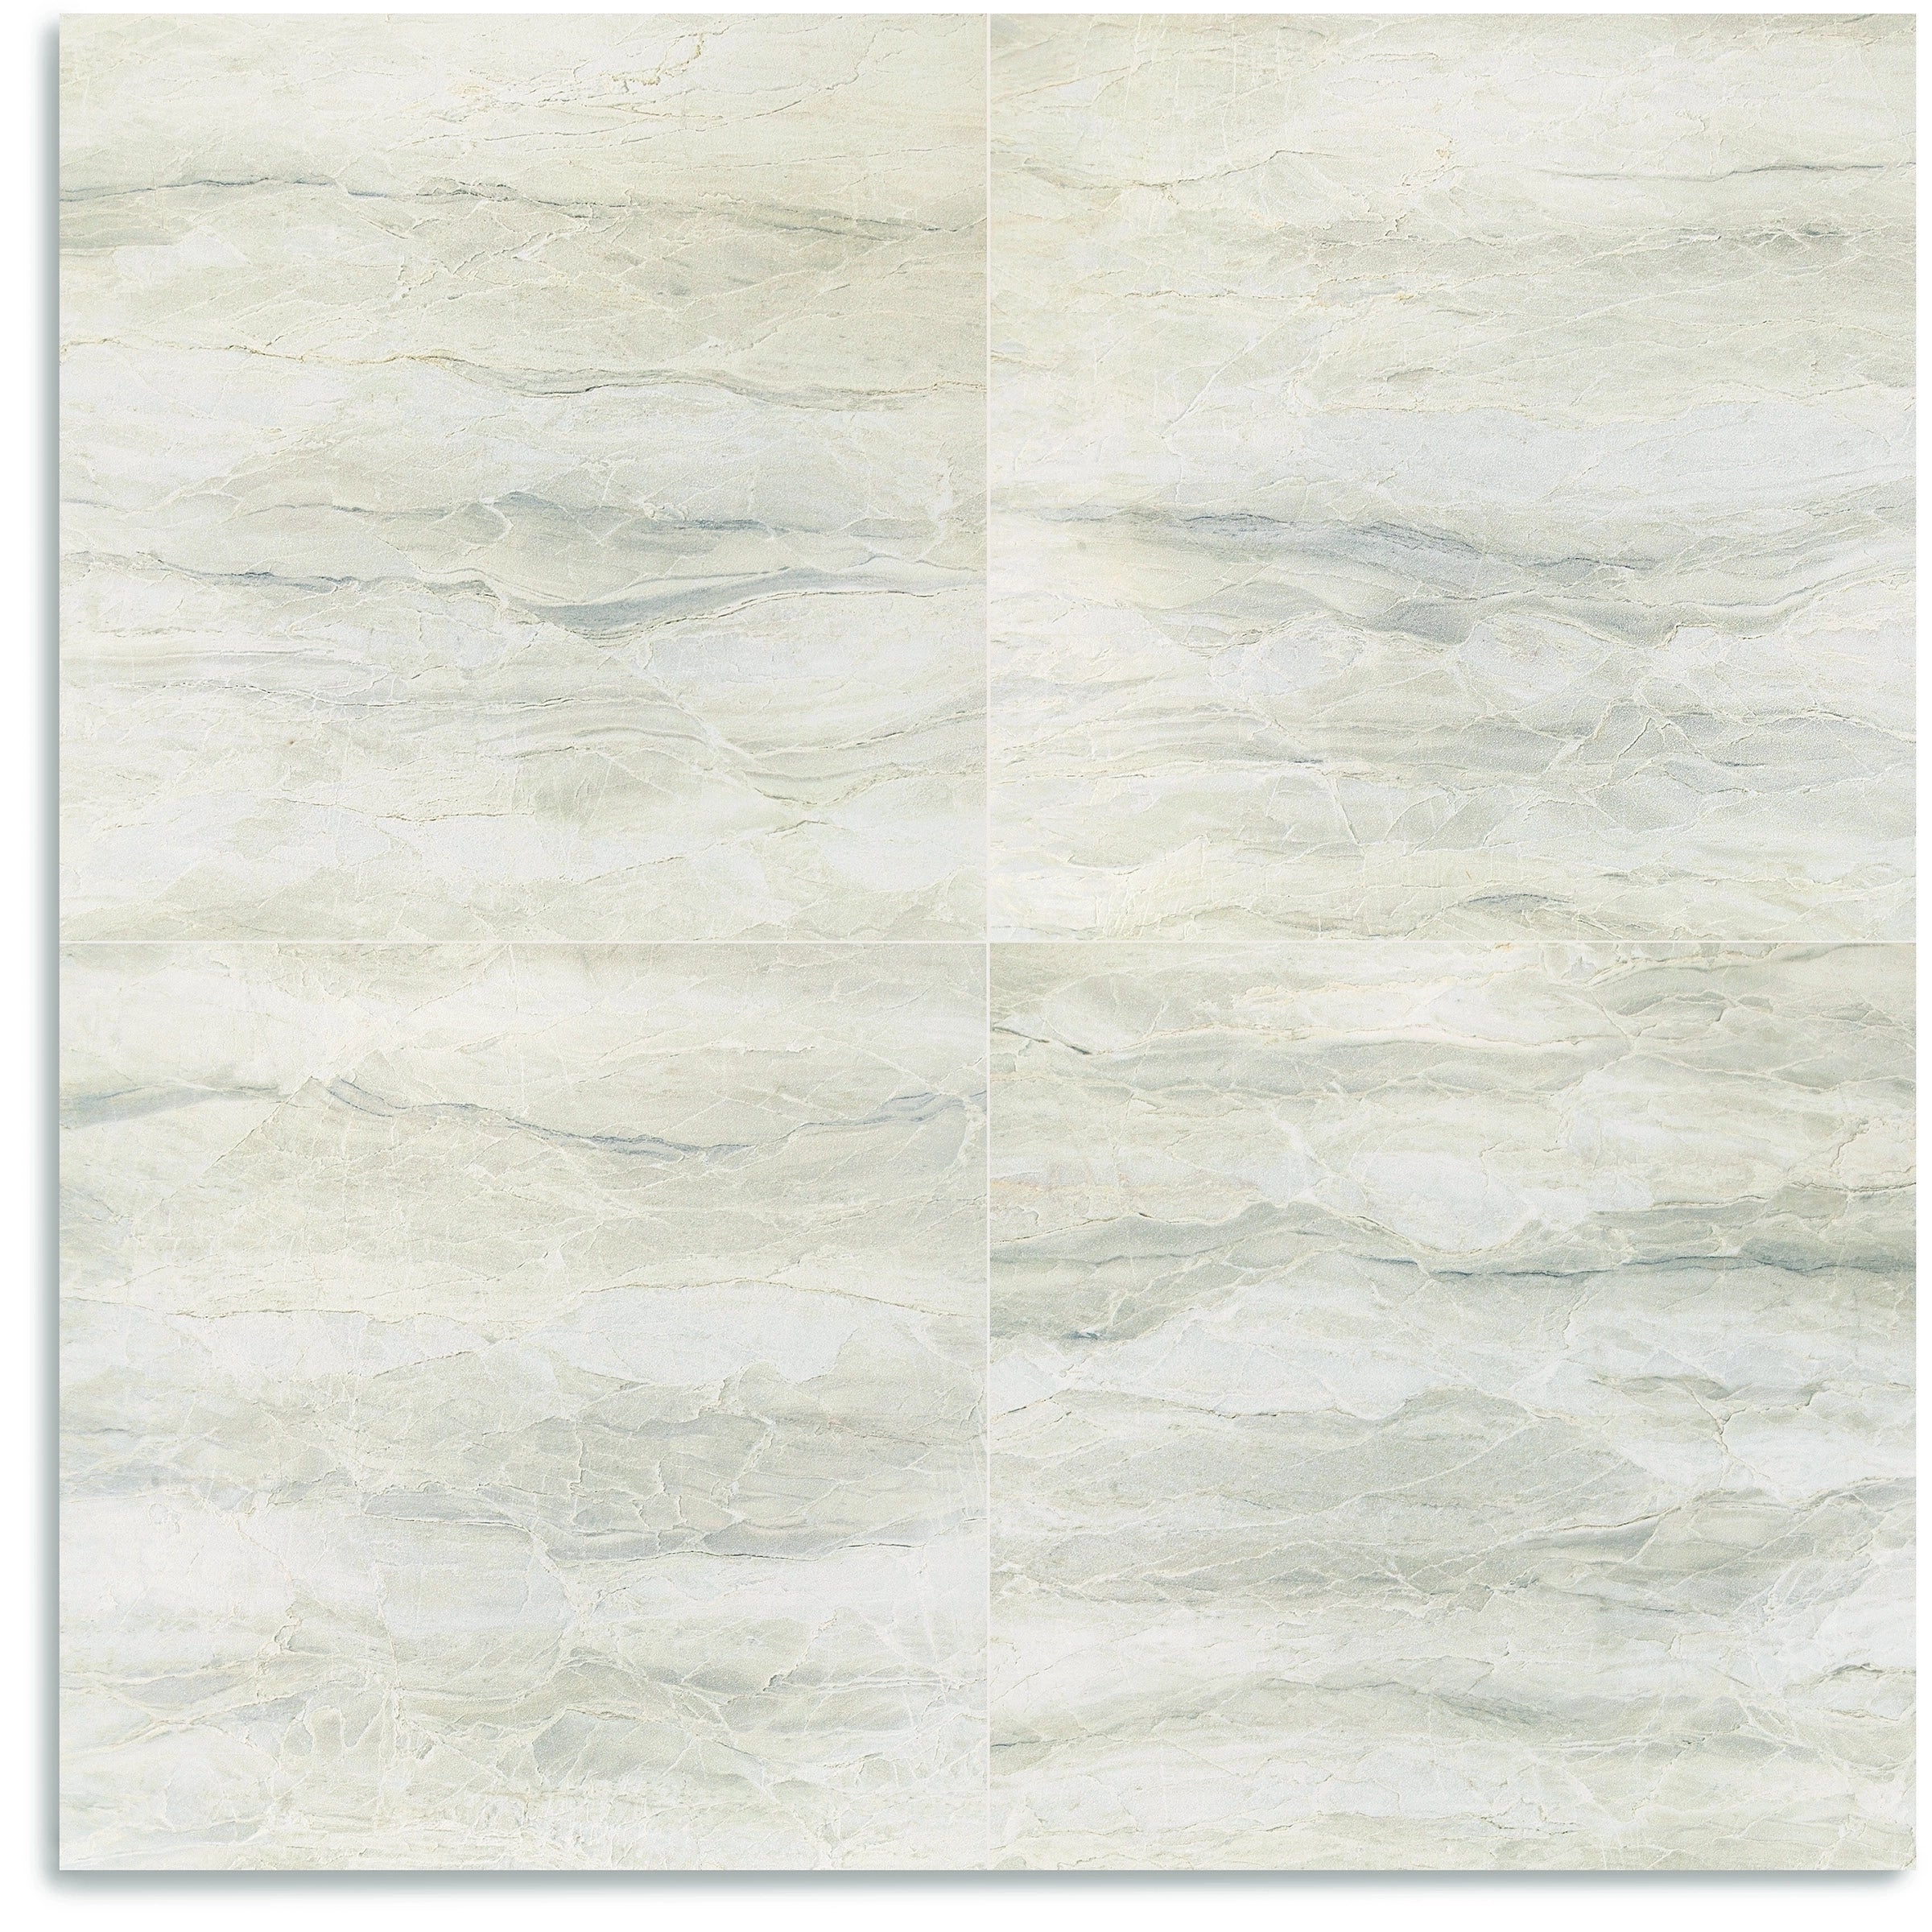
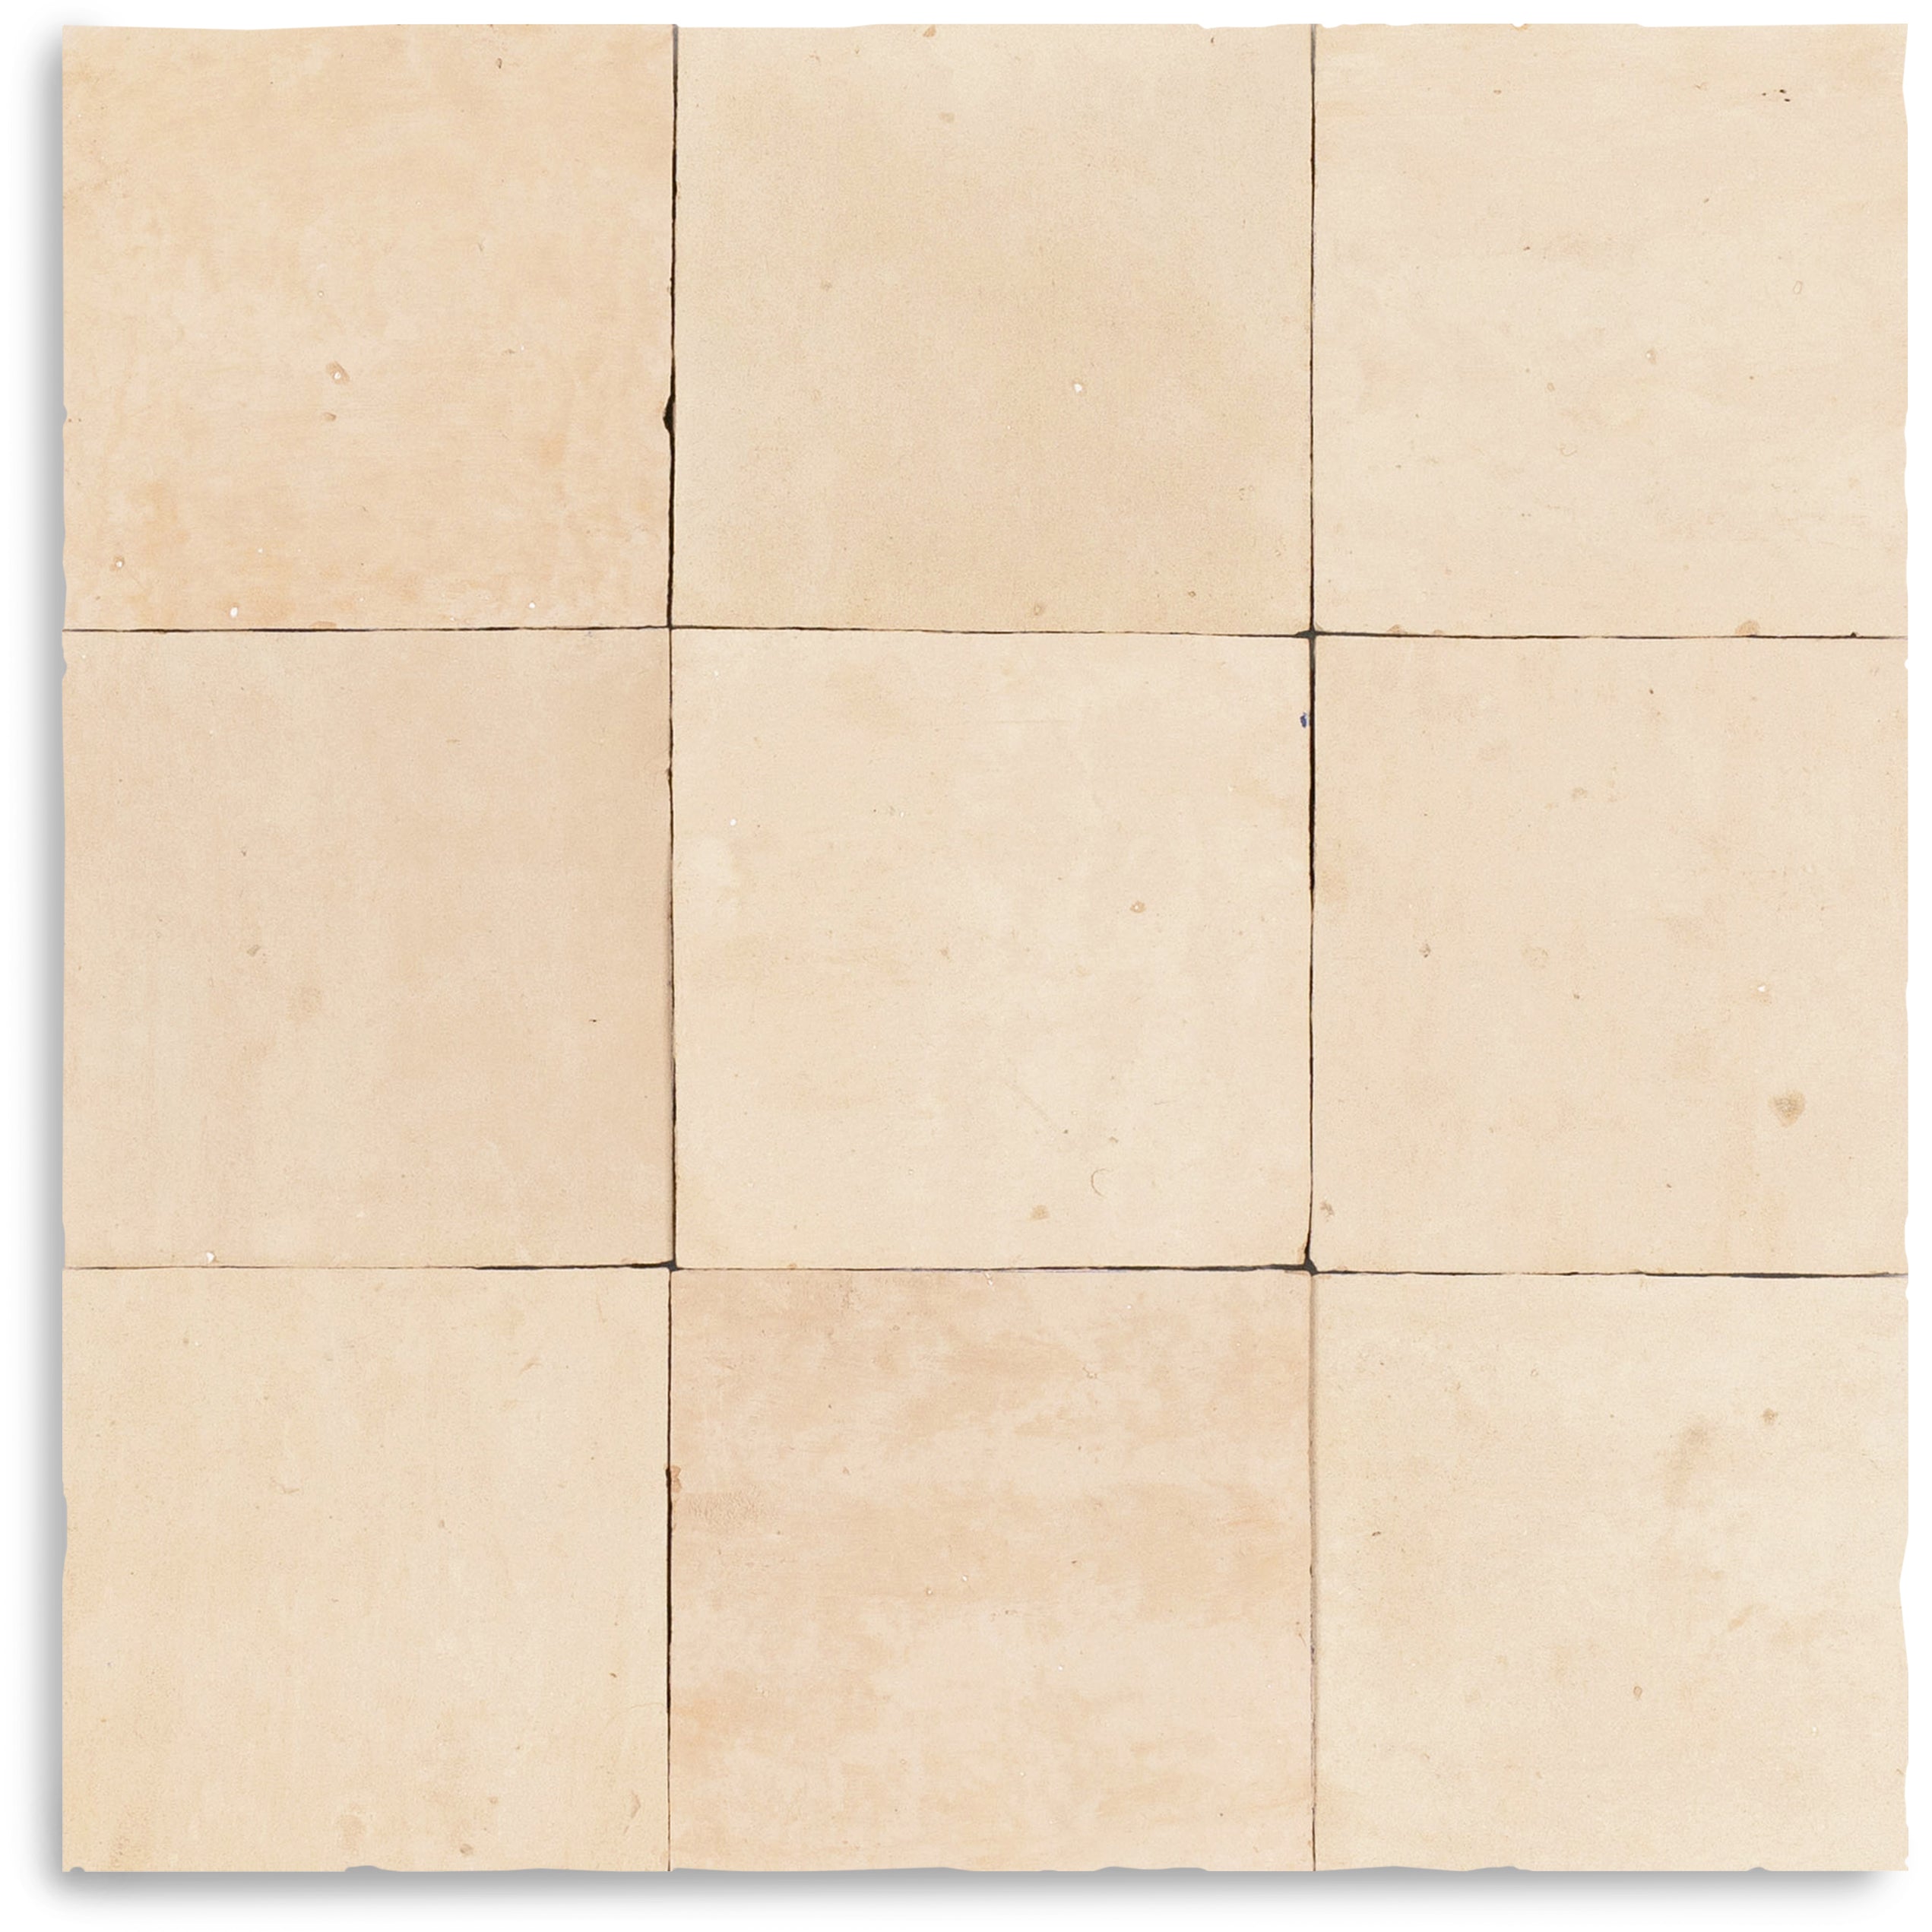
A pale, airy oak with a clean, Scandinavian feel
This tone leans lighter and more desaturated, giving you that breezy Nordic look without washing out the space. Use it when you want rooms to feel bigger, brighter, and more relaxed—perfect for modern coastal, Japandi, and California casual projects. It pairs beautifully with limewash walls, soft taupes, muted clays, natural linens, and warm metal accents like champagne bronze. Great for clients chasing that high-end minimalism but on a real-world budget.
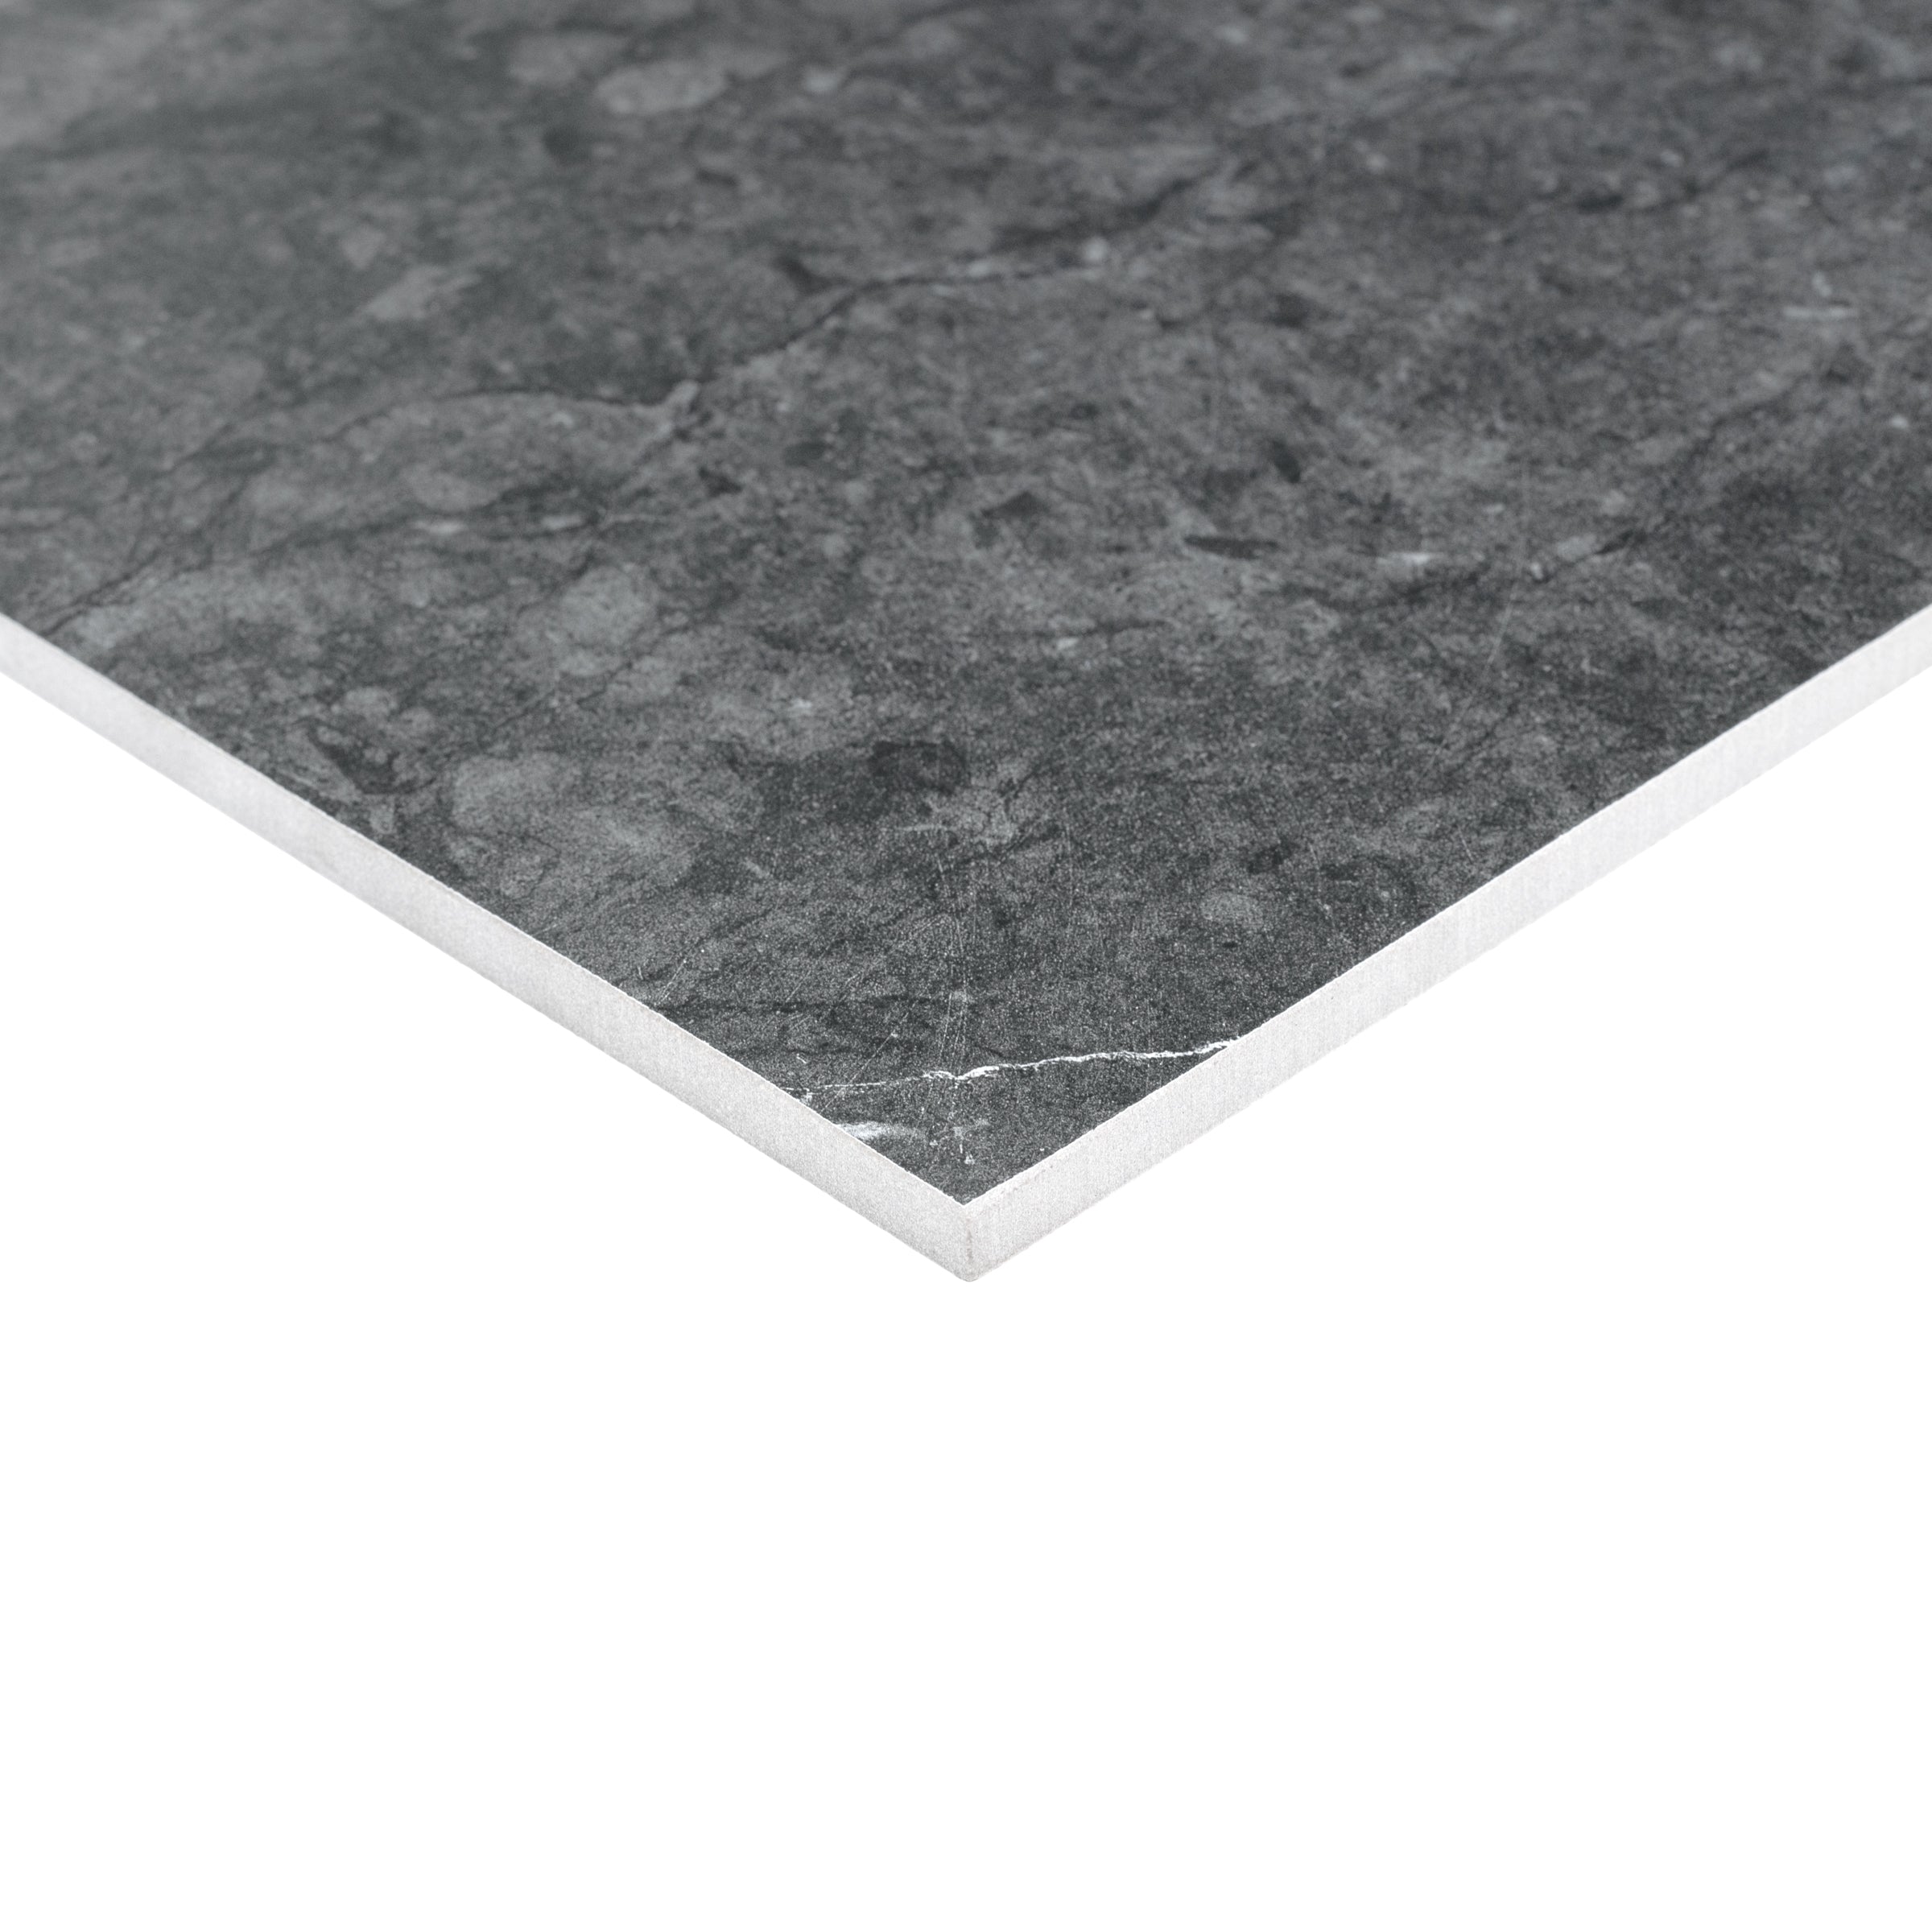
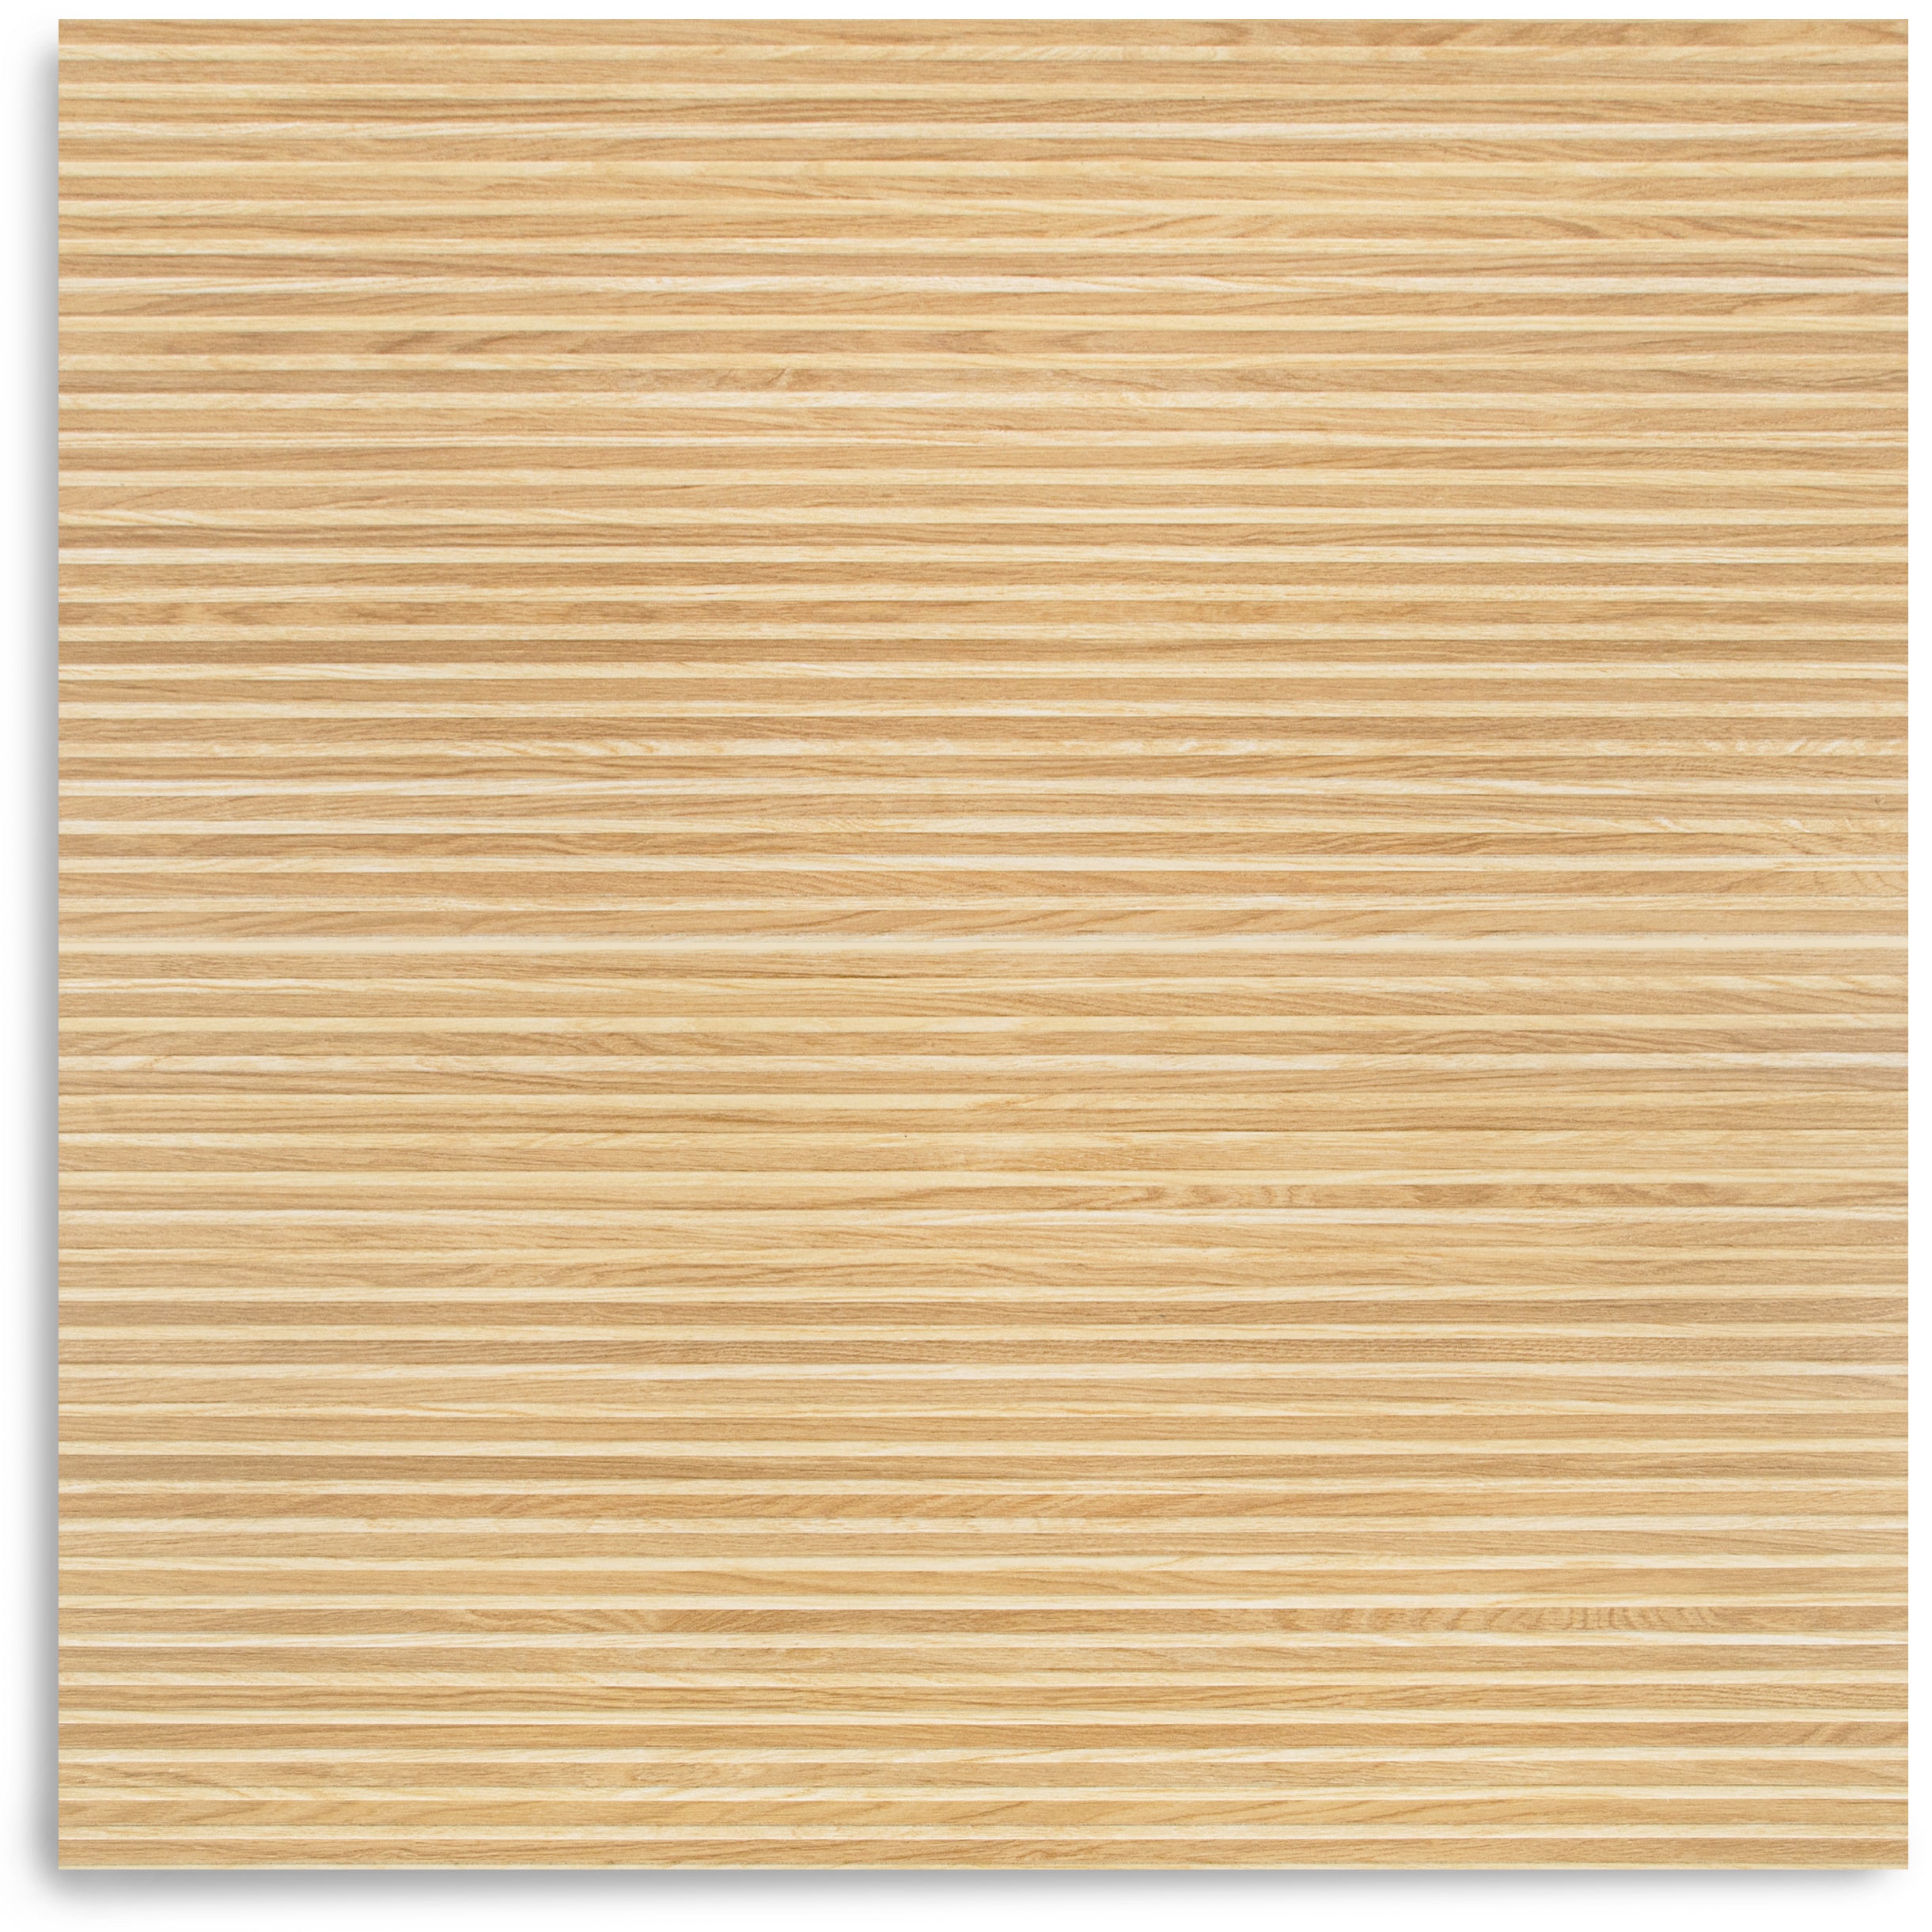
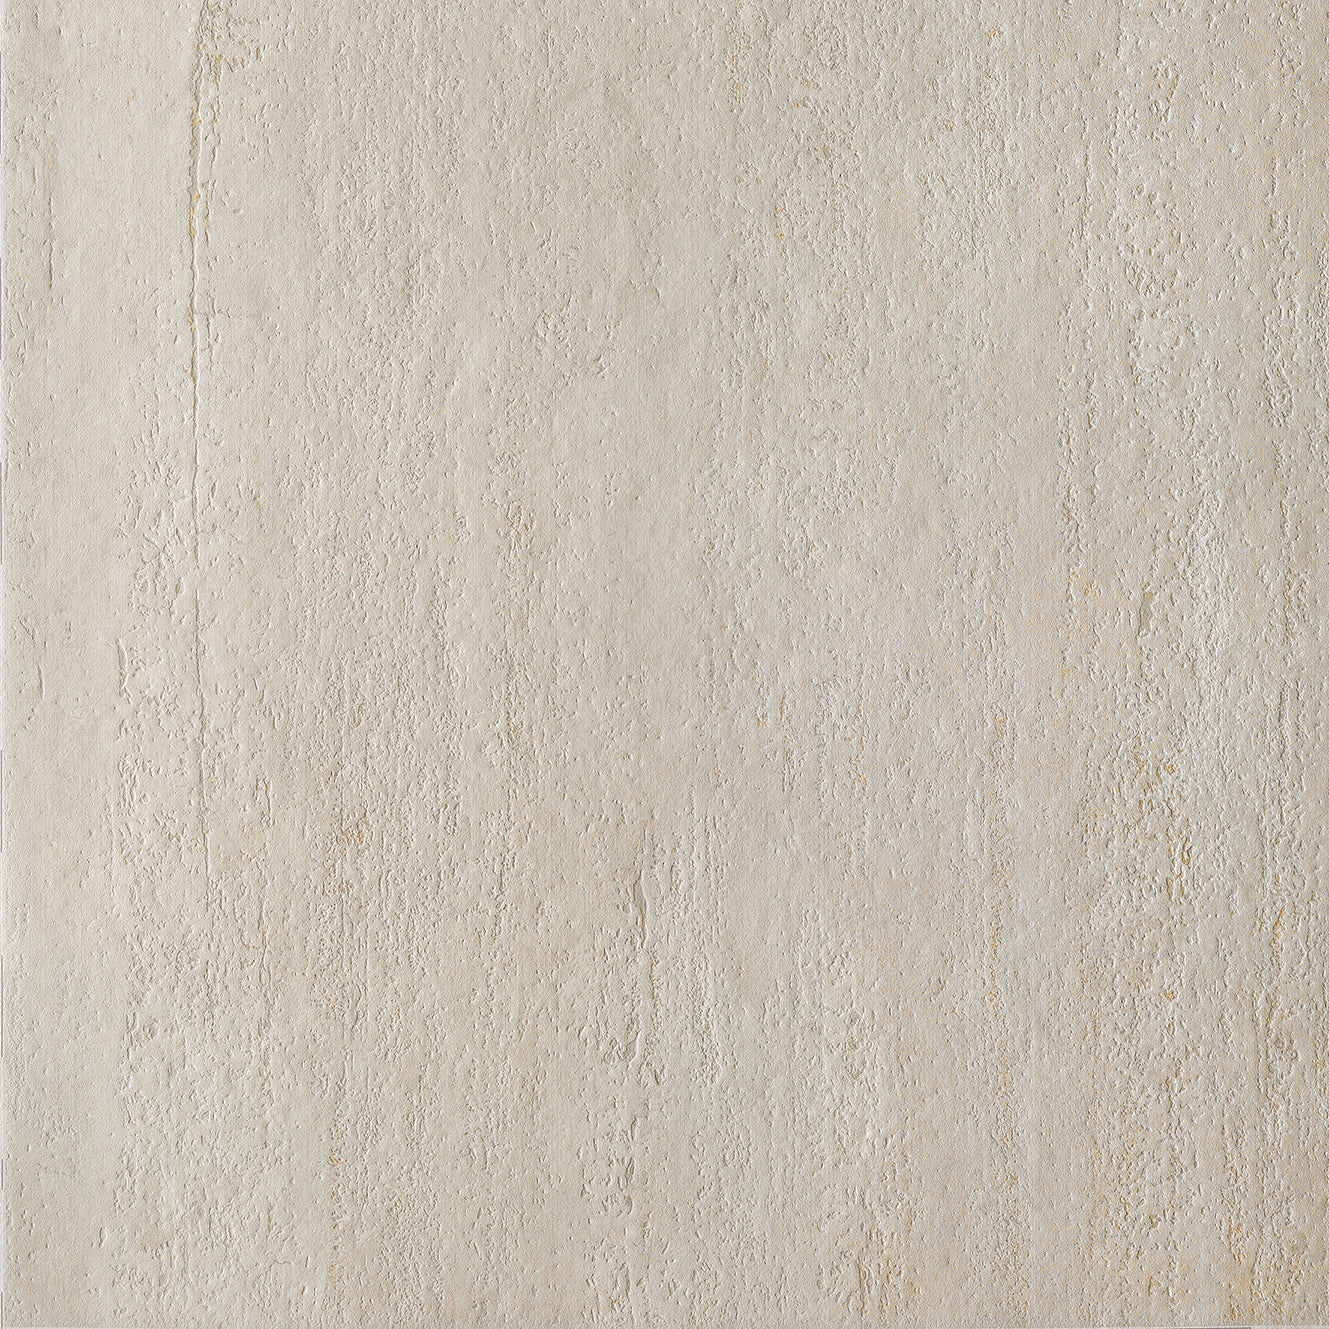
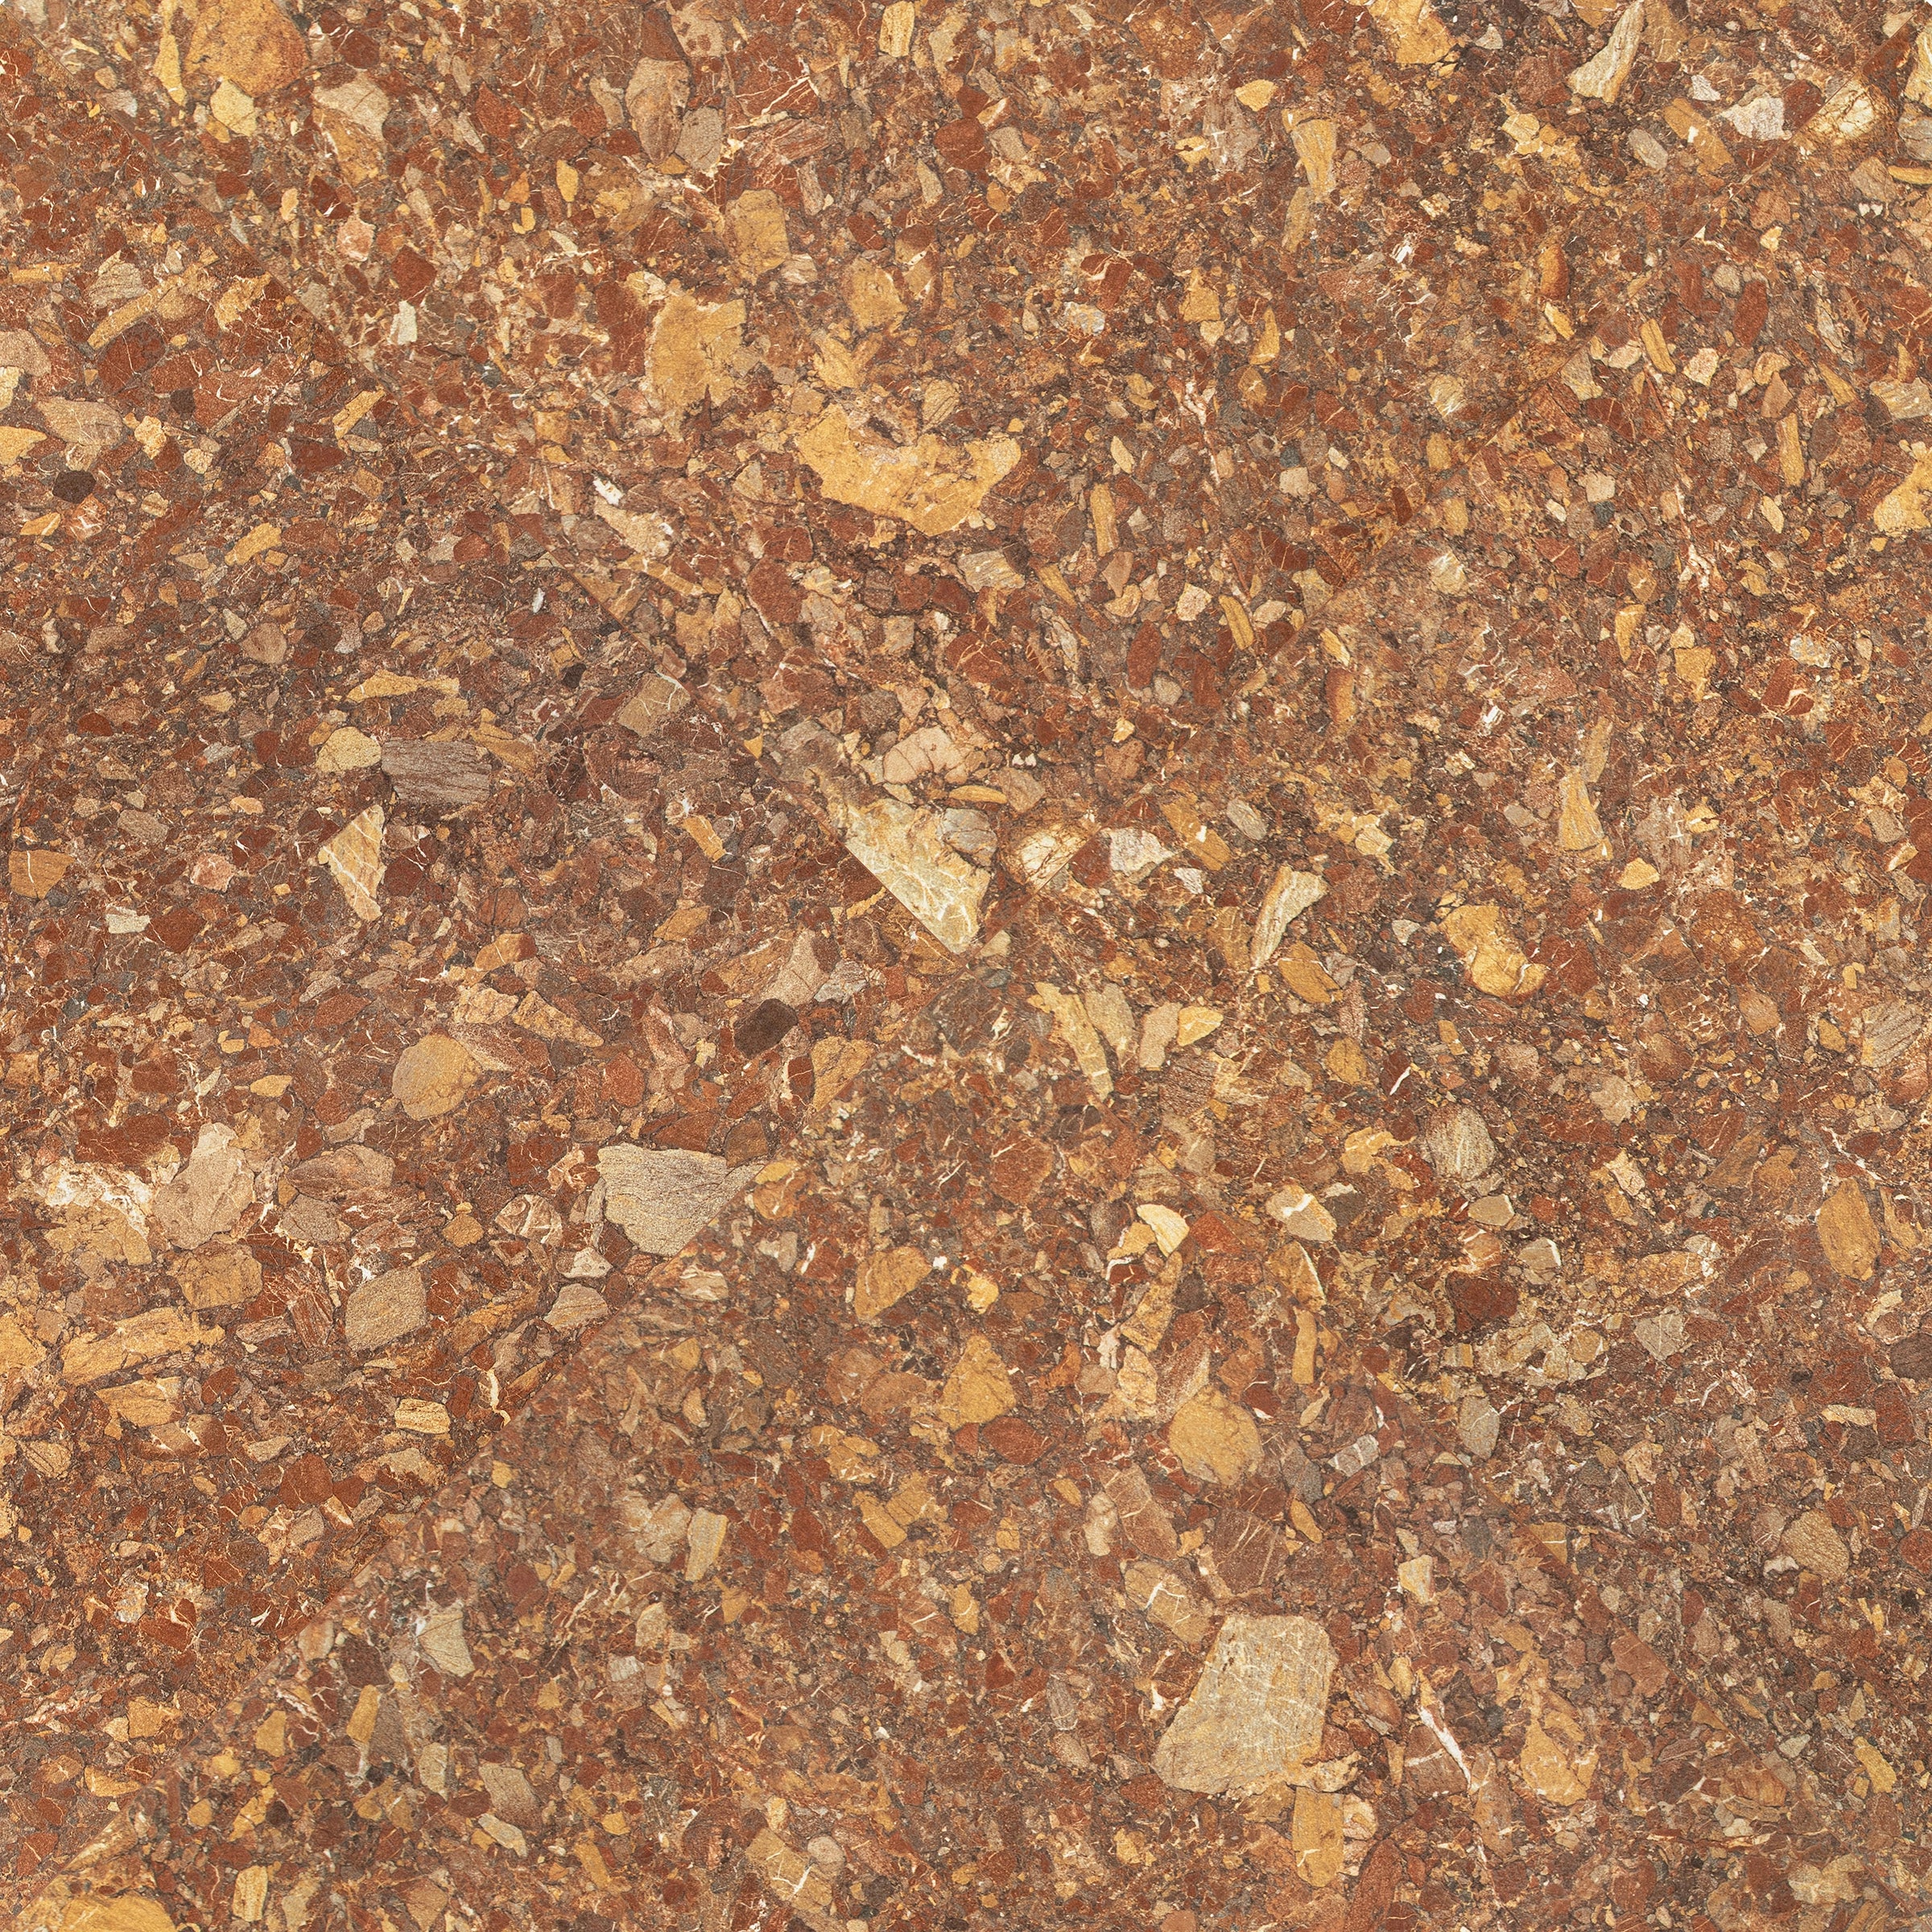
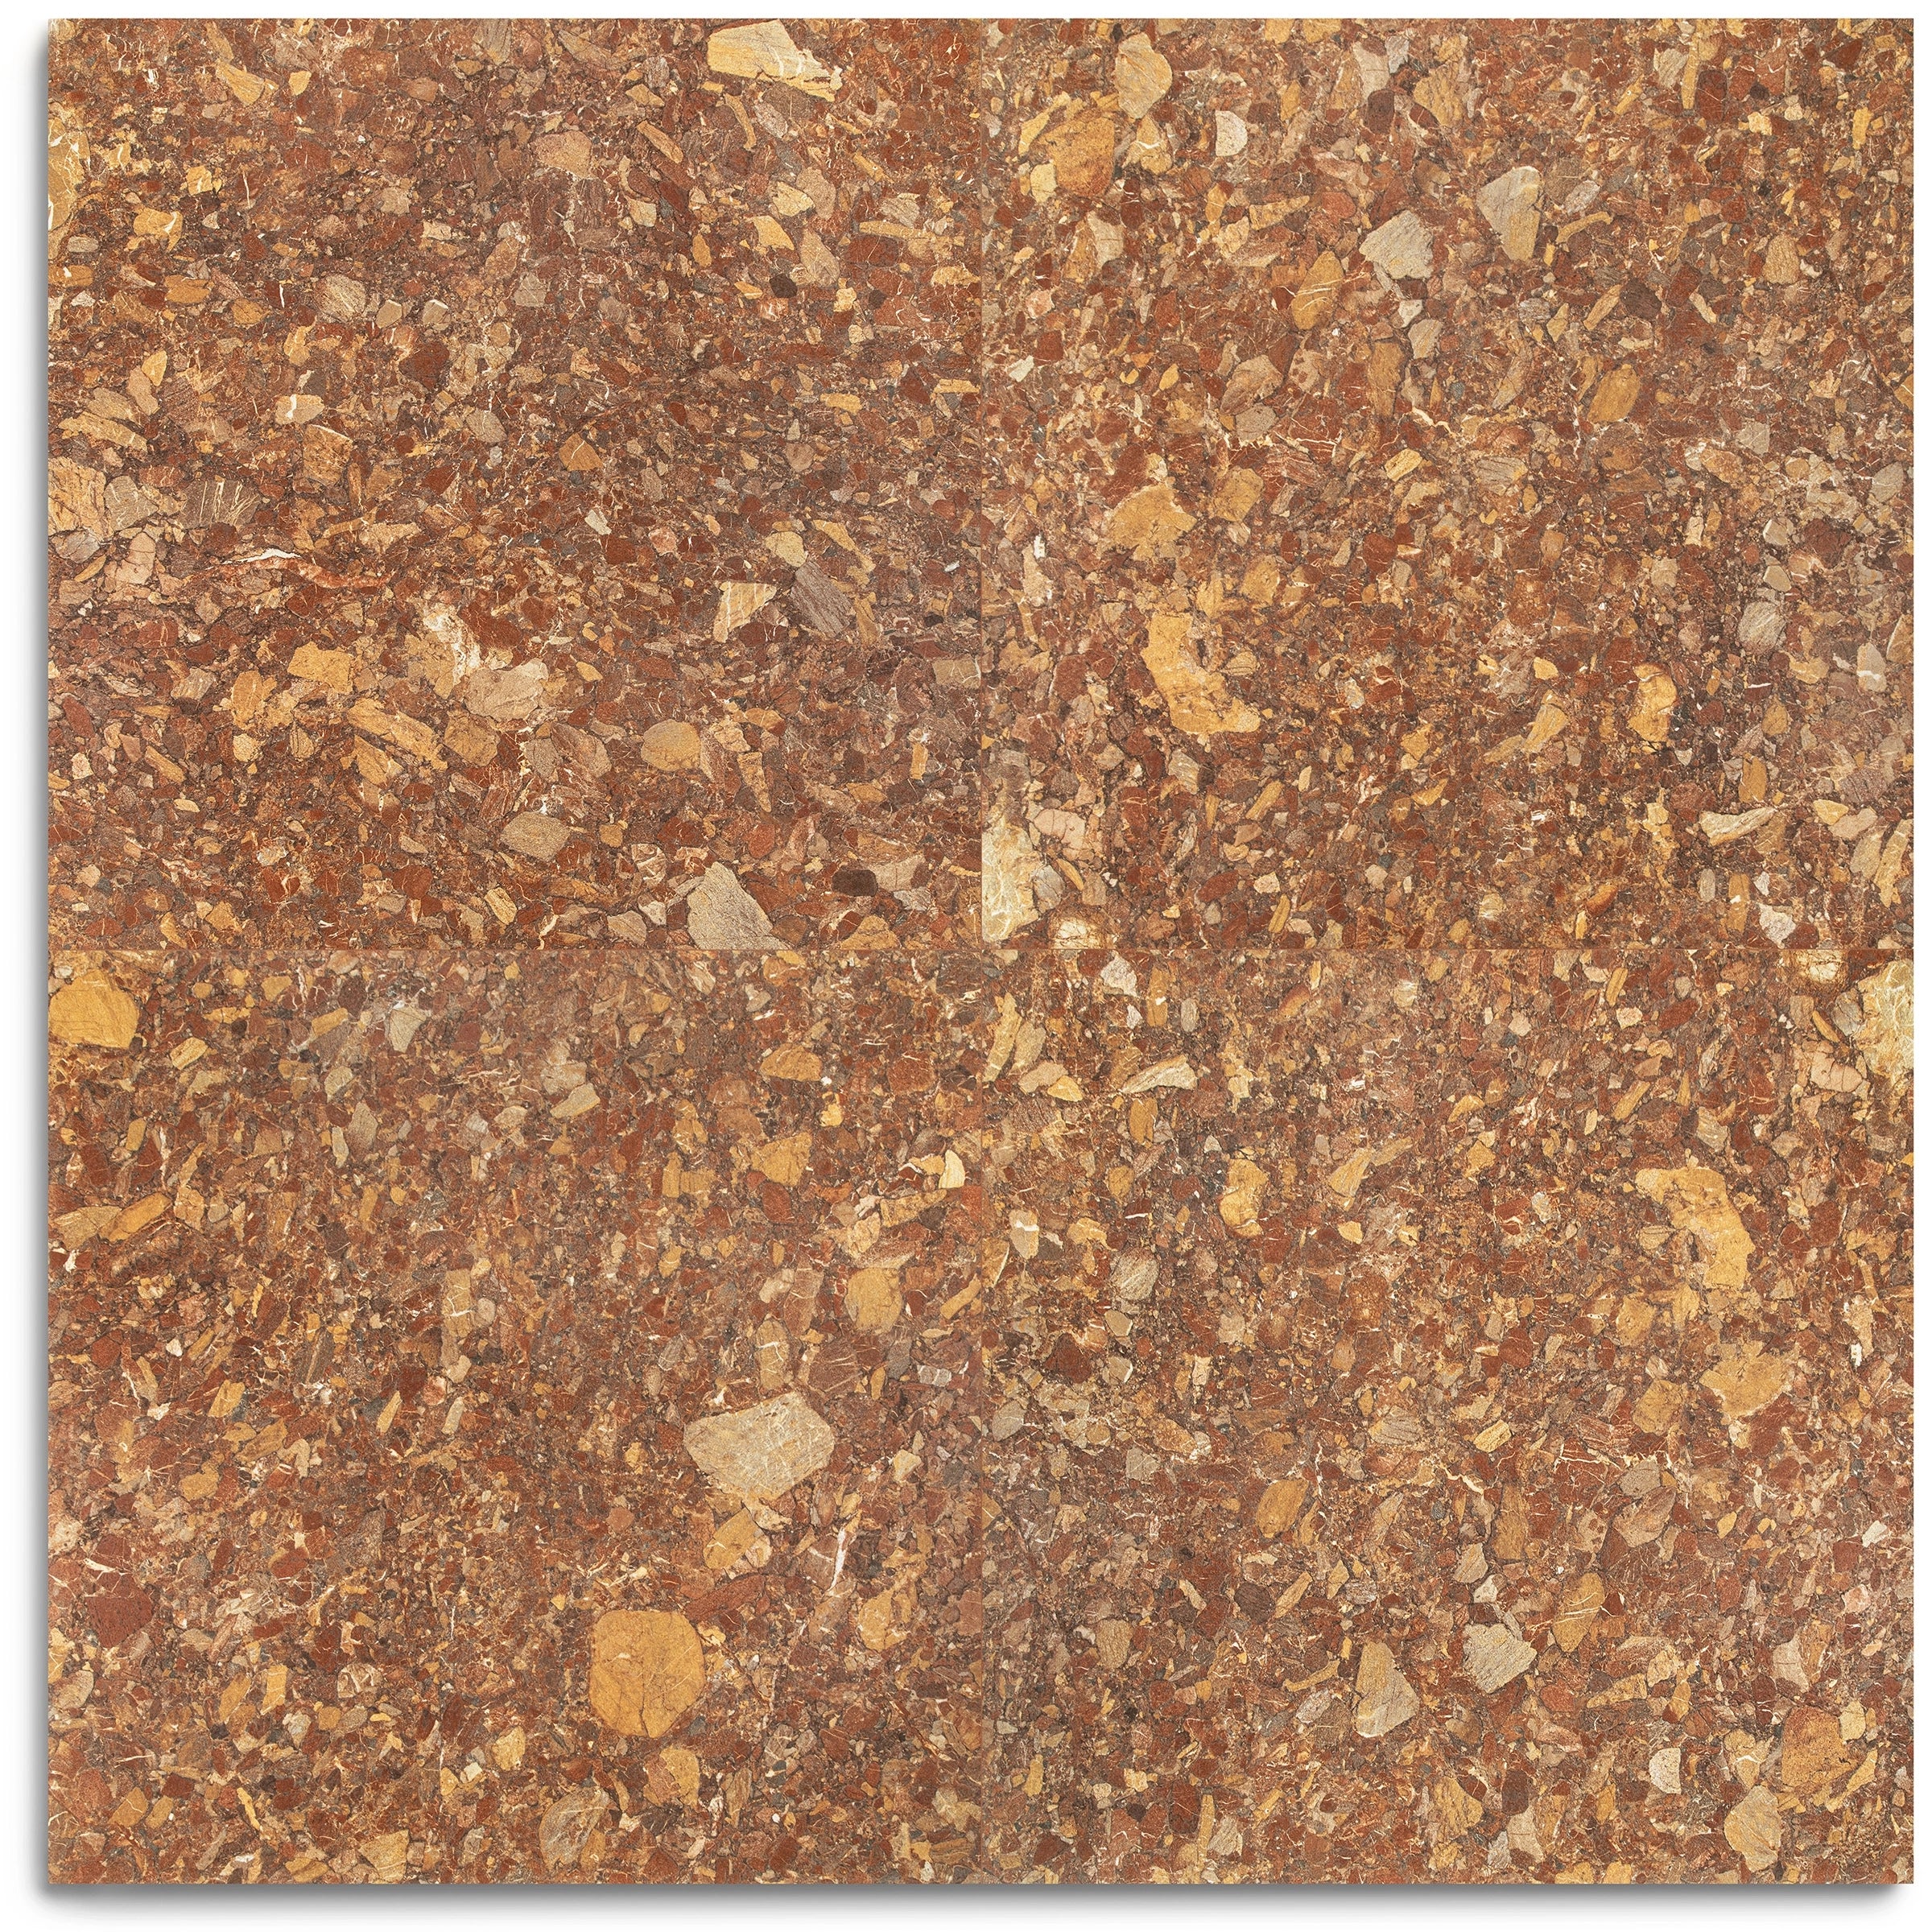
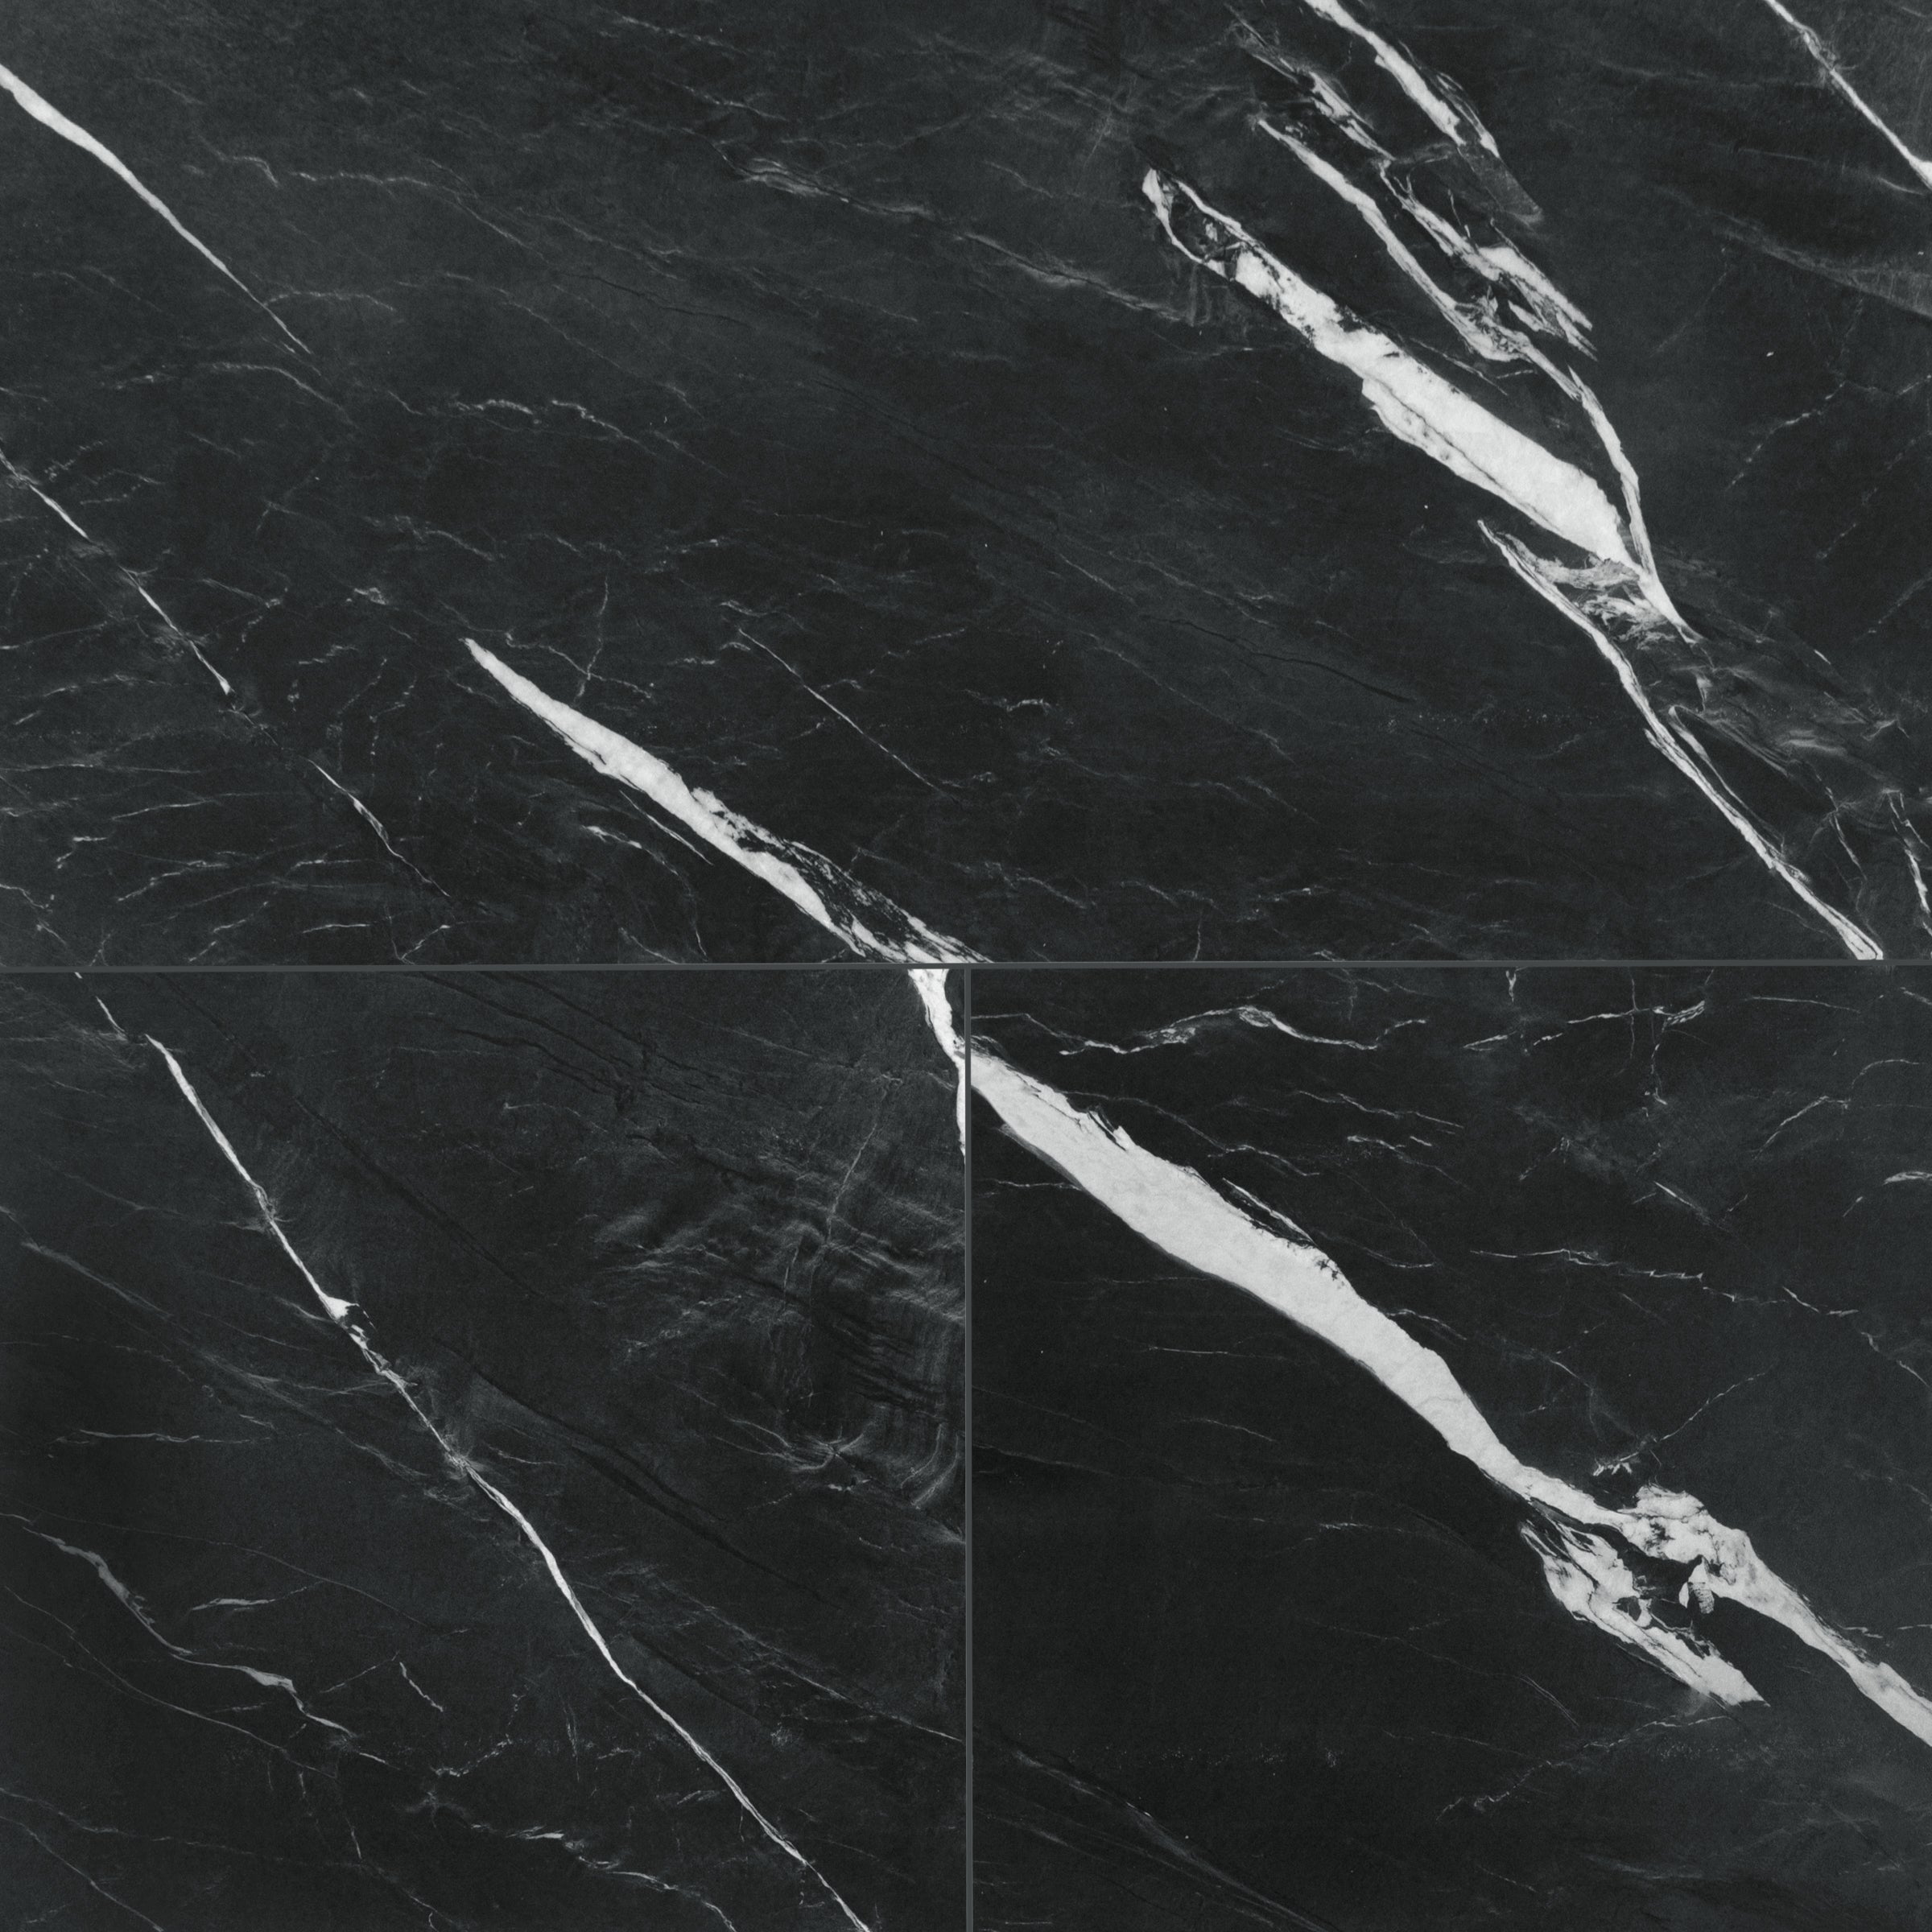
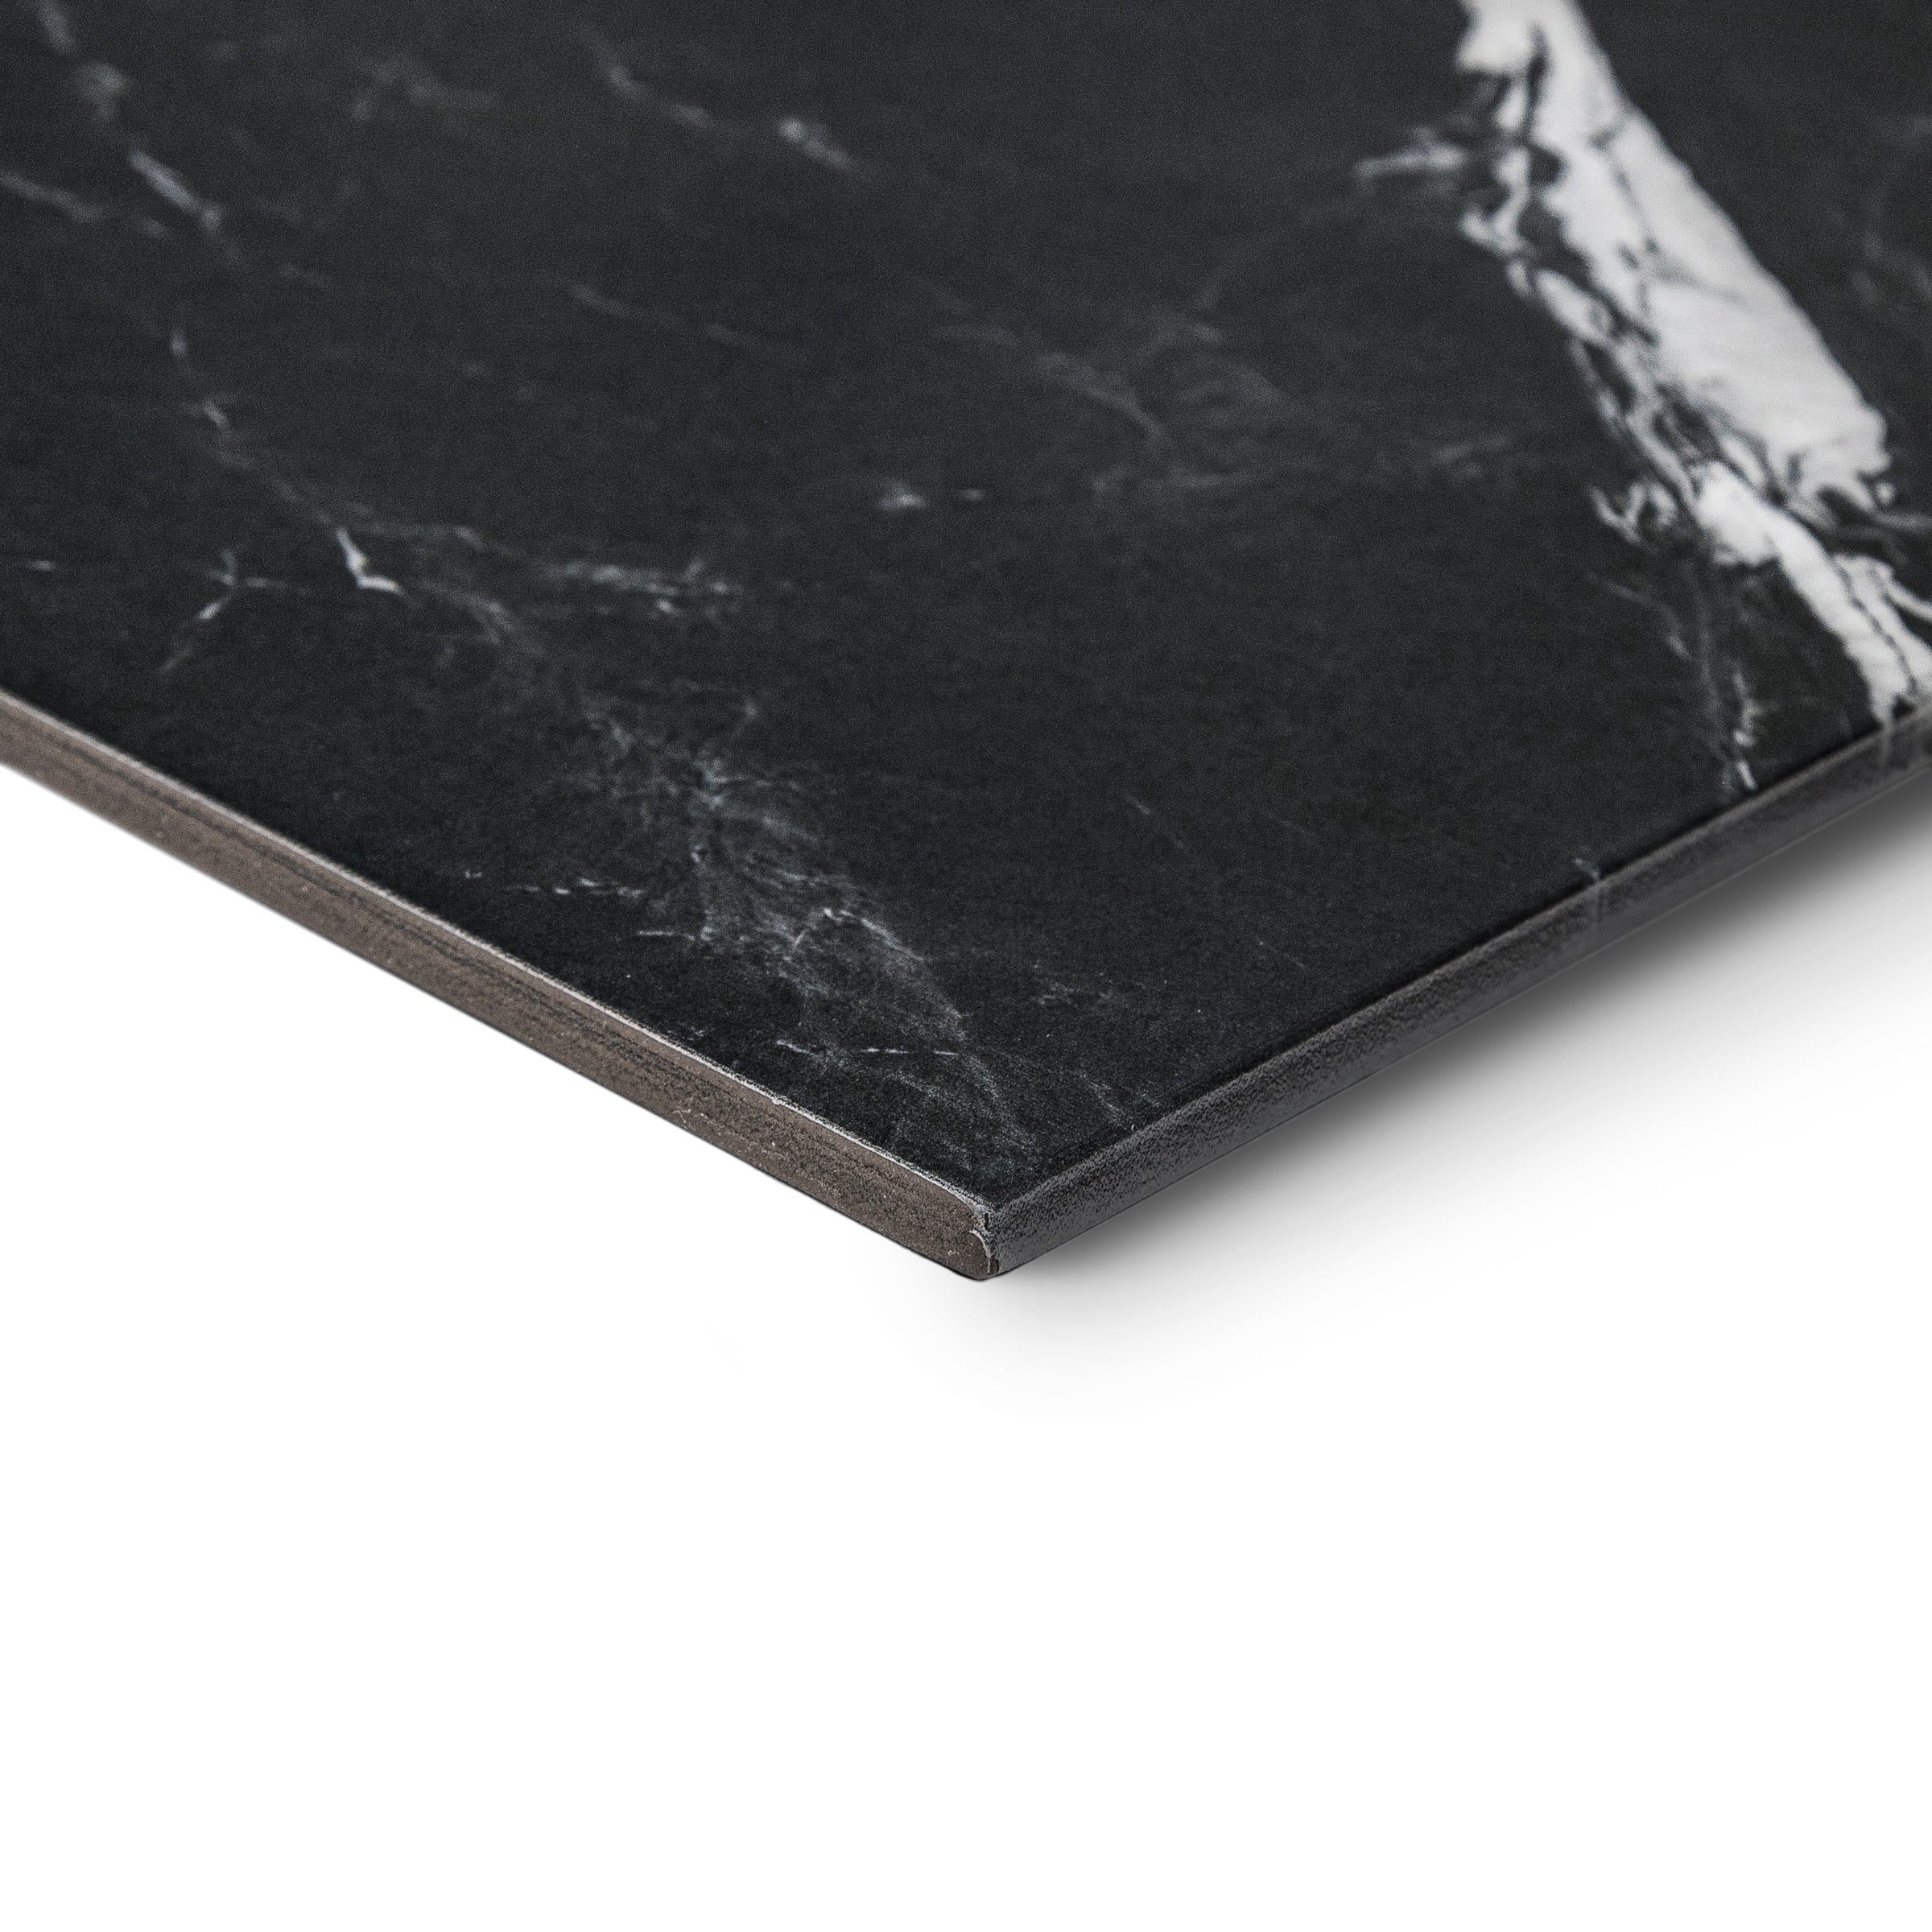
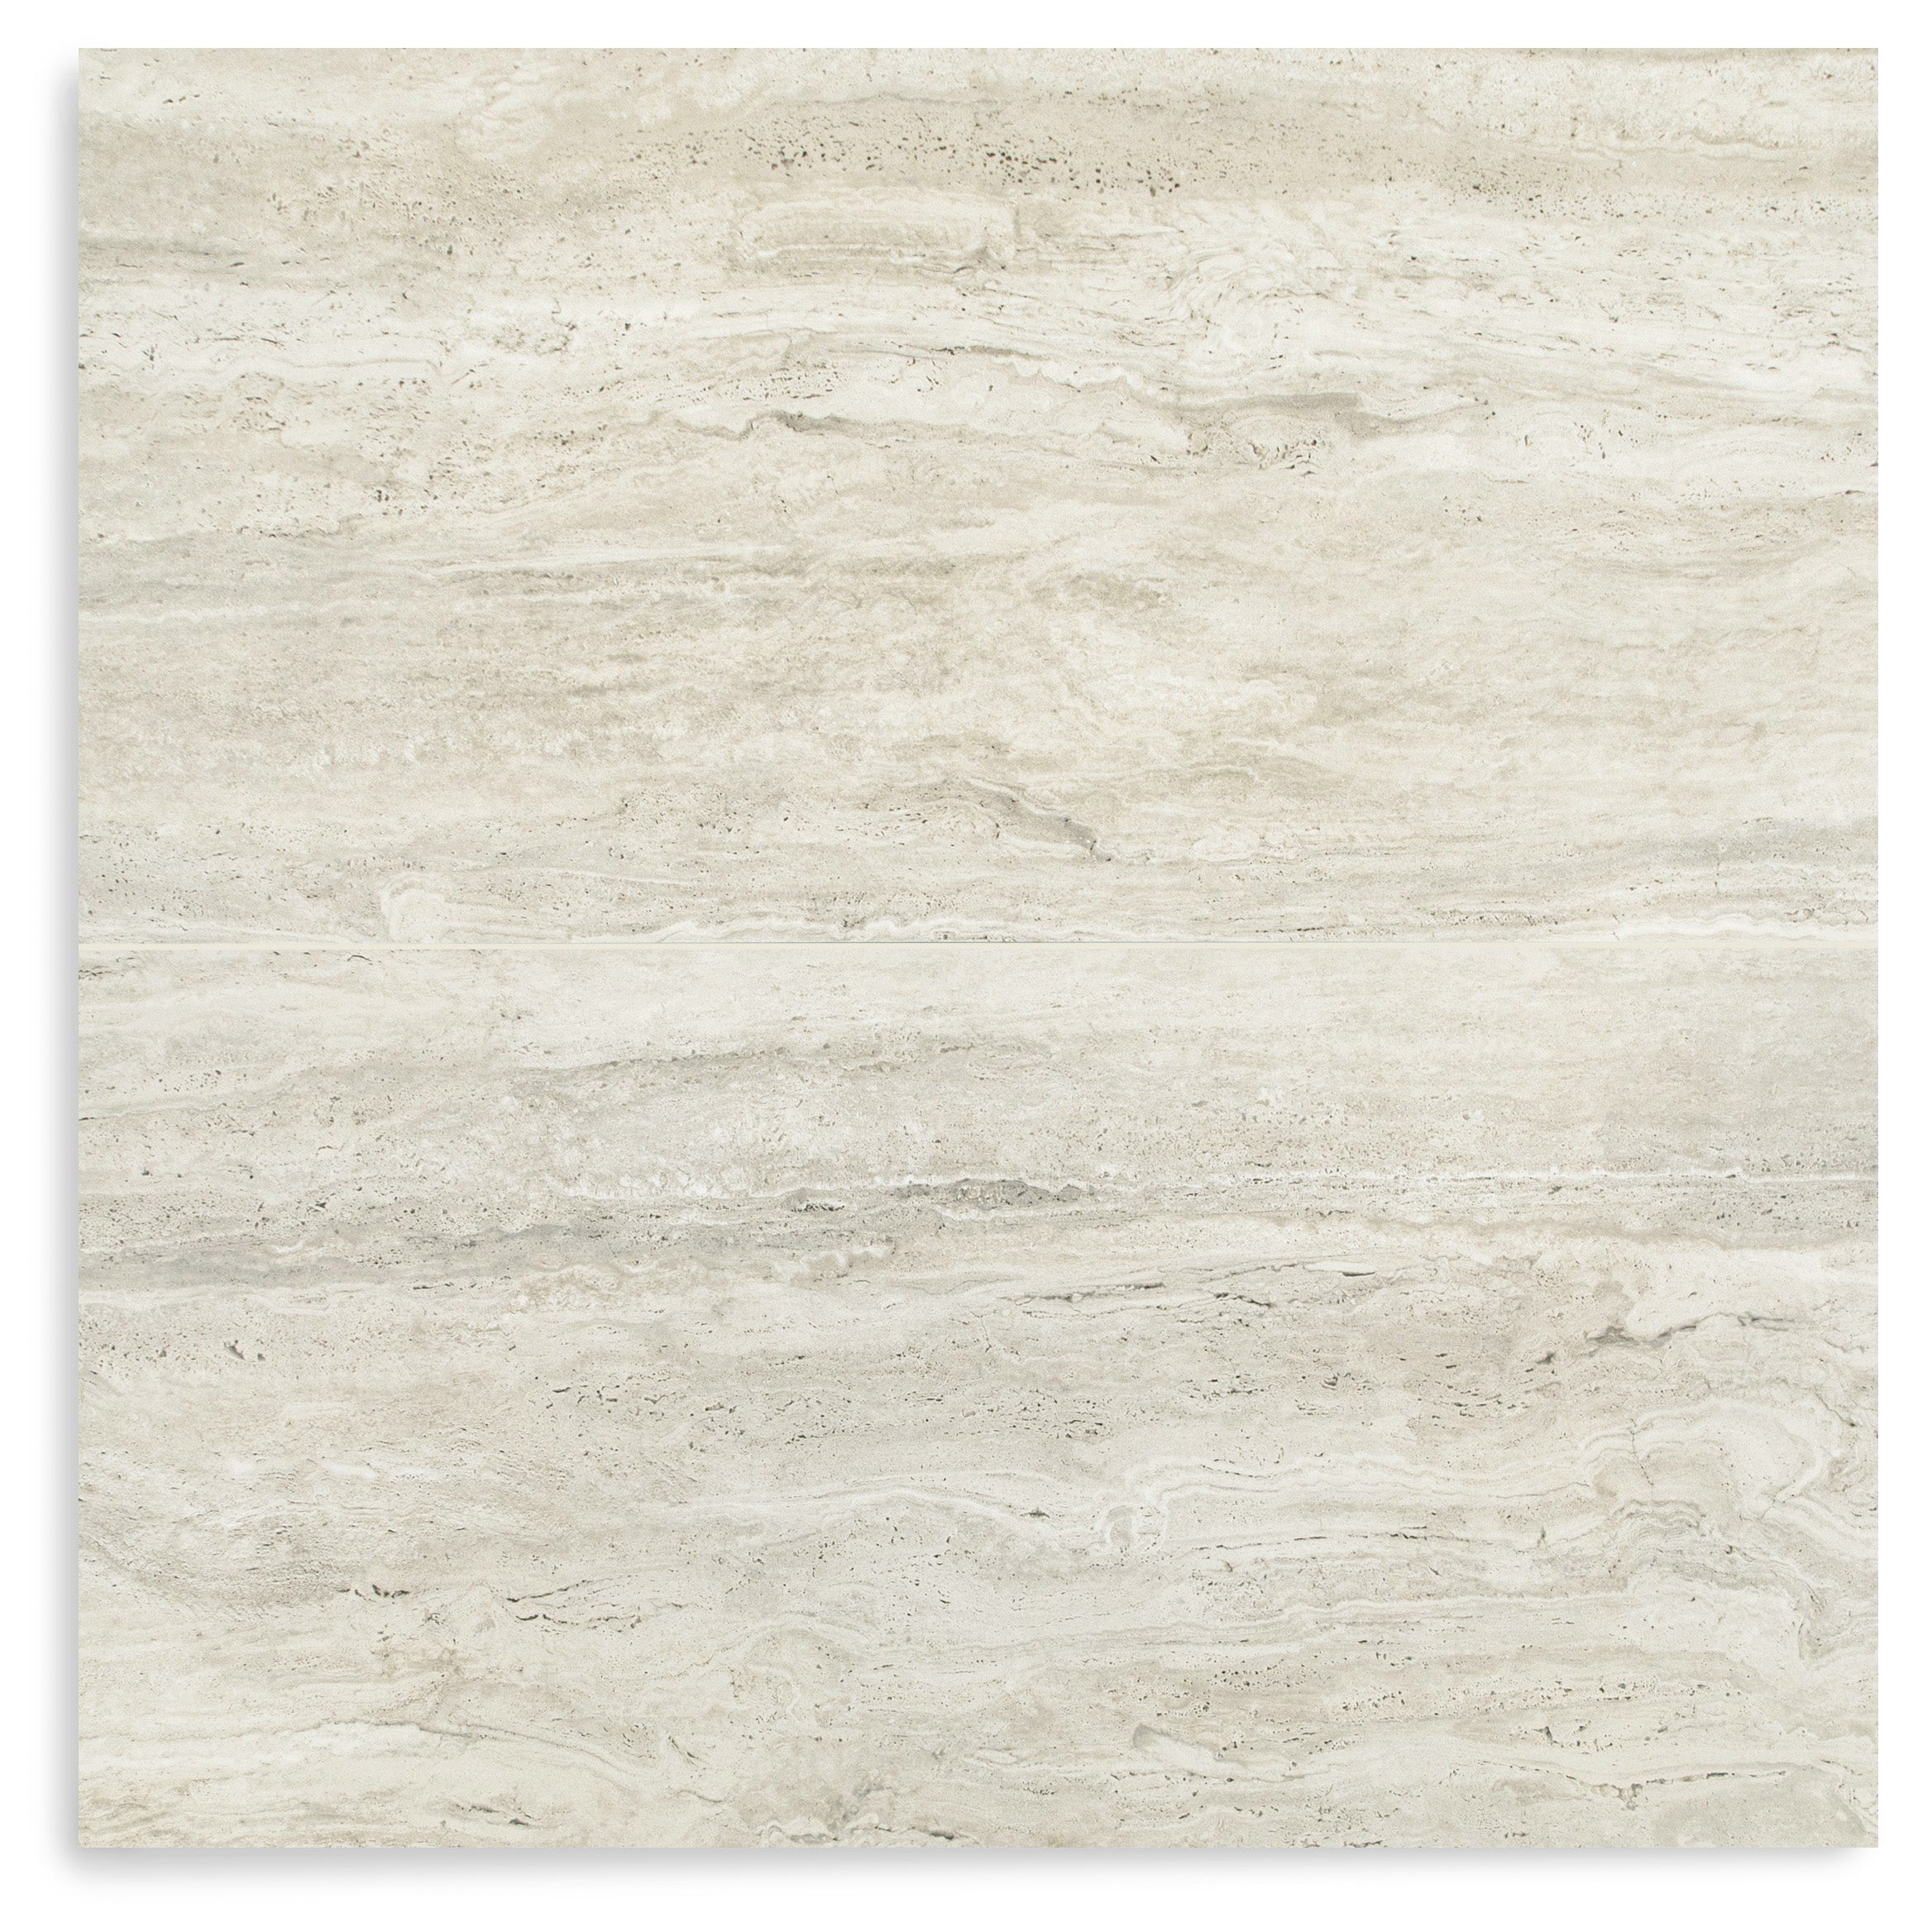
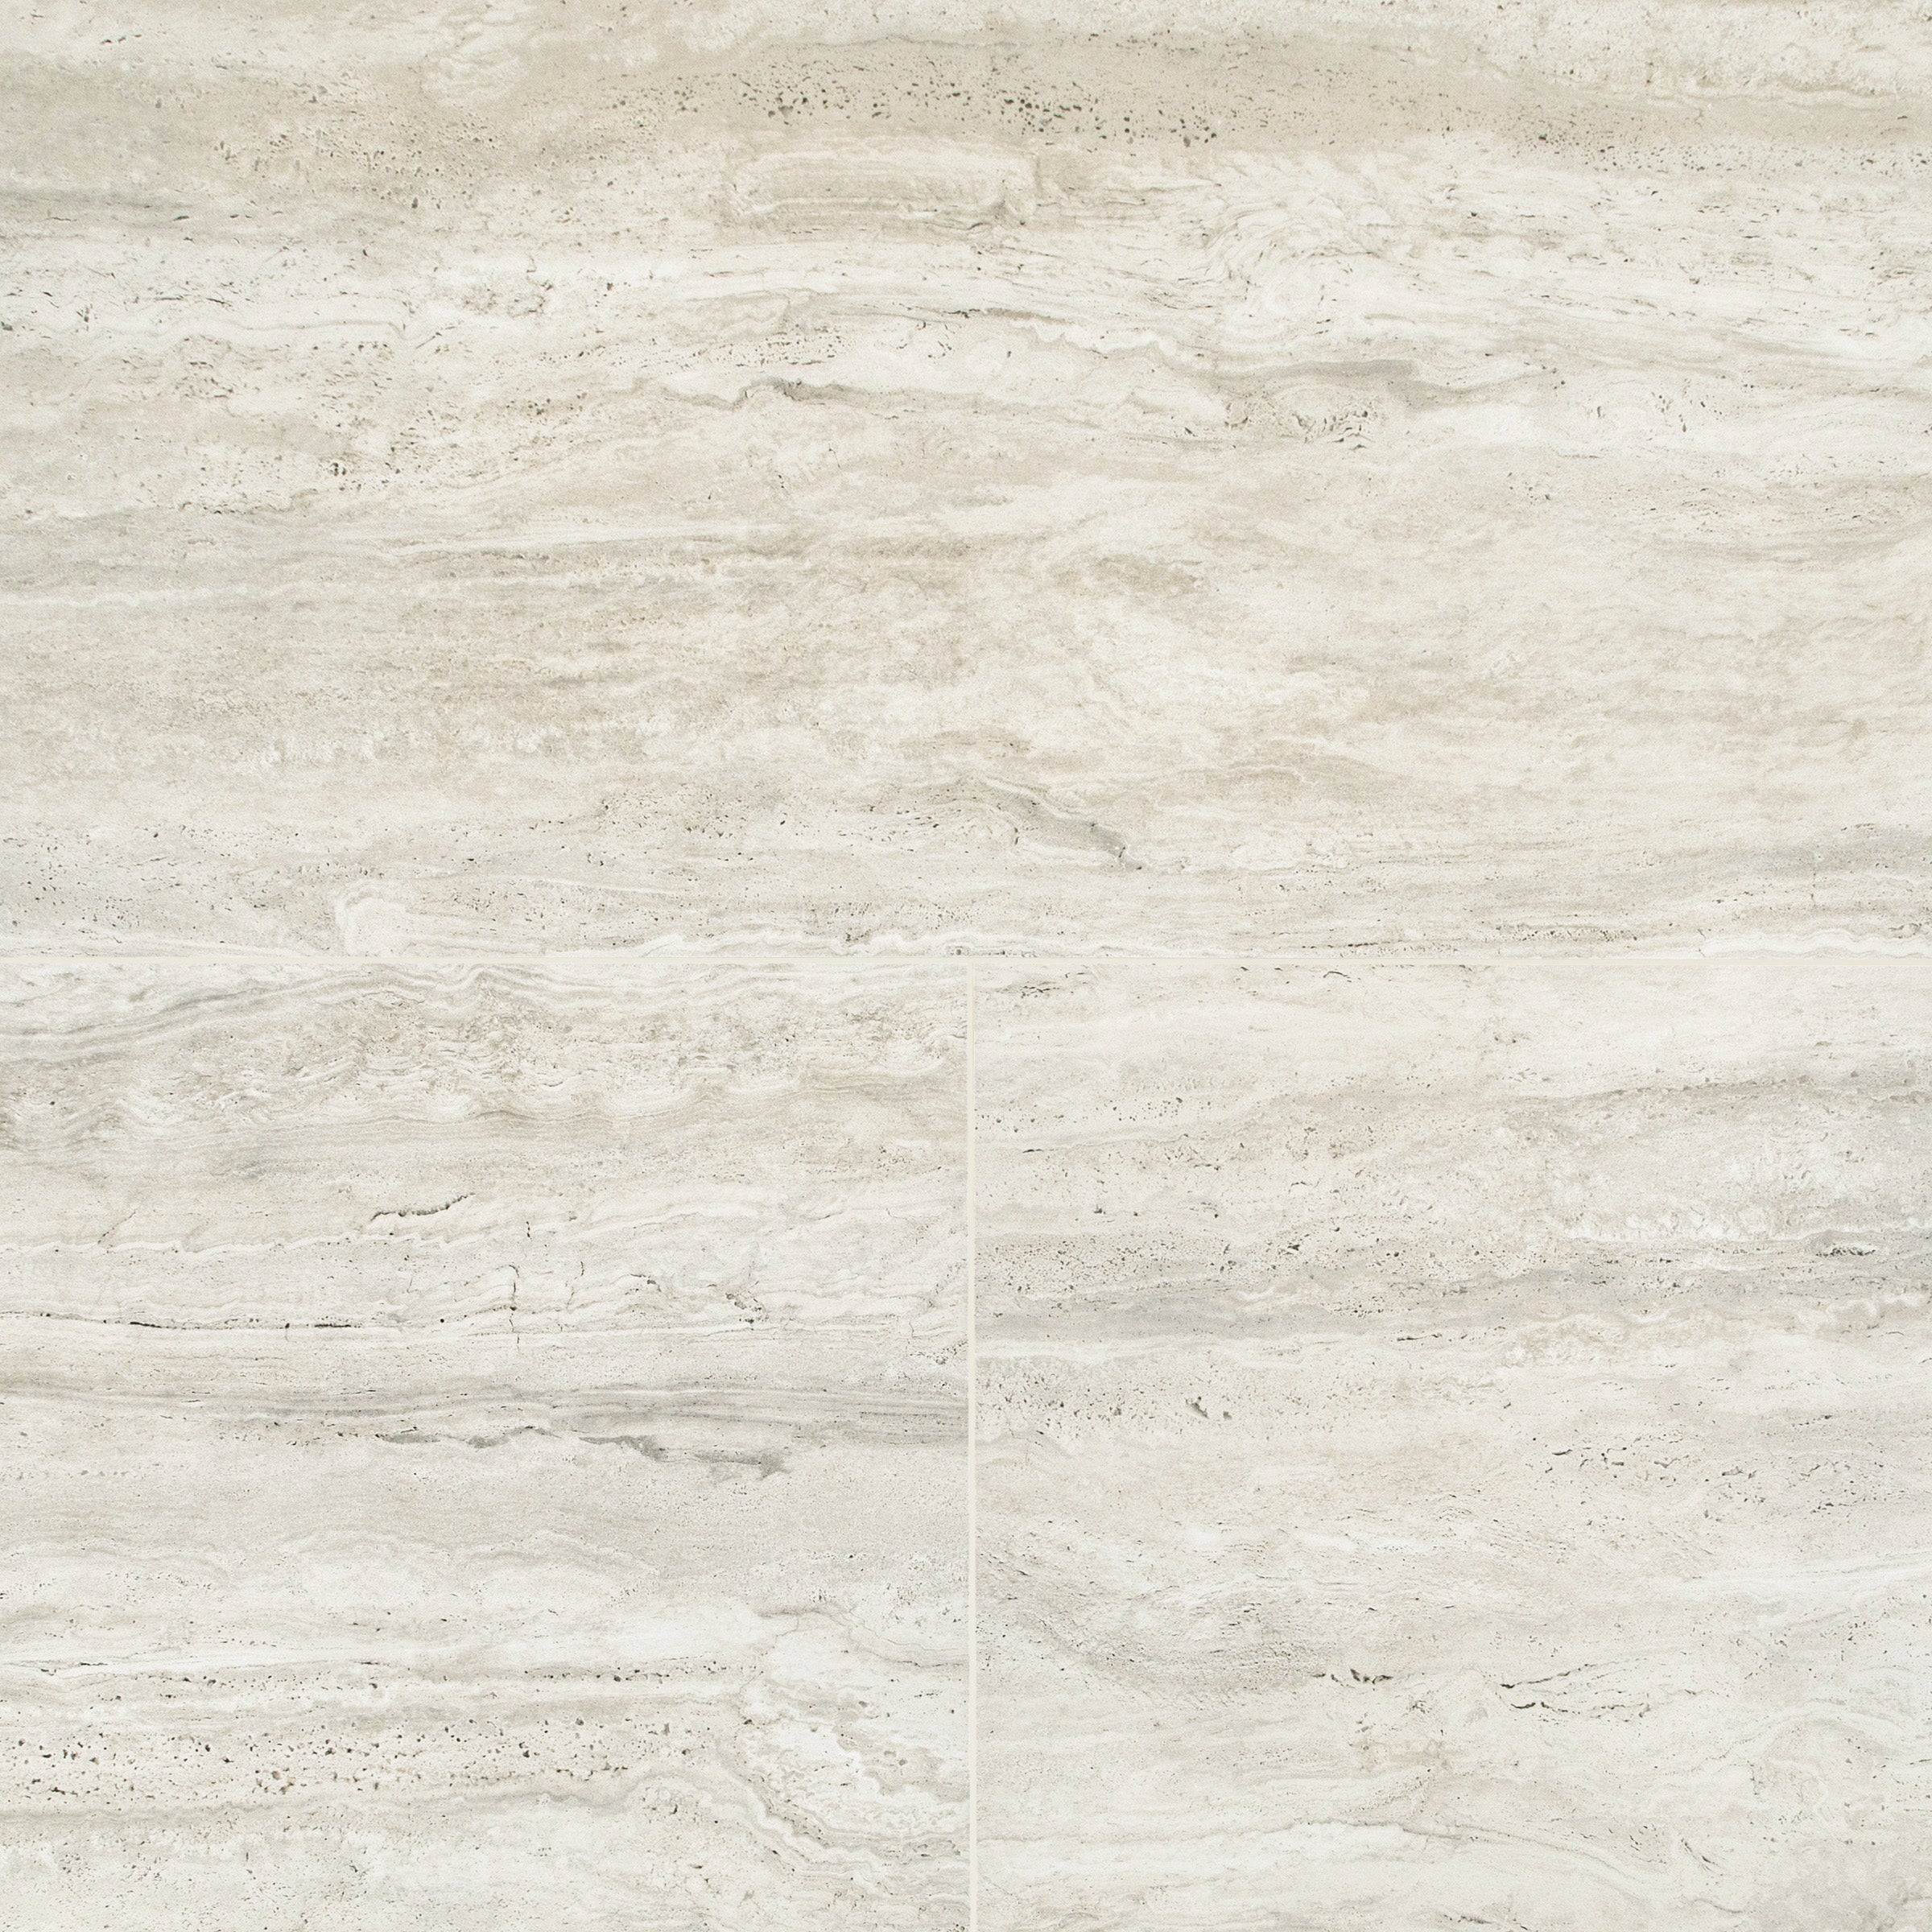
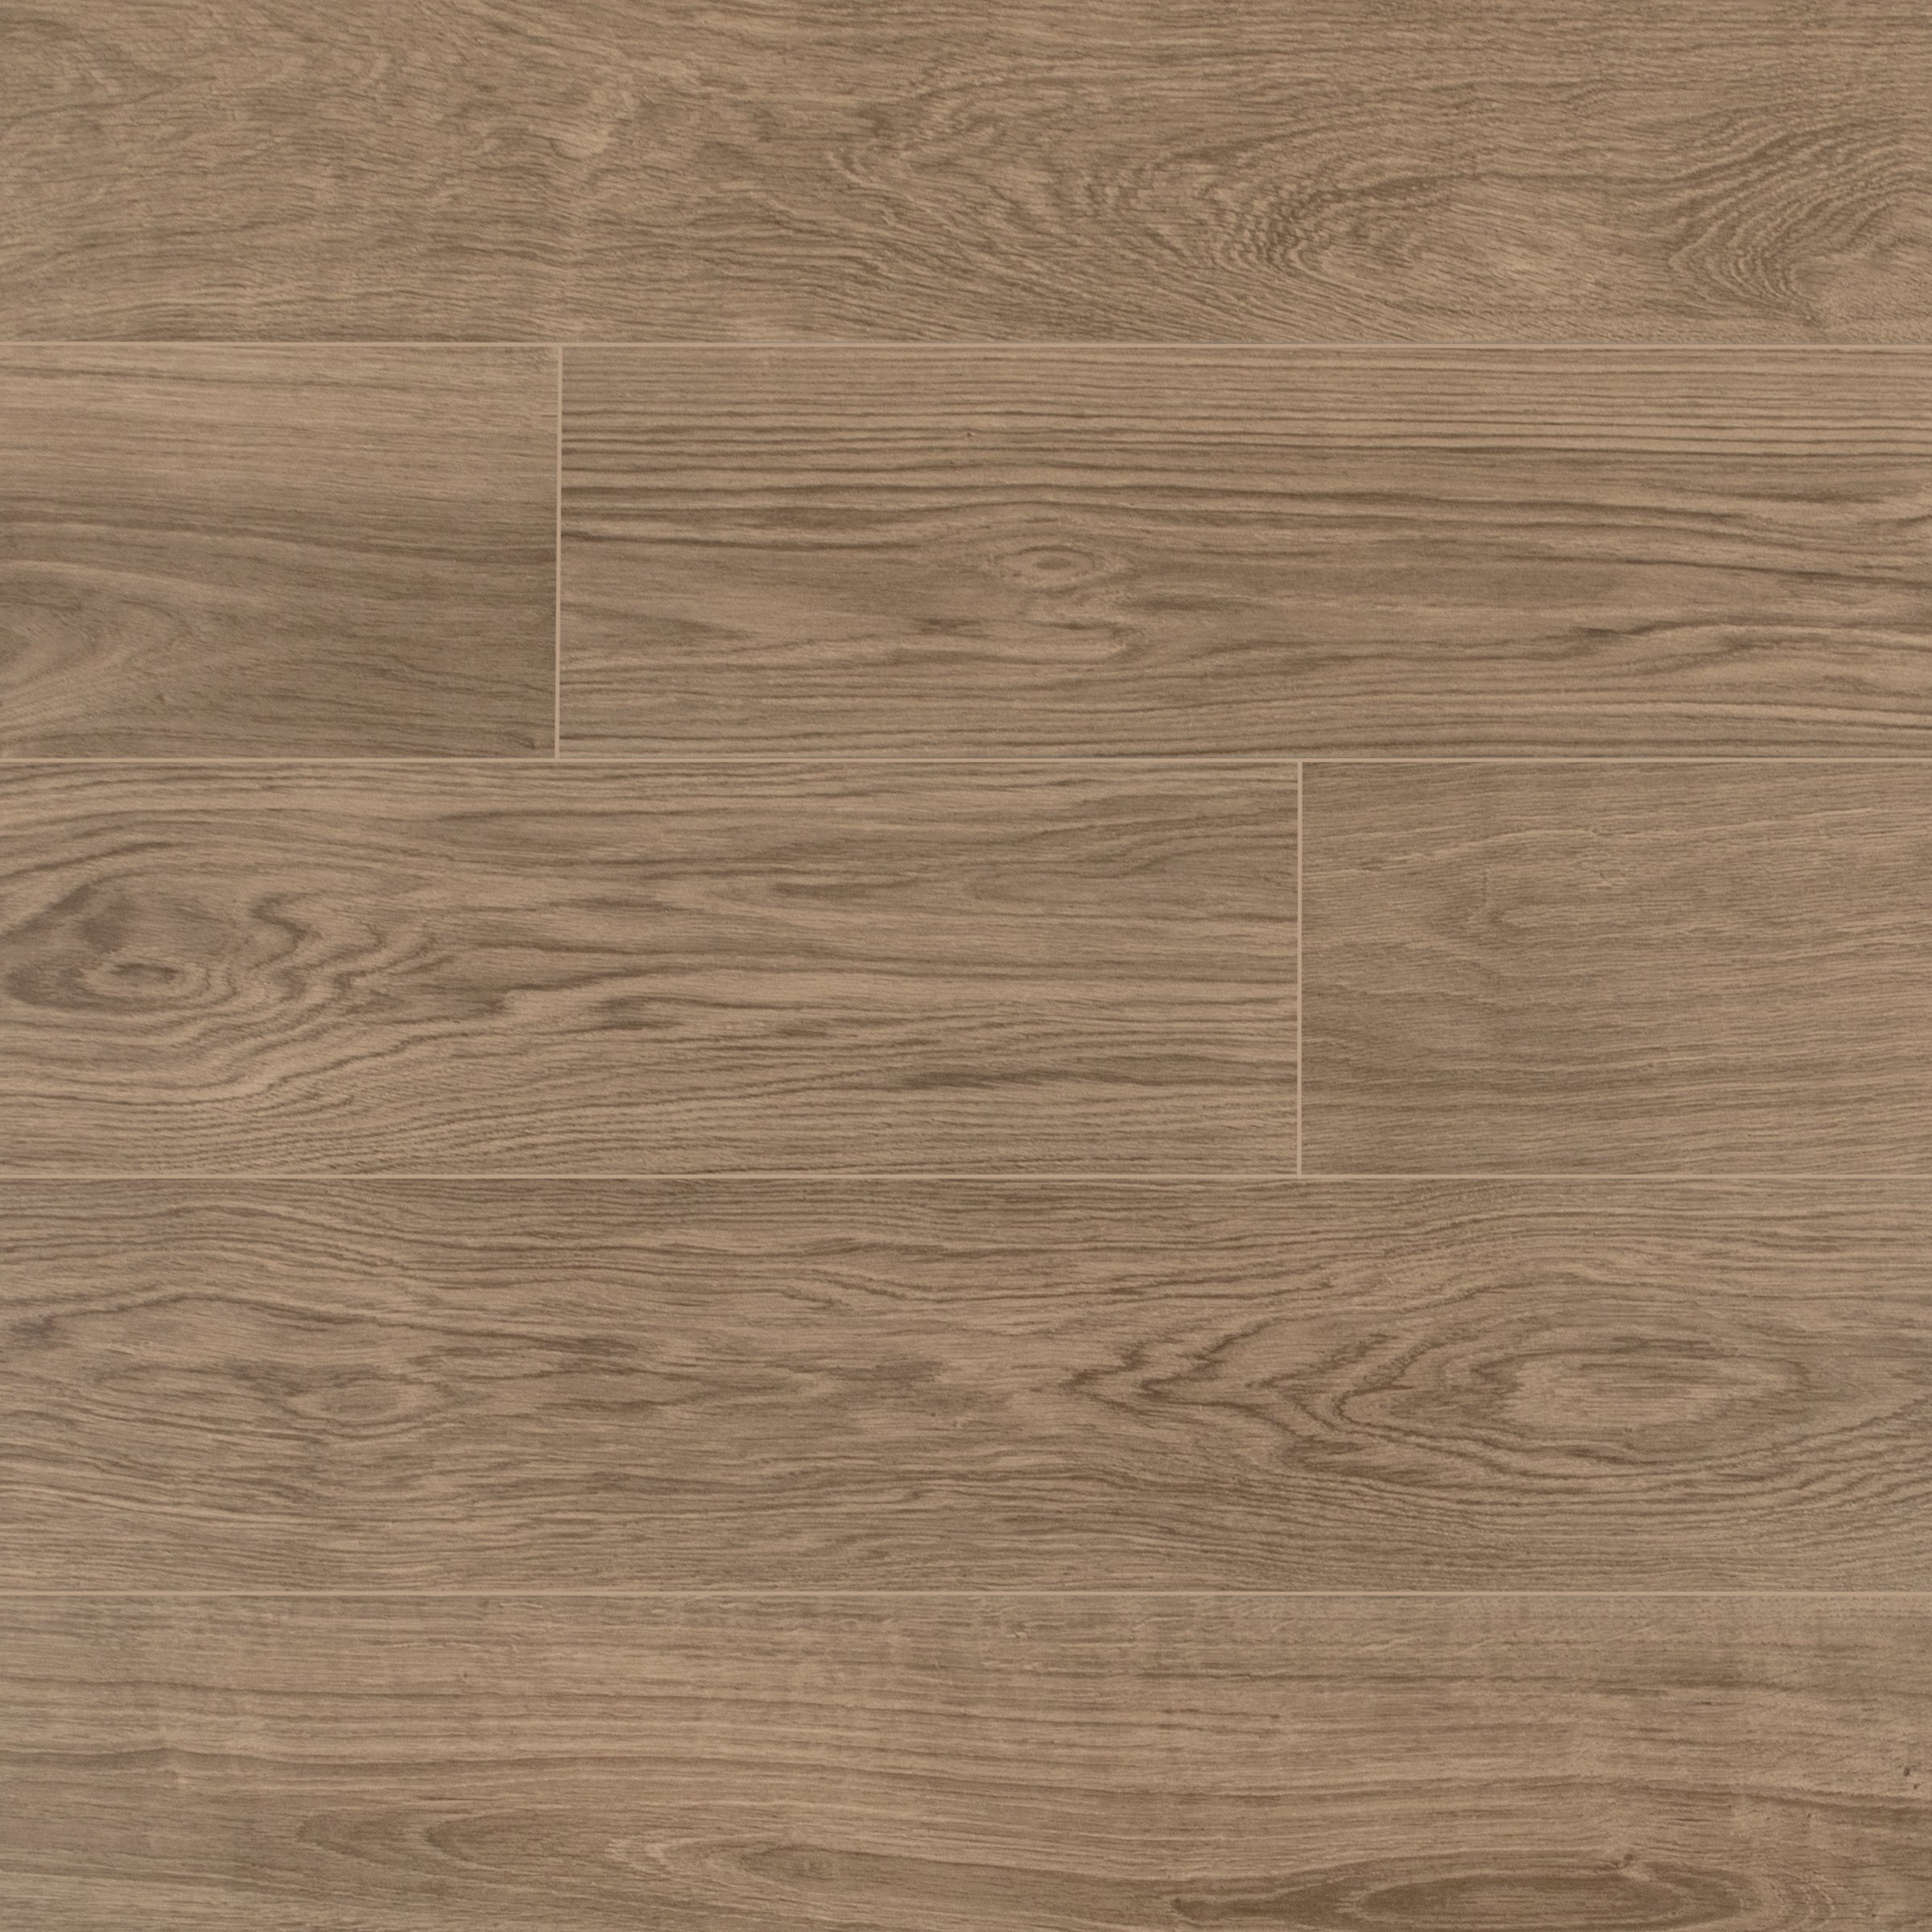
The No. 11 9x60 Rigid Core Vinyl Flooring is the floor for people who want their space to feel like it has a history. A deep, toasty brown oak with bold grain movement and dark knot detail, the No. 11 reads like reclaimed hardwood pulled from an old farmhouse — the kind of floor that makes a room feel anchored and grown-up from the moment it goes down. At 6.5mm thick with a 22mil wear layer, it's fully waterproof and built to handle real life, while the wide 9x60 plank format lets the grain drama play out at full scale. Pair it with white walls and raw wood furniture and it does all the work for you.
Packaging
Pieces/Box
5
Sf/Box
18.57
Lbs./Box
40.66
Boxes/Pallet
56
Sf./Pallet
1039.8
Lbs./Pallet
2365
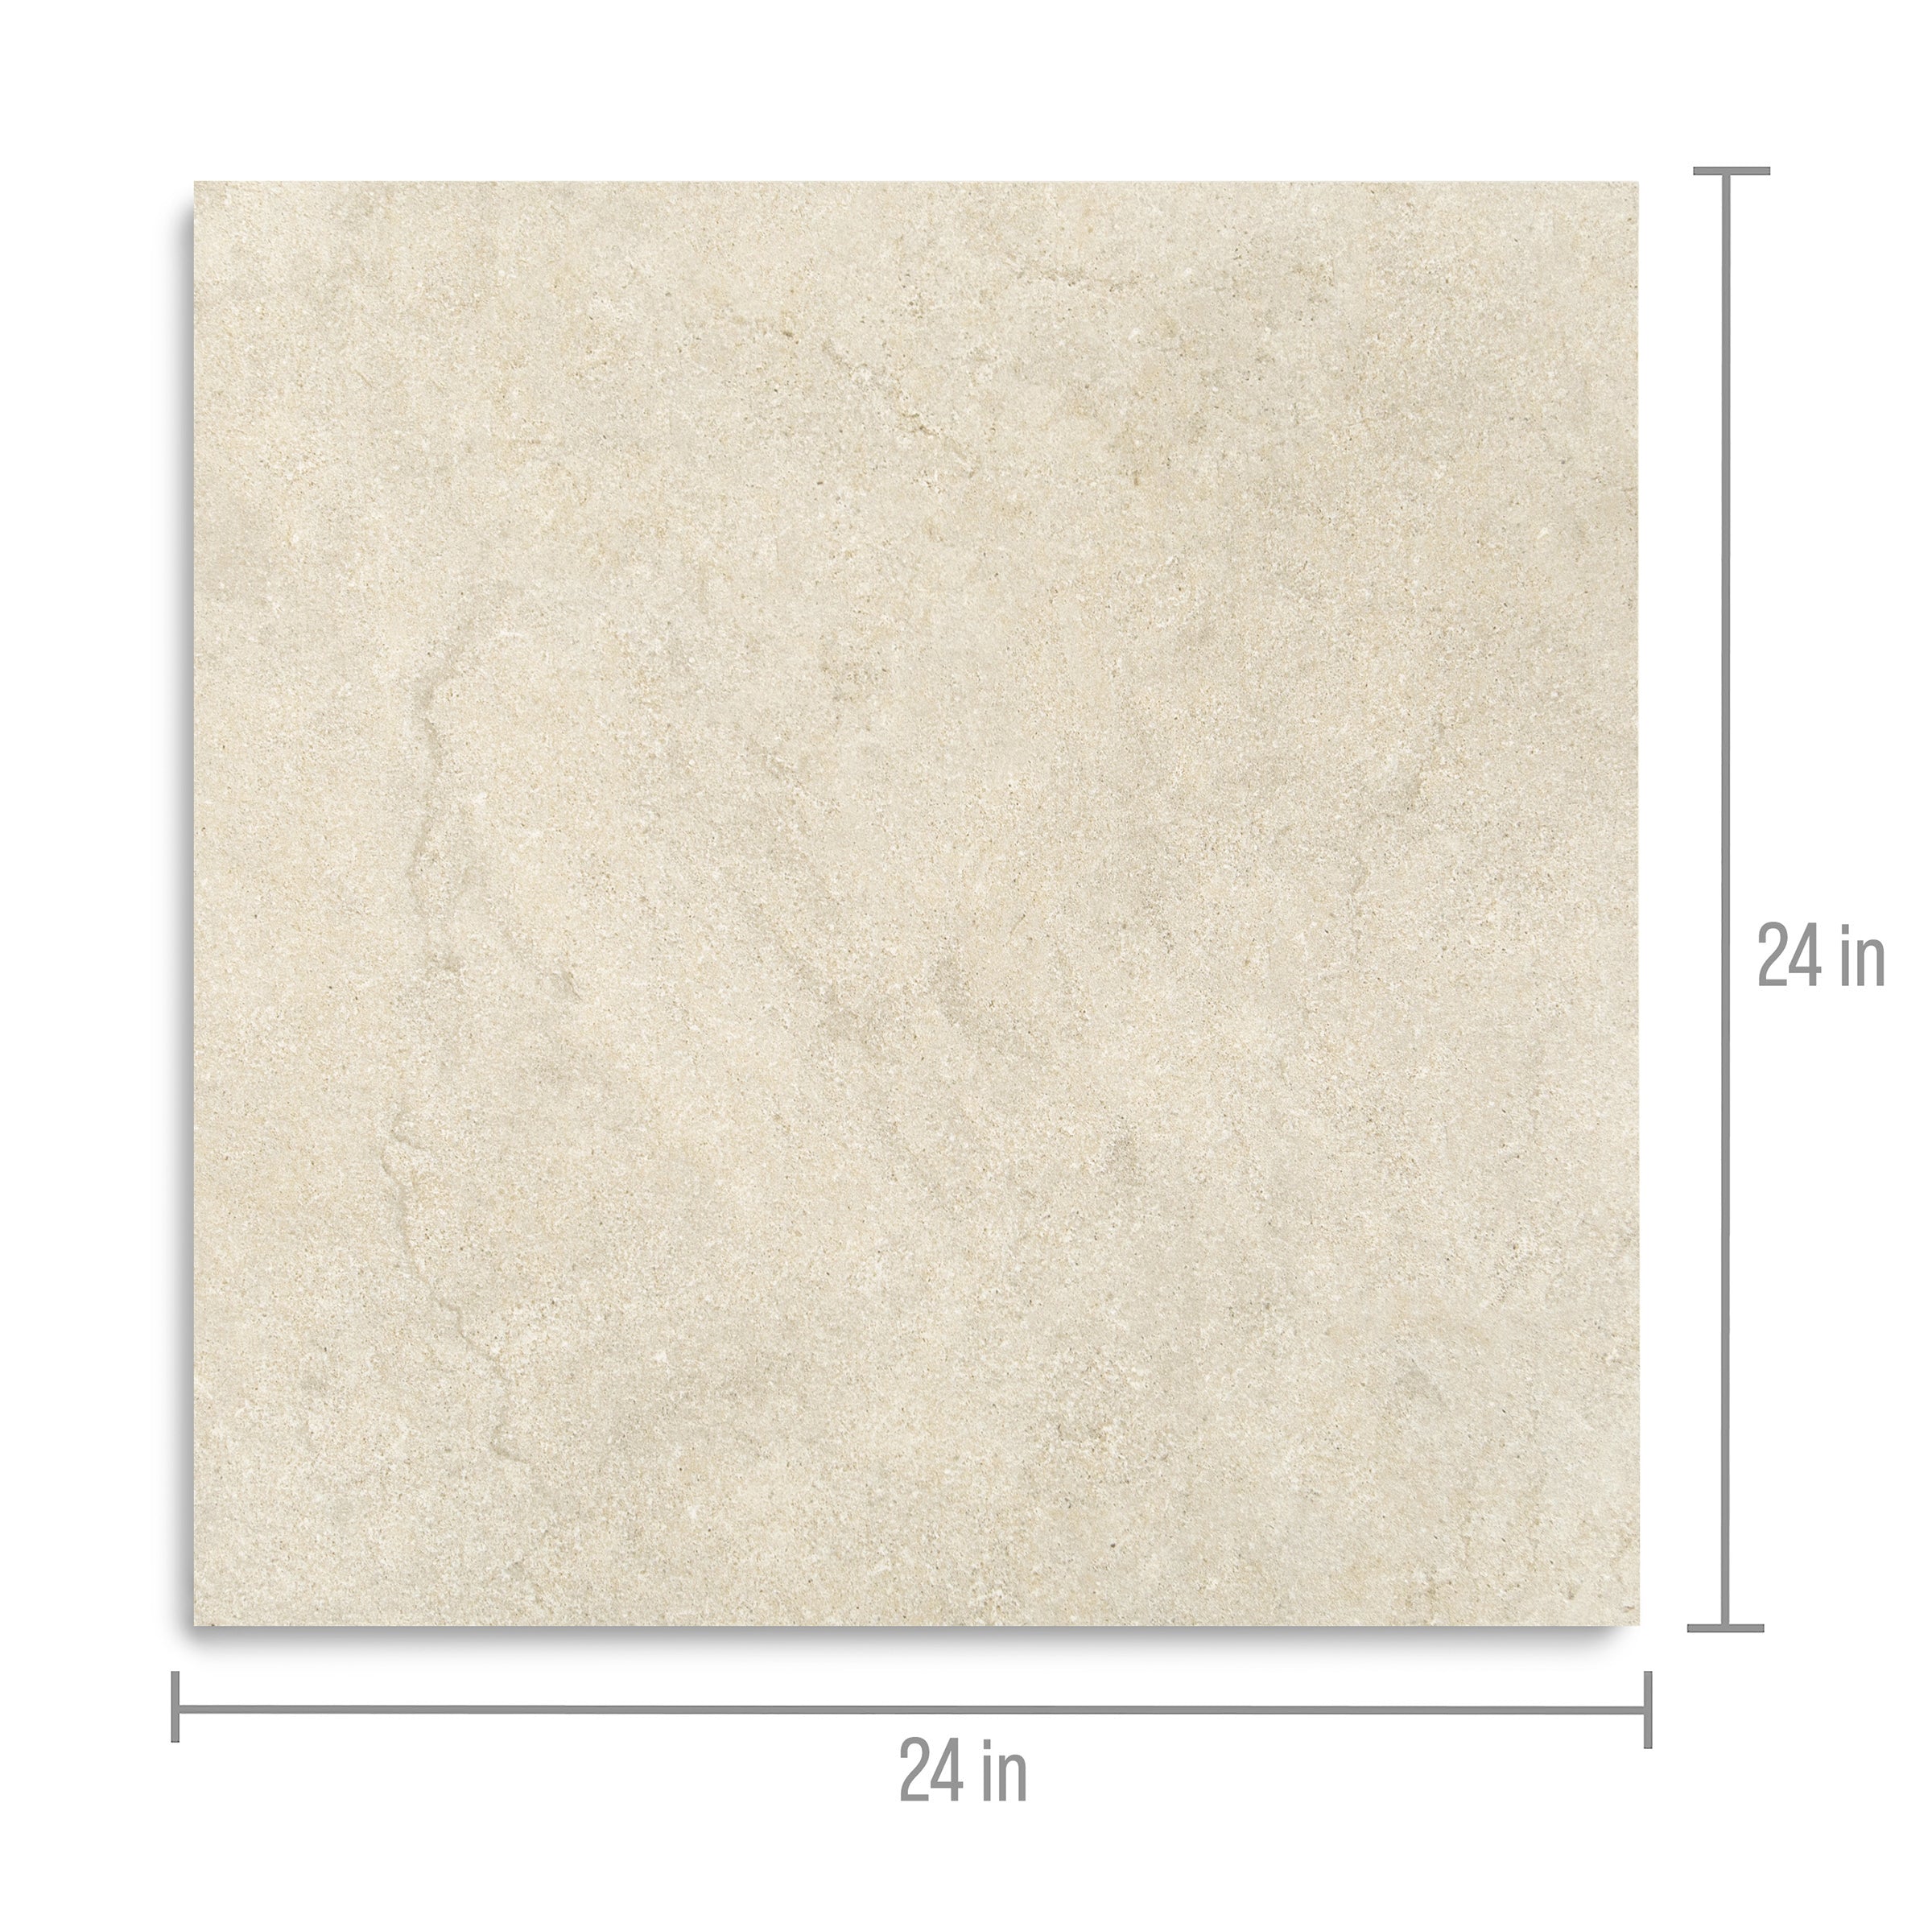
Details
Total Thickness
6.5mm
Wear Layer
22mil
Under Pad
1.5 IXPE
Click System
5G
Certifications
GreenGuard Gold & Floor Score
STC Acoustic Rating
73
IIC Acoustic Rating
72
Waterproof
Yes
Edge
Micro Bevel
Texture
Embossed
Gloss Level
Ultra Matte
Dent Resistant
Yes
Stain Resistant
Yes
Warranty
Lifetime Residential & 10 Year Light Commercial
Vapor Barrier
Only Over Concrete
Elevation
Below and Above Grade
Gradient bar
Vinyl Floor Installation Guide
VINYL LVP INSTALLATION GUIDE
Rigid Core Luxury Vinyl Plank Installation Guide
Reno Source
www.therenosource.com
IMPORTANT READ BEFORE YOU BEGIN
It is the sole responsibility of the owner, purchaser, and installer to assess product suitability, ensure subfloor conditions meet requirements, inspect all planks before installation, and follow all instructions. Failure to comply may void the product warranty.
-
OVERVIEW
Congratulations on your Rigid Core Luxury Vinyl Plank project. This product is a waterproof, one hundred percent floating floor designed for durability and ease of installation. With a 22 mil wear layer, 6.5 millimeter rigid core, 5G click locking system, and pre attached 1.5 millimeter foam underlayment, it is suitable for kitchens, bathrooms, basements, and general residential use. Proper planning and preparation are essential to achieving a long lasting and professional result. Read this entire guide before starting installation.
Product Specifications
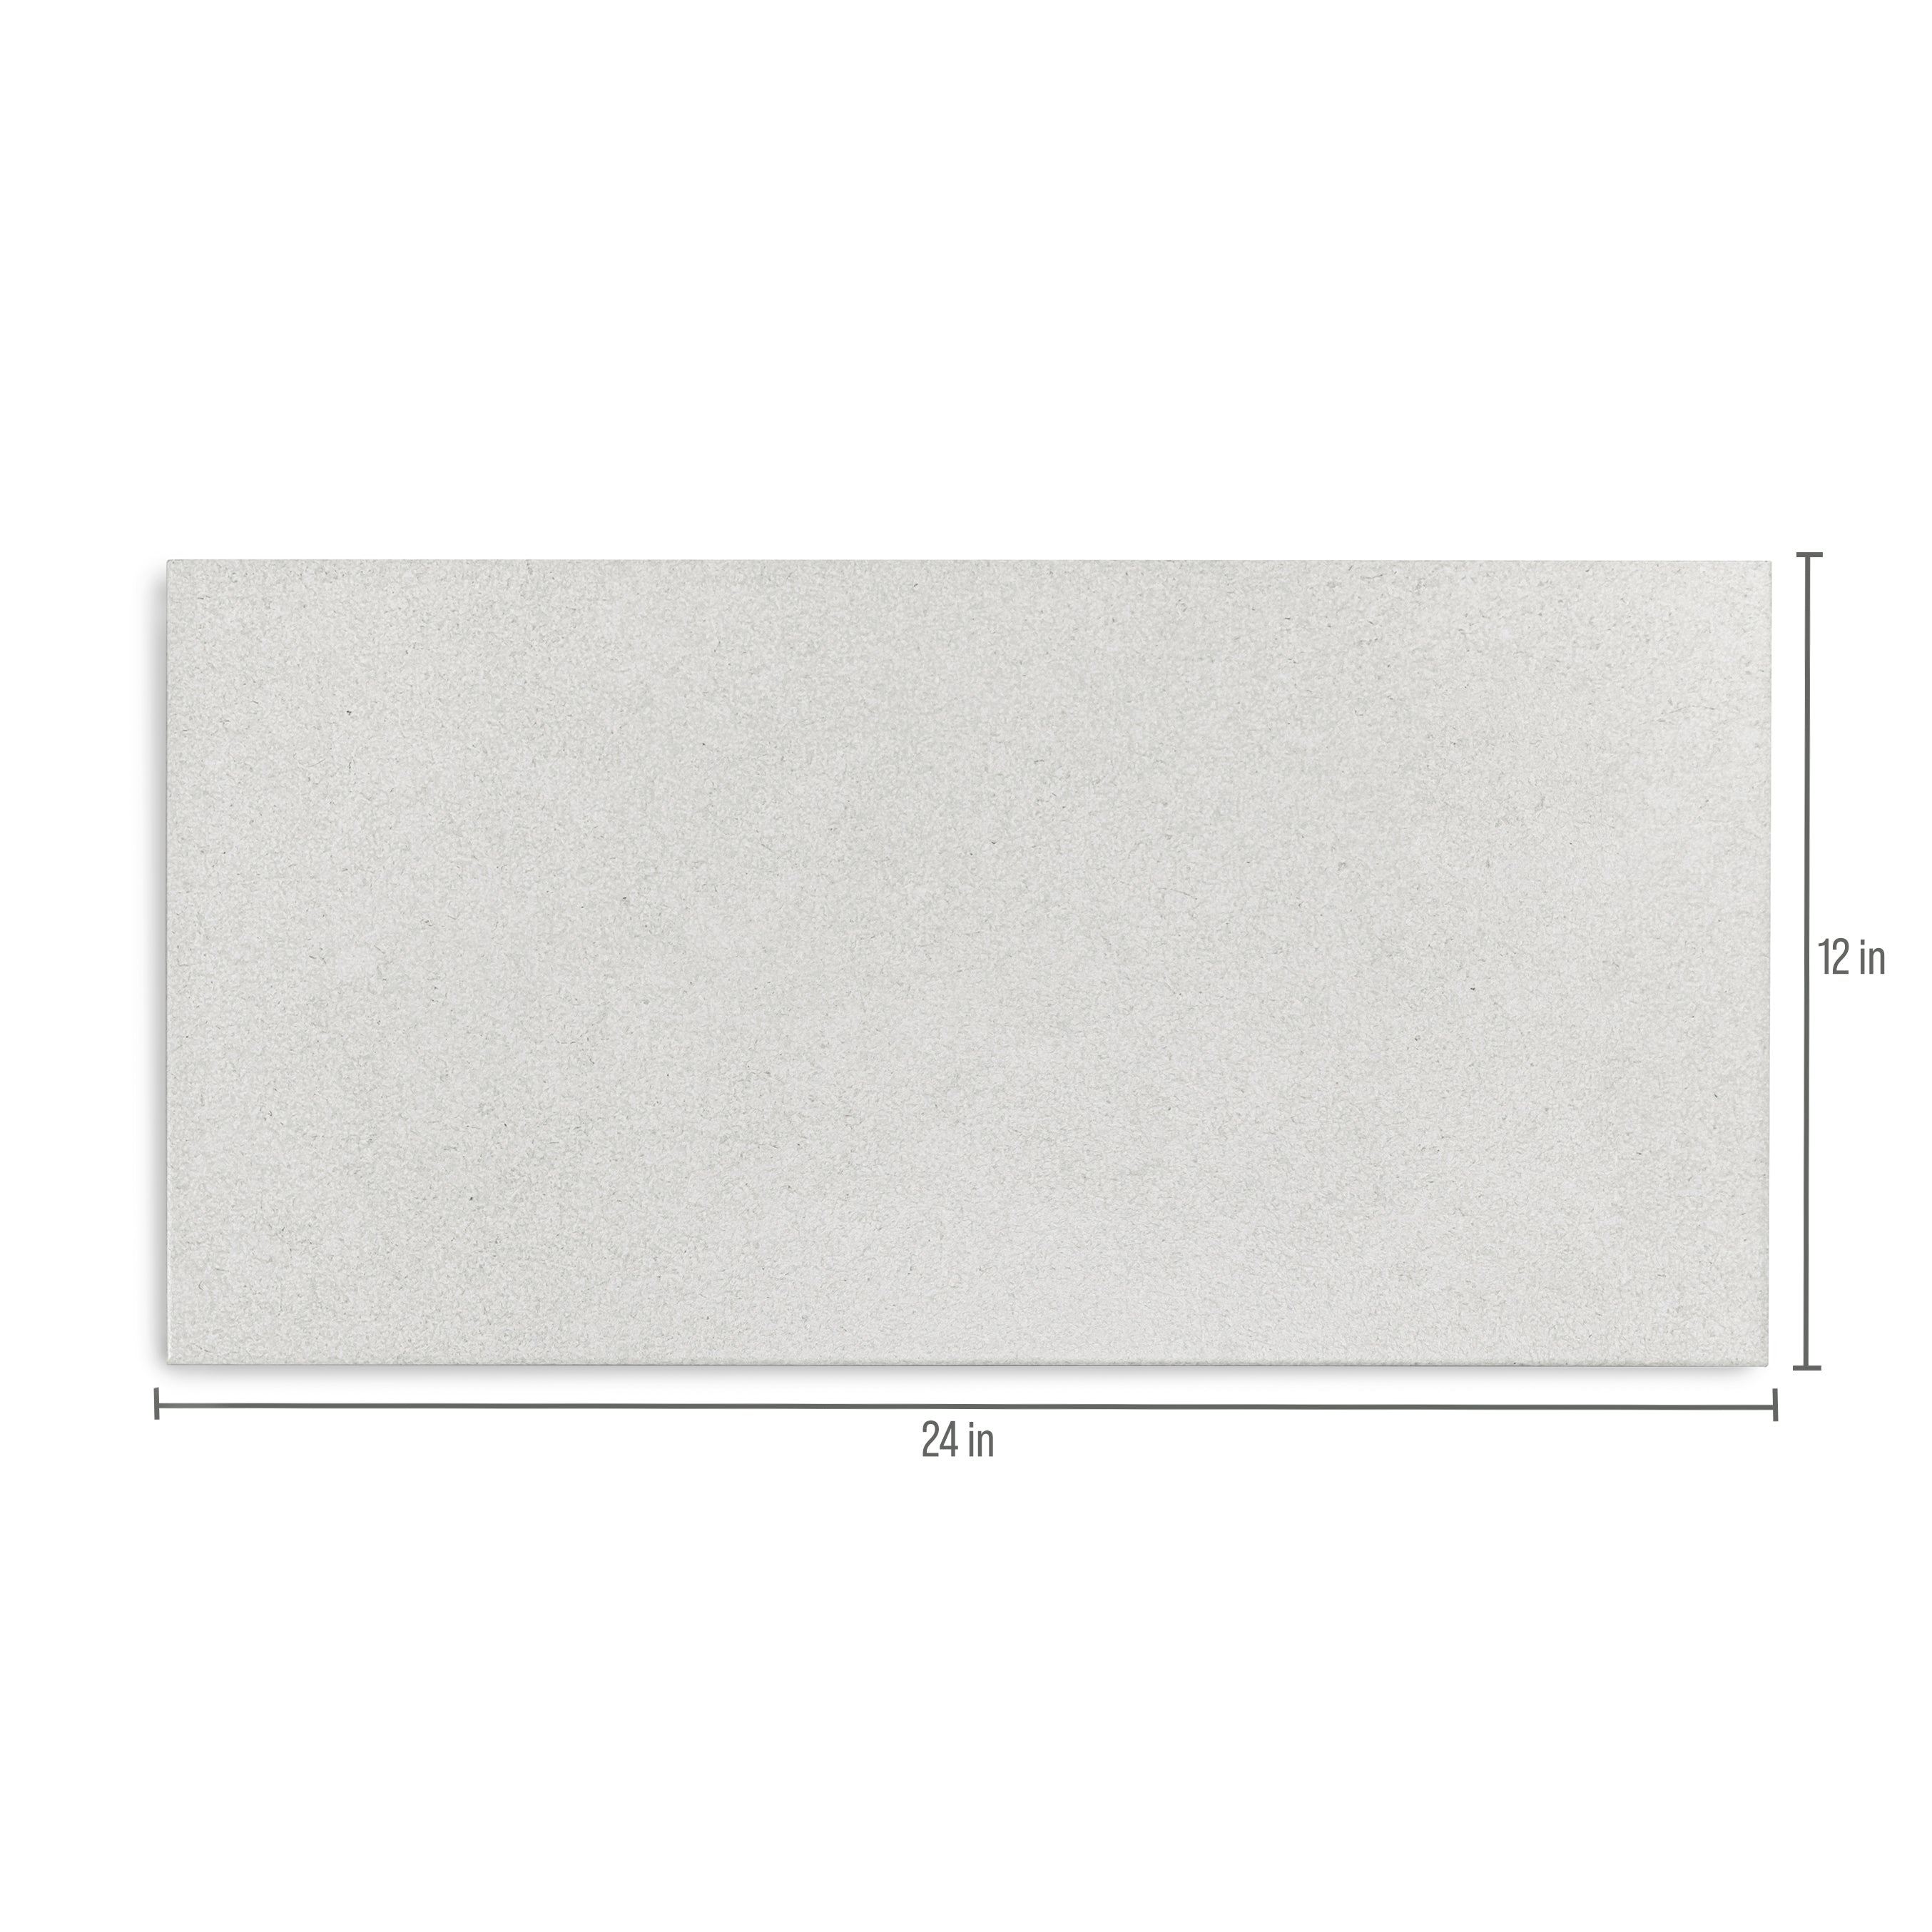
Plank size is 9 inches by 60 inches. Total thickness is 6.5 millimeters. Wear layer thickness is 22 mil. Locking system is 5G click. Core is one hundred percent waterproof rigid core. Underlayment is pre attached 1.5 millimeter foam. Installation method is floating click lock only.
Health and Safety
Cutting vinyl plank flooring may produce fine dust. Use dust collection when possible and wear a NIOSH designated dust mask, safety glasses, and gloves. Ensure proper ventilation in the work area. Some older resilient flooring materials may contain asbestos fibers or crystalline silica. Do not sand, dry sweep, or power sand these materials. If asbestos is suspected, consult a professional abatement contractor before proceeding.
Acclimation and Storage
Acclimate planks for a minimum of 48 hours in the room or rooms where they will be installed. Store and install material at room temperatures between 65 and 85 degrees Fahrenheit. Maintain indoor relative humidity between 35 and 65 percent. Store boxes flat on a clean elevated surface and do not store on edge. Protect material from direct sunlight, extreme temperatures, and moisture. Order an additional 10 to 15 percent material to account for cuts and waste.
Pre Installation Checklist
Inspect every plank before installation. Once installed, planks are considered accepted. Verify that temperature and humidity fall within required ranges. For new construction, ensure all wet trades are completed and cured. Confirm subfloor is clean, dry, flat, and structurally sound. Review all product specific documentation including warranty terms.
-
TOOLS AND MATERIALS
Required tools include a rubber mallet for tapping planks into place, a tapping block to protect edges, a pull bar for the final row, quarter inch spacers to maintain expansion gaps, a utility knife and straight edge for scoring and snapping planks, tape measure and pencil for marking cuts, chalk line for layout, circular saw or jigsaw for cutting around obstacles, and a broom or vacuum for subfloor cleaning.
-
STEP BY STEP INSTALLATION
Step 1 Subfloor Preparation
A properly prepared subfloor is critical to the performance of rigid core vinyl plank flooring. While the product can tolerate minor imperfections, it must meet flatness, cleanliness, and structural requirements. The subfloor must be flat within 3 sixteenths of an inch over 10 feet or 1 eighth of an inch over 6 feet. Sand high spots and fill low areas with self leveling compound as needed. Remove all debris, fasteners, and adhesive residue. Countersink all nail and screw heads and ensure there is no excessive flex or movement. Installation over subfloors with excessive deflection may cause locking joint failure and is not covered by warranty.
Concrete subfloors must be fully cured and at least 60 days old. Surfaces should not be sealed, painted, or overly smooth. Light grinding may be required. Do not install over slabs with hydrostatic pressure or moisture seepage. Moisture testing must show no more than 90 percent relative humidity. If moisture levels are borderline, install a 6 mil polyethylene moisture barrier with seams overlapped and taped.
Wood panel subfloors must be plywood or OSB with a minimum thickness of 5 eighths of an inch, with 3 quarter inch recommended. Panels must be properly fastened to joists. Repair squeaks and loose sections. Sand or fill seams exceeding flatness tolerance and replace damaged or delaminated areas.
Existing flooring such as hardwood or engineered wood must be secured and sanded flat. For planks wider than 4 inches, add a quarter inch underlayment. Ceramic or porcelain tile floors must have grout joints filled flush if they exceed one eighth inch. Loose tiles must be repaired or removed. Sheet vinyl must be fully adhered, flat, and limited to one existing layer. Do not install over carpet, cushioned vinyl, linoleum, particle board, or any surface that compresses underfoot.
Step 2 Layout Planning
Install planks parallel to the longest wall or main light source when possible. Measure room width and divide by plank width to determine final row size. If the last row will be less than 2 inches wide, trim the first row to balance the layout. Snap a chalk line parallel to the starting wall to maintain straight rows.
Step 3 First Row Installation
Remove the tongue from the long side of first row planks. Place quarter inch spacers along the starting wall and all perpendicular walls. Position the first plank in the left corner with the cut edge toward the wall and the click edge facing into the room. Connect end joints by angling planks together. Cut the final plank in the row to length while maintaining the expansion gap. Use off cuts of at least 8 inches to begin the next row to stagger joints.
Step 4 Installing Additional Rows
Angle the long edge of the plank into the groove of the previous row at approximately 20 to 25 degrees and press down until the click engages. Connect end joints within the row before fully locking into the previous row. Stagger joints a minimum of 8 inches and avoid repeating patterns. Periodically check that rows remain straight and parallel.
Step 5 Obstacles and Adjustments
Use a jigsaw or hole saw to cut around pipes and obstacles, leaving a quarter inch clearance that will be covered with trim or escutcheon plates. If planks do not fully lock, check subfloor flatness. Do not force planks into place. Use a pull bar and rubber mallet to close gaps where needed.
Step 6 Last Row Installation
Measure remaining space and subtract a quarter inch for expansion. Rip cut planks to width and use a pull bar to lock the final row into place.
Step 7 Finishing
Remove all spacers. Sweep and vacuum thoroughly. Install baseboards or trim to cover the expansion gap, fastening trim to the wall only and not through the flooring. Restrict foot traffic for 24 hours. Lift furniture into position and use felt pads on all legs.
-
TIPS AND WARNINGS
Transition moldings are required between rooms of the same height, at changes in floor height, at stair edges, and where the floor meets door tracks or fireplaces. For rooms longer than 40 feet or wider than 26 feet, an interior expansion joint with T molding is required.
For radiant heat systems, confirm compatibility with the manufacturer. Surface temperature must not exceed 85 degrees Fahrenheit. Operate the system at normal temperature for two weeks before installation, reduce temperature prior to install, and gradually increase after installation. Maintain proper humidity levels year round.
Do not add additional underlayment unless required as a thin moisture barrier on concrete. Excess underlayment can interfere with the click locking system.
-
CARE AND MAINTENANCE
Sweep or dust mop regularly. Vacuum using a hard floor setting without a beater bar. Damp mop occasionally using a neutral pH vinyl cleaner and a well wrung microfiber mop. Wipe spills immediately. In bathrooms, apply clear silicone caulk along the perimeter. Avoid steam cleaners, abrasive pads, waxes, acrylic finishes, ammonia, bleach, solvents, acidic cleaners, or vinegar based products.
Protect floors with entry mats, felt furniture pads, and wide casters rated for hard surfaces. Always lift furniture instead of sliding. Keep pet nails trimmed and protect flooring from prolonged direct sunlight. Minor scuffs can be repaired with a vinyl floor repair kit. Damaged planks can be replaced individually by removing from the nearest wall. Save extra planks for future repairs.
-
WARRANTY AND CONTACT INFORMATION
This product carries a limited lifetime residential warranty and a limited ten year light commercial warranty. Coverage includes structural integrity of the rigid core and locking system, wear layer performance under normal use, and waterproof core integrity. Warranty does not cover improper installation, environmental conditions outside specified ranges, steam cleaning, subfloor movement, flooding, surface damage, fading, dye lot variation, clearance or as is products, or labor costs.
To file a claim, contact the original retailer. If unresolved, submit a written claim to Reno Source within the warranty period including proof of purchase, installation details, and photos of the affected area.
Reno Source Inc
www.therenosource.com
support@therenosource.com
Finish Materials
Based in the USA
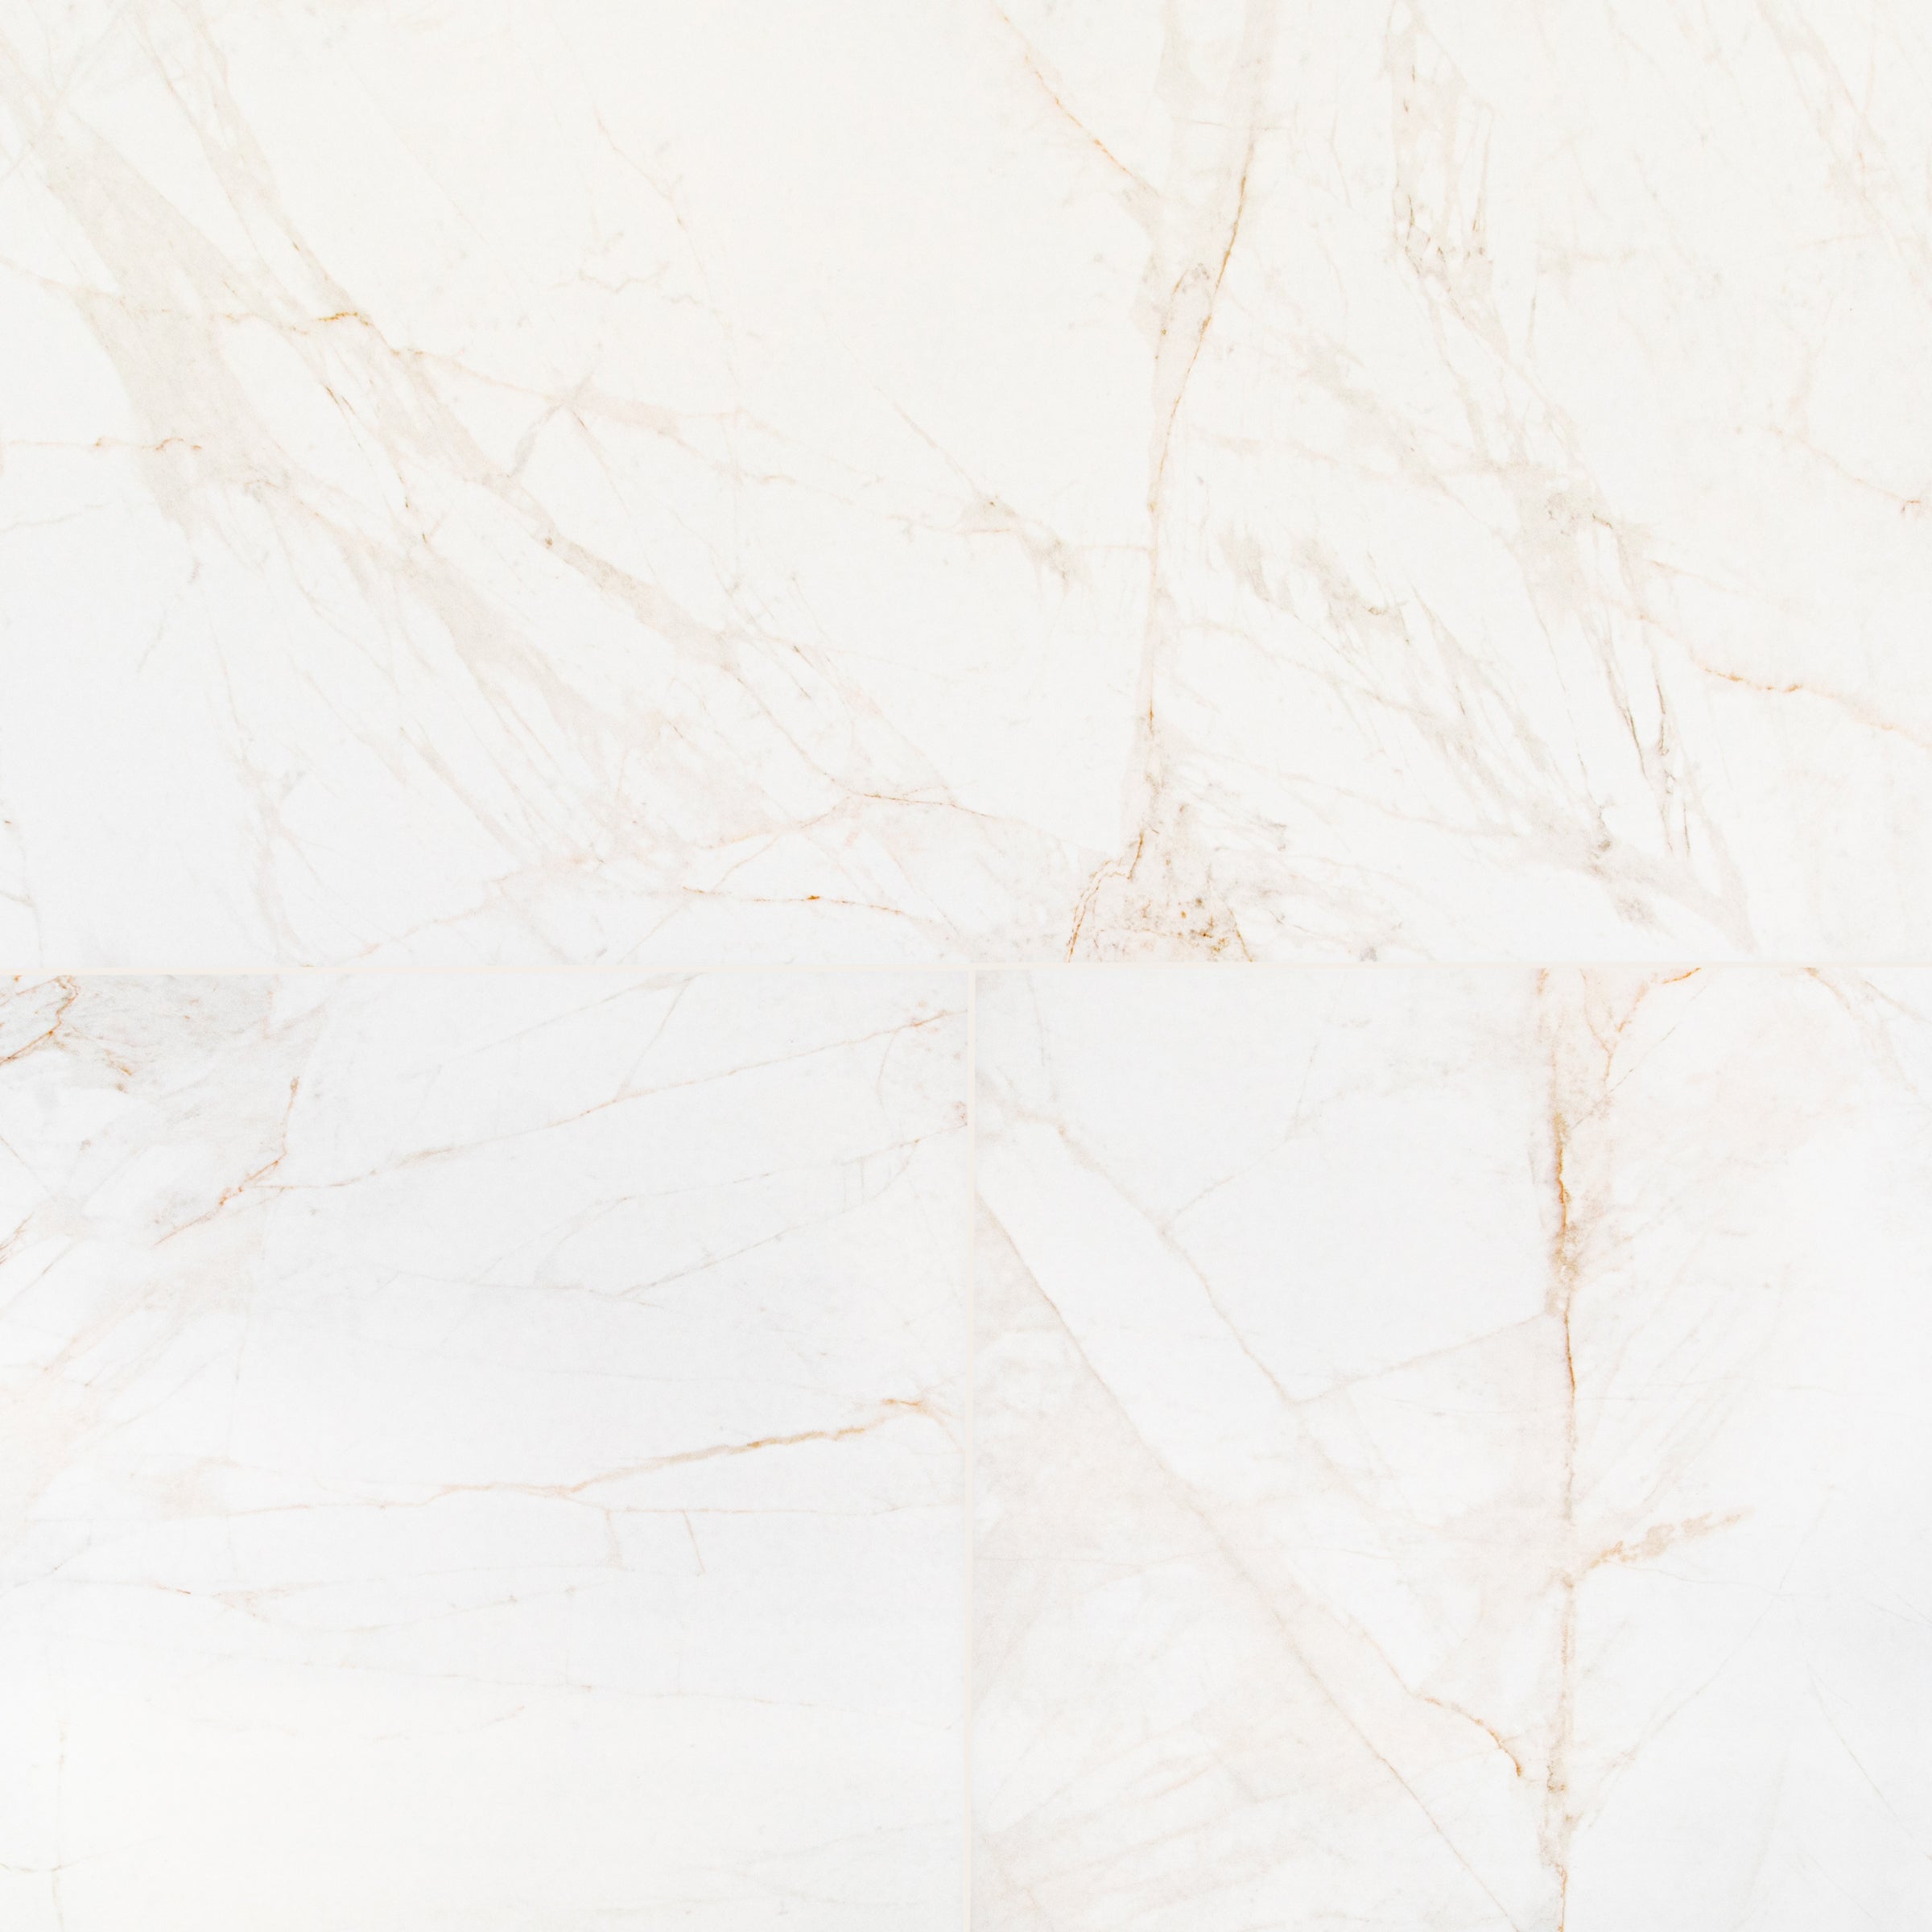
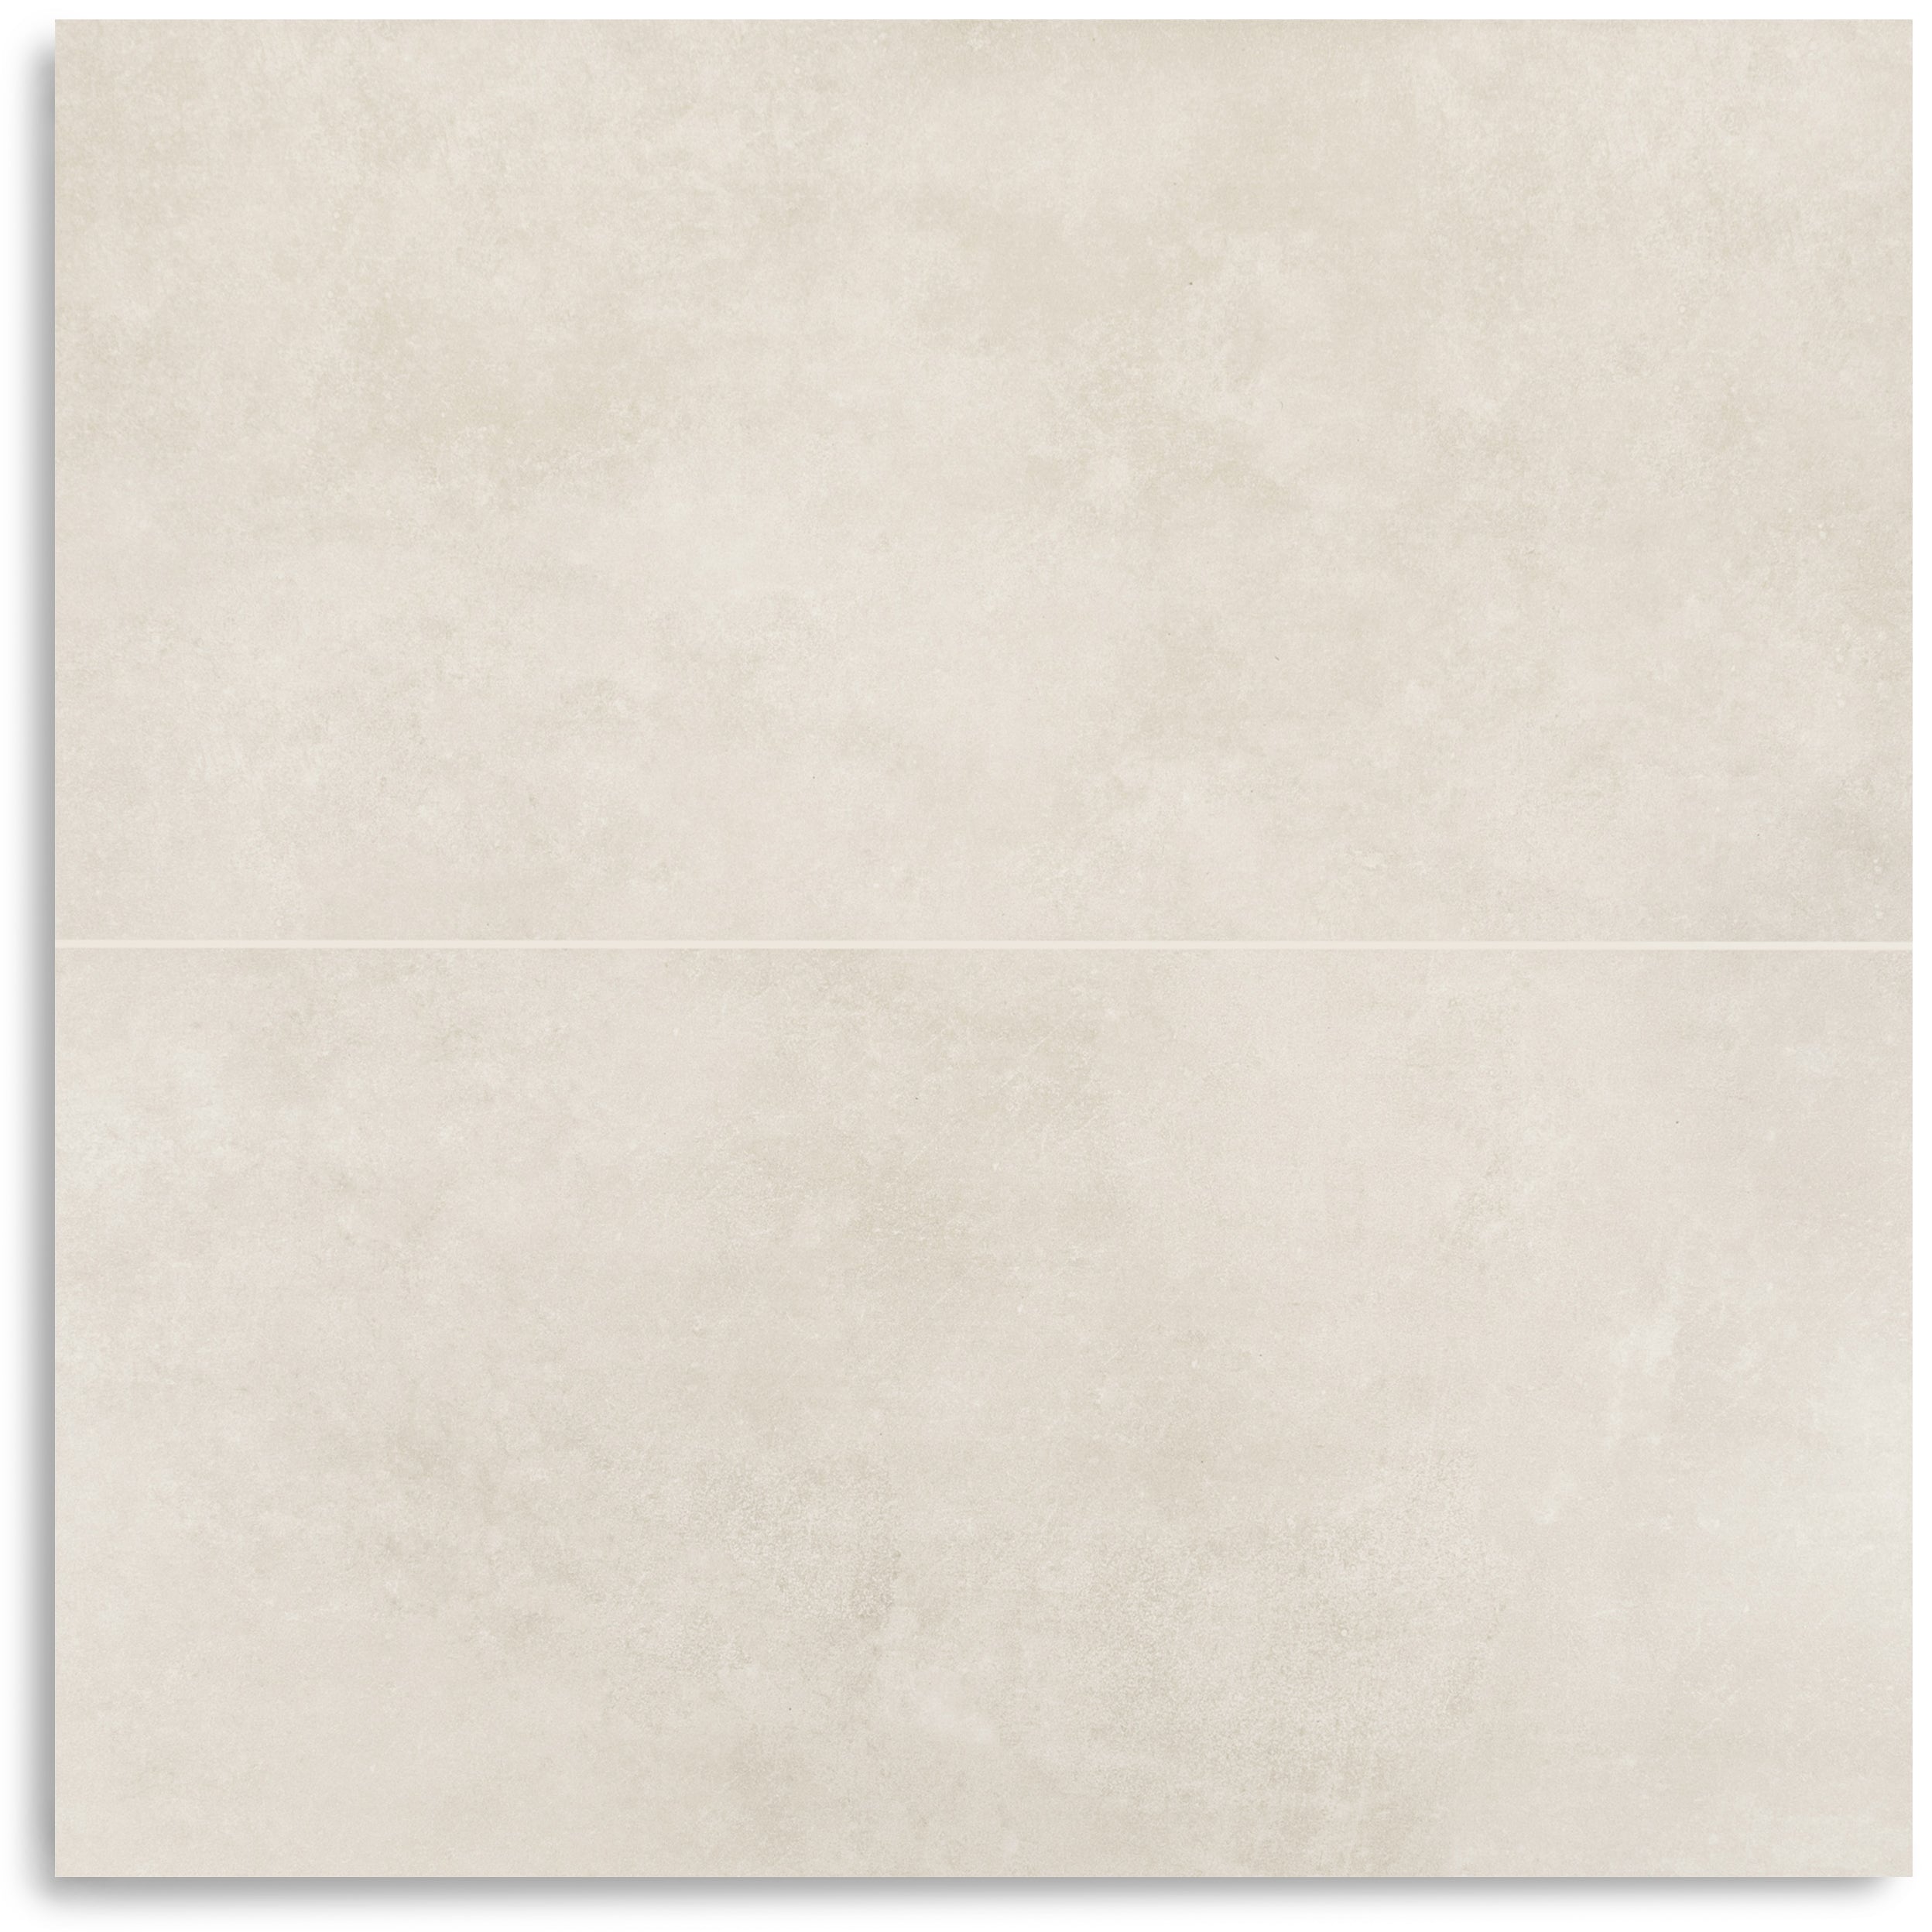
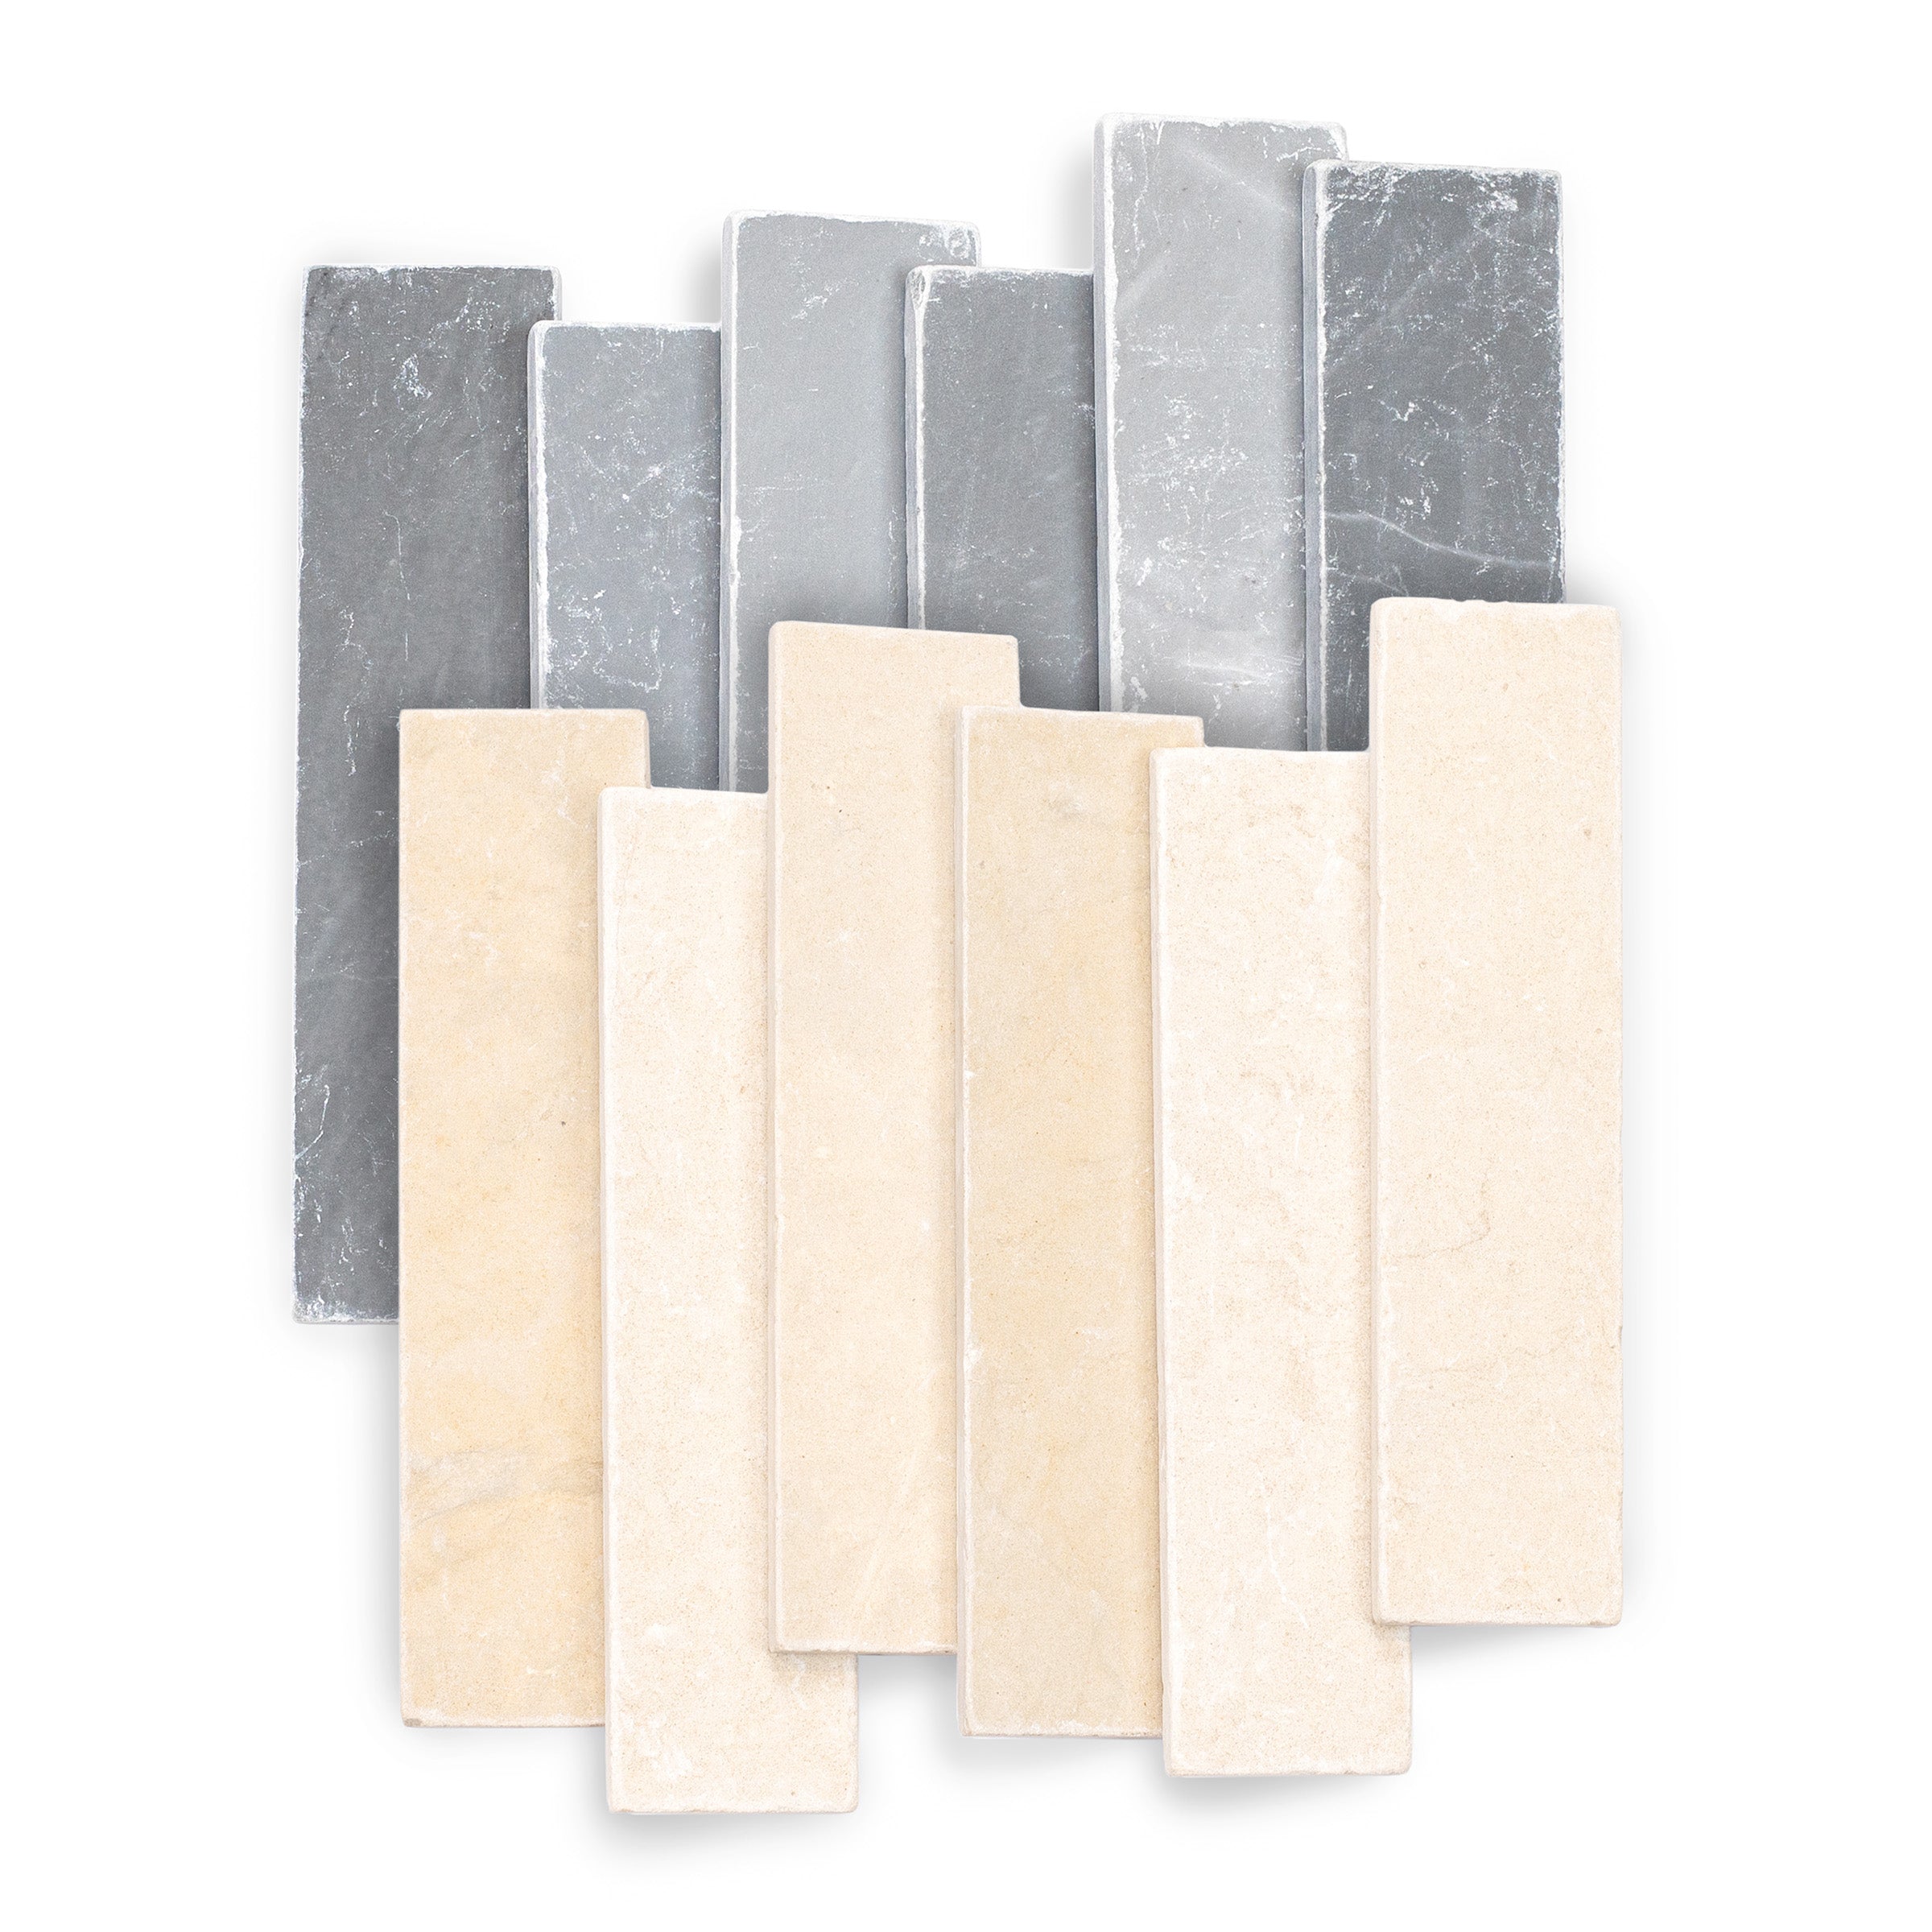
From the same collection


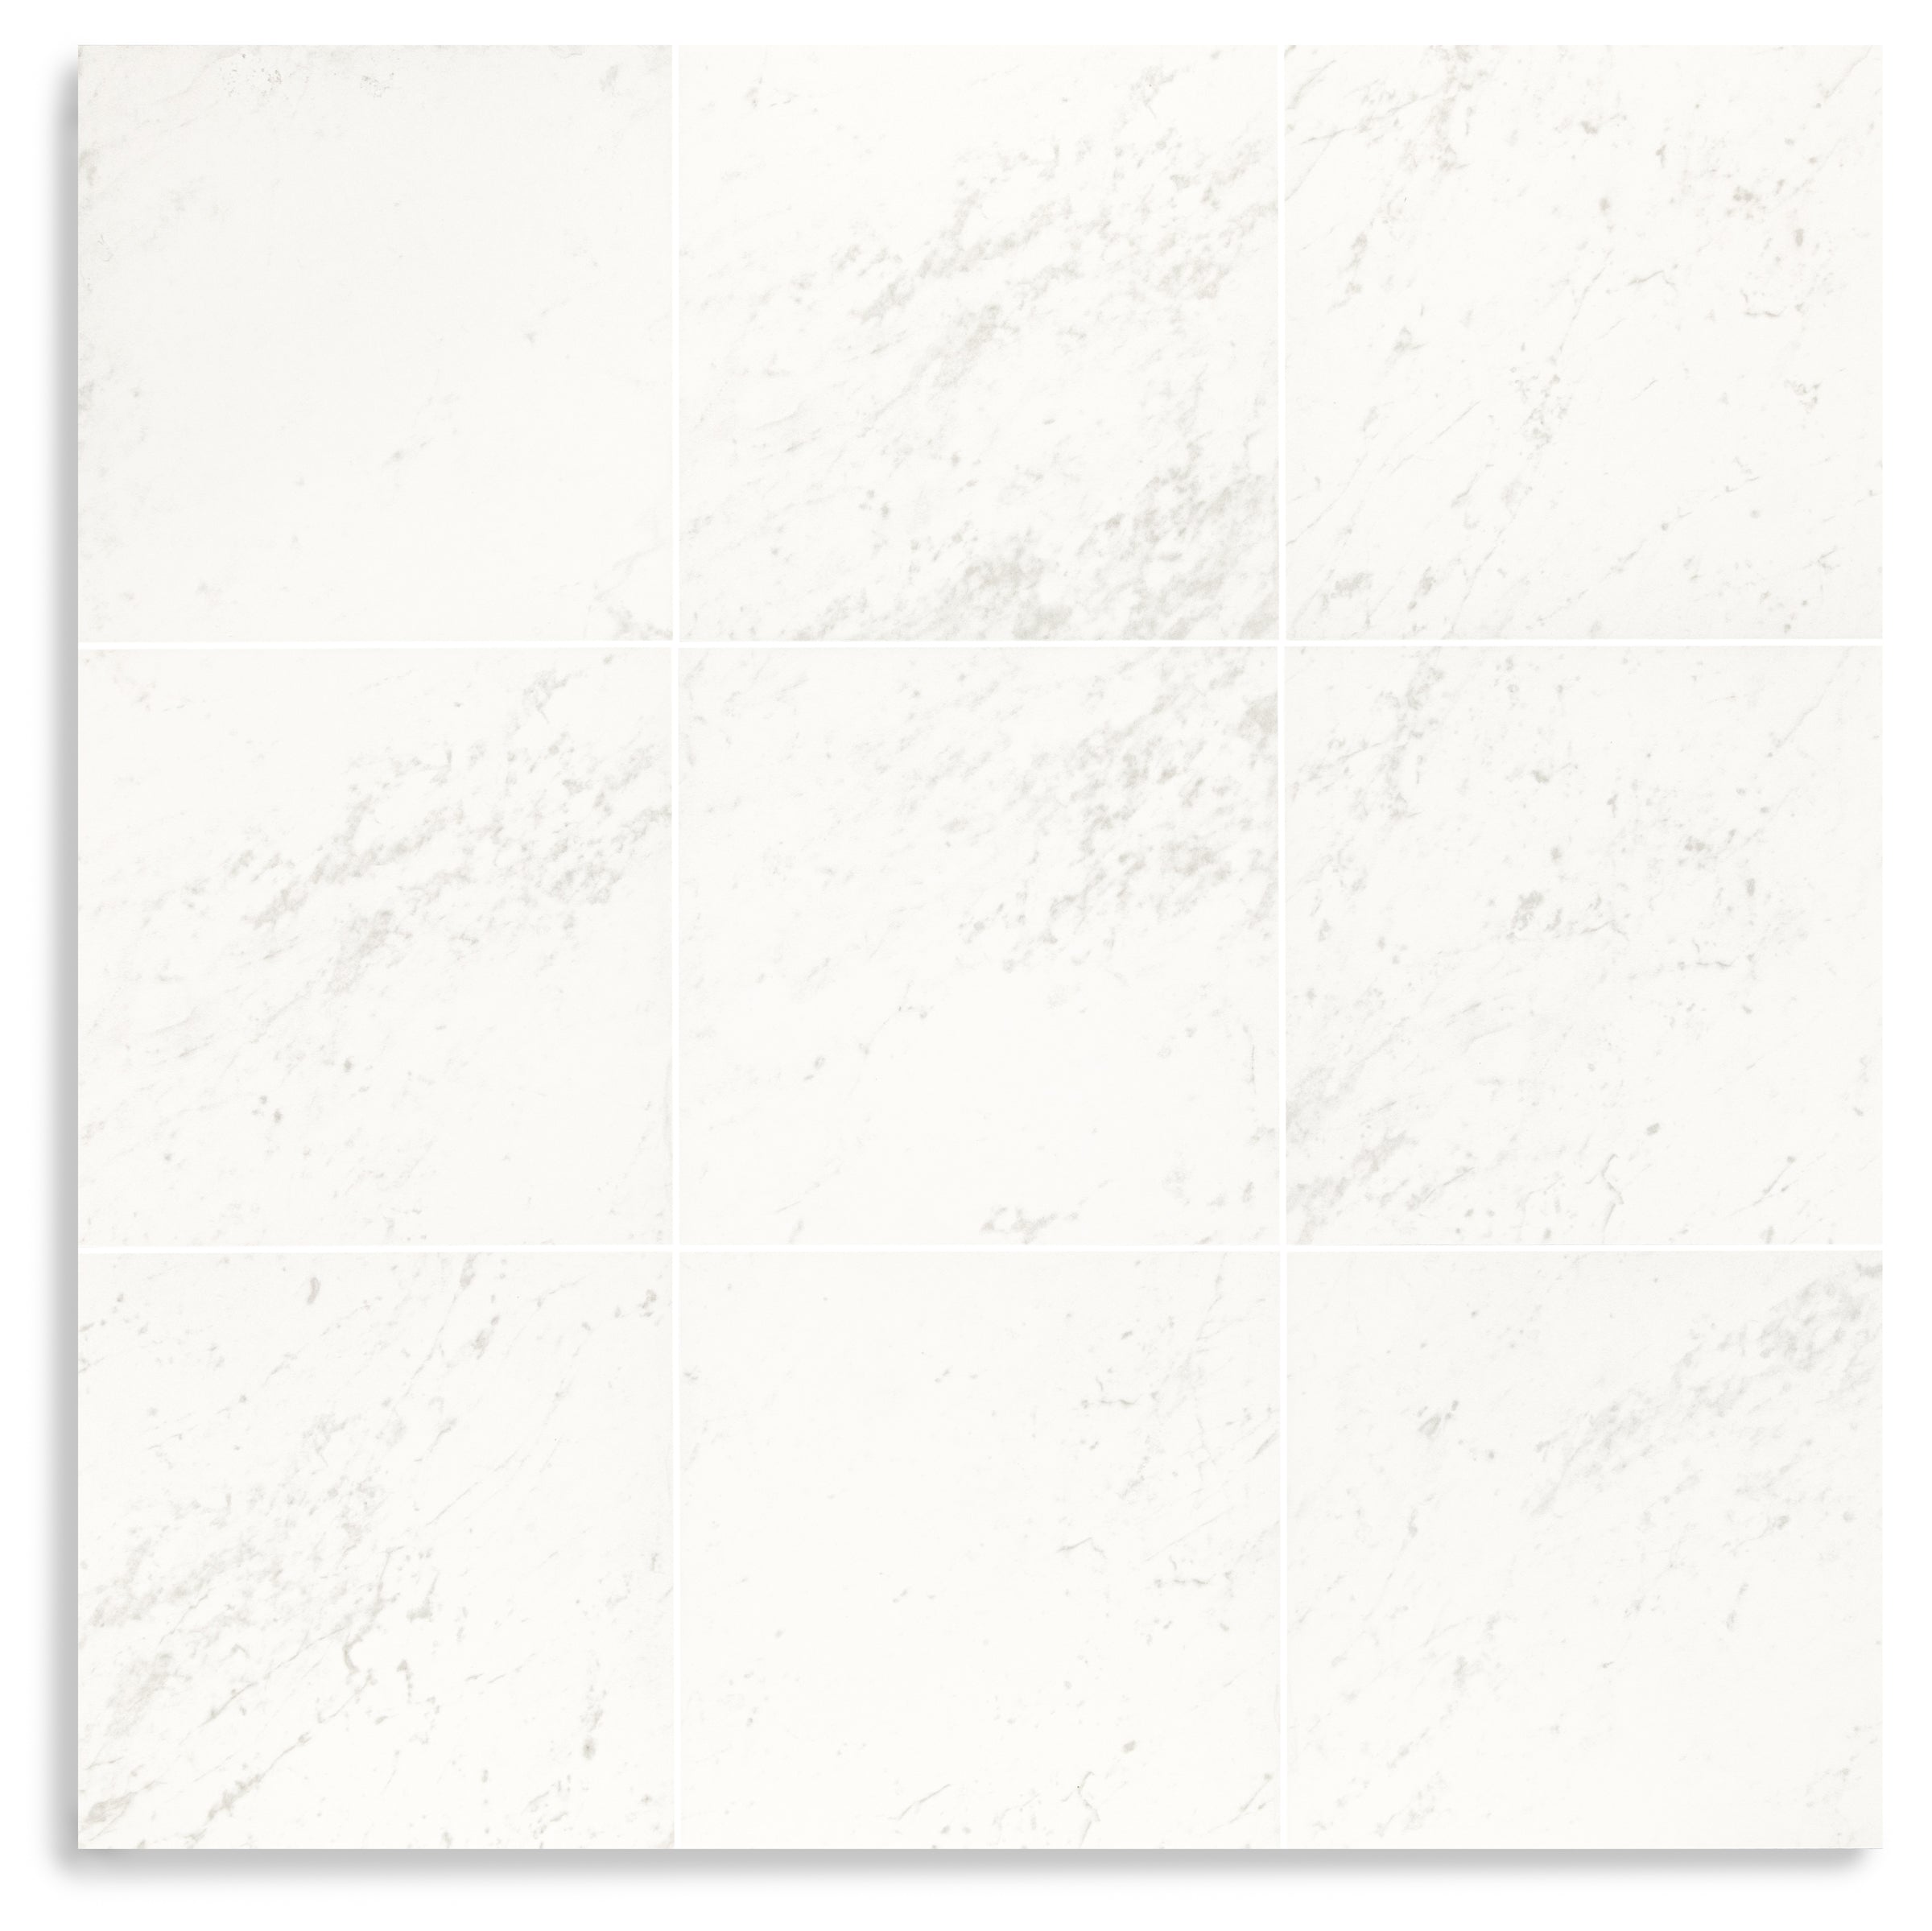
Cotto Terracotta Look Matte Porcelain Tile


Murano Honed Italian Terrazzo Tile
Cream Limestone Look 3D Matte Porcelain Tile


Apple 12x24 3D Glossy Porcelain Tile
Beige Limestone Look 3D Matte Porcelain Tile


Navy 12x24 3D Gloss Porcelain Tile
Travertino Moka Stone Look Porcelain Tile

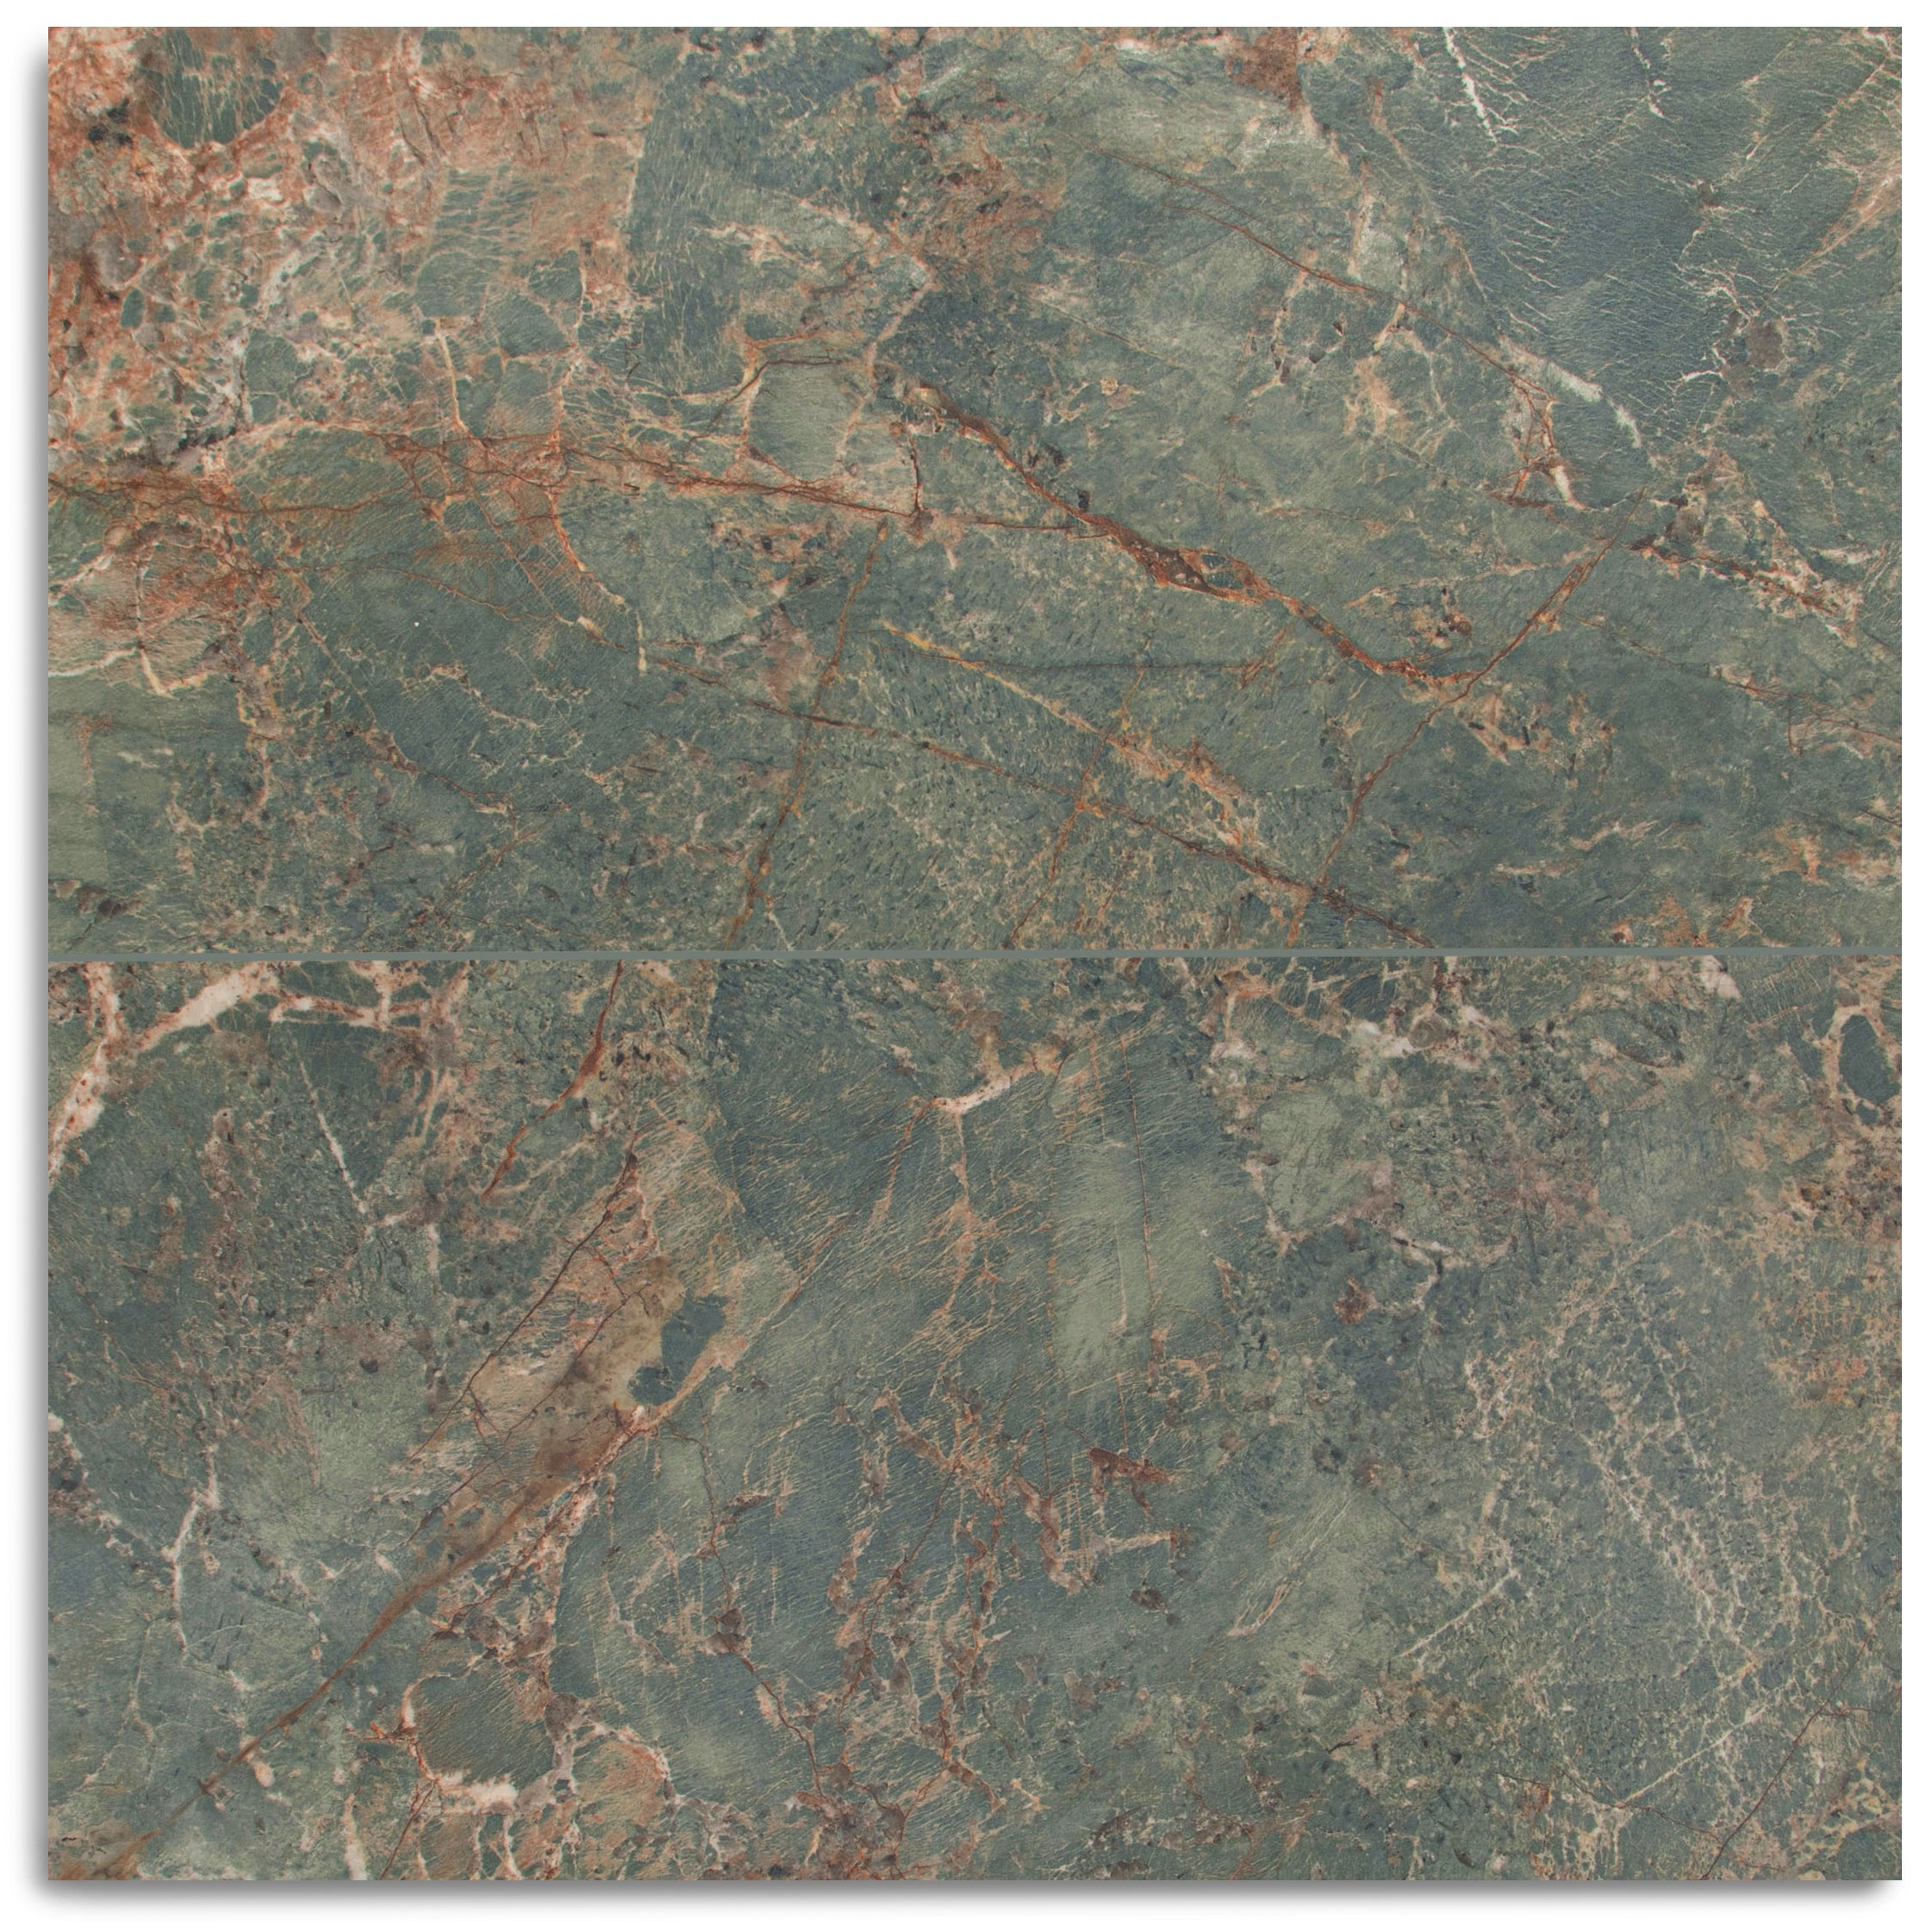
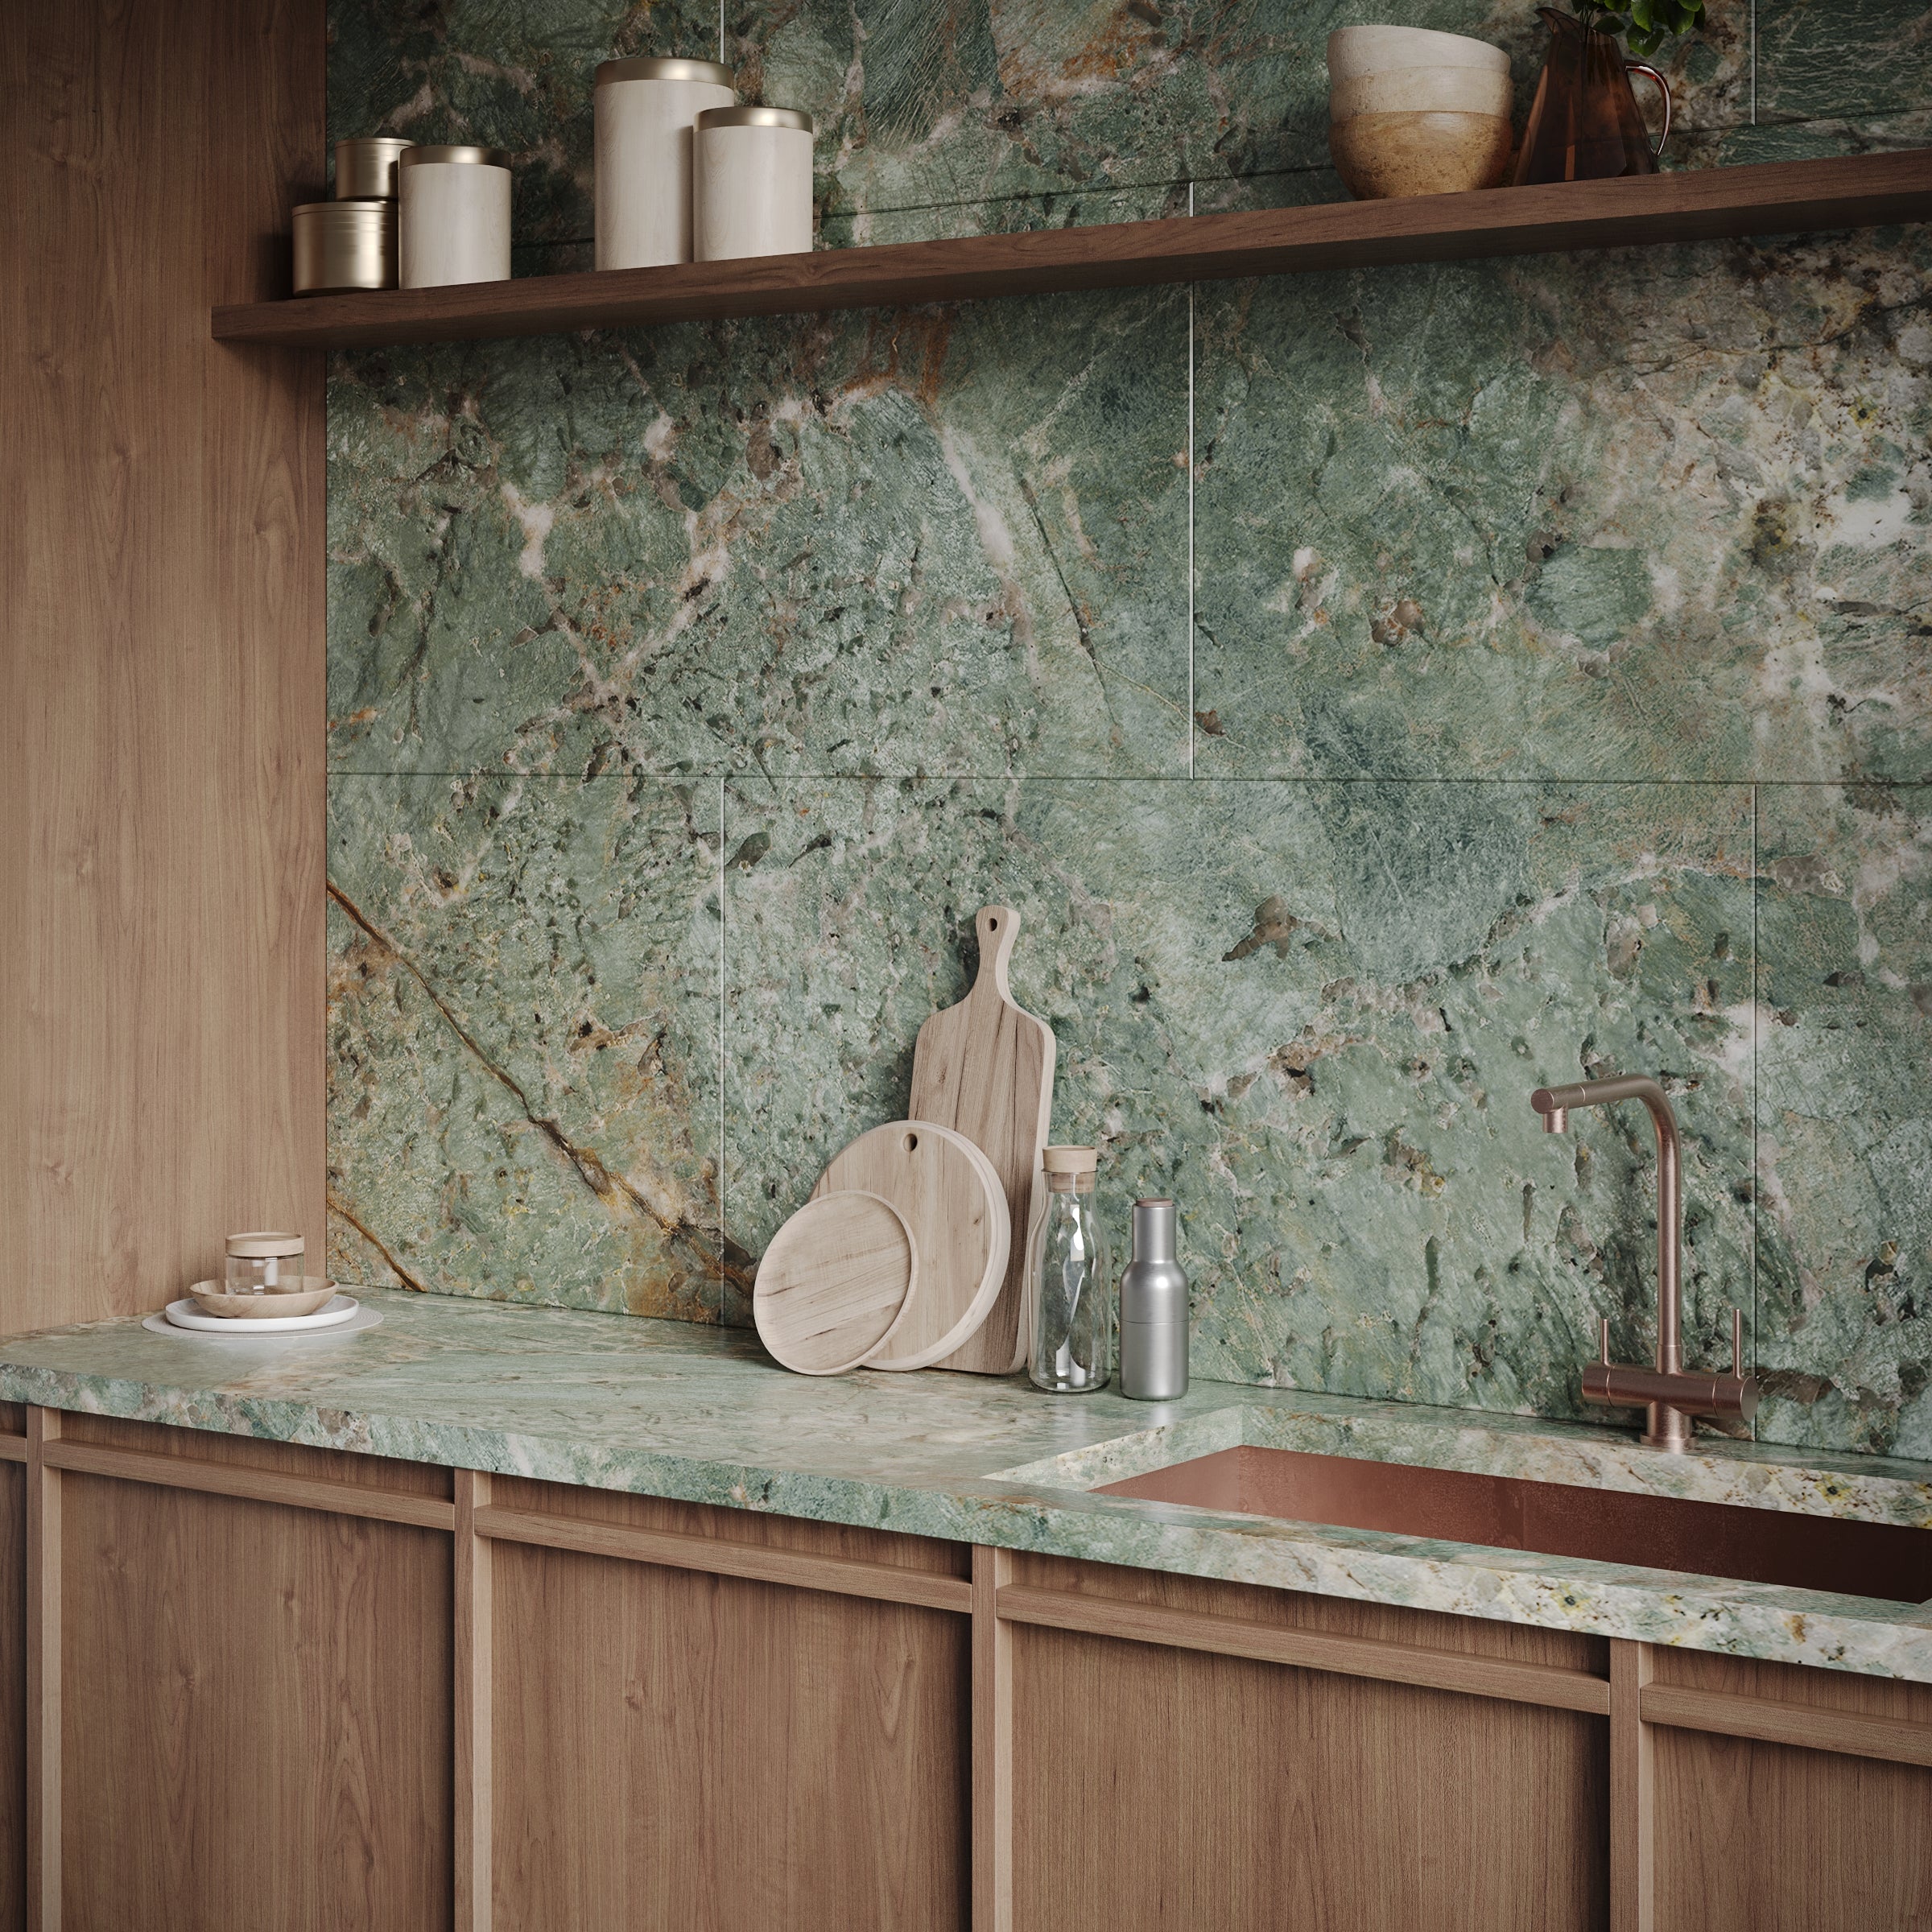
Fior de Bosco Marble Look Porcelain Tile


Cream 12x24 3D Gloss Porcelain Tile
Borgogna 3D Matte Porcelain Tile


Calacatta Honed Italian Terrazzo Tile

Spider Gold Matte Marble Look Porcelain Tile
Honey Slats 24x48 Wood Look Porcelain Tile
Almond Cement Look Matte Porcelain Tile
Travertino 3D Matte Porcelain Tile


No. 5 9x60 Rigid Core Vinyl Flooring


Amazzonite Matte Marble Look Porcelain Tile


No. 12 Engineered Wood Flooring

No. 10 Engineered Wood Flooring
Venica Red Stone Look Porcelain Tile


No. 3 9x60 Rigid Core Vinyl Flooring


No. 13 9x60 Rigid Core Vinyl Flooring
Pearl Hammered Limestone Look Matte Porcelain Tile
Almond Hammered Limestone Look Matte Porcelain Tile

Montblack Matte Marble Look Porcelain Tile
Silver Limestone Look 3D Matte Porcelain Tile


Grey Cement Look Porcelain Tile
Slate 48x48 Cement Look Porcelain Tile
Honey 9.5x60 Wood Look Porcelain Tile
Nut 9.5x60 Wood Look Porcelain Tile
Pearl 24x24 Cheppo Look Matte Porcelain Tile


Torcello Honed Italian Terrazzo Tile


No. 2 Engineered Wood Flooring


Chocolate Textured Terracotta Tile
White Paradise Marble Look Porcelain Tile


No. 28 Engineered Wood Flooring


No. 26 Engineered Wood Flooring


No. 24 Engineered Wood Flooring


No. 22 Engineered Wood Flooring


White & Ecru Octagon Zellige Mosaic


Thassos, Carrara, Bardiglio Gingham Marble Mosaic


Cotto Deco Terracotta Look Matte Porcelain Tile


White & Ecru 2x2 Zellige Checkerboard Mosaic


Cotto Terracotta Look Matte Porcelain Tile
Murano Honed Italian Terrazzo Tile


Cream Limestone Look 3D Matte Porcelain Tile
Apple 12x24 3D Glossy Porcelain Tile
Beige Limestone Look 3D Matte Porcelain Tile
Navy 12x24 3D Gloss Porcelain Tile


Chiaro Deco Terracotta Look Matte Porcelain Tile
Travertino Moka Stone Look Porcelain Tile


Fior de Bosco Marble Look Porcelain Tile


Carrara Bardiglio Tumbled Stone Checkerboard
Cream 12x24 3D Gloss Porcelain Tile
Bianco Carrara Honed Marble Tile
Verde Guatemala Tumbled Marble Tile
Borgogna 3D Matte Porcelain Tile


White & Black Octagon Zellige Mosaic
Calacatta Honed Italian Terrazzo Tile

White Multi-Color Matte Porcelain Tile
Bianco Carrara Octagon w/ Nero Marquina Dot Mosaic
Rosso Verona Tumbled Marble Tile


Bardiglio Desert Tea Tumbled Stone Checker Stripe
Honey Slats 24x48 Wood Look Porcelain Tile
Almond Cement Look Matte Porcelain Tile
Travertino 3D Matte Porcelain Tile
White & Ecru Octagon Zellige Mosaic
Thassos, Carrara, Bardiglio Gingham Marble Mosaic
Cotto Deco Terracotta Look Matte Porcelain Tile
White & Ecru 2x2 Zellige Checkerboard Mosaic
Cotto Terracotta Look Matte Porcelain Tile
Murano Honed Italian Terrazzo Tile
Apple 12x24 3D Glossy Porcelain Tile
Cream Limestone Look 3D Matte Porcelain Tile
Navy 12x24 3D Gloss Porcelain Tile
Beige Limestone Look 3D Matte Porcelain Tile
Chiaro Deco Terracotta Look Matte Porcelain Tile


Travertino Moka Stone Look Porcelain Tile
Cream 12x24 3D Gloss Porcelain Tile
Bianco Carrara Honed Marble Tile
Fior de Bosco Marble Look Porcelain Tile
Bianco Carrara Octagon w/ Nero Marquina Dot Mosaic
Carrara Bardiglio Tumbled Stone Checkerboard
Verde Guatemala Tumbled Marble Tile
Rosso Verona Tumbled Marble Tile
Borgogna 3D Matte Porcelain Tile
White & Black Octagon Zellige Mosaic
Calacatta Honed Italian Terrazzo Tile
White Multi-Color Matte Porcelain Tile


Rosso Verona 1x1 Hand Chipped Marble Mosaic
Bardiglio Desert Tea Tumbled Stone Checker Stripe
Honey Slats 24x48 Wood Look Porcelain Tile
Almond Cement Look Matte Porcelain Tile
No. 12 Engineered Wood Flooring
No. 13 9x60 Rigid Core Vinyl Flooring
No. 26 Engineered Wood Flooring


No. 18 Engineered Wood Flooring


No. 14 Engineered Wood Flooring
White & Ecru Octagon Zellige Mosaic
Thassos, Carrara, Bardiglio Gingham Marble Mosaic
Cotto Deco Terracotta Look Matte Porcelain Tile
White & Ecru 2x2 Zellige Checkerboard Mosaic
Murano Honed Italian Terrazzo Tile
Cream Limestone Look 3D Matte Porcelain Tile
Apple 12x24 3D Glossy Porcelain Tile
Beige Limestone Look 3D Matte Porcelain Tile
Navy 12x24 3D Gloss Porcelain Tile
Chiaro Deco Terracotta Look Matte Porcelain Tile
Travertino Moka Stone Look Porcelain Tile
Fior de Bosco Marble Look Porcelain Tile
Bianco Carrara Octagon w/ Nero Marquina Dot Mosaic
Borgogna 3D Matte Porcelain Tile
Verde Guatemala Tumbled Marble Tile
Rosso Verona Tumbled Marble Tile
White & Black Octagon Zellige Mosaic
Calacatta Honed Italian Terrazzo Tile
Carrara Bardiglio Tumbled Stone Checkerboard
Cream 12x24 3D Gloss Porcelain Tile
White Multi-Color Matte Porcelain Tile
Rosso Verona 1x1 Hand Chipped Marble Mosaic
Bardiglio Desert Tea Tumbled Stone Checker Stripe
Travertino 3D Matte Porcelain Tile
Honey Slats 24x48 Wood Look Porcelain Tile


Cream 2x2 Forma Porcelain Mosaic


Cotto 2x2 Forma Porcelain Mosaic


Unglazed & White Octagon Zellige Mosaic


White & Ecru Octagon Zellige Mosaic
Thassos, Carrara, Bardiglio Gingham Marble Mosaic
Cotto Deco Terracotta Look Matte Porcelain Tile
White & Ecru 2x2 Zellige Checkerboard Mosaic
Cotto Terracotta Look Matte Porcelain Tile
Murano Honed Italian Terrazzo Tile
Cream Limestone Look 3D Matte Porcelain Tile
Apple 12x24 3D Glossy Porcelain Tile
Beige Limestone Look 3D Matte Porcelain Tile
Navy 12x24 3D Gloss Porcelain Tile
Chiaro Deco Terracotta Look Matte Porcelain Tile
Travertino Moka Stone Look Porcelain Tile
Fior de Bosco Marble Look Porcelain Tile
Bianco Carrara Octagon w/ Nero Marquina Dot Mosaic
Carrara Bardiglio Tumbled Stone Checkerboard
Cream 12x24 3D Gloss Porcelain Tile
Bianco Carrara Honed Marble Tile
Verde Guatemala Tumbled Marble Tile
Rosso Verona Tumbled Marble Tile
Borgogna 3D Matte Porcelain Tile
White & Black Octagon Zellige Mosaic
Calacatta Honed Italian Terrazzo Tile
White Multi-Color Matte Porcelain Tile
Rosso Verona 1x1 Hand Chipped Marble Mosaic
Bardiglio Desert Tea Tumbled Stone Checker Stripe
Honey Slats 24x48 Wood Look Porcelain Tile
Almond Cement Look Matte Porcelain Tile
White & Ecru Octagon Zellige Mosaic
Thassos, Carrara, Bardiglio Gingham Marble Mosaic
Cotto Deco Terracotta Look Matte Porcelain Tile
White & Ecru 2x2 Zellige Checkerboard Mosaic
Murano Honed Italian Terrazzo Tile
Cream Limestone Look 3D Matte Porcelain Tile
Apple 12x24 3D Glossy Porcelain Tile
Beige Limestone Look 3D Matte Porcelain Tile
Navy 12x24 3D Gloss Porcelain Tile
Chiaro Deco Terracotta Look Matte Porcelain Tile
Travertino Moka Stone Look Porcelain Tile
Bianco Carrara Honed Marble Tile
Borgogna 3D Matte Porcelain Tile
Fior de Bosco Marble Look Porcelain Tile
Bianco Carrara Octagon w/ Nero Marquina Dot Mosaic
Carrara Bardiglio Tumbled Stone Checkerboard
Cream 12x24 3D Gloss Porcelain Tile
Verde Guatemala Tumbled Marble Tile
Rosso Verona Tumbled Marble Tile
White & Black Octagon Zellige Mosaic
Calacatta Honed Italian Terrazzo Tile
White Multi-Color Matte Porcelain Tile
Almond Cement Look Matte Porcelain Tile
Travertino 3D Matte Porcelain Tile
Rosso Verona 1x1 Hand Chipped Marble Mosaic
Bardiglio Desert Tea Tumbled Stone Checker Stripe
Honey Slats 24x48 Wood Look Porcelain Tile
White & Ecru Octagon Zellige Mosaic
Thassos, Carrara, Bardiglio Gingham Marble Mosaic
Cotto Deco Terracotta Look Matte Porcelain Tile
White & Ecru 2x2 Zellige Checkerboard Mosaic
Cotto Terracotta Look Matte Porcelain Tile
Murano Honed Italian Terrazzo Tile
Cream Limestone Look 3D Matte Porcelain Tile
Apple 12x24 3D Glossy Porcelain Tile
Beige Limestone Look 3D Matte Porcelain Tile
Navy 12x24 3D Gloss Porcelain Tile
Chiaro Deco Terracotta Look Matte Porcelain Tile
Travertino Moka Stone Look Porcelain Tile
Fior de Bosco Marble Look Porcelain Tile
Bianco Carrara Octagon w/ Nero Marquina Dot Mosaic
Cream 12x24 3D Gloss Porcelain Tile
Bianco Carrara Honed Marble Tile
Rosso Verona Tumbled Marble Tile
Borgogna 3D Matte Porcelain Tile
White & Black Octagon Zellige Mosaic
Calacatta Honed Italian Terrazzo Tile
White Multi-Color Matte Porcelain Tile
Carrara Bardiglio Tumbled Stone Checkerboard
Rosso Verona 1x1 Hand Chipped Marble Mosaic
Honey Slats 24x48 Wood Look Porcelain Tile
Almond Cement Look Matte Porcelain Tile
Travertino 3D Matte Porcelain Tile


No. 15 9x60 Rigid Core Vinyl Flooring
No. 13 9x60 Rigid Core Vinyl Flooring


No. 9 9x60 Rigid Core Vinyl Flooring
No. 3 9x60 Rigid Core Vinyl Flooring
No. 5 9x60 Rigid Core Vinyl Flooring


No. 7 9x60 Rigid Core Vinyl Flooring