


NOTIFY ME WHEN AVAILABLE
We'll notify you as soon as this product or sample is back in stock / available.
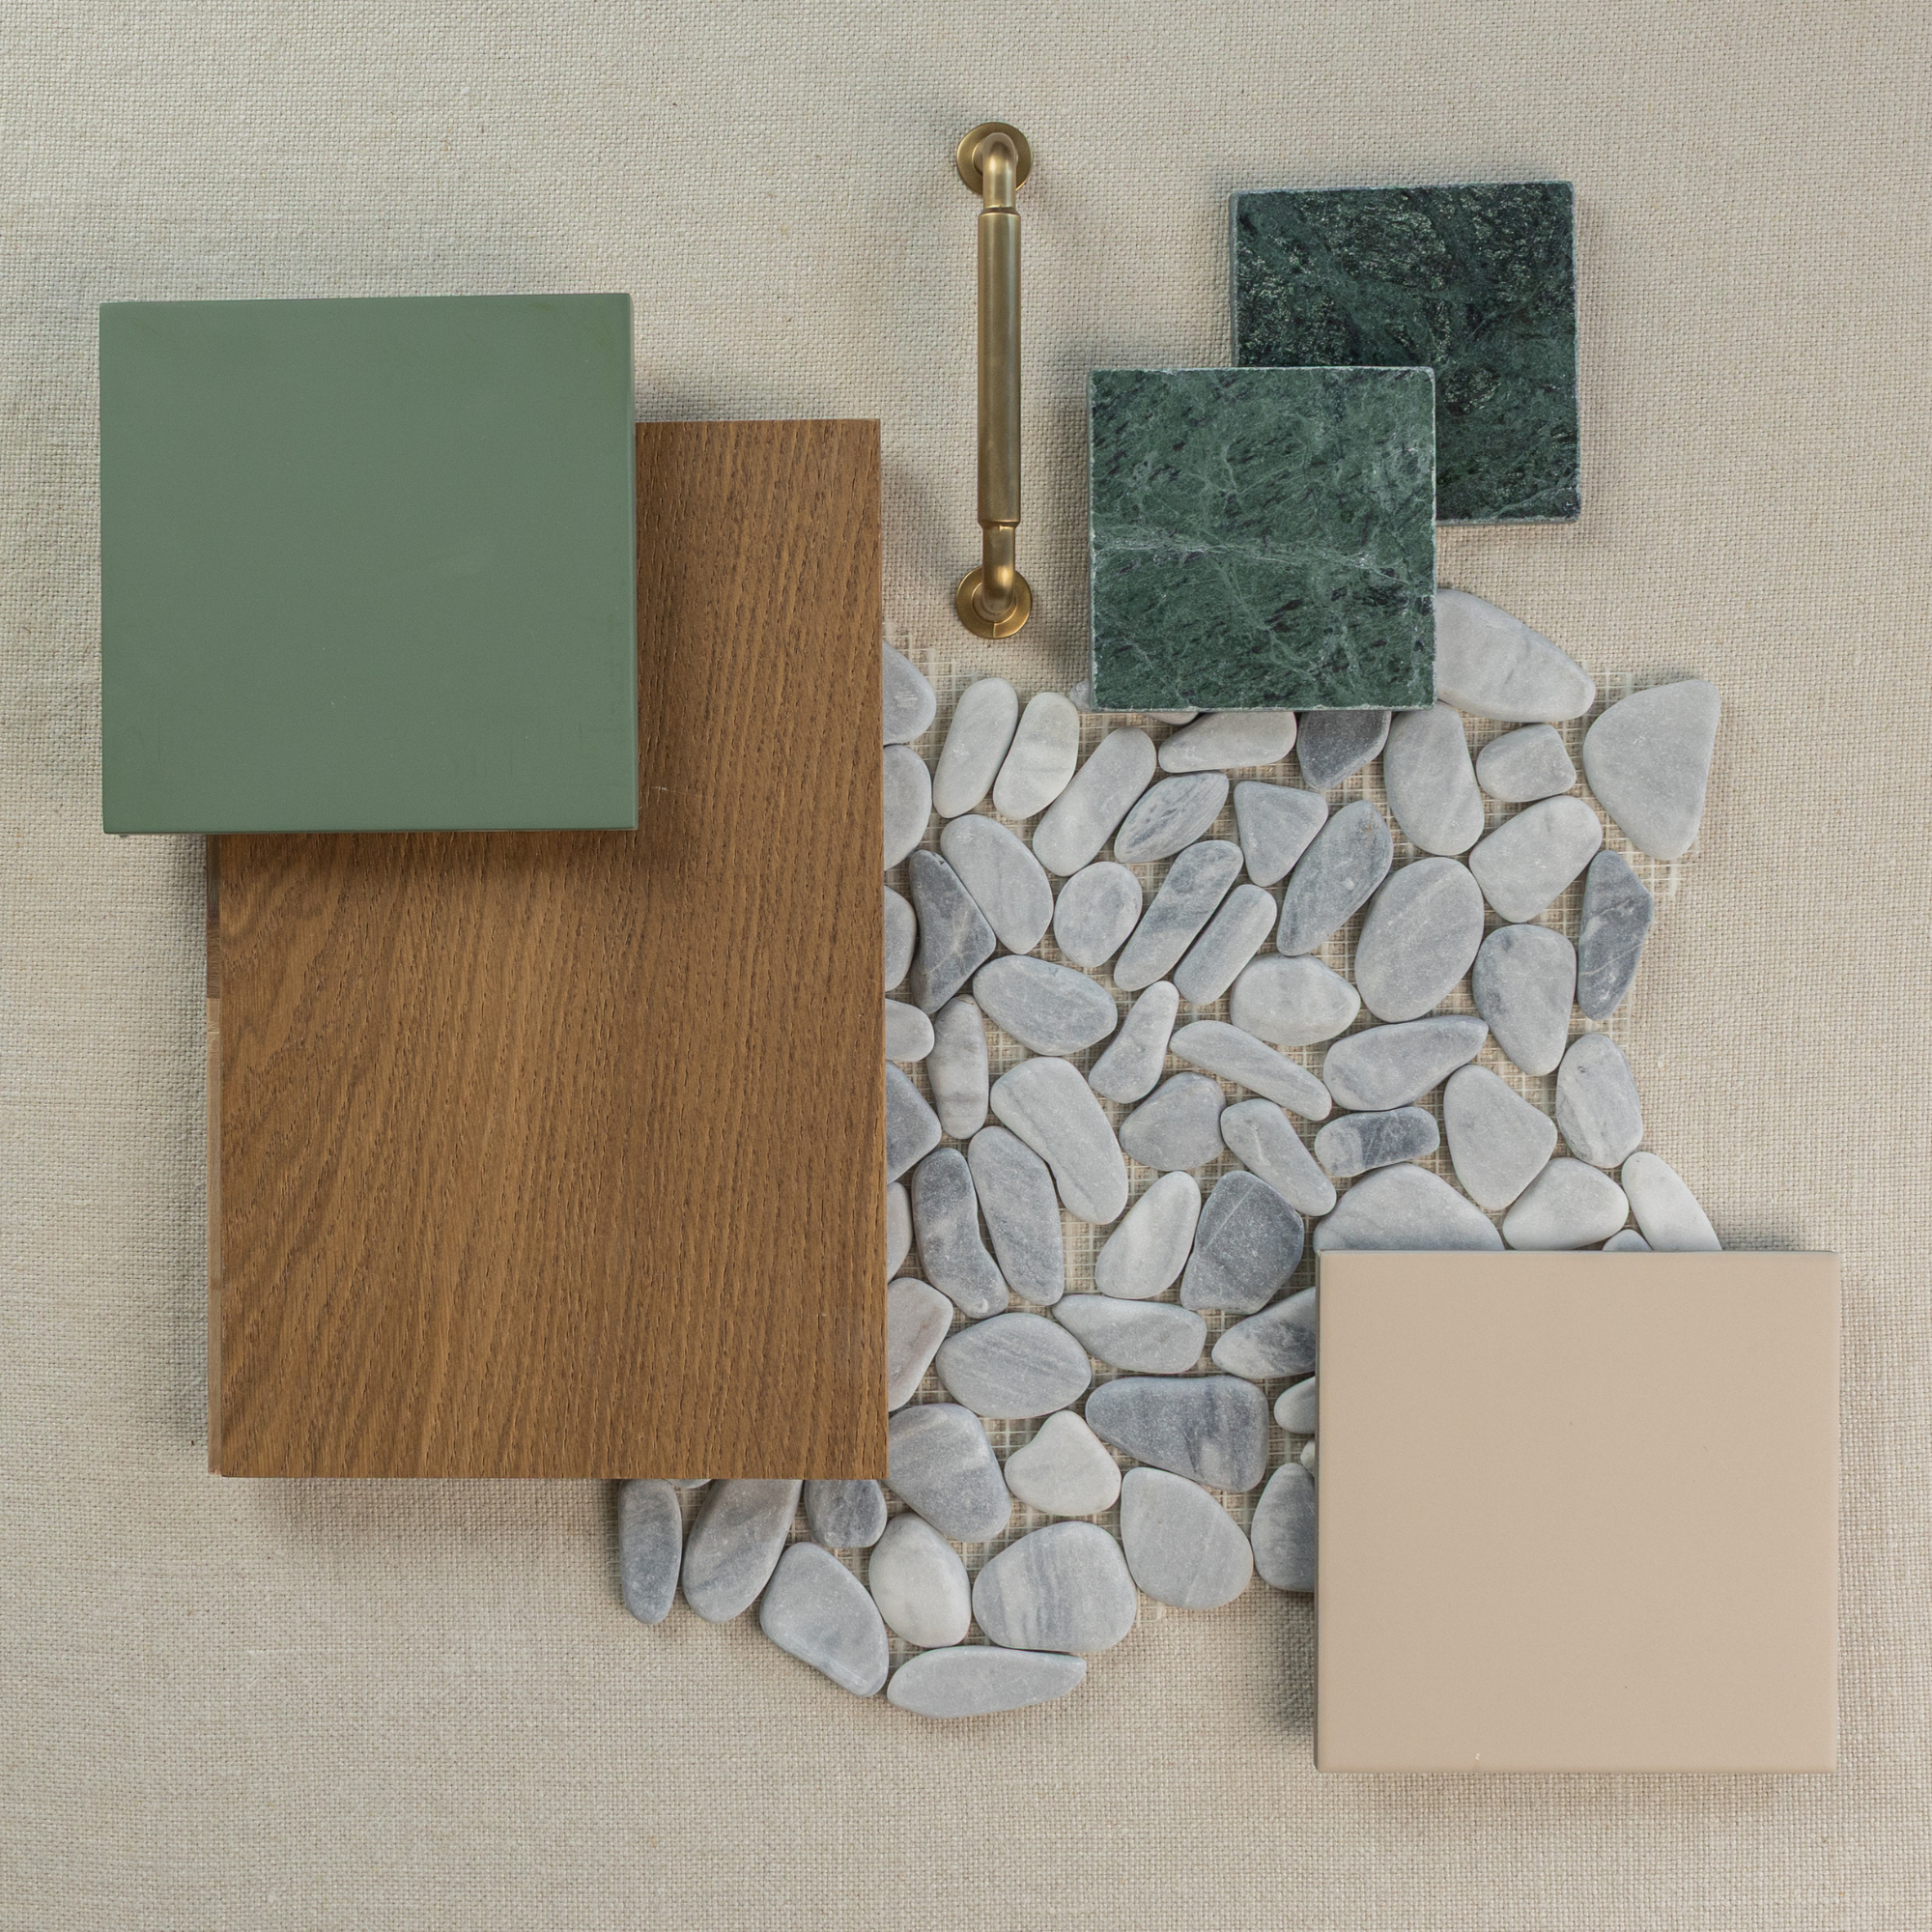
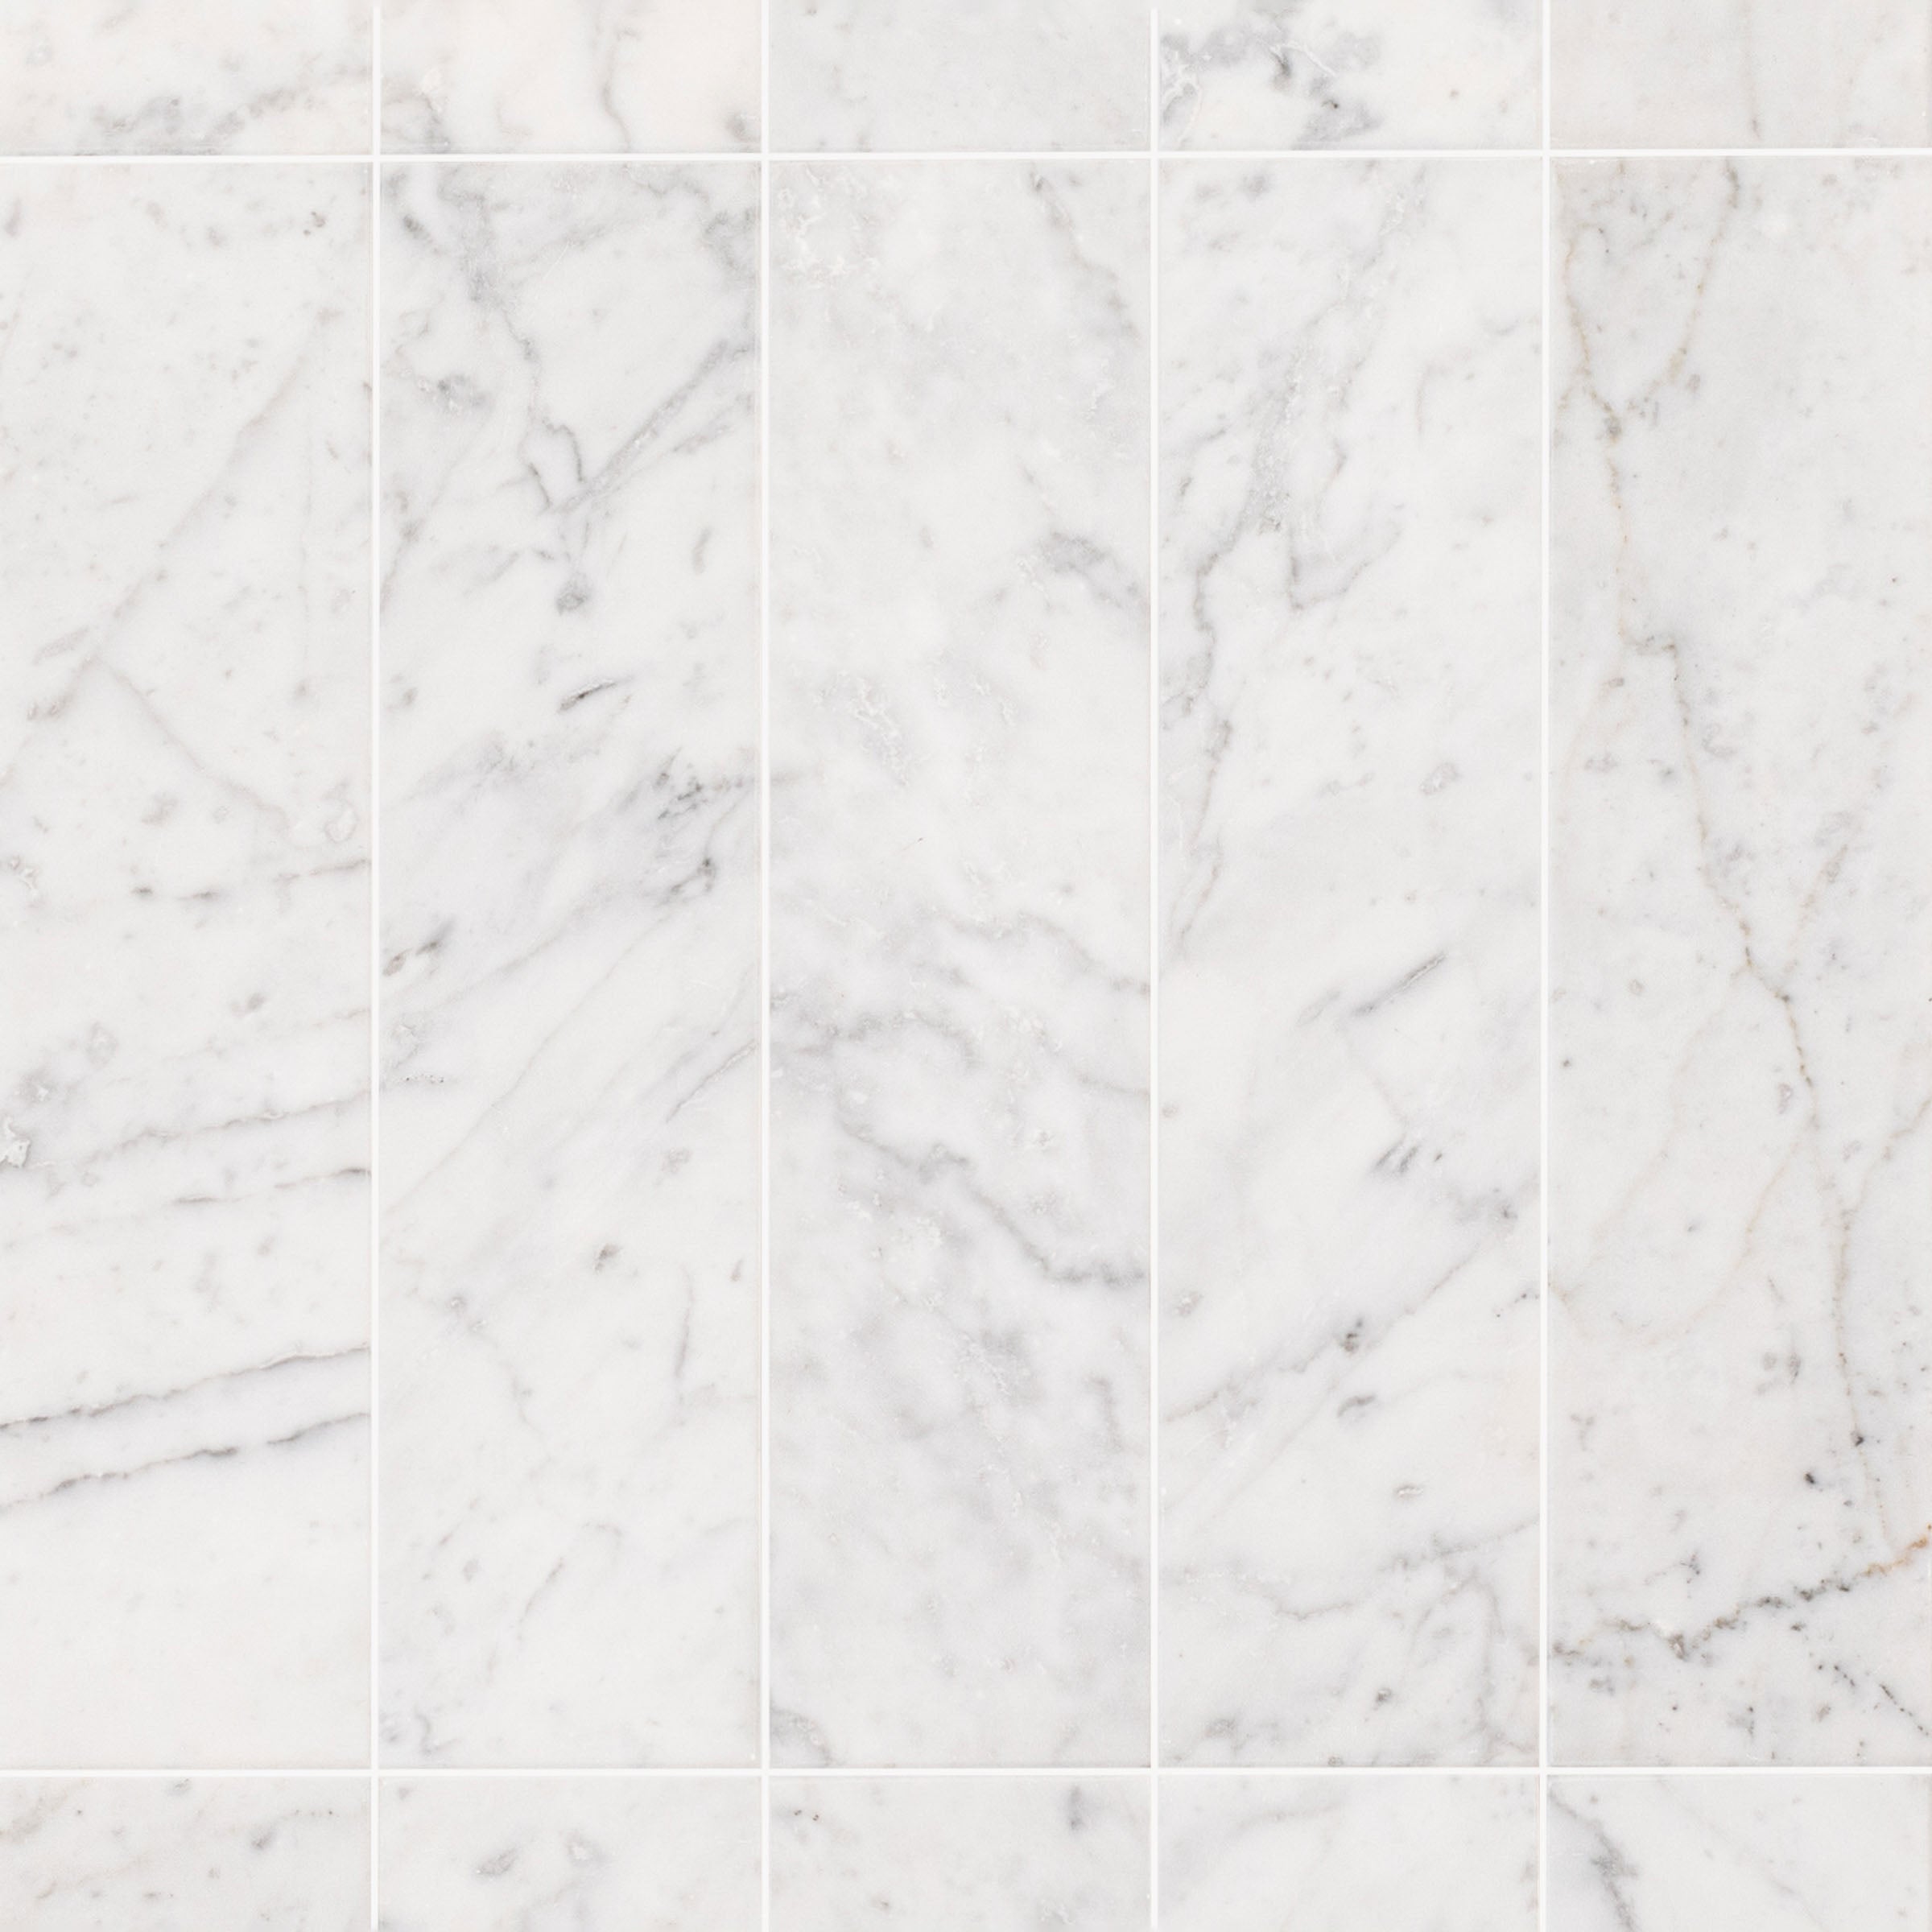
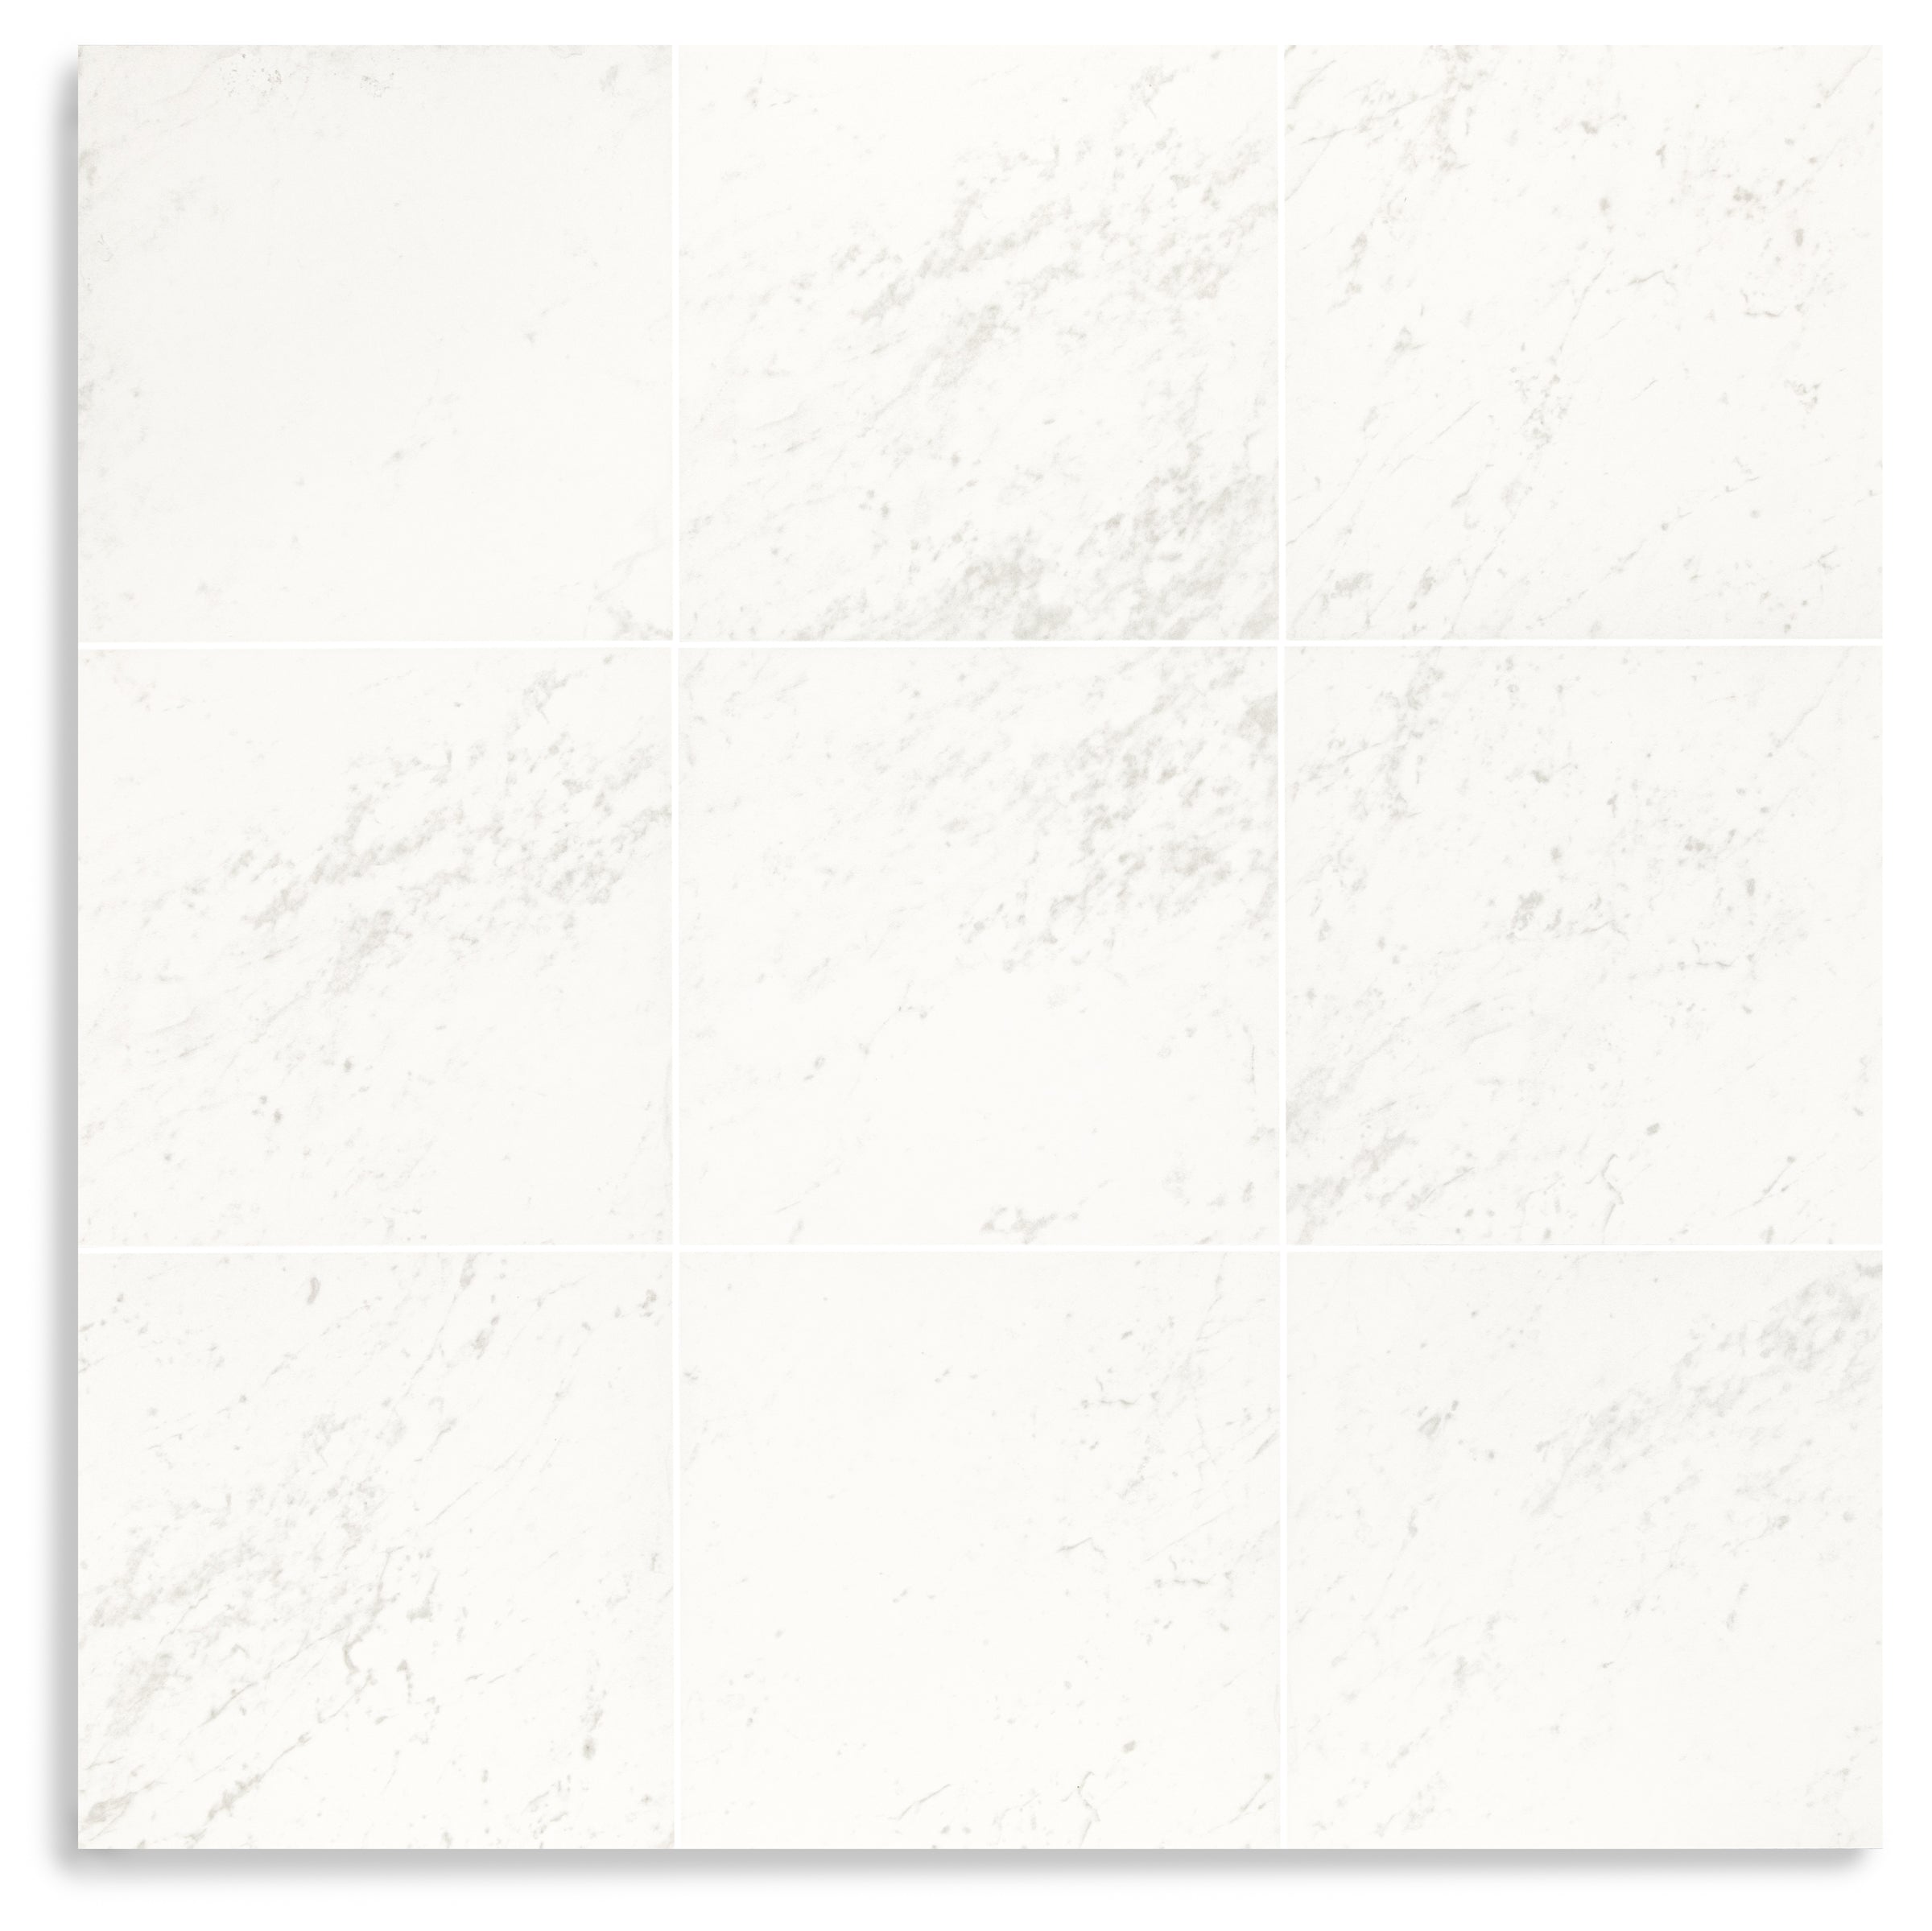
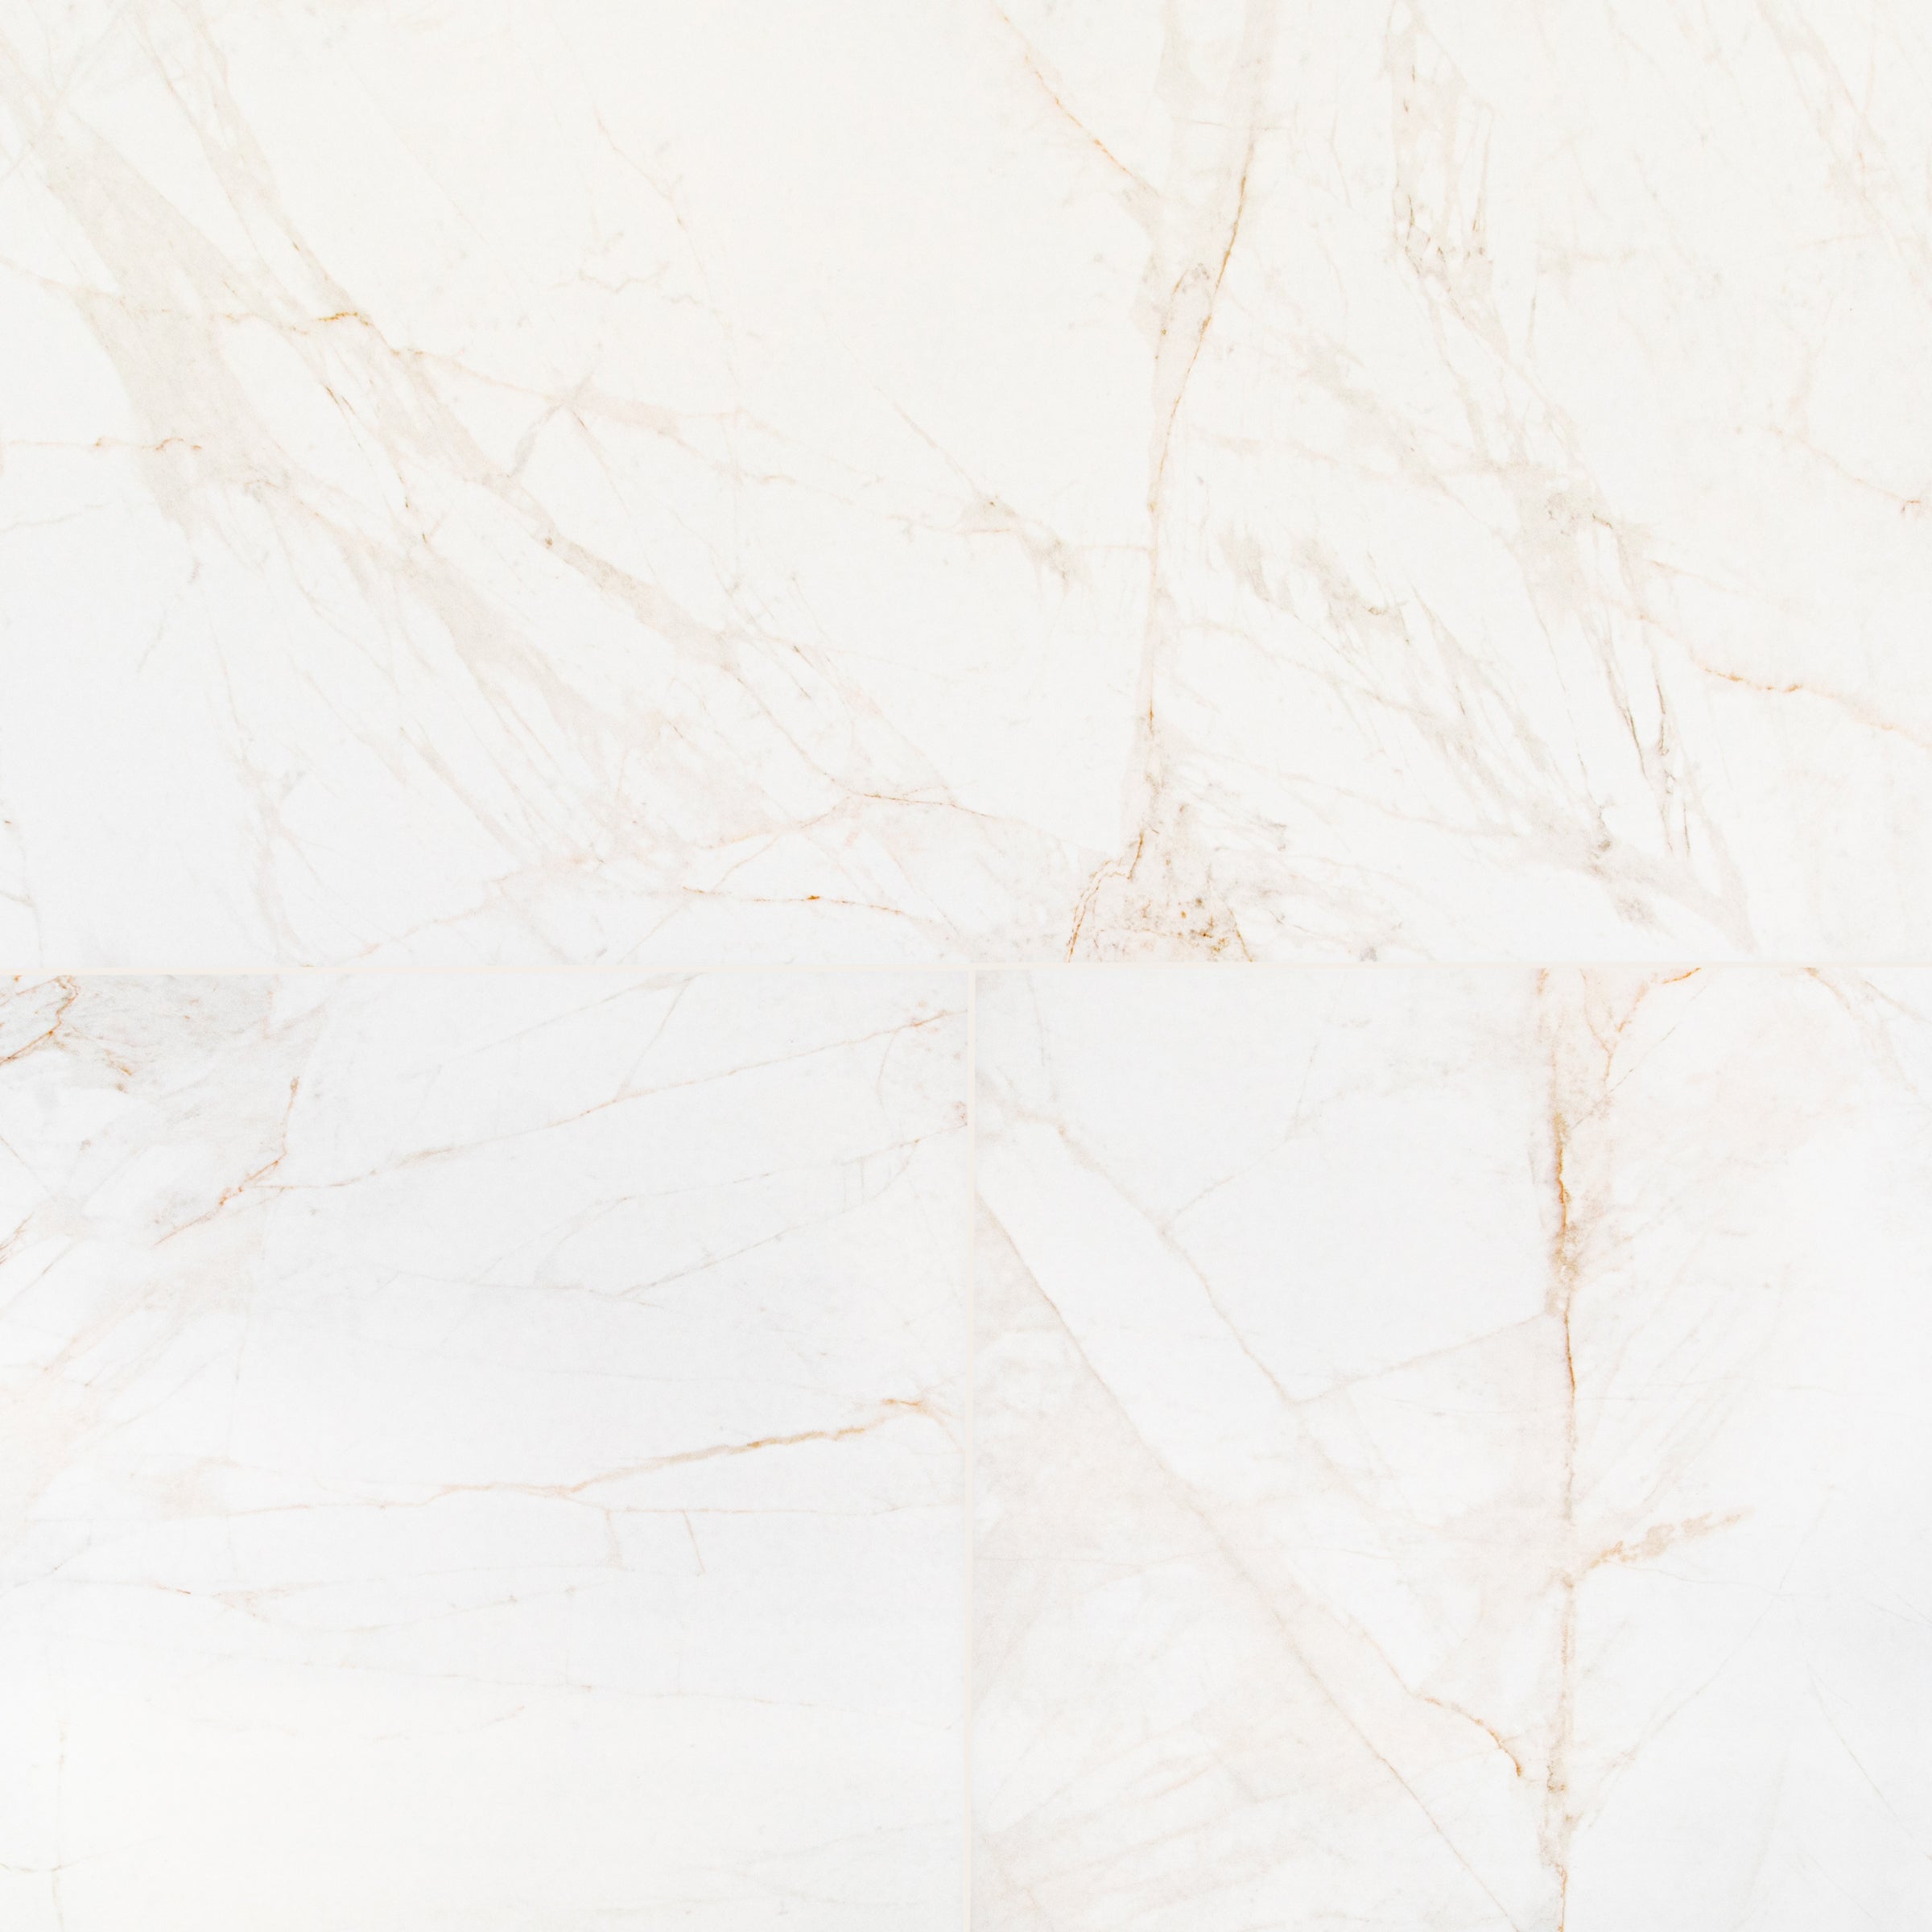
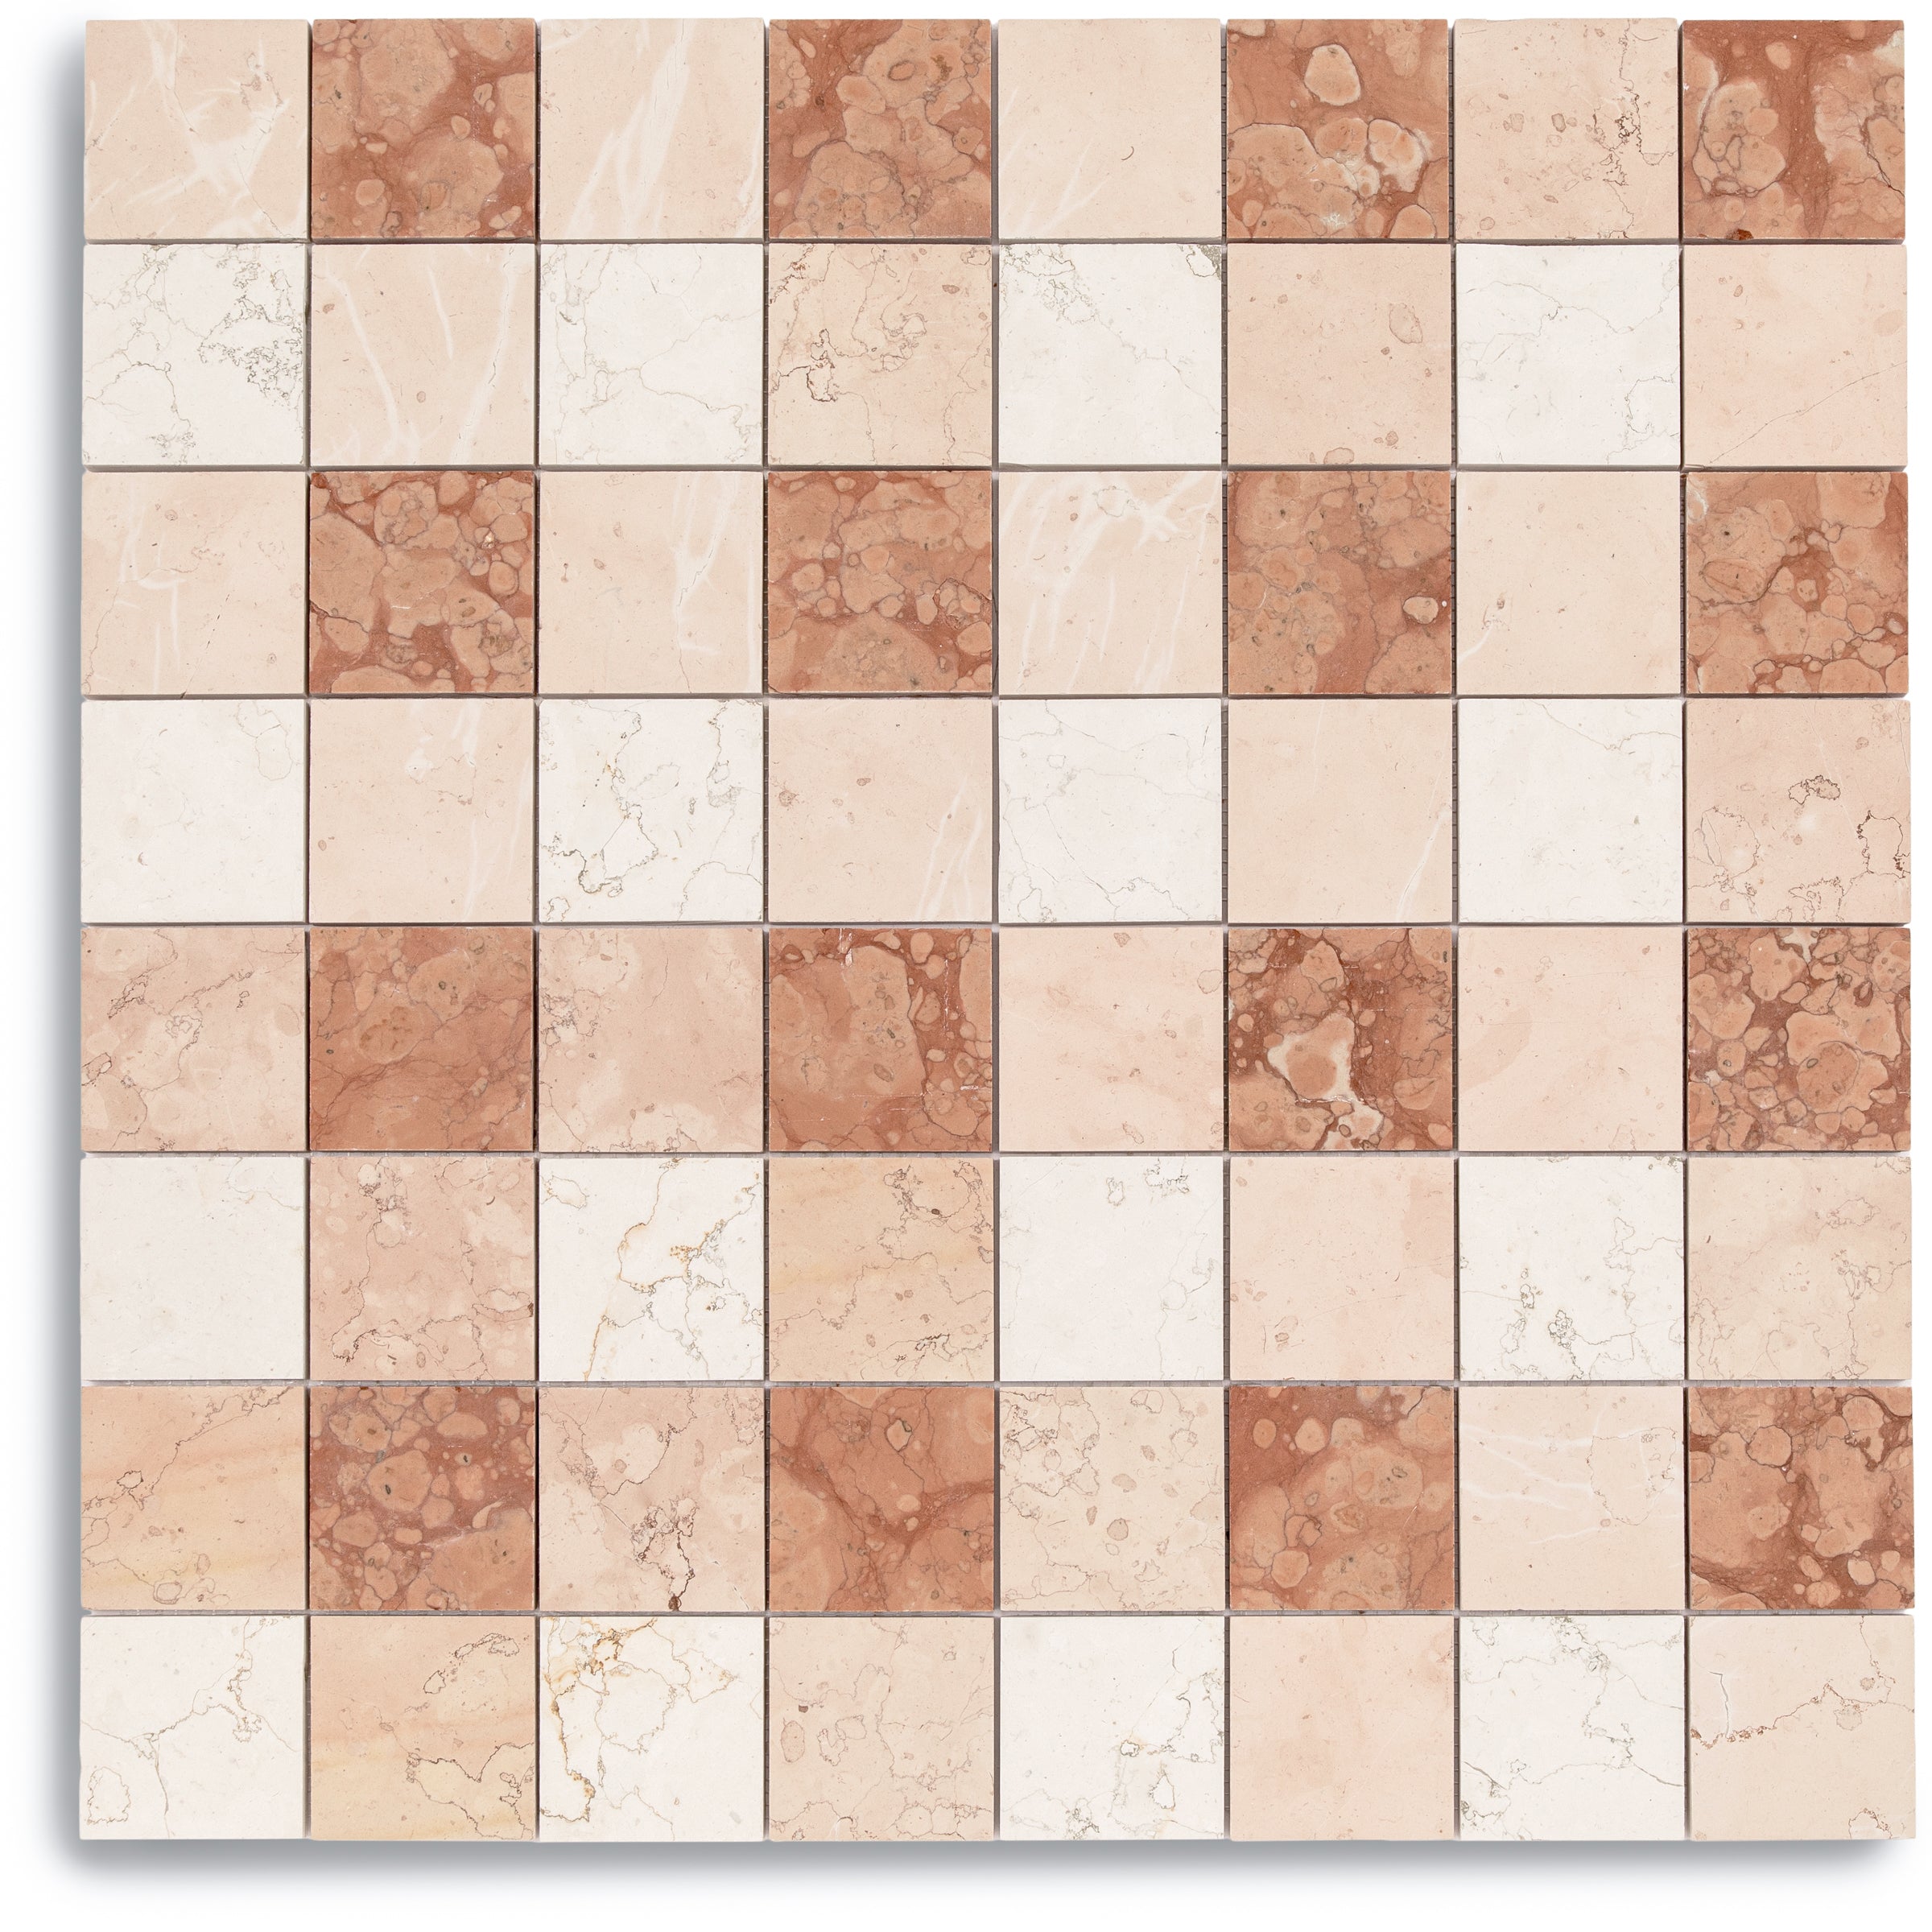
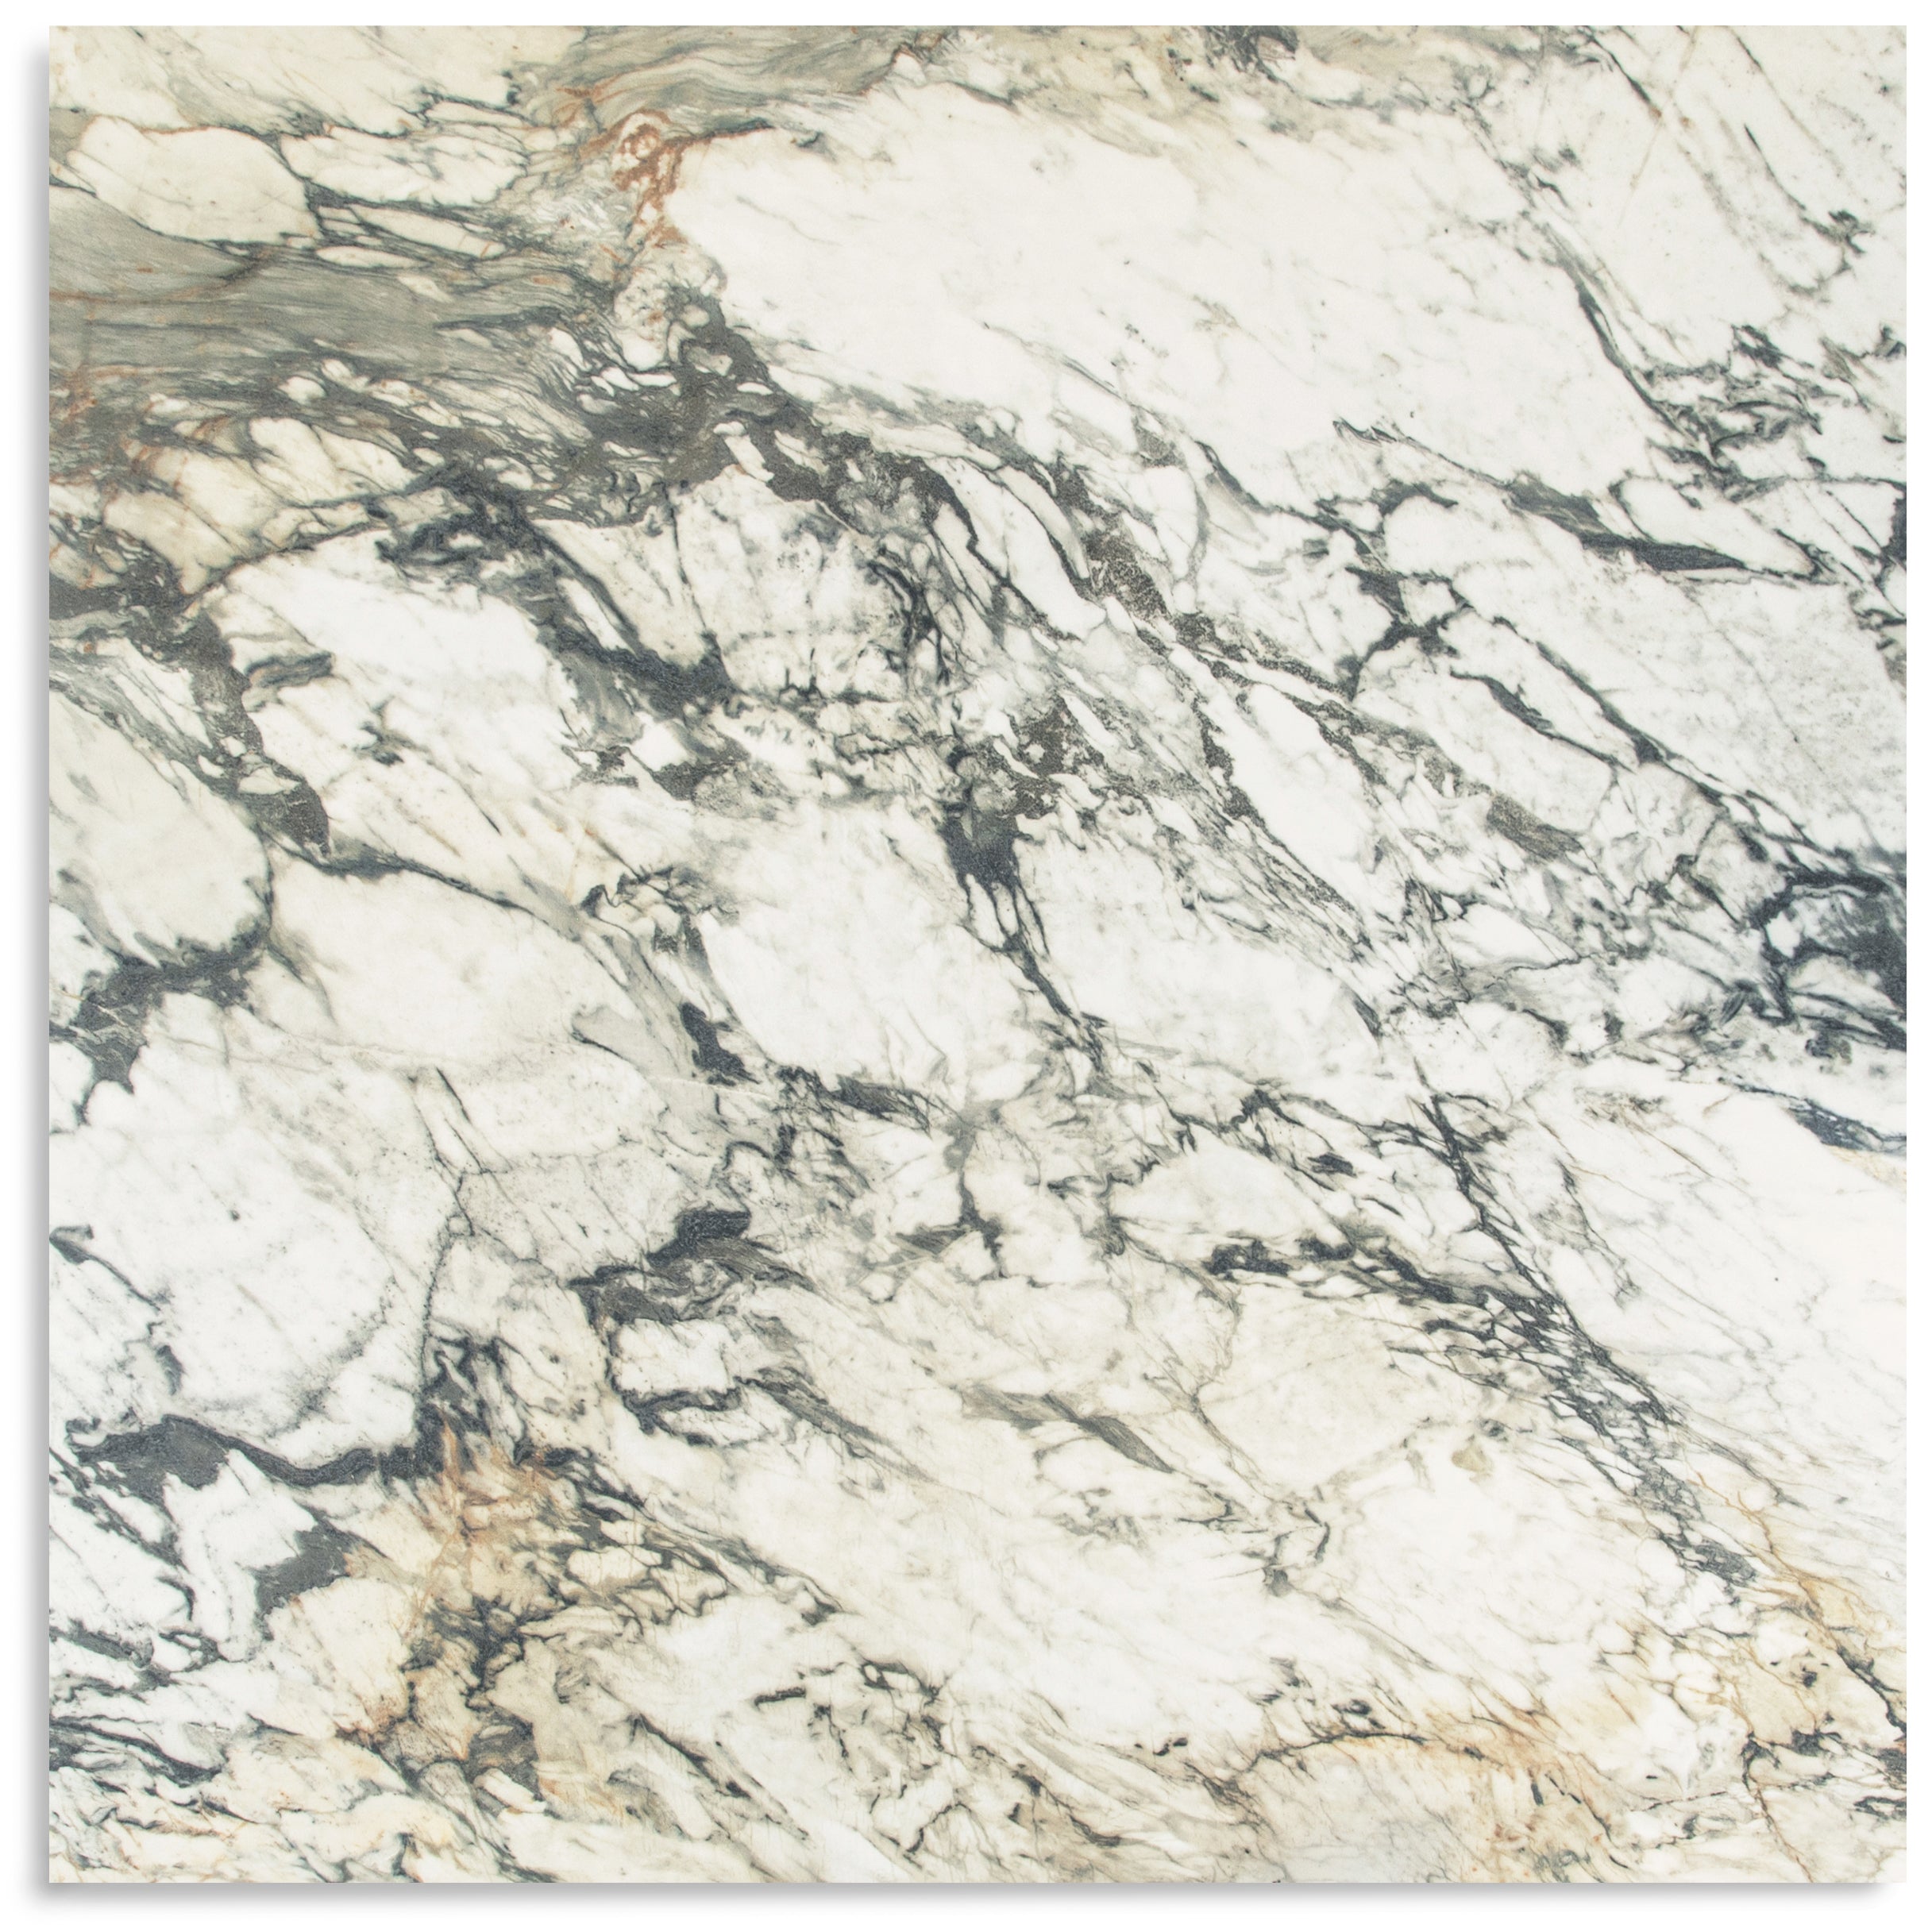
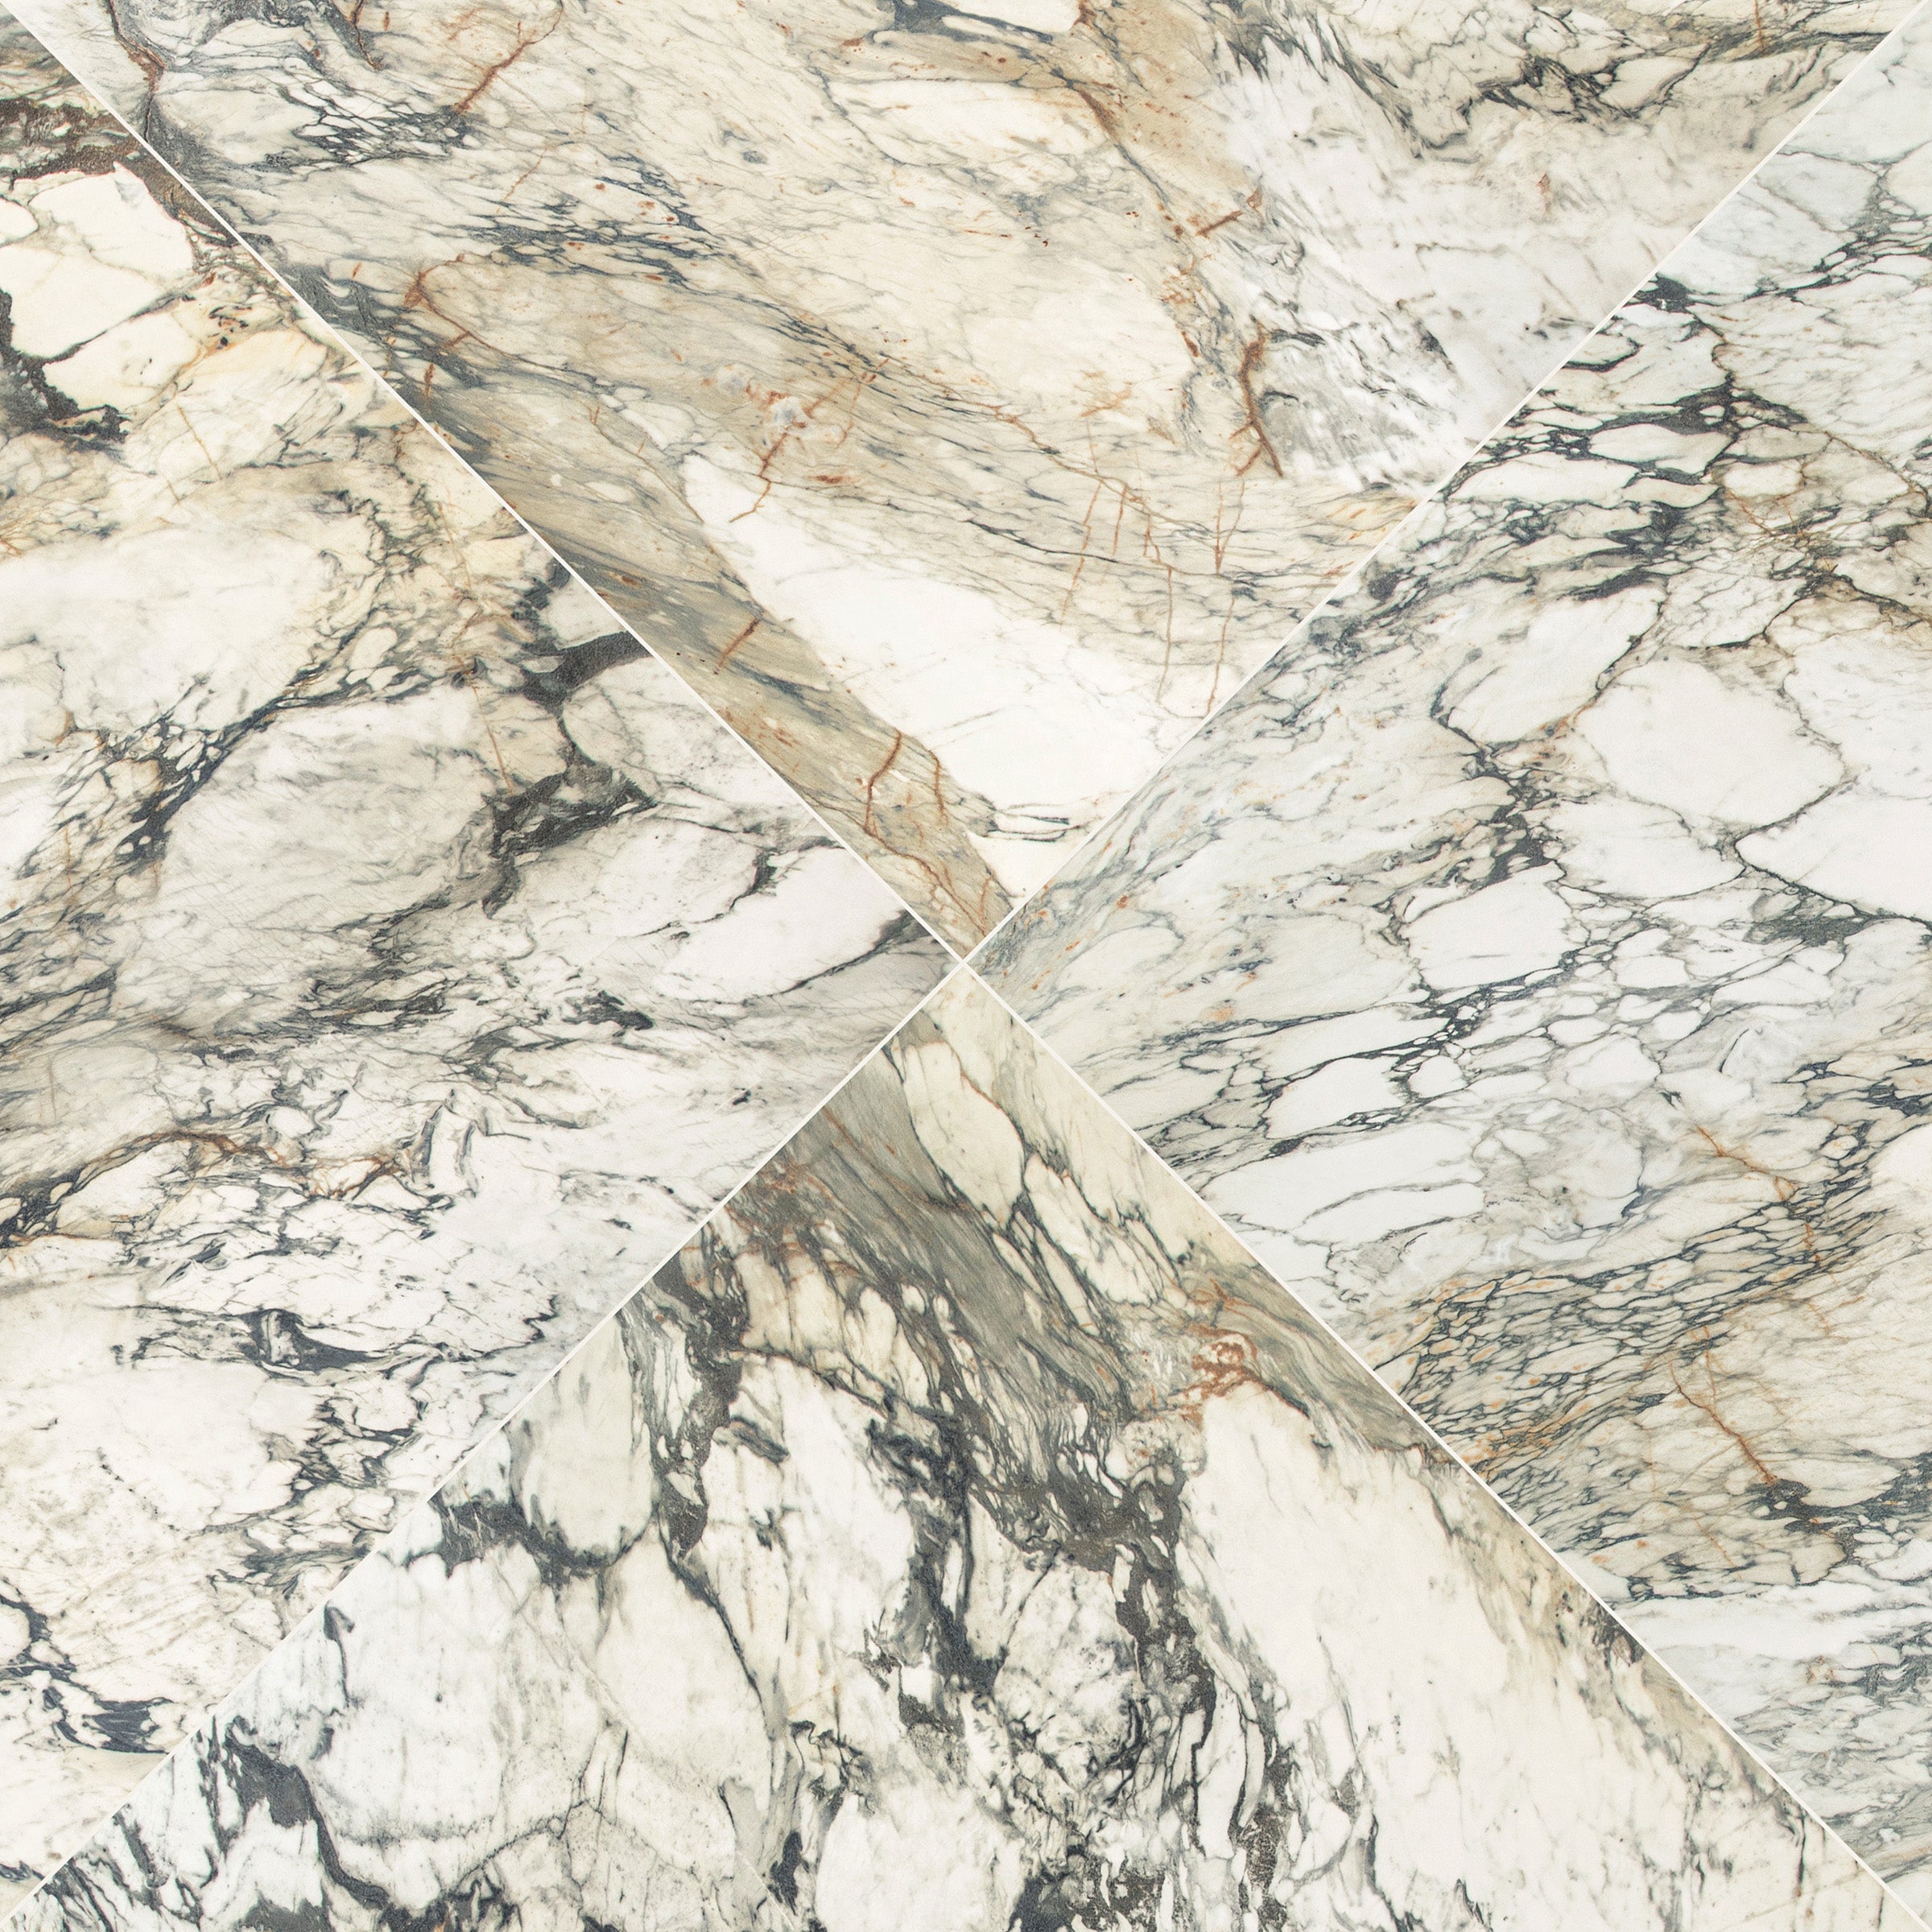
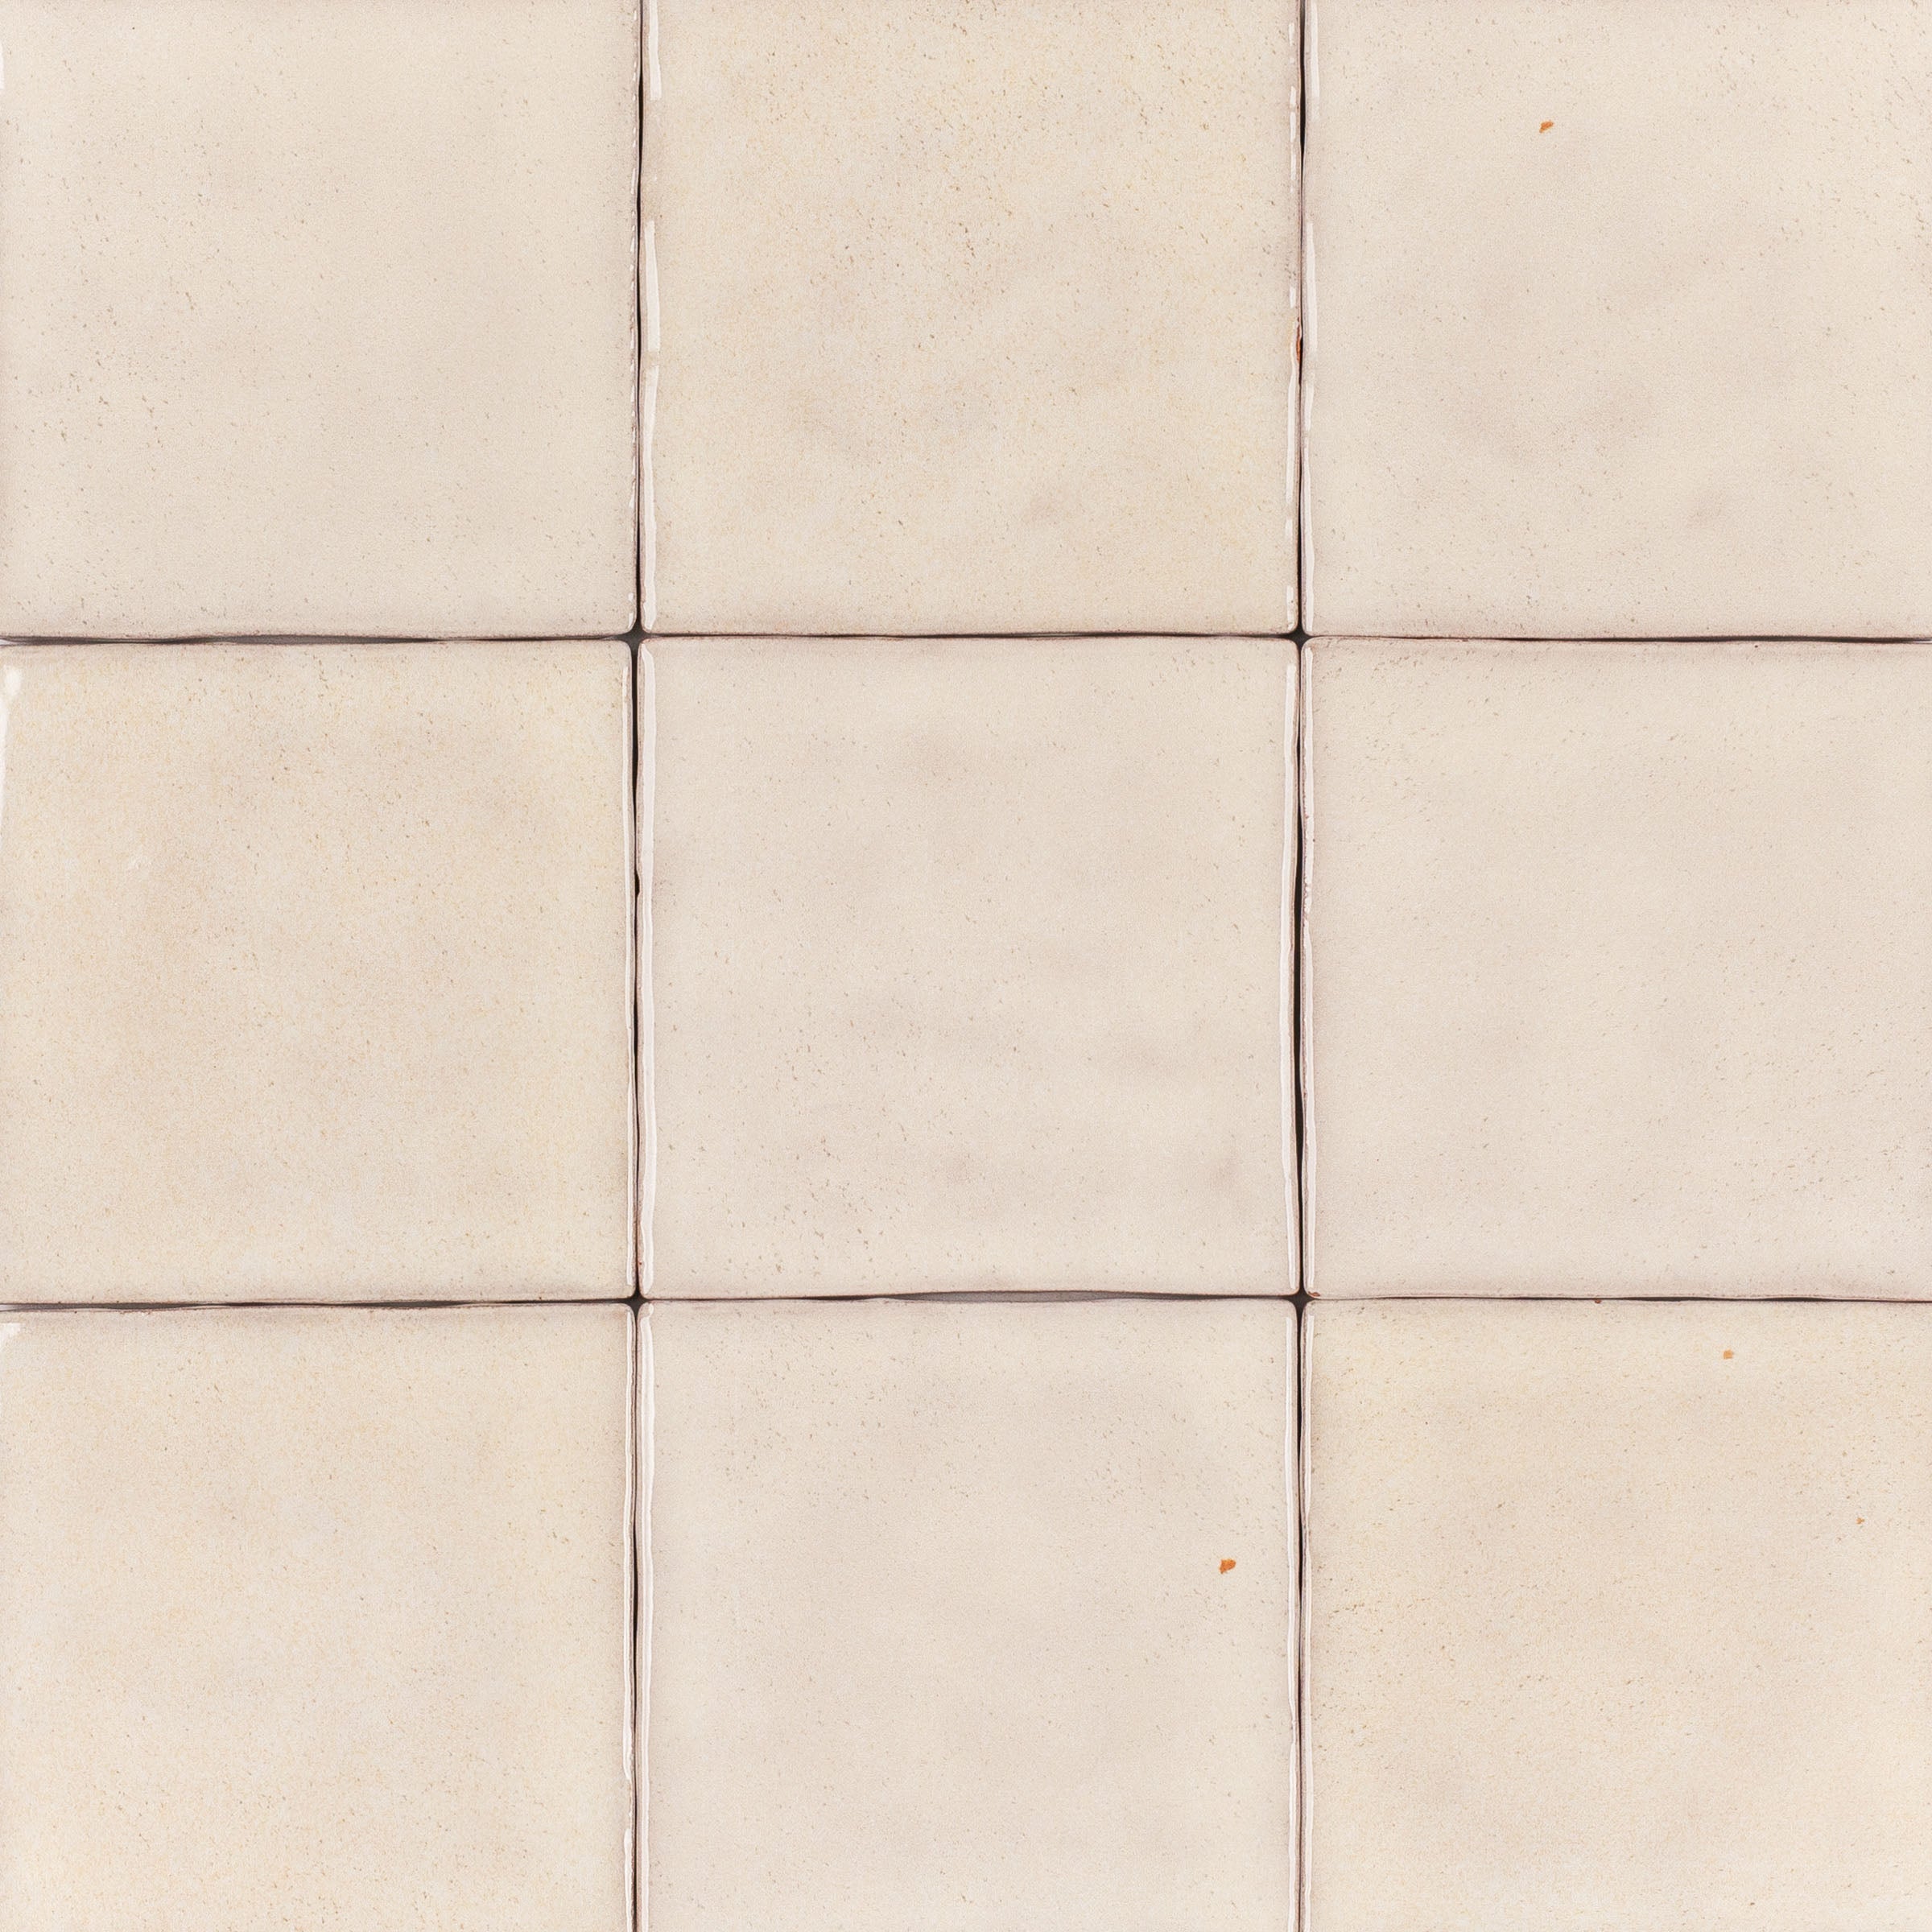
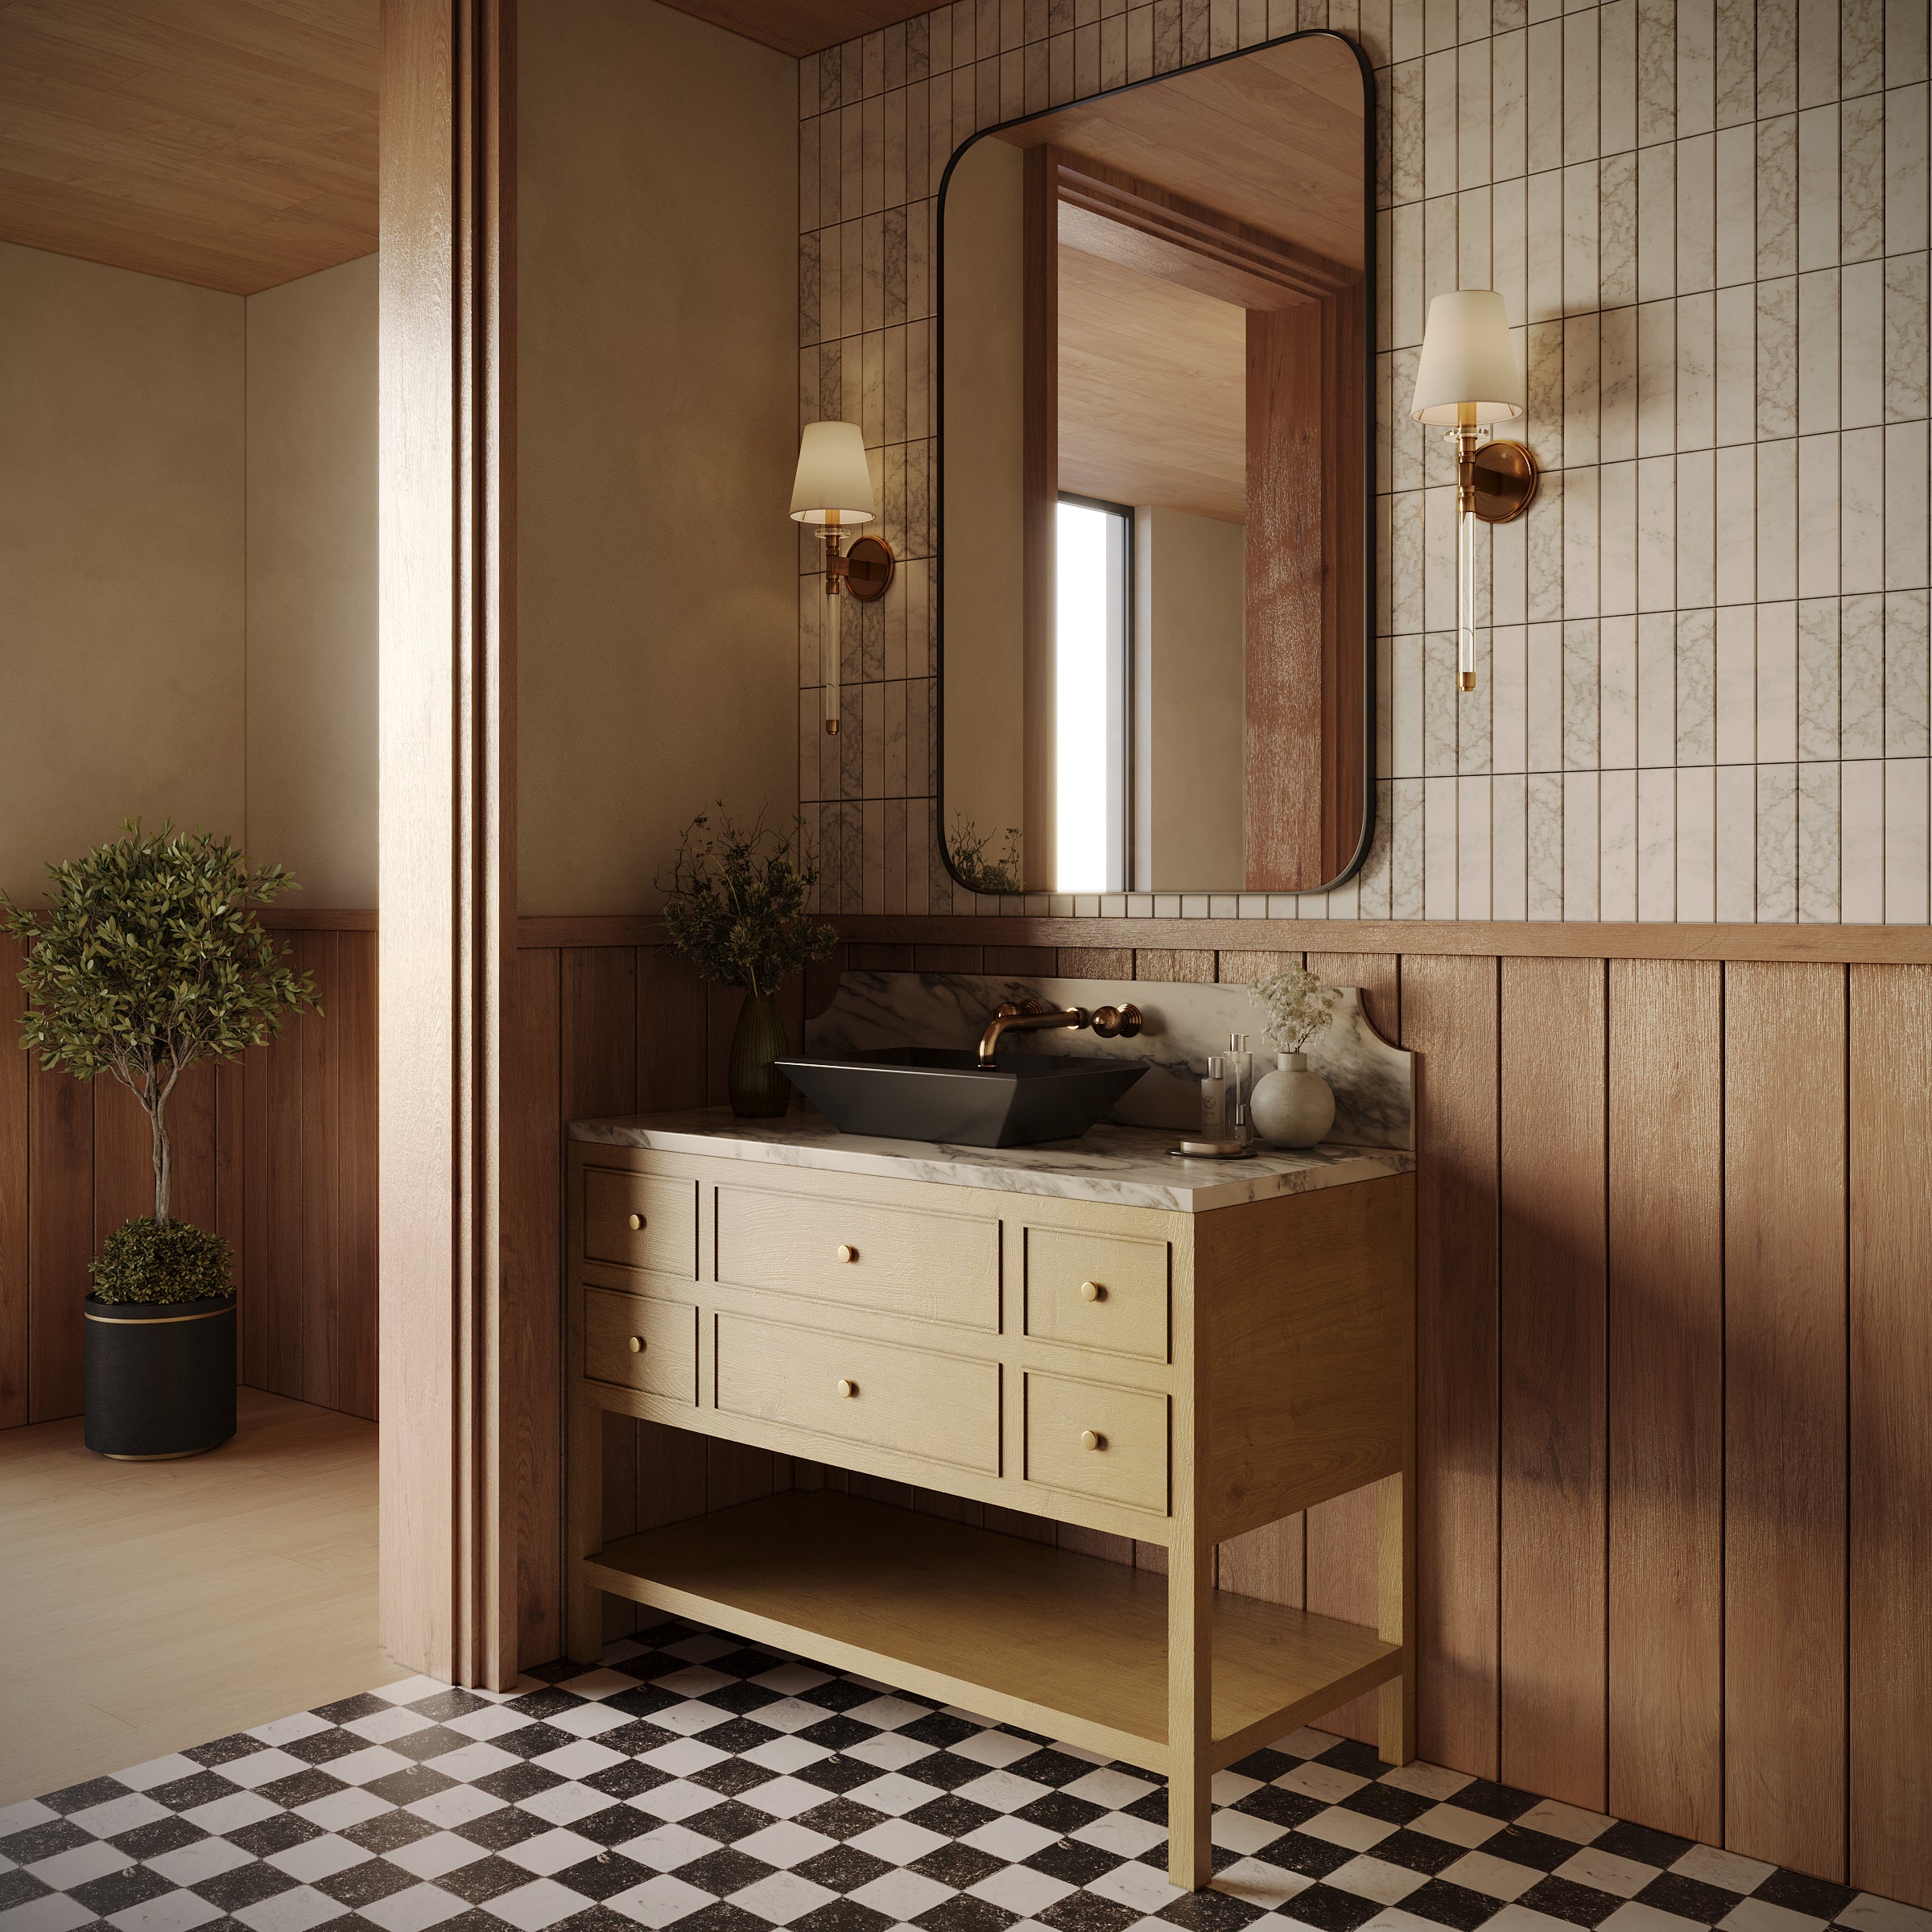
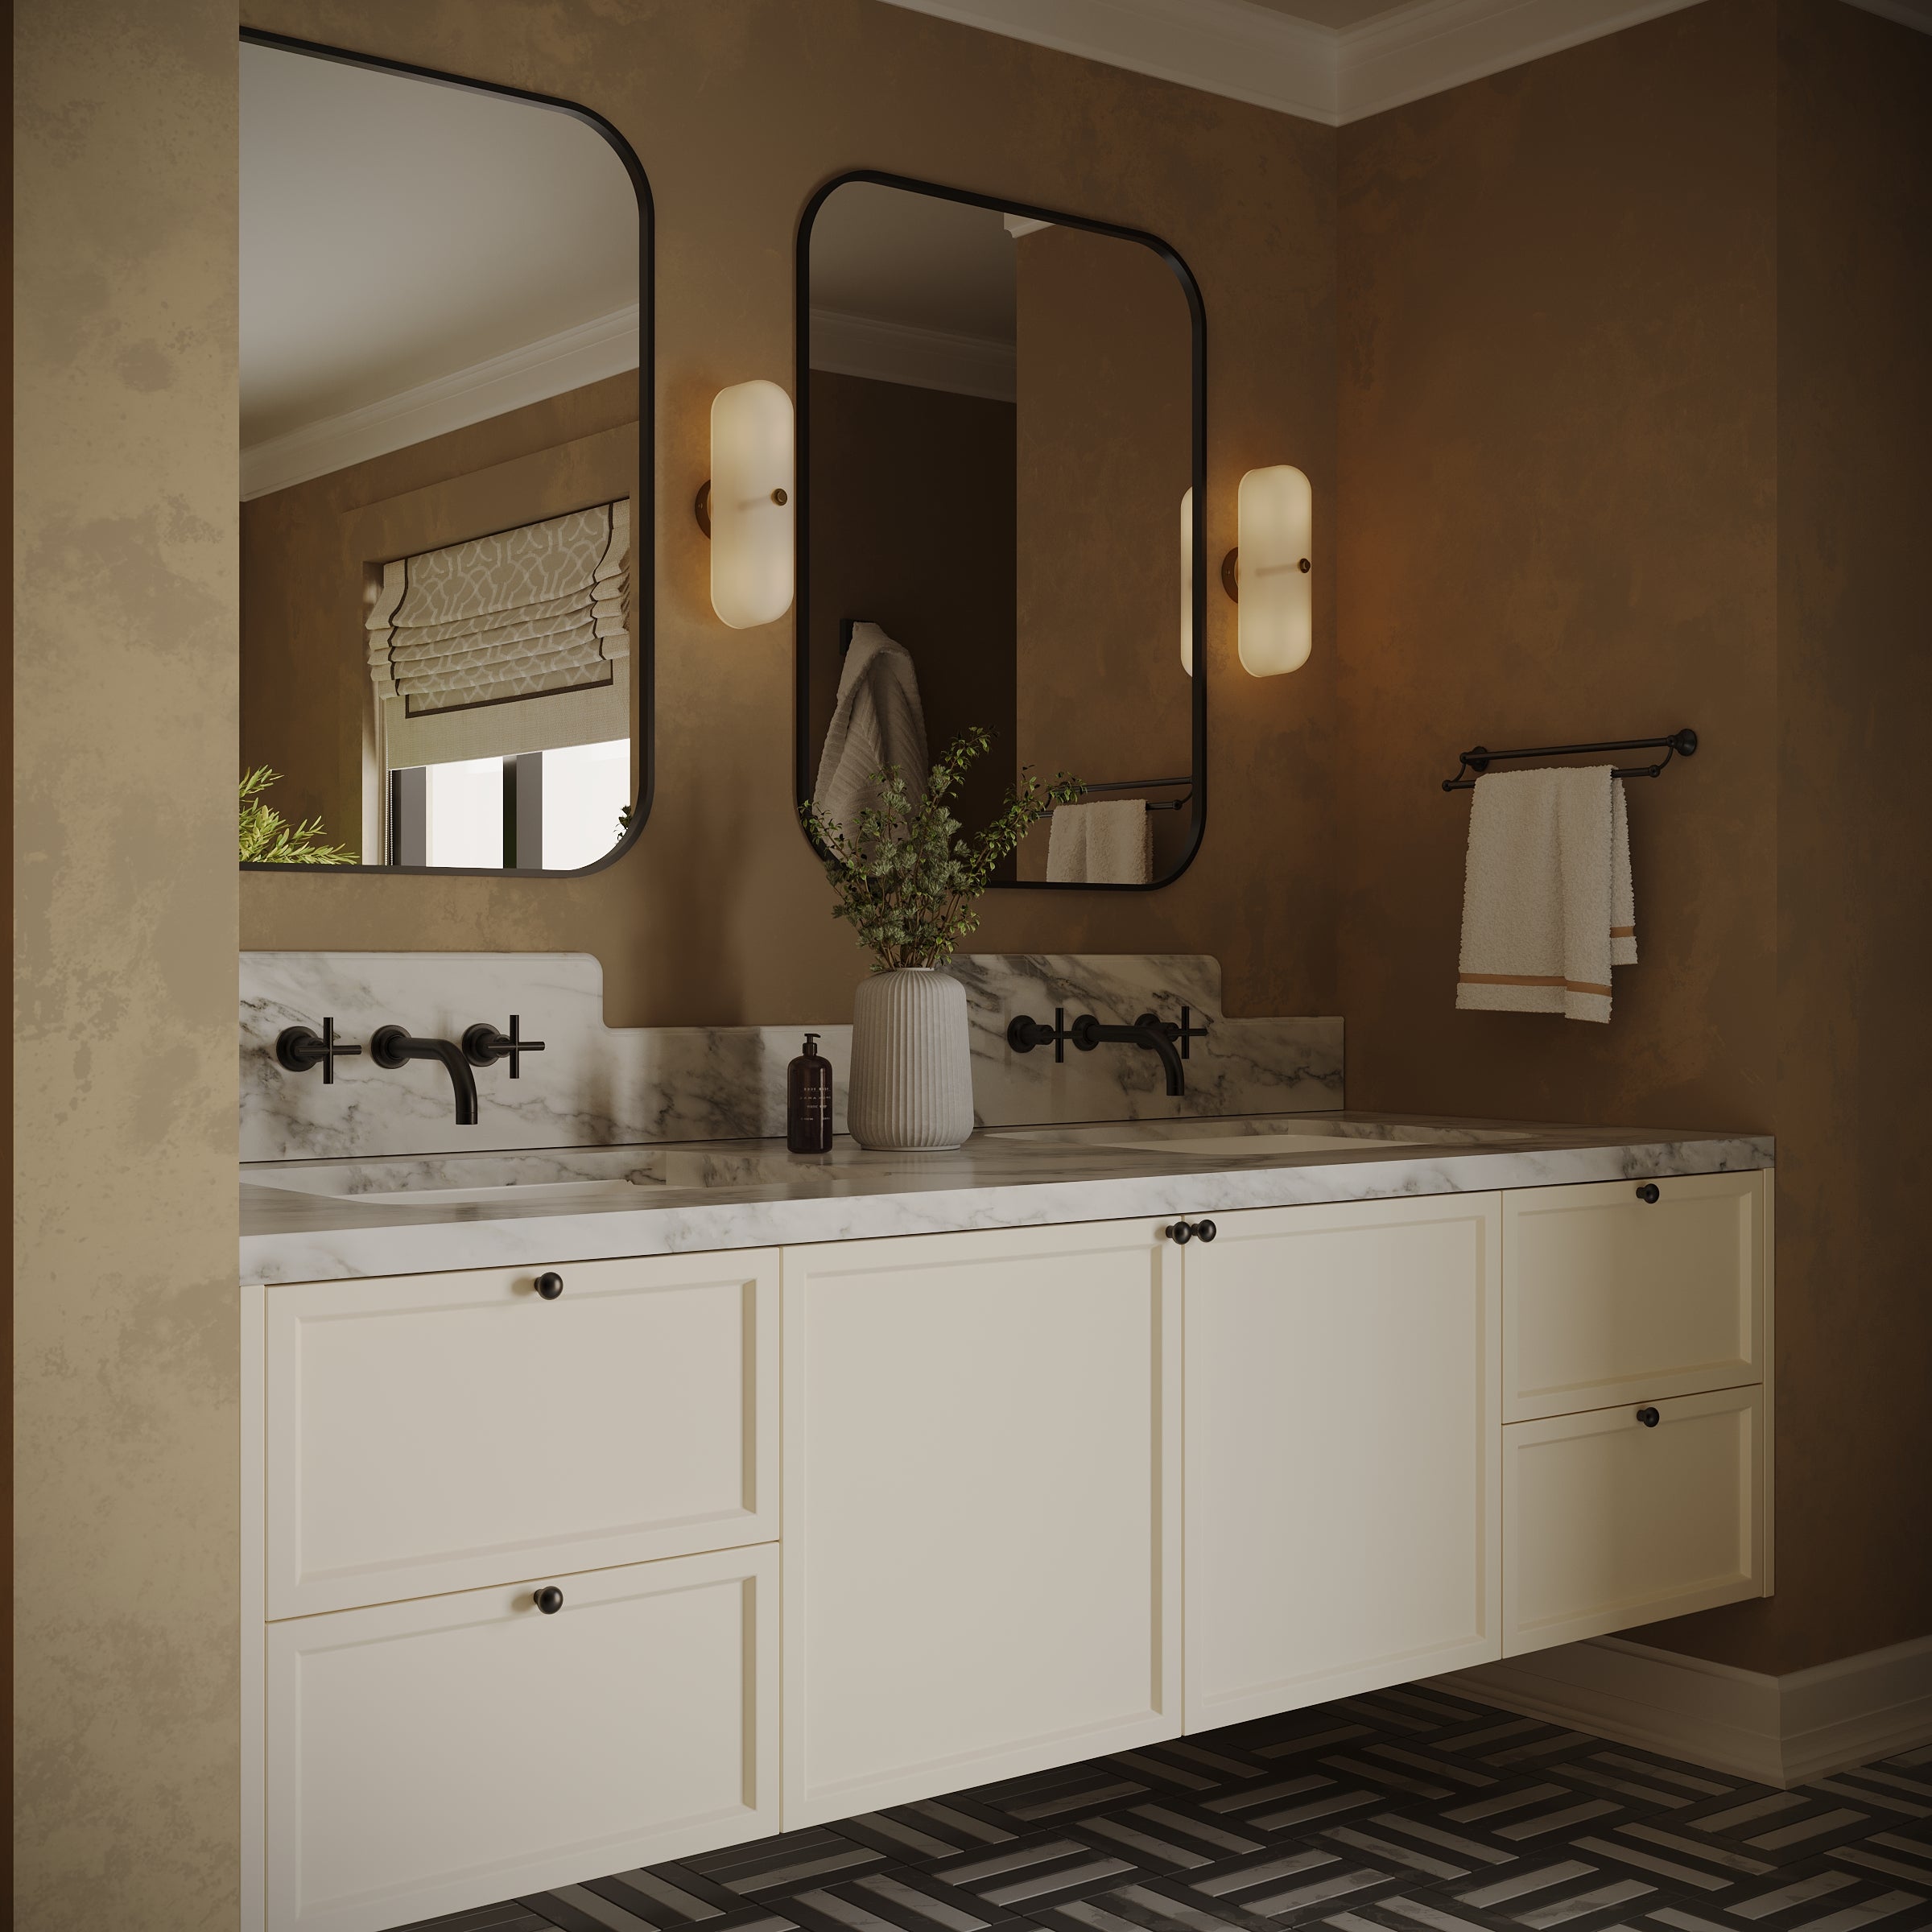
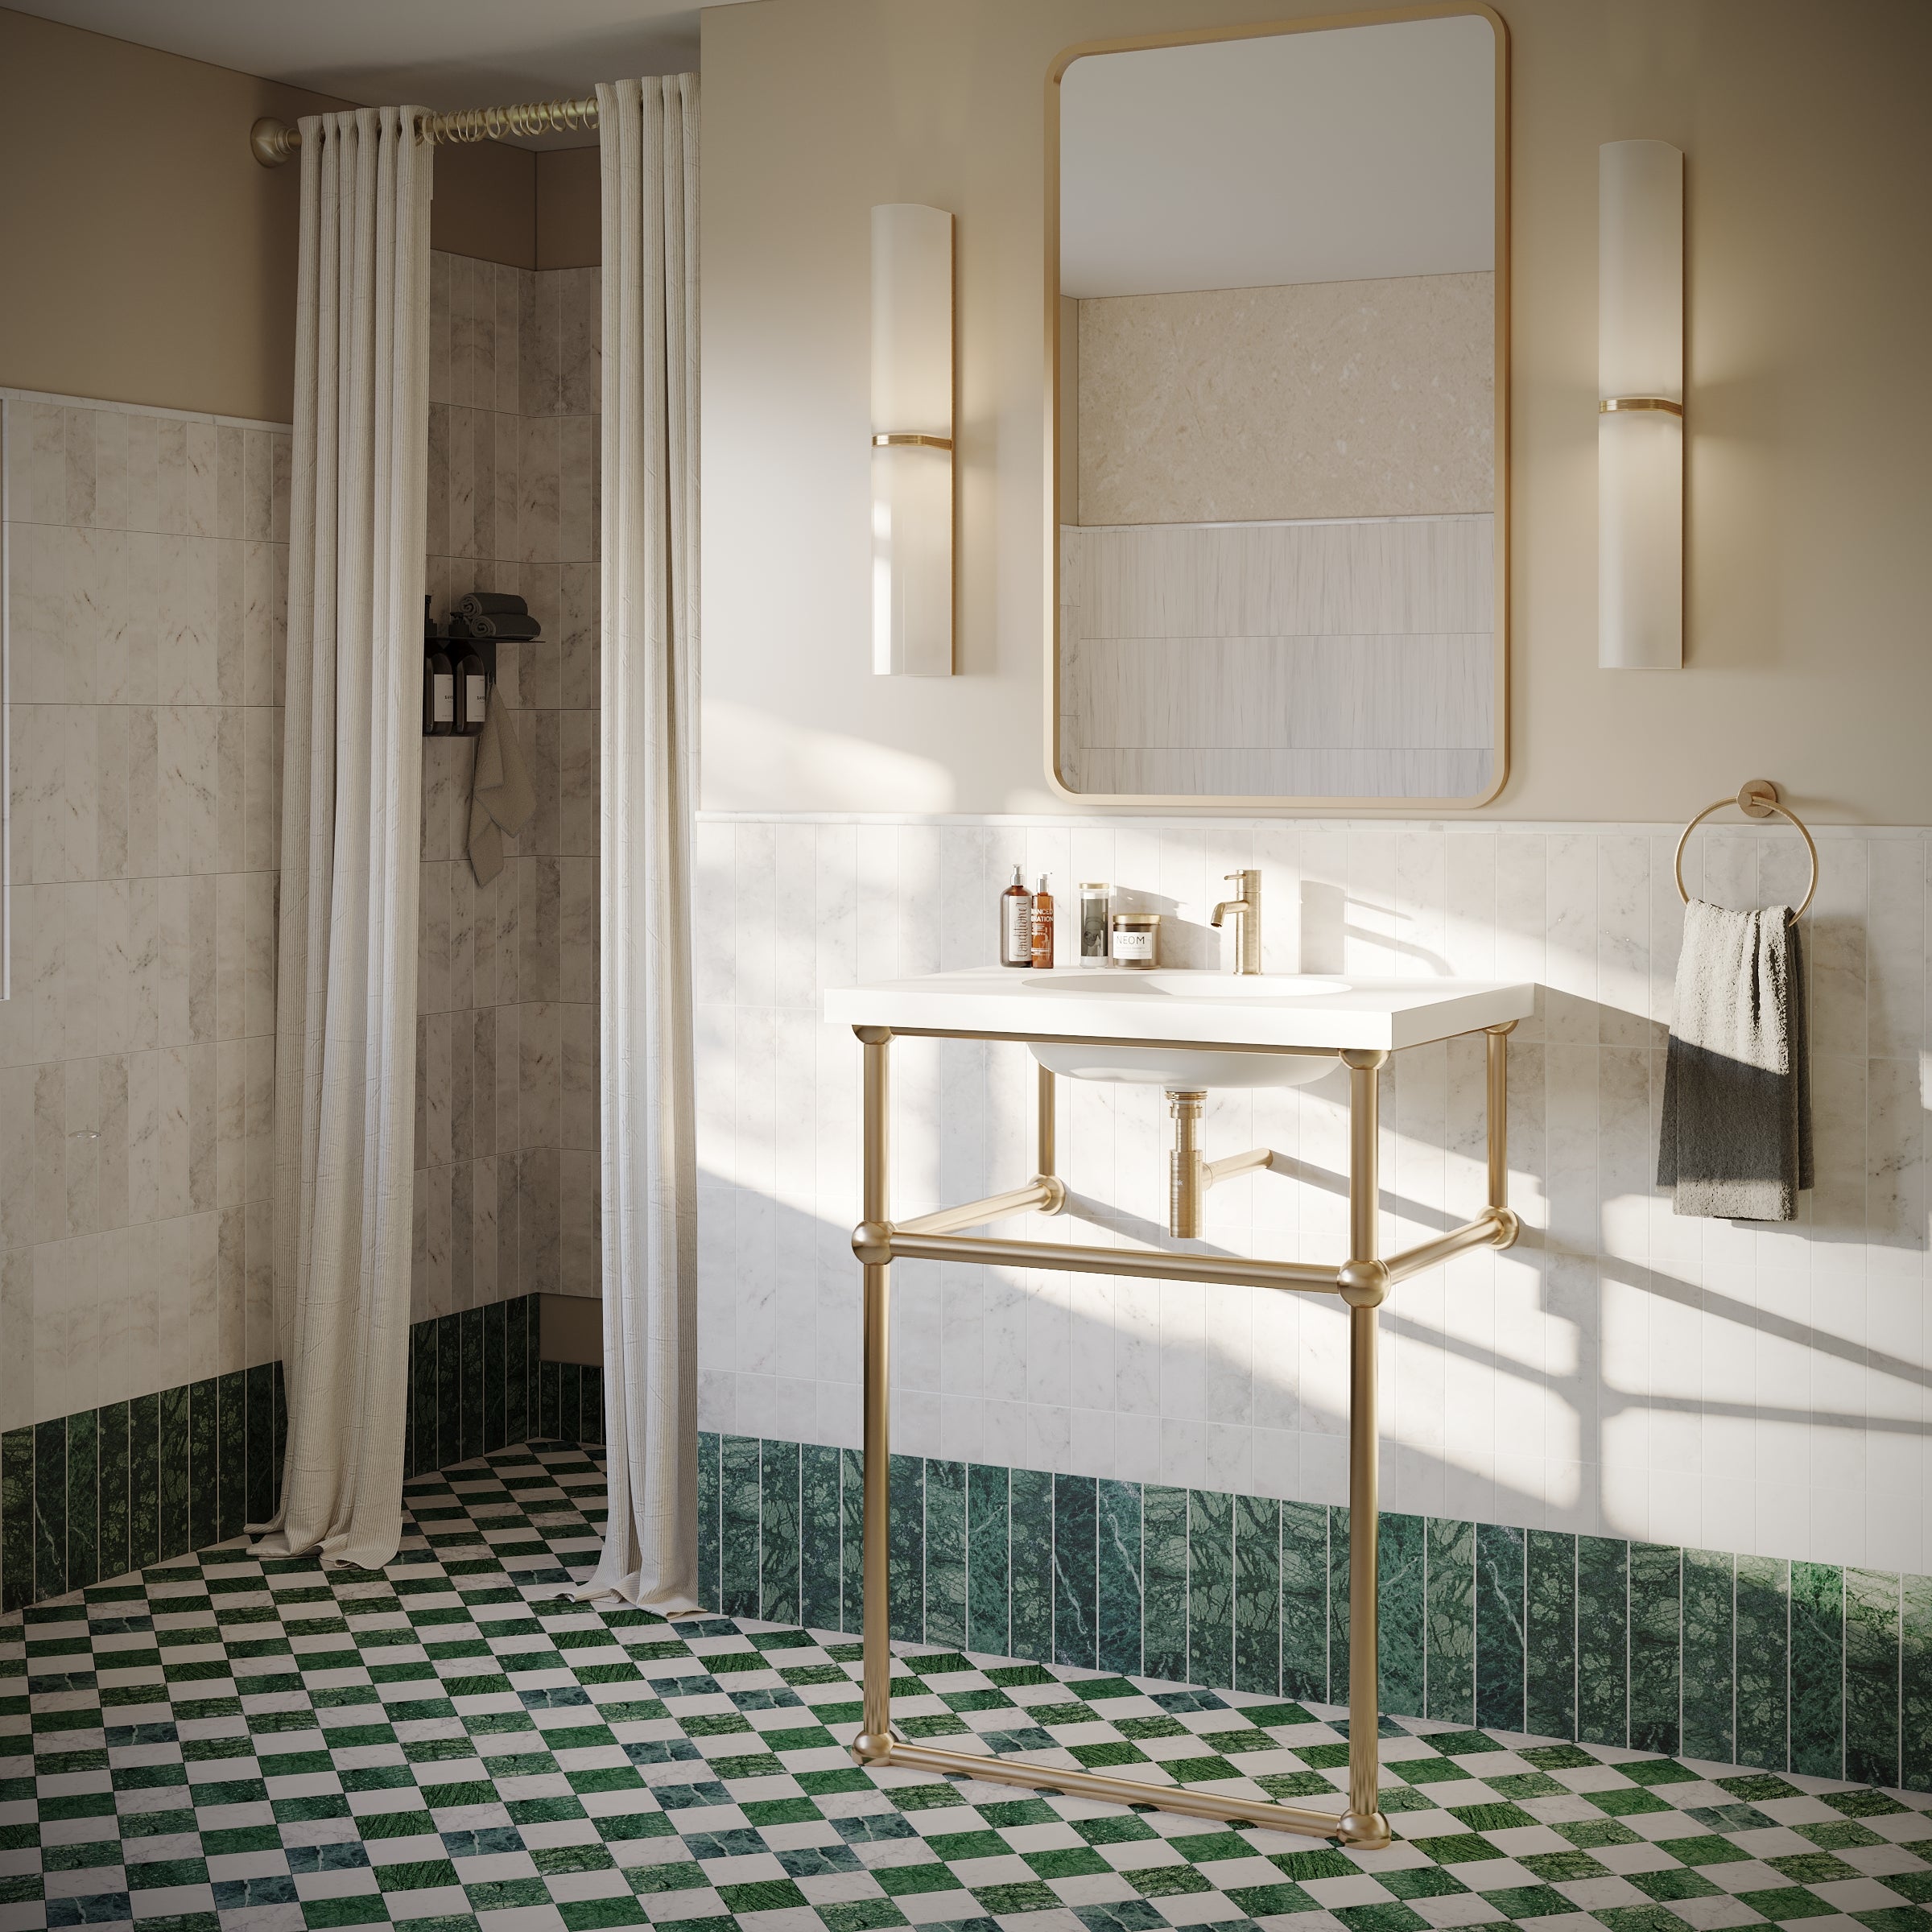
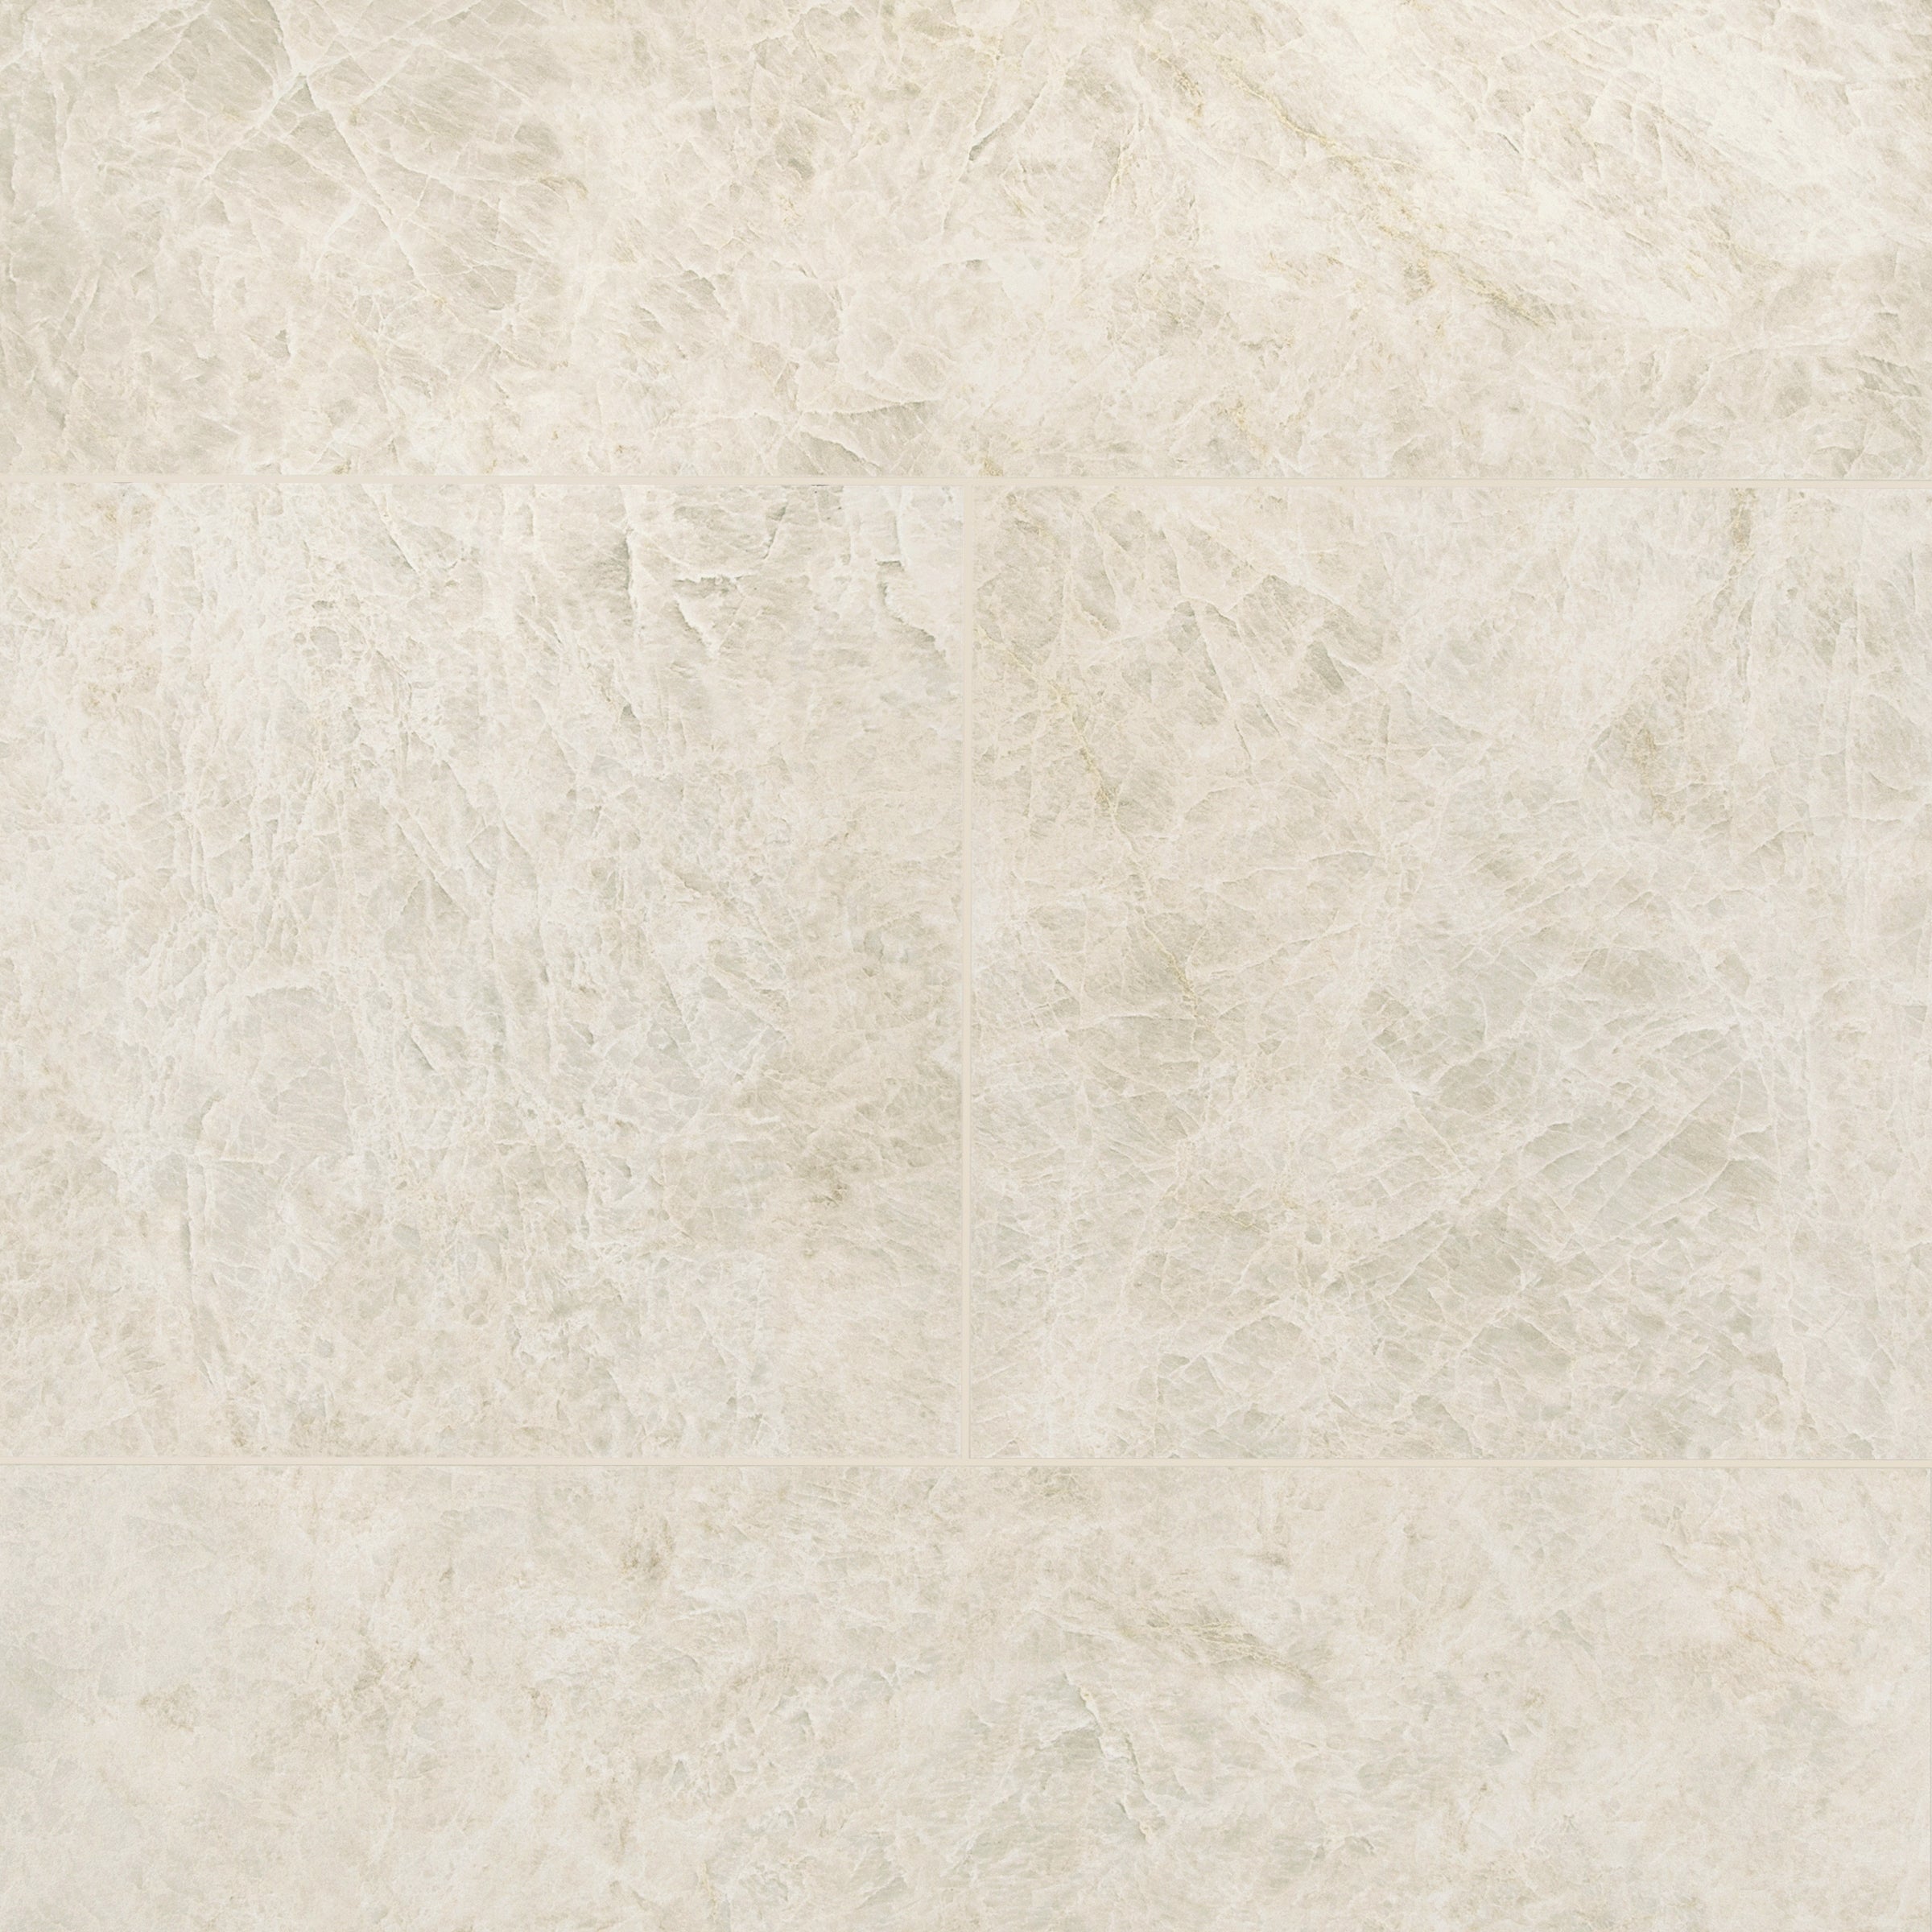
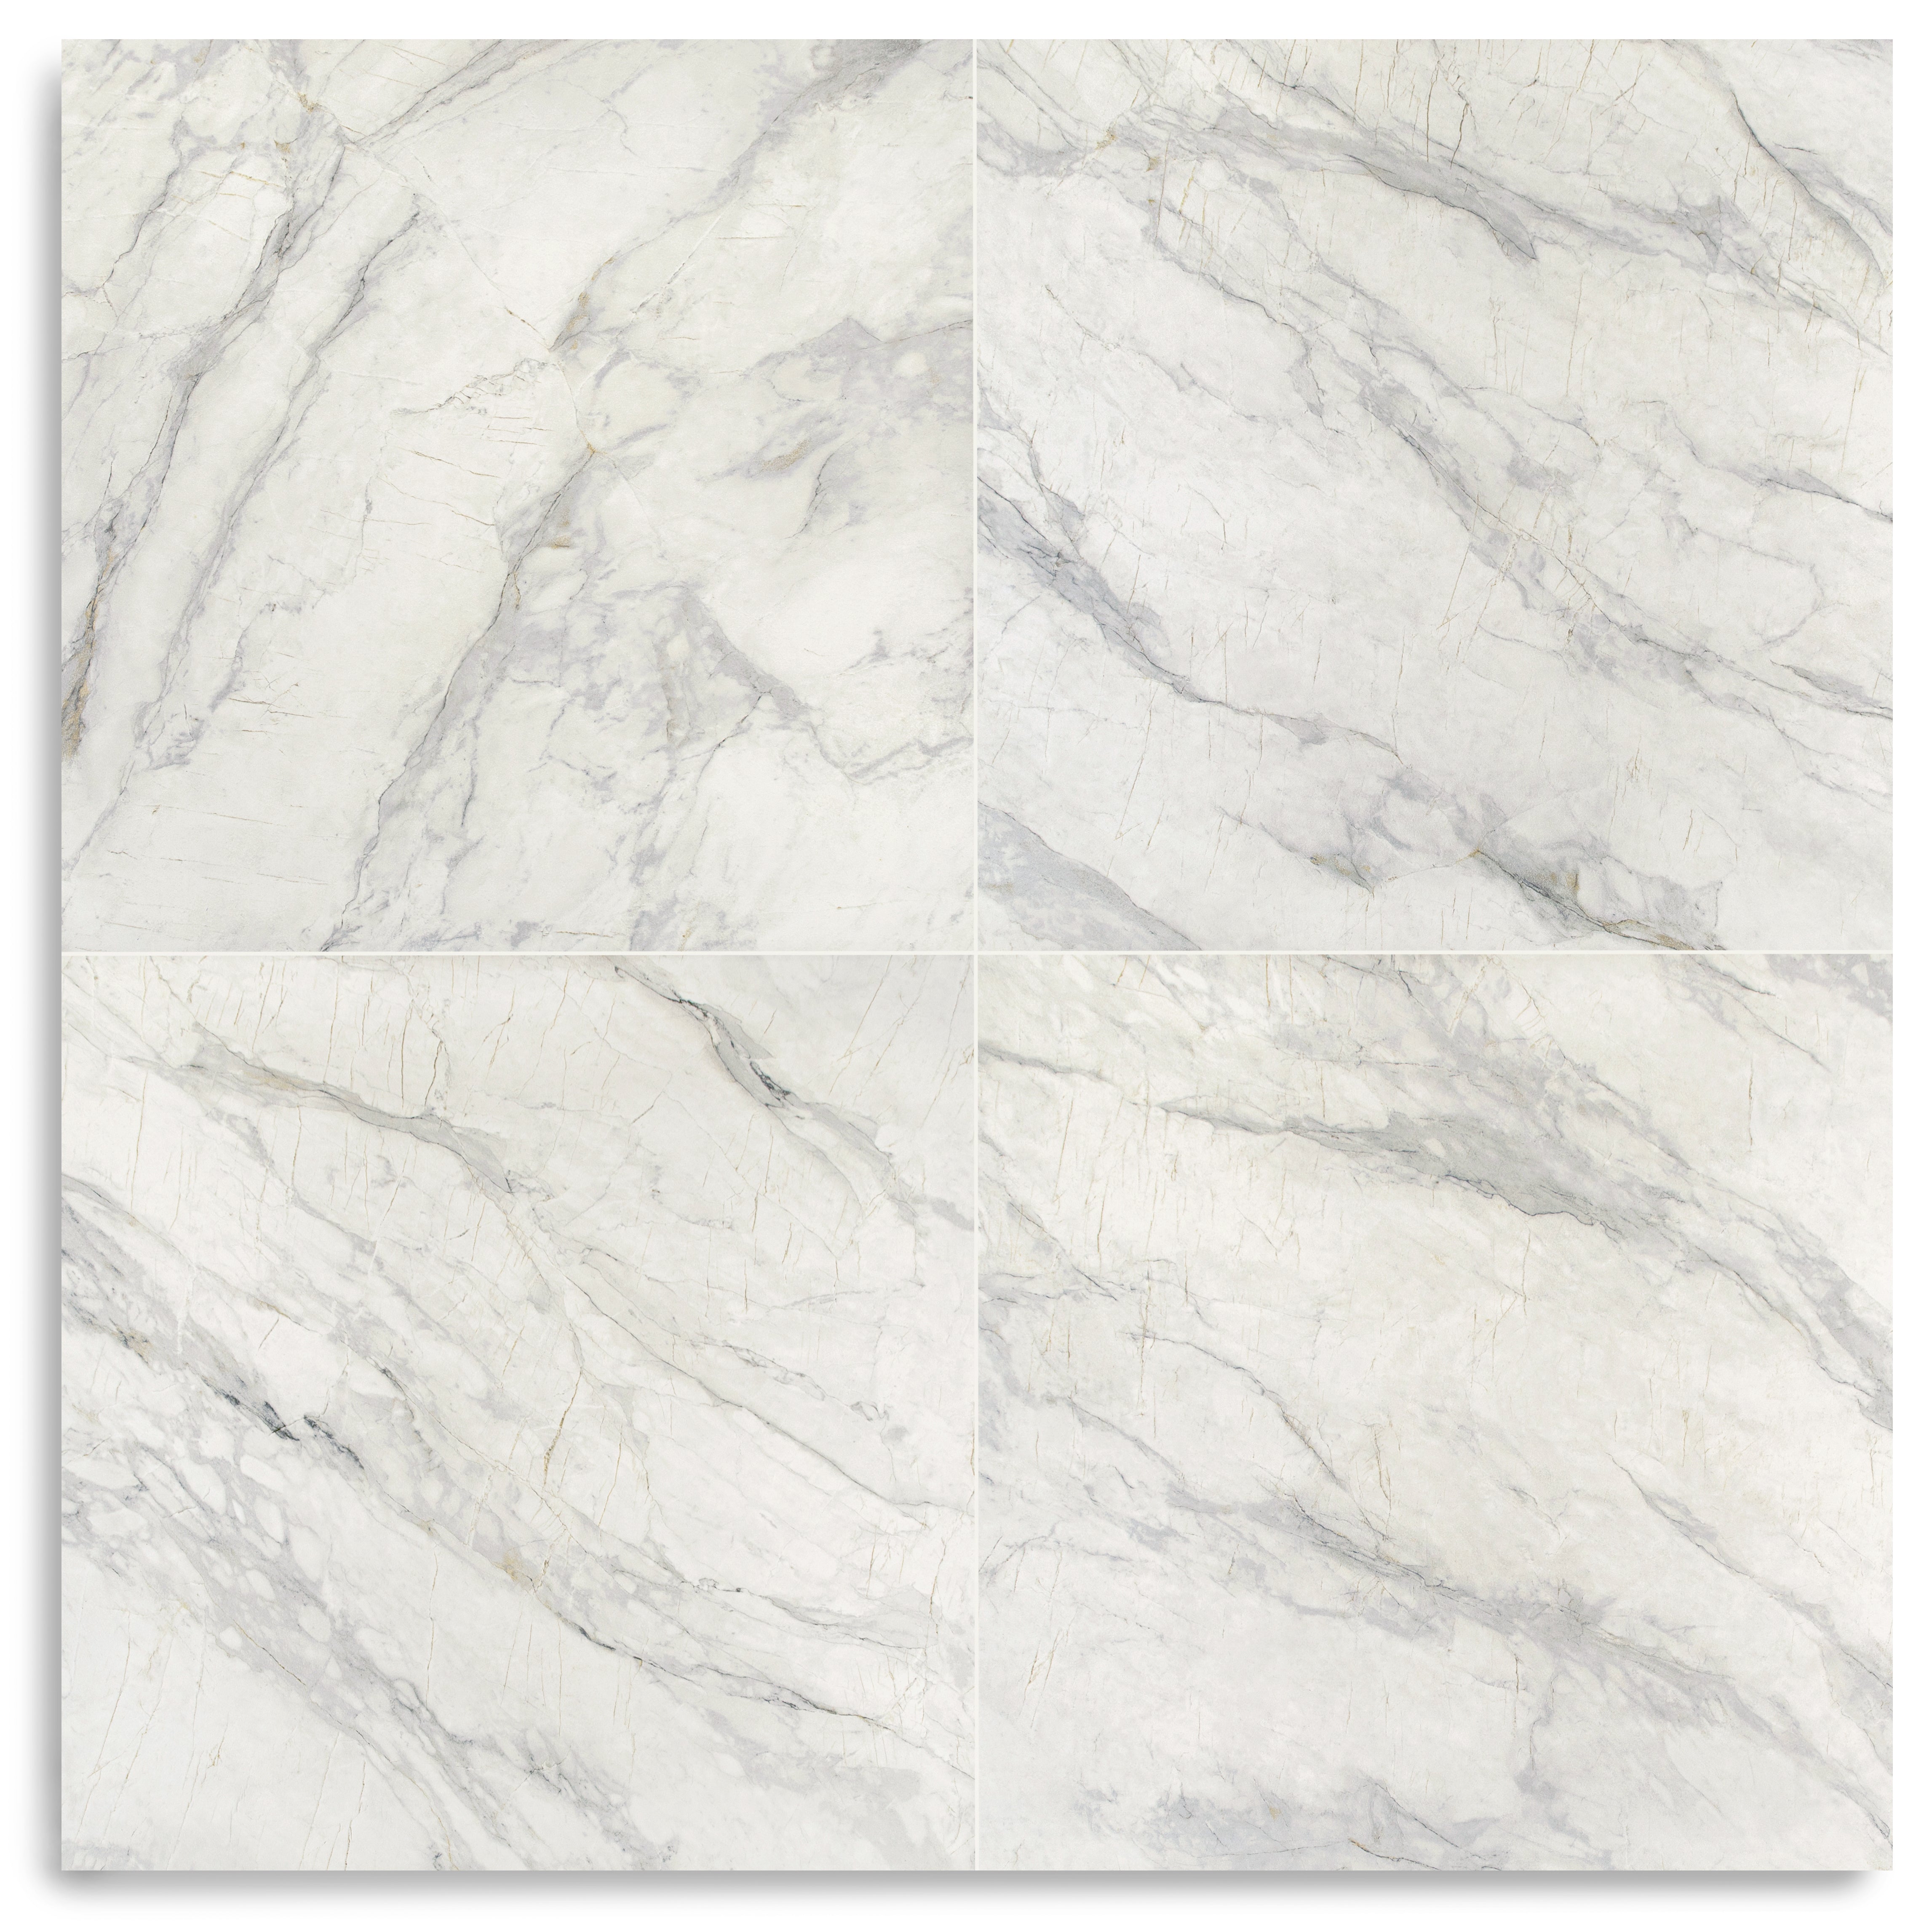
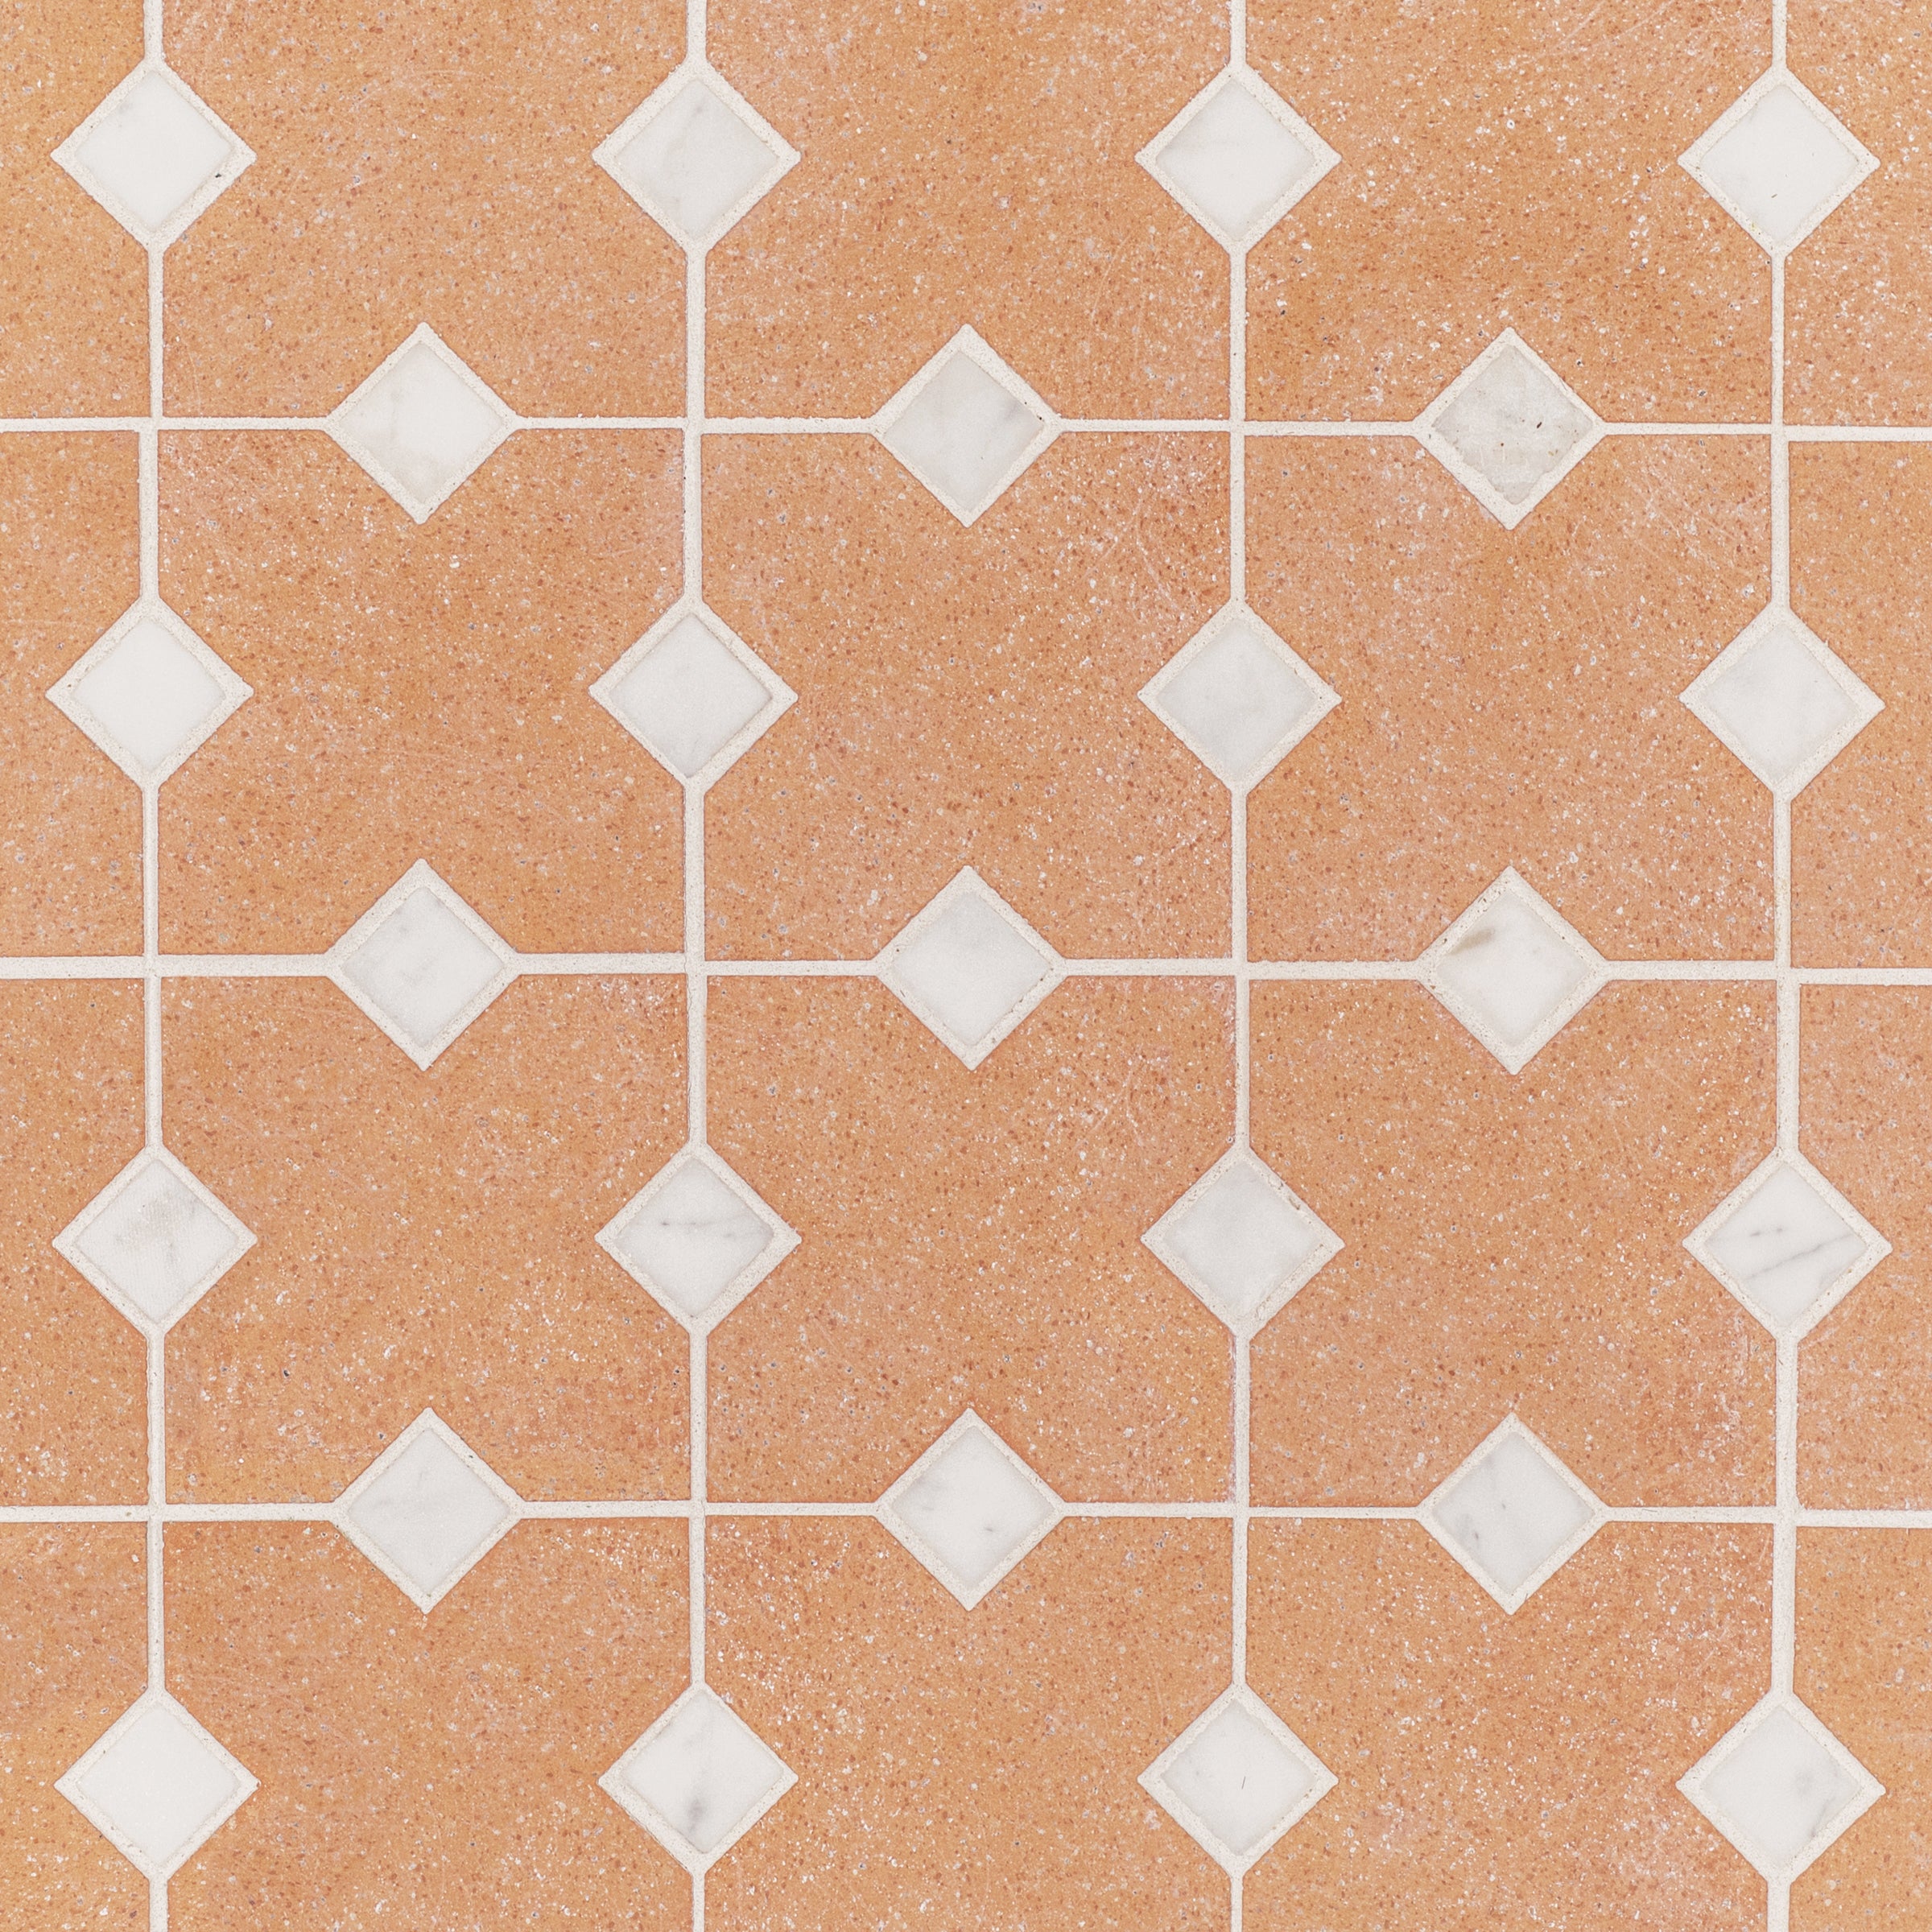
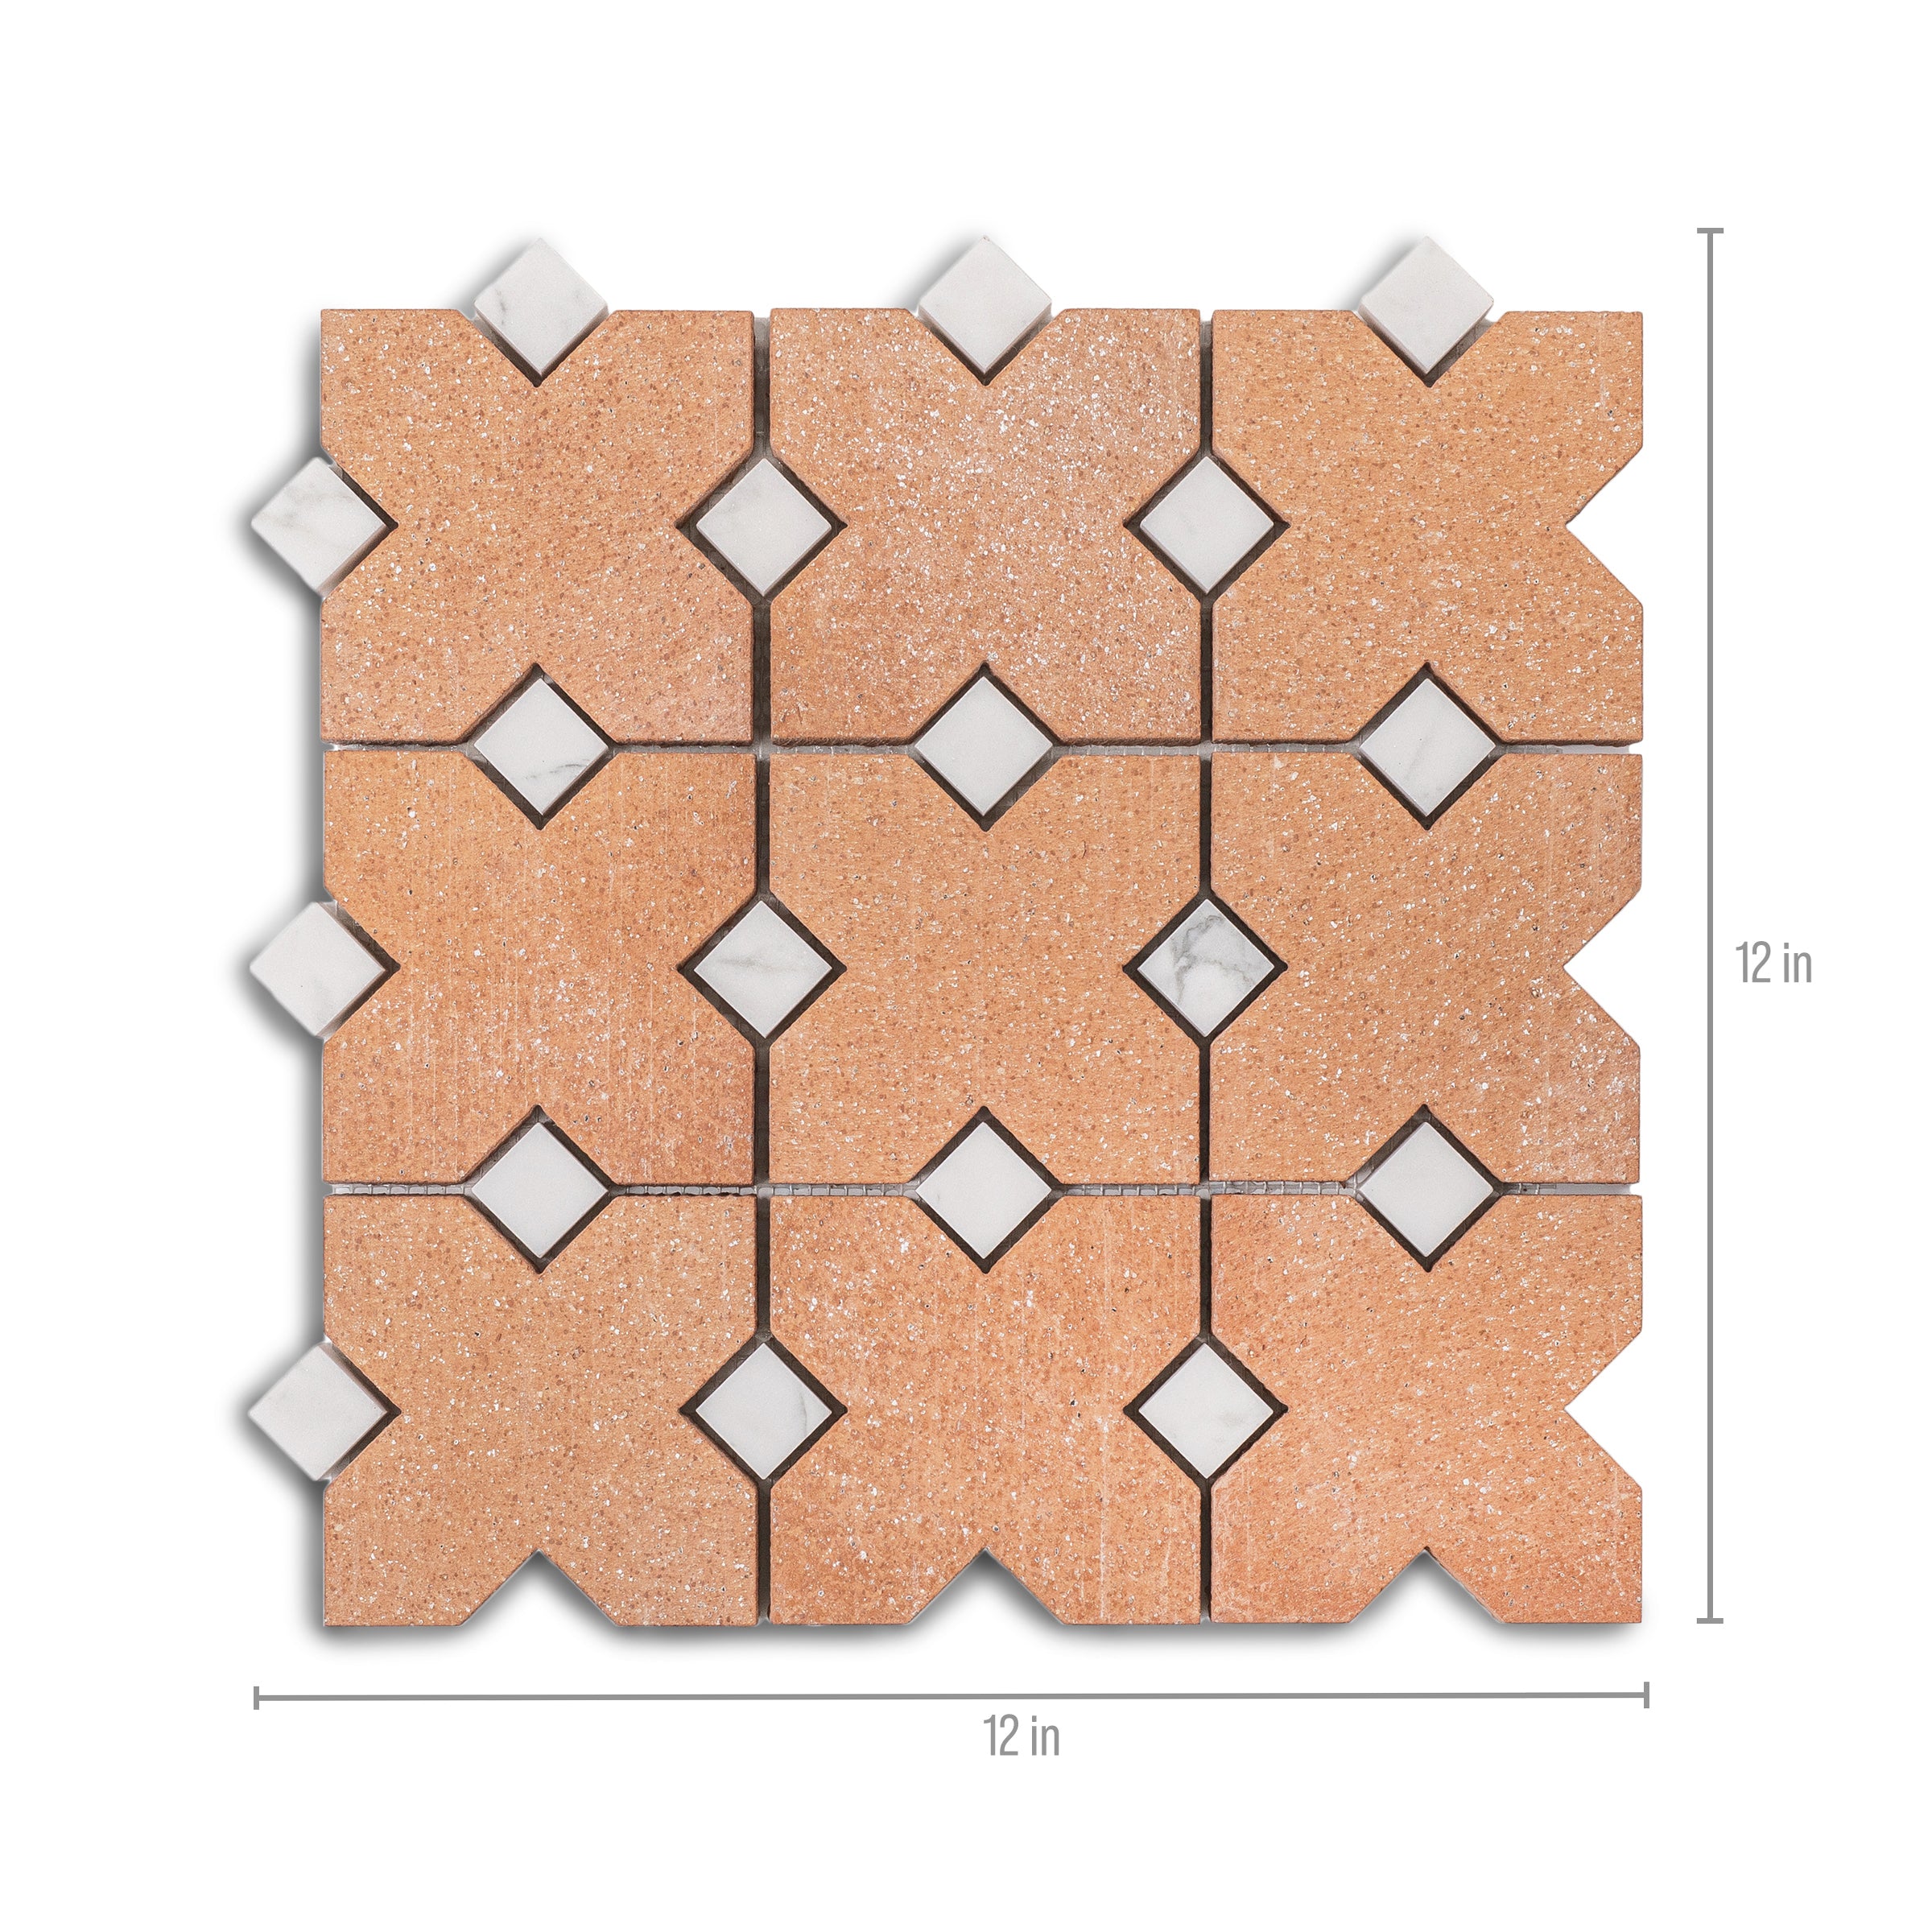
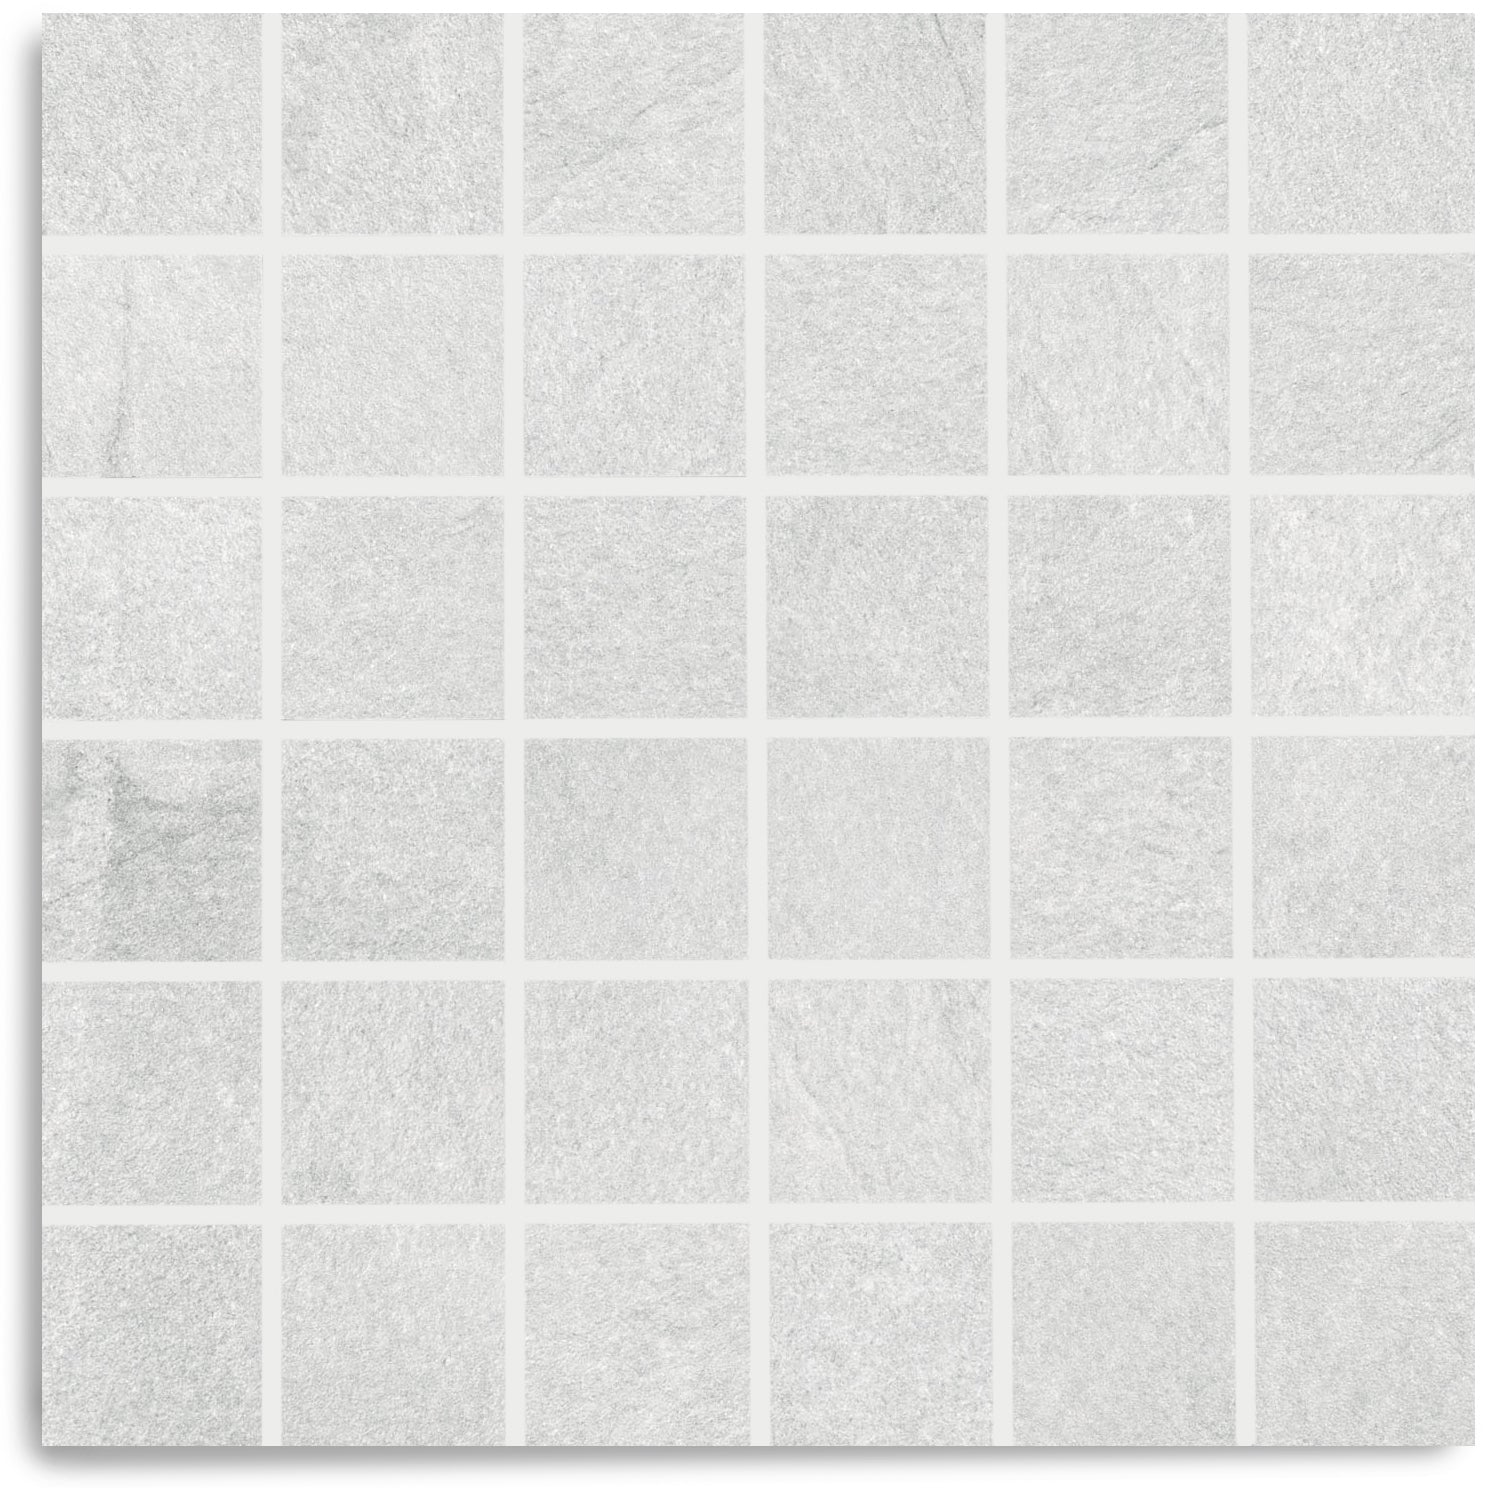
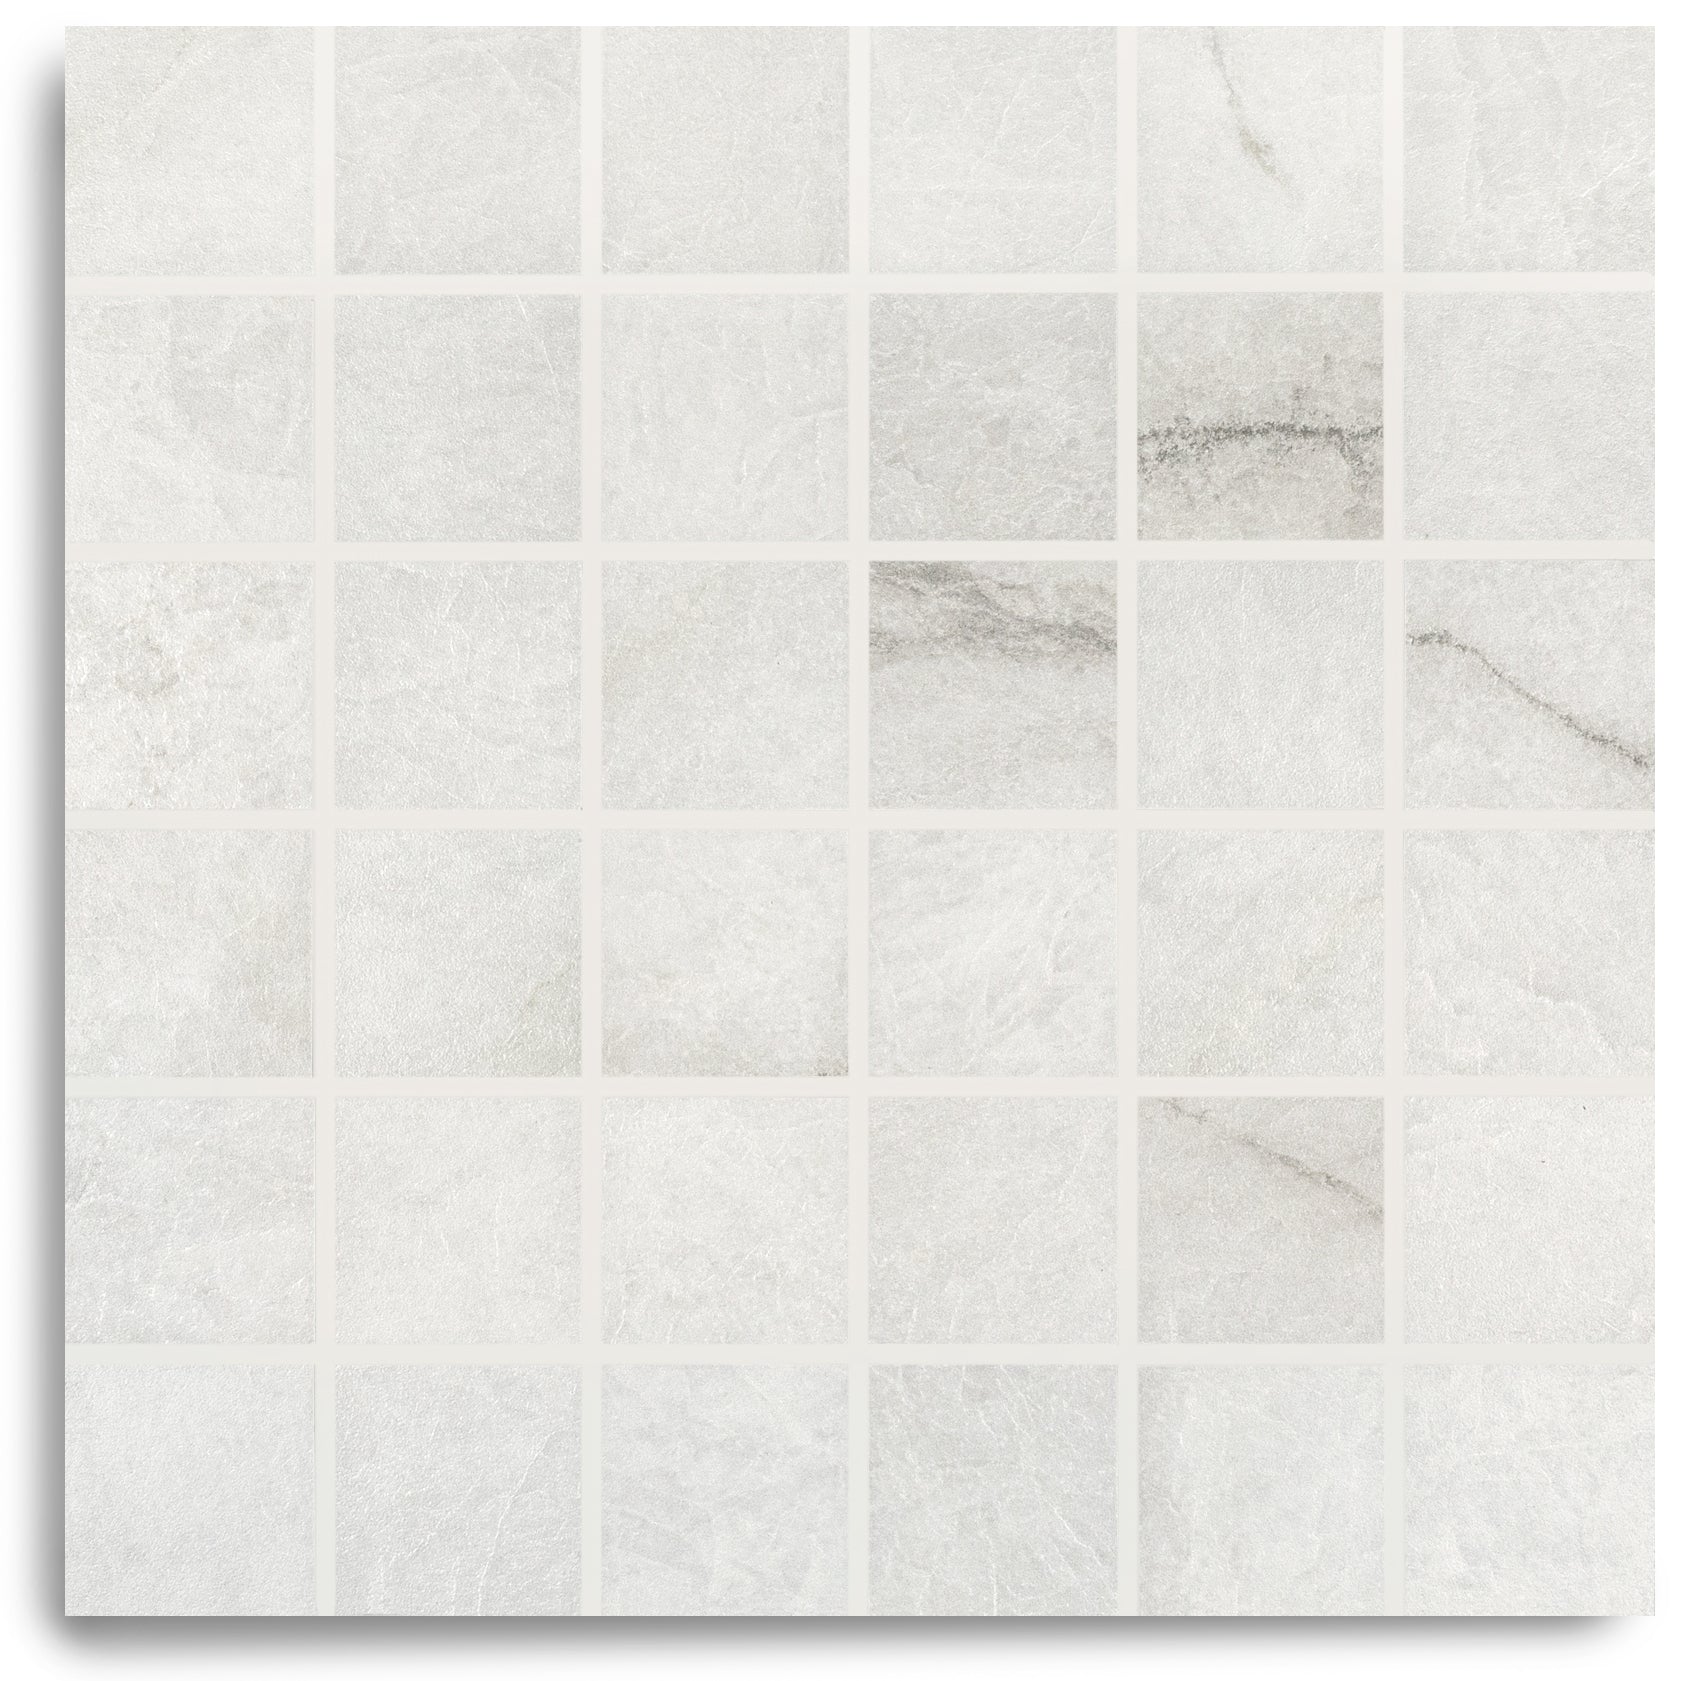
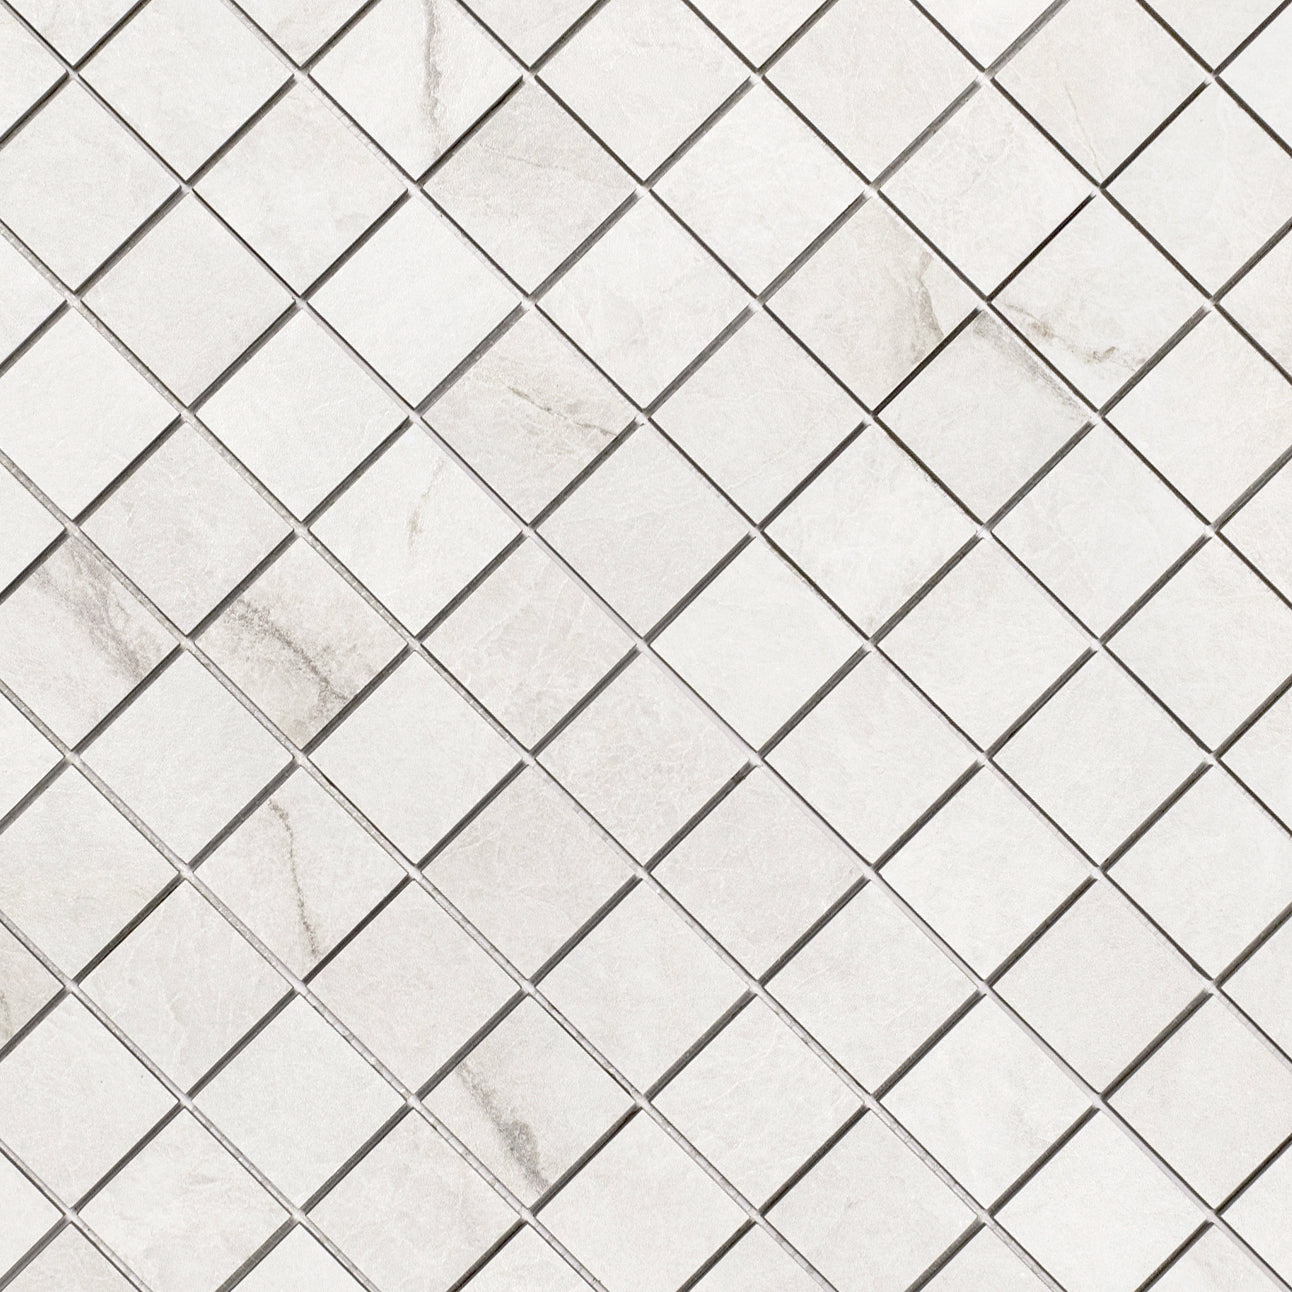
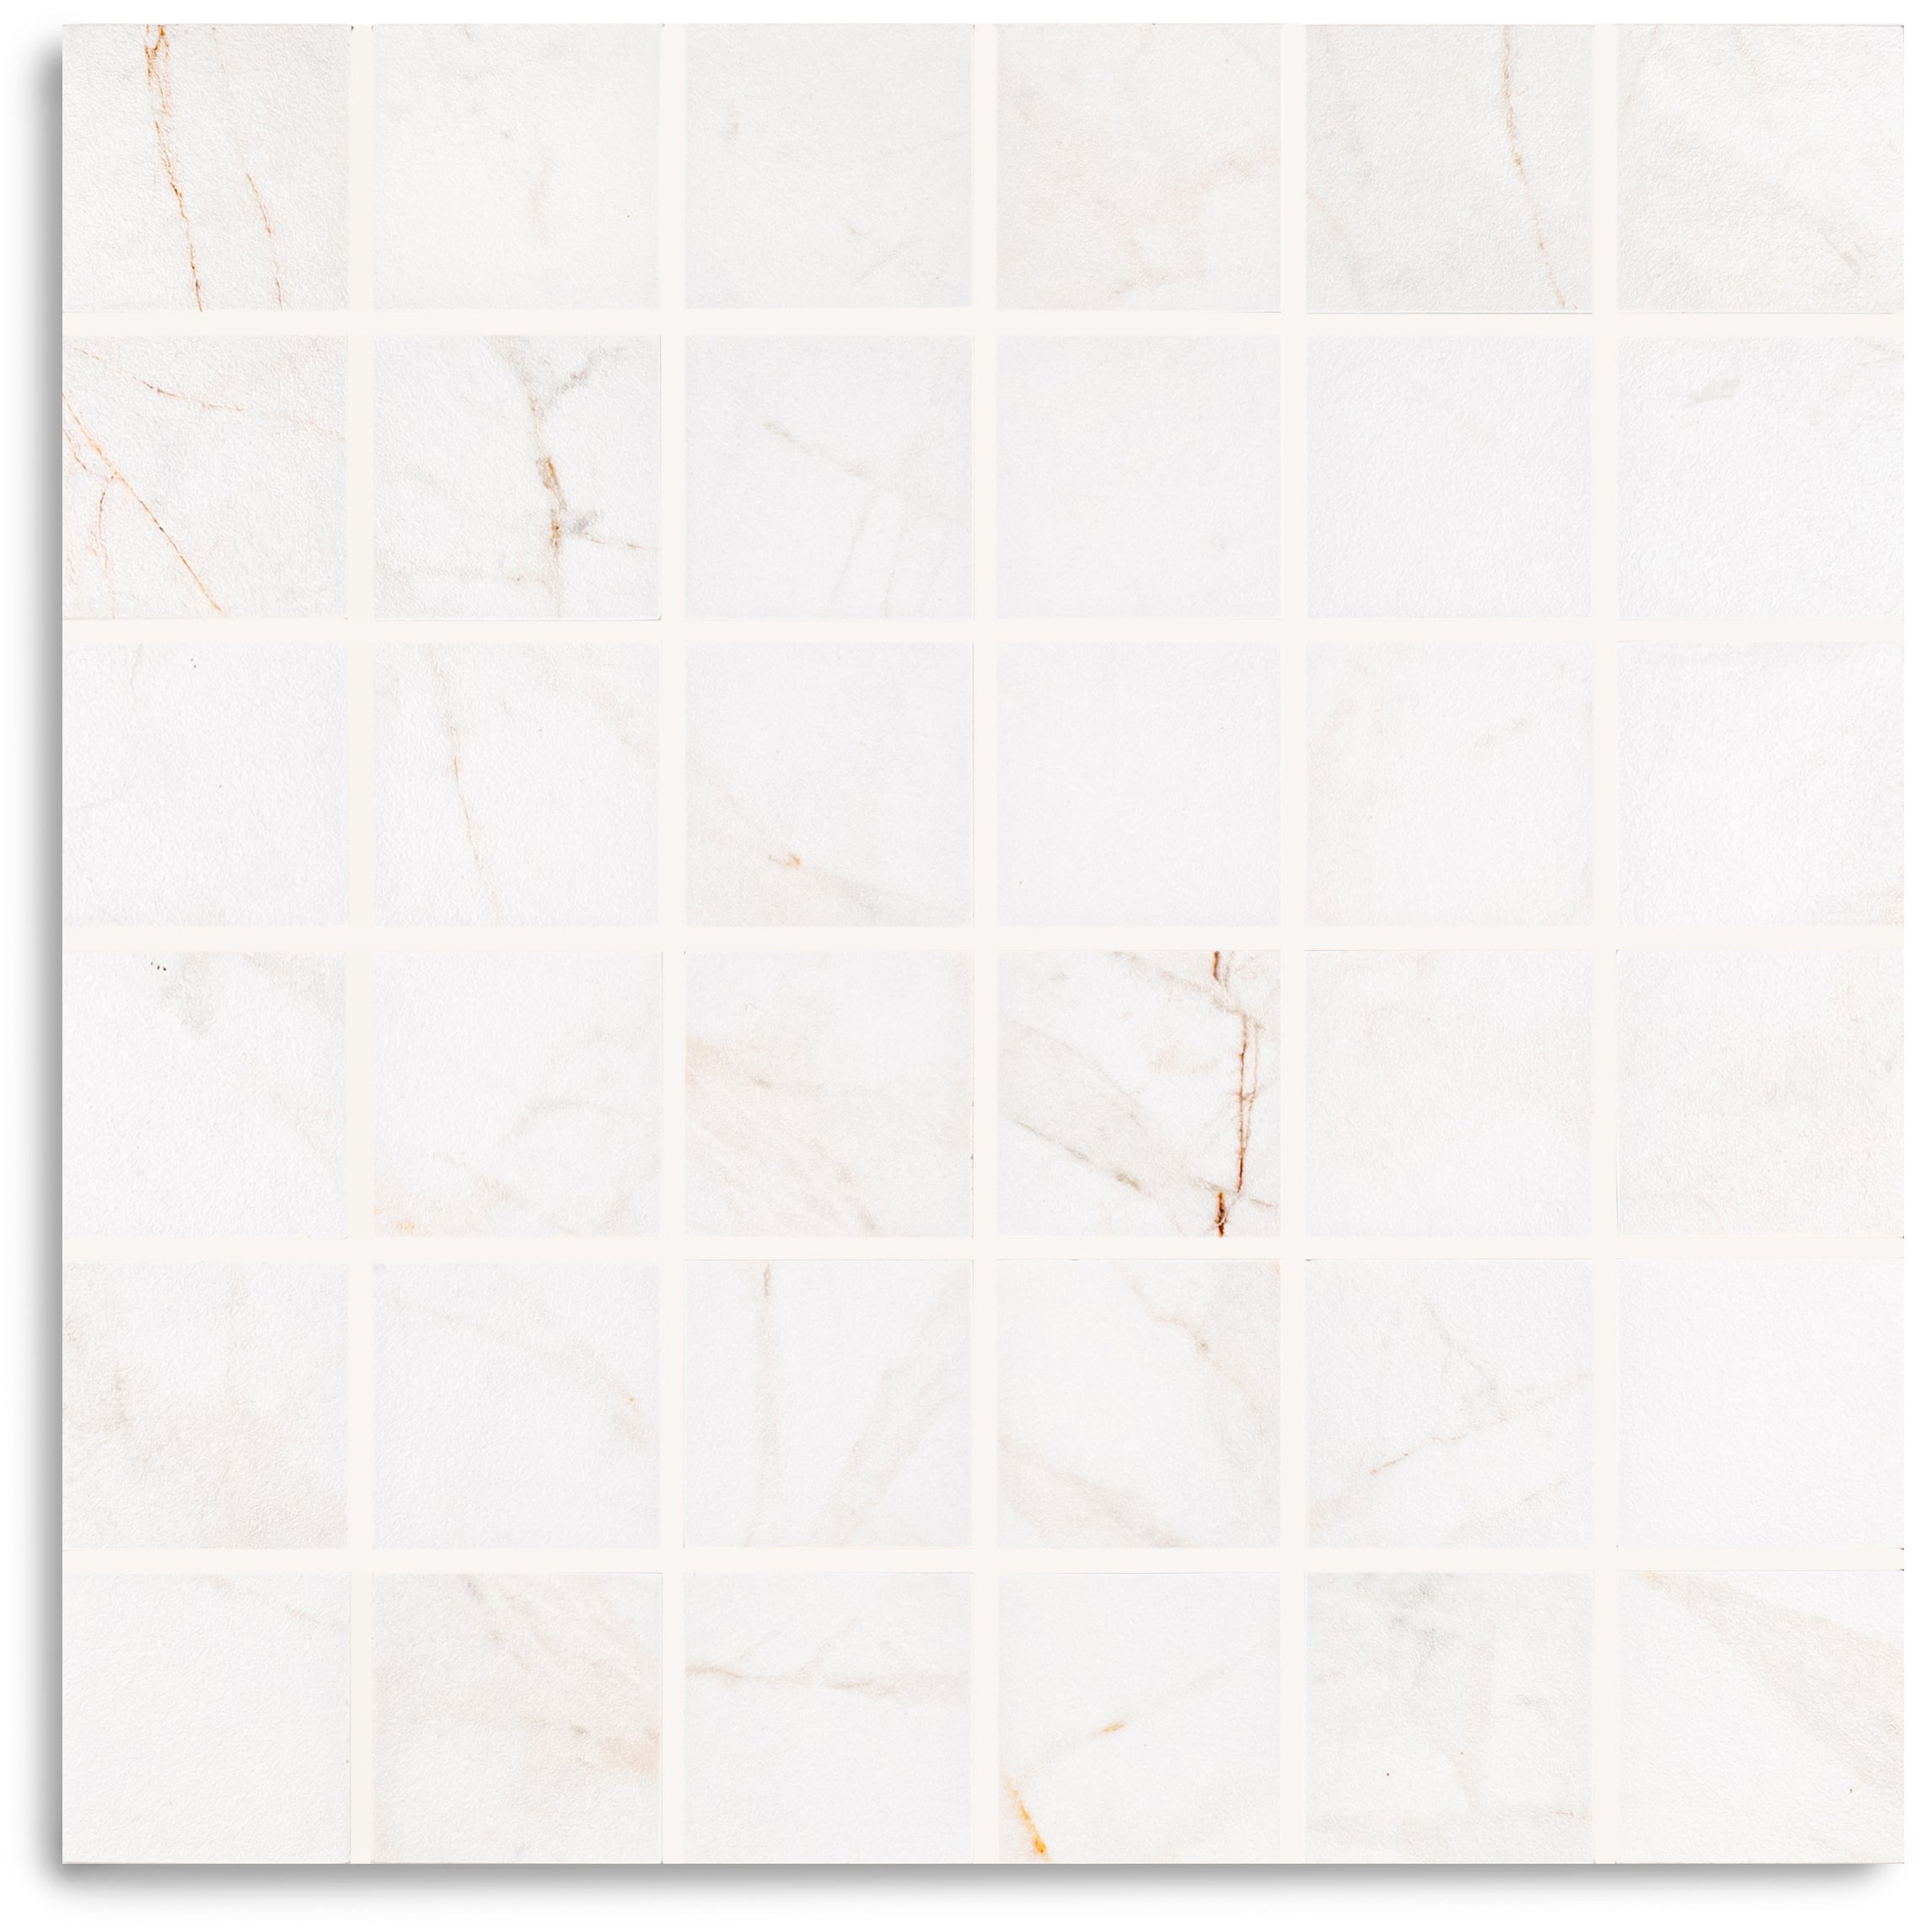
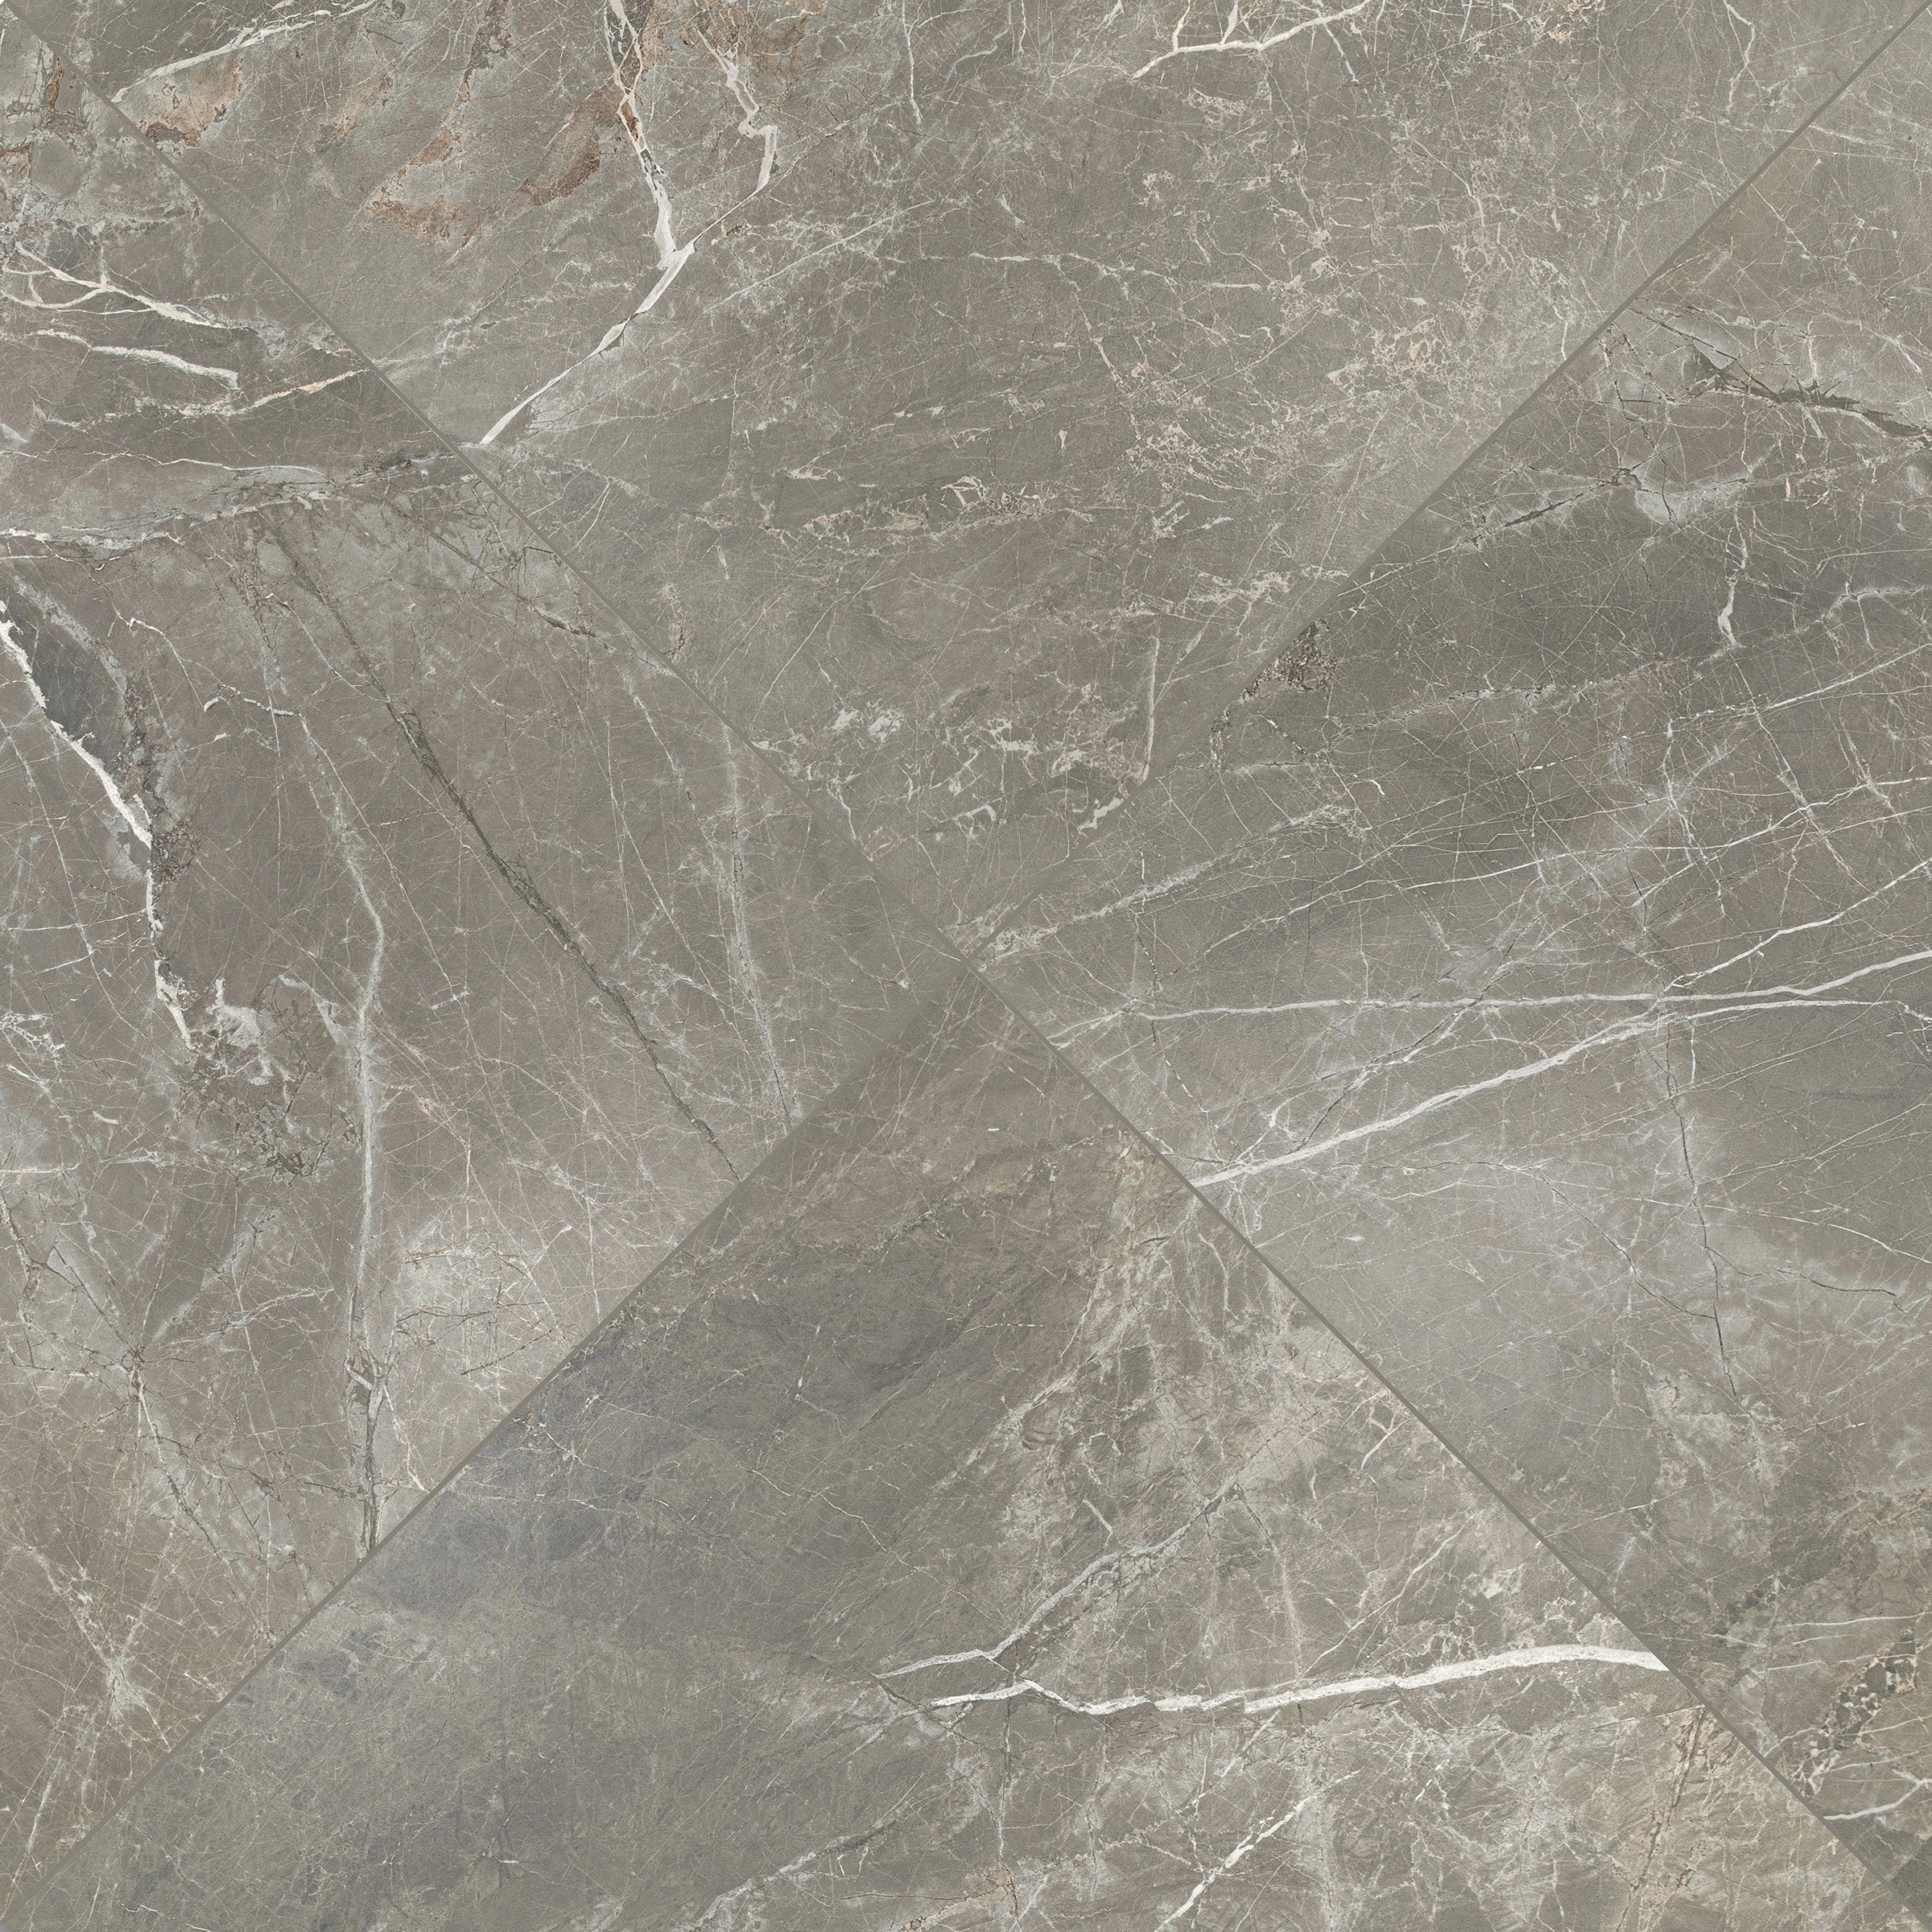
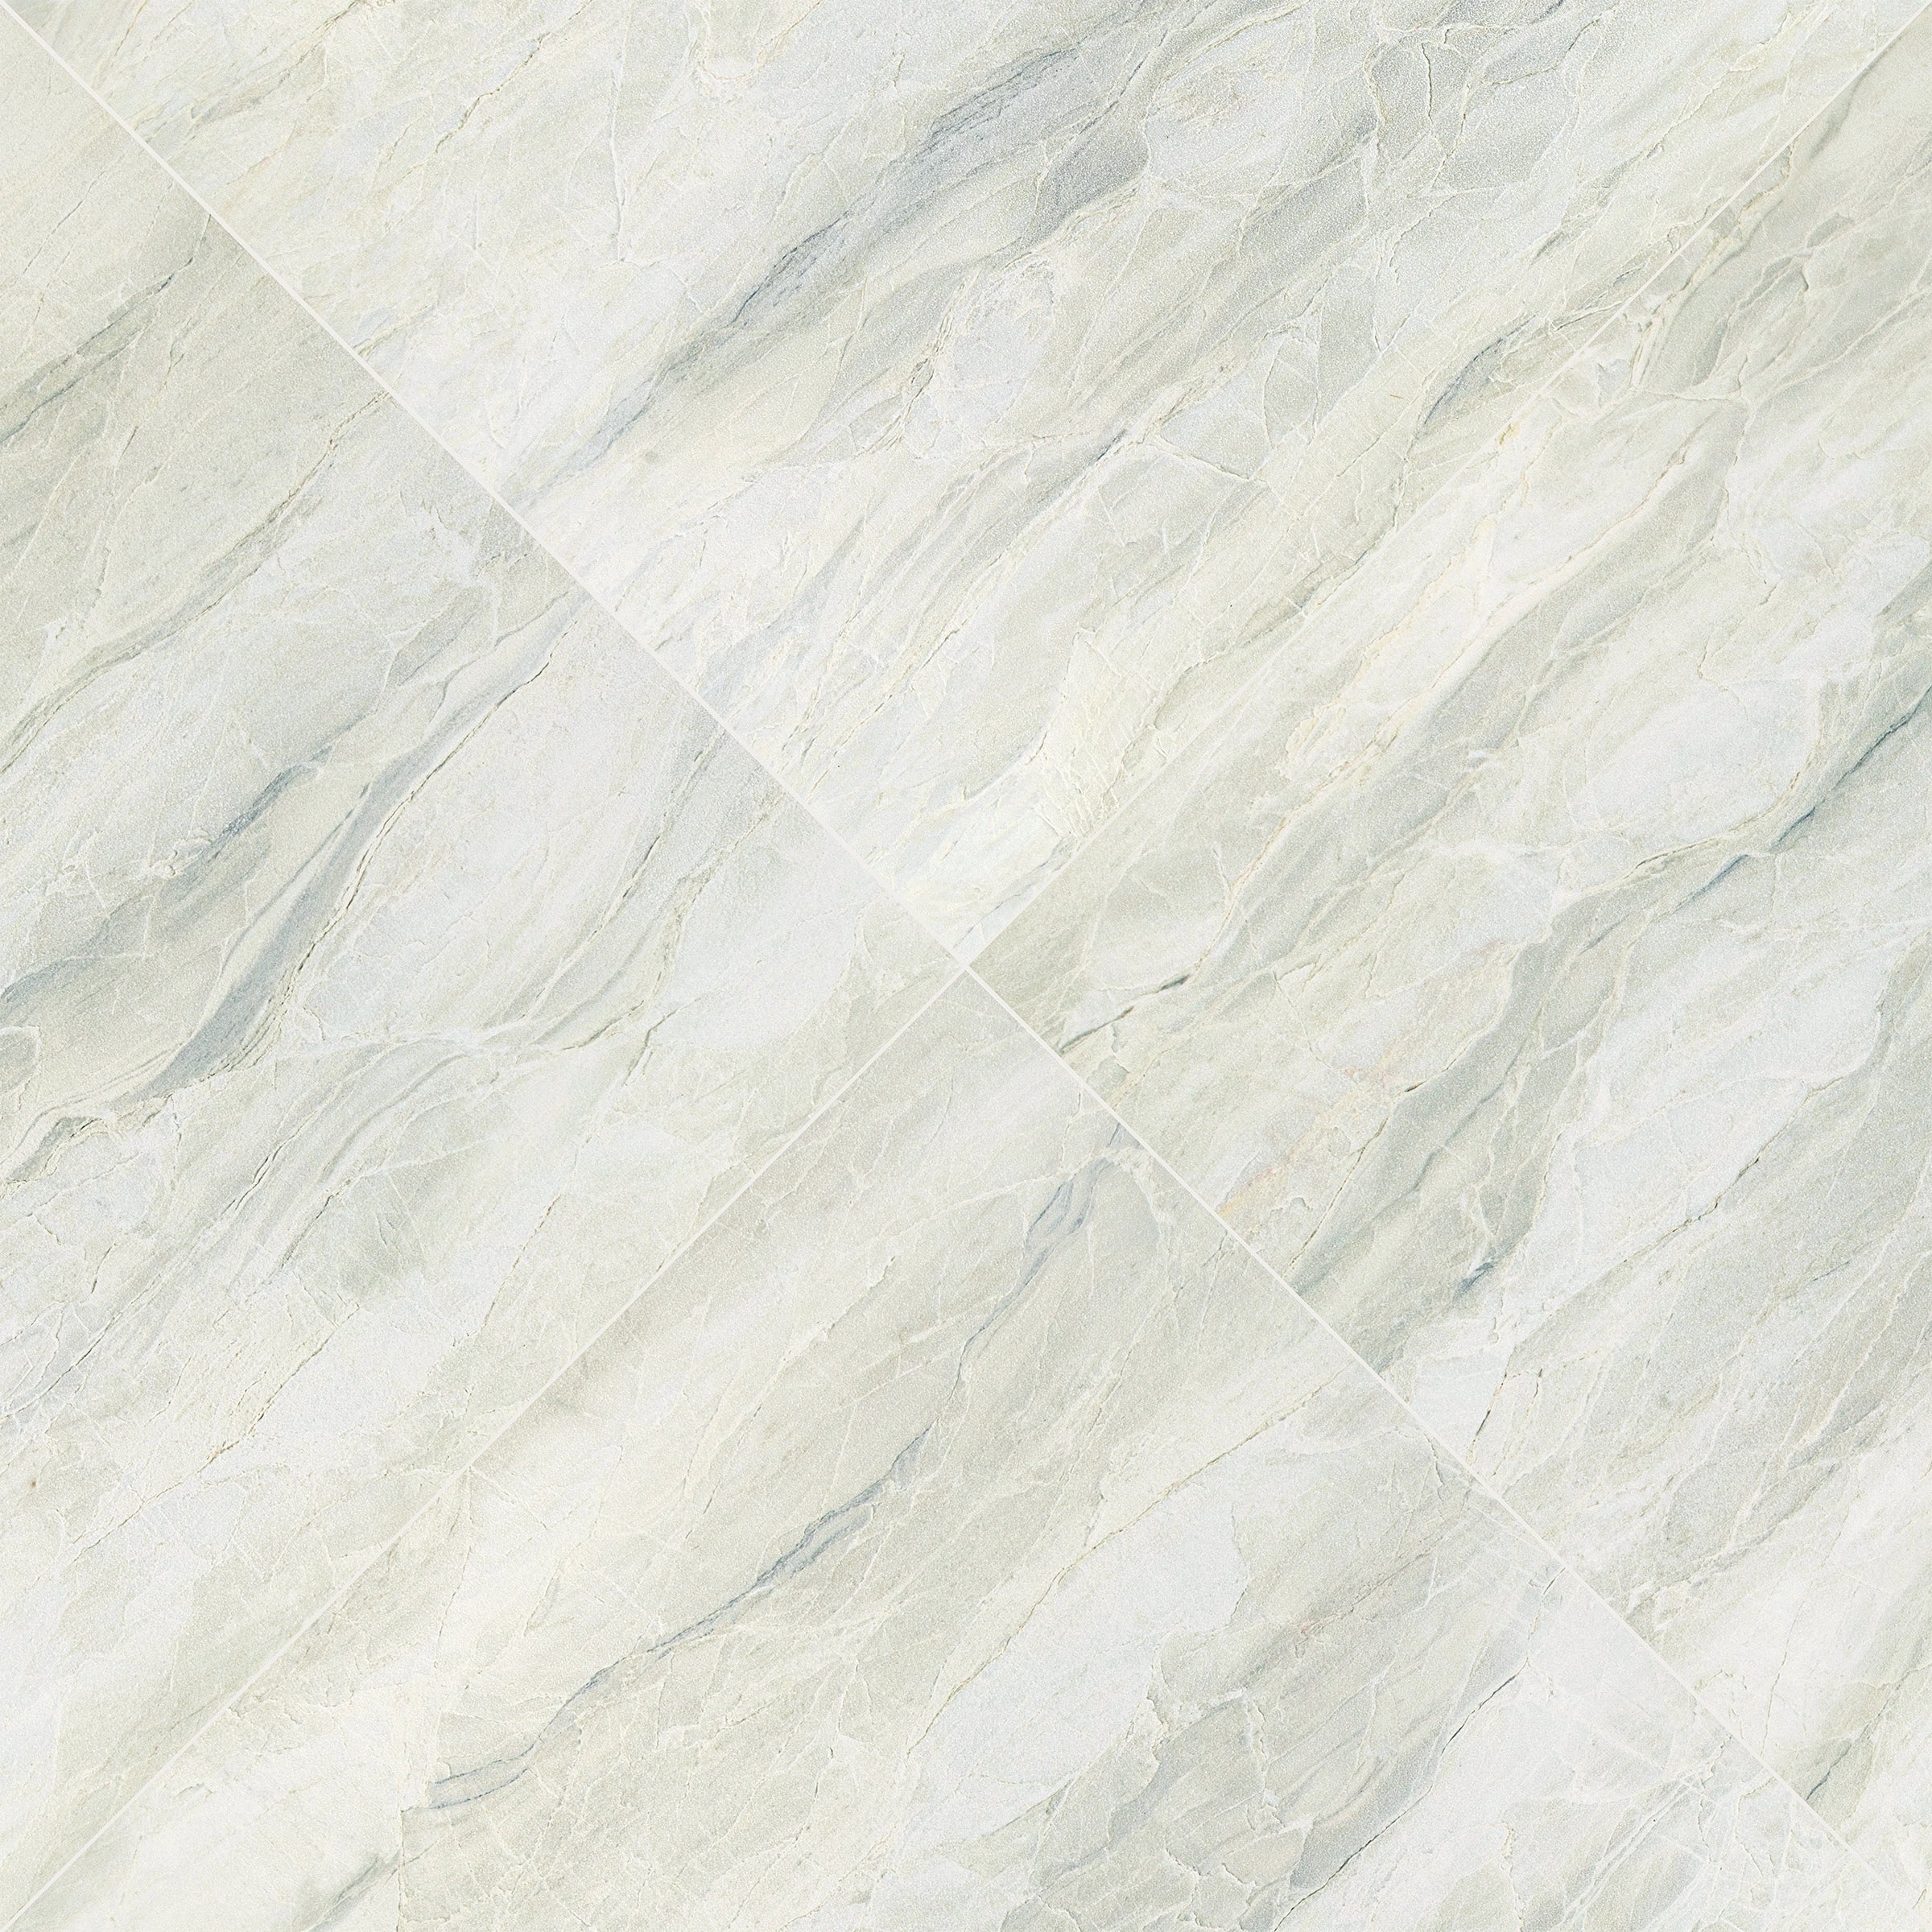
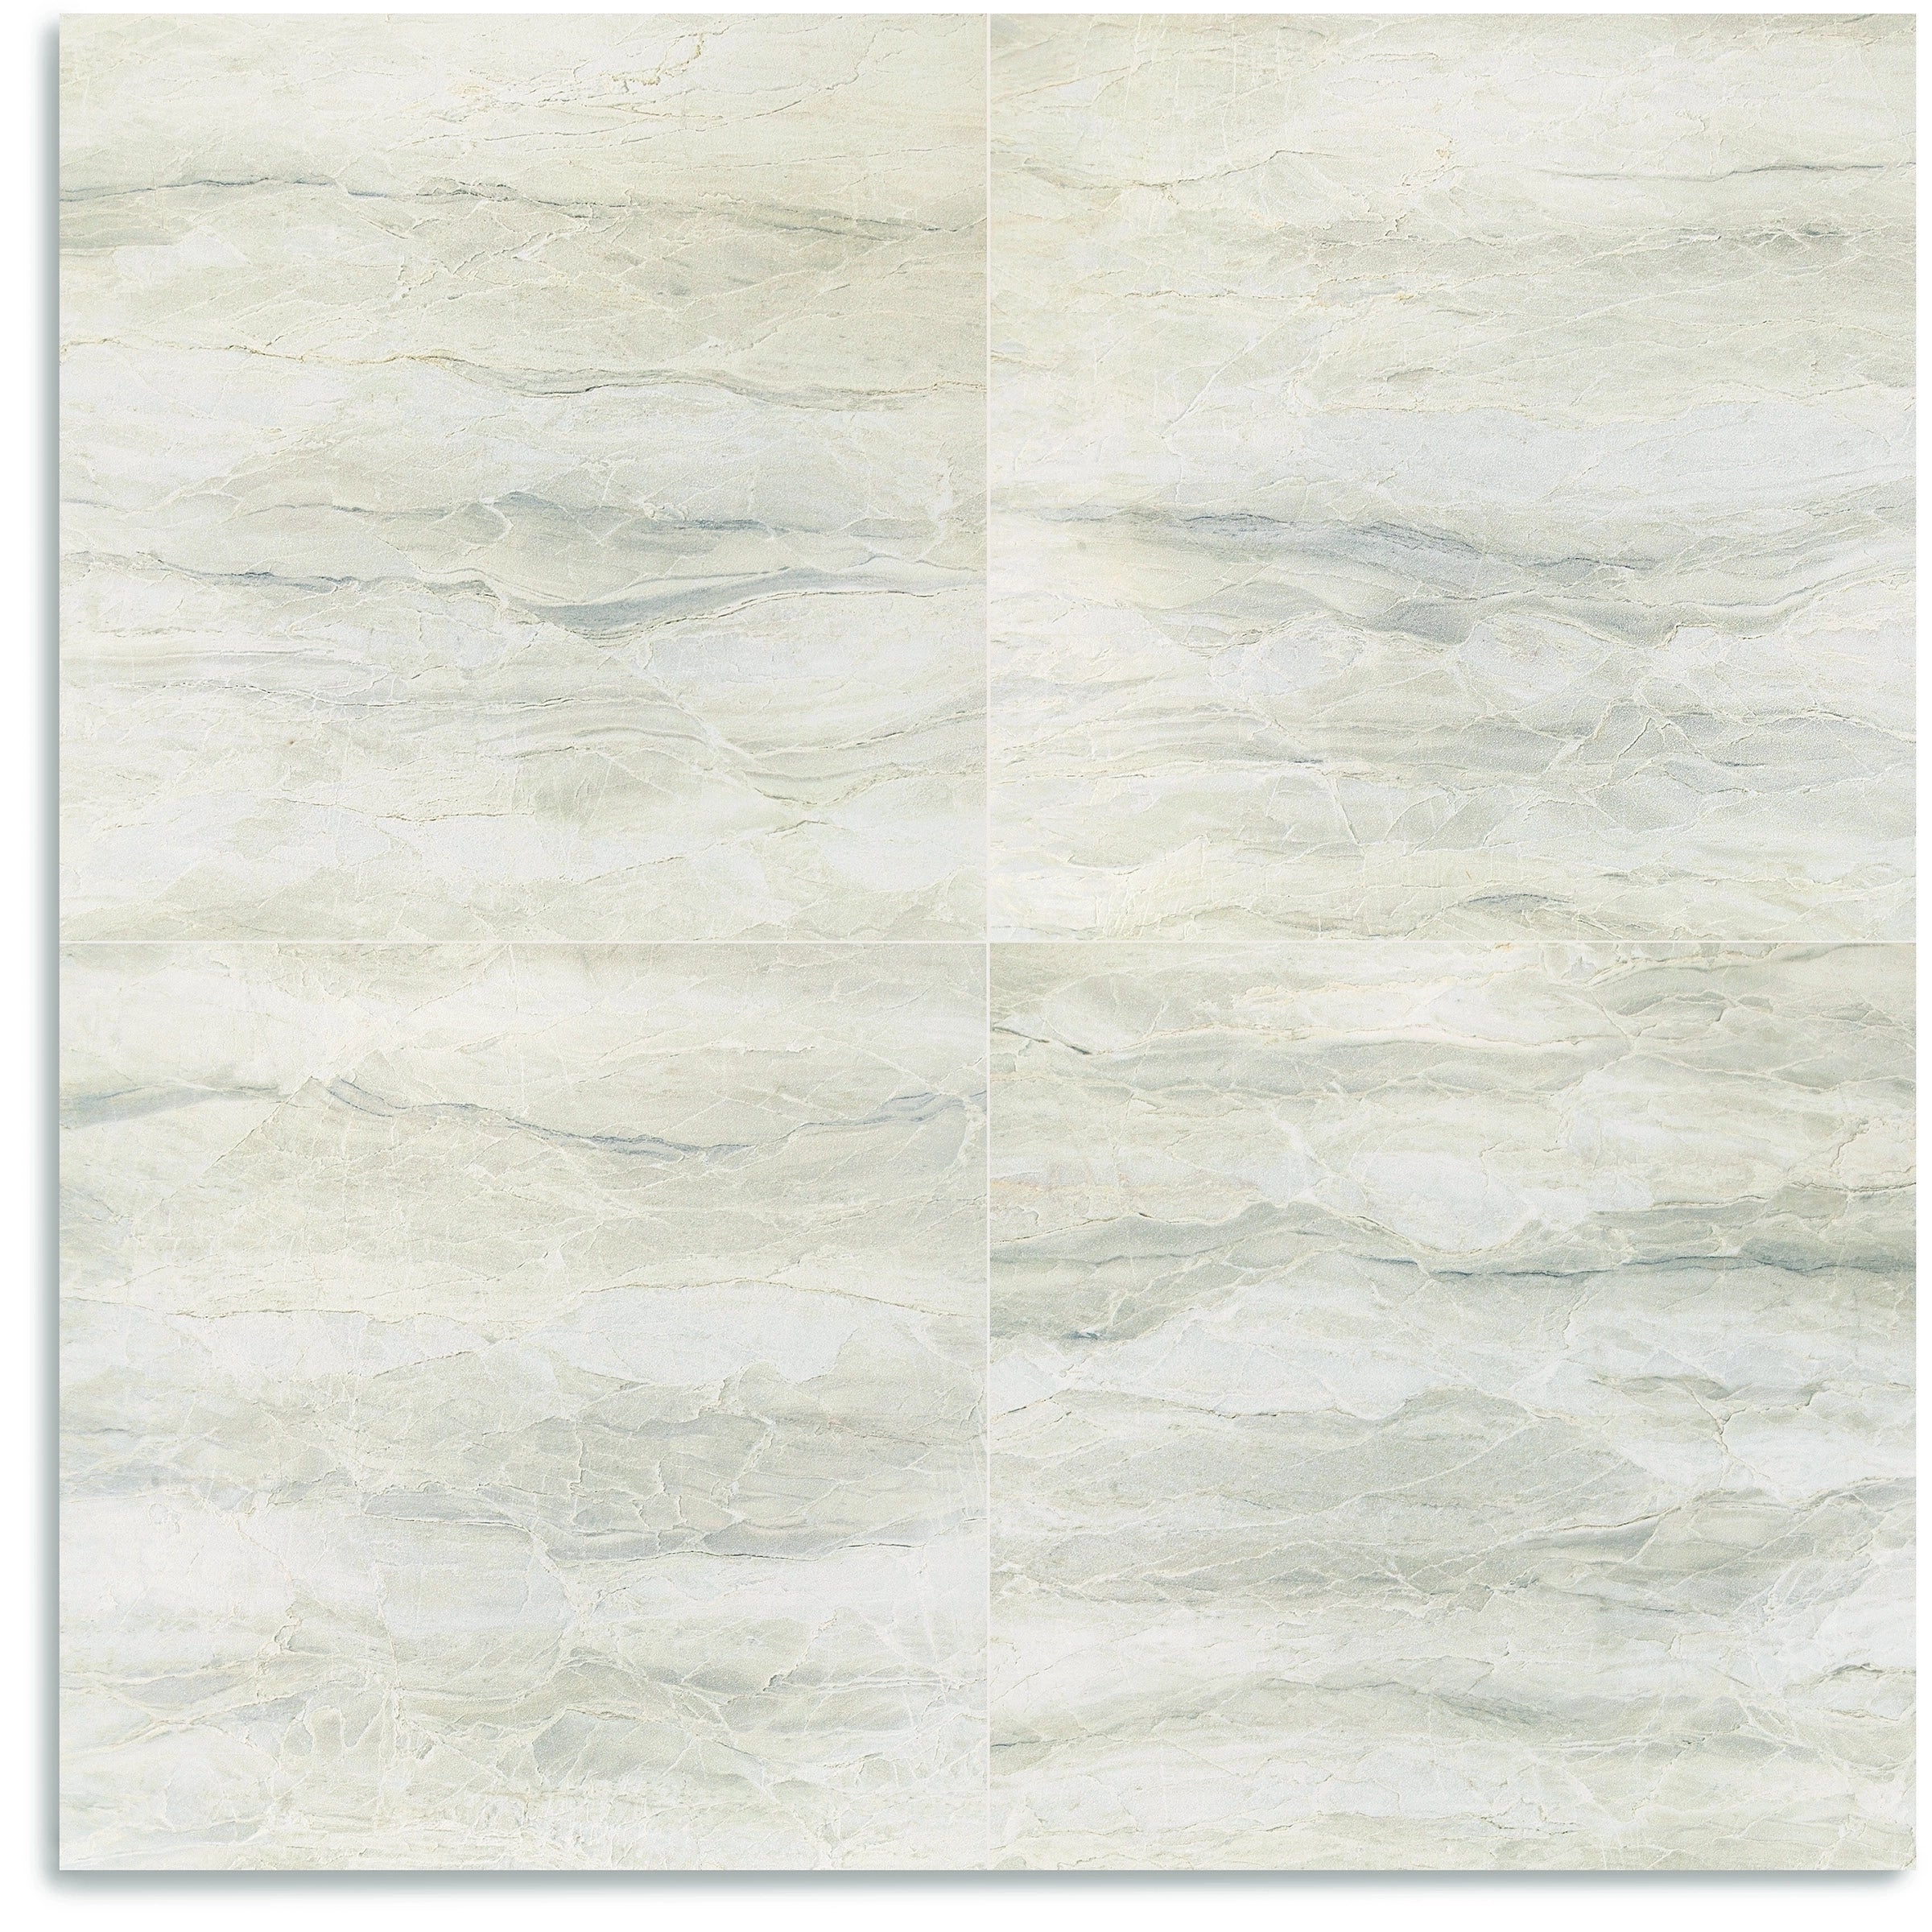
Pair It With

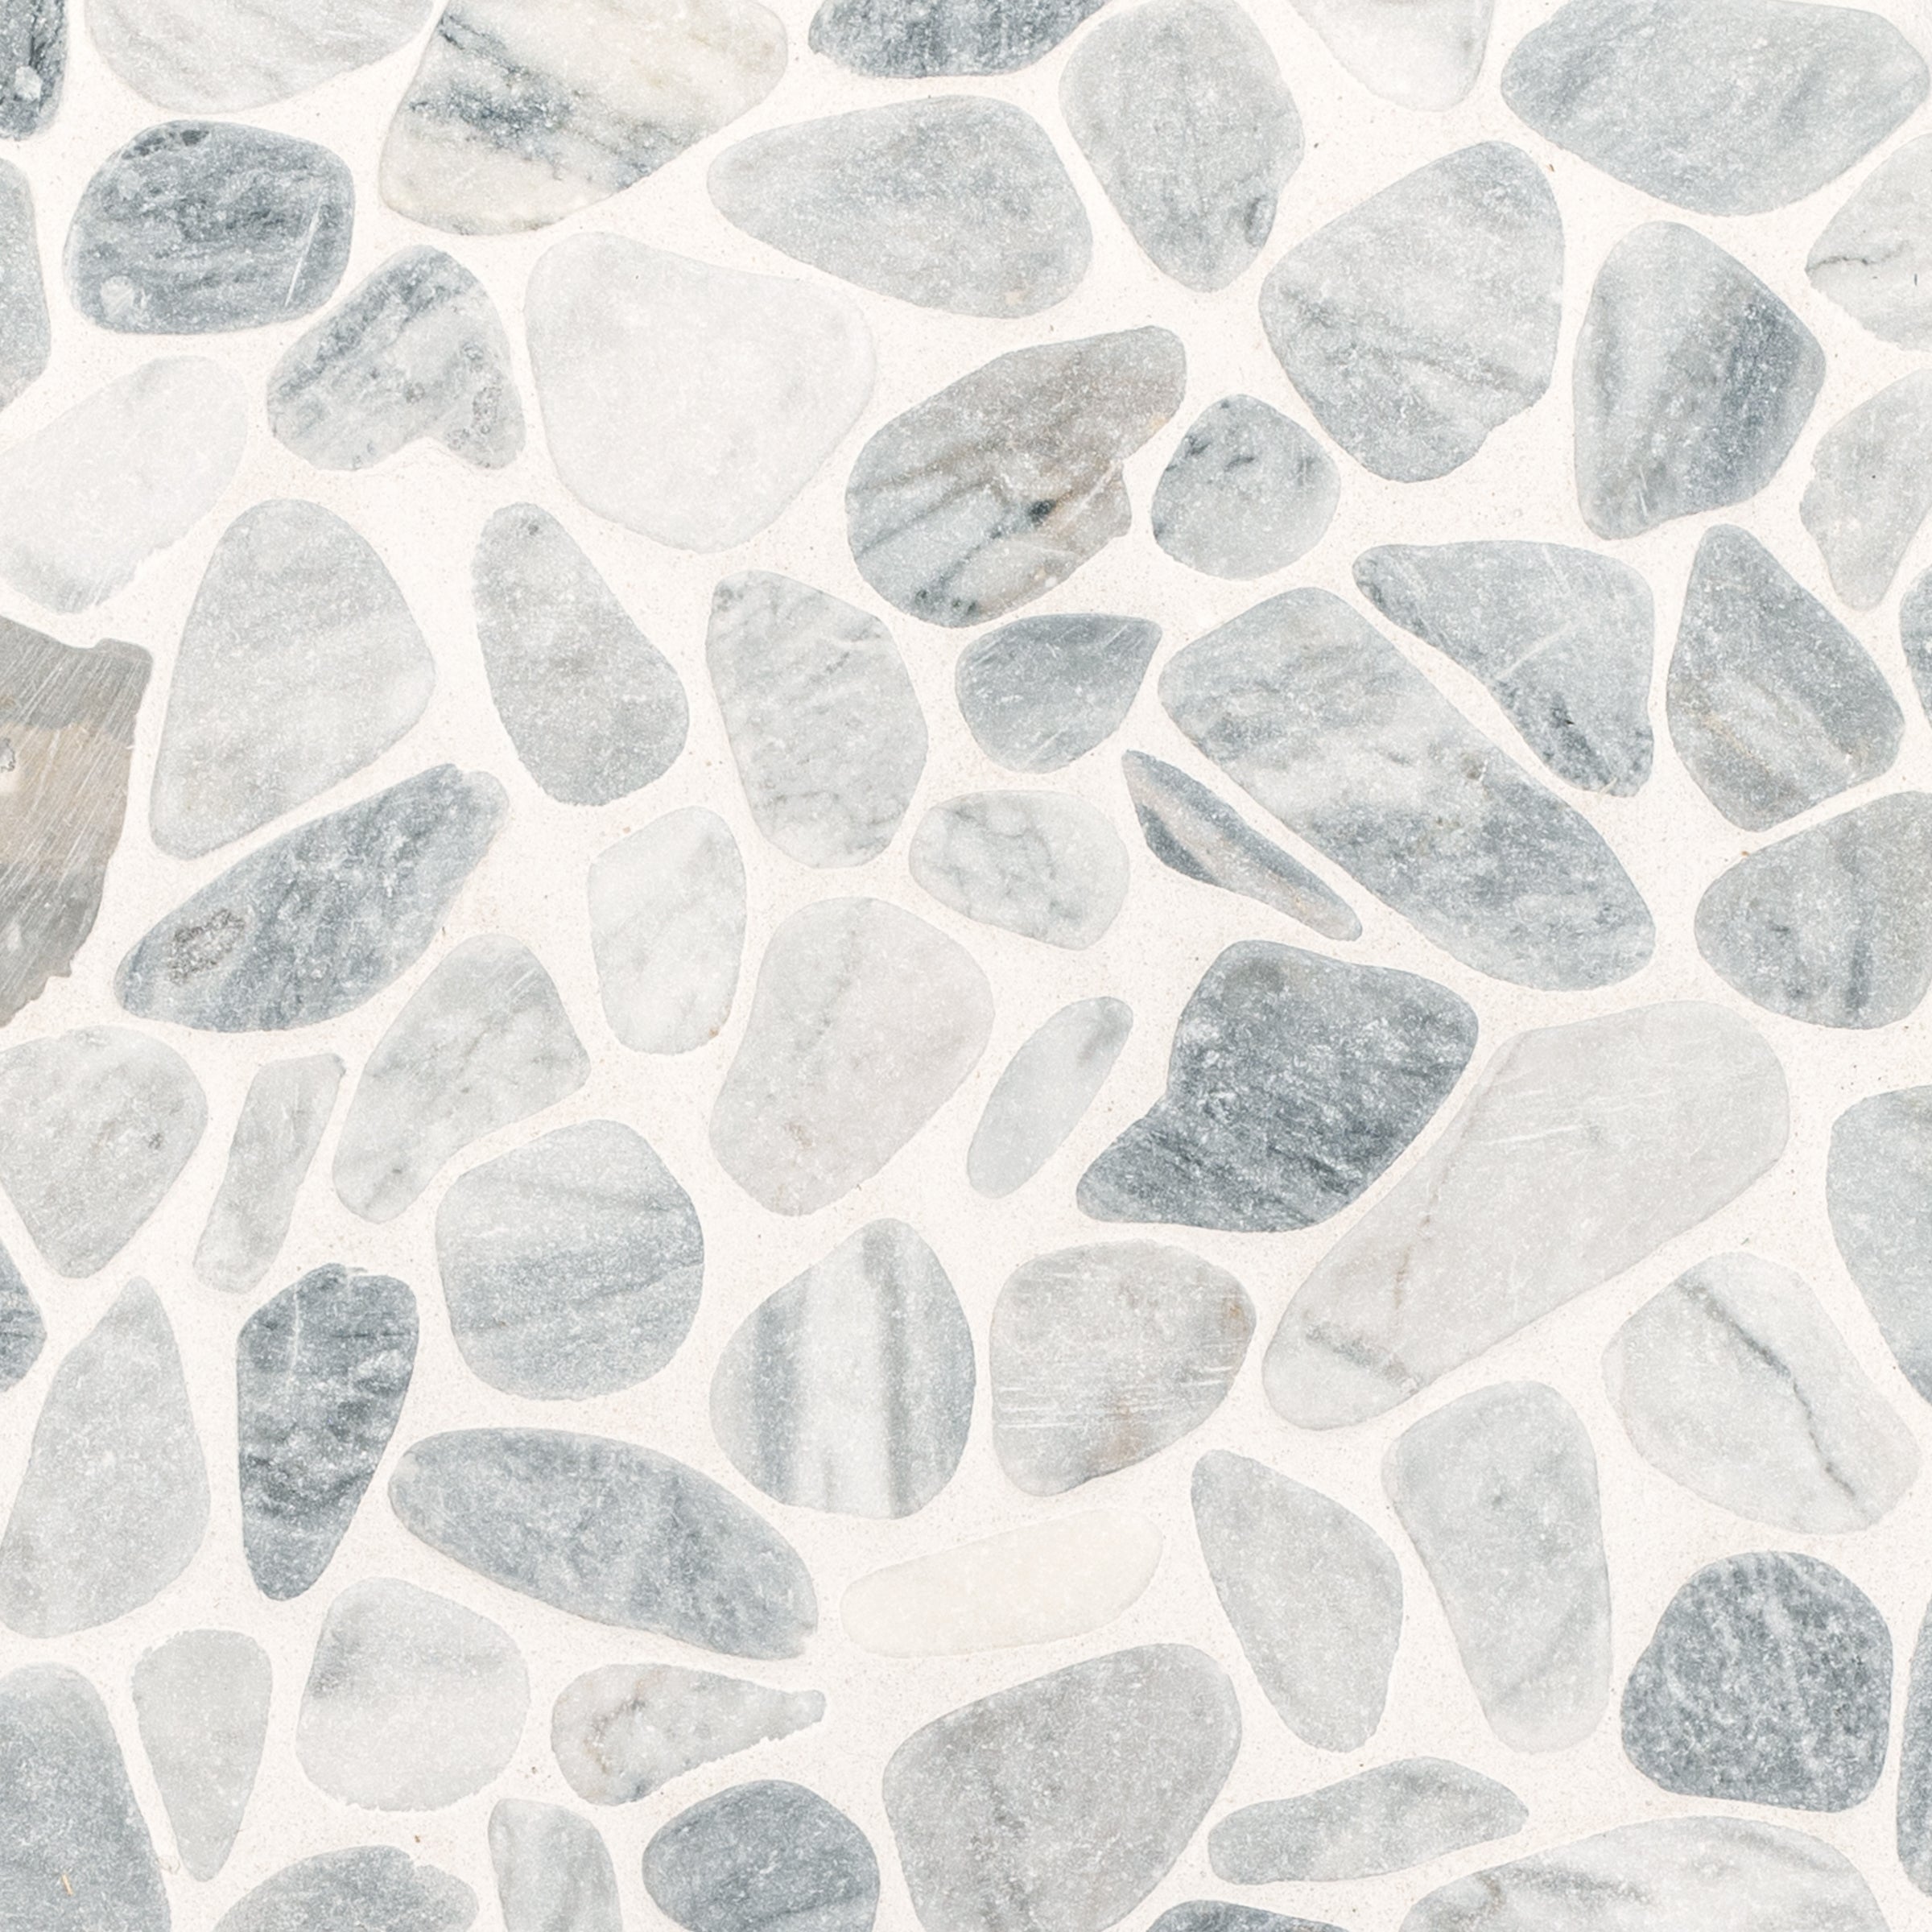
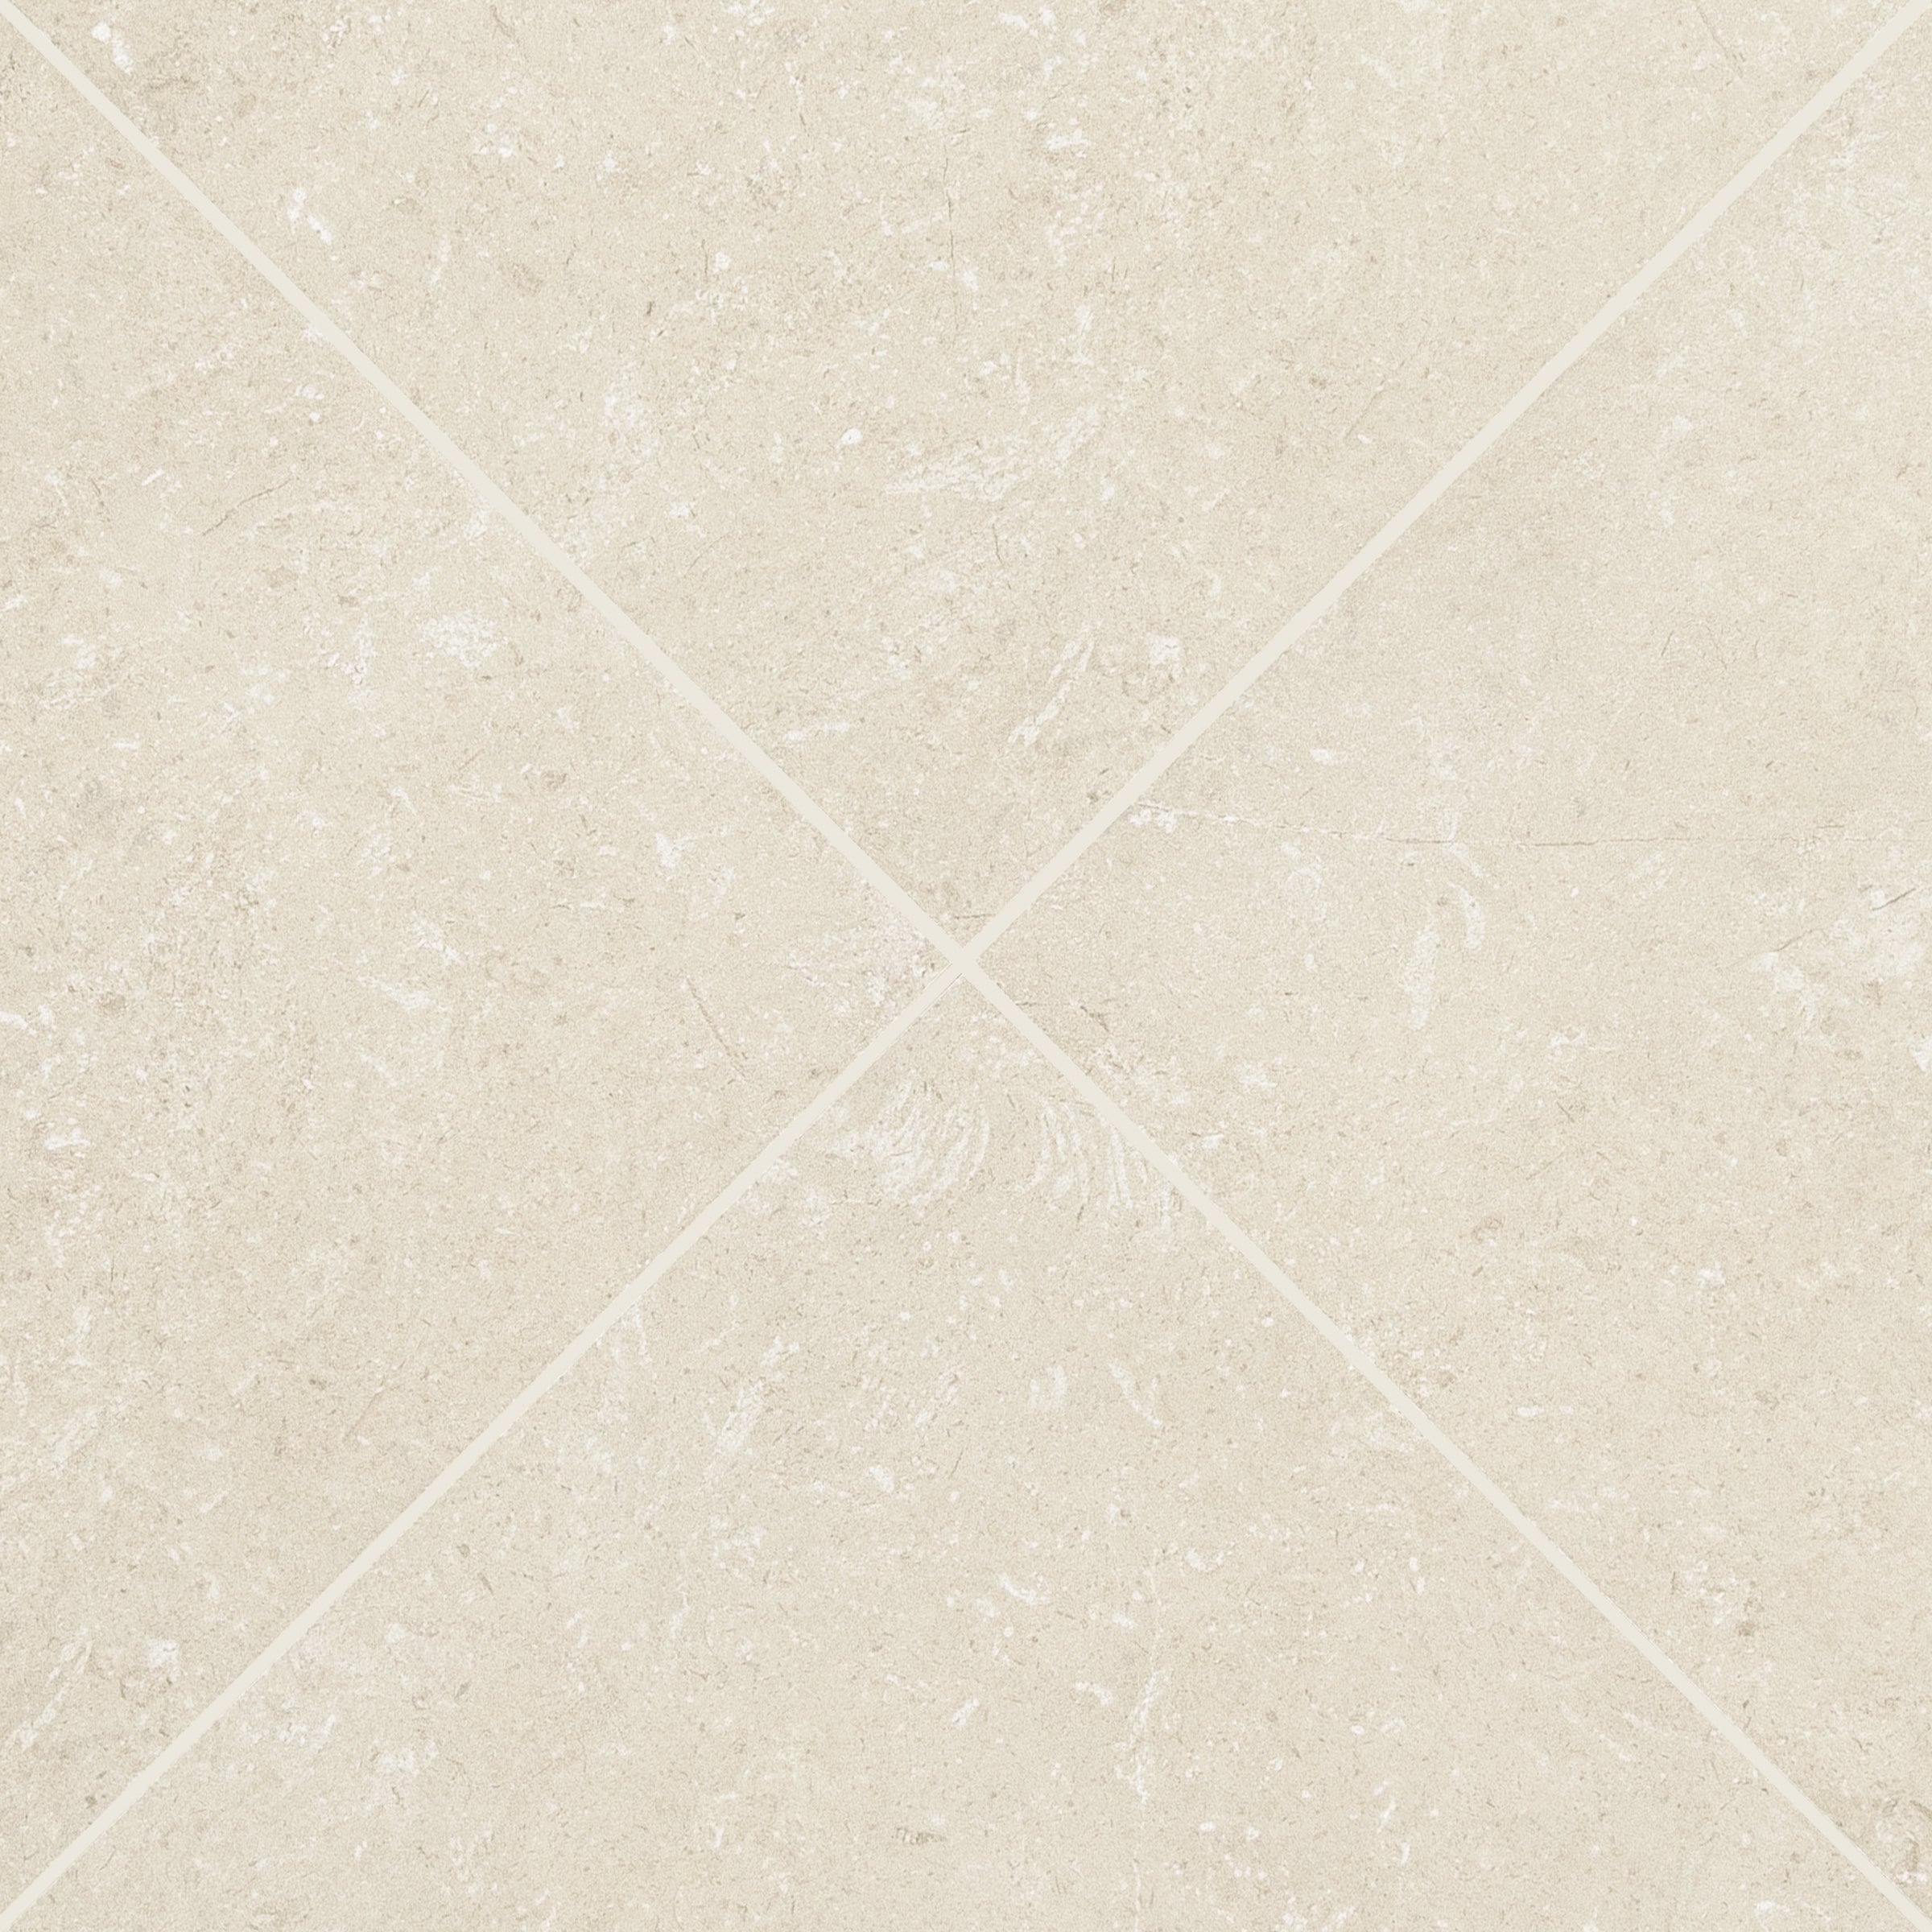
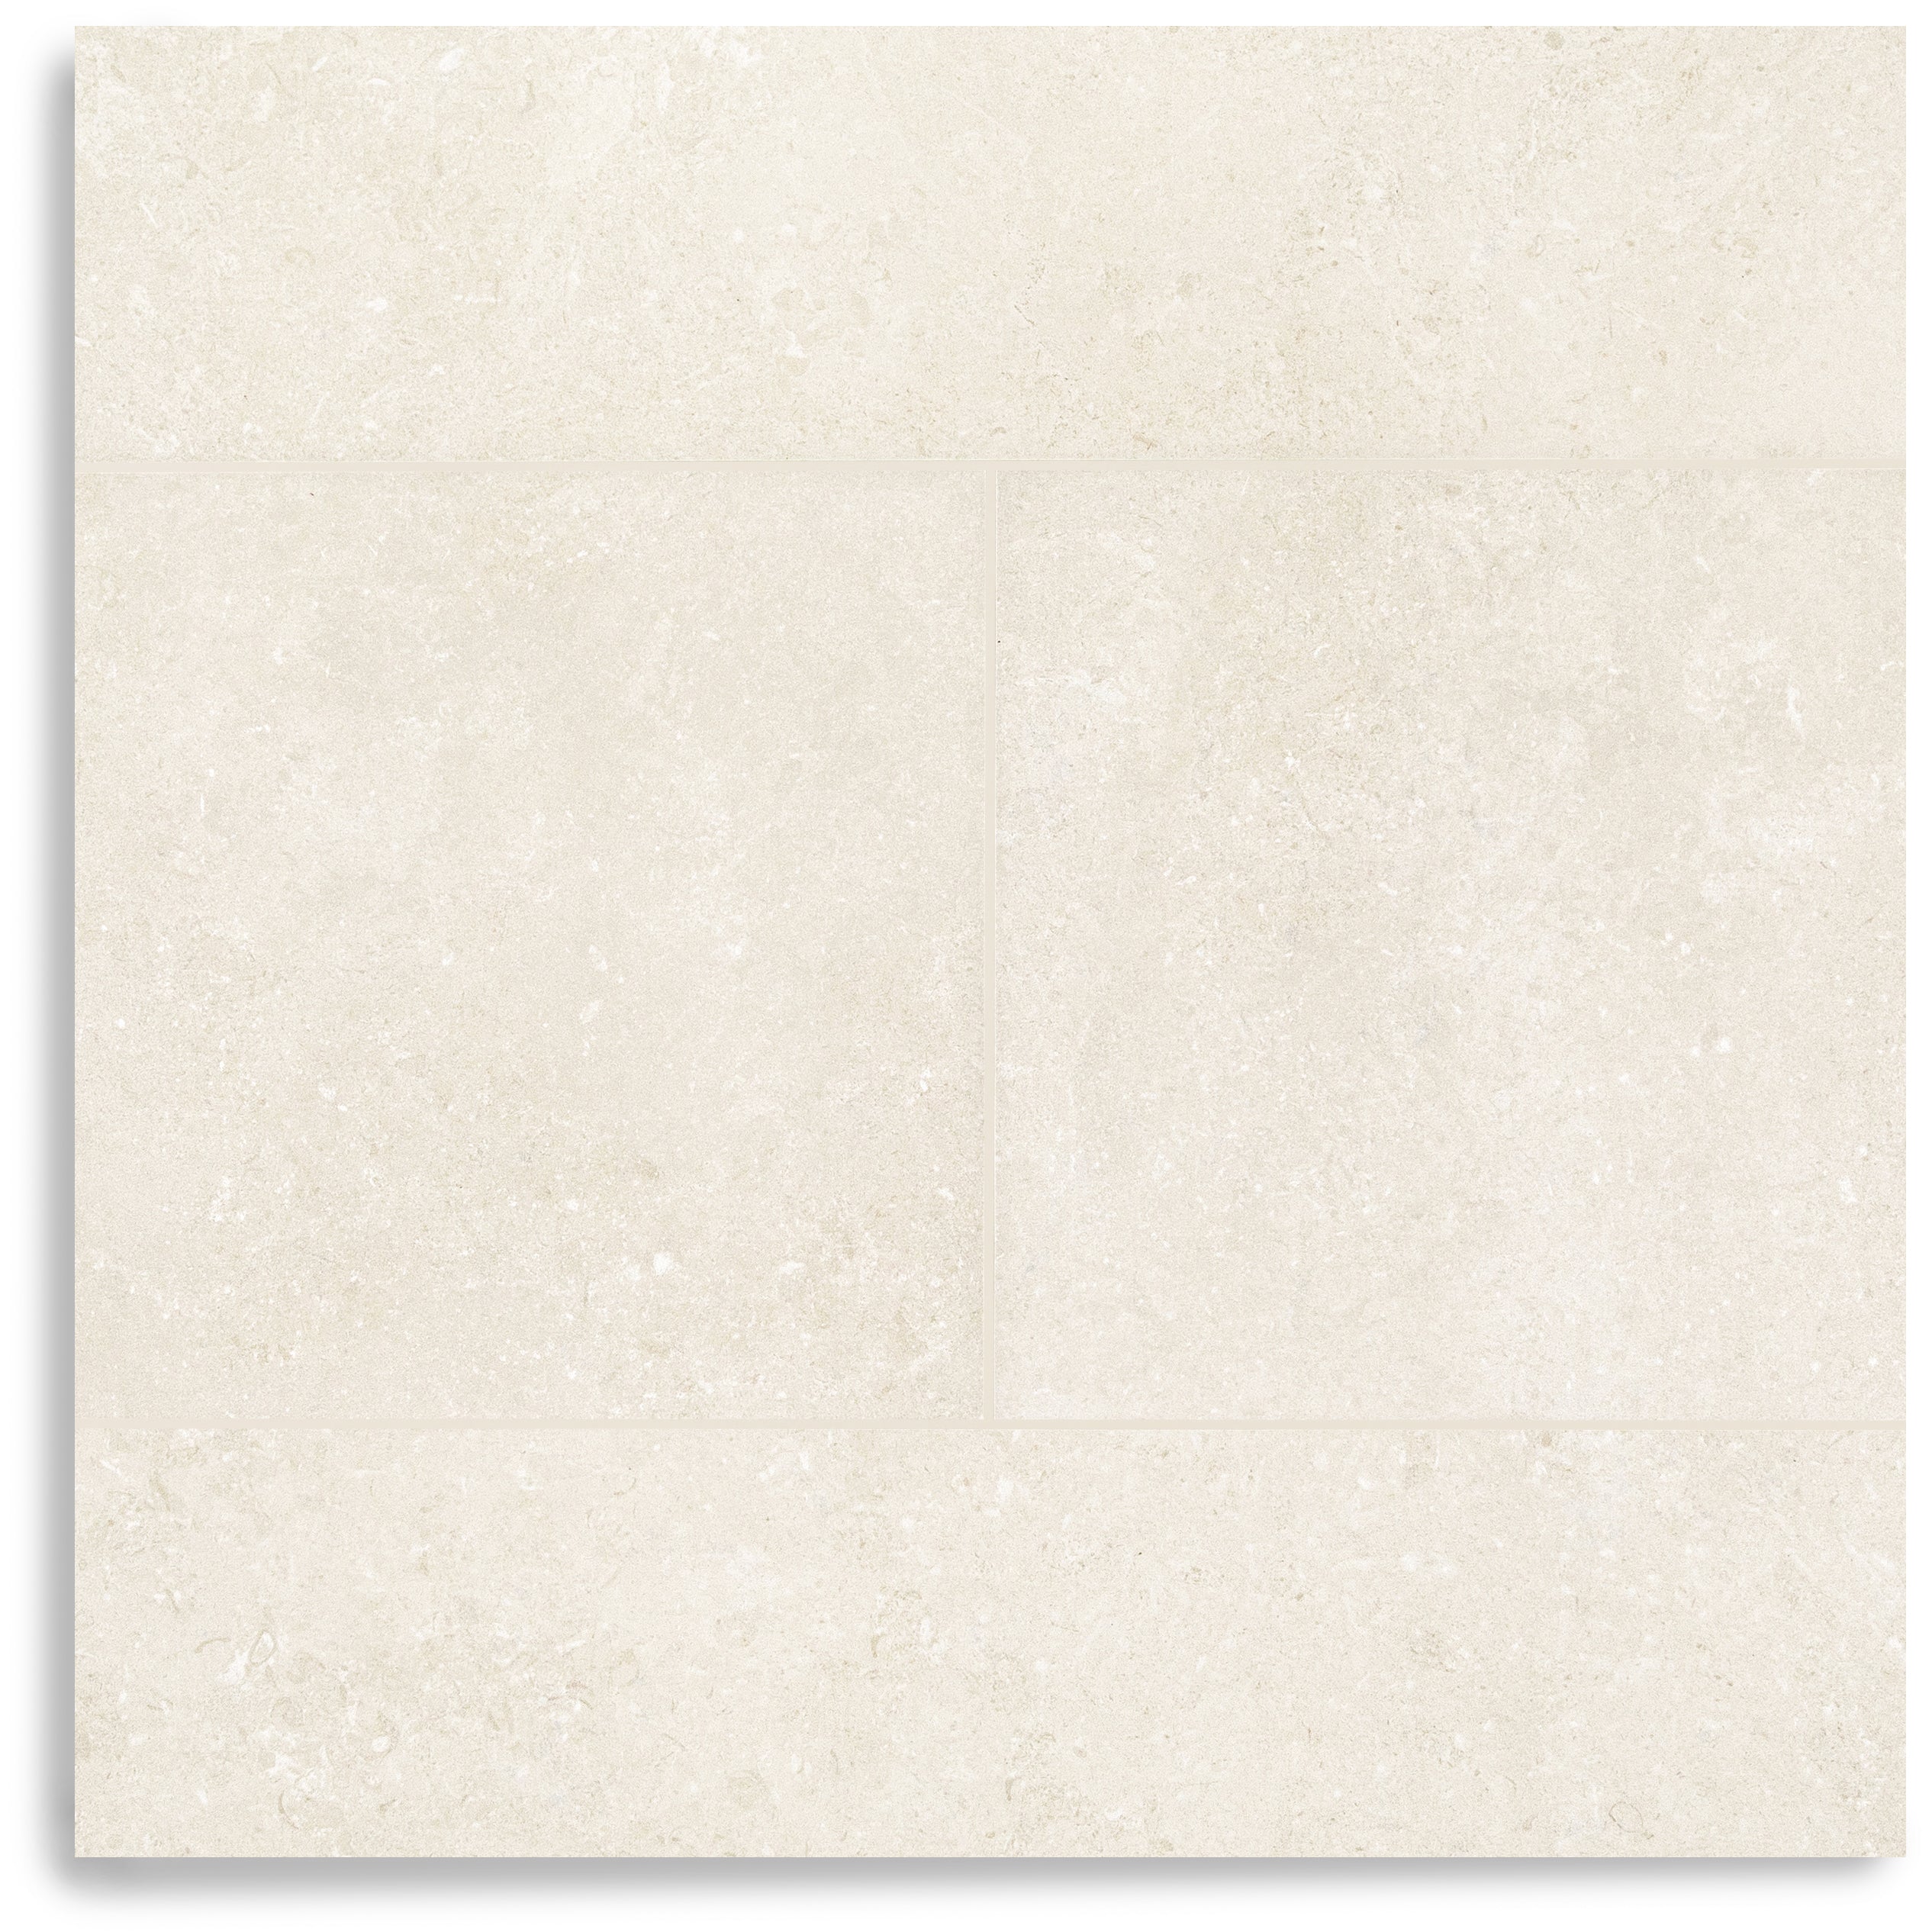
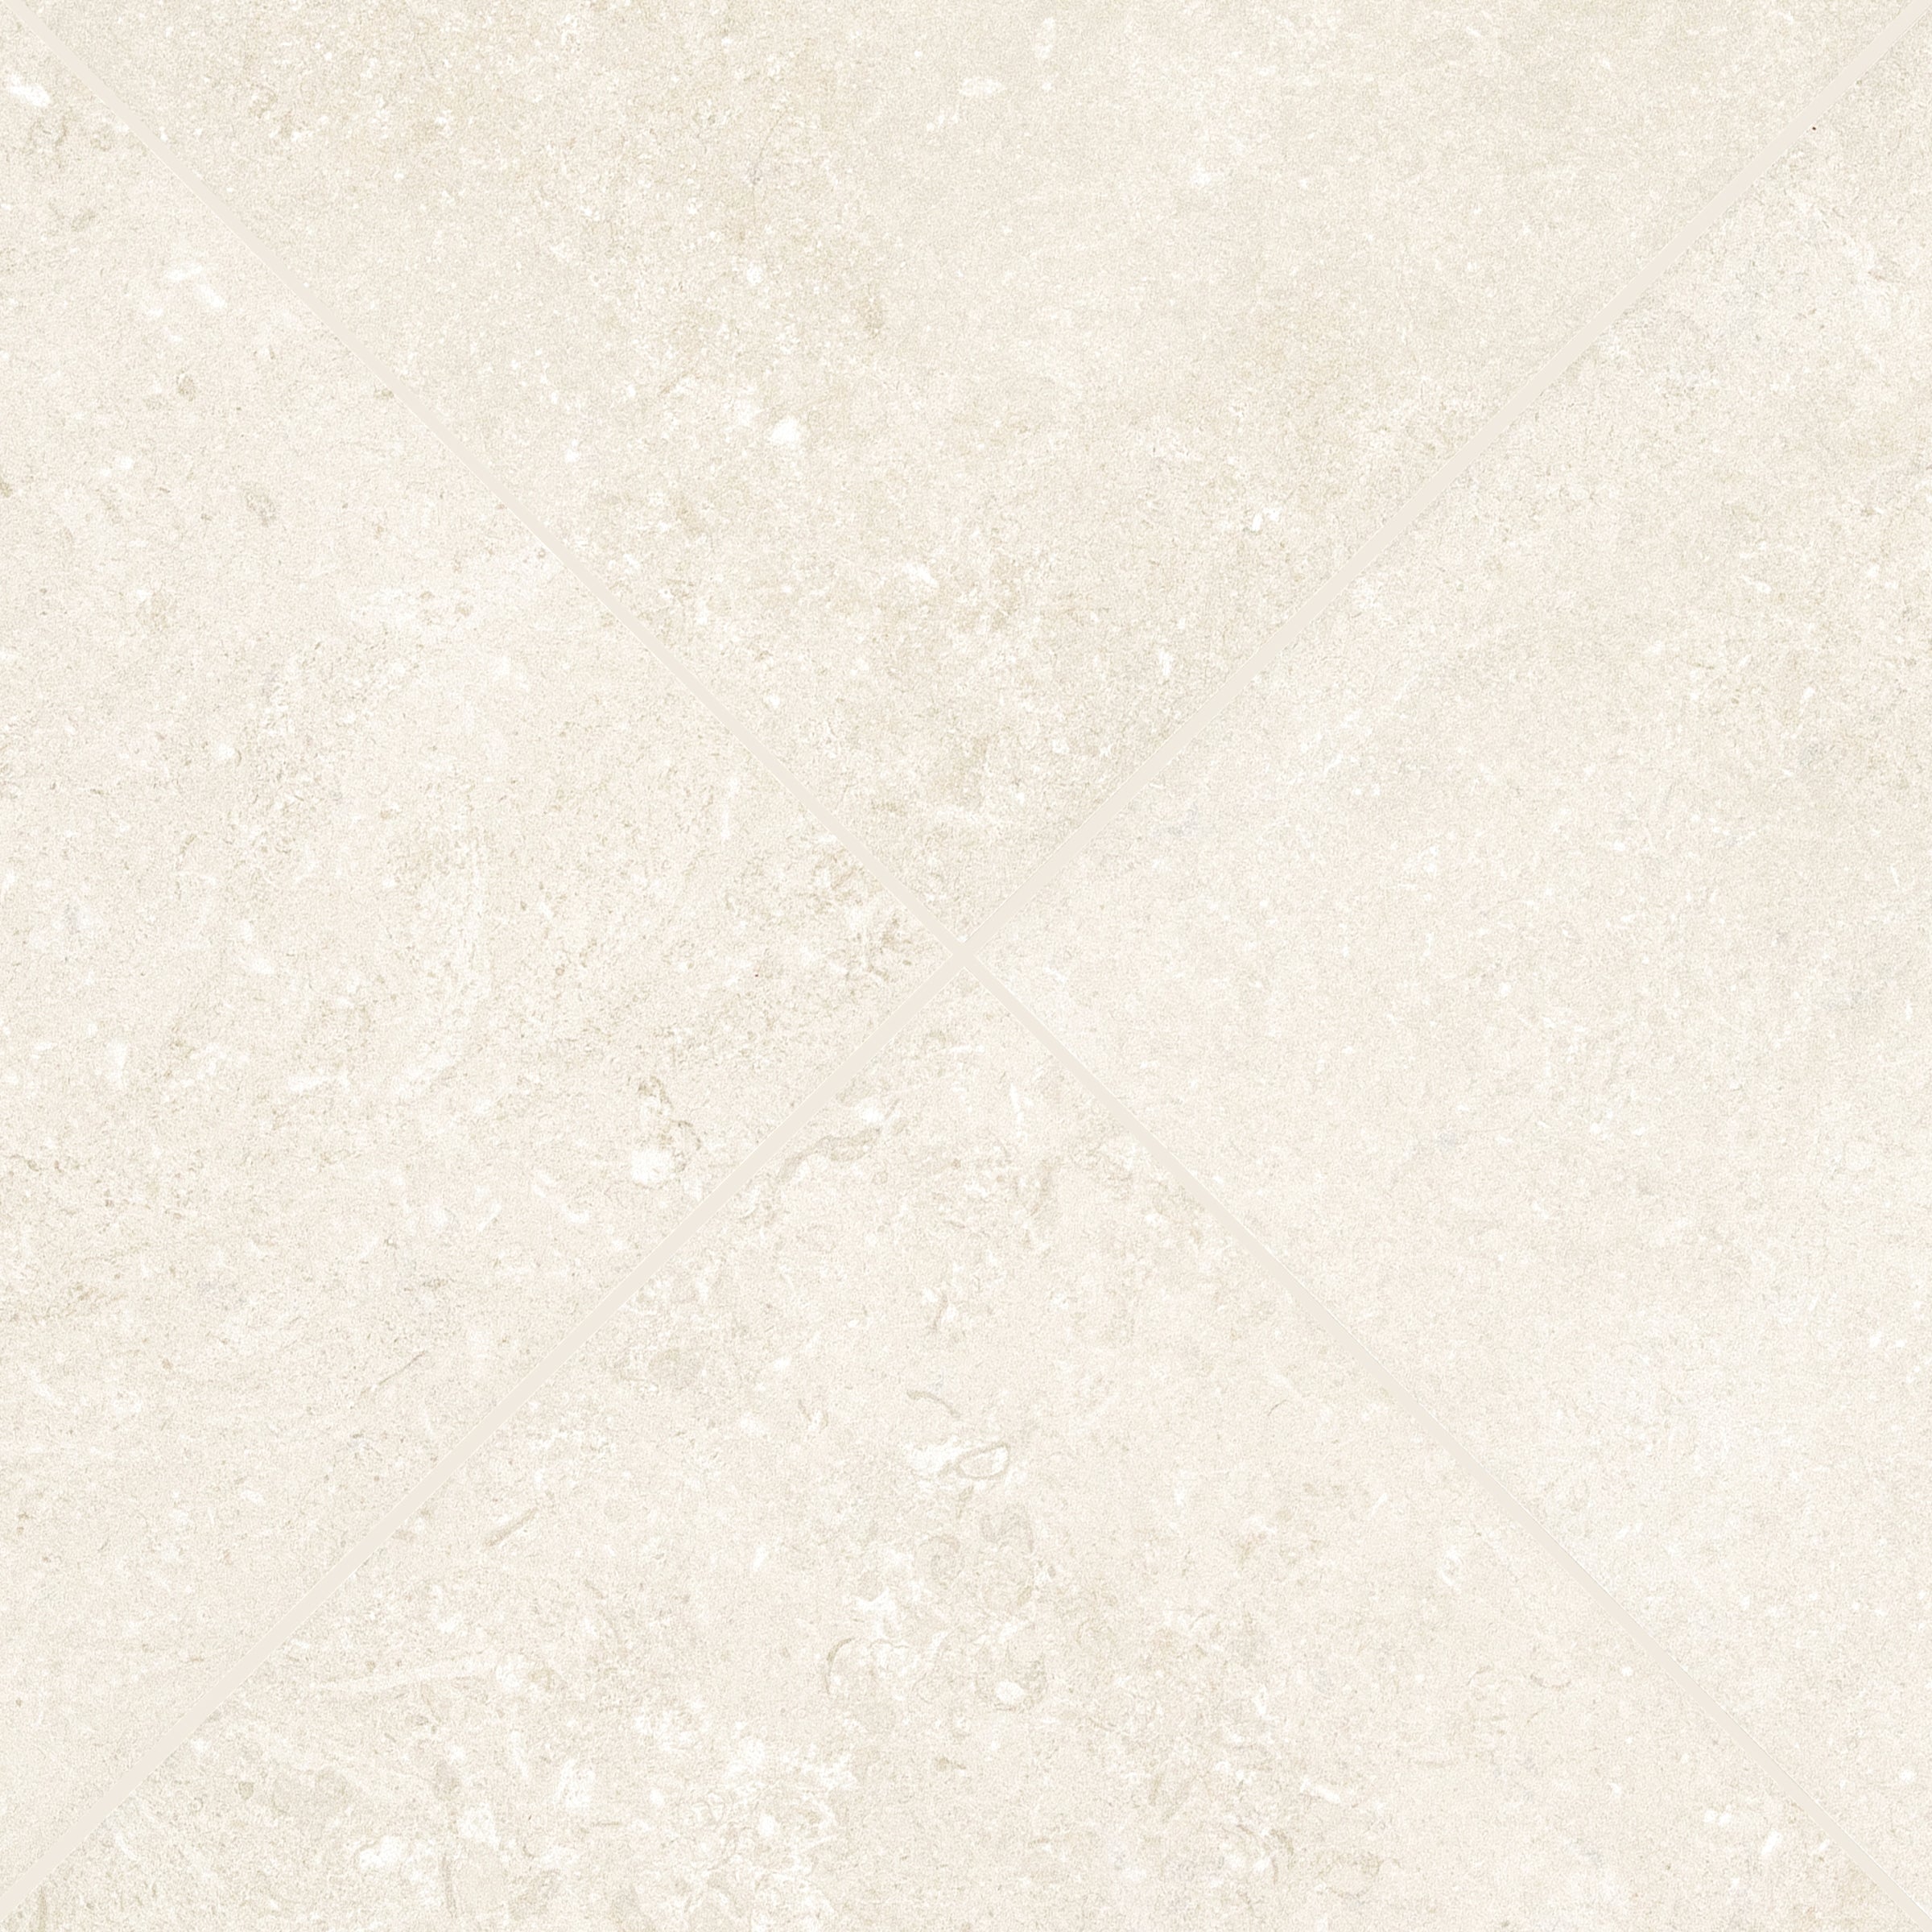
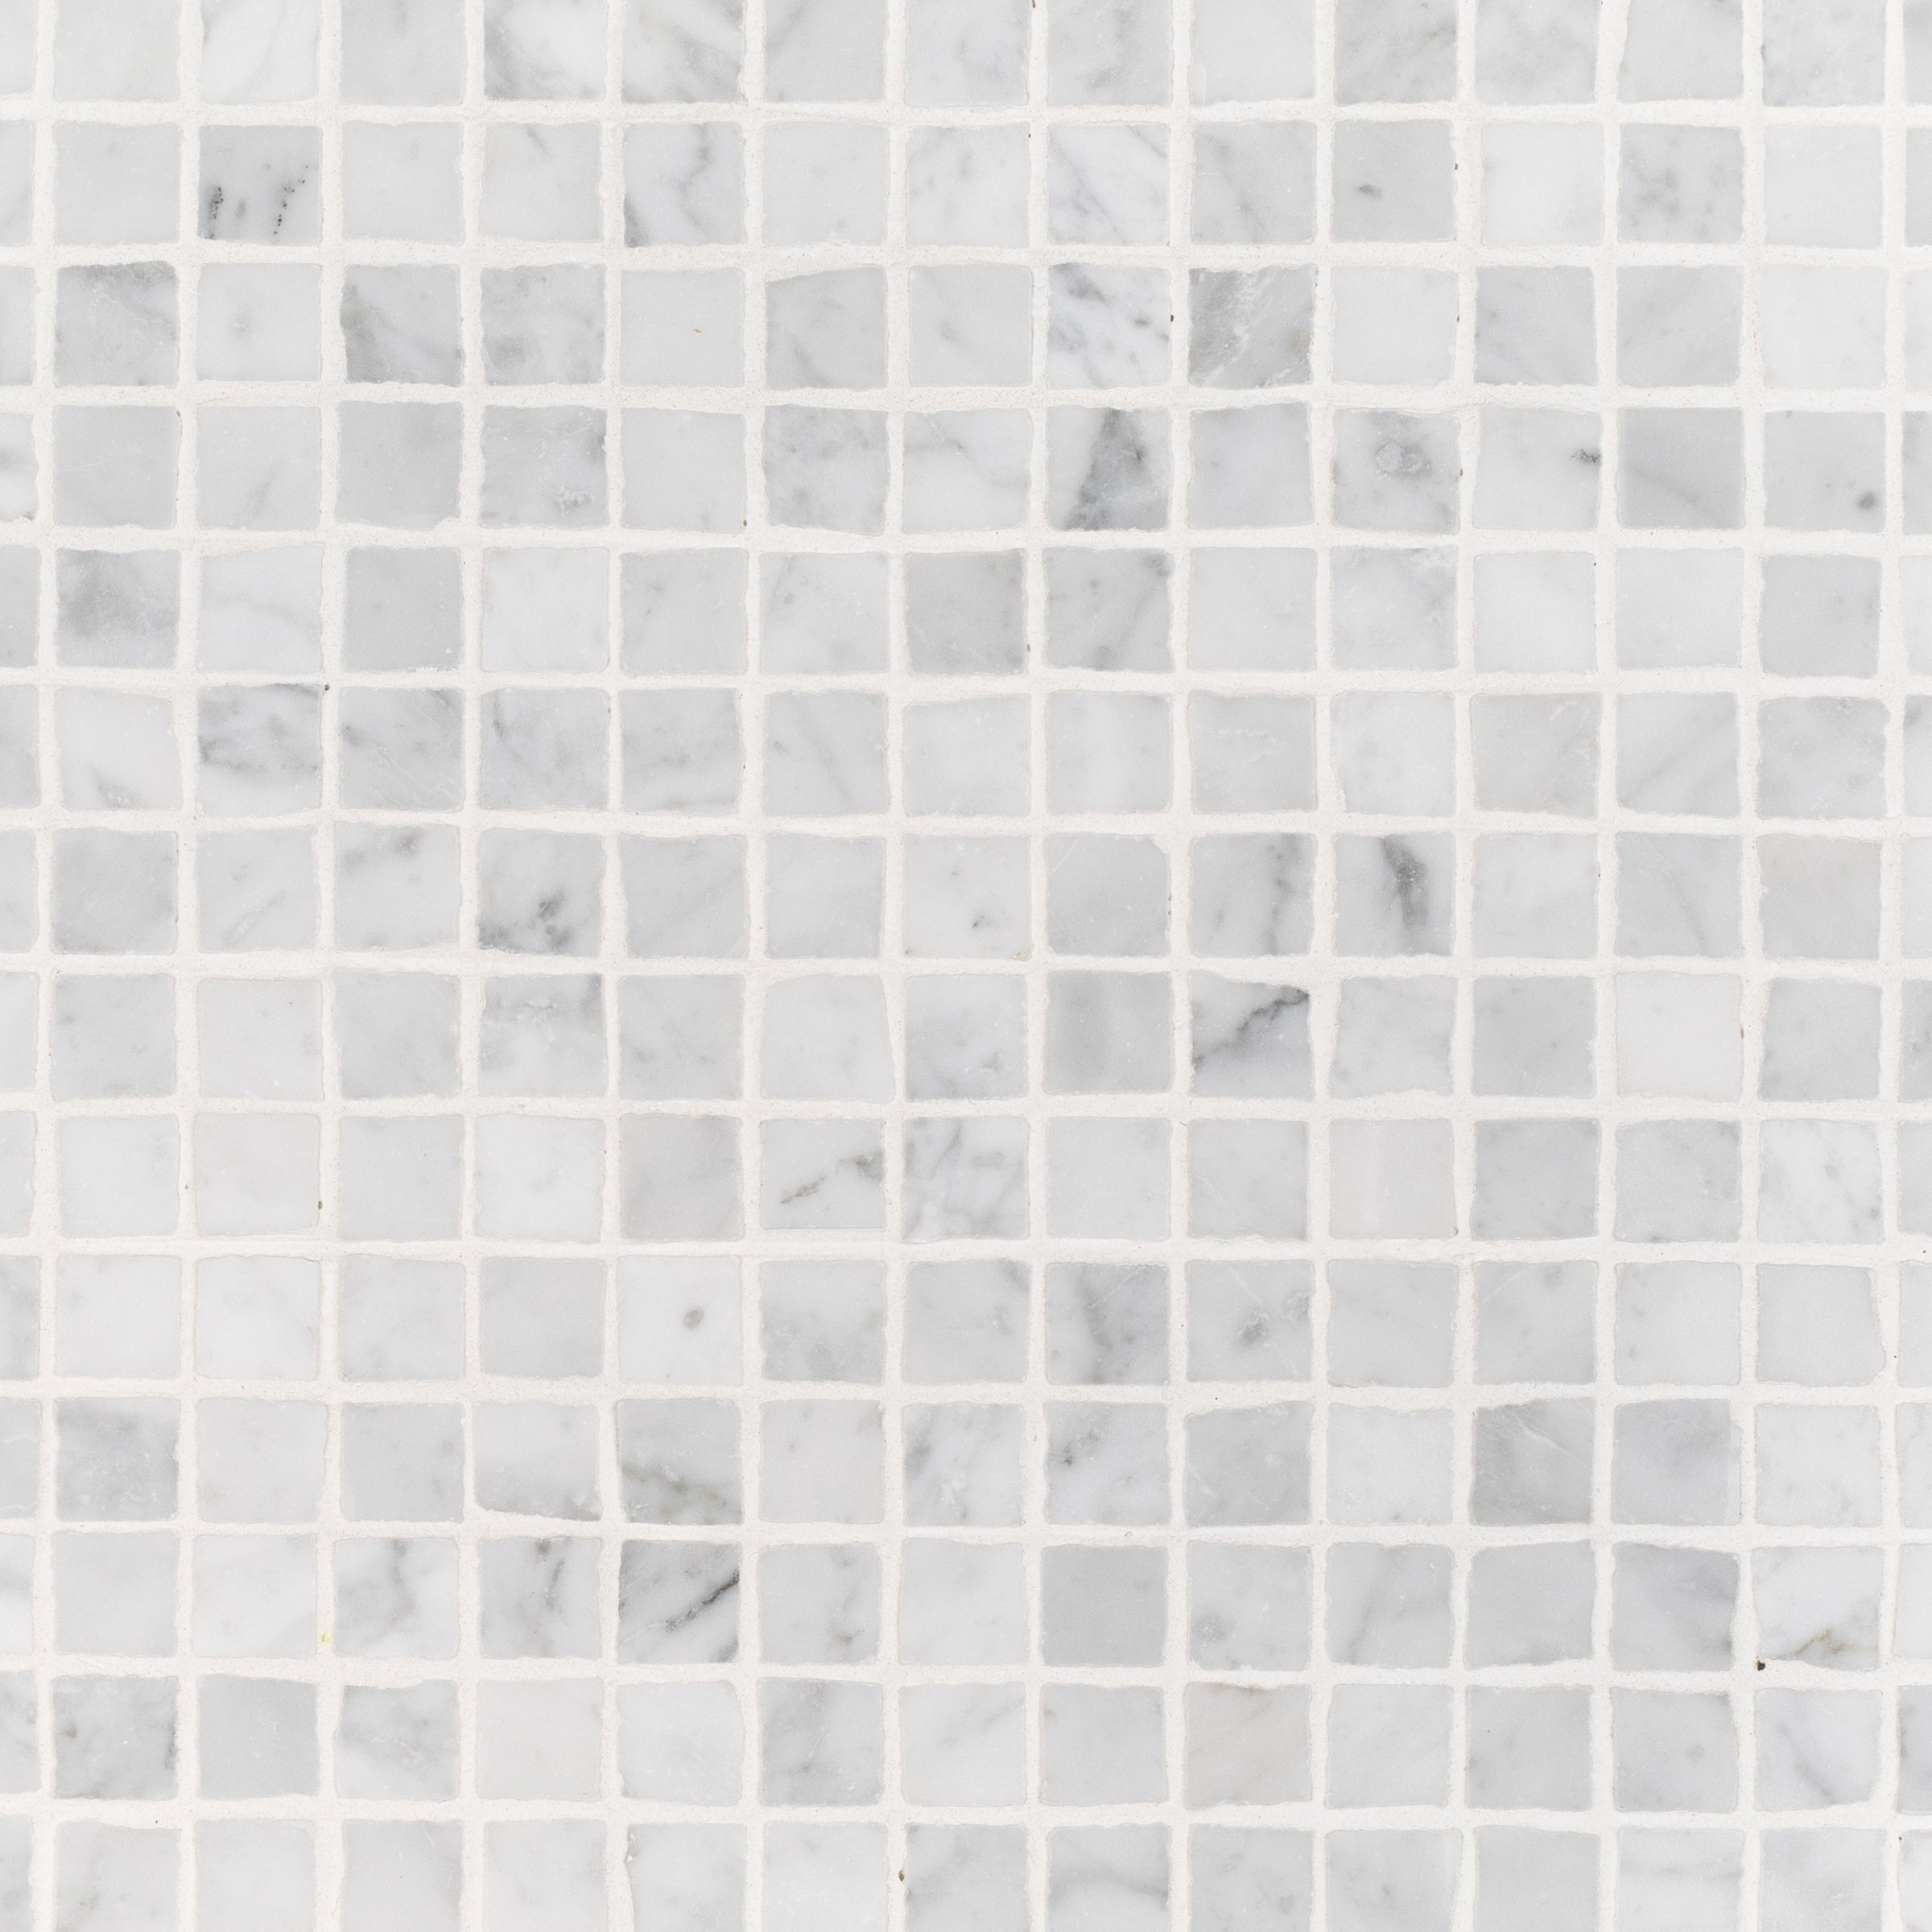
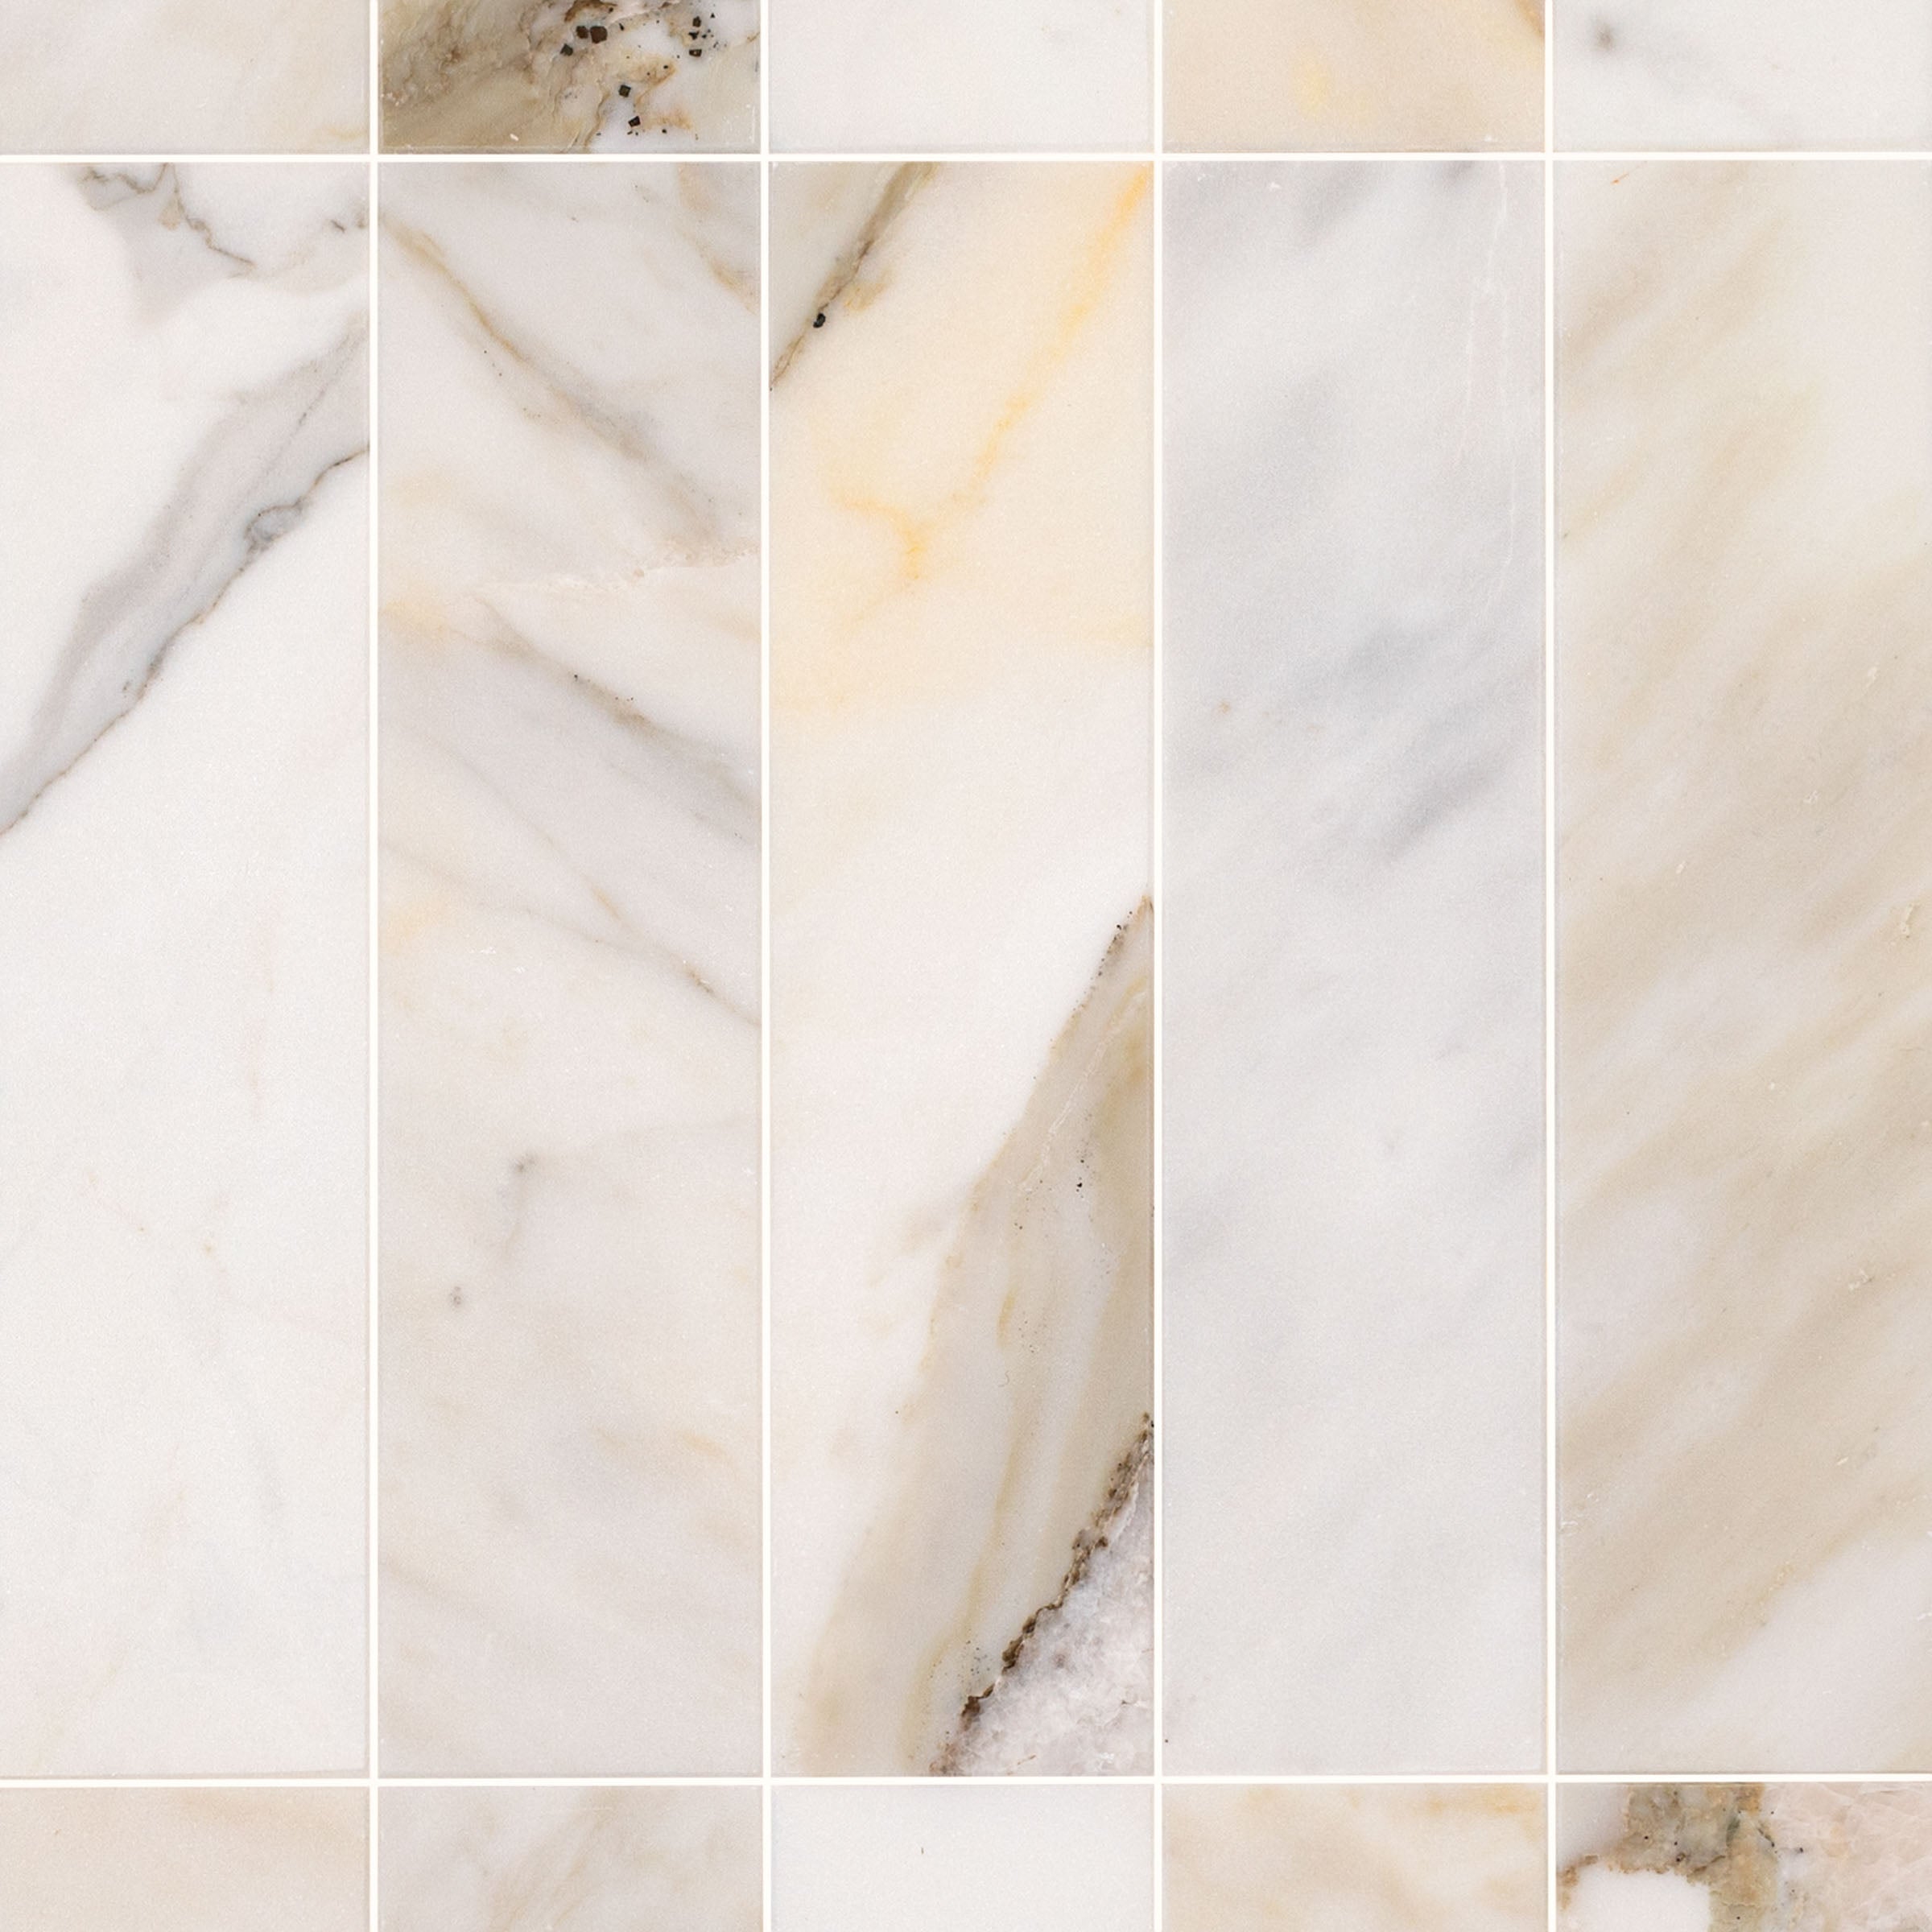
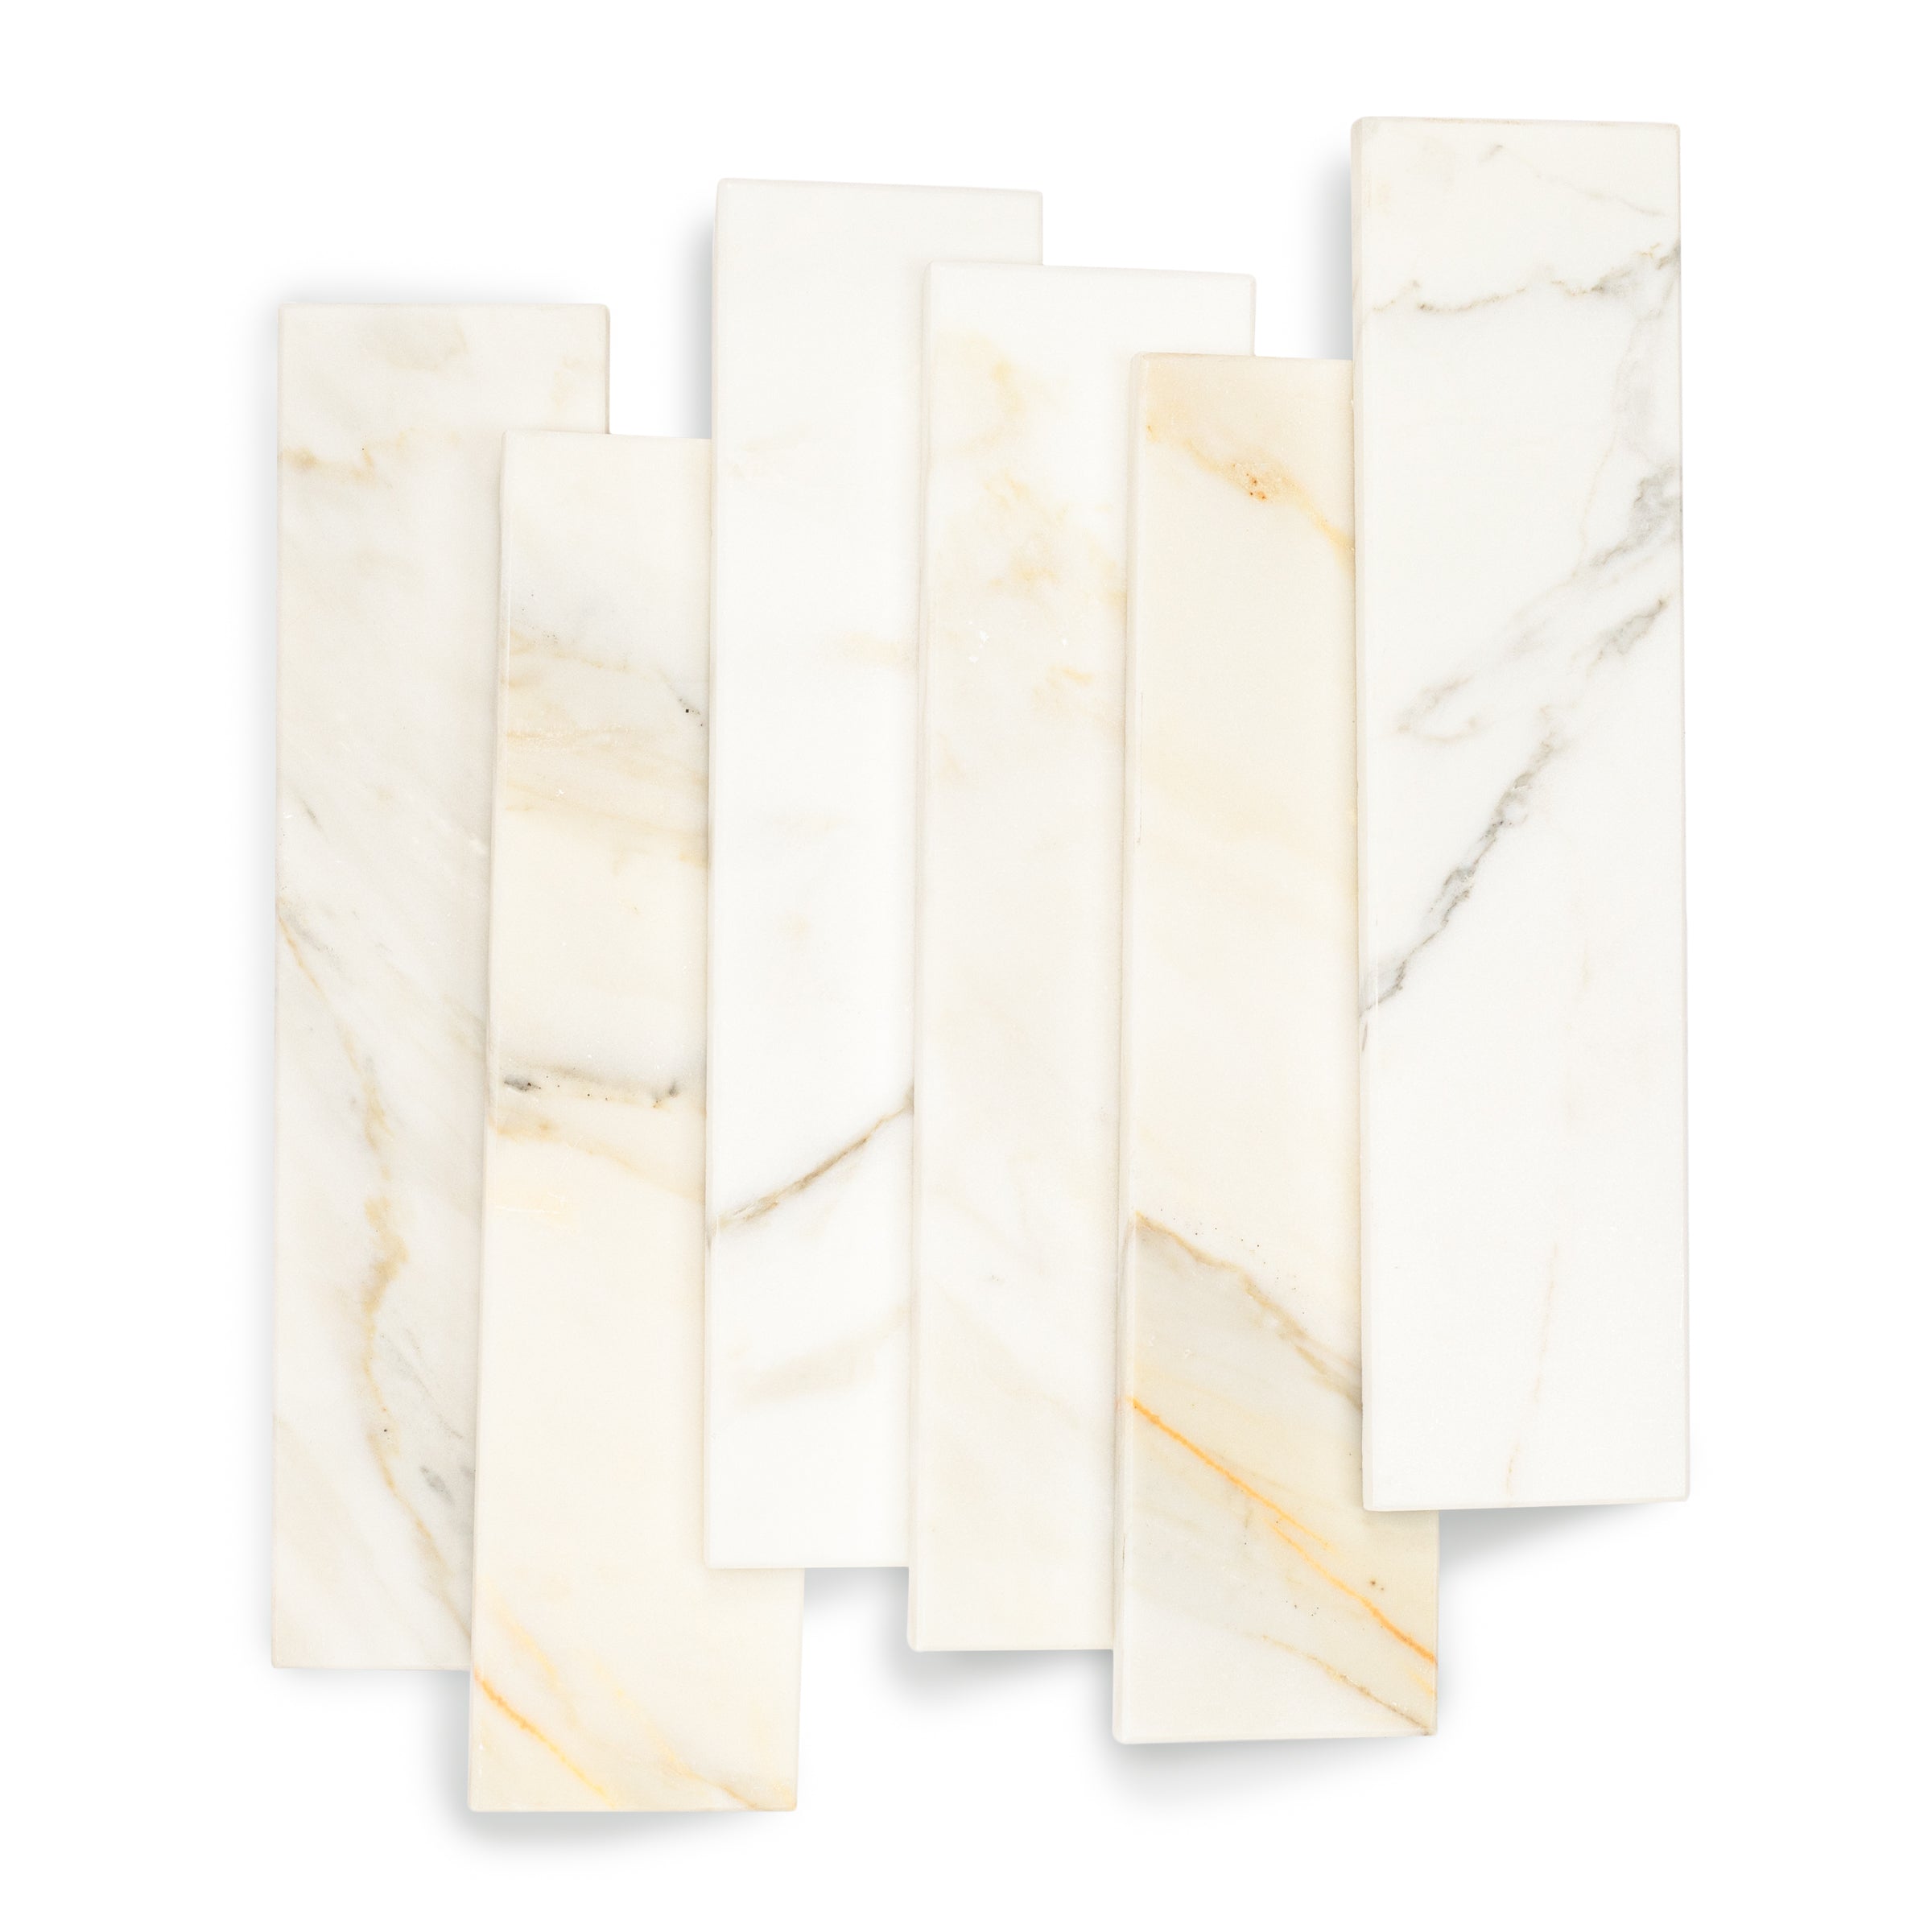
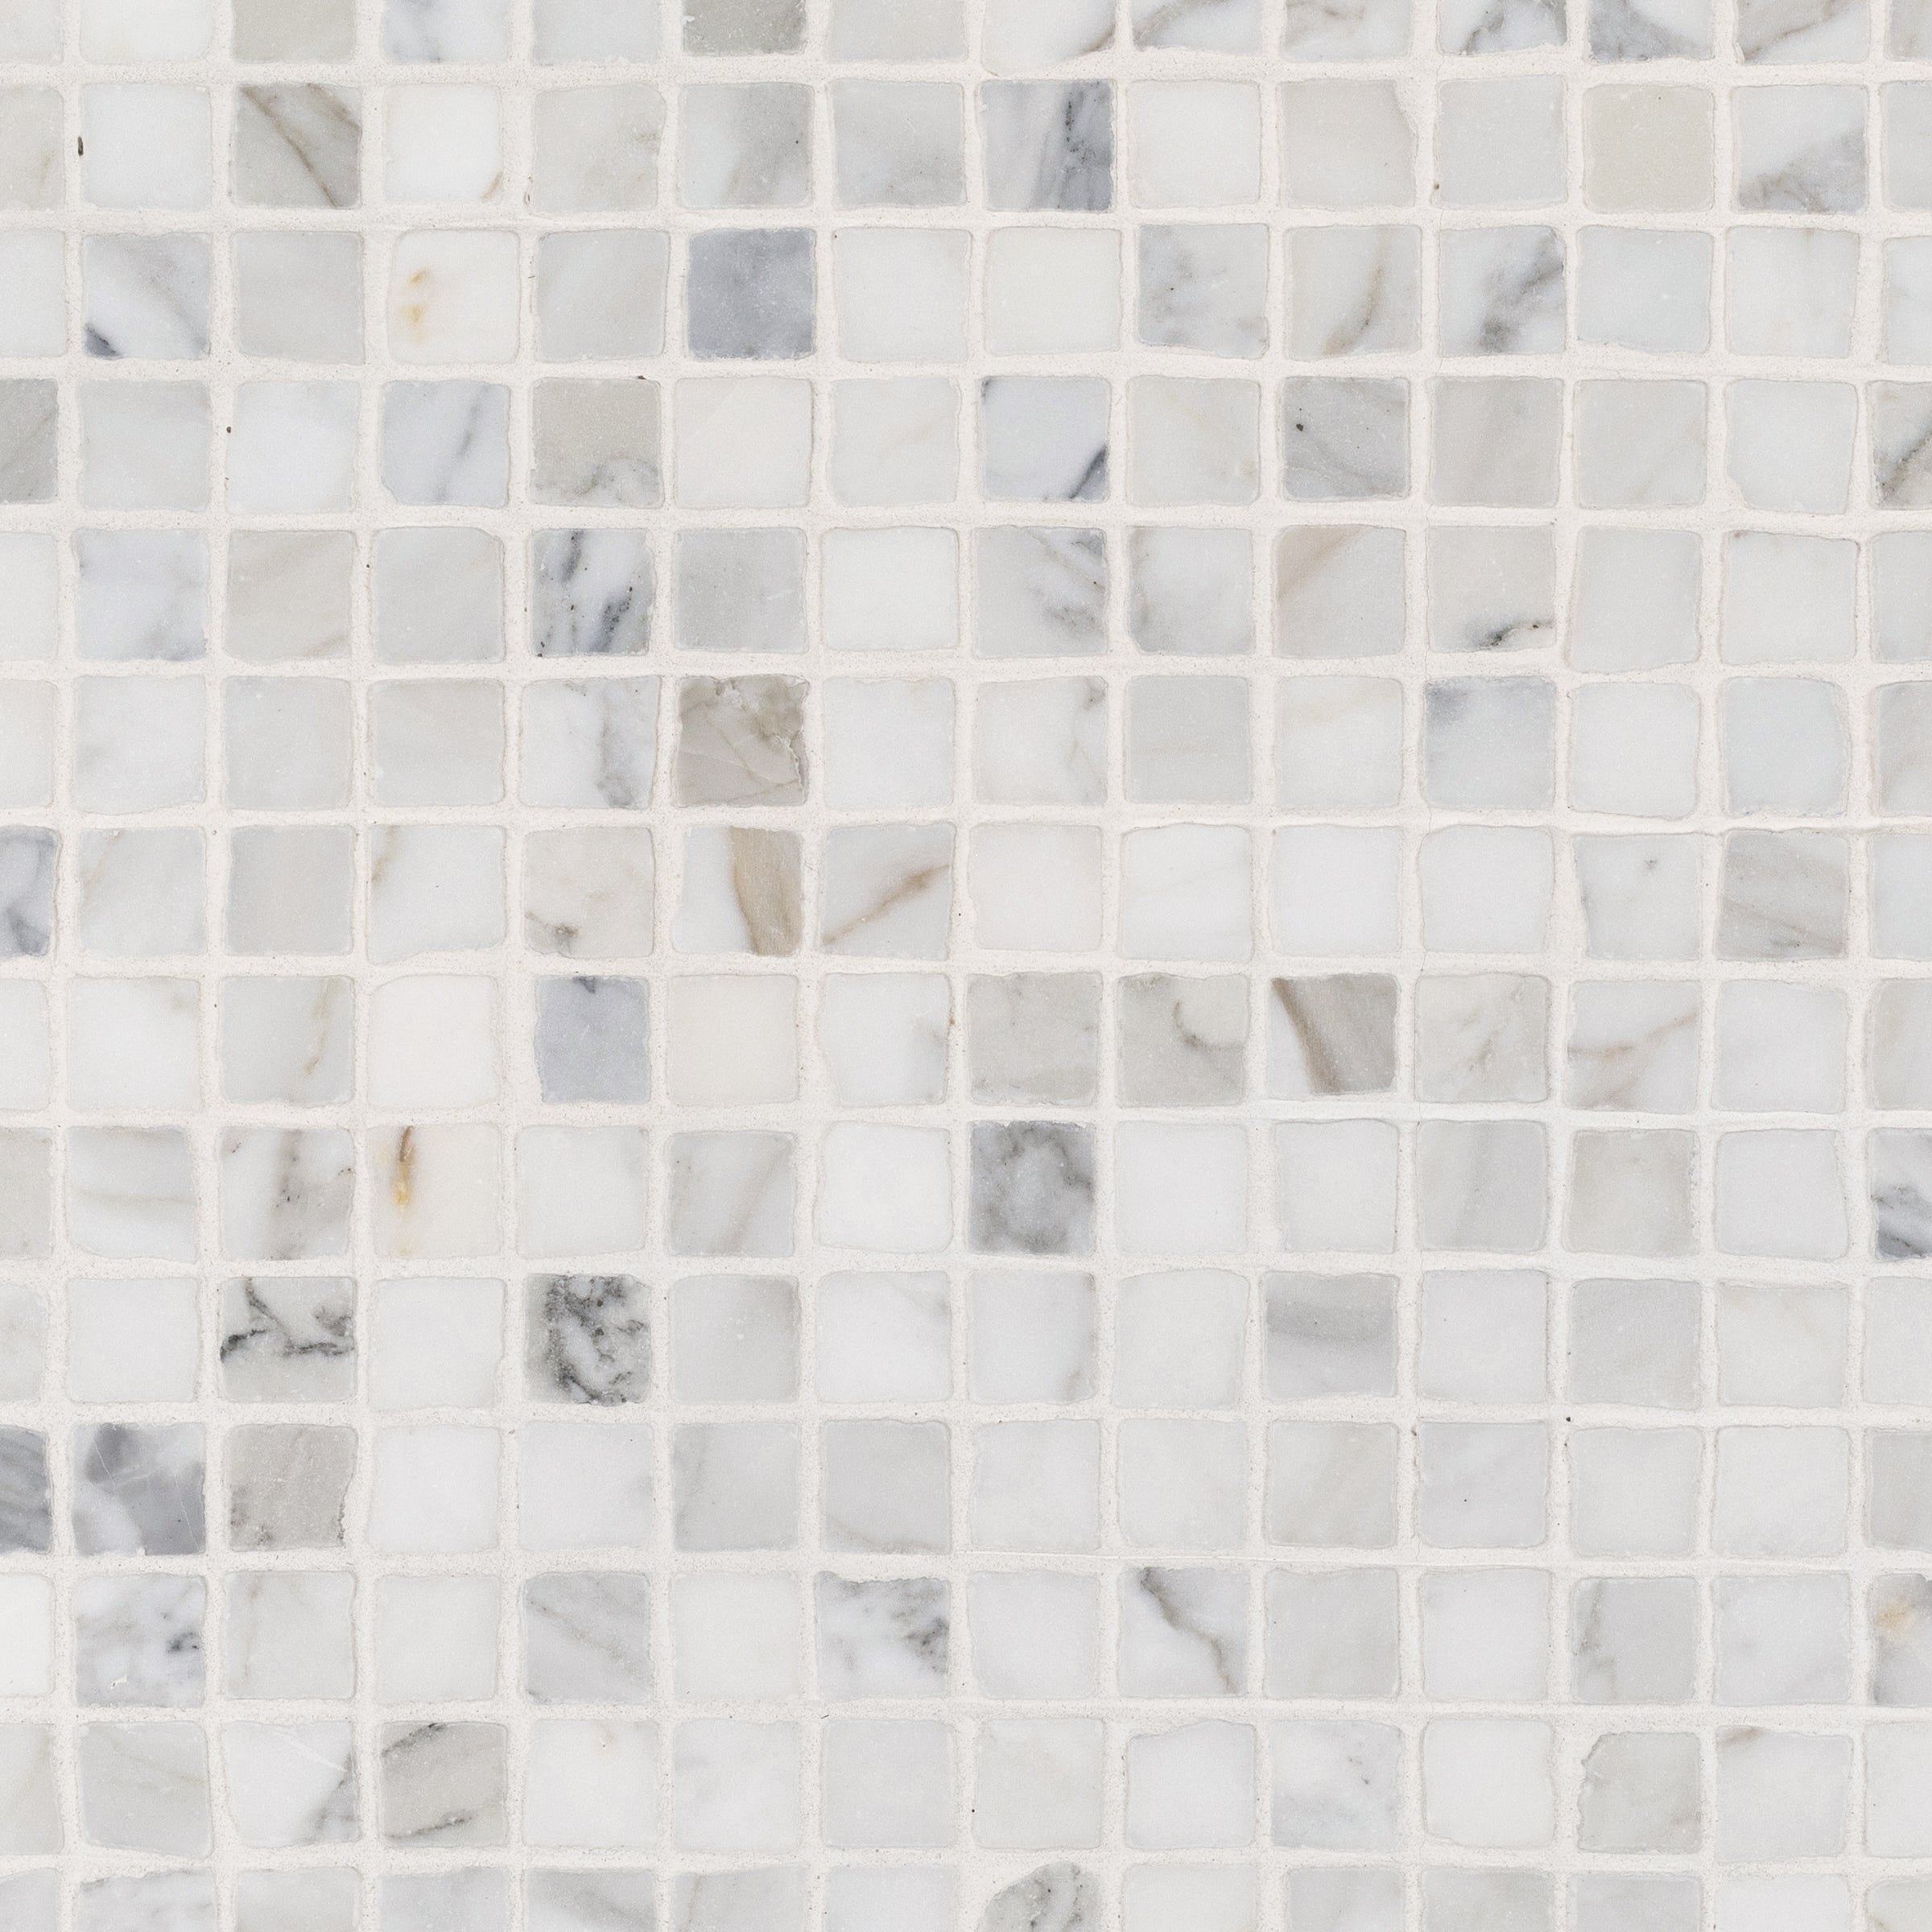
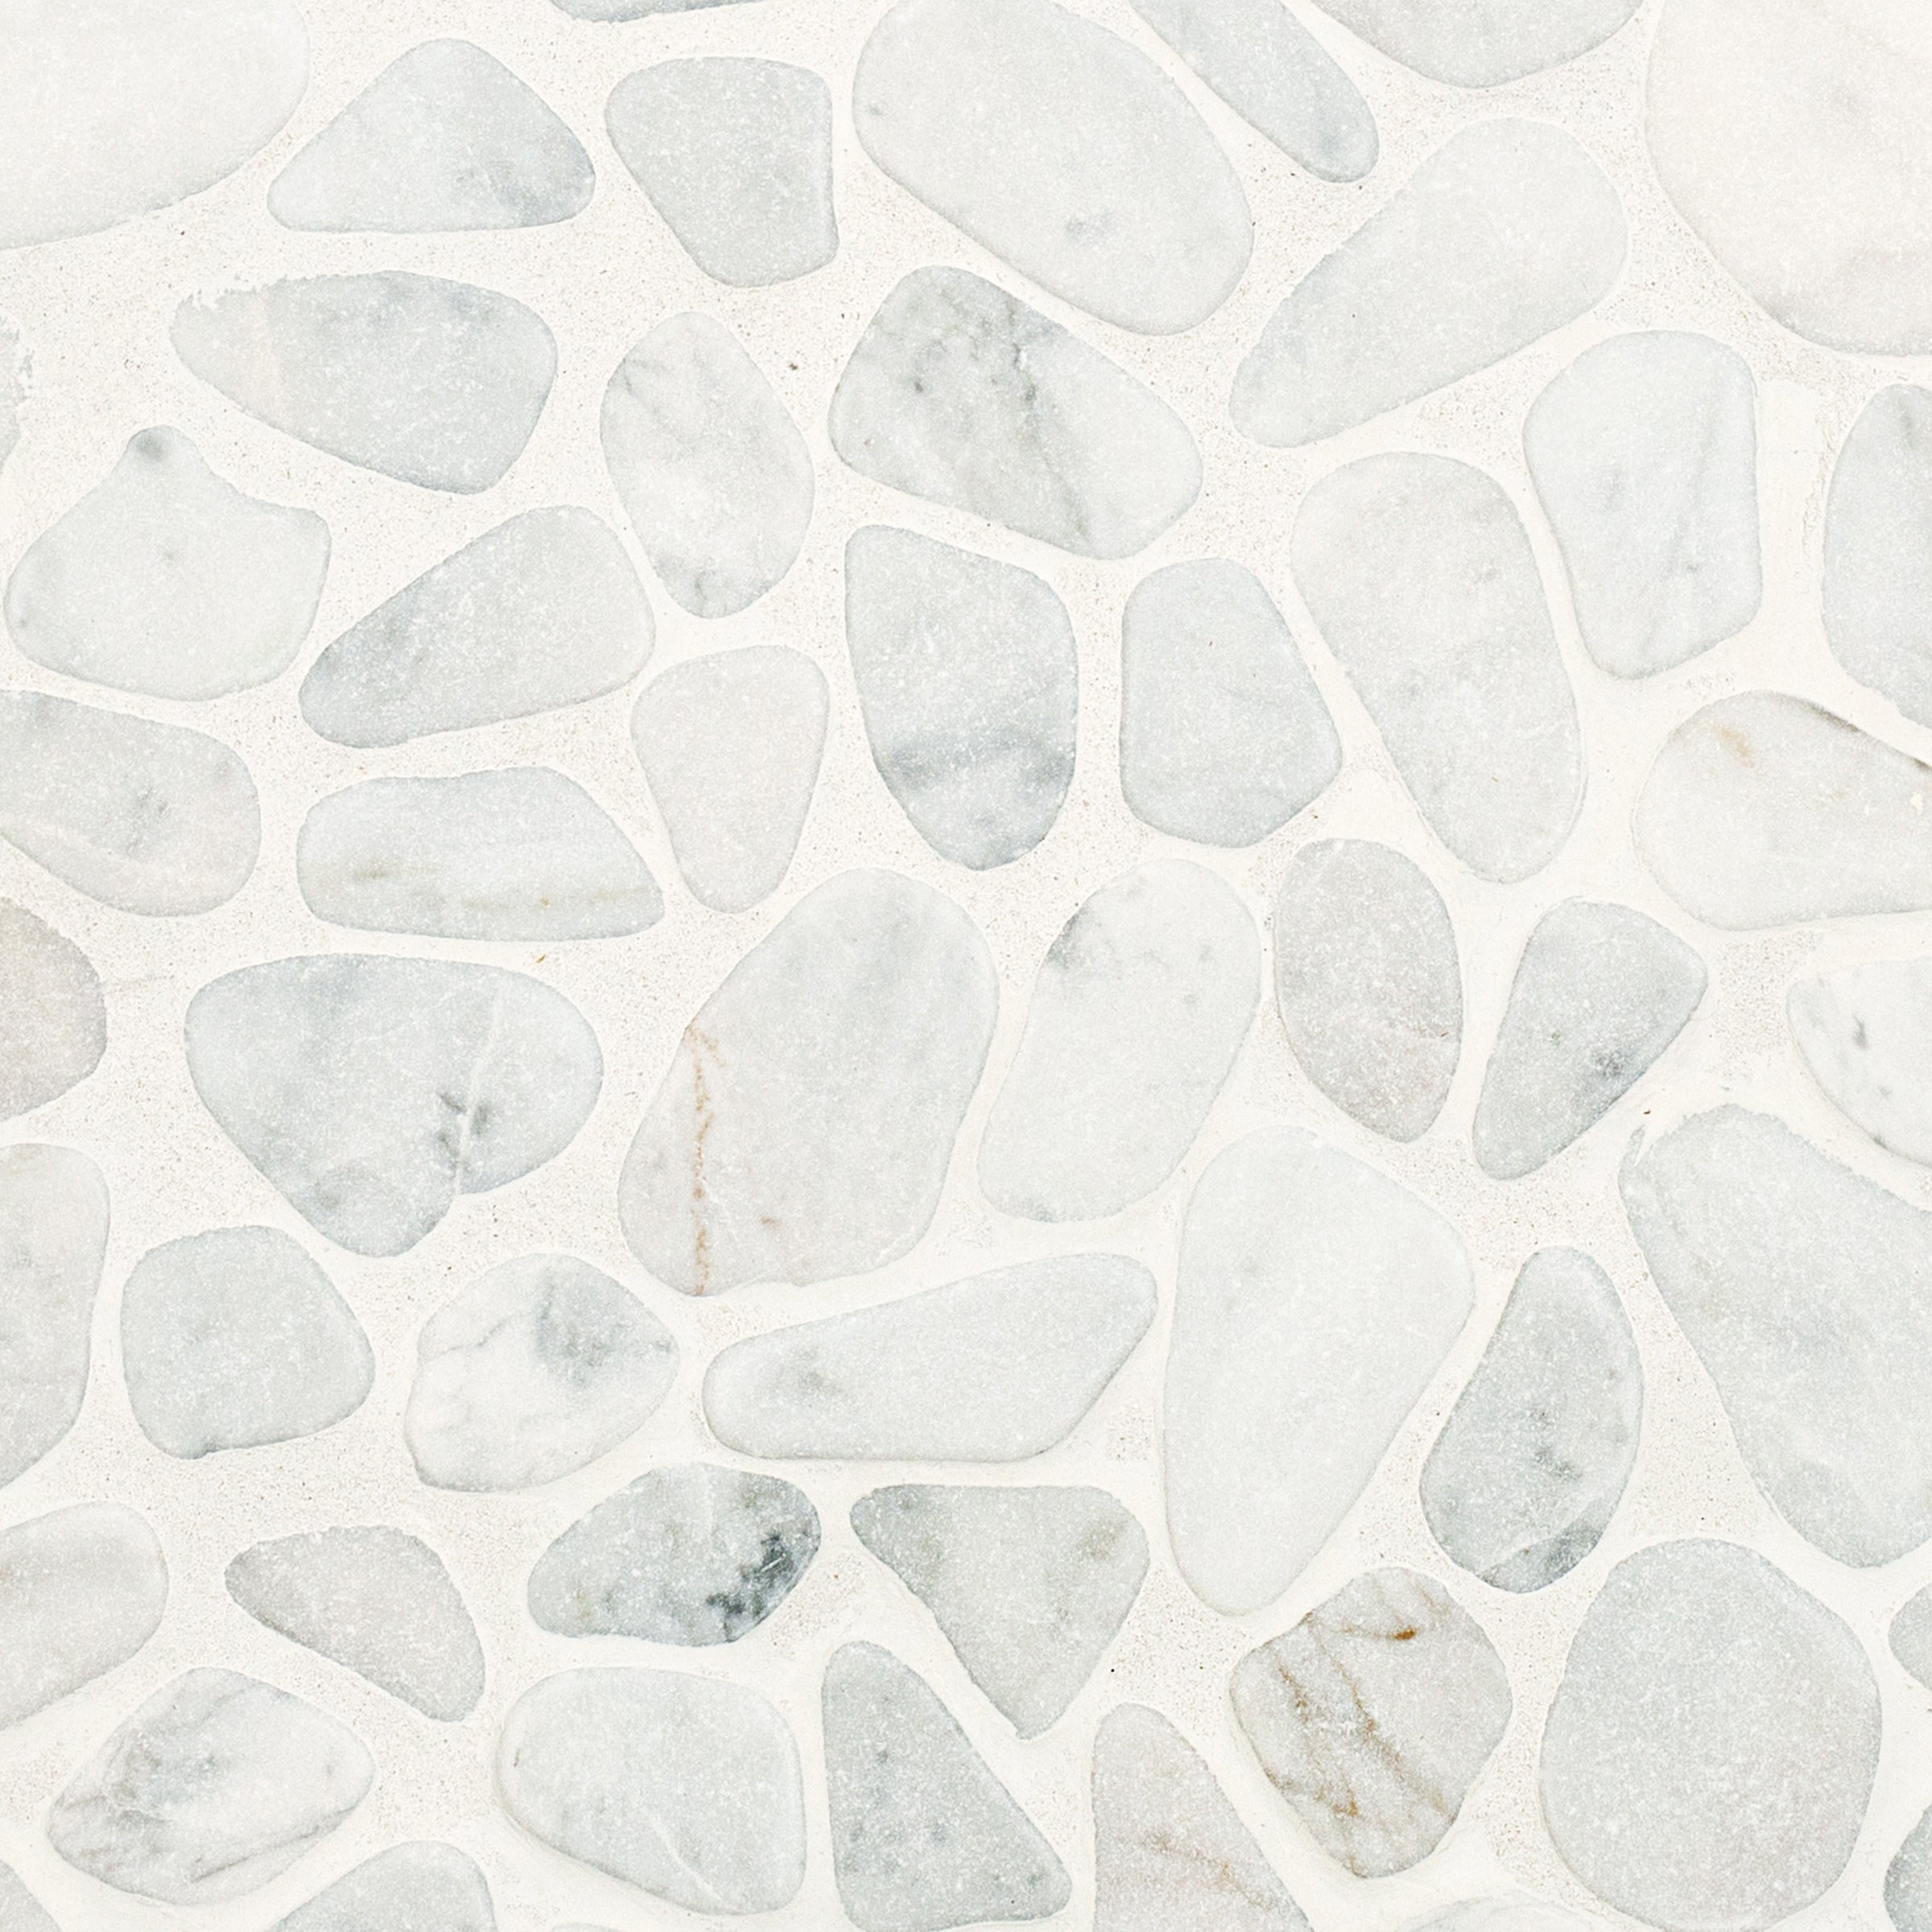
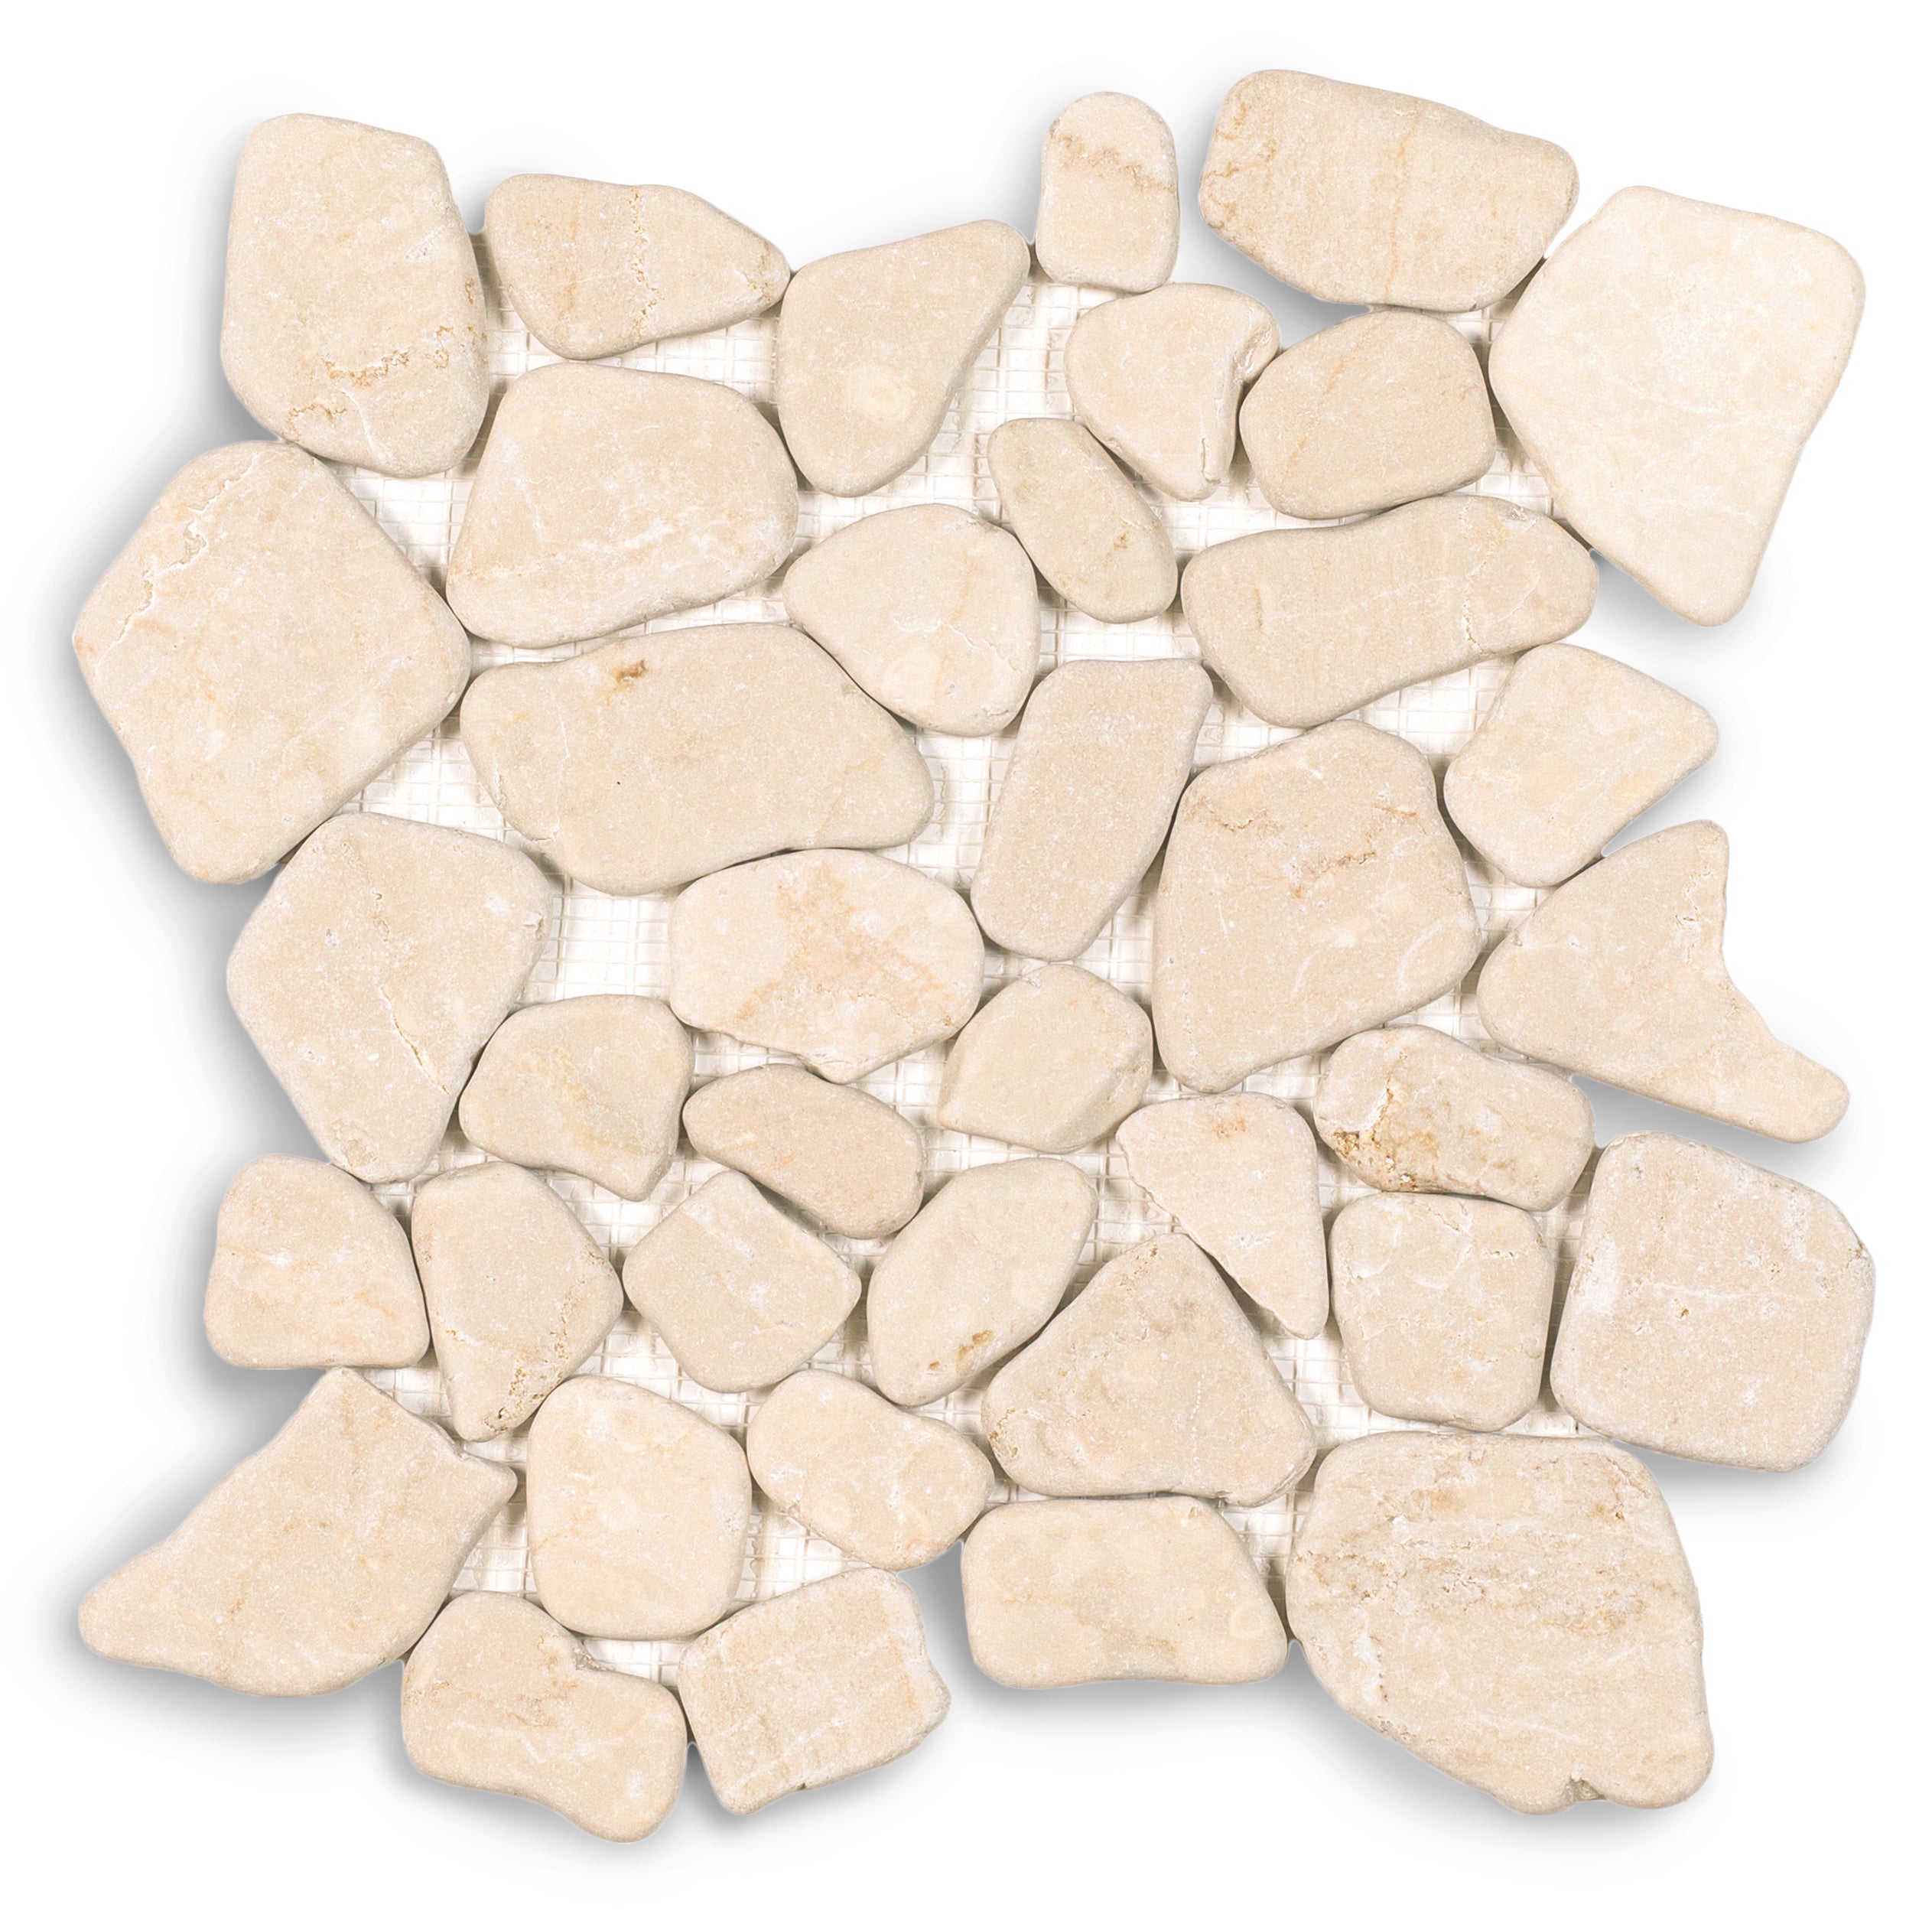
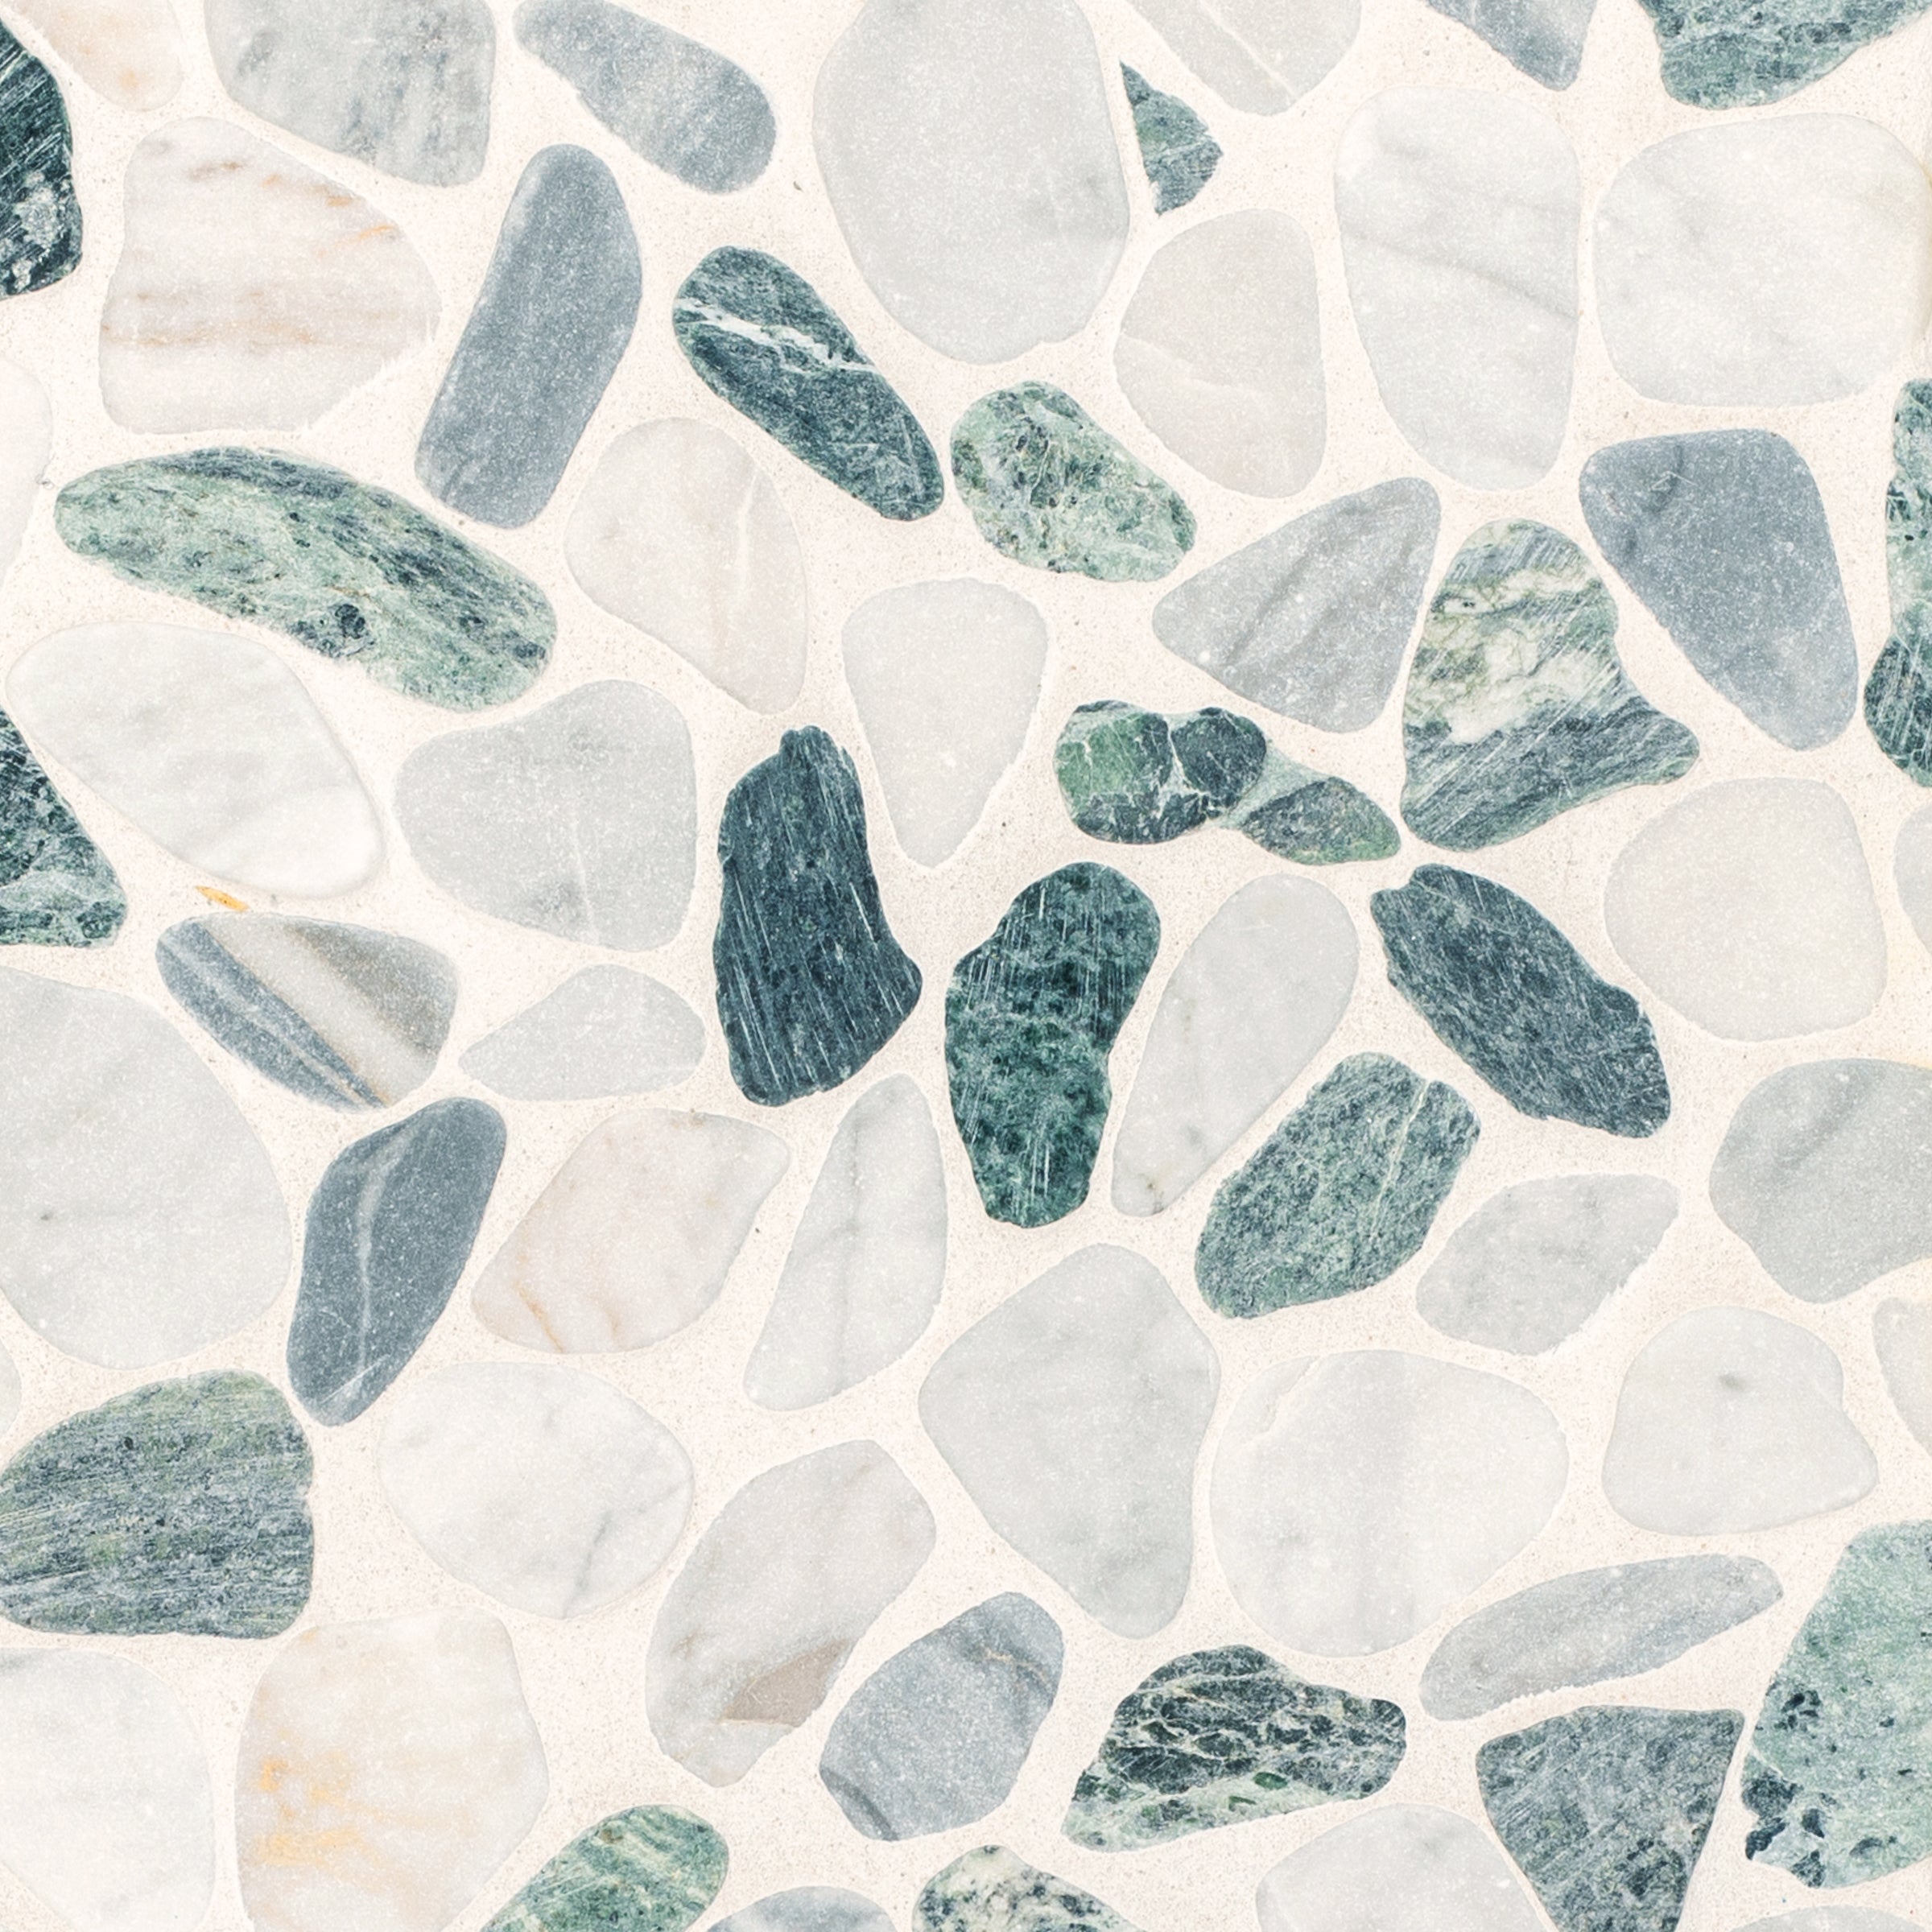
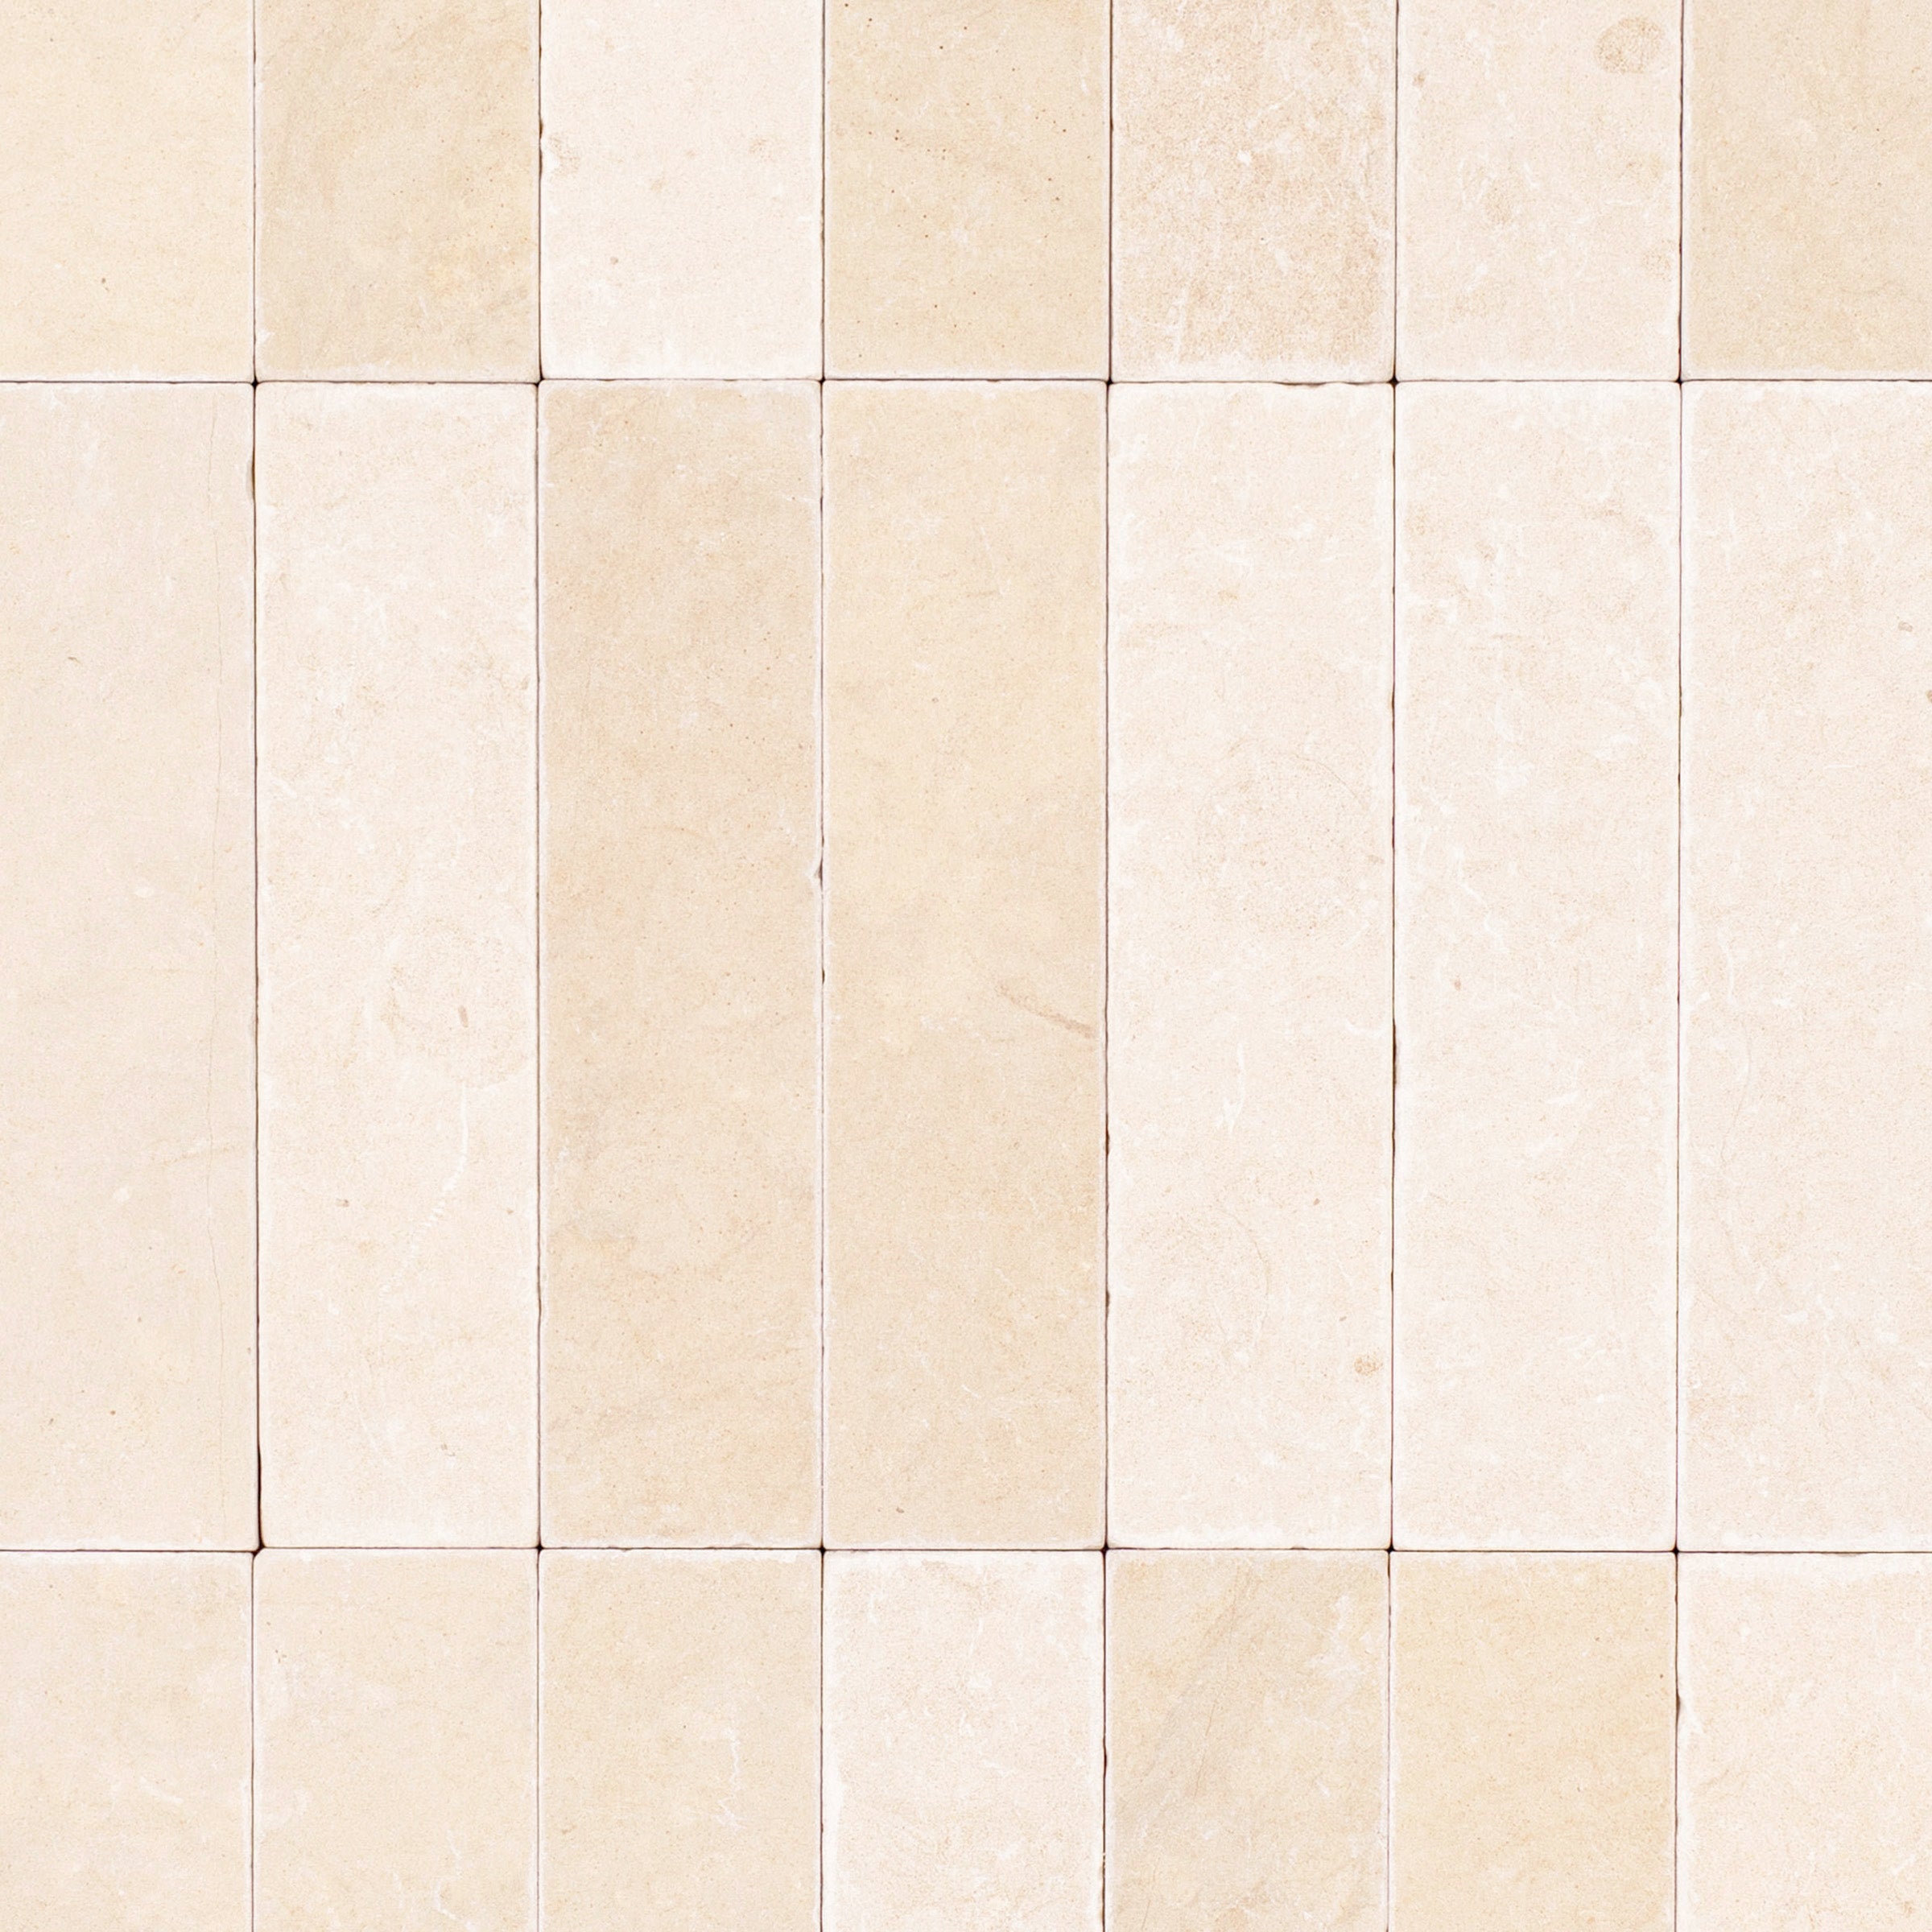
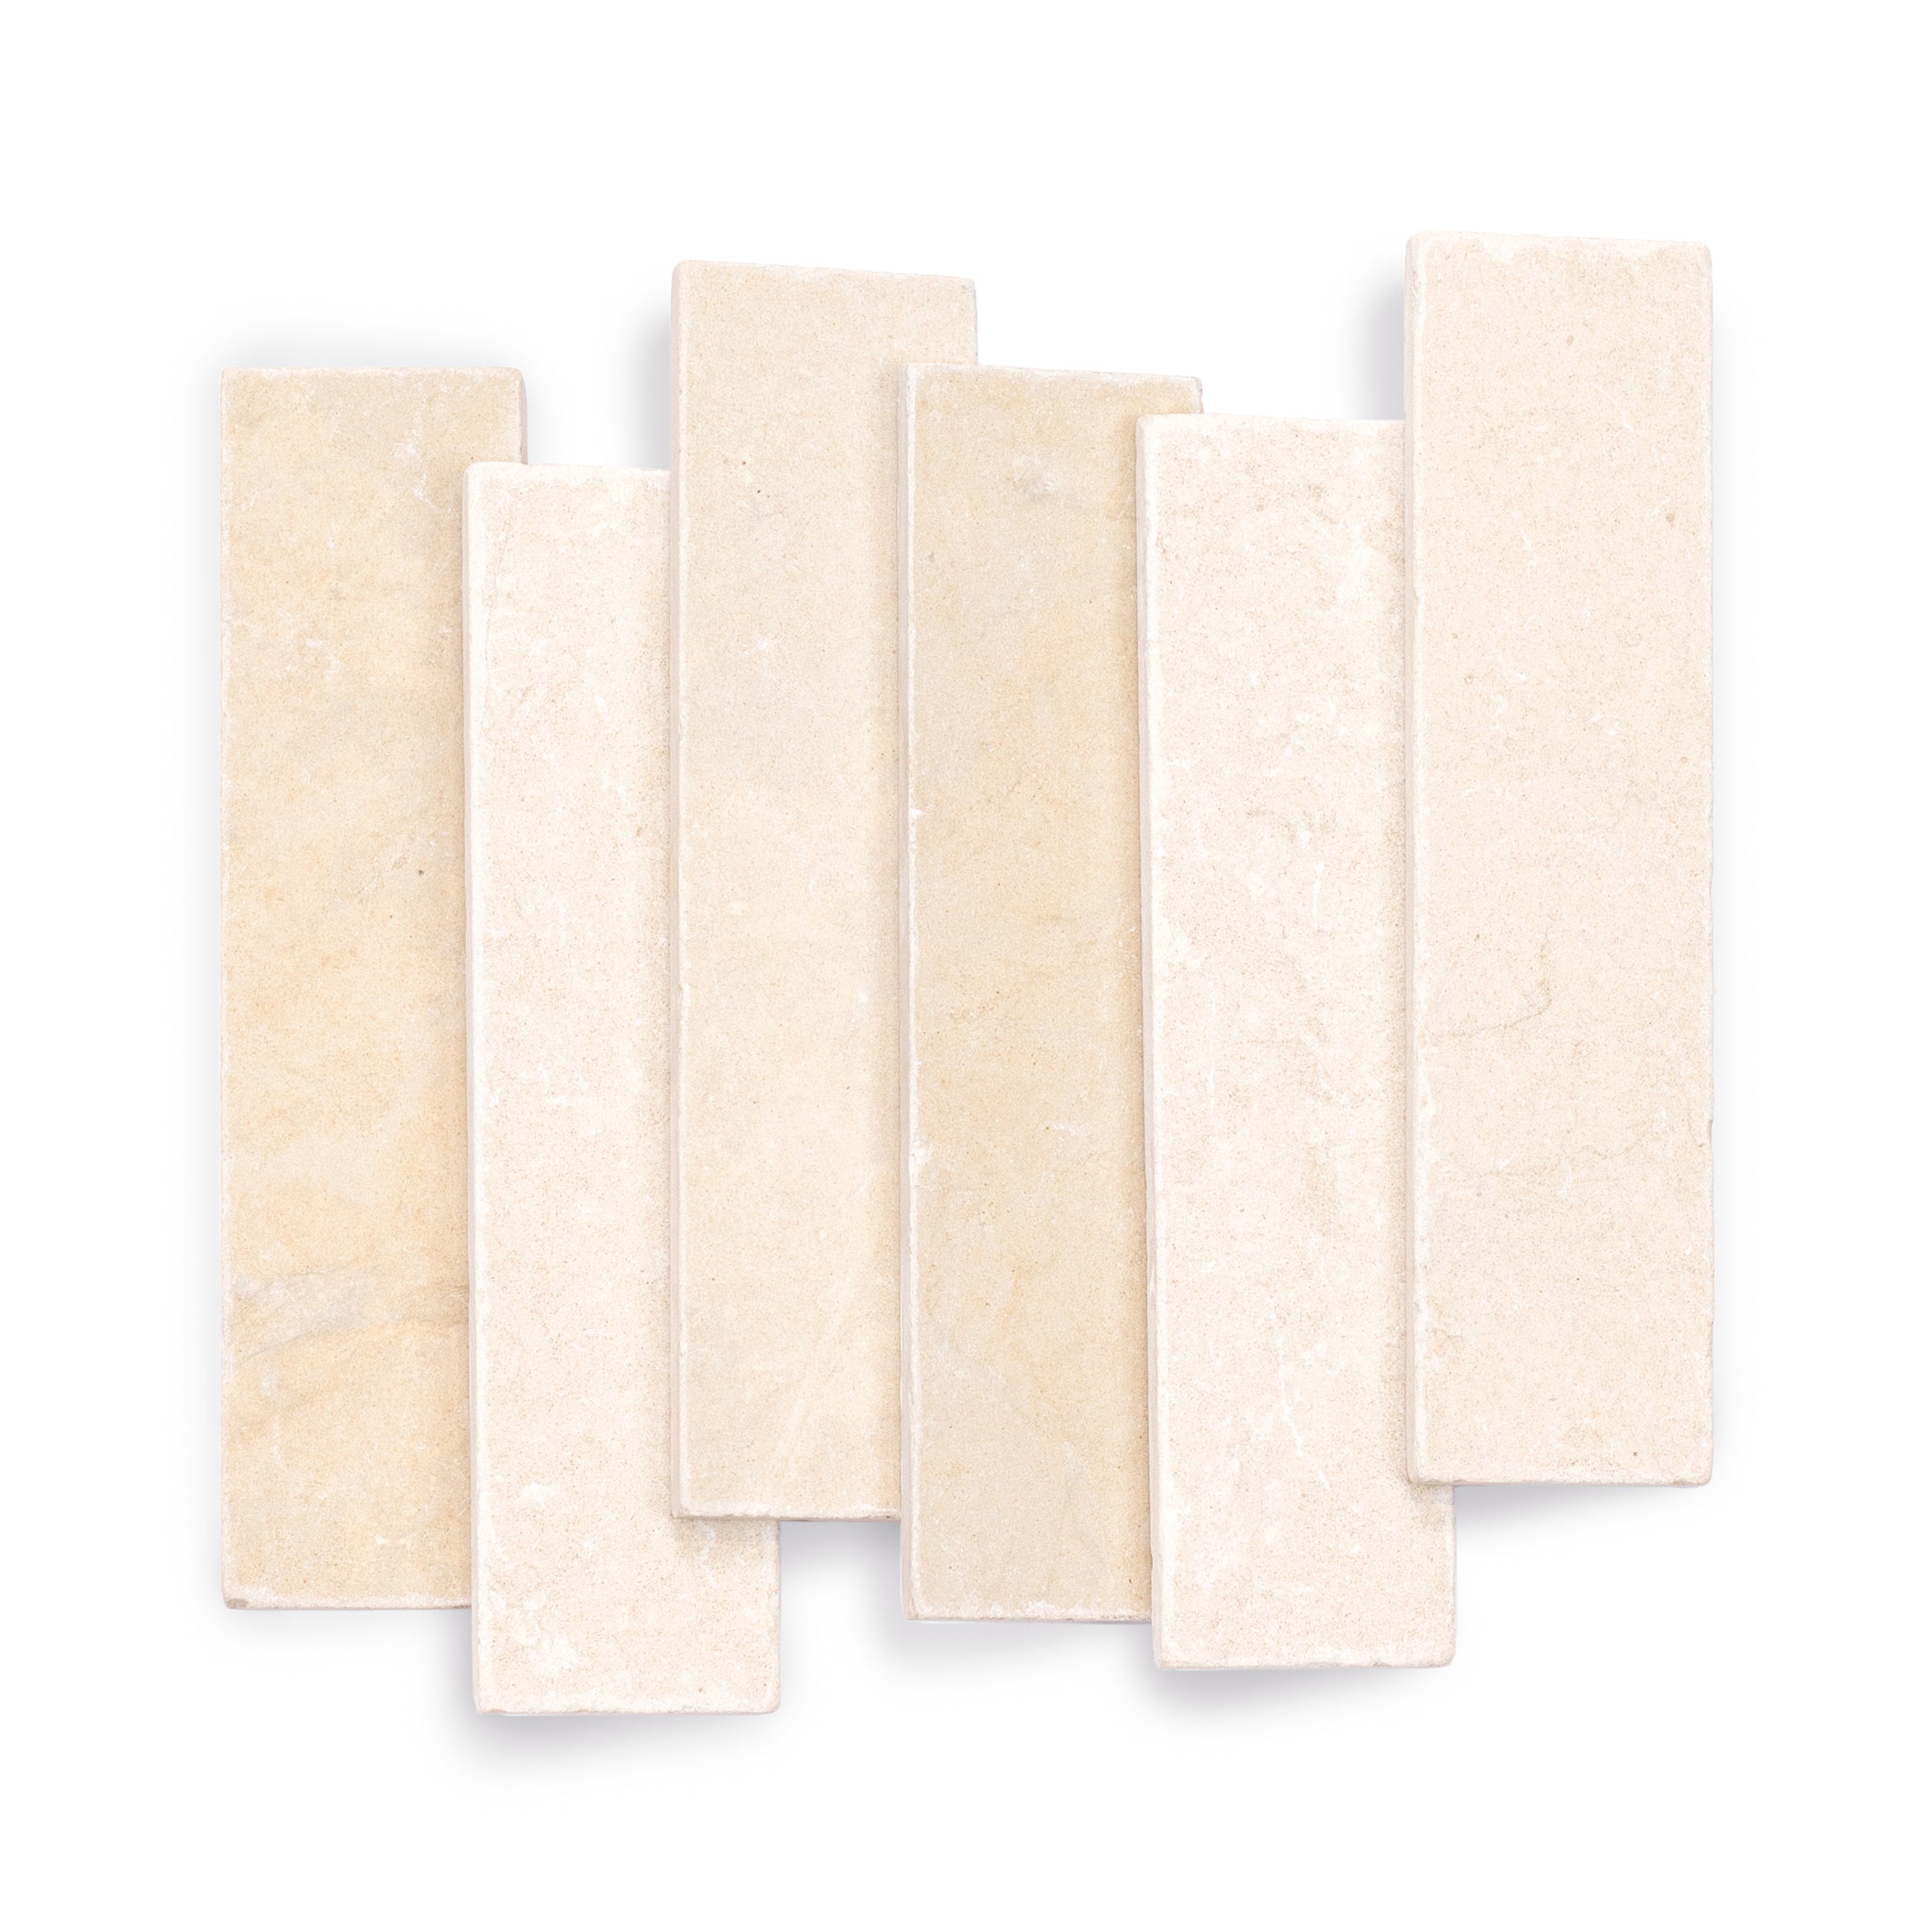
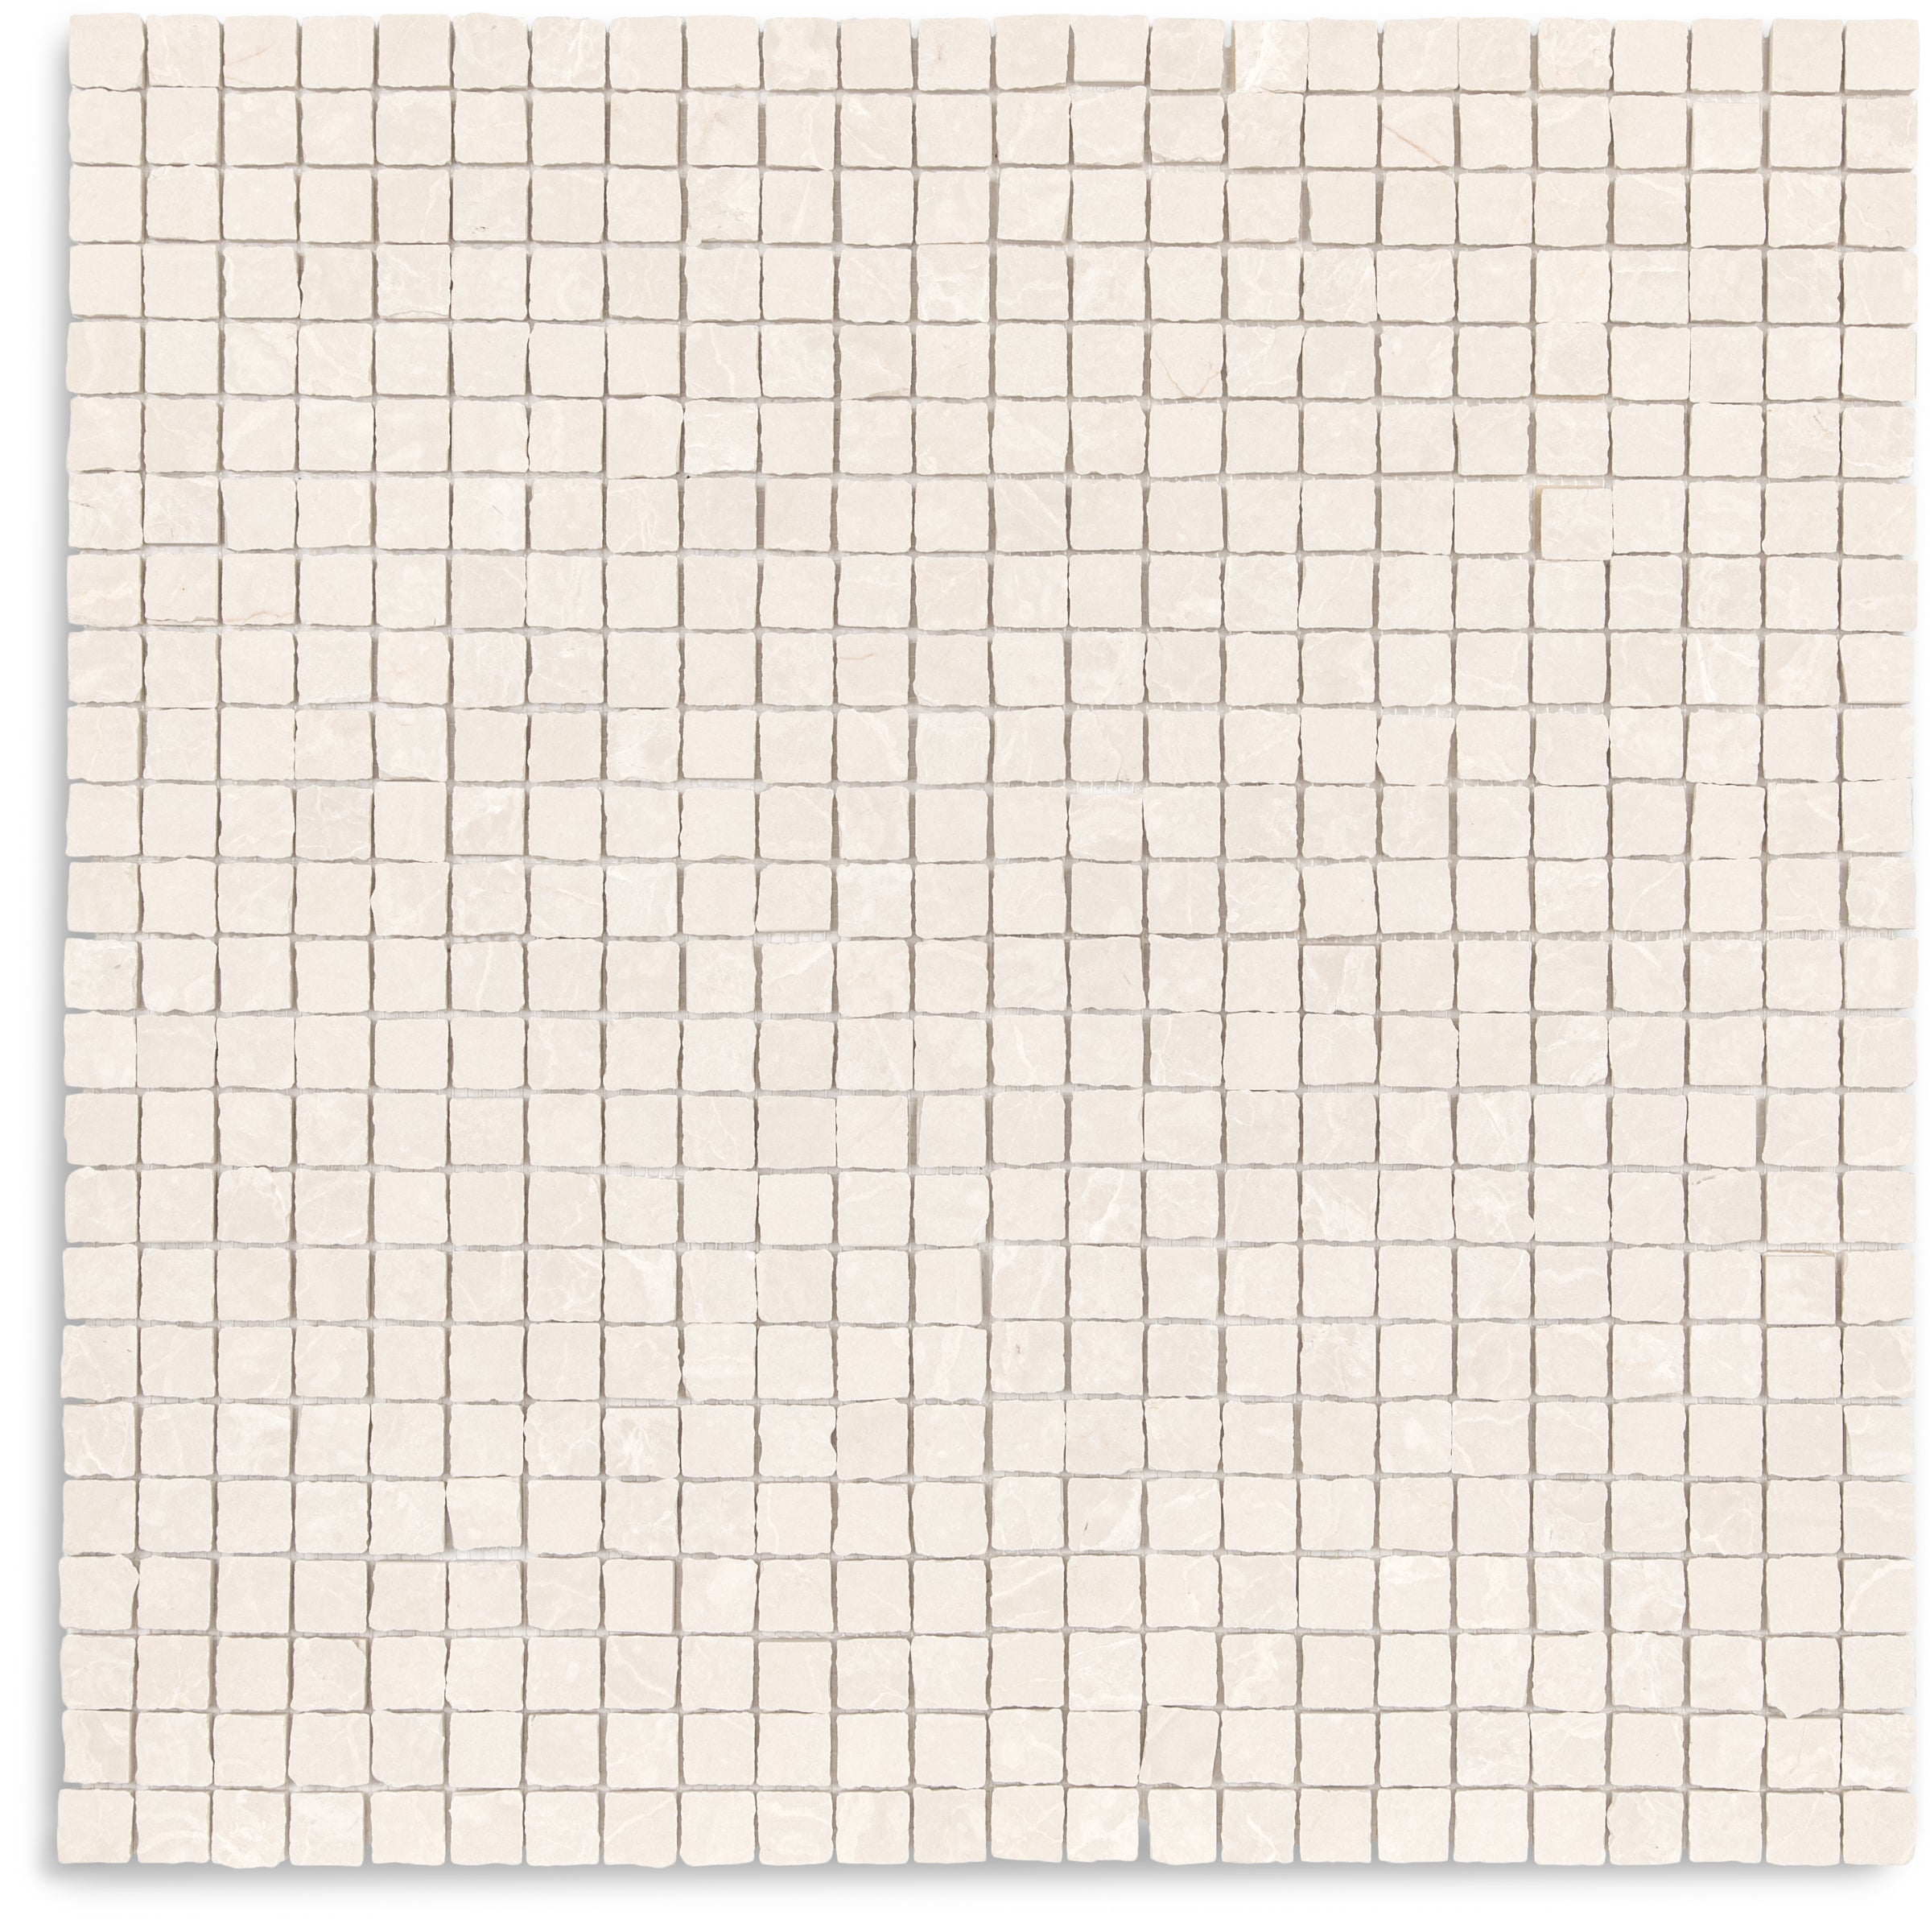
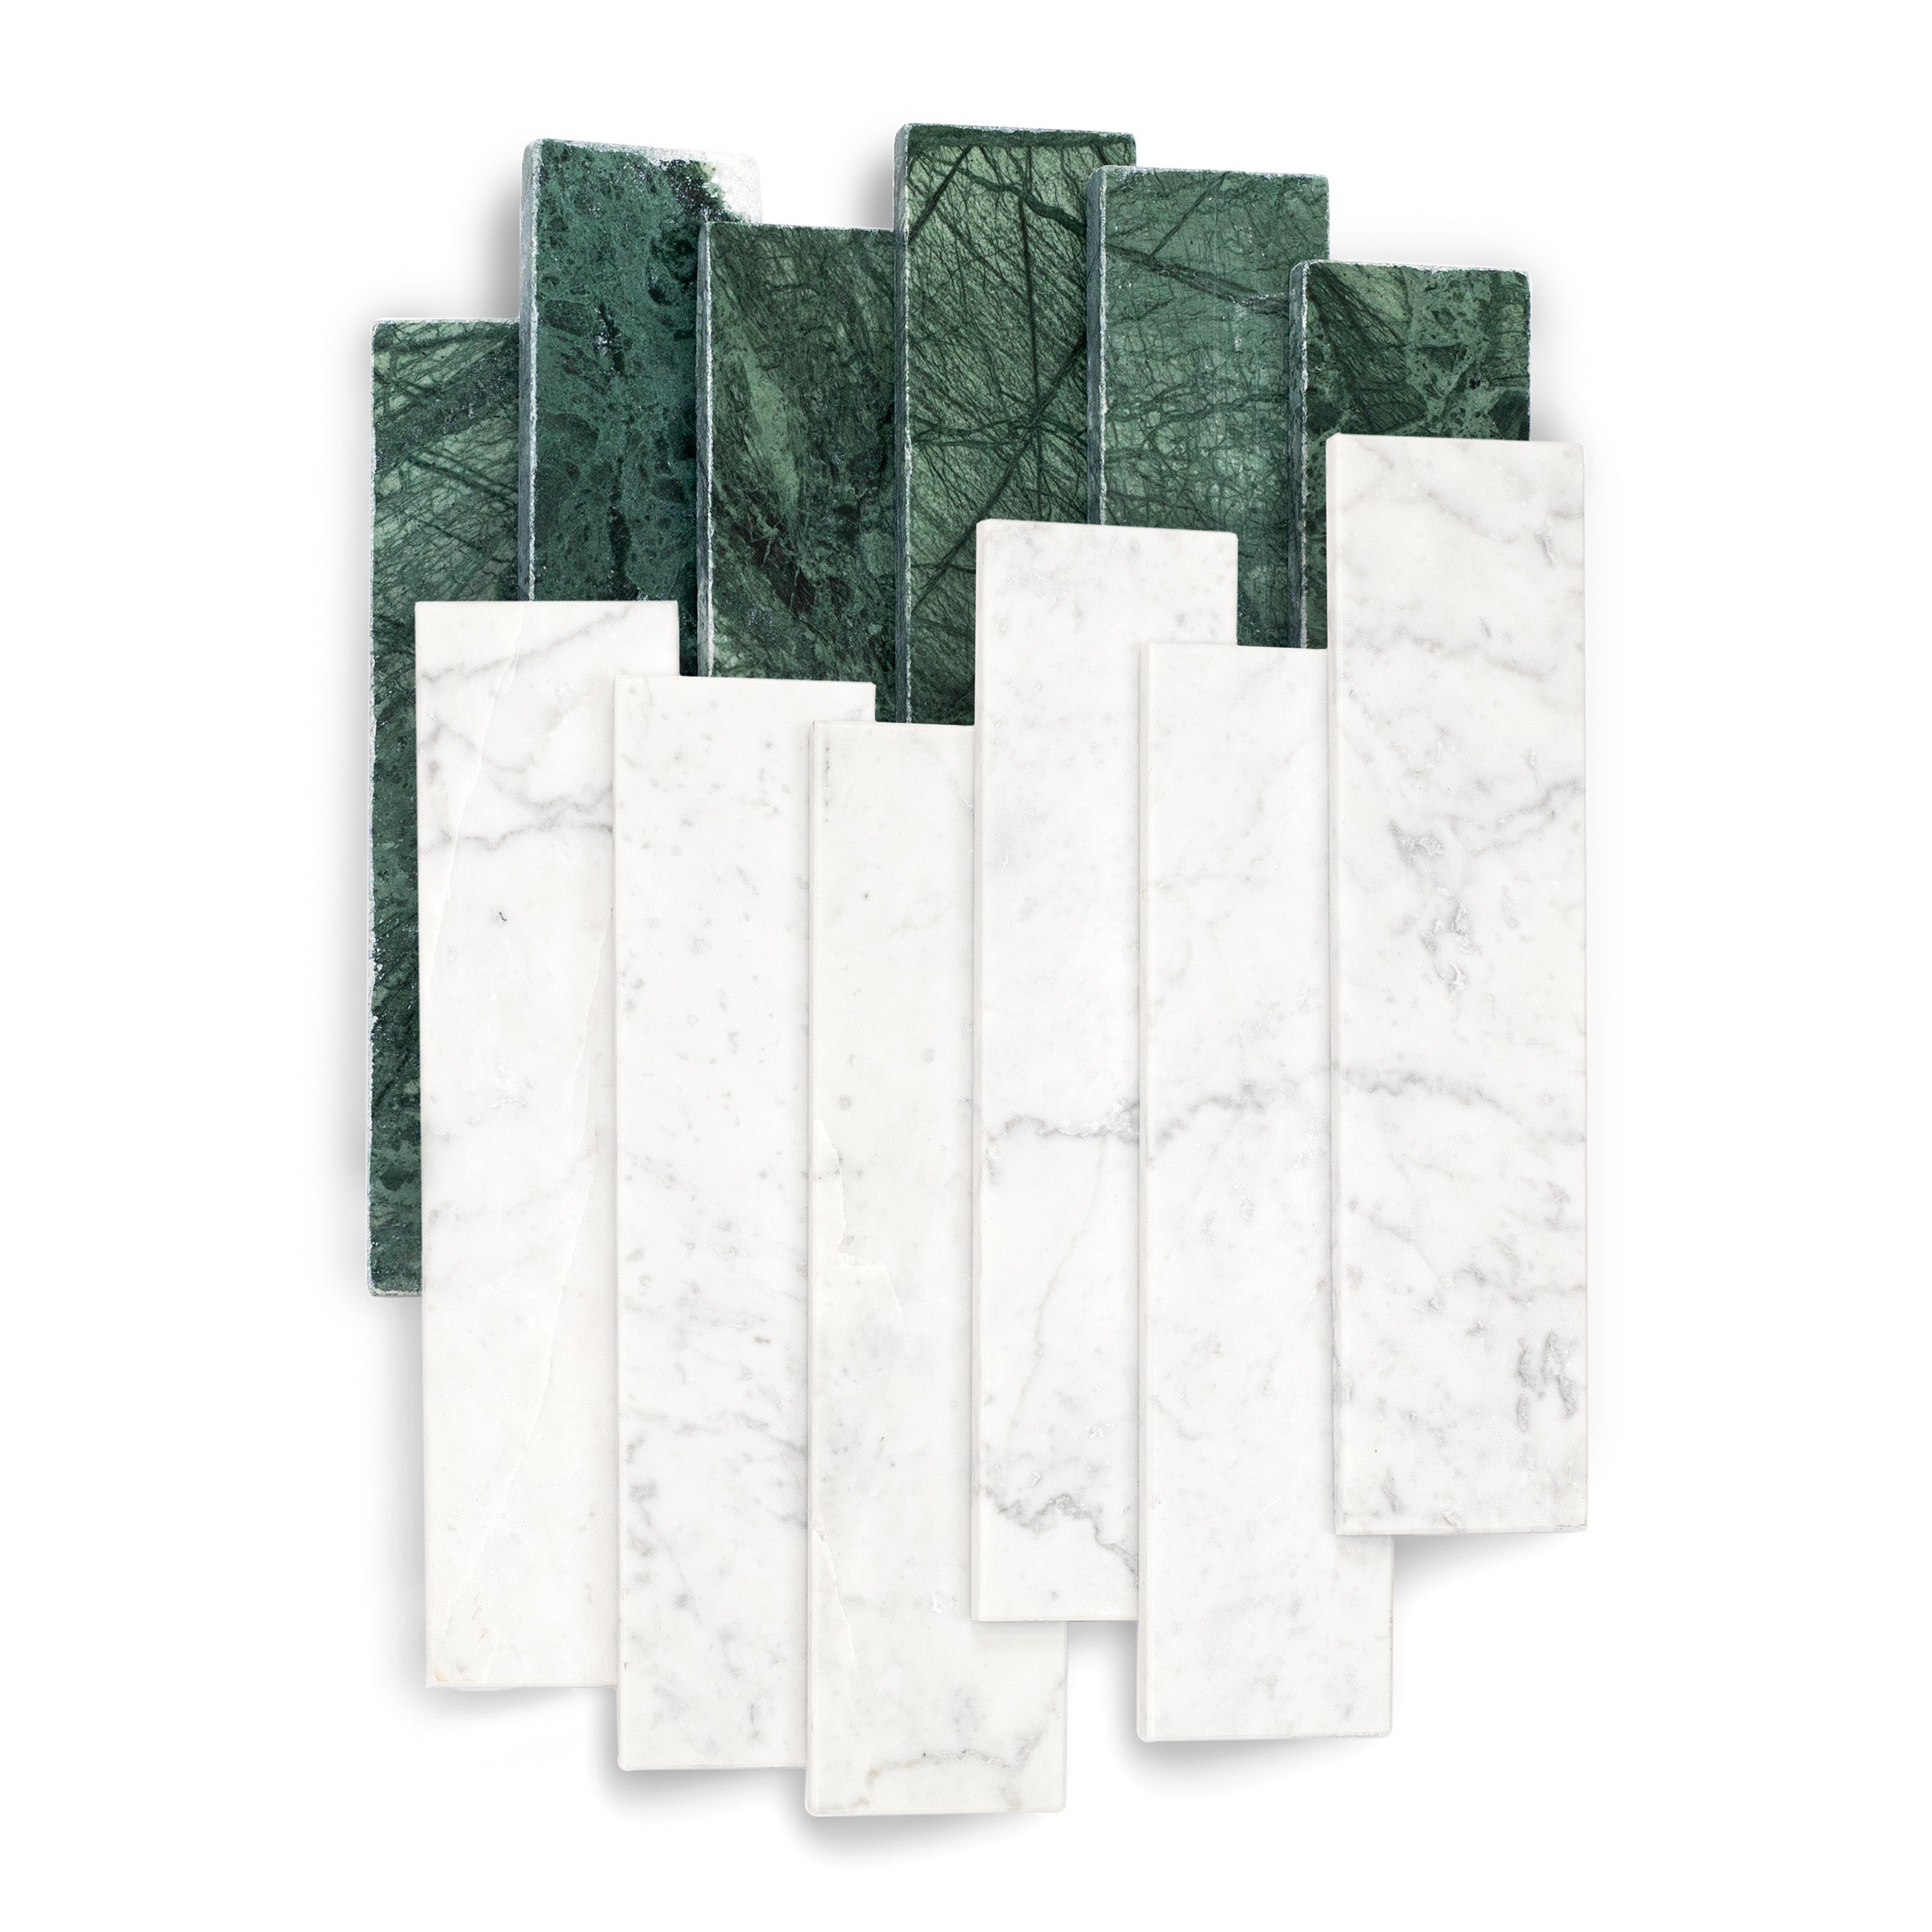
Italian Pebble Mosaics
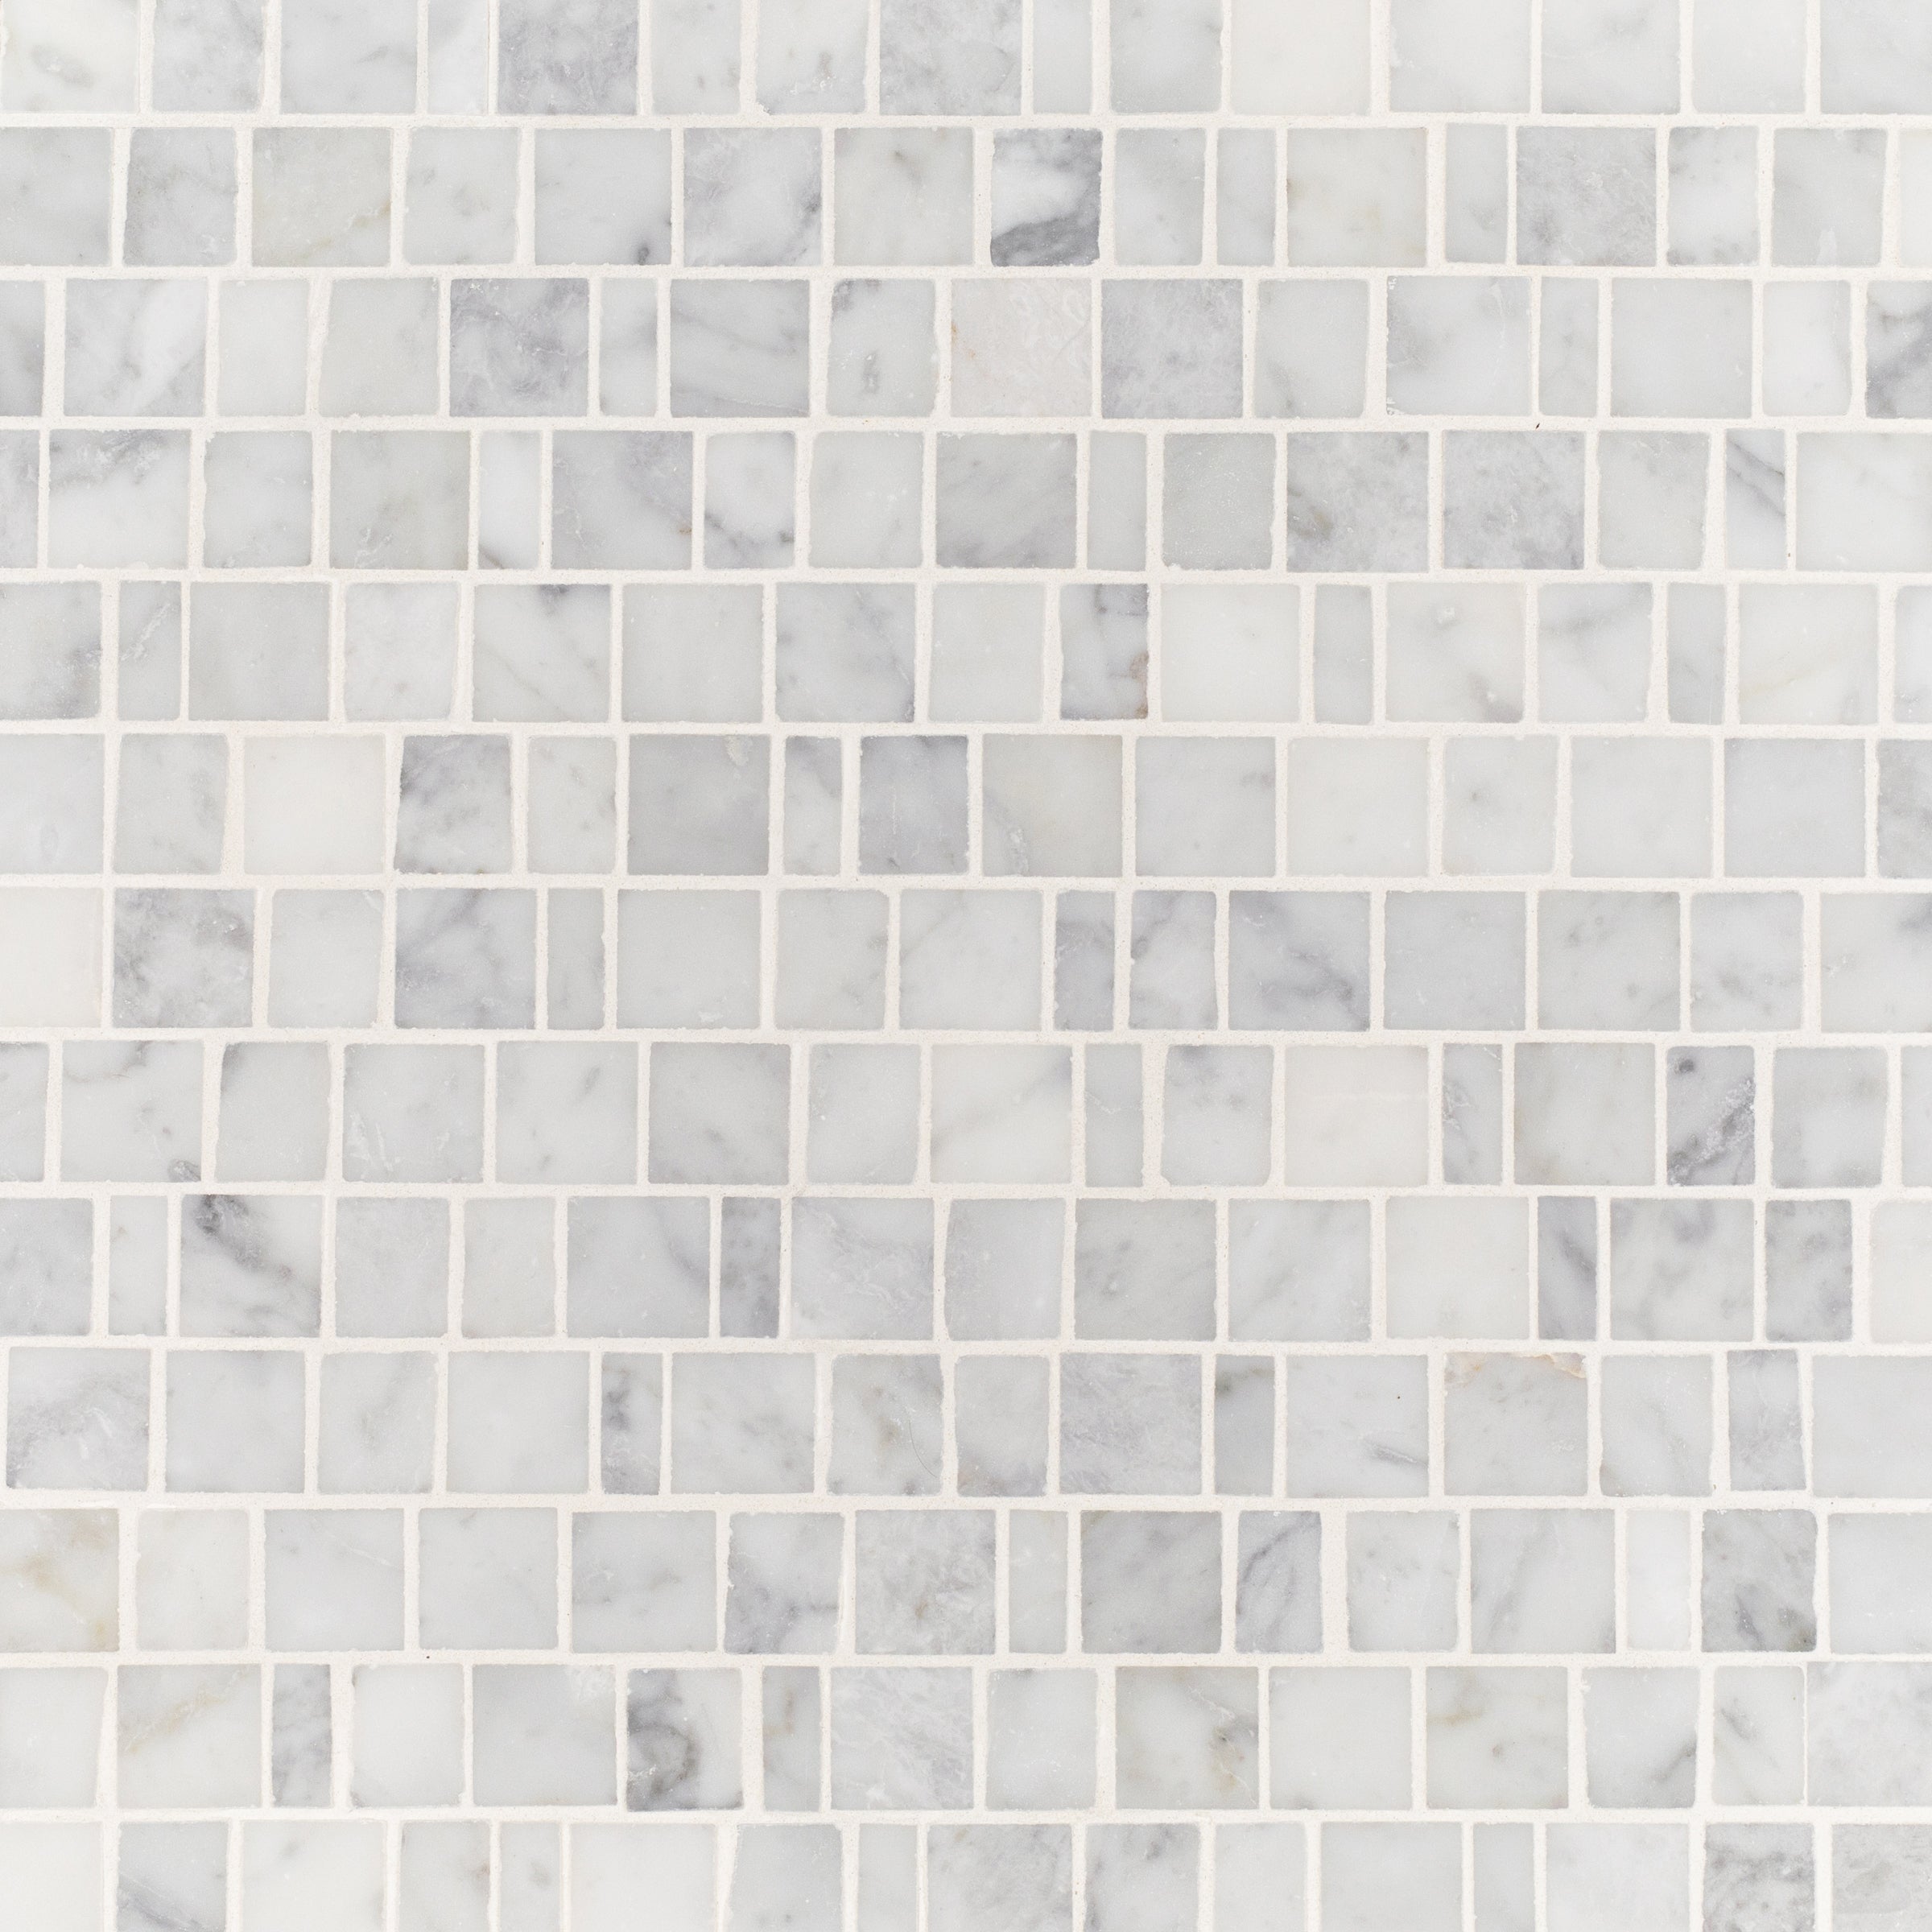
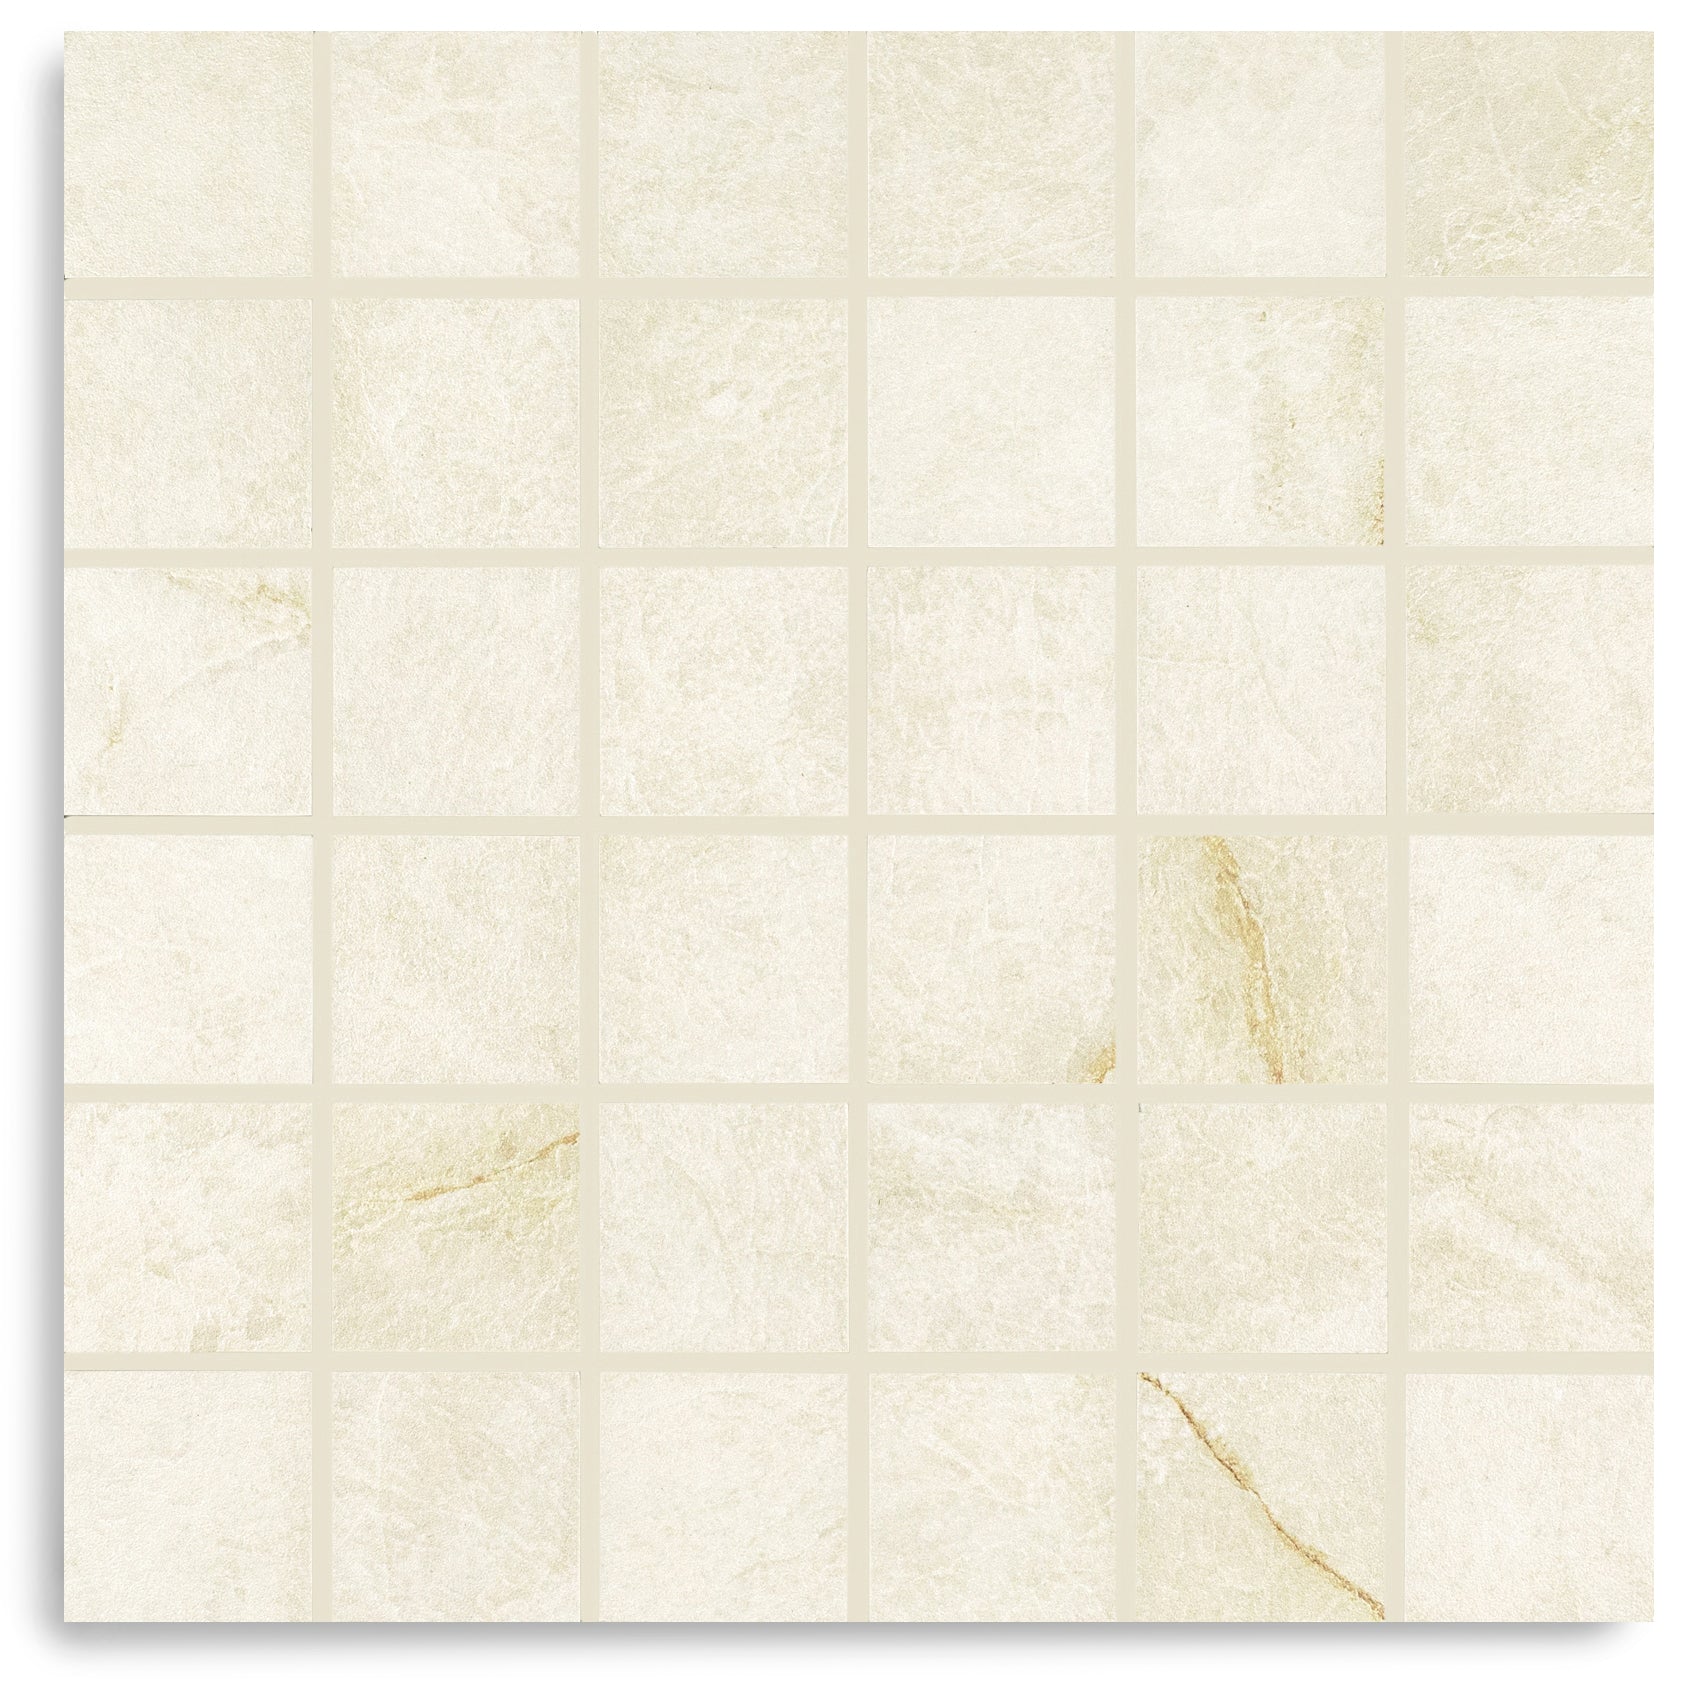
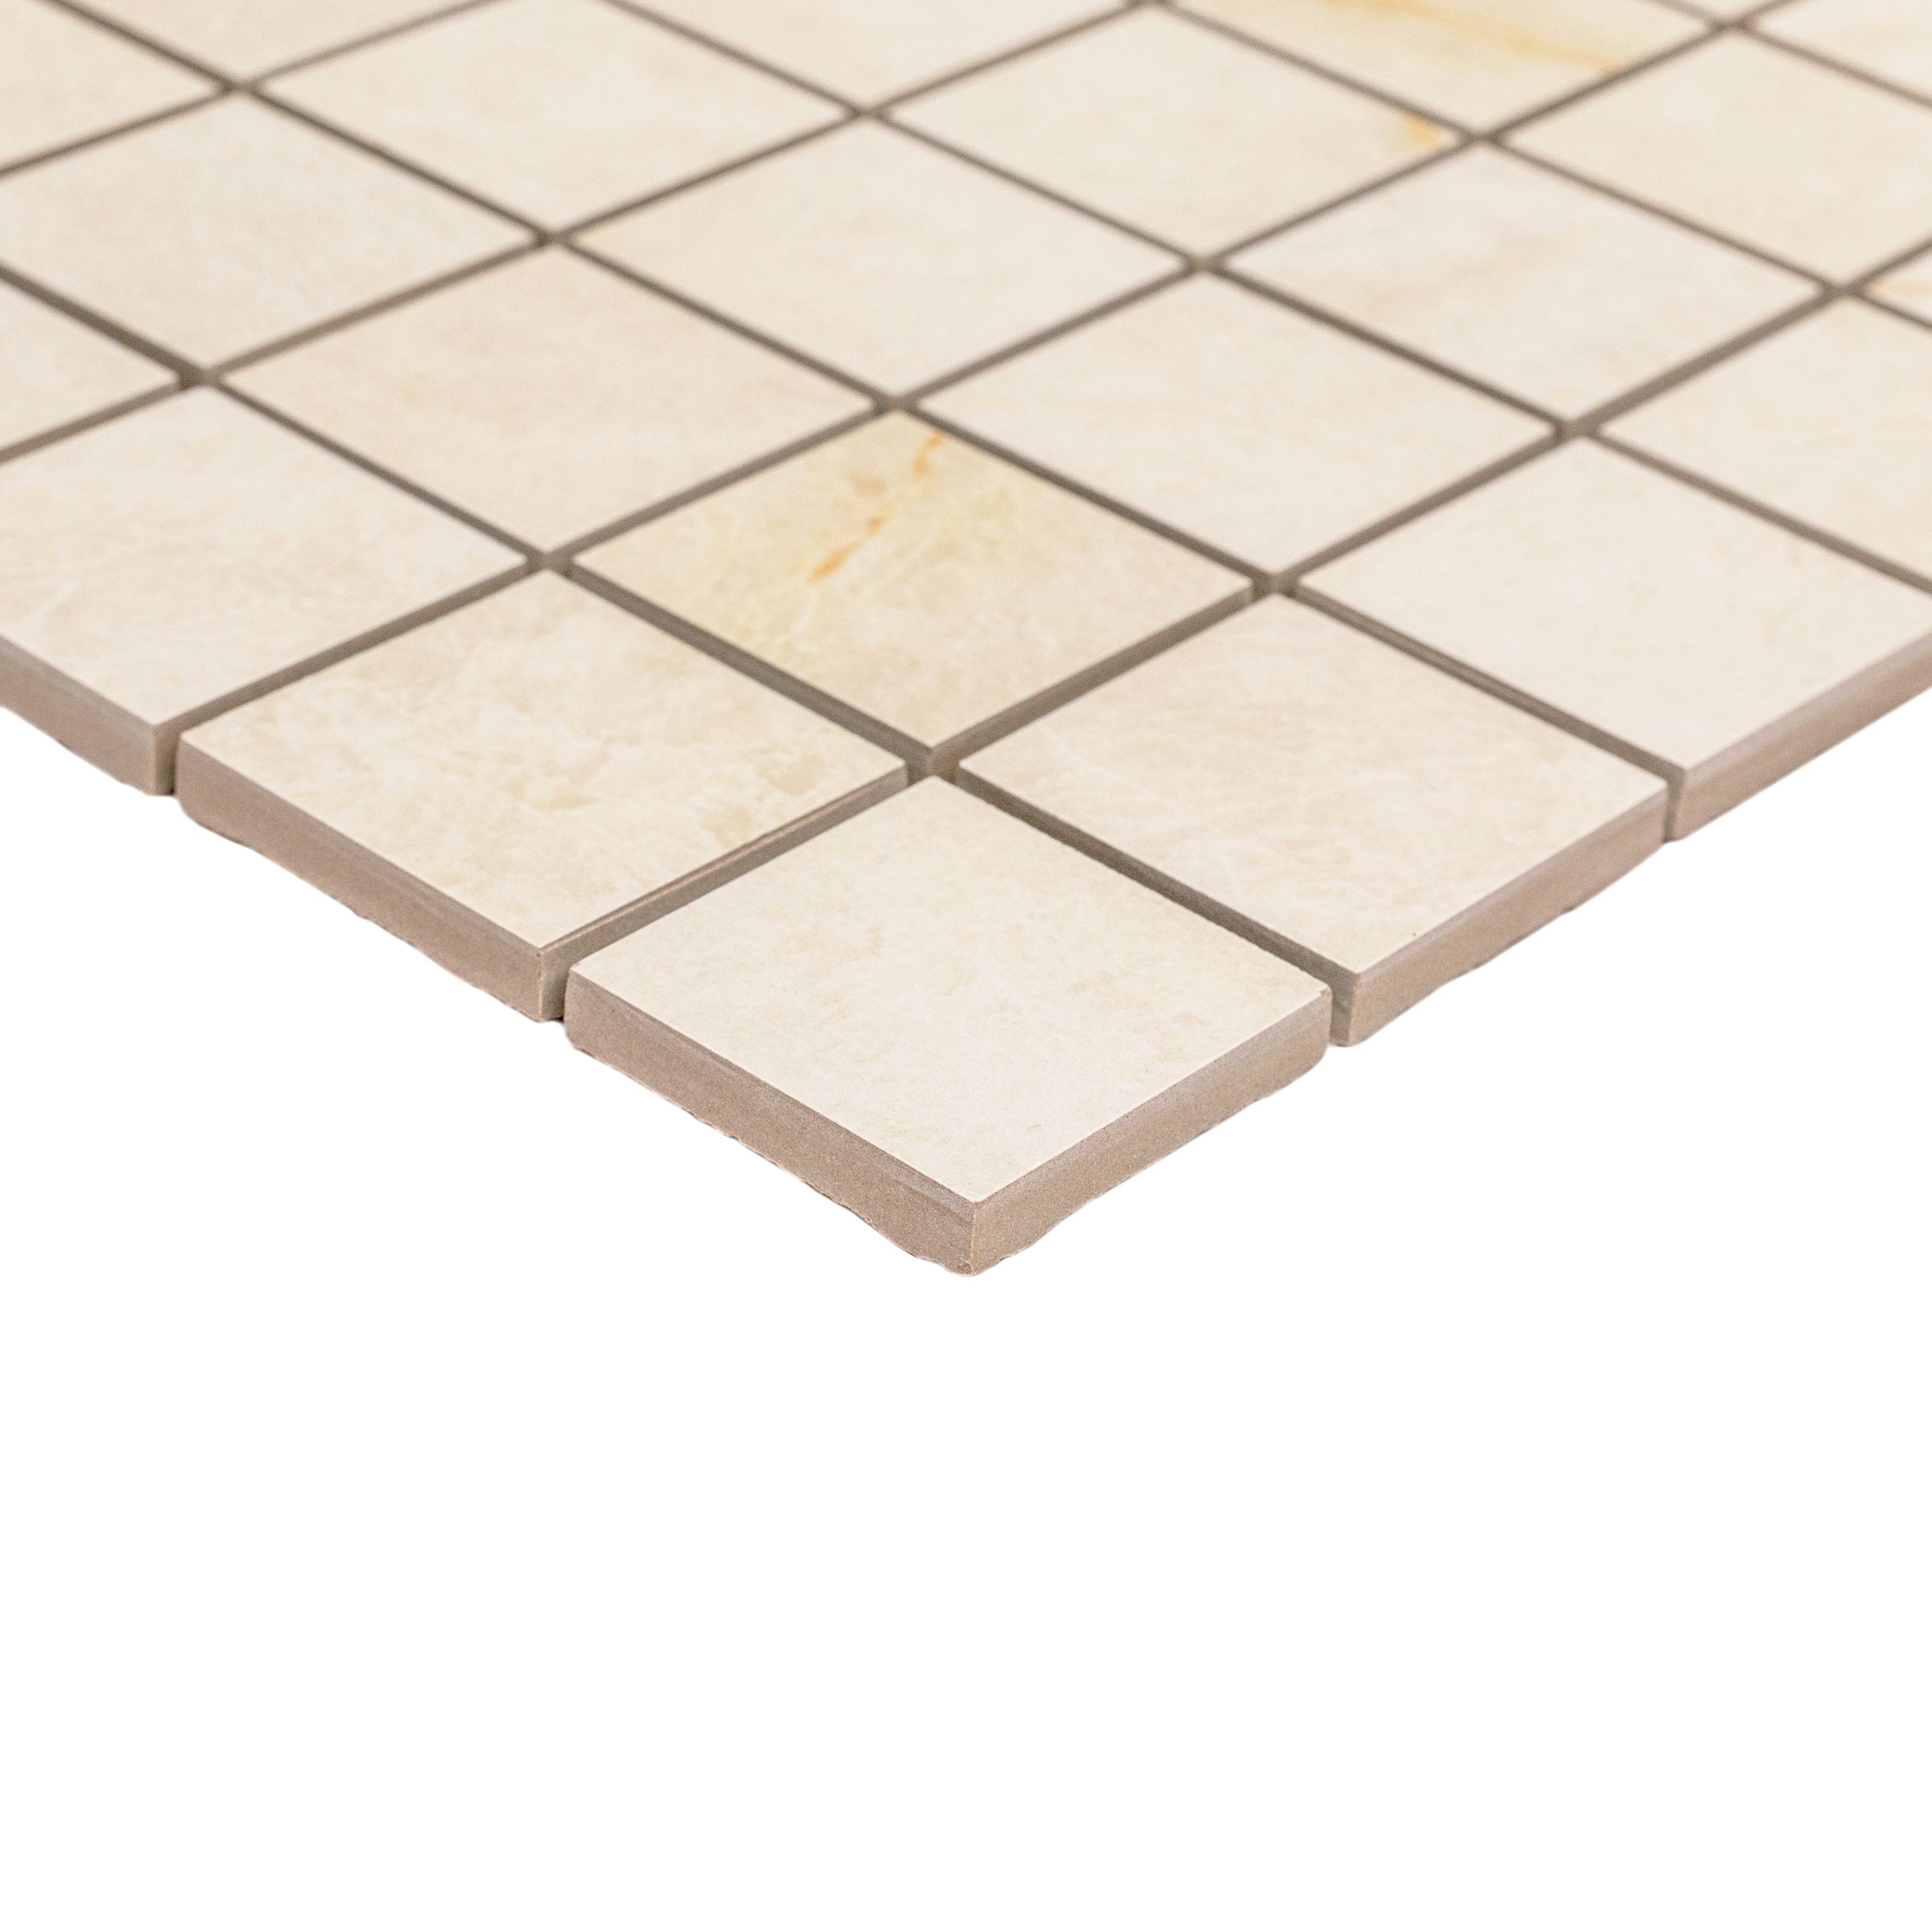
Bring the timeless beauty of nature into your designs with our Italian–made Tumbled Pebble Mosaics. Each sheet is composed of naturally rounded marbles and stones, artfully set on mesh backing for easy installation. The organic variation in shape, size, and tone ensures every surface tells its own unique story, evoking the calming elegance of a riverbed or Mediterranean shoreline.
Organic Tones, Endless Variation
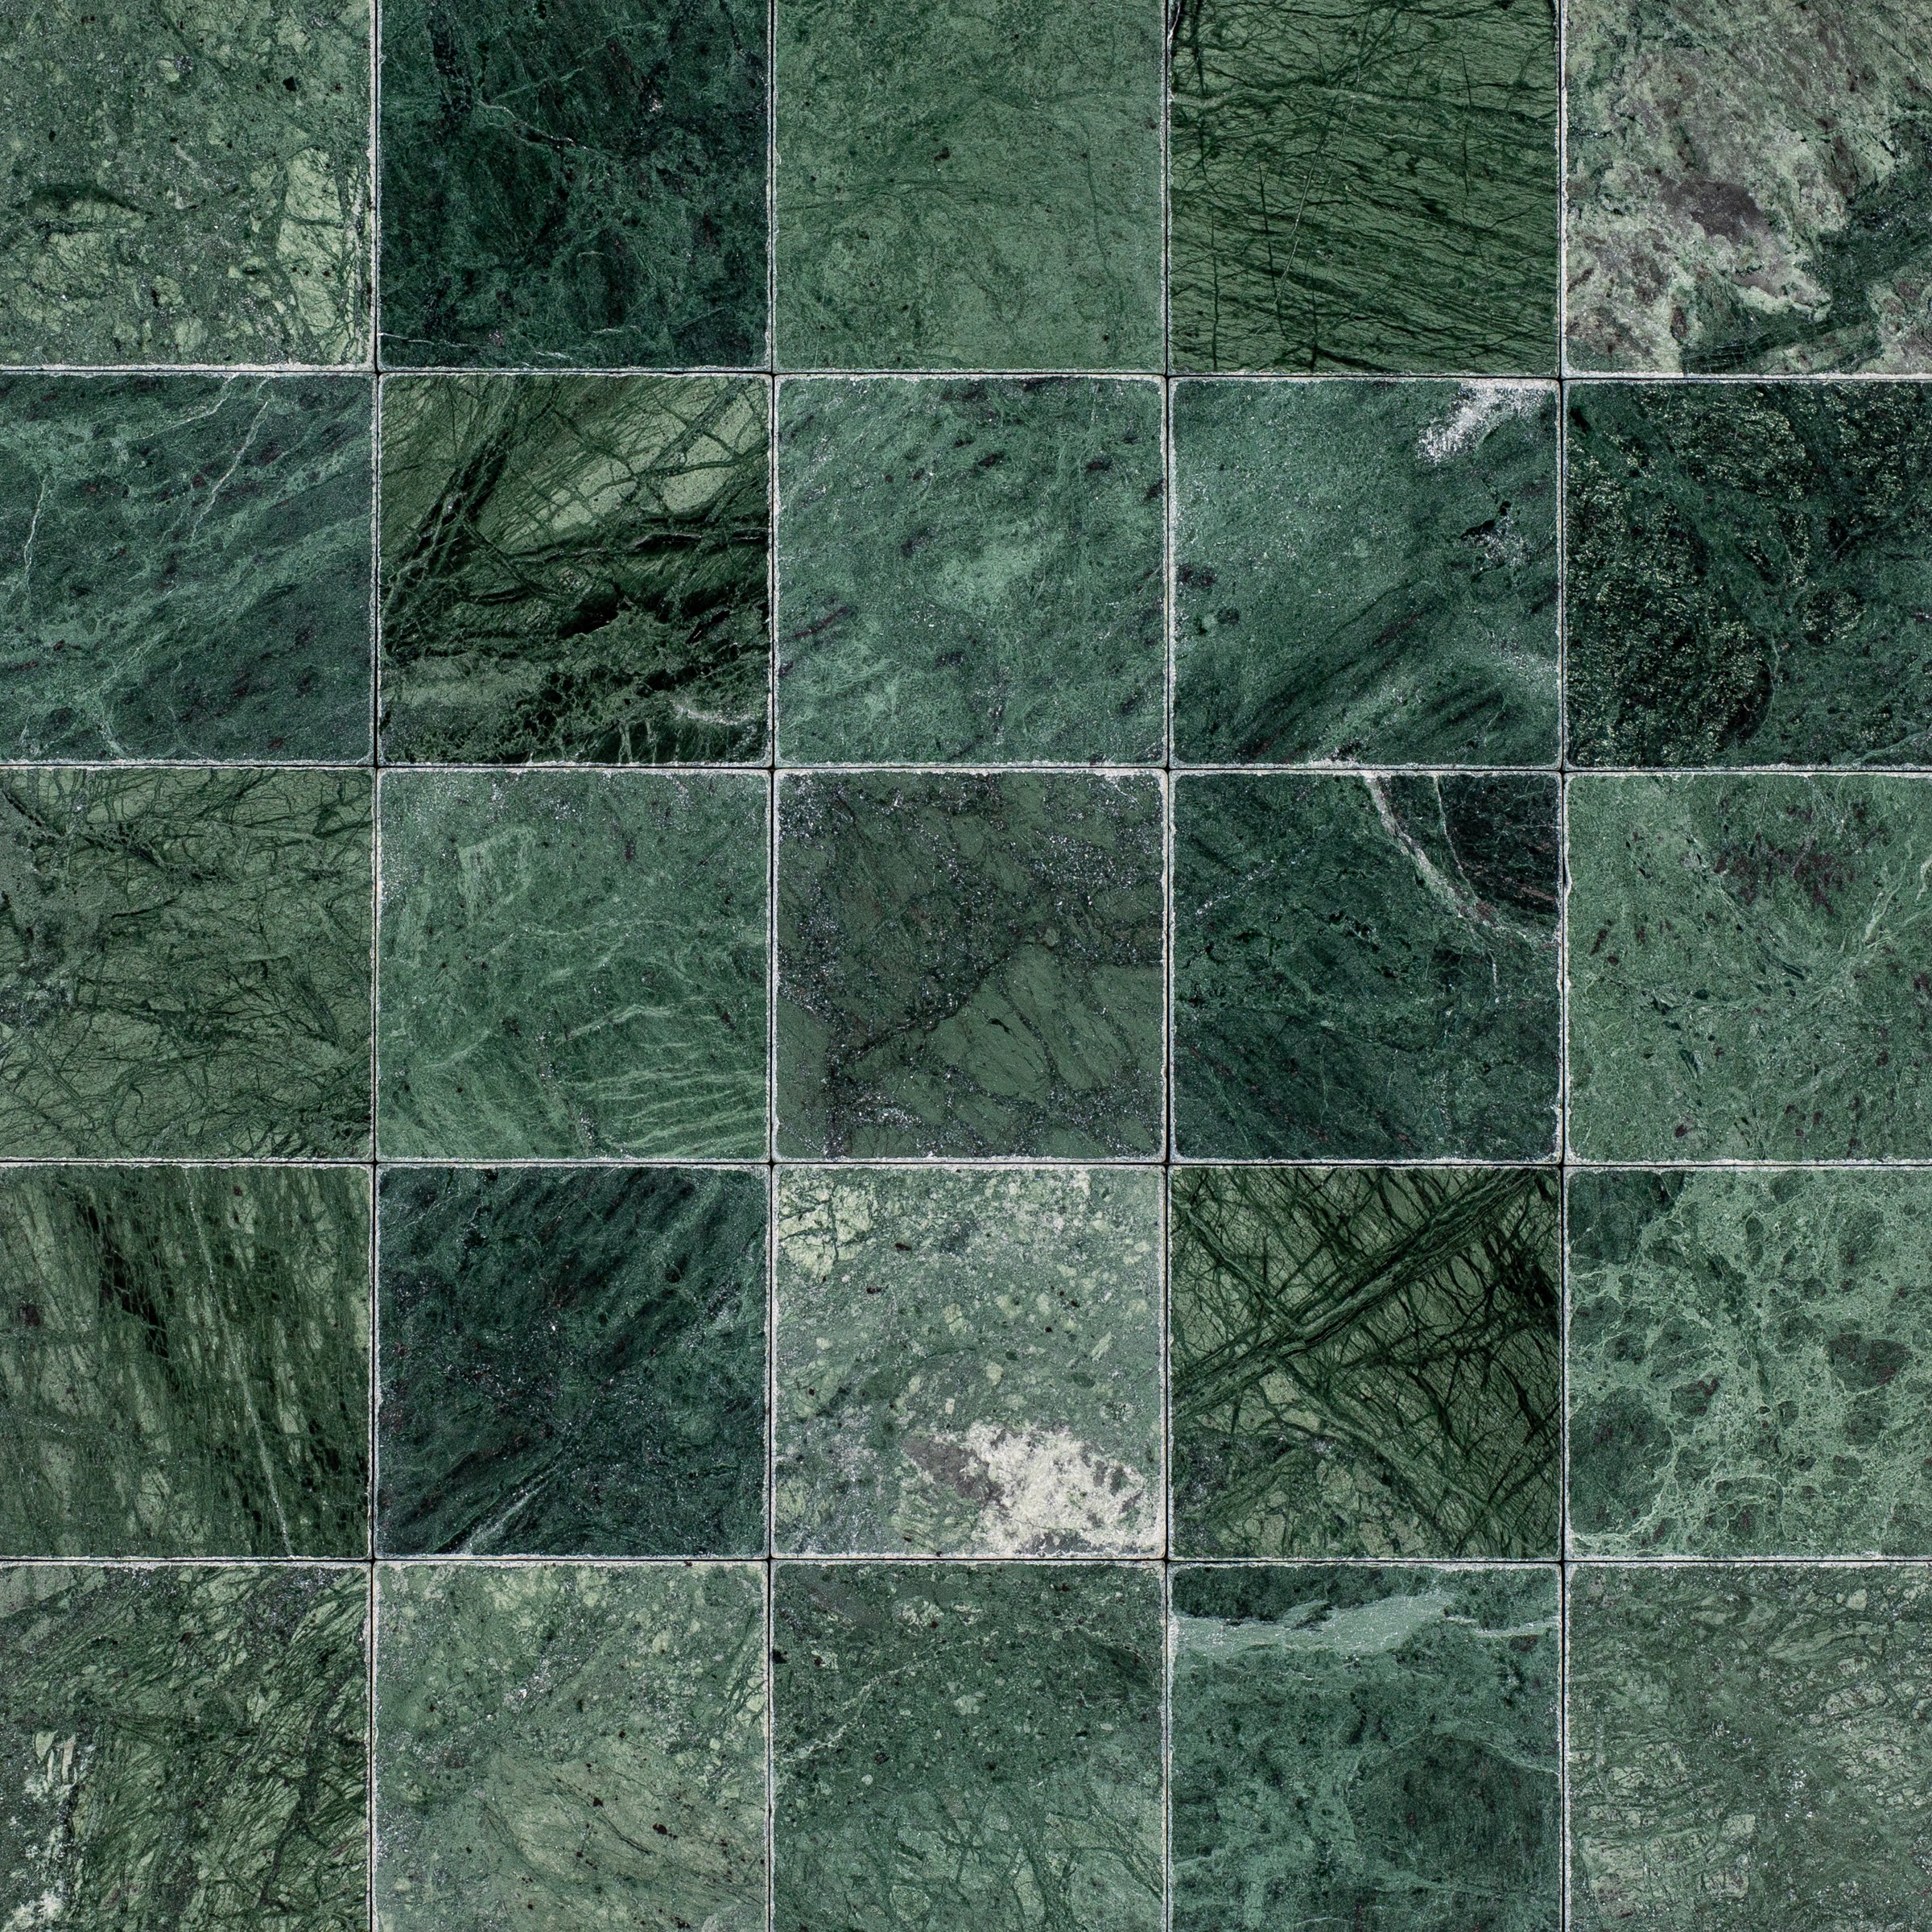
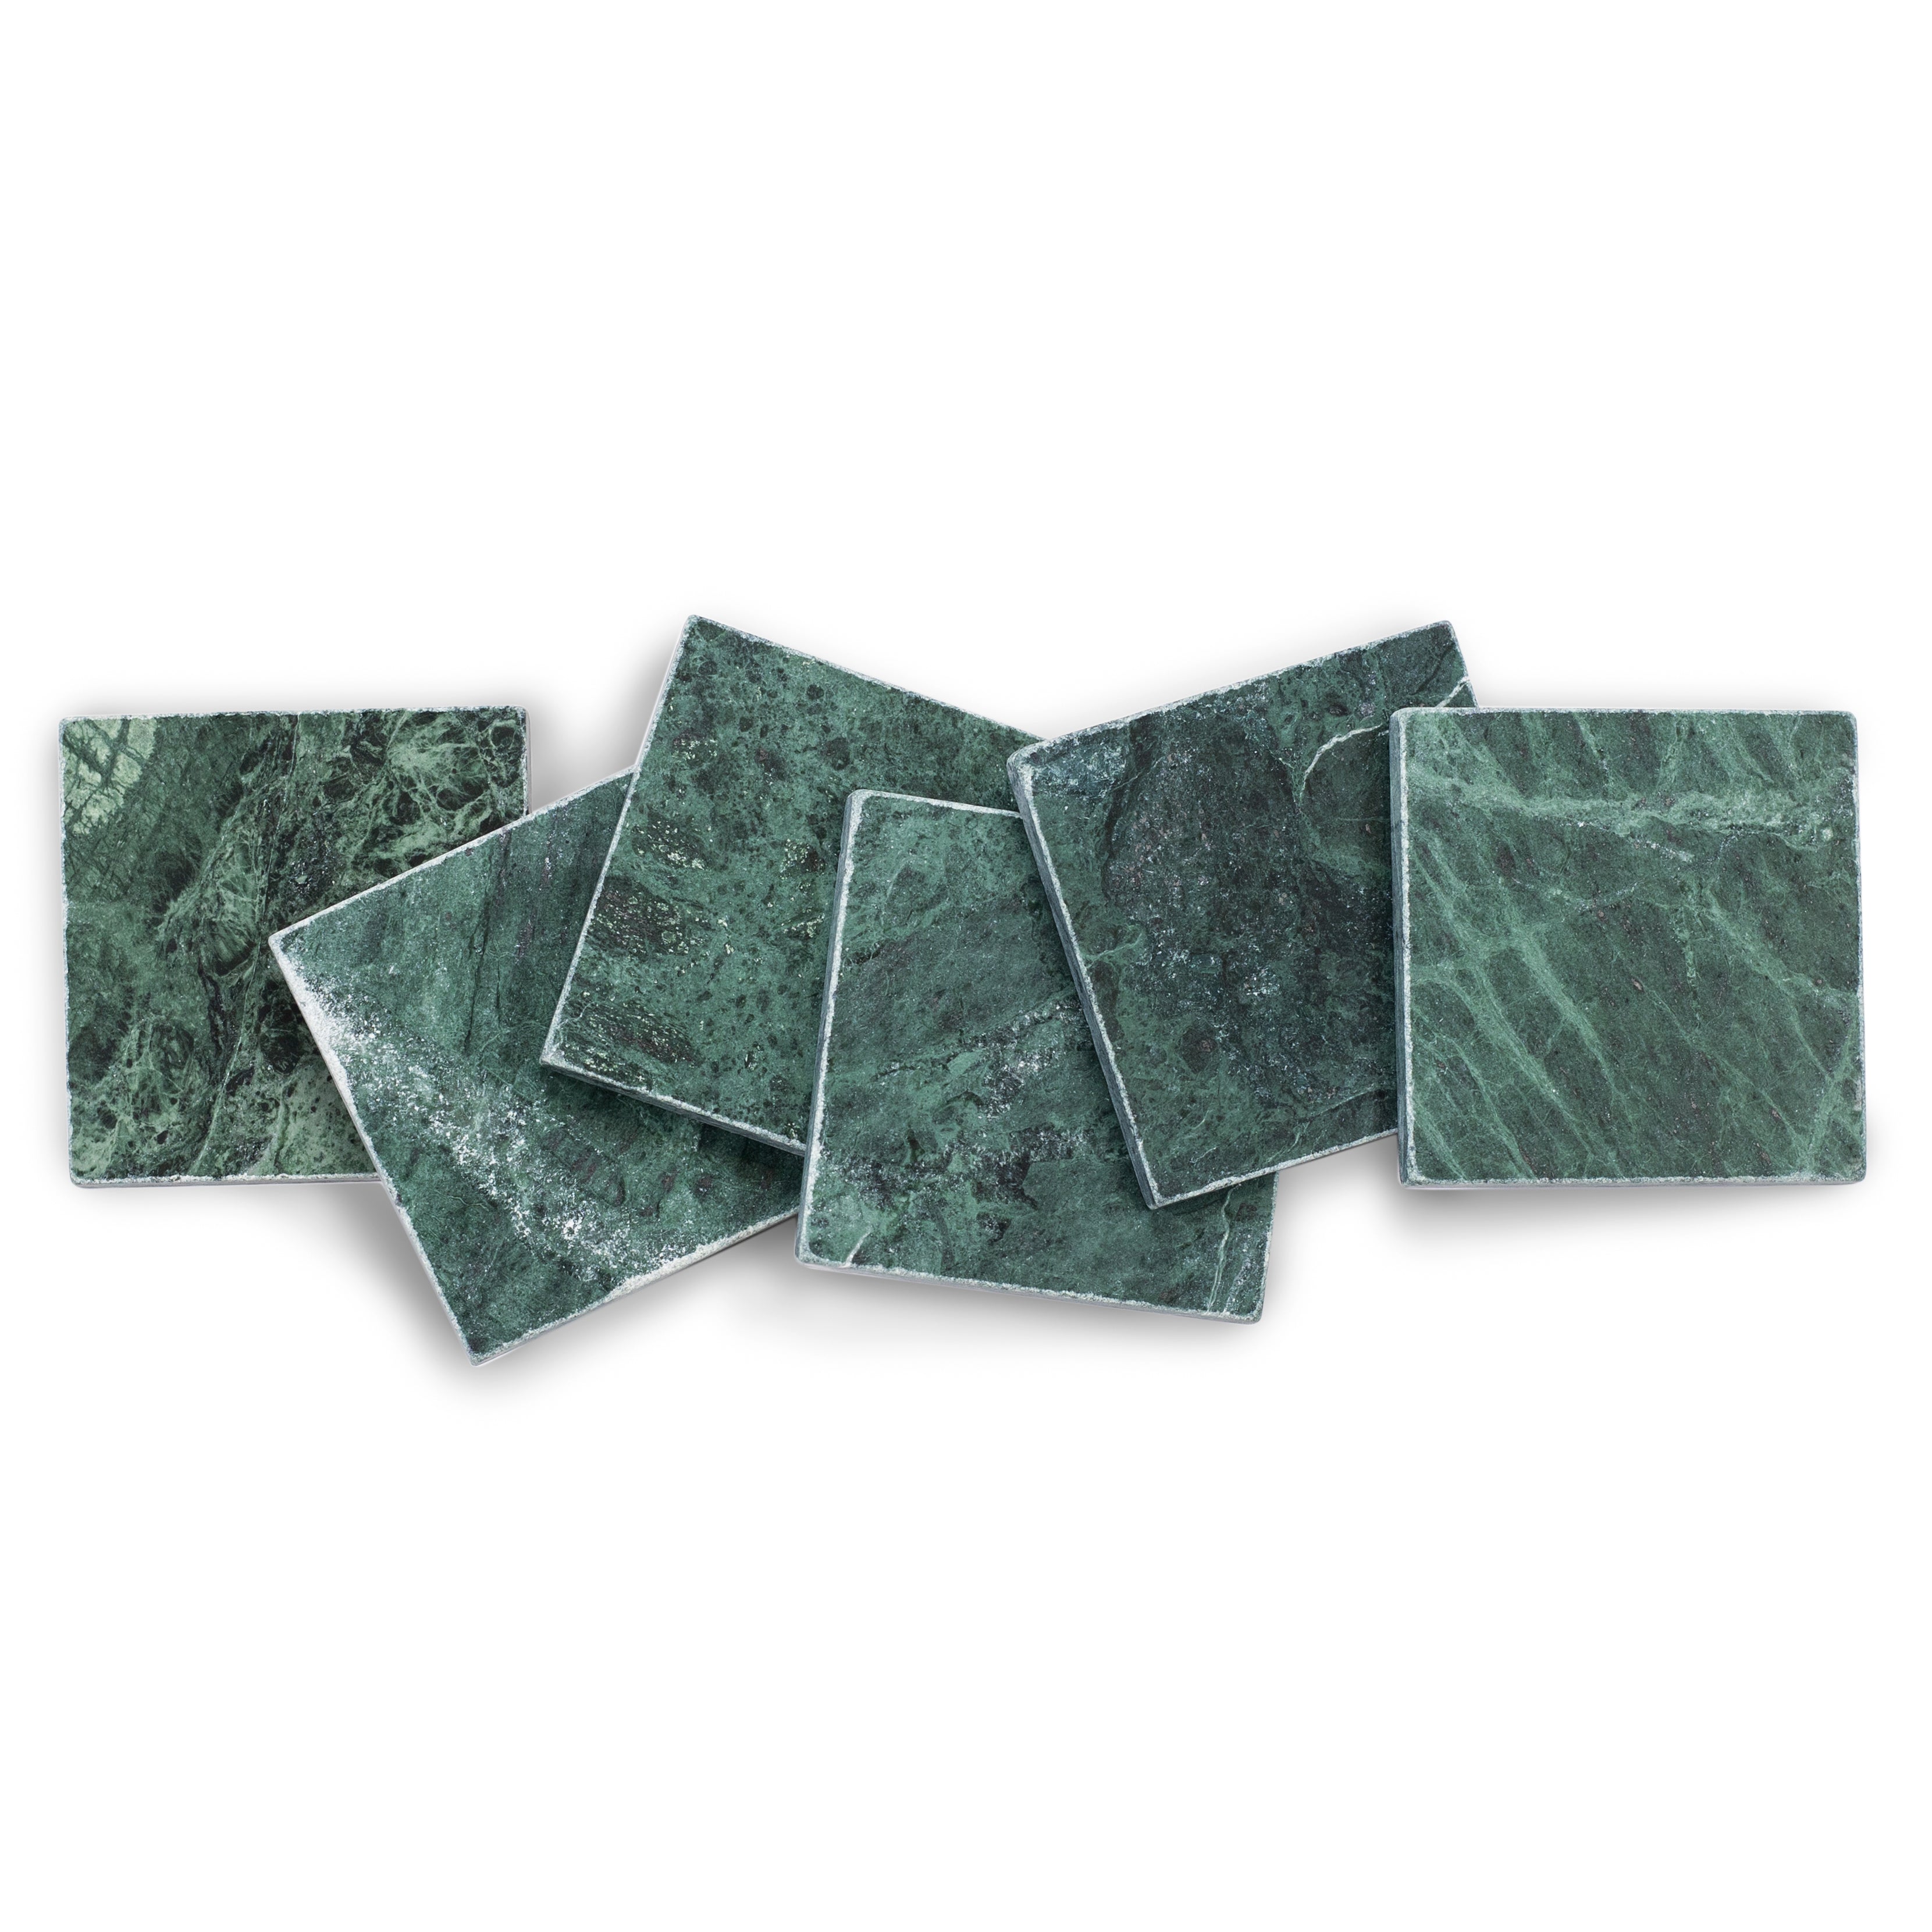
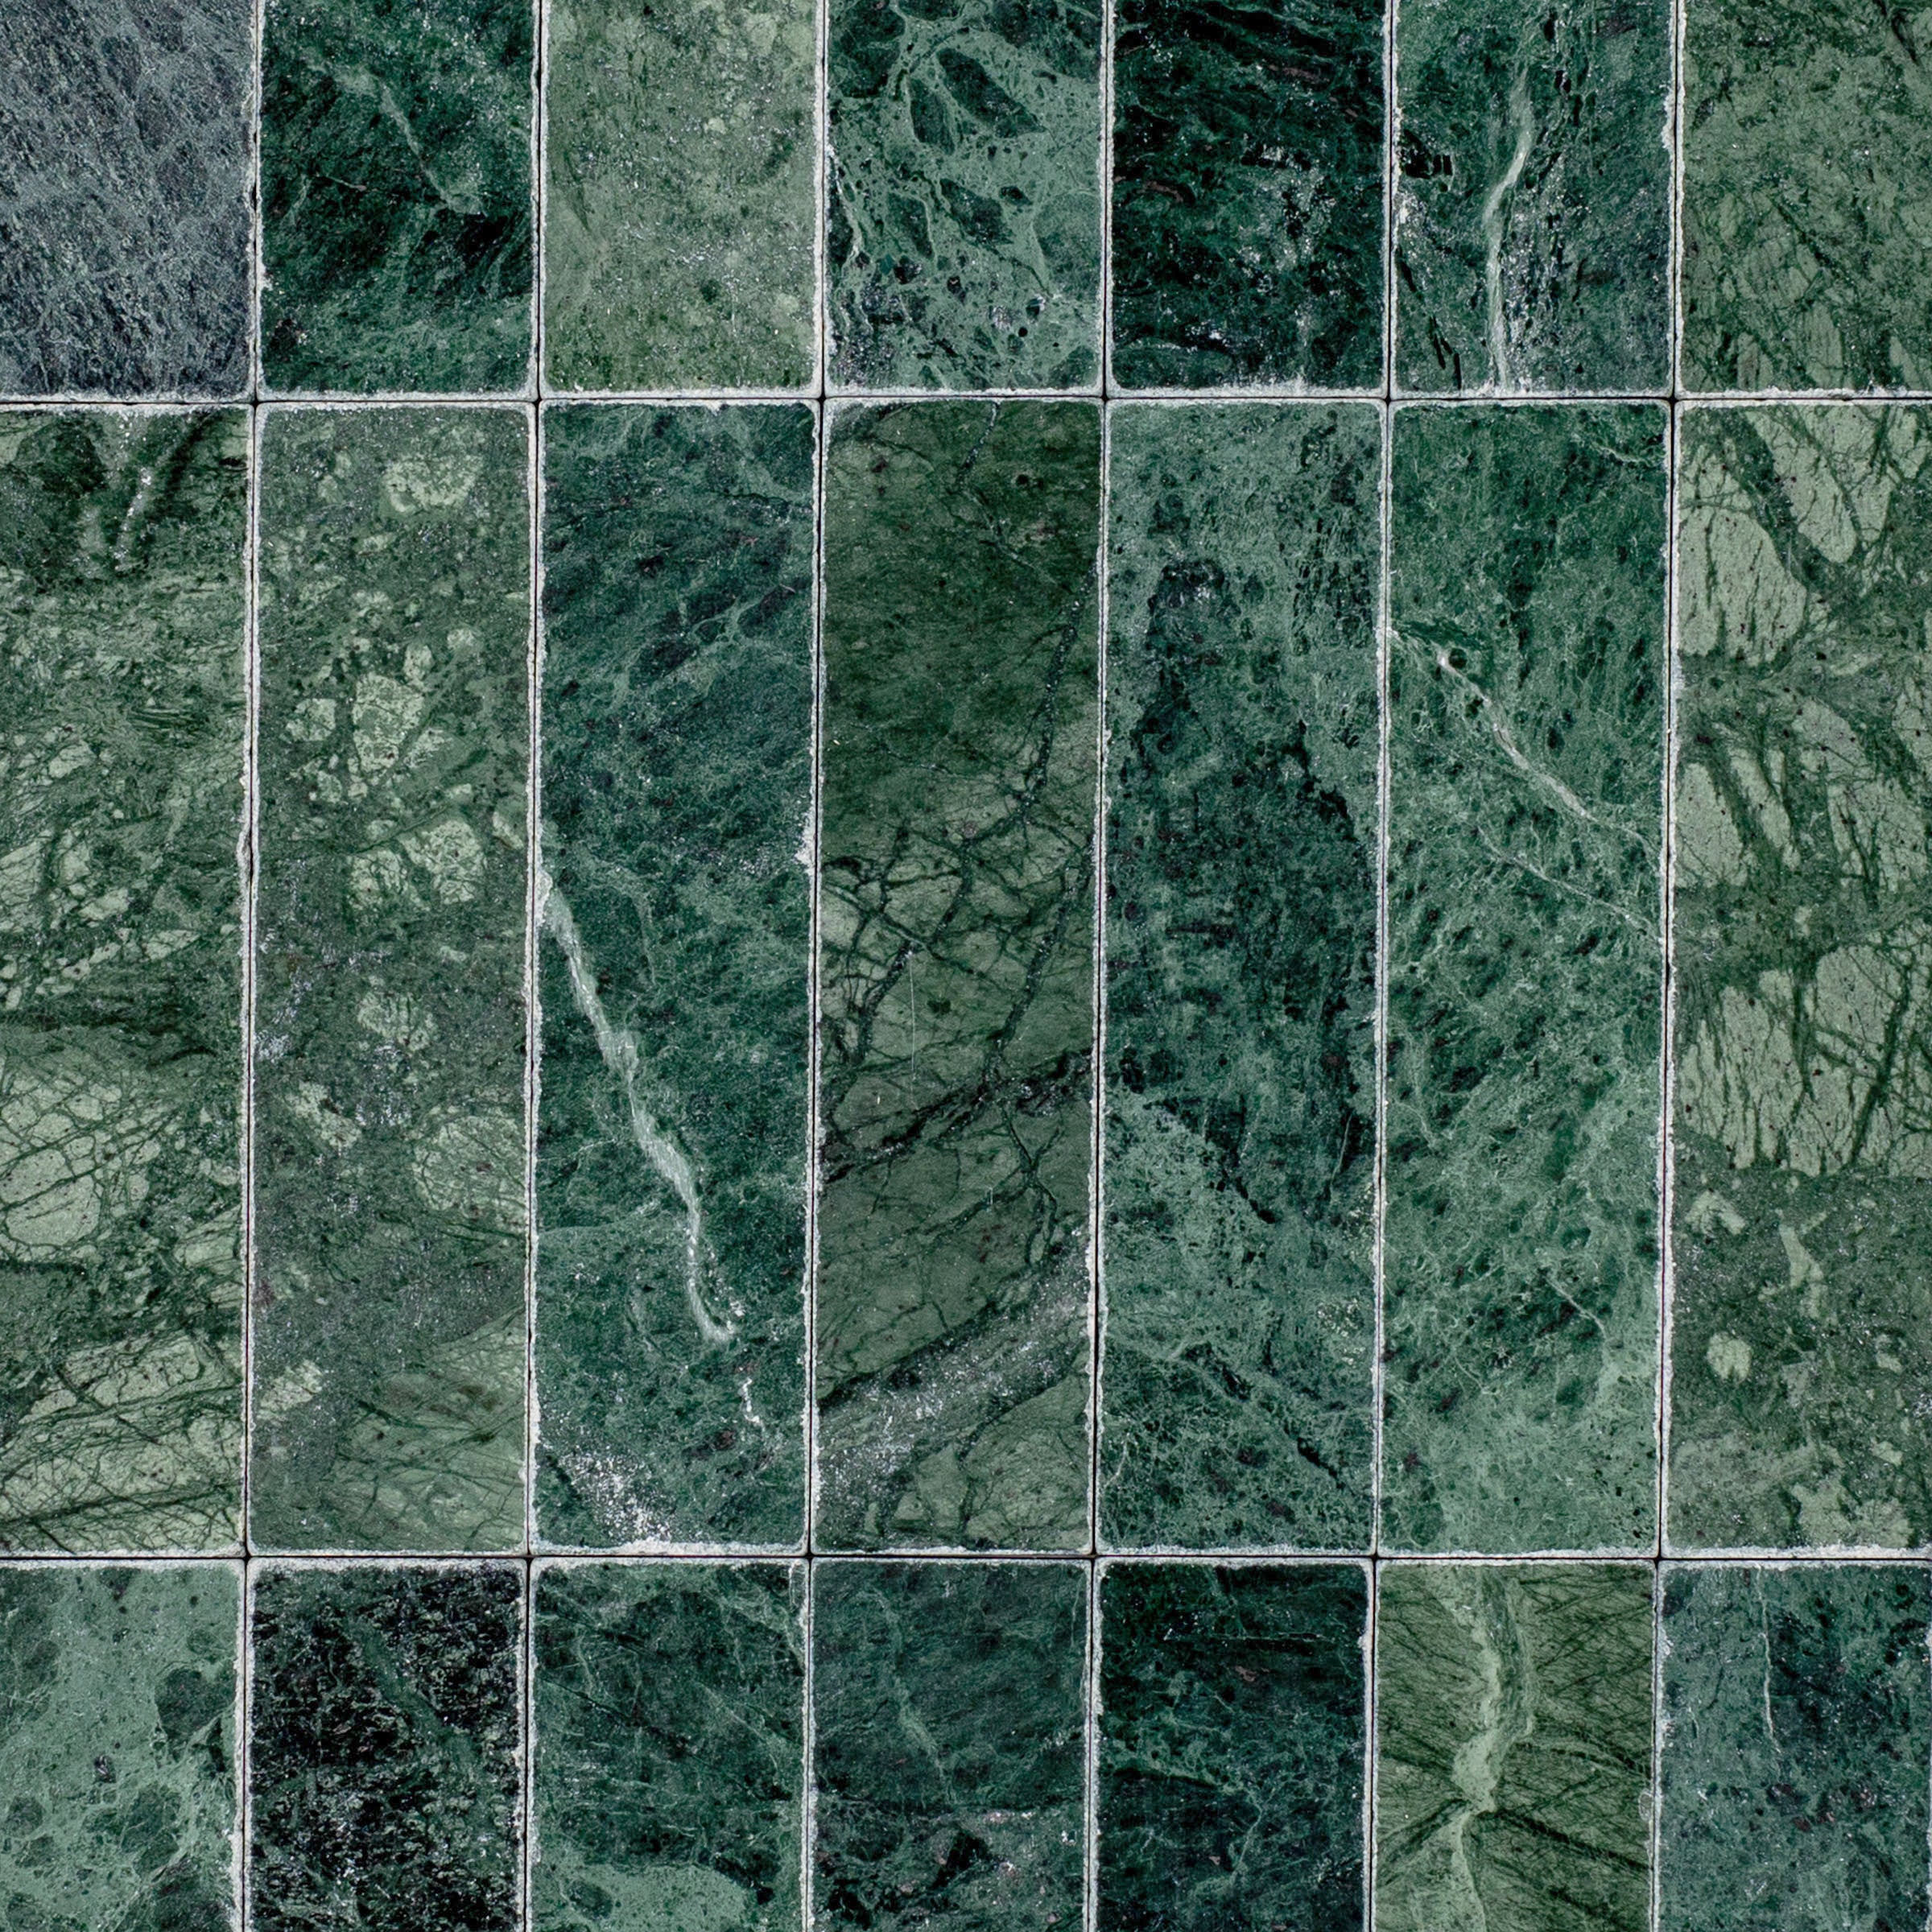
Available in a wide palette, from cool Carrara whites and soft Crema beiges to striking blends with Bardiglio grays, Nero blacks, and Verde greens, this collection offers endless design versatility. Whether you prefer a monochromatic statement or a dynamic mix of colors, the natural variation and tumbled finish create a surface rich with character and depth.
Texture, Warmth, Lasting Style
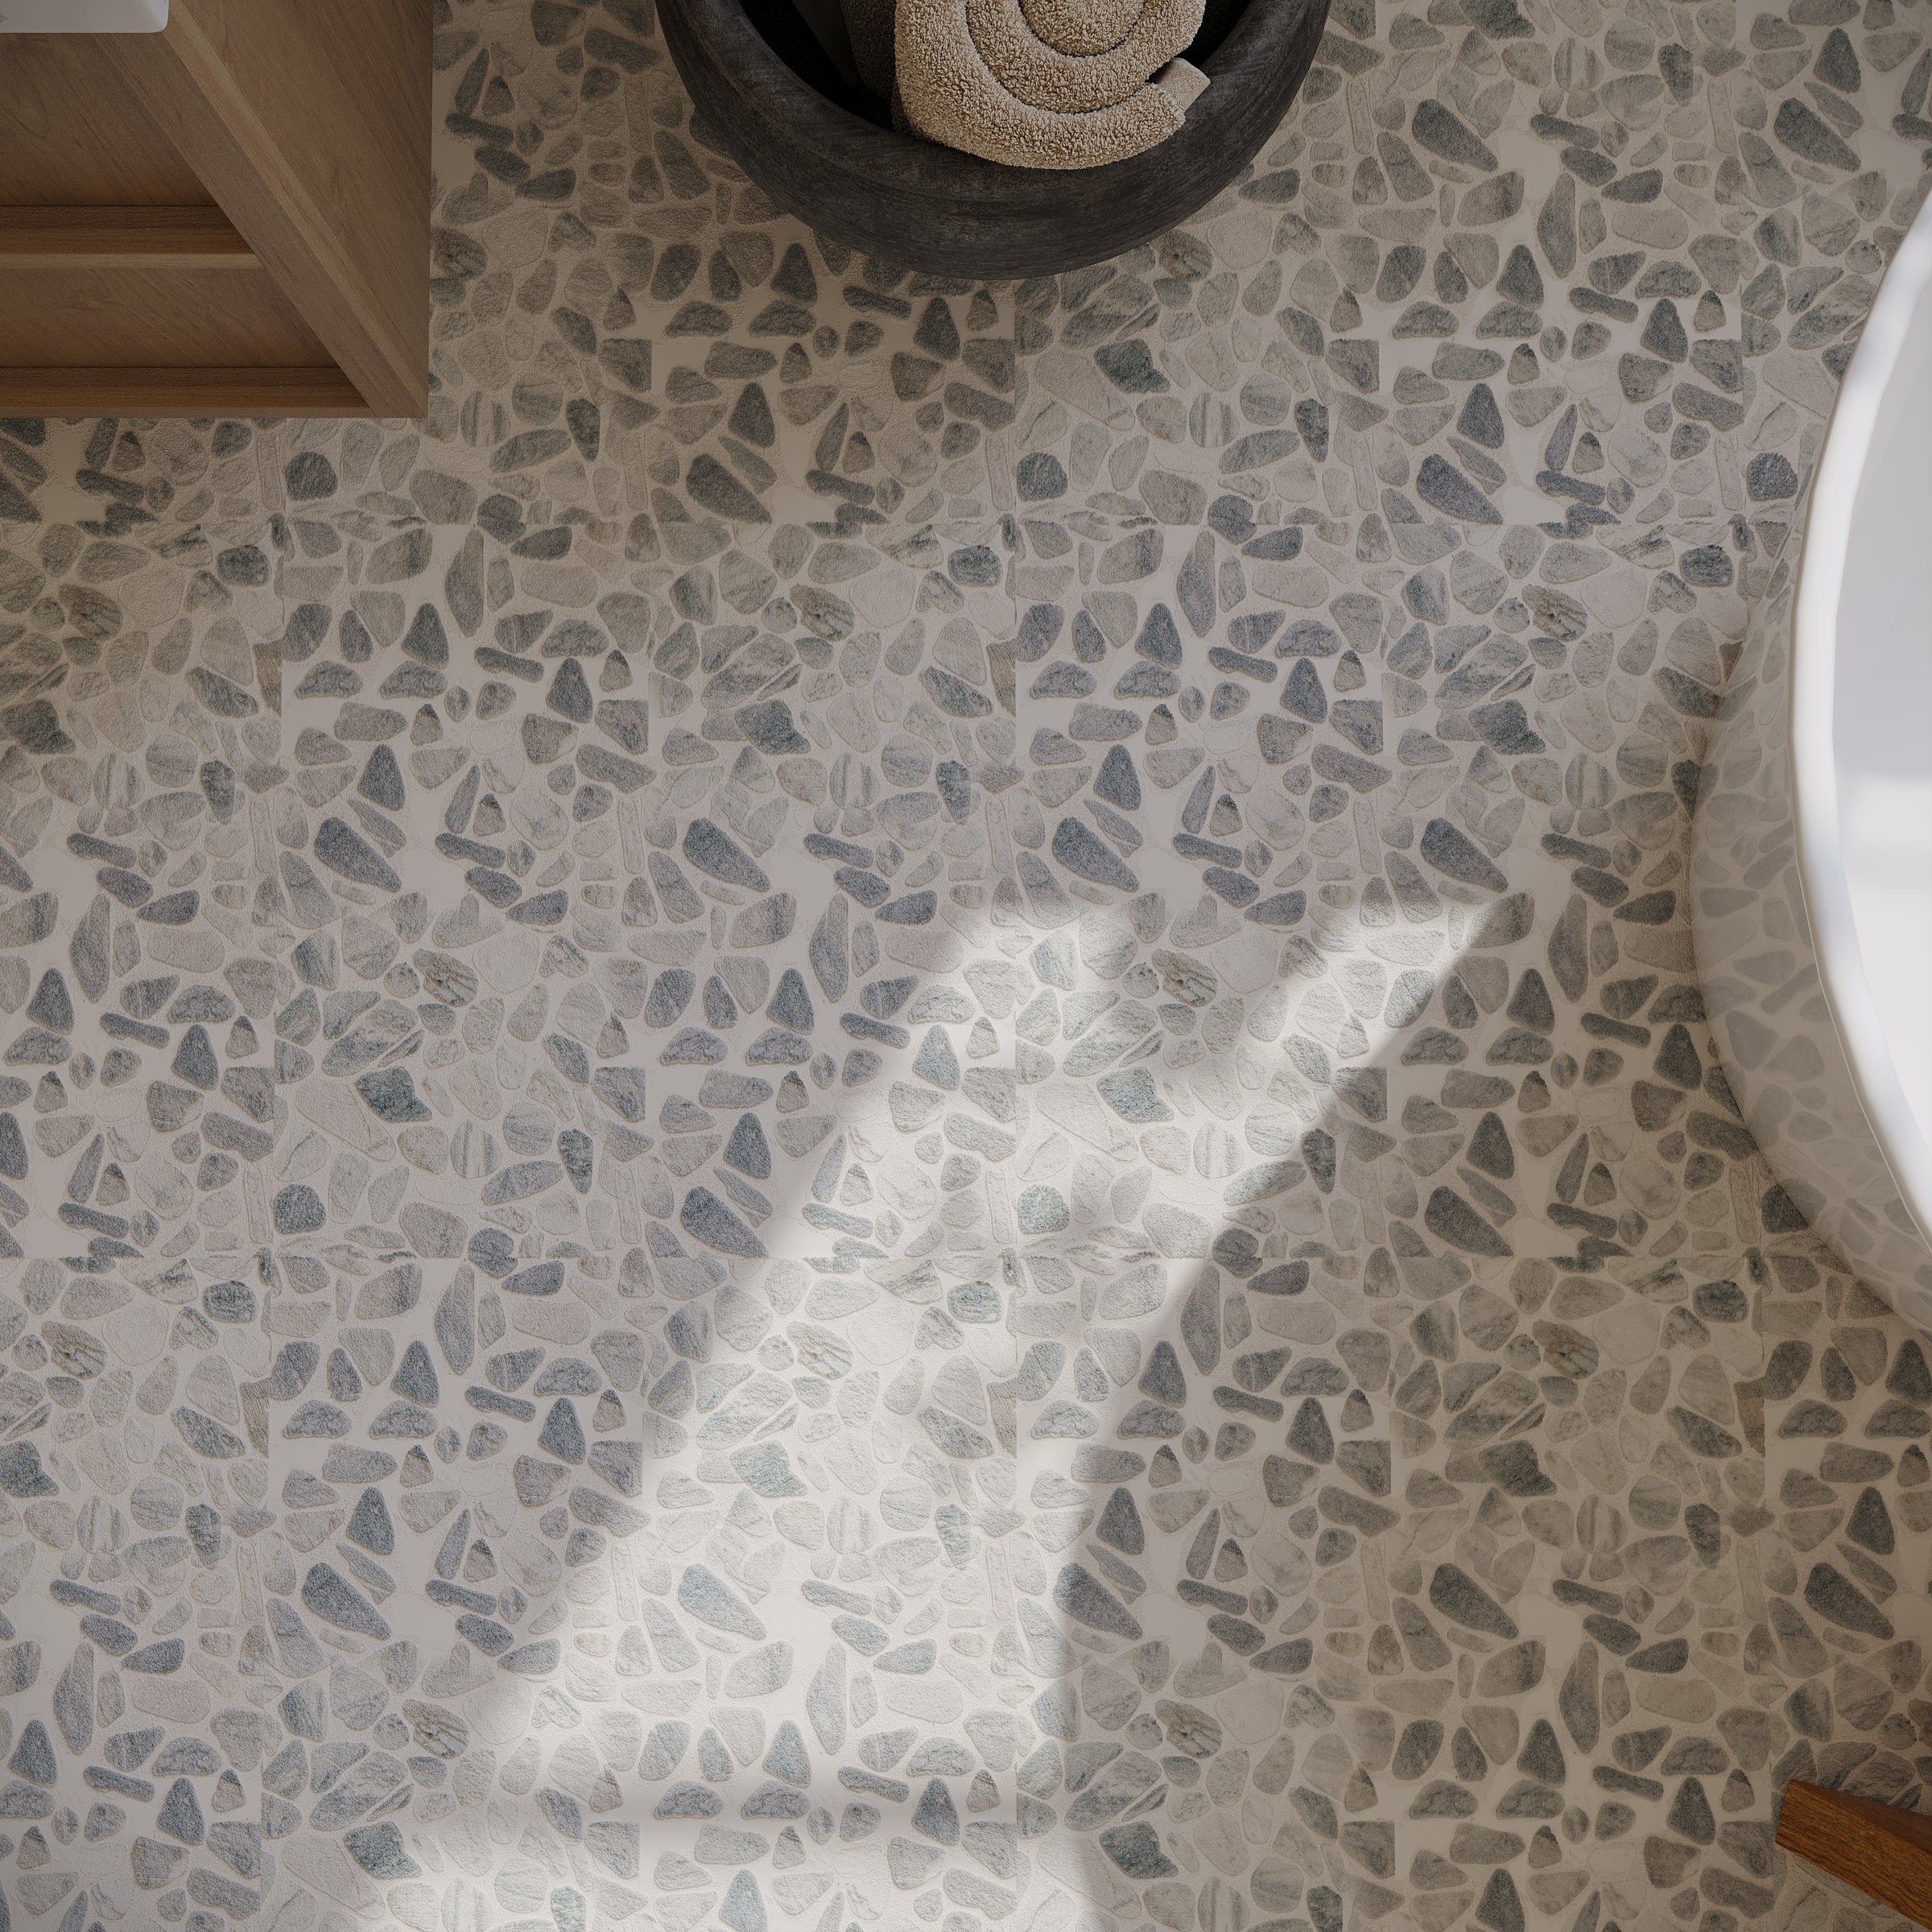
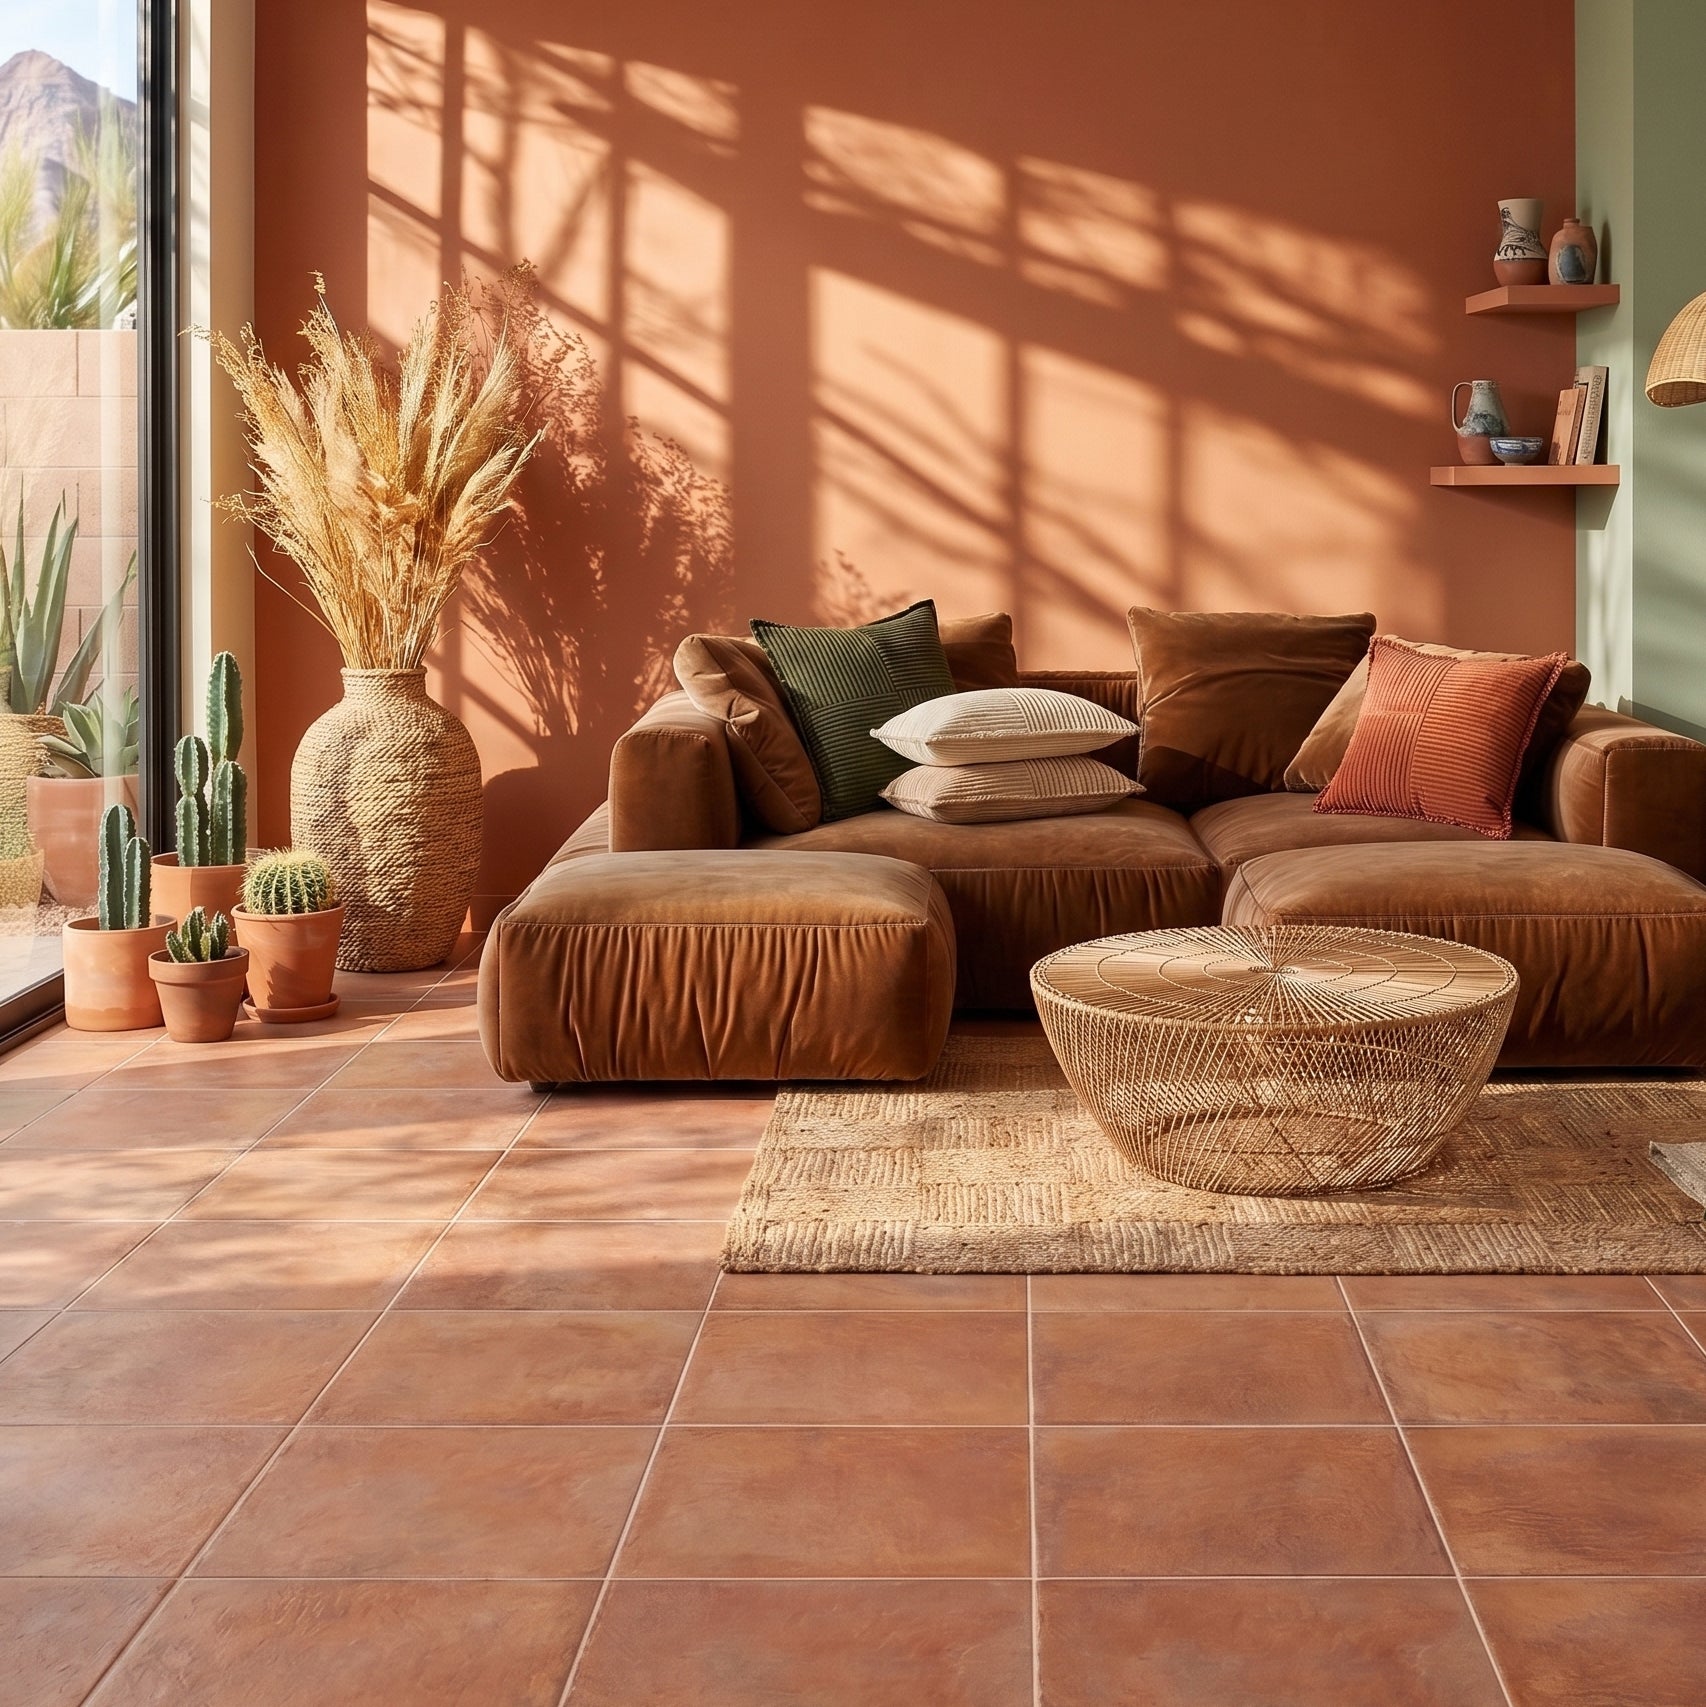
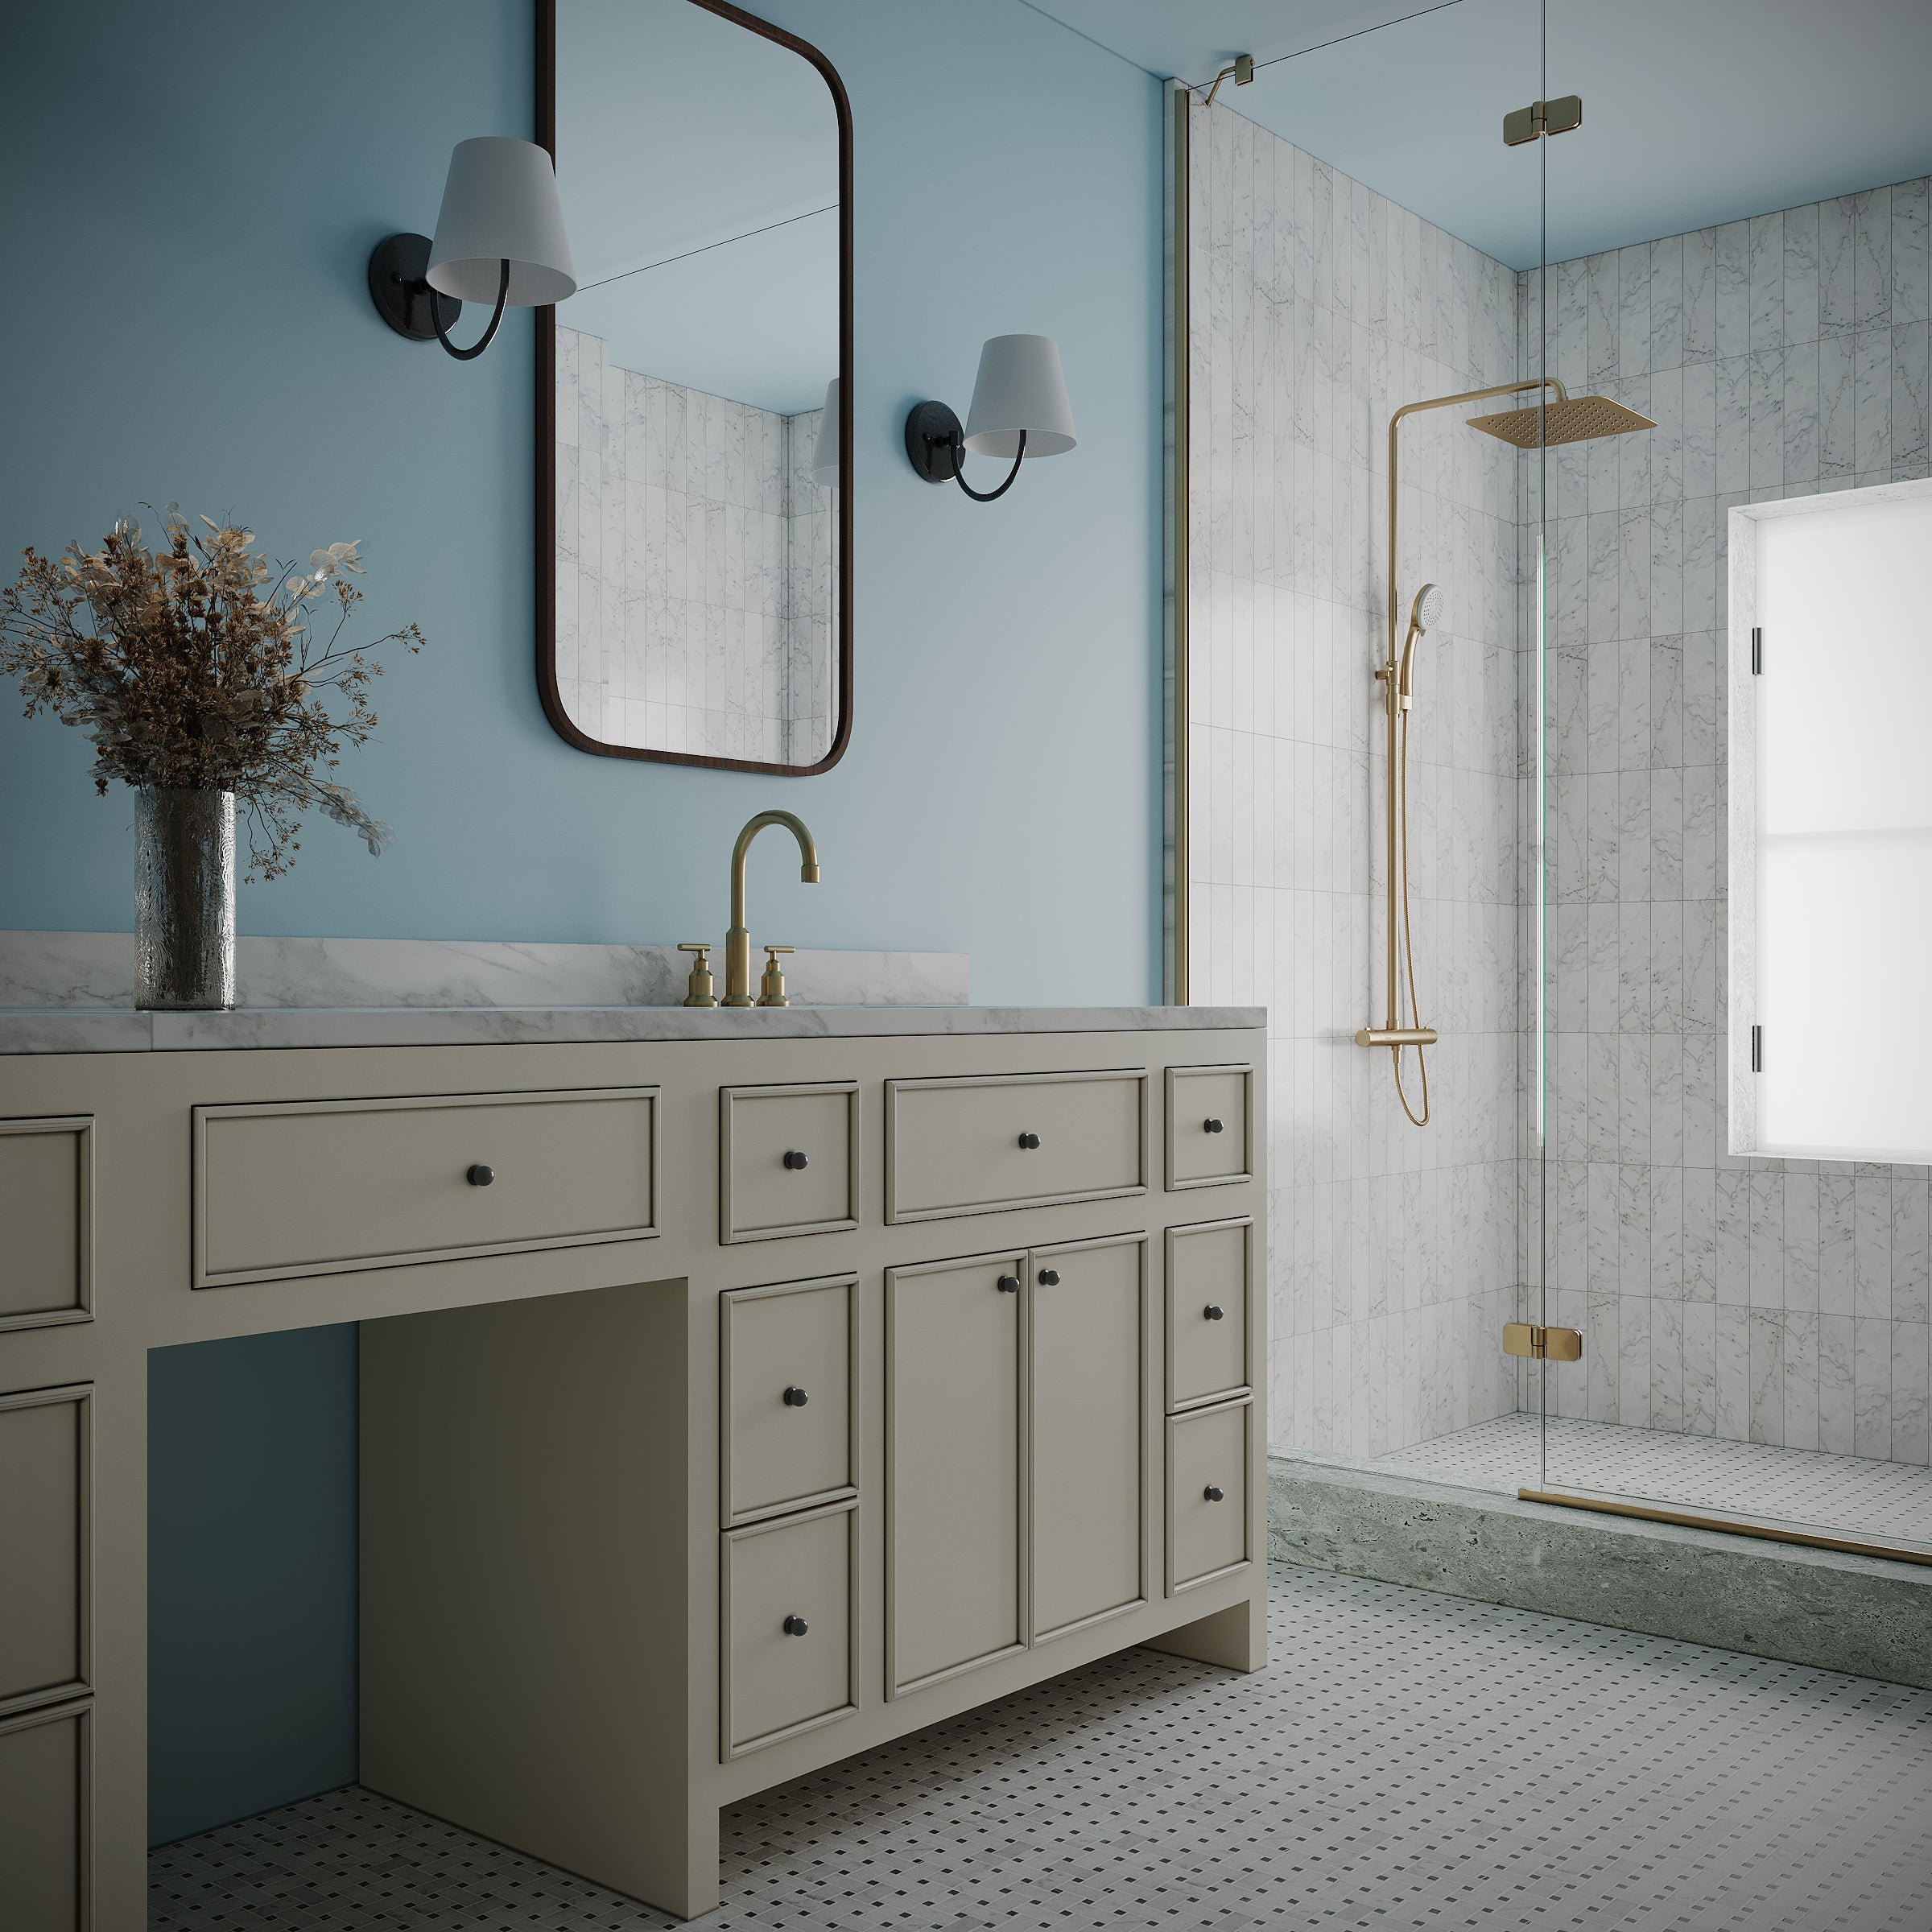
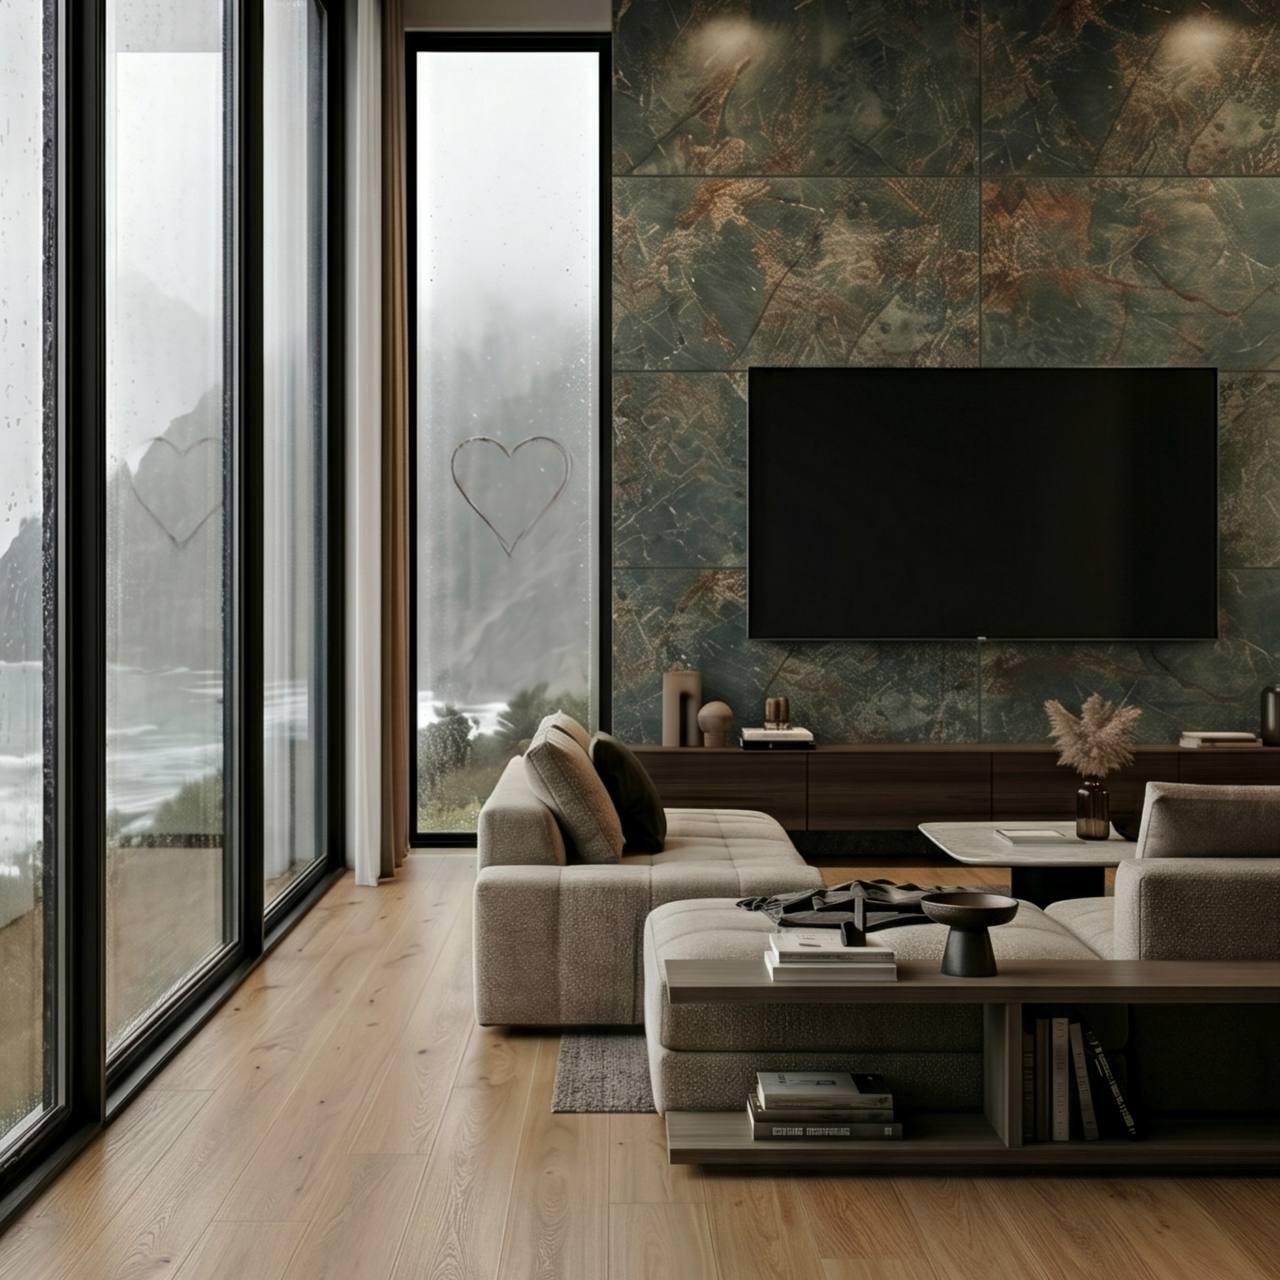
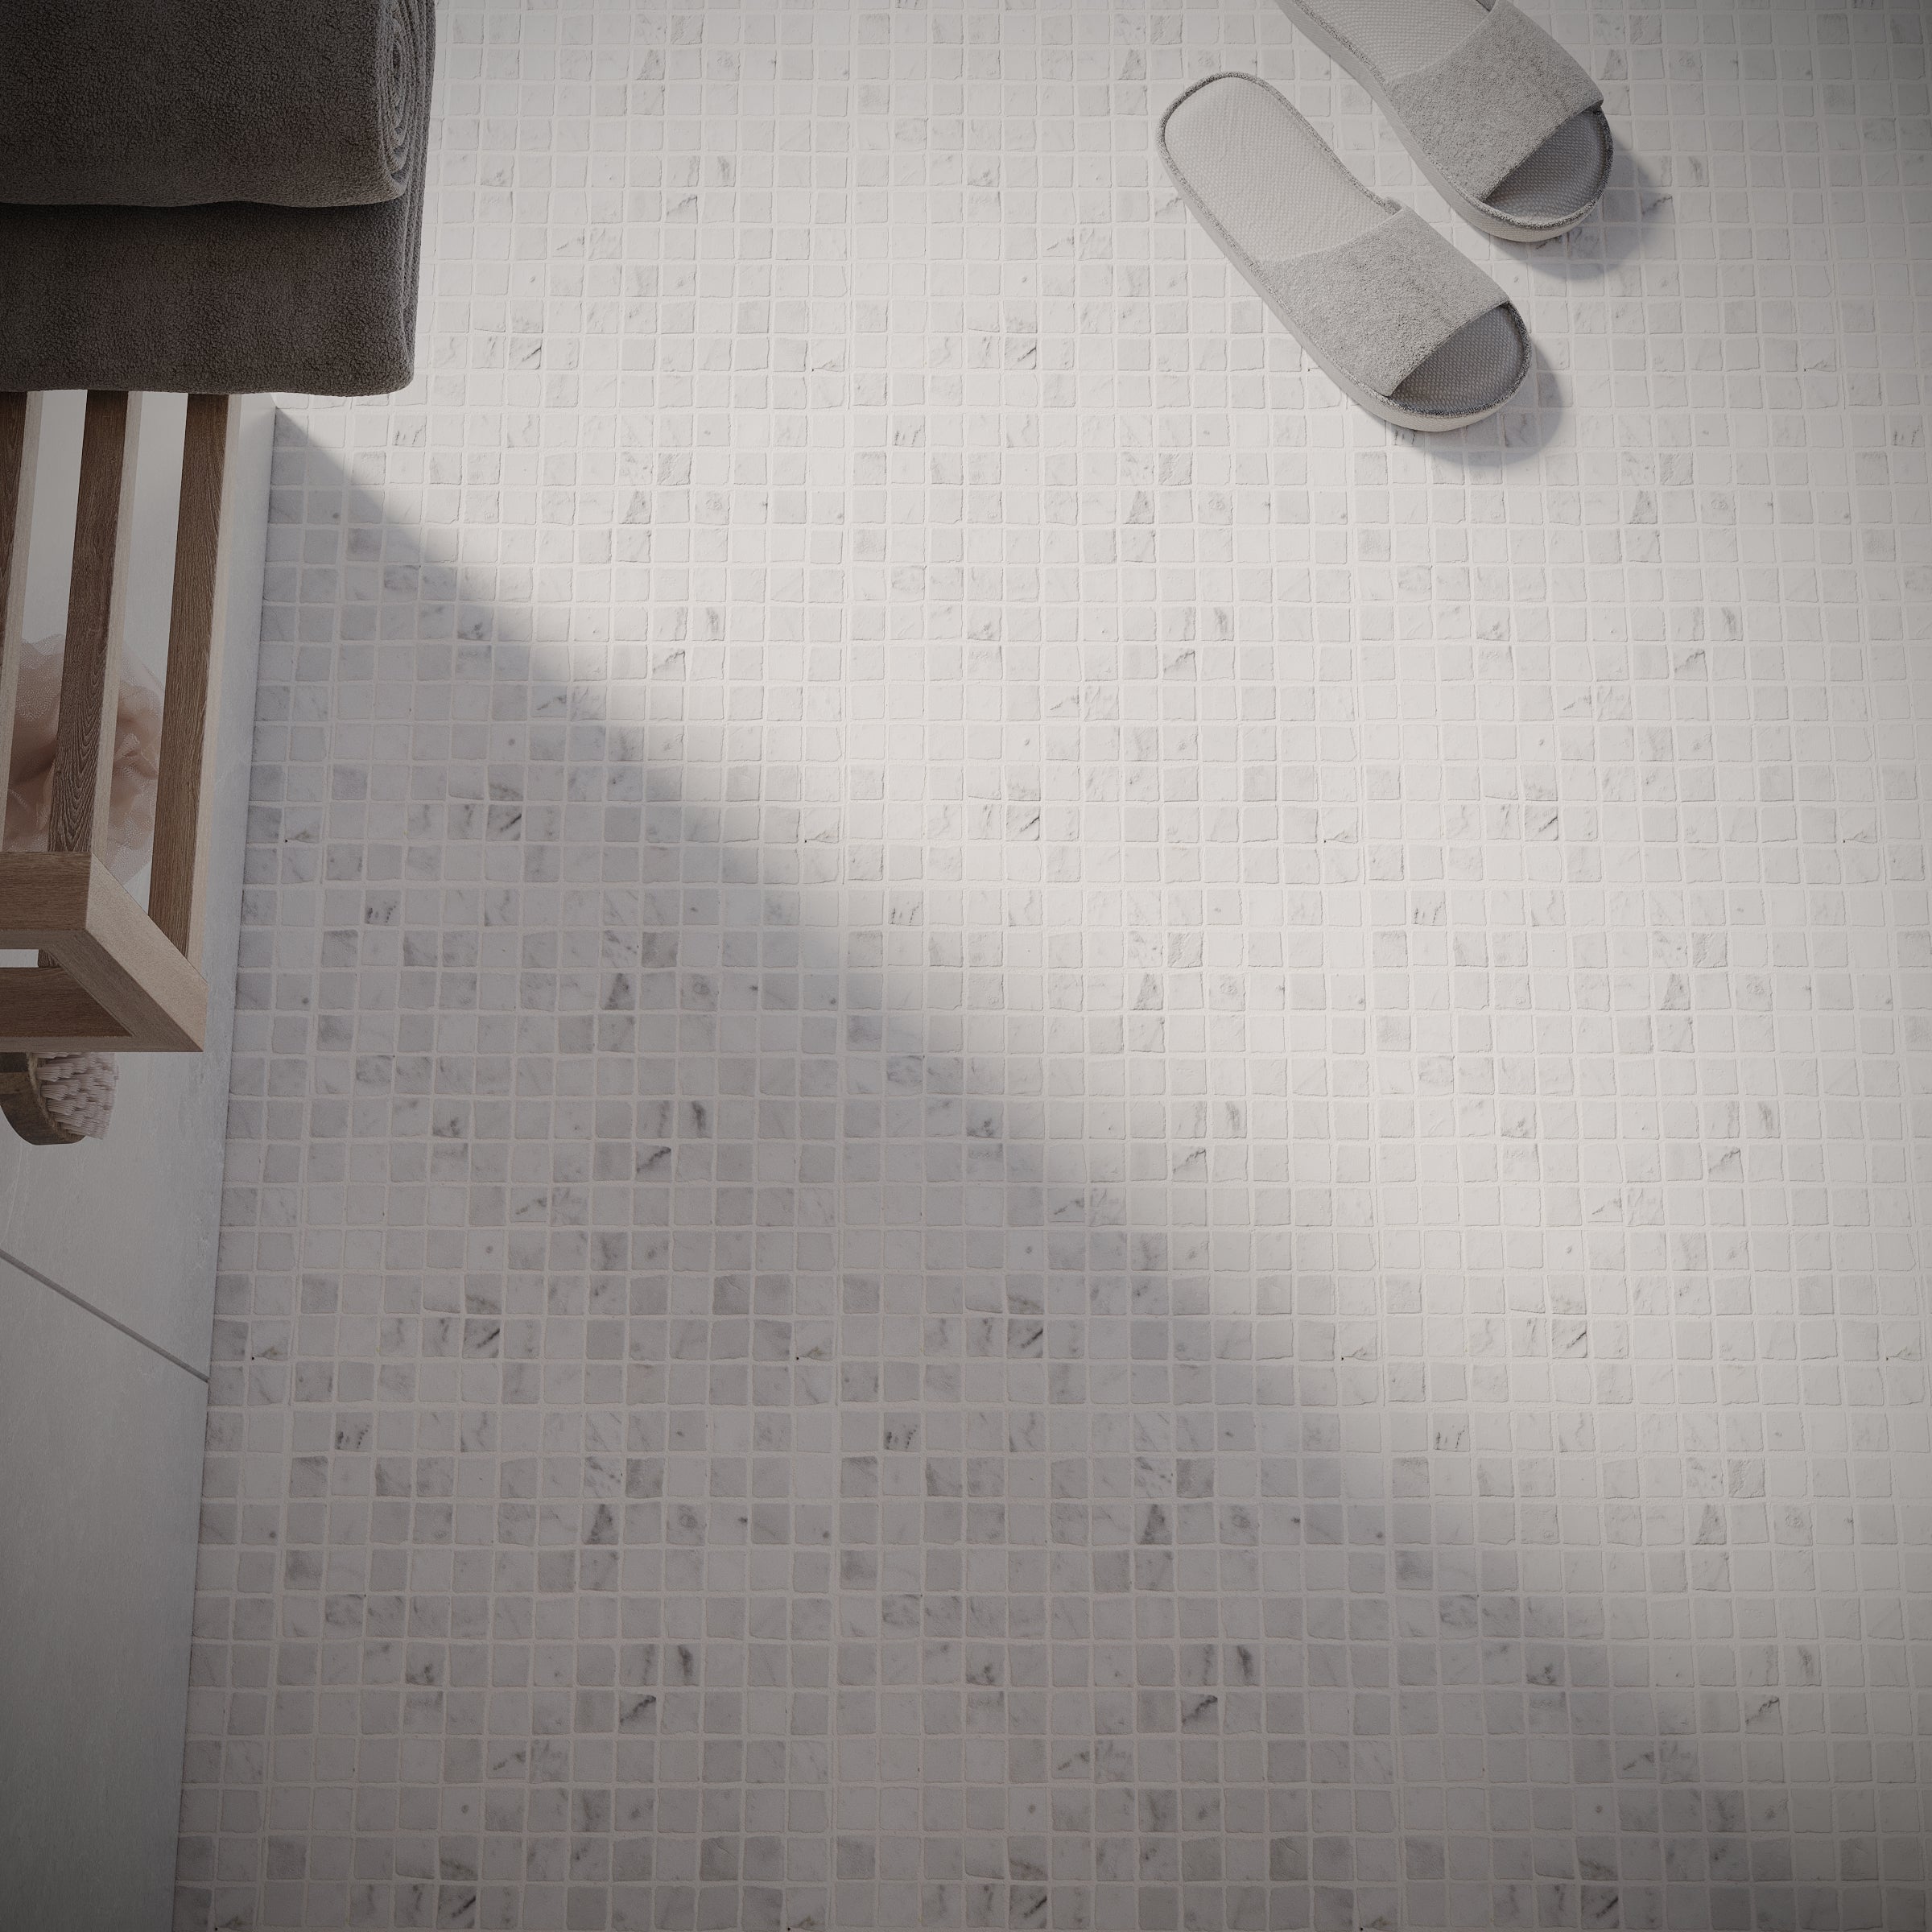
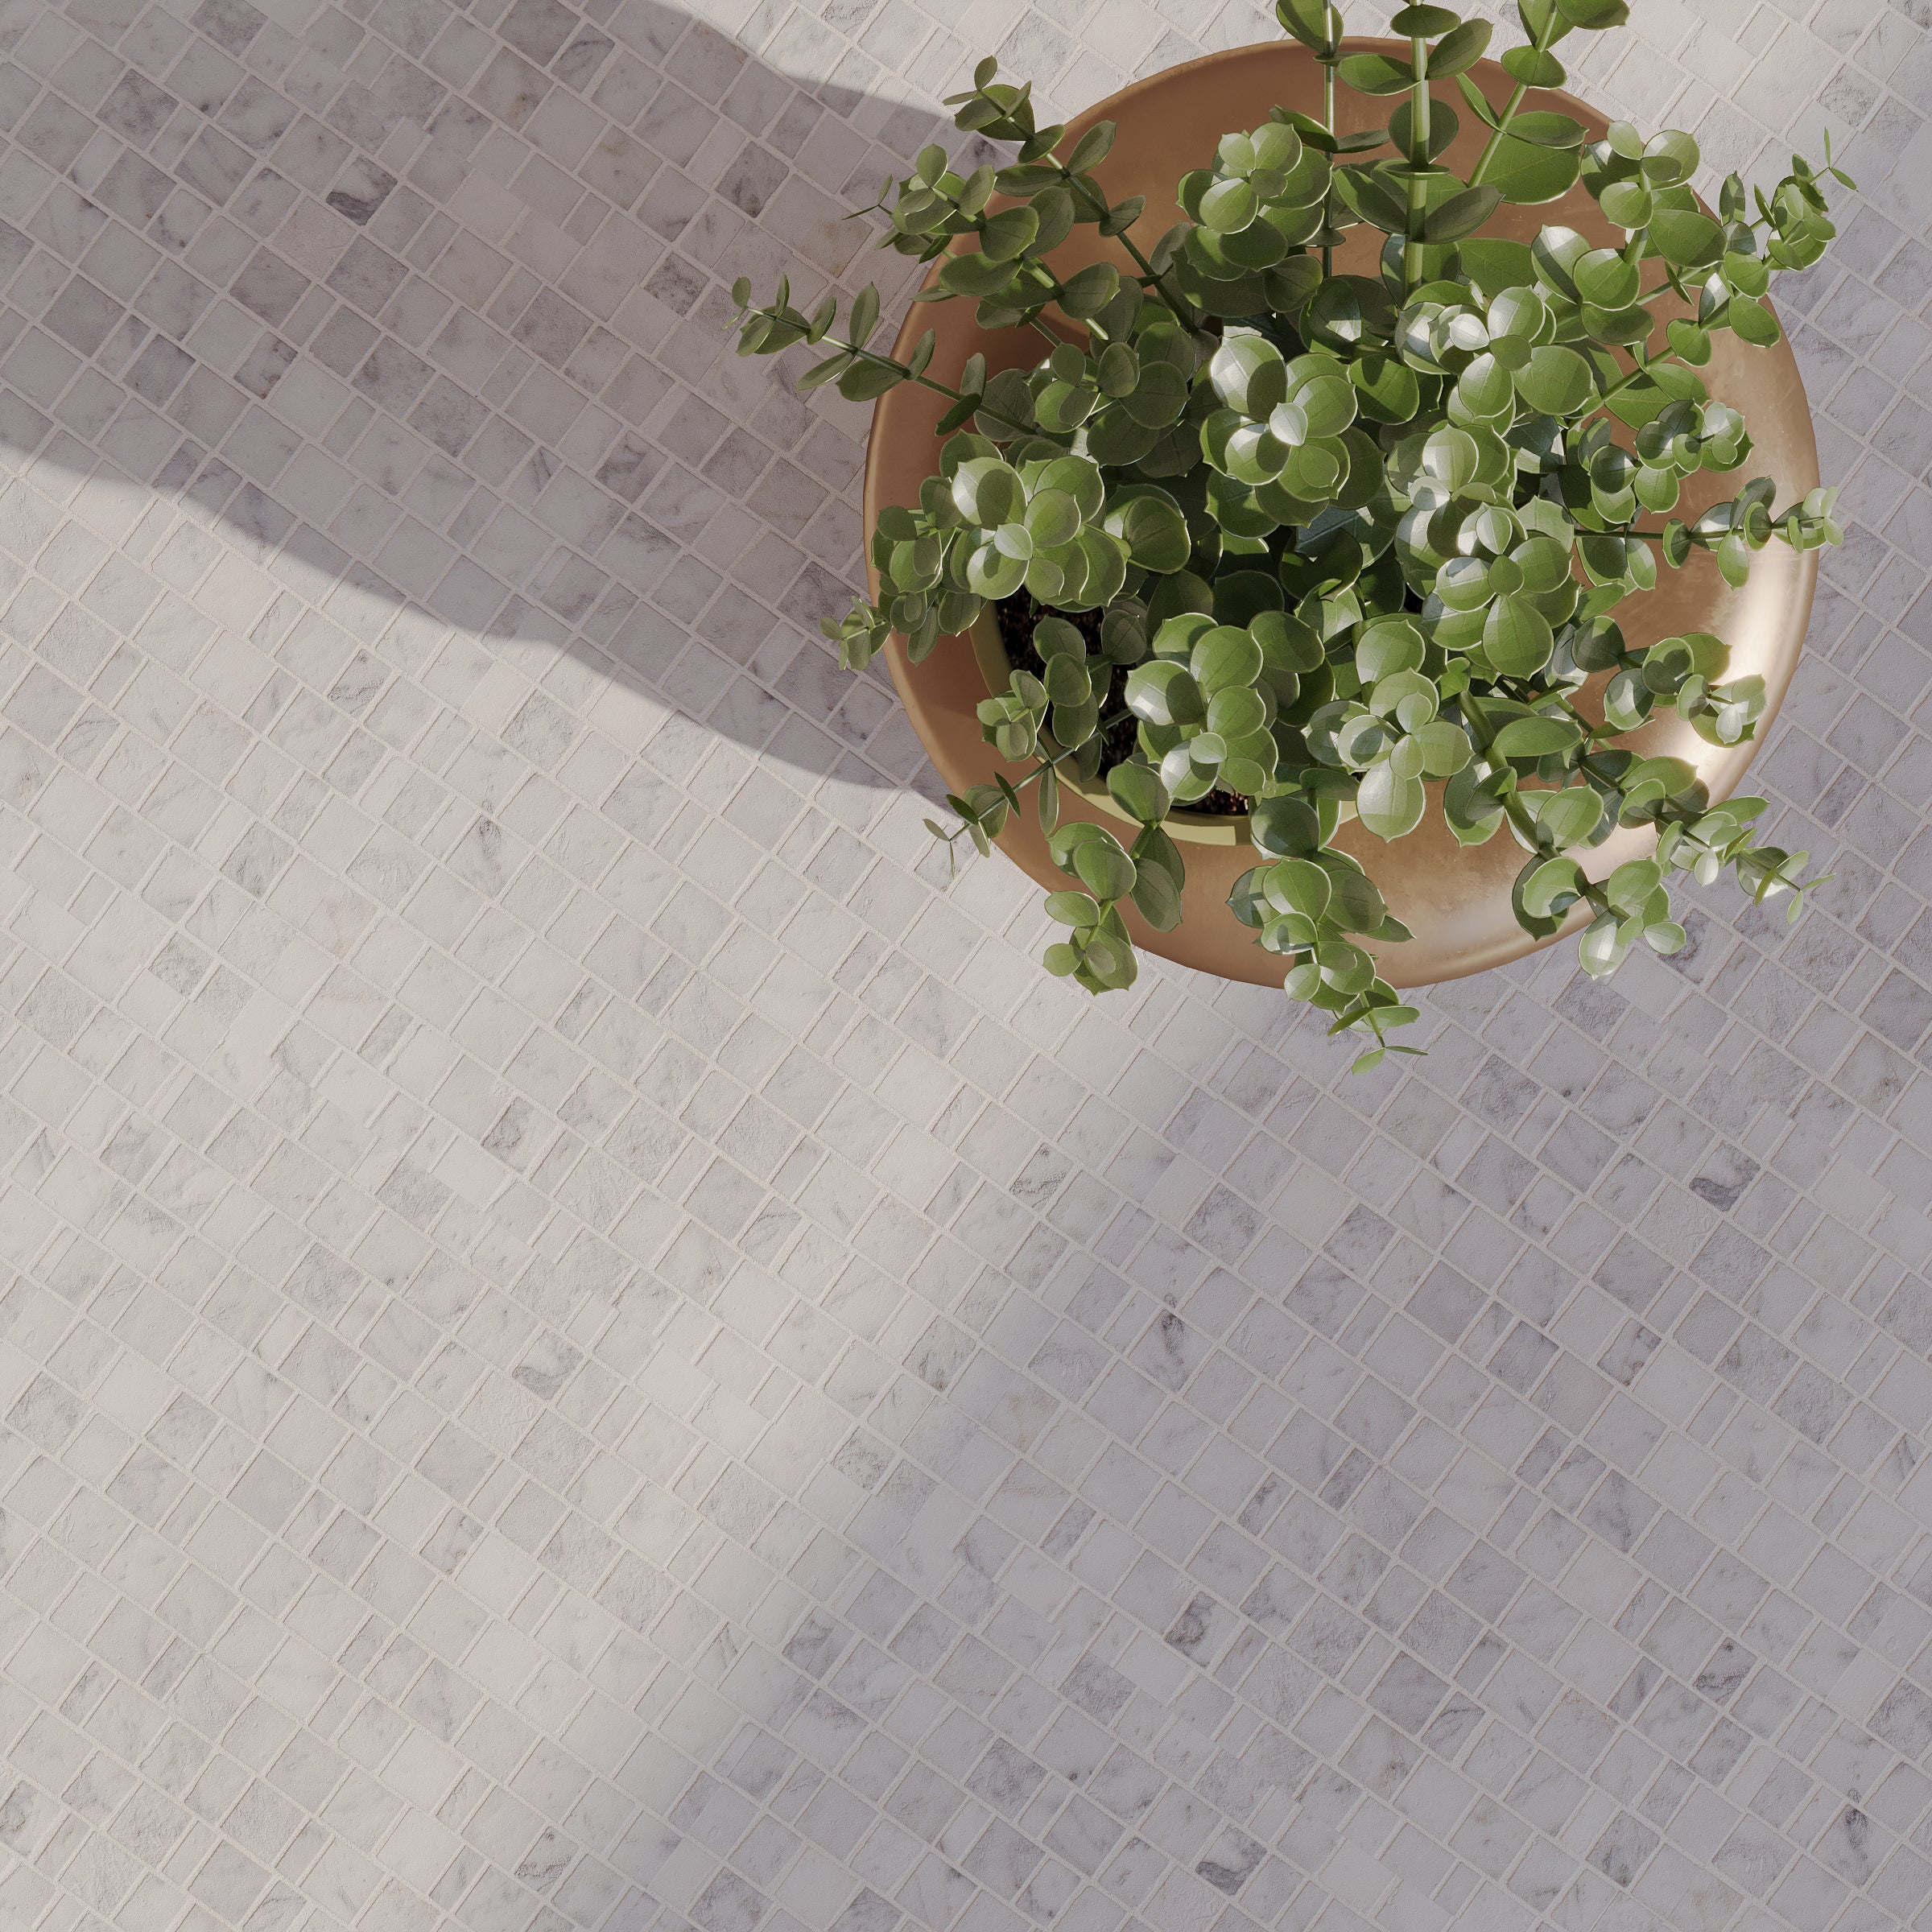
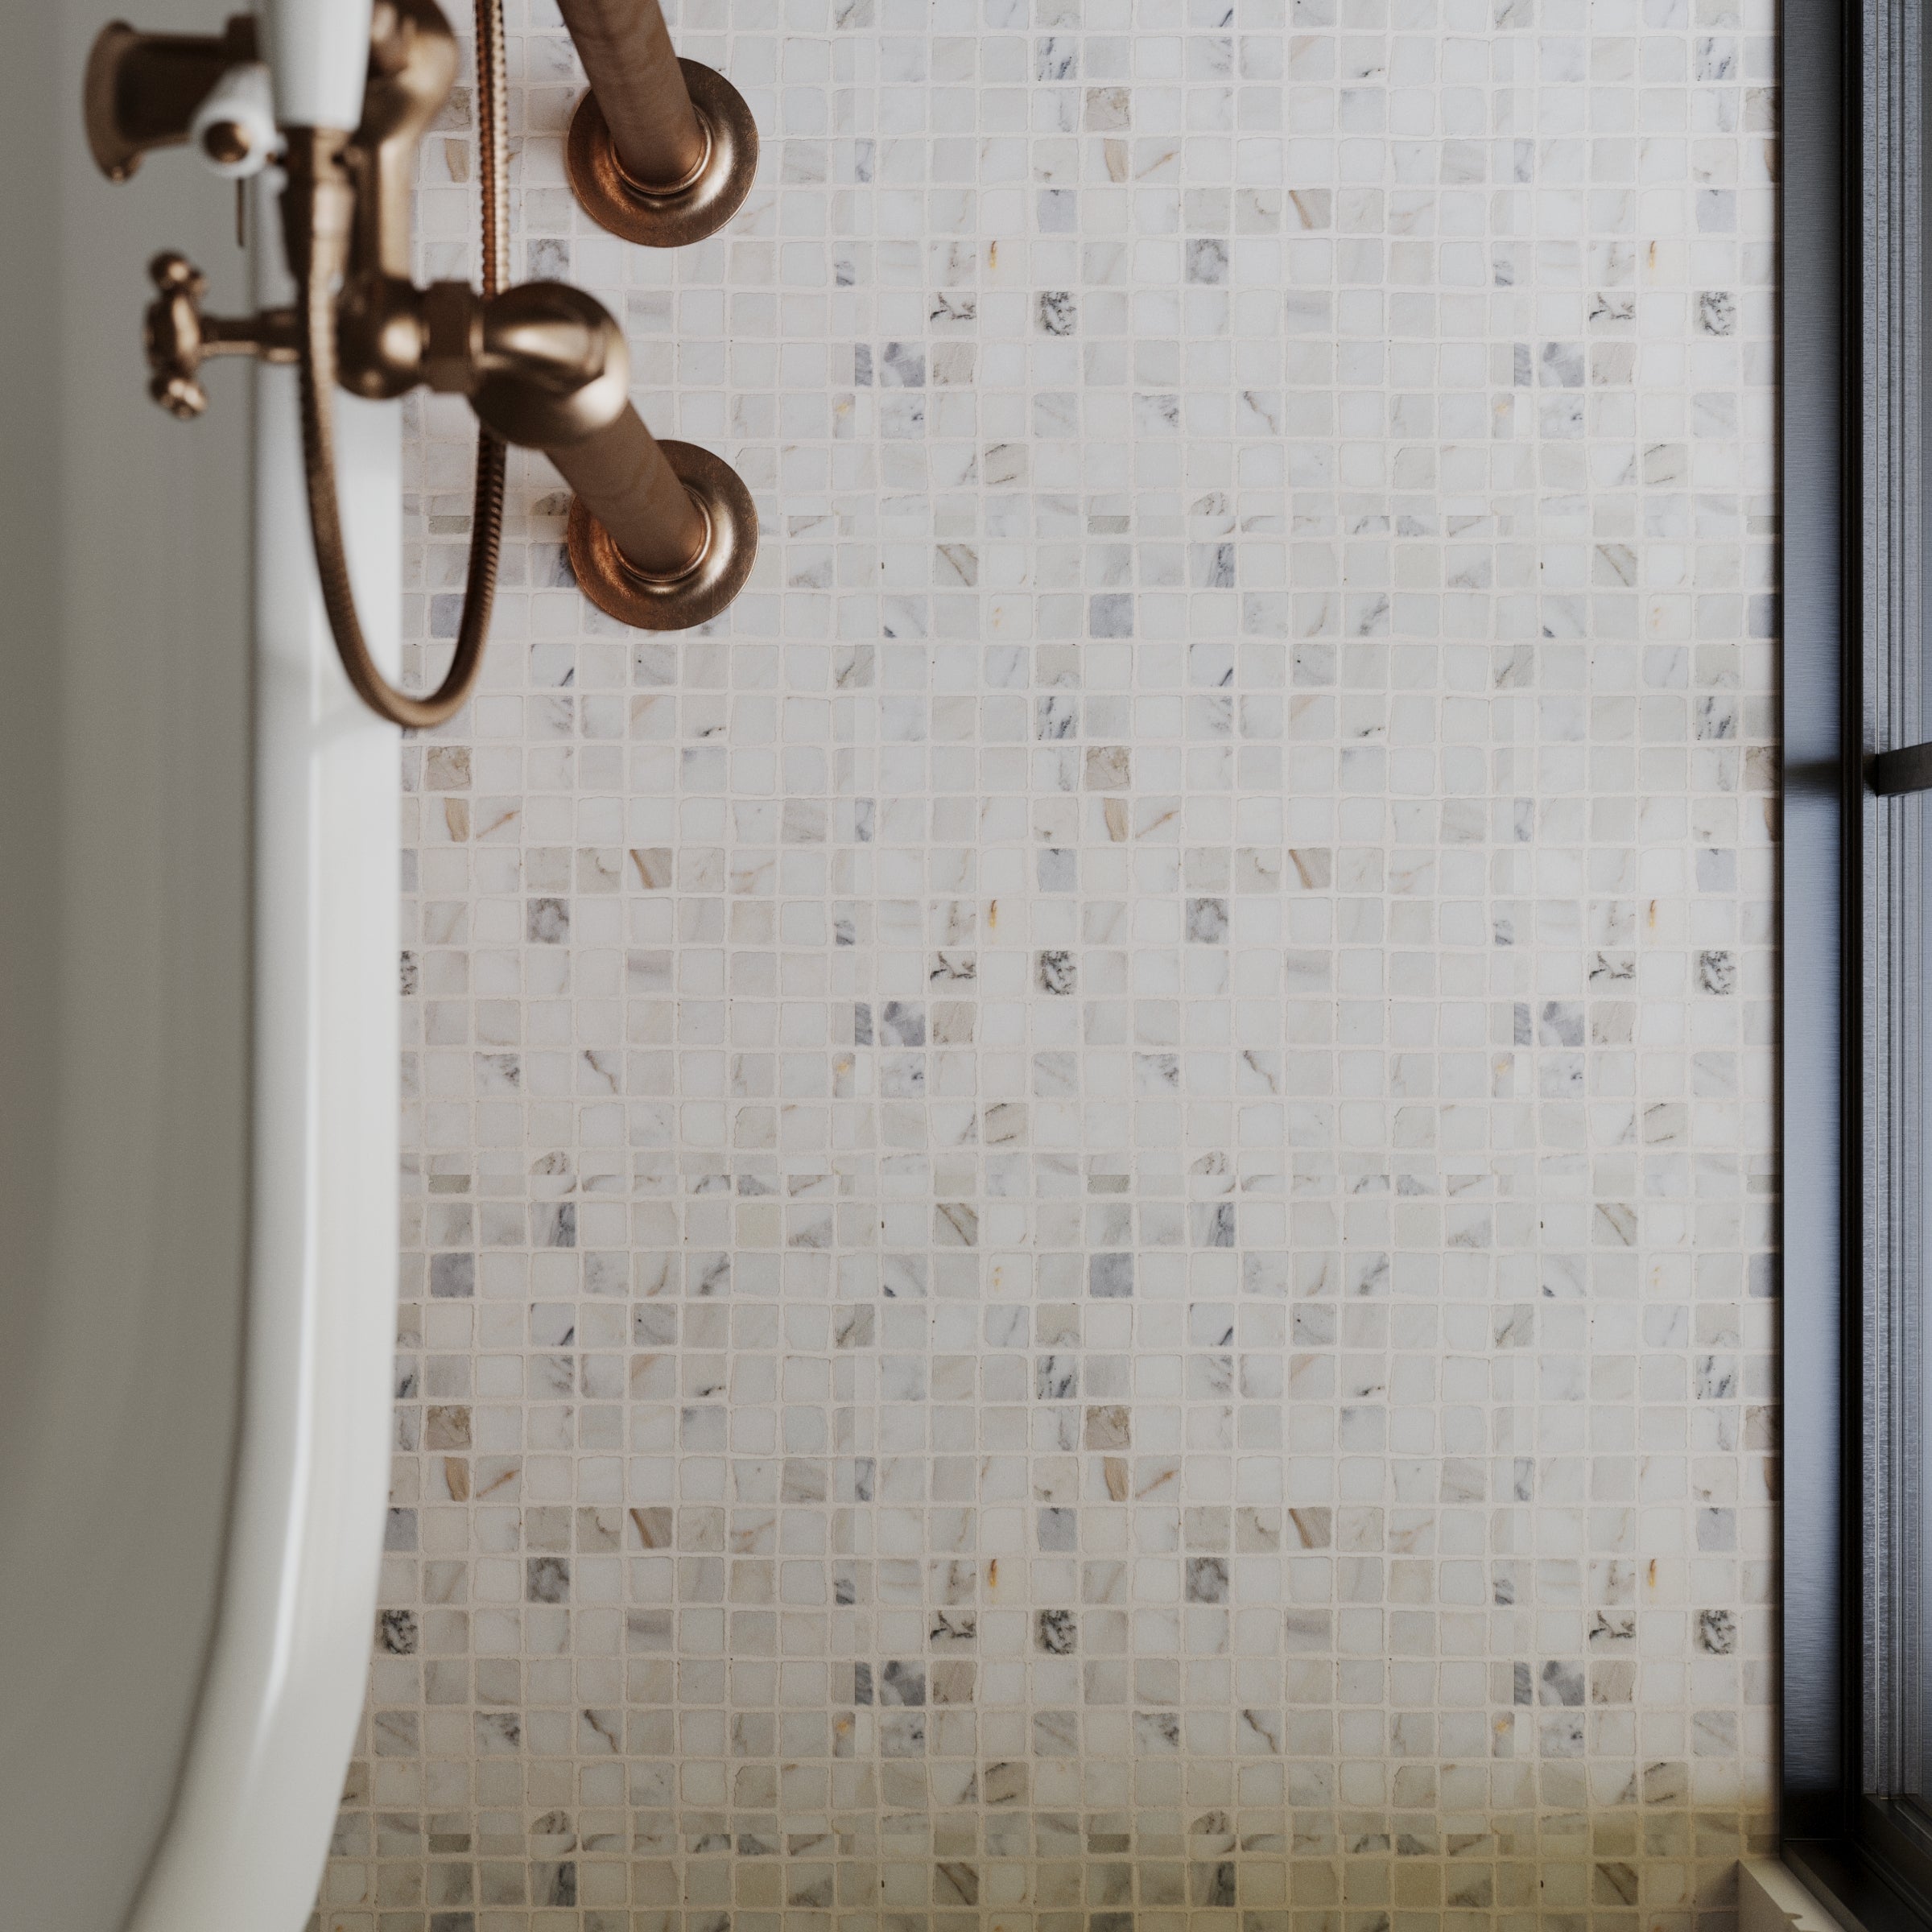
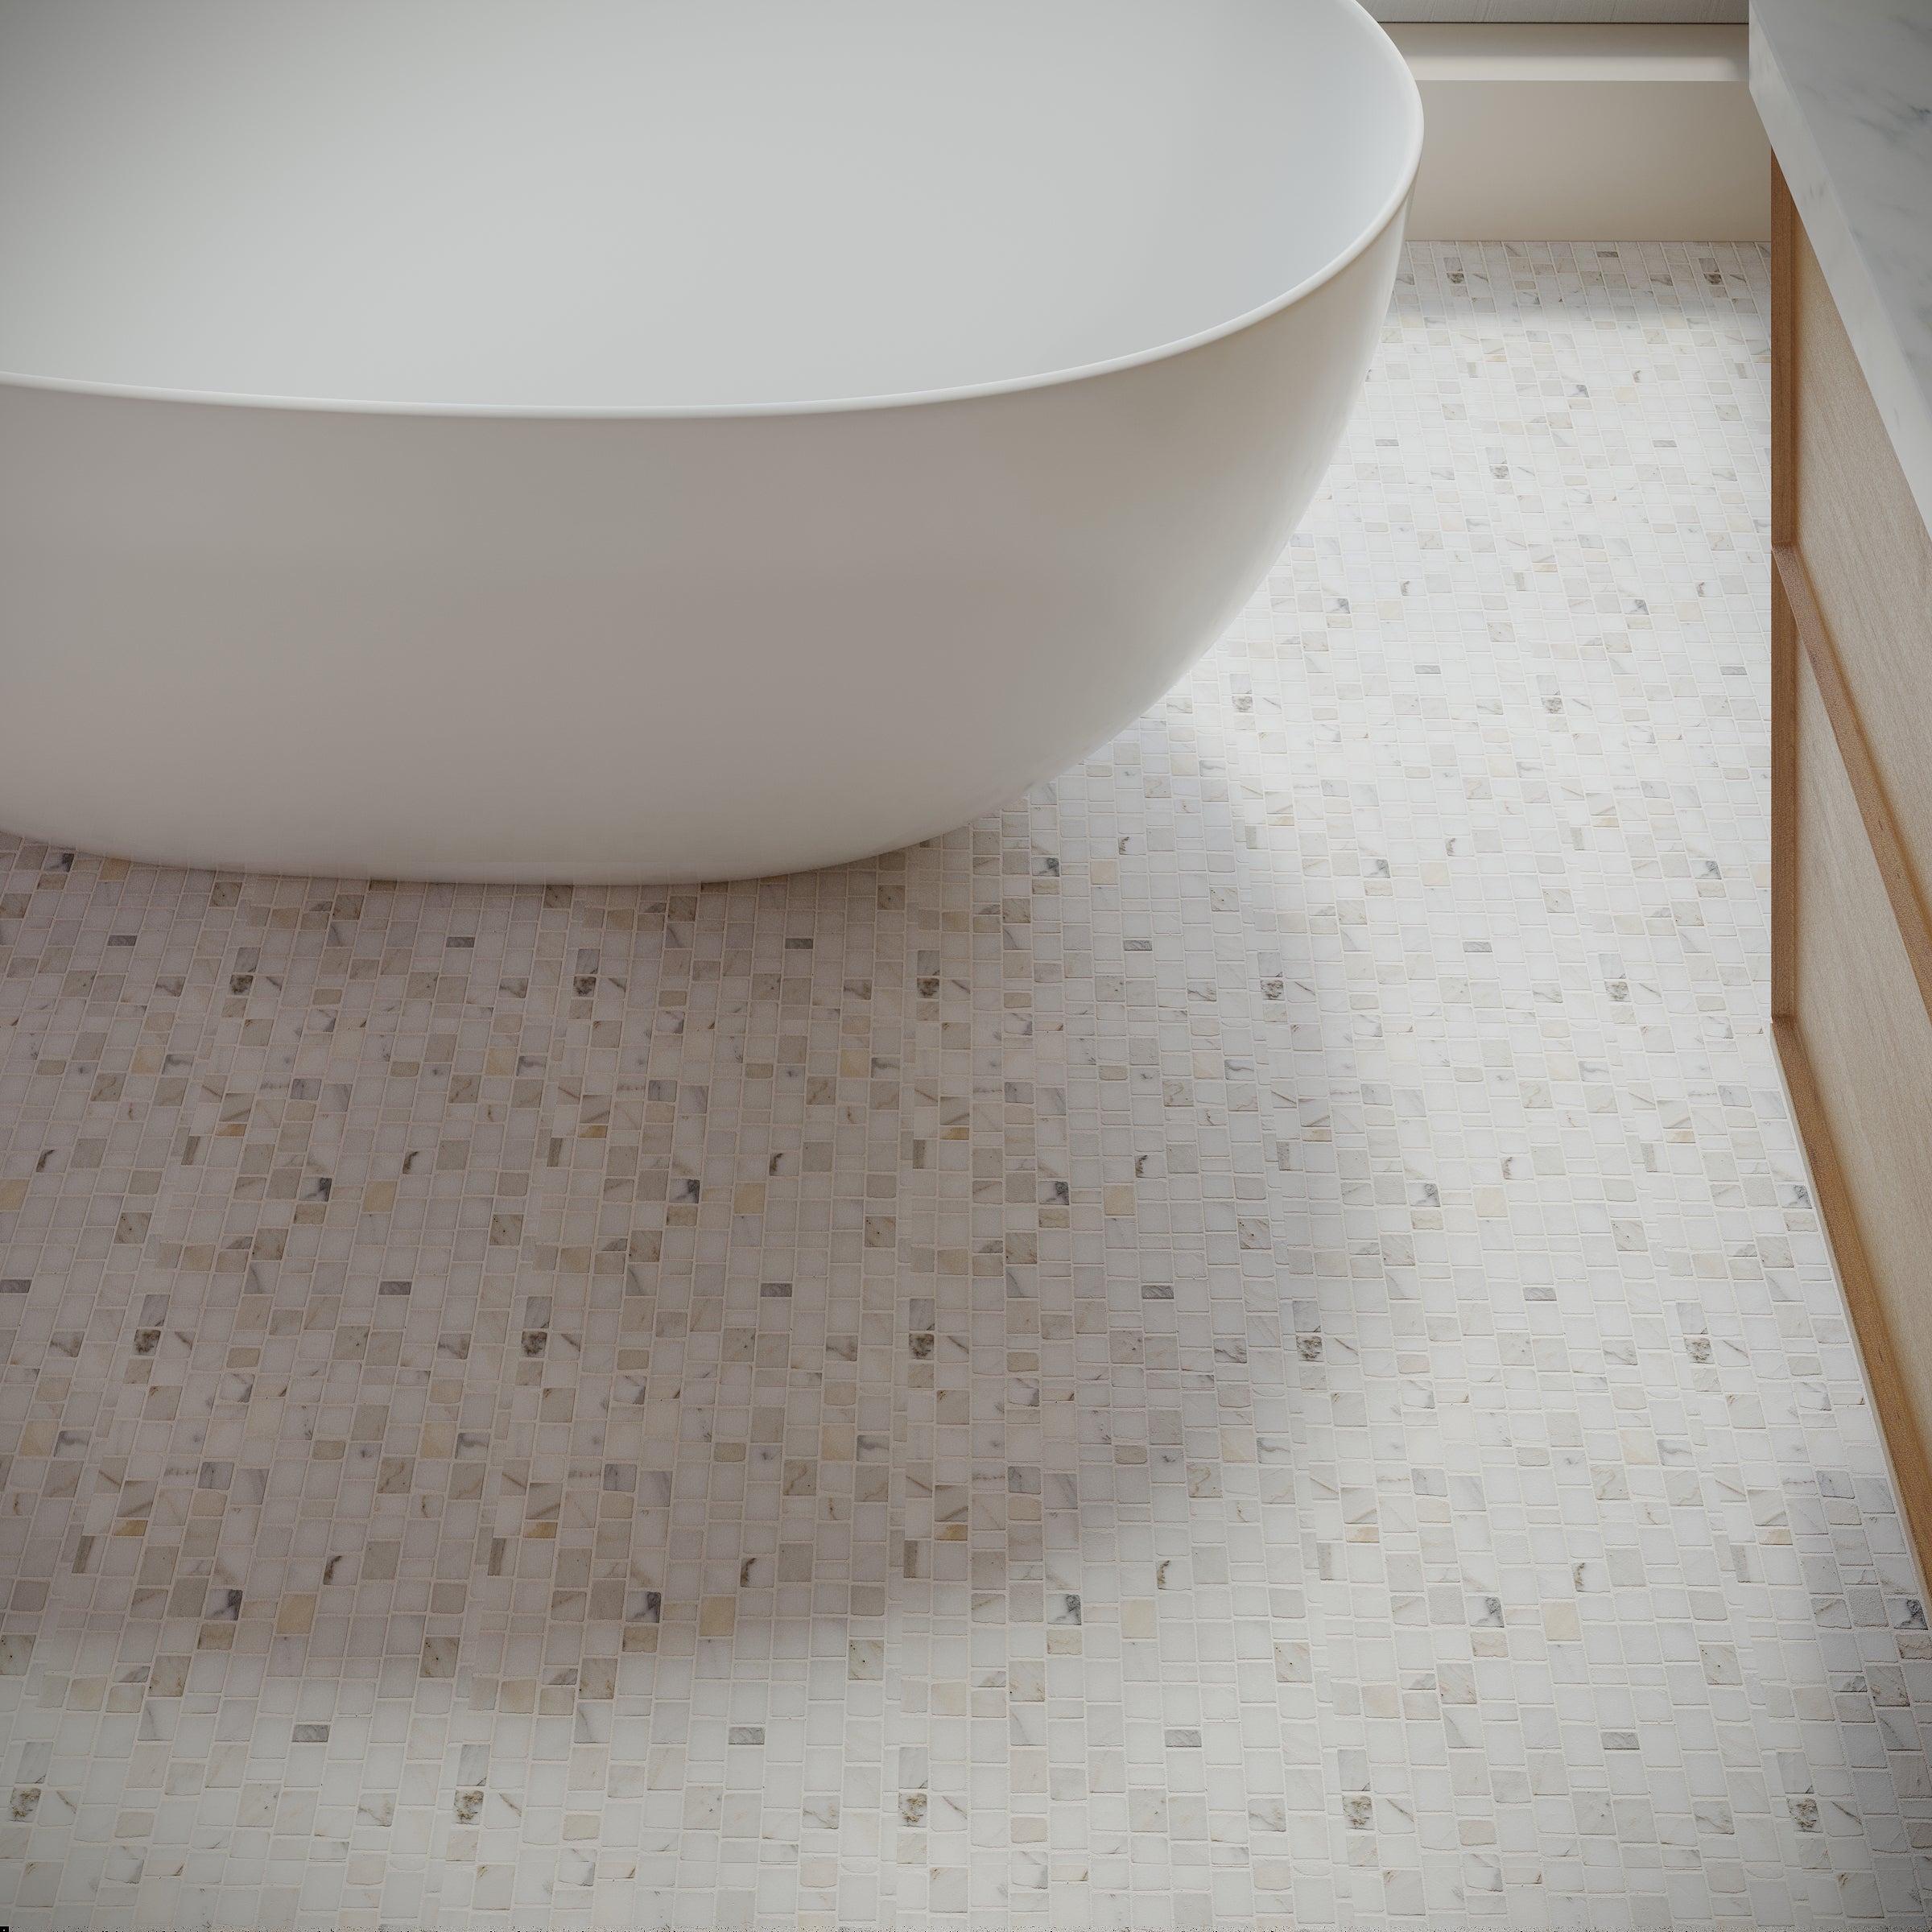
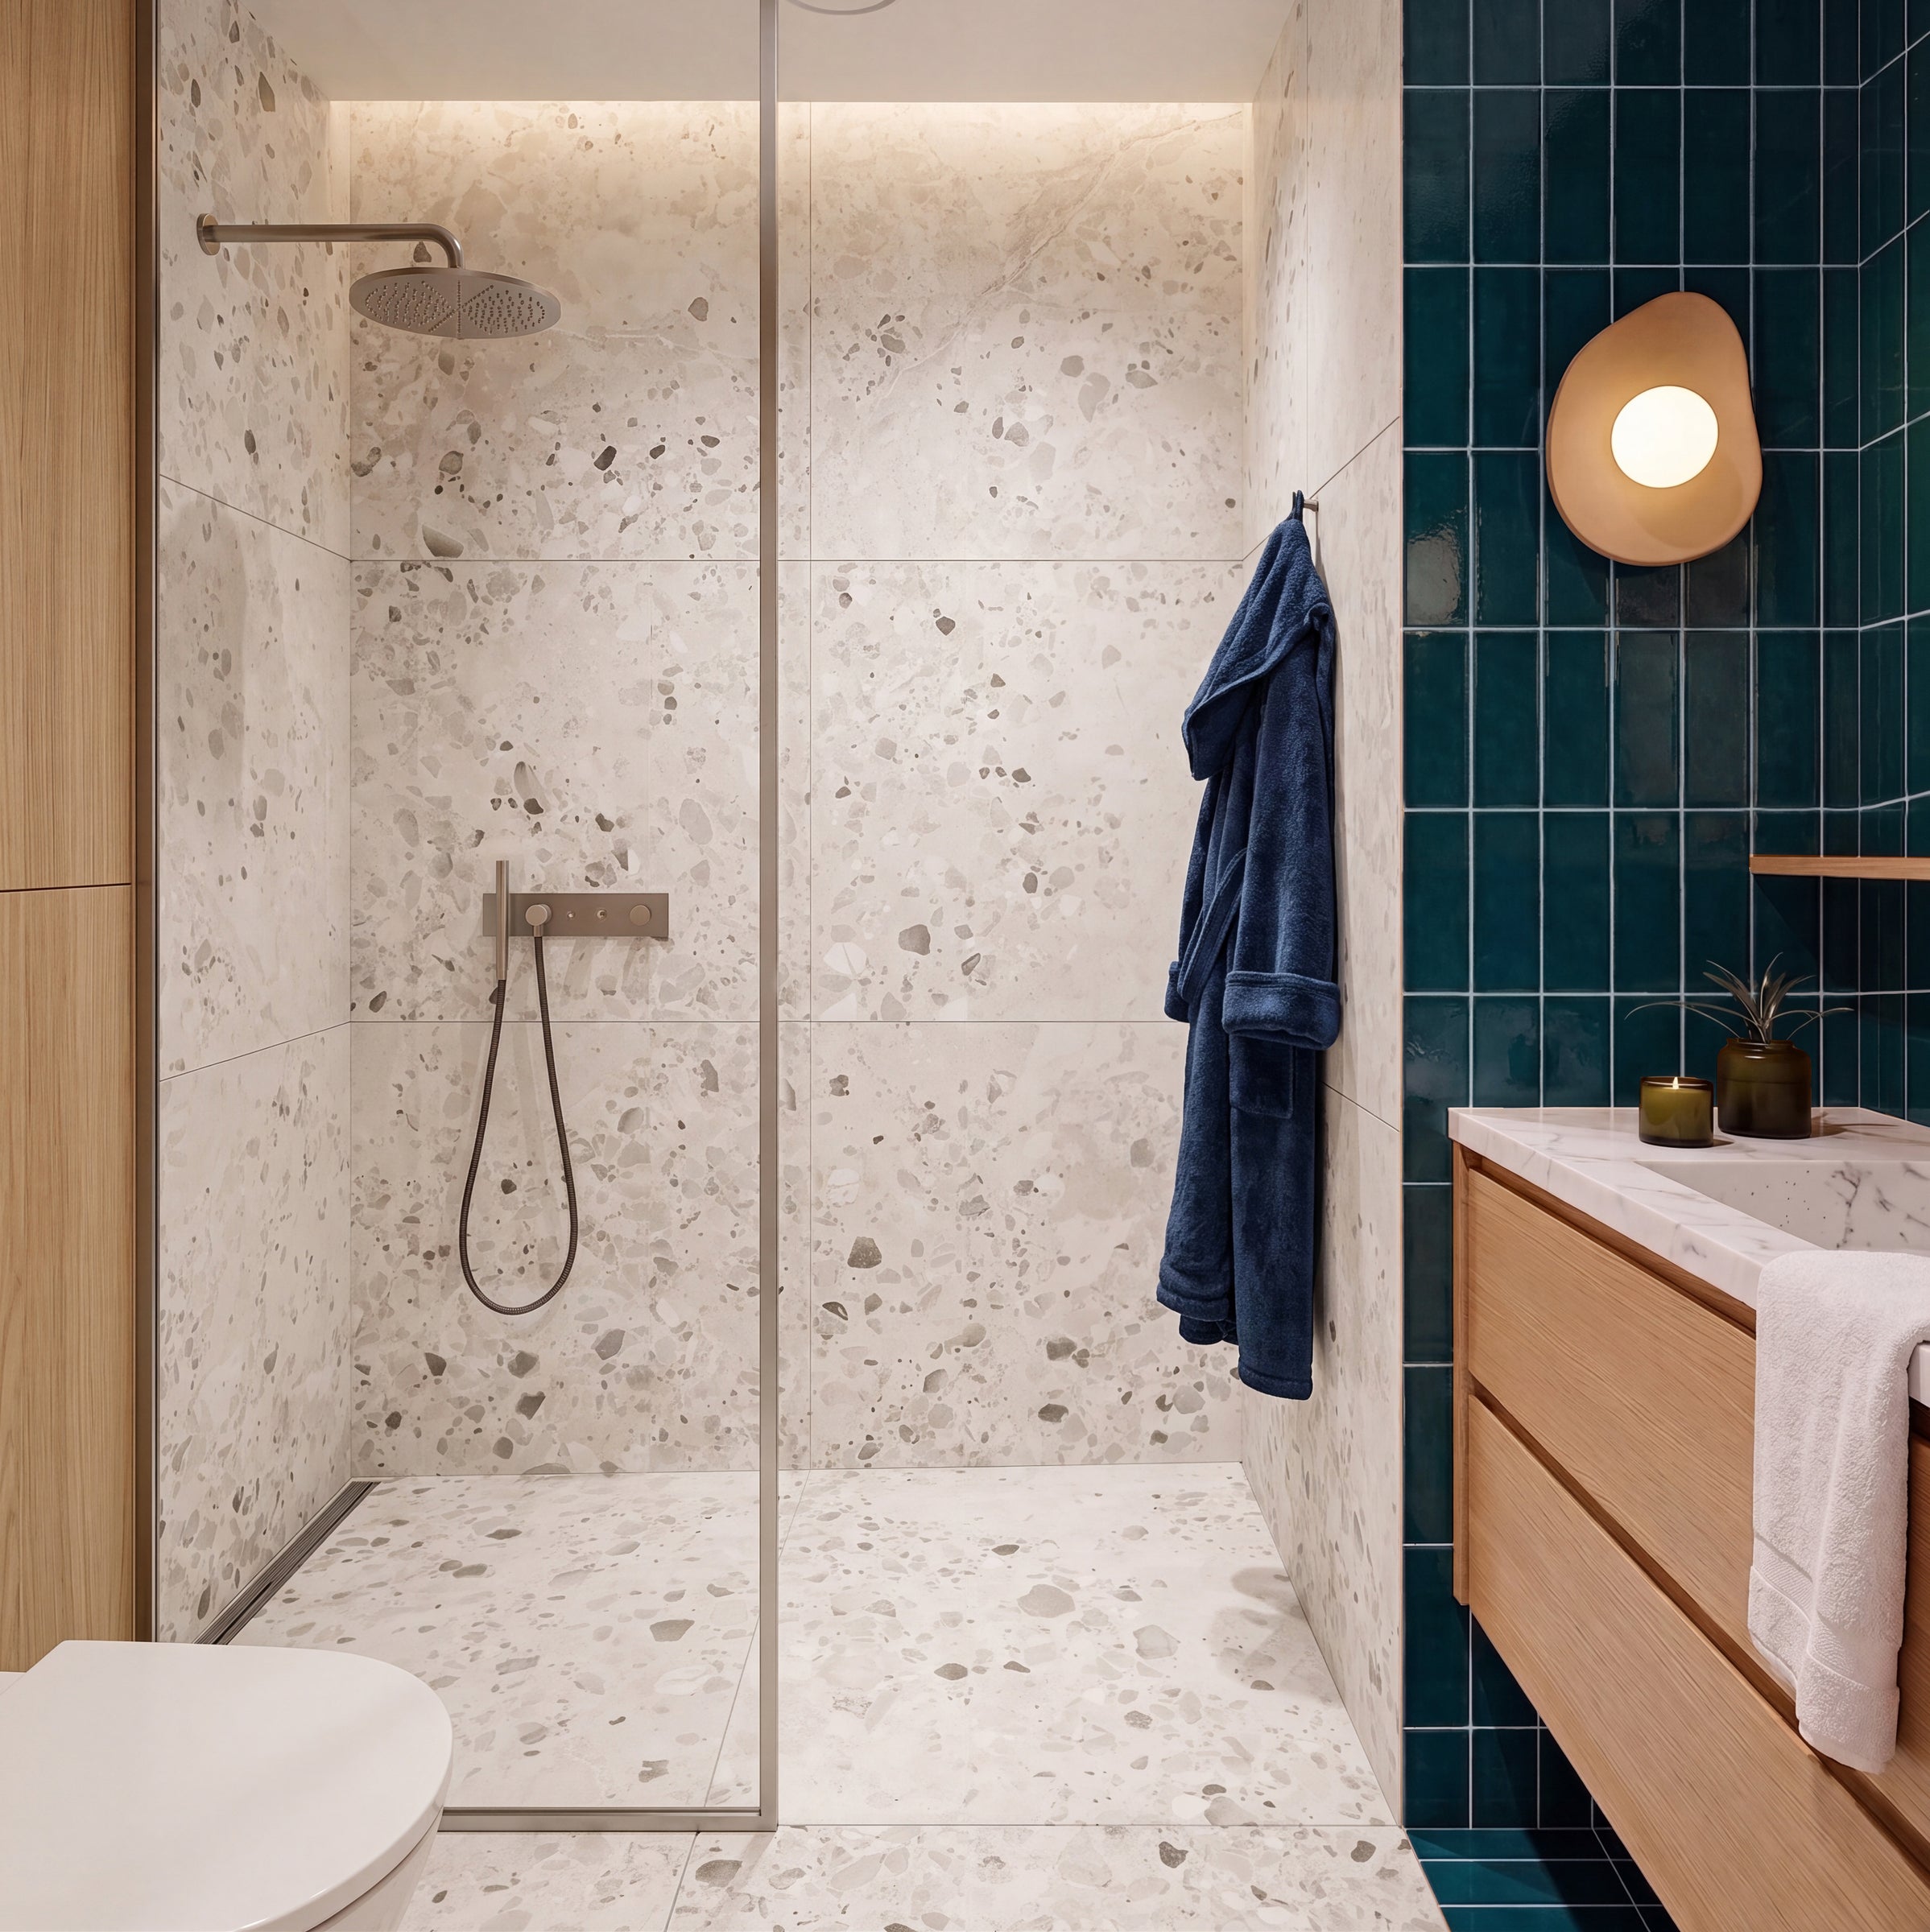
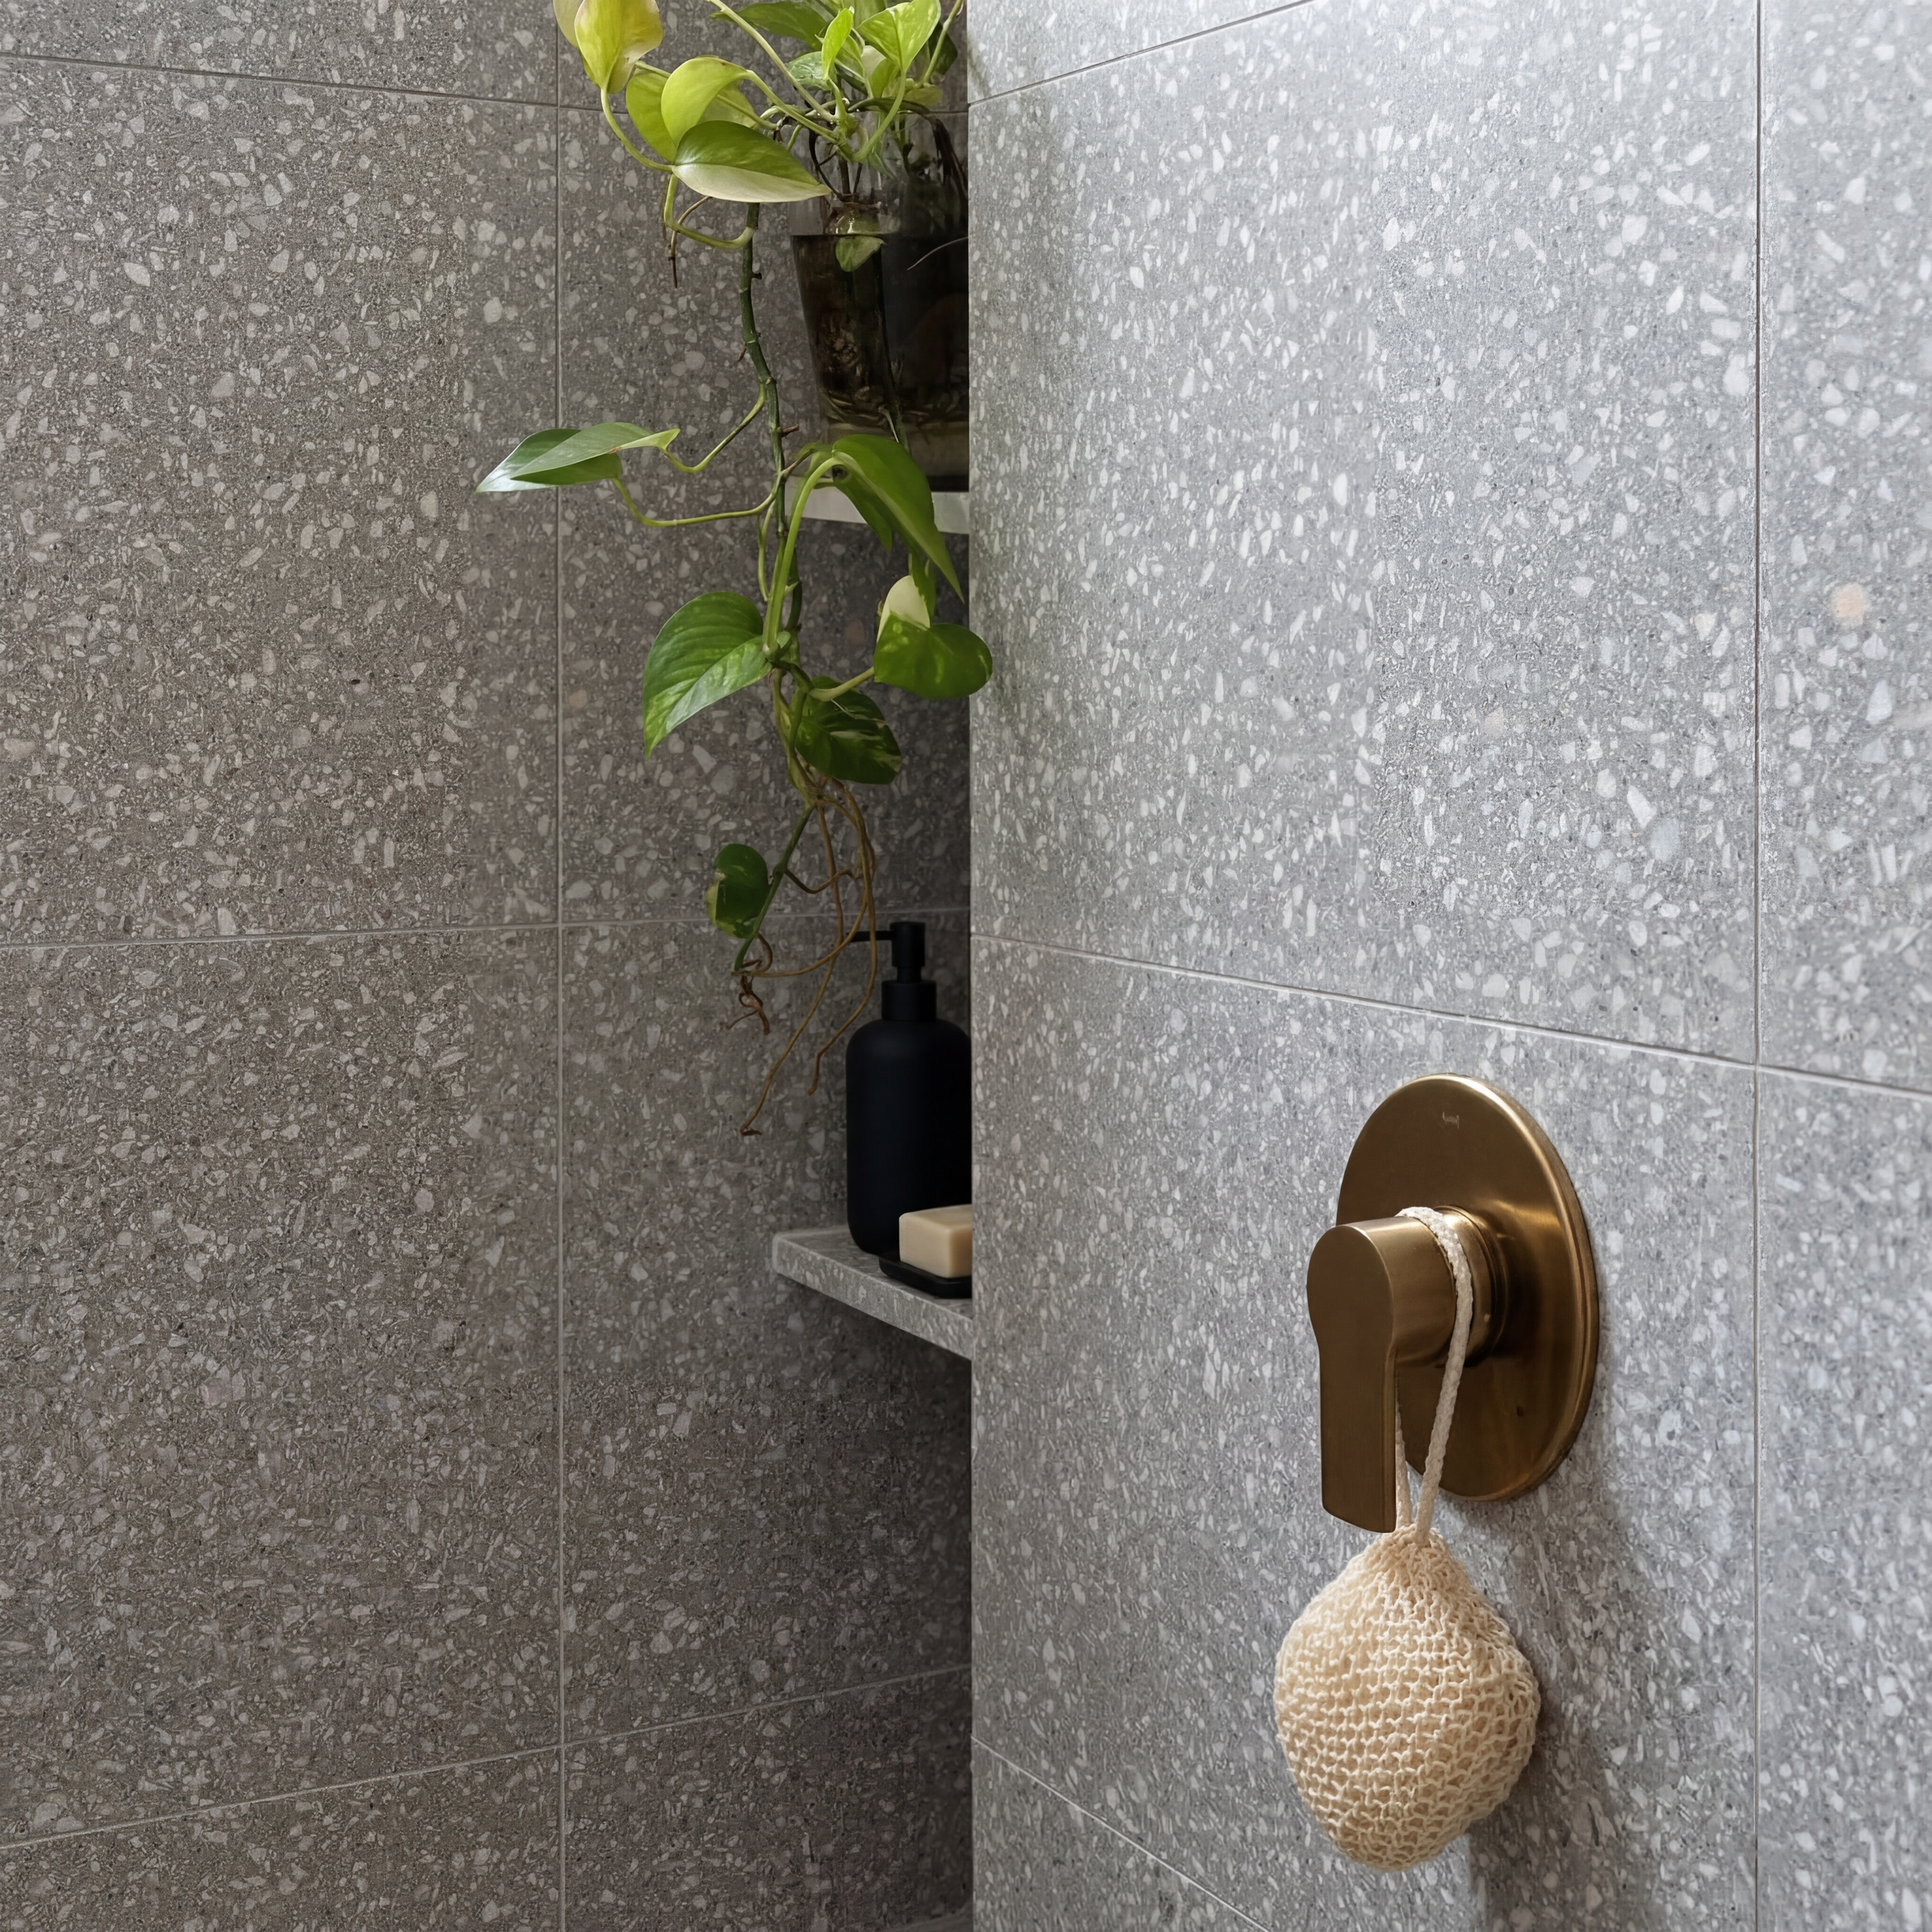
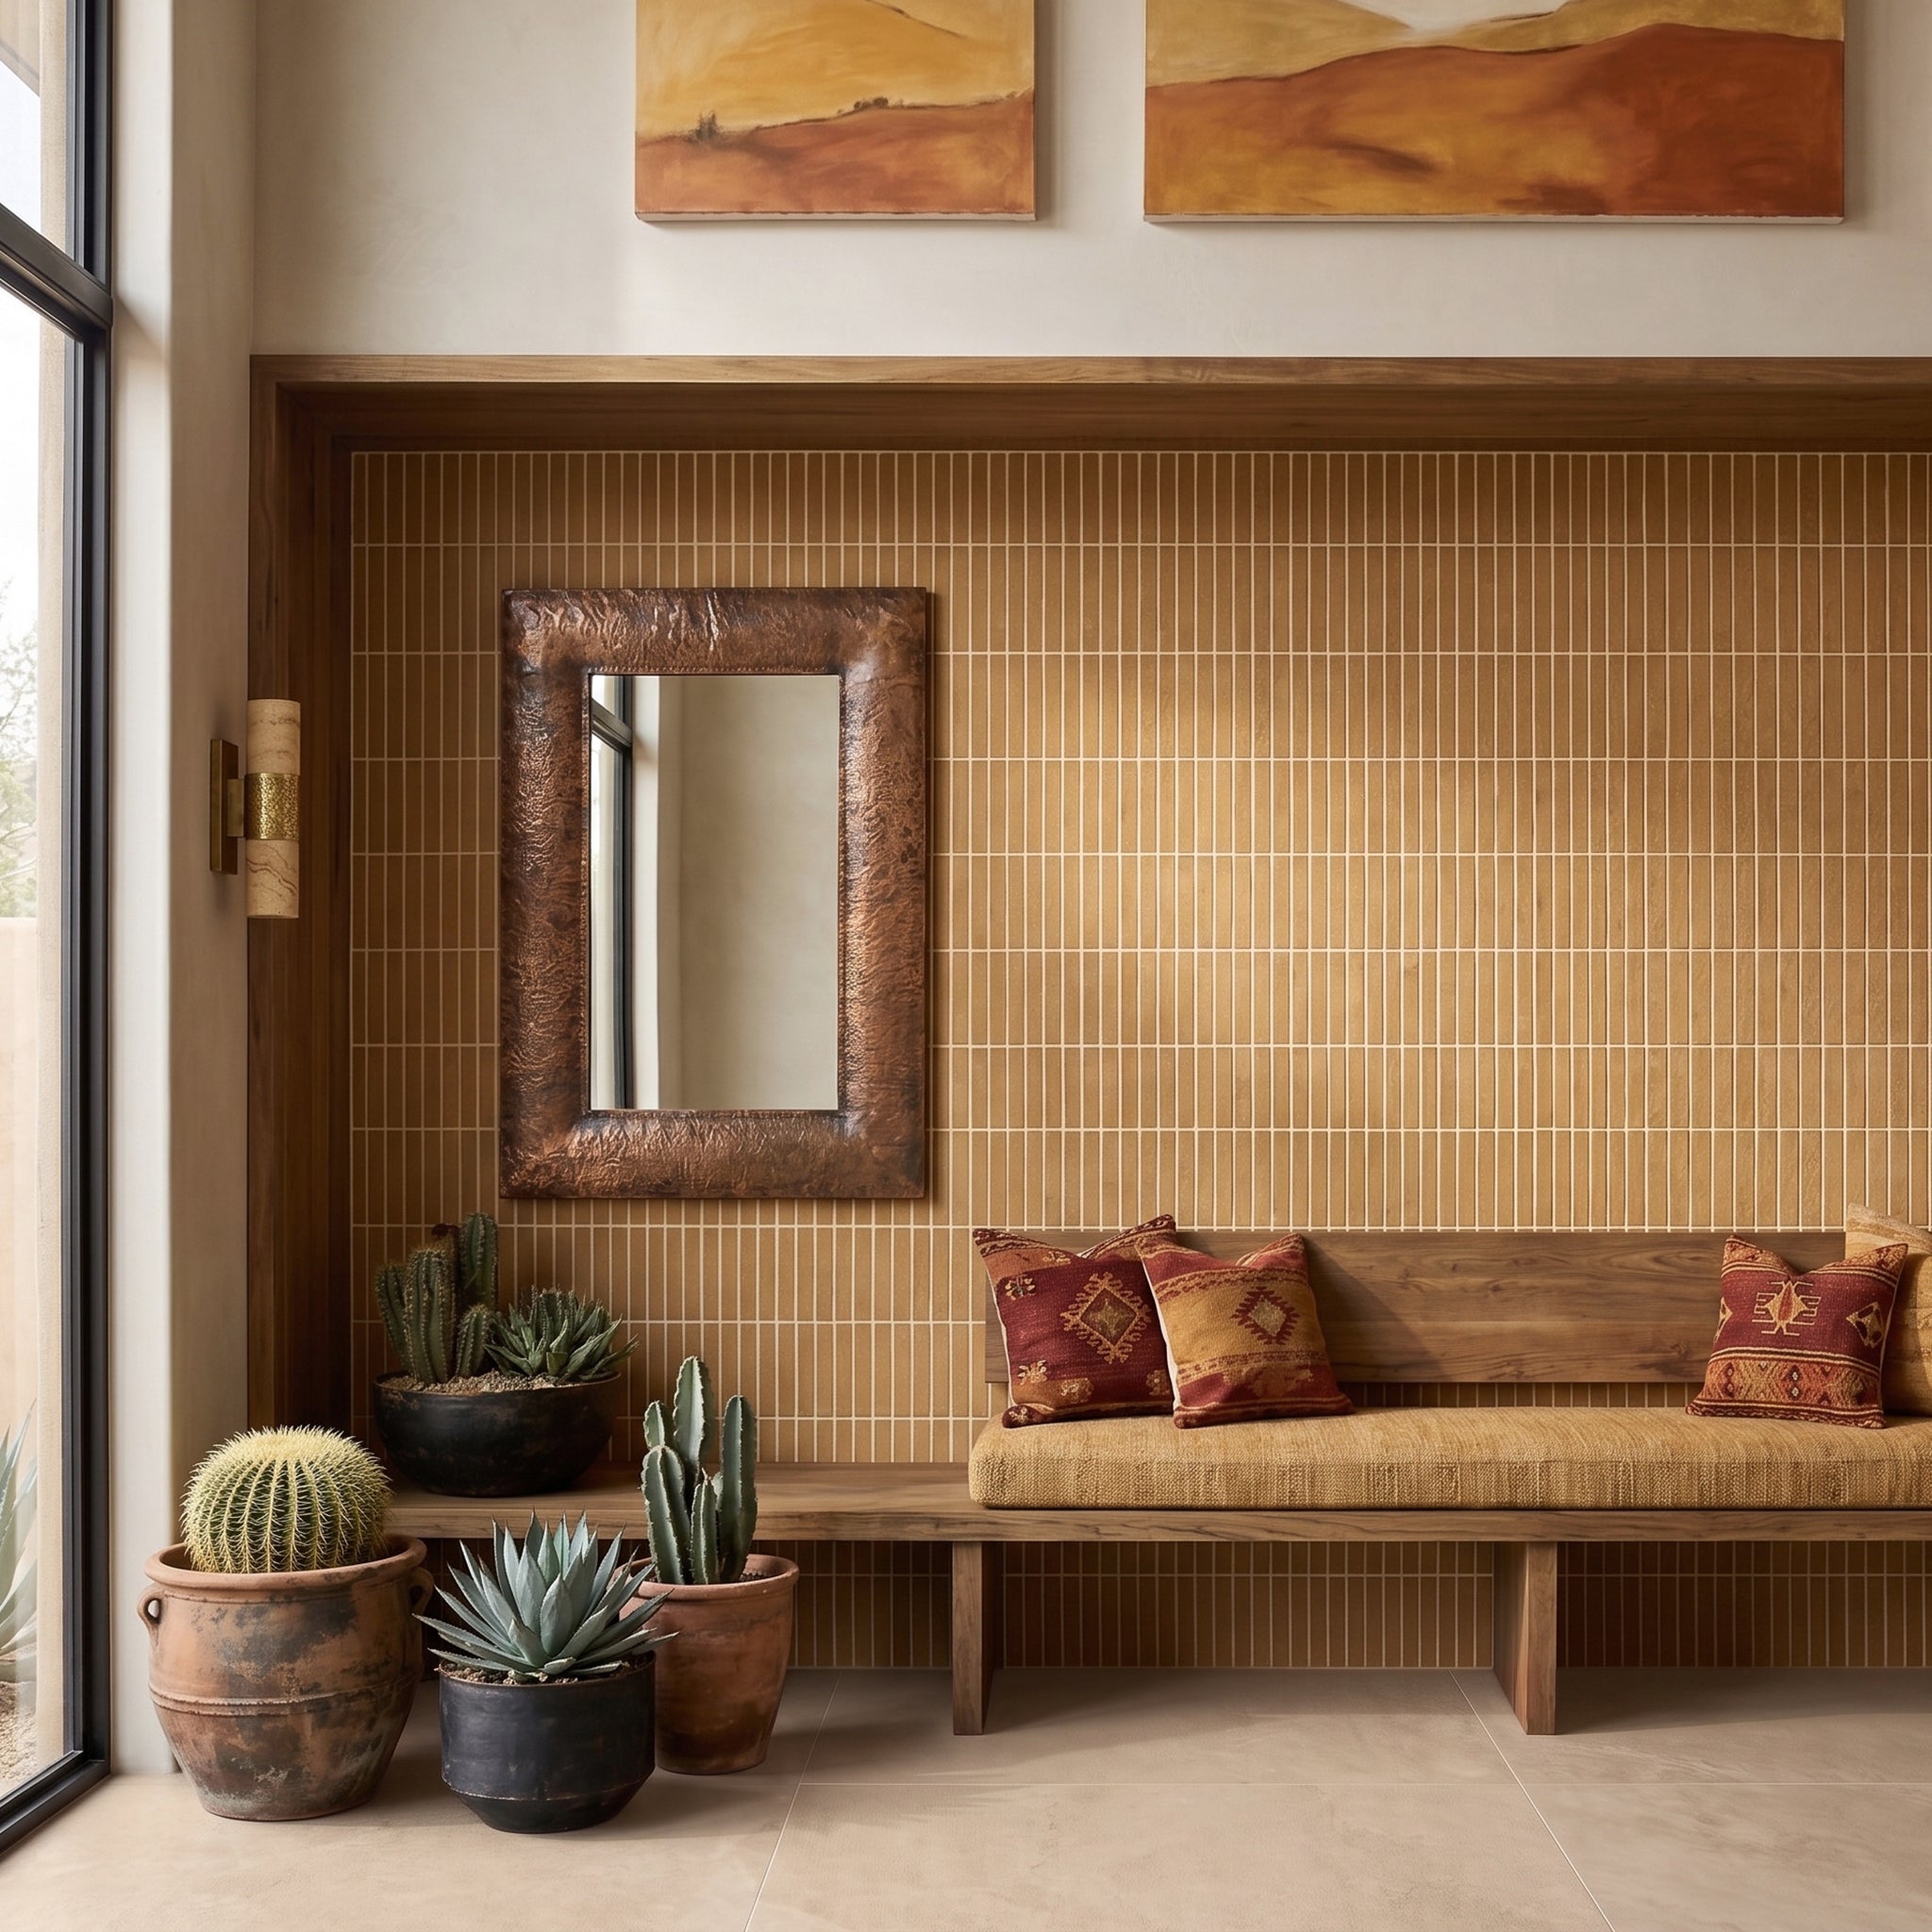
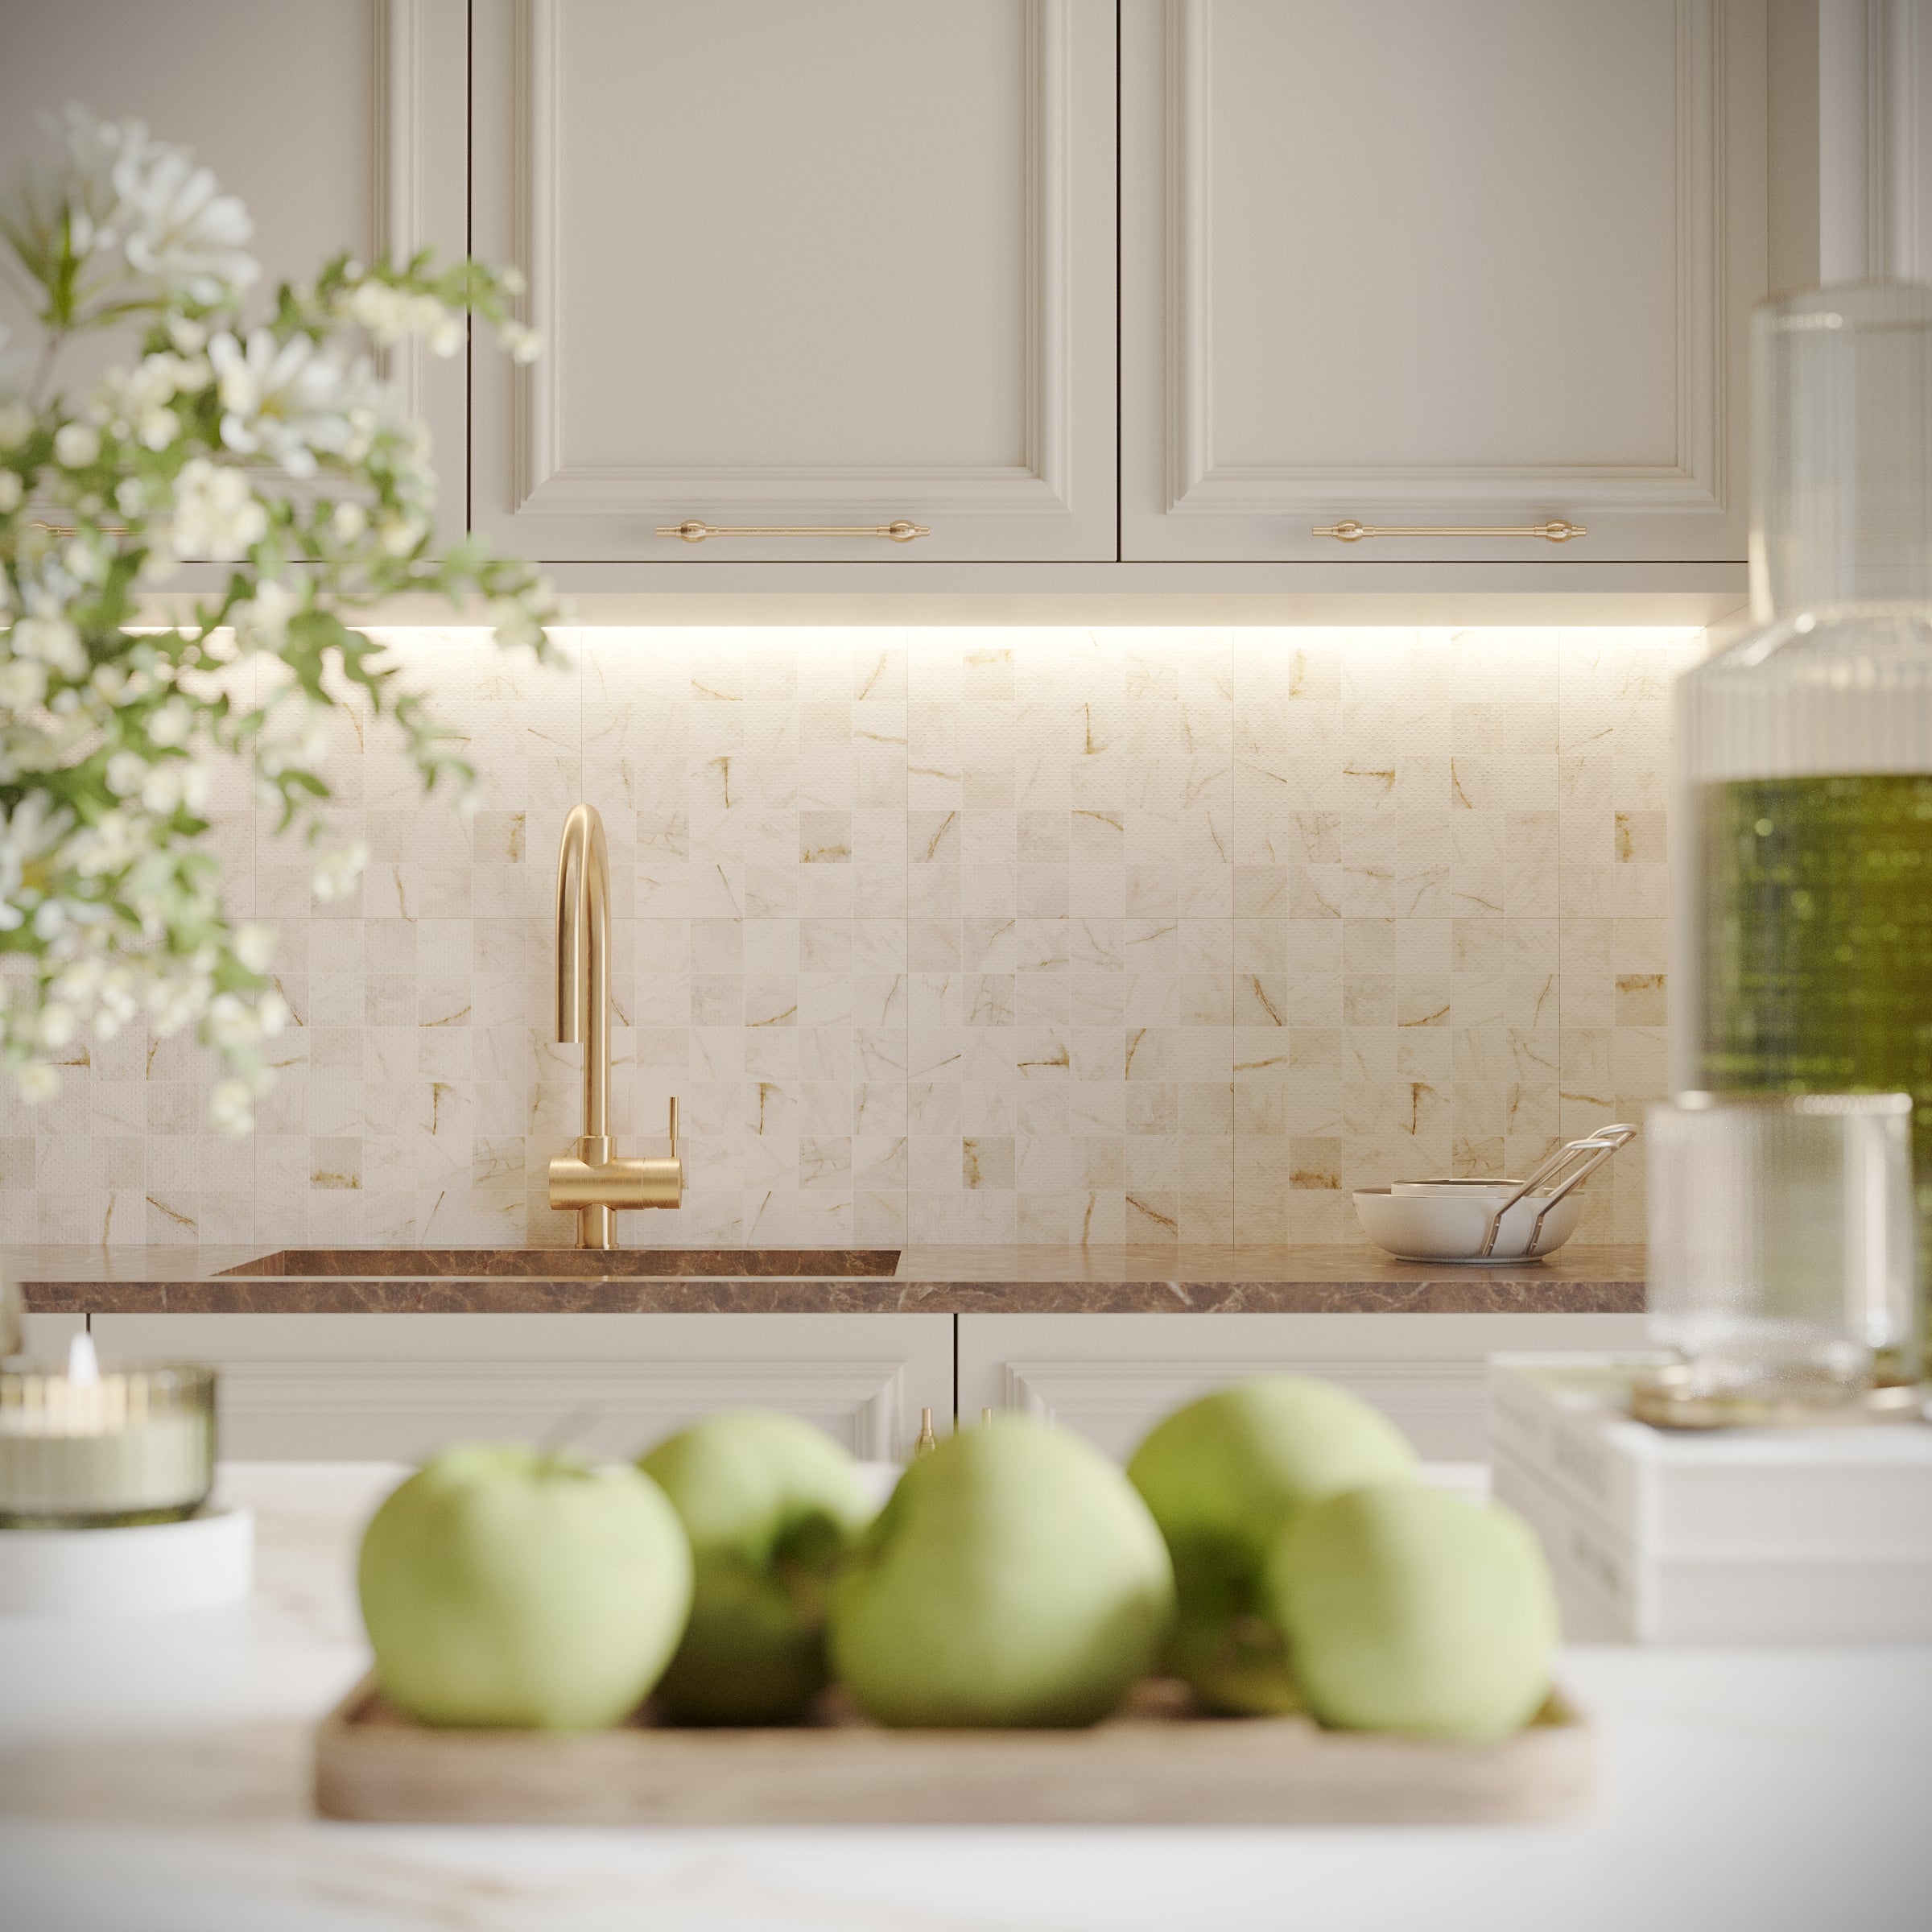
Perfect for both floor and wall applications, these pebbles bring texture and warmth to bathrooms, kitchens, spa areas, and outdoor retreats. Pair them with large–format stone or porcelain tiles for contrast, or use them alone to create a bold natural focal point. Durable, authentic, and full of artisanal charm, our Tumbled Pebble Mosaics are a timeless choice for modern and traditional spaces alike.
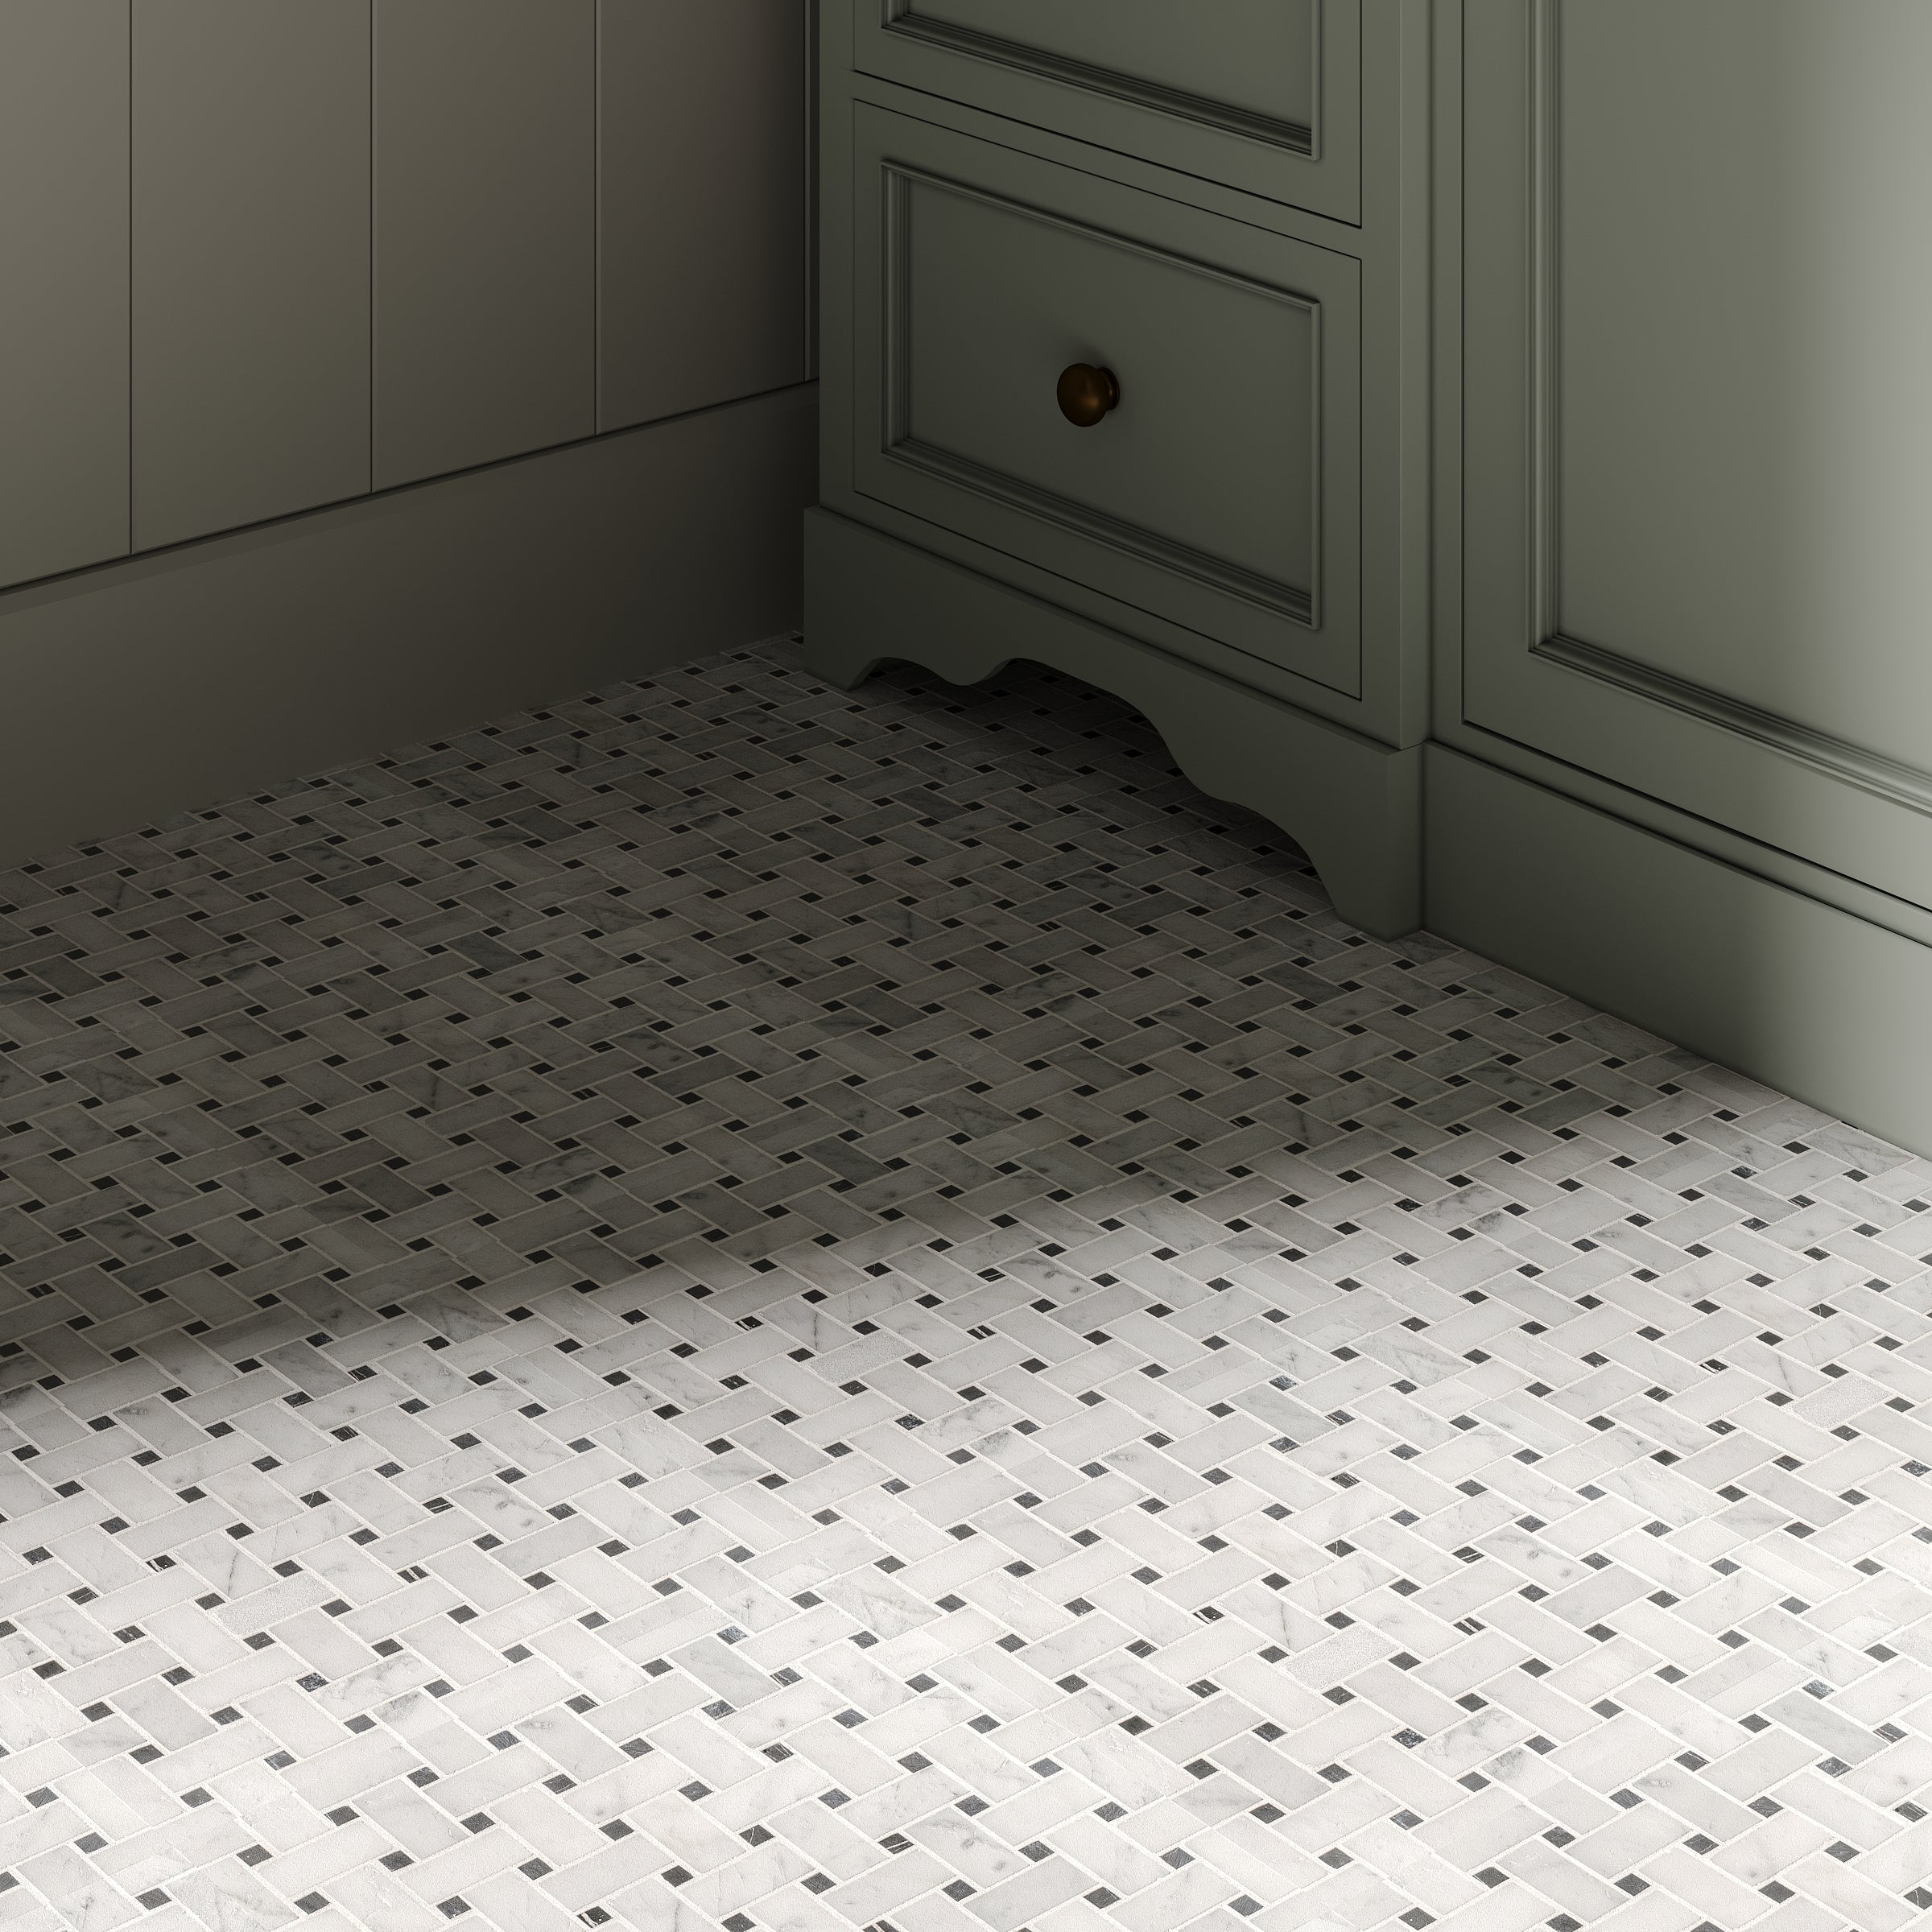
Where to Install
OUTDOOR
WALLS
SHOWER FLOOR
FLOORS
POOL
SHOWER WALL
BACKSPLASH
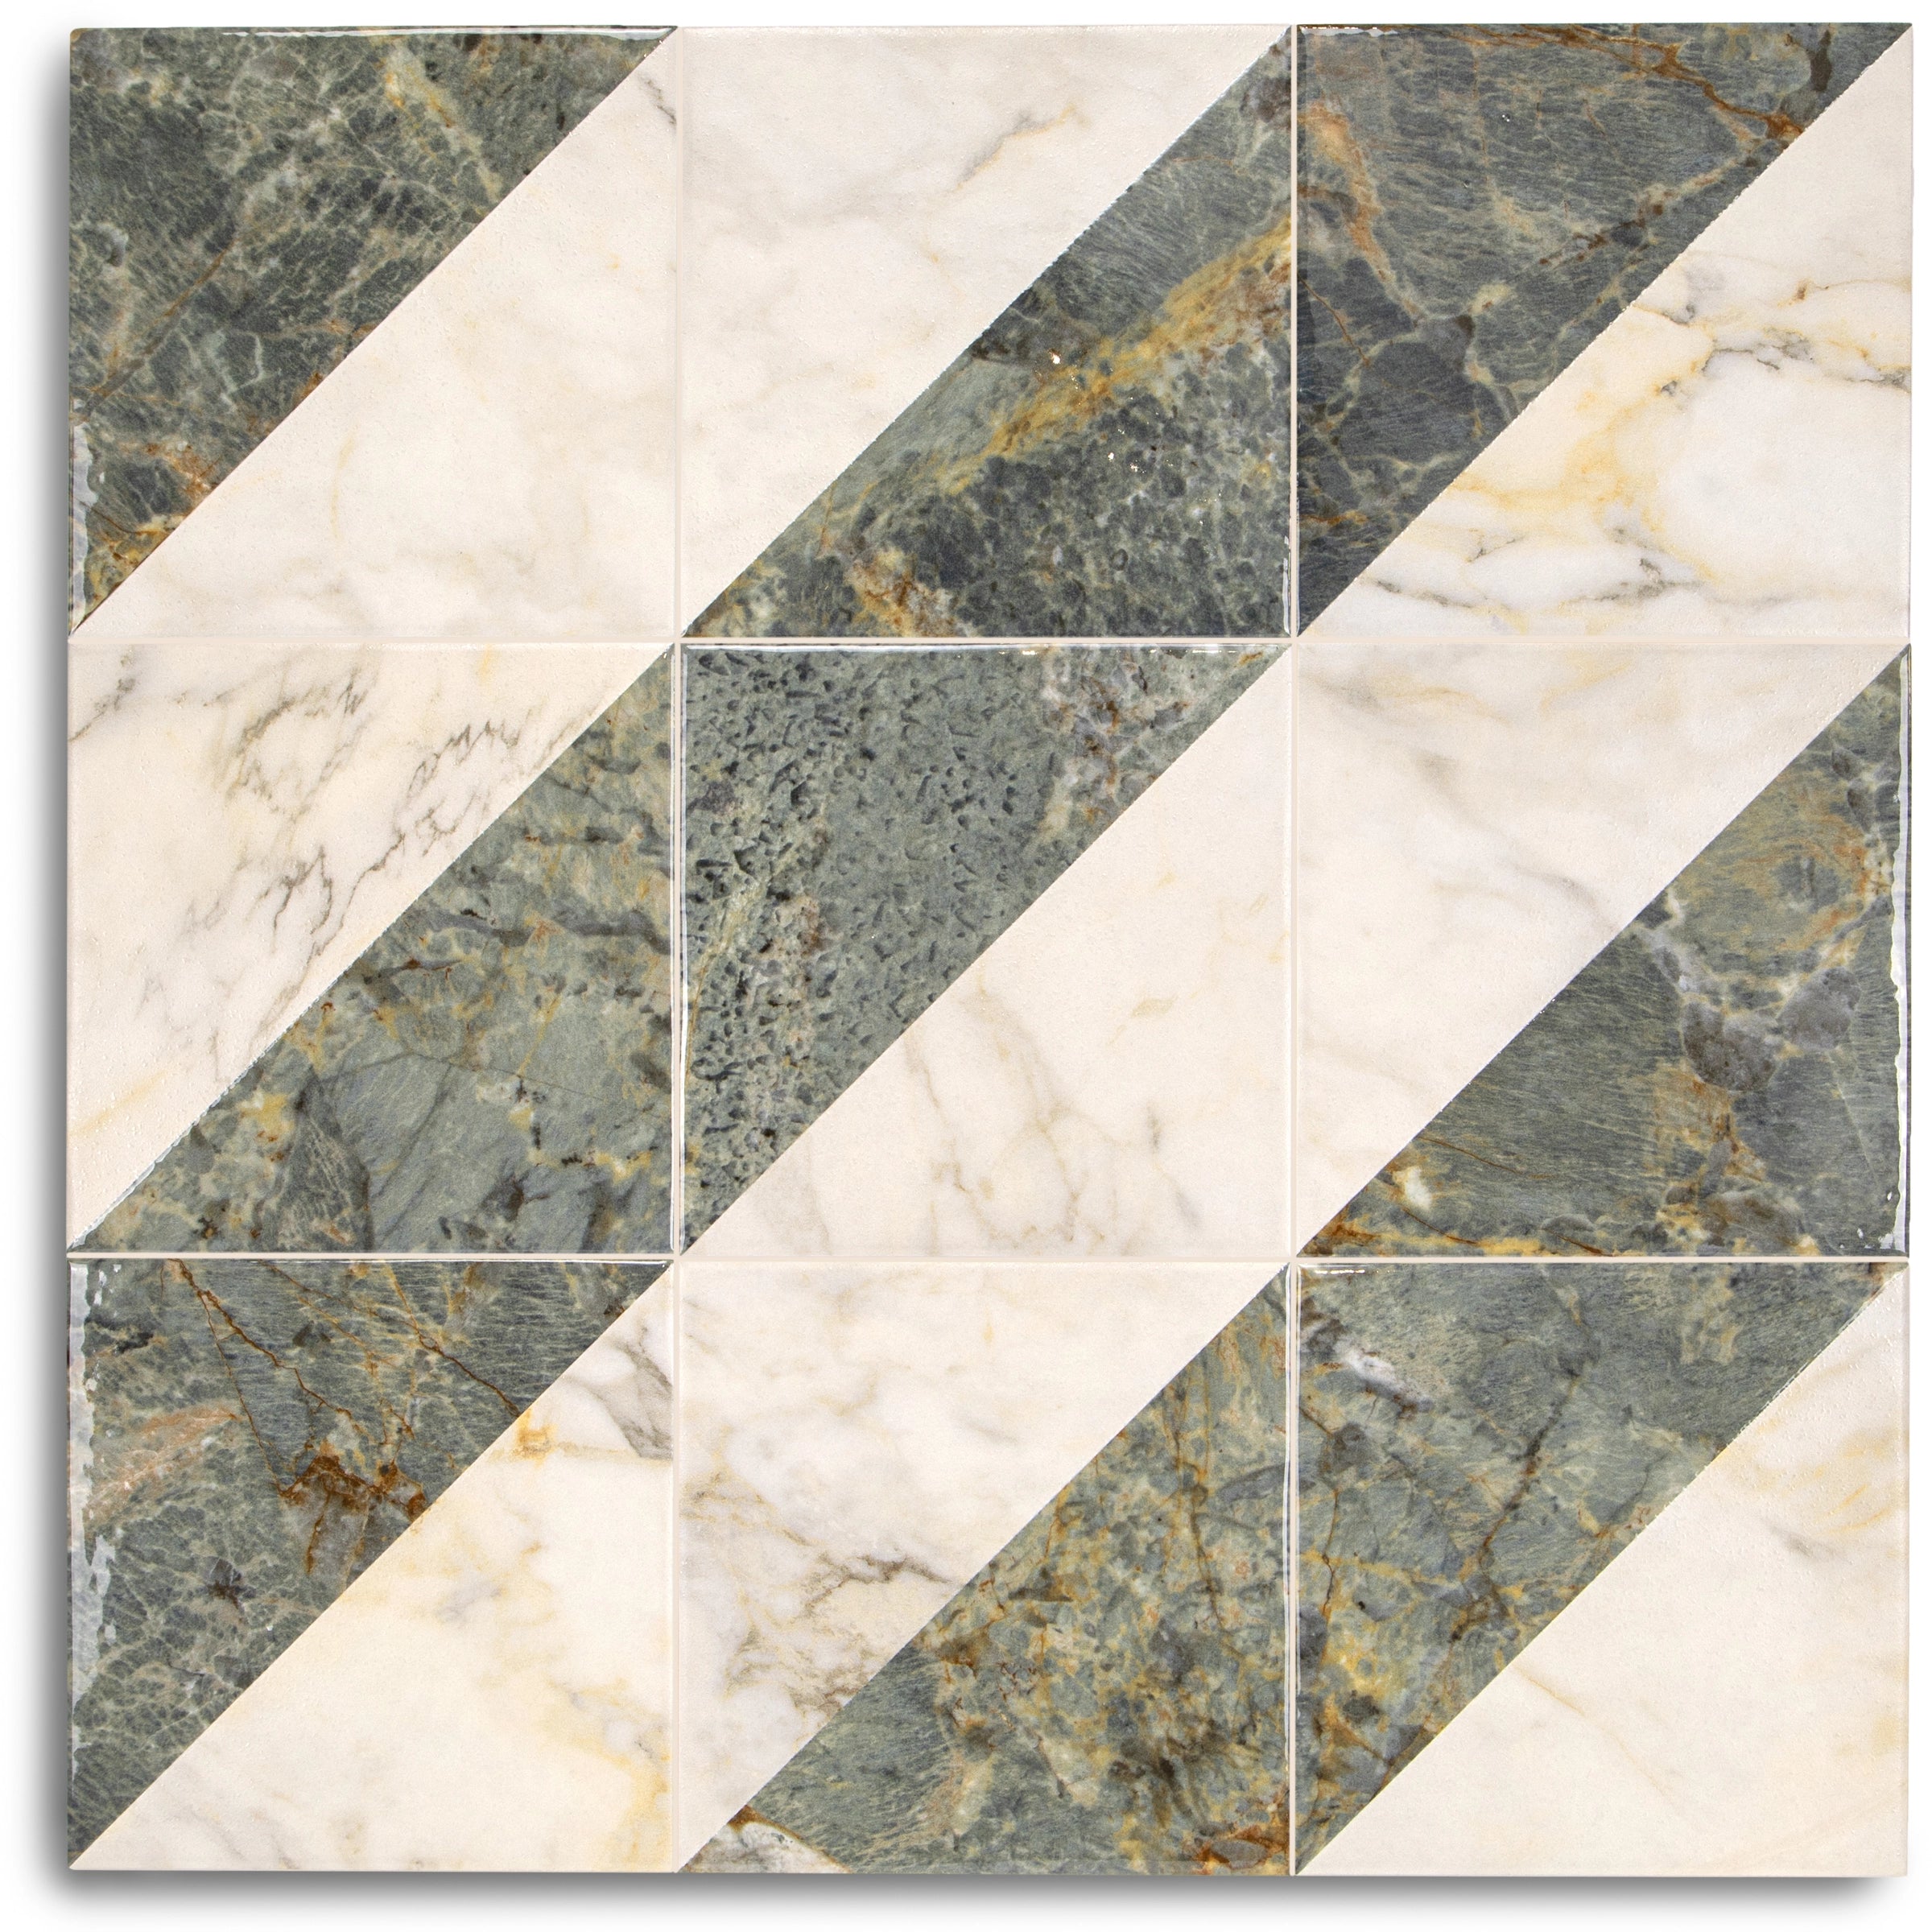
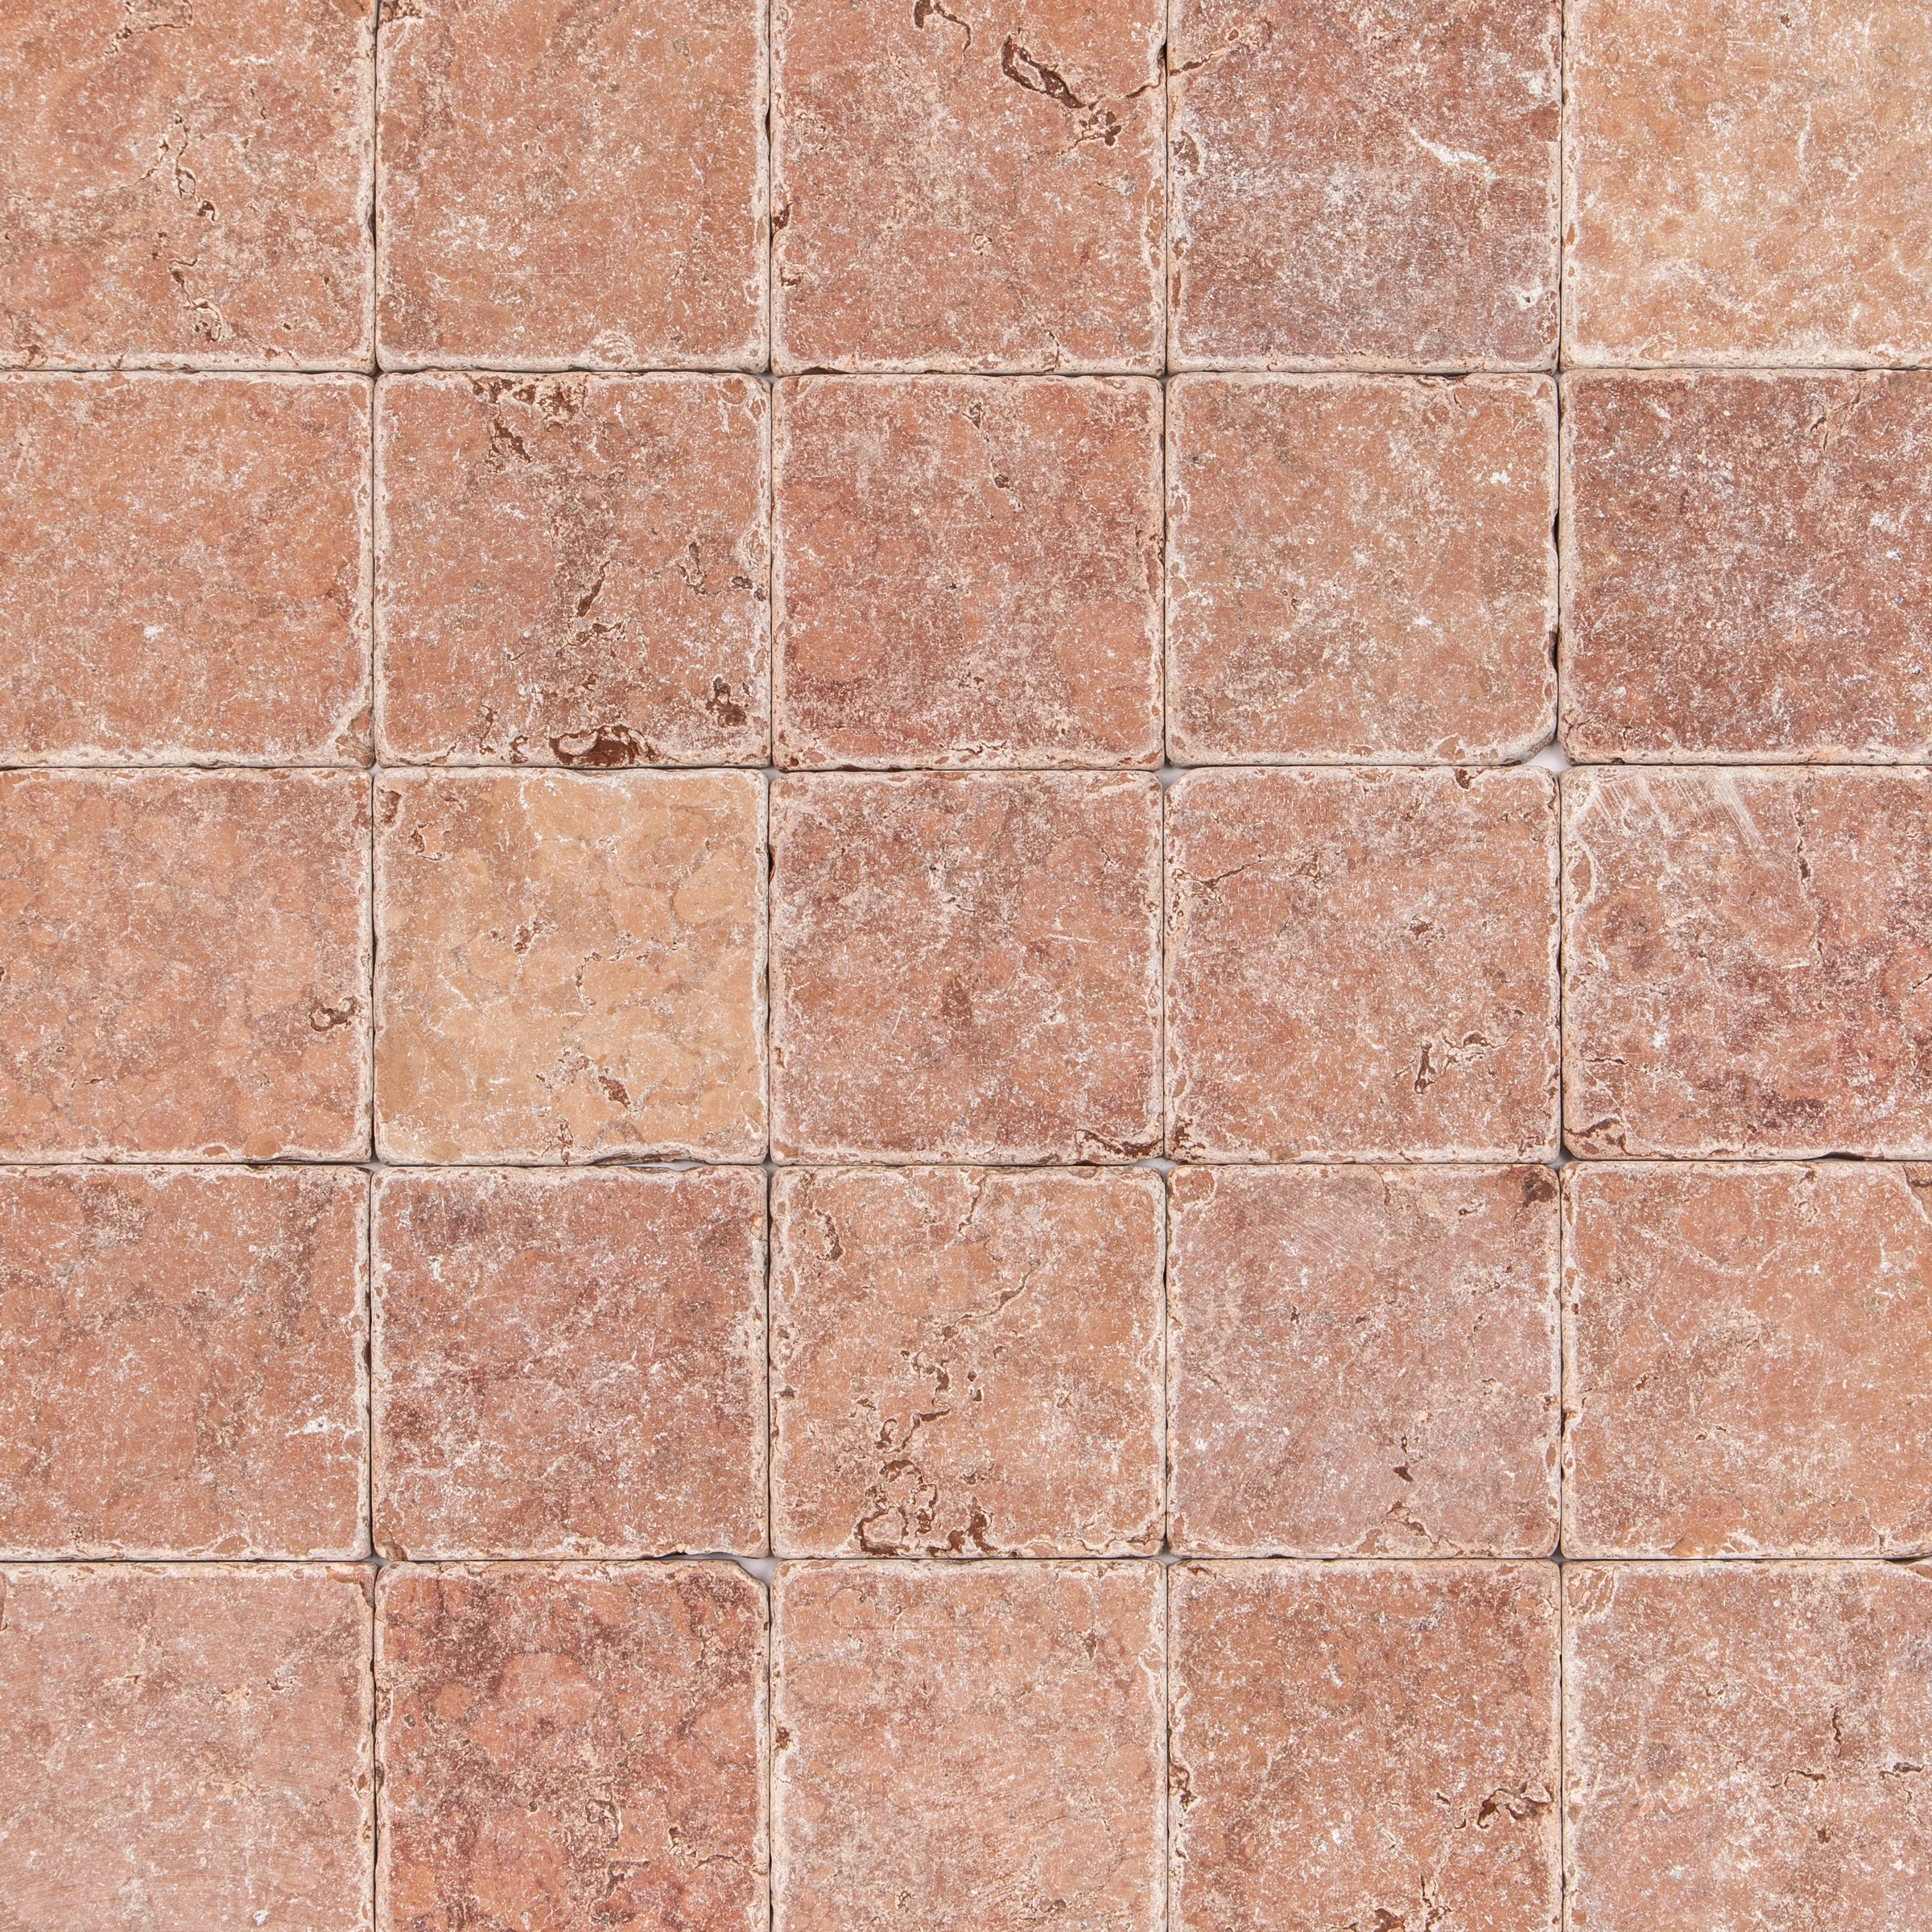
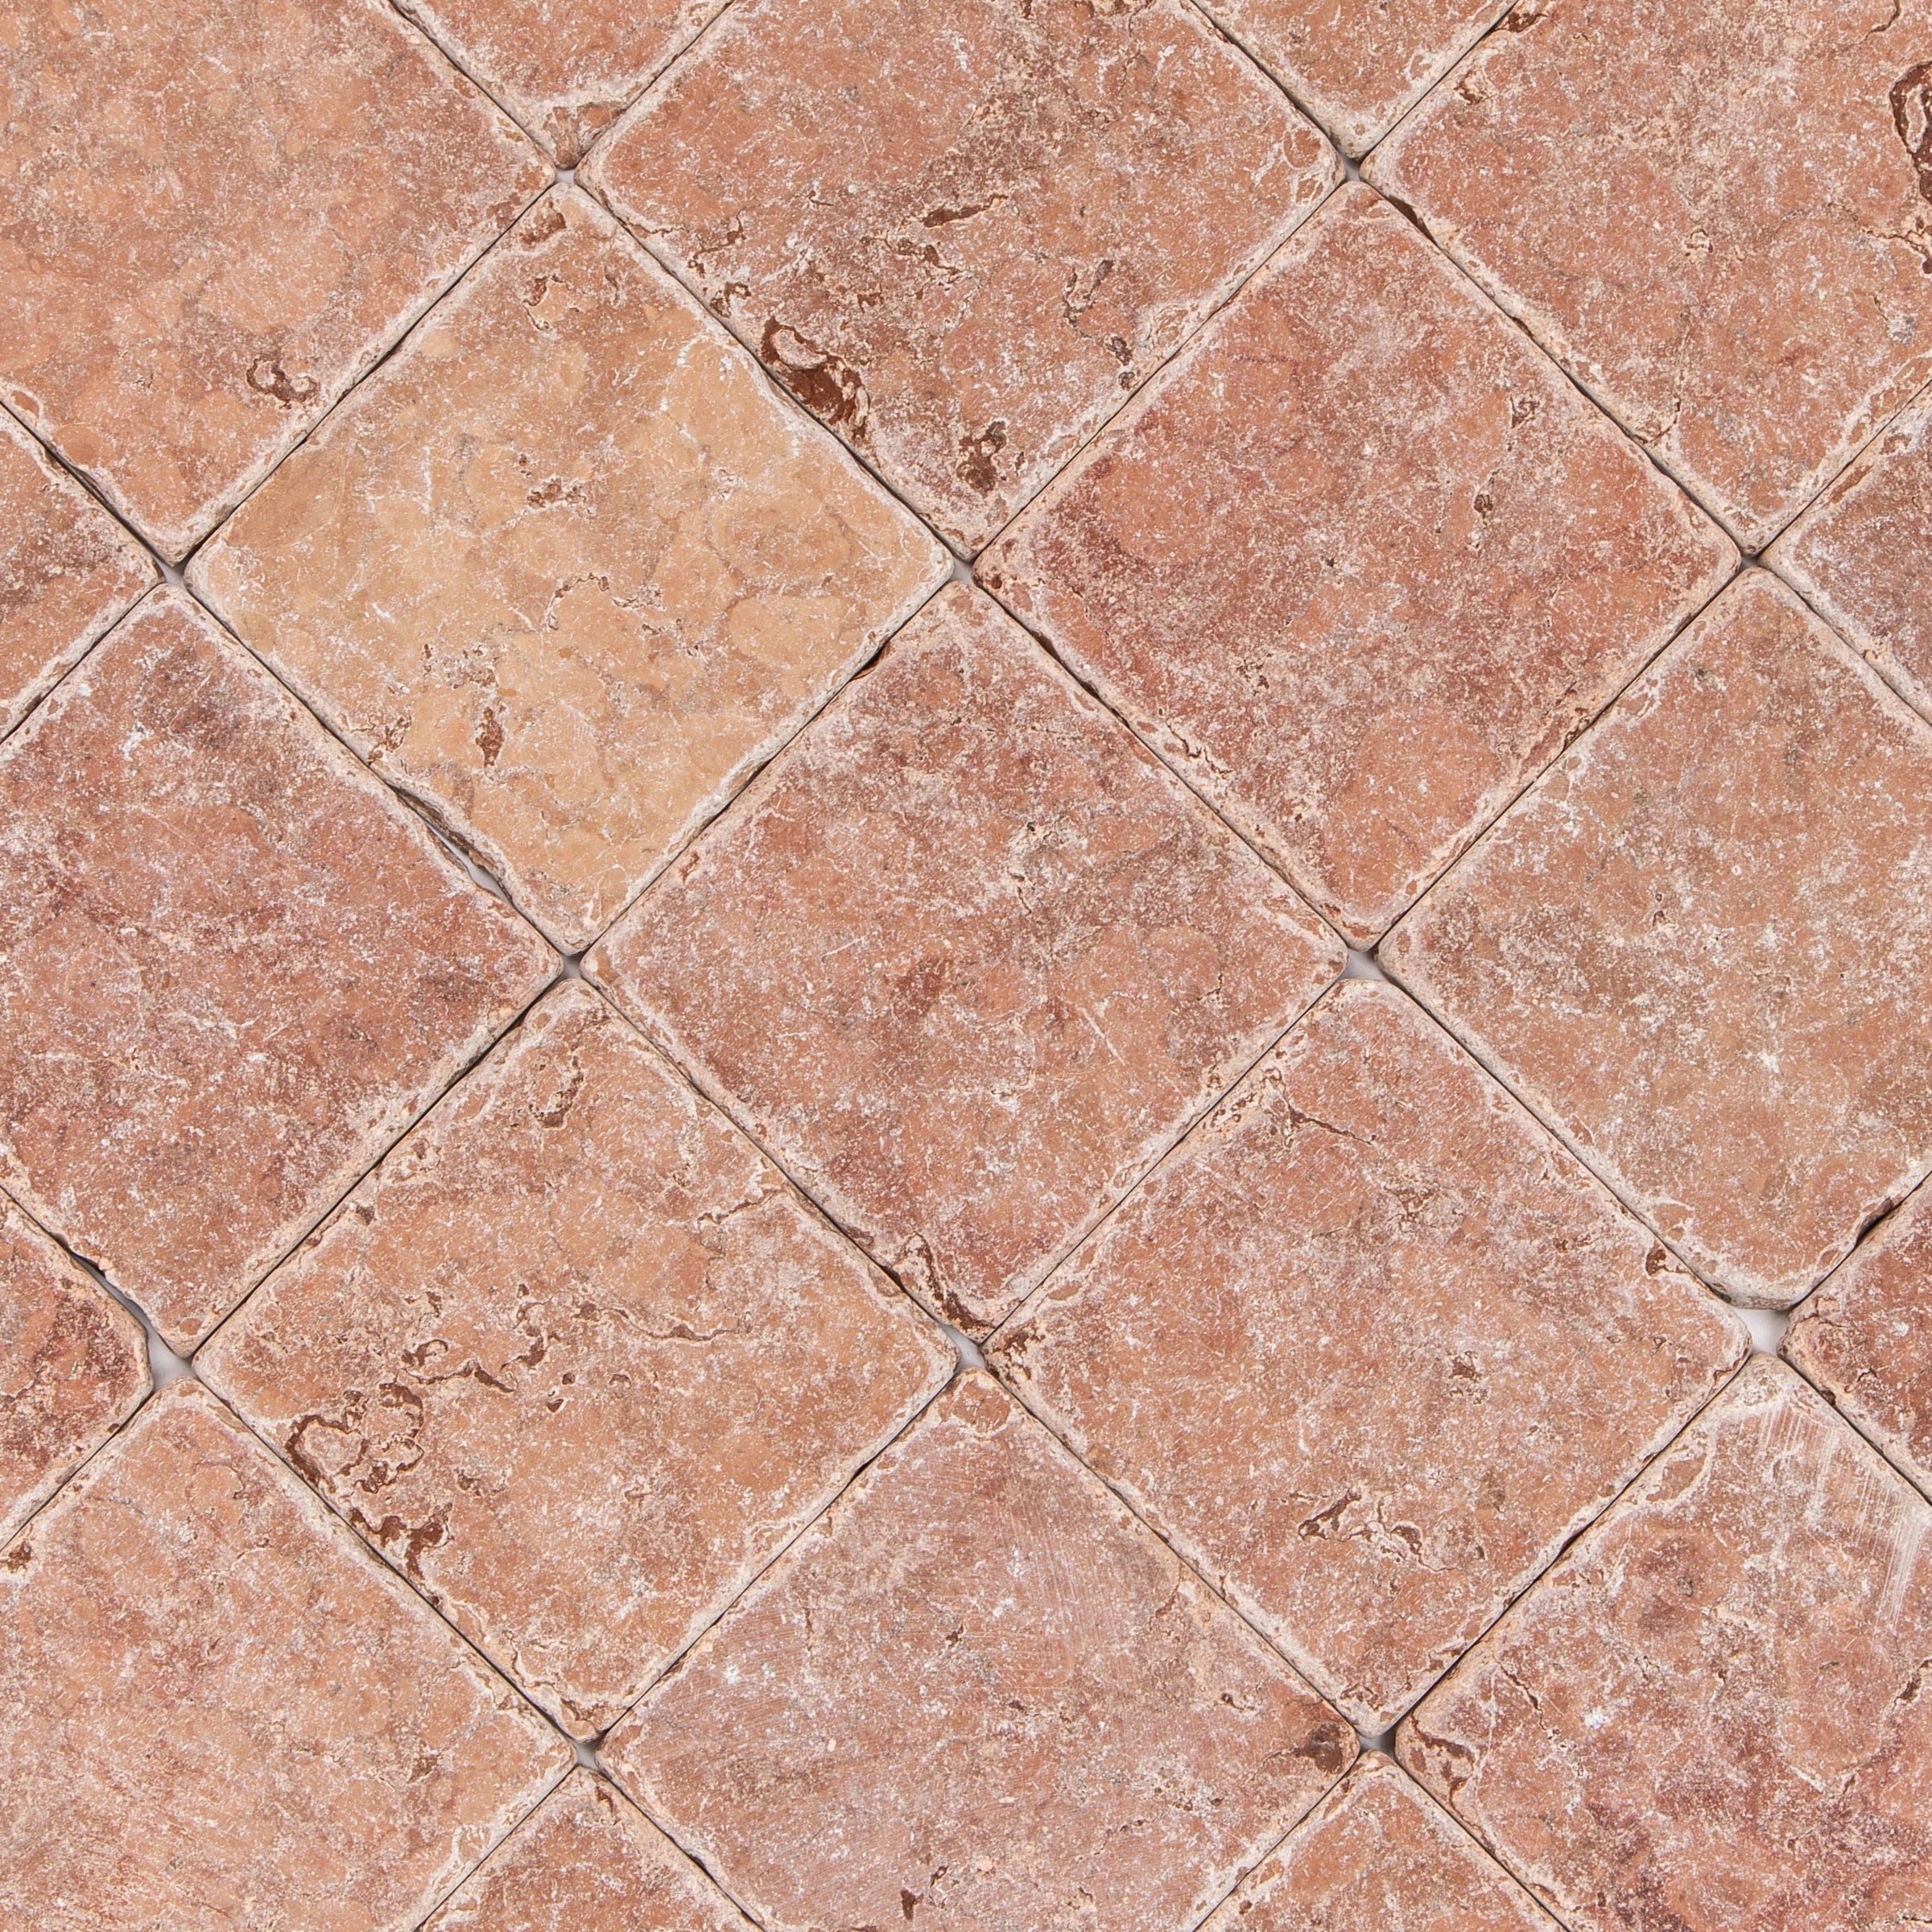
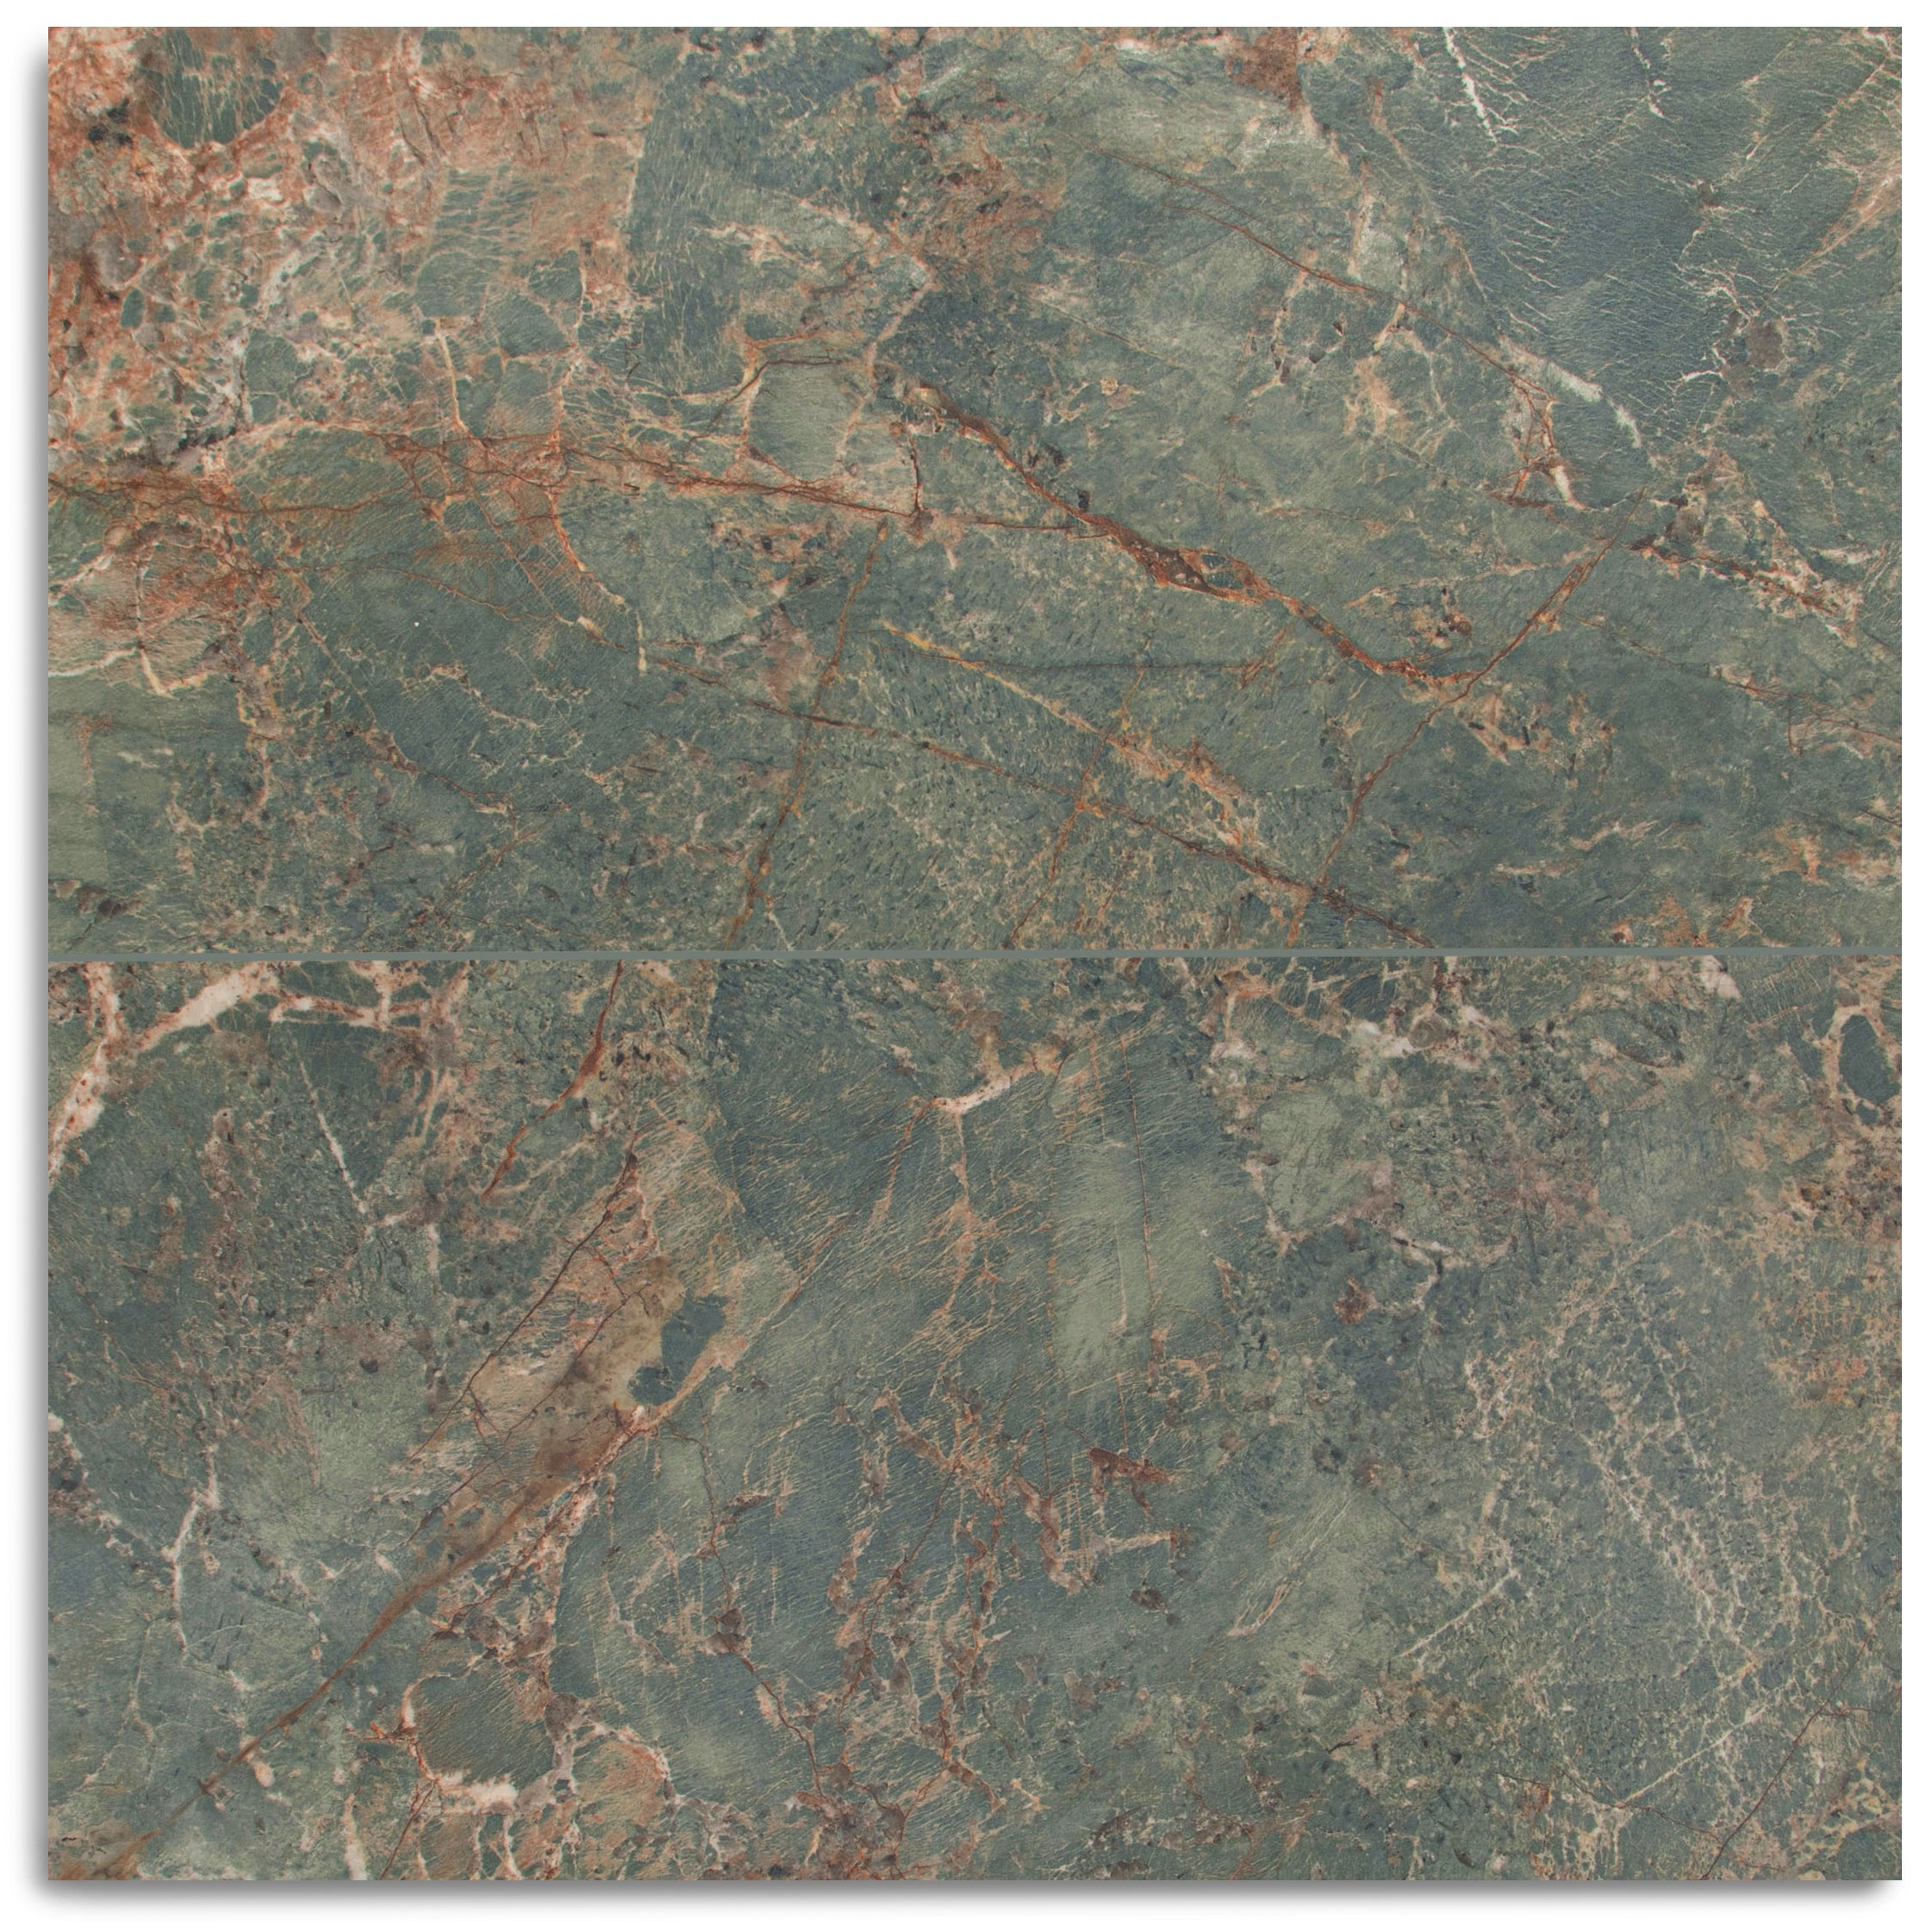
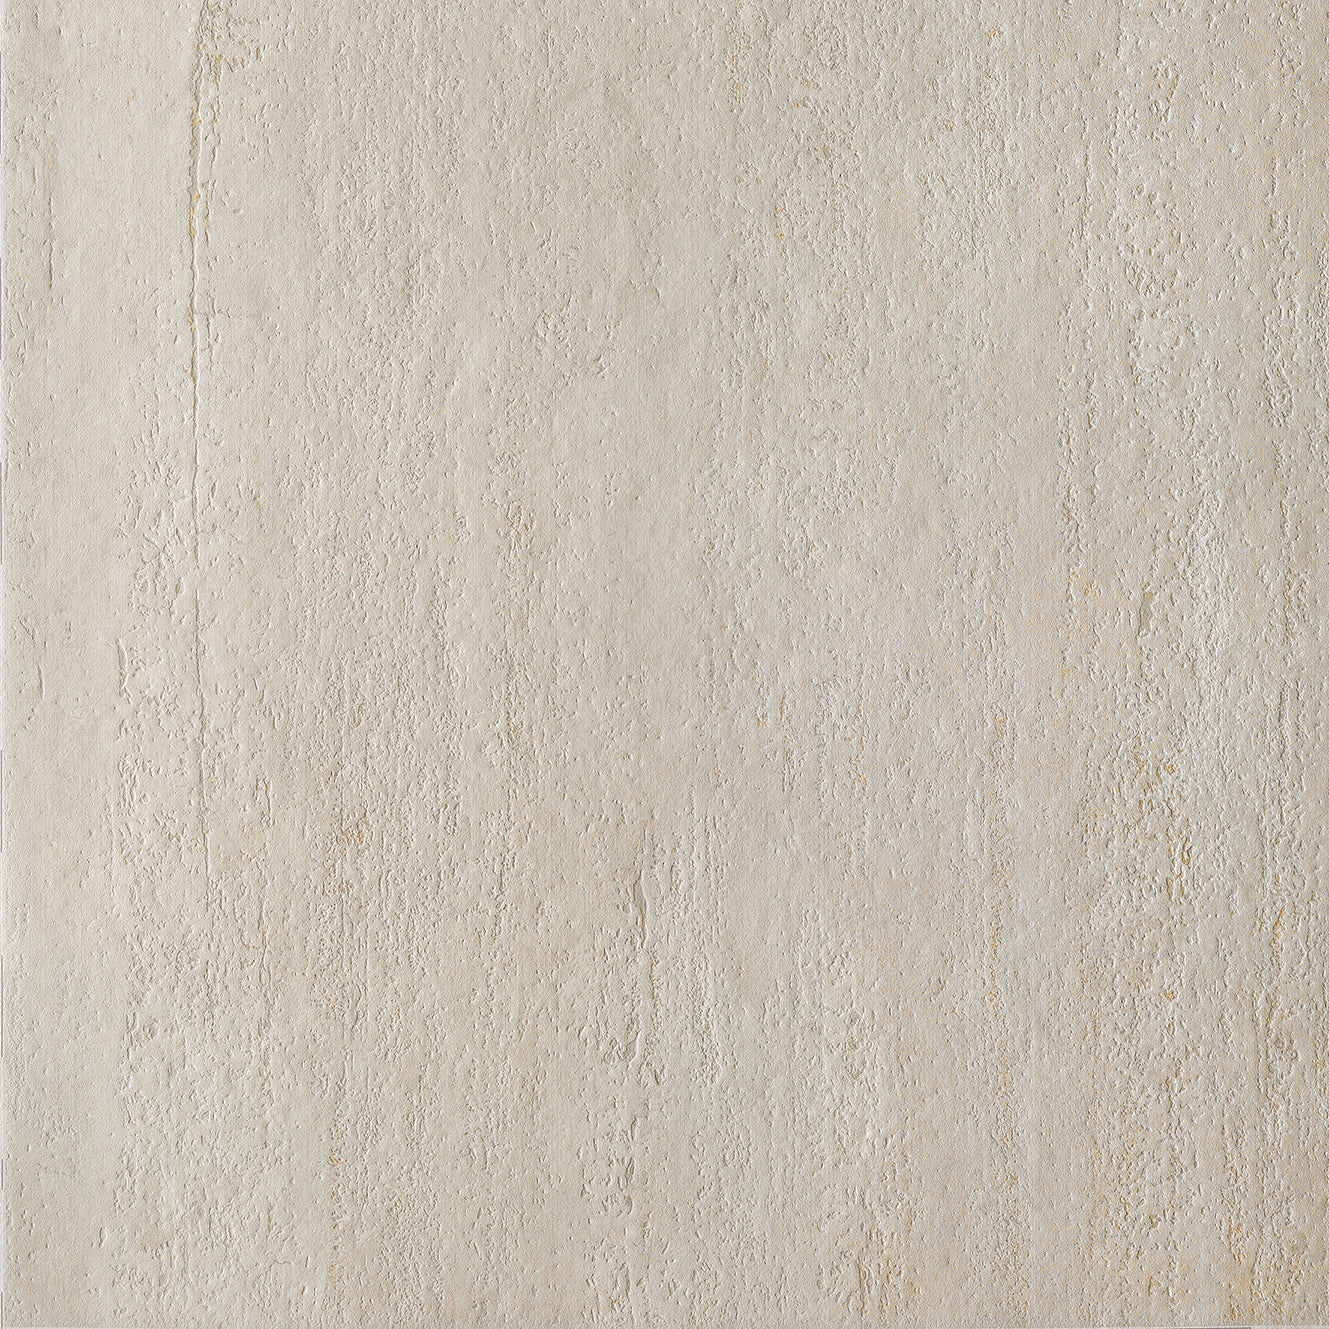
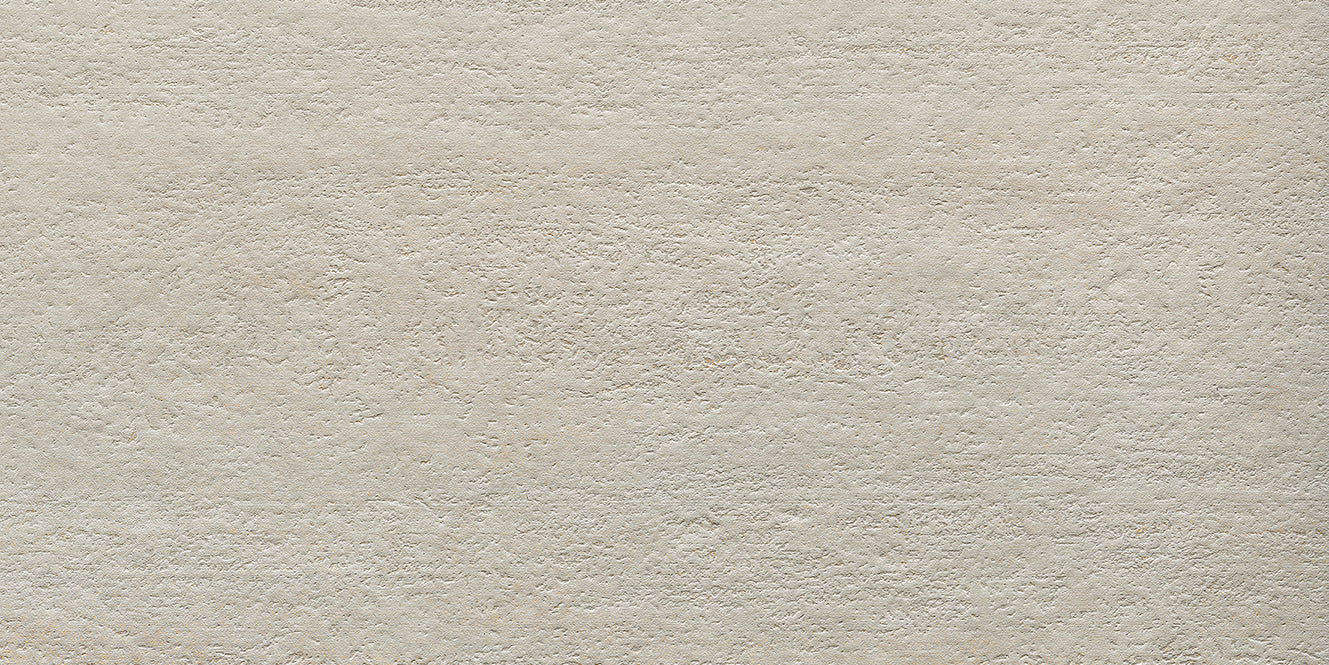
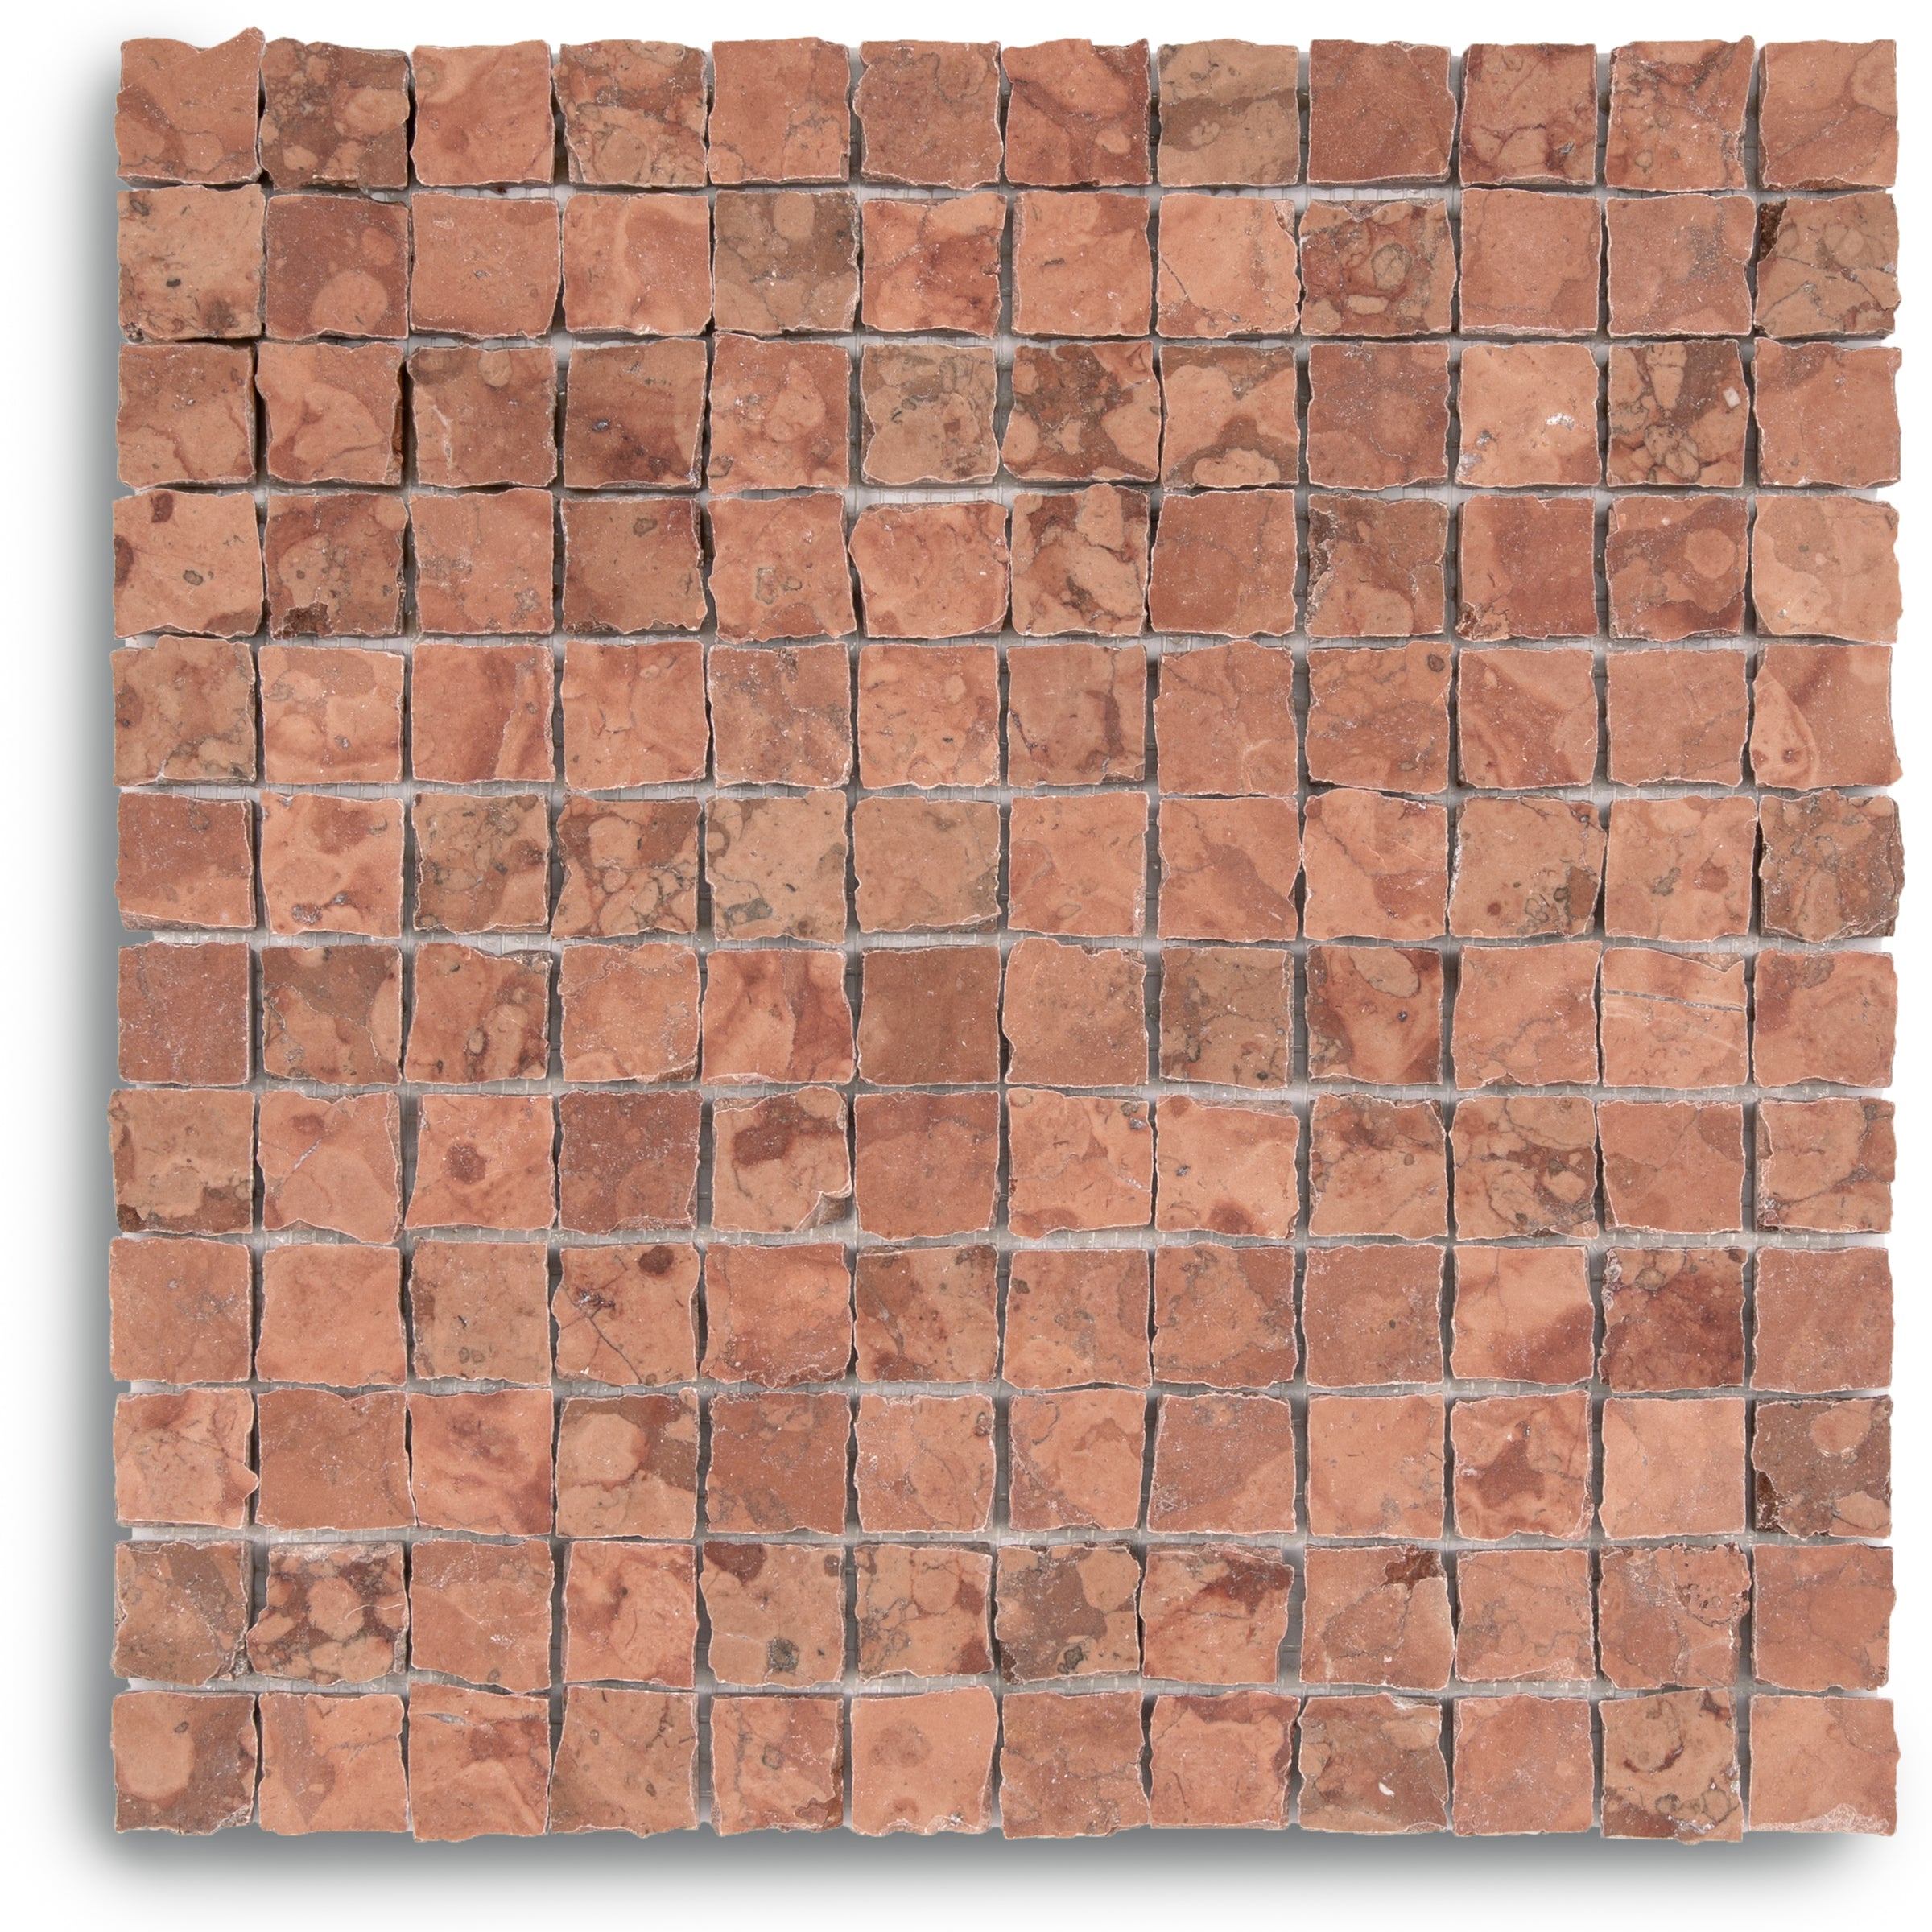
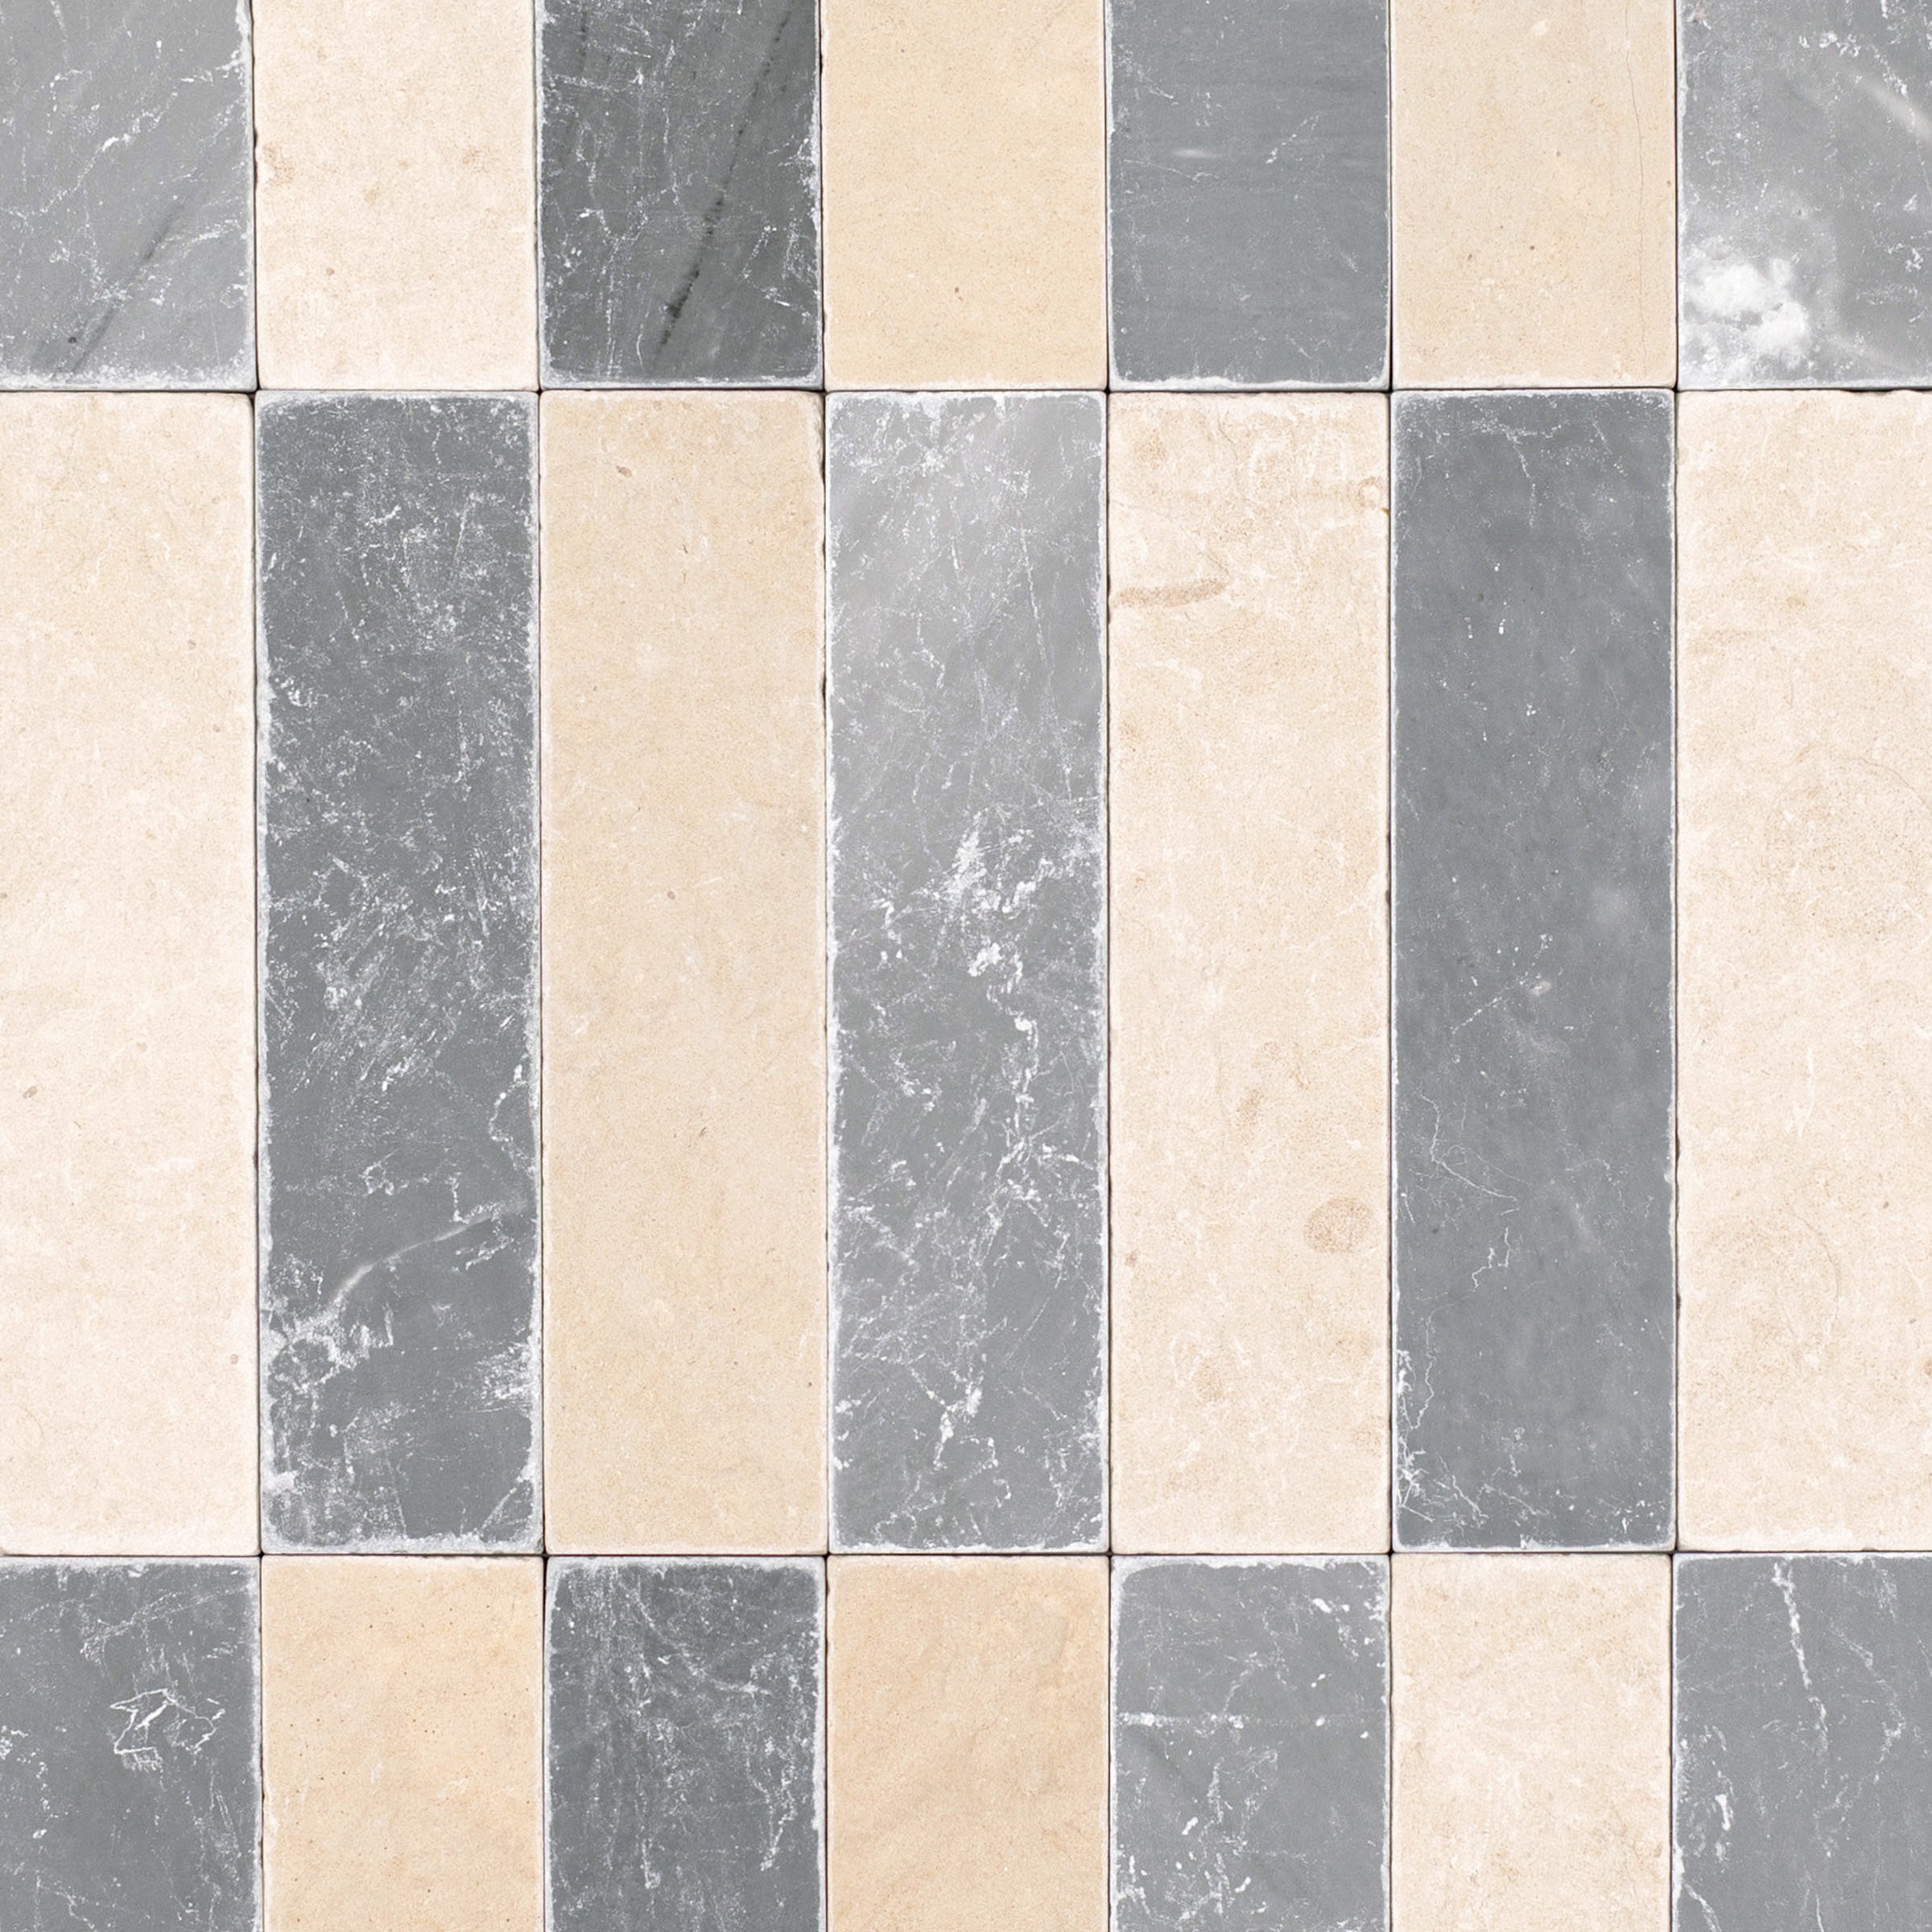
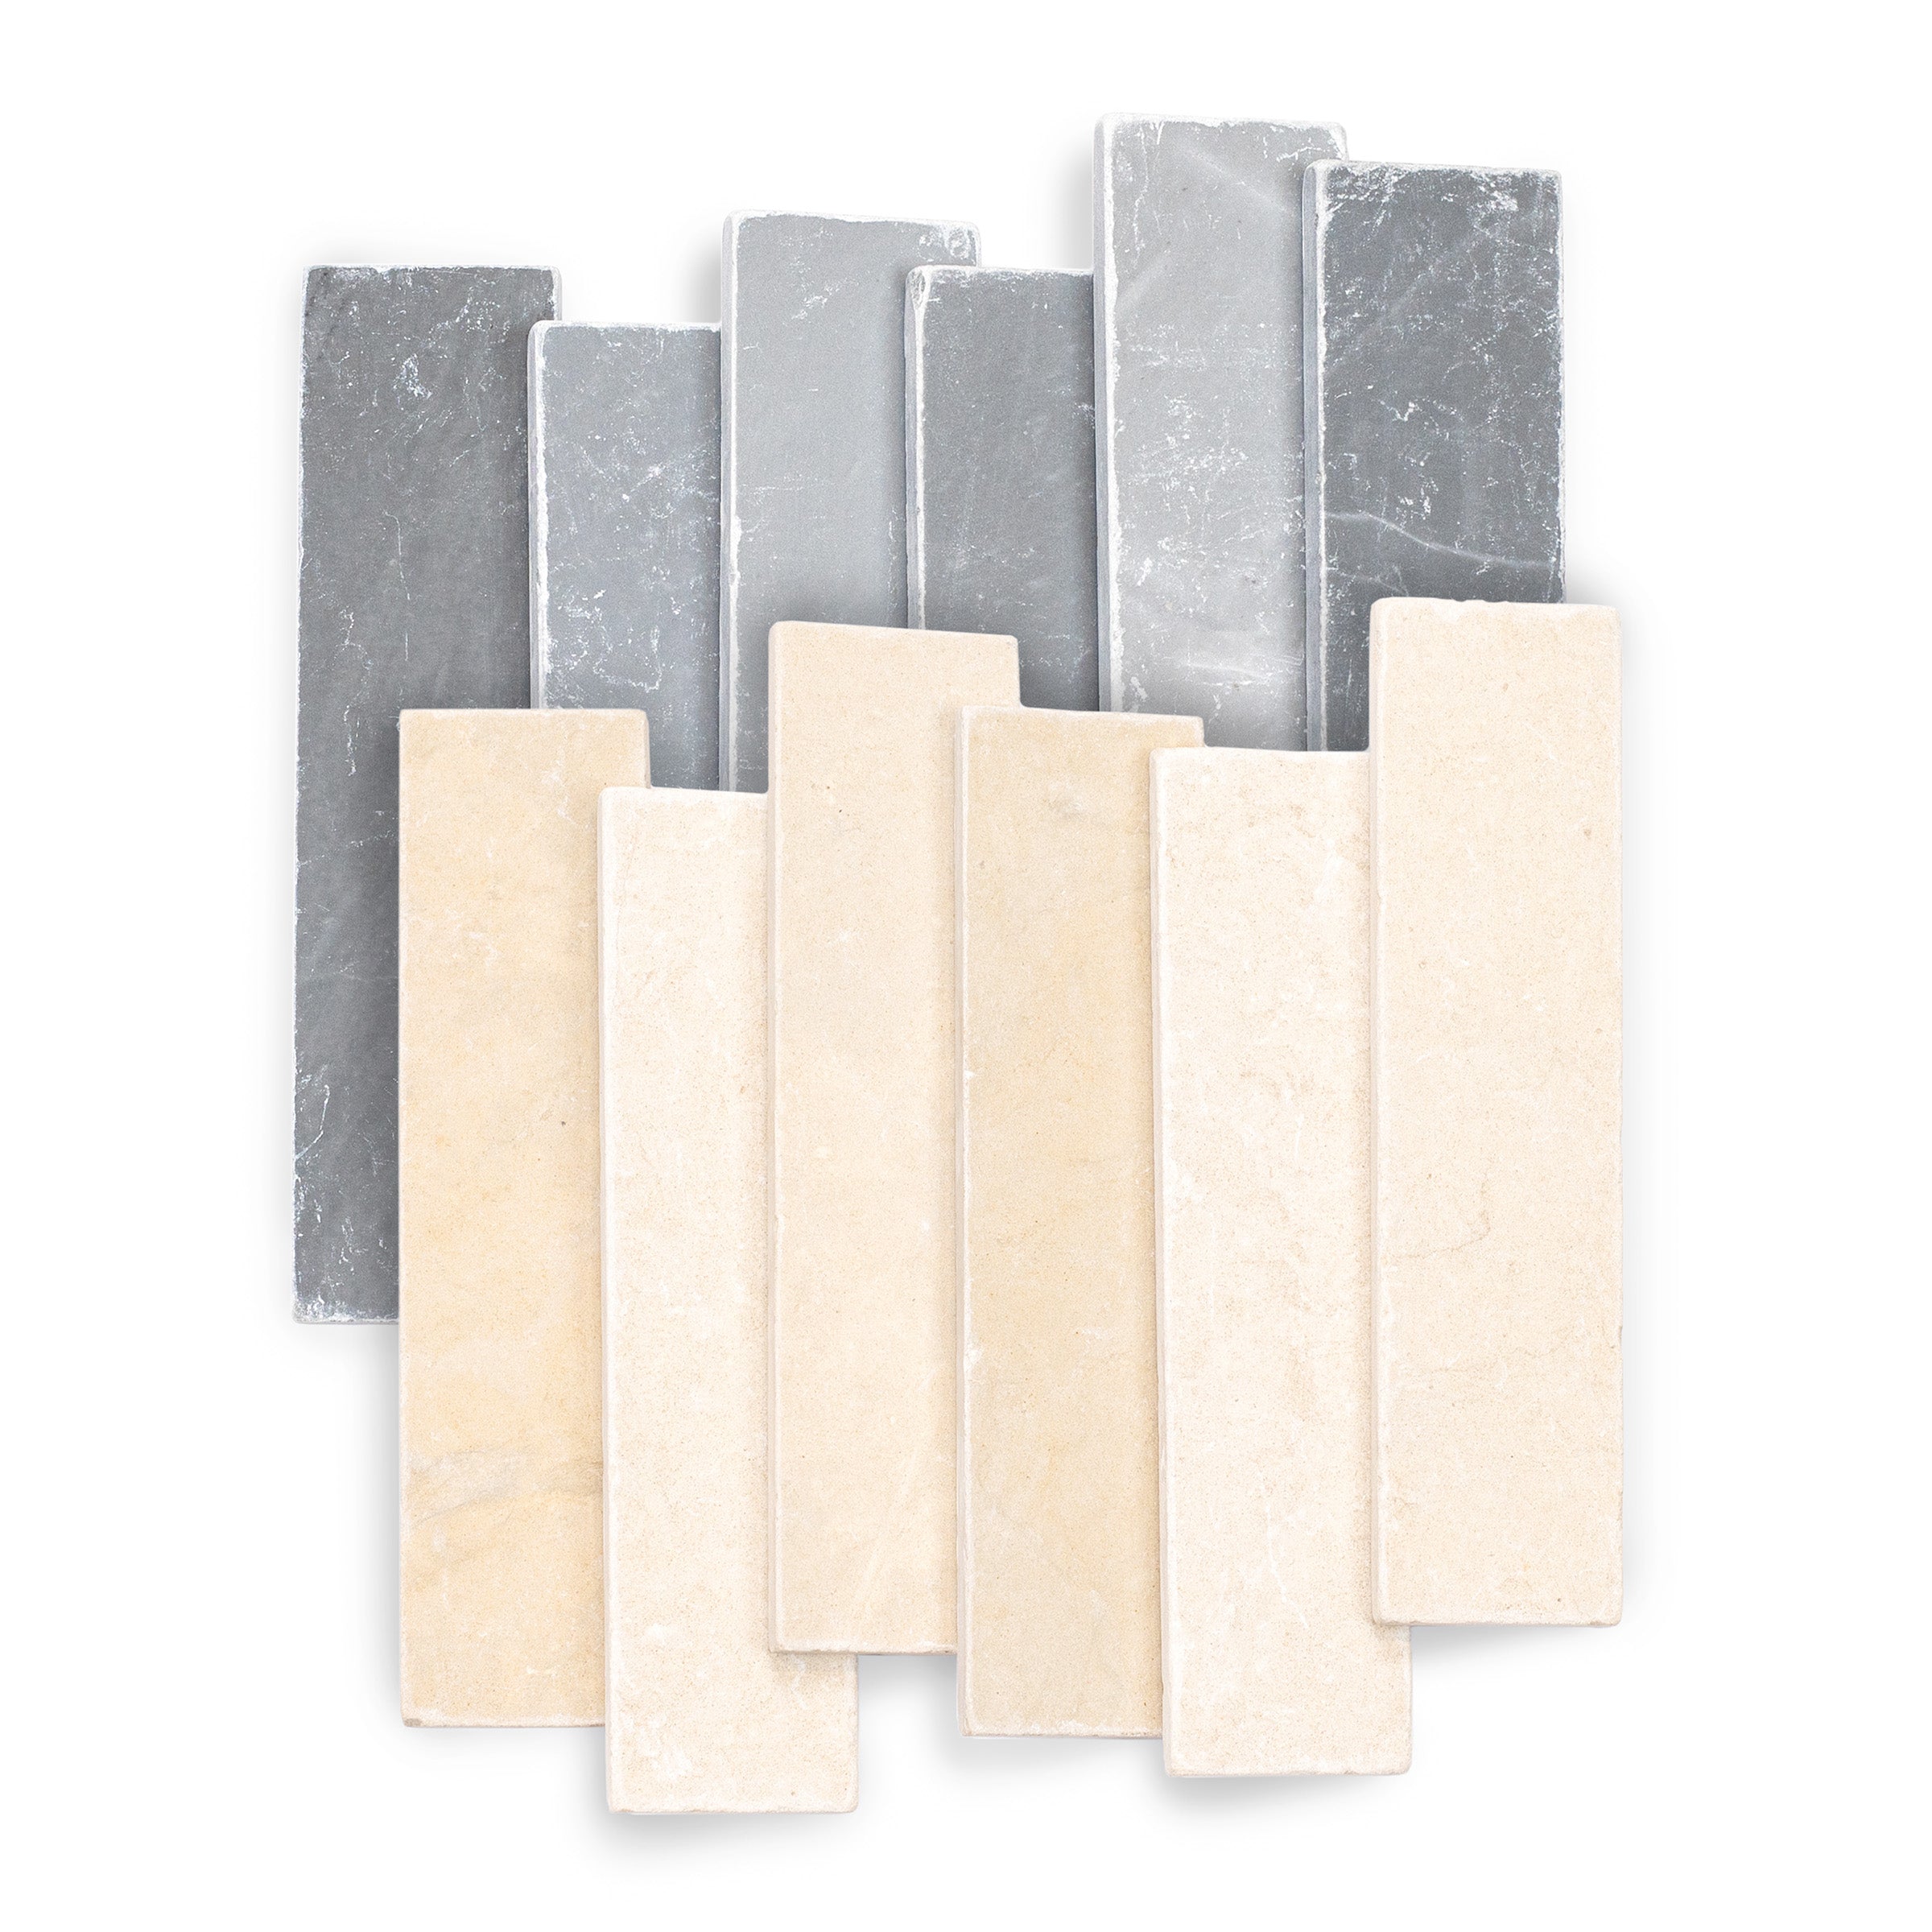
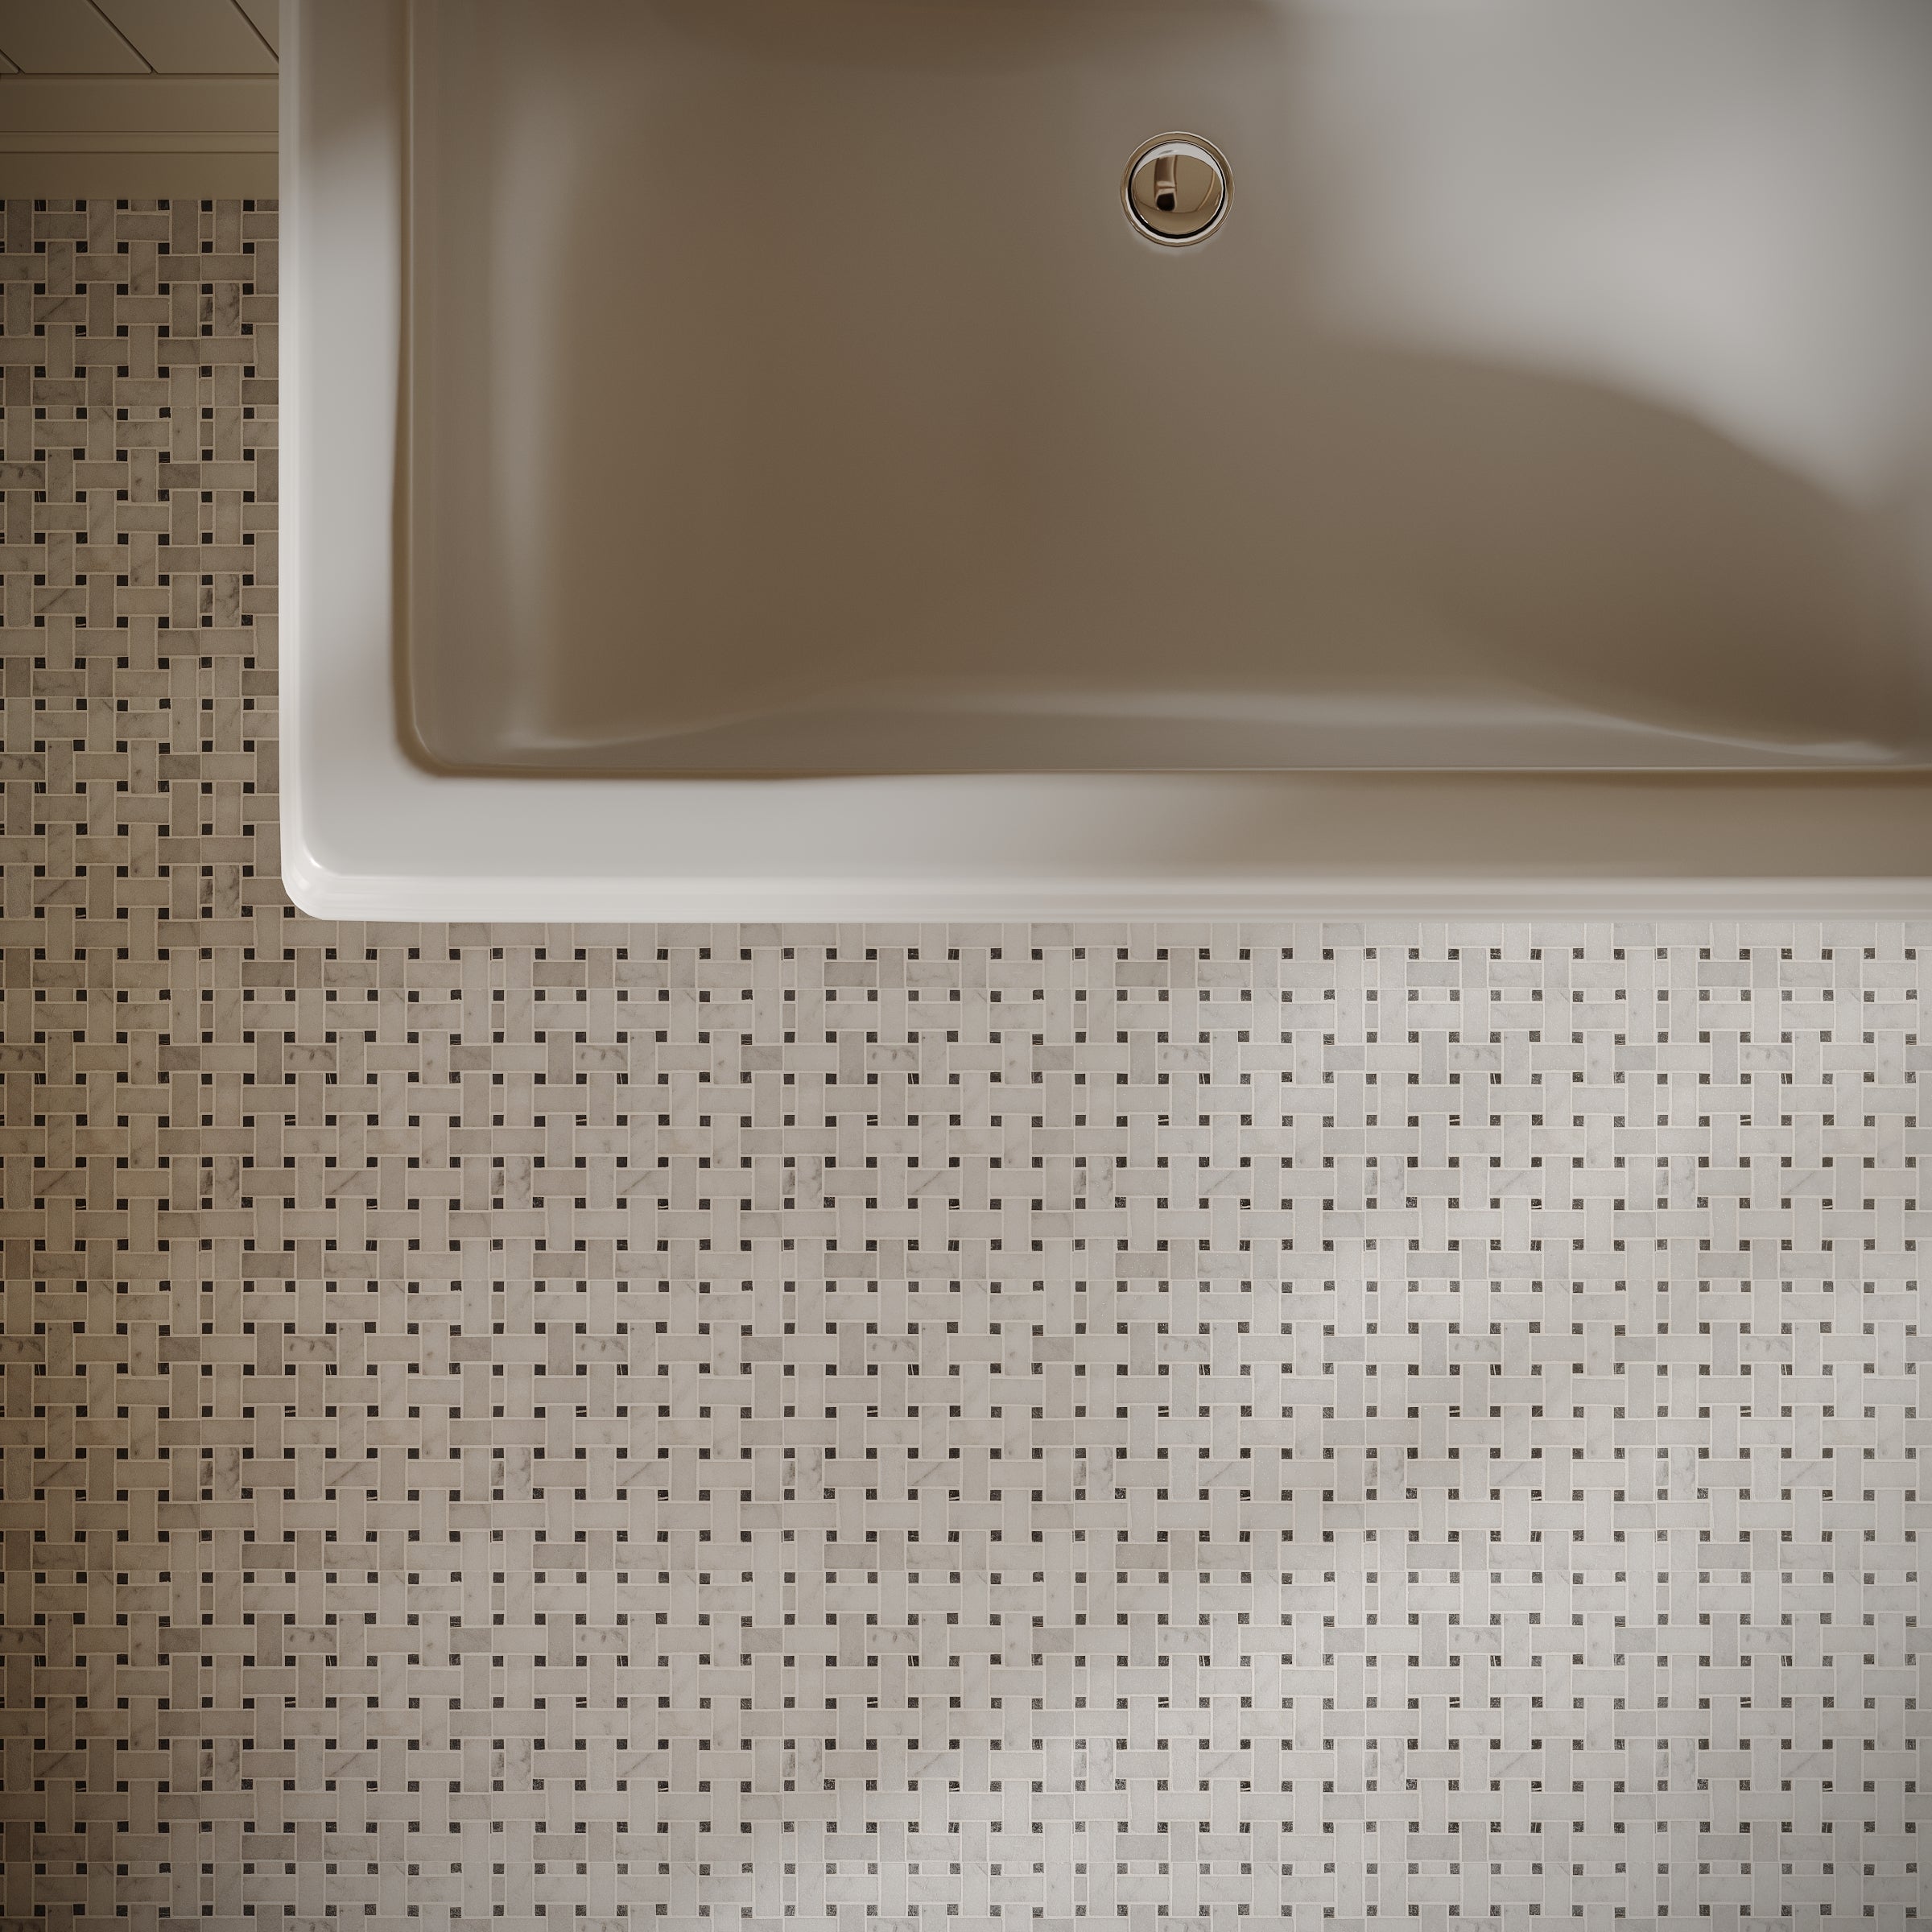
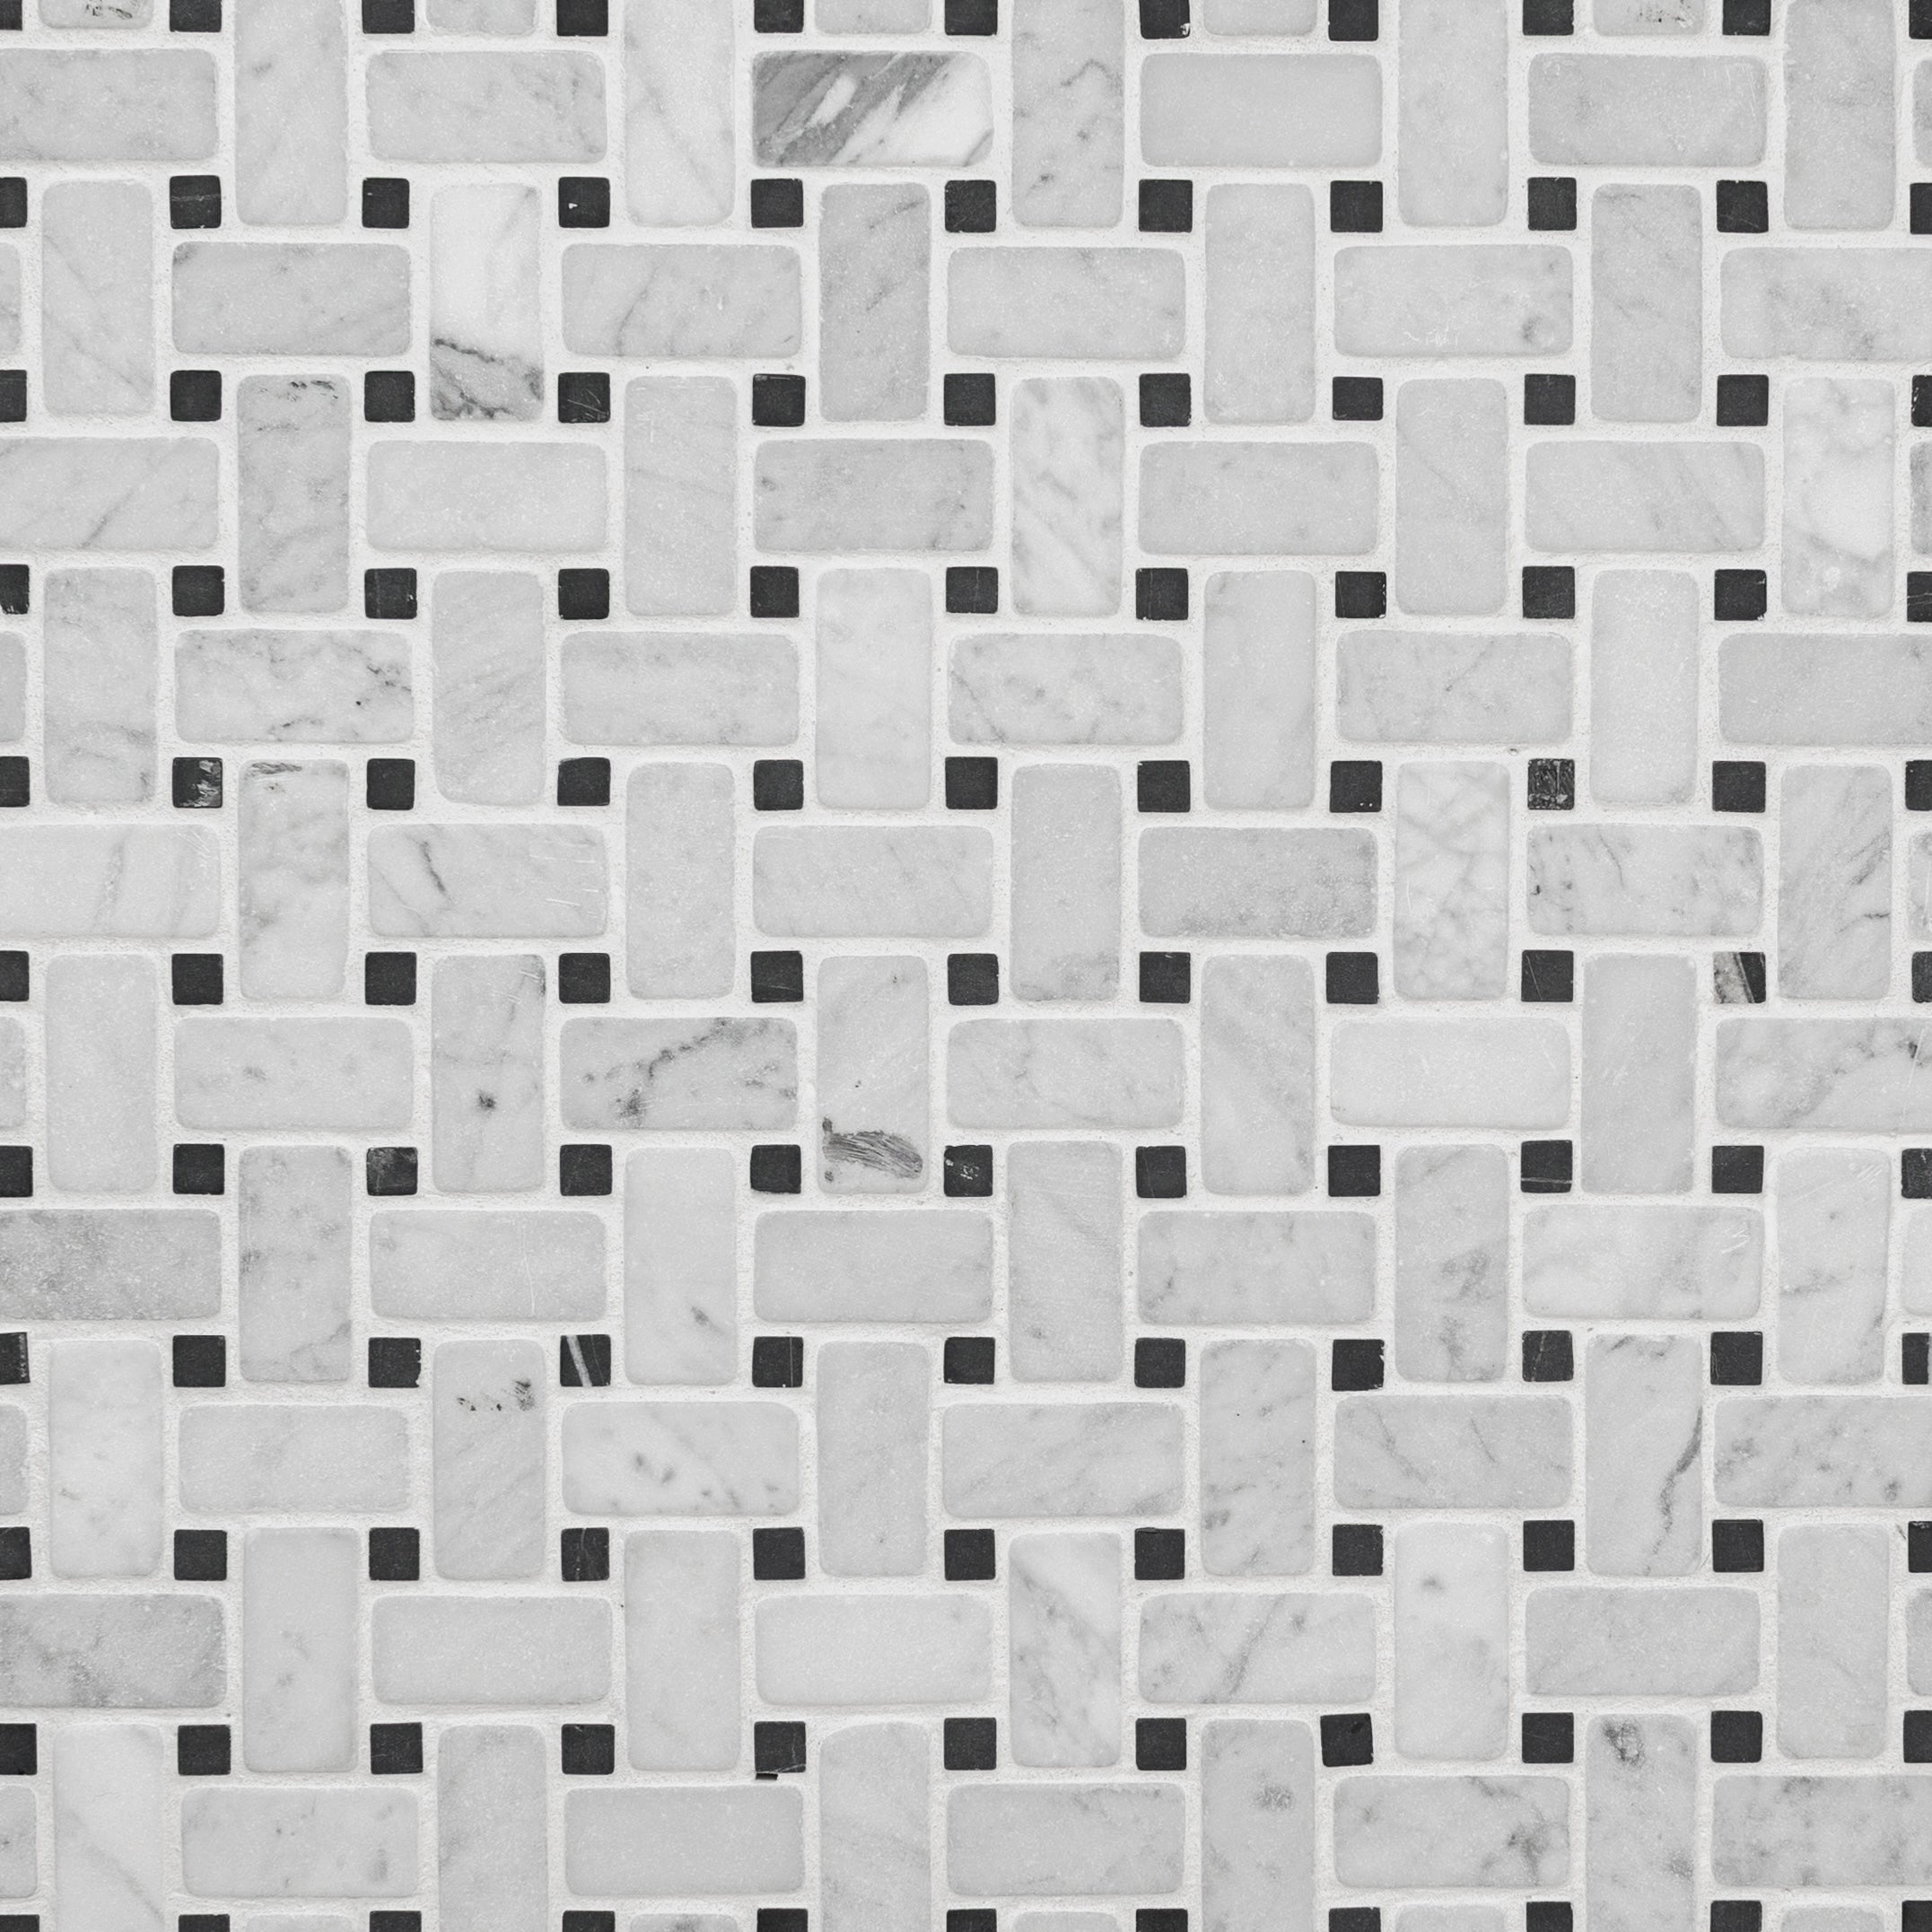
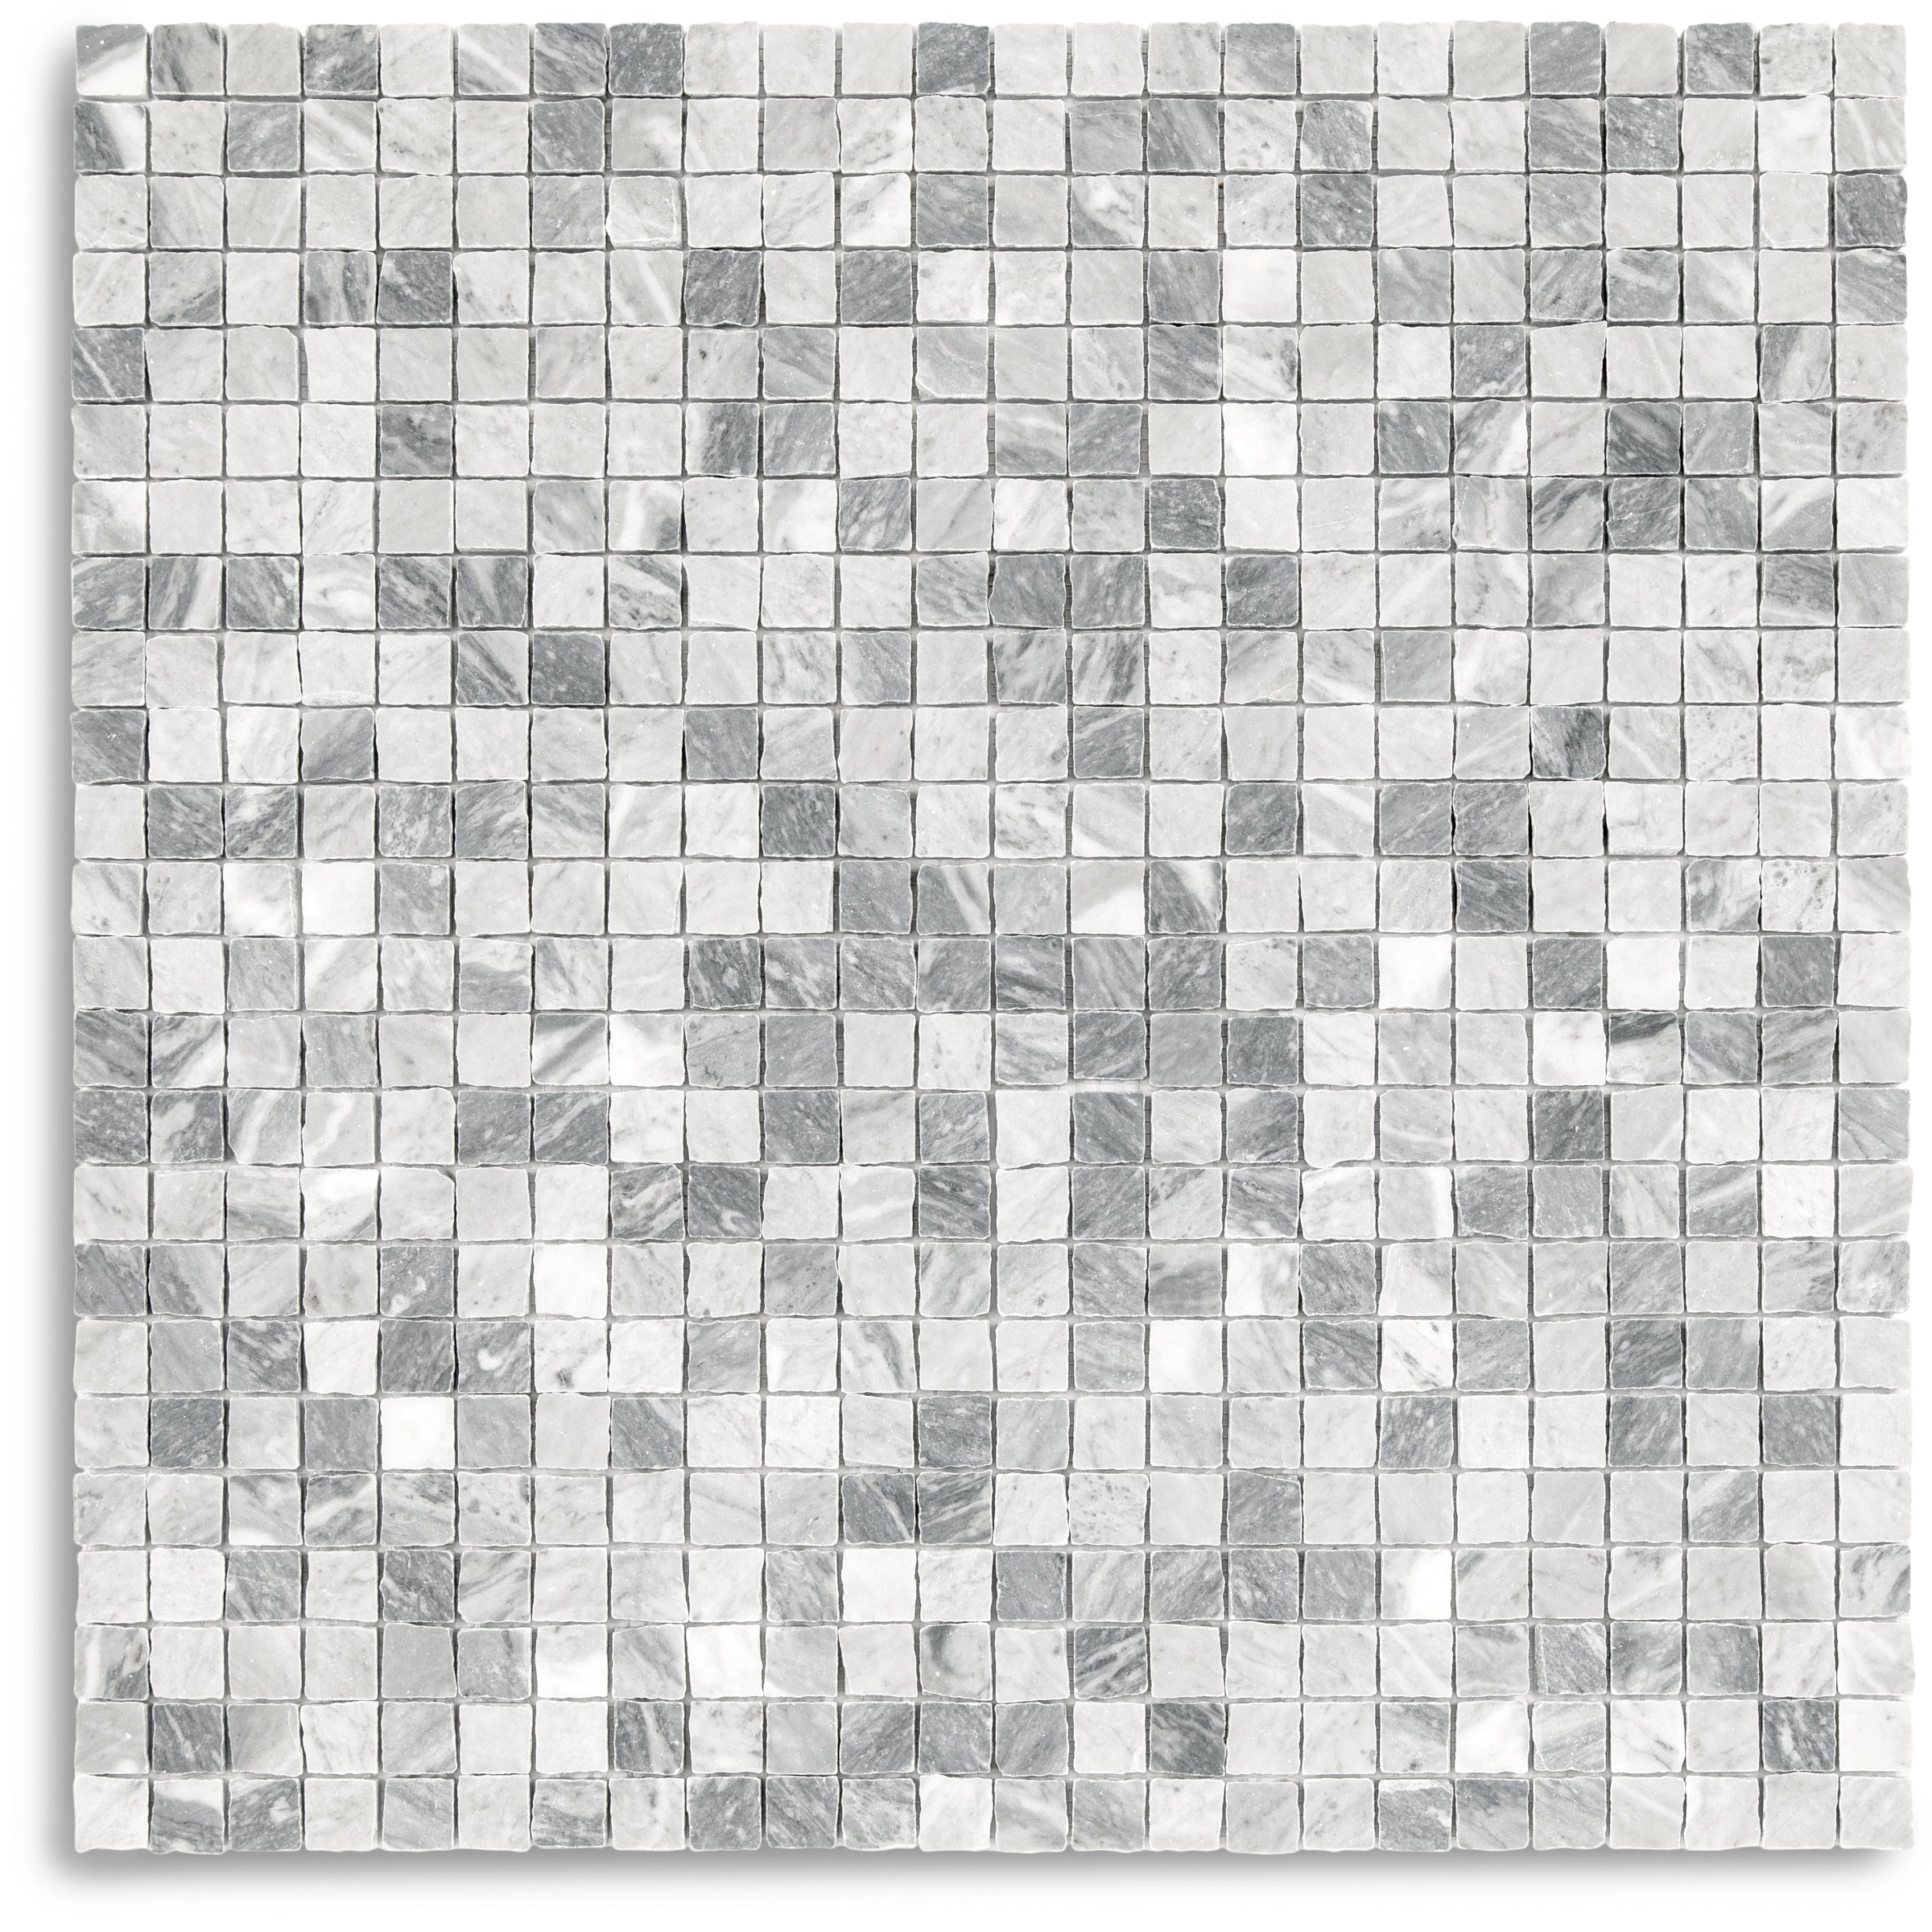
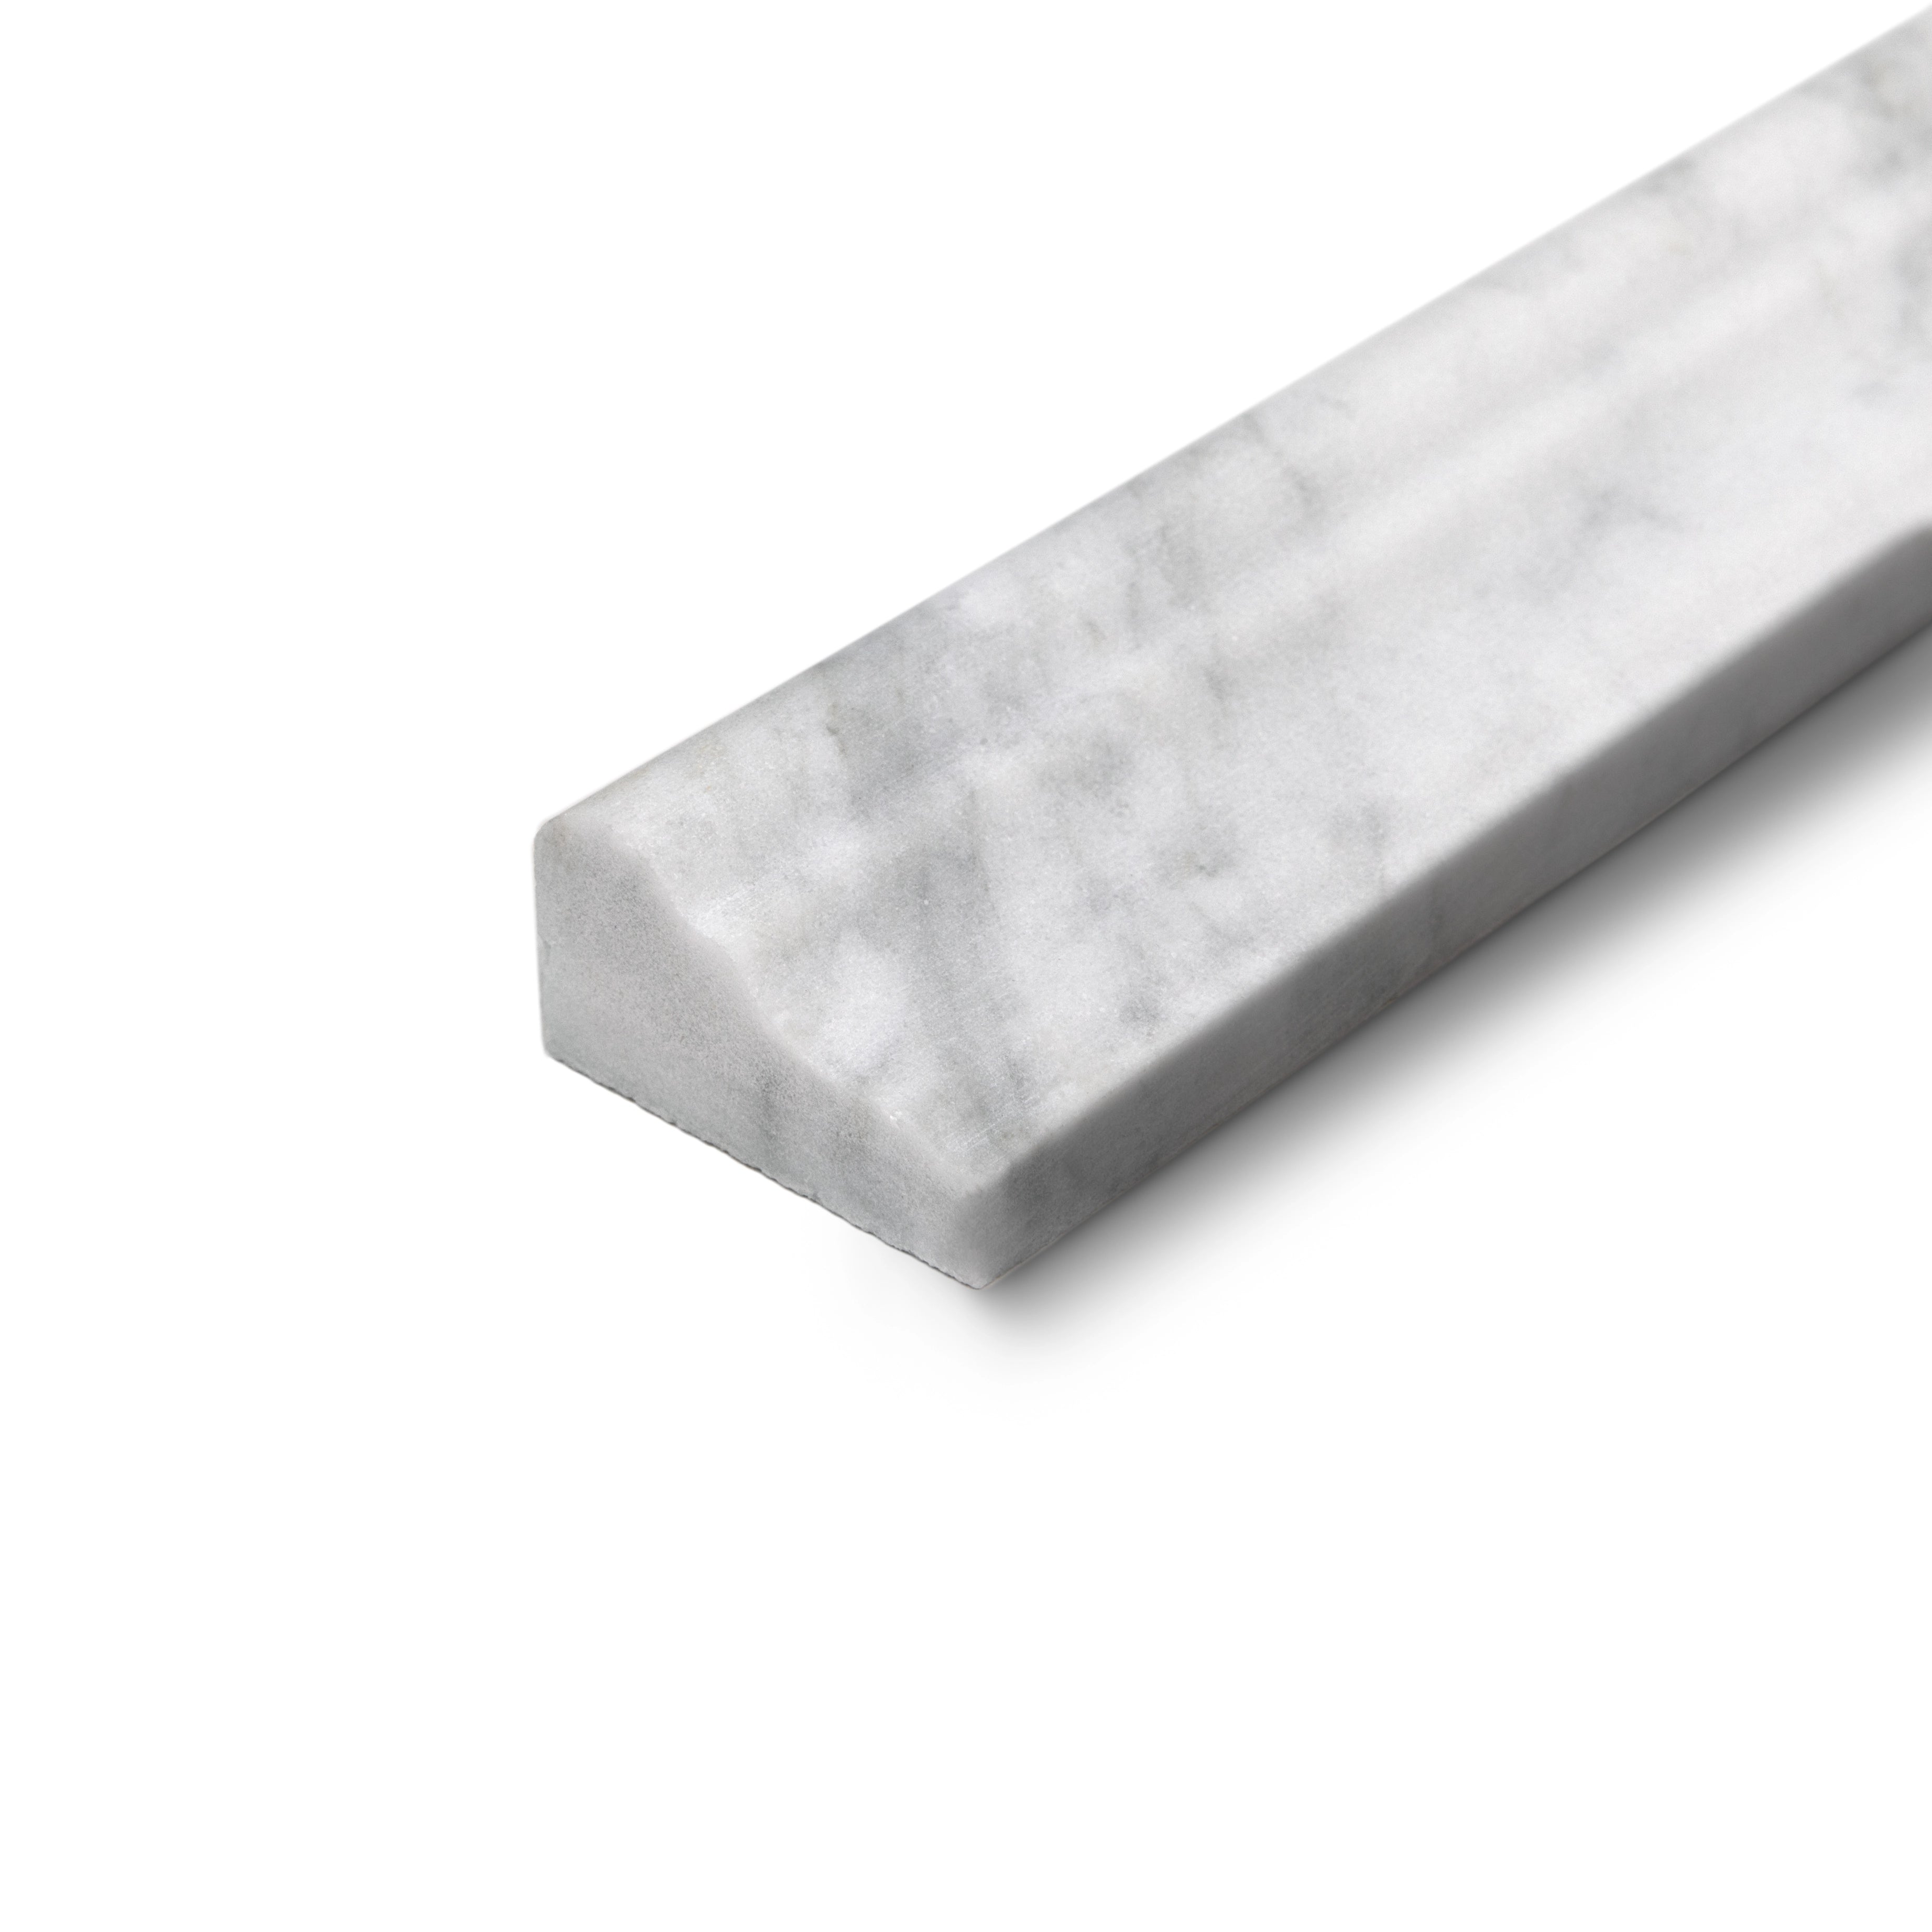
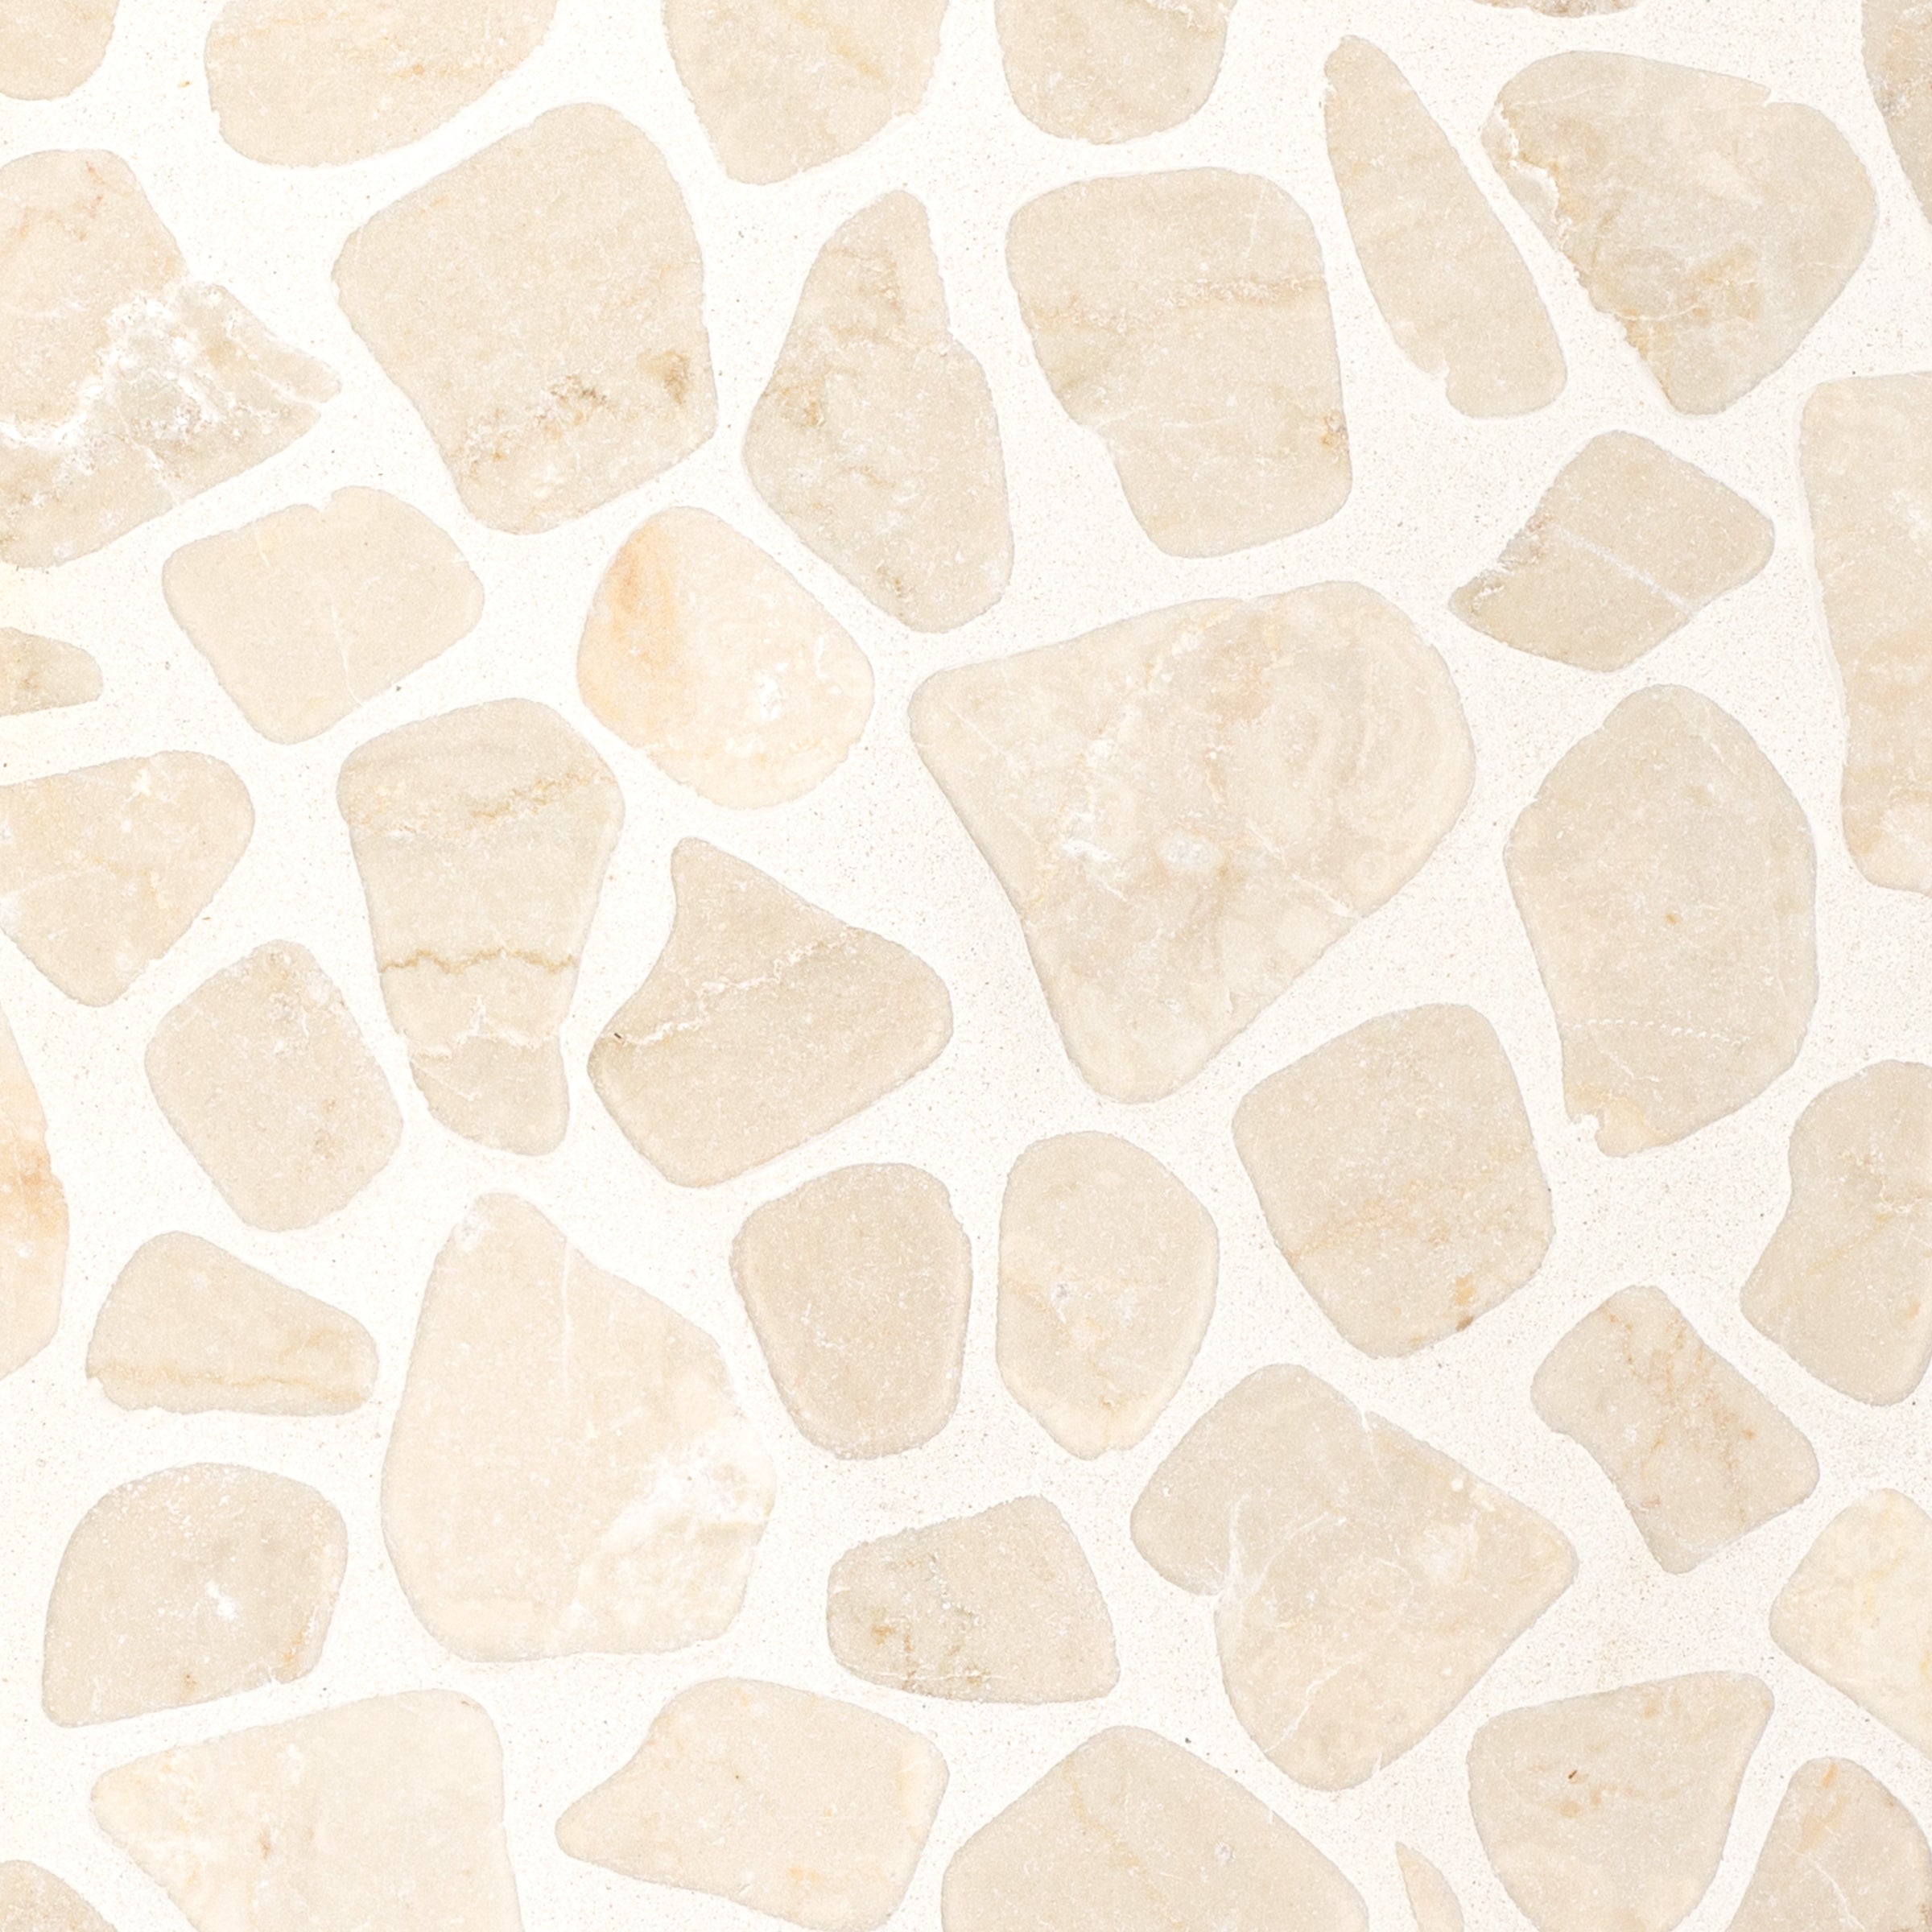
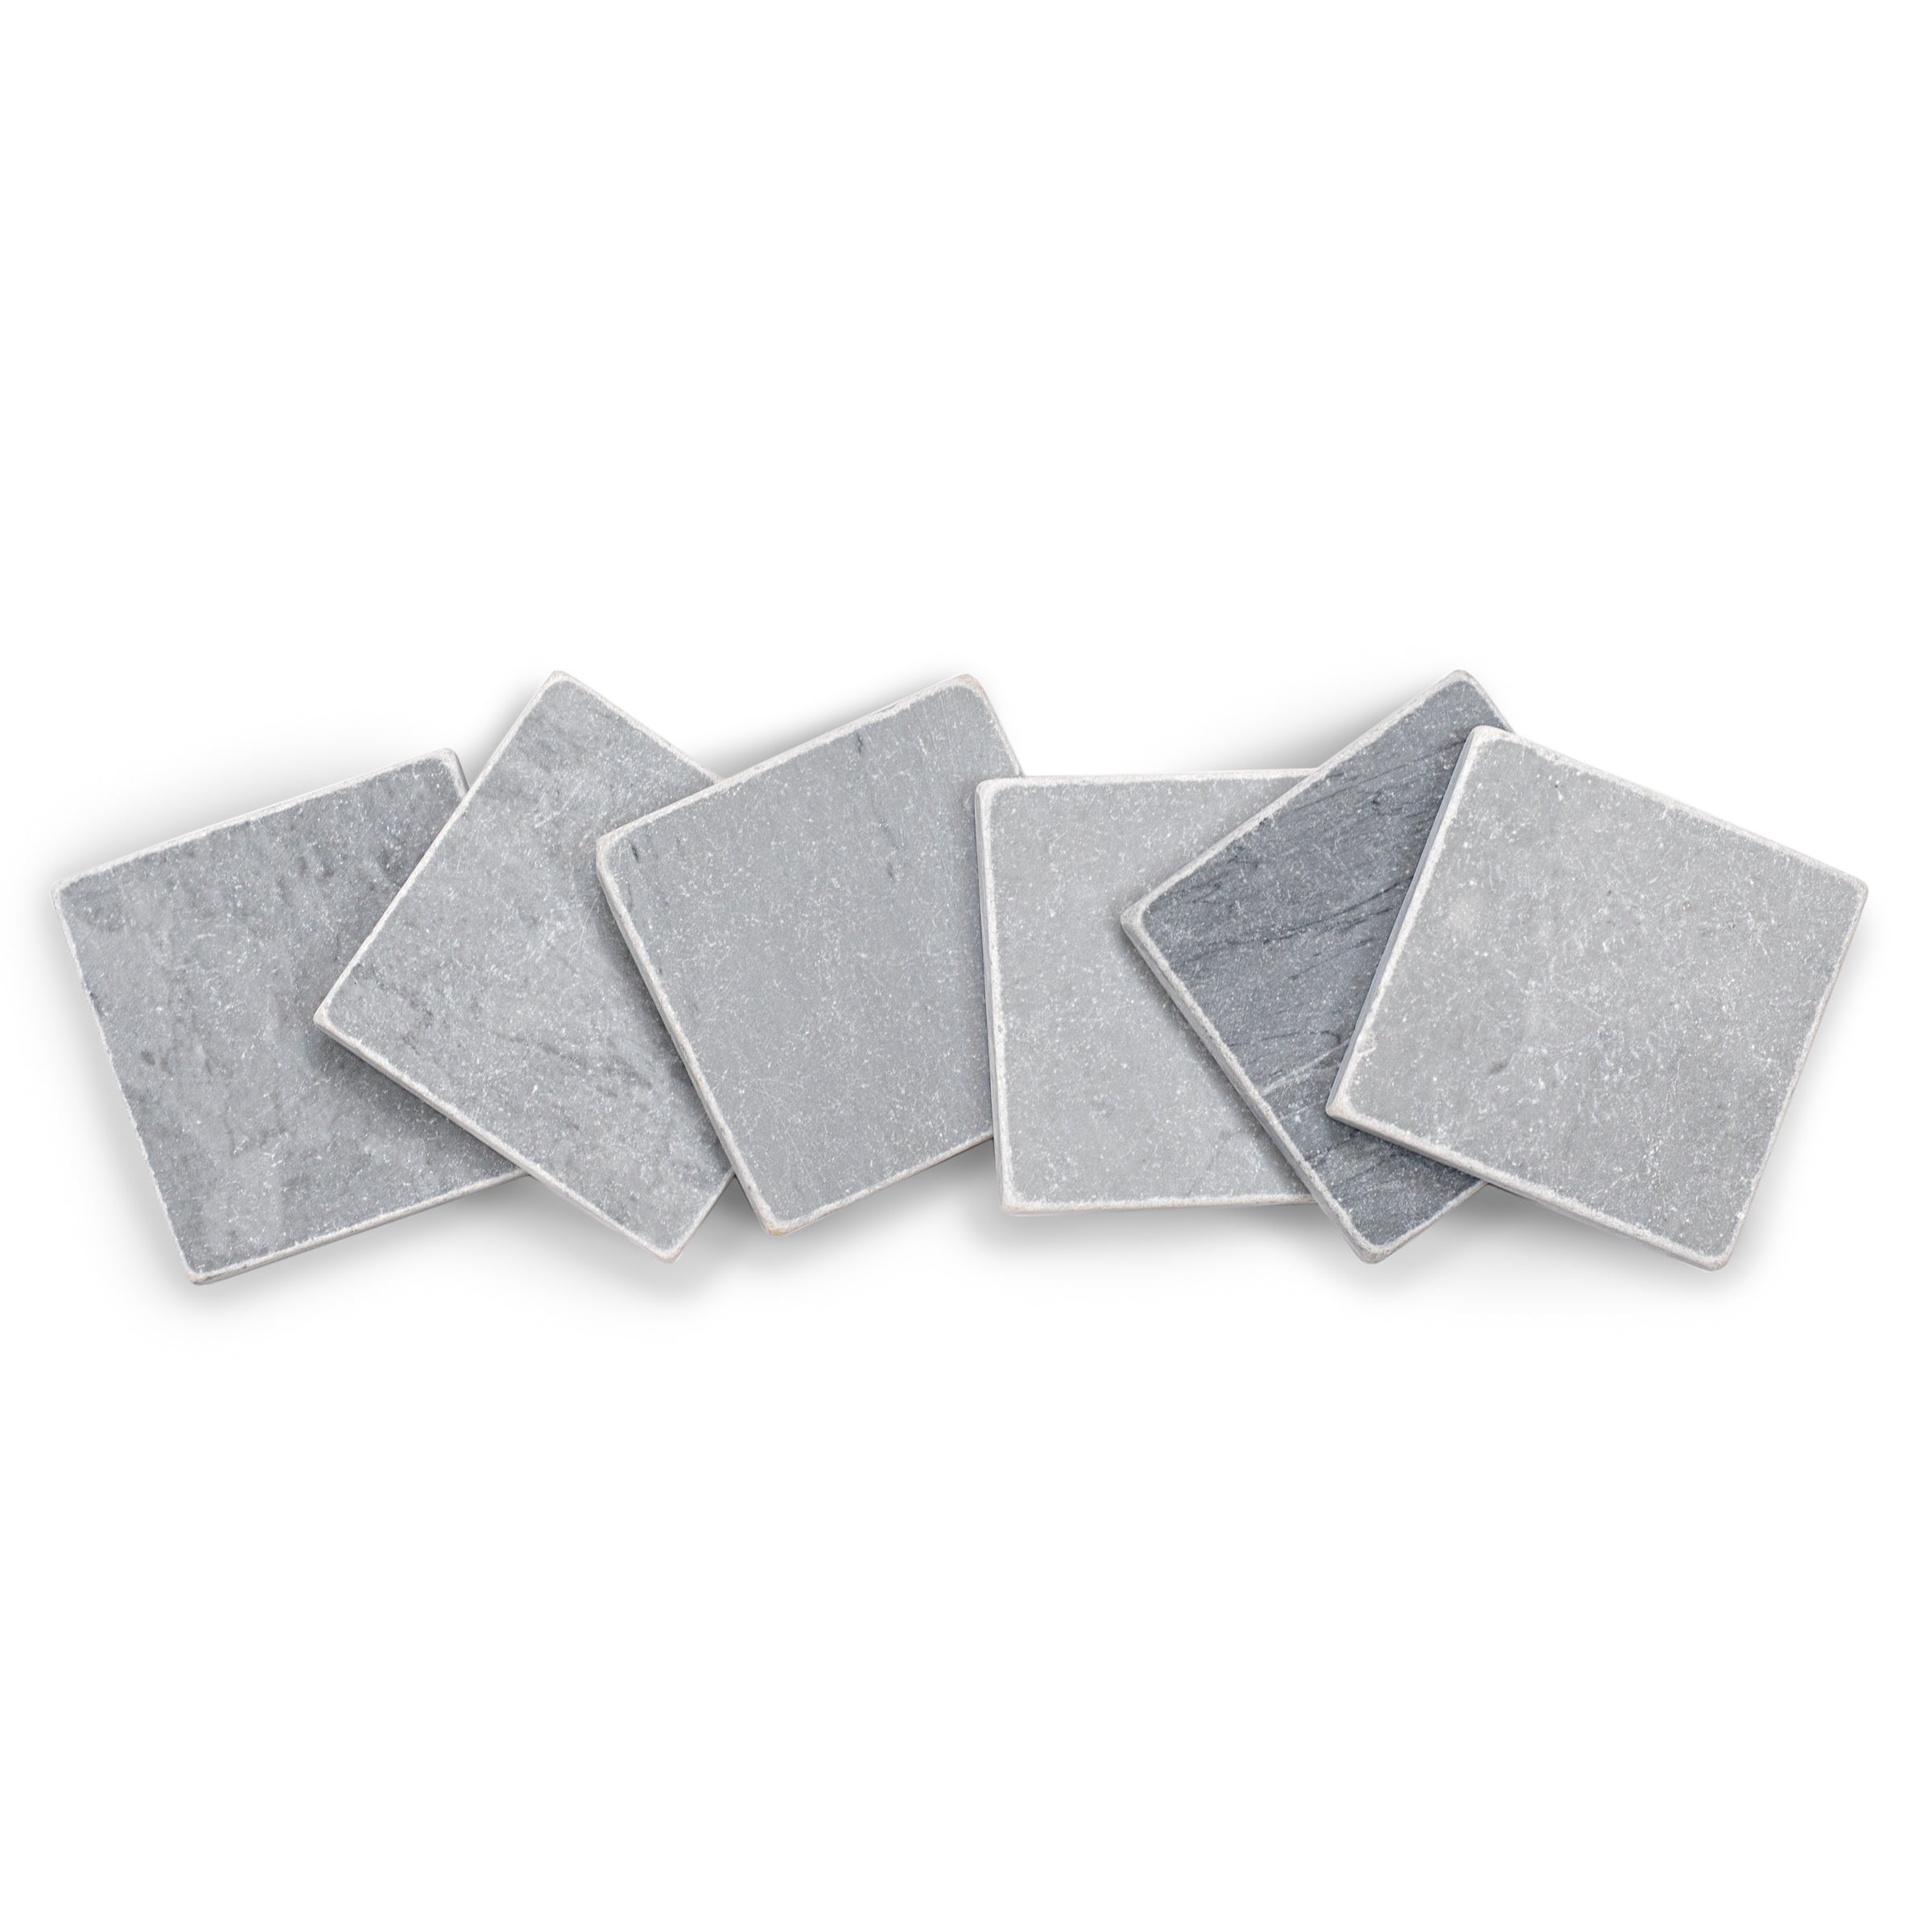
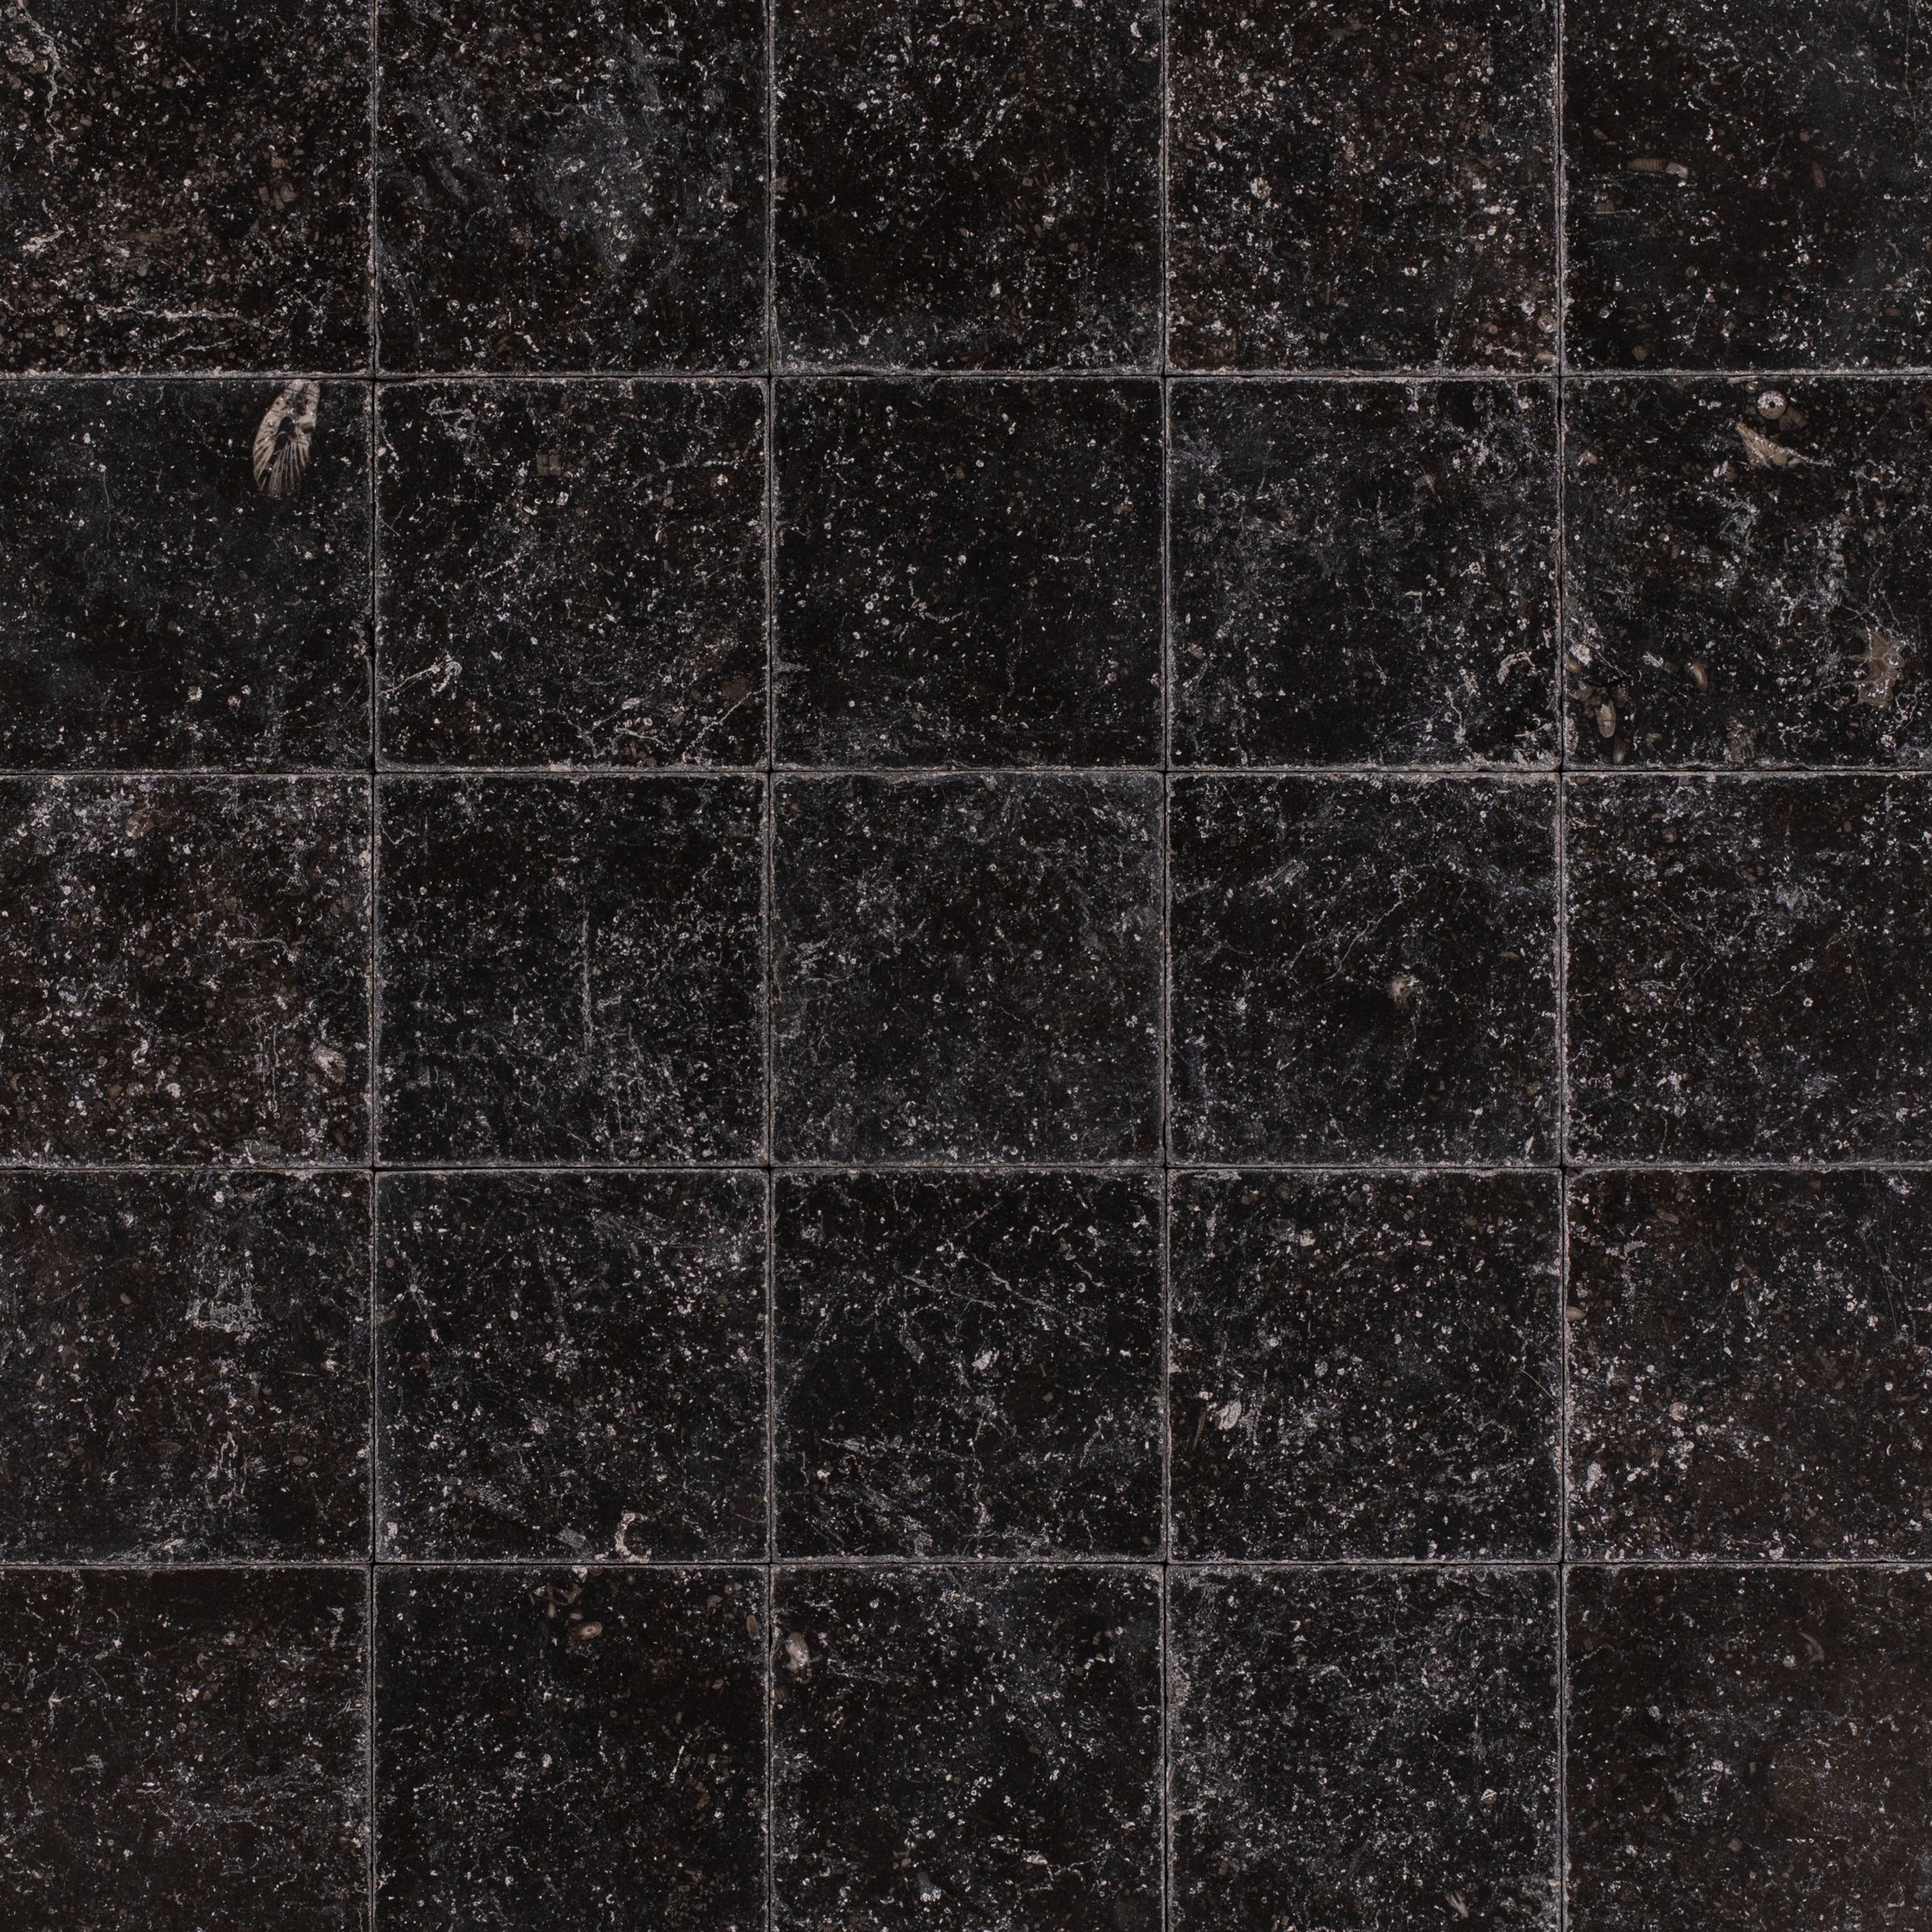
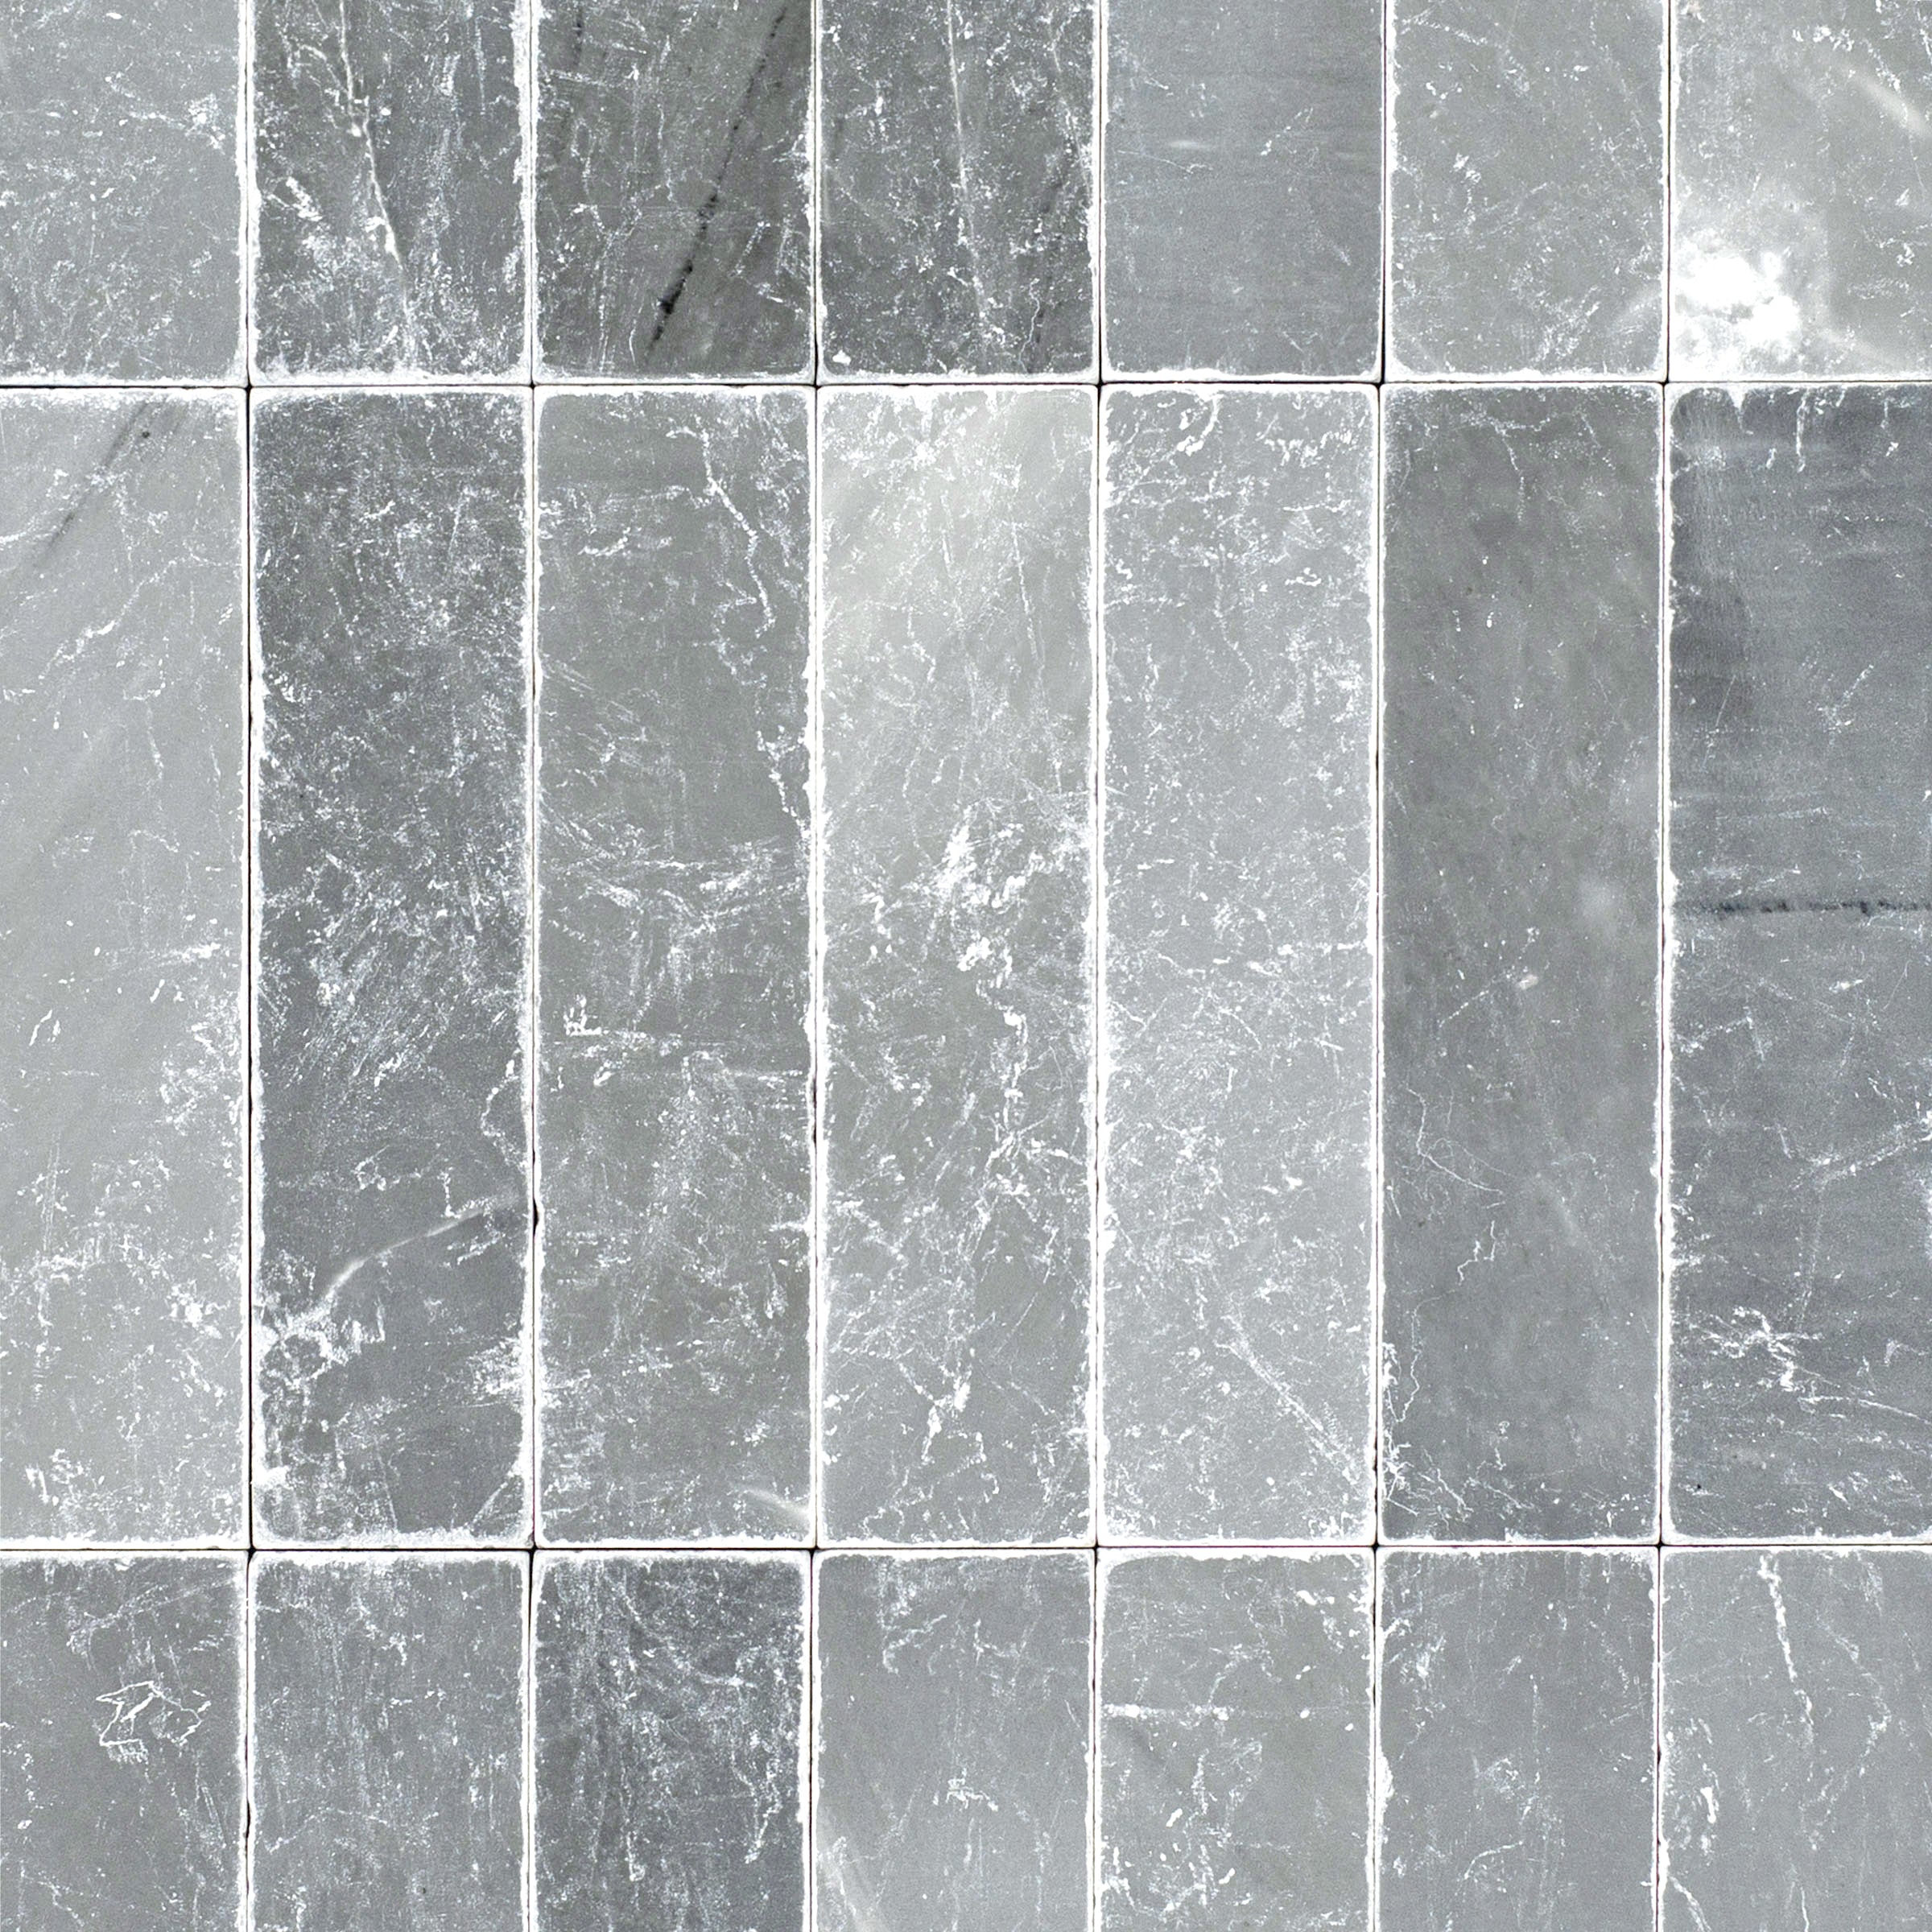
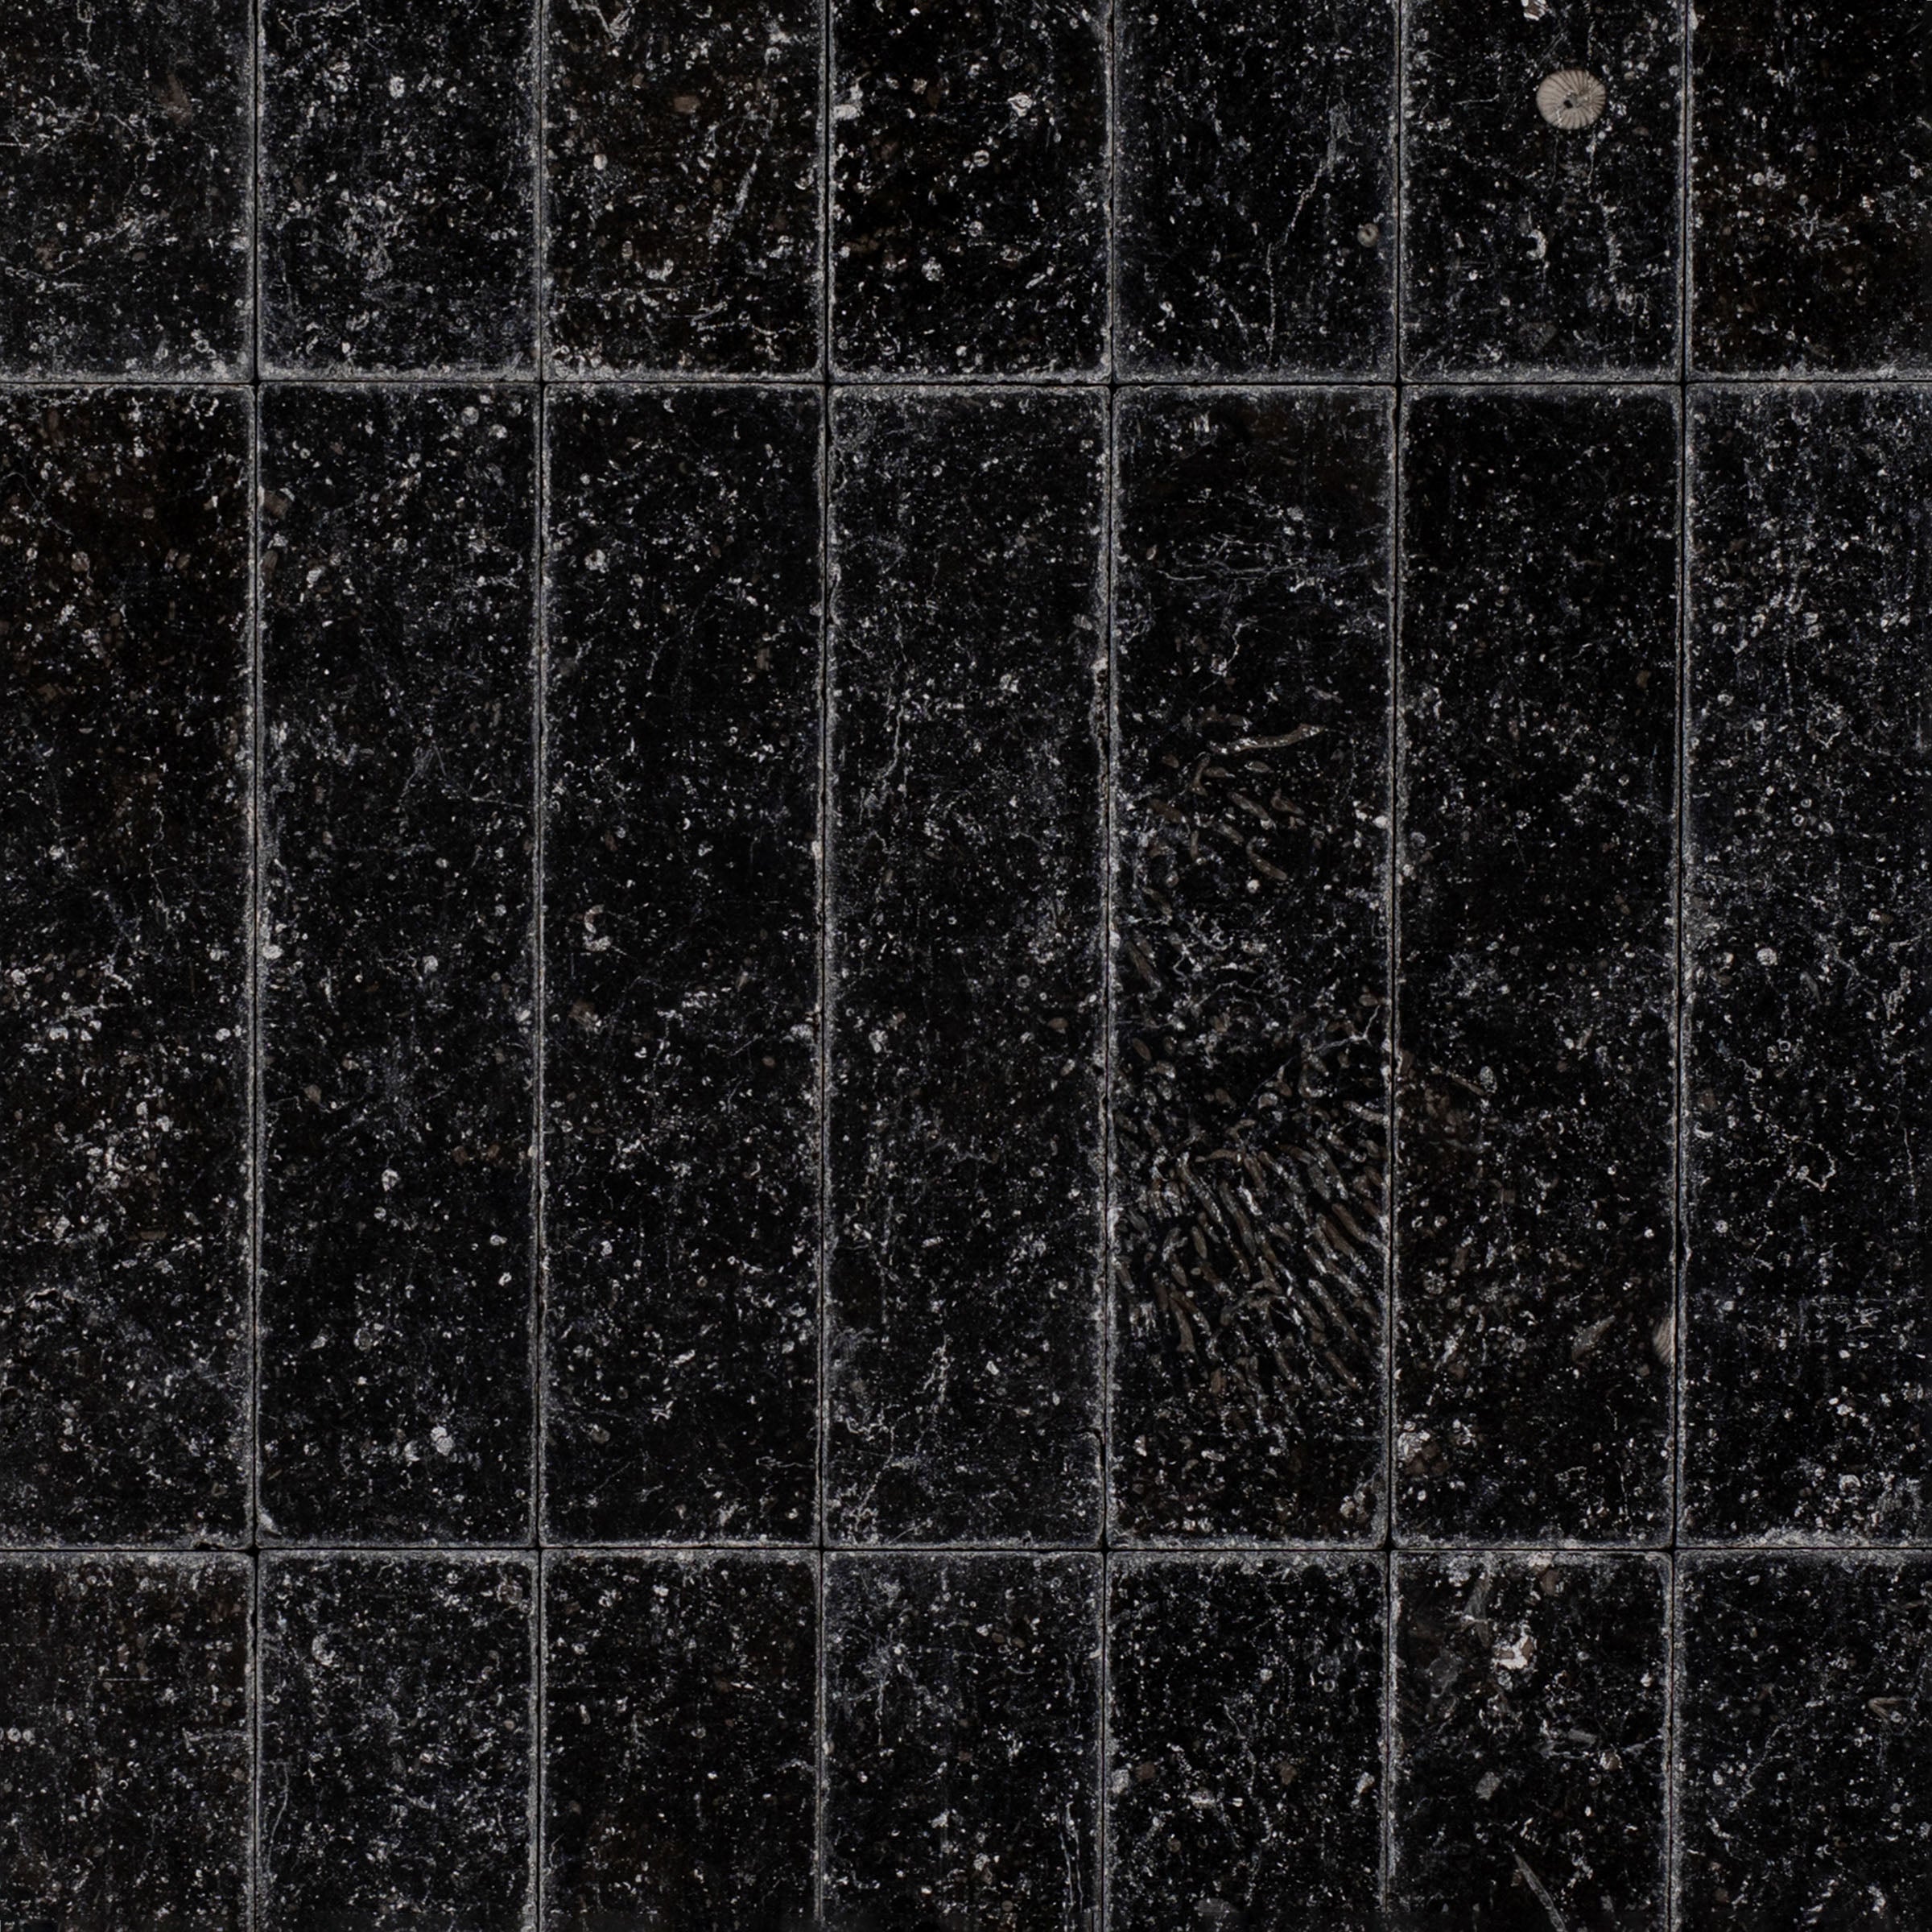
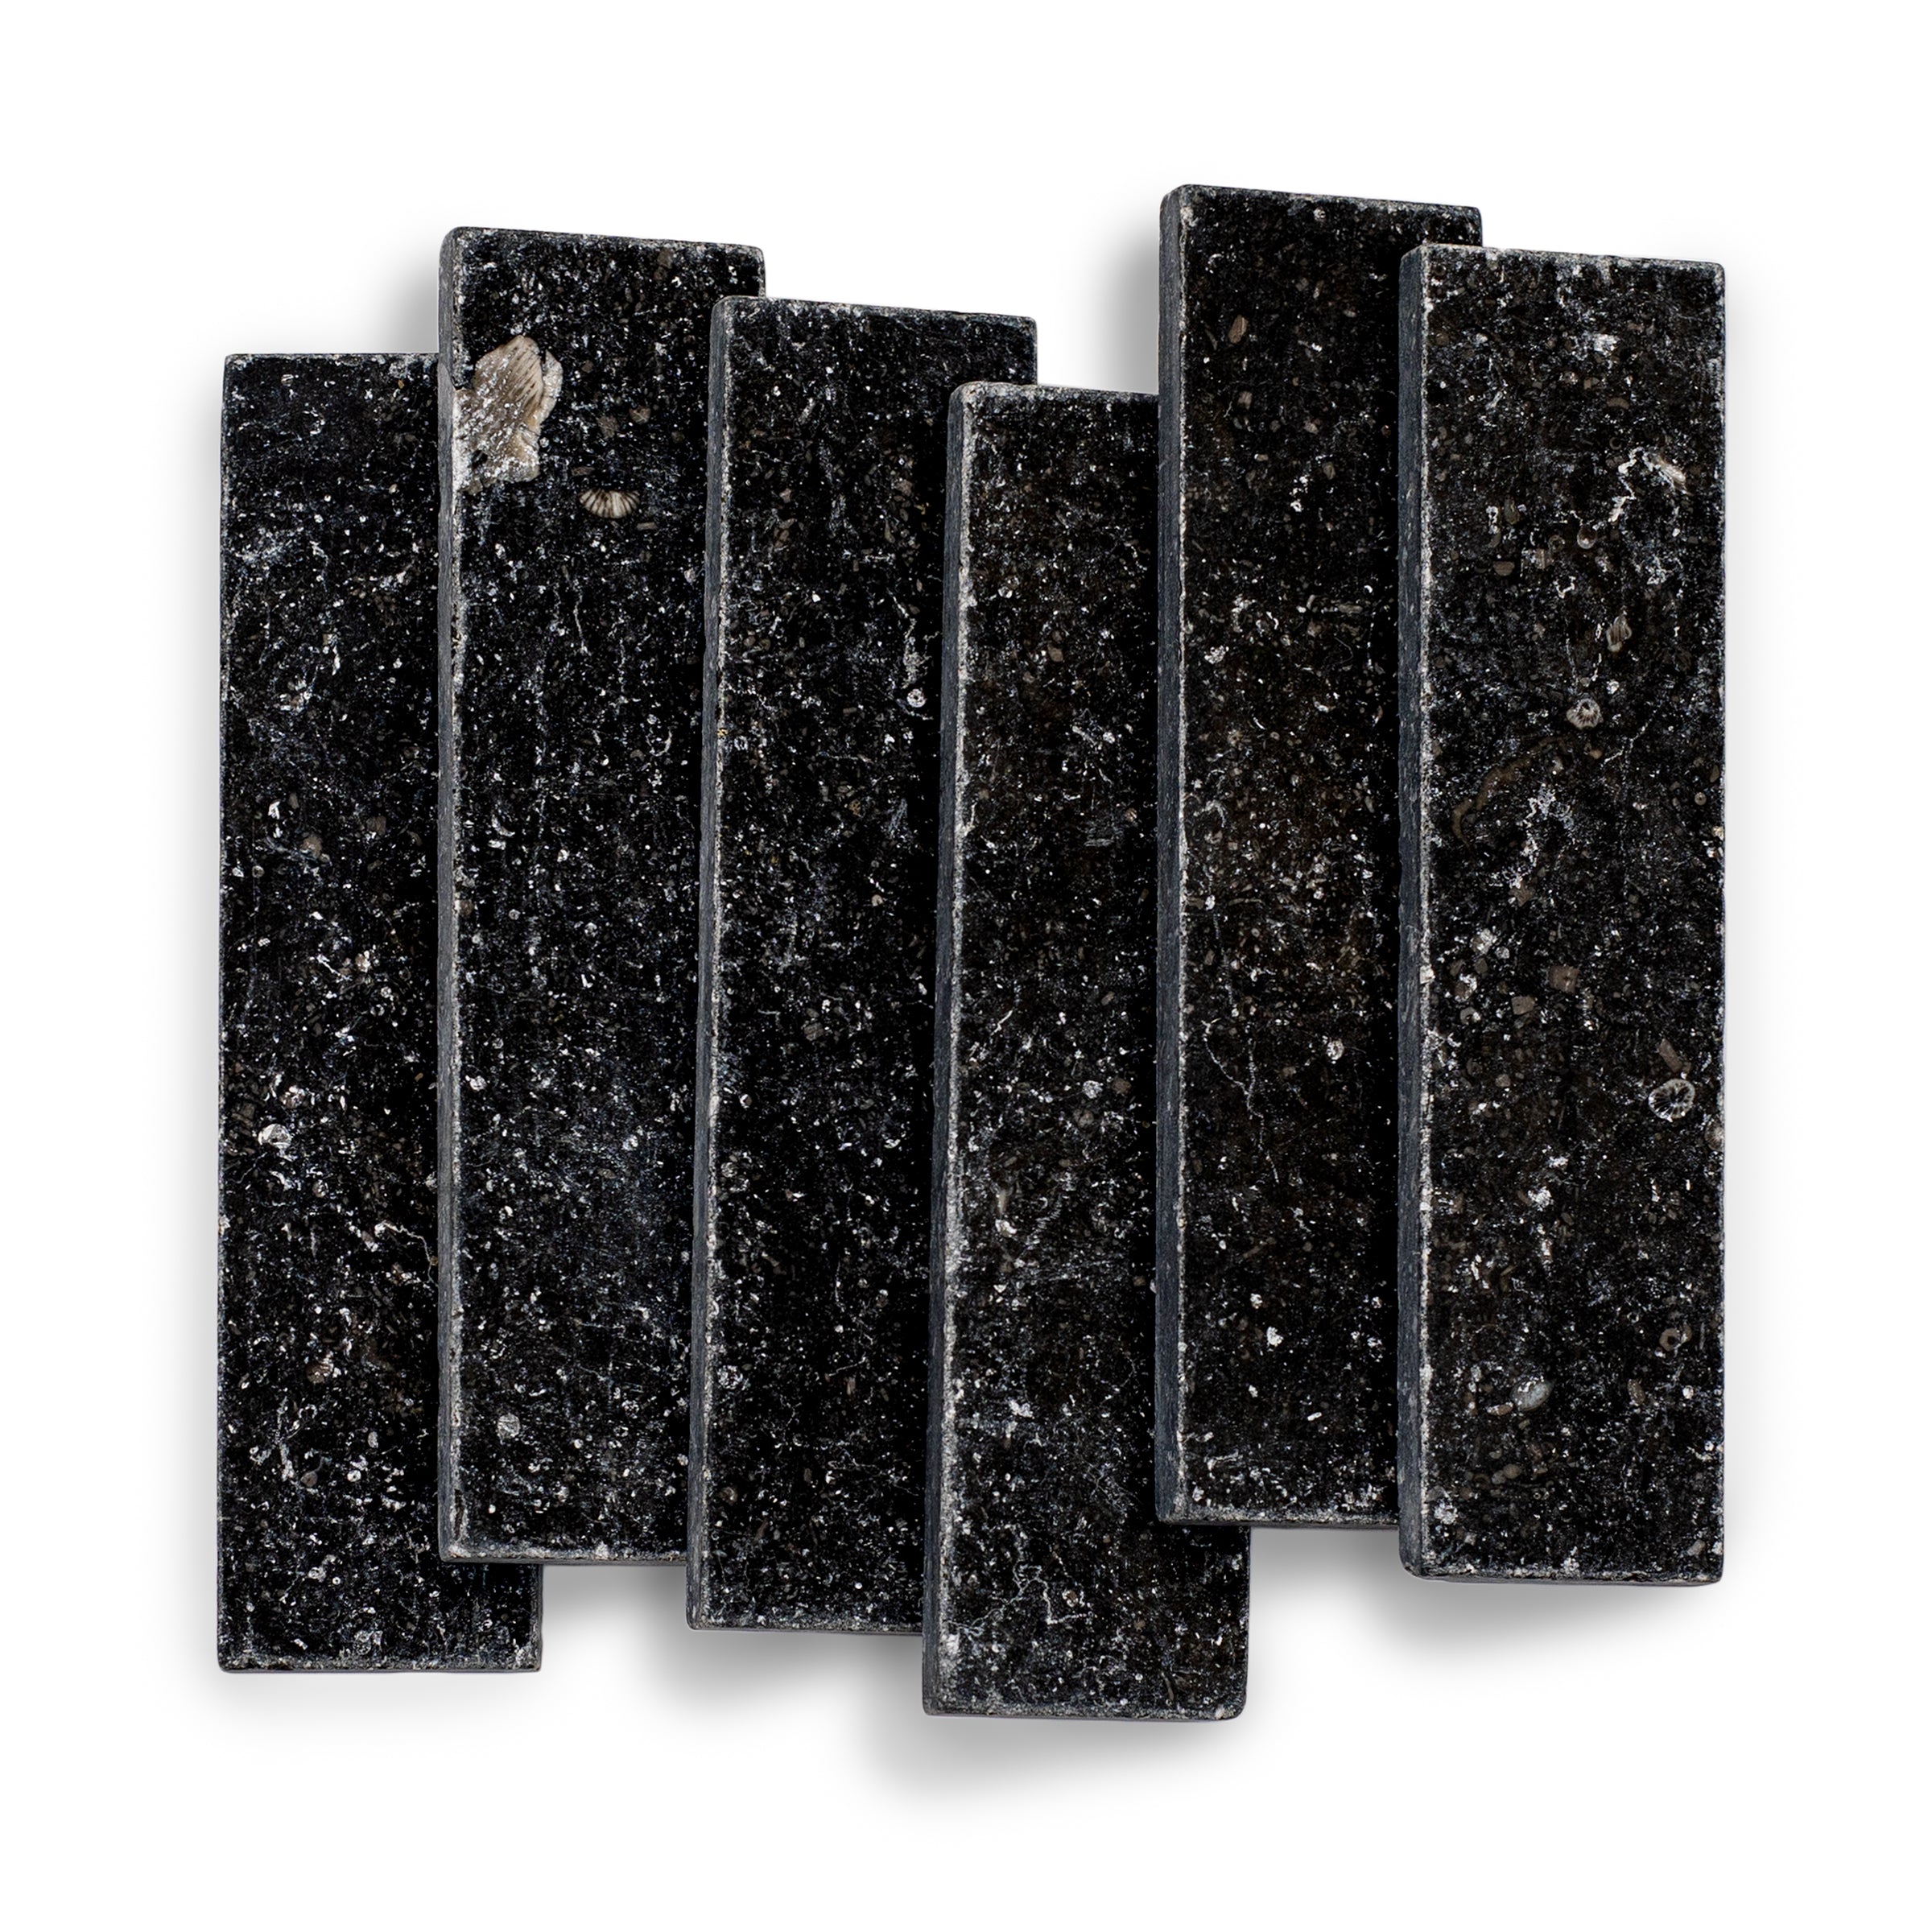
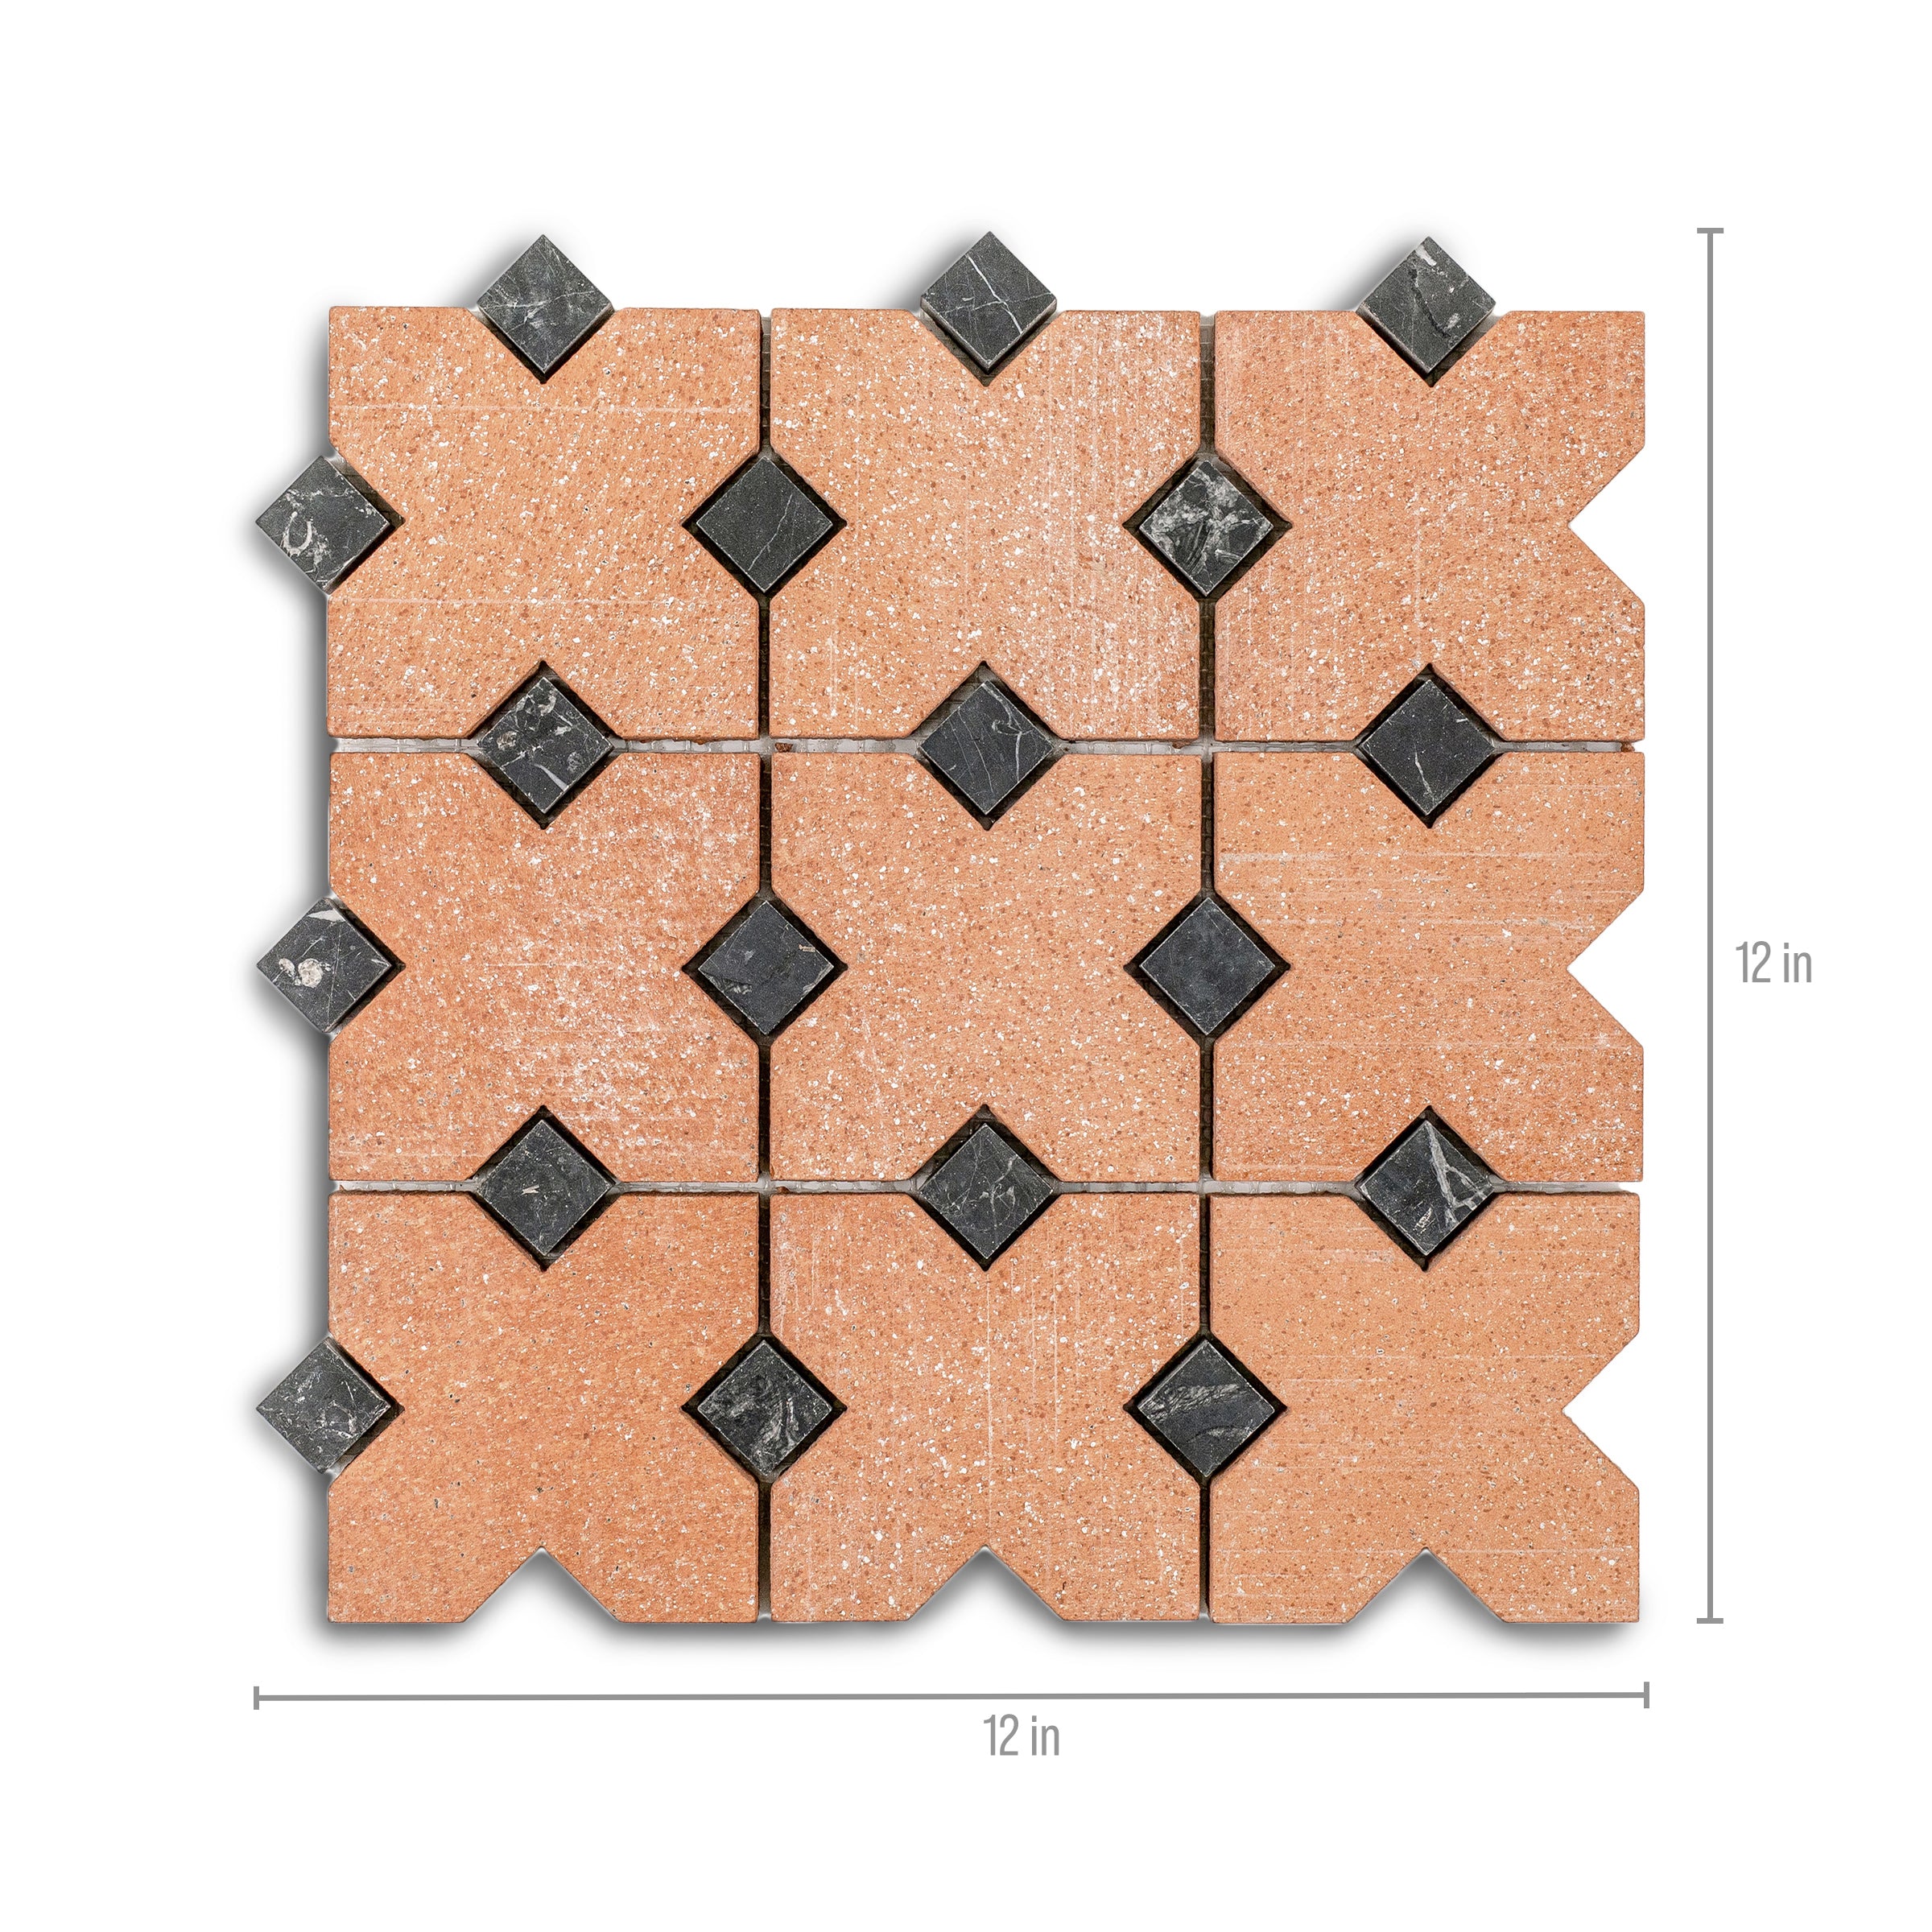
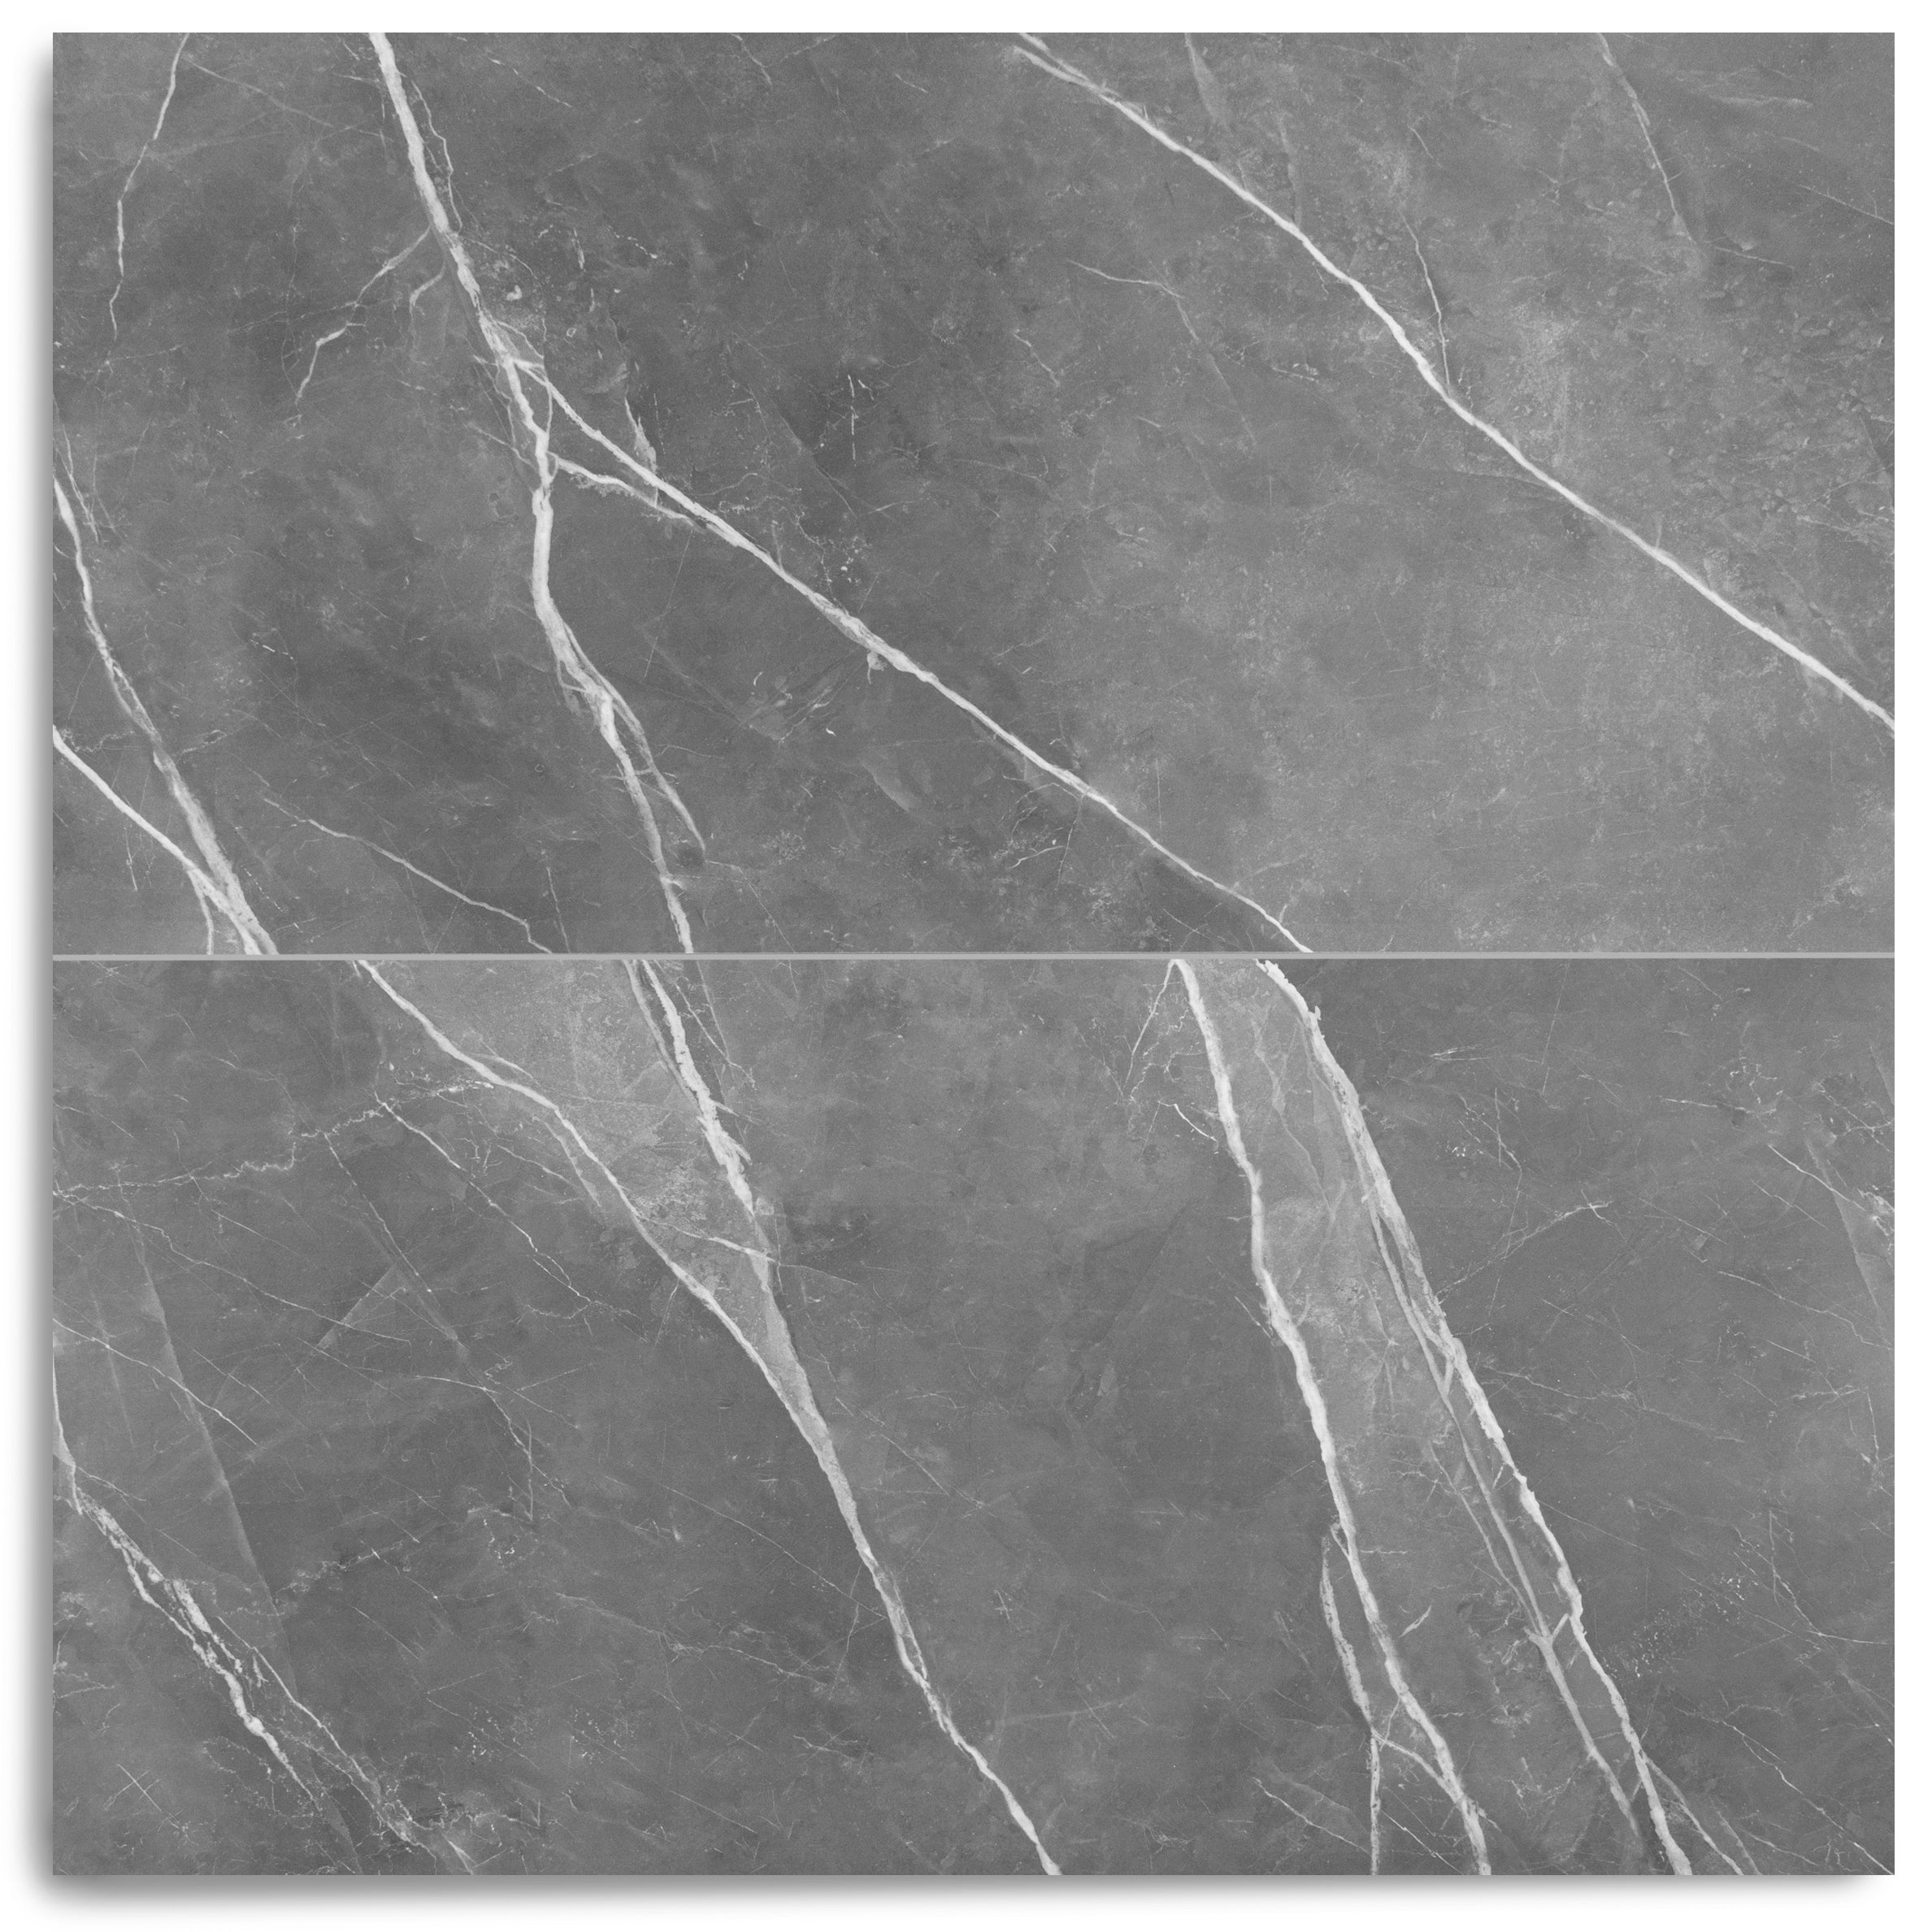
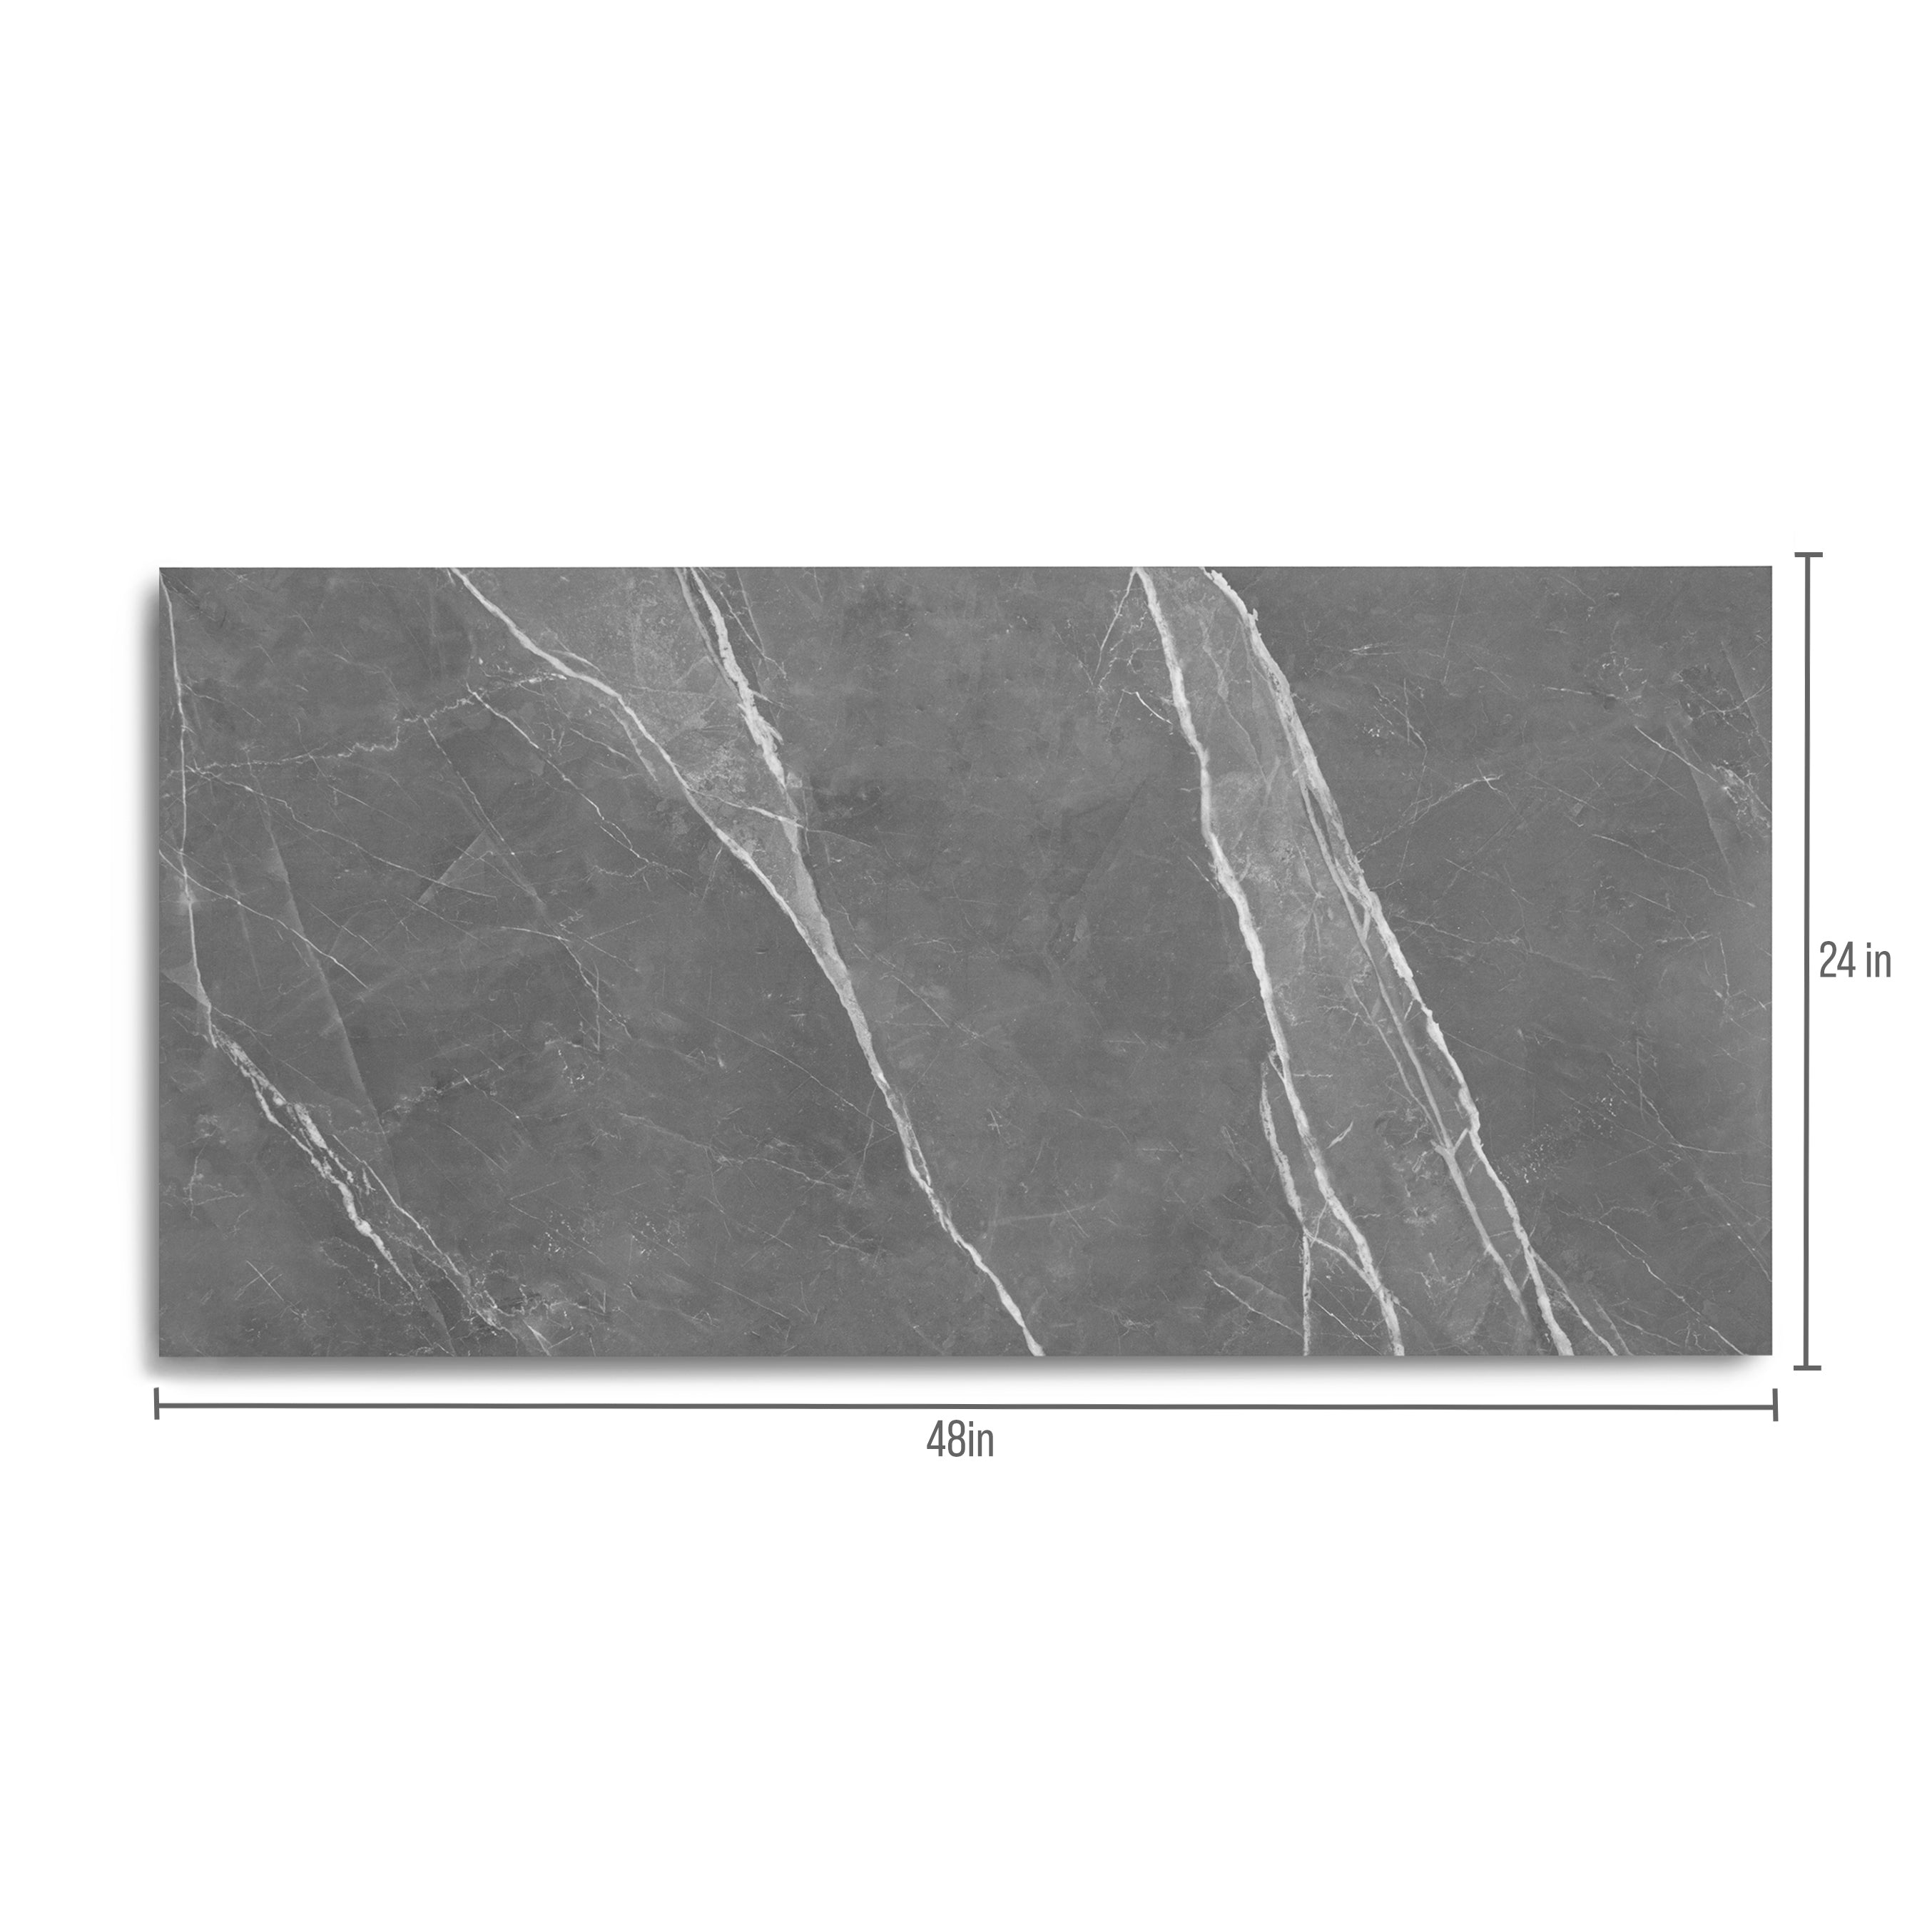
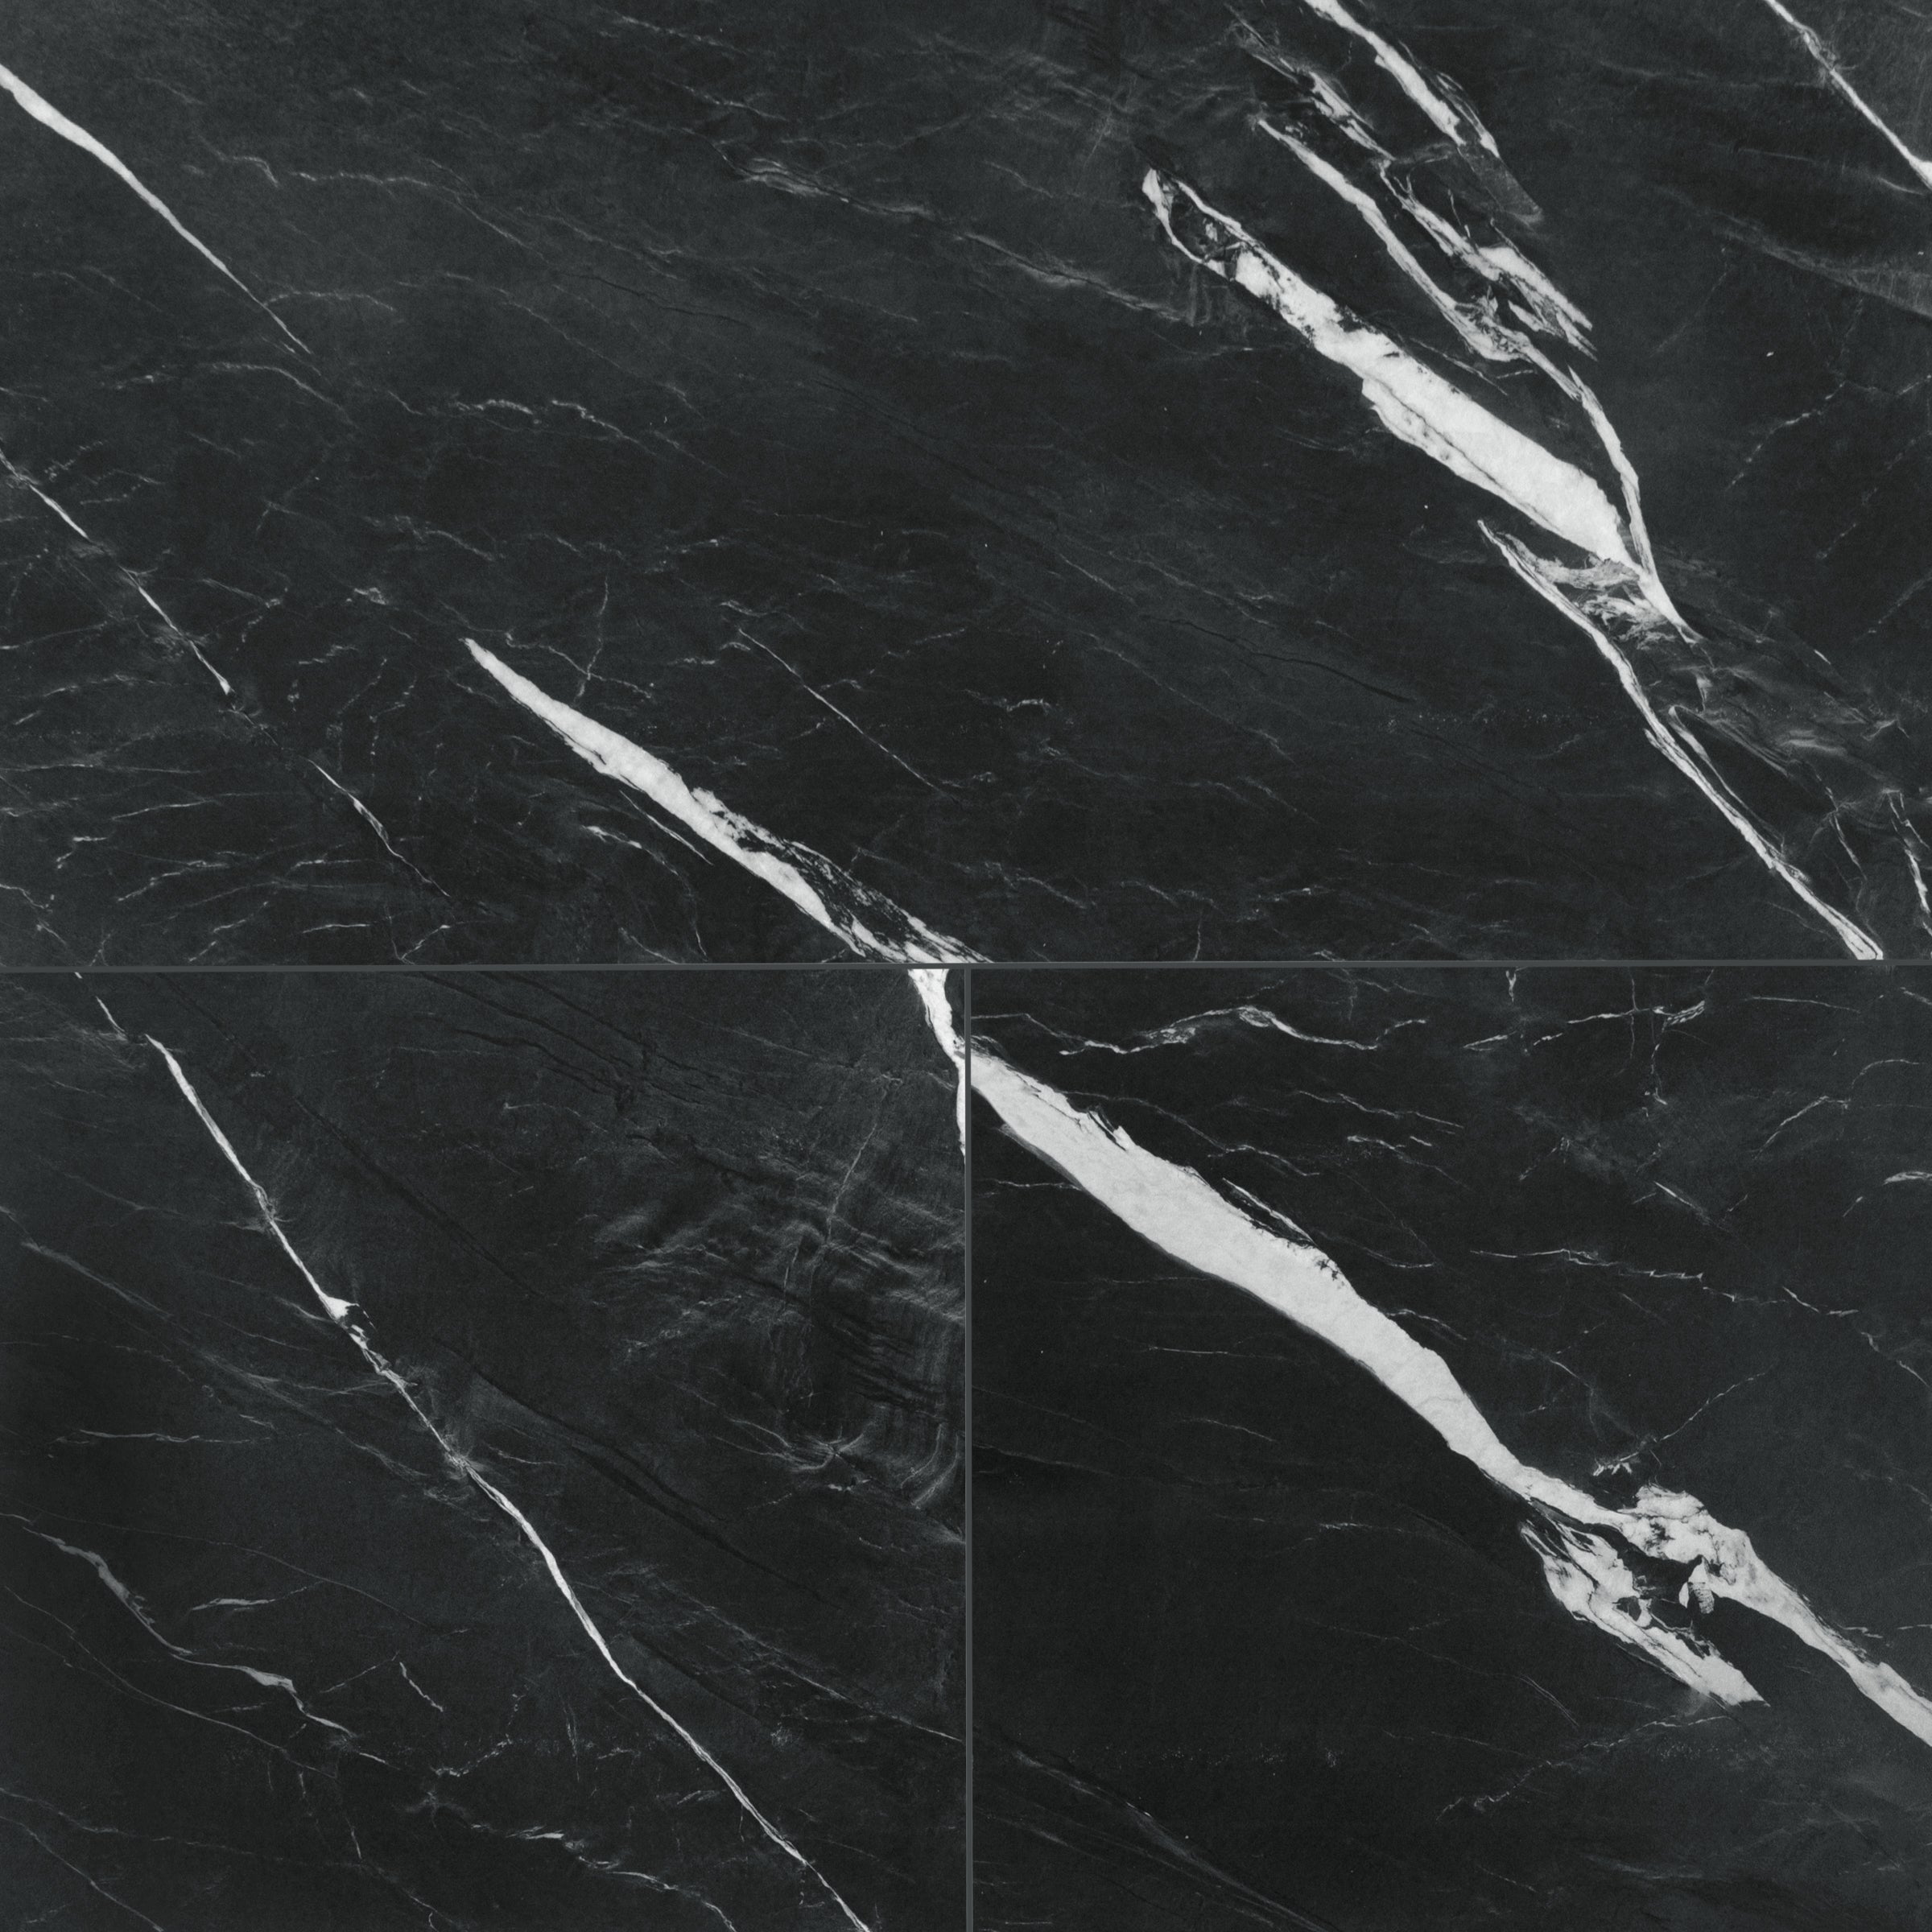
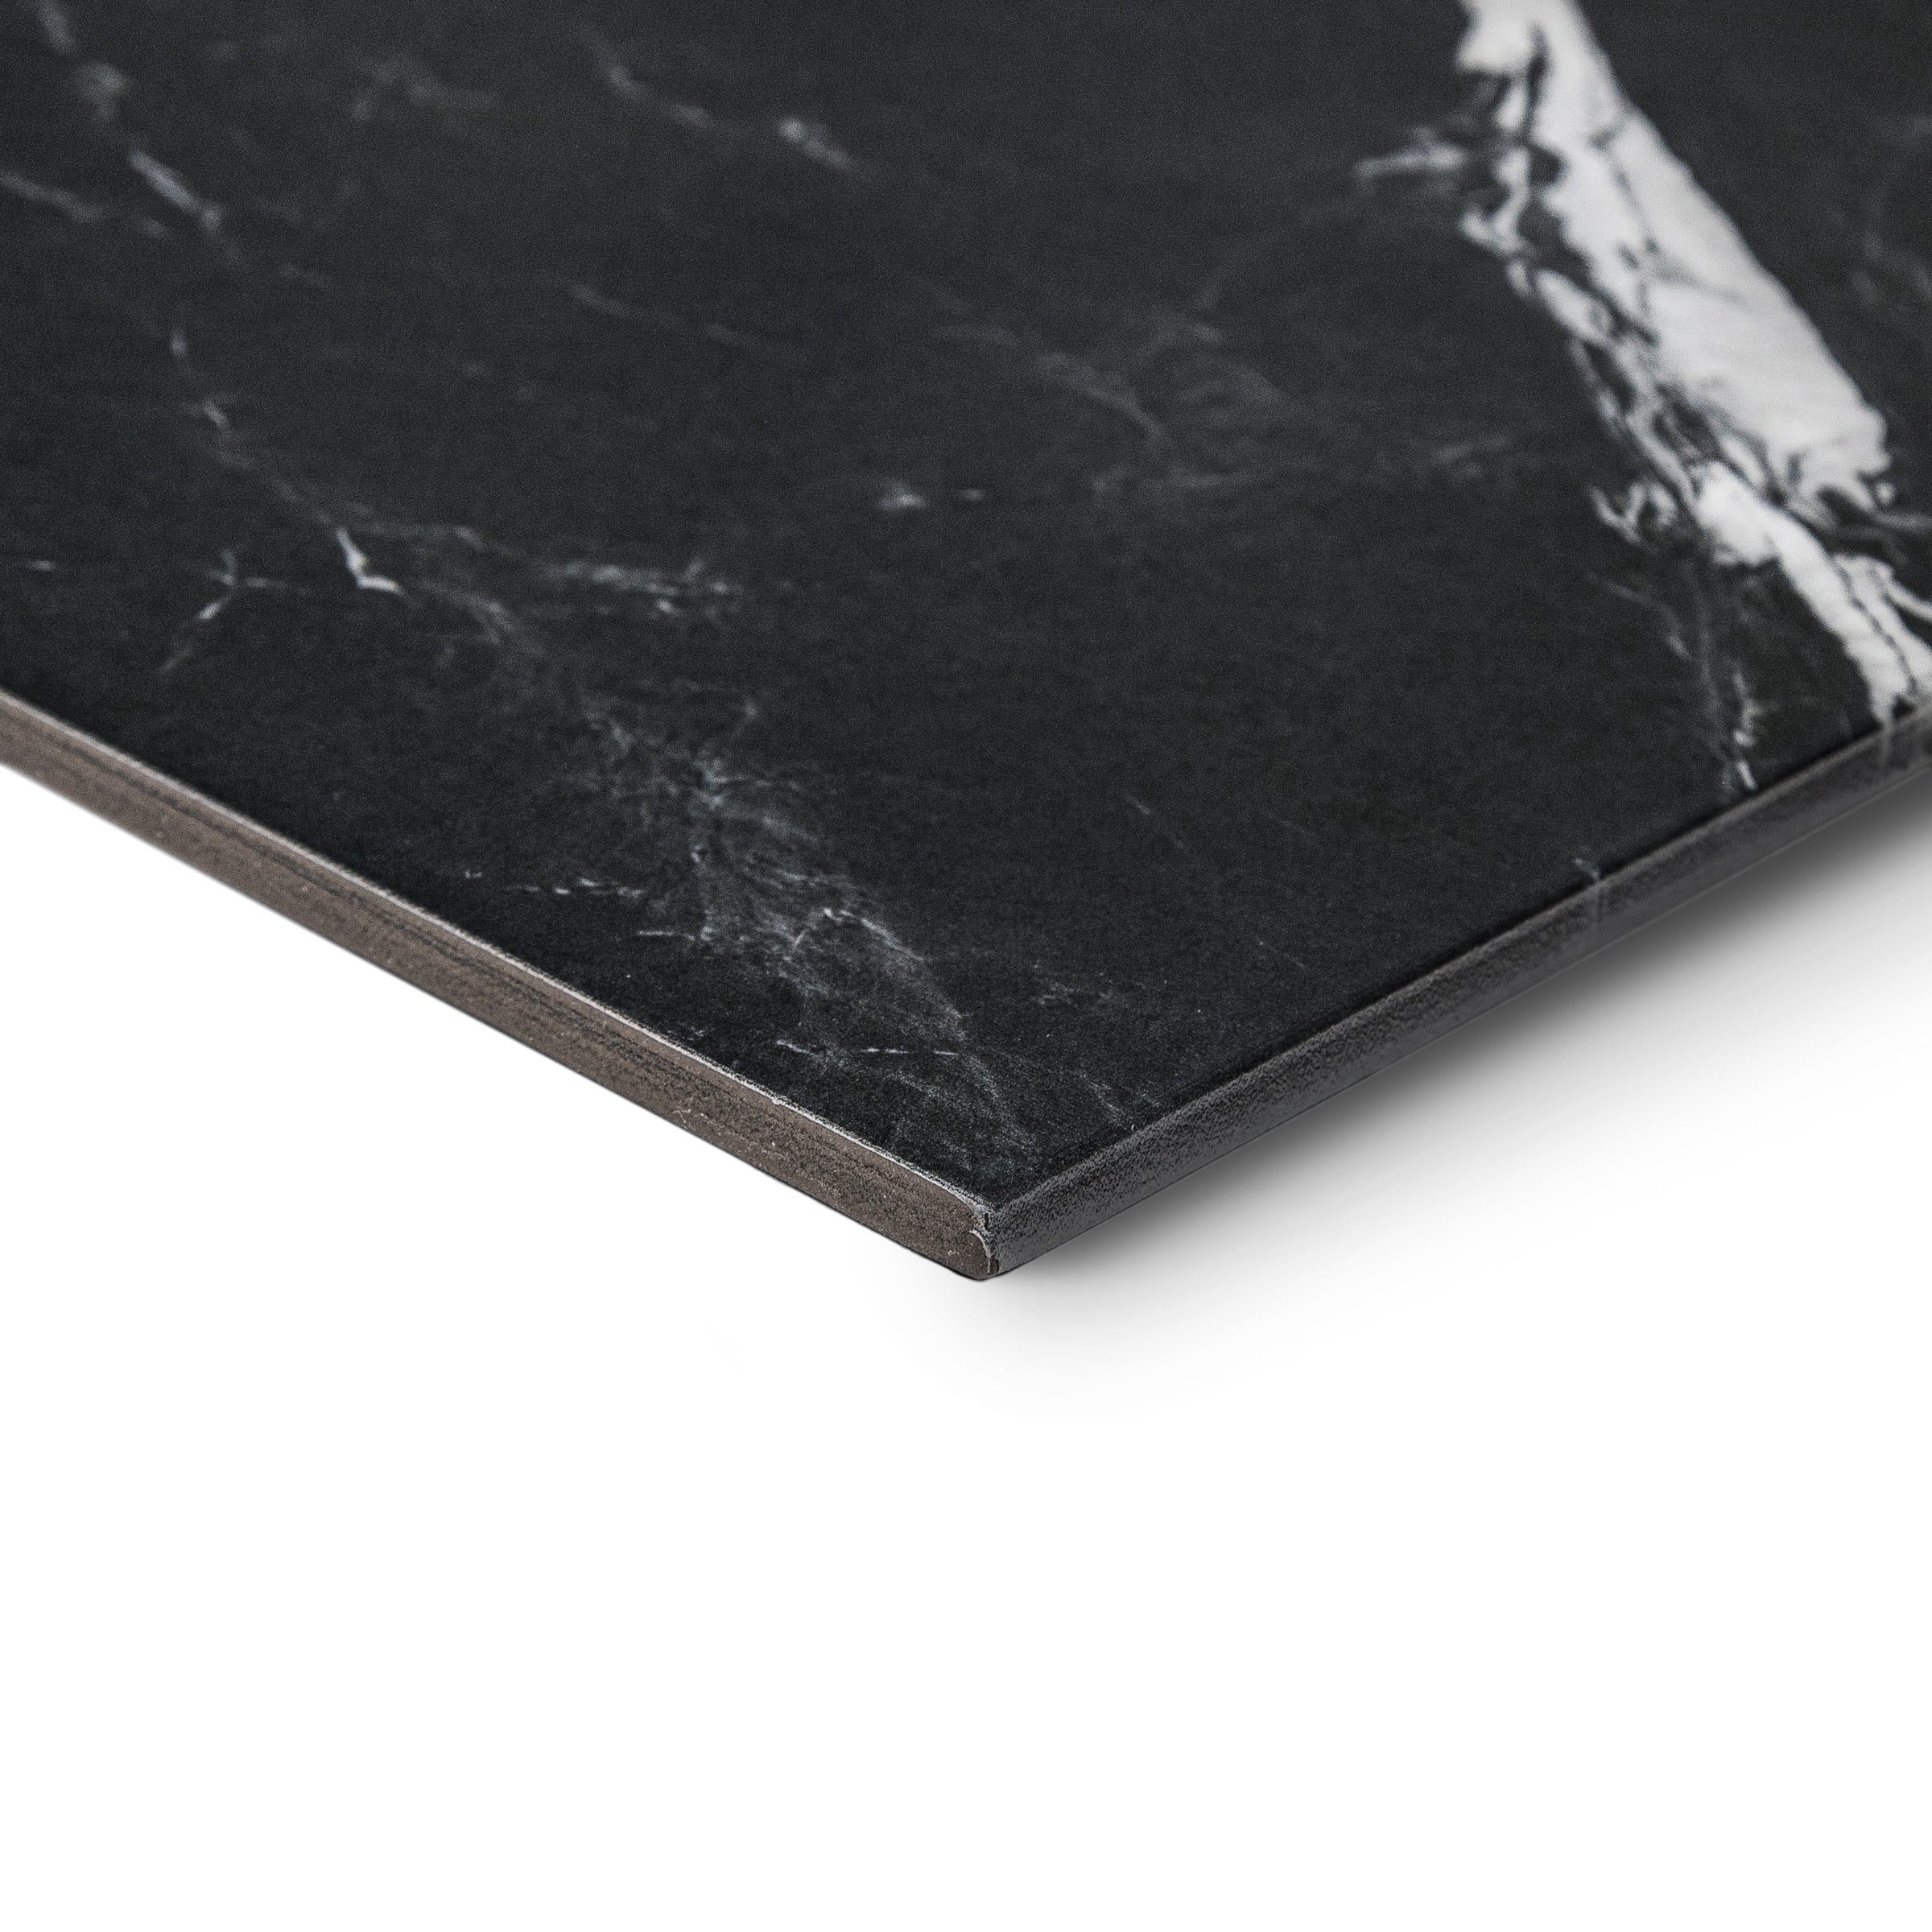
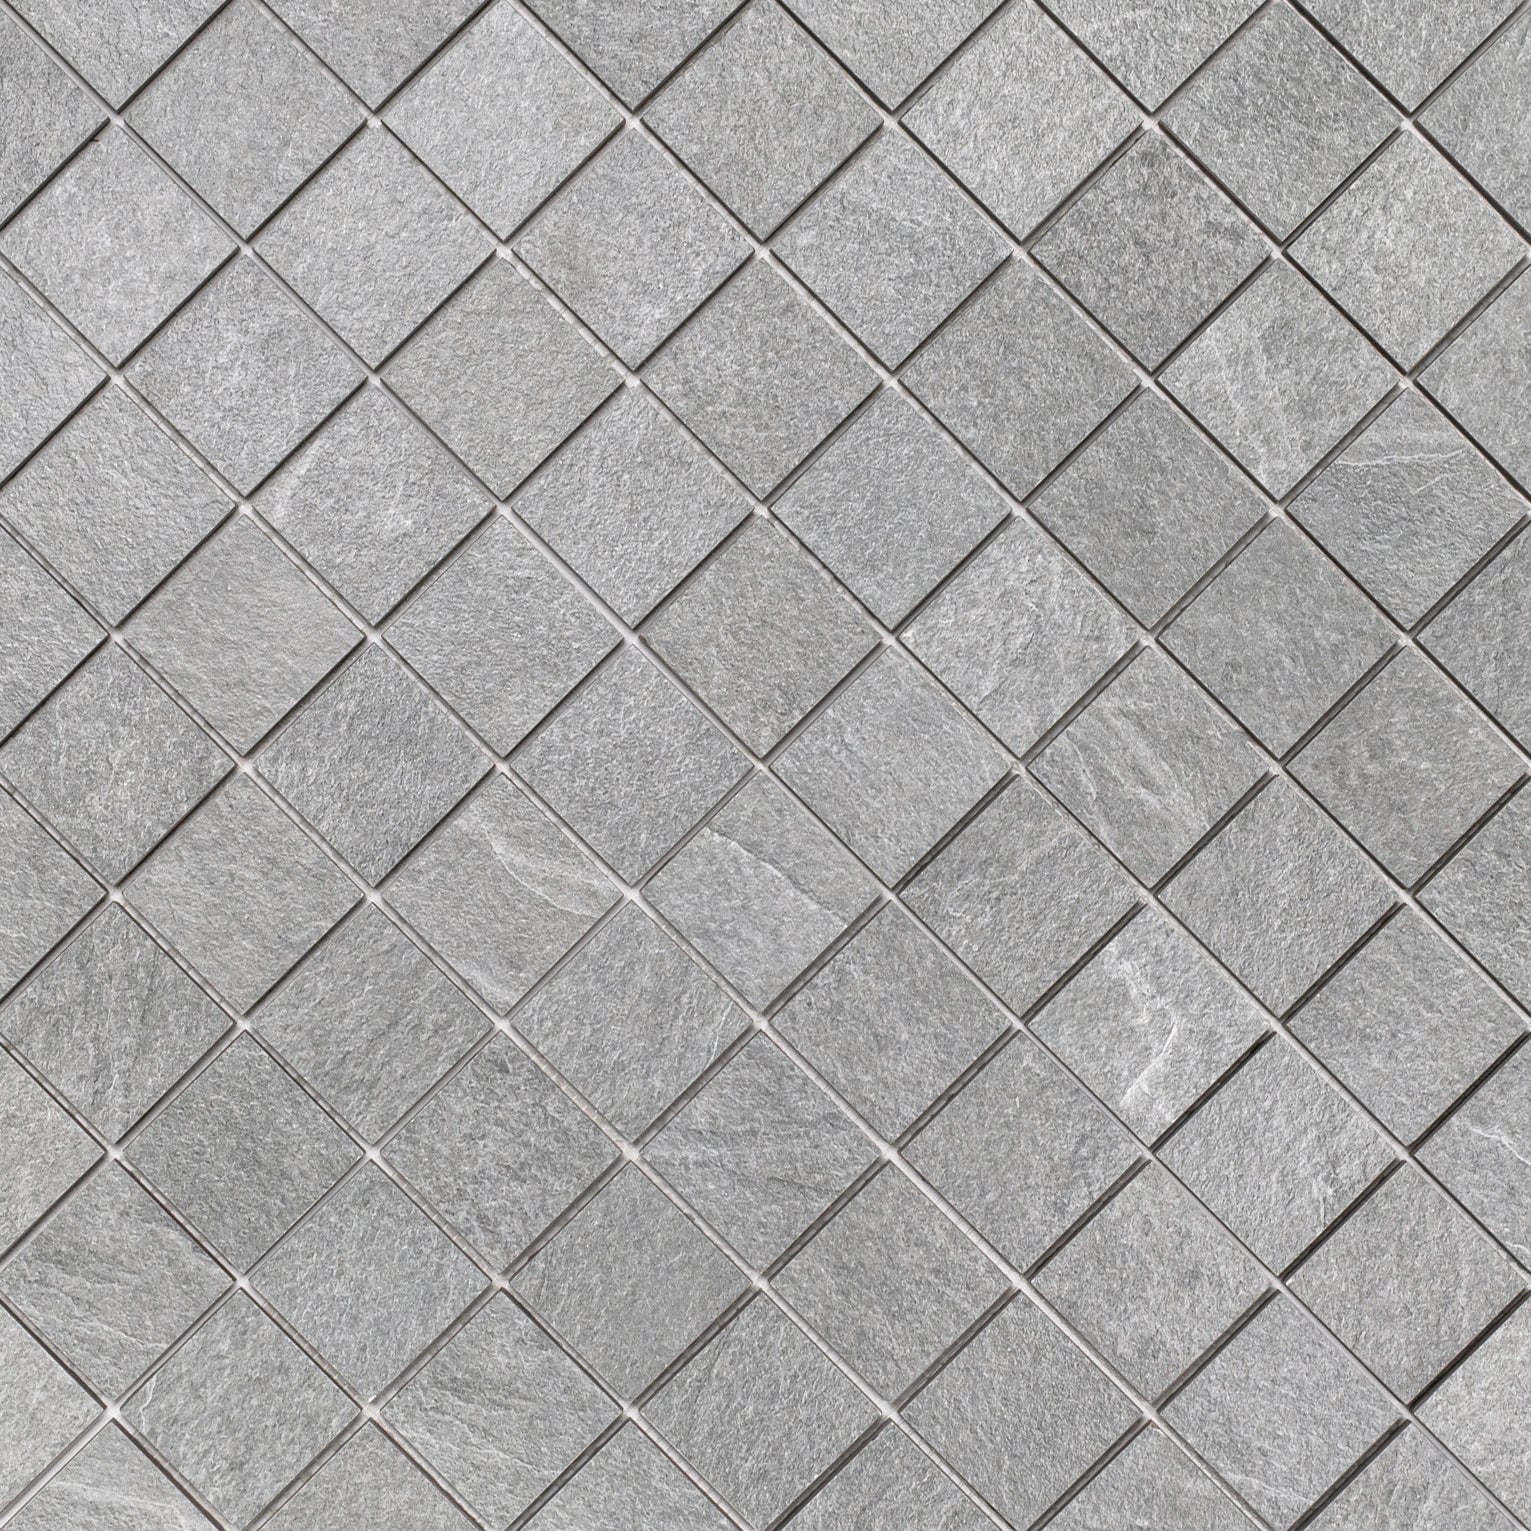
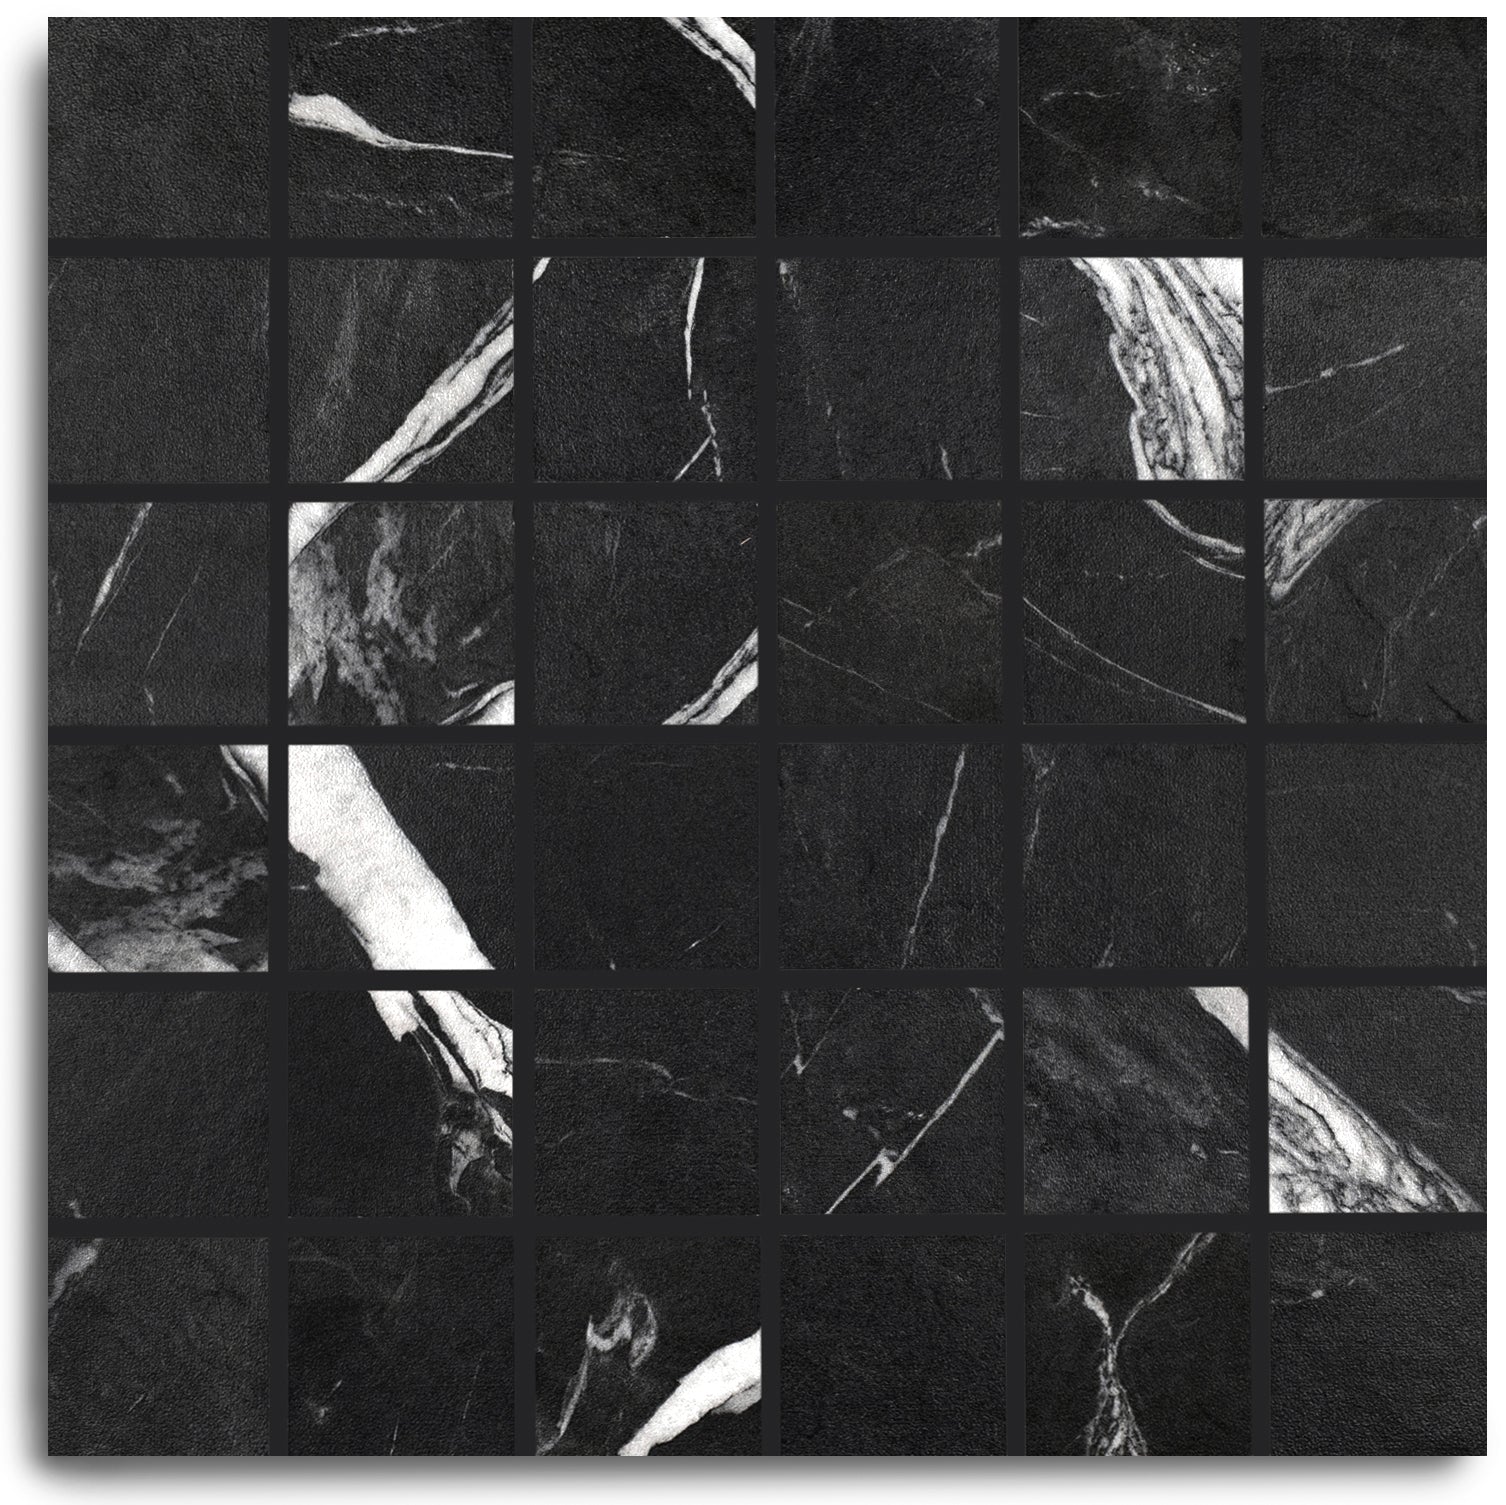
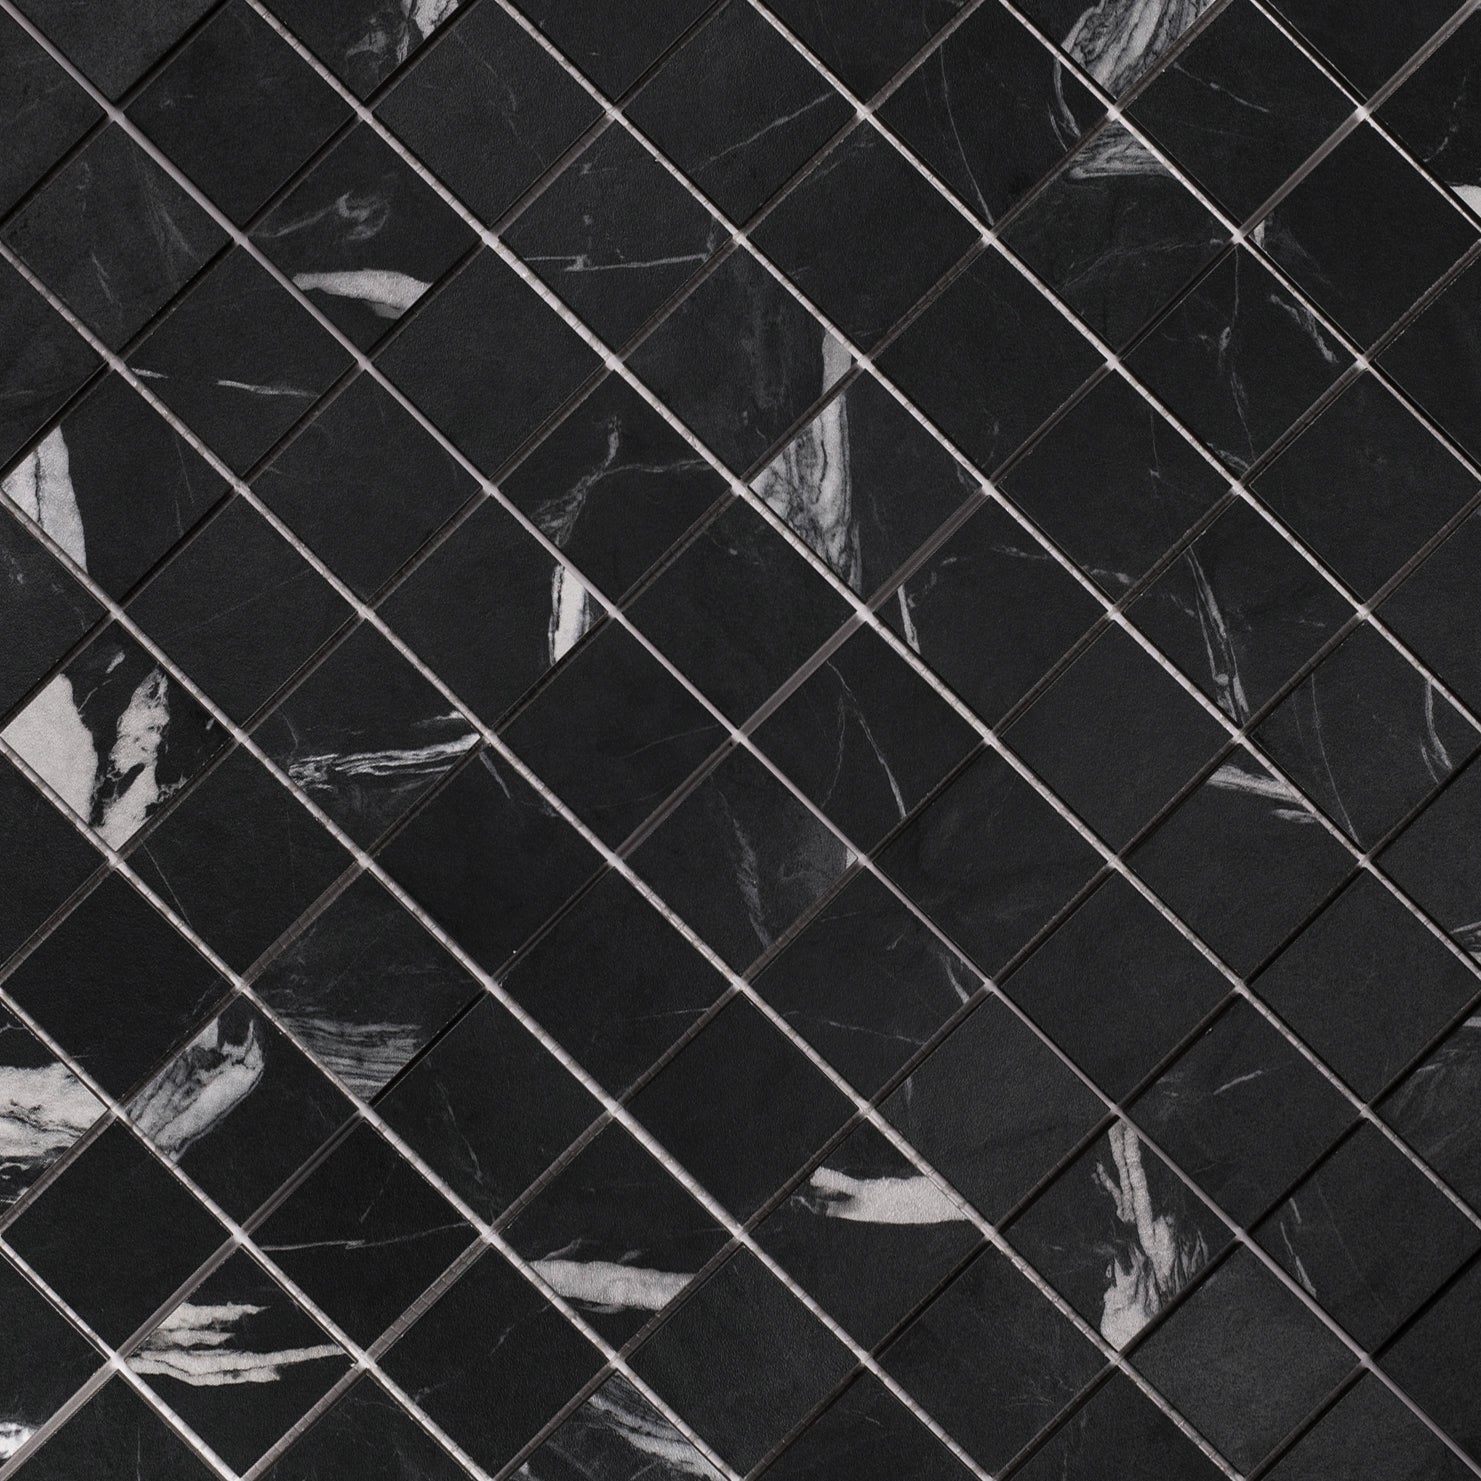
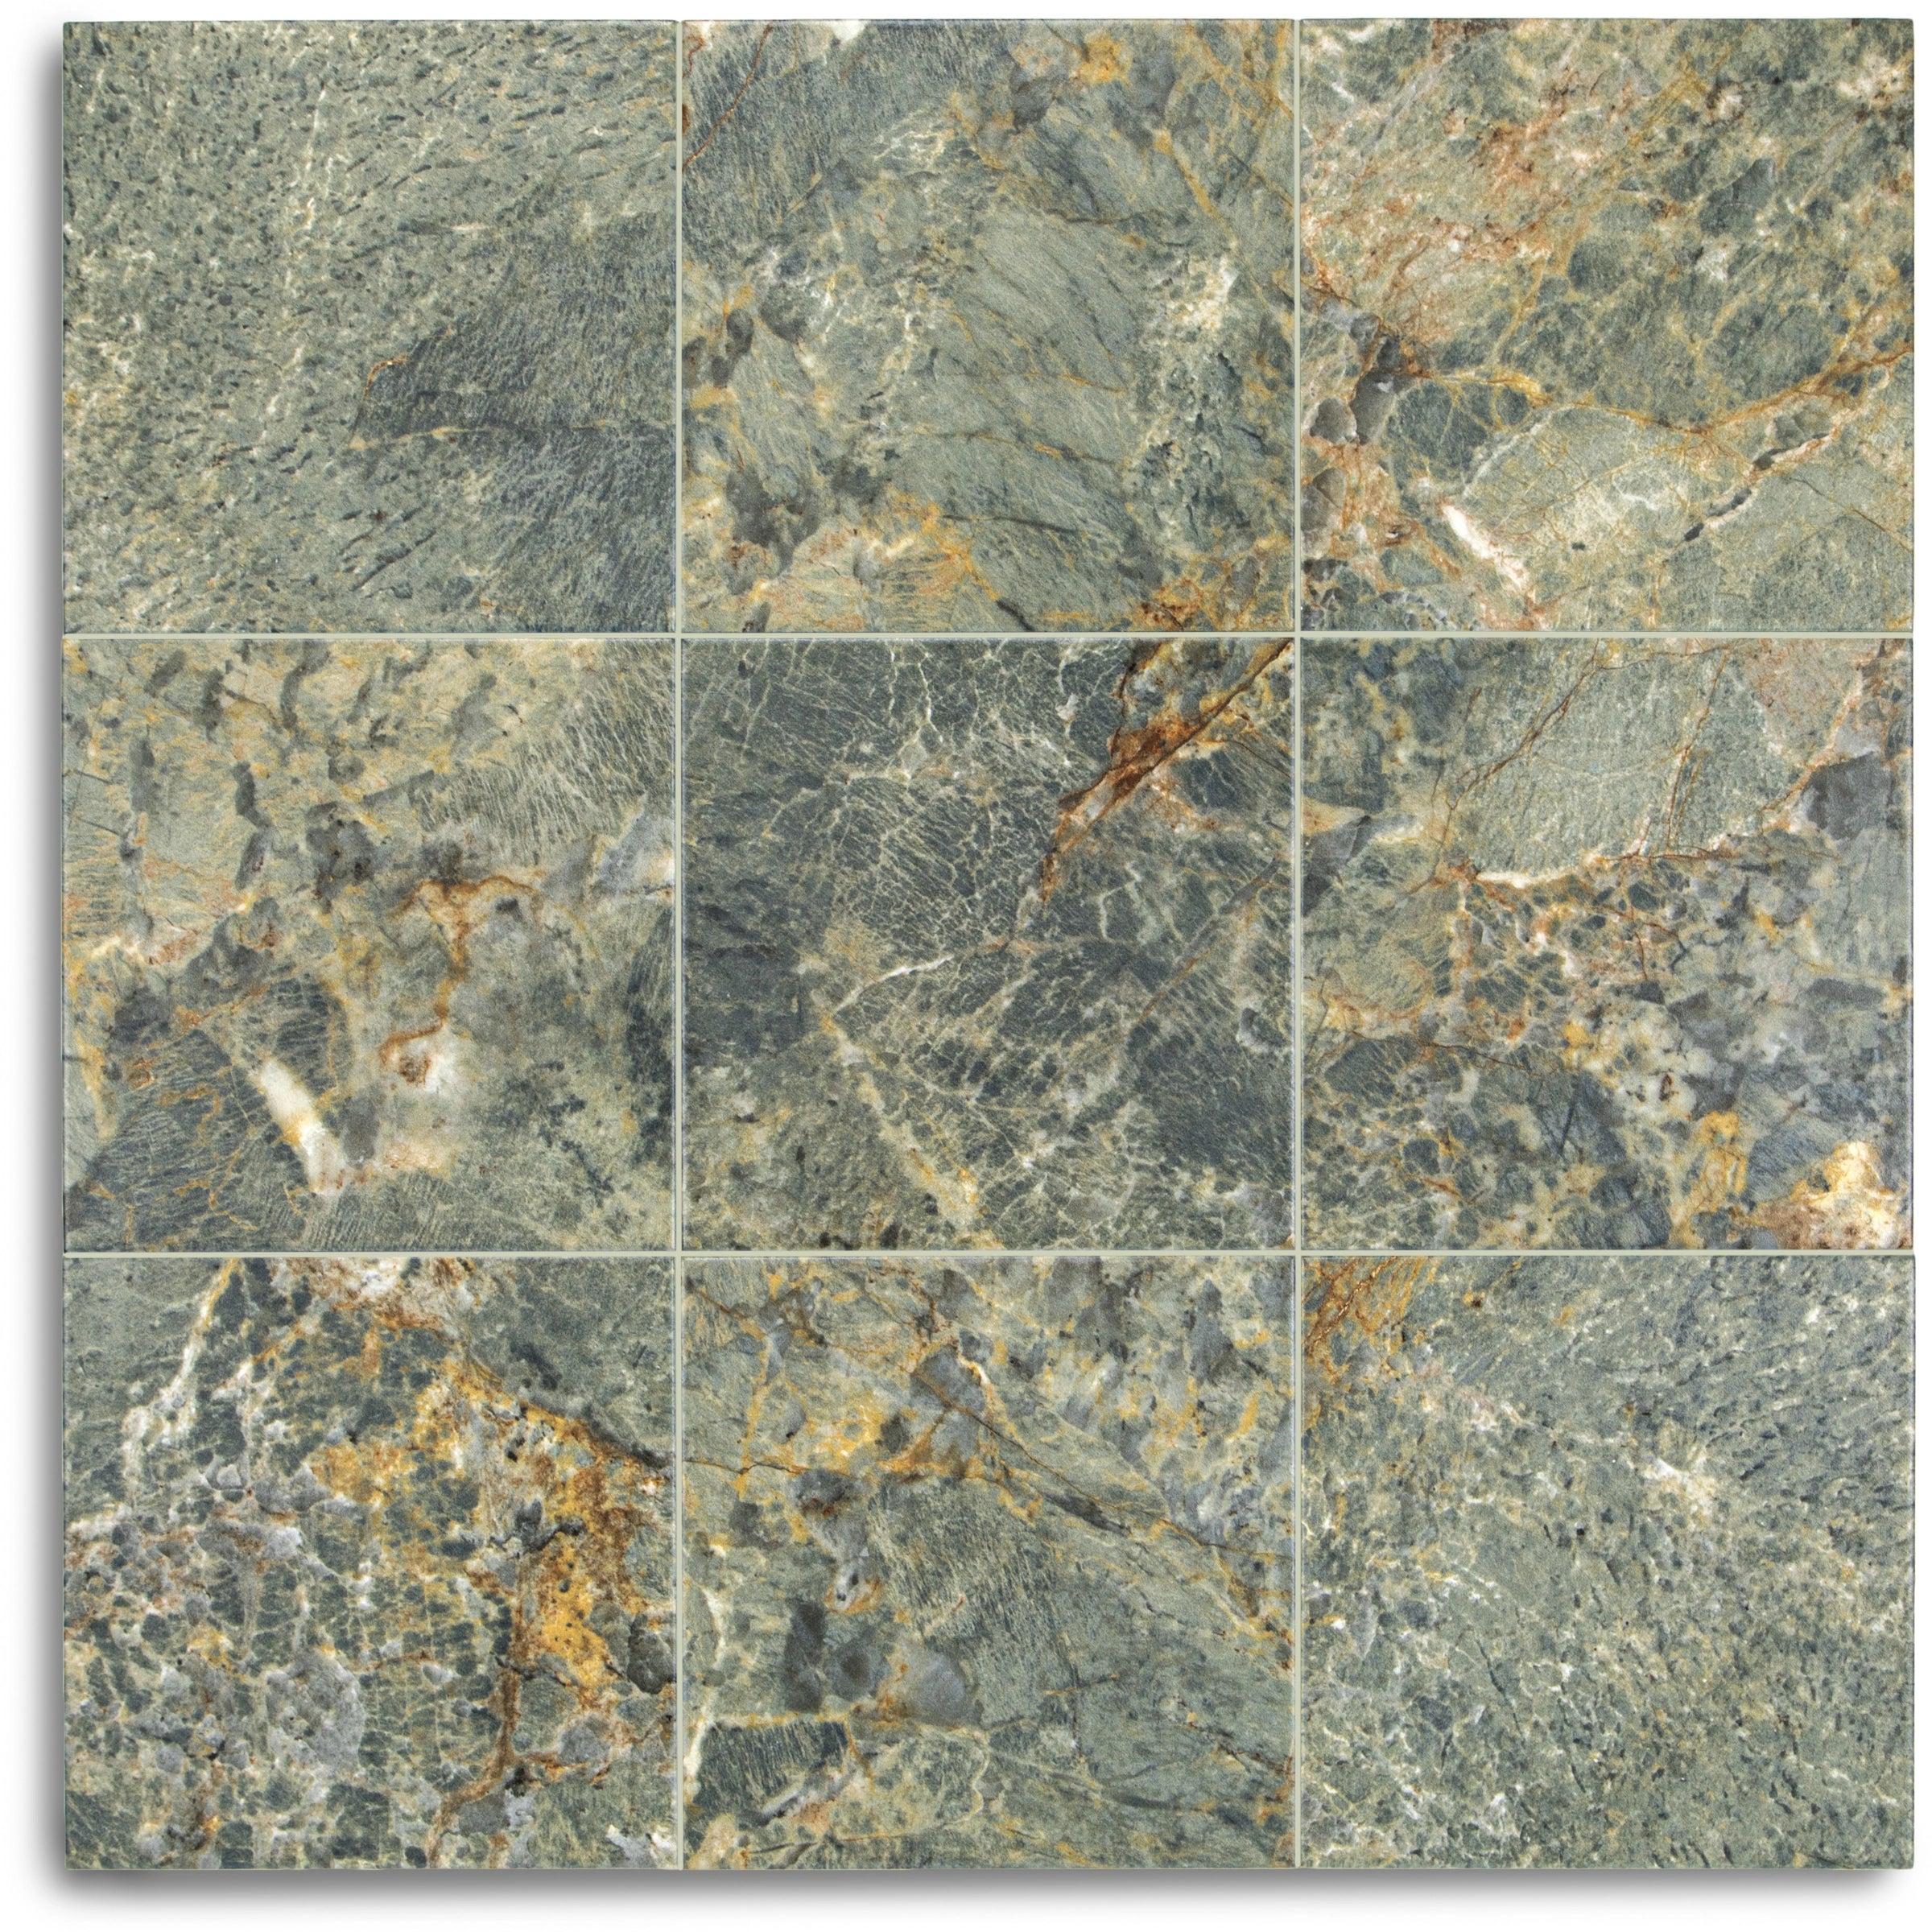
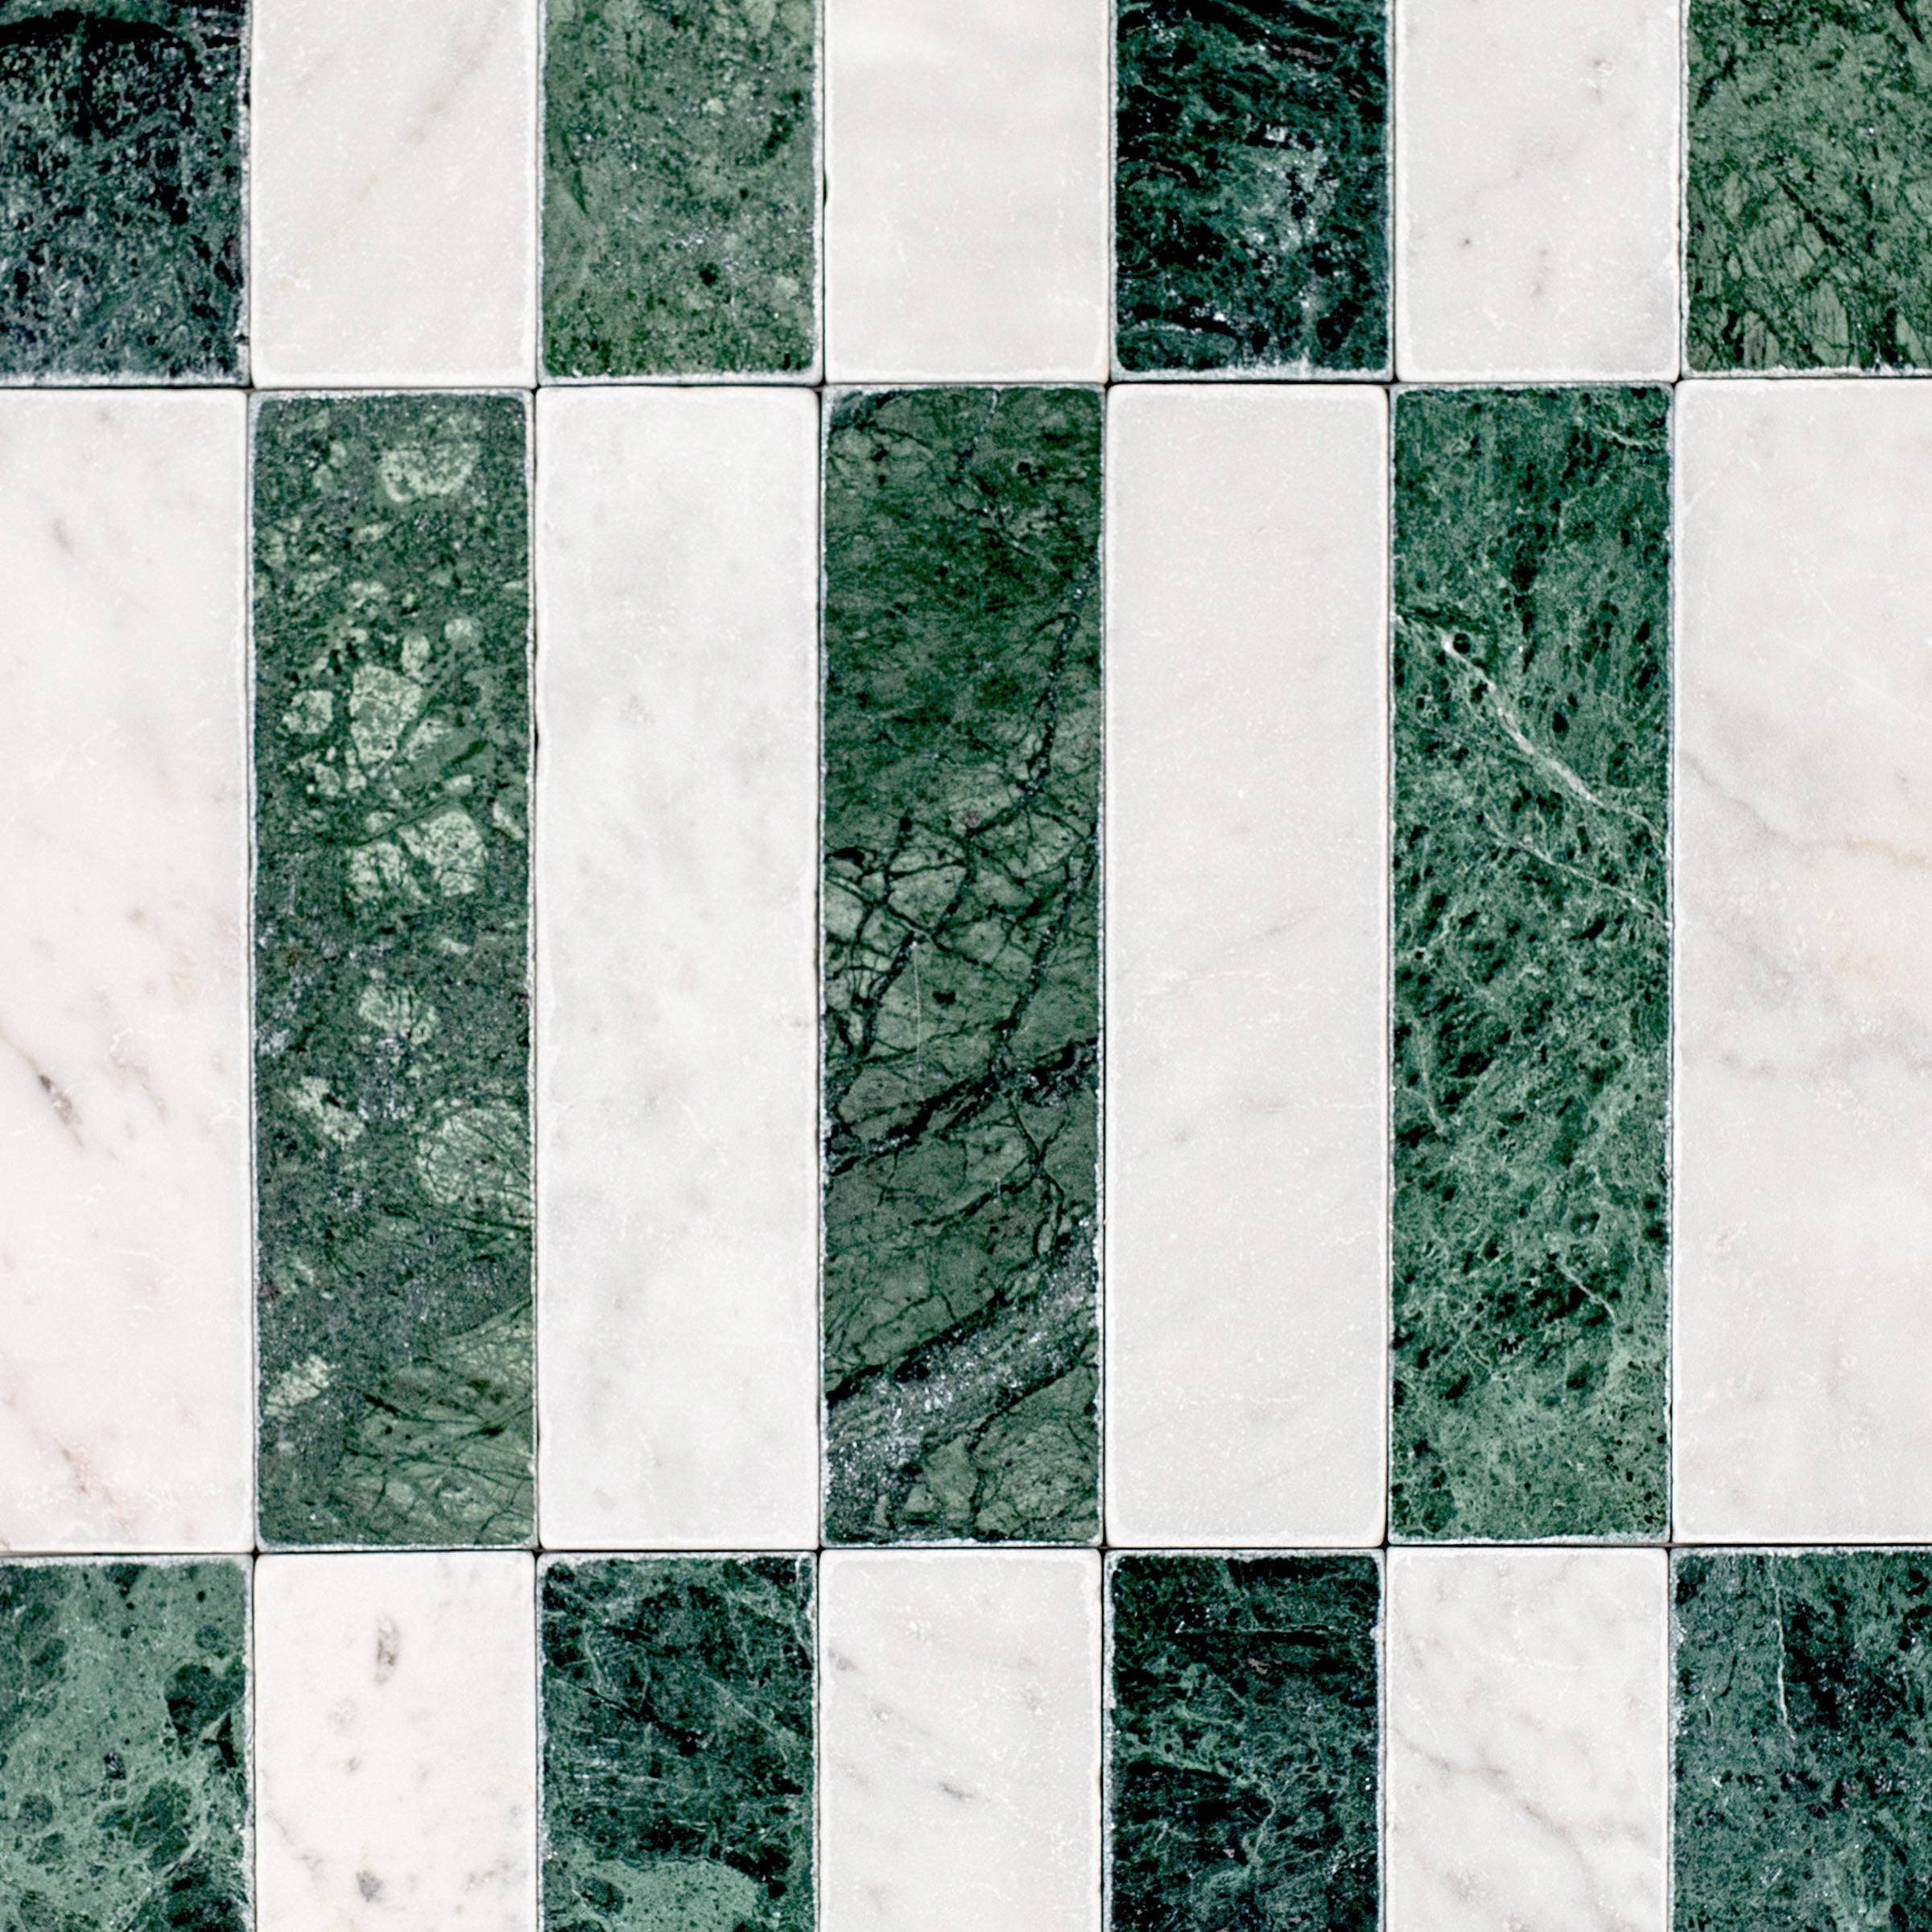
Cool blue-gray Bardiglio marble pebbles with natural veining that ranges from slate to charcoal. Tumbled to a smooth, rounded finish, these stones bring depth and a modern edge to shower floors, feature walls, and pool surrounds. If you want a pebble mosaic that reads more dramatic than dainty, this is your pick.
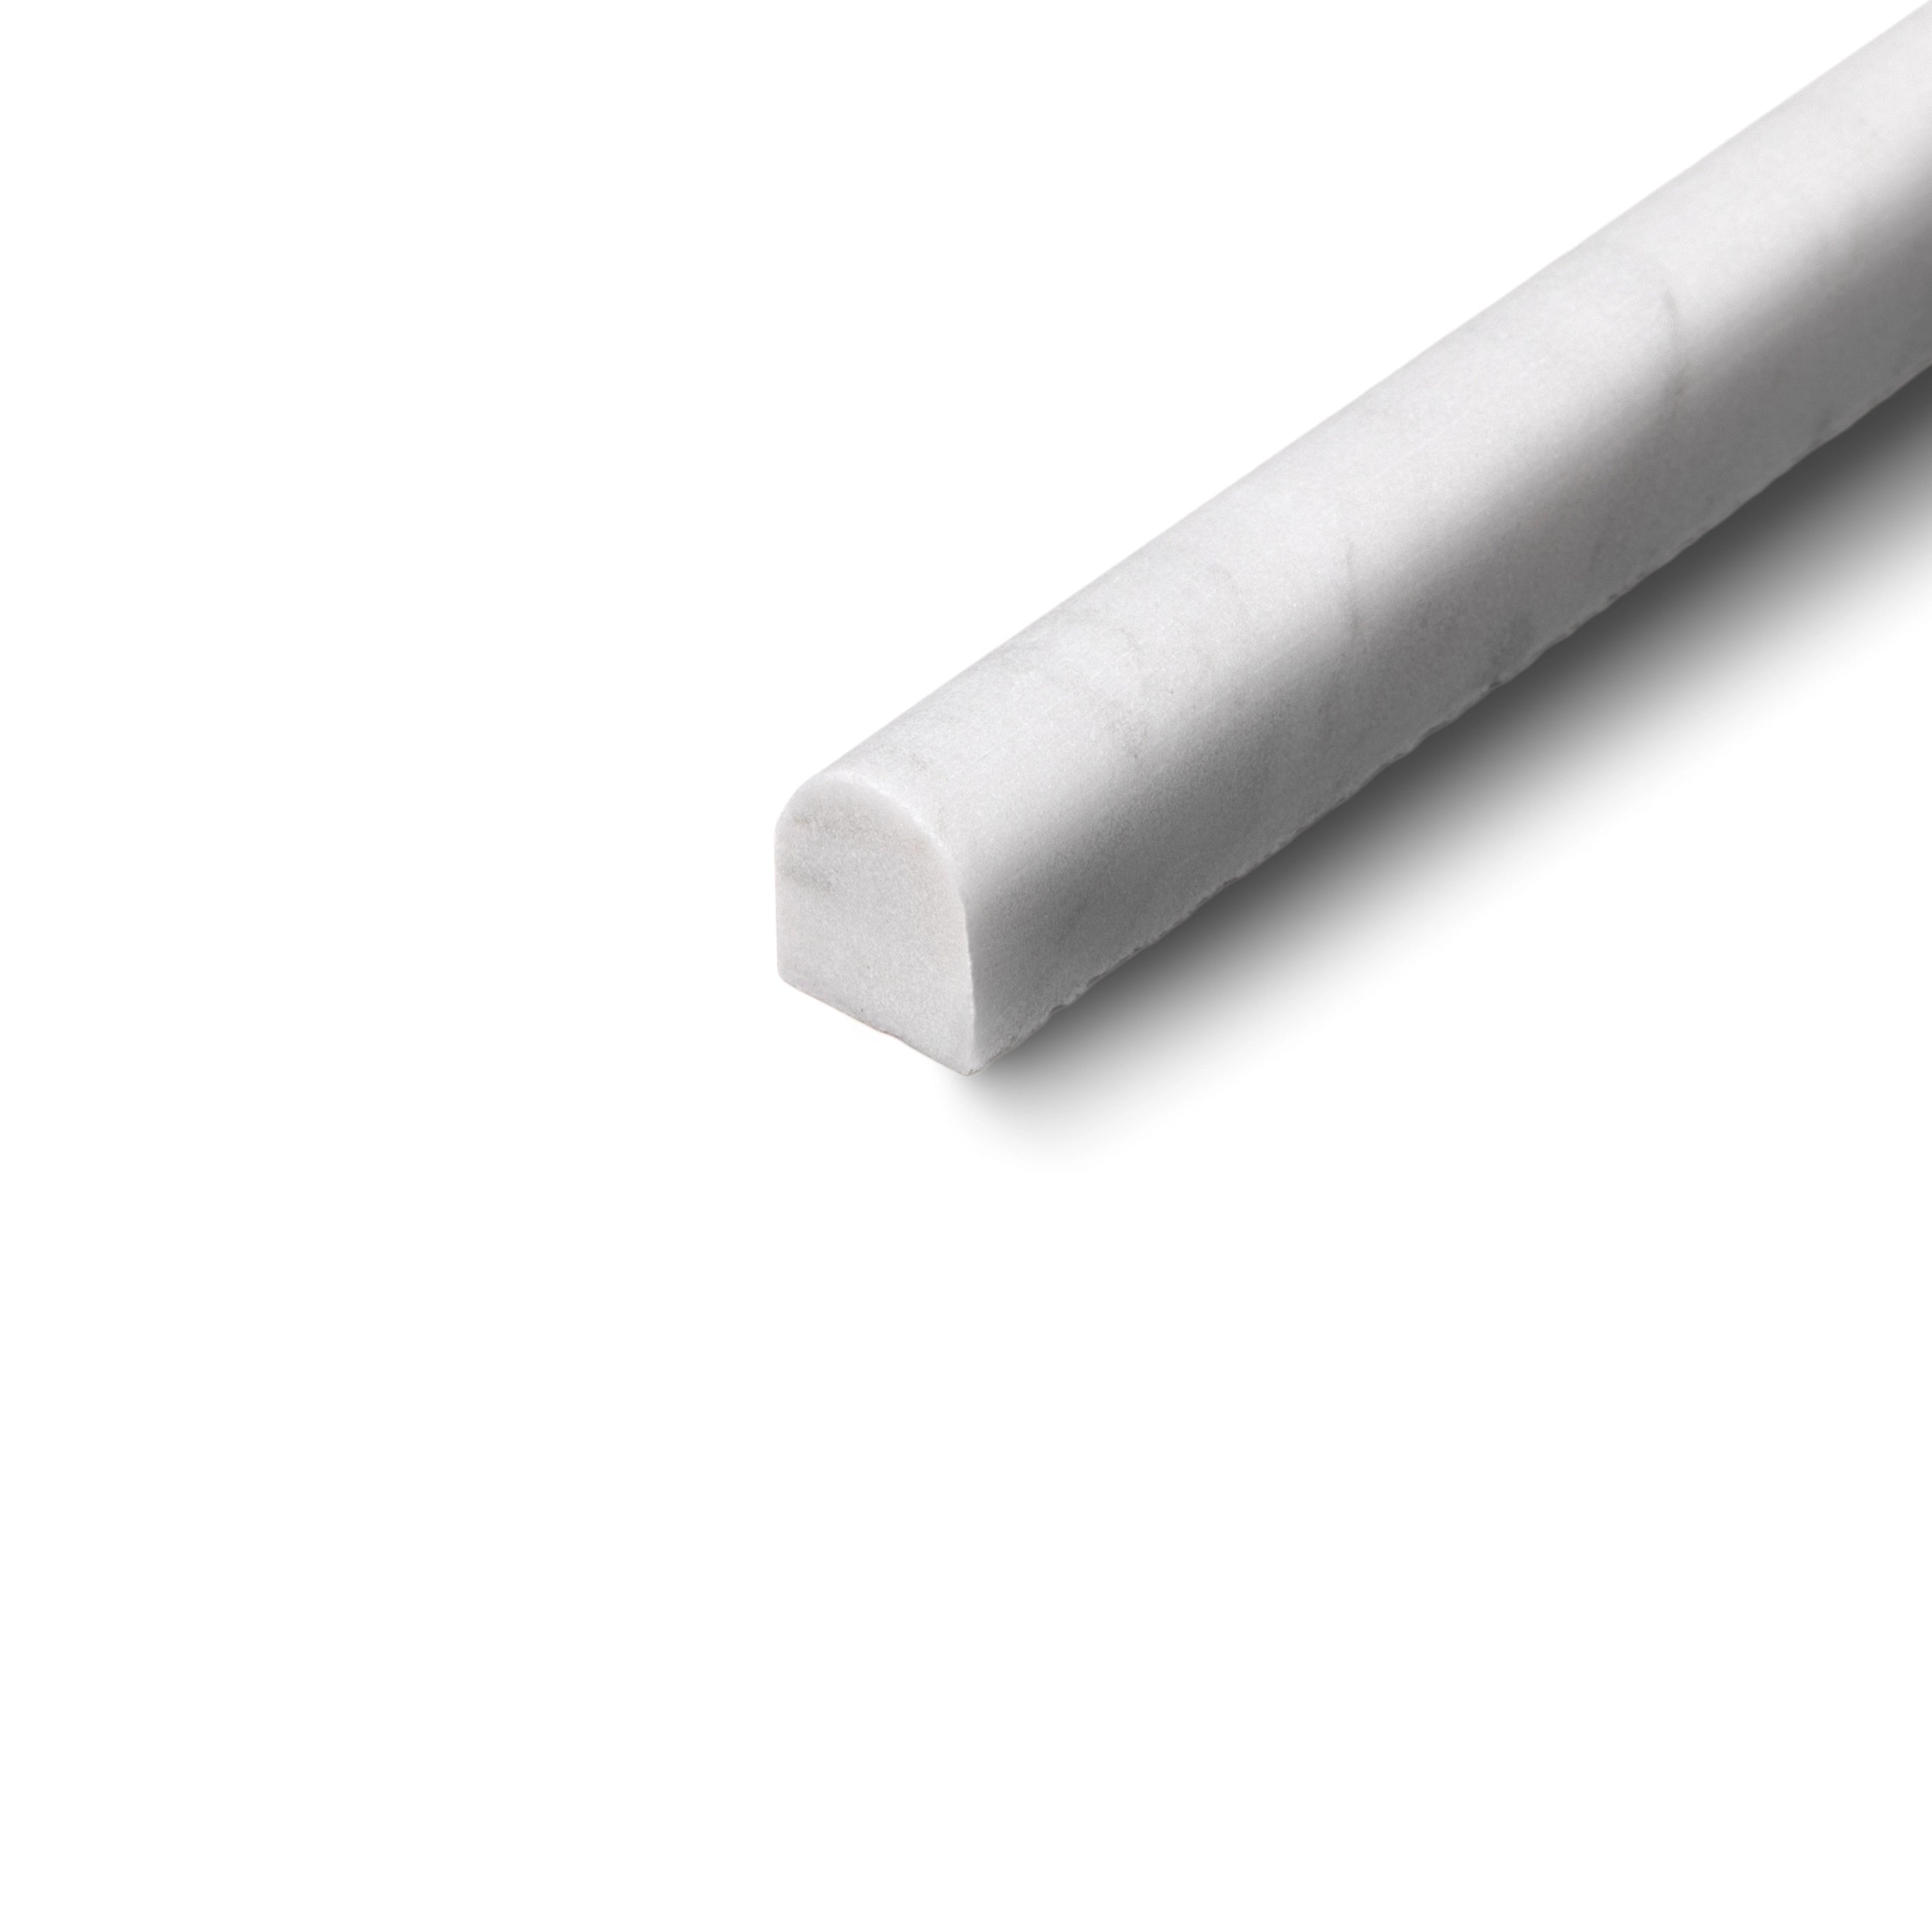
Details
Material
Stone / Marble
Frost Resistant
No
Stain Resistant
If sealed
DCOF
>.42
Sealing Required
Yes
Collection
Tumbled Pebbles
Thickness
3/8"
Country of Origin
Italy
Shade Variation
V2 - Slight Variation
Application
Floors & Walls
Edge
Tumbled
Location
Bathroom Floors, Showers, Walls
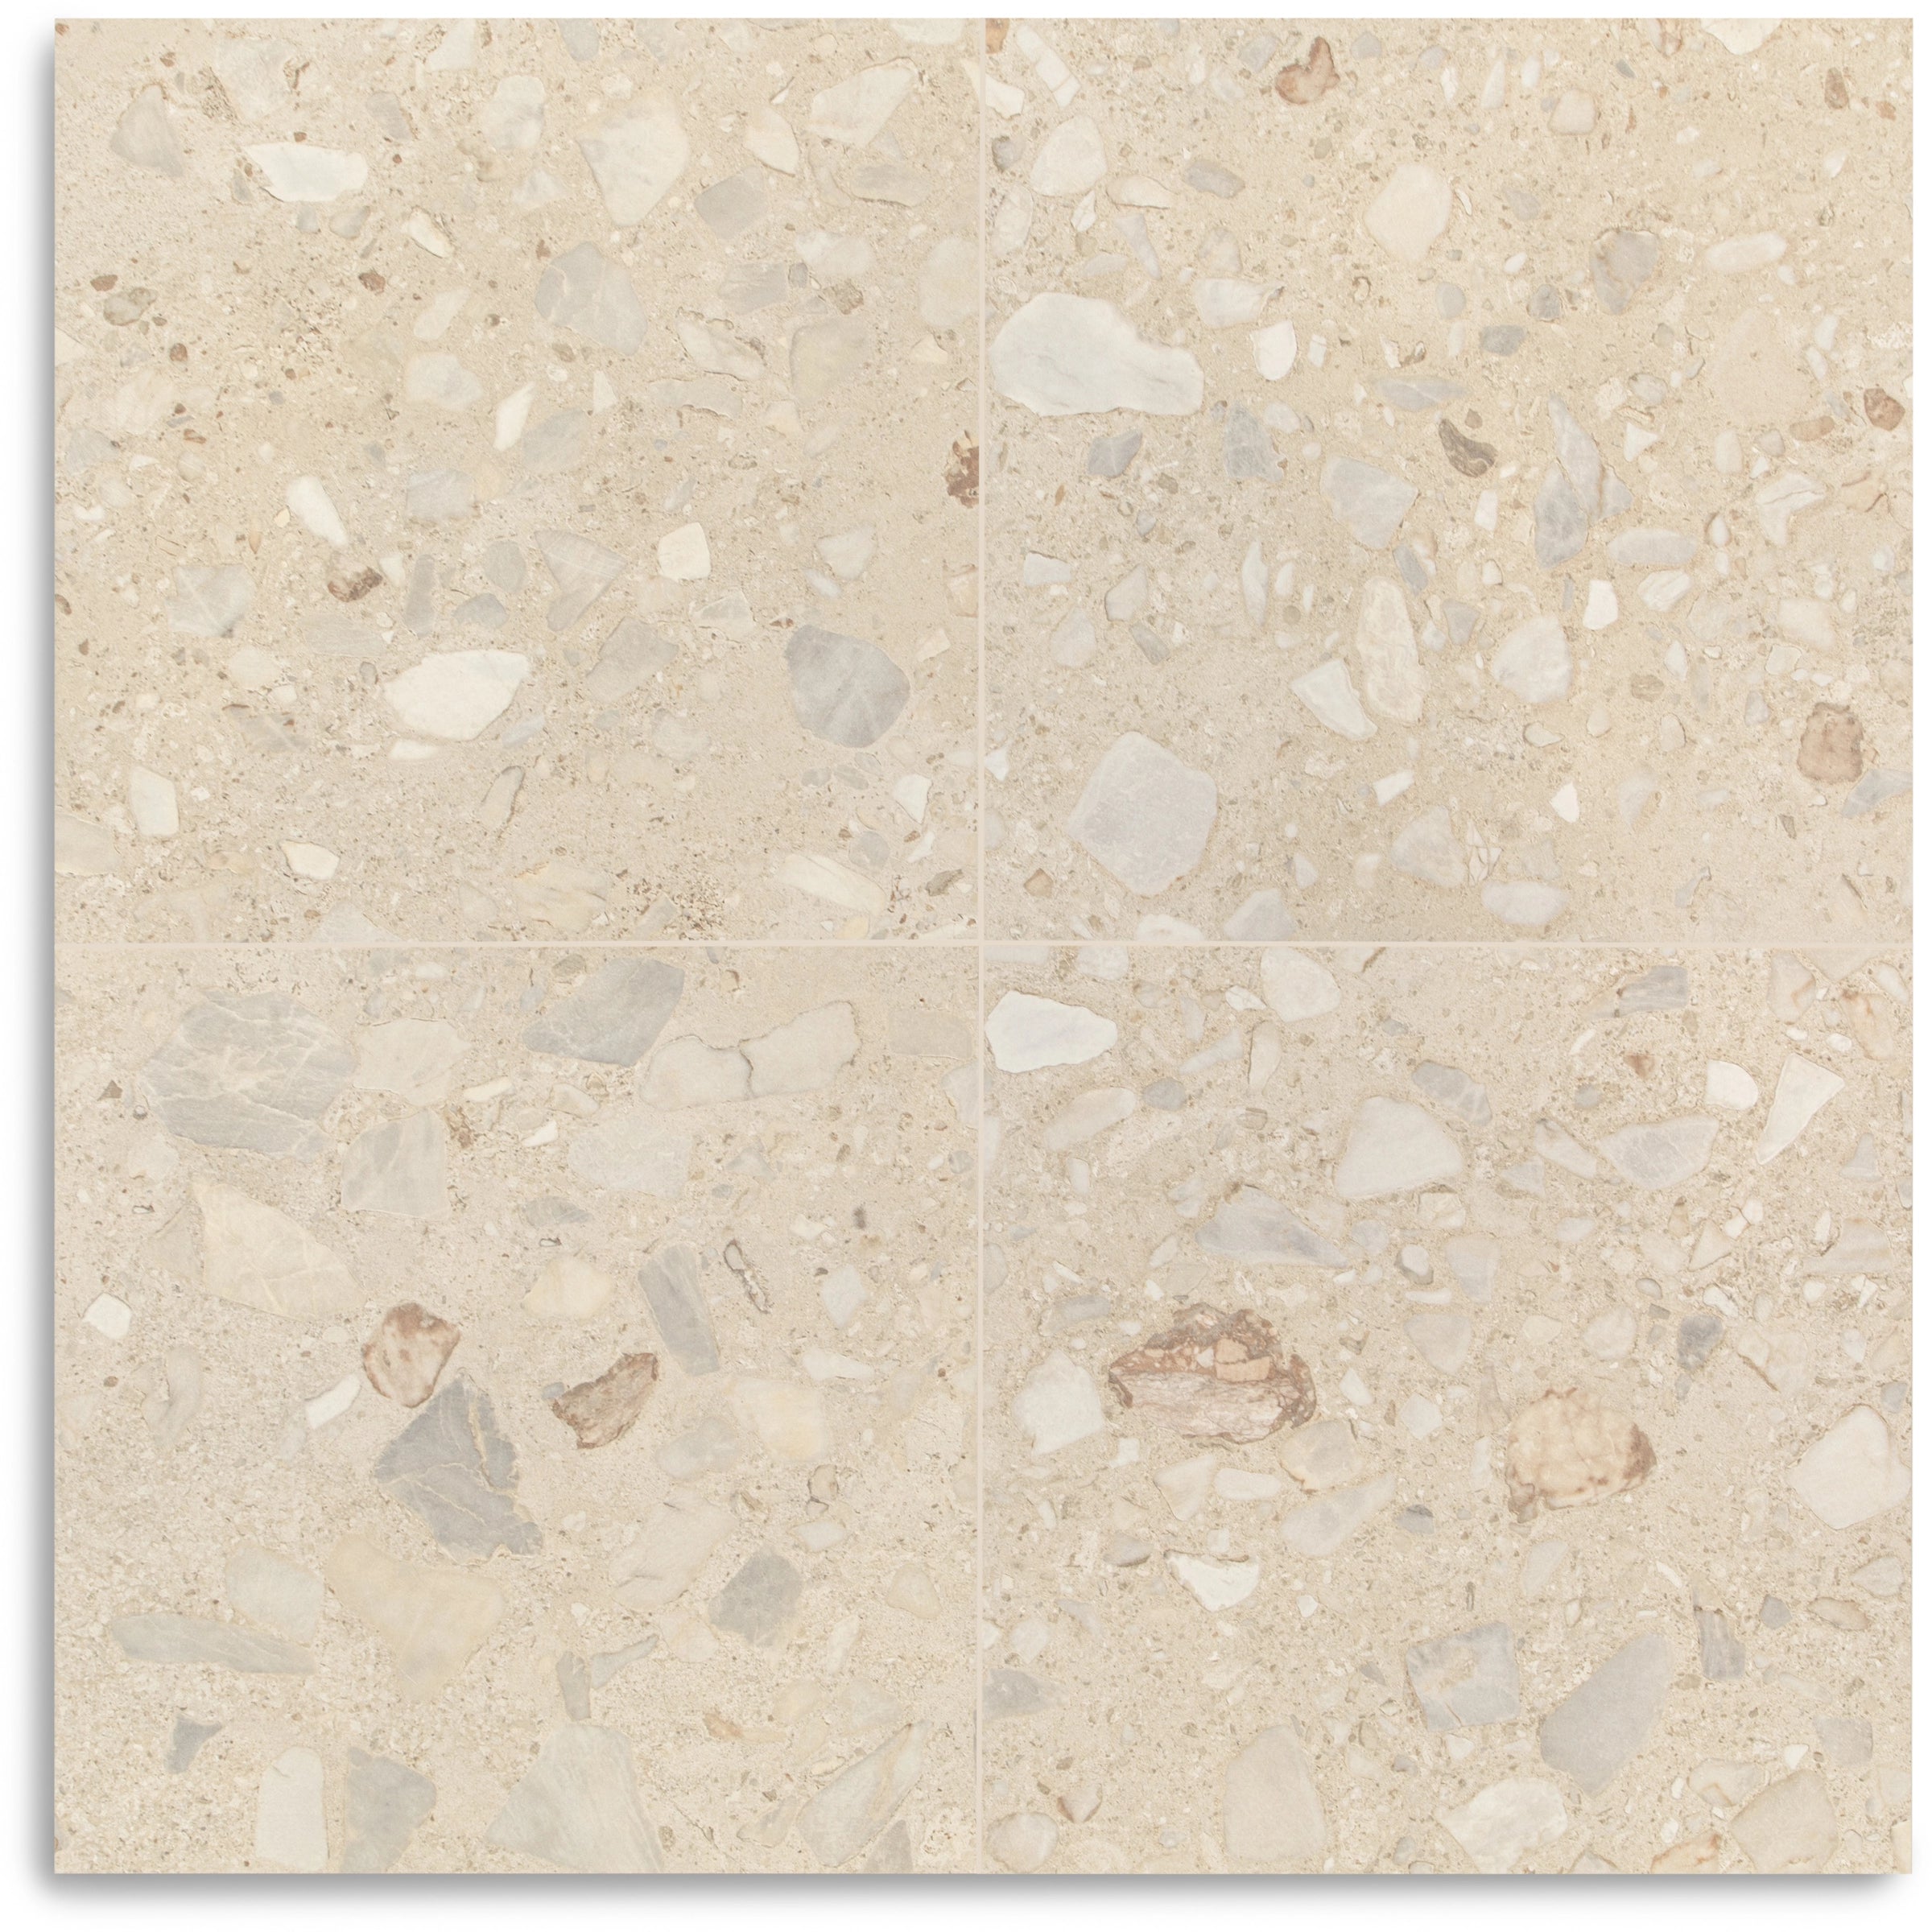
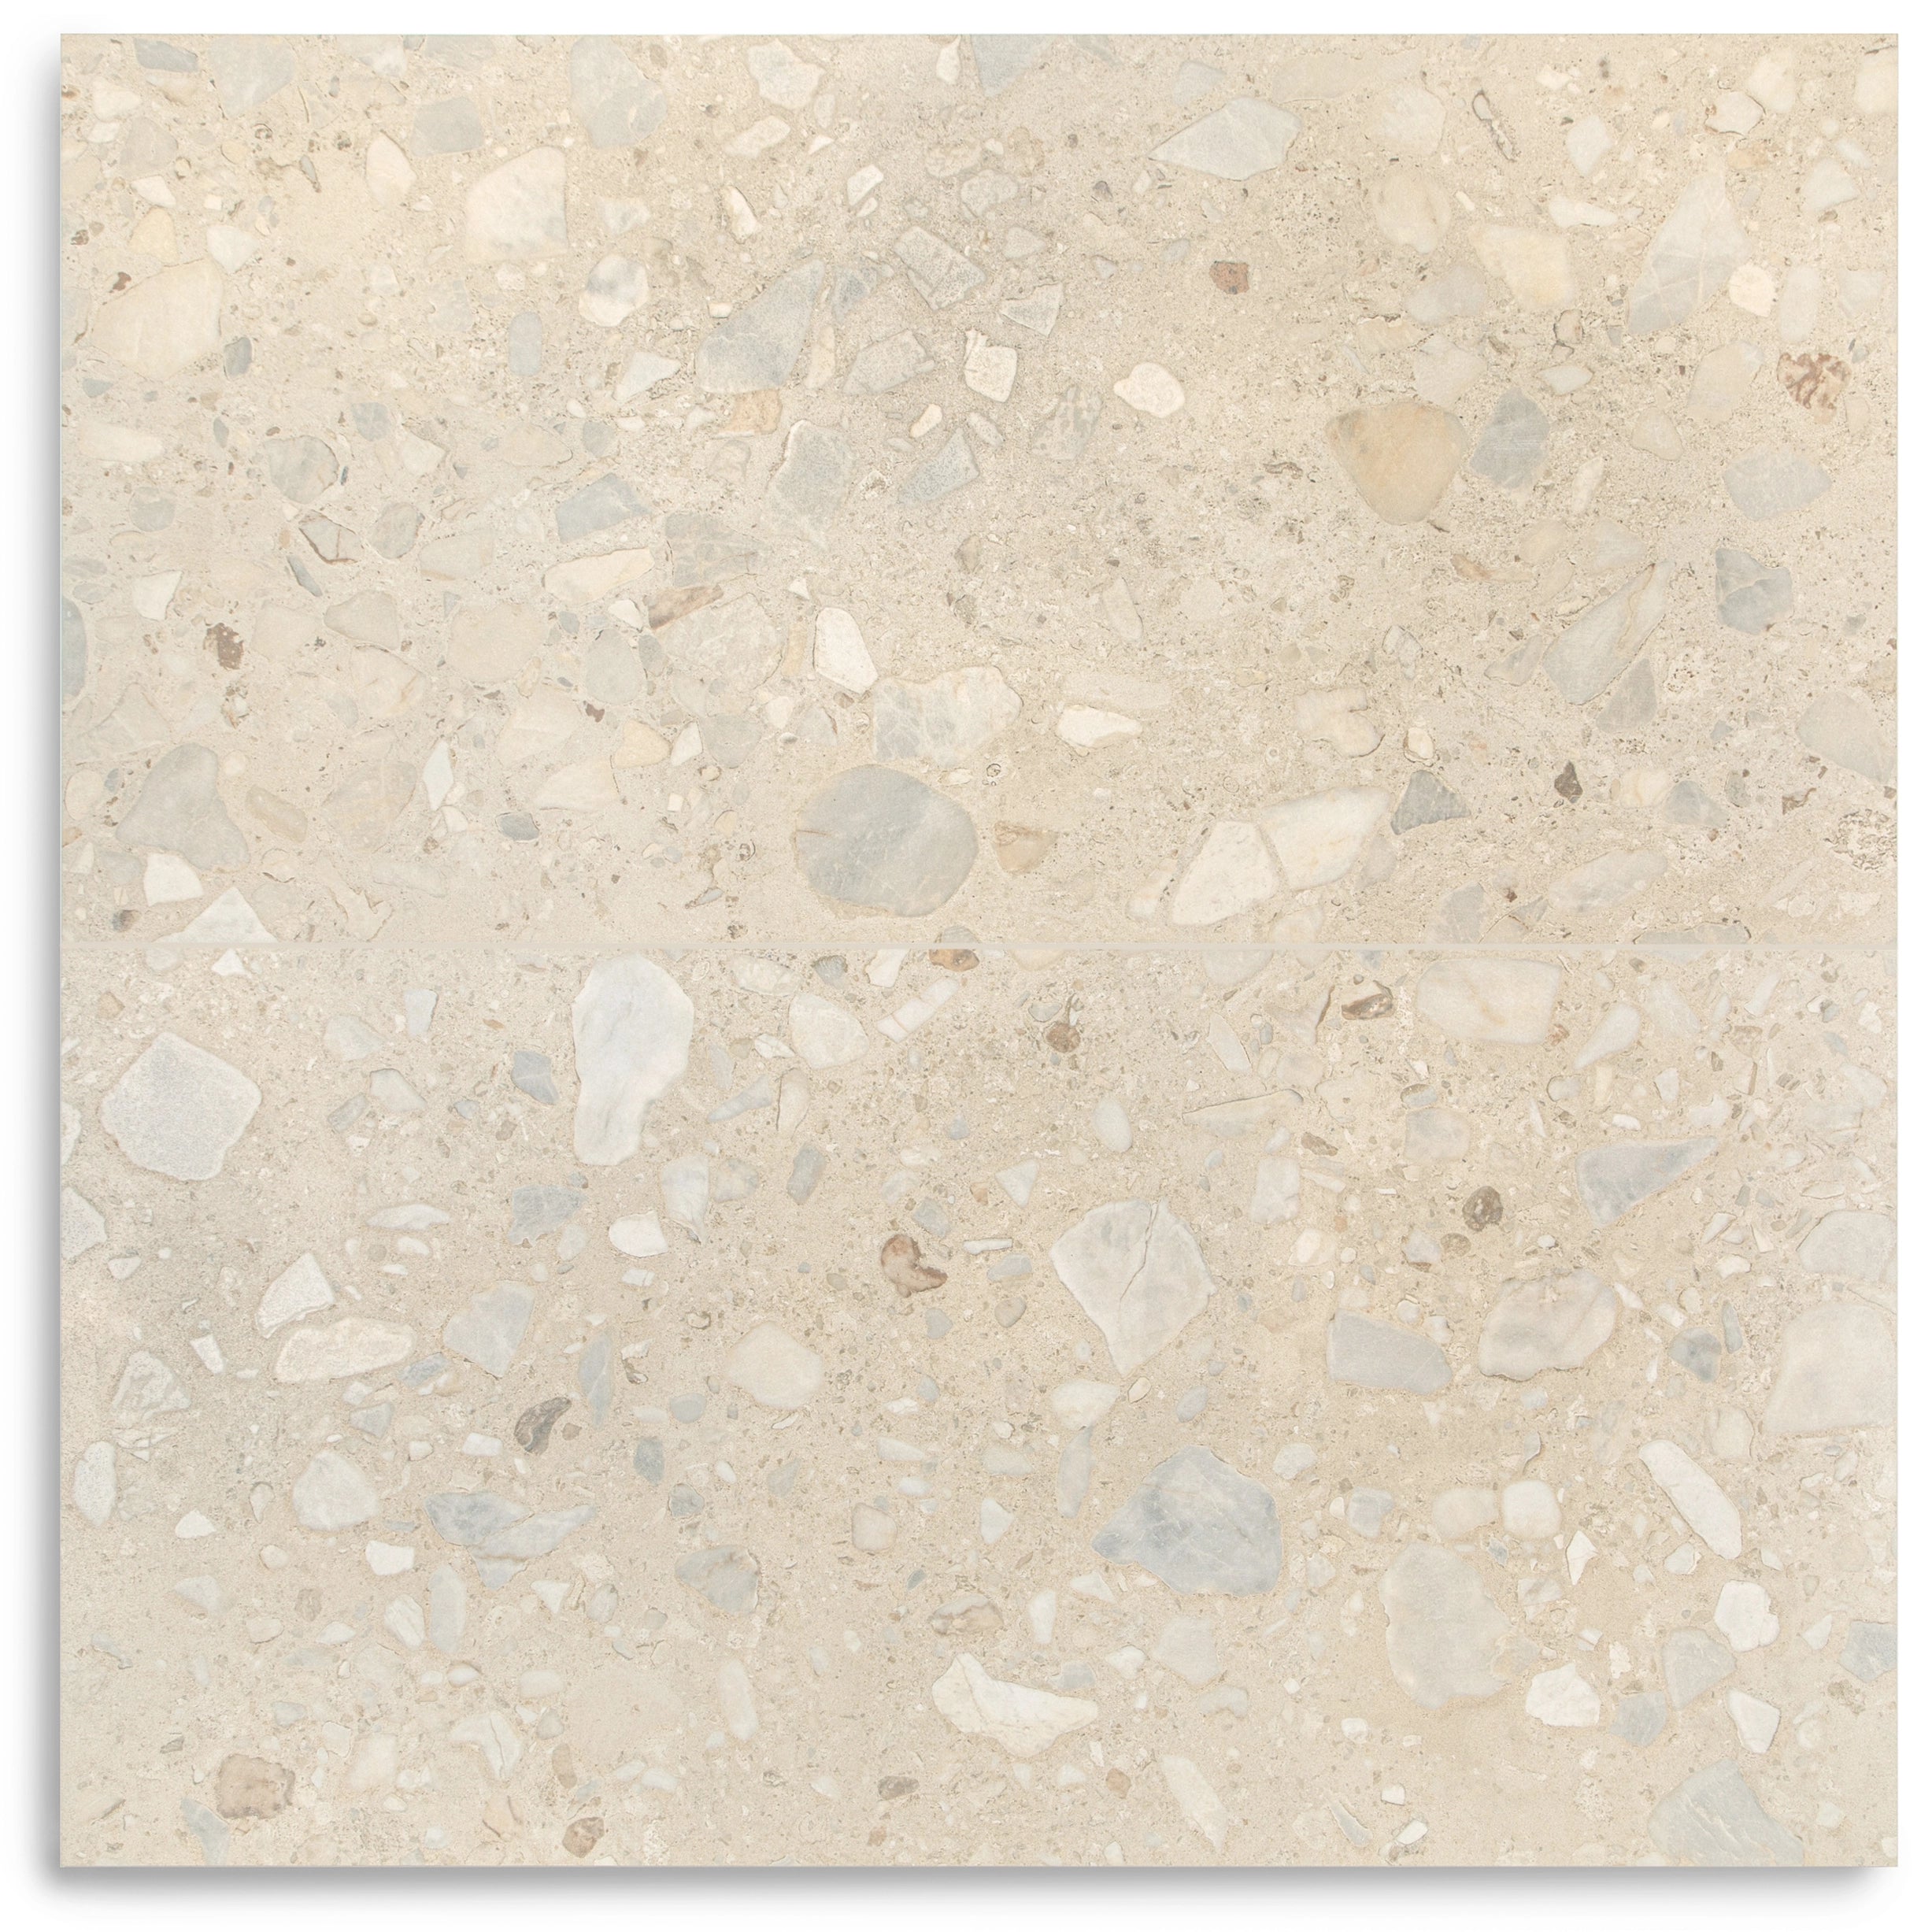
Look
Stone / Marble
Gradient bar
Pebble Mosaic Install Guide
PEBBLE MOSAIC INSTALLATION GUIDE: A Professional Guide to Tumbled Marble Pebble Mosaic Installation
BEFORE YOU BEGIN
Pebble mosaic installation requires skill, proper tools, and experience with natural stone mosaics. These mesh-backed mosaic sheets have unique installation requirements, including specialized grouting techniques, pre-sealing, and careful substrate preparation, that differ significantly from standard tile. Improper installation can result in loose pebbles, cracked grout, water damage, or voided warranties. If you are not confident in your ability to complete this installation, we strongly recommend hiring a licensed, professional tile installer.
MATERIAL VARIATION NOTICE
Marble pebble mosaics are a natural stone product. Each pebble varies in color, shape, size, and texture. These are inherent characteristics of natural stone and should be expected, not considered defects. Tumbled marble finishes may range from smooth to slightly rough. Always inspect all sheets before installation. Once installed, materials cannot be returned.
- OVERVIEW
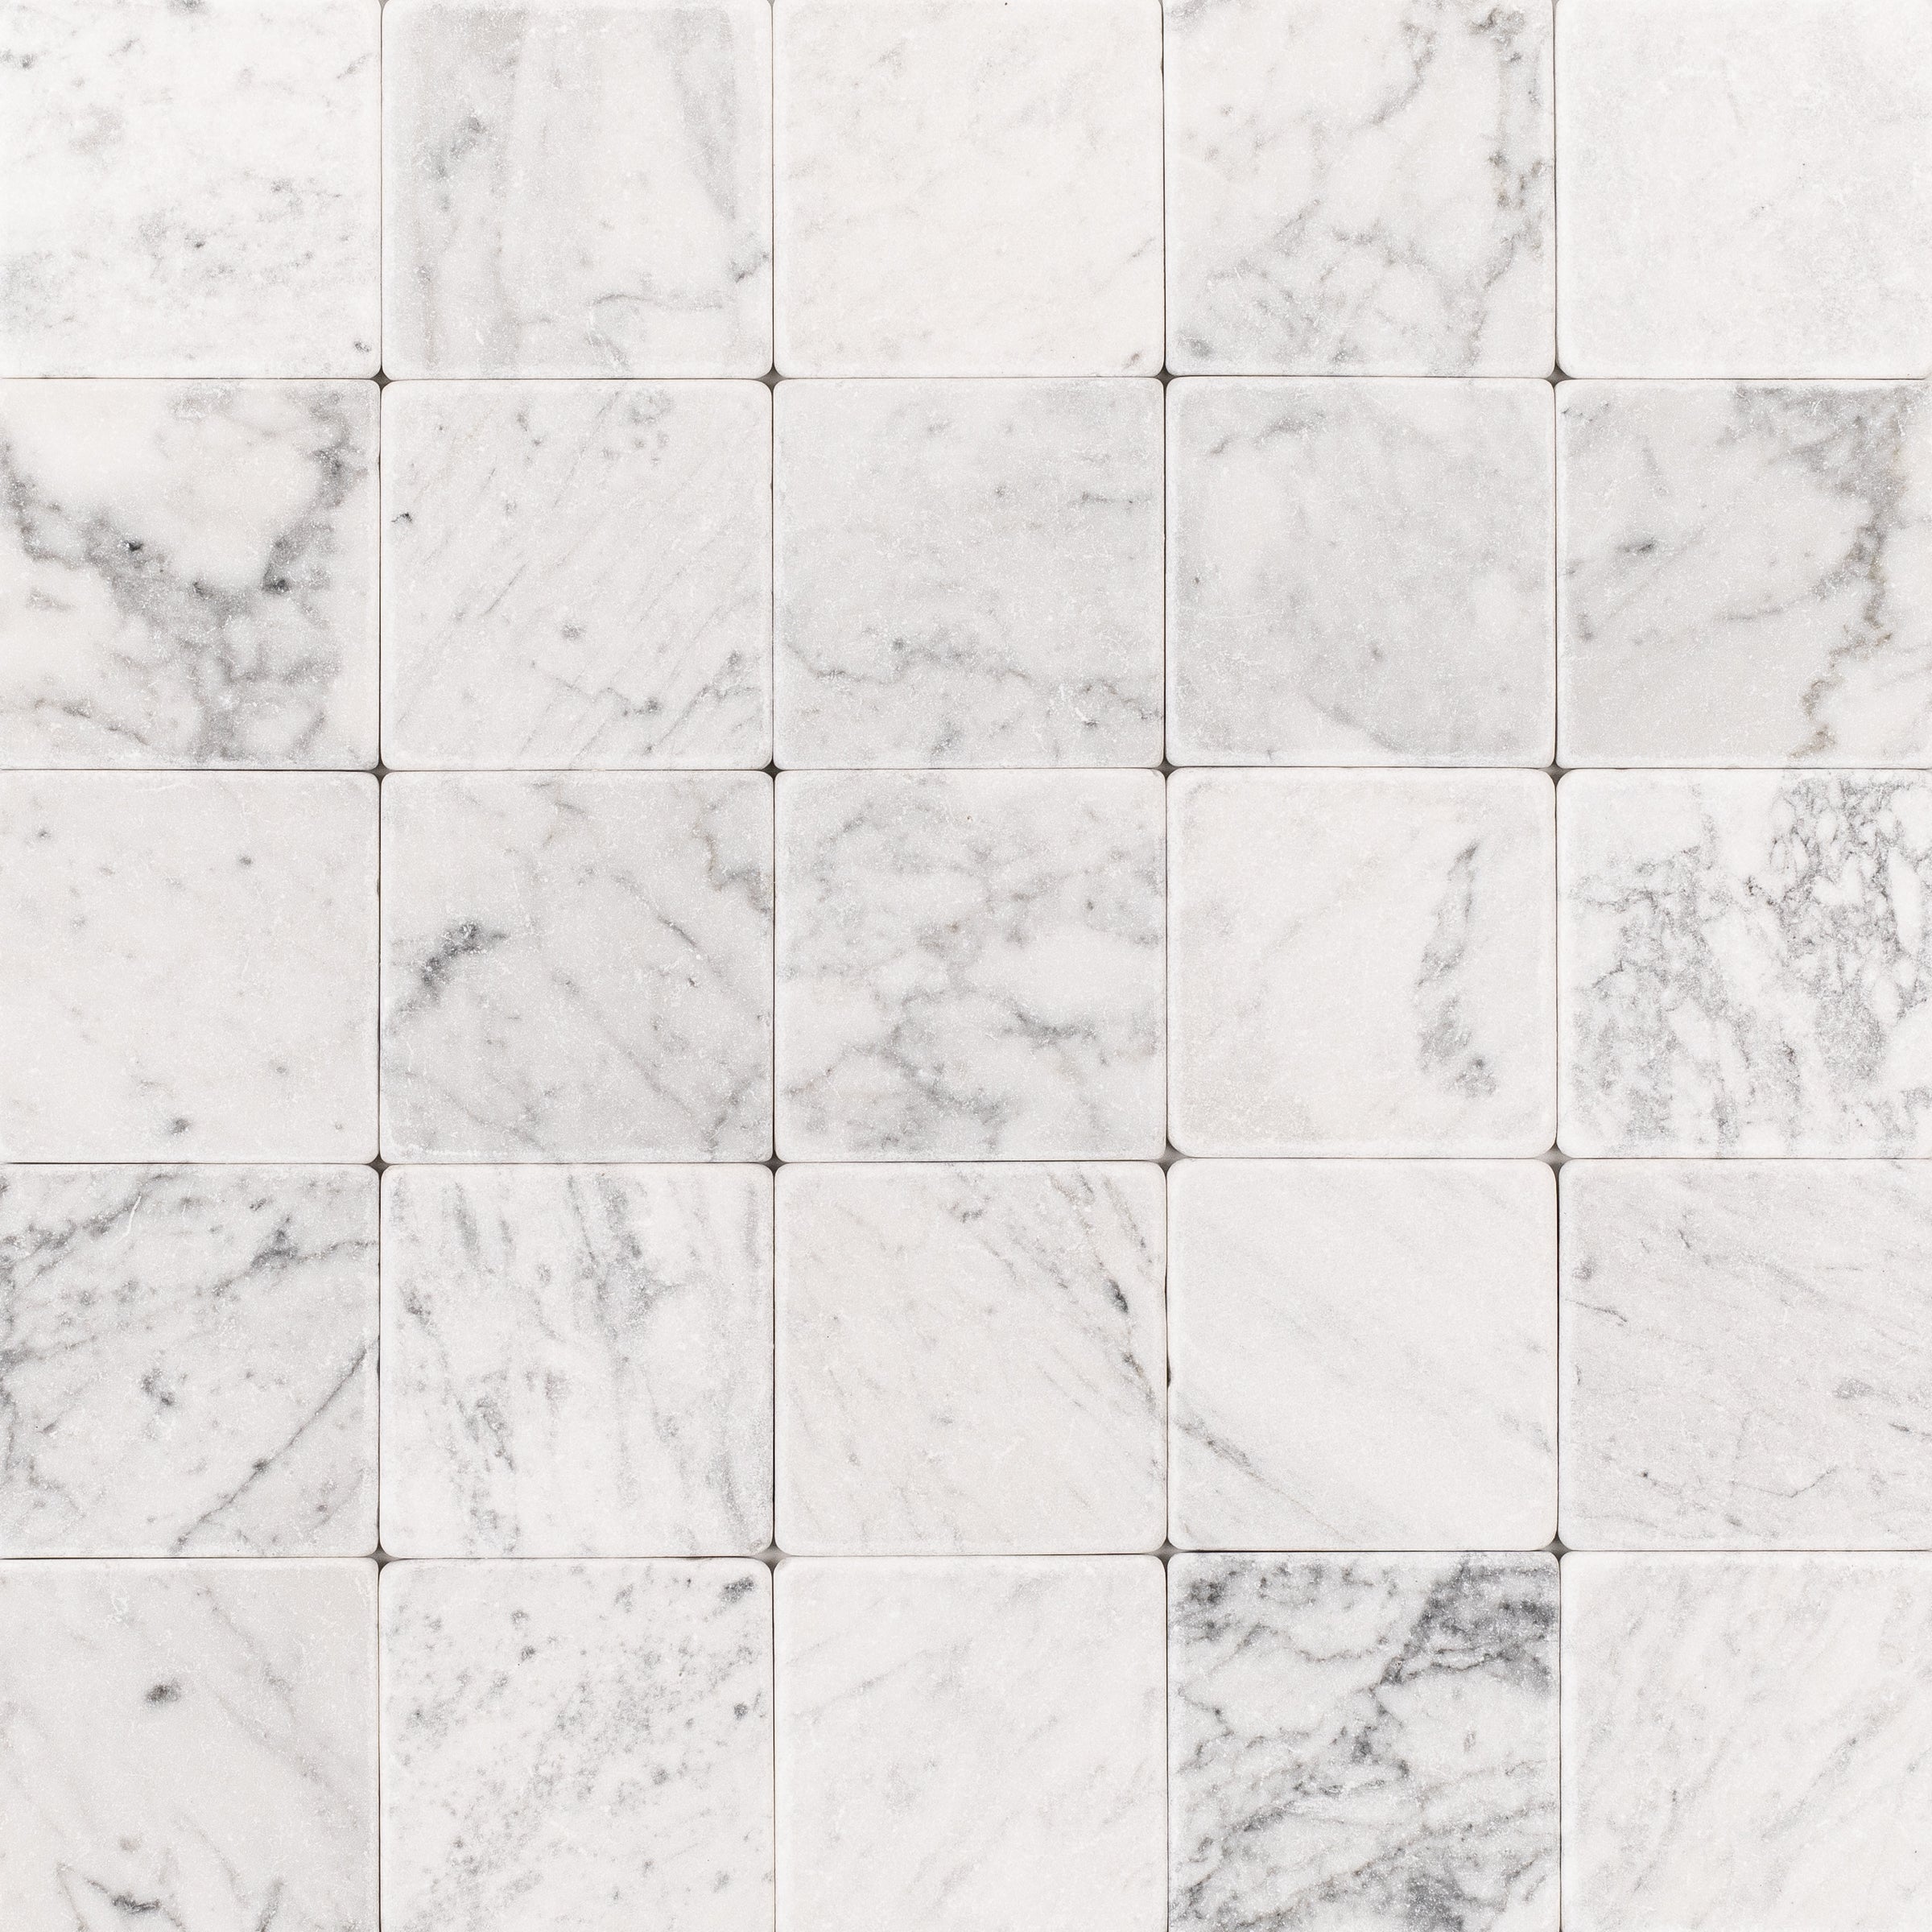
Tumbled marble pebble mosaics bring a spa-like, organic aesthetic to floors, shower surrounds, and accent walls. Pre-assembled on mesh backing in 12×12-inch sheets, these mosaics feature individual hand-sorted pebbles of Carrara, Crema, Bardiglio, Verde, and Nero marble in single-color and multi-color blends.
Unlike standard flat marble tiles, pebble mosaics present unique installation challenges: irregular three-dimensional surfaces, deep and wide grout joints, mesh-backing considerations, and the critical requirement for sanded grout rather than unsanded. Shower floors, the most popular application, add waterproofing and slope requirements.
This guide covers everything you need for a successful pebble mosaic installation, from surface preparation and waterproofing through grouting, sealing, and long-term maintenance. Follow each step carefully. Pebble mosaics reward patience and punish shortcuts.
HEALTH HAZARD
Marble dust is a respiratory hazard. Cutting or grinding marble pebbles generates fine silica dust that can cause serious lung damage including silicosis. Always use appropriate personal protective equipment: a NIOSH-approved N95 or P100 respirator when cutting or grinding, safety glasses or goggles with side shields, cut-resistant work gloves, steel-toed boots or sturdy closed-toe shoes, hearing protection when using power tools, and knee pads for extended kneeling.
- TOOLS & MATERIALS
Essential Tools
Wet saw with diamond blade rated for marble/natural stone. Notched trowel (1/4" × 1/4" square notch for walls; 1/4" × 3/8" for floors). Flat-edge trowel or margin trowel. Rubber grout float. Grout bag (recommended for pebble mosaics). Large grout sponge (multiple recommended). Tile nippers for trimming individual pebbles. Utility knife or heavy-duty scissors for cutting mesh backing. Tile leveling system (clips and wedges). Chalk line, measuring tape, carpenter's square or laser level. Rubber mallet, mixing drill with paddle attachment. Multiple 5-gallon buckets, utility knife, pencil and marker.
Materials
Pebble mosaic sheets (order 15% extra for cuts, waste, and future repairs). White, latex-modified thinset mortar specifically rated for natural stone. Mapei Ultracolor Plus FA sanded grout for grout joints 1/16" to 3/4". Fila MP90 Eco Plus Penetrating Sealer or Fila Stone Plus Eco Penetrating Enhancing Sealer. Fila Grout Proof grout line sealer. Fila Stoneclean pH-neutral stone cleaner. Waterproofing membrane, liquid or sheet, required for wet areas. Cement board or approved substrate material if needed. Clean, potable water.
PRO TIP: Always use white thinset mortar for marble pebble mosaics. Gray or colored mortars can cause discoloration in light-colored marble due to its porous nature. Look for mortars specifically labeled for natural stone.
- STEP-BY-STEP INSTALLATION
Step 1: Surface Preparation
Proper surface preparation is the leading factor in a successful pebble mosaic installation. Never install pebble mosaics directly over plywood, particleboard, or vinyl flooring.
Concrete Subfloors
Must be fully cured (minimum 28–30 days for new concrete). Maximum moisture content of 3% (test with a moisture meter). Flatness tolerance: 1/8" variation in 10 feet. Free of curing compounds, sealers, or coatings. Clean of dust, debris, oil, and contaminants.
Plywood/Wood Subfloors
Minimum 1-1/4" total thickness (3/4" subfloor + 1/2" cement board). Must be structurally sound with no flex or bounce. Install cement board with thinset and screws; tape and thinset all joints. Allow for expansion gaps at perimeter.
Shower Floor Preparation (Critical)
Minimum slope: 1/4" per foot toward drain (1/4" to 3/8" per foot recommended for pebbles). Install waterproof membrane over entire shower area before tiling. Extend membrane at least 6 inches up walls above the shower threshold. Seal all penetrations (drain, supply lines) per membrane manufacturer instructions. Set drain fitting slightly lower than surrounding area to account for pebble and grout height. Allow membrane to cure fully before tiling.
Surface Prep Steps
- Test substrate for moisture and flatness. 2. Remove existing flooring, adhesive residue, or contaminants. 3. Repair cracks, holes, or uneven areas with patching compound. 4. Grind down high spots; fill low spots with self-leveling compound if deviation exceeds 1/8" in 10 ft. 5. Vacuum and damp-mop the entire surface. Allow to dry completely. 6. For shower floors: verify proper slope with a level before proceeding.
Step 2: Inspection, Blending, and Pre-Sealing
Natural marble pebbles vary from sheet to sheet. Open multiple boxes and mix sheets from different boxes. Never install sheets in order from one box. Lay out sheets and arrange for color and pebble size consistency. Separate any sheets with unacceptable variation. Note that seams between mesh-backed sheets will be slightly visible; this is normal and expected.
PRO TIP: Pre-sealing pebble mosaic sheets before installation is highly recommended. Tumbled marble is more porous than polished marble and readily absorbs grout, which causes staining that is extremely difficult to remove. Apply Fila MP90 Eco Plus penetrating sealer to the face and edges of each sheet. Allow to dry completely before installation. This step will make grout cleanup significantly easier.
Step 3: Layout Planning
- Find the center point of the installation area. 2. Snap perpendicular chalk lines through the center point. 3. Dry-lay mosaic sheets from center outward without adhesive. 4. Adjust layout so cut sheets at edges are equal in size on opposite walls. 5. For shower floors, plan layout around the drain. Position a full sheet over the drain, then mark and cut the drain opening. 6. Check that sheet seams align naturally; stagger seams where possible to minimize visibility. 7. Mark reference lines on the substrate.
Step 4: Apply Thinset and Set Mosaic Sheets
Follow manufacturer mixing instructions exactly. Use clean, potable water. Mix to a smooth, paste-like consistency. Slake for 5–10 minutes, then remix briefly. Do not add water to mortar that has begun to set. Only mix enough for 20–30 minutes of work time.
Apply thinset to substrate using the flat side of the trowel first, then comb with the notched side. Use a 1/4" × 1/4" square-notch trowel for walls; 1/4" × 3/8" for floors. Work in small sections (one to two sheets at a time). Thinset should be tacky but not skinned over when the sheet is placed. Back-butter each mosaic sheet with a thin layer for full coverage.
IMPORTANT: For pebble mosaics, back-buttering is essential for achieving full mortar coverage beneath the mesh. Because individual pebbles vary in thickness, back-buttering ensures every pebble is fully embedded in thinset. Target 95%+ coverage for floor installations. Hollow spots will lead to loose pebbles and cracked grout.
Setting Mosaic Sheets
- Place the sheet firmly into the thinset bed with a slight pressing and wiggling motion. 2. Ensure the mesh backing is fully embedded and all pebbles make contact with the mortar. 3. Use a rubber float or flat board to press the sheet evenly and seat all pebbles. 4. Tap gently with a rubber mallet over a flat board to level the sheet. 5. Align adjacent sheets carefully, matching the spacing between pebbles at sheet seams. 6. Remove excess thinset from pebble faces and joints immediately. 7. Clean thinset from joints before it sets. Joints must be clean to at least 1/8" depth for proper grout adhesion.
Step 5: Cutting and Trimming
Pebble mosaic sheets require two types of cuts: trimming the mesh backing to size sheets, and cutting individual pebbles for edges and drain openings.
To cut mesh backing, use a sharp utility knife or heavy-duty scissors to cut the mesh between pebbles. Cut from the back of the sheet for cleaner results. Follow the natural gaps between pebbles and never cut through a pebble. Use a straightedge as a guide for straight cuts.
To cut individual pebbles, use tile nippers for small adjustments and shaping. Take small bites with nippers rather than trying to remove large pieces at once. For straight cuts, use a wet saw with a diamond blade rated for natural stone. When using a wet saw, support the mesh sheet on a same-size ceramic tile to prevent sagging. Always wear safety glasses. Smooth rough cut edges with a rubbing stone if they will be visible.
CUTTING CAUTION: A poorly maintained wet saw or dull blade will cause chipping and cracking of individual pebbles. Ensure your blade is in good condition and appropriate for natural stone. When using tile nippers, always work gradually with small bites.
Step 6: Grouting
Allow thinset to cure for a minimum of 24 hours. Grouting is the most critical and time-consuming step in pebble mosaic installation. The deep, irregular joints between pebbles require significantly more grout and more careful technique than standard tile.
CRITICAL: Unlike polished marble tile (which requires unsanded grout), tumbled pebble mosaics require sanded grout. The wide, deep joints between pebbles need sanded grout for structural integrity and to prevent shrinkage and cracking. We recommend Mapei Ultracolor Plus FA, a fine-aggregate, polymer-modified sanded grout rated for joints from 1/16" to 3/4". It is stain-resistant, efflorescence-free, and does not require sealing.
Before grouting, remove all spacers and clean all joints. Remove any dried thinset from joints to a minimum depth of 1/8". Vacuum or blow out all loose debris. Joints must be dry before grouting, with light misting only if the substrate is extremely porous.
There are two grouting methods. The grout bag method is preferred: fill a grout bag with mixed grout and pipe it directly into the joints between pebbles, similar to a pastry bag. This gives precise placement, minimizes grout contact with pebble faces, and reduces cleanup time significantly. The float method is faster but requires more cleanup: spread grout with a rubber float held at a 45-degree angle, working diagonally across the pebbles in small sections of 3–4 square feet at a time.
Step-by-Step Grouting Process
- Mix Mapei Ultracolor Plus FA grout per manufacturer instructions to a thick, peanut-butter-like consistency. 2. Work in small sections, 3 to 4 square feet at a time. 3. Apply grout using your chosen method, packing joints thoroughly from bottom to top. 4. Ensure all joints are completely filled with no voids. 5. The grout level should sit slightly below the tops of the pebbles, not flush with the surface. 6. After 15–20 minutes (or when grout begins to firm), clean excess from pebble faces with a damp, not wet, sponge using light circular motions. 7. Rinse sponge frequently. Use minimal water, as excess water weakens grout. 8. After initial set, polish grout haze from pebble surfaces with a soft, dry cloth.
PRO TIP: Grout cleanup on pebble mosaics is significantly more difficult than on flat tile due to the irregular surface. Pre-sealing before grouting makes this process much easier. Work in very small sections, clean promptly, and never let grout fully dry on the pebble surface. Have multiple clean sponges and buckets of water ready.
Step 7: Sealing and Curing
Keep foot traffic off the installation for 24–72 hours minimum. Do not expose to water or moisture during curing. For shower installations, do not use the shower for a minimum of 72 hours after grouting. Avoid placing heavy objects or furniture for 7 days. Wait a minimum of 72 hours before sealing grout.
Final Sealing
- Clean the entire surface with Fila Stoneclean, a pH-neutral cleaner designed for natural stone. 2. Allow to dry completely (24 hours recommended). 3. Apply Fila MP90 Eco Plus penetrating sealer (or Fila Stone Plus Eco for an enhanced look) per manufacturer directions. 4. Allow sealer to penetrate for the recommended time; wipe excess before it dries. 5. Apply a second coat if recommended by the sealer manufacturer. 6. Allow to cure fully before use (typically 24–48 hours). 7. Apply Fila Grout Proof sealer to all grout lines for additional protection against staining and moisture.
NEVER USE ACIDIC CLEANERS: Acidic cleaners including vinegar, lemon juice, and many household cleaners will etch and permanently damage marble surfaces, even tumbled marble. Always use pH-neutral cleaners specifically designed for natural stone, such as Fila Stoneclean.
- RECOMMENDED PRODUCTS
Grout
Mapei Ultracolor Plus FA (Recommended): Fine-aggregate sanded, polymer-modified. Joint width 1/16" to 3/4". Best for pebble mosaics. Stain-resistant, no sealing required.
Mapei Keracolor S (Alternative): Premium sanded, polymer-modified. Joint width 1/8" to 5/8". Standard pebble applications; requires sealing.
Sealers & Cleaners
Fila MP90 Eco Plus: Penetrating sealer, stain and water repellent, does not alter natural appearance. Use pre-seal before grouting AND as final seal after grout cure.
Fila Stone Plus Eco: Penetrating enhancing sealer, enriches natural color and grain. Use as final seal when color enhancement is desired.
Fila Grout Proof: Grout line sealer, protects grout from staining and moisture. Apply after grout has cured 72+ hours.
Fila Stoneclean: pH-neutral stone cleaner, safe for all natural stone. Use for pre-seal cleaning, post-install cleanup, and ongoing maintenance.
- TIPS & WARNINGS
Always use white thinset for marble pebble mosaics to prevent discoloration. Pre-seal before grouting, as this is the single most important step for easy grout cleanup. Back-butter every mosaic sheet for full mortar coverage (95%+ for floors). Work in very small sections for both thinset and grout application. Use a grout bag for cleaner, more precise grout application between pebbles. Keep multiple sponges and buckets of clean water on hand during grouting. Document all products used (brand, product number, grout color) for future maintenance. Keep extra mosaic sheets, as natural stone varies batch to batch, making future matching difficult. For shower floors, verify slope with a level before and during installation.
Troubleshooting
Cracked grout is typically caused by insufficient fill, excess water during cleanup, or substrate flex. Prevent it by packing joints thoroughly, using minimal water, and ensuring a stable substrate.
Loose pebbles result from insufficient thinset or hollow spots under the mesh. Back-butter all sheets, press firmly, and verify full contact.
Grout staining on pebbles is caused by porous marble absorbing grout pigment. Pre-seal tiles before grouting and clean promptly.
Water pooling on shower floors indicates insufficient slope toward the drain. Verify 1/4"–3/8" per foot slope before tiling.
Efflorescence (white powder) is caused by moisture migrating through the substrate. Ensure the substrate is fully cured and use a waterproofing membrane.
Etching (dull spots) results from contact with acidic substances. Use only pH-neutral cleaners.
Visible sheet seams are inherent to mesh-backed mosaics. Stagger seams and match grout color. This is normal and expected.
- CARE & MAINTENANCE
Sweep or dust mop regularly to remove abrasive dirt and debris from between pebbles. Damp mop with clean water or Fila Stoneclean. Wipe up spills immediately, especially acidic substances like wine, citrus, and coffee. For shower floors, rinse with clean water after each use and allow to air dry. Use felt pads under furniture legs on pebble mosaic floors. Place mats at entryways to reduce tracked-in dirt and grit.
Reseal pebble mosaics every 12–18 months, more frequently in showers or high-traffic areas. To test the sealant, place a few water drops on the surface. If absorbed within 5 minutes, reseal. Reseal grout lines with Fila Grout Proof annually, especially in wet areas. Use coasters under glasses and cups. Do not place hot items directly on marble. For shower floors, ensure adequate ventilation to prevent moisture buildup and mold growth.
Products to Avoid: vinegar, lemon juice, or citrus-based cleaners; ammonia-based cleaners; bleach or harsh chemicals; abrasive cleaners or scrubbing pads; generic tile cleaners unless rated for natural stone; steam cleaners, which can damage sealant and force moisture into grout.
- PRODUCT & LIABILITY INFORMATION
This guide is provided for informational purposes only and does not guarantee results. Success depends on proper technique, appropriate materials, and suitable conditions. The authors and distributors accept no responsibility for damages or losses resulting from the use of this information. It is the installer's responsibility to ensure compliance with all local building codes, regulations, and permit requirements. When in doubt, consult with or hire a professional tile installer.
Reno Source • Finish Materials • Based in the USA www.therenosource.com | support@renosource.co
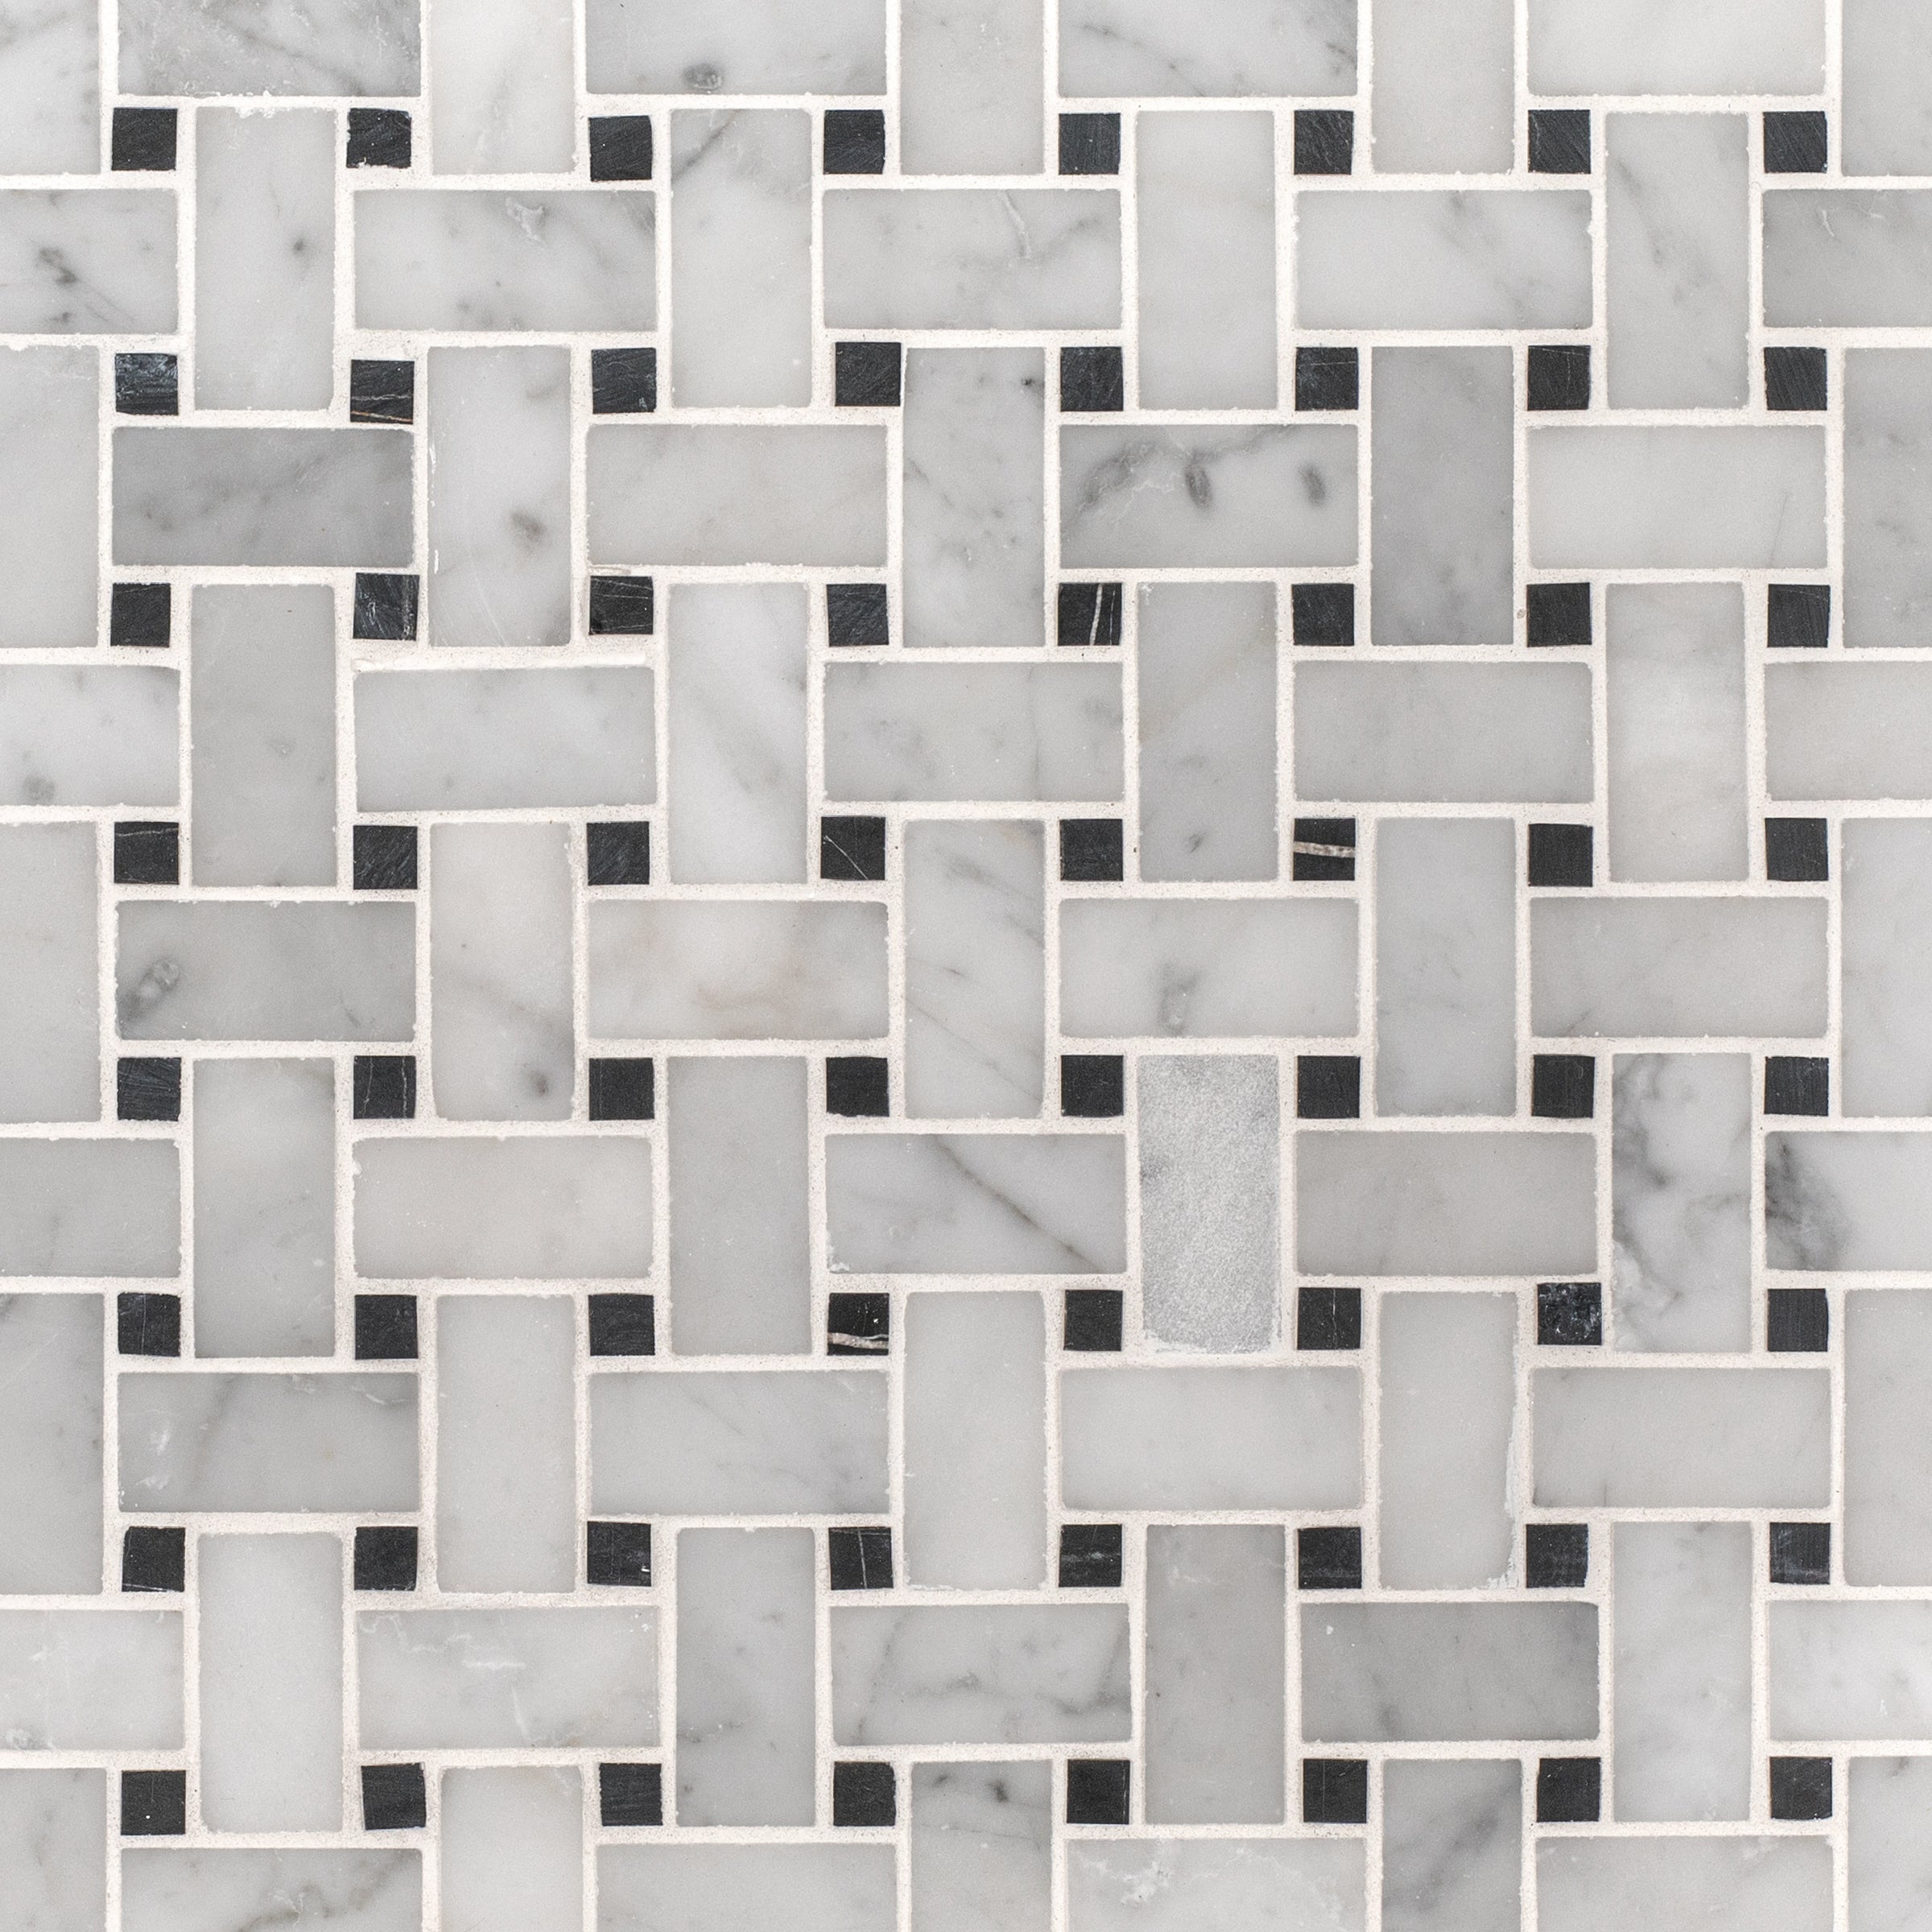
From the same collection


White & Ecru Octagon Zellige Mosaic
Thassos, Carrara, Bardiglio Gingham Marble Mosaic

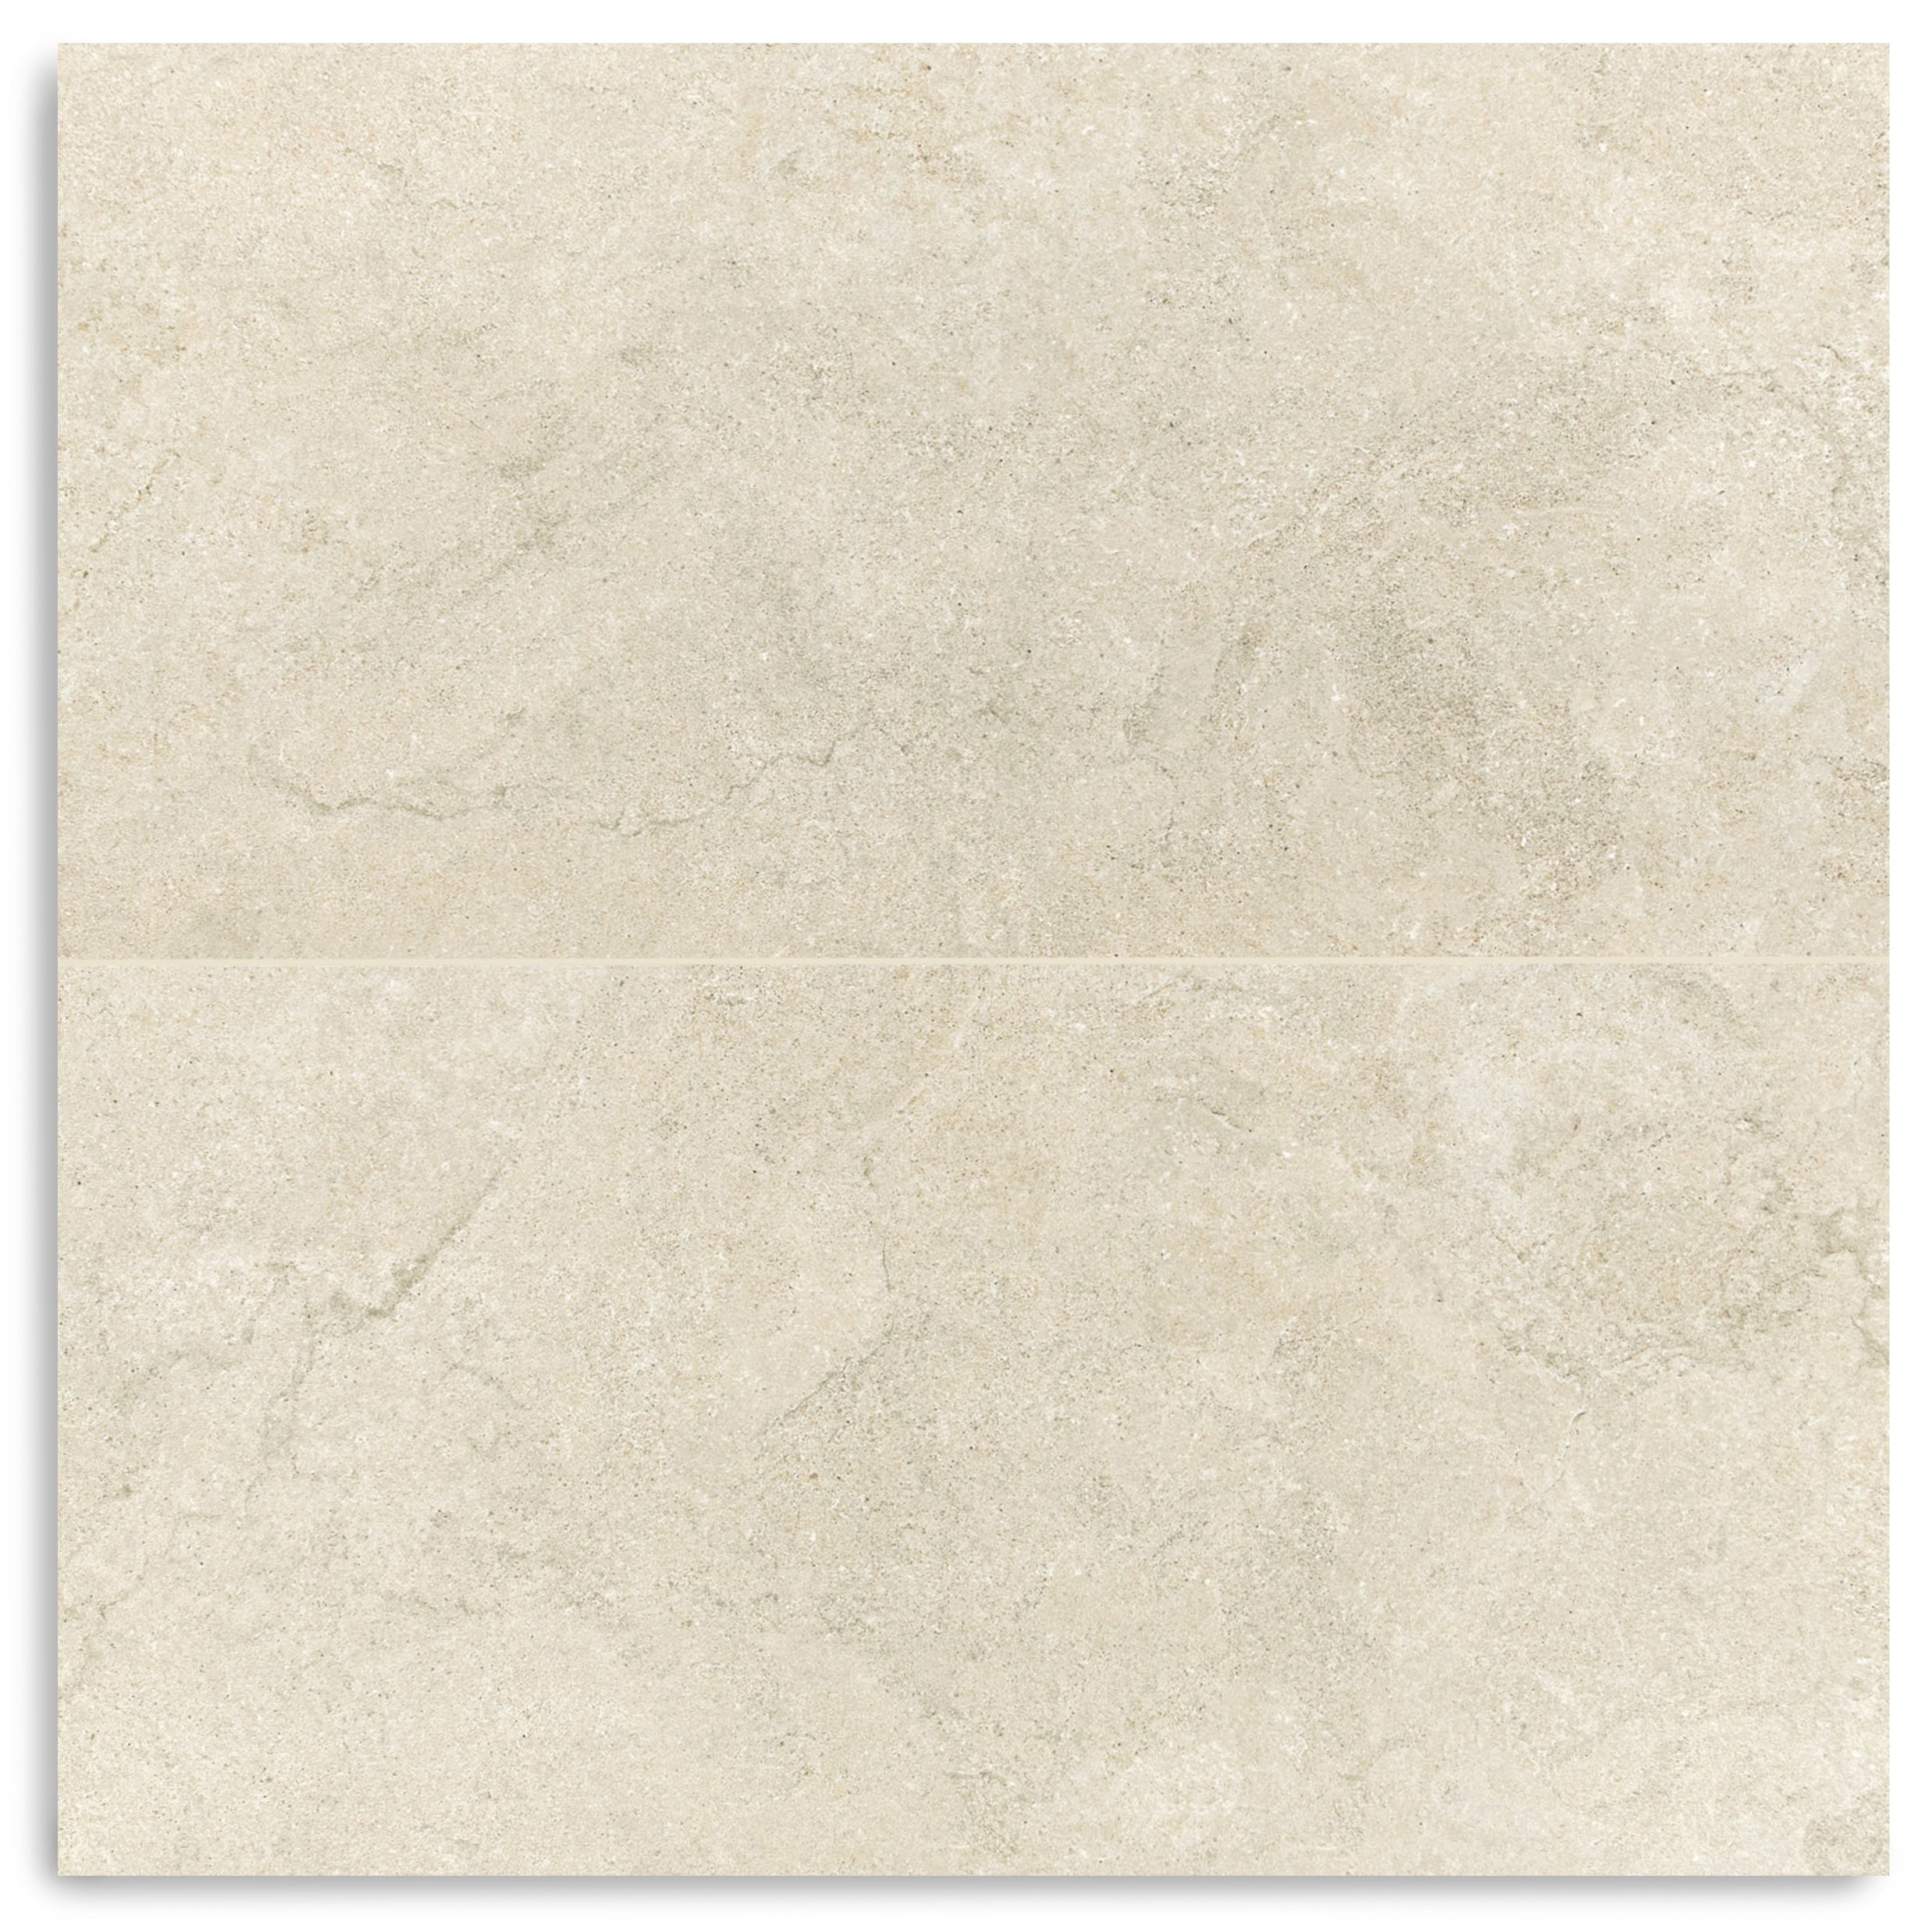
Cotto Deco Terracotta Look Matte Porcelain Tile


White & Ecru 2x2 Zellige Checkerboard Mosaic


Murano Honed Italian Terrazzo Tile


Cotto Terracotta Look Matte Porcelain Tile

Chiaro Deco Terracotta Look Matte Porcelain Tile


Unglazed & White Octagon Zellige Mosaic

Carrara Bardiglio Tumbled Stone Checkerboard


White & Black Octagon Zellige Mosaic


Beige Limestone Look 3D Matte Porcelain Tile
Cream Limestone Look 3D Matte Porcelain Tile

Rosso Verona Tumbled Marble Tile


Travertino Moka Stone Look Porcelain Tile


Apple 12x24 3D Glossy Porcelain Tile
Bianco Carrara Honed Marble Tile
Amazzonite Matte Marble Look Porcelain Tile
Travertino 3D Matte Porcelain Tile

White Multi-Color Matte Porcelain Tile


Rosso Verona 1x1 Hand Chipped Marble Mosaic


Cream 12x24 3D Gloss Porcelain Tile


Navy 12x24 3D Gloss Porcelain Tile
Almond Cement Look Matte Porcelain Tile

Natura Terracotta Look Matte Porcelain Tile


Cream 2x2 Forma Porcelain Mosaic
White & Ecru Octagon Zellige Mosaic
Thassos, Carrara, Bardiglio Gingham Marble Mosaic
Cotto Deco Terracotta Look Matte Porcelain Tile
White & Ecru 2x2 Zellige Checkerboard Mosaic
Murano Honed Italian Terrazzo Tile
Cotto Terracotta Look Matte Porcelain Tile
Chiaro Deco Terracotta Look Matte Porcelain Tile
Unglazed & White Octagon Zellige Mosaic
Carrara Bardiglio Tumbled Stone Checkerboard
White & Black Octagon Zellige Mosaic


Beige Limestone Look 3D Matte Porcelain Tile
Cream Limestone Look 3D Matte Porcelain Tile
Rosso Verona Tumbled Marble Tile
Apple 12x24 3D Glossy Porcelain Tile
Bianco Carrara Honed Marble Tile
Travertino Moka Stone Look Porcelain Tile
Rosso Verona 1x1 Hand Chipped Marble Mosaic
Amazzonite Matte Marble Look Porcelain Tile
Travertino 3D Matte Porcelain Tile
White Multi-Color Matte Porcelain Tile
Cream 12x24 3D Gloss Porcelain Tile
Navy 12x24 3D Gloss Porcelain Tile
Natura Terracotta Look Matte Porcelain Tile
Bianco Carrara Octagon w/ Nero Marquina Dot Mosaic
White & Ecru Octagon Zellige Mosaic
Thassos, Carrara, Bardiglio Gingham Marble Mosaic
Cotto Deco Terracotta Look Matte Porcelain Tile
White & Ecru 2x2 Zellige Checkerboard Mosaic
Murano Honed Italian Terrazzo Tile
Cotto Terracotta Look Matte Porcelain Tile
Chiaro Deco Terracotta Look Matte Porcelain Tile
Unglazed & White Octagon Zellige Mosaic
Carrara Bardiglio Tumbled Stone Checkerboard
White & Black Octagon Zellige Mosaic
Beige Limestone Look 3D Matte Porcelain Tile
Cream Limestone Look 3D Matte Porcelain Tile
Rosso Verona Tumbled Marble Tile
Travertino Moka Stone Look Porcelain Tile
Bianco Carrara Honed Marble Tile
Rosso Verona 1x1 Hand Chipped Marble Mosaic
Amazzonite Matte Marble Look Porcelain Tile
Travertino 3D Matte Porcelain Tile
White Multi-Color Matte Porcelain Tile

Spider Gold Matte Marble Look Porcelain Tile
Cream 2x2 Forma Porcelain Mosaic


Cotto 2x2 Forma Porcelain Mosaic
Bianco Carrara Octagon w/ Nero Marquina Dot Mosaic
Almond Cement Look Matte Porcelain Tile
Natura Terracotta Look Matte Porcelain Tile


Star & Cross Classic Terracotta Tile
Bardiglio Desert Tea Tumbled Stone Checker Stripe
Breccia Capraia 3D Mable Look Porcelain Tile
Verde Guatemala Tumbled Marble Tile
White & Ecru Octagon Zellige Mosaic
Thassos, Carrara, Bardiglio Gingham Marble Mosaic
Cotto Deco Terracotta Look Matte Porcelain Tile
White & Ecru 2x2 Zellige Checkerboard Mosaic
Murano Honed Italian Terrazzo Tile
Unglazed & White Octagon Zellige Mosaic
Chiaro Deco Terracotta Look Matte Porcelain Tile
White & Black Octagon Zellige Mosaic
Carrara Bardiglio Tumbled Stone Checkerboard
Beige Limestone Look 3D Matte Porcelain Tile
Cream Limestone Look 3D Matte Porcelain Tile
Rosso Verona Tumbled Marble Tile
Travertino Moka Stone Look Porcelain Tile
Apple 12x24 3D Glossy Porcelain Tile
Rosso Verona 1x1 Hand Chipped Marble Mosaic
Amazzonite Matte Marble Look Porcelain Tile
Travertino 3D Matte Porcelain Tile
White Multi-Color Matte Porcelain Tile
Bianco Carrara Octagon w/ Nero Marquina Dot Mosaic
Cream 2x2 Forma Porcelain Mosaic
Cotto 2x2 Forma Porcelain Mosaic

Cream 12x24 3D Gloss Porcelain Tile
Navy 12x24 3D Gloss Porcelain Tile
Natura Terracotta Look Matte Porcelain Tile
Star & Cross Classic Terracotta Tile
White & Ecru Octagon Zellige Mosaic
Thassos, Carrara, Bardiglio Gingham Marble Mosaic
Cotto Deco Terracotta Look Matte Porcelain Tile
White & Ecru 2x2 Zellige Checkerboard Mosaic
Murano Honed Italian Terrazzo Tile
Cotto Terracotta Look Matte Porcelain Tile
Chiaro Deco Terracotta Look Matte Porcelain Tile
Unglazed & White Octagon Zellige Mosaic
Carrara Bardiglio Tumbled Stone Checkerboard
White & Black Octagon Zellige Mosaic
Beige Limestone Look 3D Matte Porcelain Tile
Cream Limestone Look 3D Matte Porcelain Tile
Rosso Verona Tumbled Marble Tile
Travertino Moka Stone Look Porcelain Tile
Apple 12x24 3D Glossy Porcelain Tile
Bianco Carrara Honed Marble Tile
Rosso Verona 1x1 Hand Chipped Marble Mosaic
Amazzonite Matte Marble Look Porcelain Tile
Travertino 3D Matte Porcelain Tile
White Multi-Color Matte Porcelain Tile
Bianco Carrara Octagon w/ Nero Marquina Dot Mosaic
Cream 12x24 3D Gloss Porcelain Tile
Navy 12x24 3D Gloss Porcelain Tile
Almond Cement Look Matte Porcelain Tile
White & Ecru Octagon Zellige Mosaic
Thassos, Carrara, Bardiglio Gingham Marble Mosaic
Cotto Deco Terracotta Look Matte Porcelain Tile
White & Ecru 2x2 Zellige Checkerboard Mosaic
Murano Honed Italian Terrazzo Tile
Chiaro Deco Terracotta Look Matte Porcelain Tile
Unglazed & White Octagon Zellige Mosaic
Carrara Bardiglio Tumbled Stone Checkerboard
White & Black Octagon Zellige Mosaic
Beige Limestone Look 3D Matte Porcelain Tile
Cream Limestone Look 3D Matte Porcelain Tile
Rosso Verona Tumbled Marble Tile
Bianco Carrara Honed Marble Tile
Travertino Moka Stone Look Porcelain Tile
Apple 12x24 3D Glossy Porcelain Tile
Travertino 3D Matte Porcelain Tile
Rosso Verona 1x1 Hand Chipped Marble Mosaic
Amazzonite Matte Marble Look Porcelain Tile
White Multi-Color Matte Porcelain Tile
Almond Cement Look Matte Porcelain Tile
Bianco Carrara Octagon w/ Nero Marquina Dot Mosaic
Cream 12x24 3D Gloss Porcelain Tile
Navy 12x24 3D Gloss Porcelain Tile
Bianco Carrara Honed Marble Tile
Carrara 1x1 Hand Chipped Marble Mosaic
Carrara Honed Basketweave Marble Mosaic
Carrara Running Bond Marble Mosaic
Carrara Tumbled Basketweave Marble Mosaic
Calacatta 1x1 Hand Chipped Marble Mosaic

Calacatta Running Bond Marble Mosaic
Grigio Pearla 1x1 Hand Chipped Marble Mosaic
Bianco Carrara Octagon w/ Nero Marquina Dot Mosaic
Thassos, Carrara, Bardiglio Gingham Marble Mosaic
Rosso Verona 1x1 Hand Chipped Marble Mosaic

Calacatta Honed Italian Terrazzo Tile

Torcello Honed Italian Terrazzo Tile
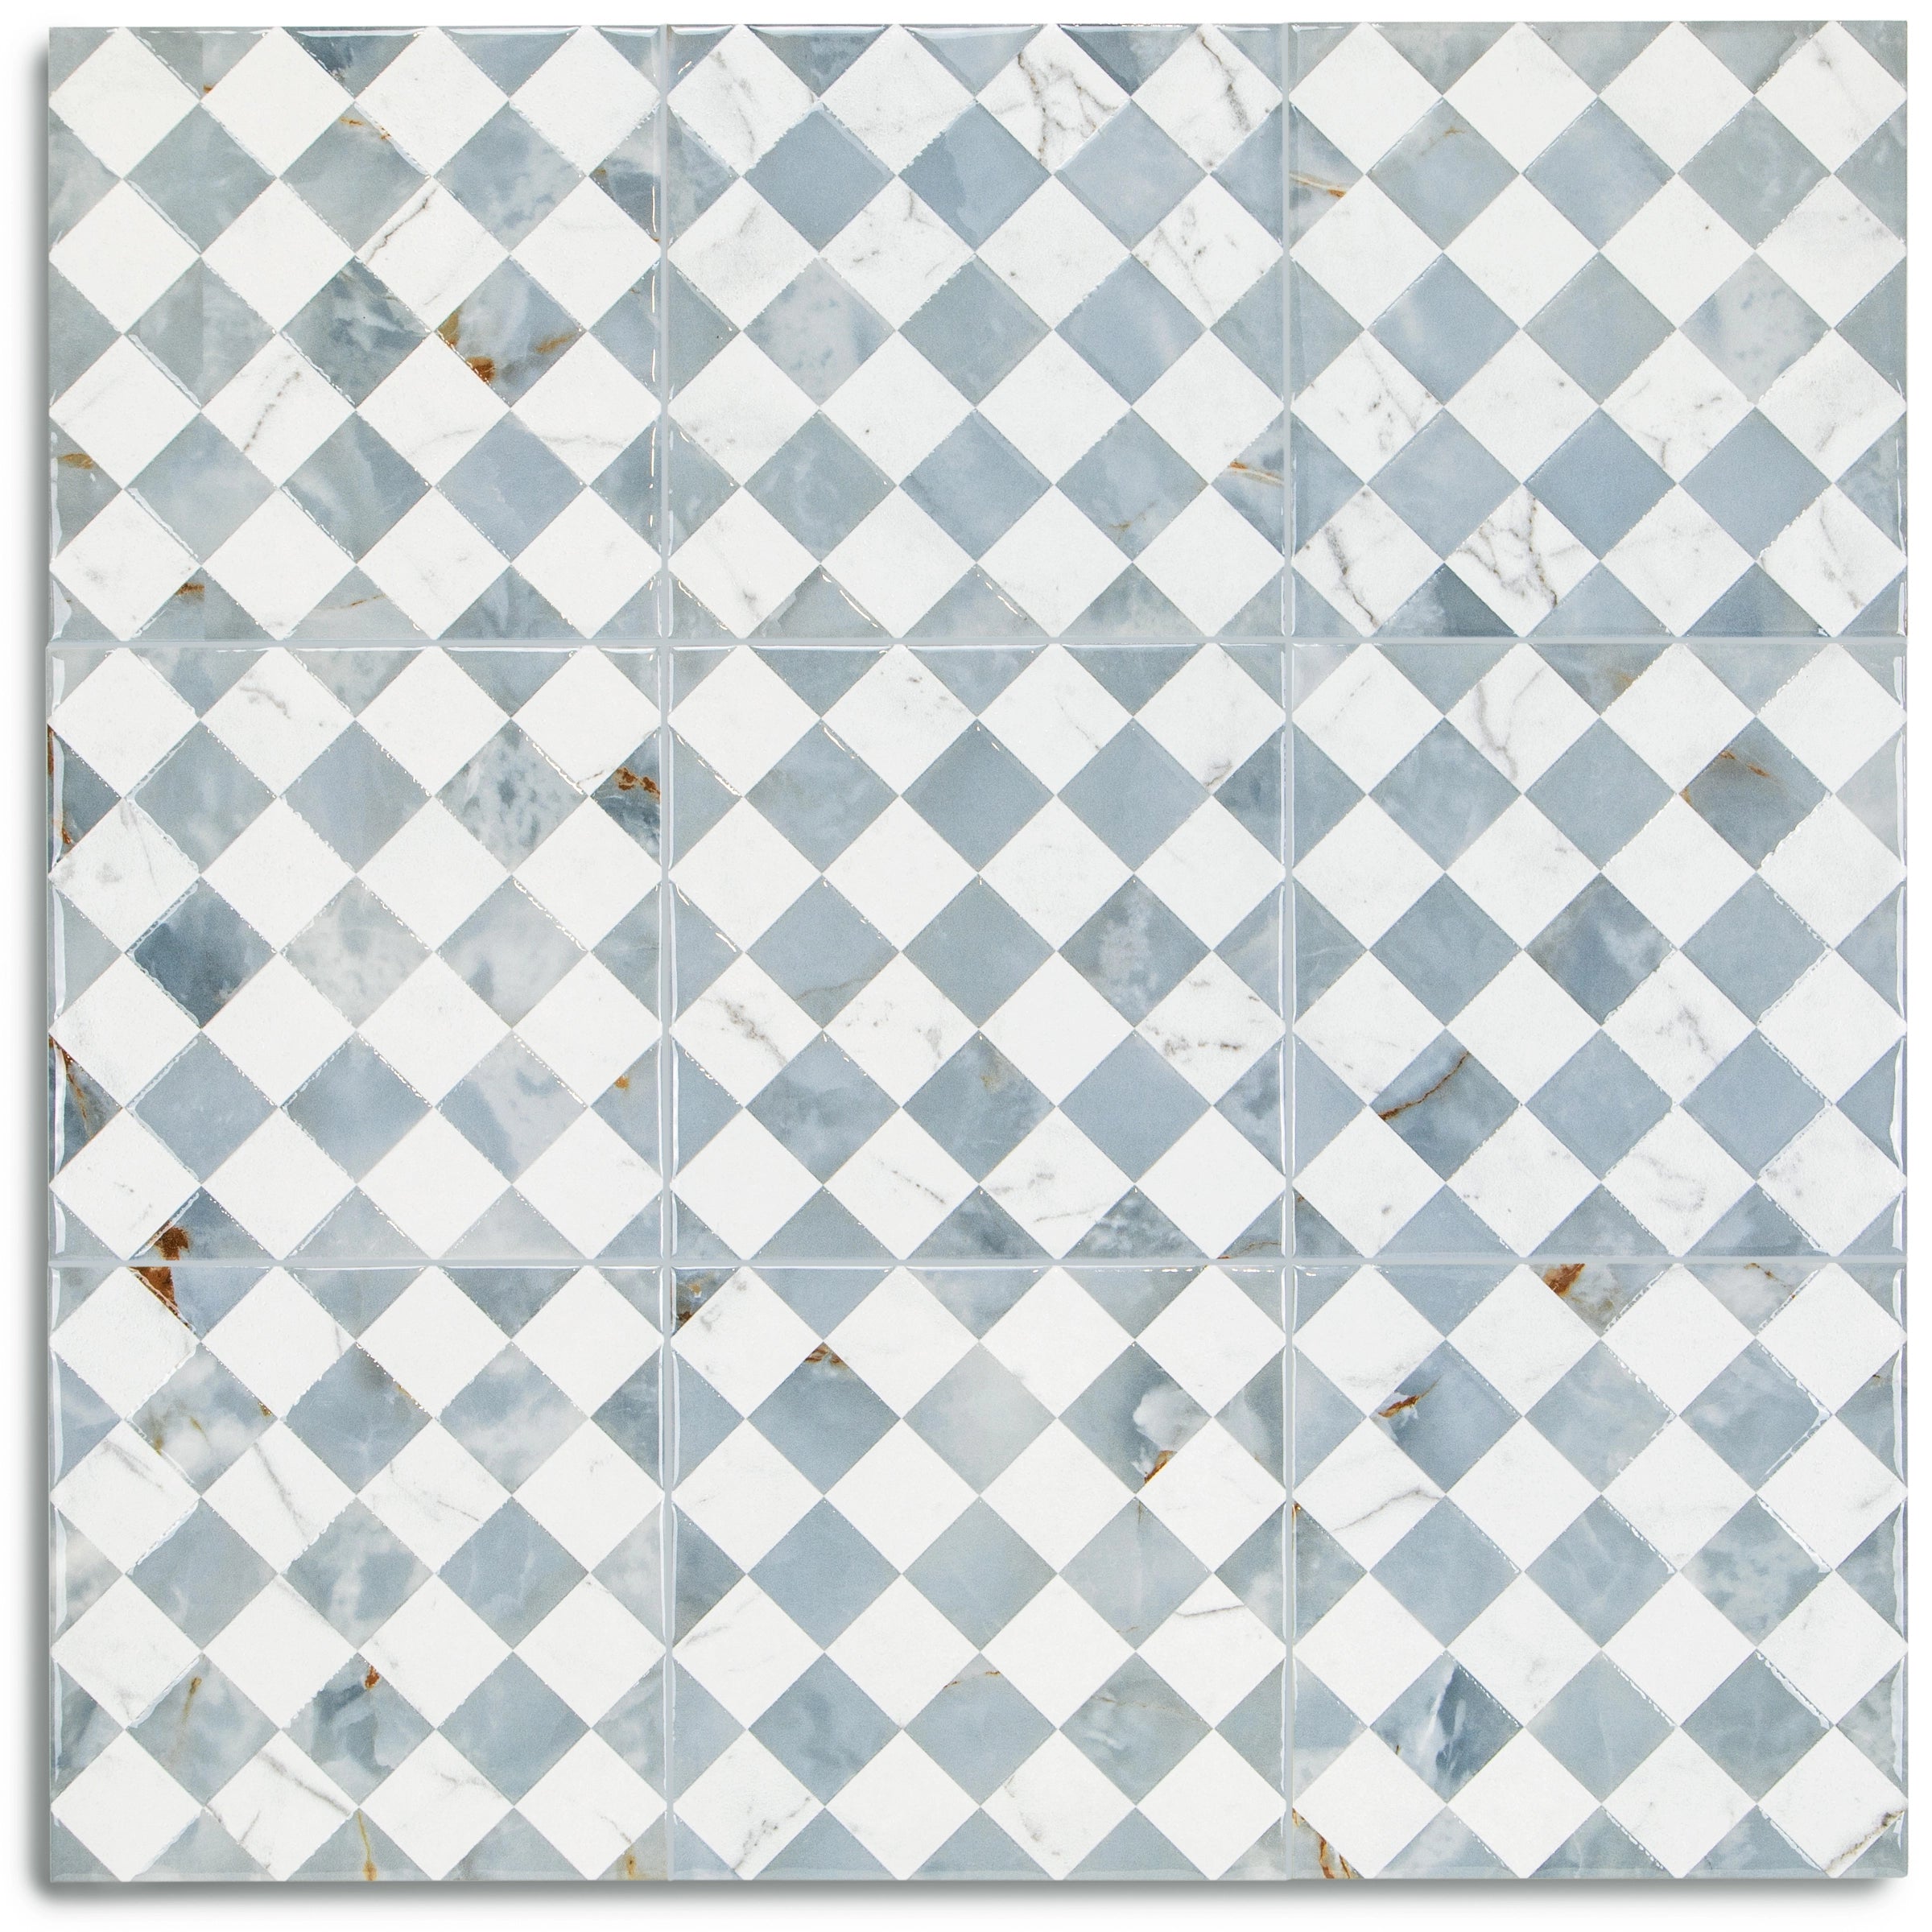
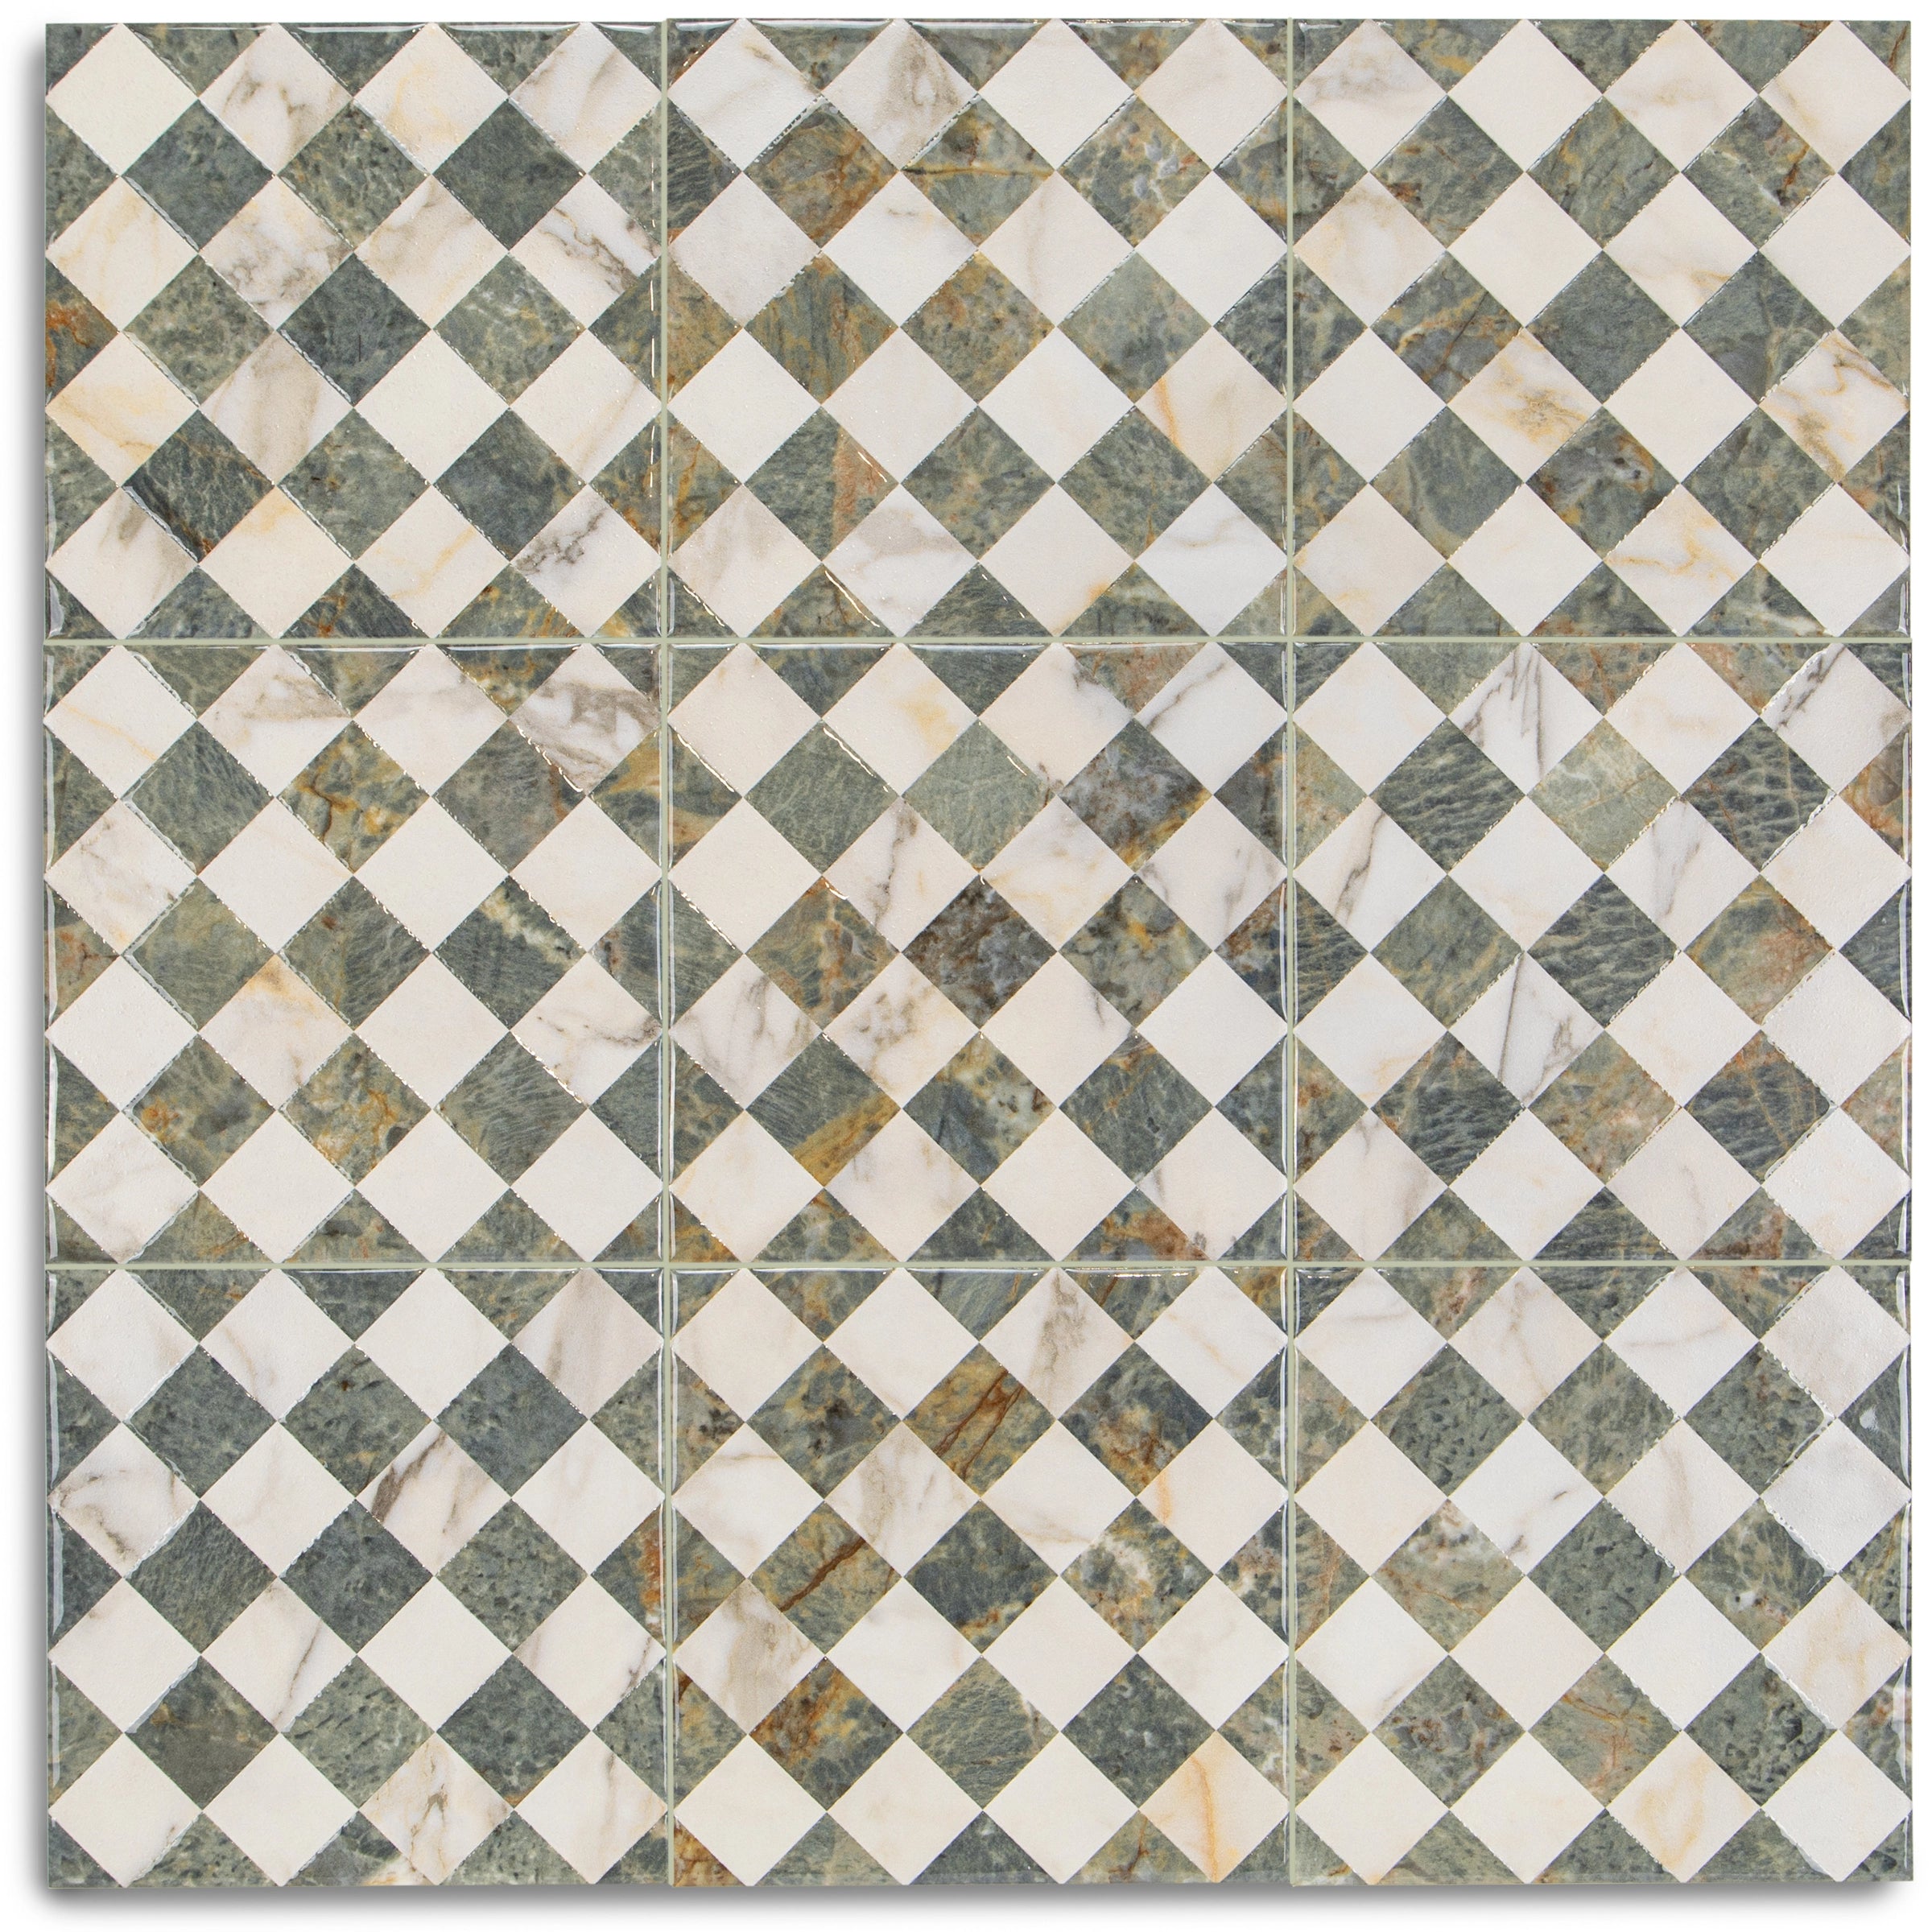
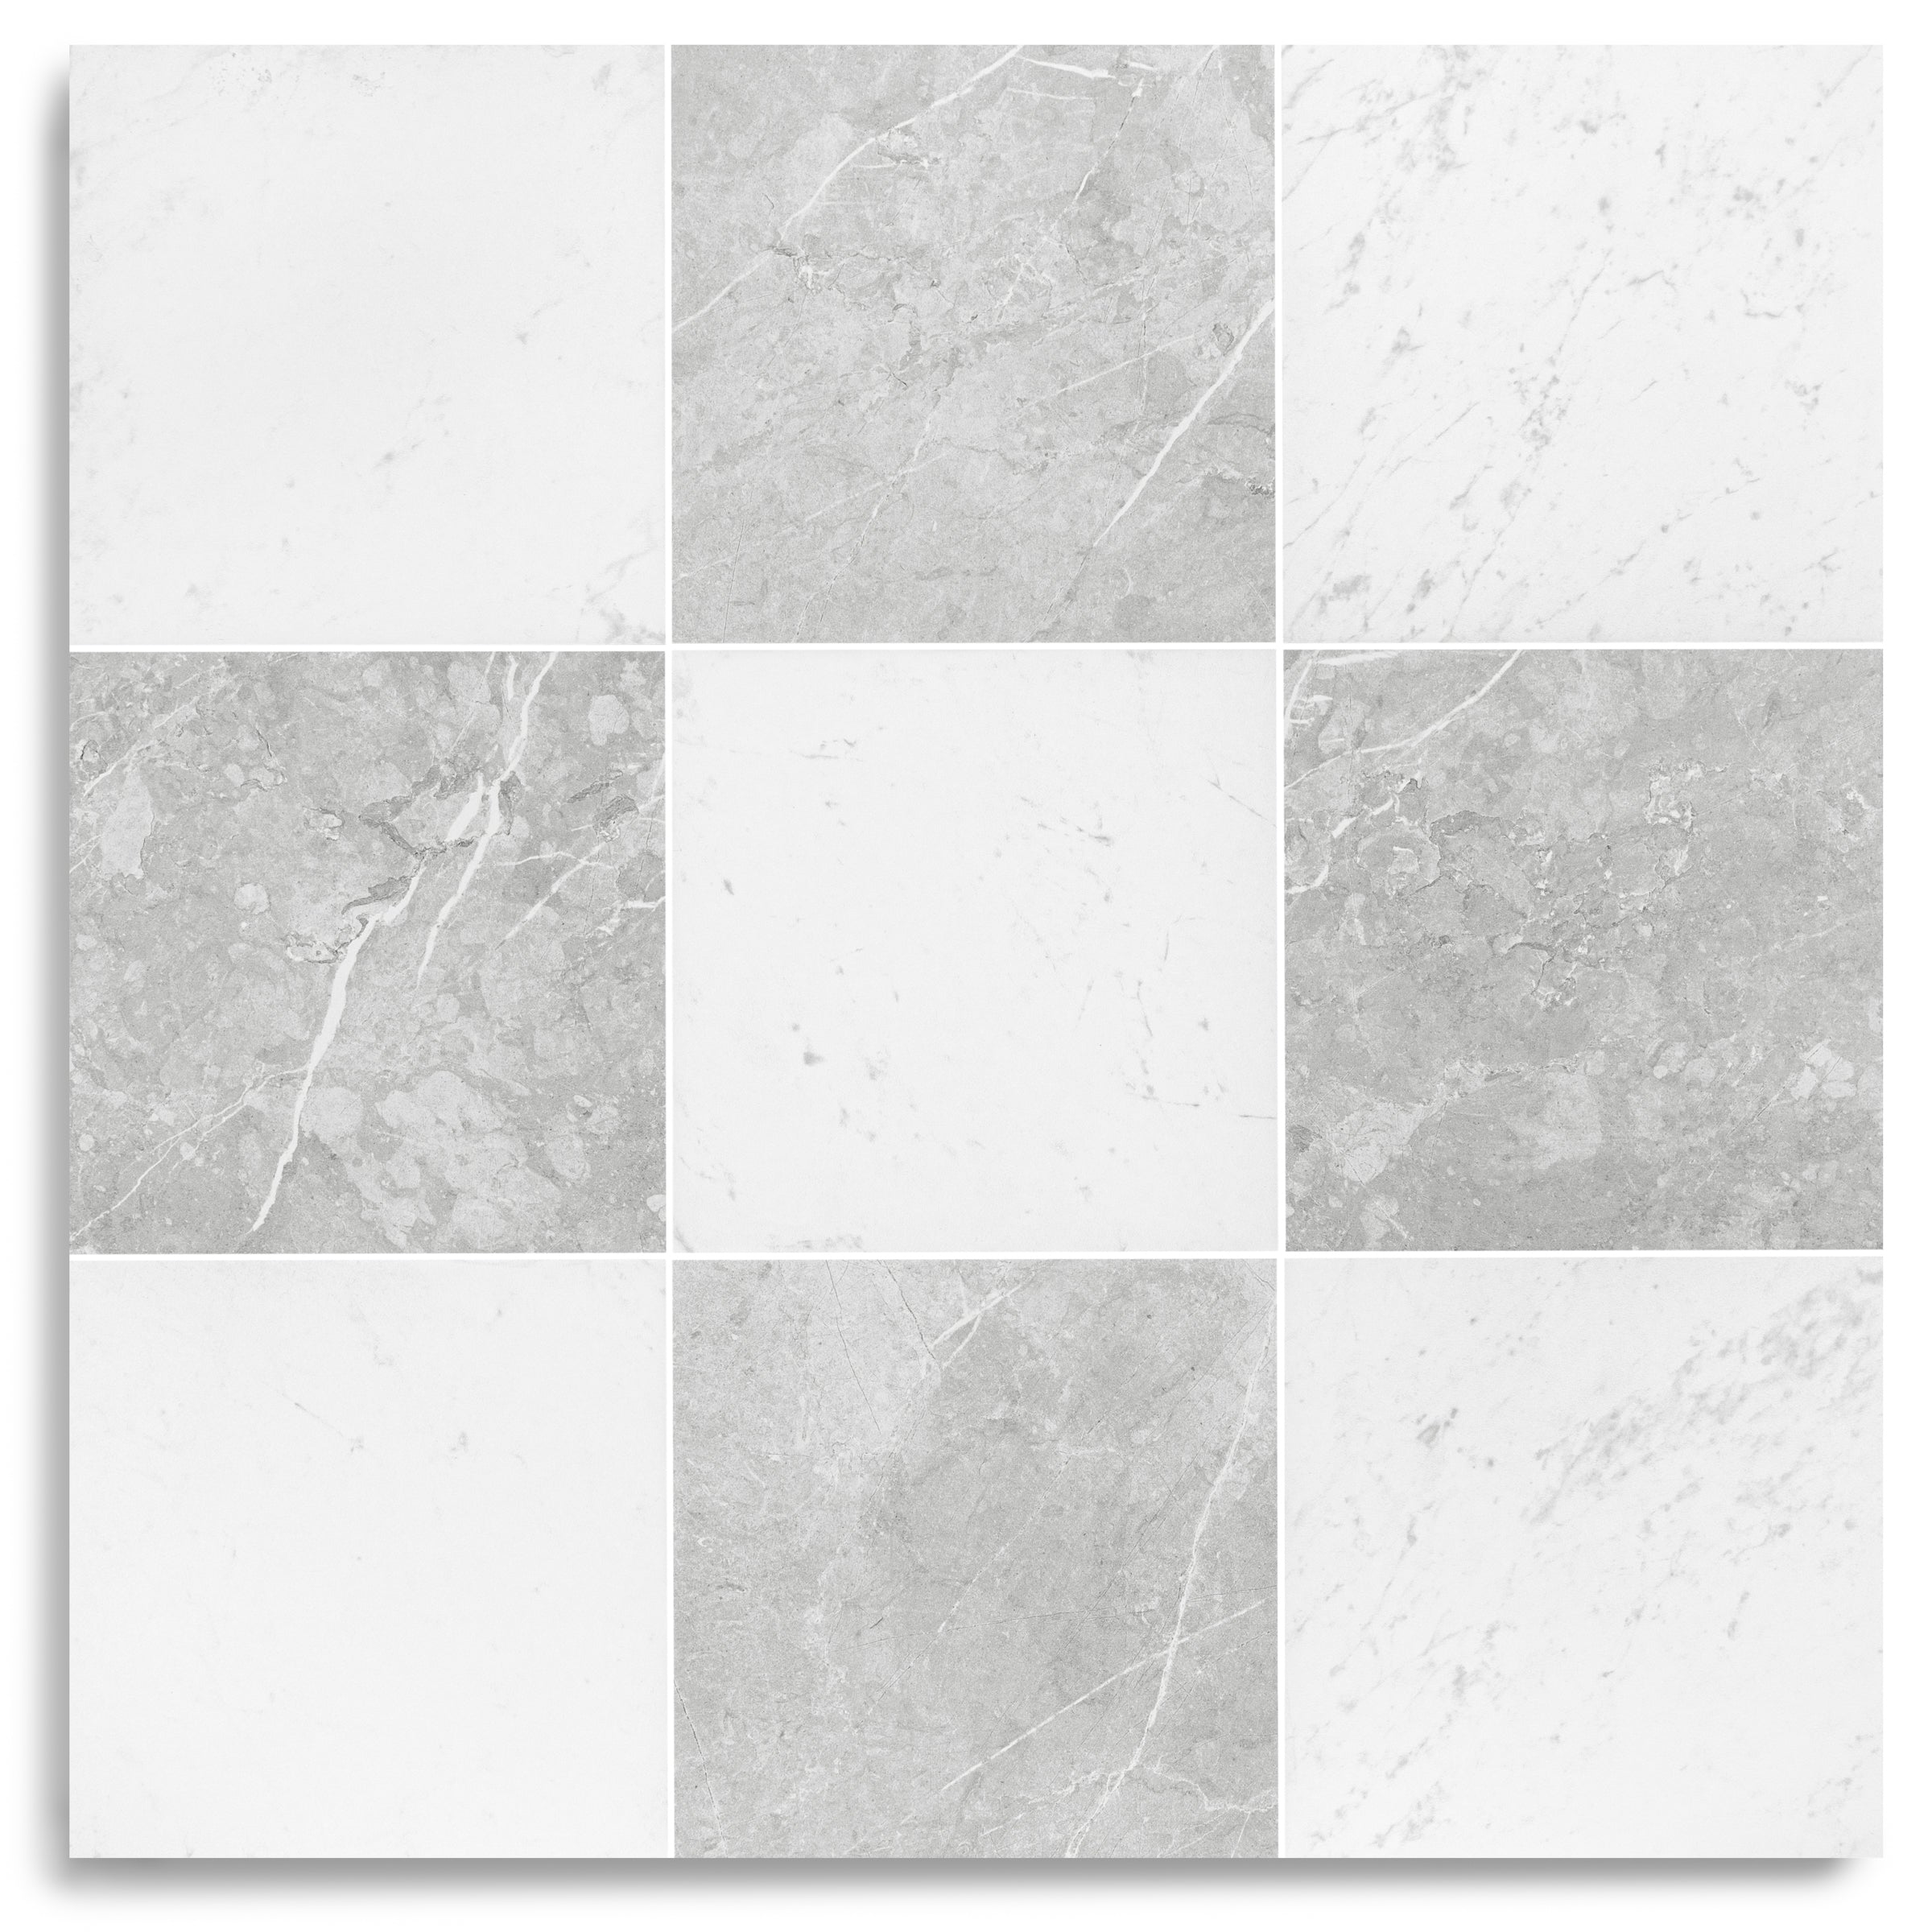
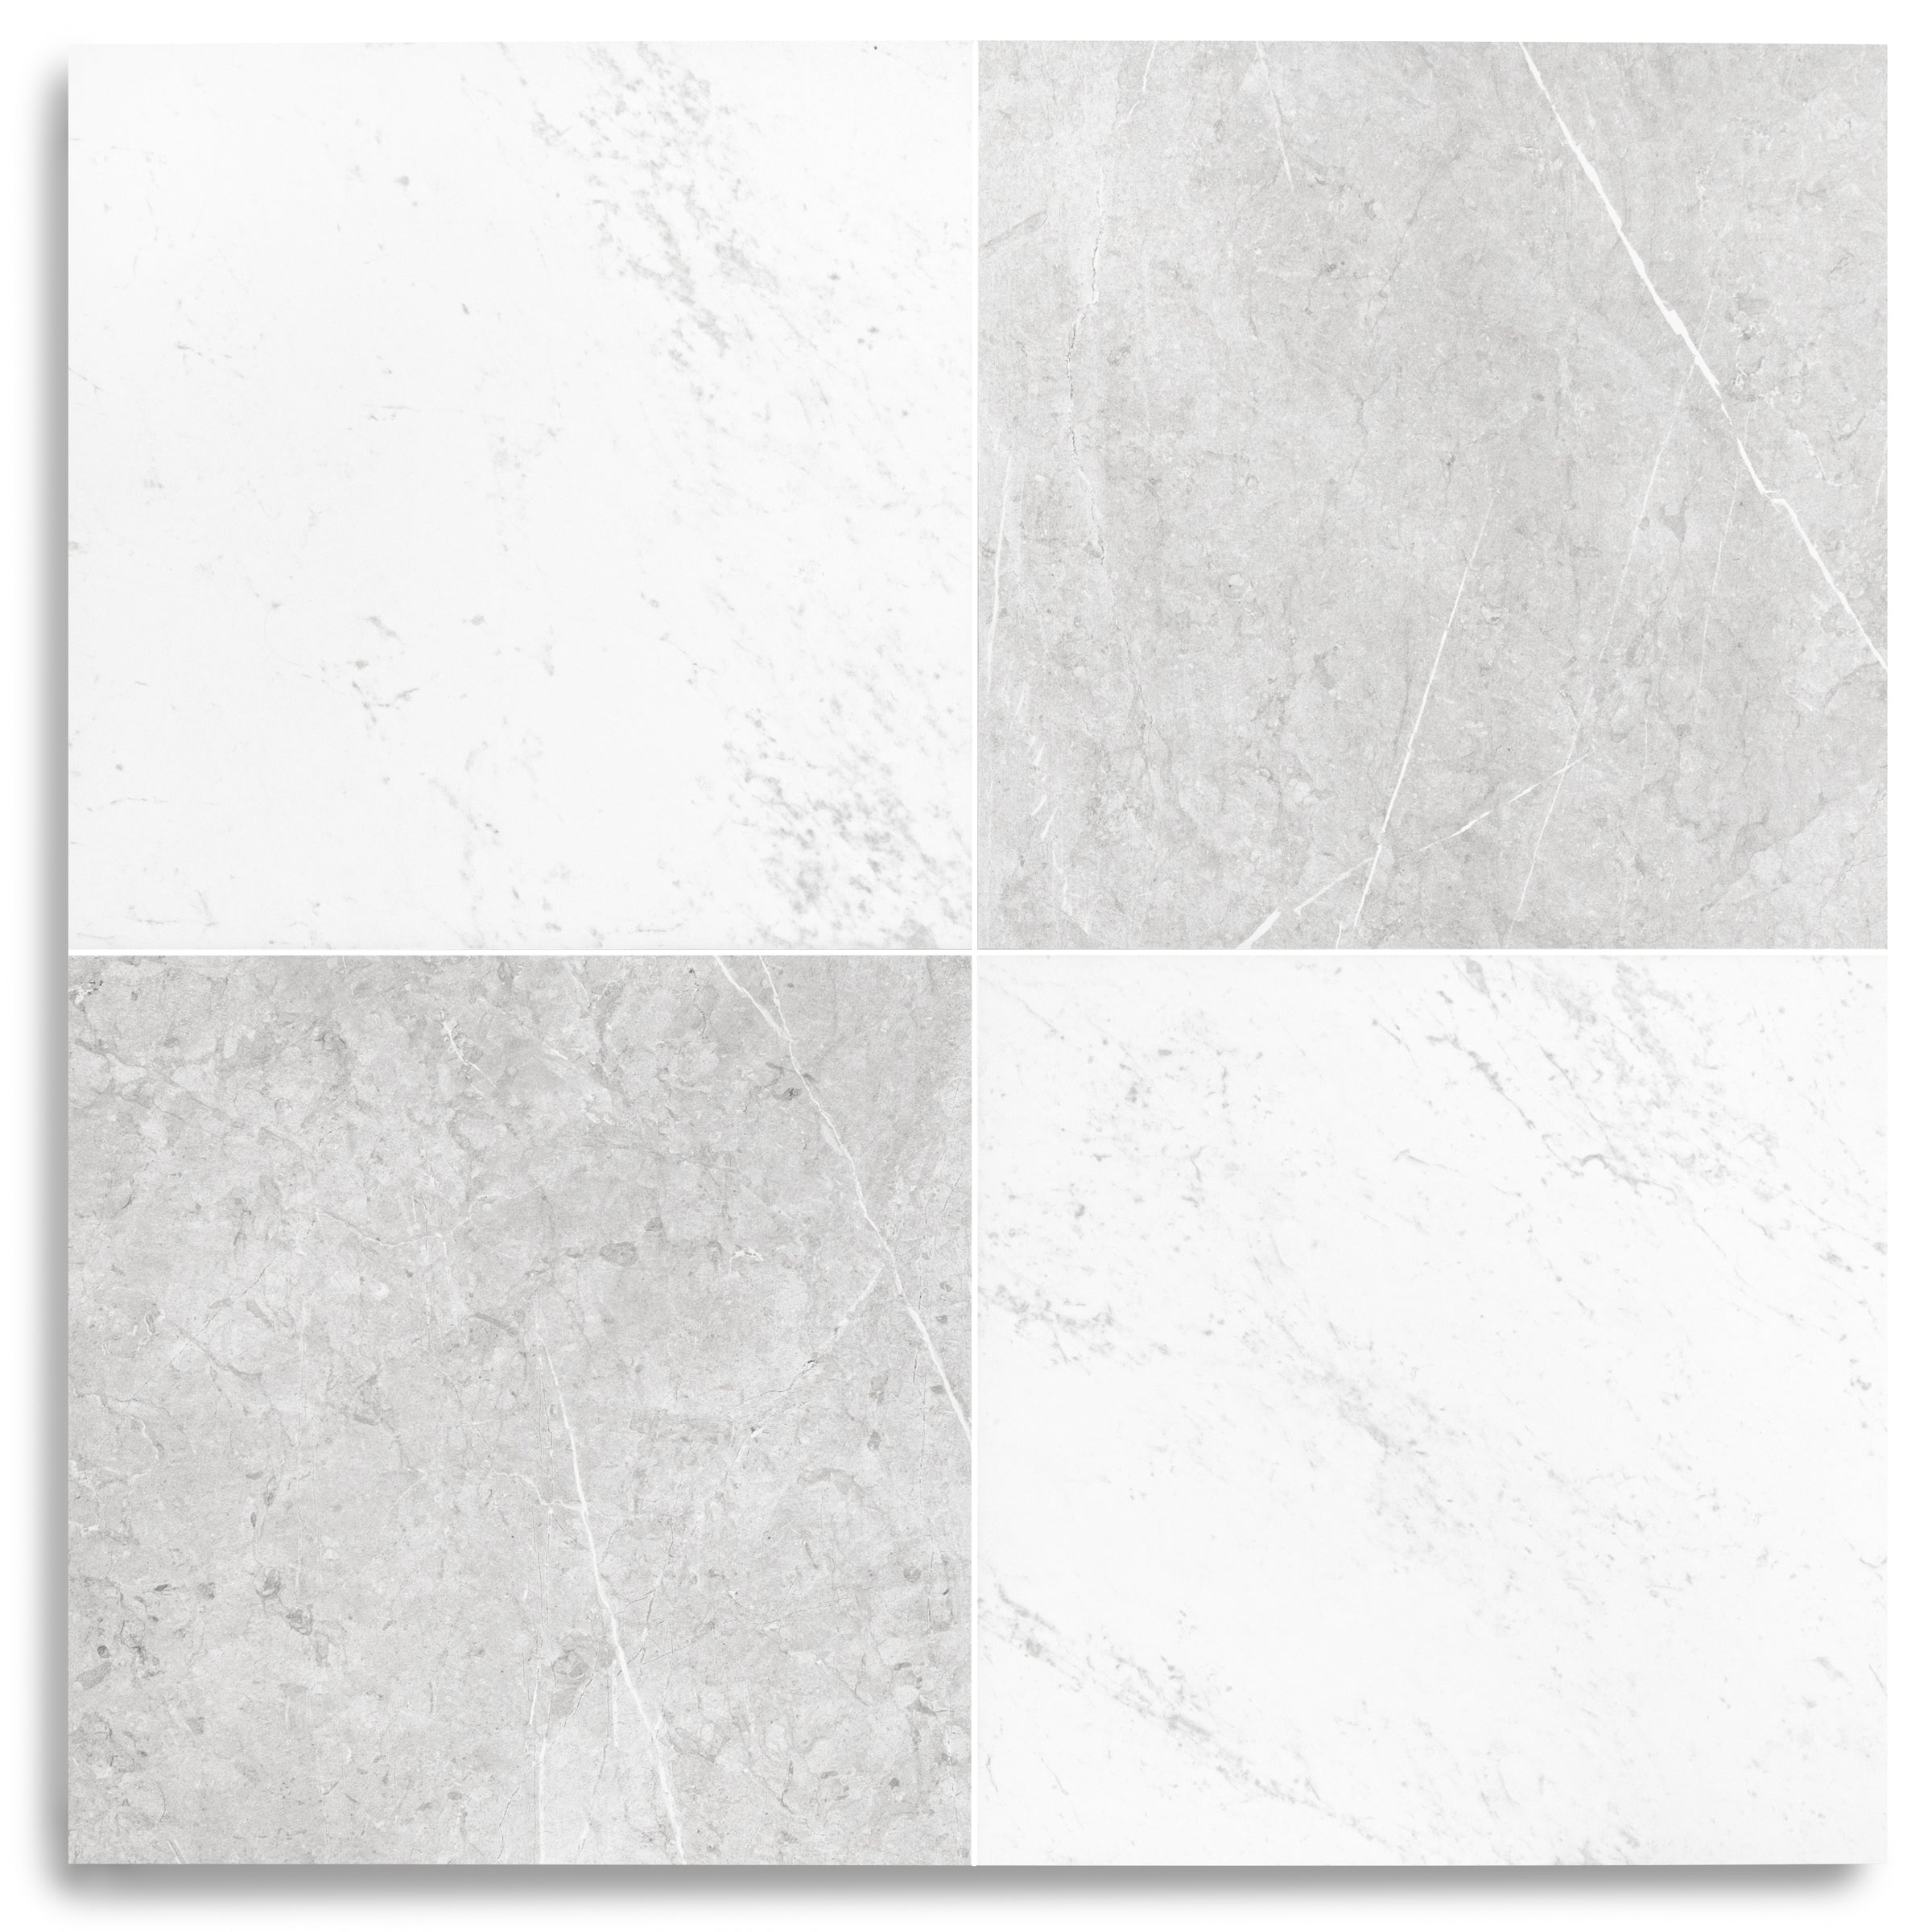
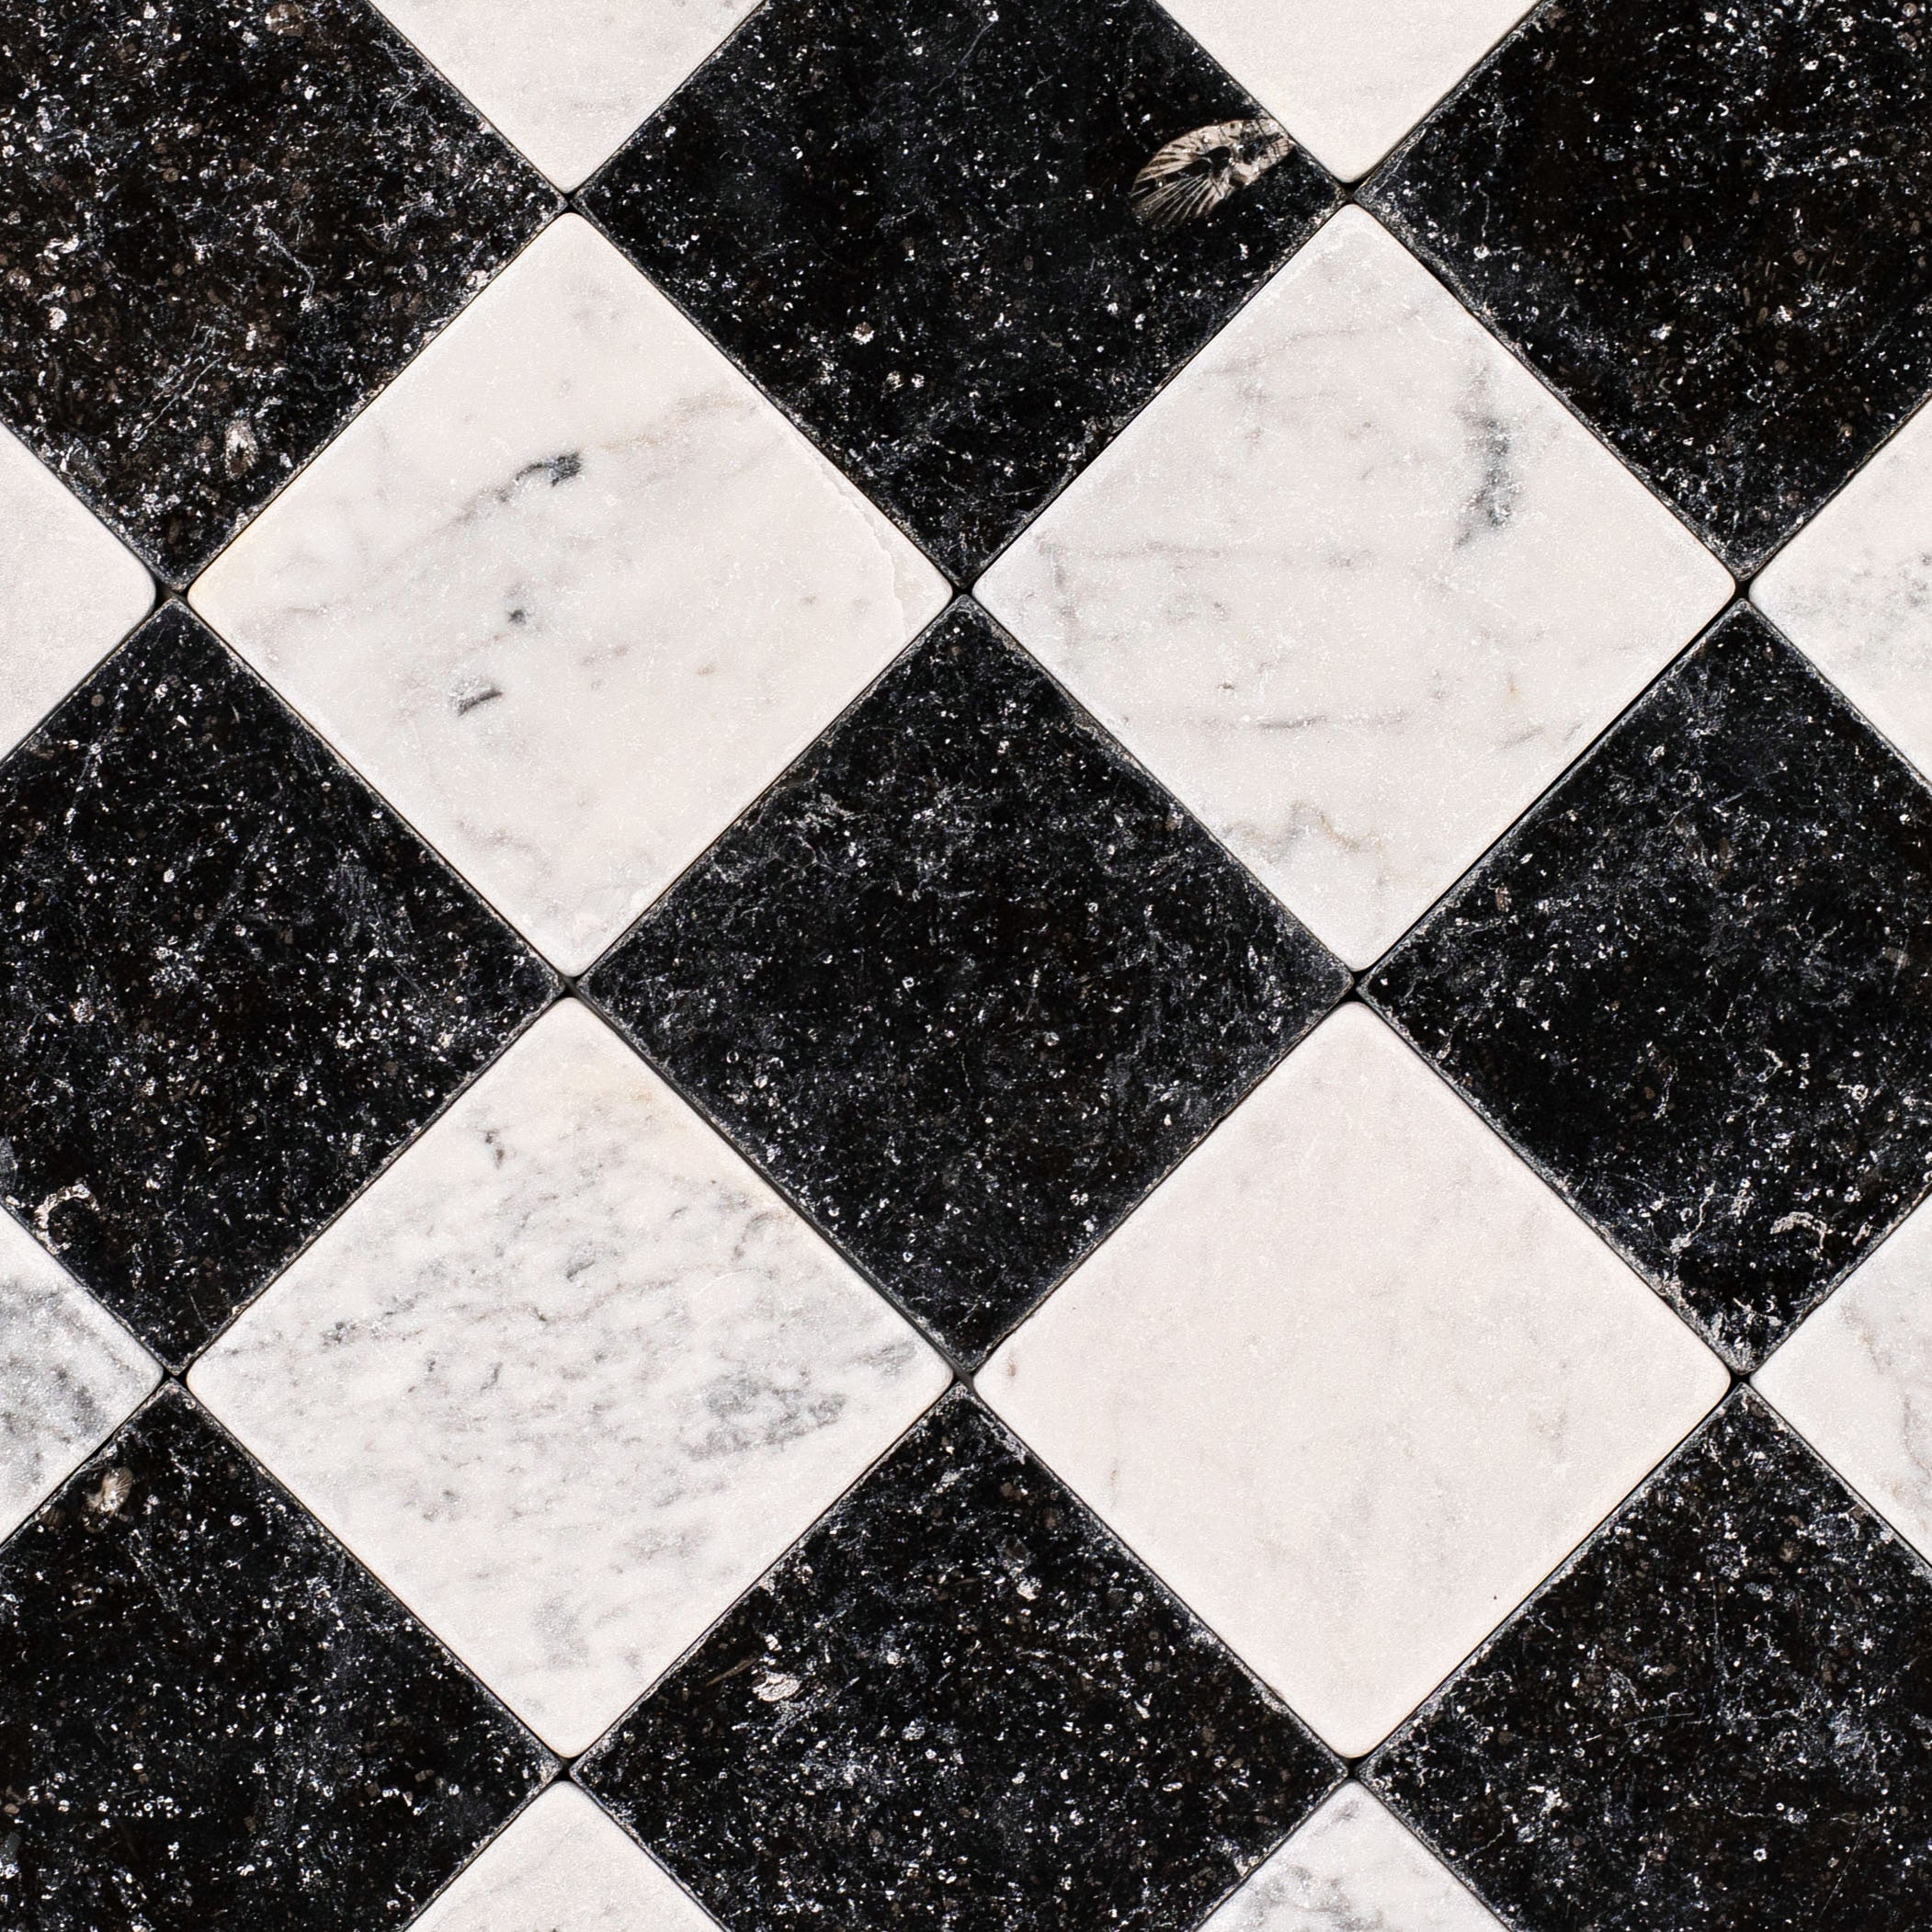
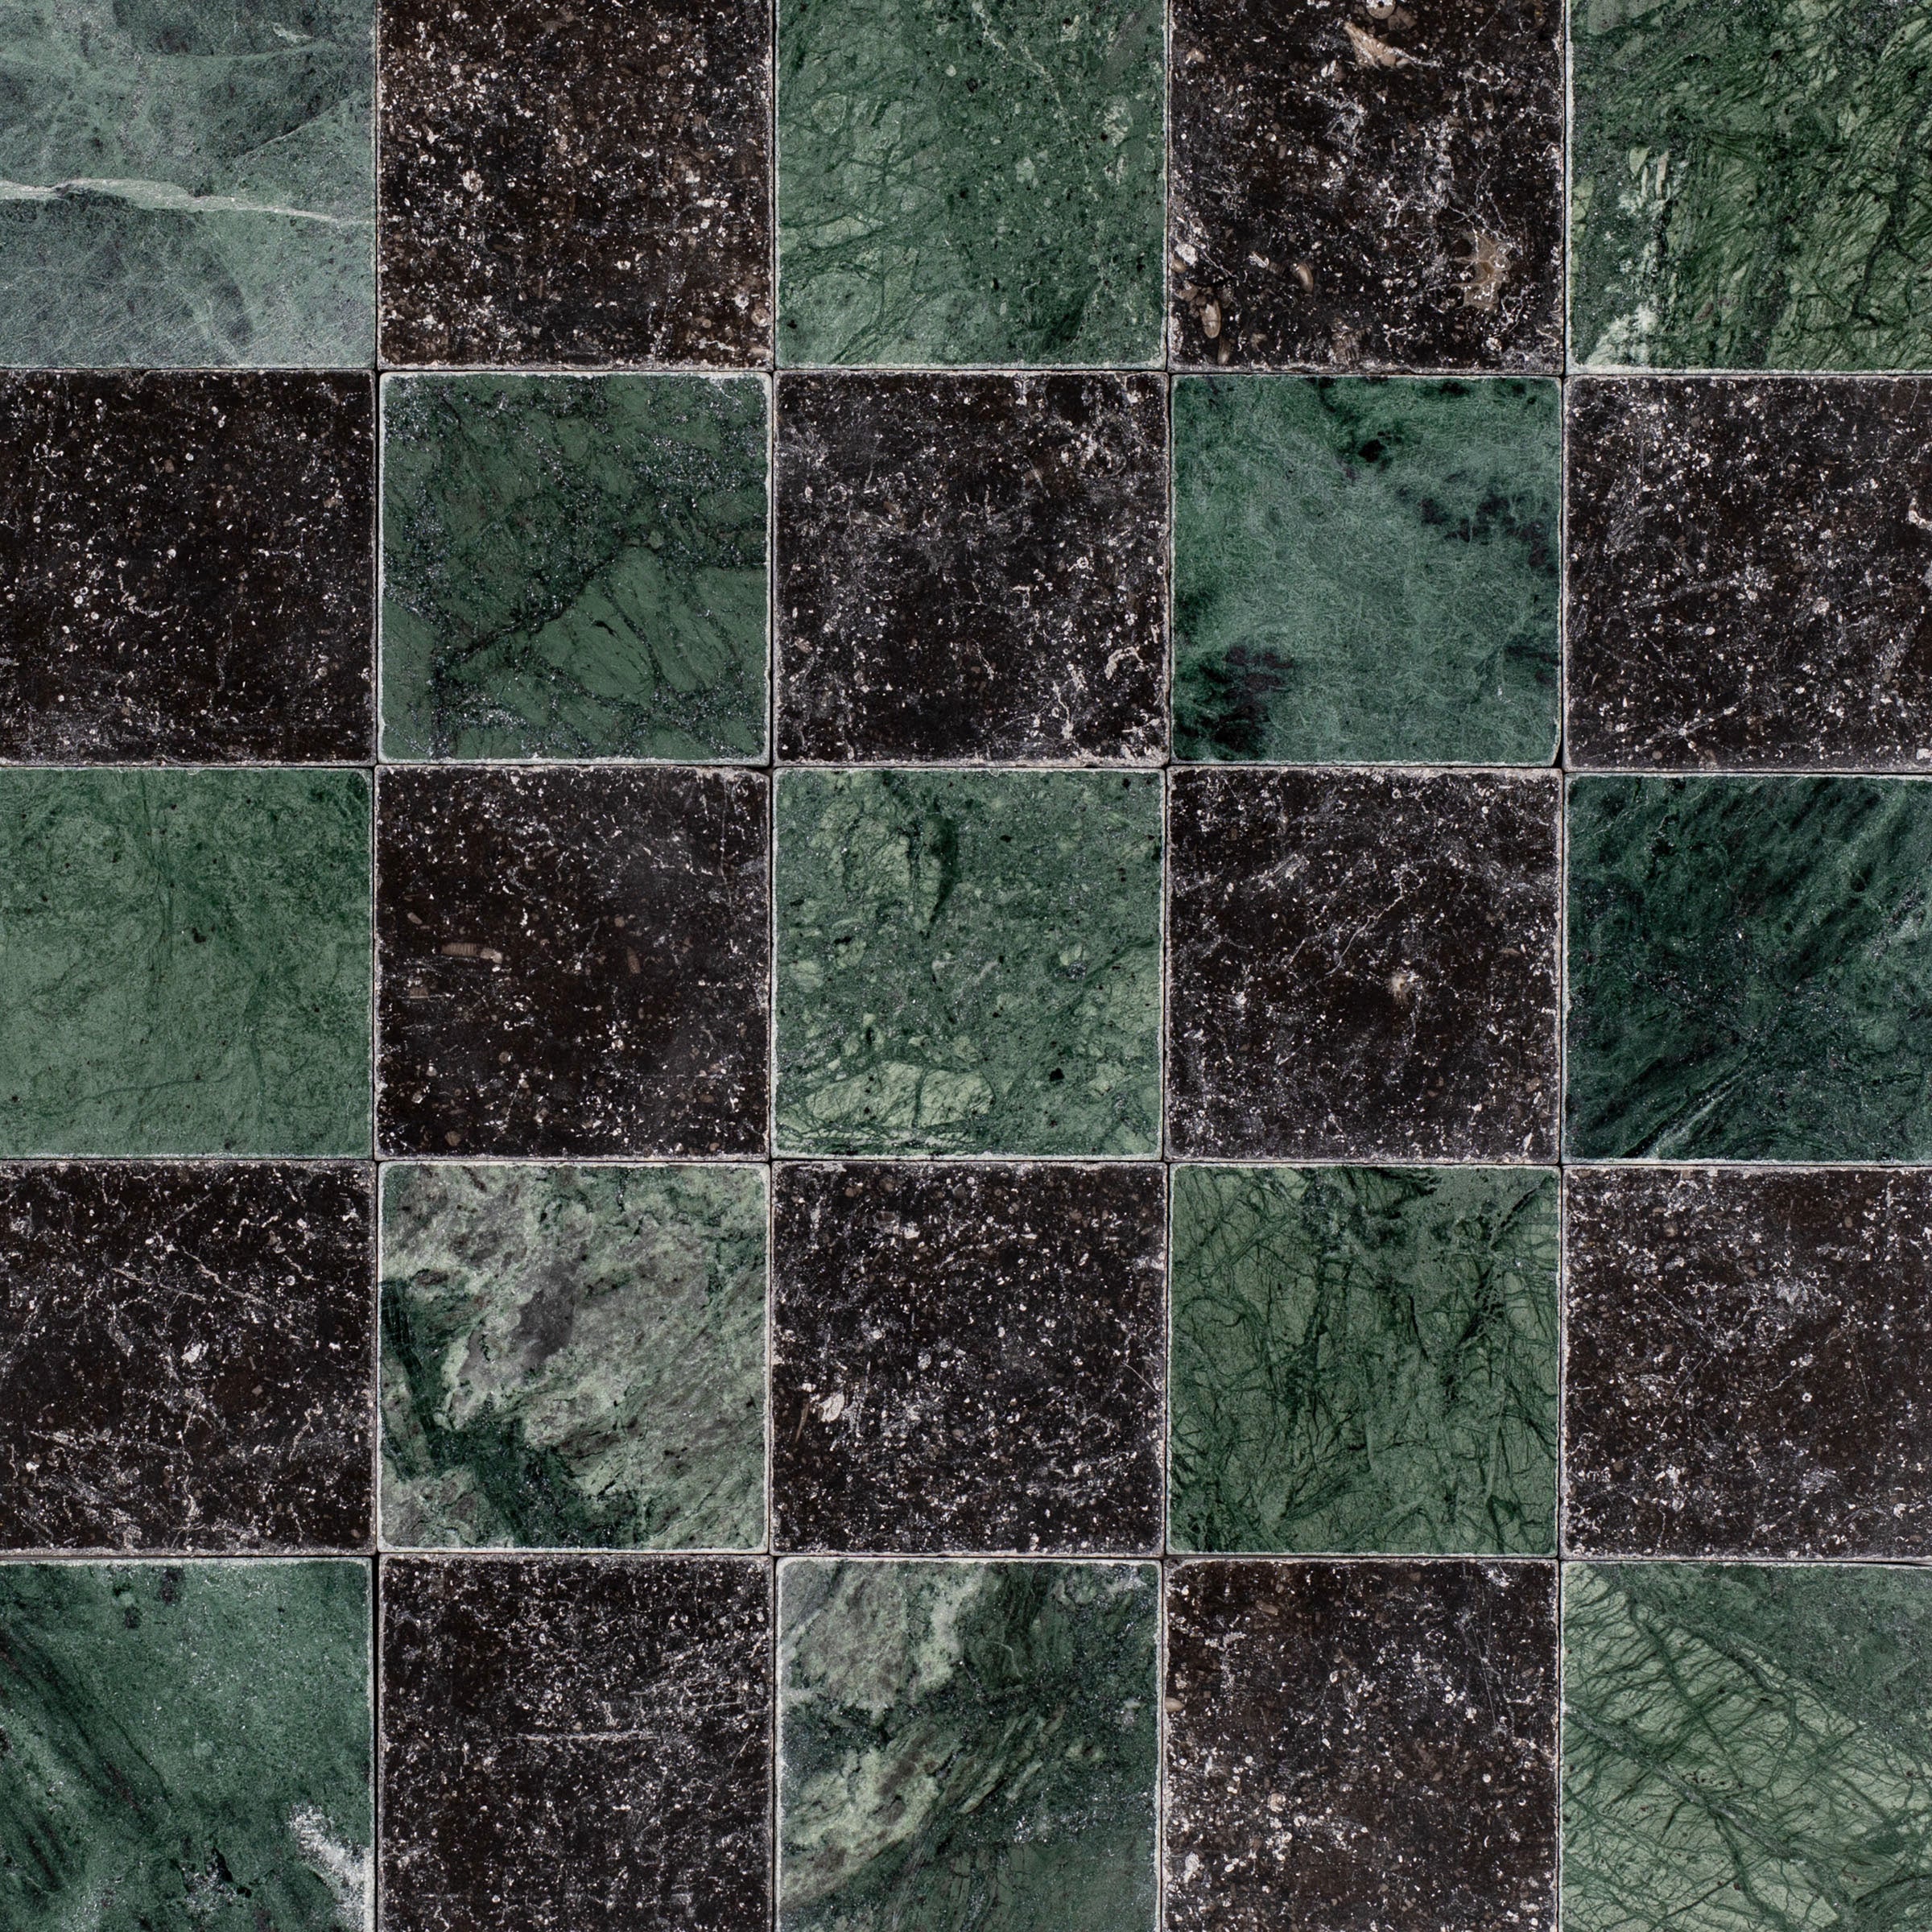
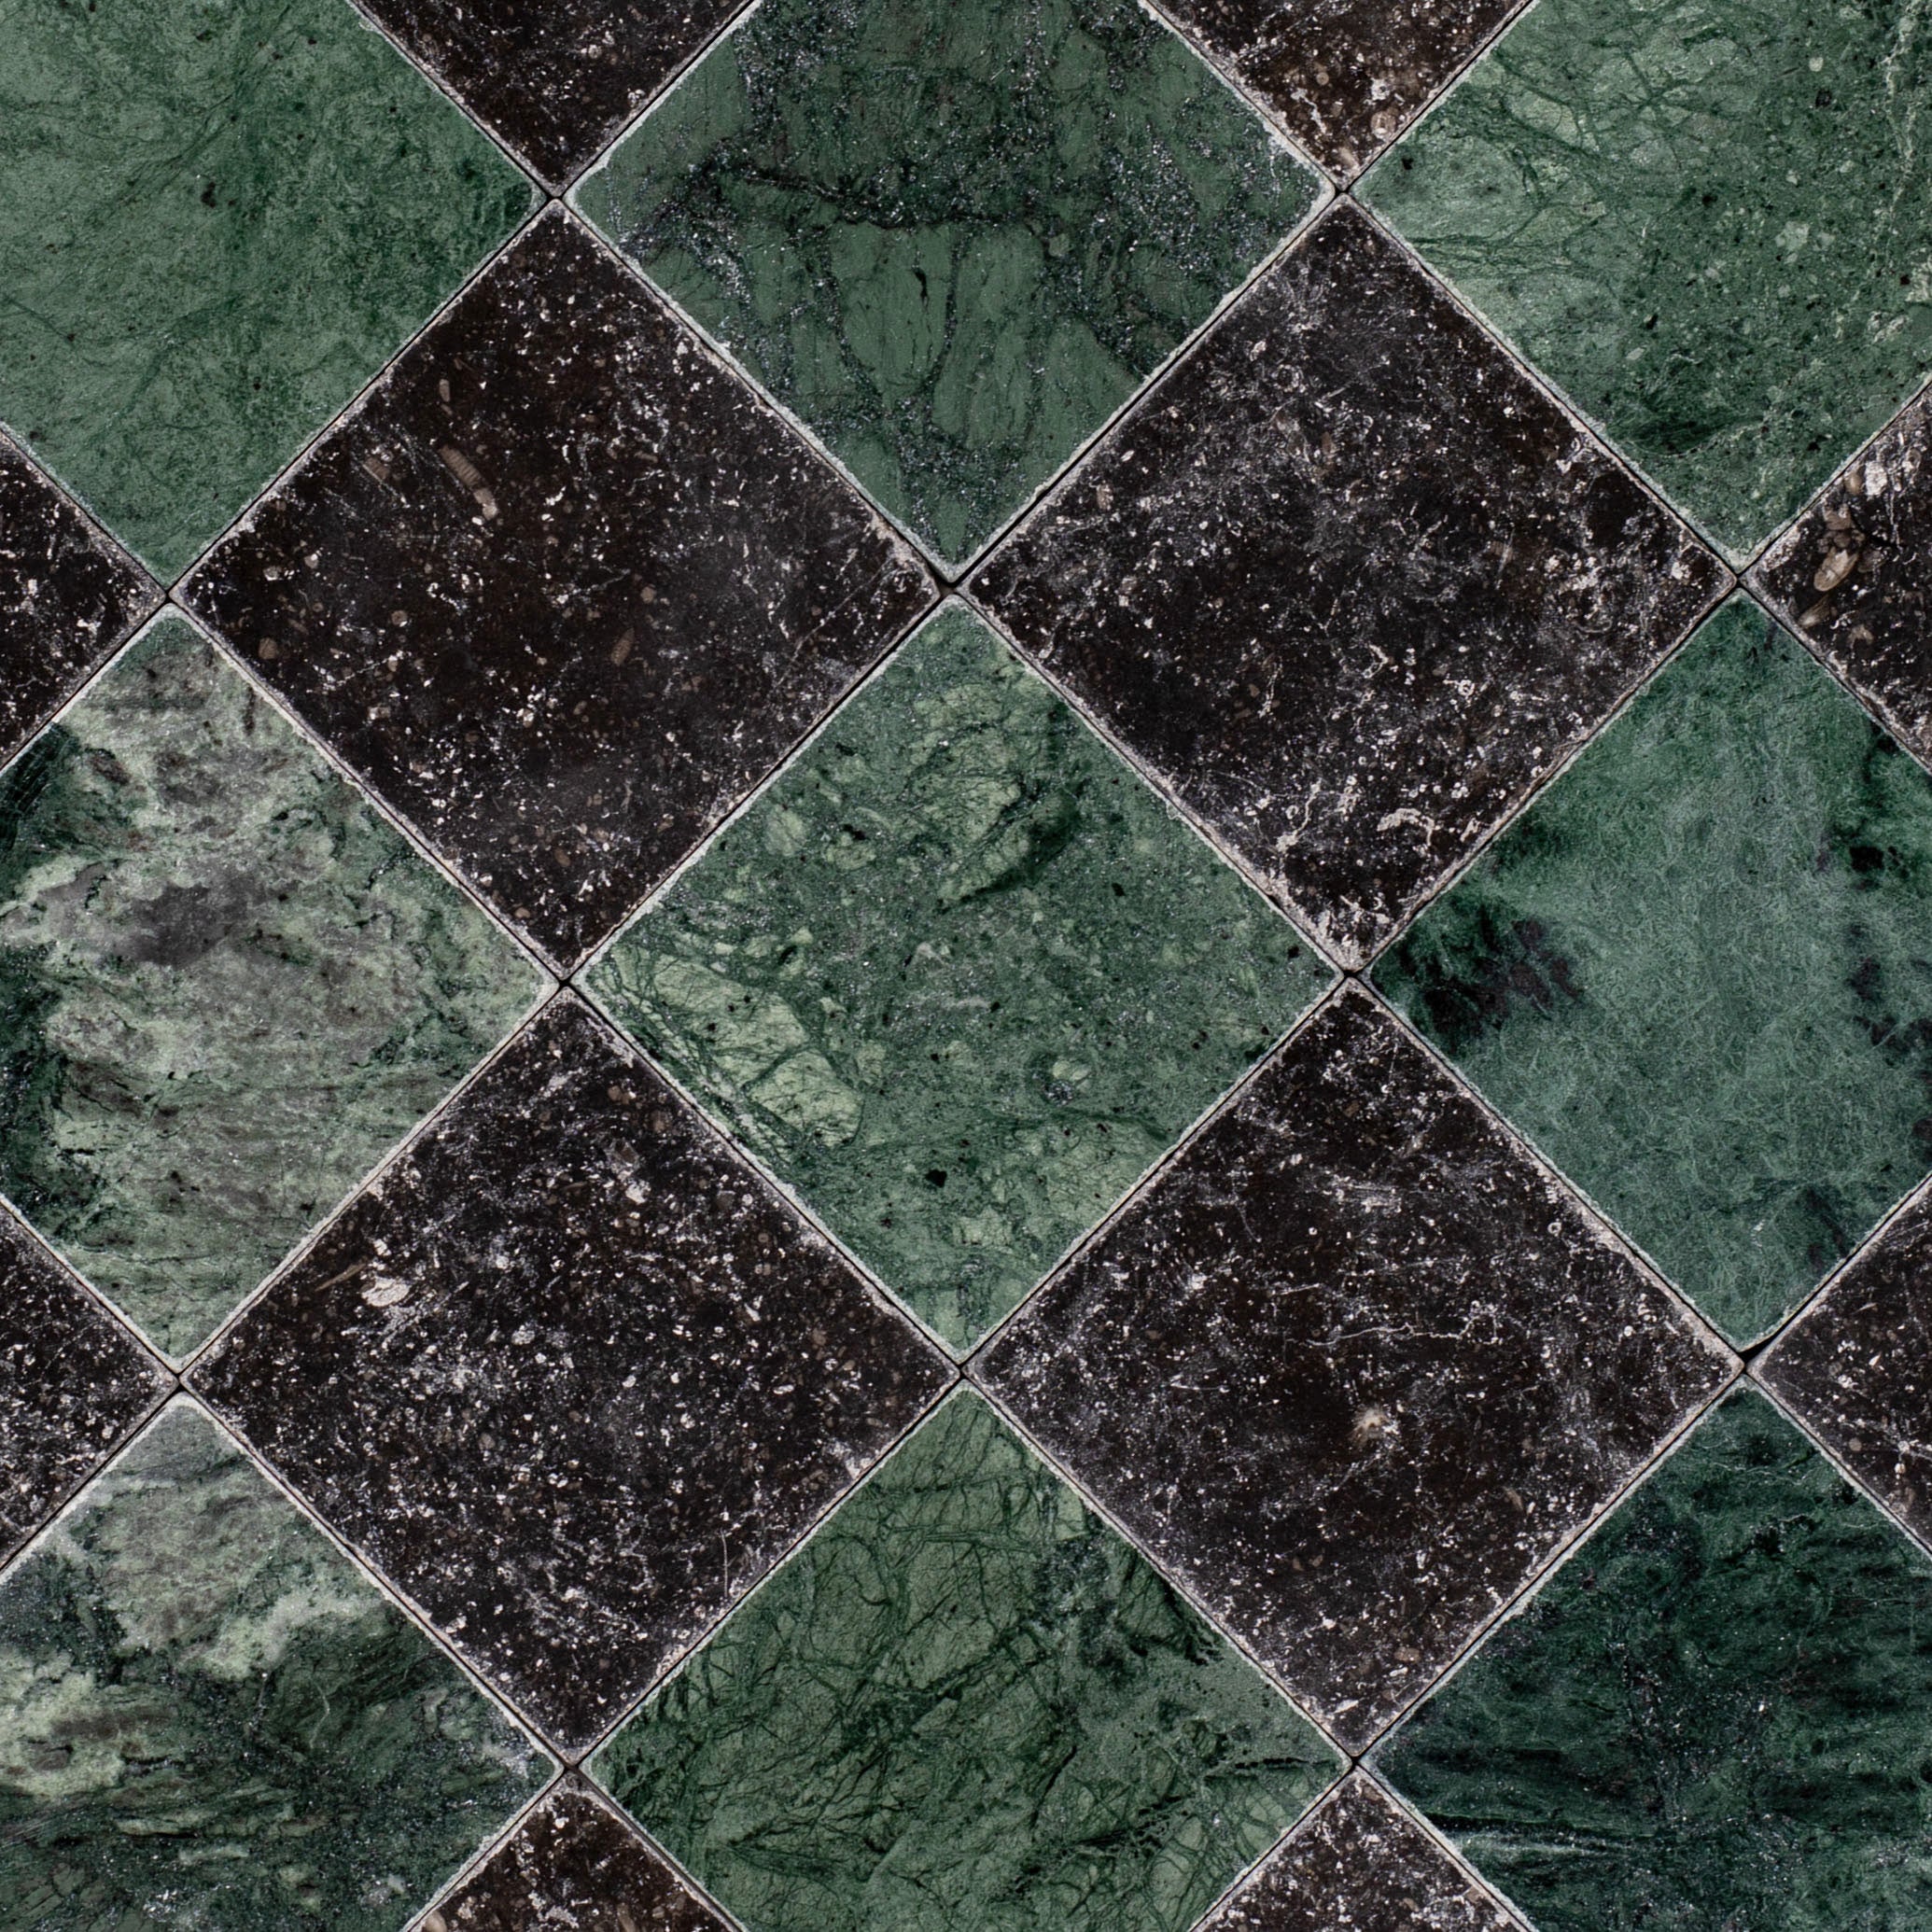
Carrara, Verde, Bardiglio Tumbled Pebble Mosaic
Carrara, Nero, Bardiglio Tumbled Pebble Mosaic
Carrara, Crema, Bardiglio Tumbled Pebble Mosaic
Rosso Verona Tumbled Marble Tile
Desert Tea Tumbled Marble Tile
Belgian Blue Tumbled Marble Tile
Verde Guatemala Tumbled Marble Tile
Belgian Blue Tumbled Marble Tile
Verde Guatemala Tumbled Marble Tile
Desert Tea Tumbled Marble Tile
Taj Matte Marble Look Porcelain Tile
Breccia Capraia 3D Mable Look Porcelain Tile

Van Gogh 1 3D Marble Look Porcelain Tile
Terracotta Cross Statuario Inset Mosaic
Terracotta Cross Nero Marquina Inset Mosaic
Royal Grey Satin Marble Look Porcelain Tile
Paonazzo Matte Marble Look Porcelain Tile
Ivory Marble Look Matte Porcelain Tile
Amazzonite Matte Marble Look Porcelain Tile
Montblack Matte Marble Look Porcelain Tile
Spider Gold Matte Marble Look Porcelain Tile
Carrara Belgian Blue Tumbled Stone Checkerboard
Carrara Bardiglio Tumbled Stone Checkerboard


Bardiglio Desert Tea Tumbled Stone Checkerboard
White & Ecru Octagon Zellige Mosaic
Thassos, Carrara, Bardiglio Gingham Marble Mosaic
White & Ecru 2x2 Zellige Checkerboard Mosaic
Unglazed & White Octagon Zellige Mosaic
White & Black Octagon Zellige Mosaic
Rosso Verona 1x1 Hand Chipped Marble Mosaic
Bianco Carrara Octagon w/ Nero Marquina Dot Mosaic
Cream 2x2 Forma Porcelain Mosaic
Cotto 2x2 Forma Porcelain Mosaic


Cotto Cream Pink Forma Butterfly Porcelain Mosaic


Chocolate 2" Hexagon Textured Terracotta Mosaic
Carrara Running Bond Marble Mosaic
Van Gogh 1 3D Marble Look Porcelain Tile
Calacatta Running Bond Marble Mosaic


Pink 2x2 Forma Porcelain Mosaic

Almond 2x2 Cement Look Porcelain Tile Mosaic


White & Oxblood 2x2 Zellige Checkerboard Mosaic


Unglazed & Black Octagon Zellige Mosaic


Pearl Hammered Limestone Look Matte Porcelain Mosaic
Grey Slate Look Porcelain Mosaic


Nuvola Gold 12x12 Porcelain Mosaic
Carrara 1x1 Hand Chipped Marble Mosaic


White & Jade 2x2 Zellige Checkerboard Mosaic


White 2x2 Forma Porcelain Mosaic


Sky & Cream Forma Octagon Porcelain Mosaic

Natural Stripes Textured Terracotta Mosaic


Green 2x2 Forma Porcelain Mosaic


Green & Cream Forma Octagon Porcelain Mosaic
Grigio Pearla 1x1 Hand Chipped Marble Mosaic
Pearl Slate Look Porcelain Mosaic
Nuvola Pearl 12x12 Porcelain Mosaic
Spider Gold 12x12 Matte Porcelain Mosaic
Montblack 12x12 Matte Porcelain Mosaic
Terracotta Cross Nero Marquina Inset Mosaic
Terracotta Cross Statuario Inset Mosaic

Ash 2x2 Cement Look Porcelain Mosaic
Grey 2x2 Cement Look Porcelain Mosaic
Carrara Honed Basketweave Marble Mosaic
Calacatta 1x1 Hand Chipped Marble Mosaic
Carrara Tumbled Basketweave Marble Mosaic
Carrara, Crema, Bardiglio Tumbled Pebble Mosaic
Carrara, Nero, Bardiglio Tumbled Pebble Mosaic
Carrara, Verde, Bardiglio Tumbled Pebble Mosaic


White & Black 2x2 Zellige Checkerboard Mosaic


Blue 2x2 Forma Porcelain Mosaic
White & Ecru Octagon Zellige Mosaic
Thassos, Carrara, Bardiglio Gingham Marble Mosaic
Cotto Deco Terracotta Look Matte Porcelain Tile
White & Ecru 2x2 Zellige Checkerboard Mosaic
Murano Honed Italian Terrazzo Tile
Chiaro Deco Terracotta Look Matte Porcelain Tile
Unglazed & White Octagon Zellige Mosaic
Carrara Bardiglio Tumbled Stone Checkerboard
White & Black Octagon Zellige Mosaic
Beige Limestone Look 3D Matte Porcelain Tile
Cream Limestone Look 3D Matte Porcelain Tile
Rosso Verona Tumbled Marble Tile
Apple 12x24 3D Glossy Porcelain Tile
Travertino 3D Matte Porcelain Tile
White Multi-Color Matte Porcelain Tile
Almond Cement Look Matte Porcelain Tile
Natura Terracotta Look Matte Porcelain Tile
Cream 2x2 Forma Porcelain Mosaic
Cotto 2x2 Forma Porcelain Mosaic
Star & Cross Classic Terracotta Tile
Bardiglio Desert Tea Tumbled Stone Checker Stripe

Borgogna 3D Matte Porcelain Tile
Cotto Cream Pink Forma Butterfly Porcelain Mosaic
Chocolate 2" Hexagon Textured Terracotta Mosaic

Black Multi-Color Matte Porcelain Tile


Calacatta Honed Italian Terrazzo Tile

Crema Terracotta Look Matte Porcelain Tile


Thassos, Carrara, Bardiglio Gingham Marble Mosaic
Carrara Bardiglio Tumbled Stone Checkerboard
Rosso Verona Tumbled Marble Tile
Bianco Carrara Honed Marble Tile
Amazzonite Matte Marble Look Porcelain Tile
Rosso Verona 1x1 Hand Chipped Marble Mosaic
Spider Gold Matte Marble Look Porcelain Tile
Bianco Carrara Octagon w/ Nero Marquina Dot Mosaic
Breccia Capraia 3D Mable Look Porcelain Tile
Verde Guatemala Tumbled Marble Tile
Bardiglio Desert Tea Tumbled Stone Checker Stripe

Fior de Bosco Marble Look Porcelain Tile
White Paradise Marble Look Porcelain Tile
Calacatta Honed Italian Terrazzo Tile
Desert Tea Tumbled Marble Tile
Carrara Running Bond Marble Mosaic
Bardiglio Desert Tea Tumbled Stone Checkerboard
Van Gogh 1 3D Marble Look Porcelain Tile
Taj Matte Marble Look Porcelain Tile
Calacatta Running Bond Marble Mosaic


Carrara Verde Guatemala Tumbled Stone Checkerboard
Rosa Perlino 1x1 Chipped Mosaic

Verde Guatemala 1x1 Chipped Mosaic
Desert Tea Tumbled Marble Tile
Carrara Verde Guatemala Tumbled Stone Checker Stripe
Belgian Blue Tumbled Marble Tile
Montblack Matte Marble Look Porcelain Tile
Ivory Marble Look Matte Porcelain Tile
Torcello Honed Italian Terrazzo Tile
Travertino Chiaro Tumbled Stone Tile
Verde Guatemala Tumbled Marble Tile
Carrara 1x1 Hand Chipped Marble Mosaic
Carrara, Crema, Bardiglio Tumbled Pebble Mosaic
Carrara, Verde, Bardiglio Tumbled Pebble Mosaic
Carrara, Nero, Bardiglio Tumbled Pebble Mosaic
White & Ecru Octagon Zellige Mosaic
Thassos, Carrara, Bardiglio Gingham Marble Mosaic
Cotto Deco Terracotta Look Matte Porcelain Tile
White & Ecru 2x2 Zellige Checkerboard Mosaic
Murano Honed Italian Terrazzo Tile
Chiaro Deco Terracotta Look Matte Porcelain Tile
Unglazed & White Octagon Zellige Mosaic
Carrara Bardiglio Tumbled Stone Checkerboard
White & Black Octagon Zellige Mosaic
Beige Limestone Look 3D Matte Porcelain Tile
Cream Limestone Look 3D Matte Porcelain Tile
Rosso Verona Tumbled Marble Tile
Apple 12x24 3D Glossy Porcelain Tile
Travertino Moka Stone Look Porcelain Tile
Bianco Carrara Honed Marble Tile
Rosso Verona 1x1 Hand Chipped Marble Mosaic
Amazzonite Matte Marble Look Porcelain Tile
Travertino 3D Matte Porcelain Tile
White Multi-Color Matte Porcelain Tile
Cream 12x24 3D Gloss Porcelain Tile
Navy 12x24 3D Gloss Porcelain Tile
Natura Terracotta Look Matte Porcelain Tile
Cream 2x2 Forma Porcelain Mosaic
Bianco Carrara Octagon w/ Nero Marquina Dot Mosaic
Spider Gold Matte Marble Look Porcelain Tile
Almond Cement Look Matte Porcelain Tile