


NOTIFY ME WHEN AVAILABLE
We'll notify you as soon as this product or sample is back in stock / available.
Pair It With



The Vibe
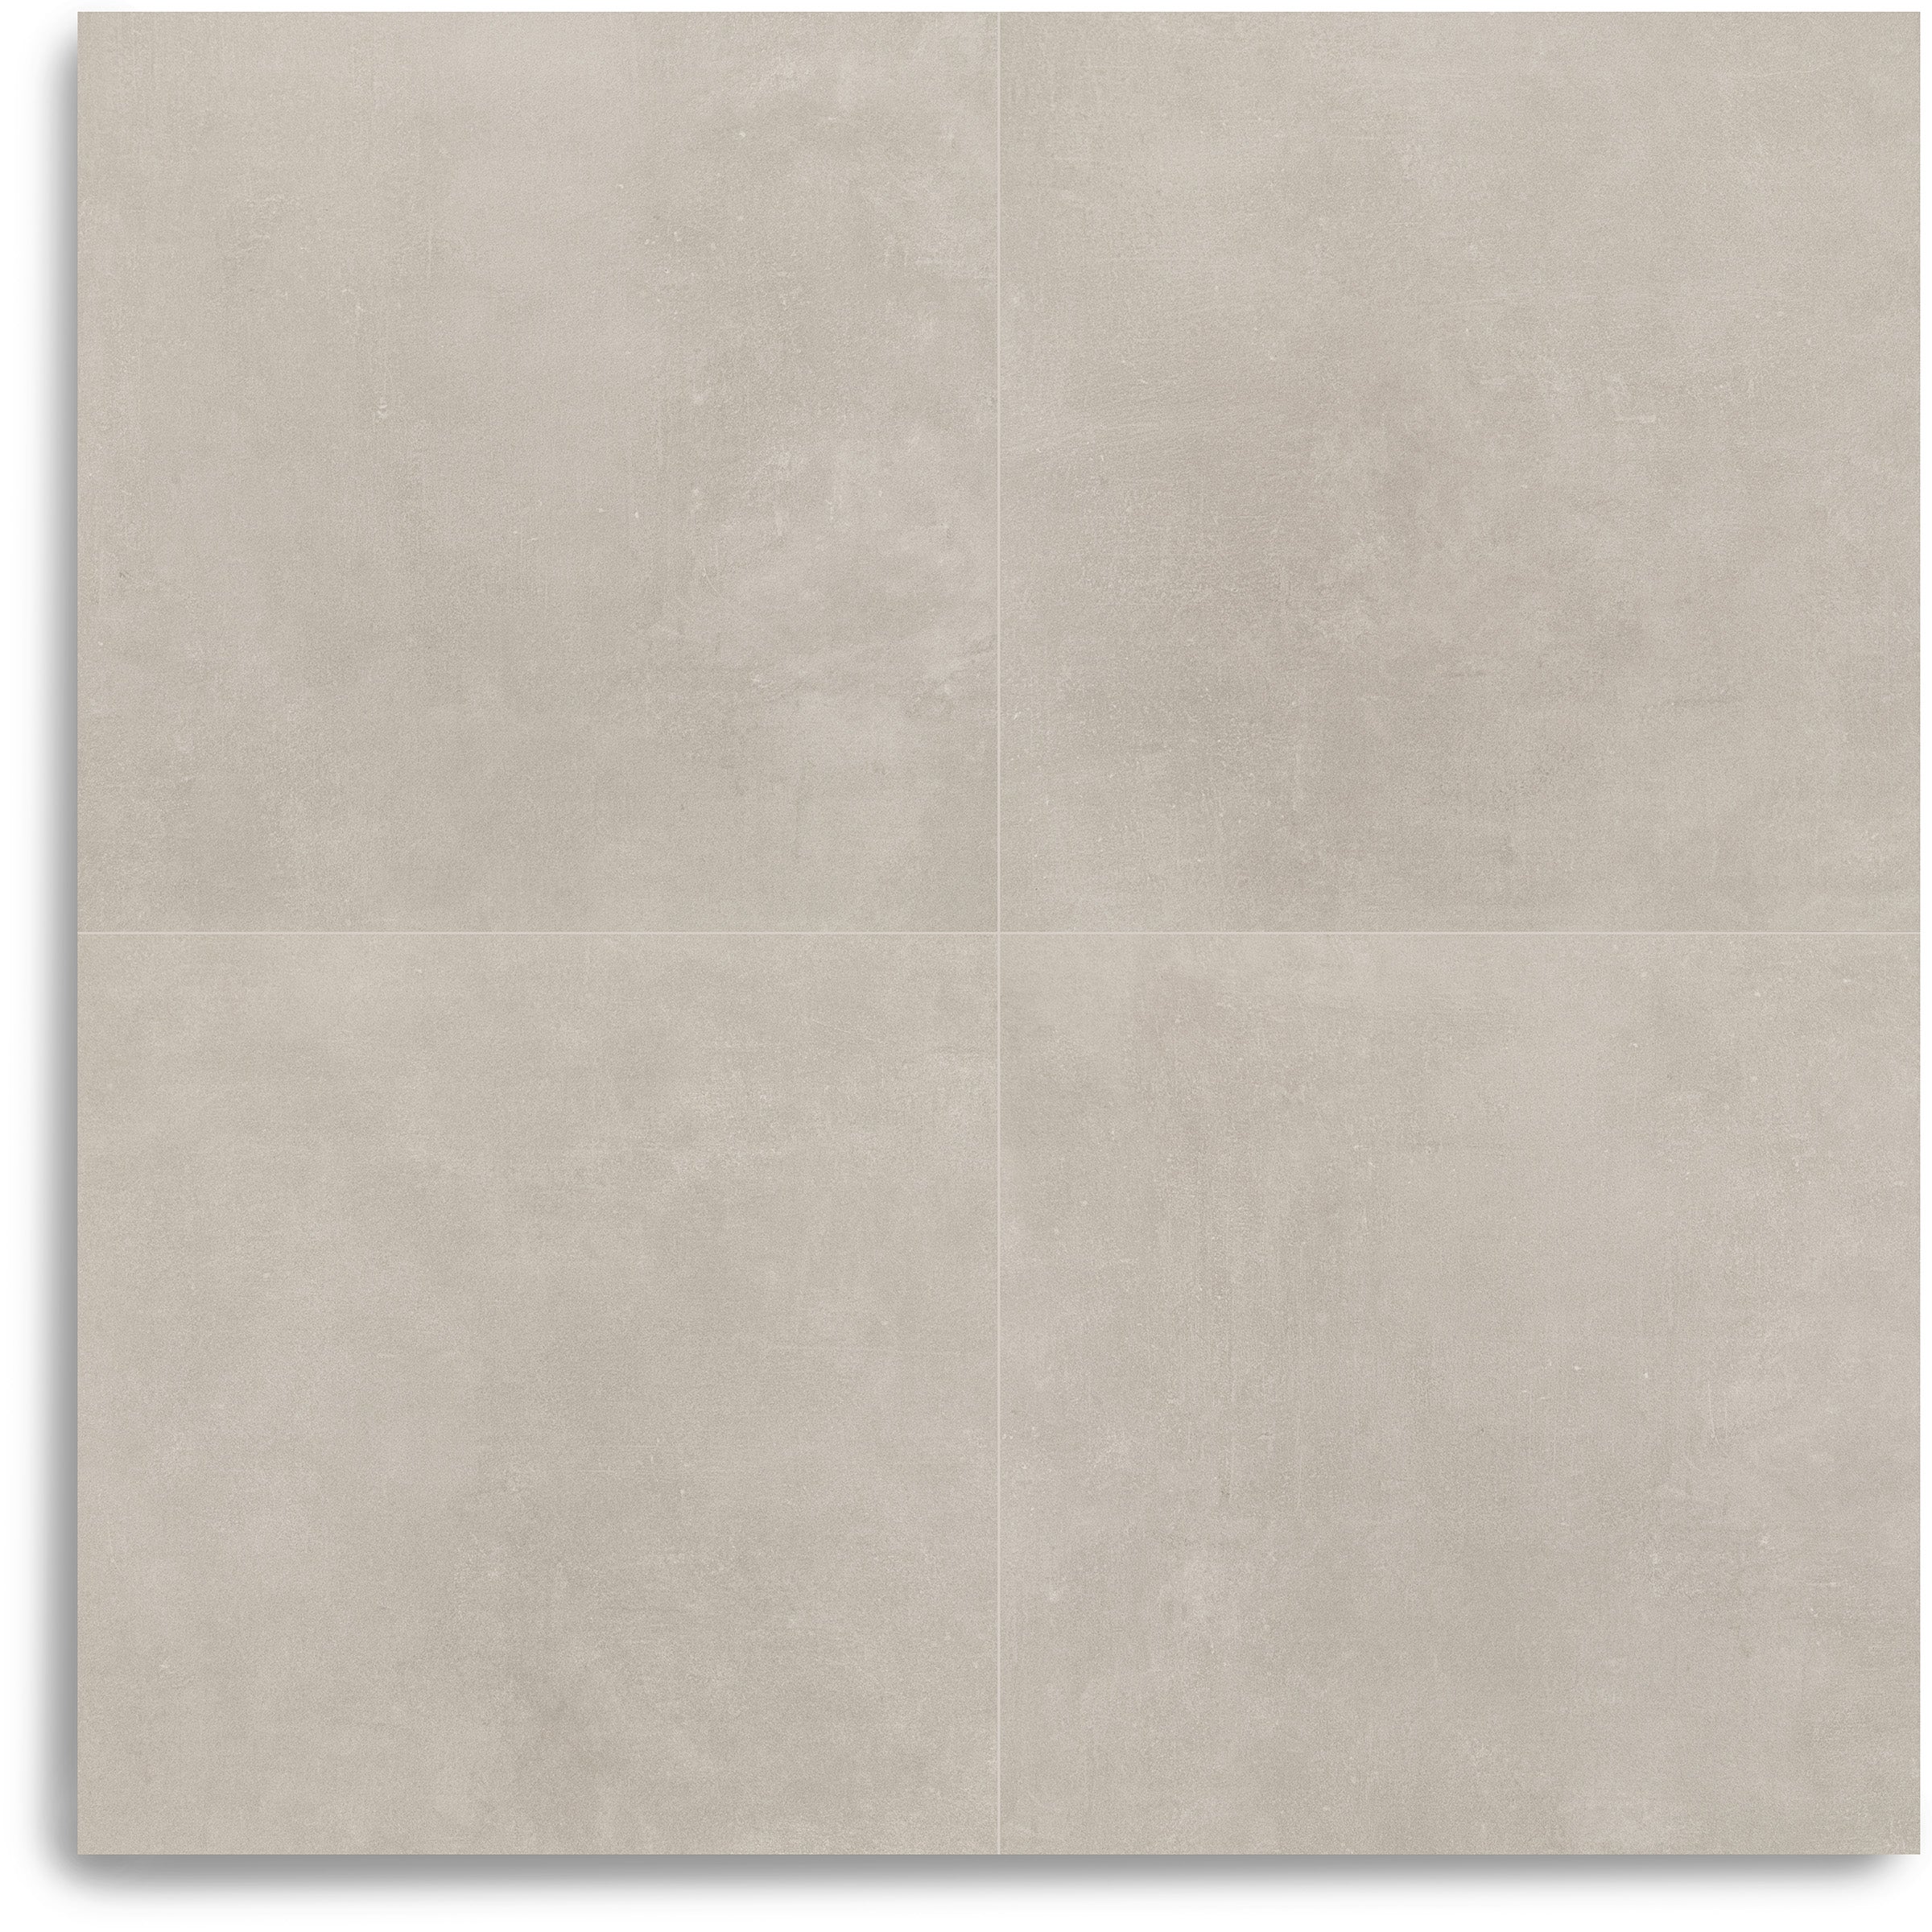
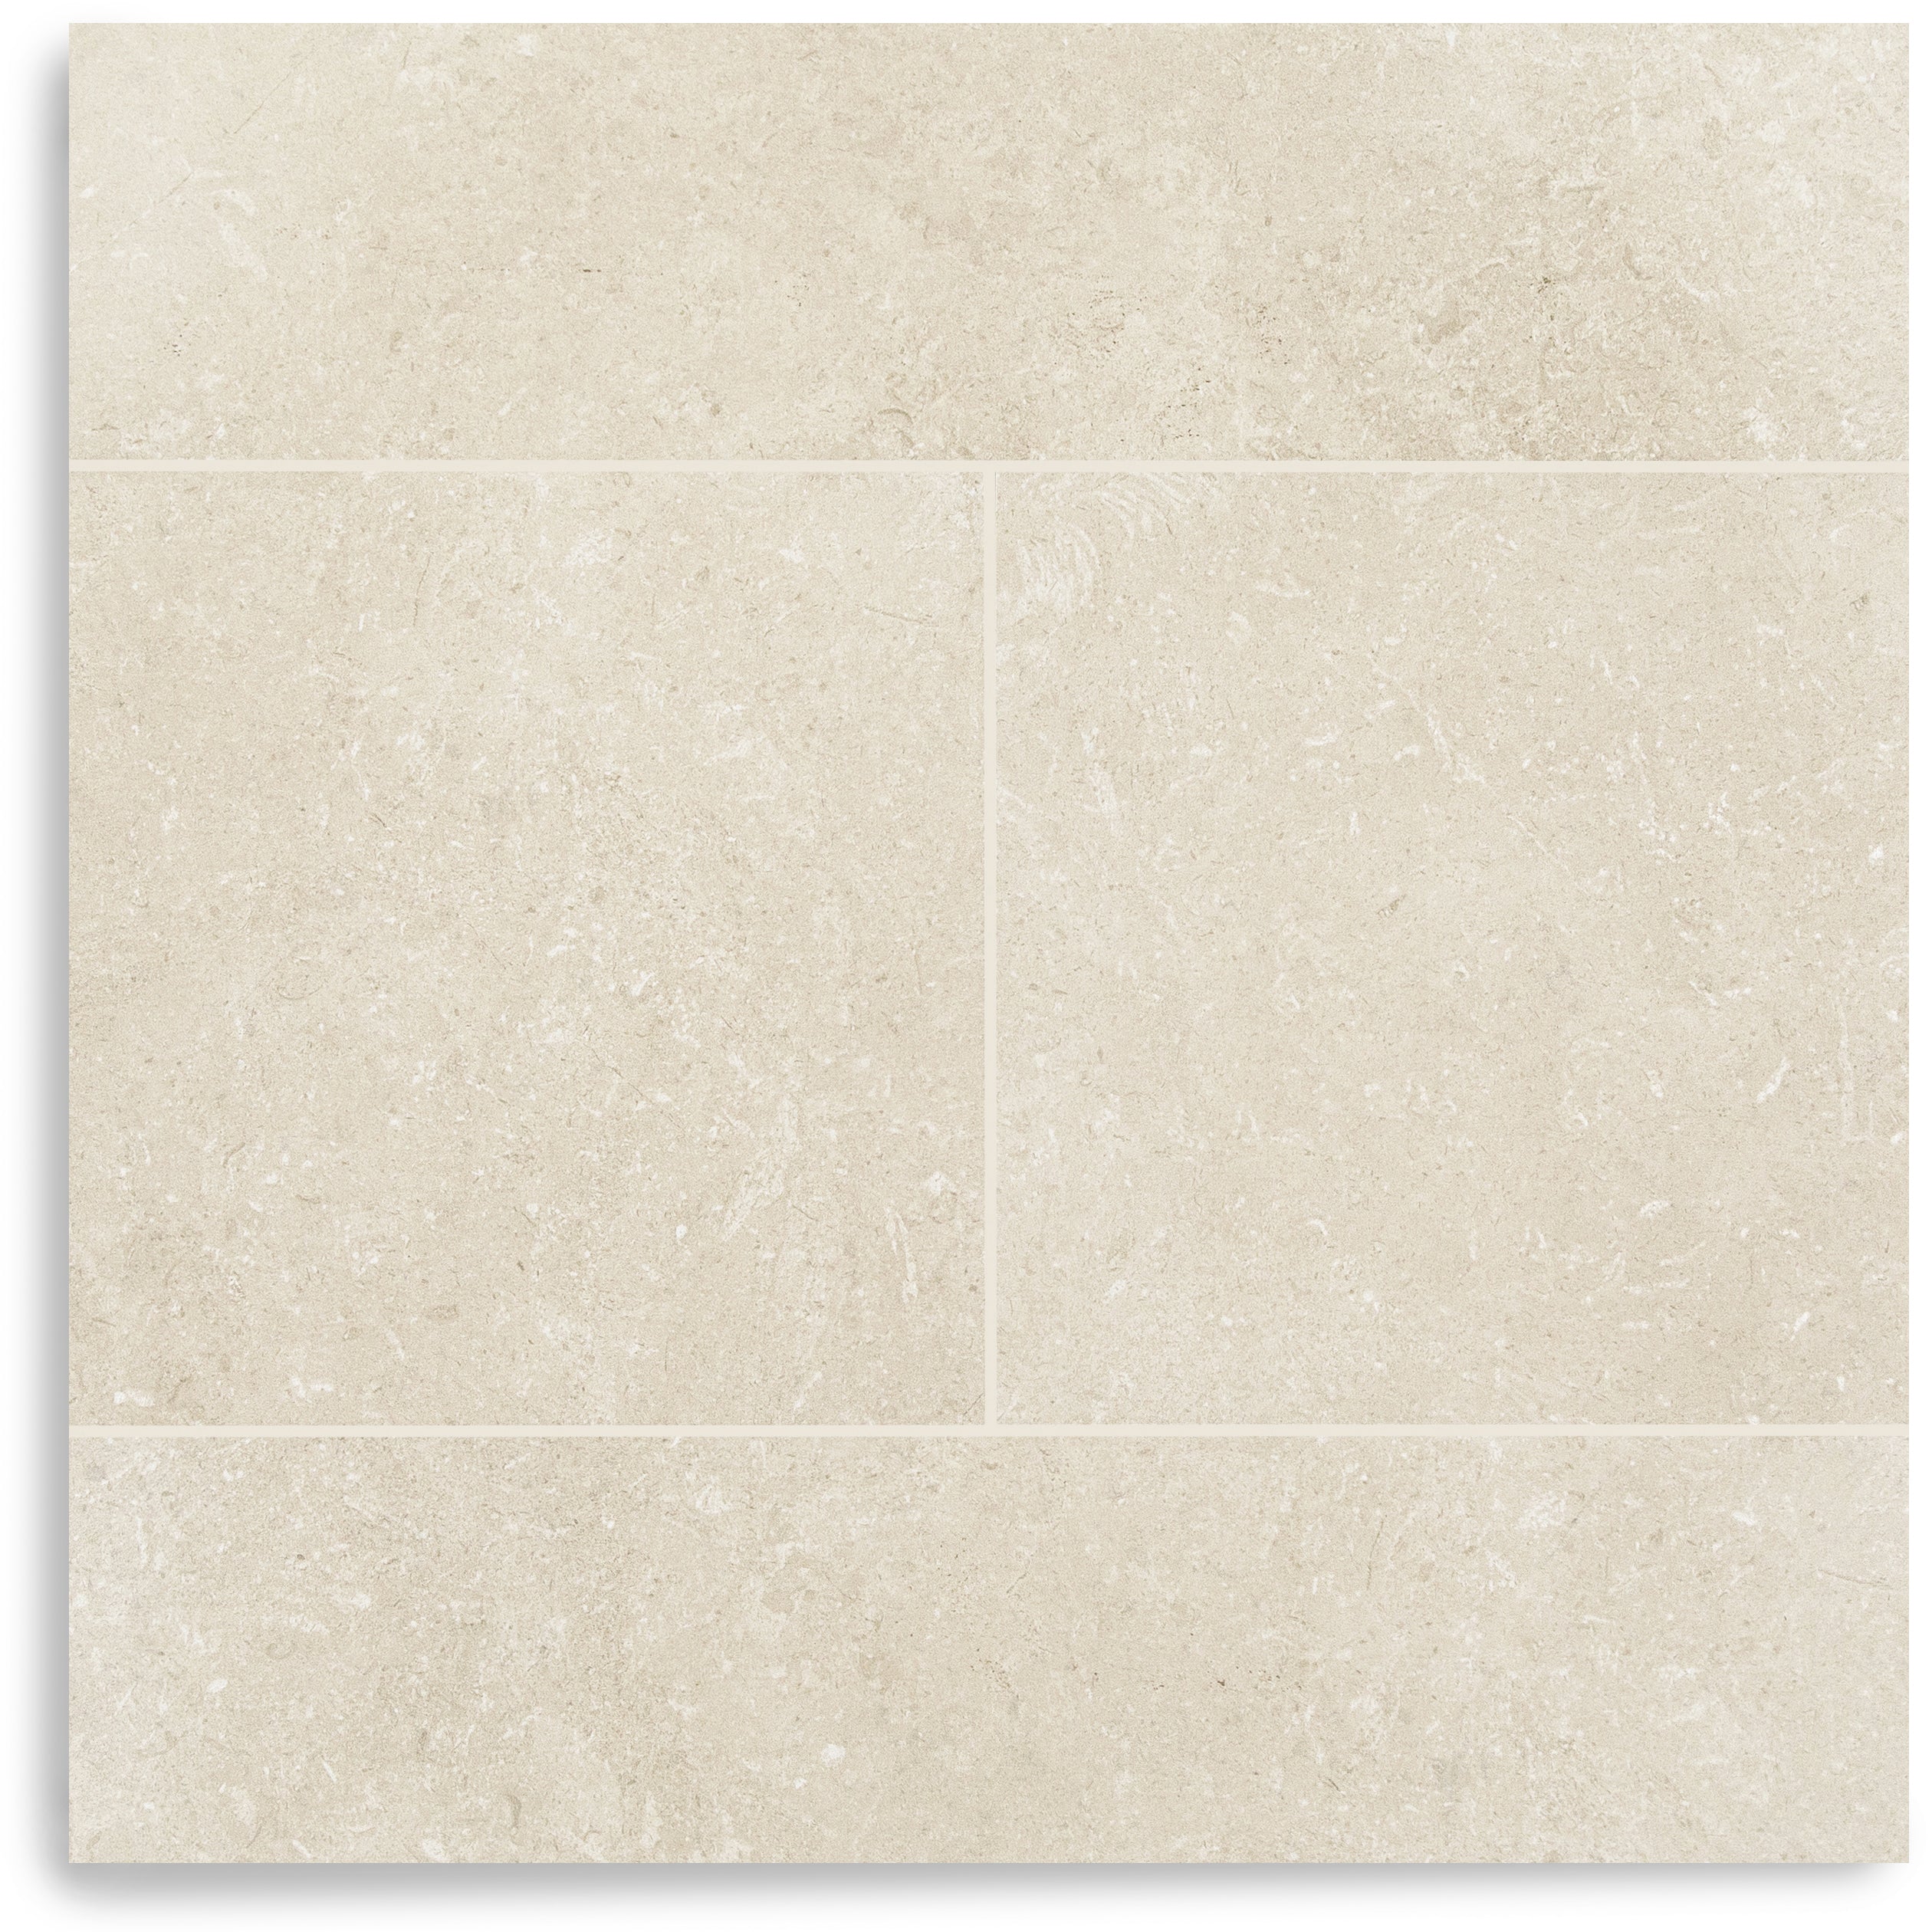
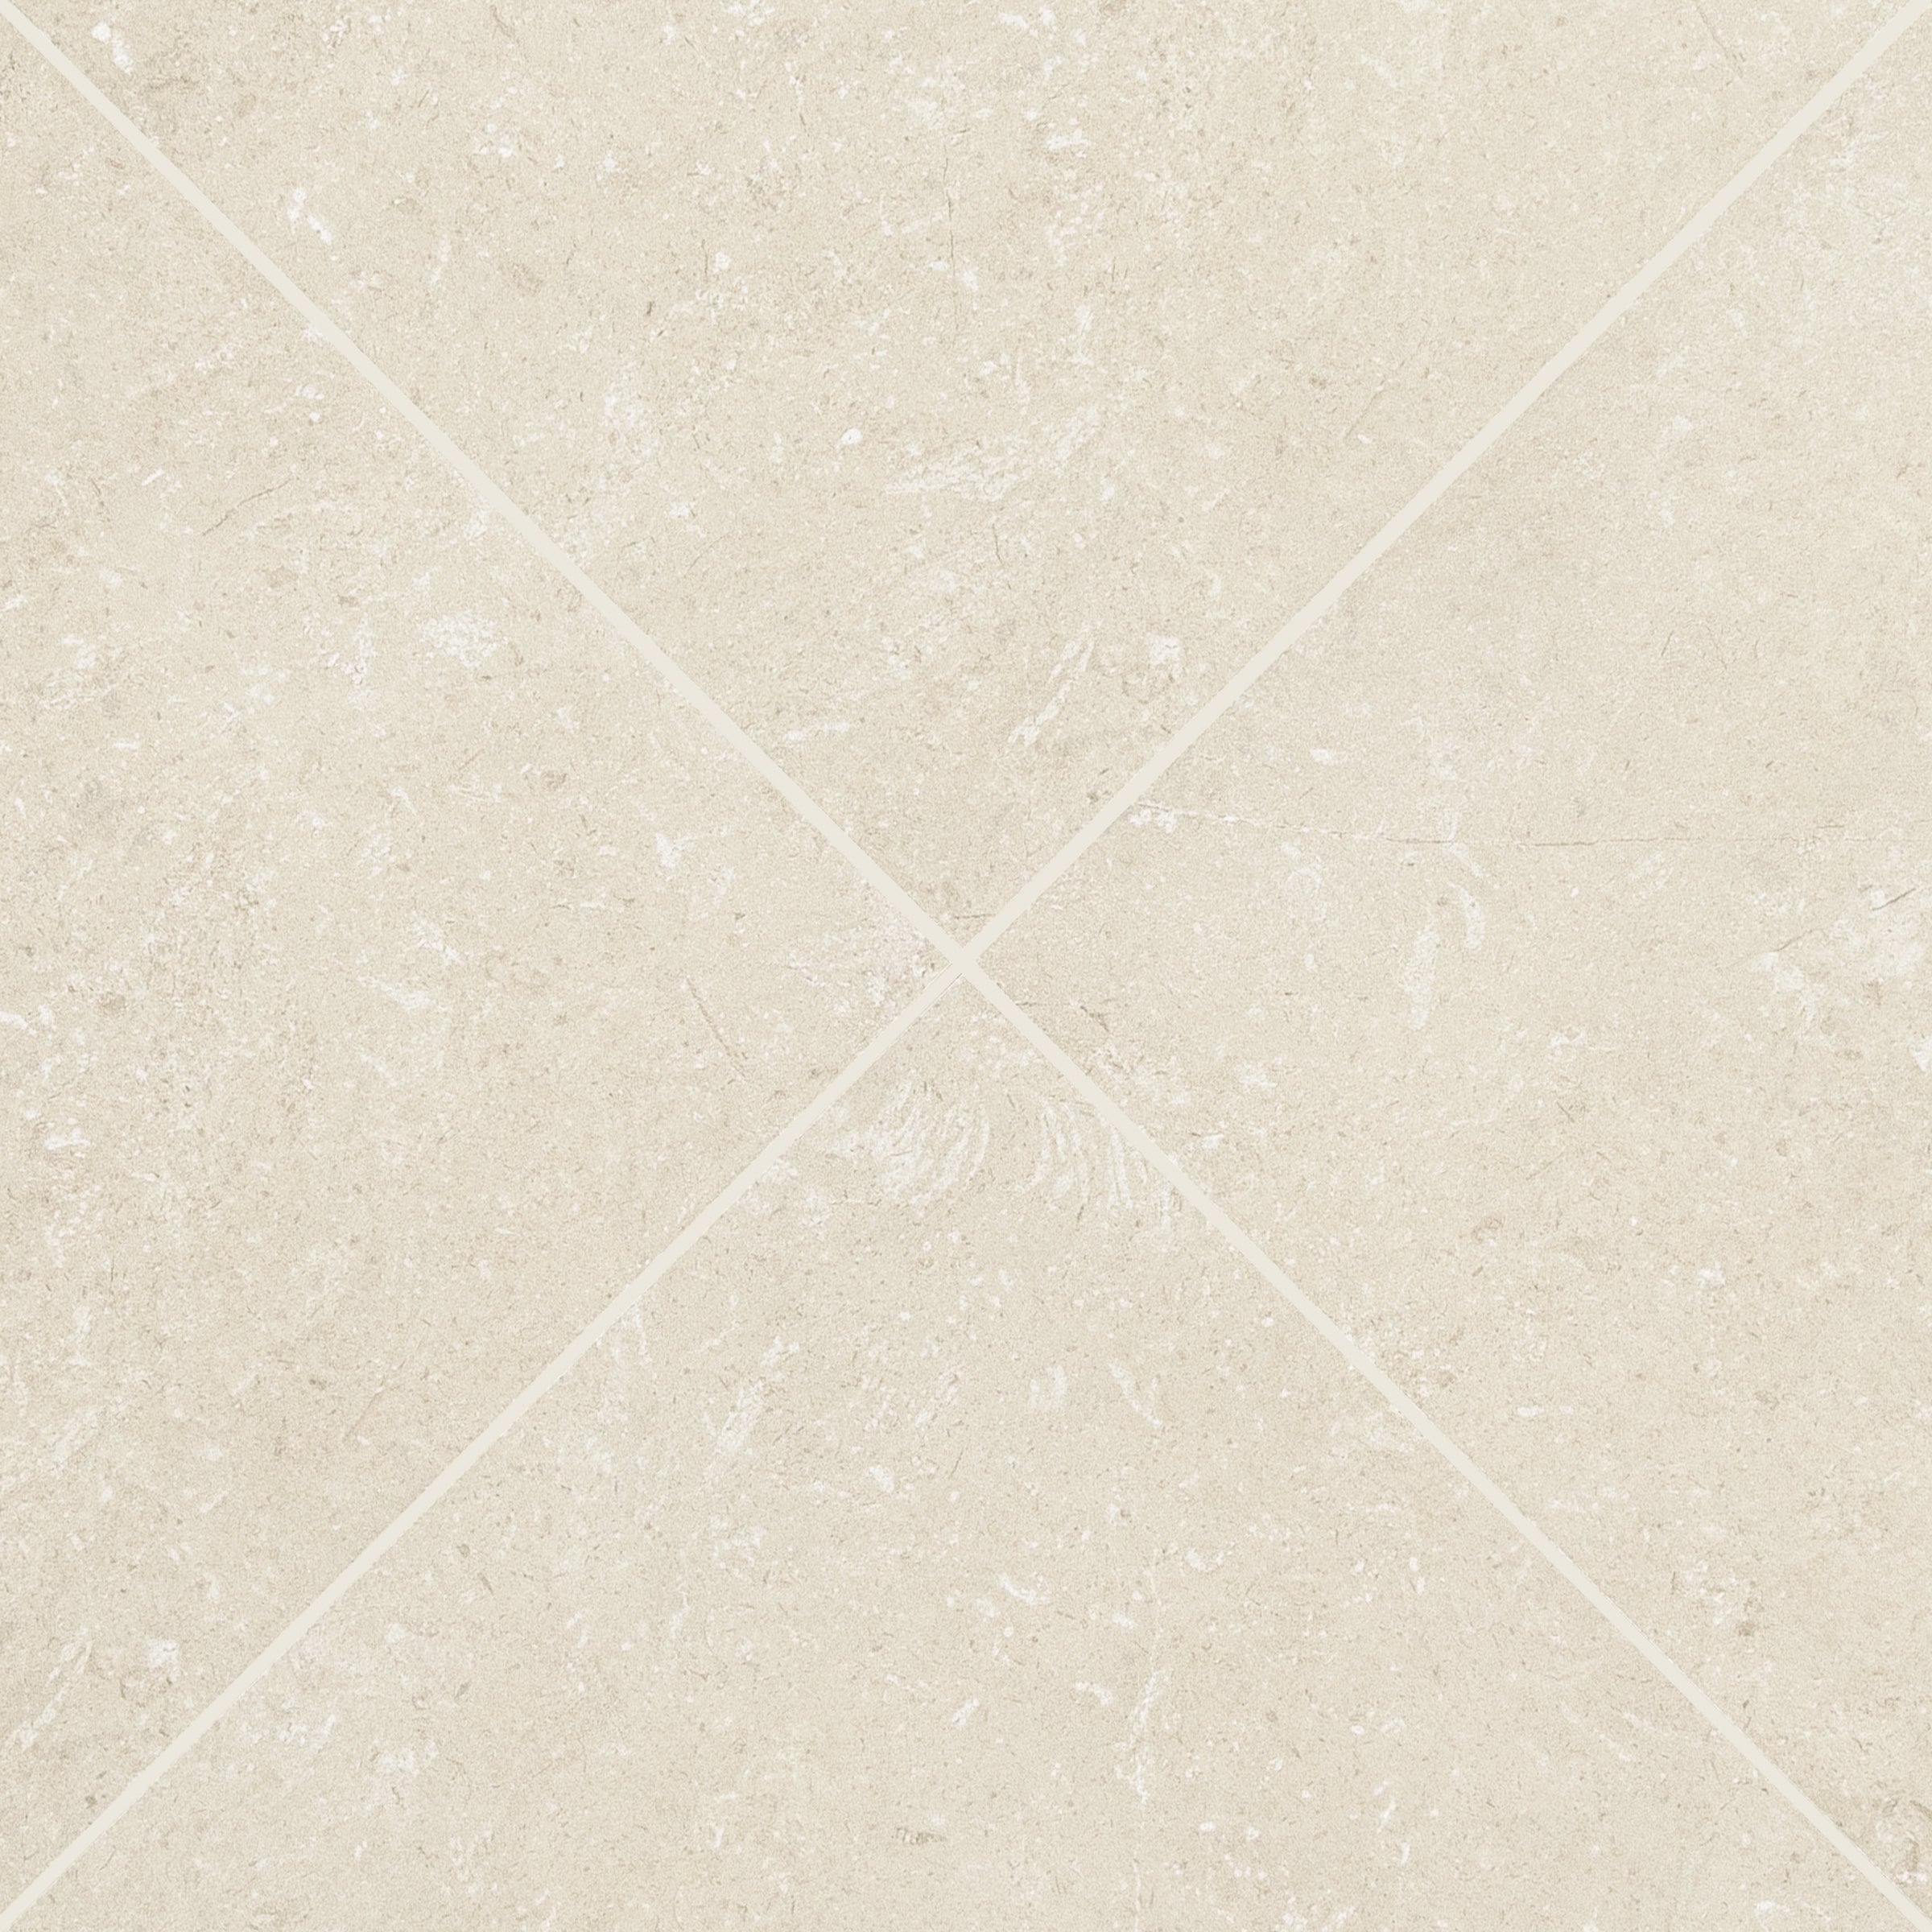
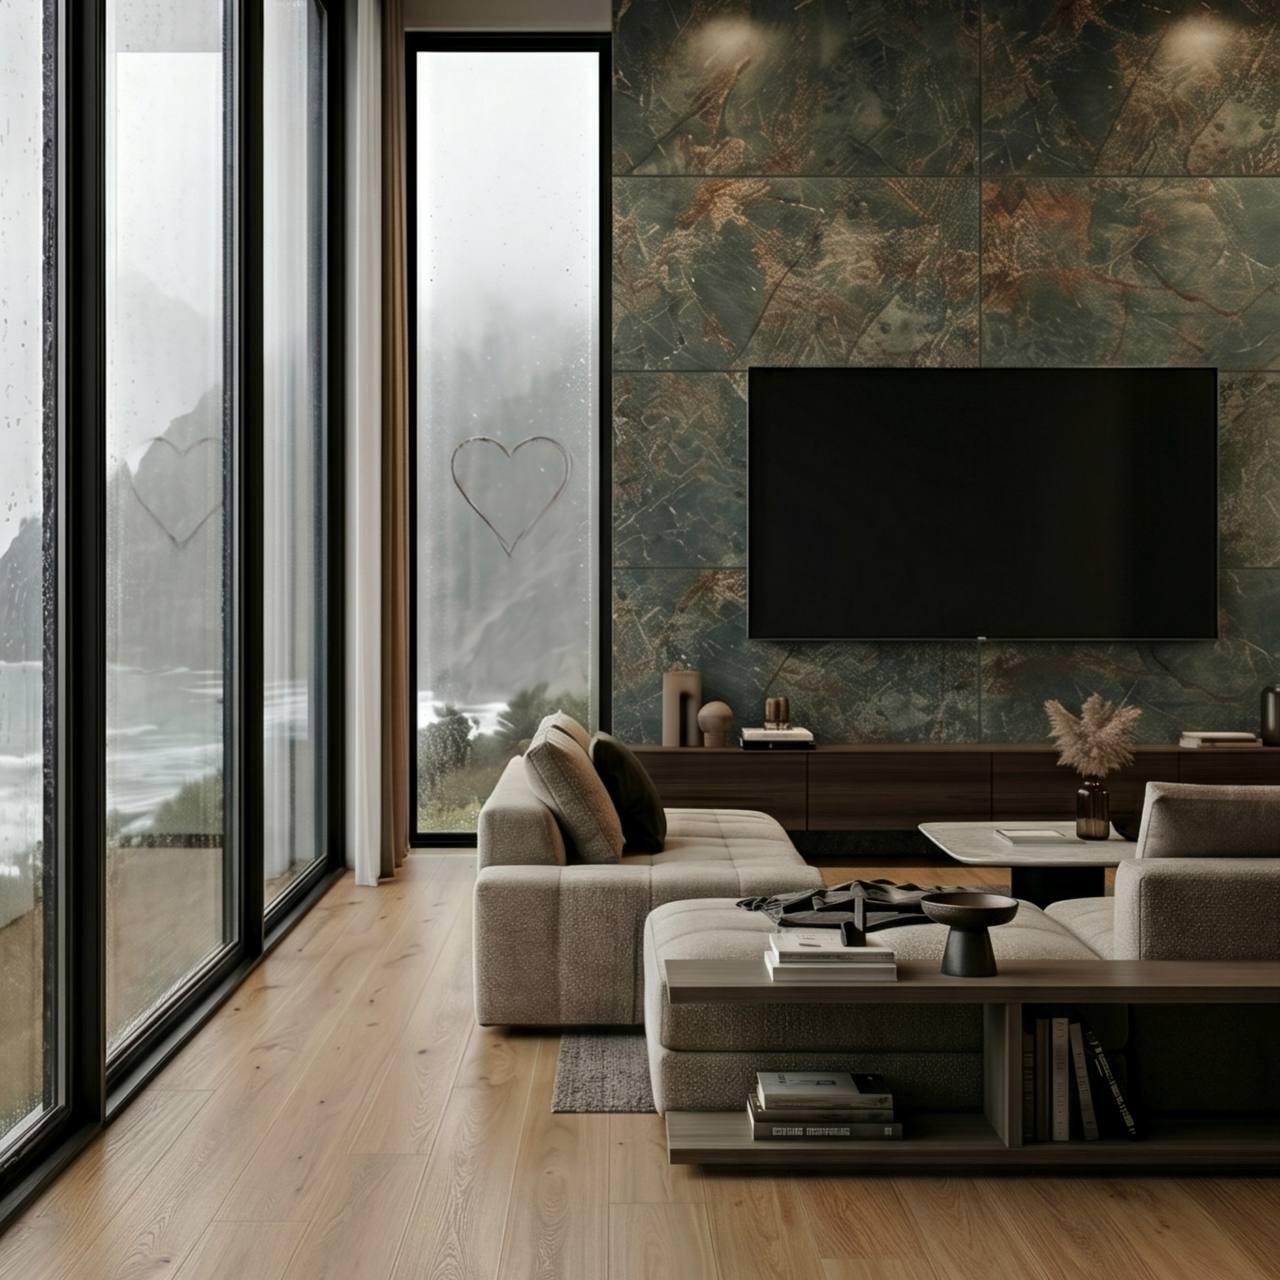
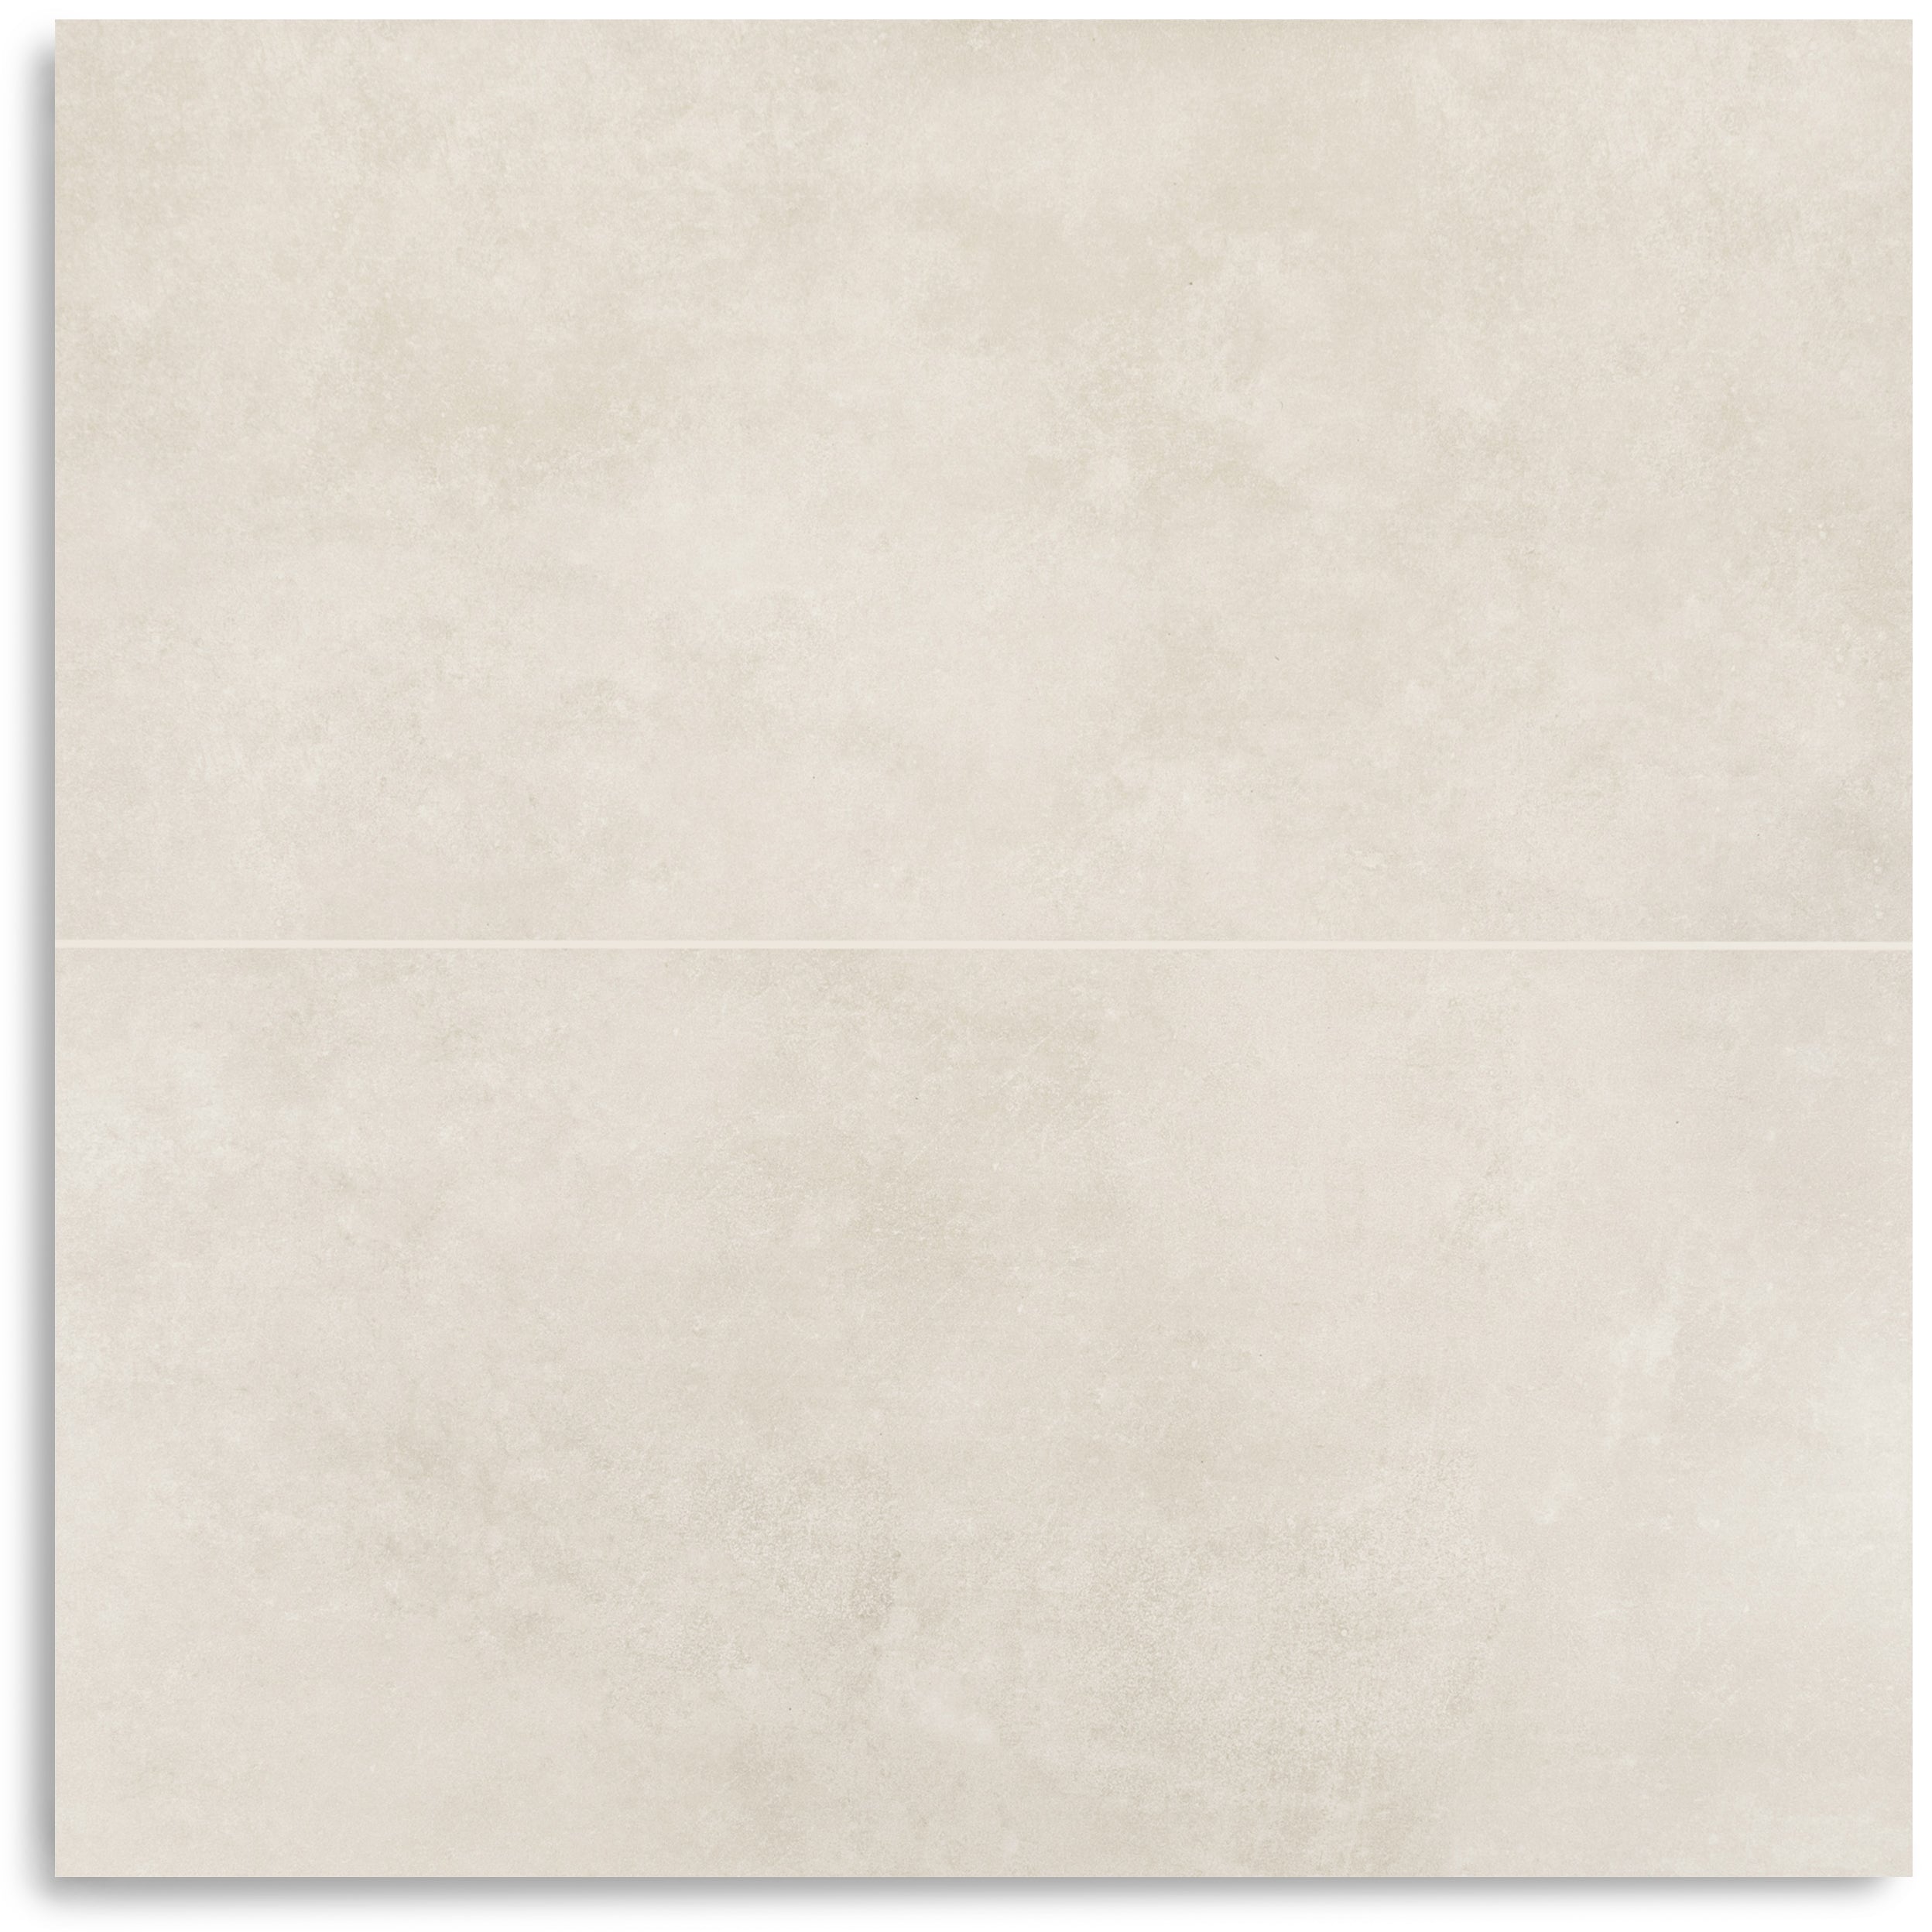
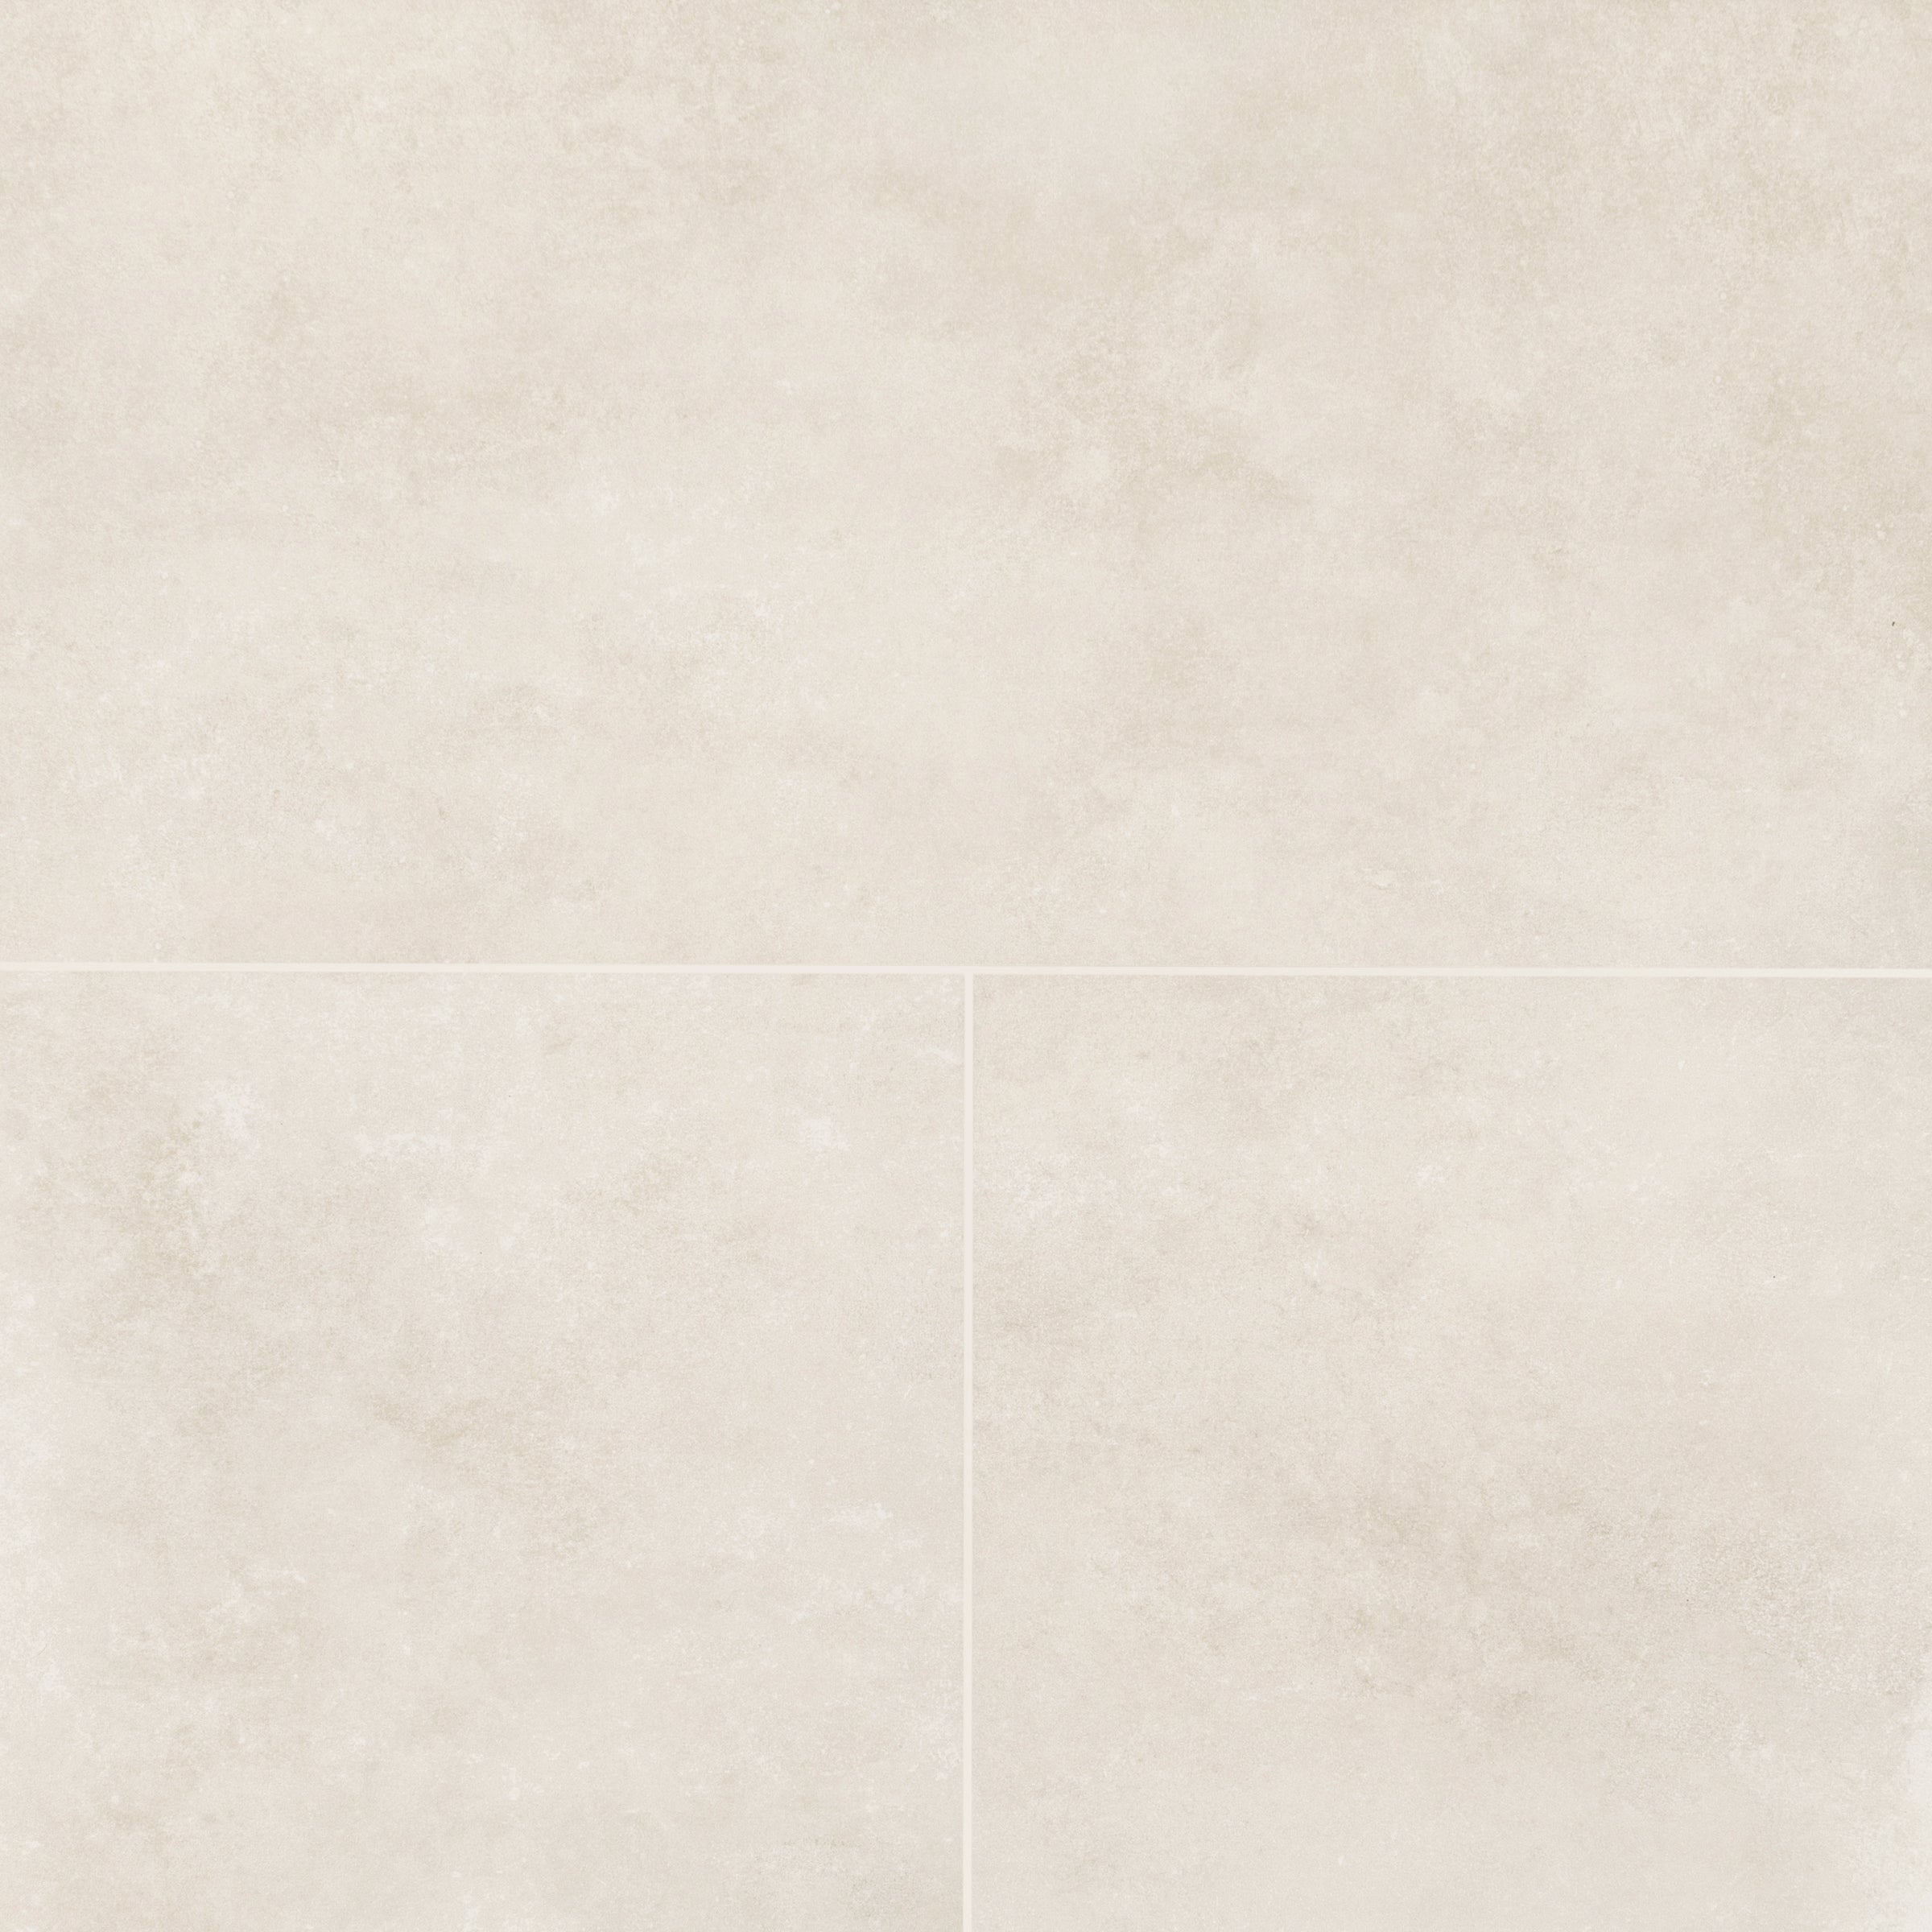
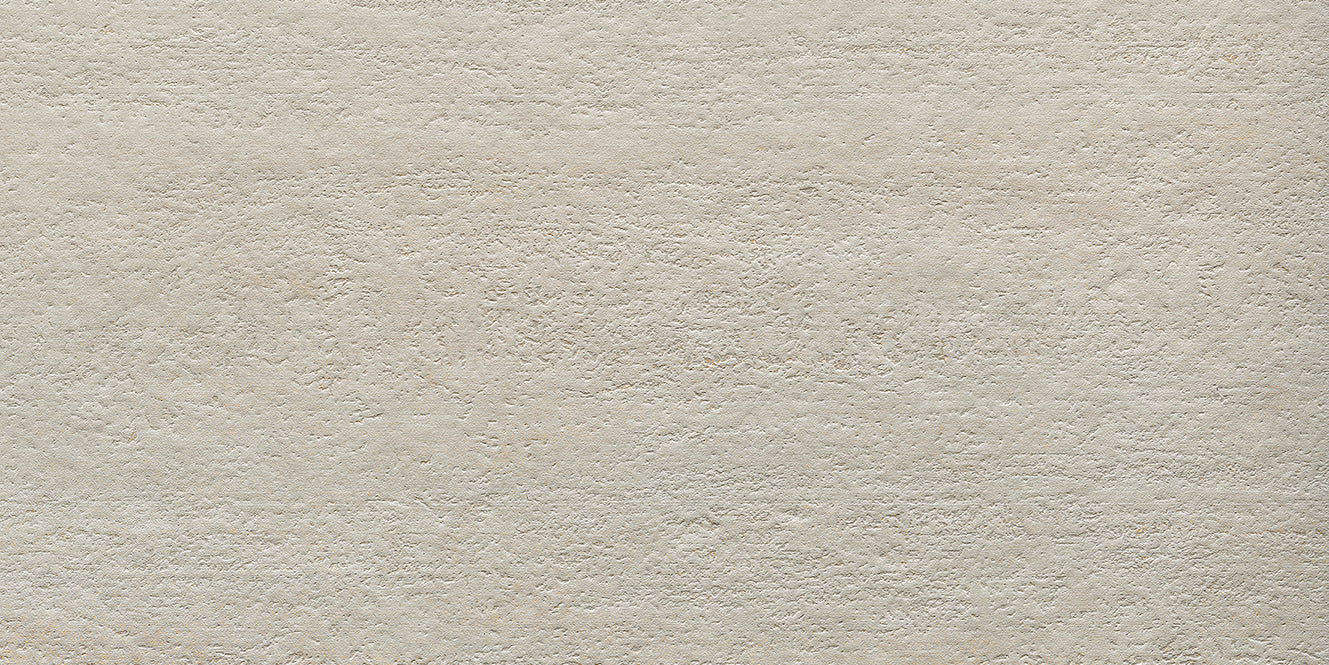
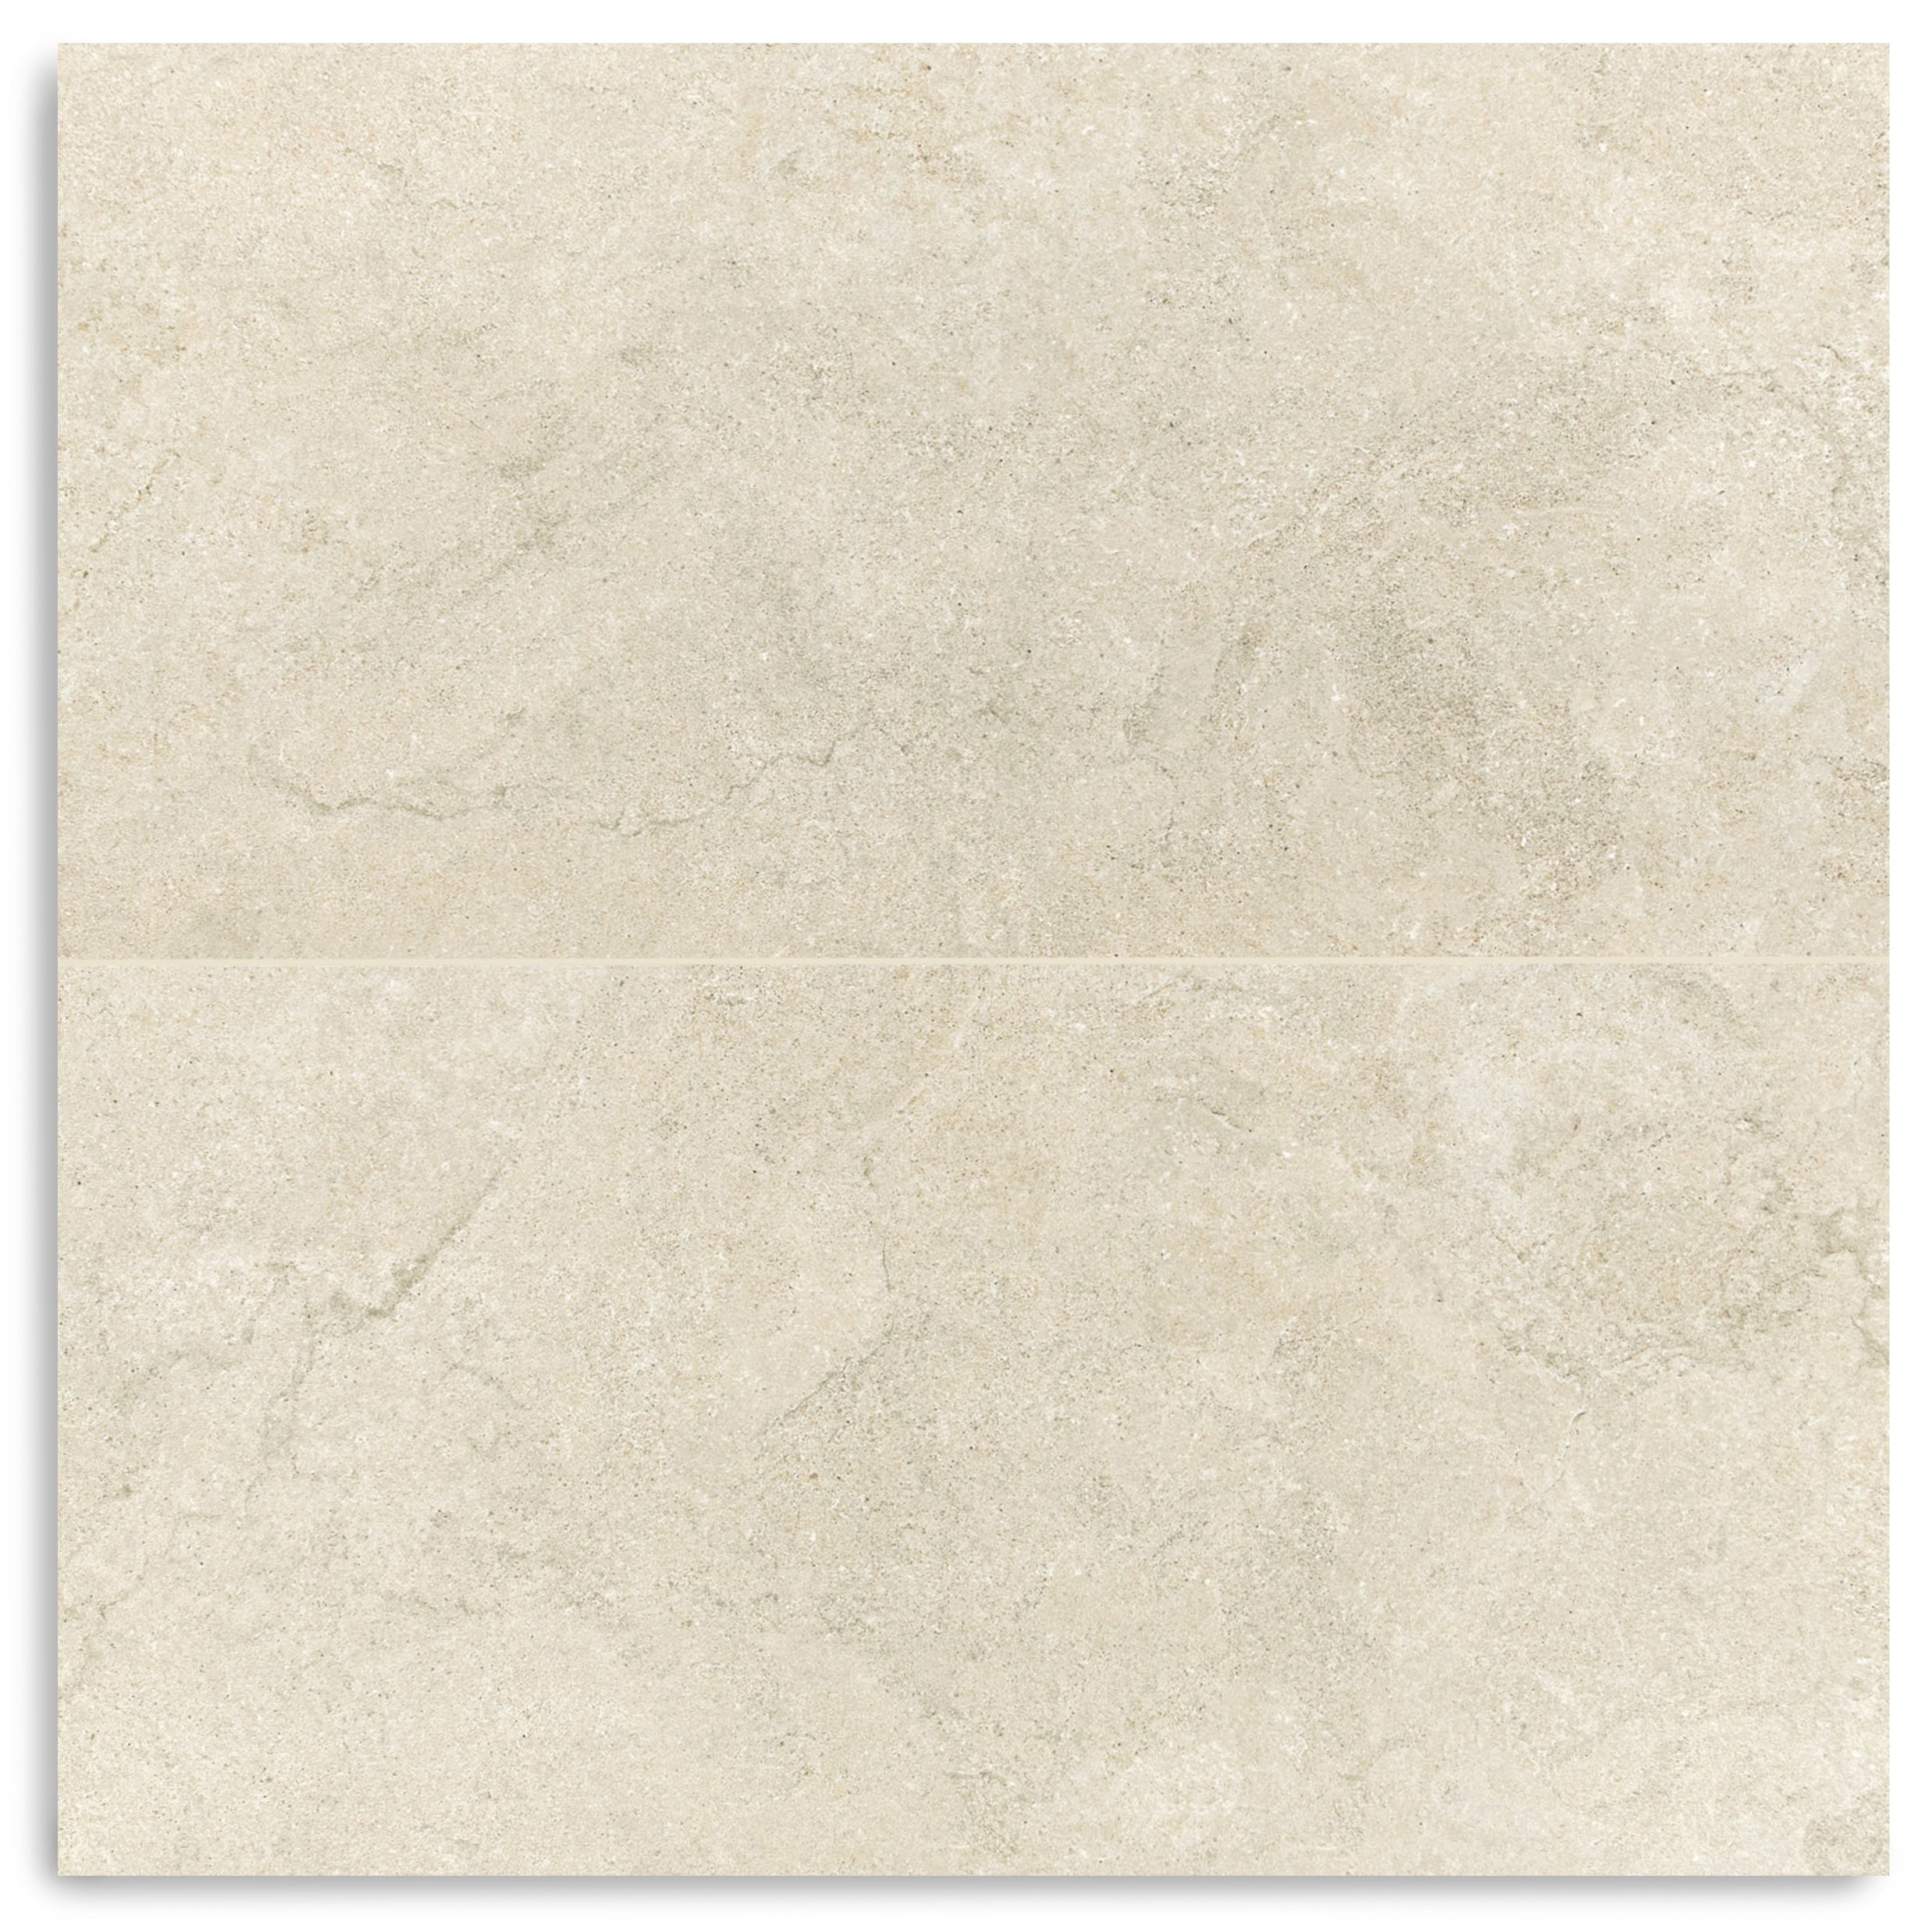
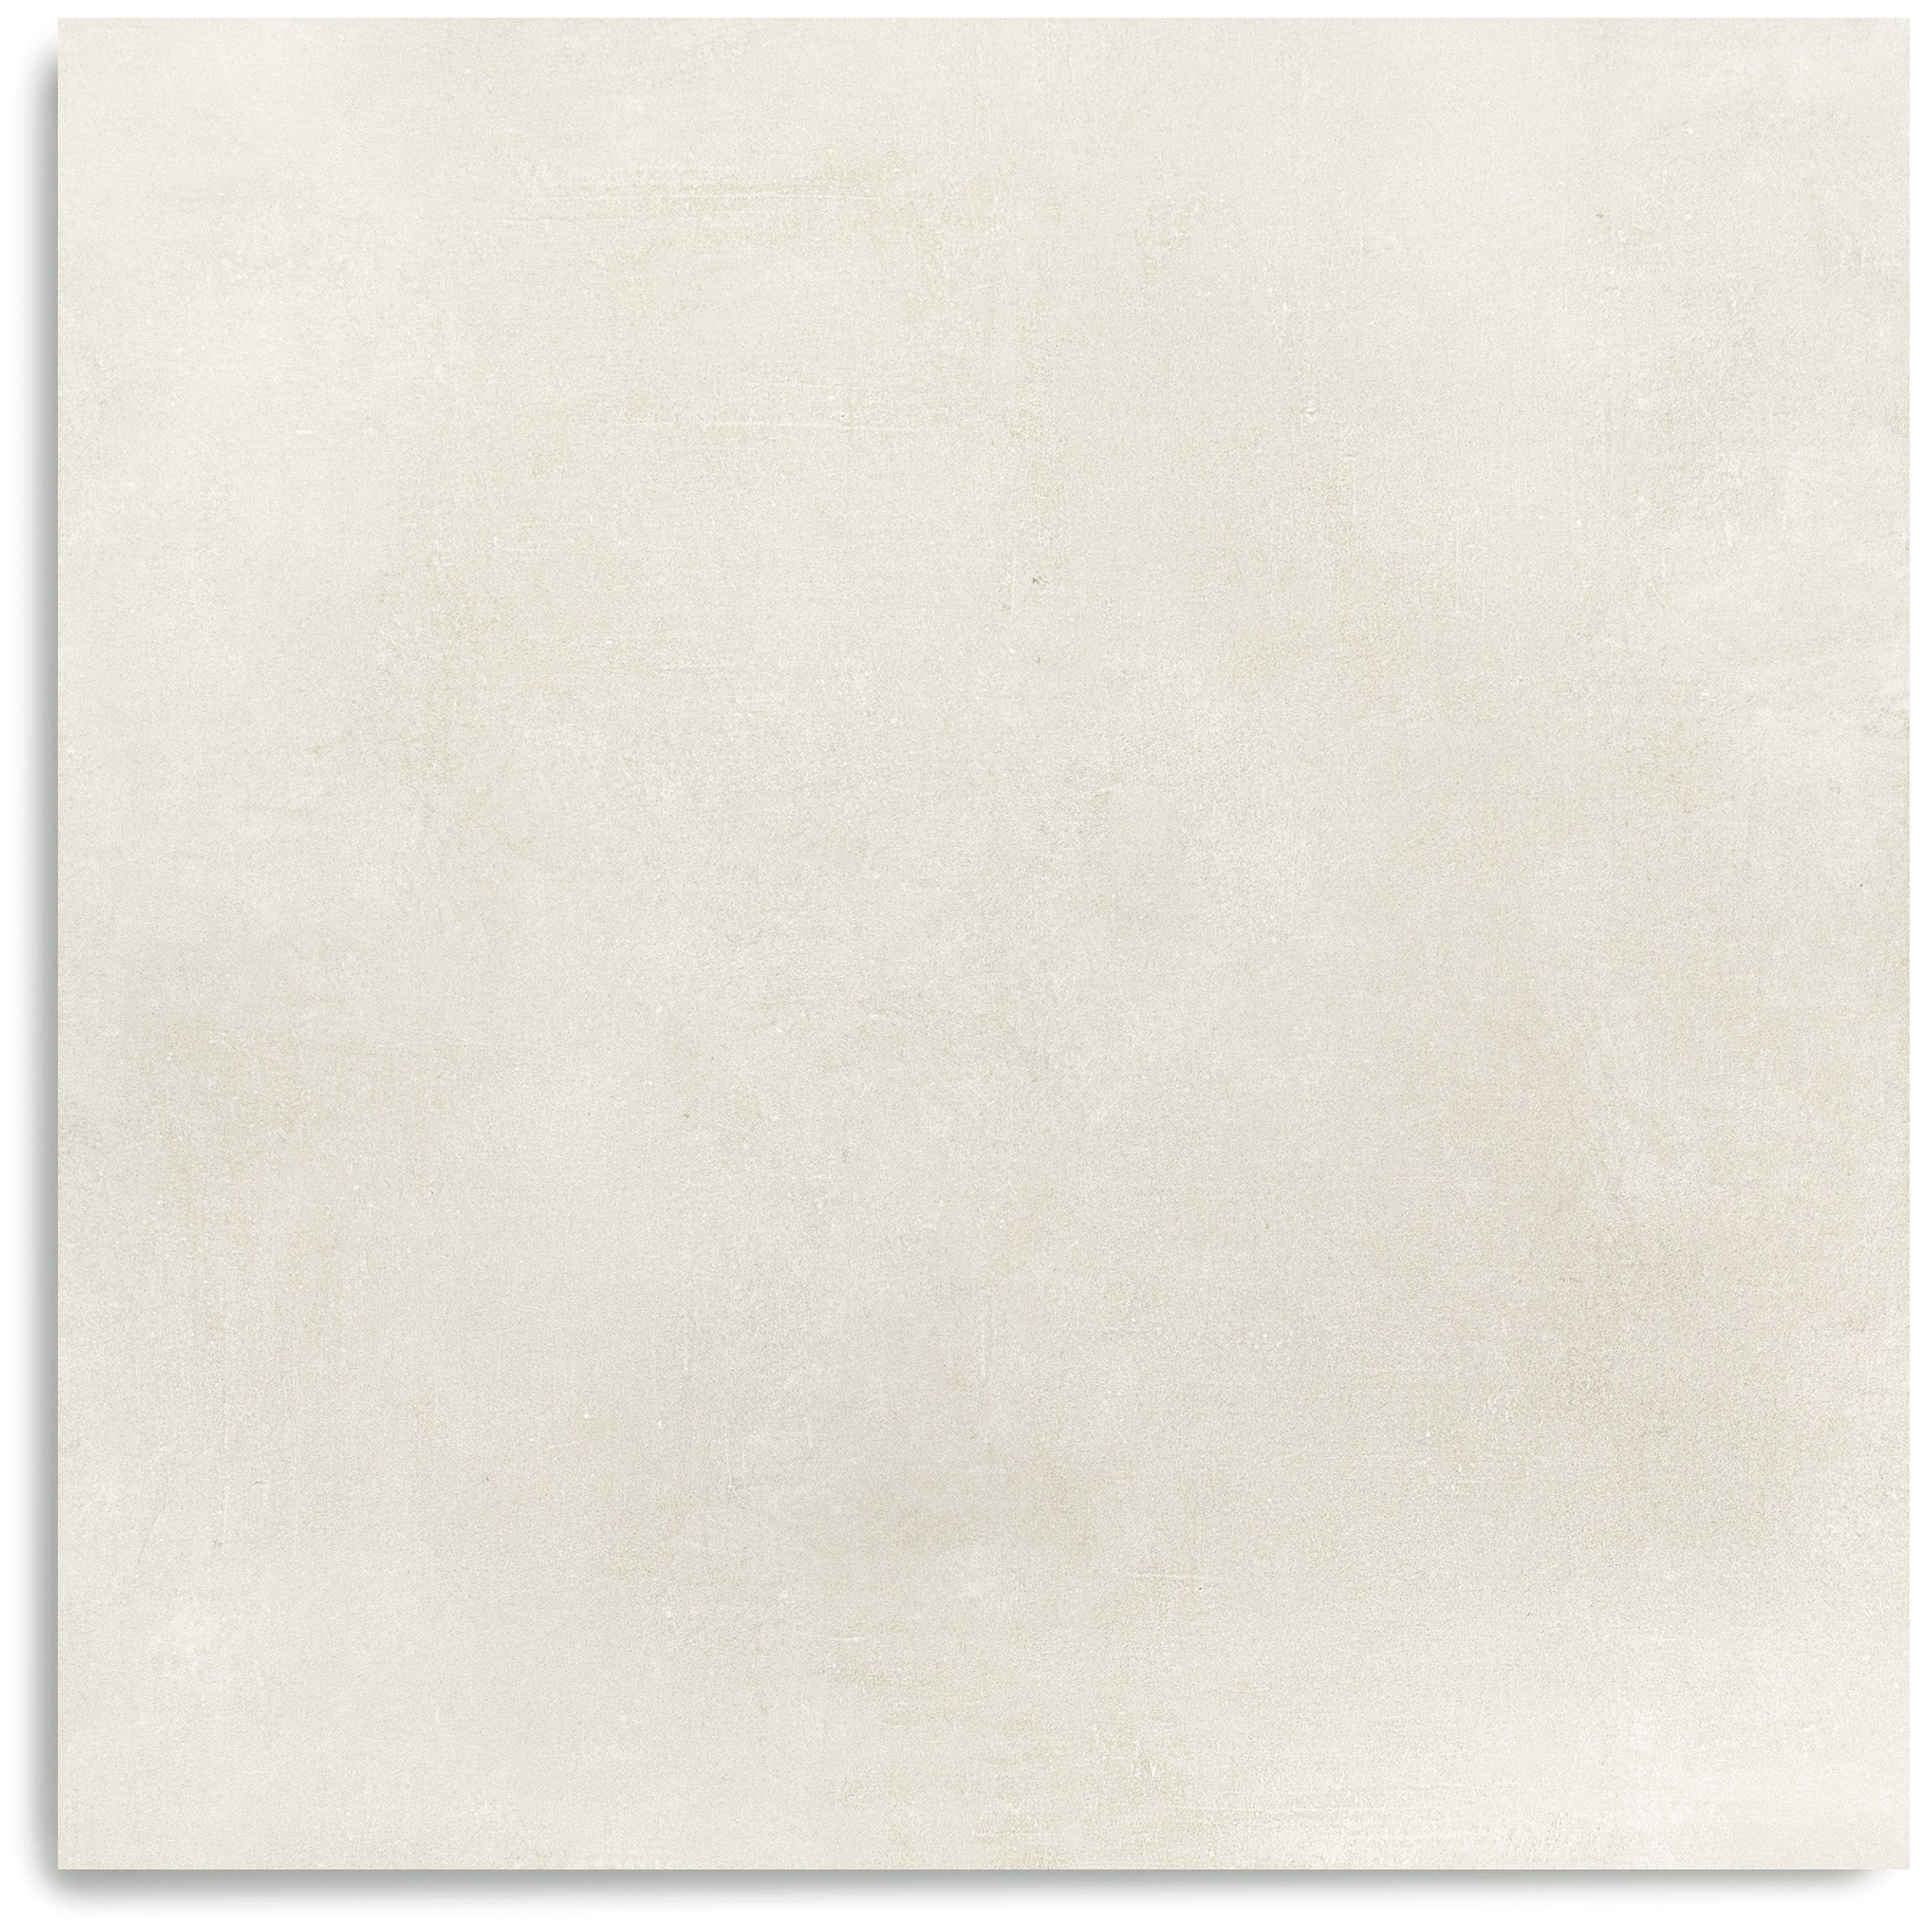
Calce Argilla lands right in the sweet spot between warm and cool. It's a soft greige with the clouded, hand finished look of poured concrete, so it feels architectural without ever going cold. The tone shifts gently with the light, reading a little warmer in the evening and a little crisper at midday. It's the calm, sophisticated neutral that lets big windows, good furniture, and the view outside do the talking.

The Details
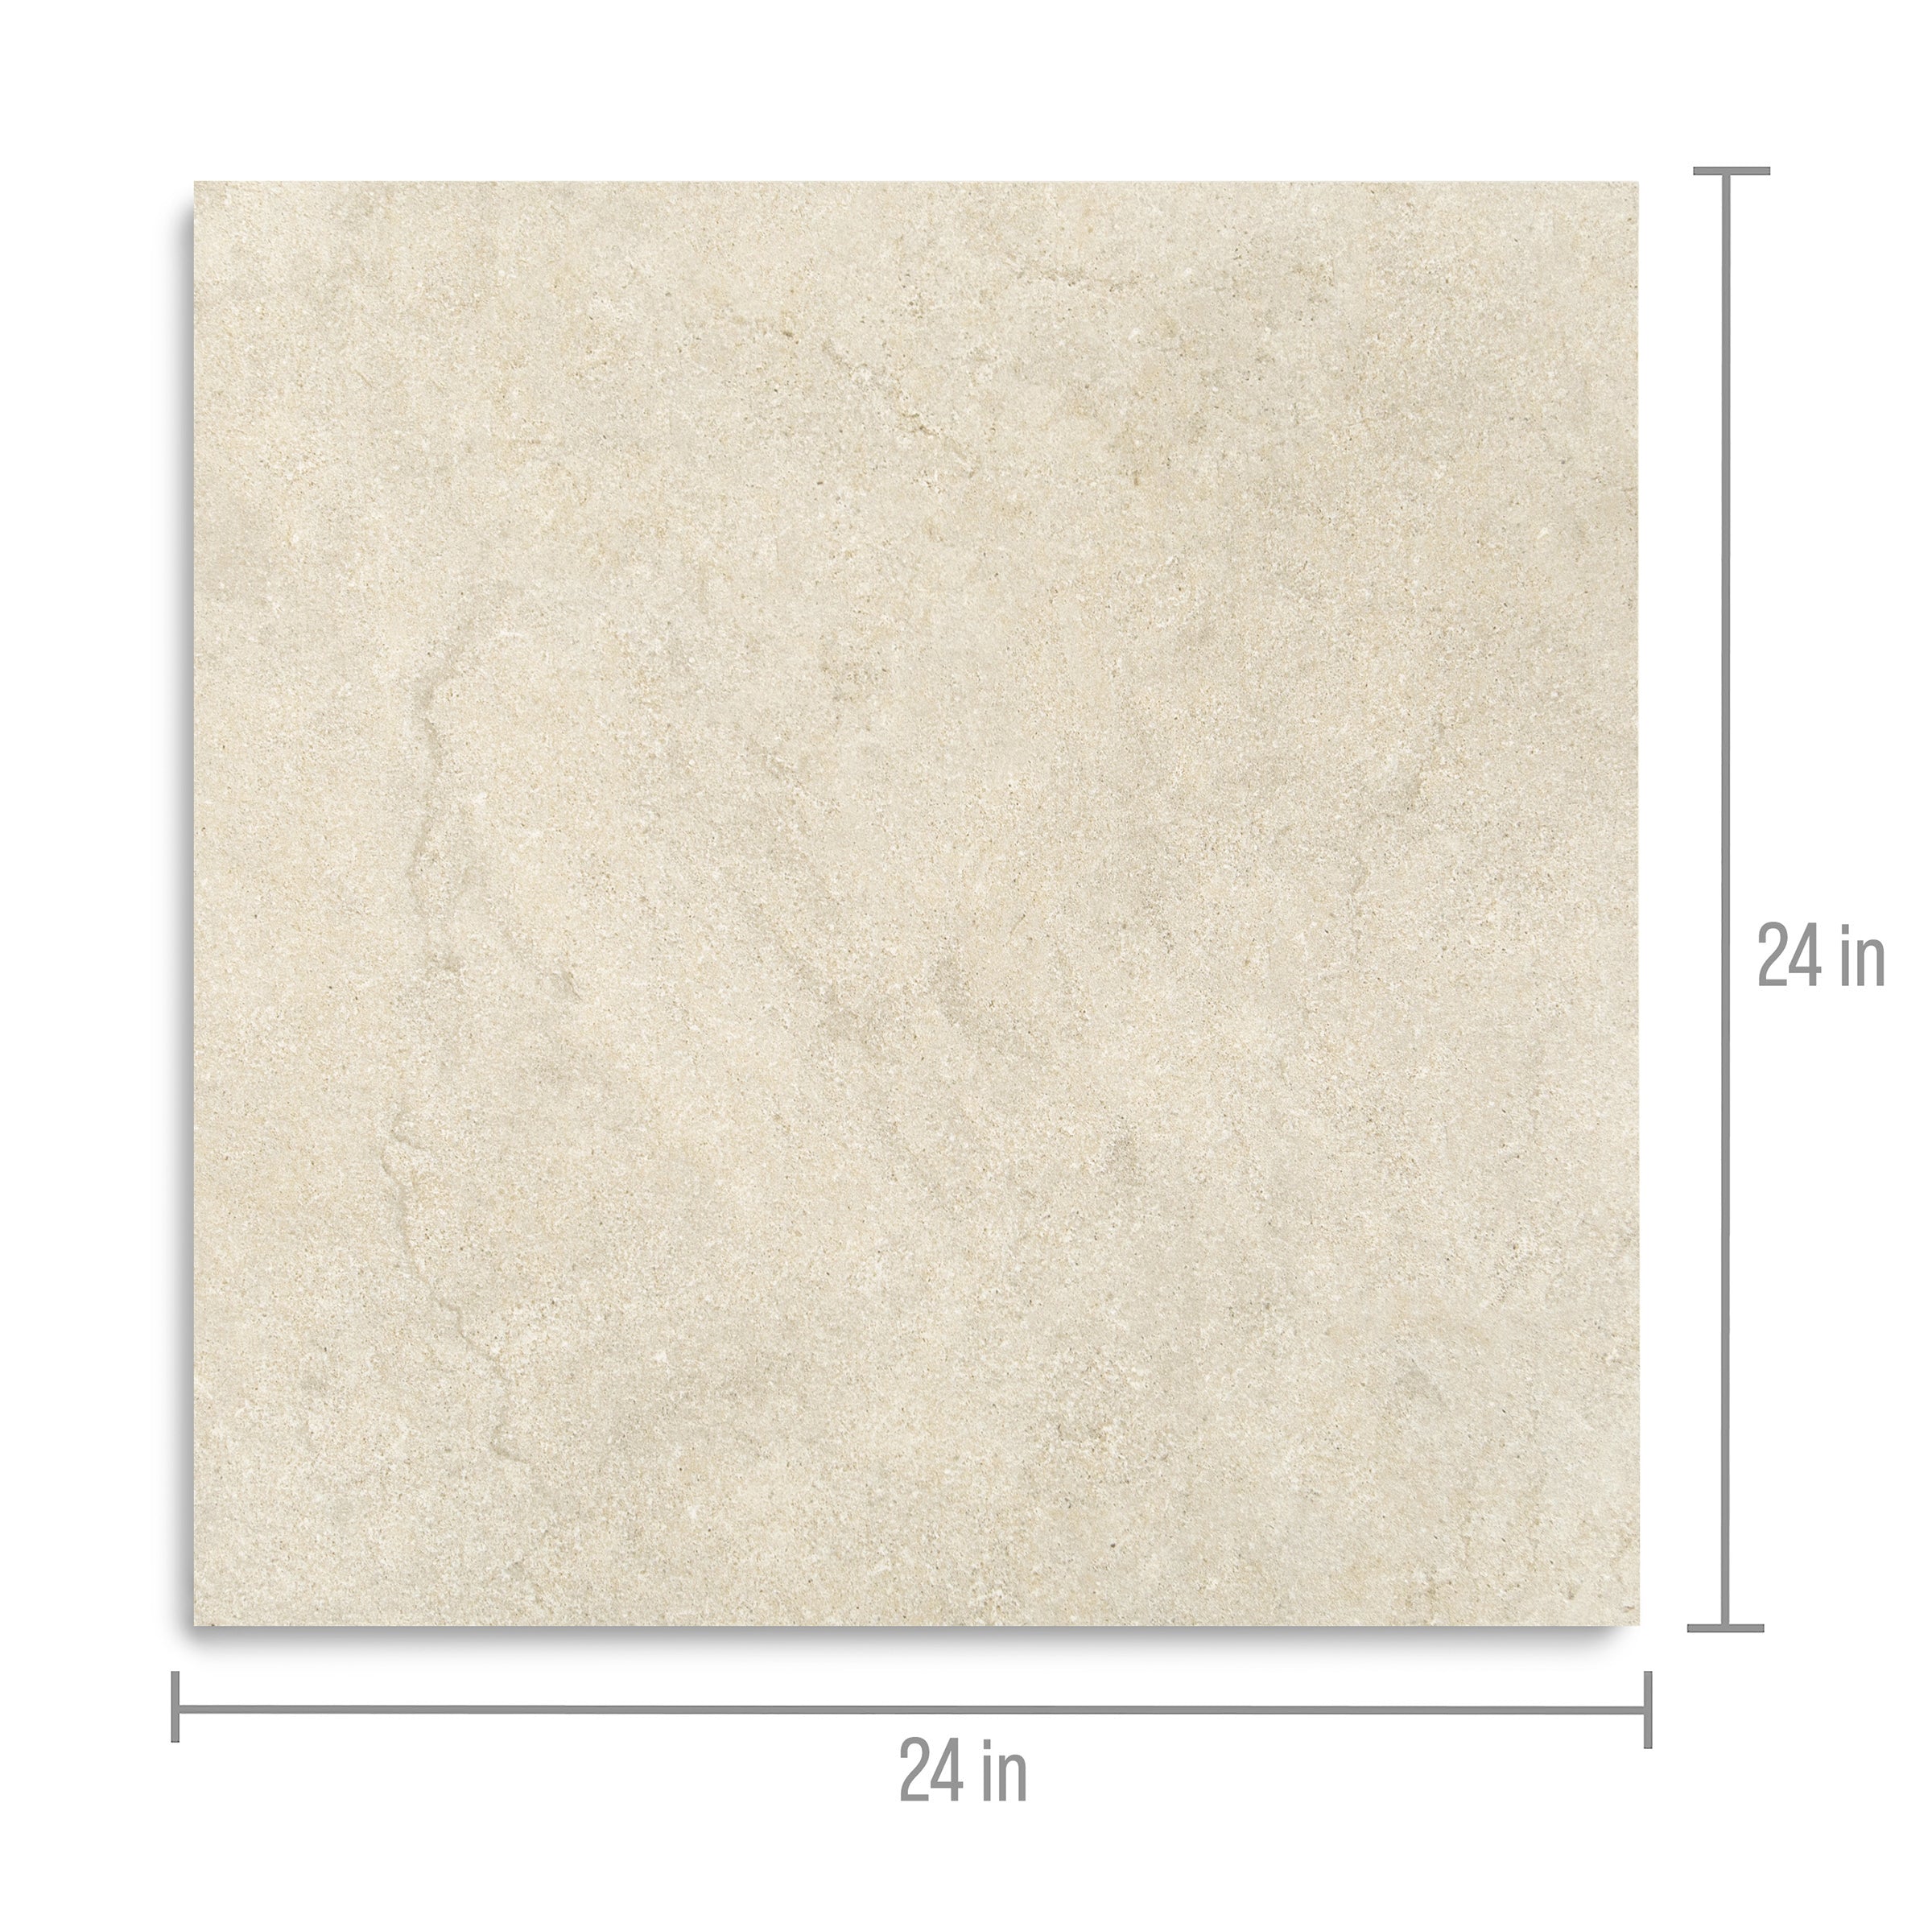
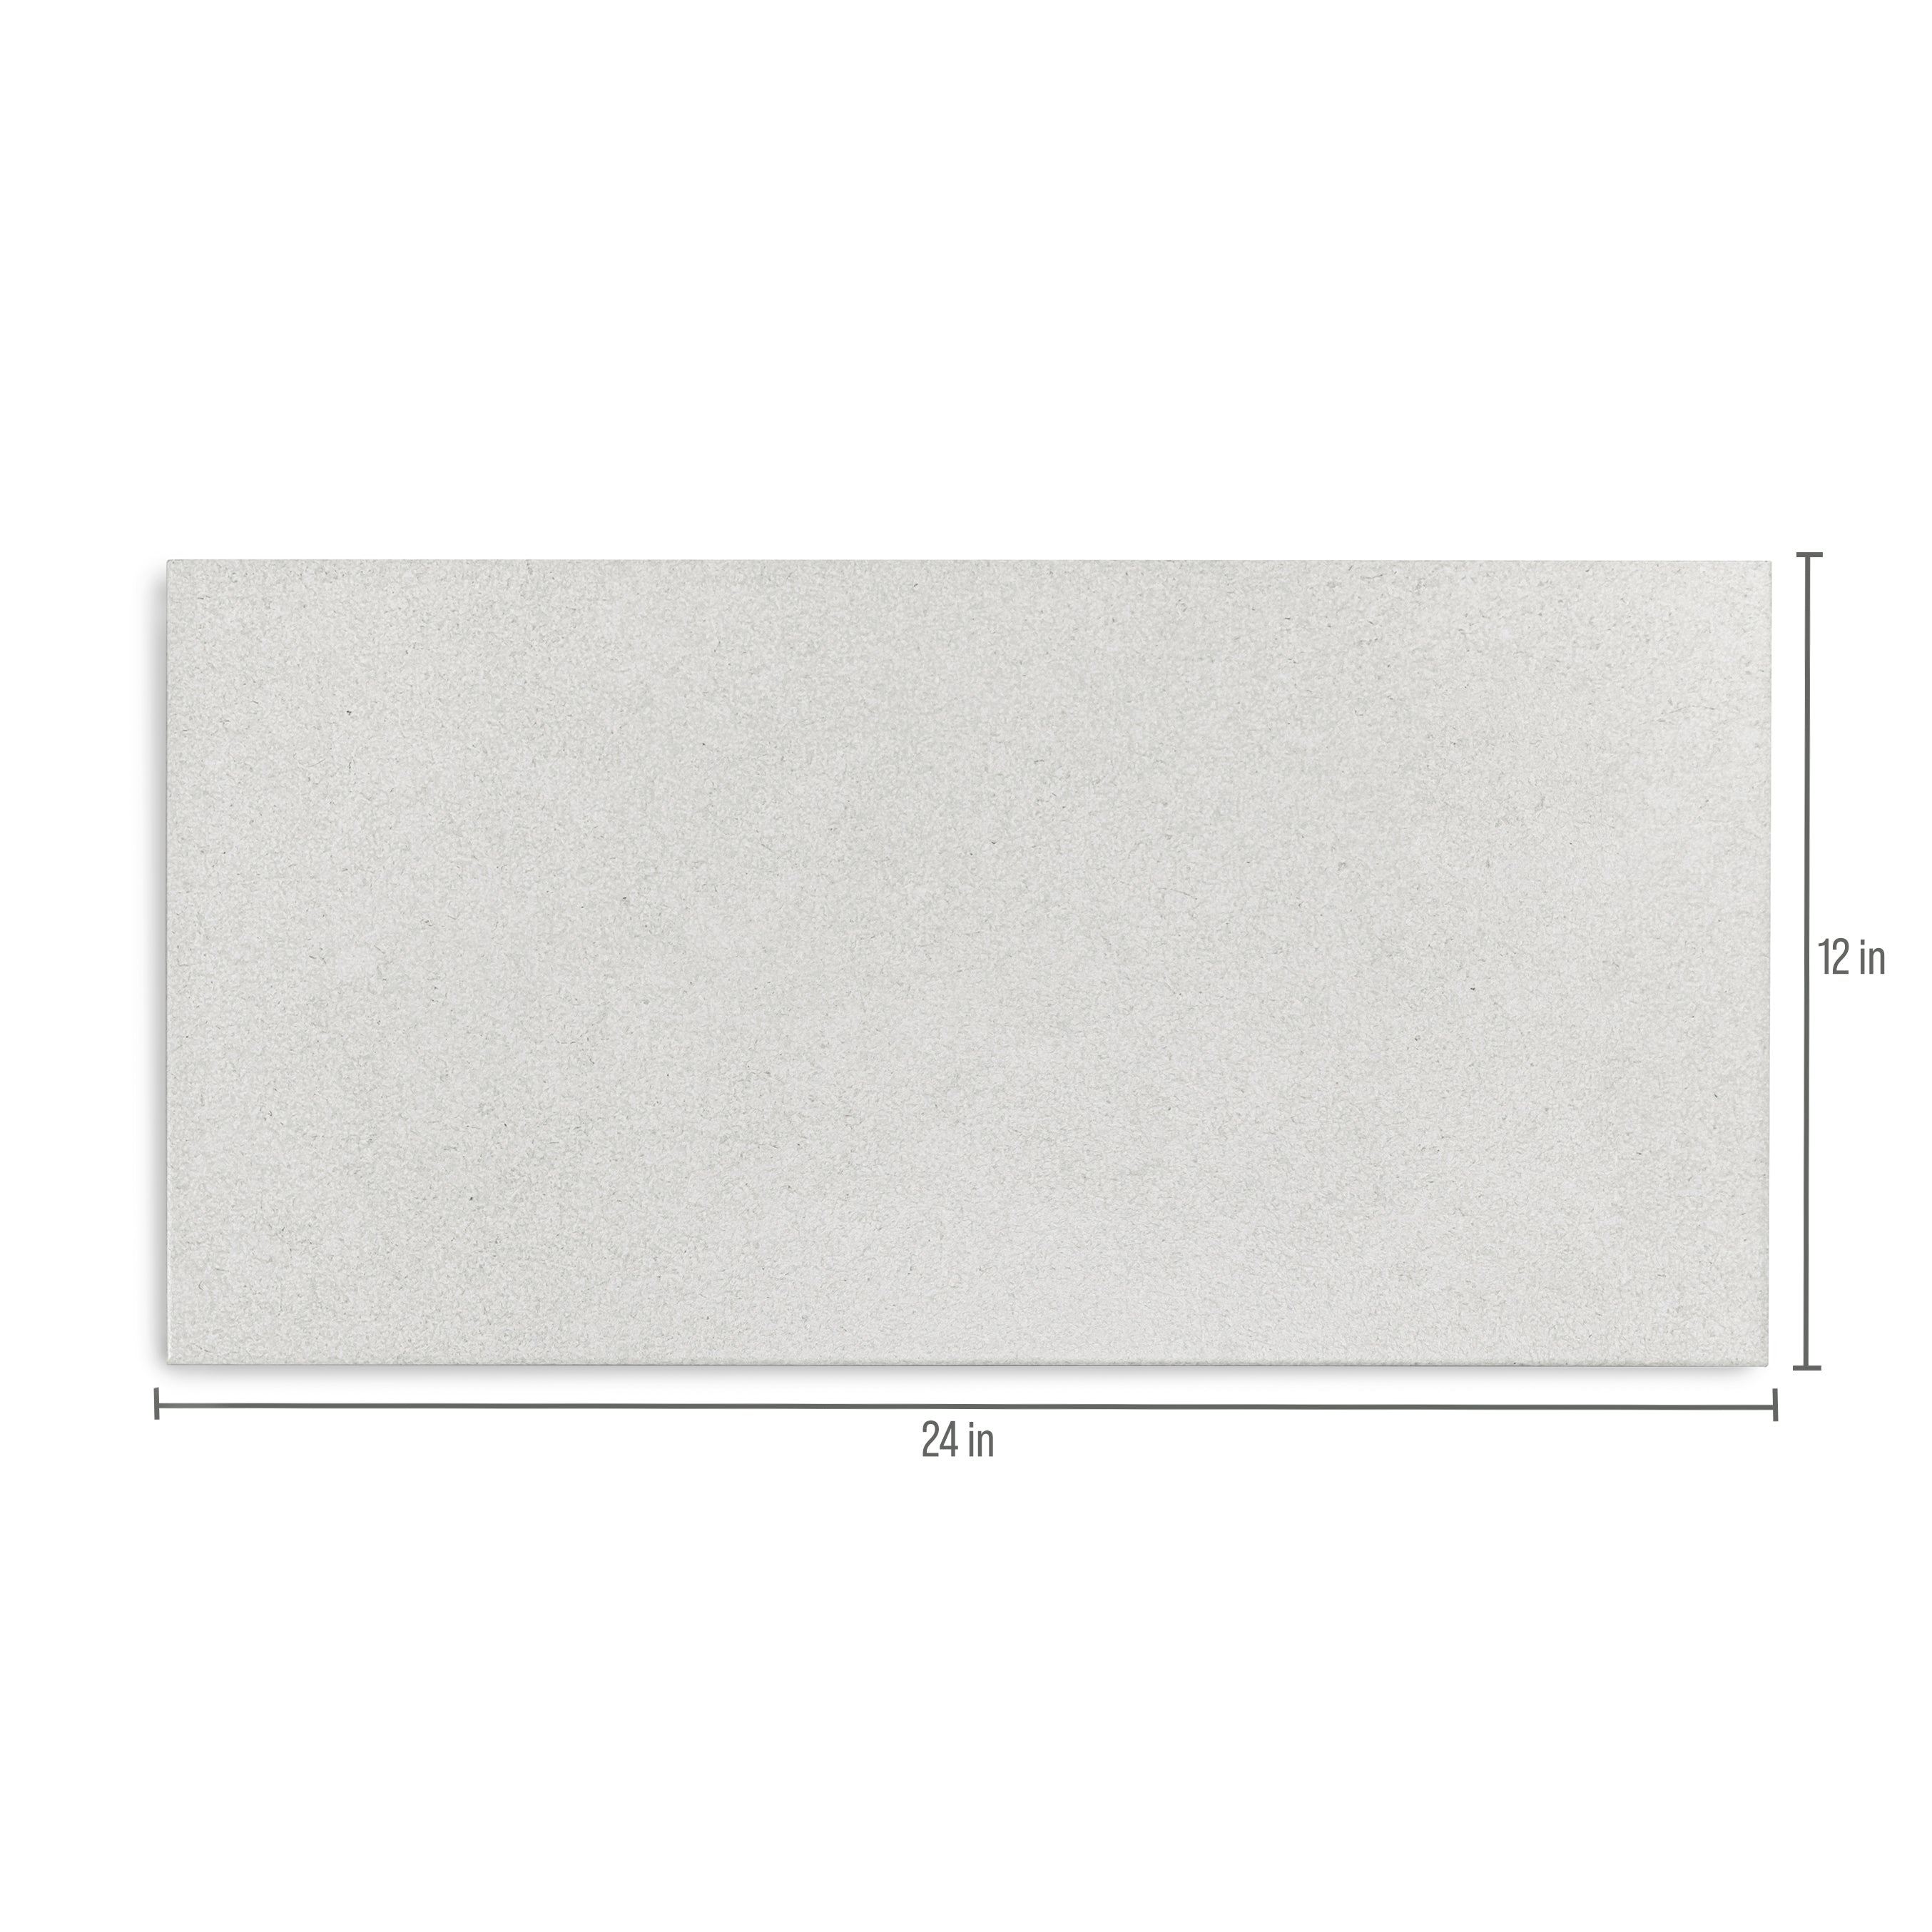
Full body porcelain, so the color runs all the way through the tile. Available in 24x48, and 24x24, all rectified for tight, even grout lines and 3/8" thick. The matte finish is low sheen and soft to the touch. Water absorption under 0.5%, frost resistant, and rated R10 with a wet DCOF above 0.42, made for floors and walls in kitchens, baths, living spaces, and beyond.

Style it with
Walnut furniture, black metal lighting, and floor to ceiling glass for a clean, modern look with plenty of warmth. Layer in dried branches, stoneware, and wool textiles to soften it up. Run the 24x48 through open living and dining areas for a continuous floor that makes the whole space feel bigger. Argilla is the neutral that works with just about everything.
Where to Install
WALLS
OUTDOOR
SHOWER WALL
SHOWER FLOOR
FLOORS
Calce is a cement look porcelain tile that brings the soft, hand troweled character of poured concrete to floors and walls without the cracking, sealing, or upkeep of the real thing. Made in Italy from full body porcelain, this concrete look tile carries its color all the way through, with a low sheen matte finish and rectified edges for tight, clean grout lines. Choose from large format 48x48 and 24x48 tile or a classic 24x24 square in four modern neutrals: Sand, Taupe, Argilla, and Slate. With water absorption under 0.5%, frost resistance, and a wet DCOF above 0.42, Calce works as a kitchen floor tile, bathroom wall tile, shower surround, or indoor outdoor patio tile, making it easy to carry one seamless look from room to room.
Packaging
Actual Size
24"x48"
Pieces Per Box
2
SF Box
14.2
Weight Box
46.86
Boxes Per Pallet
48
SF Pallet
681.75
Weight Pallet
2244
Actual Size
24"x24"
Pieces Per Box
20
SF Box
5.92
Weight Box
19.58
Boxes Per Pallet
108
SF Pallet
639.14
Weight Pallet
2244
Gradient bar
Large Format Porcelain Installation Guide
LARGE FORMAT PORCELAIN TILE INSTALLATION GUIDE
Large Format Porcelain Tile Installation Guide
Covers tiles with any side 15 inches or larger
Reno Source
www.therenosource.com
BEFORE YOU BEGIN
Large format porcelain tile installation involves tighter tolerances, heavier materials, and specialized techniques. These installations amplify even small substrate imperfections and require strict adherence to industry standards. Less experienced installers are strongly encouraged to work alongside a qualified professional. The methods in this guide align with Tile Council of North America guidelines and ANSI specifications.
-
OVERVIEW
Large format porcelain tiles, defined as any tile with at least one side measuring 15 inches or more, create expansive, modern surfaces with fewer grout lines and strong visual impact. Common sizes include 12 by 24, 24 by 48, and larger panel formats used on floors and walls. Because of their size and rigidity, these tiles require a flatter substrate, specialized large and heavy tile mortars, careful handling, and precise installation methods. This guide outlines the full process required to achieve a durable, professional result.
Key specifications include substrate flatness no greater than one eighth inch over ten feet and no more than one sixteenth inch over any twenty four inch span, use of large and heavy tile polymer modified mortar, minimum mortar coverage of eighty percent in dry areas and ninety five percent in wet or exterior areas, minimum grout joint width of one eighth inch for rectified tiles and three sixteenths inch for non rectified tiles, maximum running bond offset of thirty three percent for tiles over eighteen inches, floor deflection limited to L three sixty, and required movement joints at perimeters and every twenty to twenty five feet in interior installations.
-
TOOLS AND MATERIALS
Essential tools include a large notch trowel such as one half inch square notch, U notch, or slant notch per mortar manufacturer recommendation, rubber grout float, wet saw with a porcelain rated diamond blade, tile leveling system using clip and wedge or screw type, suction cup lifters rated for tile weight, long straightedge or level a minimum of six feet, chalk line or laser level, tape measure, mixing bucket and drill with paddle attachment, rubber mallet, sponges and clean cloths, grout haze remover, knee pads, safety glasses, dust mask, and cut resistant gloves. Materials include large format porcelain tiles with ten to fifteen percent extra ordered for cuts and future repairs, large and heavy tile polymer modified mortar meeting ANSI A118.4 or A118.15, grout with sanded used for joints wider than one eighth inch and unsanded for narrower joints, tile spacers typically one eighth to three sixteenths inch, cement backer board or uncoupling membrane if required, crack isolation membrane recommended for concrete substrates, grout sealer, flexible silicone or urethane sealant for movement joints, and self leveling underlayment if substrate correction is needed.
-
STEP BY STEP INSTALLATION
Step 1 Surface Preparation
Surface preparation is the most critical factor in large format tile installation. Remove all furniture, appliances, and existing flooring. Clean the subfloor thoroughly to remove debris, dust, adhesive residue, paint, and curing compounds. The surface must meet strict flatness tolerances of no more than one eighth inch over ten feet and no more than one sixteenth inch over any twenty four inch span. Use self leveling compound to correct low areas and grind high spots. The subfloor must be structurally sound and rigid. Wood framed floors must meet a minimum total thickness of one and one eighth inches and not exceed L three sixty deflection. Repair cracks, holes, and damaged areas before proceeding. Install cement backer board or an approved uncoupling membrane over plywood subfloors and tape all seams. For concrete substrates, installation of a crack isolation membrane is strongly recommended. Apply primer if required by the mortar manufacturer.
Step 2 Planning and Layout
Careful layout planning is essential because large tiles are difficult to reposition once set. Measure and mark the midpoint of each wall and snap chalk lines or use a laser level to establish the starting point. Dry fit tiles from the center outward including spacers. For rectangular tiles, the running bond offset must not exceed one third of the tile length to minimize lippage caused by natural tile warpage. Ensure perimeter cuts are at least half a tile width and plan transitions, doorways, and focal points carefully. Movement joints must be planned at all perimeters, changes in plane, every twenty to twenty five feet in the field, and directly over substrate control joints.
Step 3 Handling and Cutting
Always use suction cup lifters when moving large format tiles. Never carry tiles flat by the edges as they can snap under their own weight. Transport tiles vertically whenever possible and use two installers for very large panels. Cut tiles using a wet saw with a porcelain rated diamond blade. Support the full tile during cutting and feed slowly. Manual snap cutters are not suitable. Smooth cut edges with a rubbing stone. Always wear safety glasses, hearing protection, dust mask, and cut resistant gloves when cutting porcelain.
Step 4 Applying Mortar
Always use polymer modified large and heavy tile mortar. Standard thinset is not suitable. Spread a scratch coat of mortar onto the substrate and comb with the notched trowel at a forty five degree angle creating straight, parallel ridges in one direction. Back butter each tile with a thin even coat, combing ridges perpendicular to the substrate ridges to collapse air pockets. Work in small sections and periodically remove a tile to verify coverage. Mortar coverage must meet at least eighty percent in dry interior areas and ninety five percent in wet or exterior areas with full support at all edges.
Step 5 Setting the Tiles
Lower tiles into place using suction cups and press firmly with a slight sliding motion to collapse mortar ridges. Do not twist or shift tiles once placed. Insert spacers and install leveling system clips between adjacent tiles to control lippage. Continue outward from the starting point, checking frequently with a straightedge. Tap gently with a rubber mallet if needed. Clean excess mortar from joints and tile surfaces immediately. Do not walk on freshly set tiles and allow a minimum of twenty four hours cure time.
Step 6 Grouting
Allow mortar to cure at least twenty four hours and remove leveling clips. Mix grout to a smooth consistency and apply diagonally using a rubber float. Use sanded grout for joints one eighth inch or wider and unsanded grout for narrower joints. Work in small sections, scrape excess diagonally, then wipe with a damp sponge after fifteen to twenty minutes. Buff remaining haze after full cure, typically twenty four to seventy two hours. Do not grout movement joints or perimeter joints.
Step 7 Sealing and Finishing
Allow grout to cure forty eight to seventy two hours before sealing. Apply grout sealer to joints using a brush applicator and wipe excess from tile surfaces. Porcelain tile itself typically does not require sealing. Fill all movement and perimeter joints with flexible silicone or urethane sealant color matched to grout. Perform a final inspection to confirm flatness, joint consistency, and cleanliness.
-
TIPS AND WARNINGS
Always verify substrate flatness before setting tile. Use a quality leveling system on all large format installations. Never skip back buttering. Comb mortar in straight lines only and use cross directional troweling. Respect the one third offset rule for rectangular tiles. Honor all substrate joints with movement joints in the tile surface. Clean as you go and keep spare tiles for future repairs.
-
CARE AND MAINTENANCE
Sweep or vacuum regularly to remove grit. Mop with a pH neutral tile cleaner and avoid excessive water. Wipe spills promptly, especially on grout lines. Reseal grout annually or as recommended. Use felt pads under furniture and mats at entryways. Do not use acidic cleaners, bleach, ammonia, or abrasive scrubbers on porcelain tile or grout.
-
PRODUCT AND LIABILITY INFORMATION
Porcelain tiles may exhibit warpage and dimensional variation within industry tolerances. Always test adhesives, grouts, and sealers on a sample area before full installation. This guide references TCNA Handbook methods, ANSI A108 A118 A137 standards, and TCNA EJ171 for movement joints. This guide is provided for informational purposes only. Reno Source assumes no responsibility for injuries, damages, or losses resulting from installation. Users assume all risk and should consult qualified professionals when needed.
Reno Source
Finish Materials
Based in the USA
www.therenosource.com
support@therenosource.com
From the same collection




Cream Limestone Look 3D Matte Porcelain Tile

Cotto Terracotta Look Matte Porcelain Tile


Murano Honed Italian Terrazzo Tile
Travertino Moka Stone Look Porcelain Tile


Beige Limestone Look 3D Matte Porcelain Tile


Apple 12x24 3D Glossy Porcelain Tile


Cream 12x24 3D Gloss Porcelain Tile


Navy 12x24 3D Gloss Porcelain Tile
Amazzonite Matte Marble Look Porcelain Tile
Almond Cement Look Matte Porcelain Tile
Travertino 3D Matte Porcelain Tile
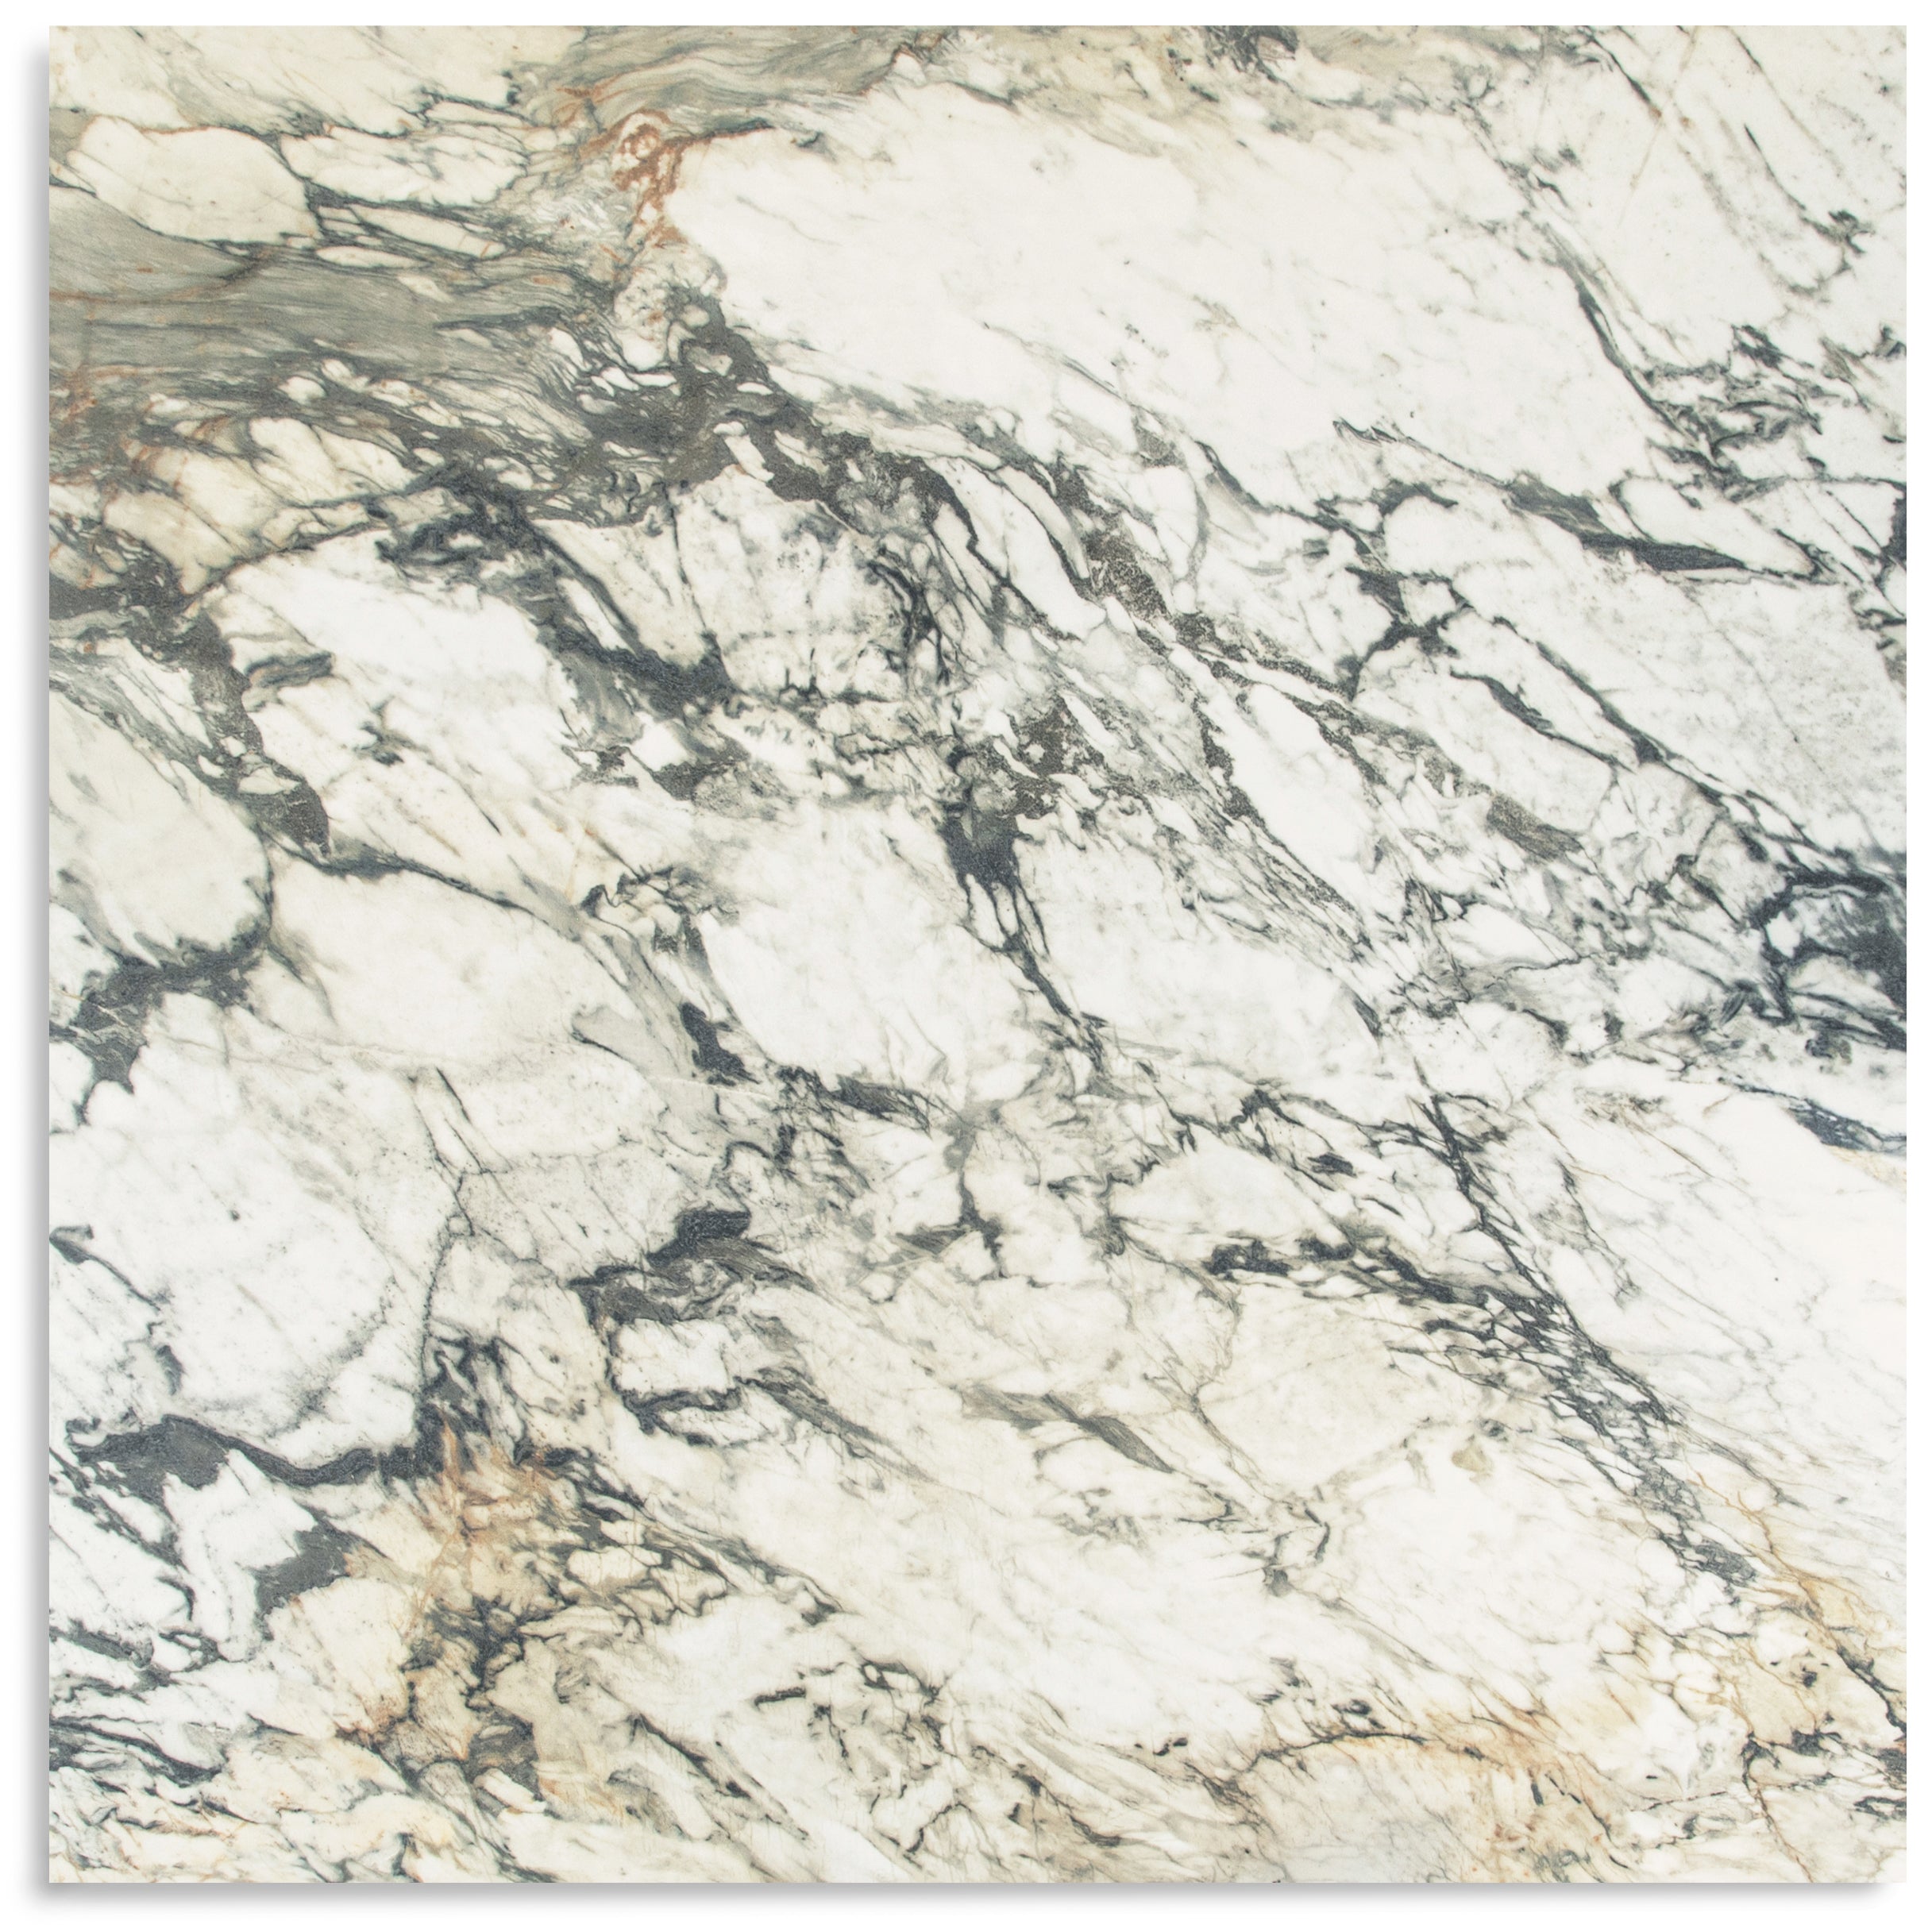
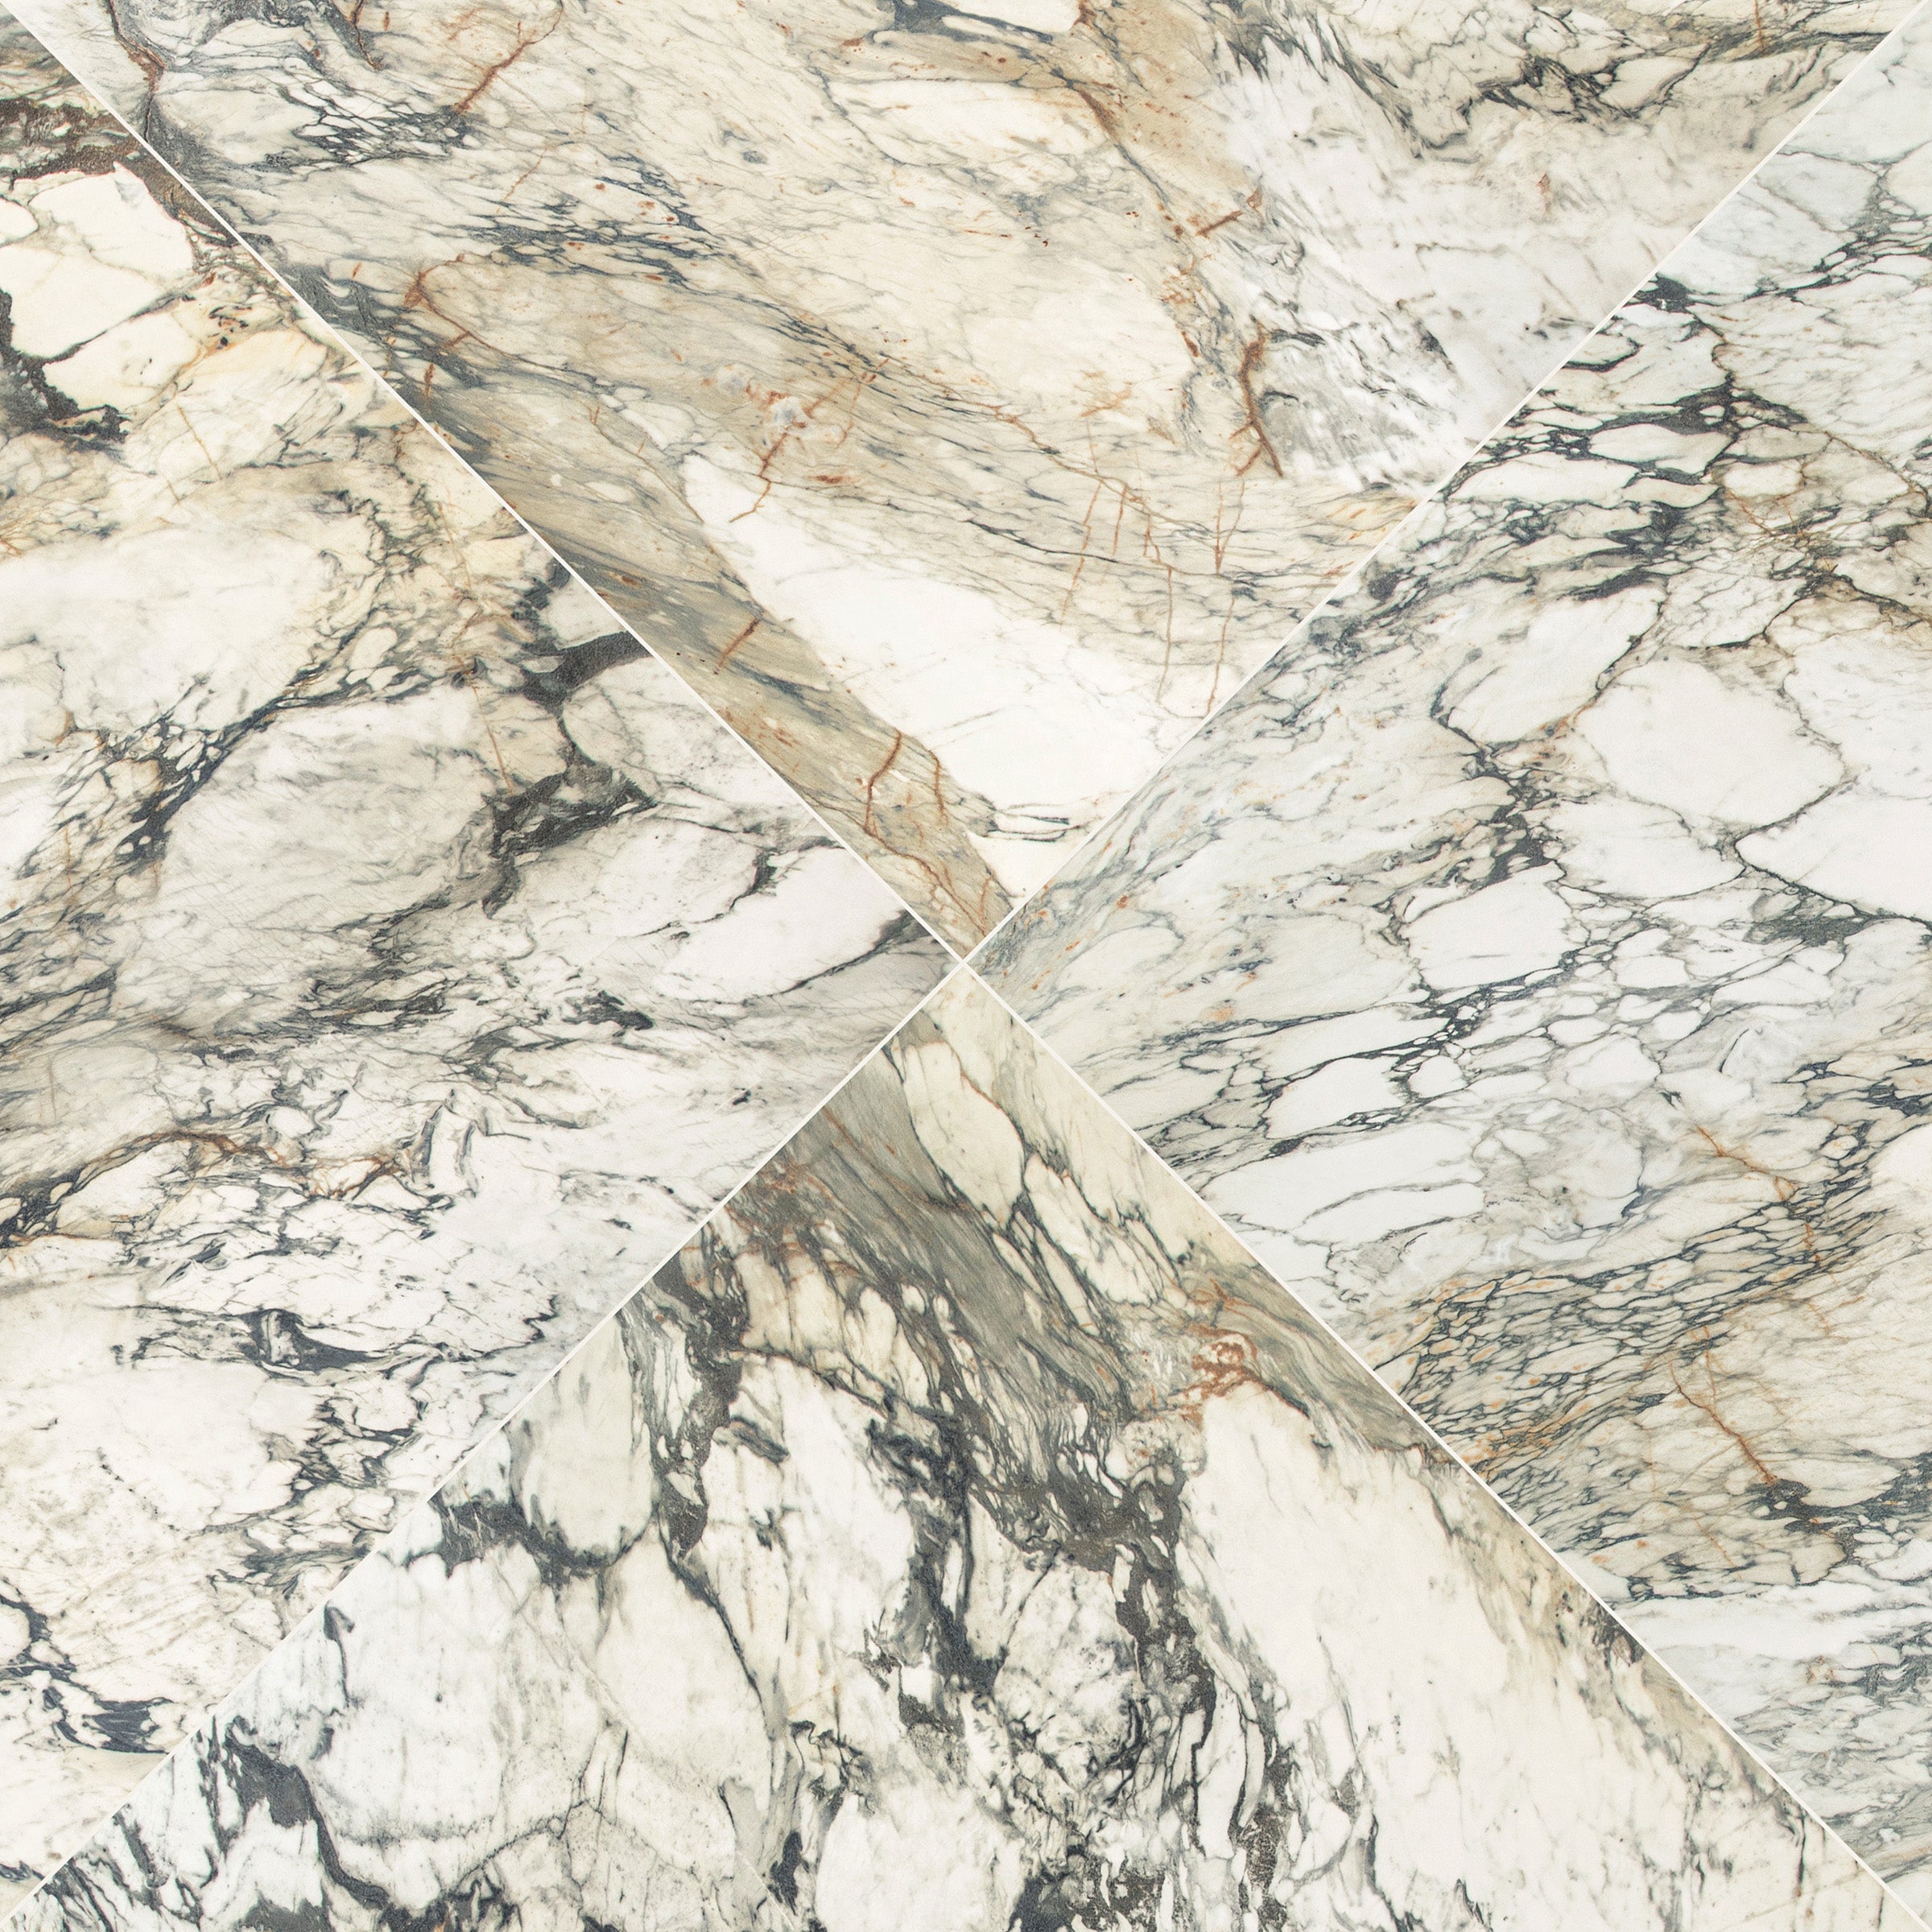
Breccia Capraia 3D Mable Look Porcelain Tile

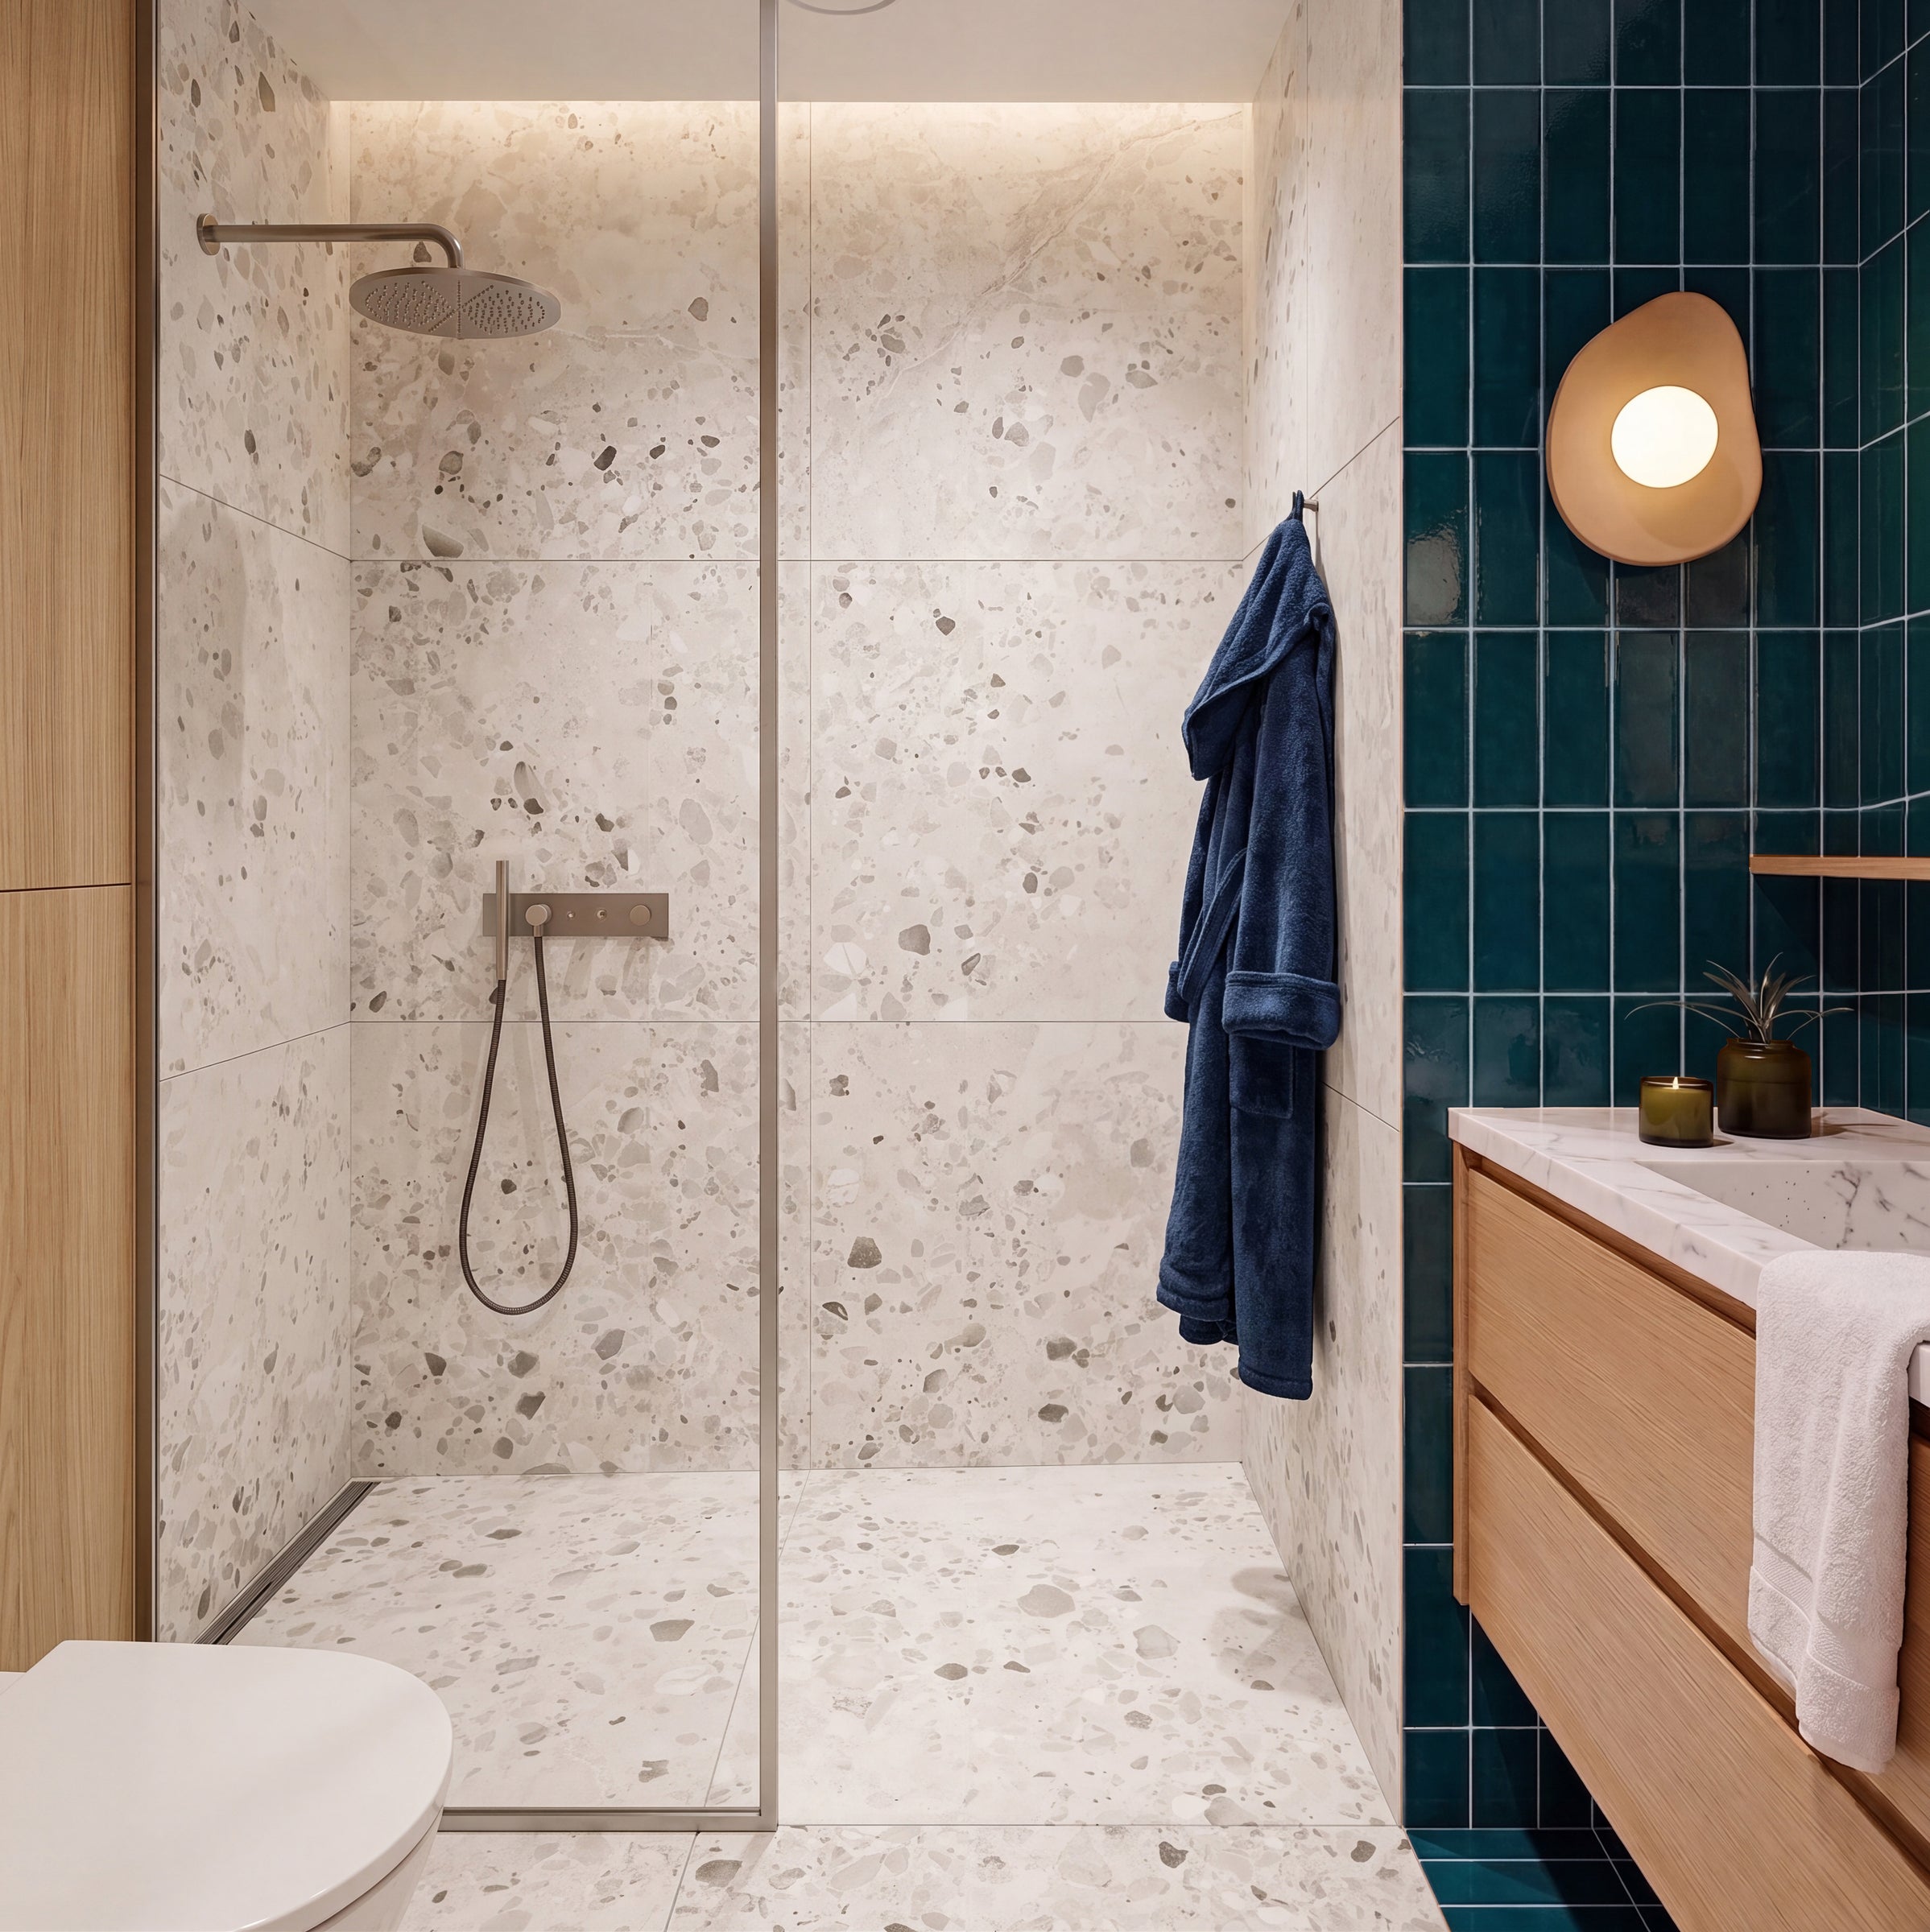
Calacatta Honed Italian Terrazzo Tile
Spider Gold Matte Marble Look Porcelain Tile
Taj Matte Marble Look Porcelain Tile
White Paradise Marble Look Porcelain Tile
Silver Limestone Look 3D Matte Porcelain Tile
Borgogna 3D Matte Porcelain Tile


No. 6 Engineered Wood Flooring


No. 4 Engineered Wood Flooring


Burano Honed Italian Terrazzo Tile
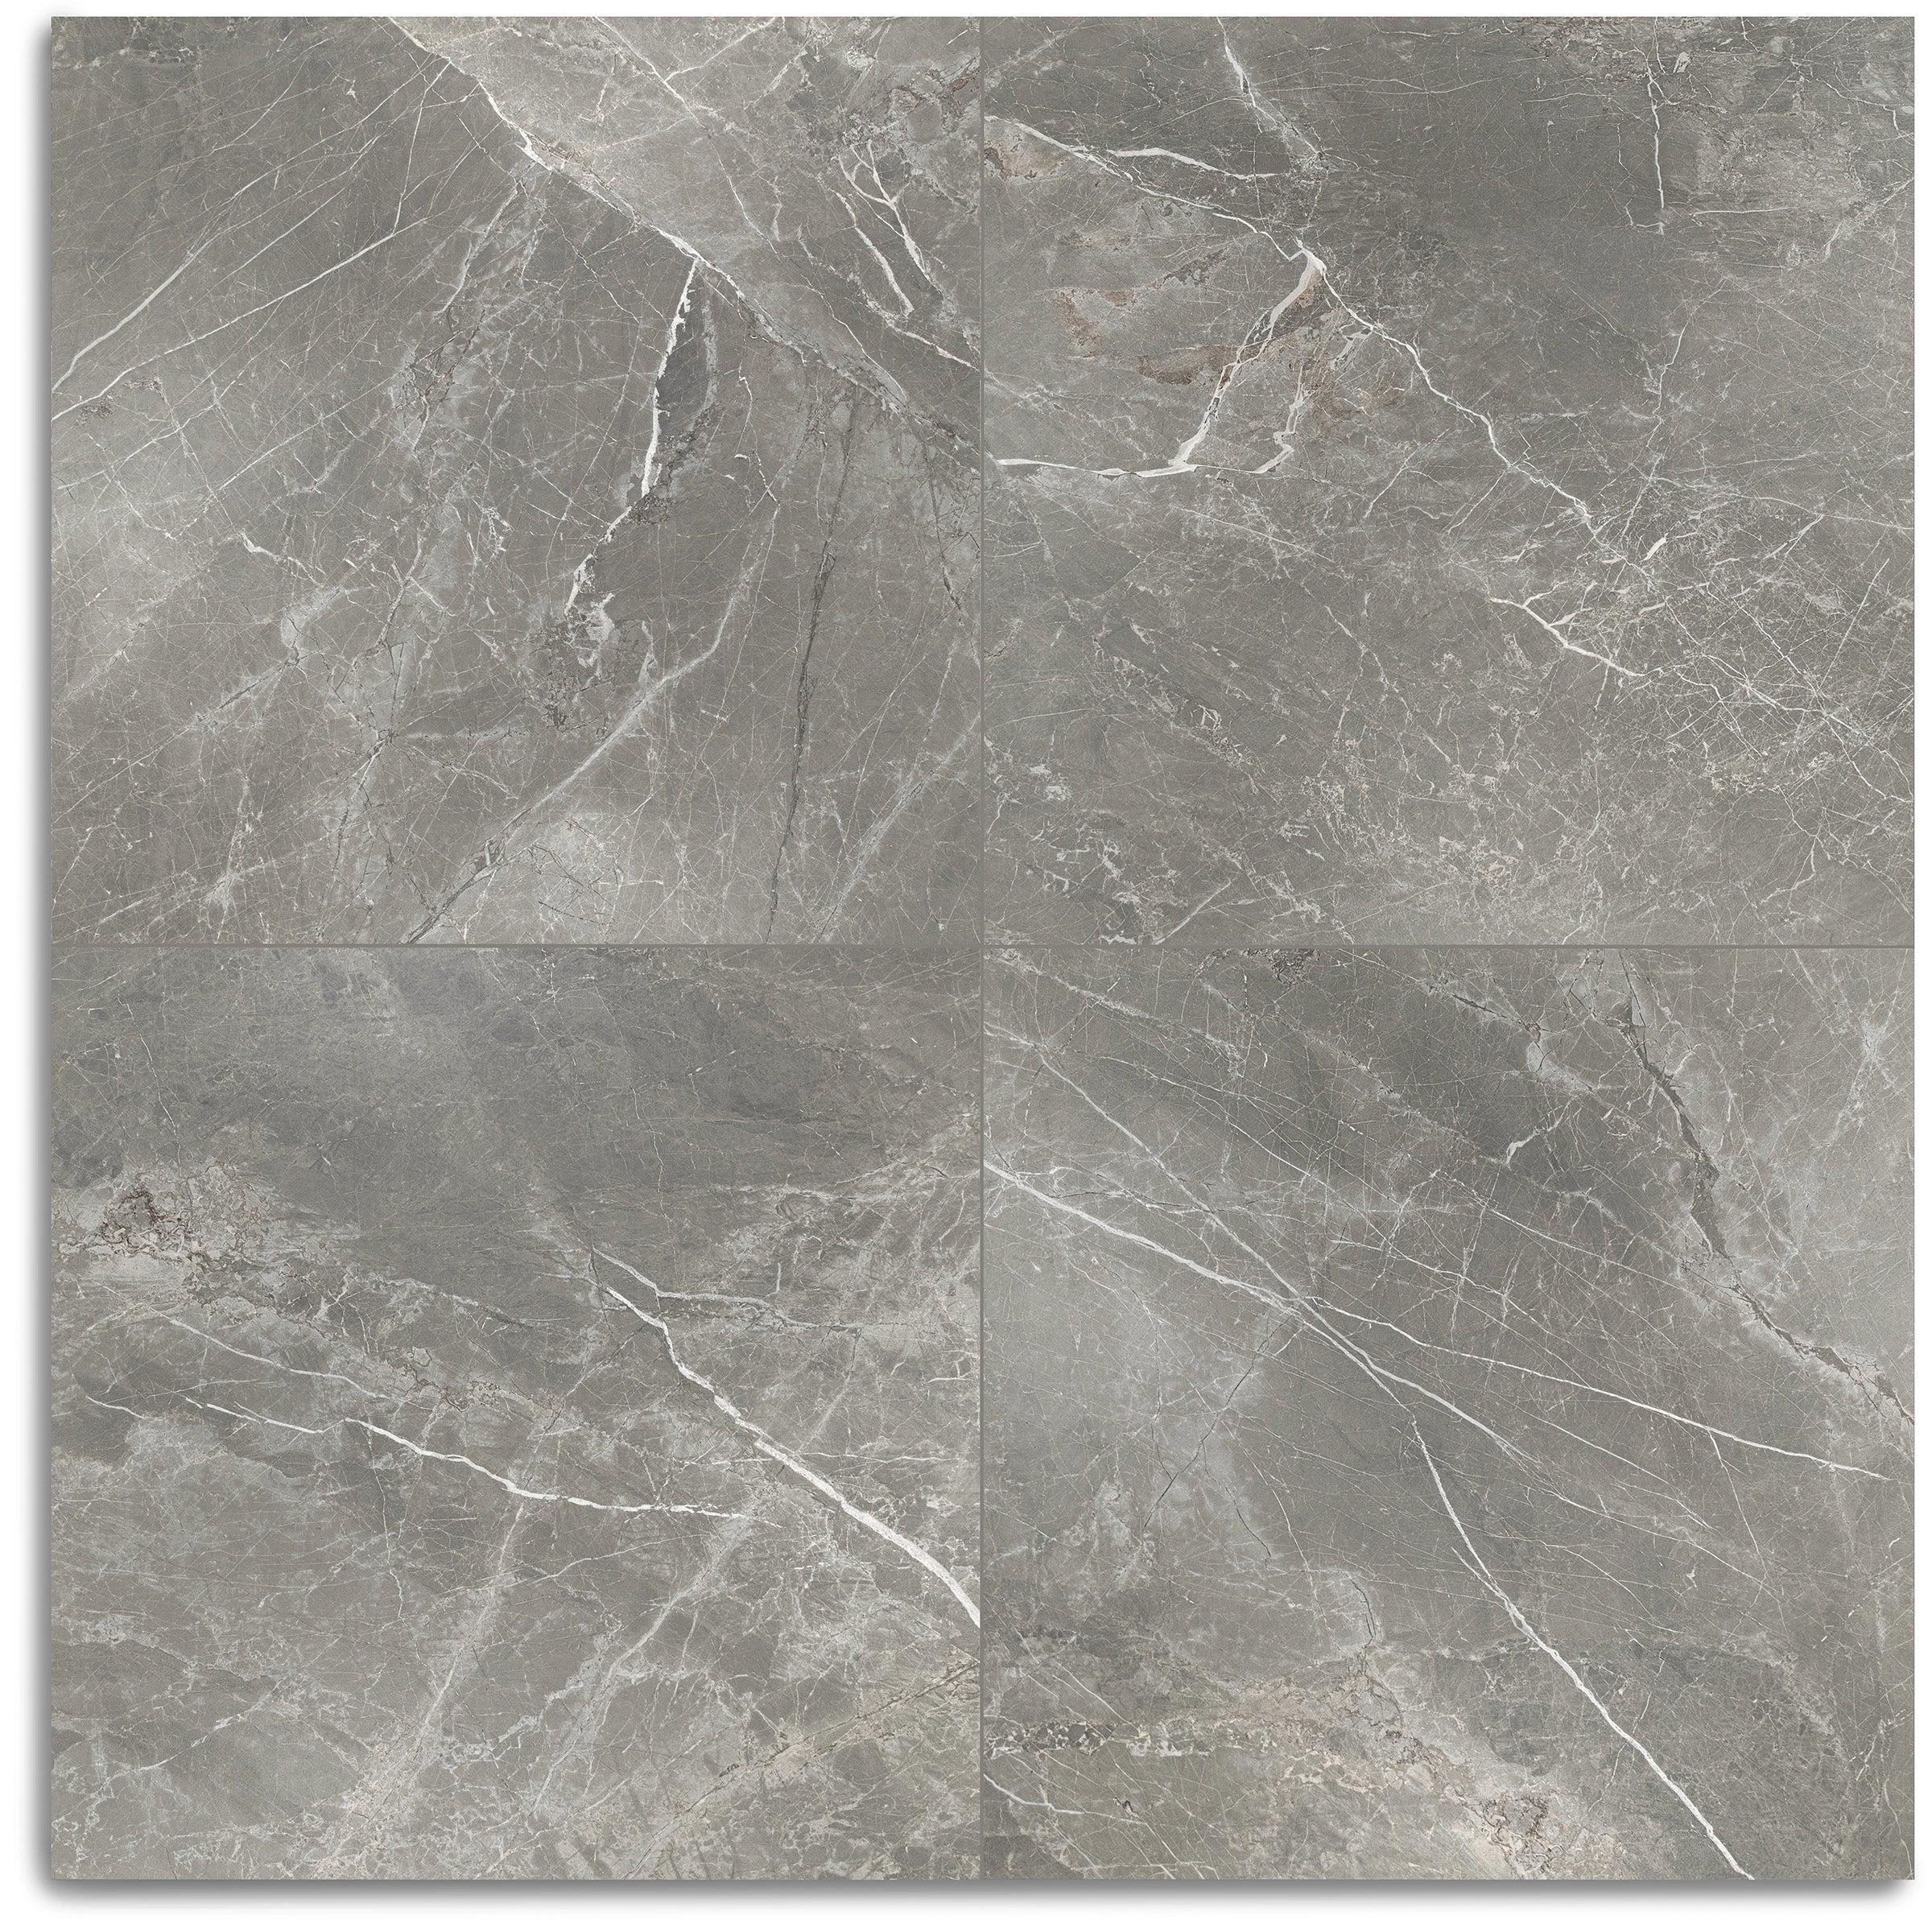
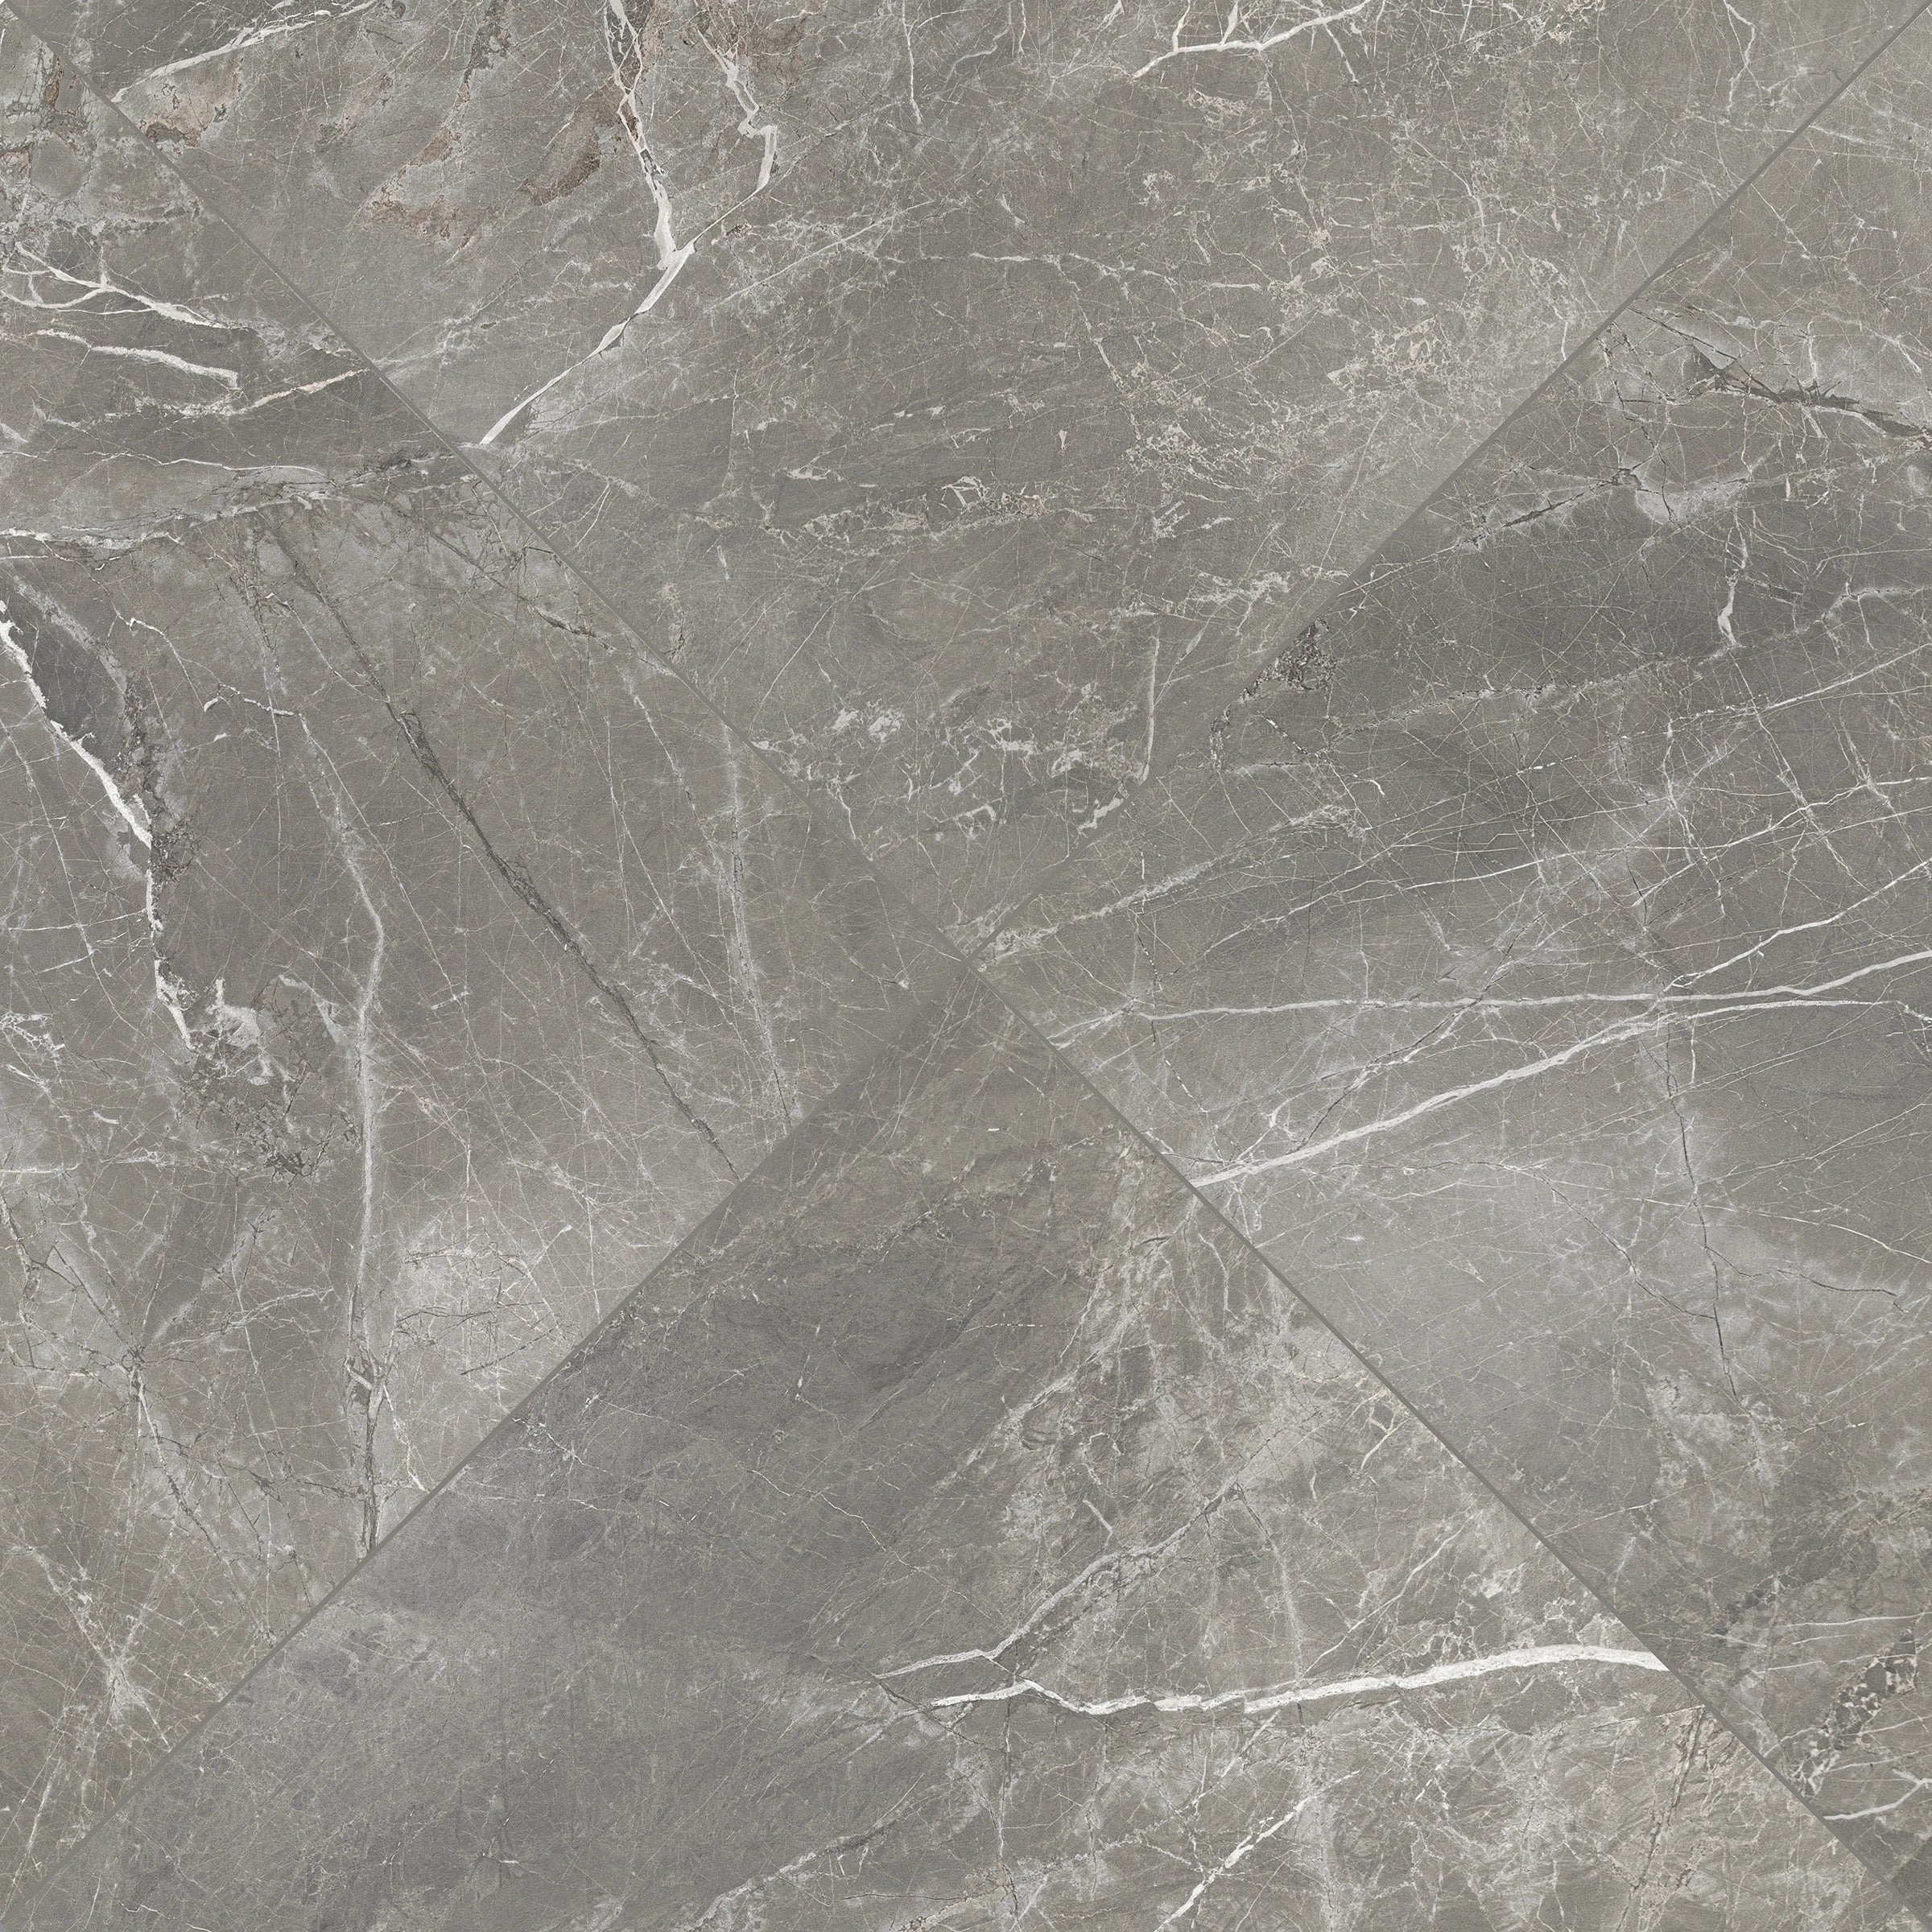
Fior de Bosco Marble Look Porcelain Tile
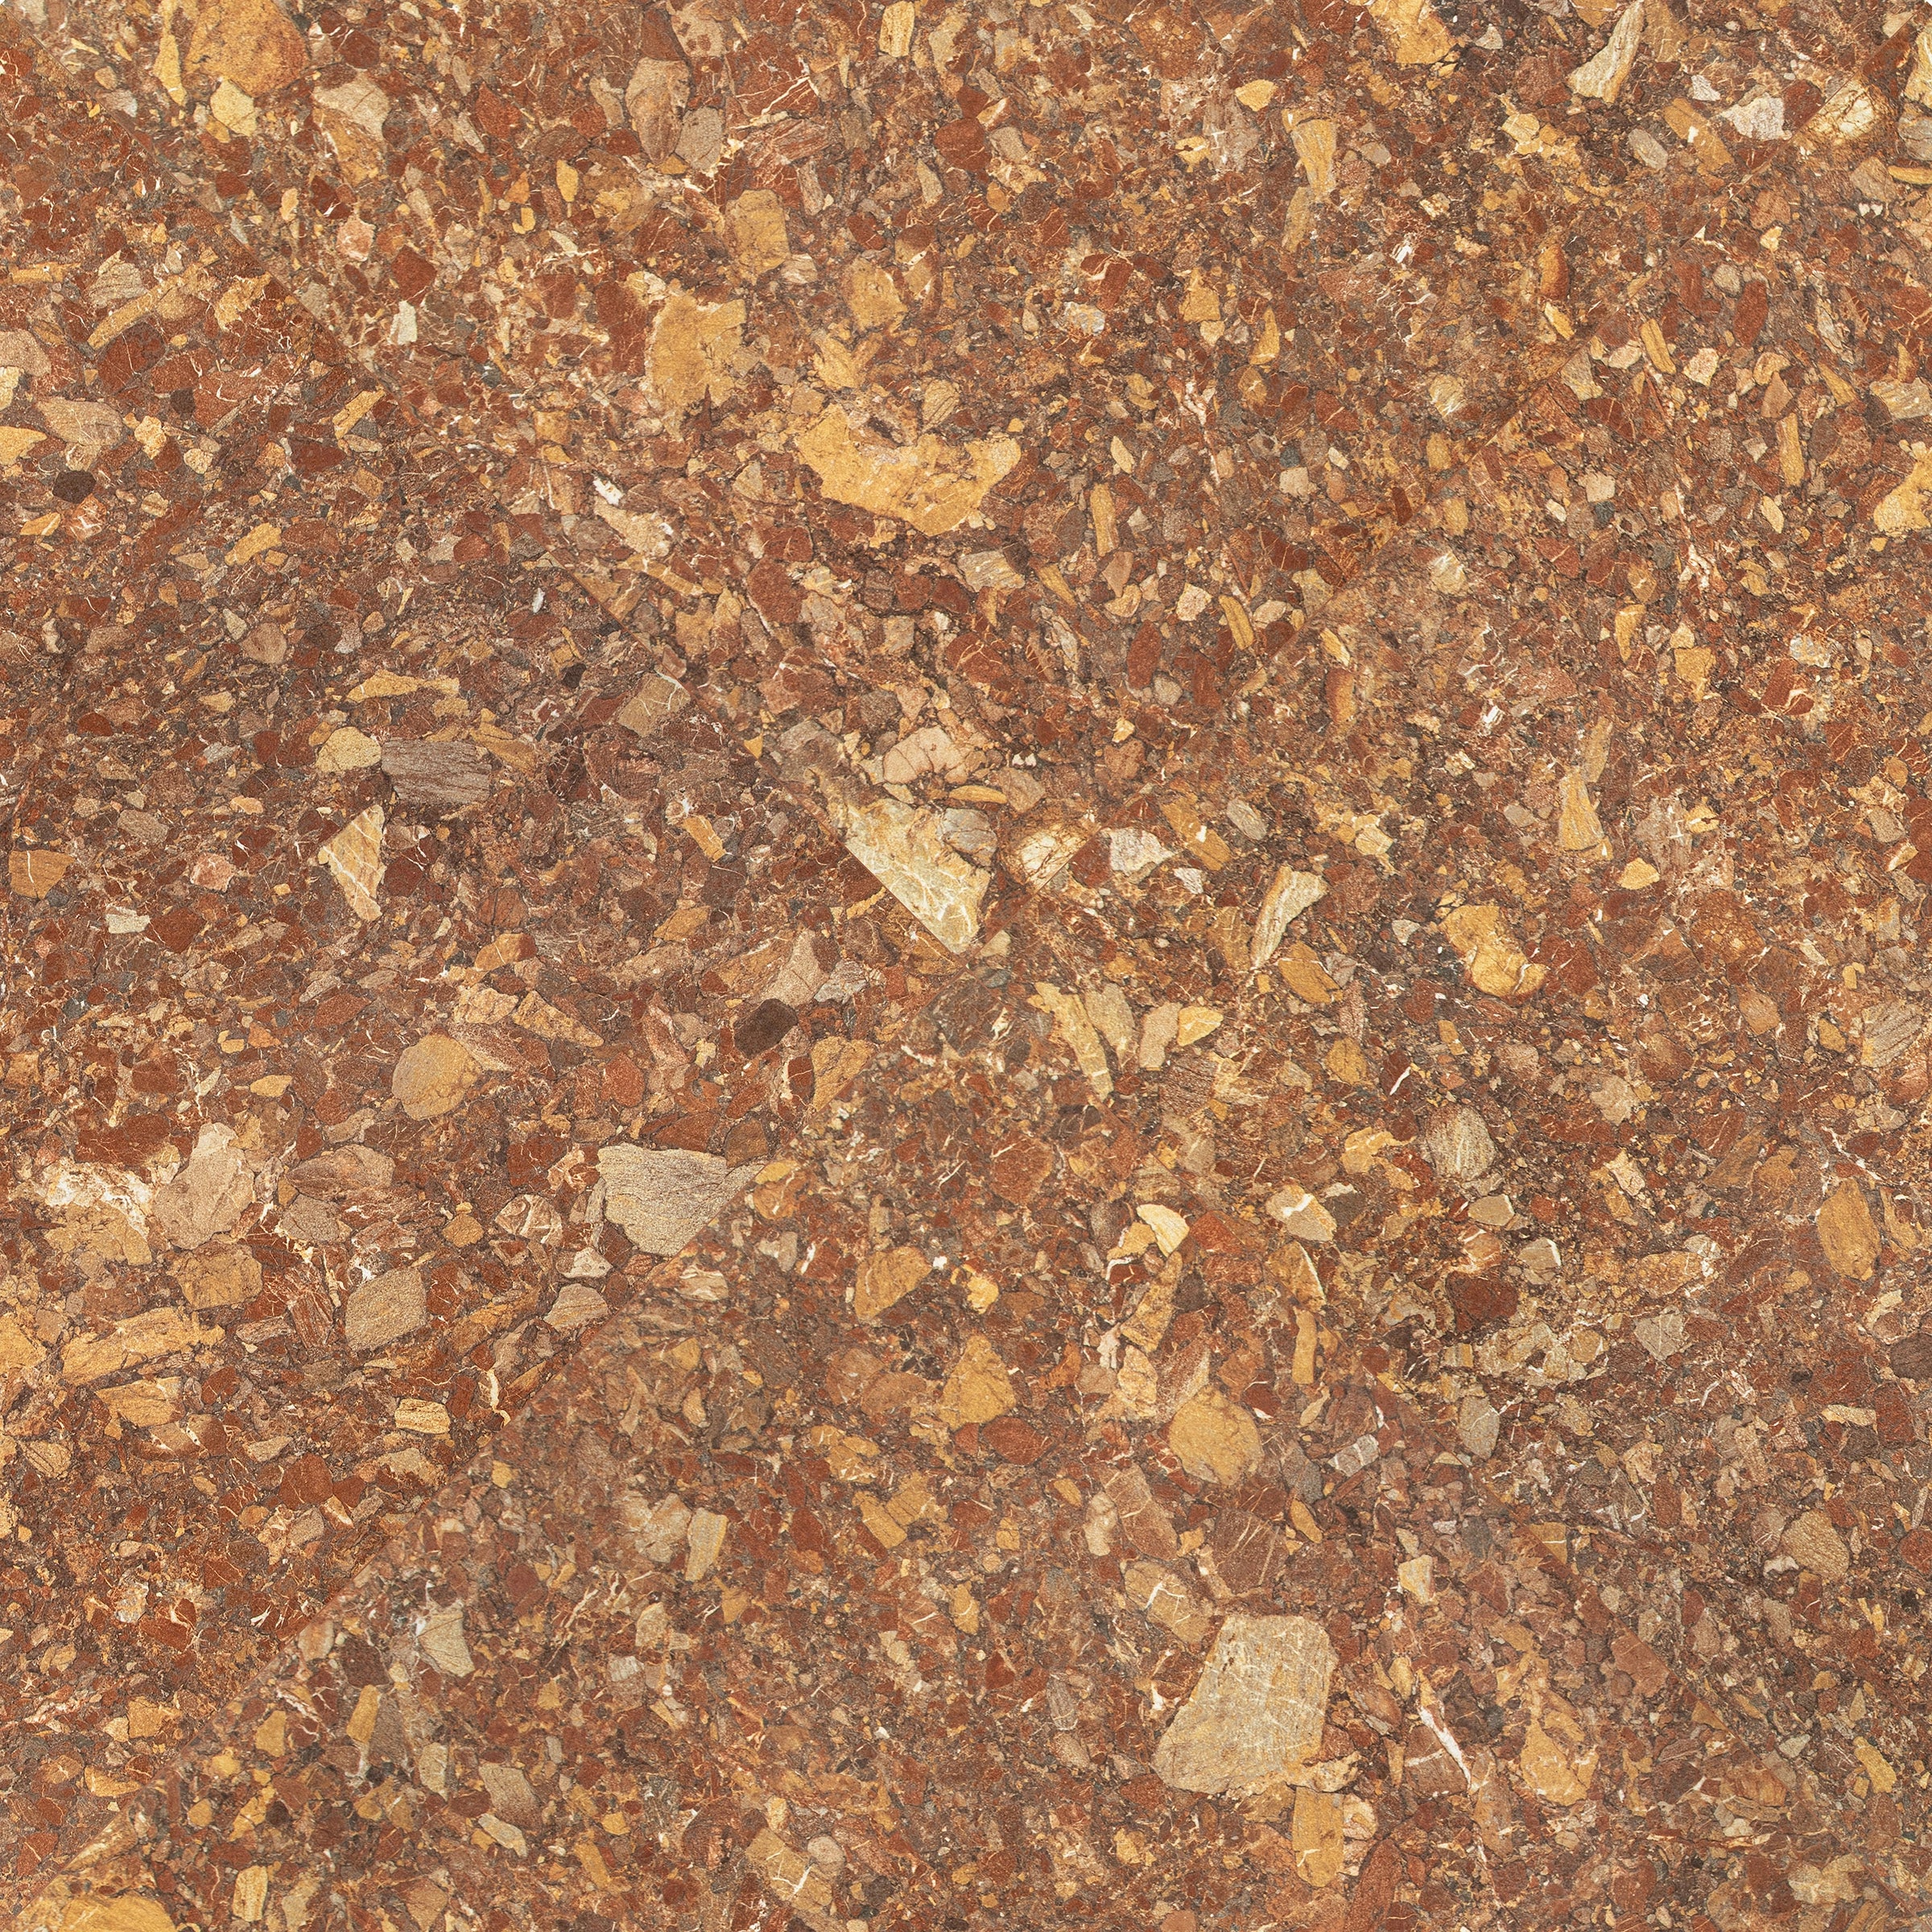
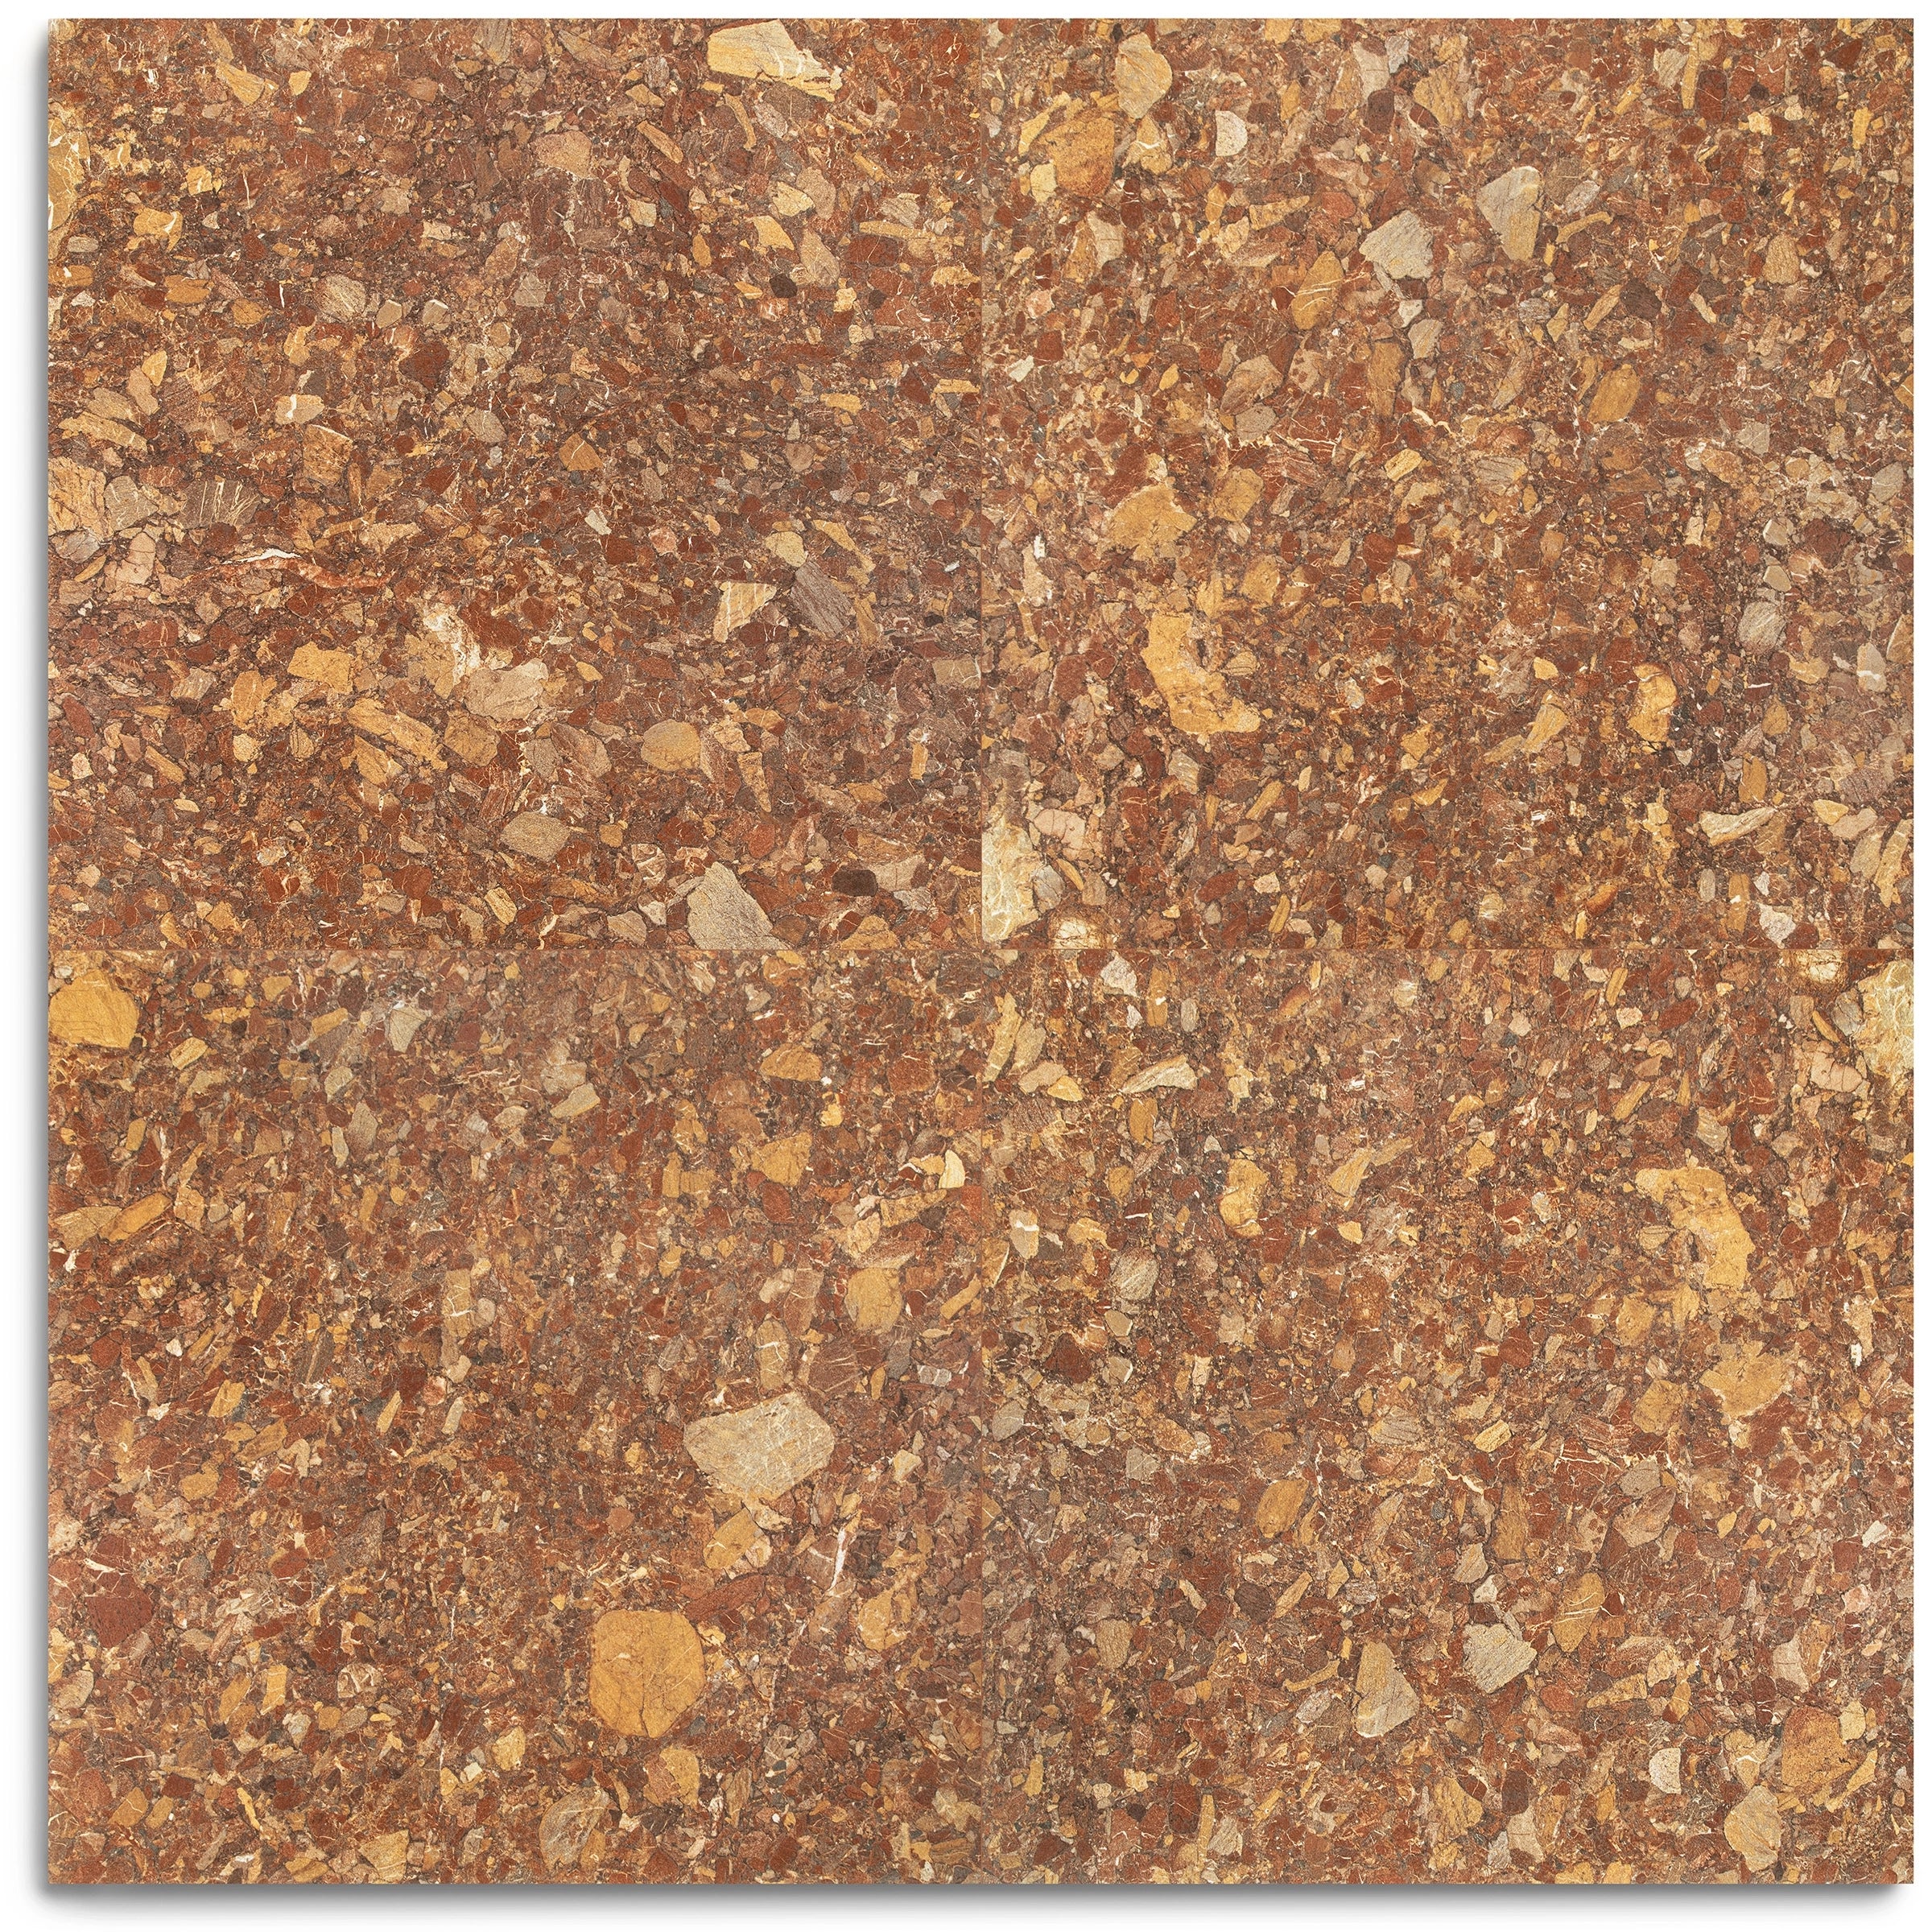
Venica Red Stone Look Porcelain Tile
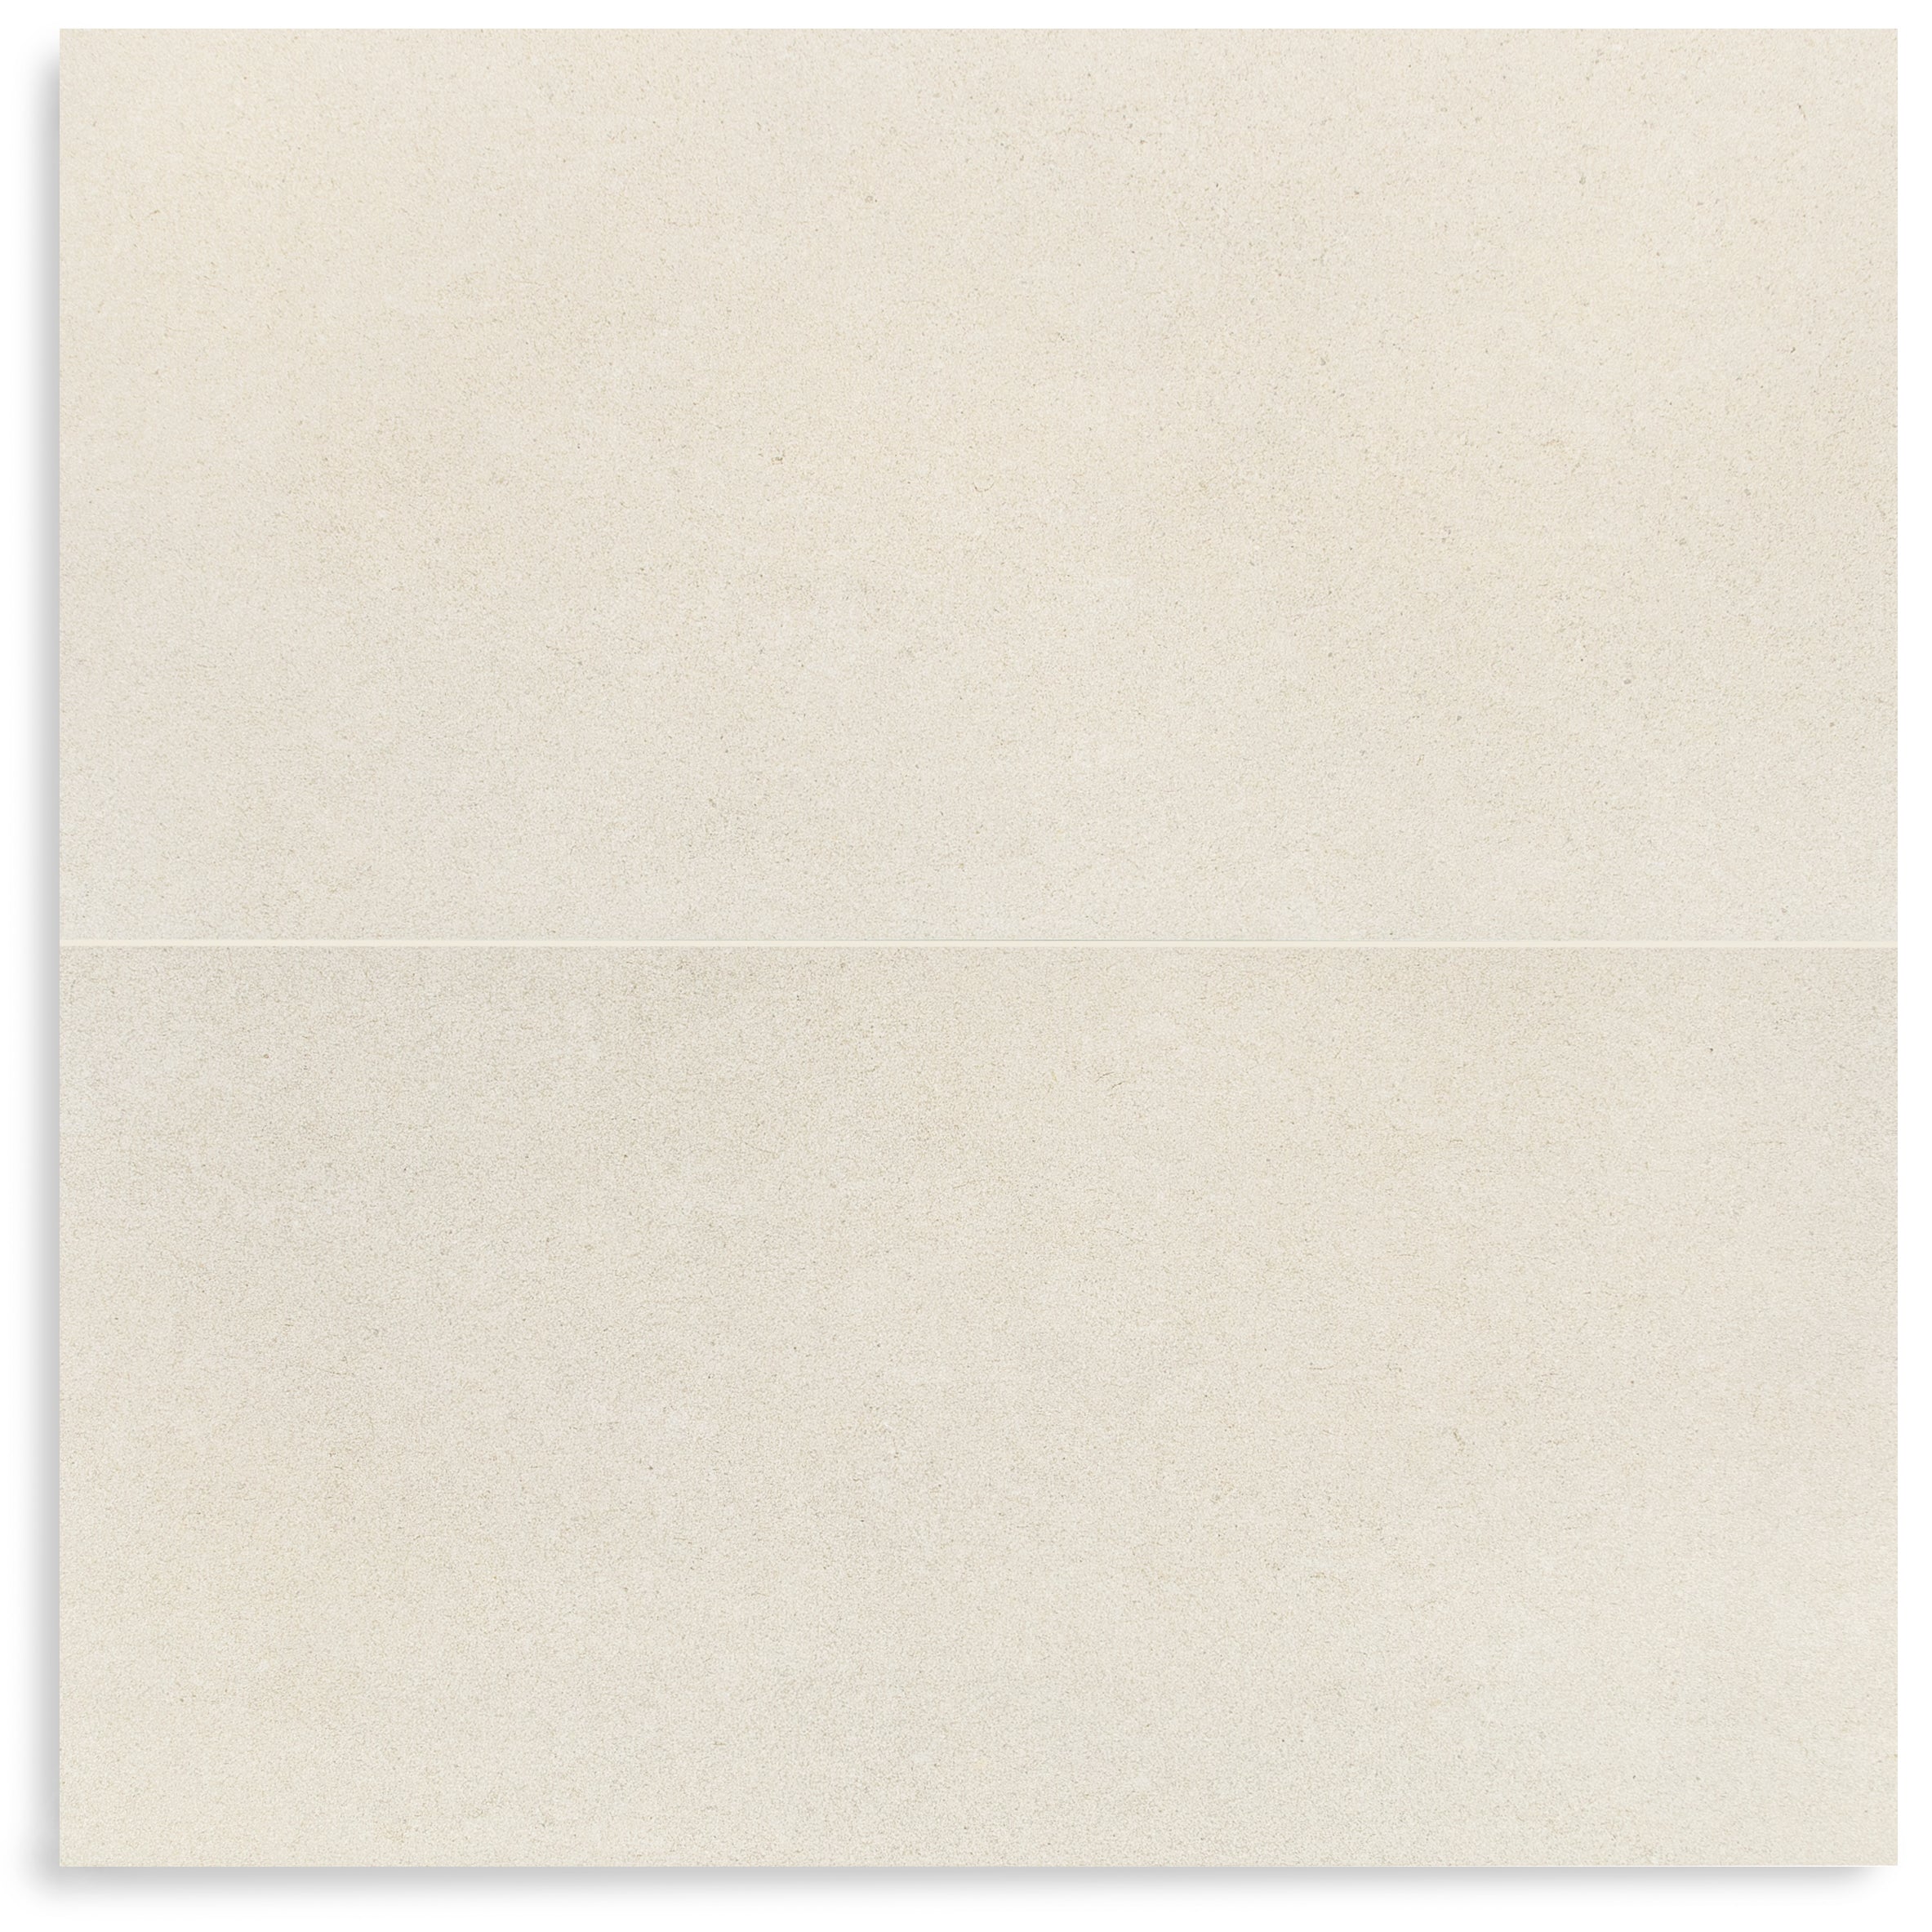
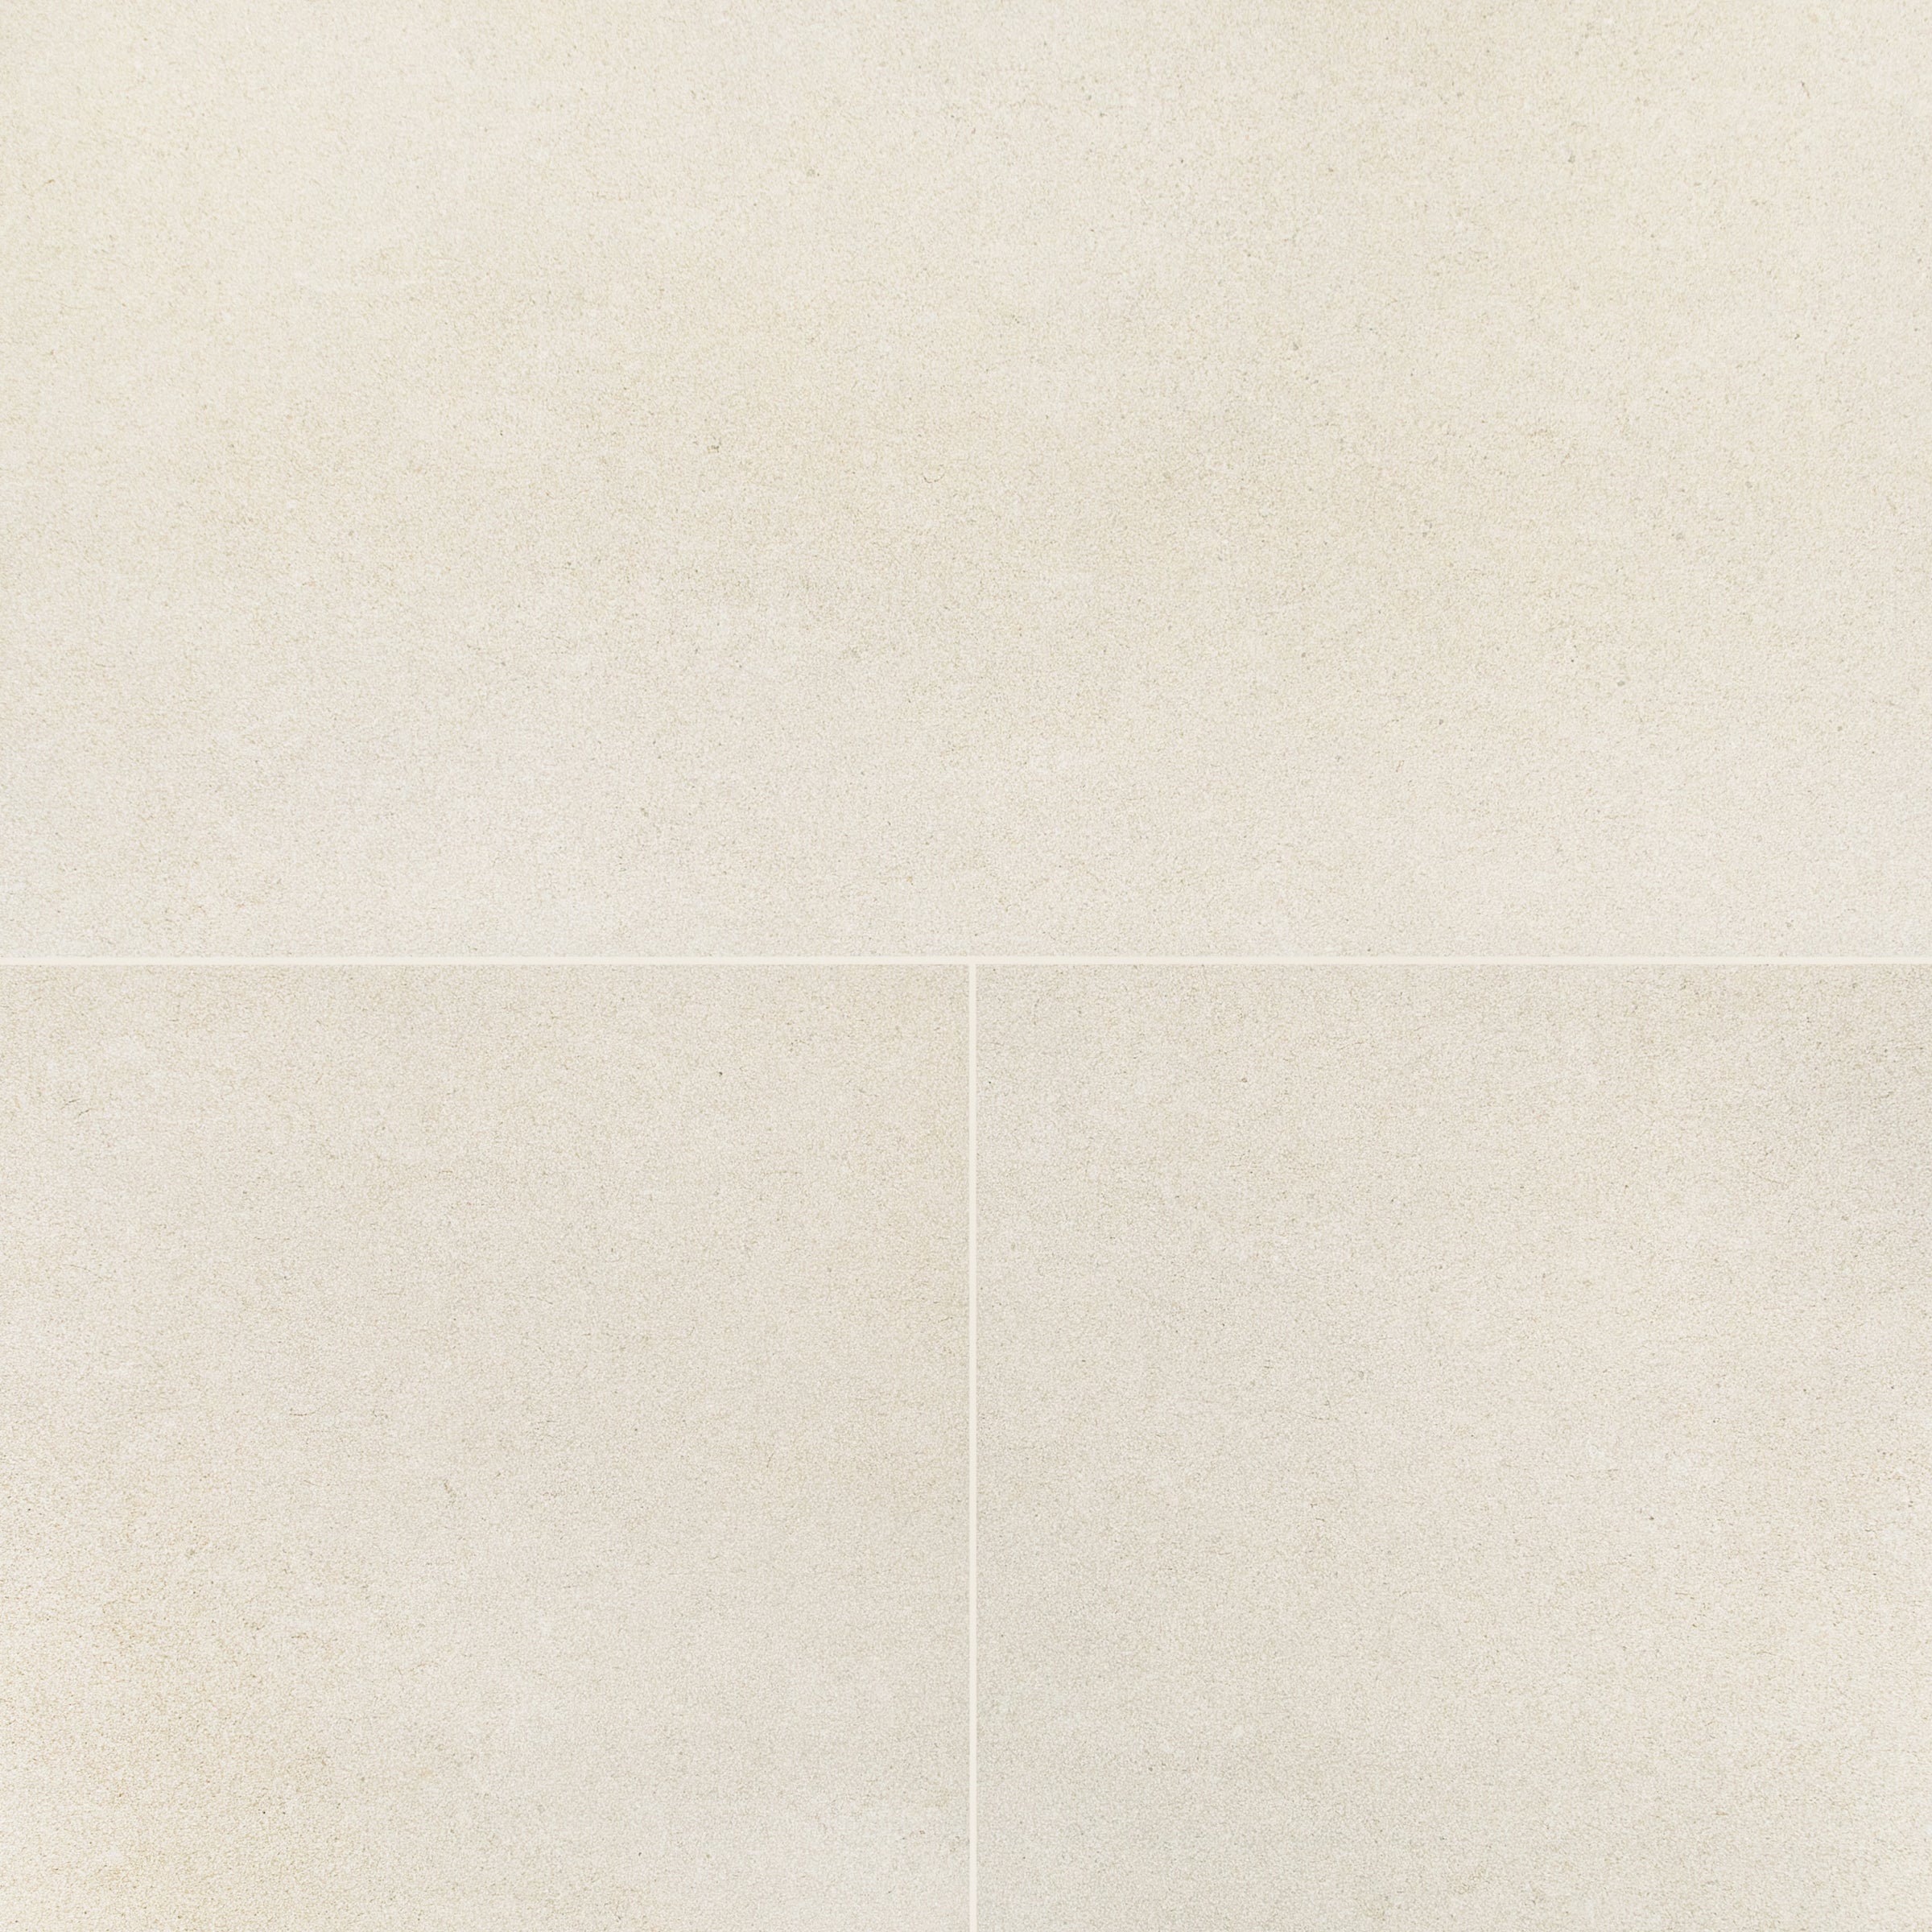
Almond Hammered Limestone Look Matte Porcelain Tile
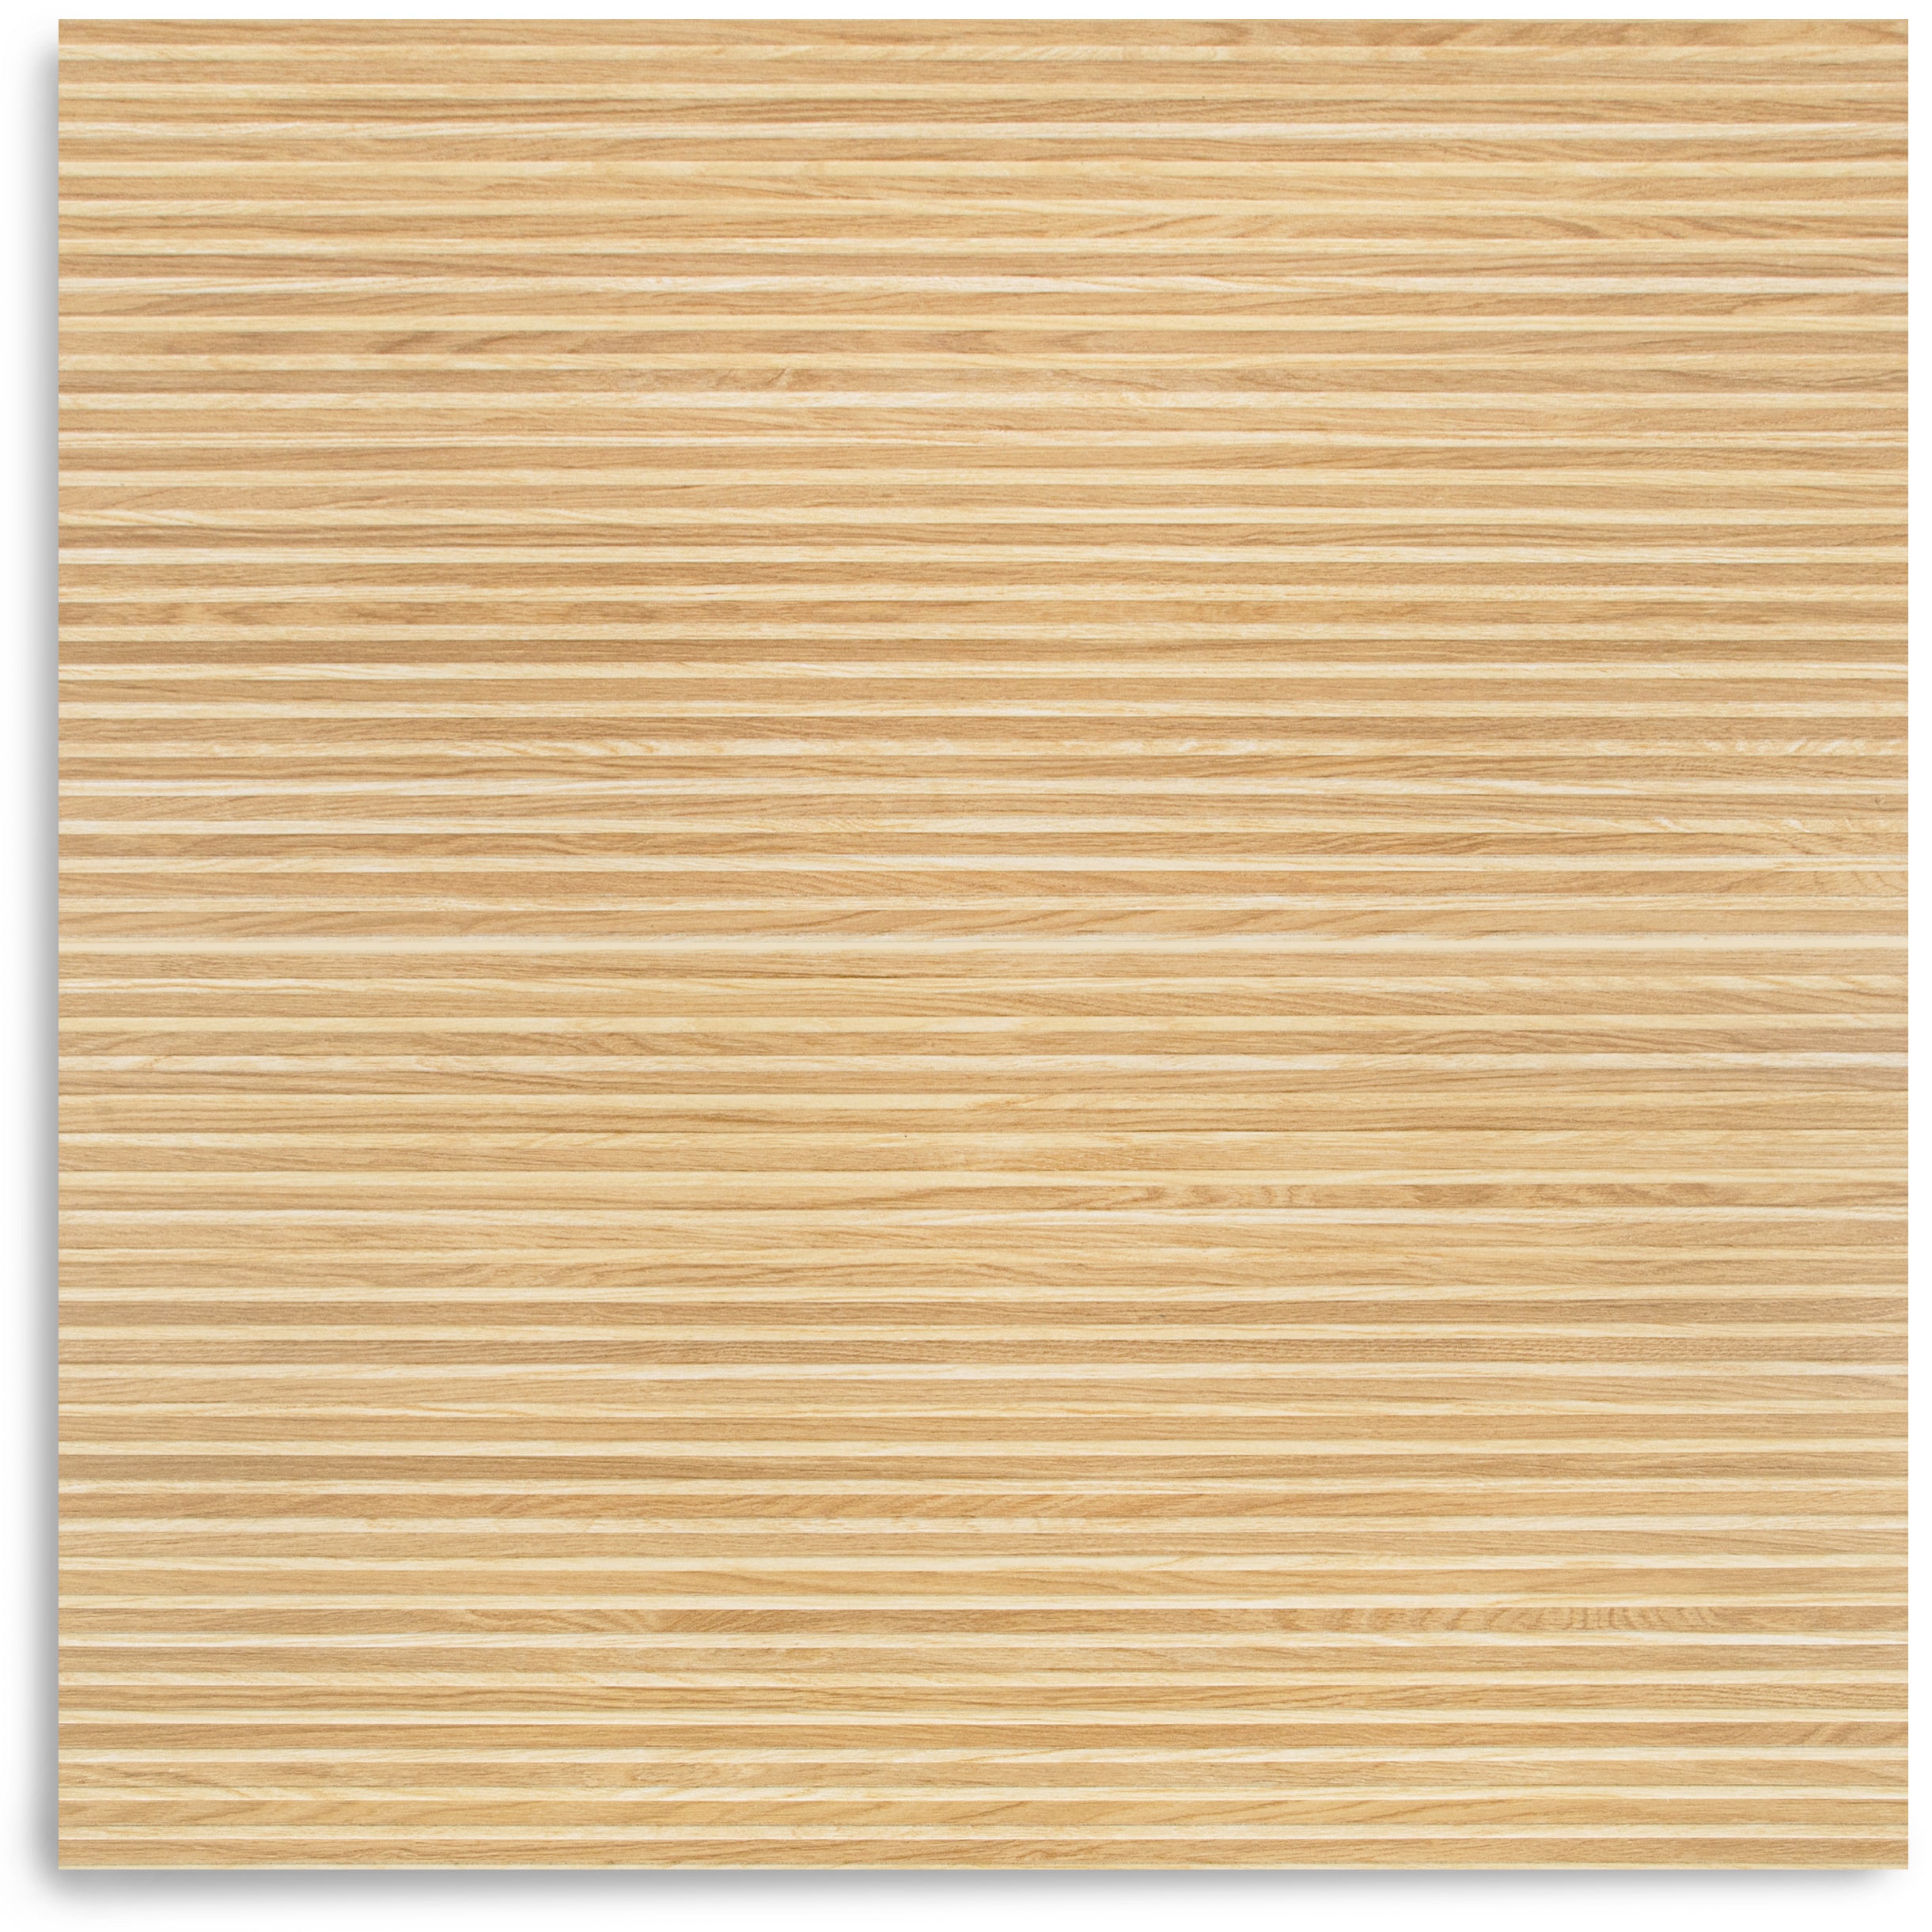
Honey Slats 24x48 Wood Look Porcelain Tile
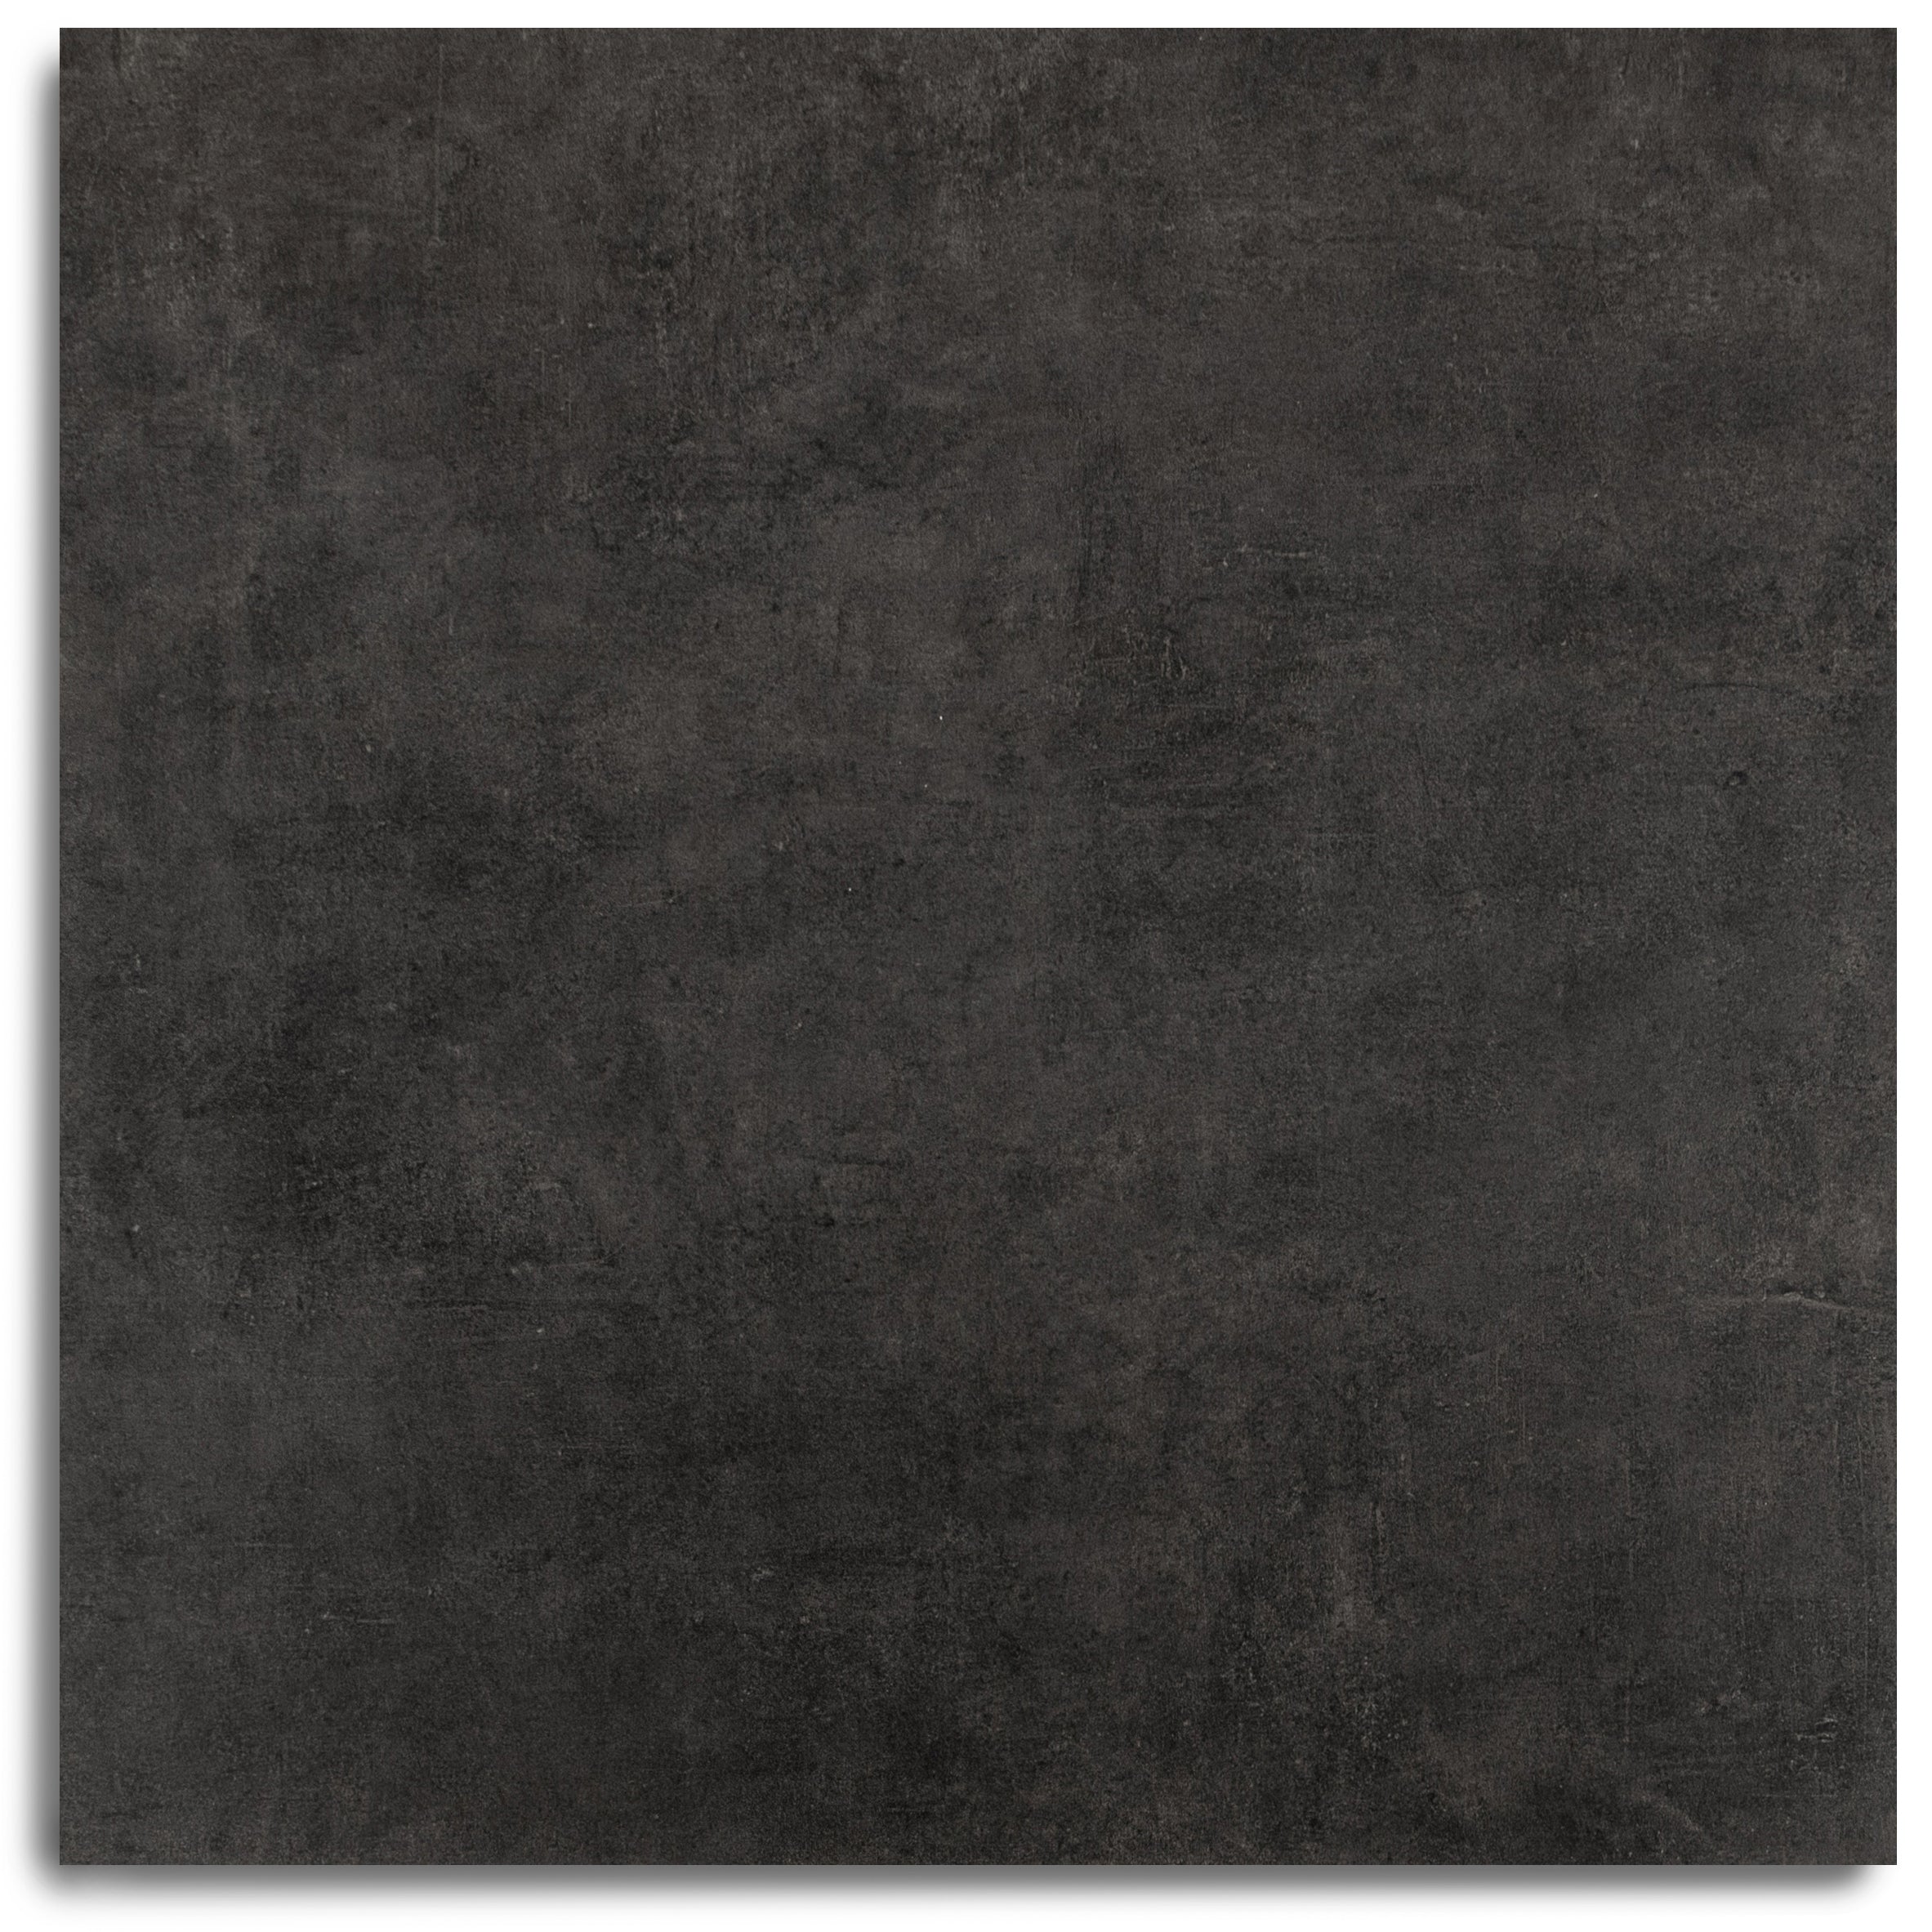
Slate 48x48 Cement Look Porcelain Tile
Nut 9.5x60 Wood Look Porcelain Tile
Pearl 24x24 Cheppo Look Matte Porcelain Tile


No. 2 Engineered Wood Flooring


No. 12 Engineered Wood Flooring
Ivory Marble Look Matte Porcelain Tile

Torcello Honed Italian Terrazzo Tile

Nuvola Pearl 24x48 Marble Look Porcelain Tile
Pearl Hammered Limestone Look Matte Porcelain Tile
Montblack Matte Marble Look Porcelain Tile
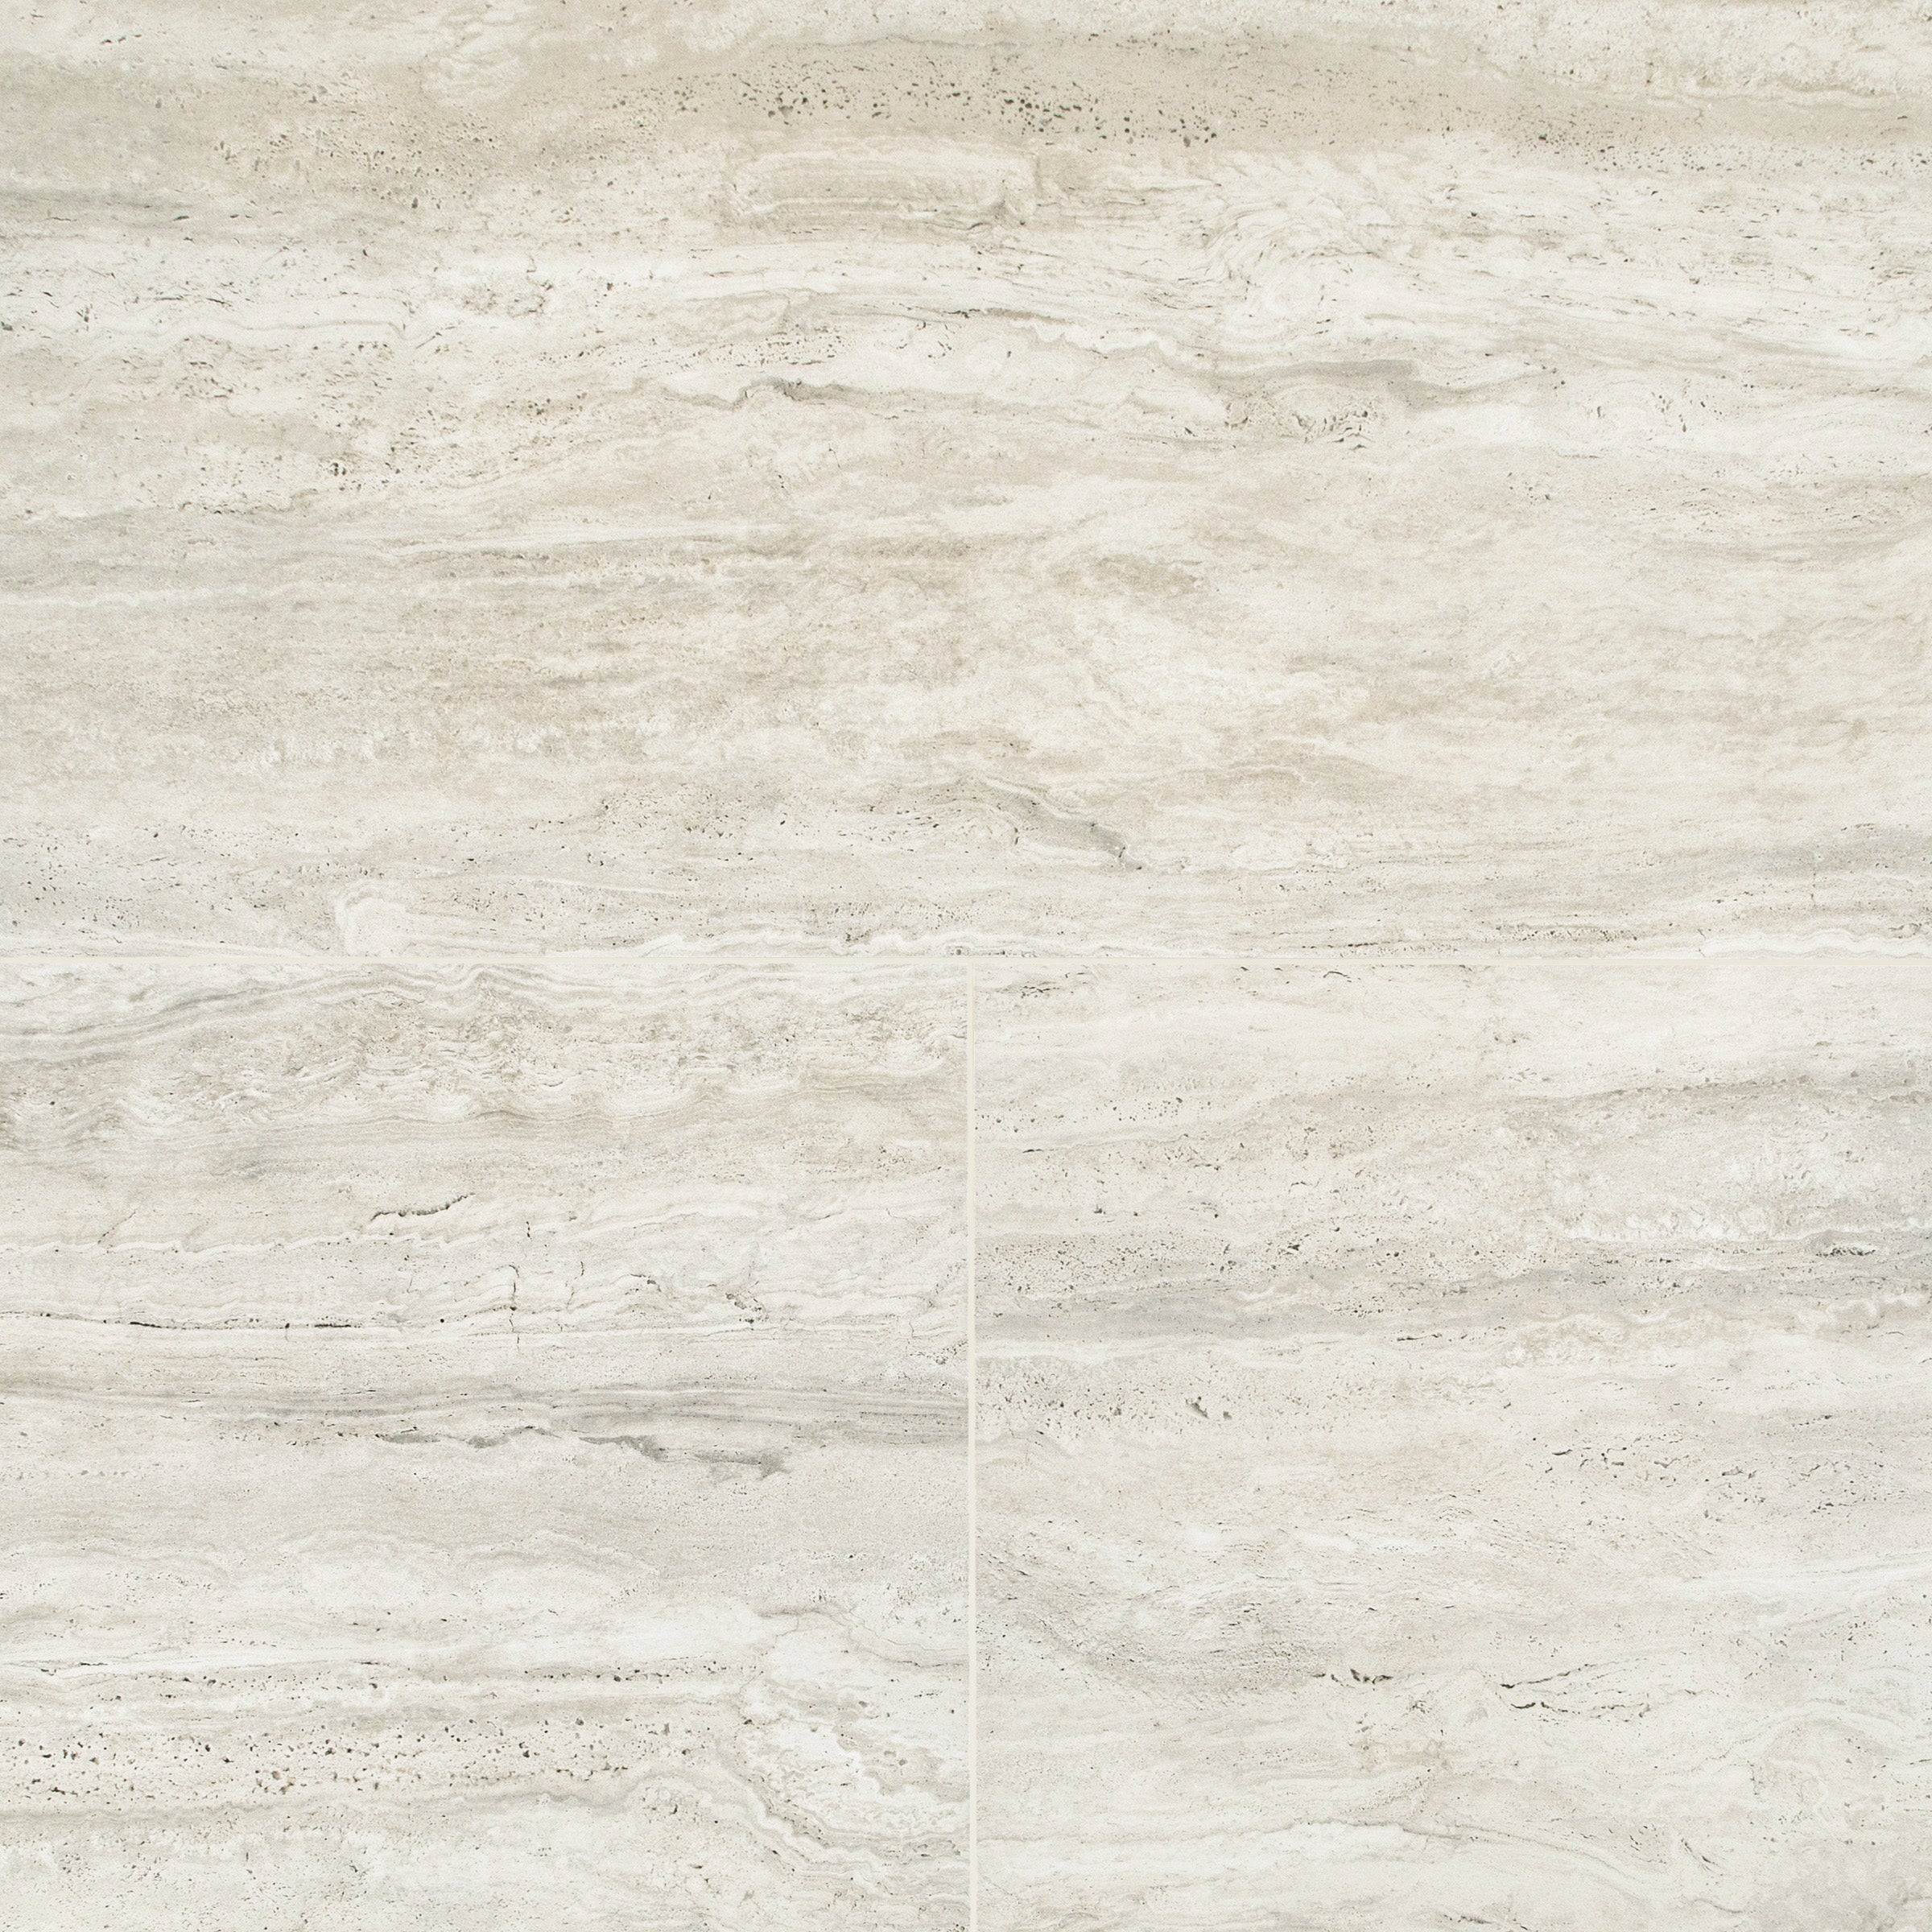


Ash Cement Look Matte Porcelain Tile
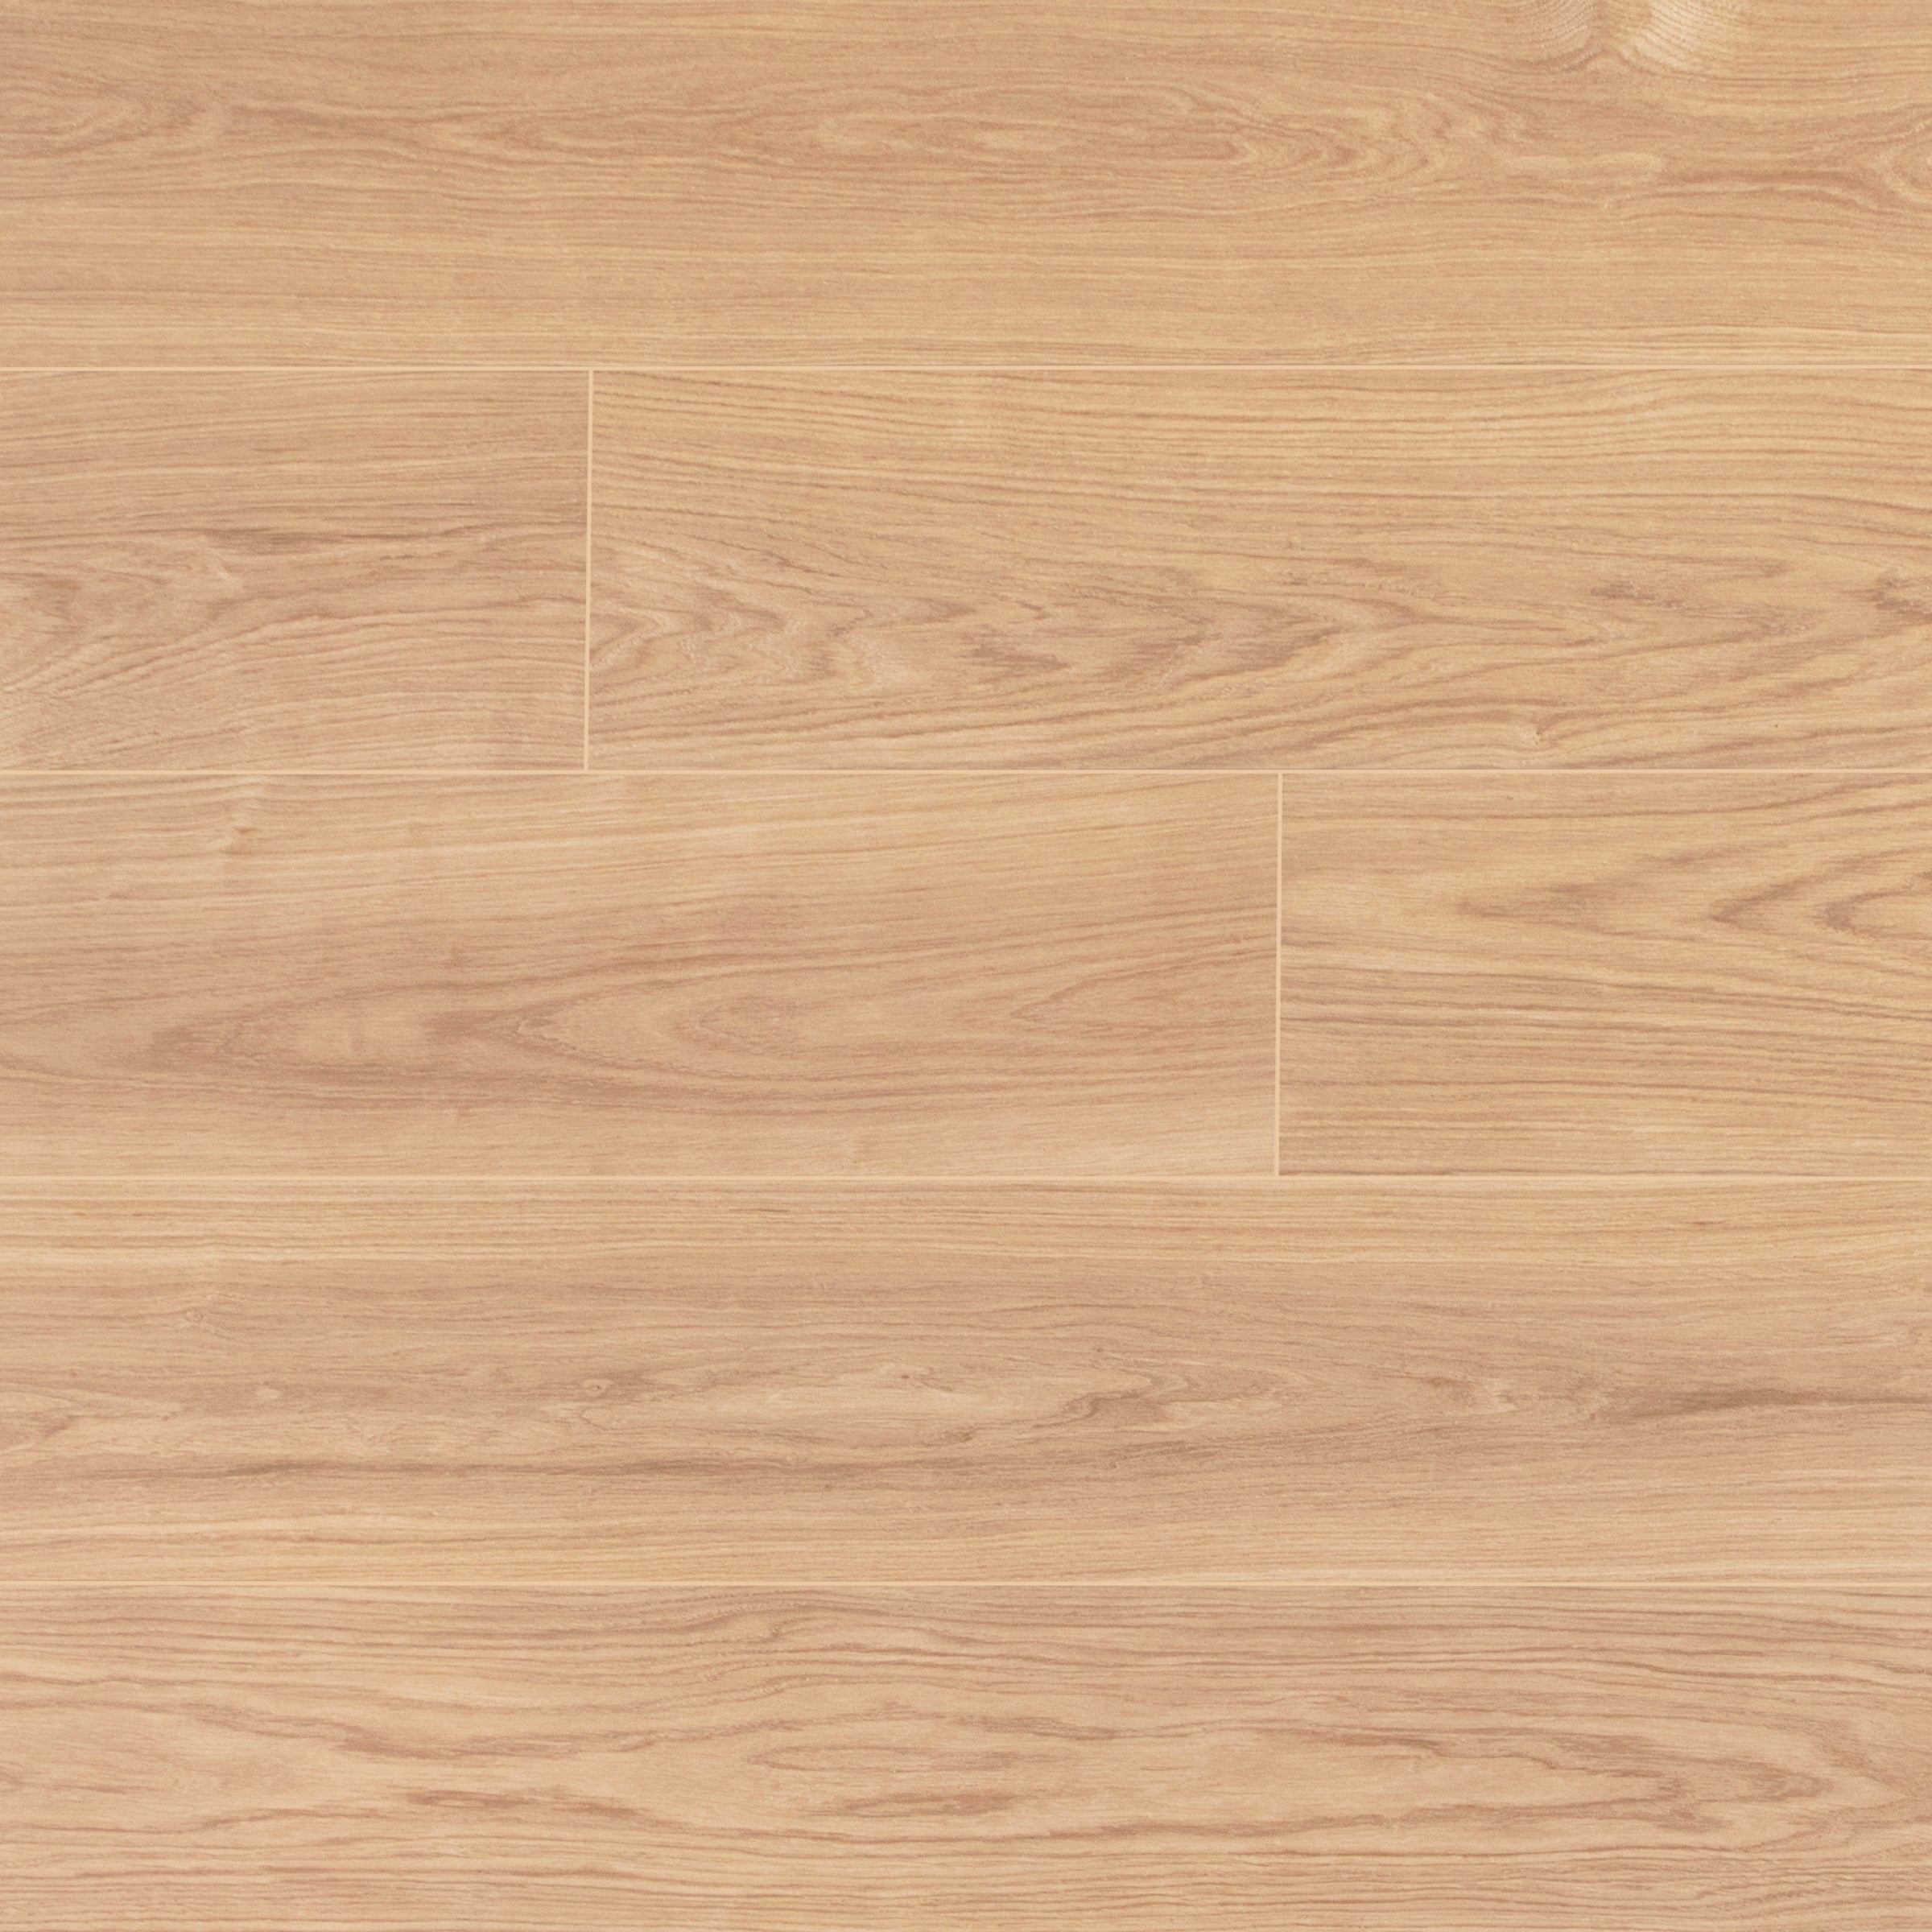
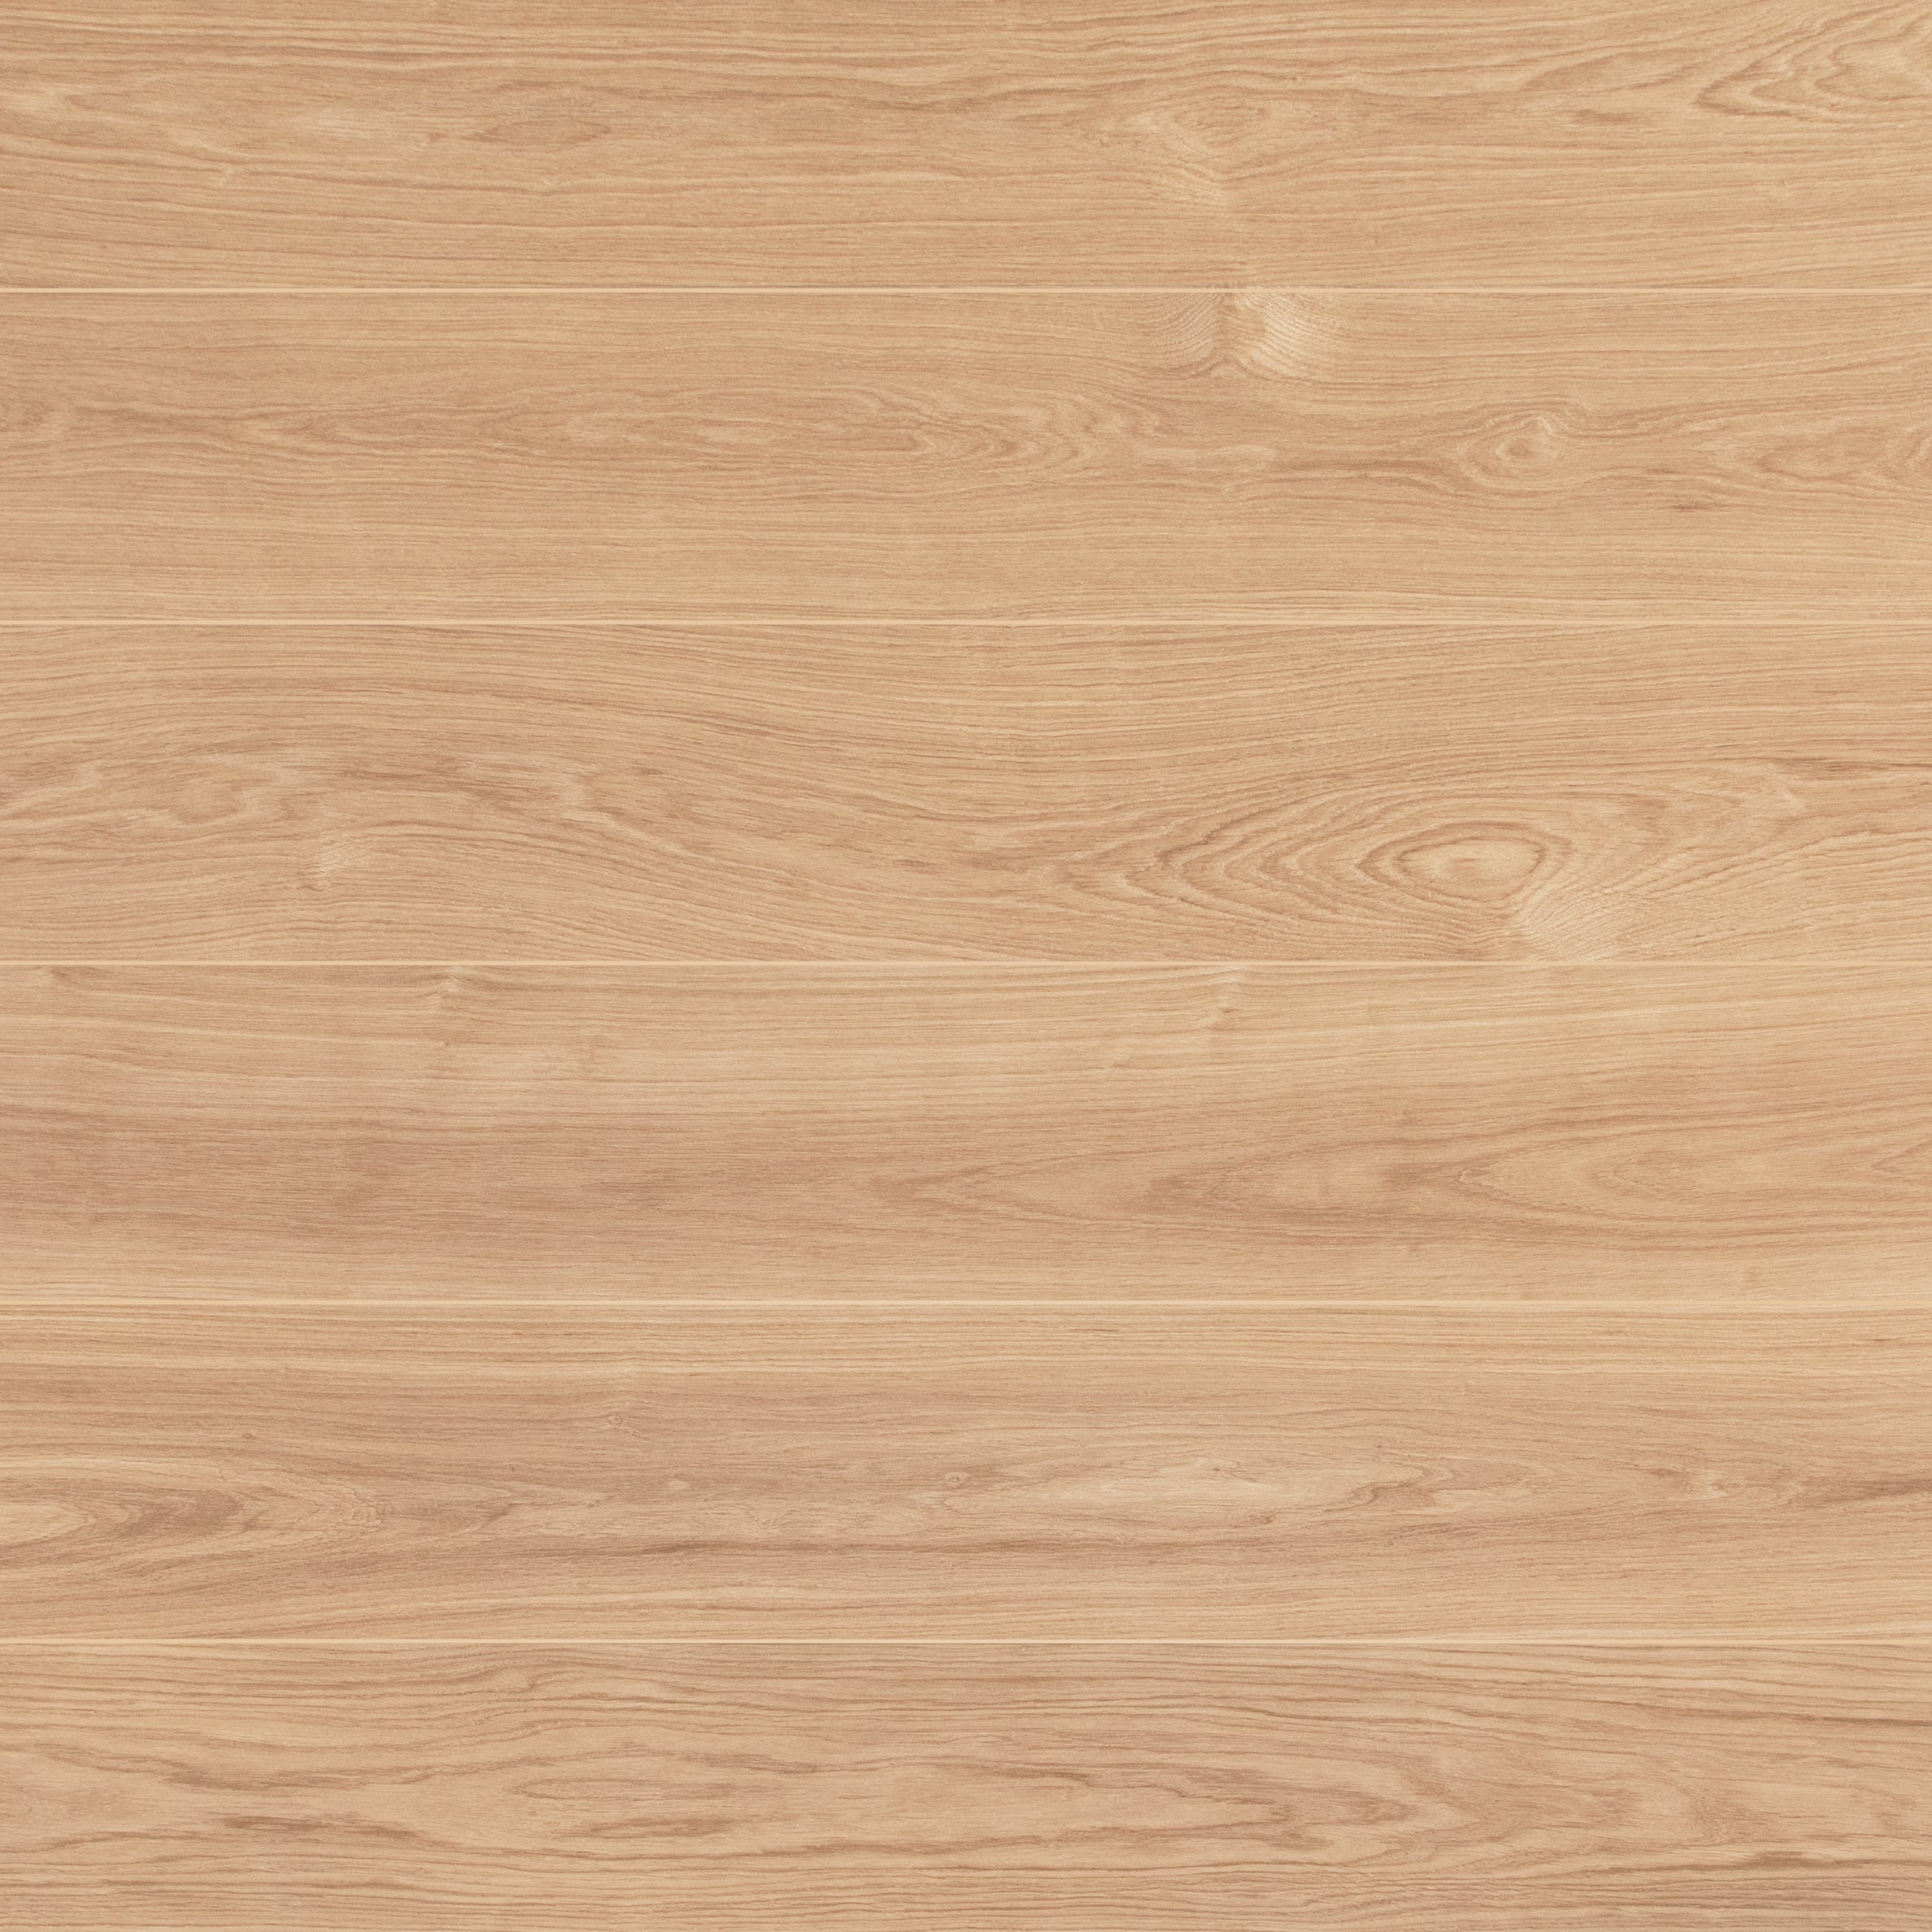
Honey 9.5x60 Wood Look Porcelain Tile
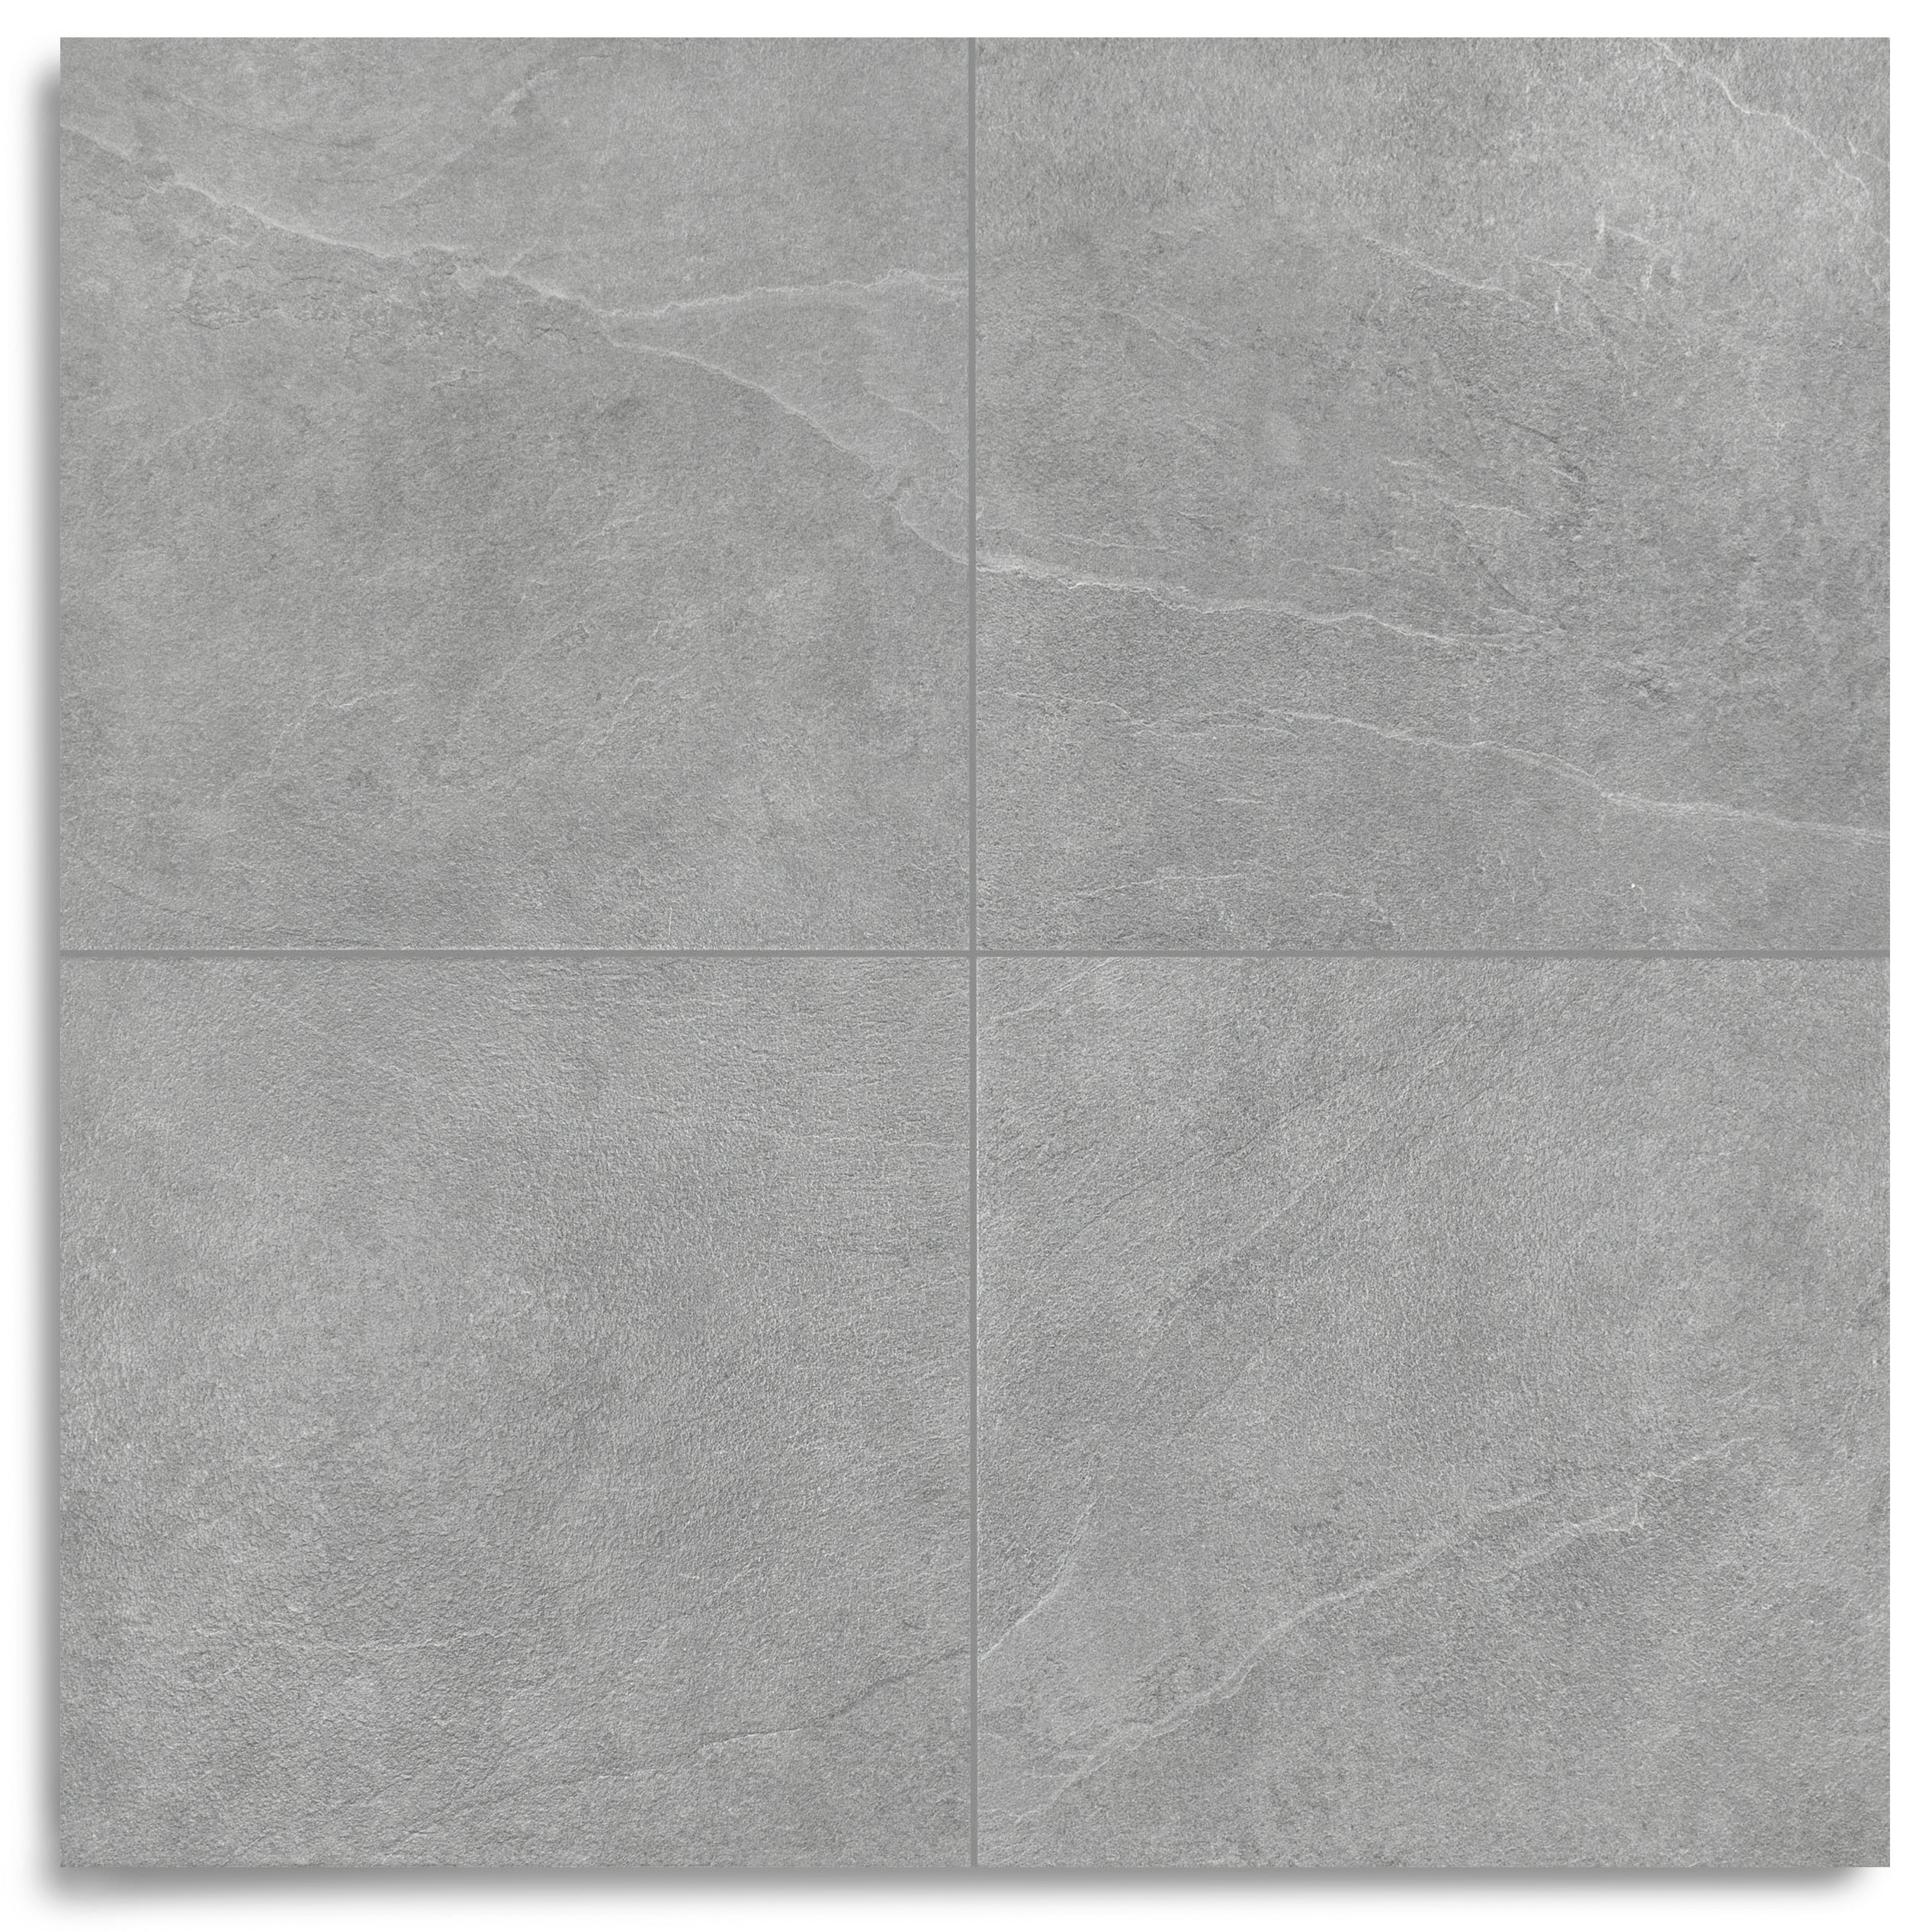
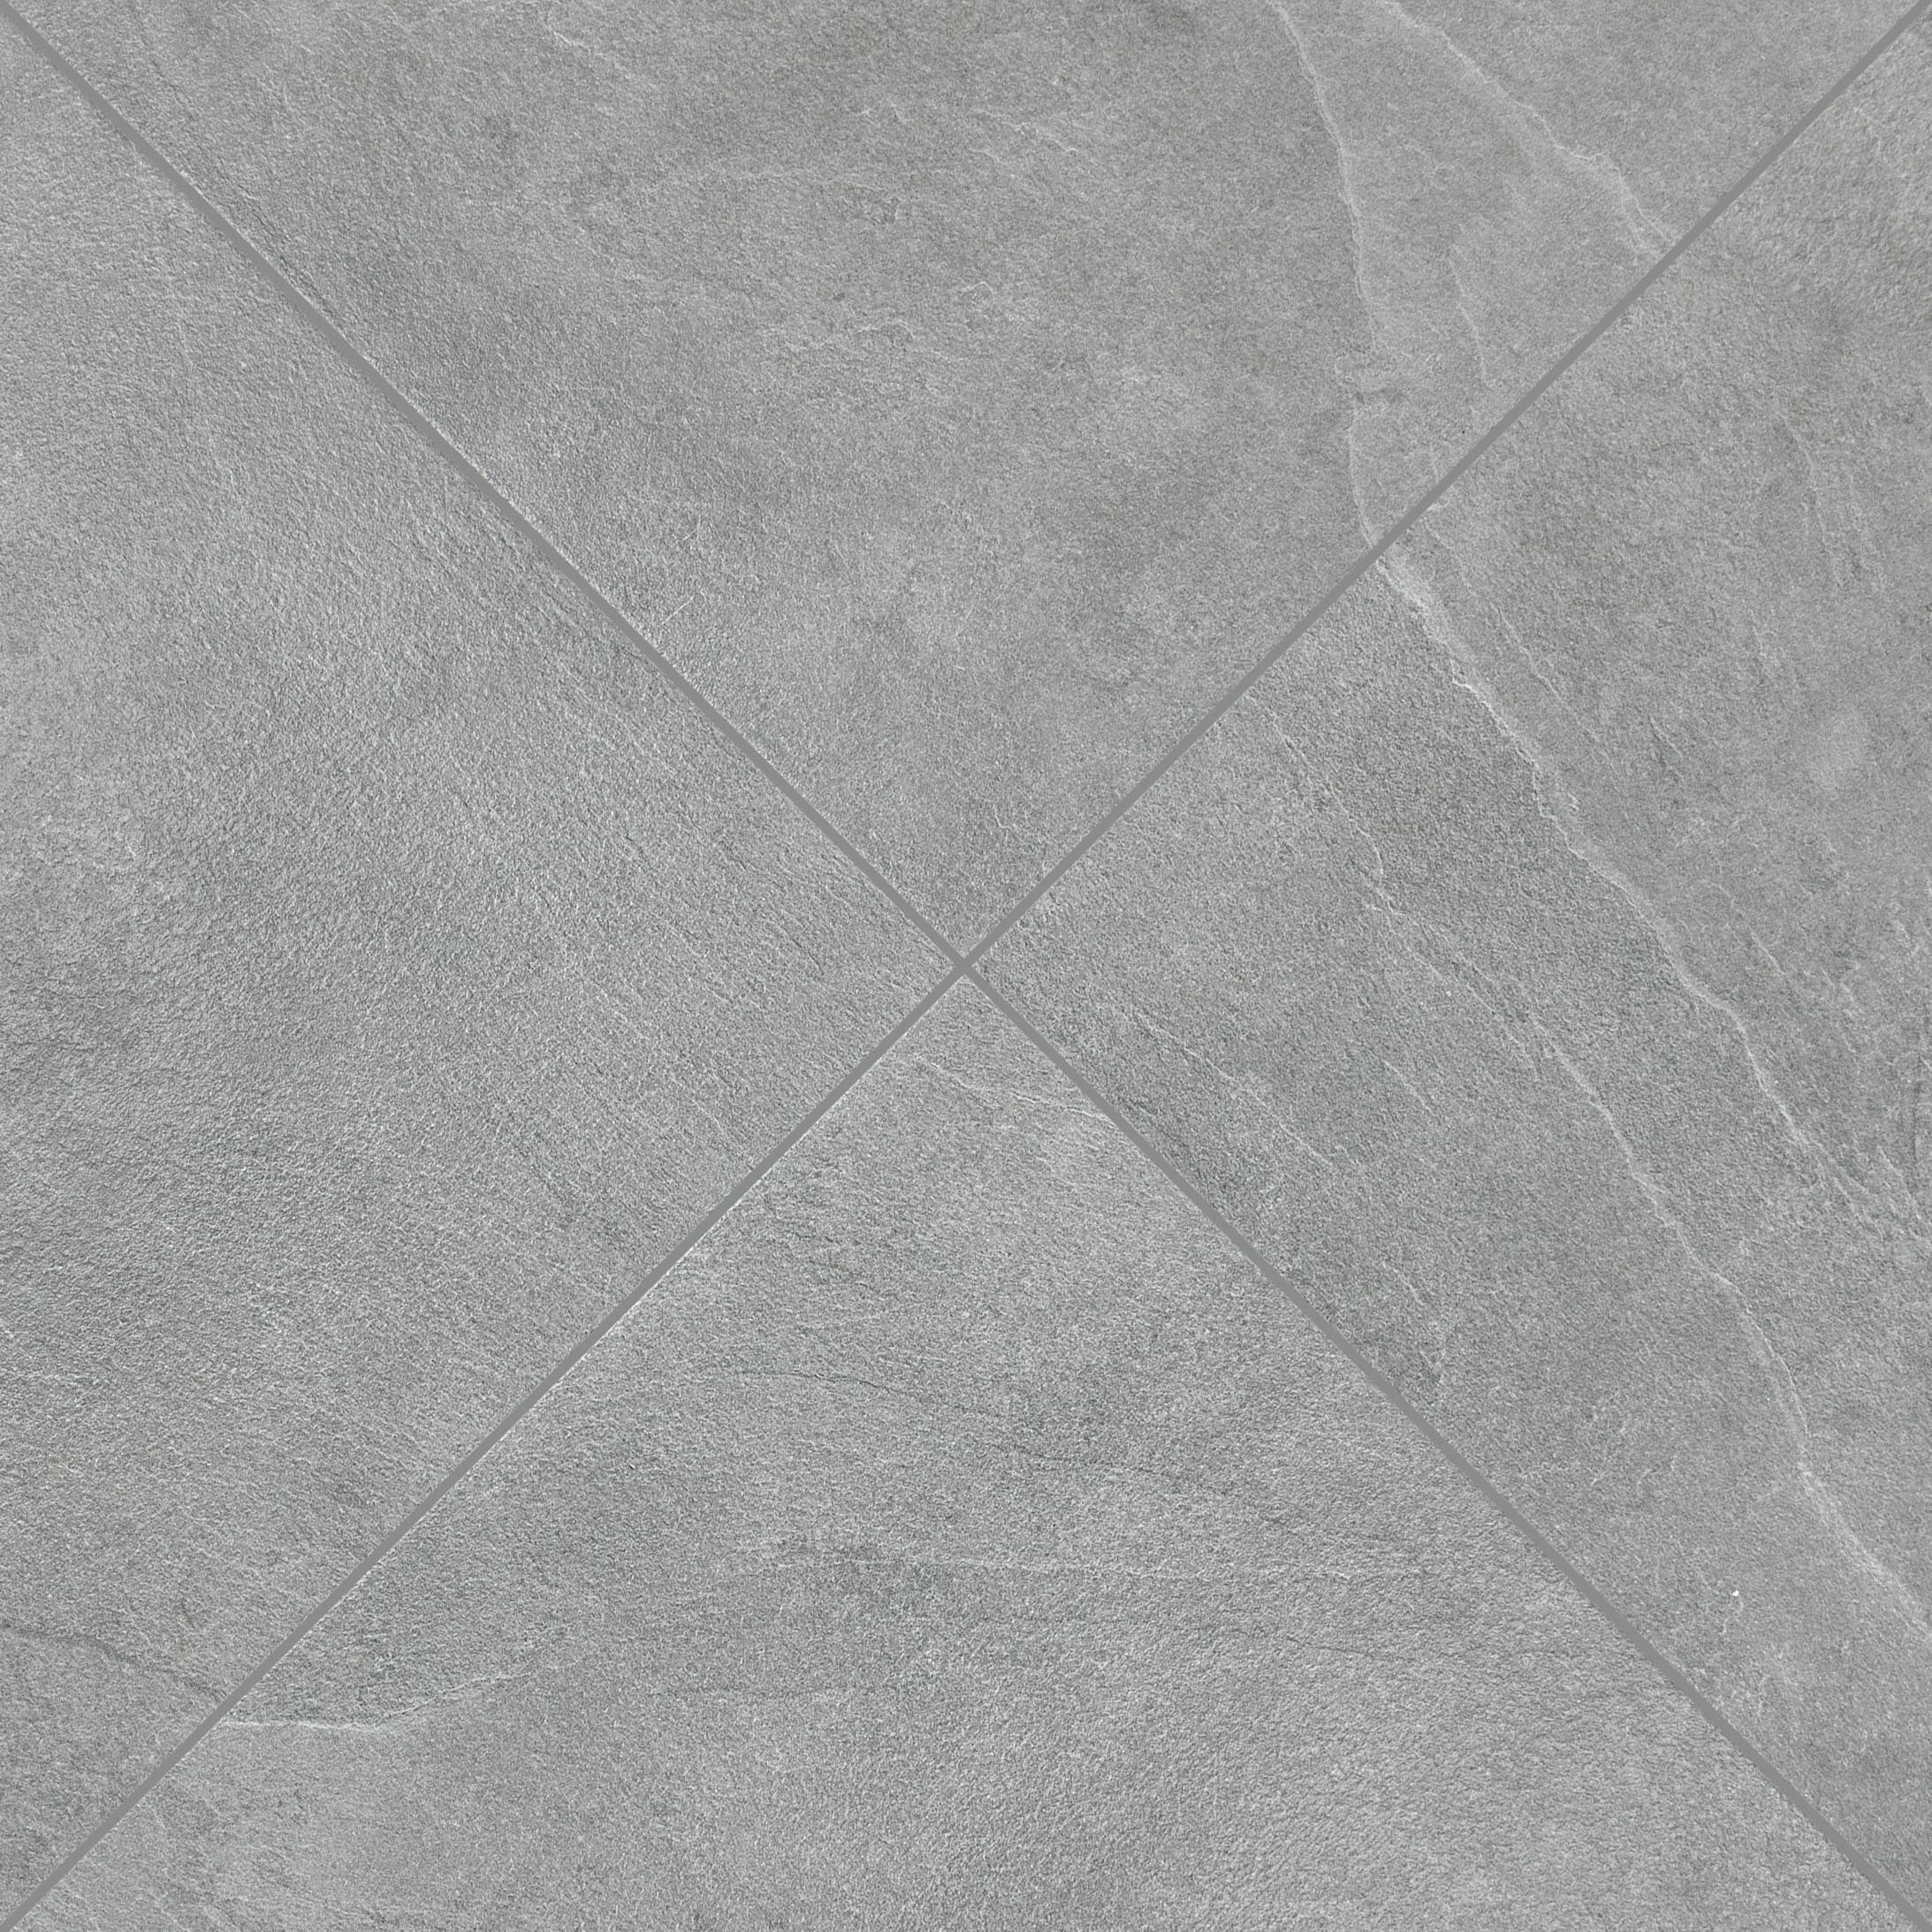
Grey Slate Look Porcelain Tile

No. 10 Engineered Wood Flooring


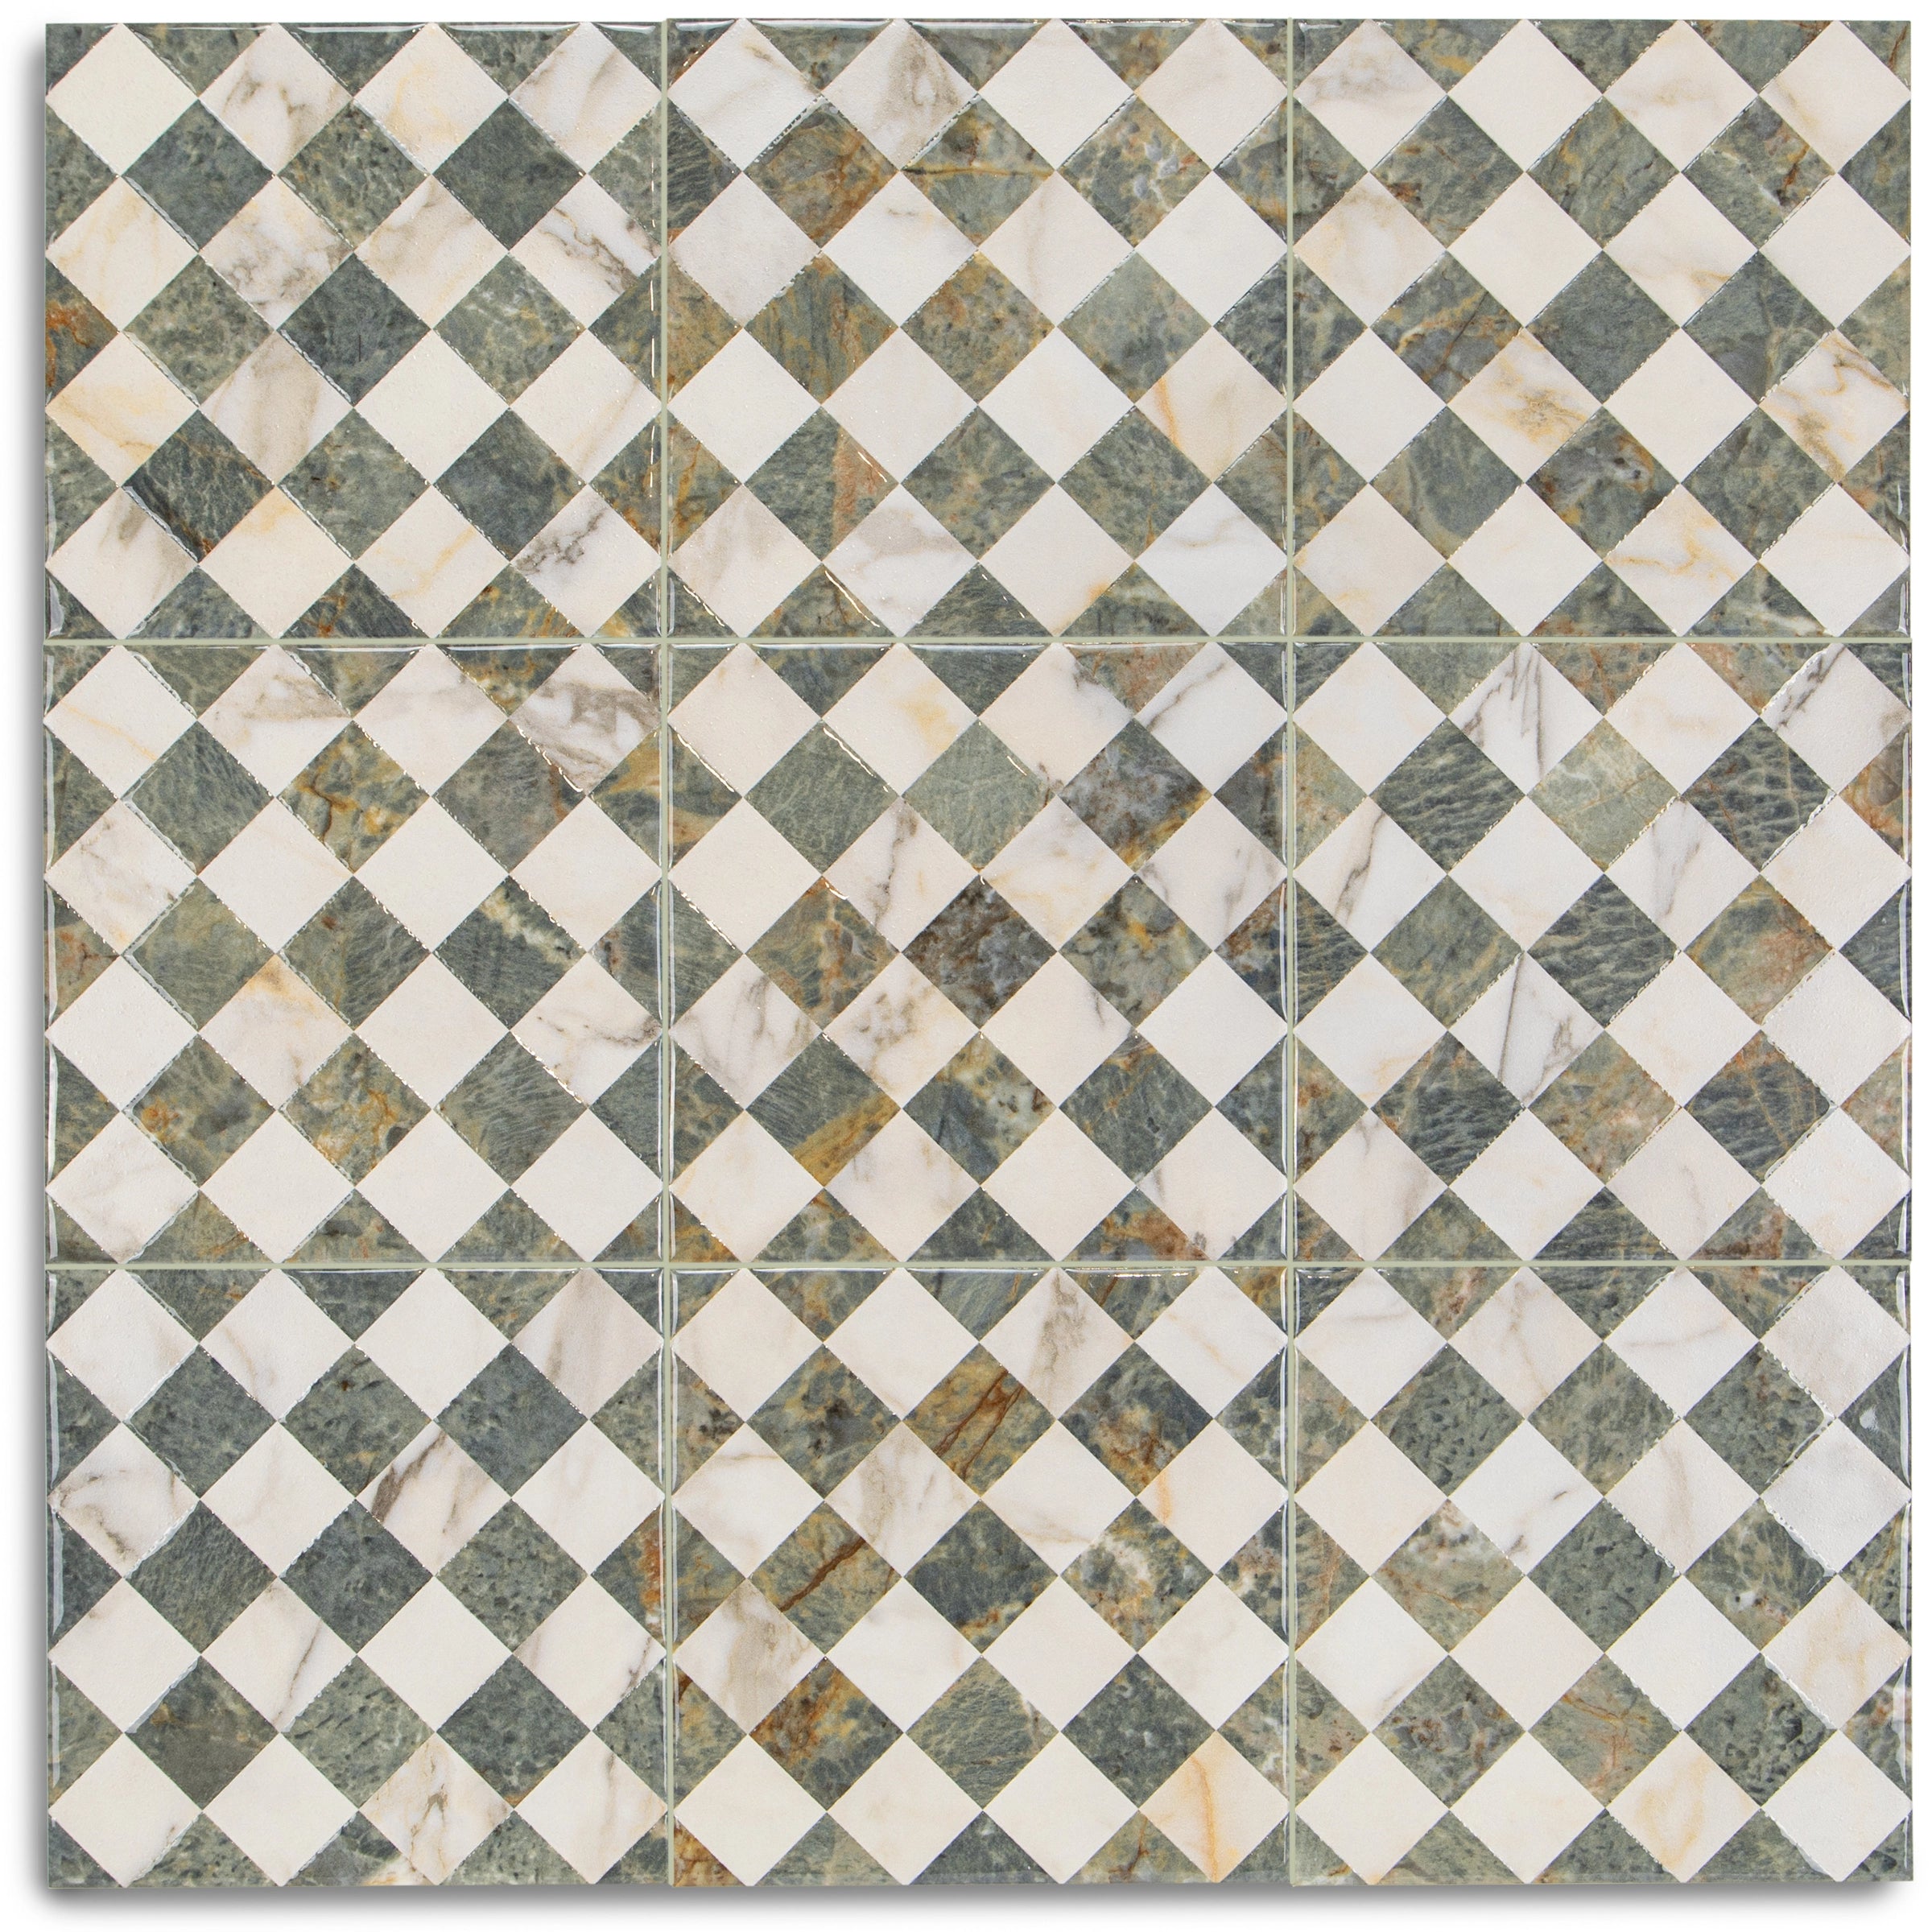


White & Ecru Octagon Zellige Mosaic

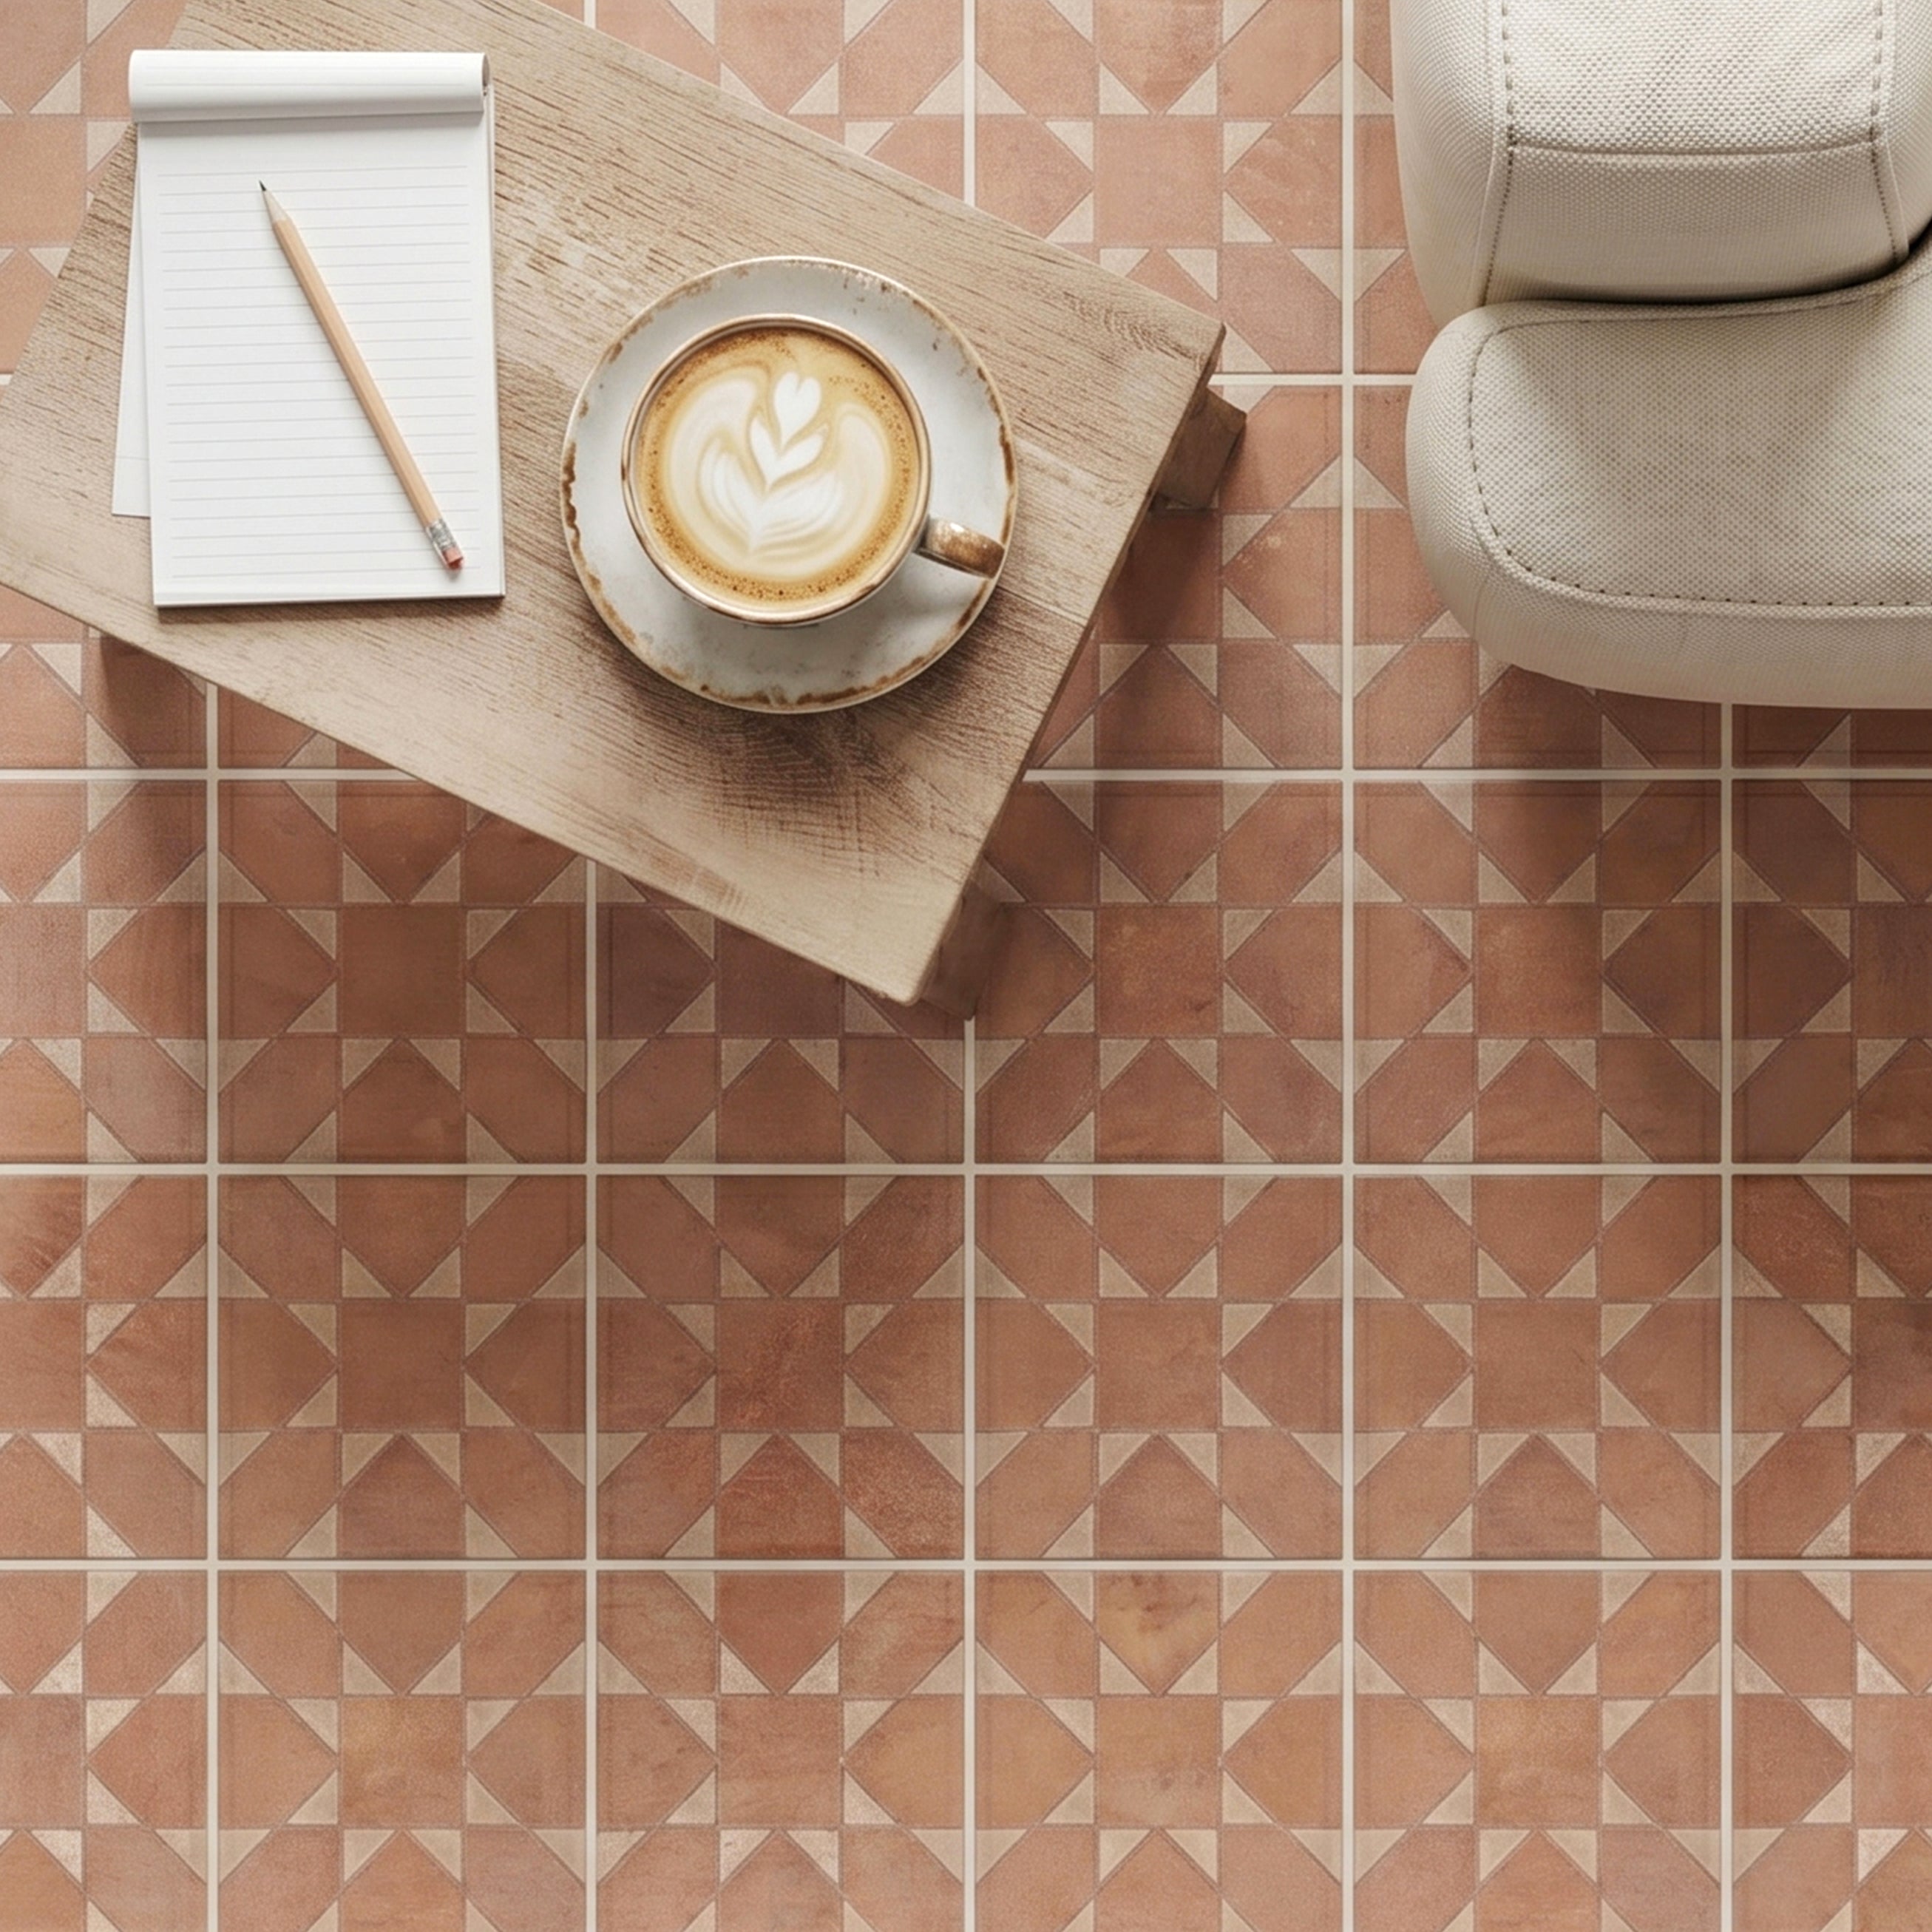
Cotto Deco Terracotta Look Matte Porcelain Tile


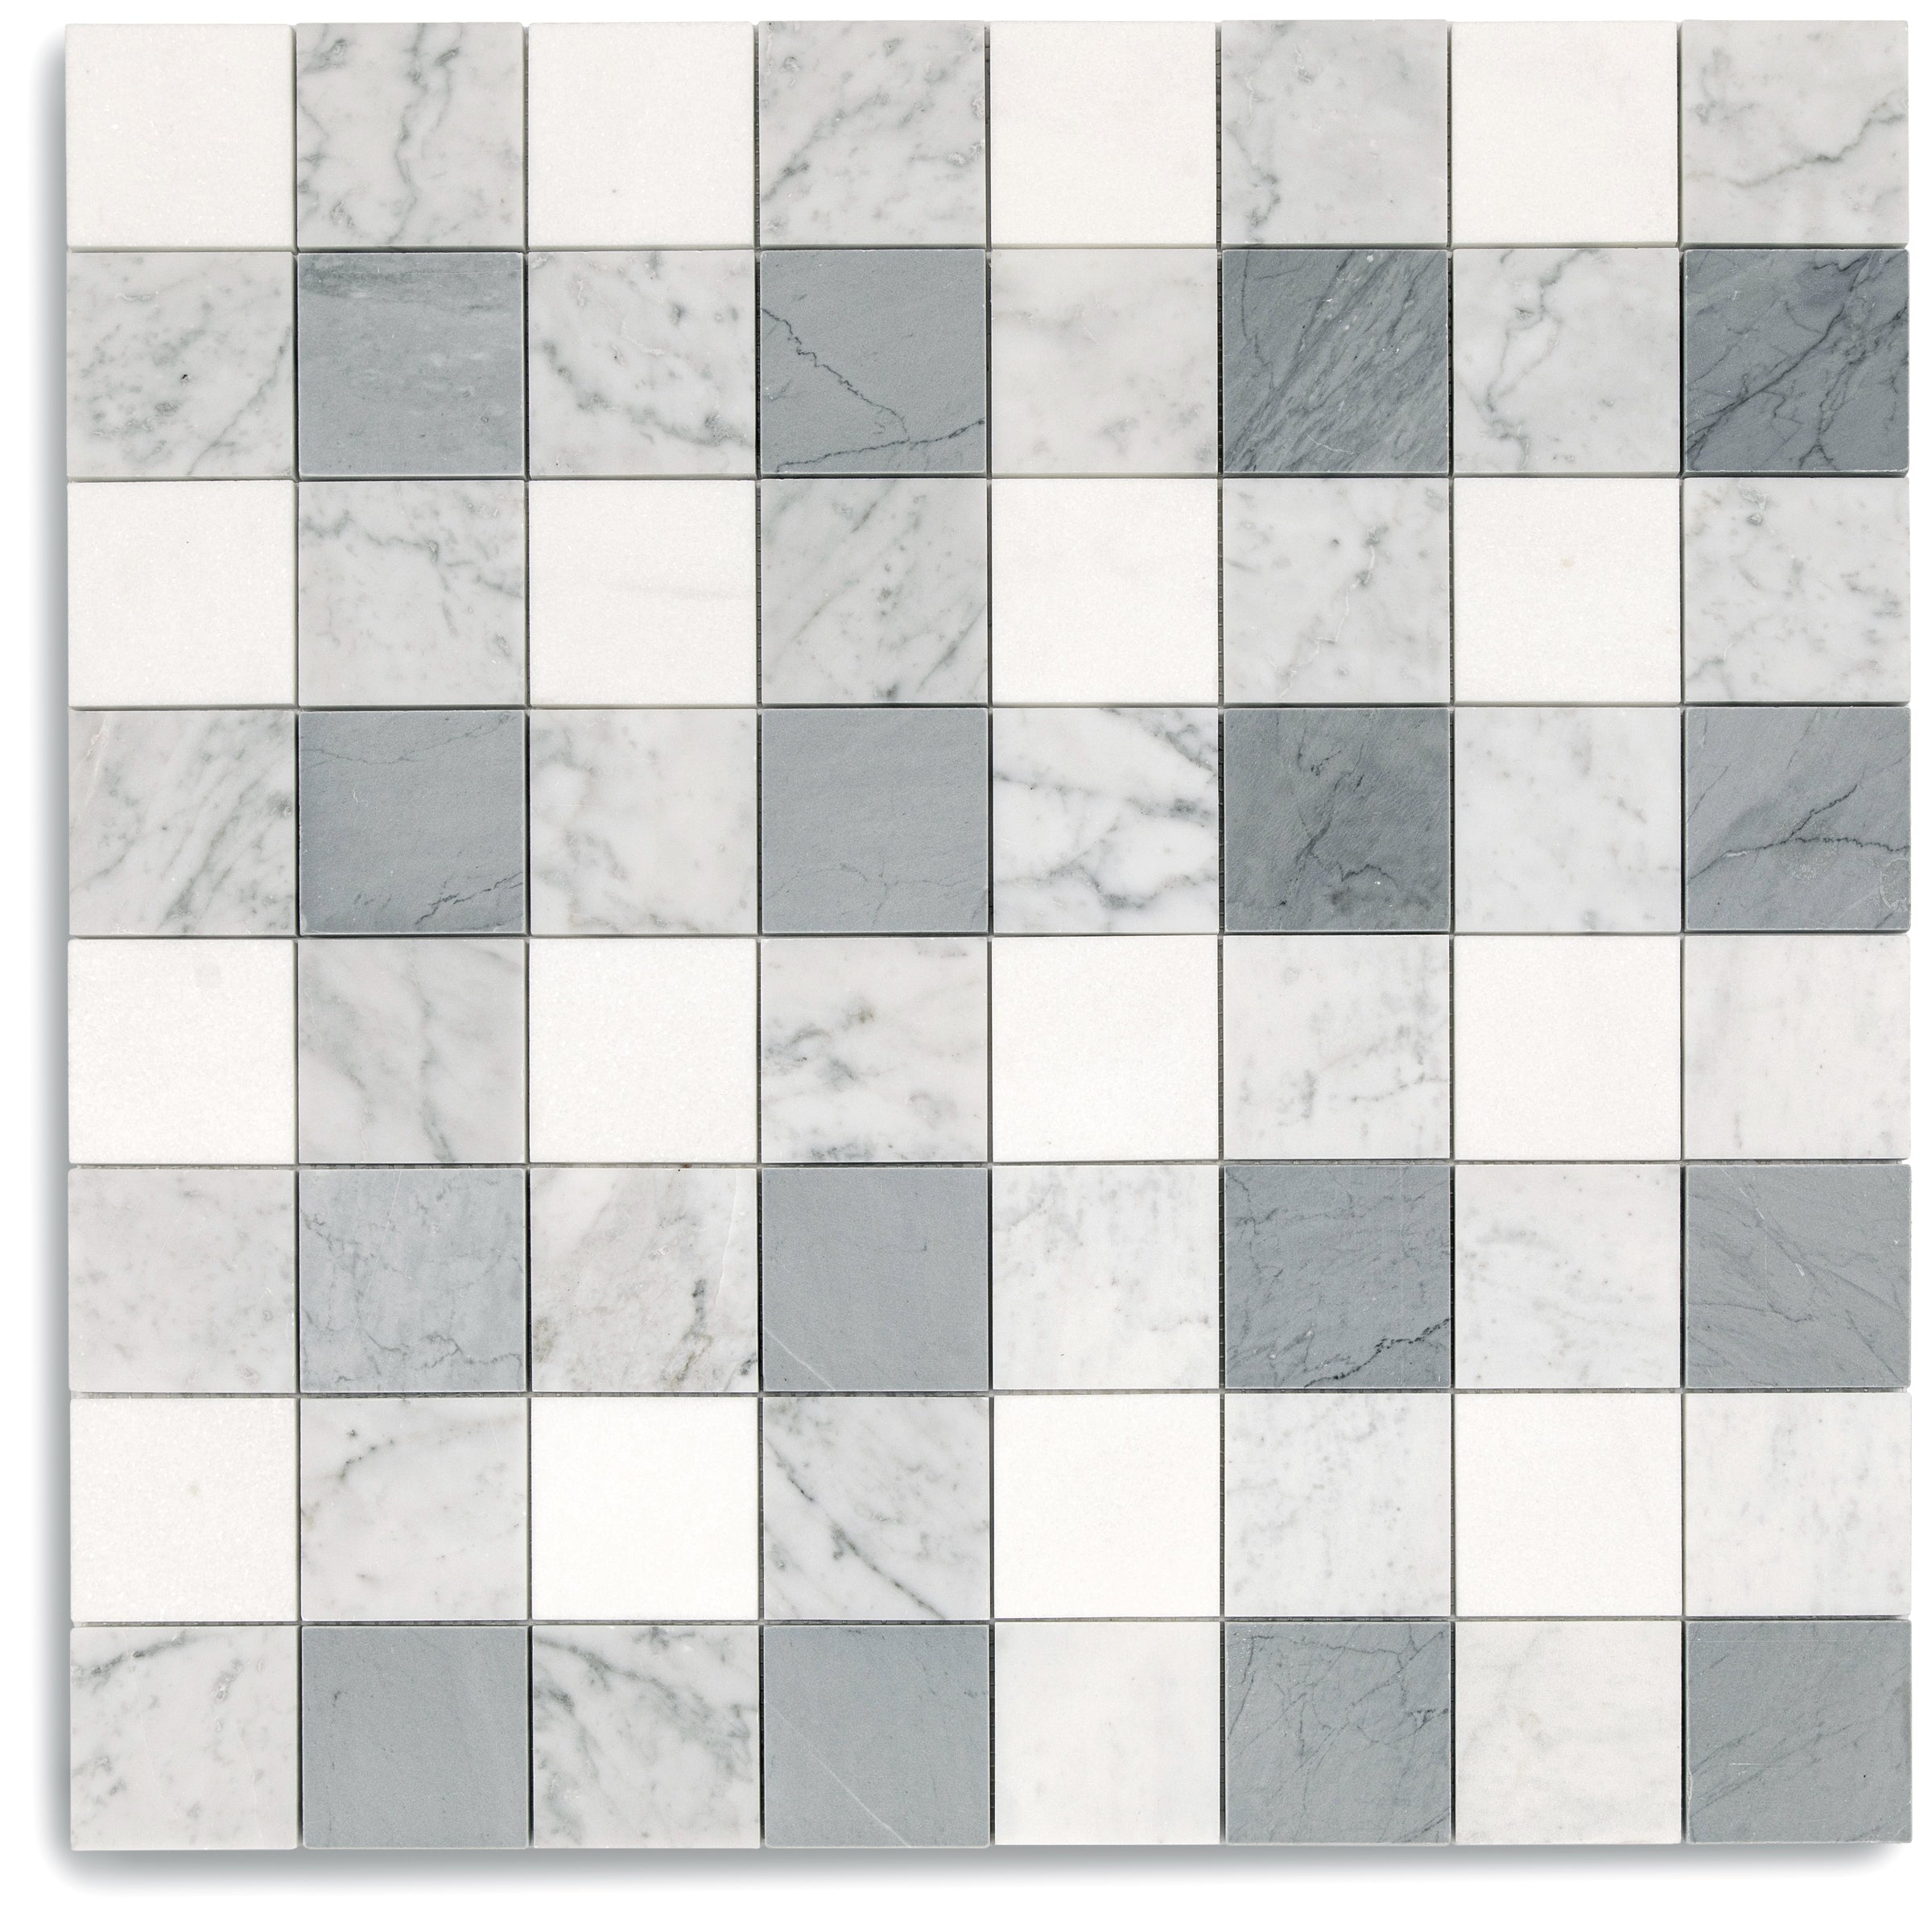
Thassos, Carrara, Bardiglio Gingham Marble Mosaic


Cream Limestone Look 3D Matte Porcelain Tile

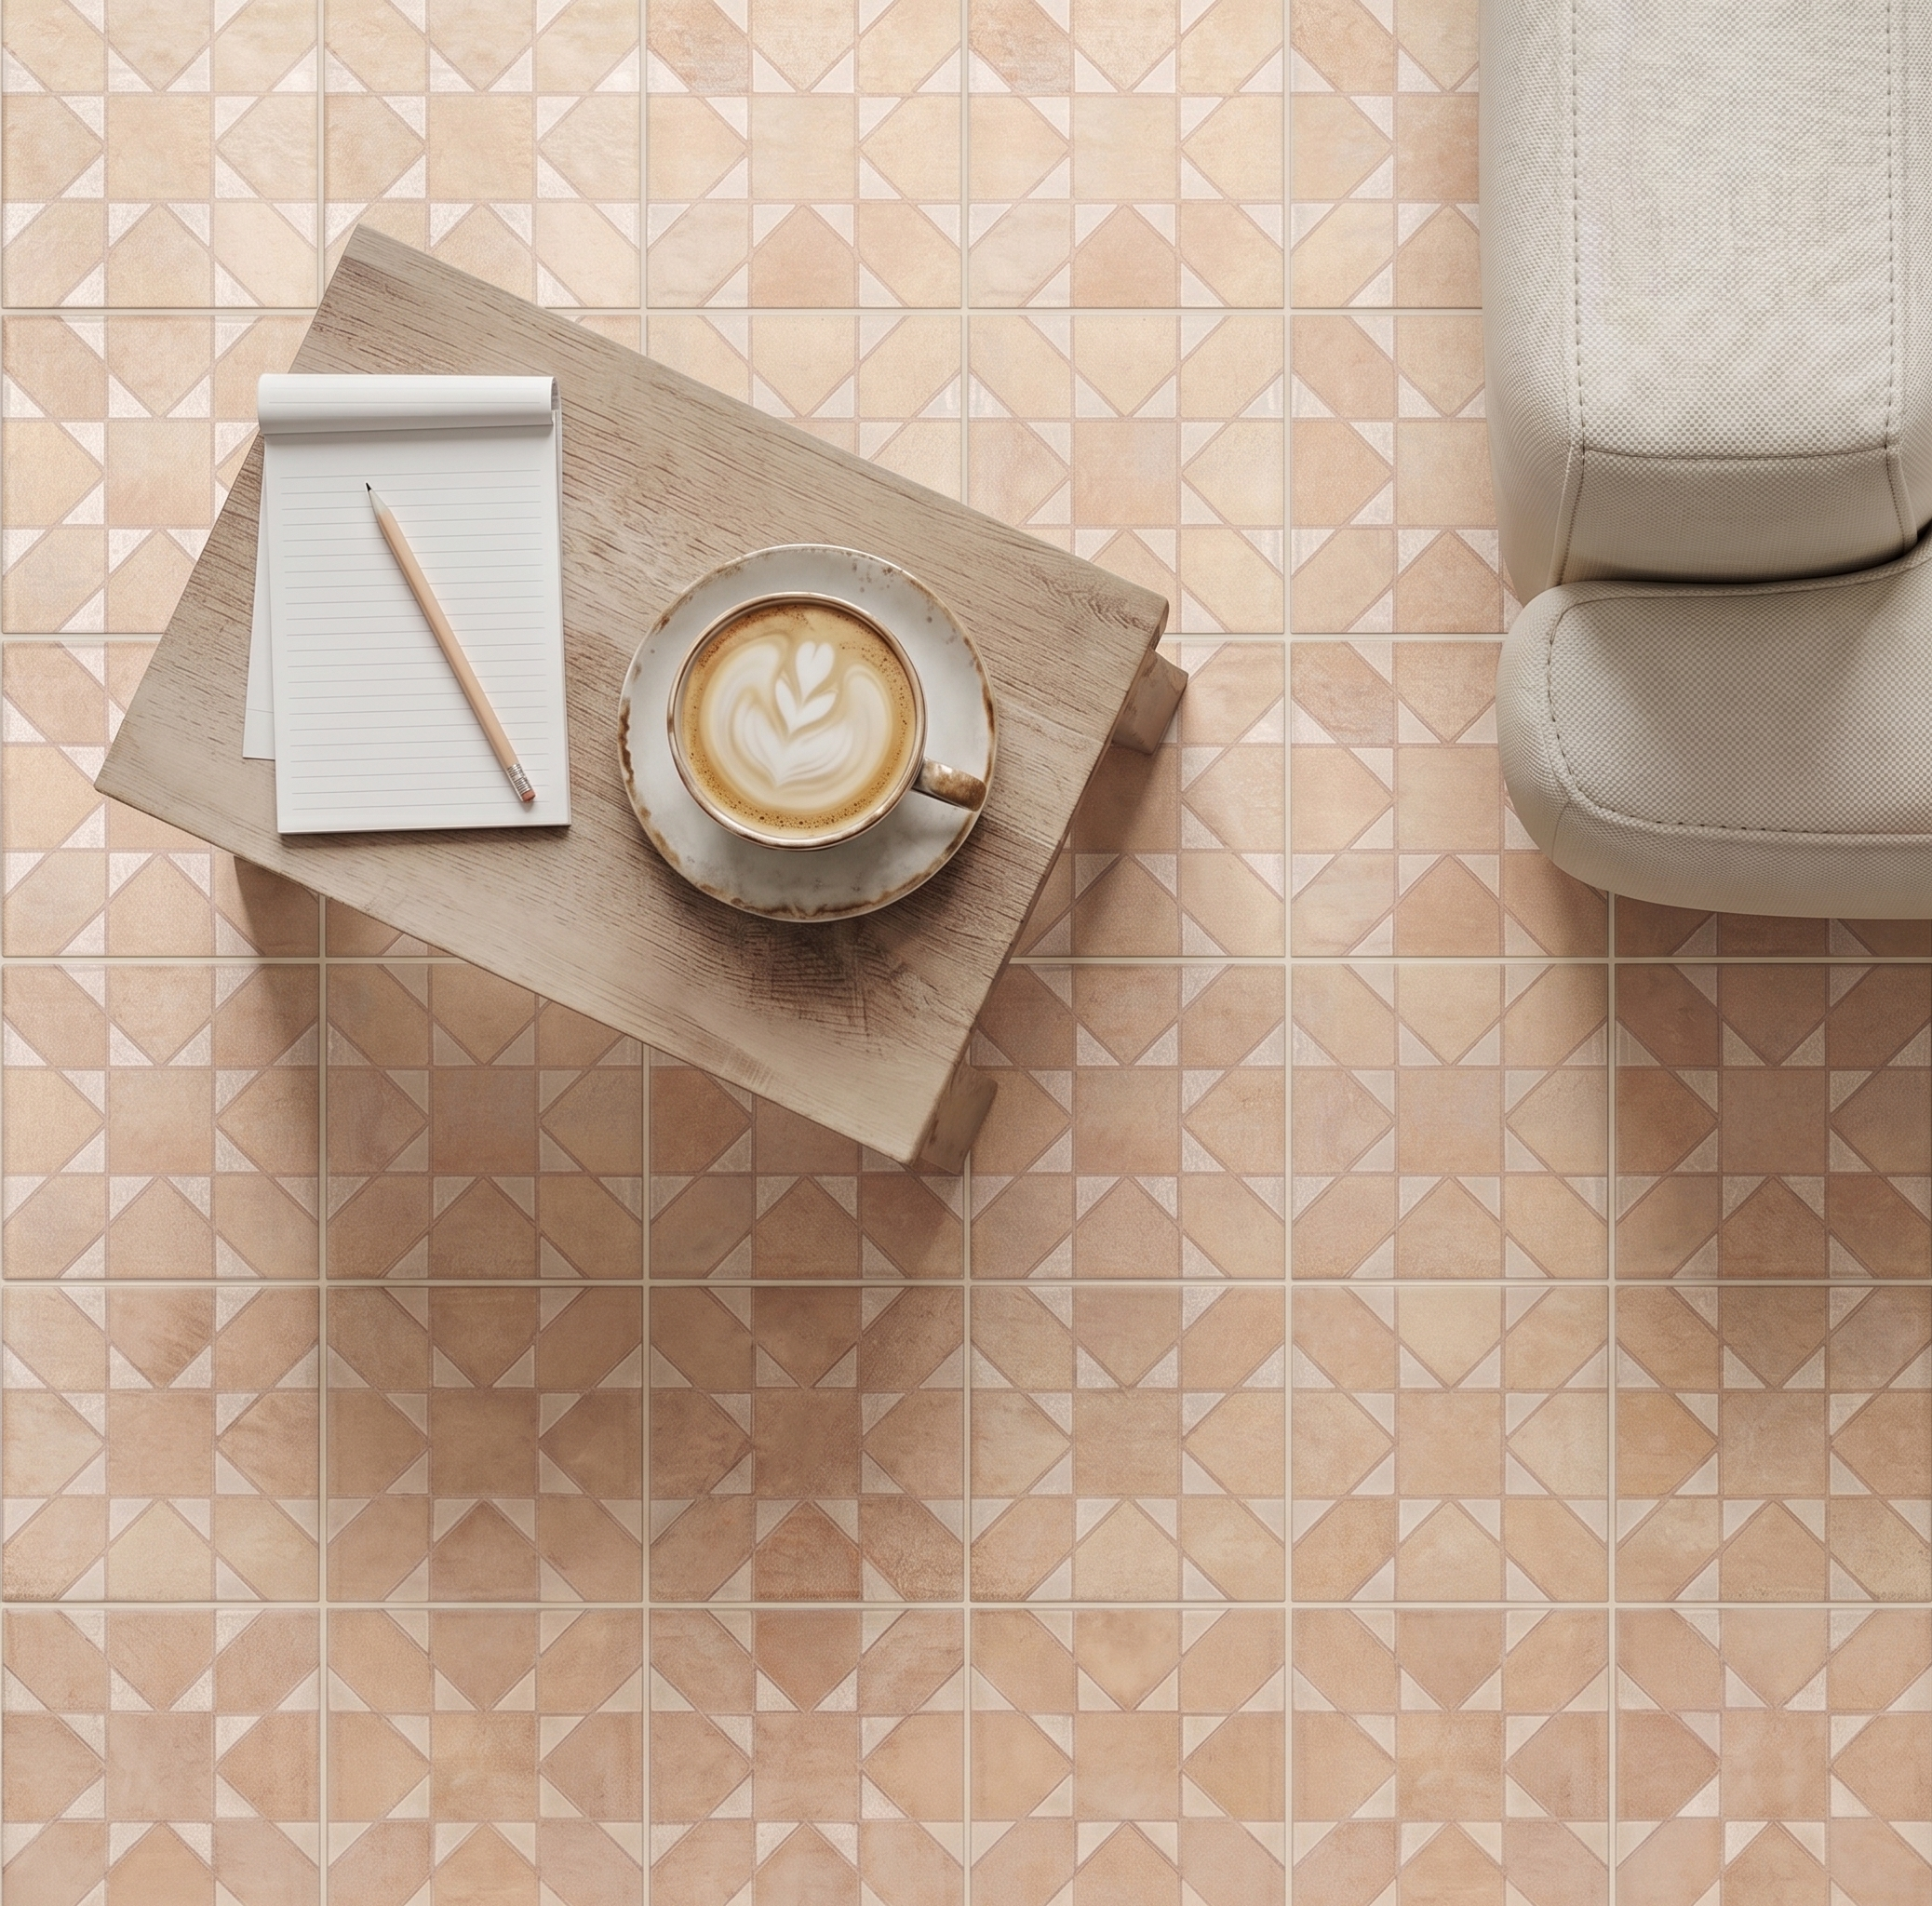
Chiaro Deco Terracotta Look Matte Porcelain Tile
Cotto Terracotta Look Matte Porcelain Tile


White & Ecru 2x2 Zellige Checkerboard Mosaic


White & Black Octagon Zellige Mosaic




Murano Honed Italian Terrazzo Tile
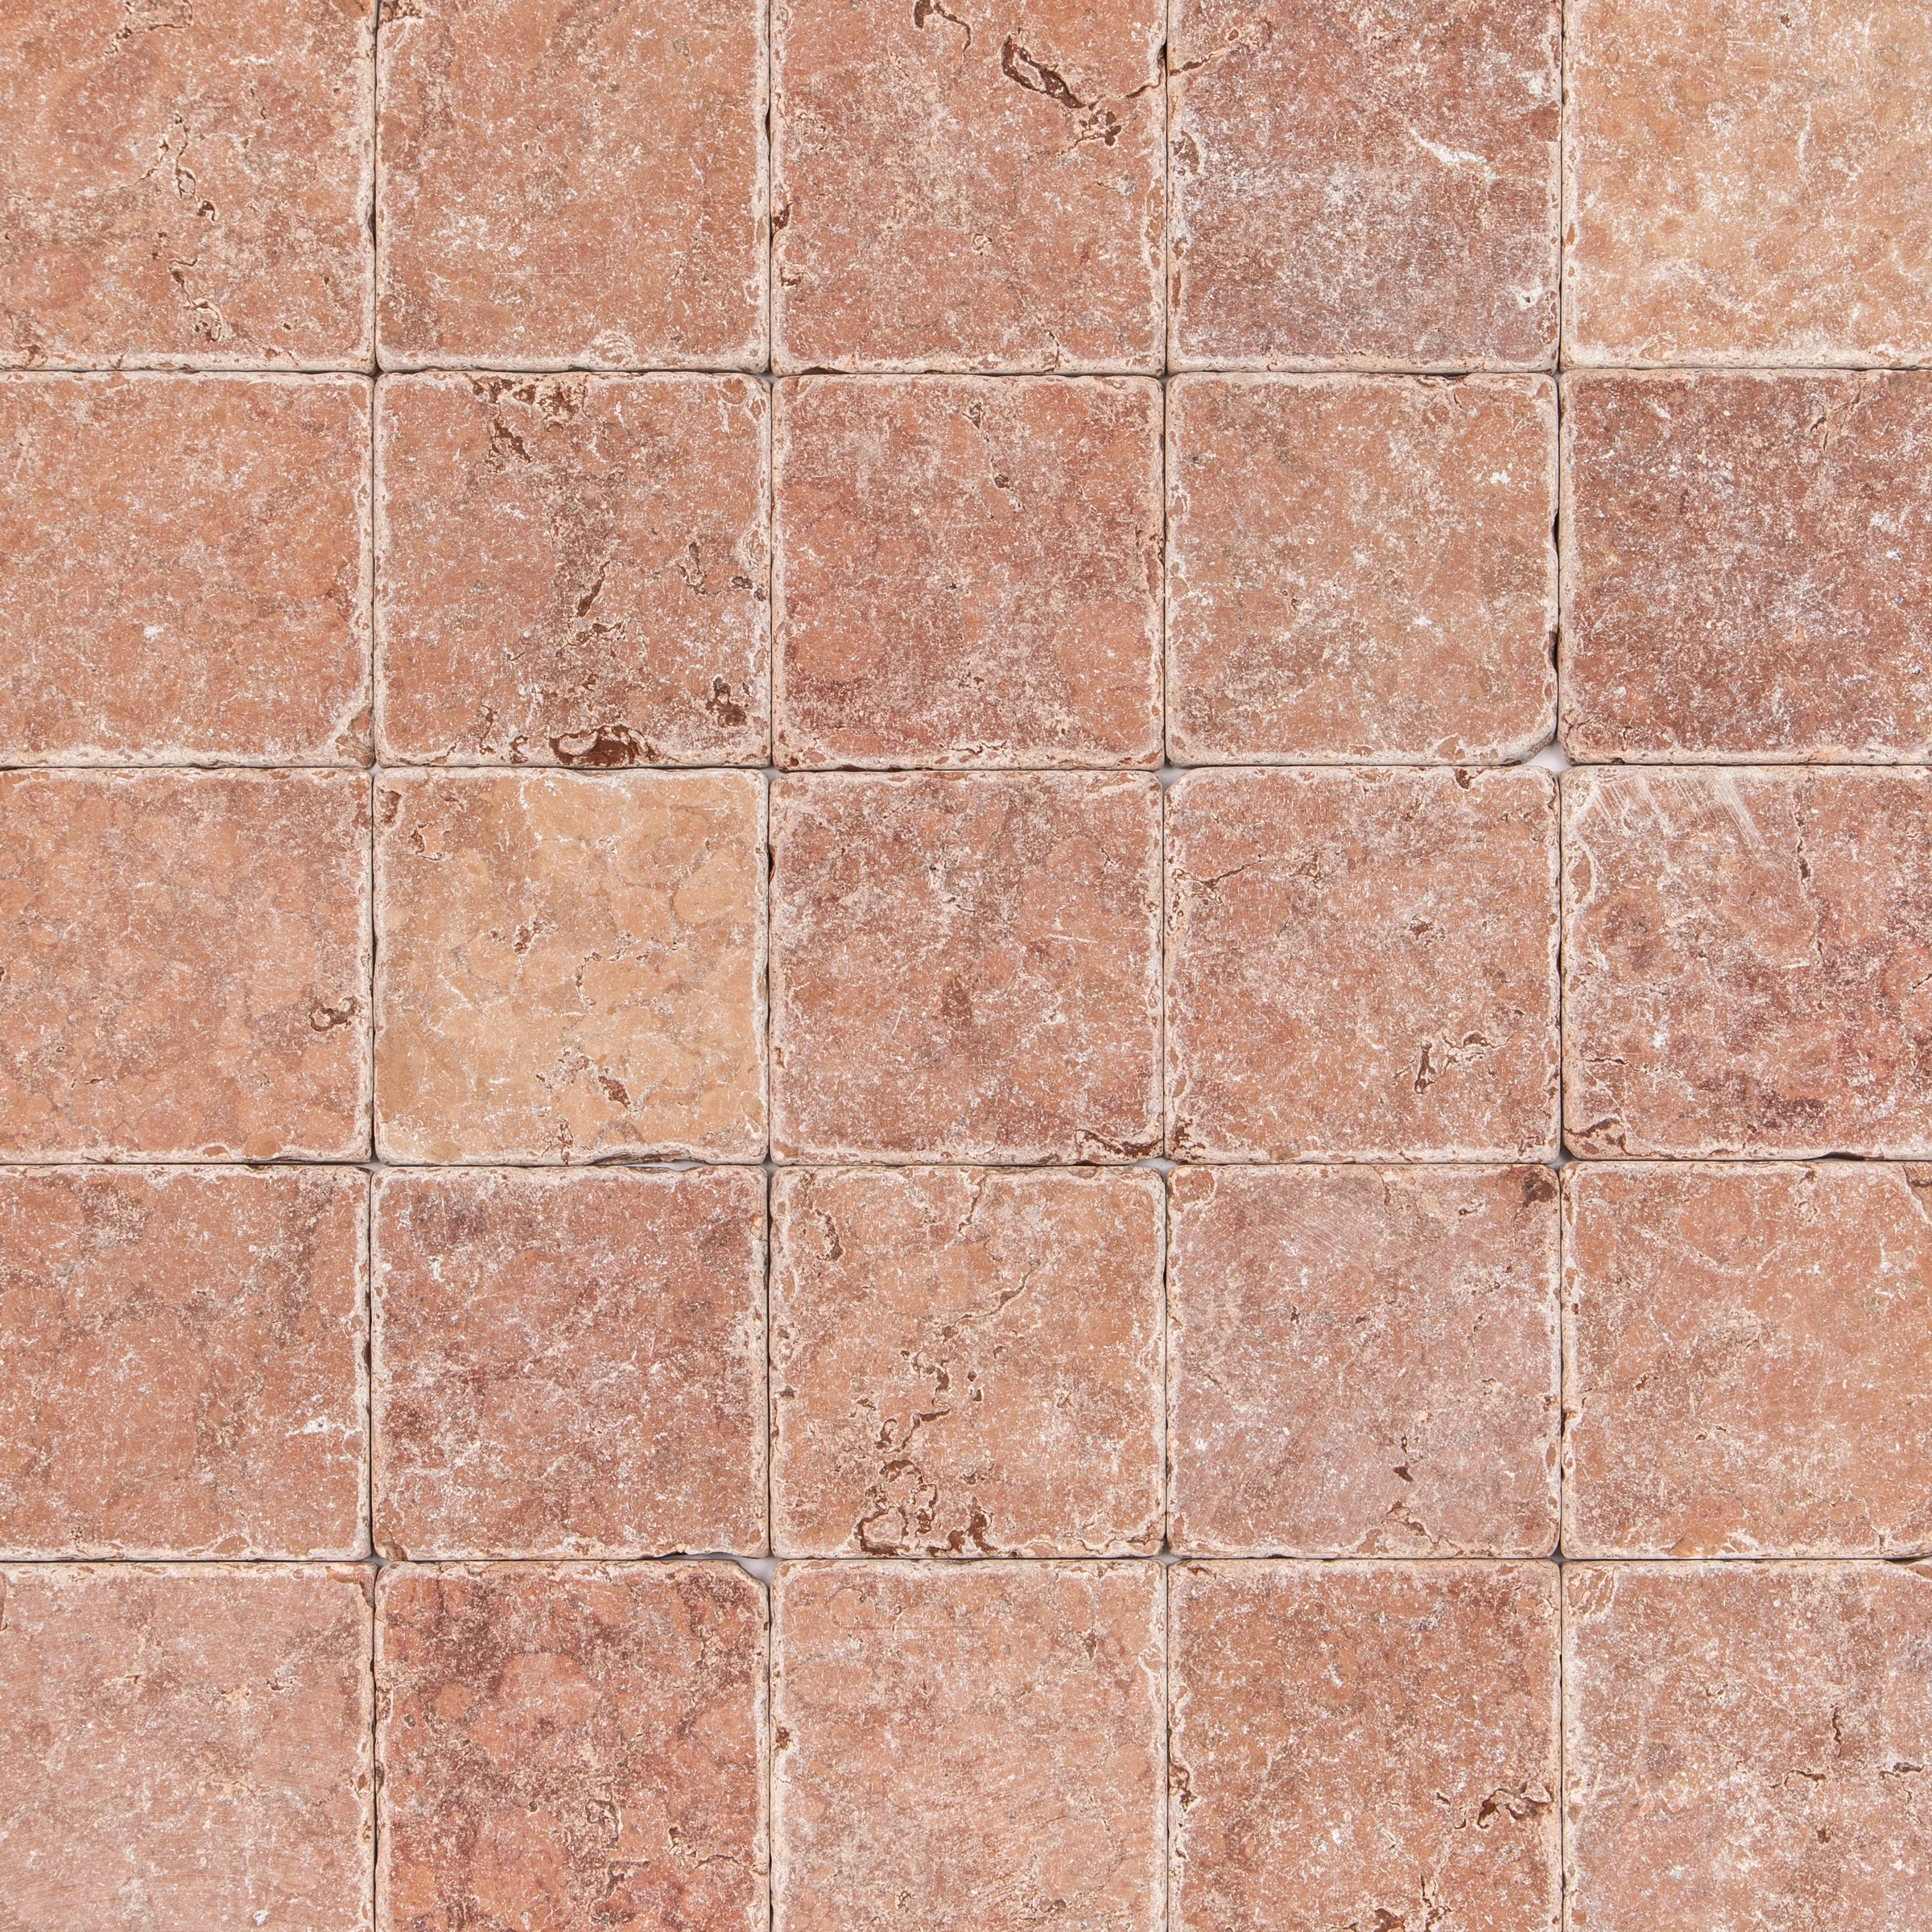
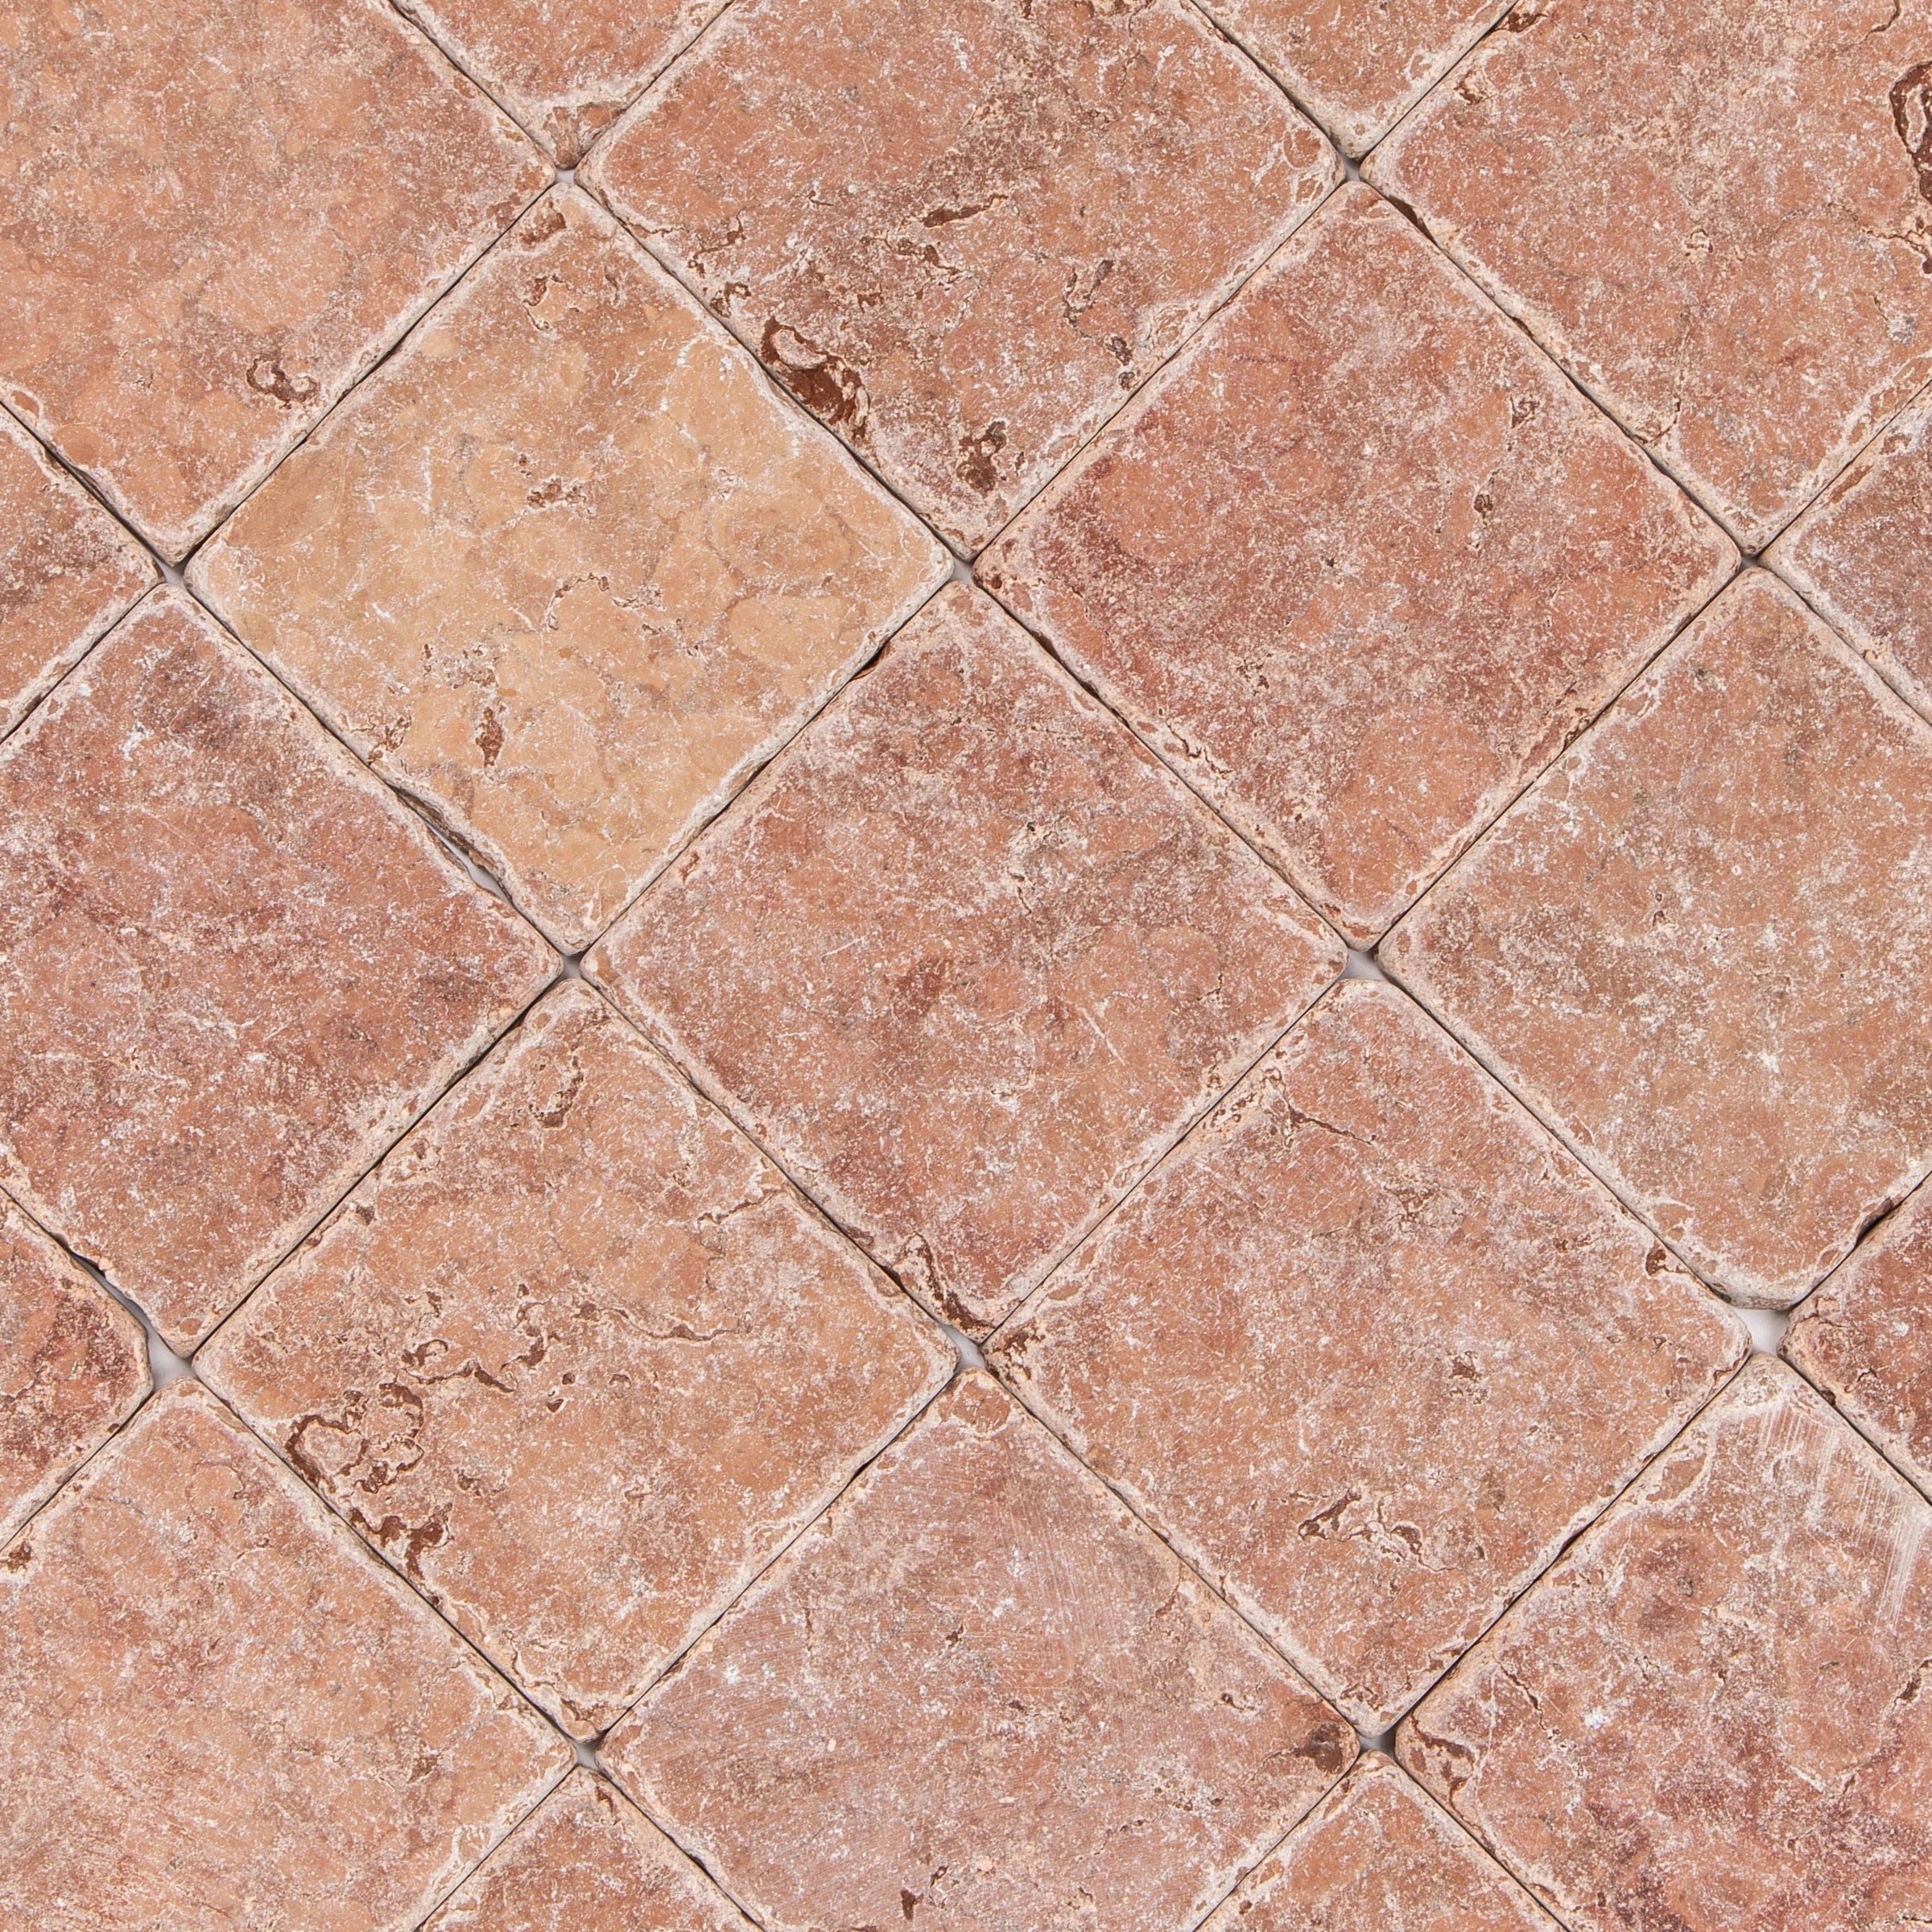
Rosso Verona Tumbled Marble Tile
Travertino Moka Stone Look Porcelain Tile
Beige Limestone Look 3D Matte Porcelain Tile
Apple 12x24 3D Glossy Porcelain Tile


Unglazed & White Octagon Zellige Mosaic
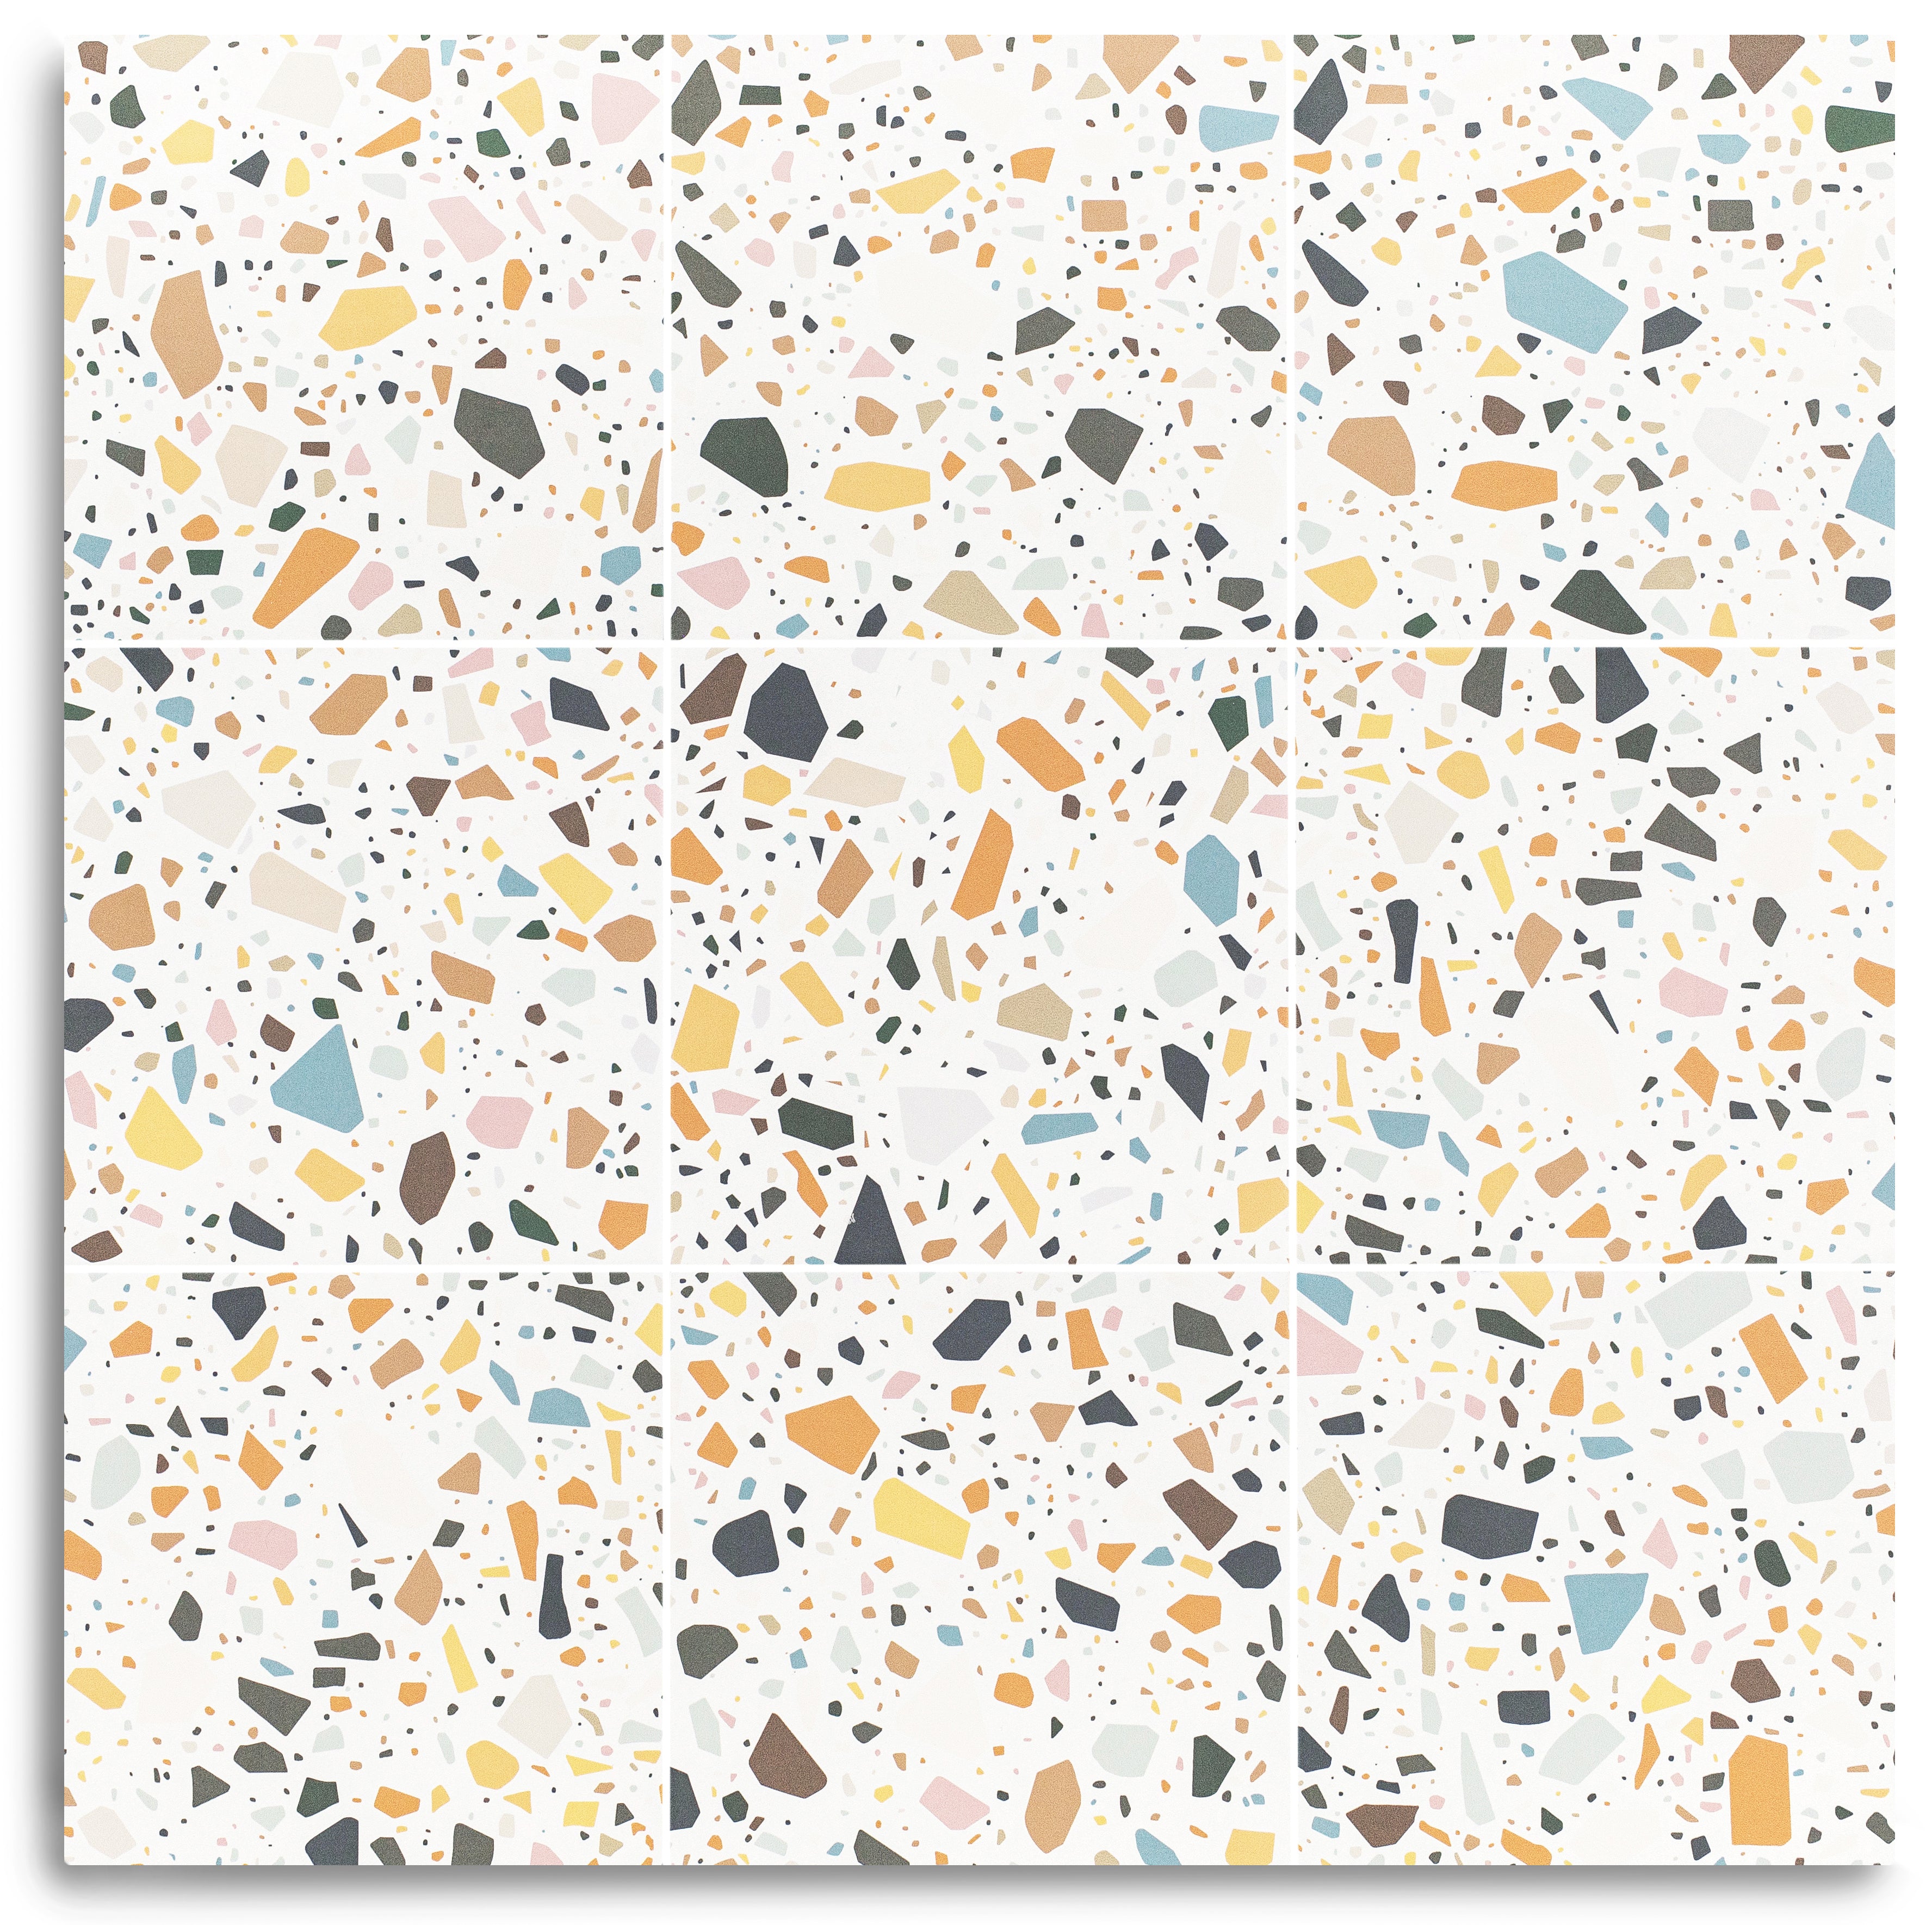

White Multi-Color Matte Porcelain Tile


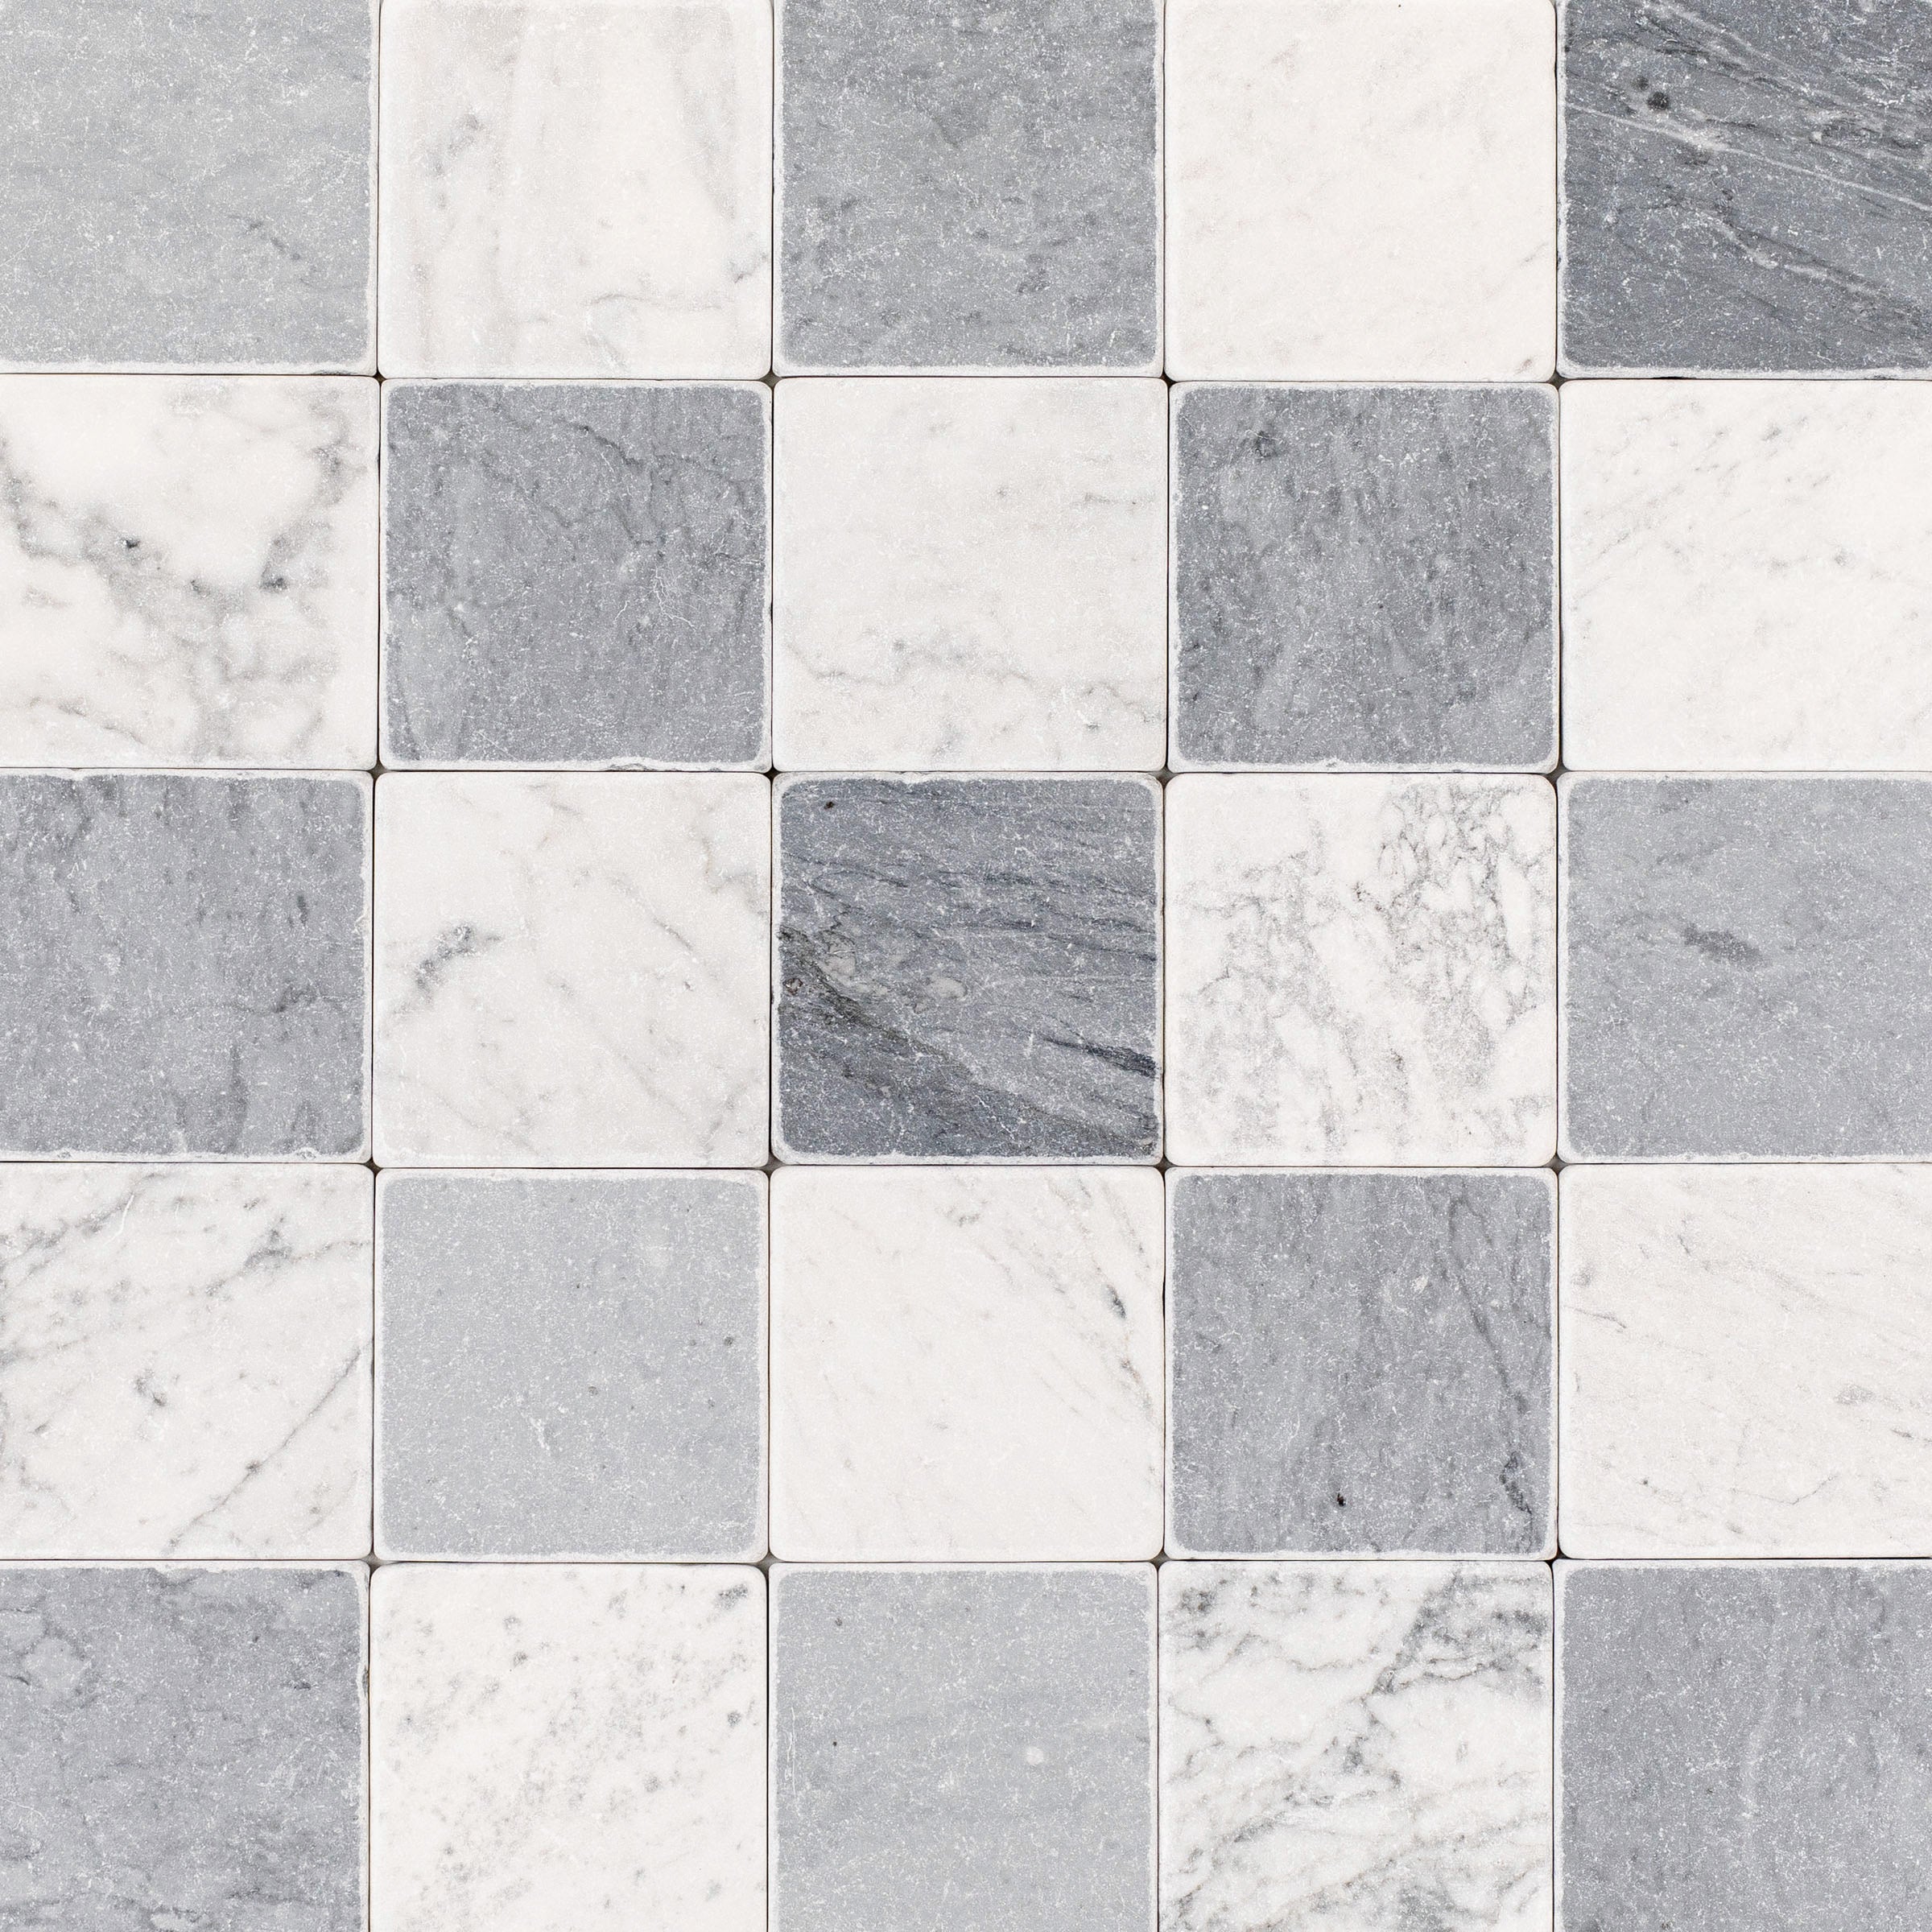
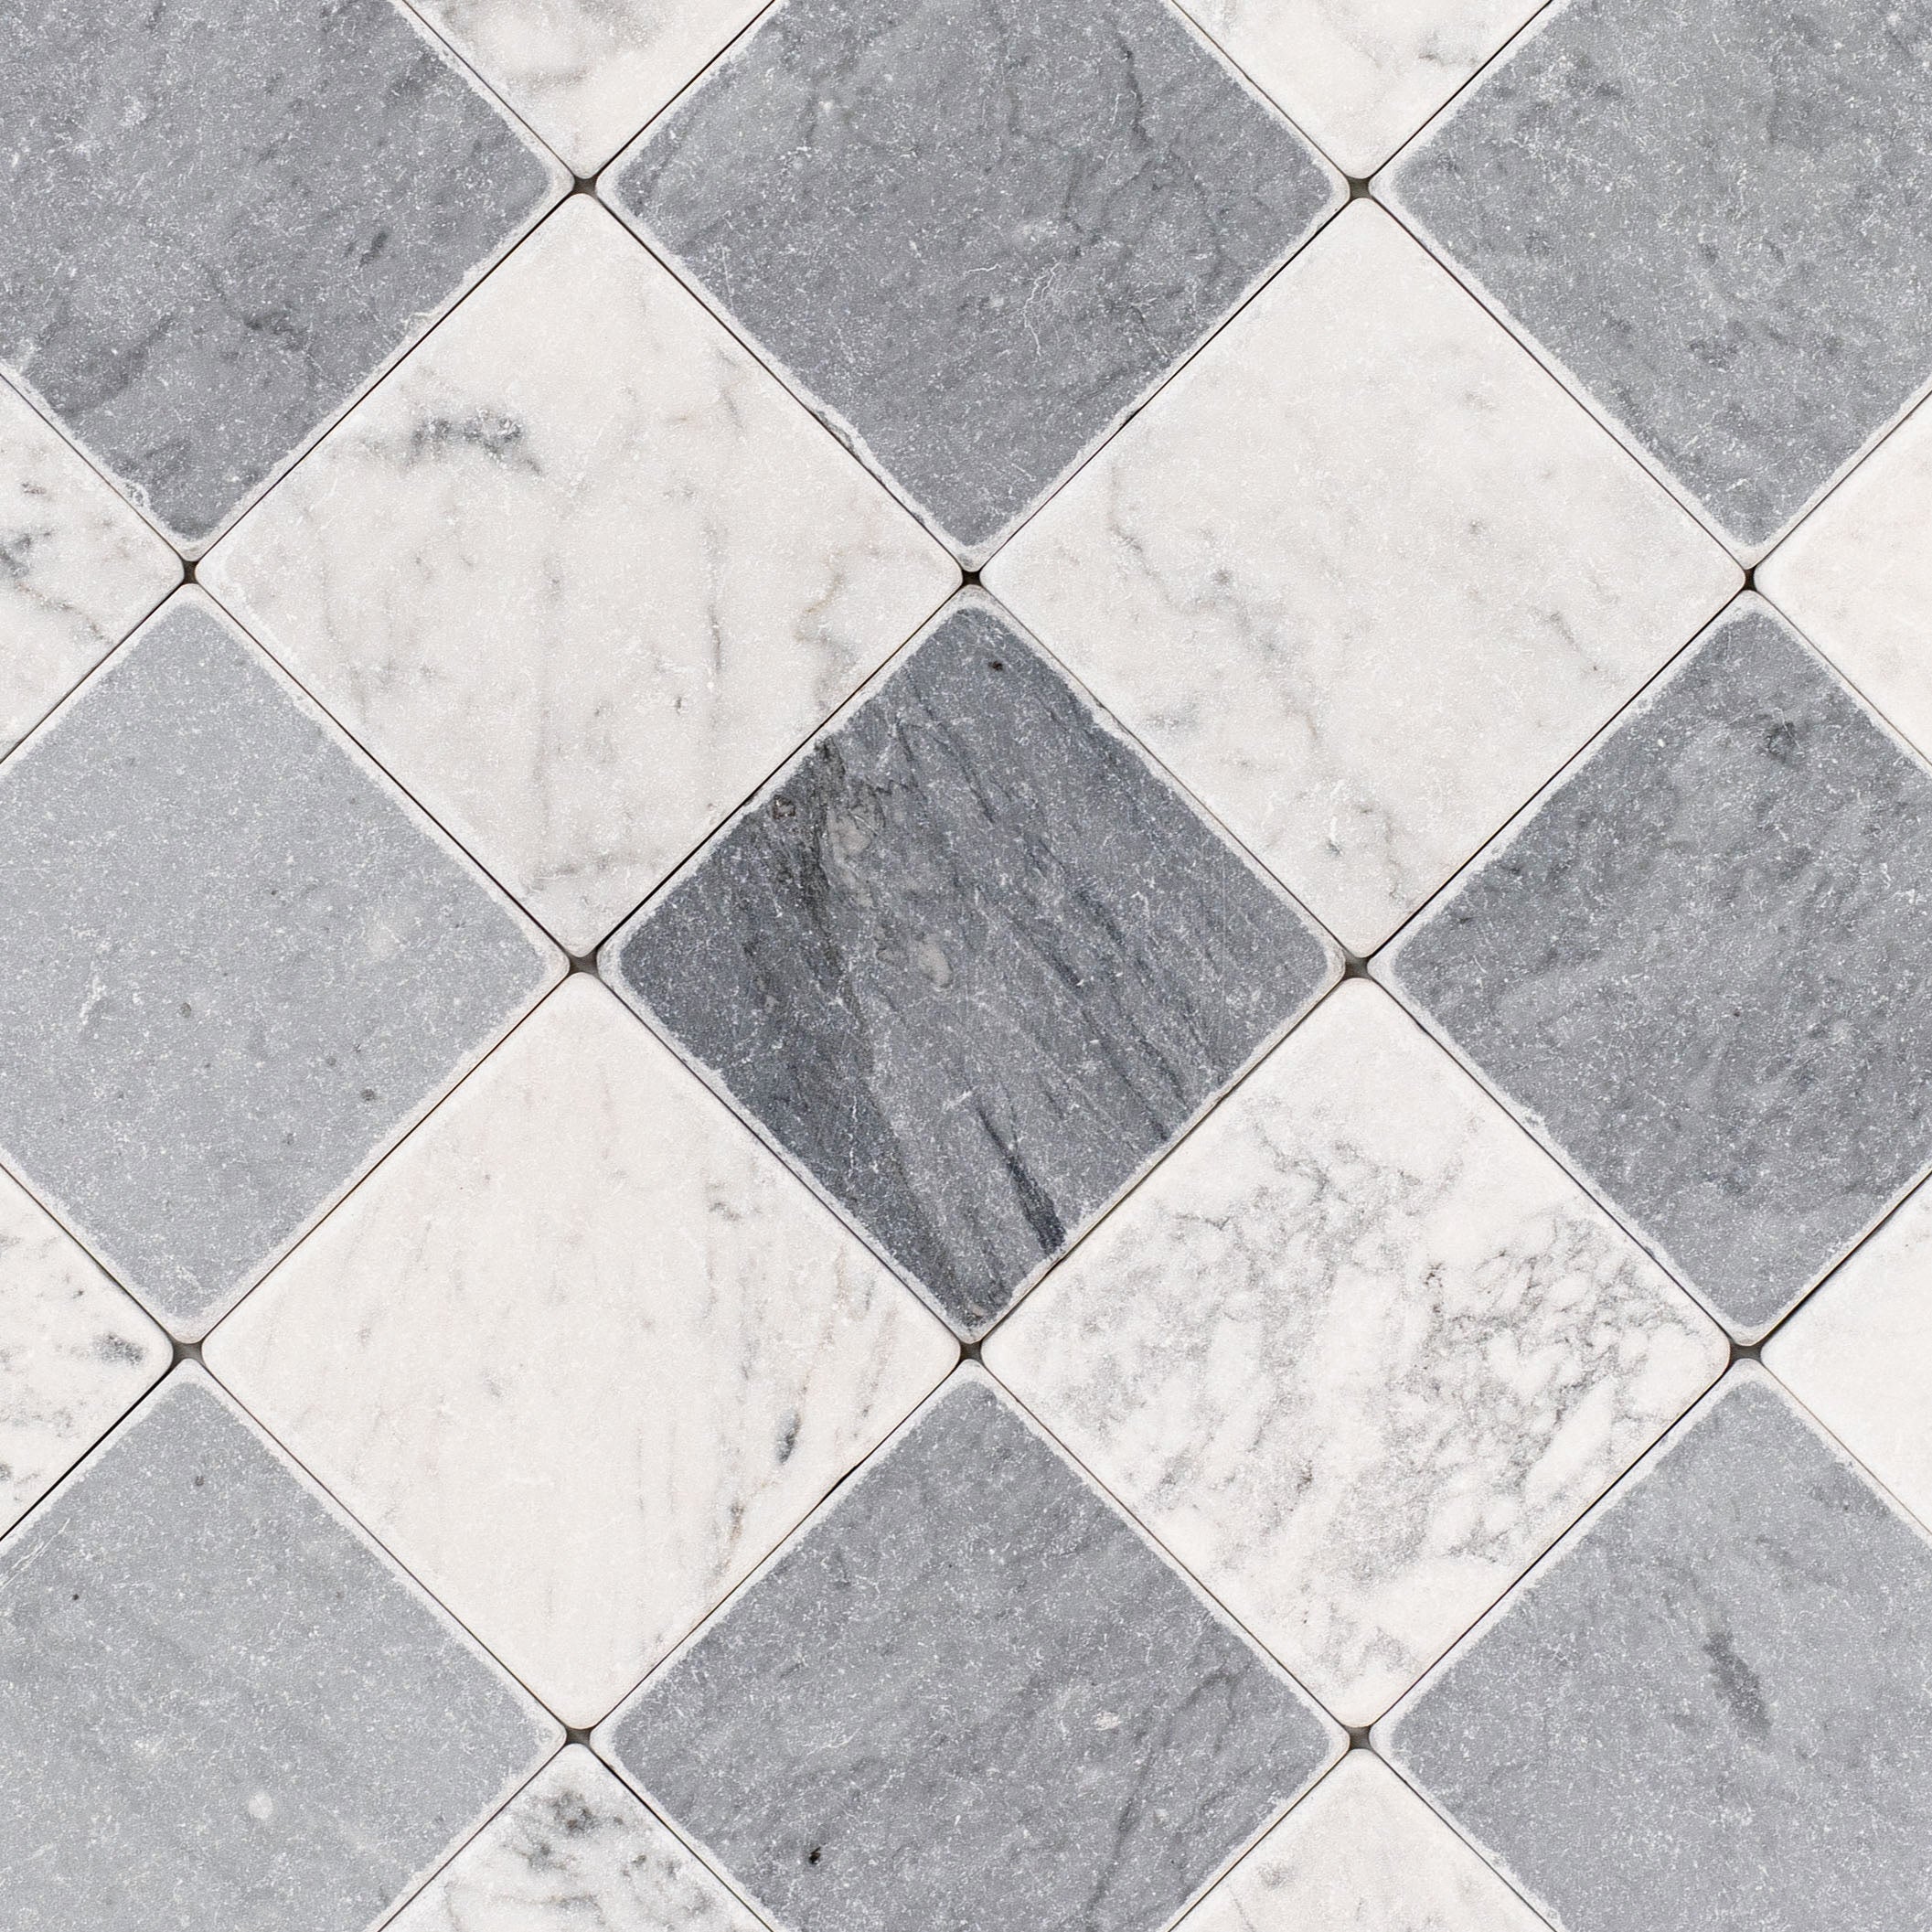
Carrara Bardiglio Tumbled Stone Checkerboard
Cream 12x24 3D Gloss Porcelain Tile
Navy 12x24 3D Gloss Porcelain Tile


White & Oxblood 2x2 Zellige Checkerboard Mosaic

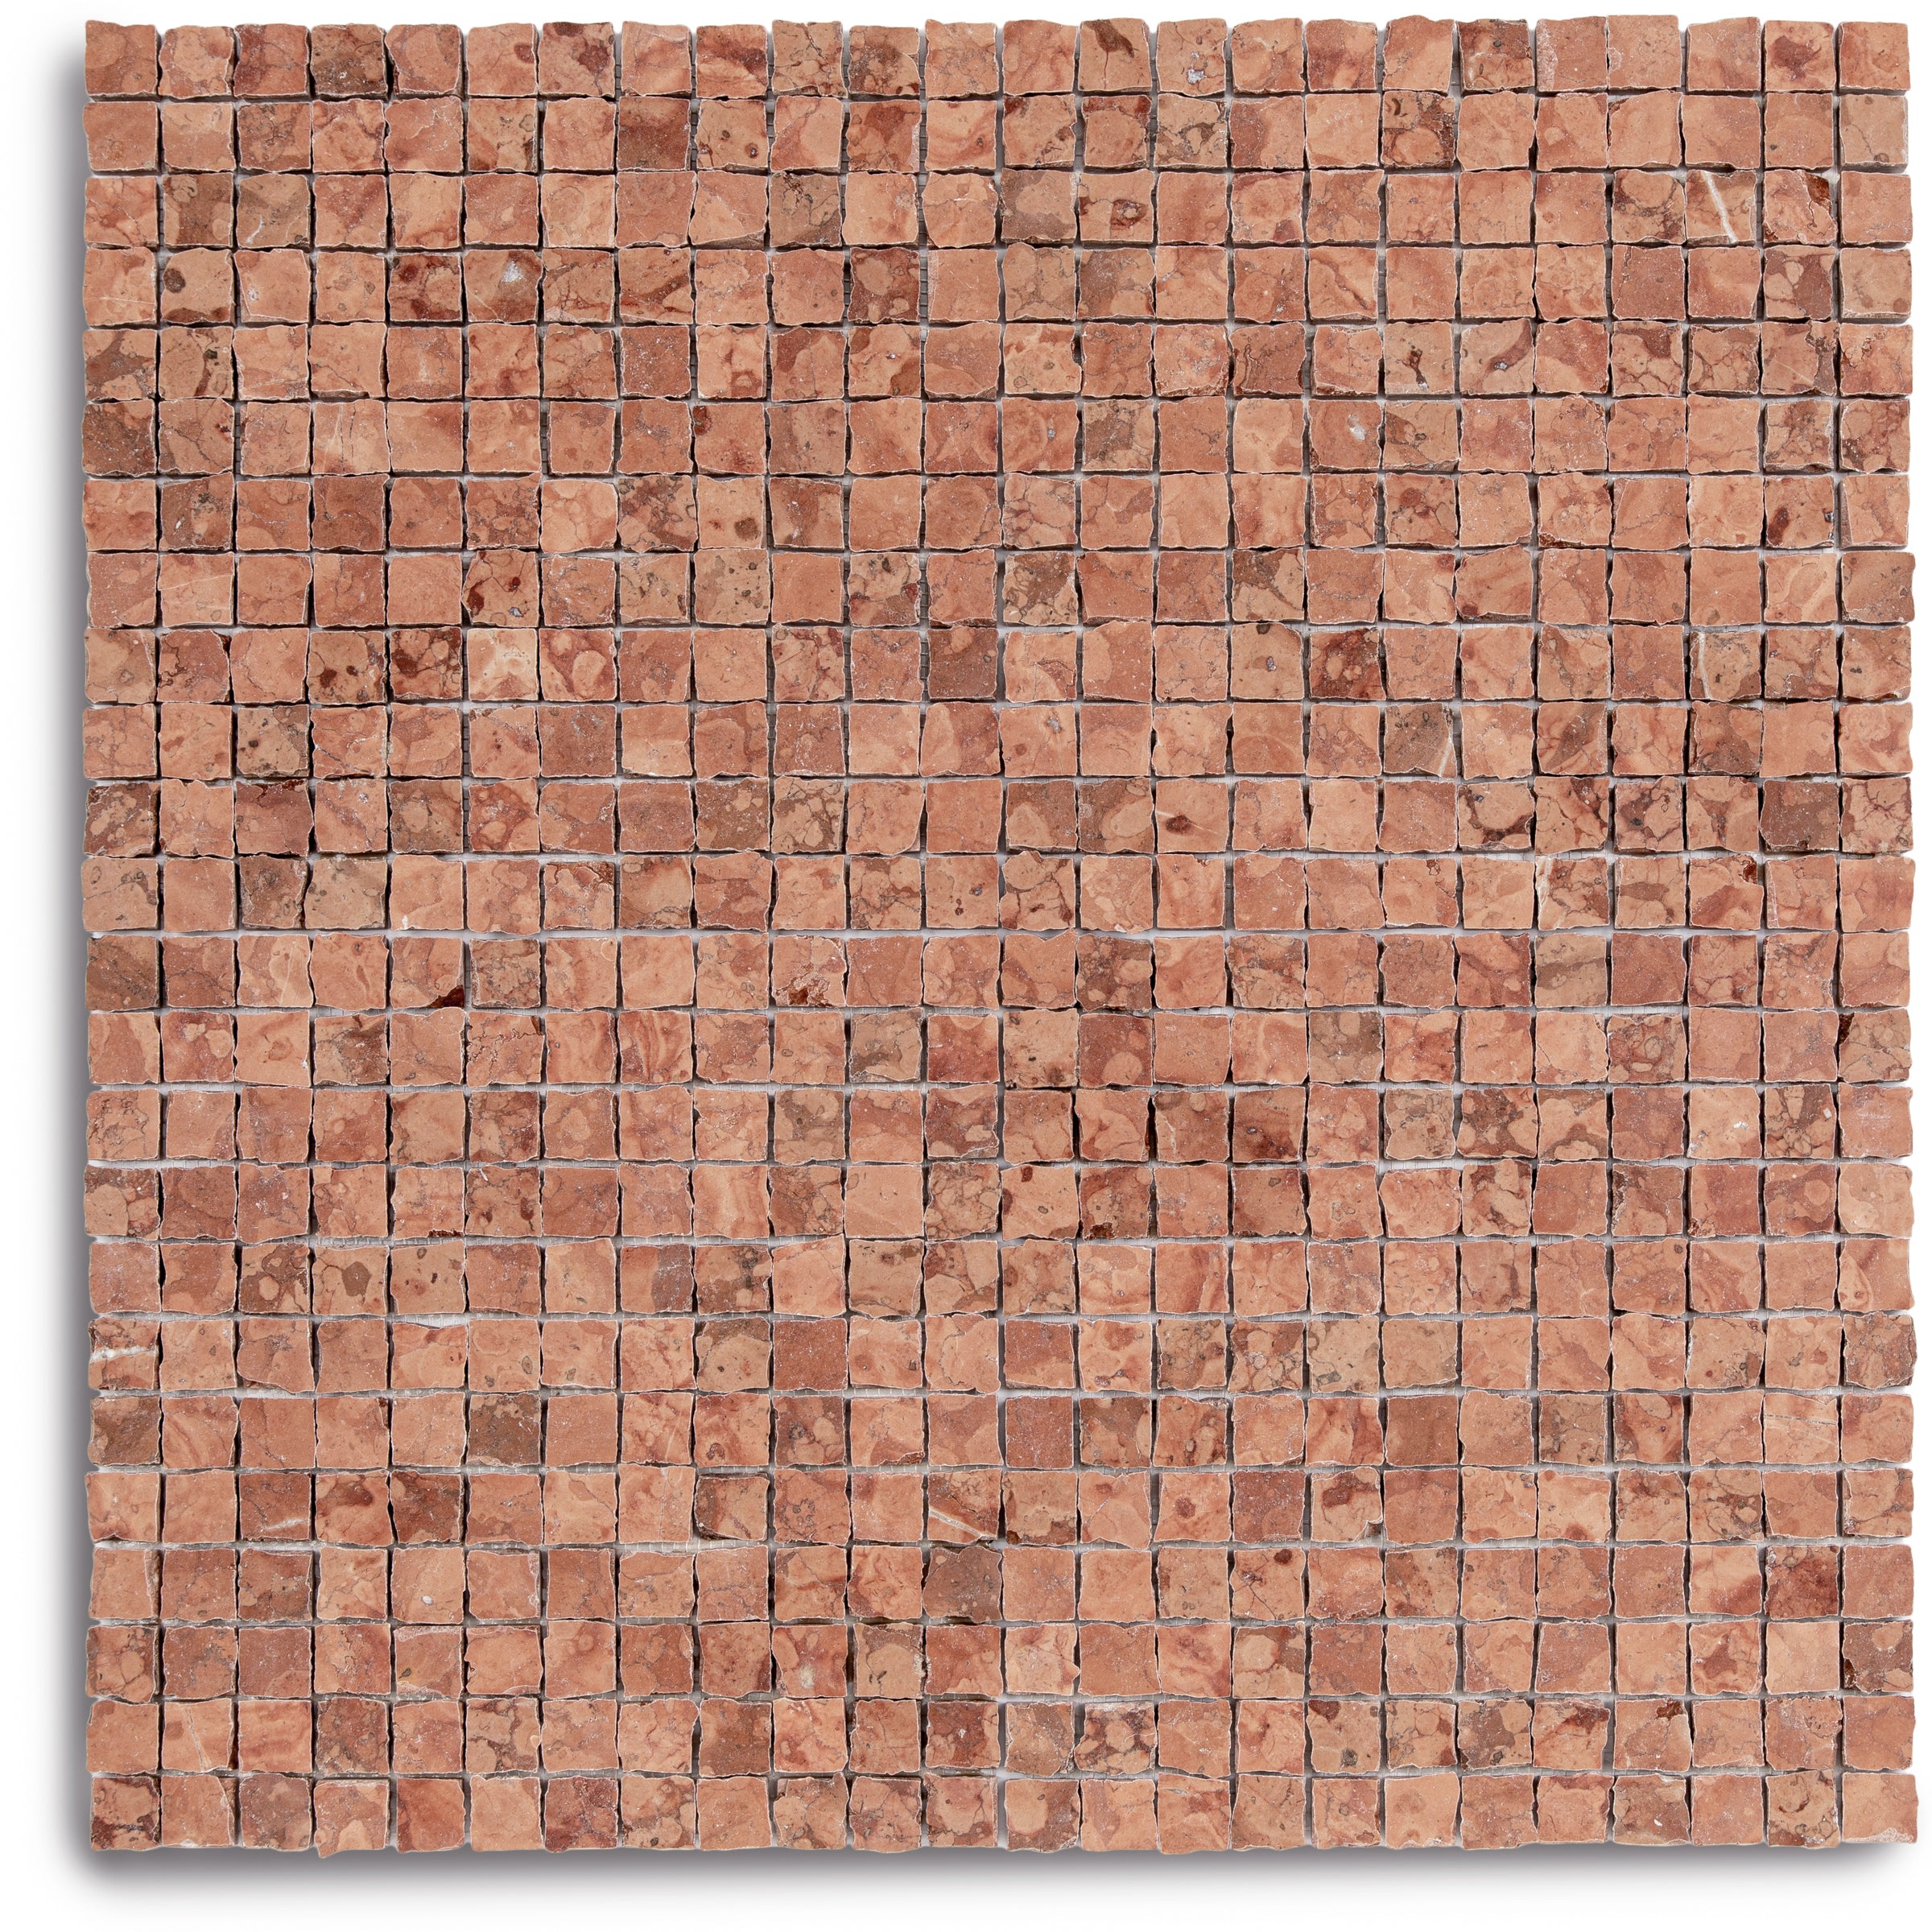
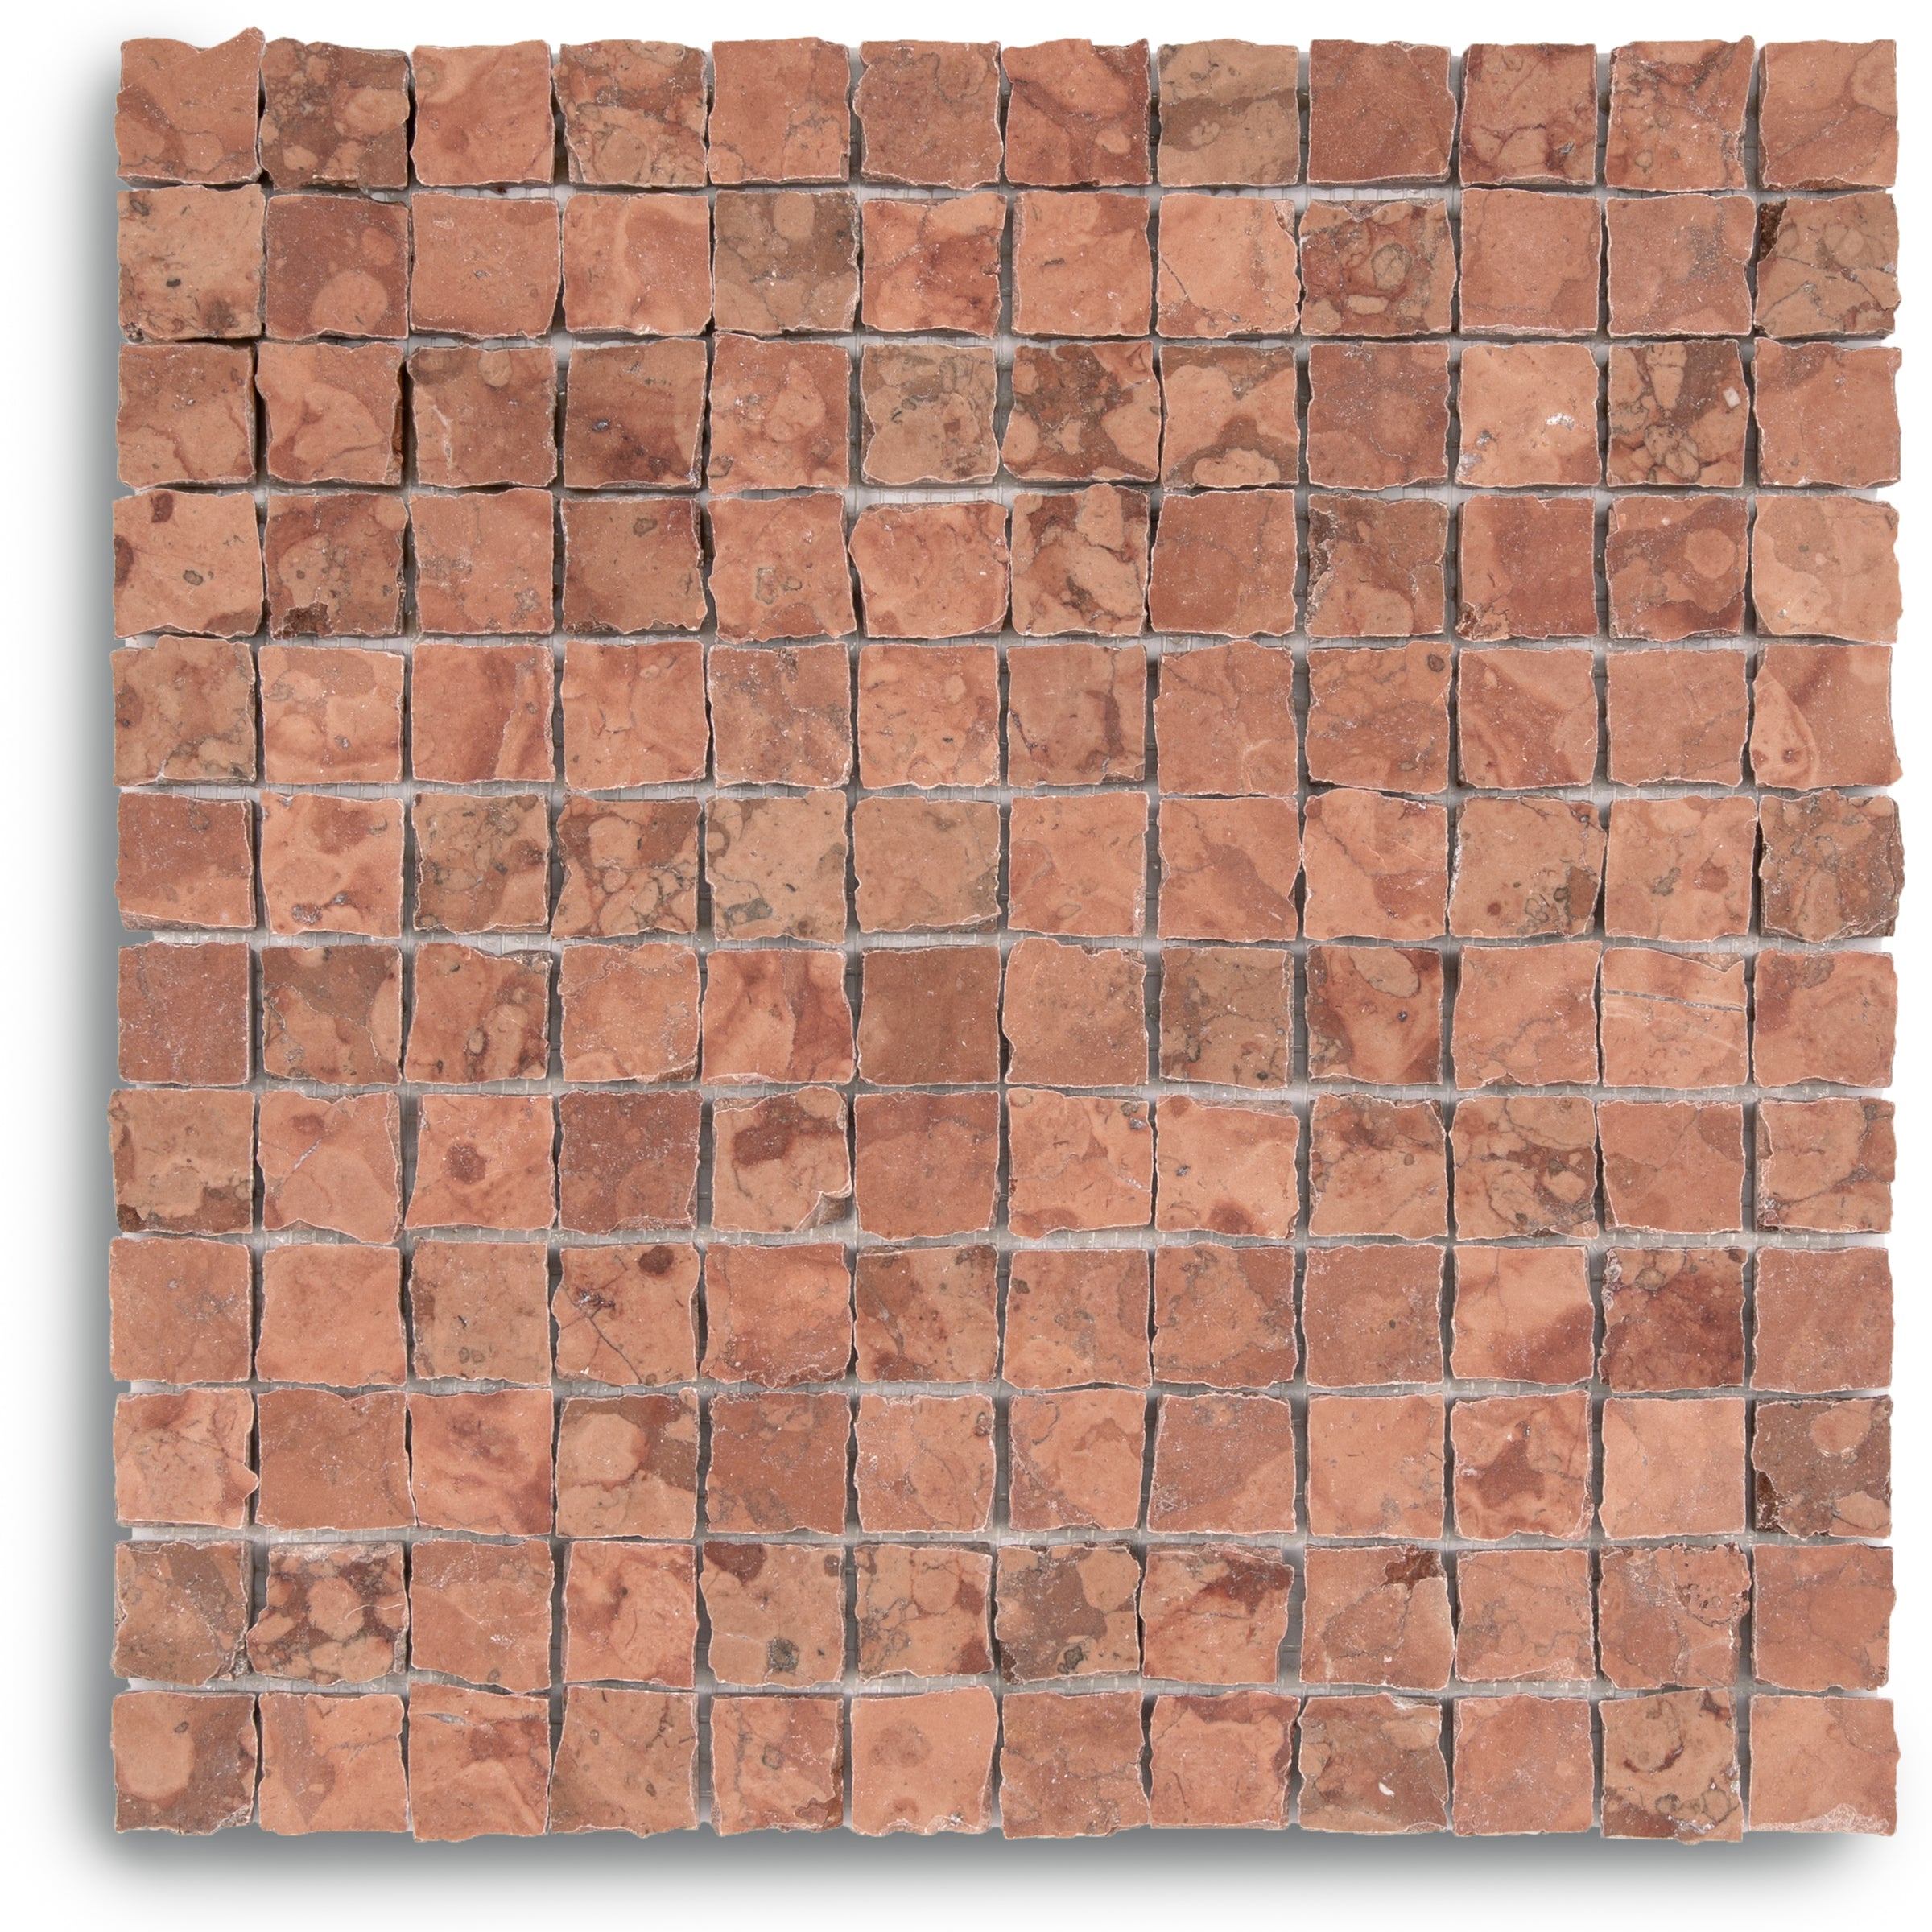
Rosso Verona 1x1 Hand Chipped Marble Mosaic



Natura Terracotta Look Matte Porcelain Tile
Amazzonite Matte Marble Look Porcelain Tile

Almond Cement Look Matte Porcelain Tile
Bianco Carrara Honed Marble Tile
Slate 48x48 Cement Look Porcelain Tile
Burano Honed Italian Terrazzo Tile
Montblack Matte Marble Look Porcelain Tile
Honey Black Slats 24x48 Wood Look Porcelain Tile
White & Ecru Octagon Zellige Mosaic
Cotto Deco Terracotta Look Matte Porcelain Tile


Thassos, Carrara, Bardiglio Gingham Marble Mosaic


Cream Limestone Look 3D Matte Porcelain Tile
Cotto Terracotta Look Matte Porcelain Tile
Chiaro Deco Terracotta Look Matte Porcelain Tile
White & Ecru 2x2 Zellige Checkerboard Mosaic
White & Black Octagon Zellige Mosaic
Rosso Verona Tumbled Marble Tile
Murano Honed Italian Terrazzo Tile
Apple 12x24 3D Glossy Porcelain Tile
Travertino Moka Stone Look Porcelain Tile
Beige Limestone Look 3D Matte Porcelain Tile
Unglazed & White Octagon Zellige Mosaic
White Multi-Color Matte Porcelain Tile
Cream 12x24 3D Gloss Porcelain Tile
Carrara Bardiglio Tumbled Stone Checkerboard
Navy 12x24 3D Gloss Porcelain Tile
White & Oxblood 2x2 Zellige Checkerboard Mosaic
Rosso Verona 1x1 Hand Chipped Marble Mosaic
Natura Terracotta Look Matte Porcelain Tile
Bianco Carrara Honed Marble Tile
Bianco Carrara Octagon w/ Nero Marquina Dot Mosaic
White & Ecru Octagon Zellige Mosaic
Cotto Deco Terracotta Look Matte Porcelain Tile
Thassos, Carrara, Bardiglio Gingham Marble Mosaic
Cream Limestone Look 3D Matte Porcelain Tile
White & Ecru 2x2 Zellige Checkerboard Mosaic
Chiaro Deco Terracotta Look Matte Porcelain Tile
White & Black Octagon Zellige Mosaic
Rosso Verona Tumbled Marble Tile
Murano Honed Italian Terrazzo Tile
Travertino Moka Stone Look Porcelain Tile
Beige Limestone Look 3D Matte Porcelain Tile
Apple 12x24 3D Glossy Porcelain Tile
Unglazed & White Octagon Zellige Mosaic
White Multi-Color Matte Porcelain Tile
Carrara Bardiglio Tumbled Stone Checkerboard
Cream 12x24 3D Gloss Porcelain Tile
White & Oxblood 2x2 Zellige Checkerboard Mosaic
Navy 12x24 3D Gloss Porcelain Tile
Rosso Verona 1x1 Hand Chipped Marble Mosaic
Natura Terracotta Look Matte Porcelain Tile
Bianco Carrara Octagon w/ Nero Marquina Dot Mosaic
Amazzonite Matte Marble Look Porcelain Tile
Travertino 3D Matte Porcelain Tile


Cream 2x2 Forma Porcelain Mosaic

Star & Cross Classic Terracotta Tile
White & Ecru Octagon Zellige Mosaic
Cotto Deco Terracotta Look Matte Porcelain Tile
Thassos, Carrara, Bardiglio Gingham Marble Mosaic
Cream Limestone Look 3D Matte Porcelain Tile
Chiaro Deco Terracotta Look Matte Porcelain Tile
Cotto Terracotta Look Matte Porcelain Tile
White & Ecru 2x2 Zellige Checkerboard Mosaic
White & Black Octagon Zellige Mosaic
Rosso Verona Tumbled Marble Tile
Murano Honed Italian Terrazzo Tile
Travertino Moka Stone Look Porcelain Tile
Beige Limestone Look 3D Matte Porcelain Tile
Apple 12x24 3D Glossy Porcelain Tile
Unglazed & White Octagon Zellige Mosaic
White Multi-Color Matte Porcelain Tile
Carrara Bardiglio Tumbled Stone Checkerboard
Cream 12x24 3D Gloss Porcelain Tile
Navy 12x24 3D Gloss Porcelain Tile
White & Oxblood 2x2 Zellige Checkerboard Mosaic
Rosso Verona 1x1 Hand Chipped Marble Mosaic
Natura Terracotta Look Matte Porcelain Tile
Bianco Carrara Octagon w/ Nero Marquina Dot Mosaic
Amazzonite Matte Marble Look Porcelain Tile
Almond Cement Look Matte Porcelain Tile
Bianco Carrara Honed Marble Tile
Murano Honed Italian Terrazzo Tile
Almond Cement Look Matte Porcelain Tile
Travertino 3D Matte Porcelain Tile
Calacatta Honed Italian Terrazzo Tile
Borgogna 3D Matte Porcelain Tile
Slate 48x48 Cement Look Porcelain Tile
Burano Honed Italian Terrazzo Tile
Pearl 24x24 Cheppo Look Matte Porcelain Tile
Torcello Honed Italian Terrazzo Tile
Ash Cement Look Matte Porcelain Tile
Grey Slate Look Porcelain Tile
Sand 48x48 Cement Look Porcelain Tile
Paonazzo Matte Marble Look Porcelain Tile

Grey Cement Look Porcelain Tile
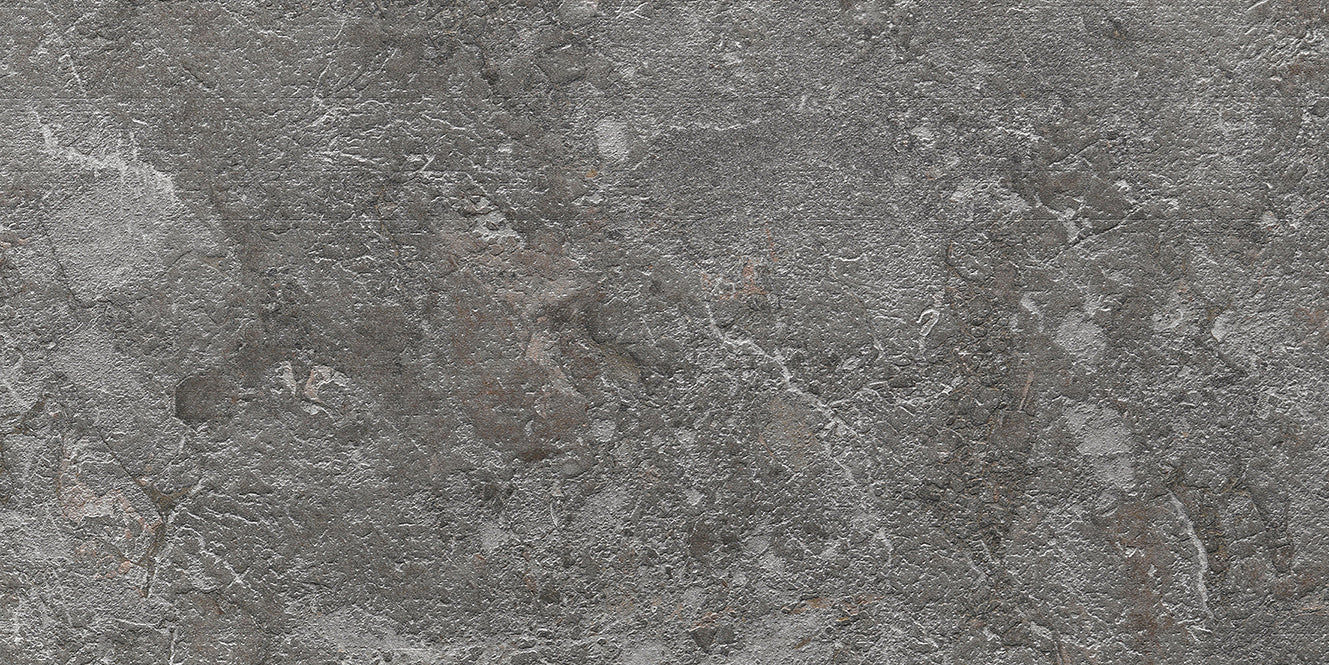
Breccia Grey 3D Stone Look Porcelain Tile
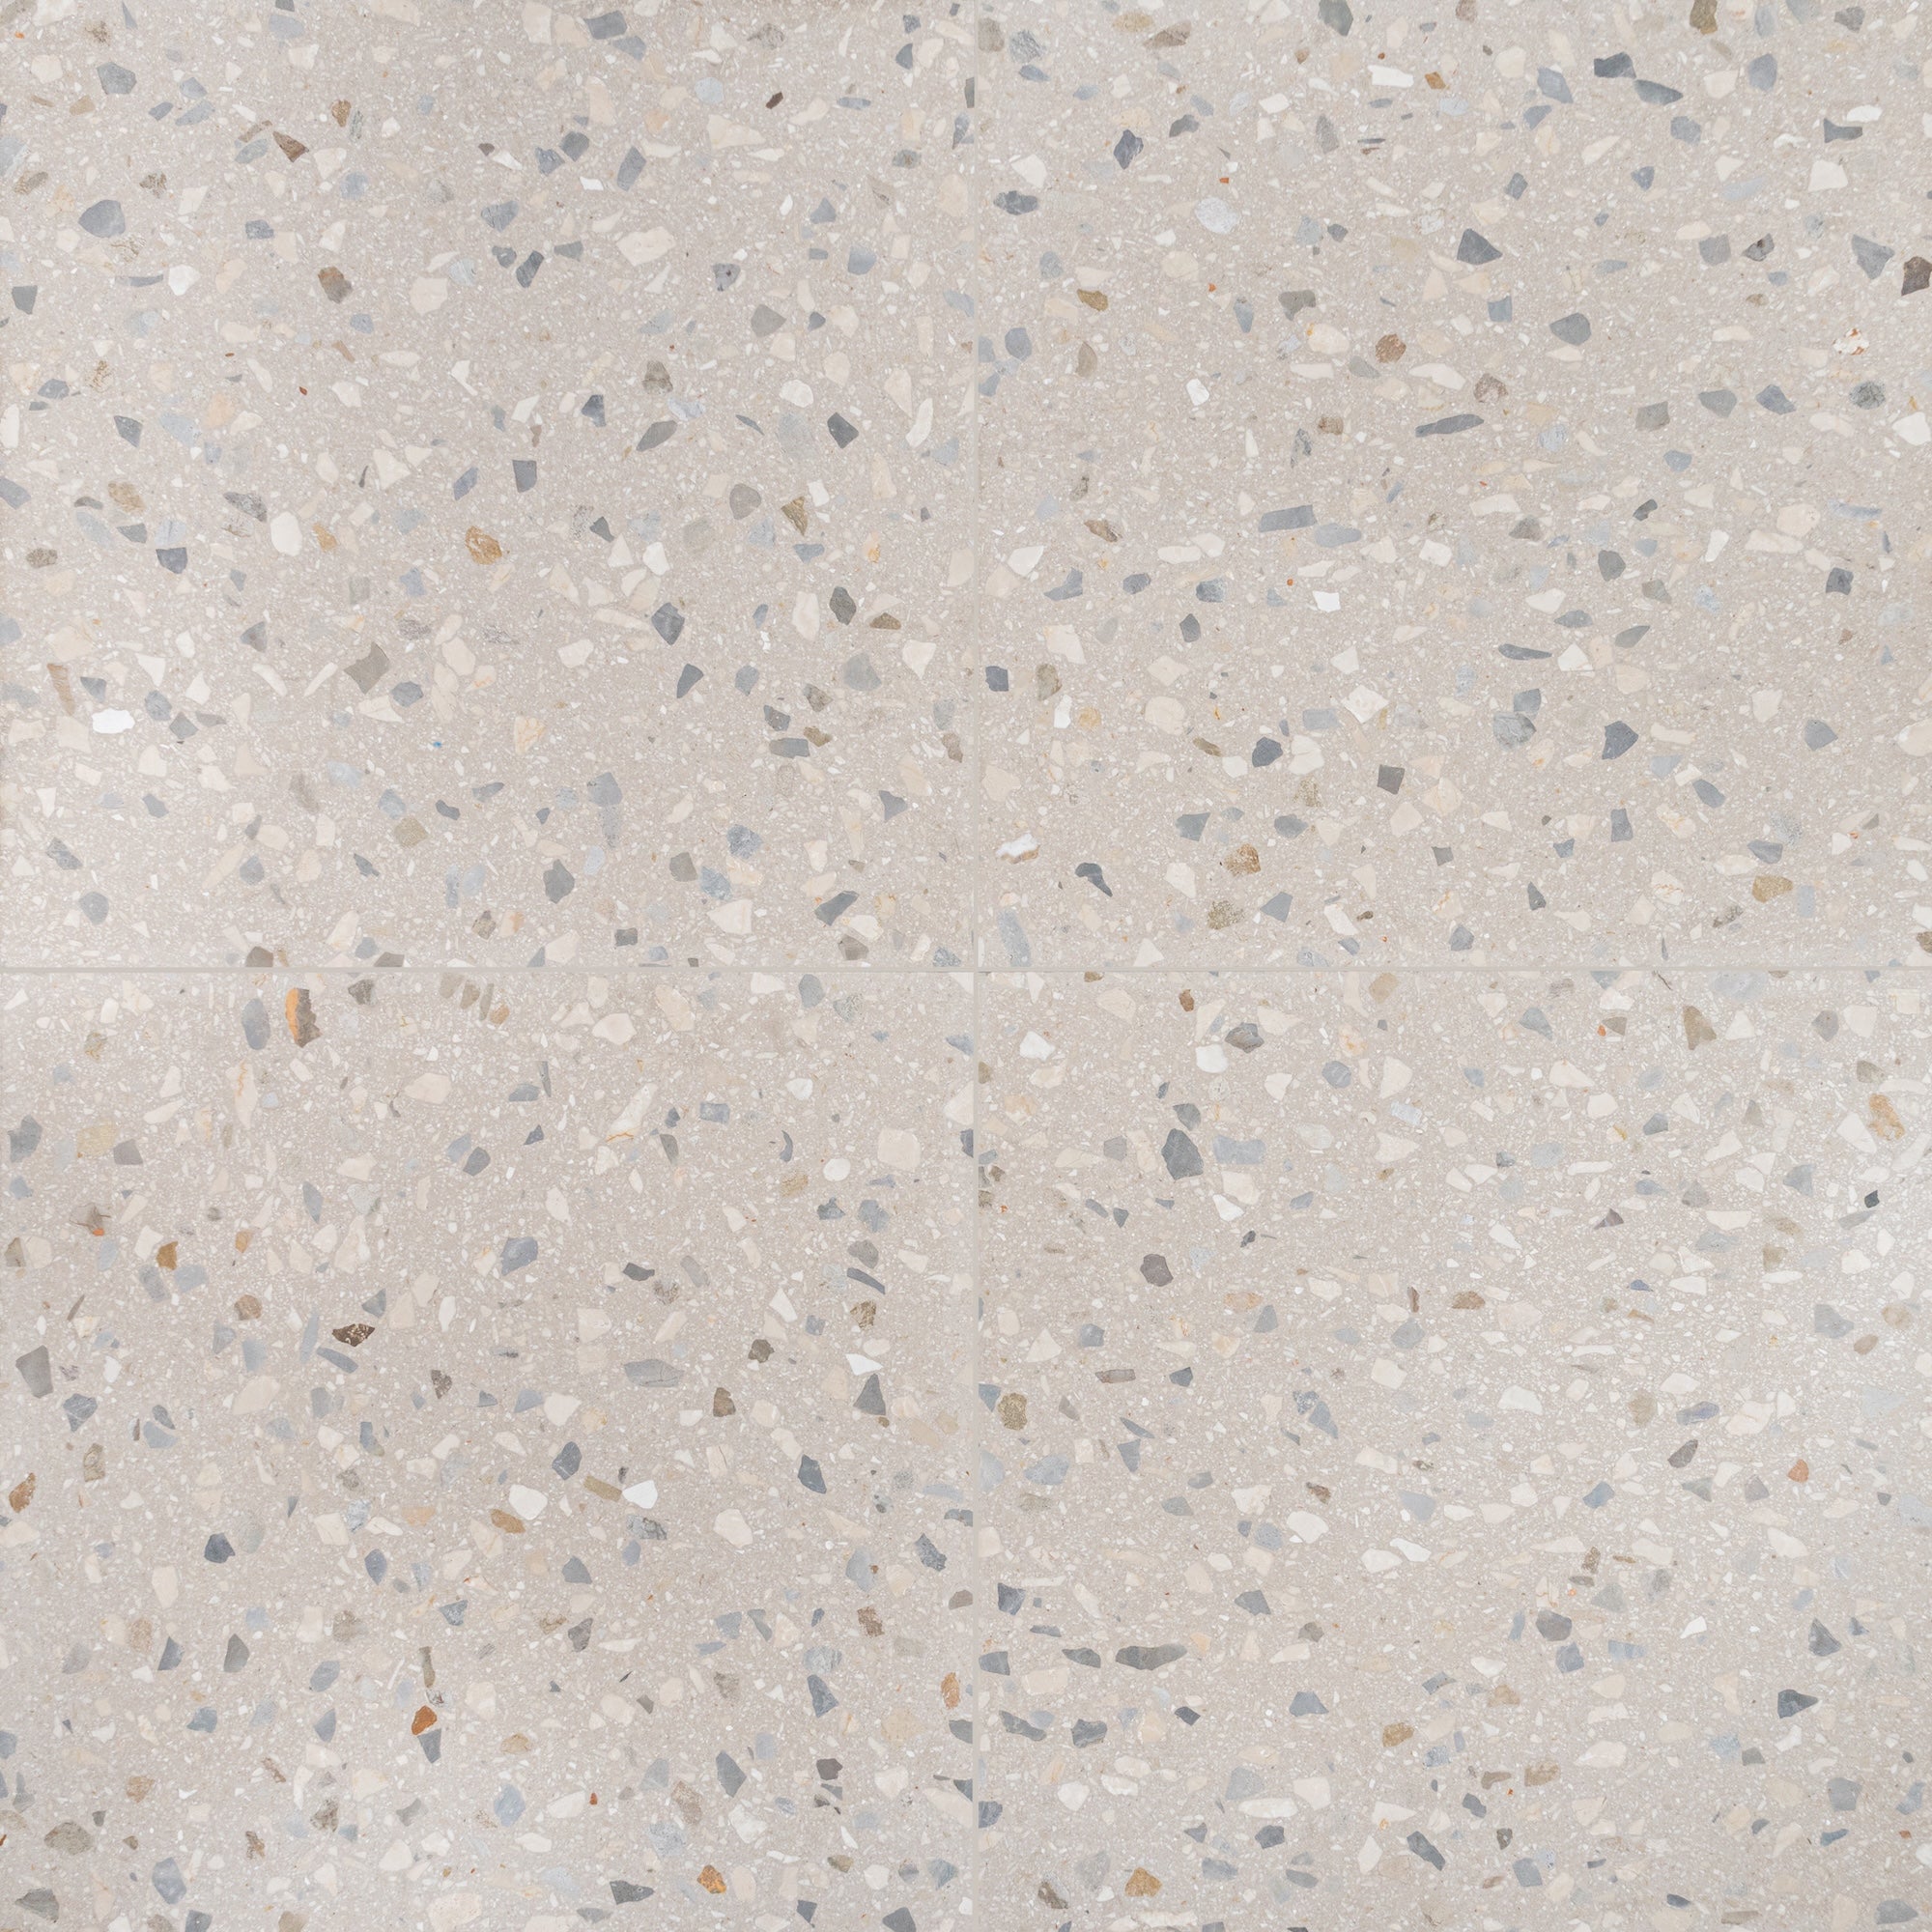
Giudecca Honed Italian Terrazzo Tile
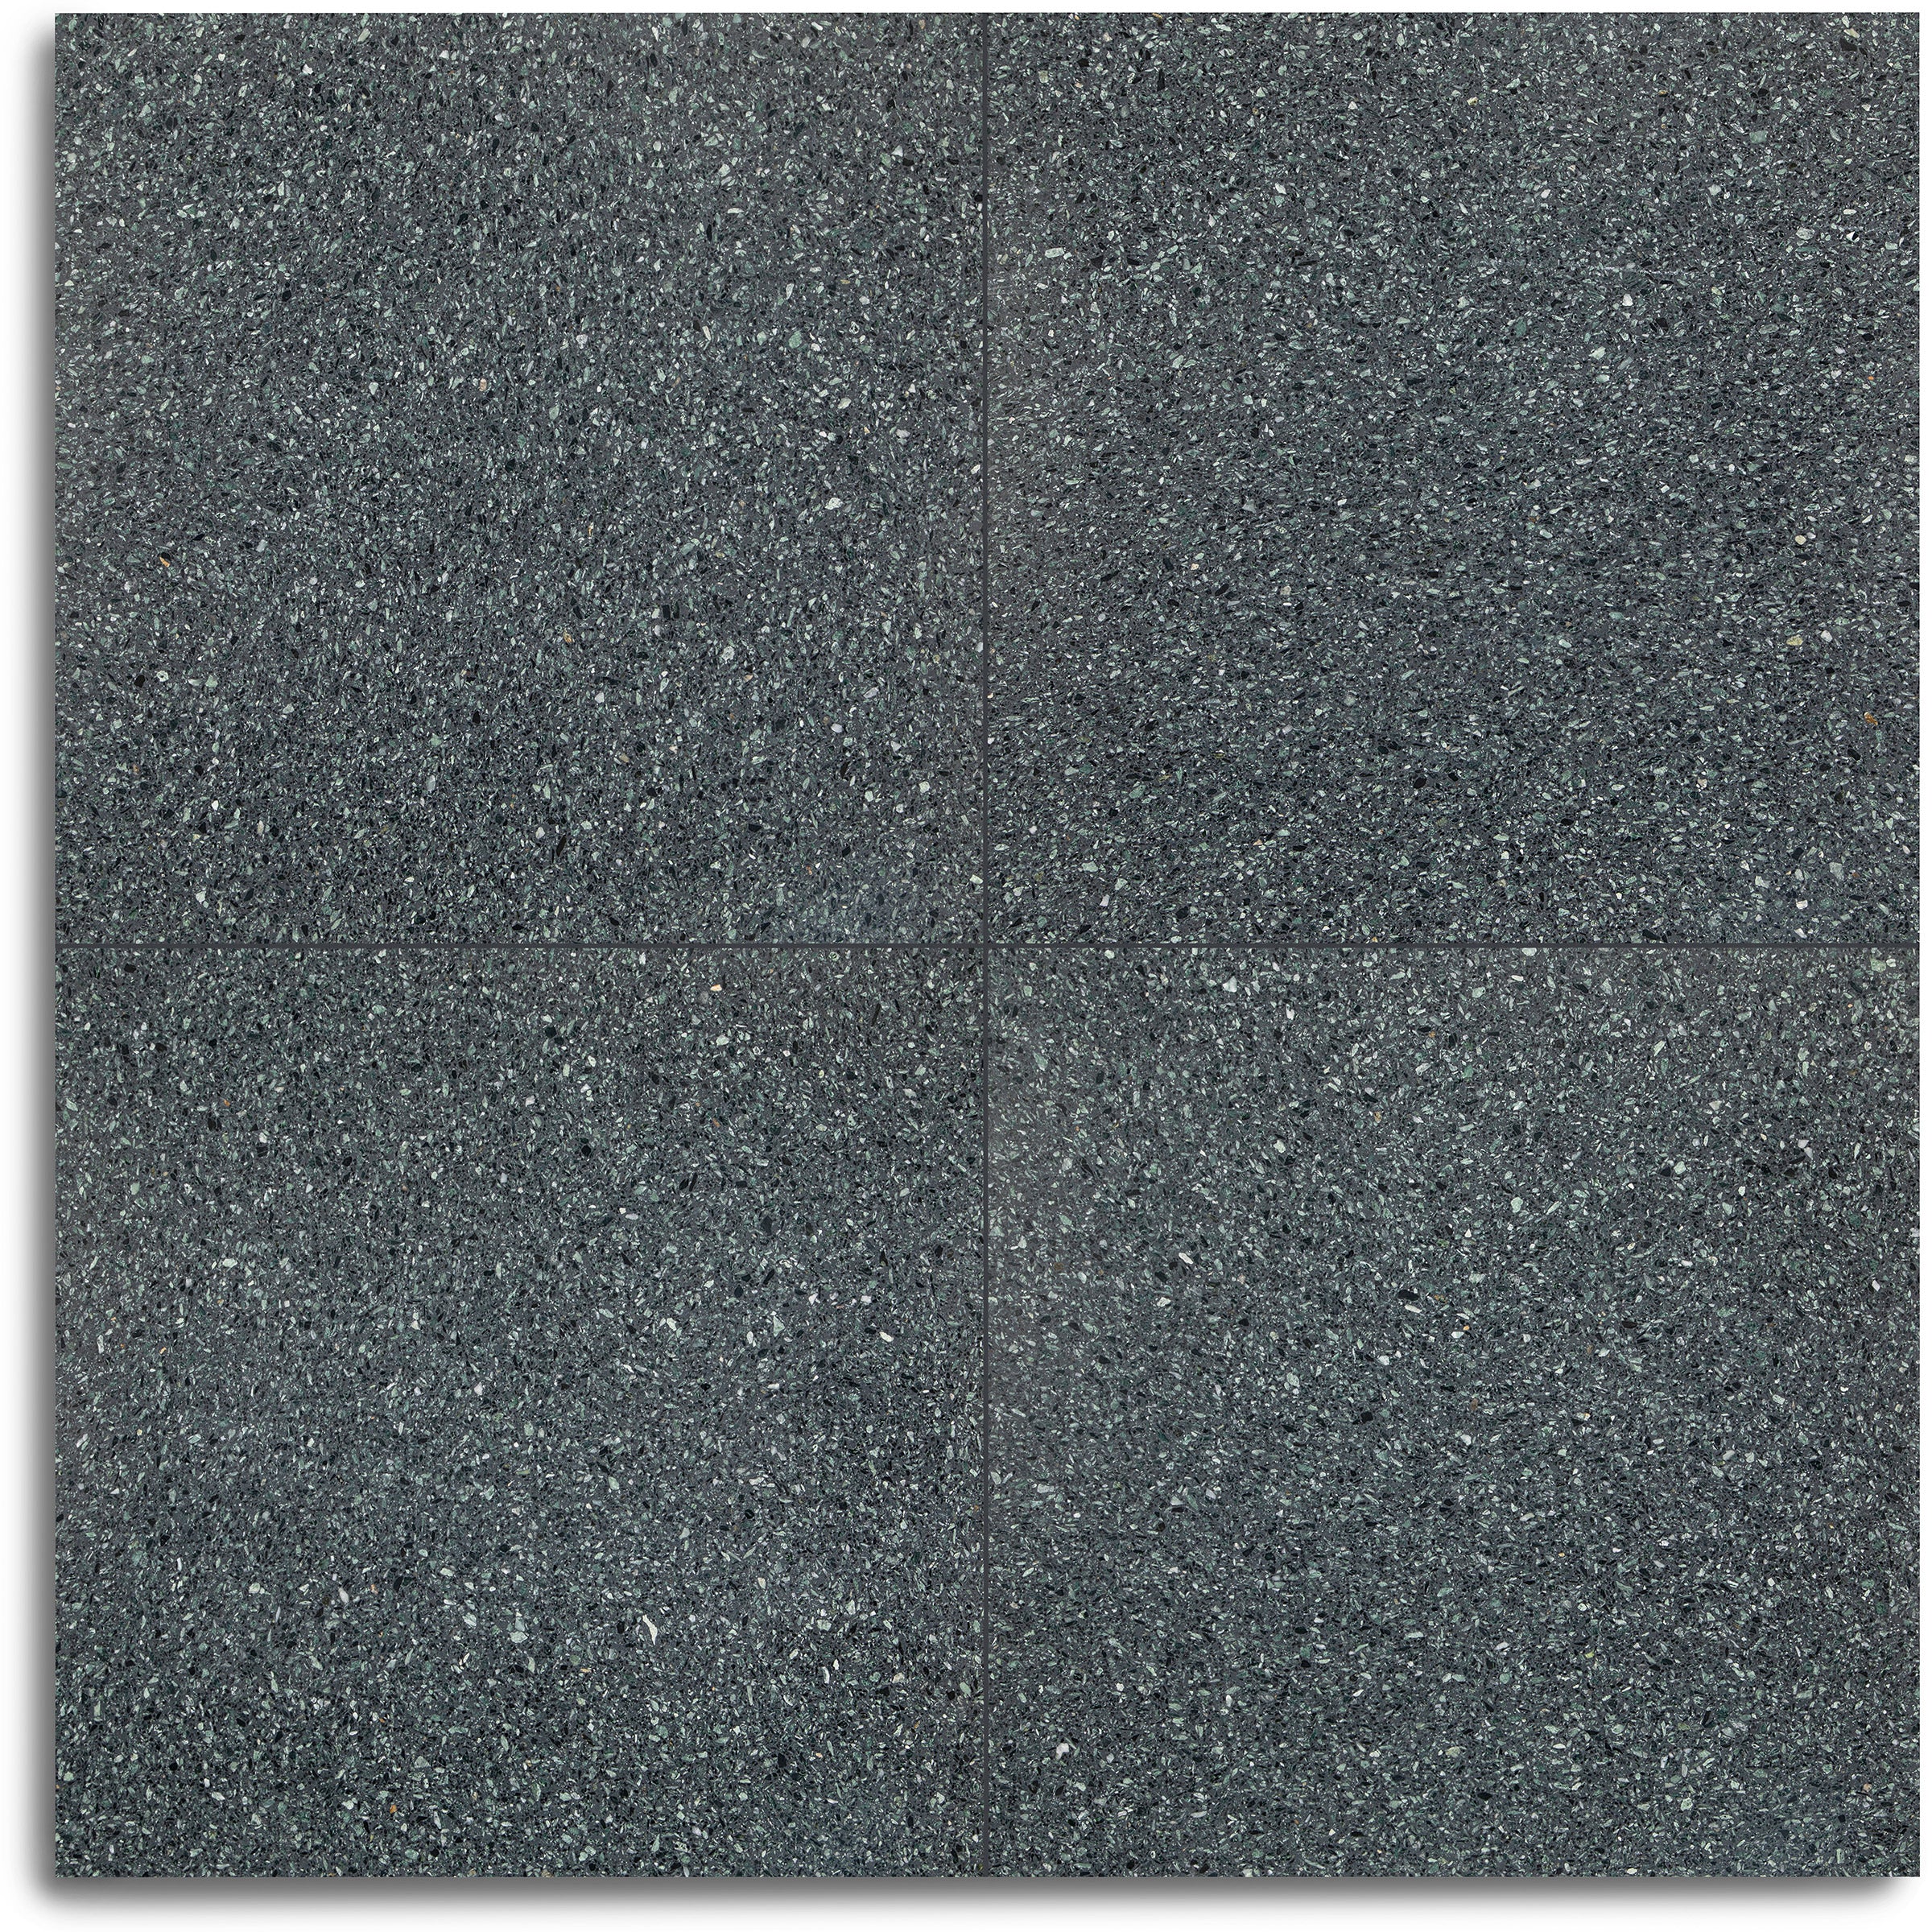
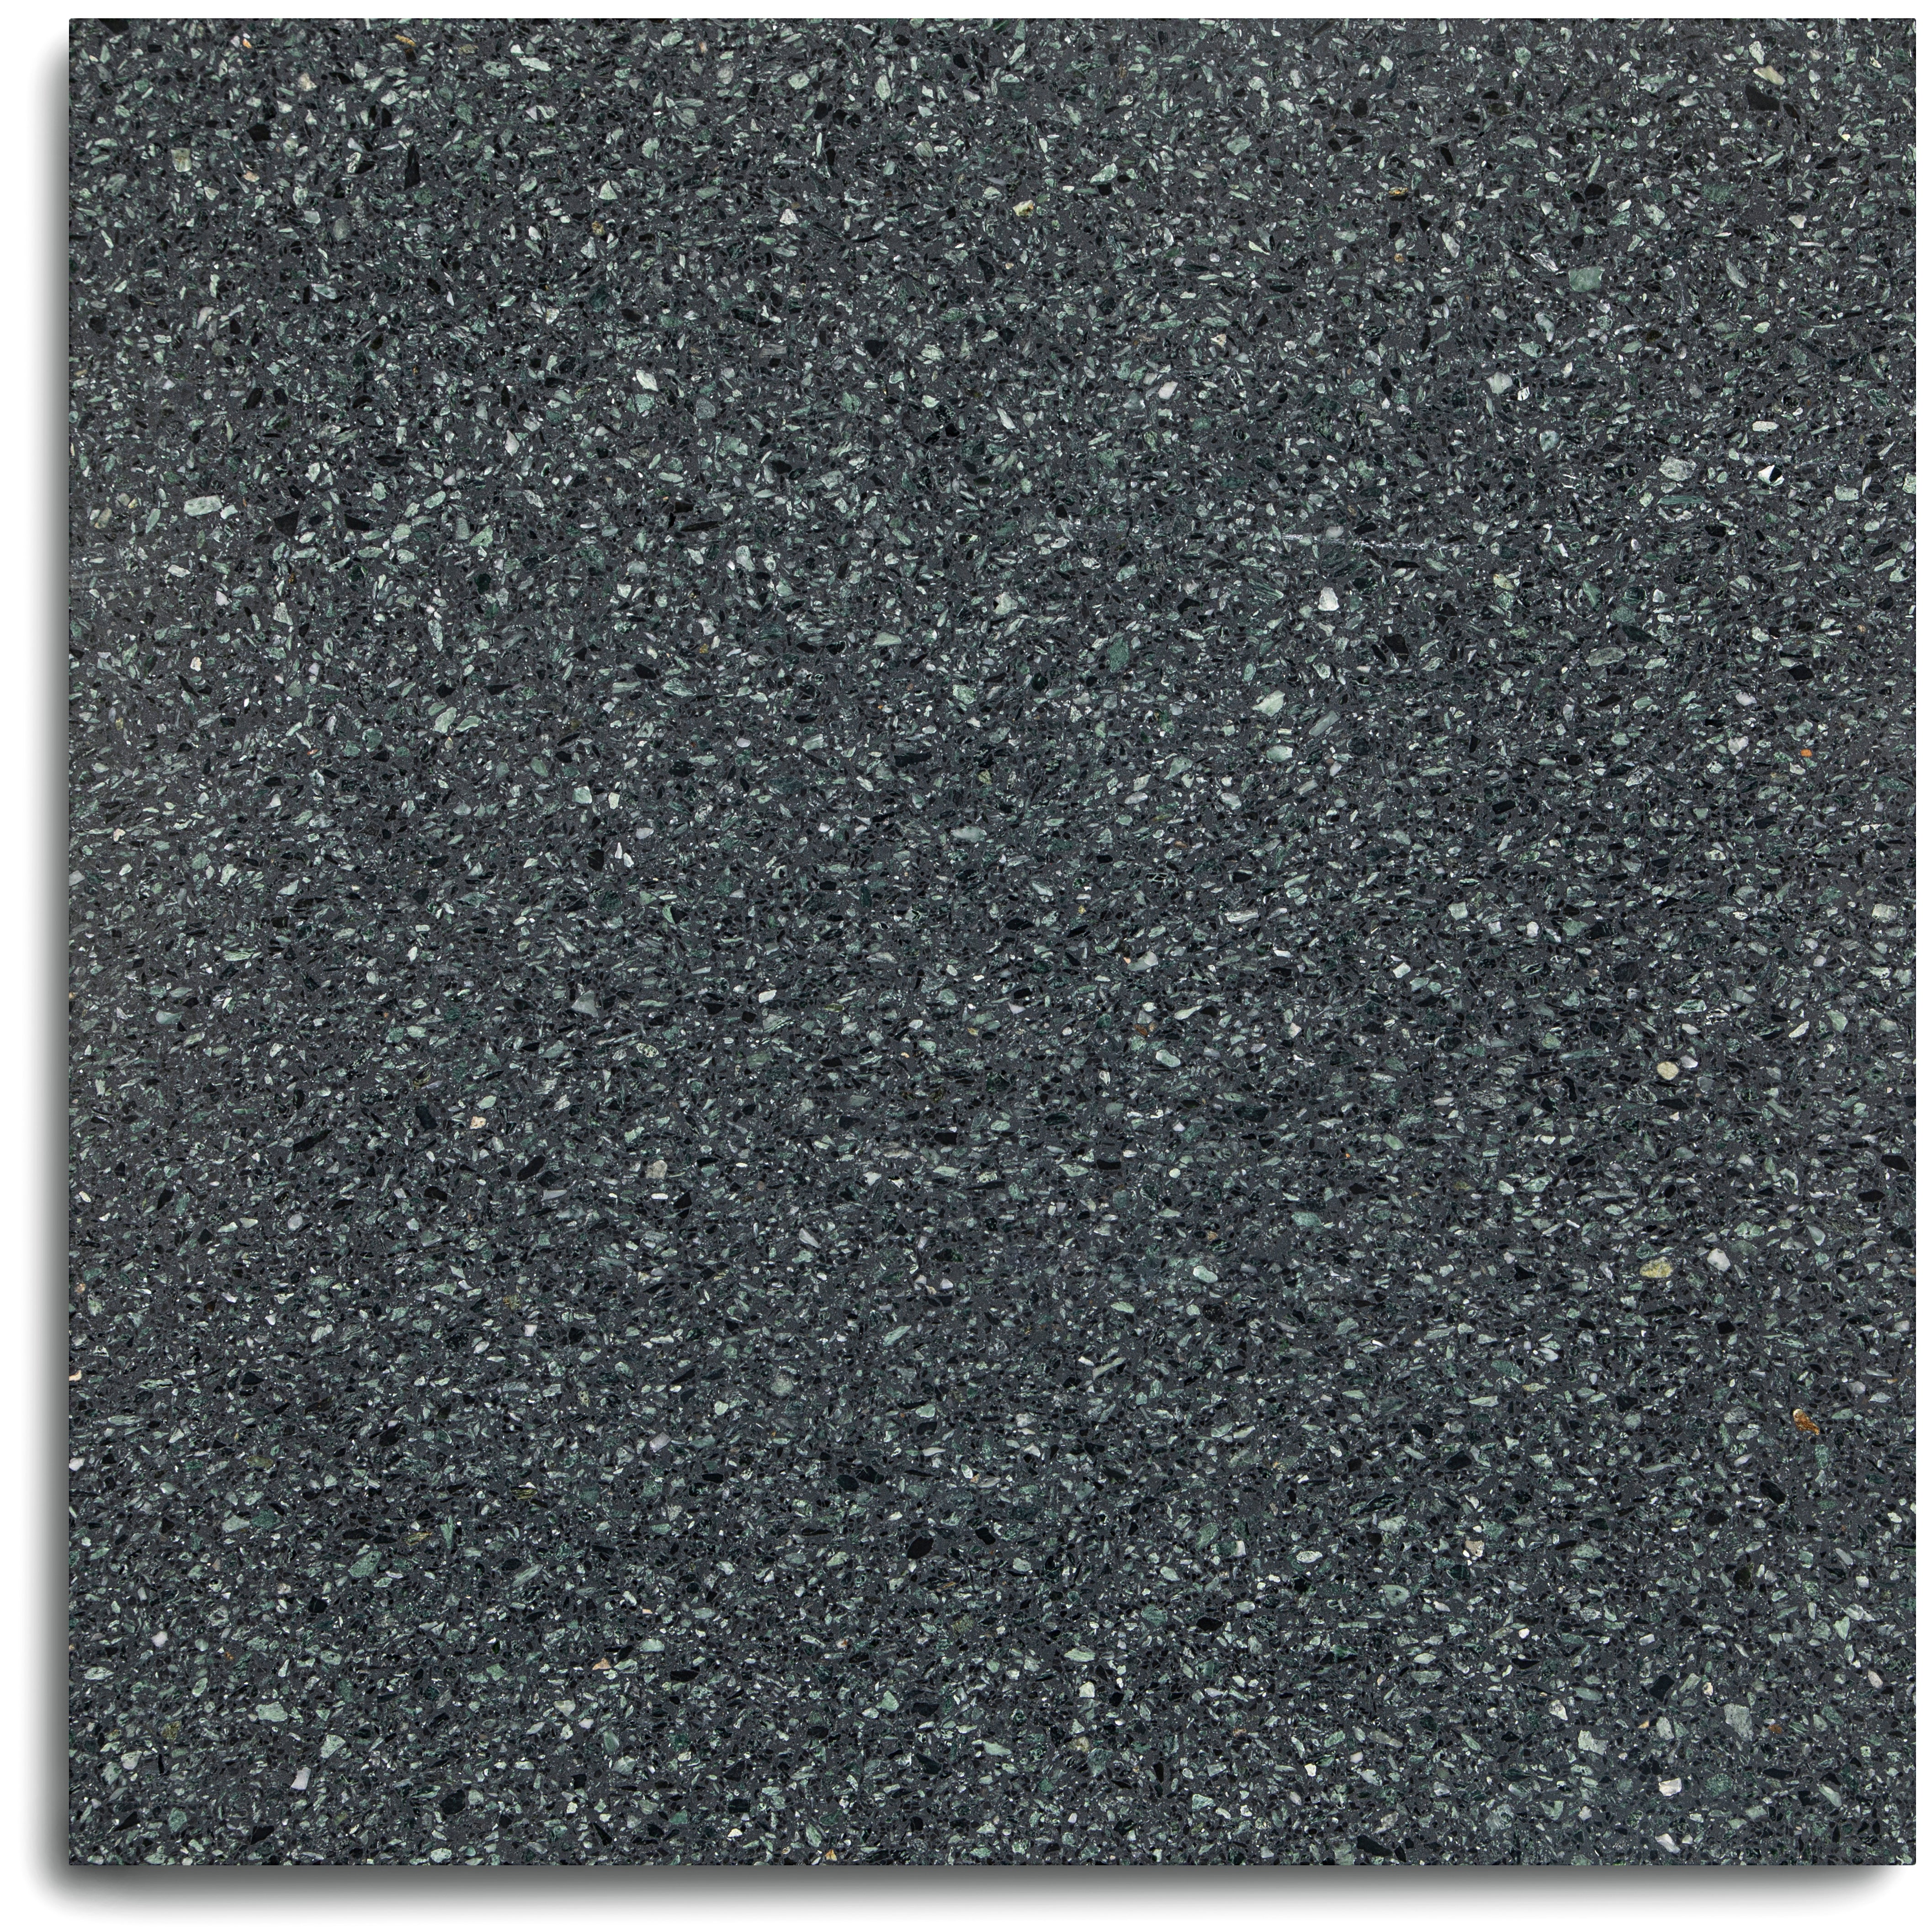
Verde Scuro Honed Italian Terrazzo Tile
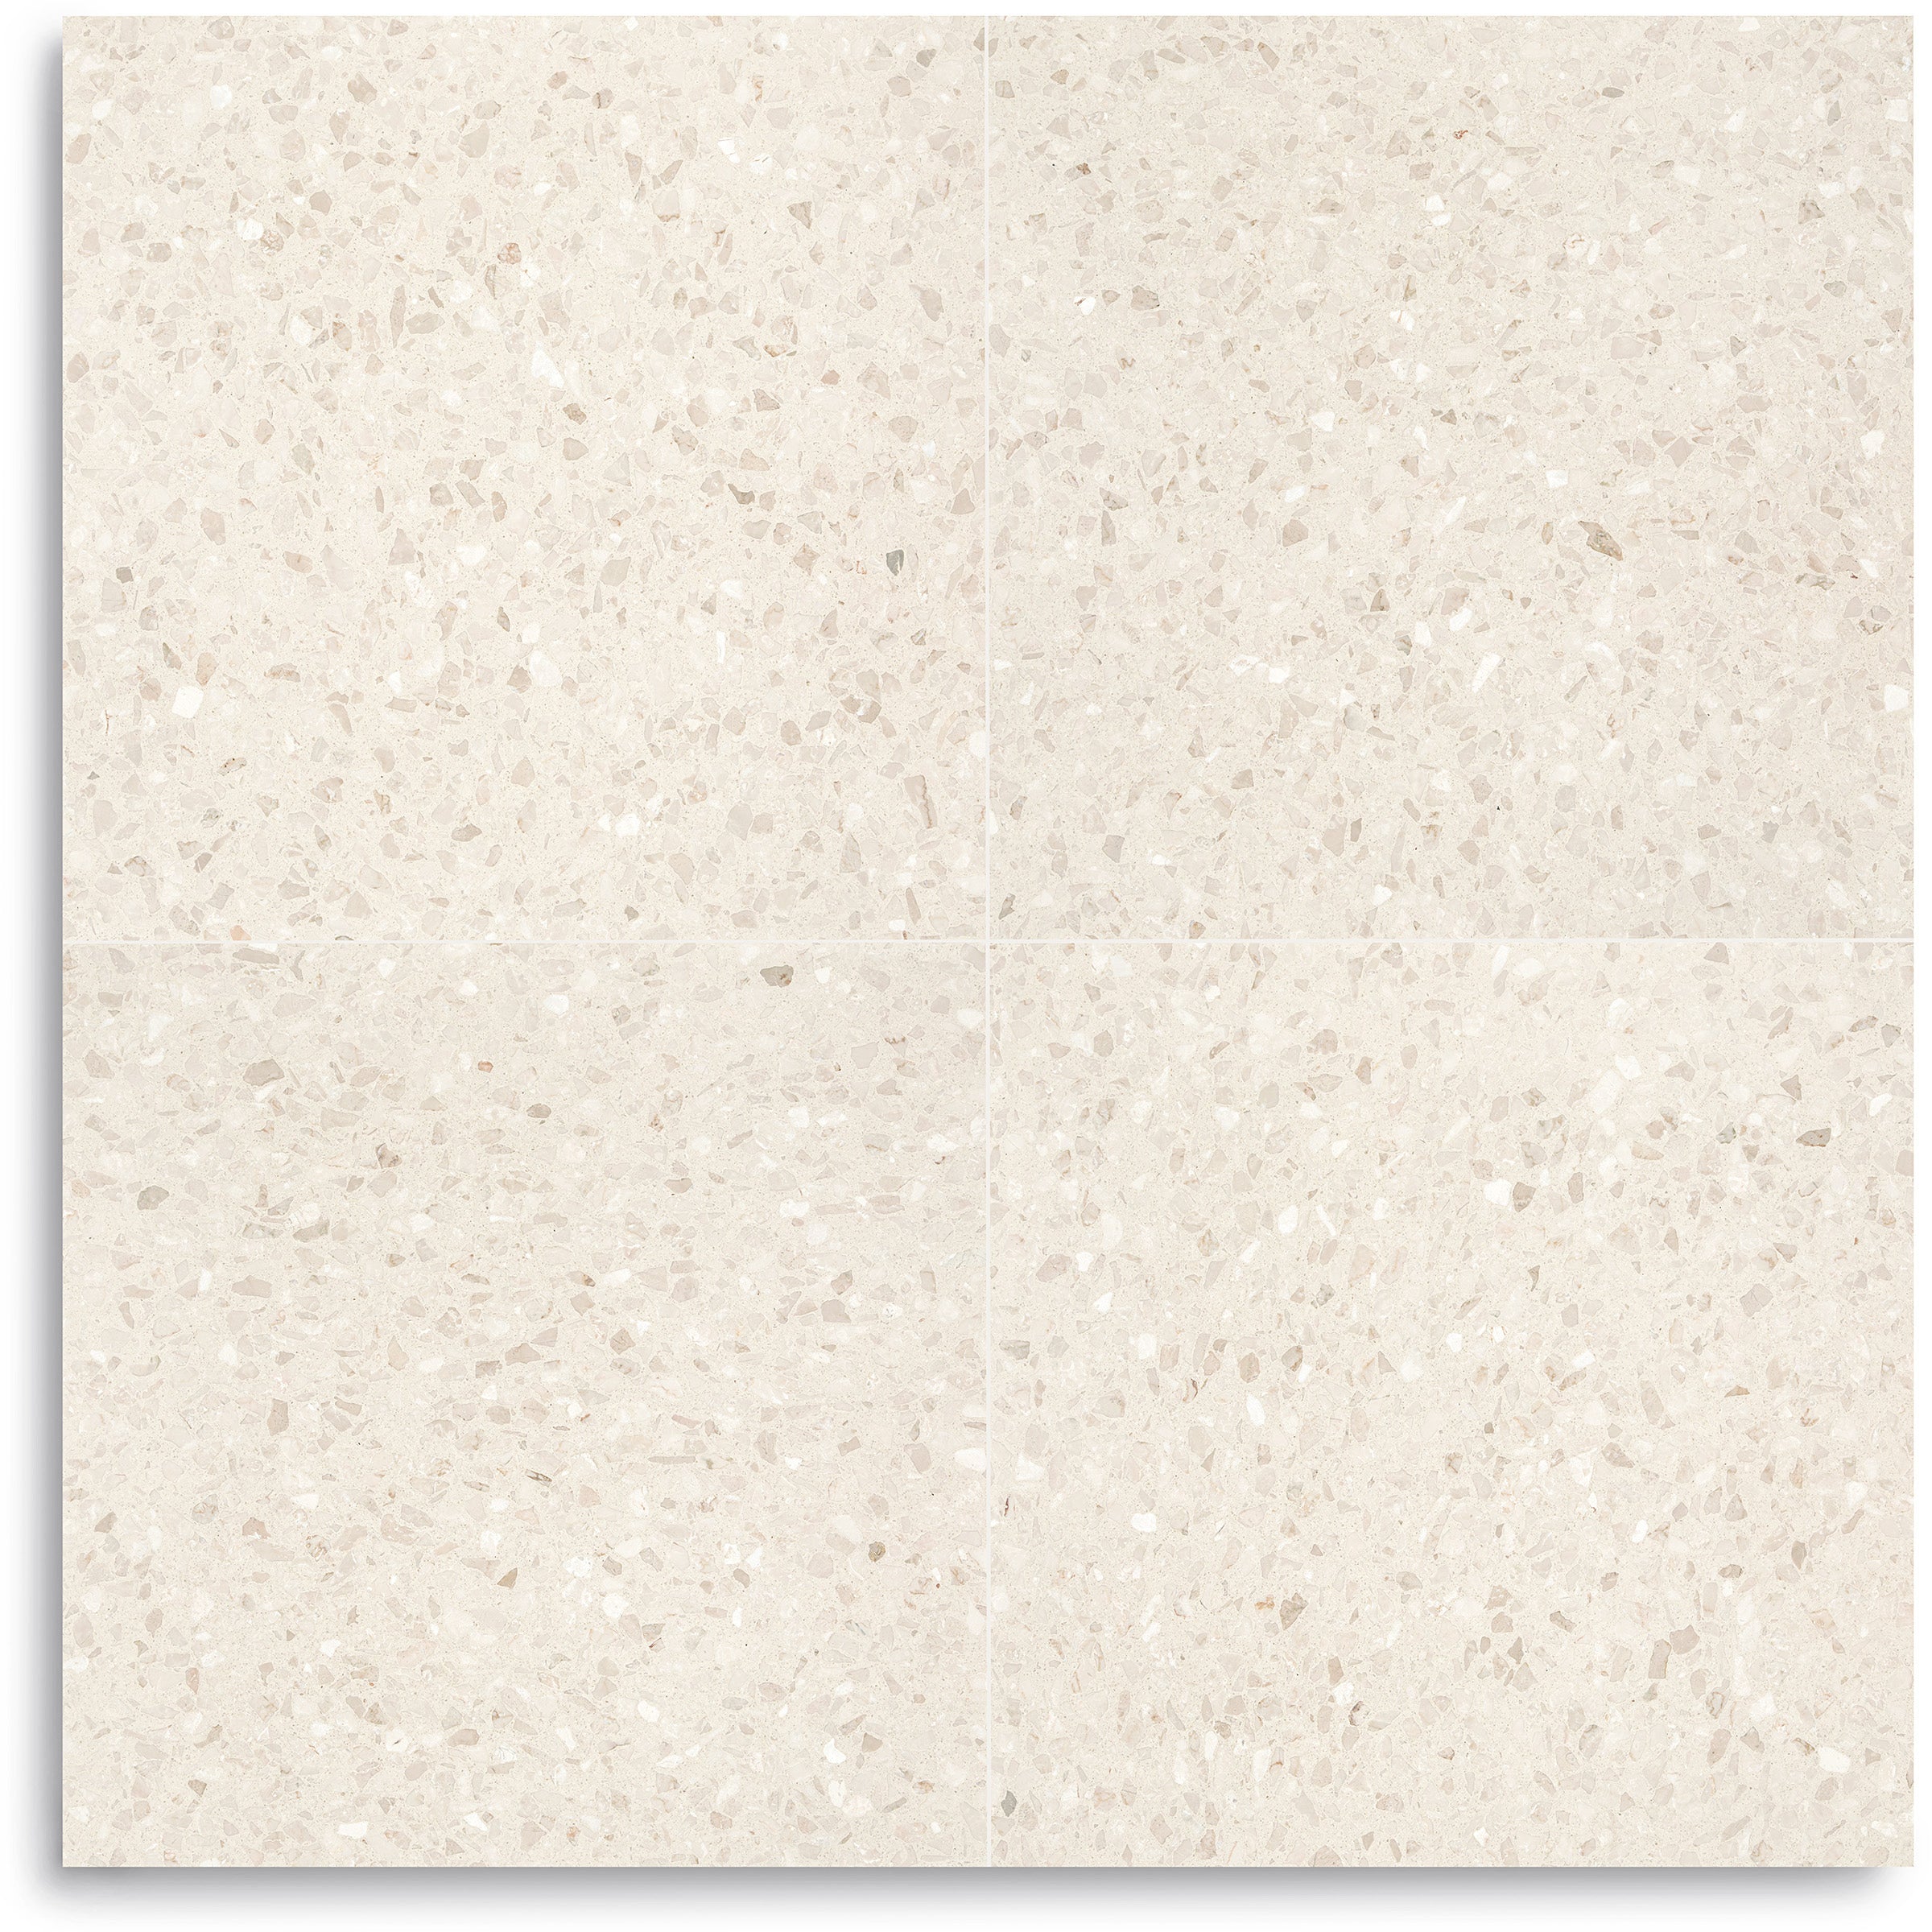
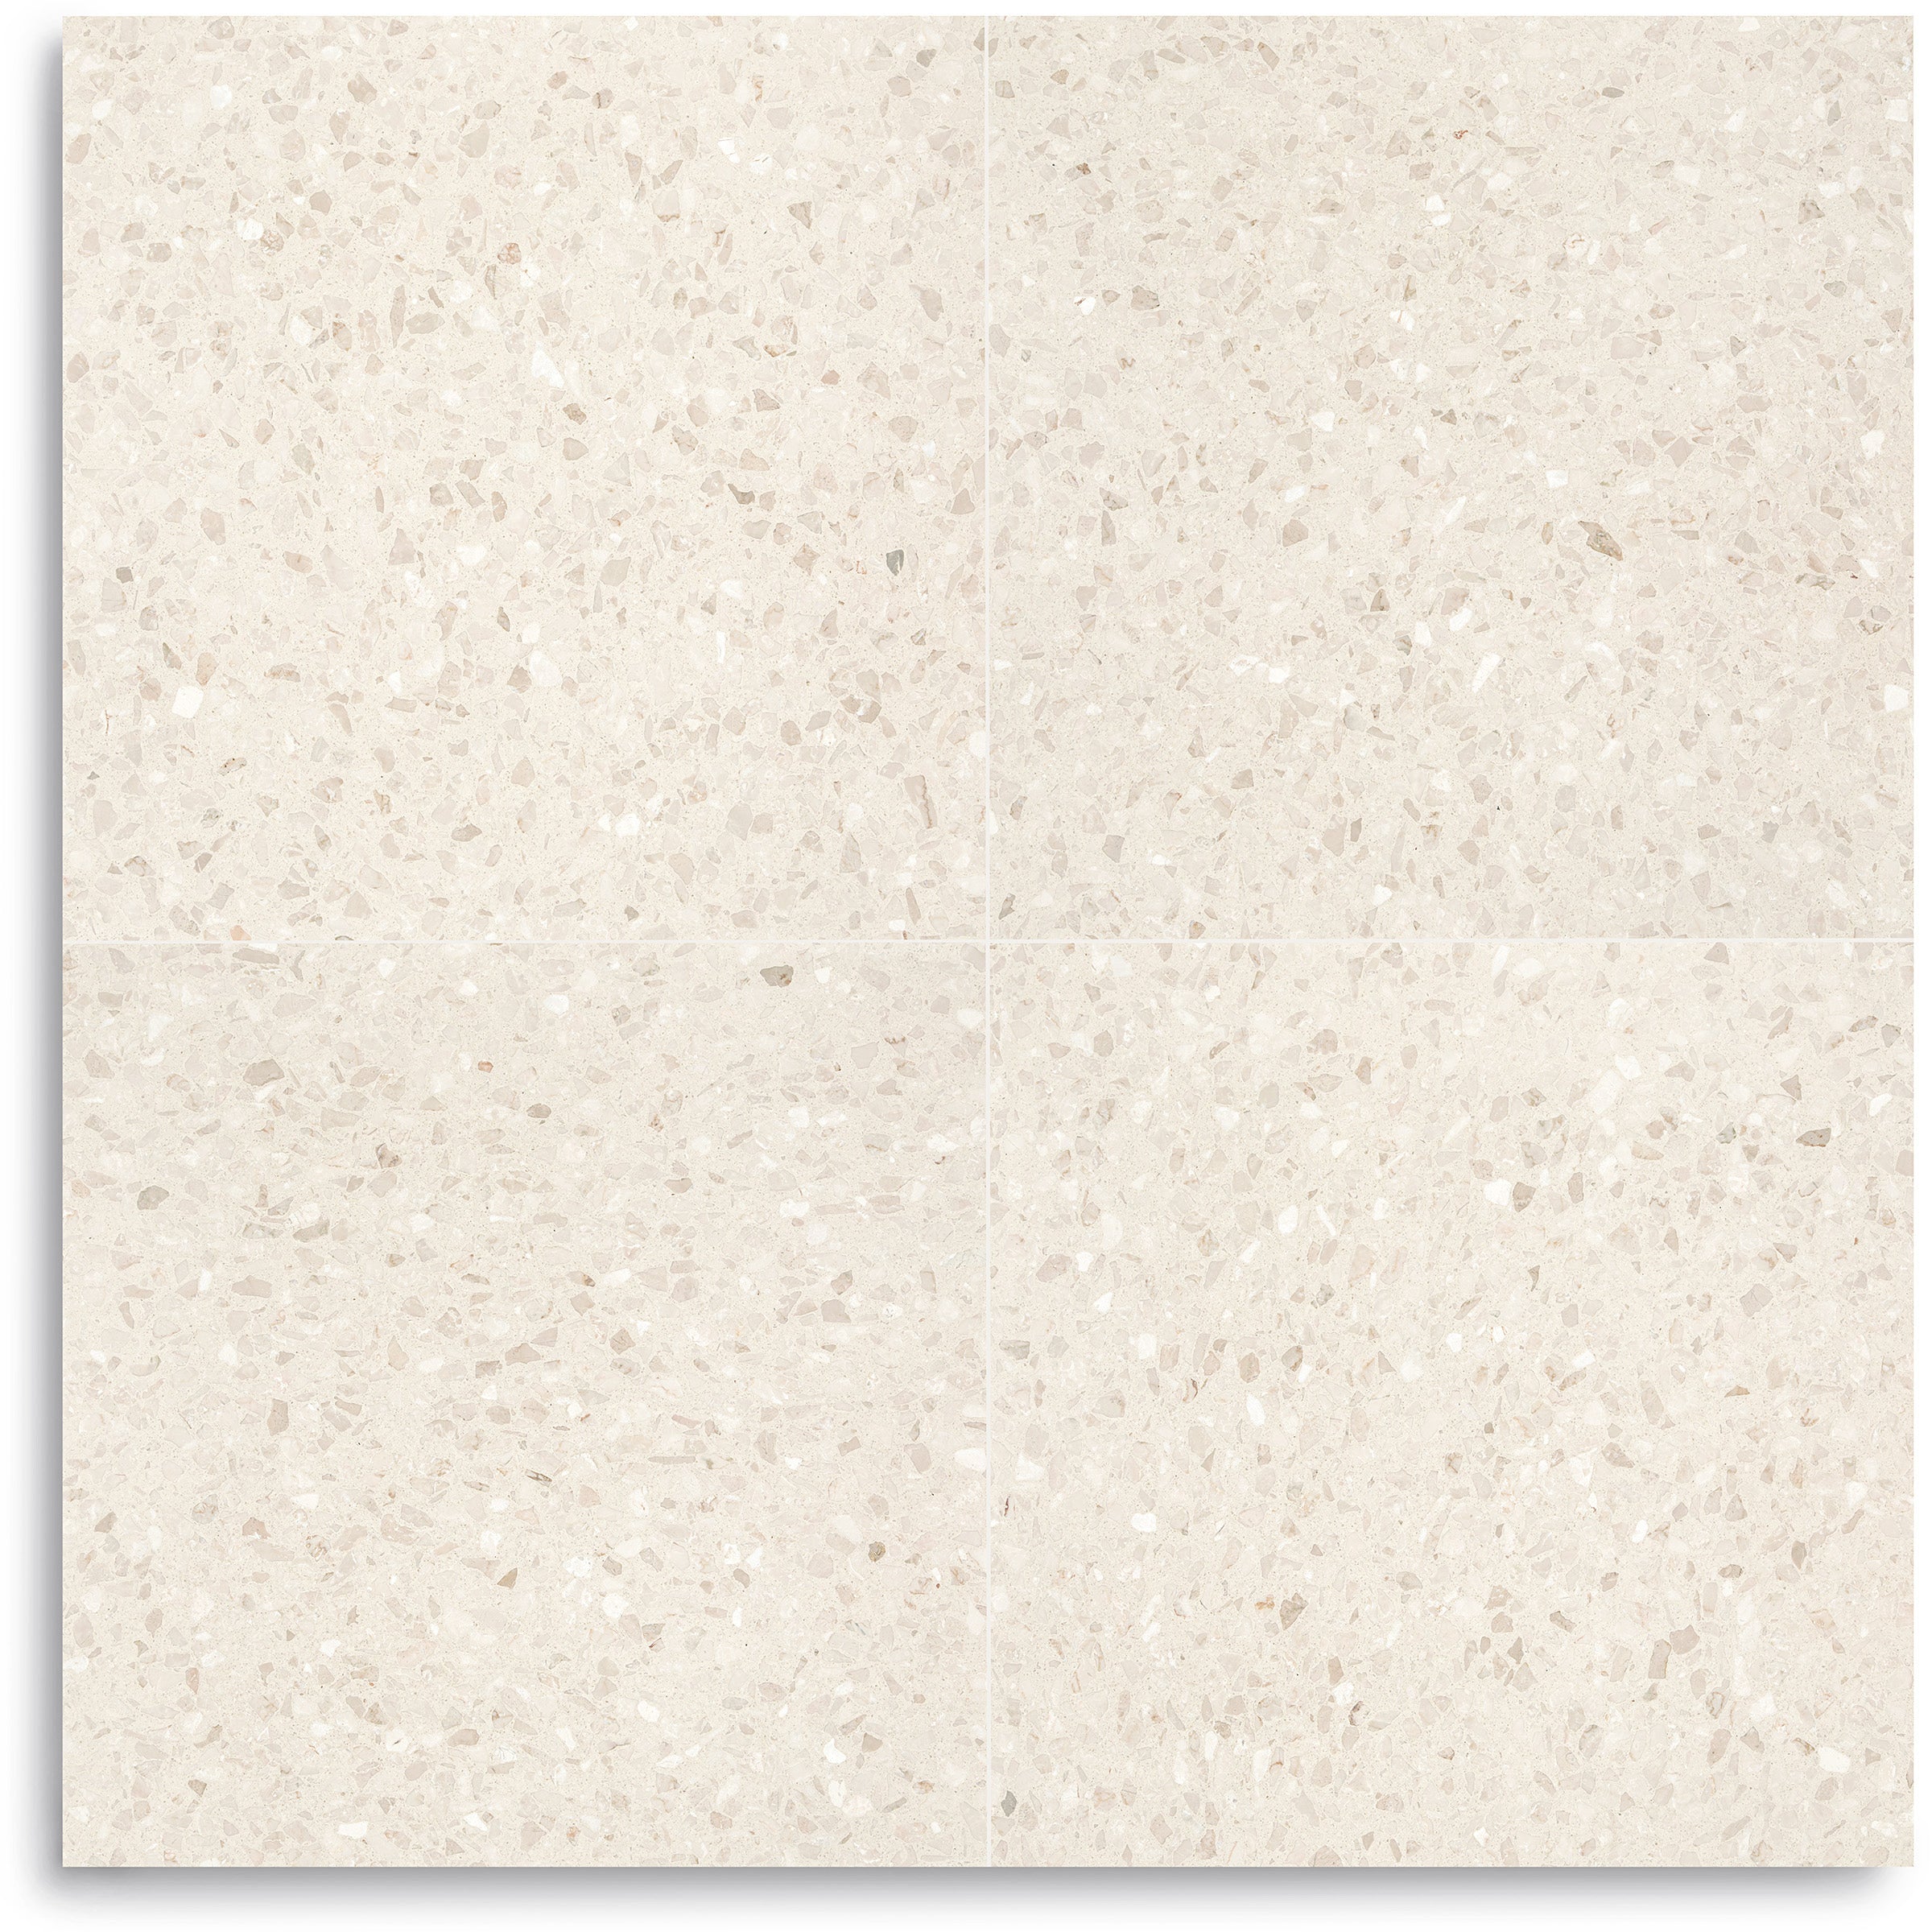
Modern Classic Honed Italian Terrazzo Tile
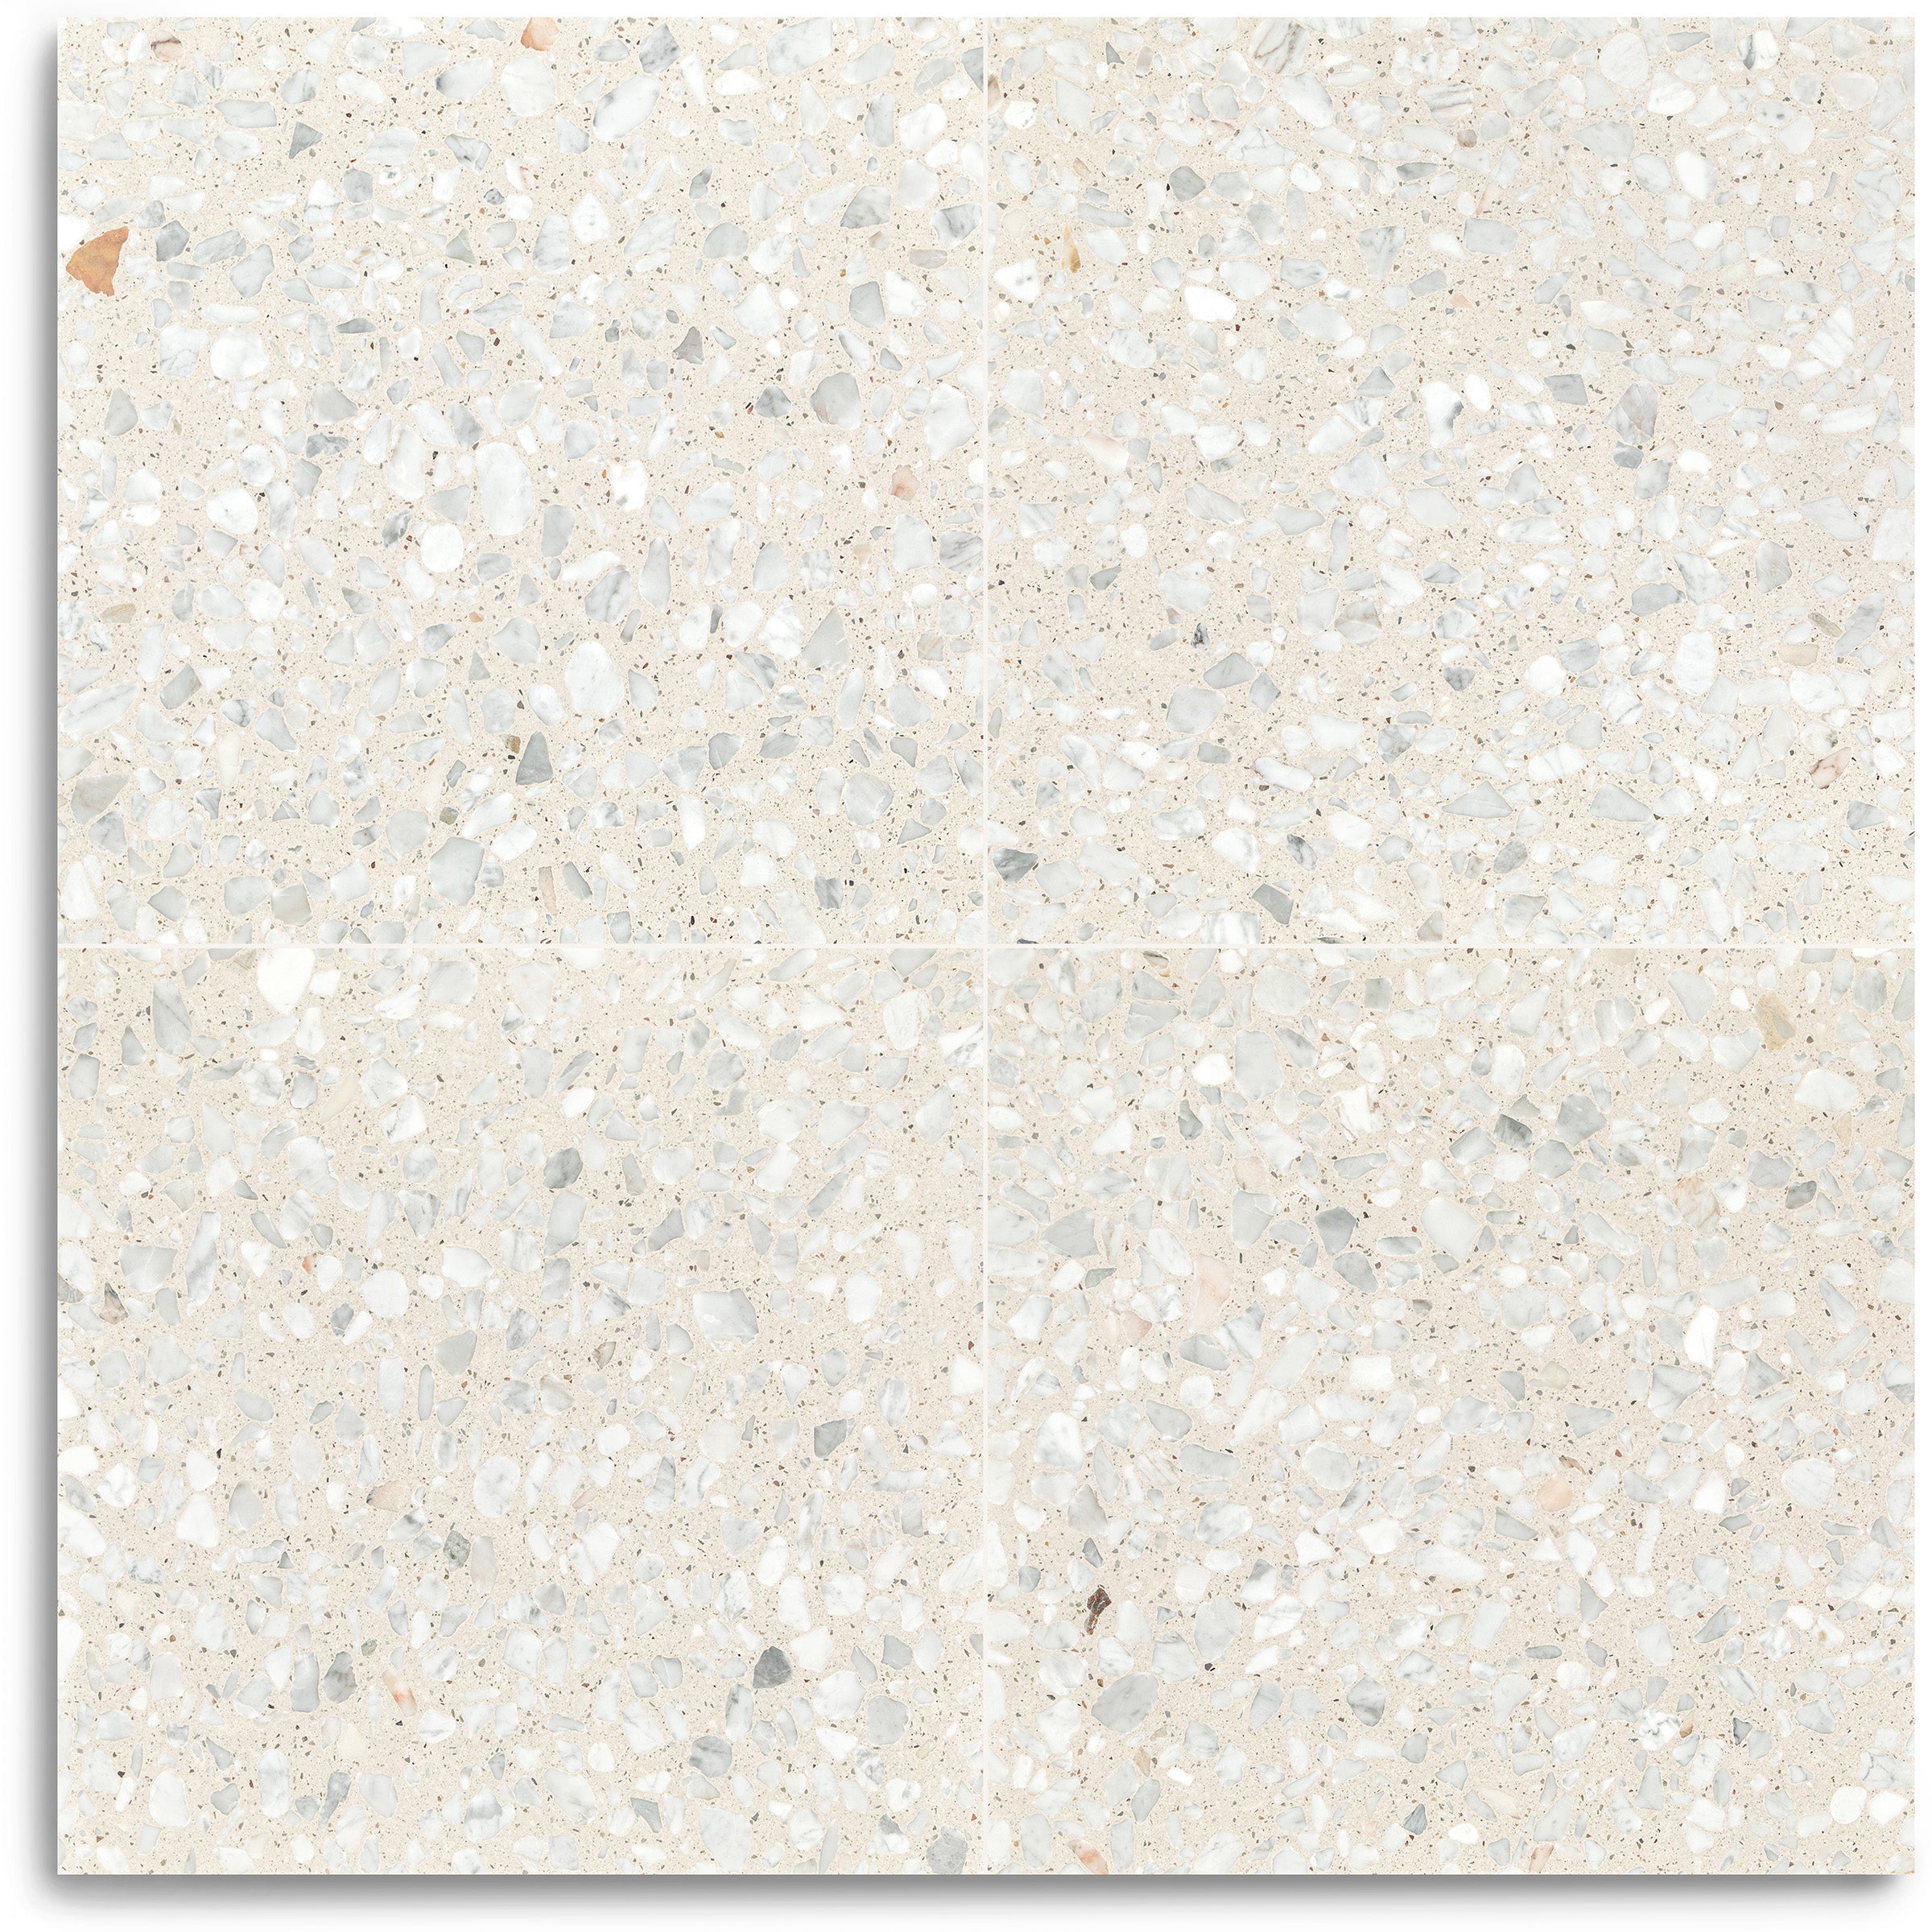
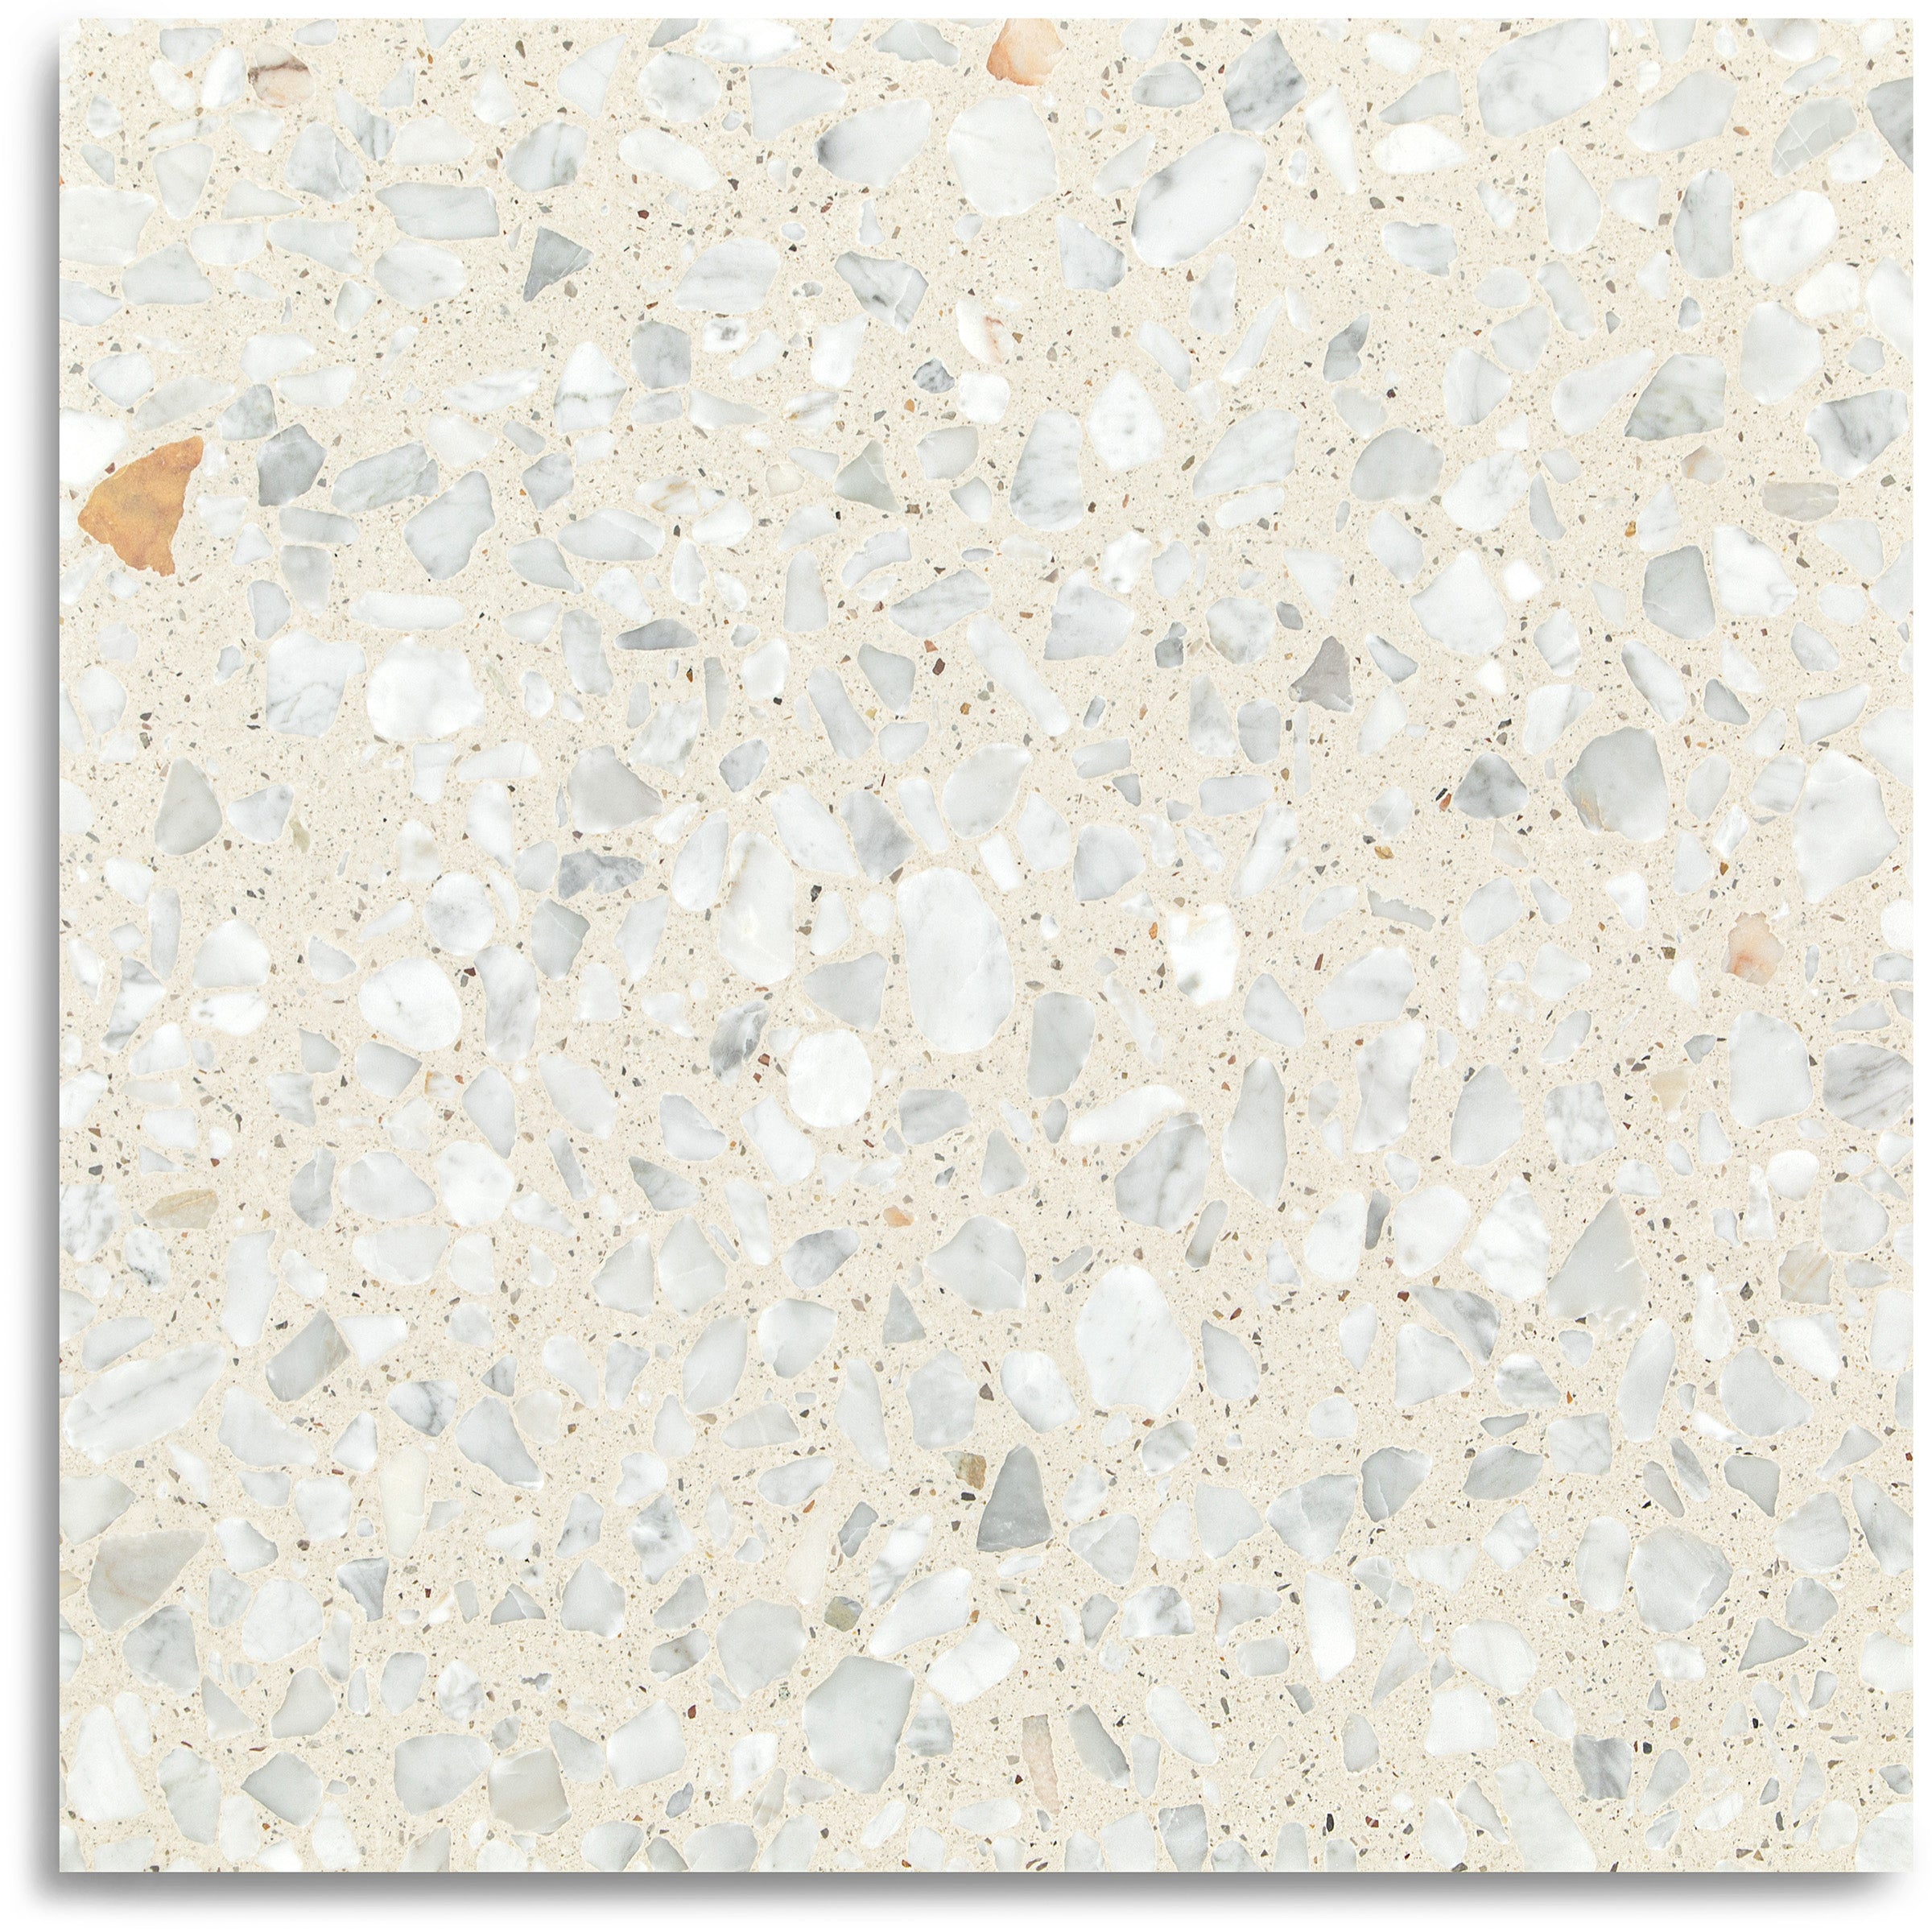
Pellestrina Honed Italian Terrazzo Tile
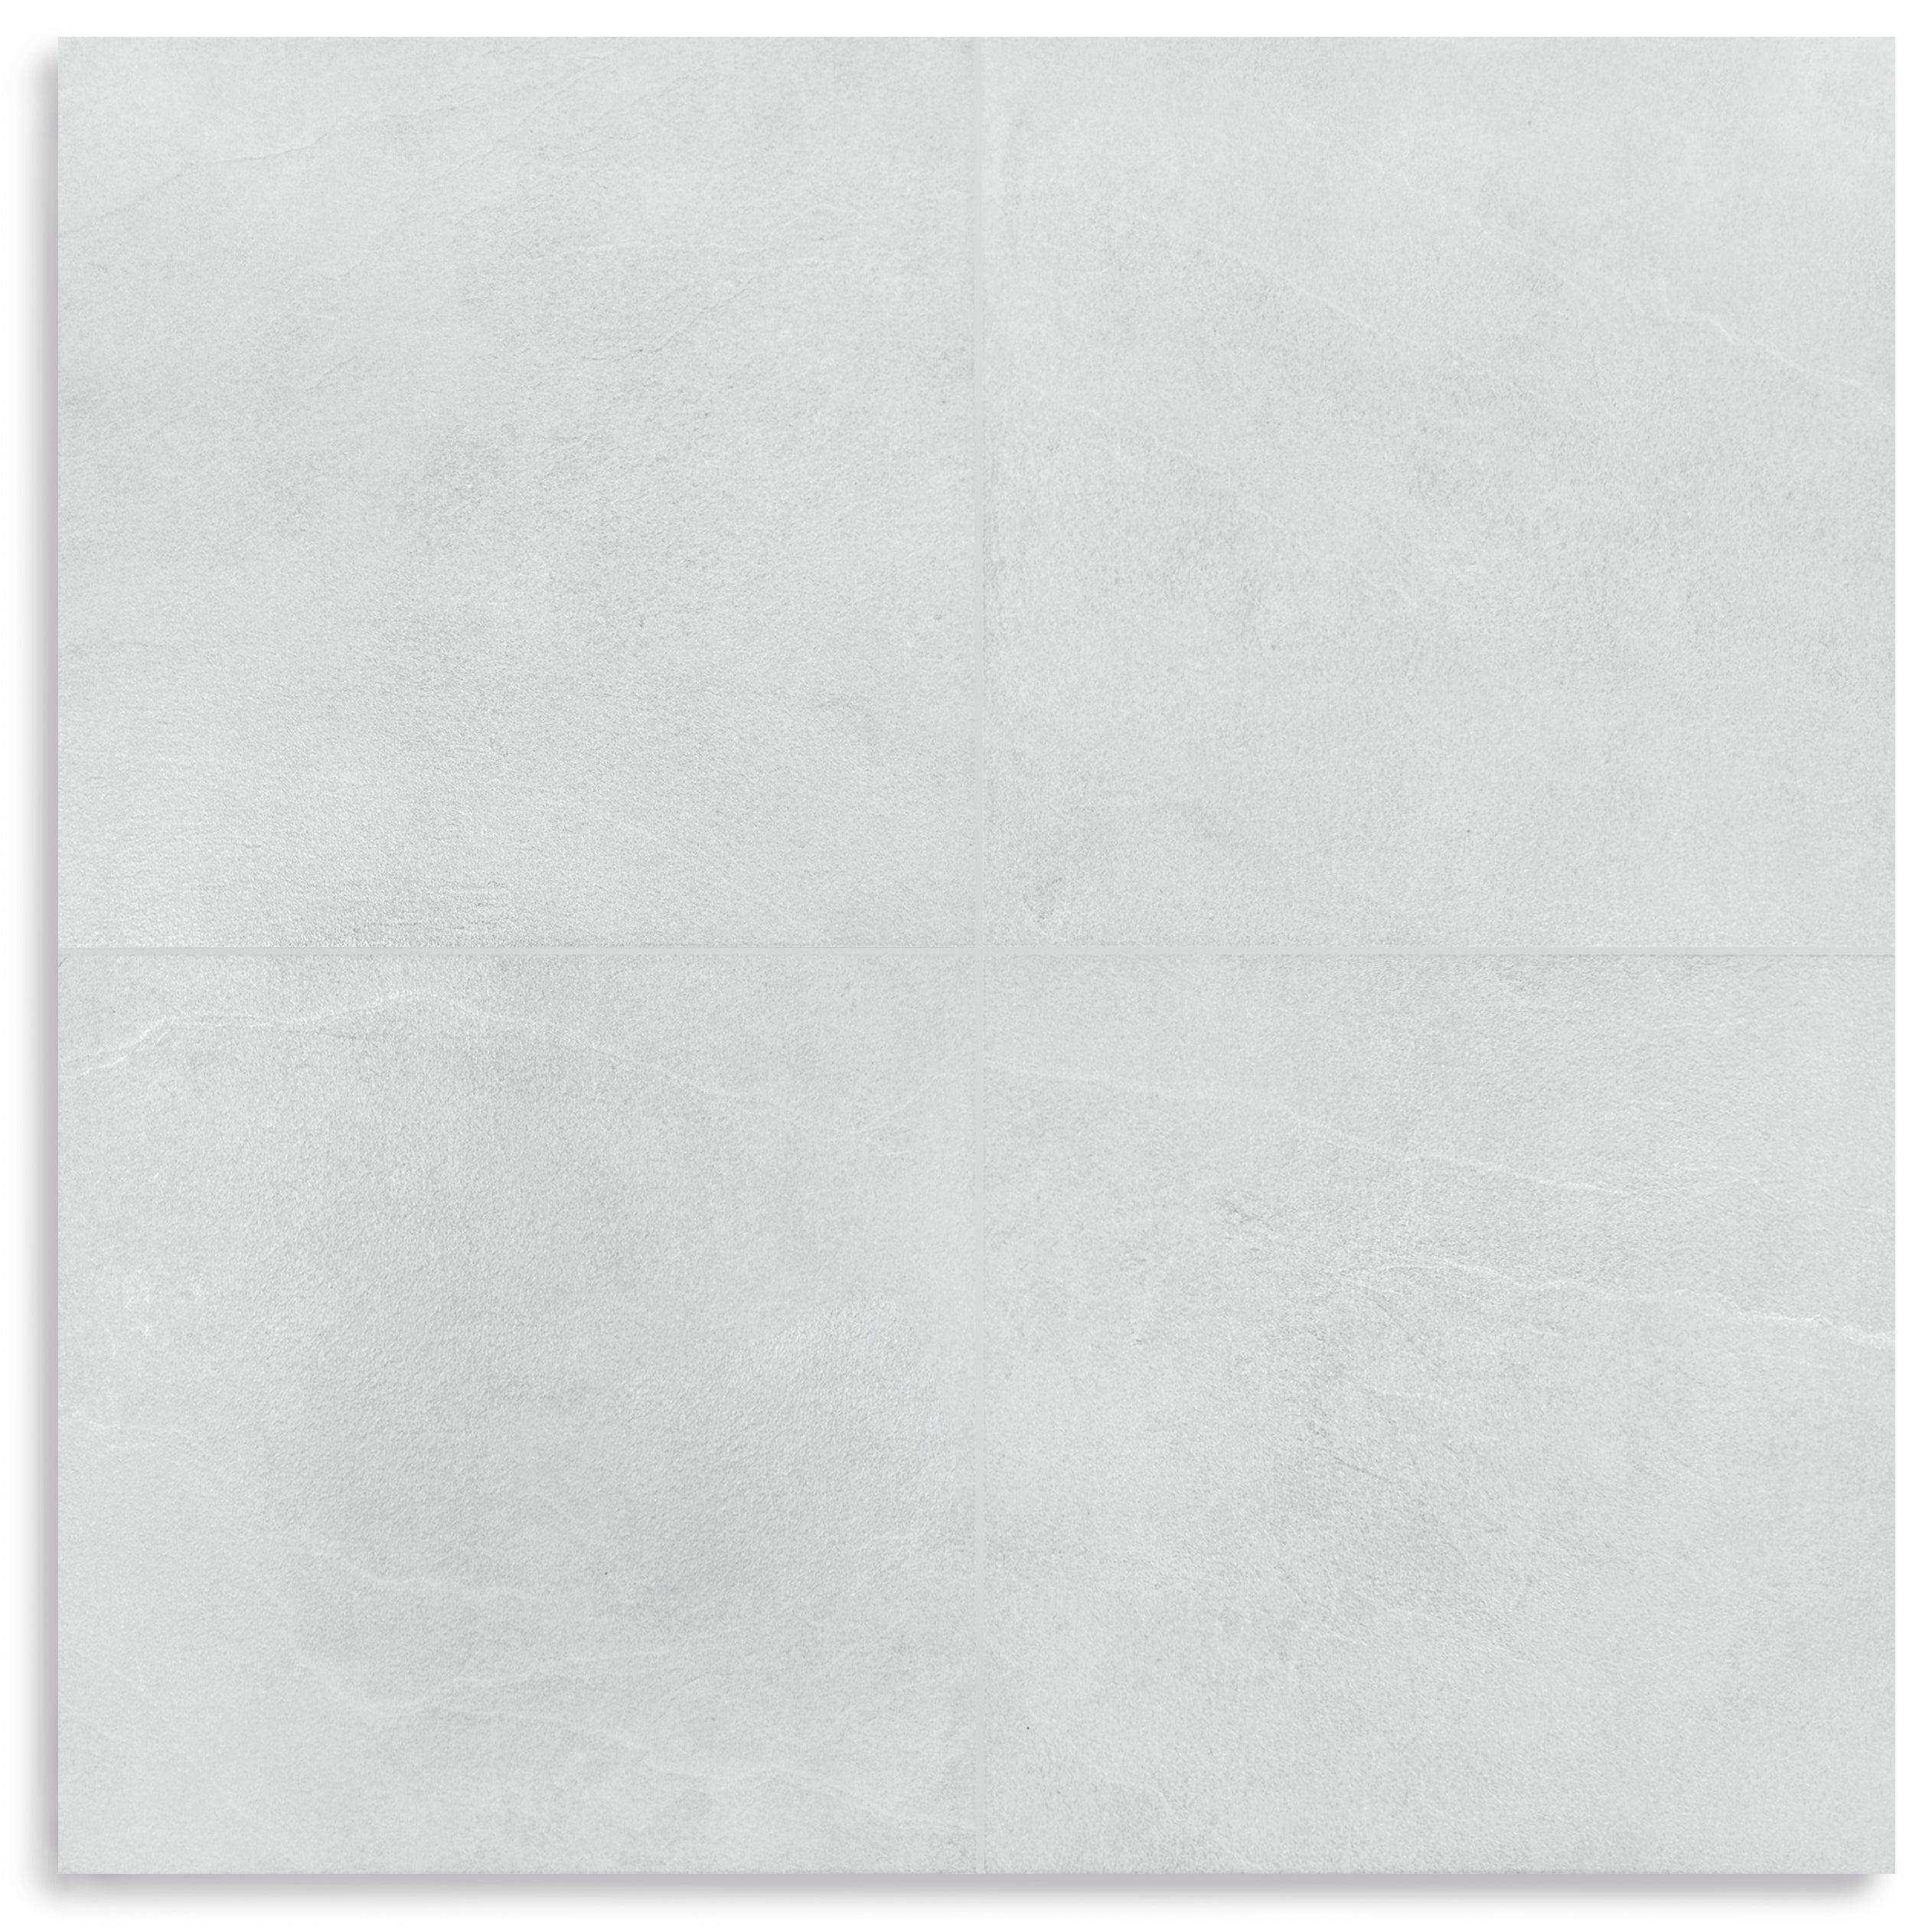
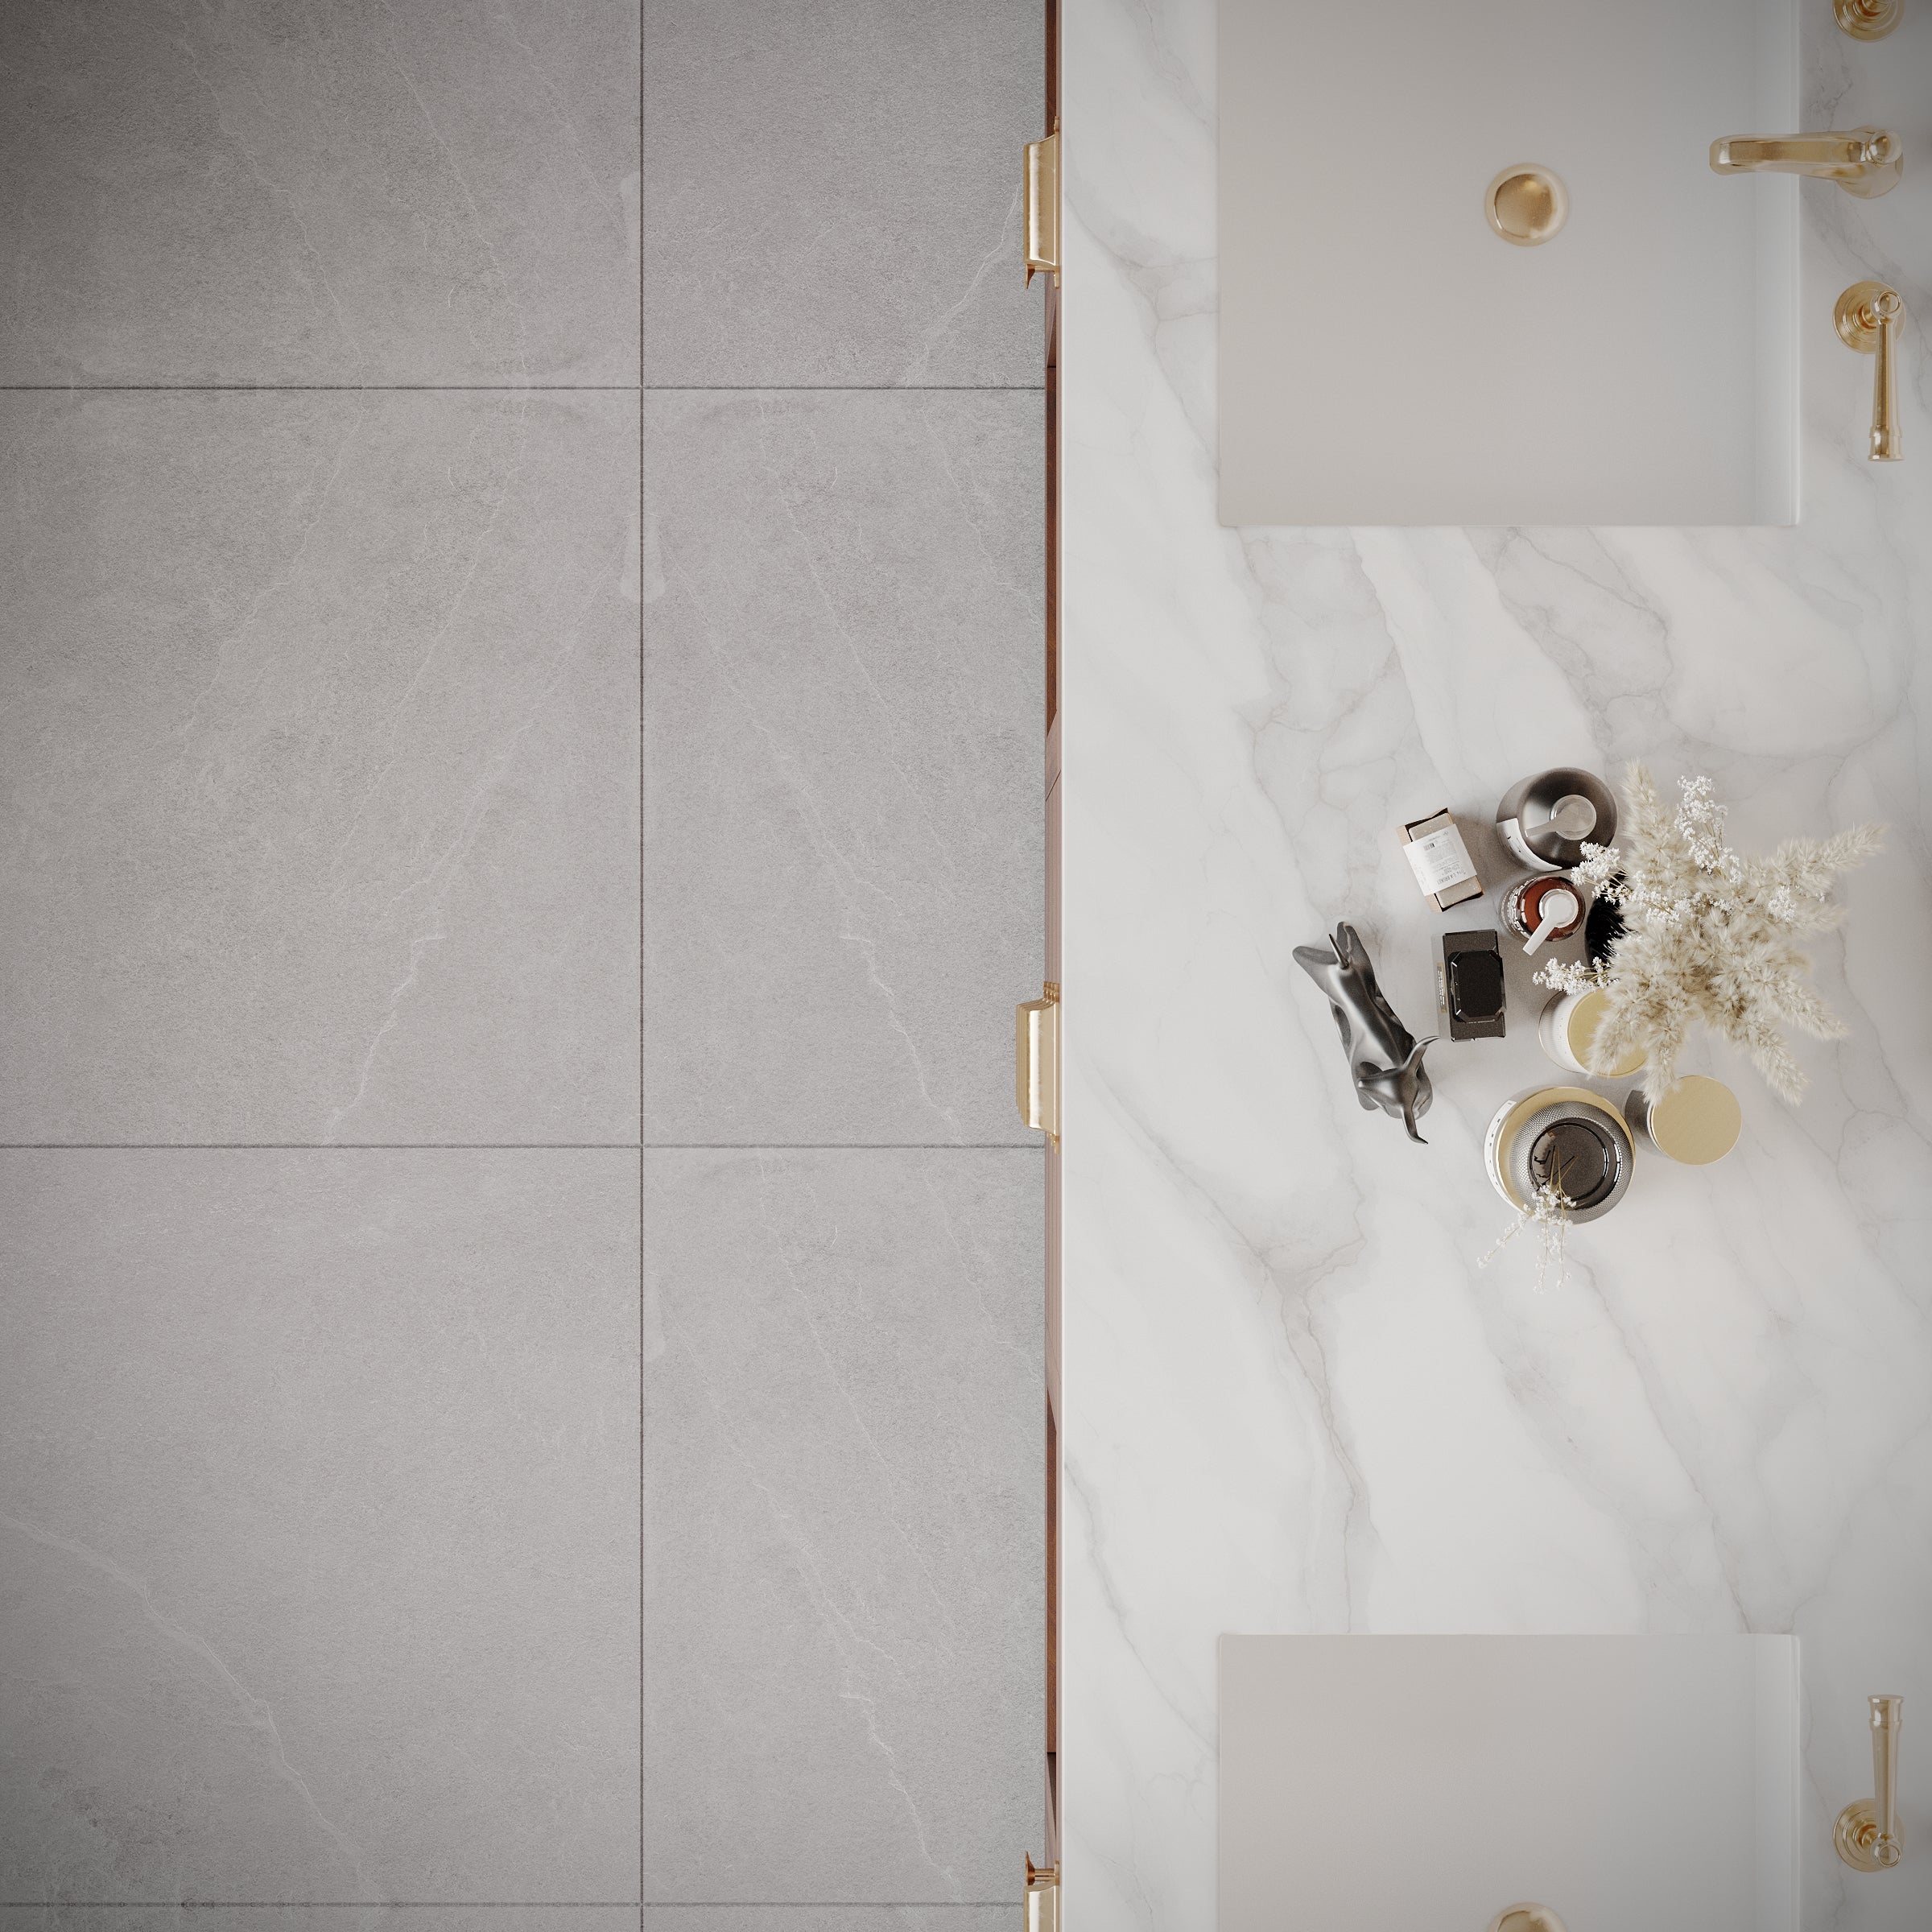
Pearl Slate Look Porcelain Tile
Cream Limestone Look 3D Matte Porcelain Tile
Travertino Moka Stone Look Porcelain Tile
Beige Limestone Look 3D Matte Porcelain Tile
Amazzonite Matte Marble Look Porcelain Tile
Almond Cement Look Matte Porcelain Tile
Travertino 3D Matte Porcelain Tile
Spider Gold Matte Marble Look Porcelain Tile
Taj Matte Marble Look Porcelain Tile
White Paradise Marble Look Porcelain Tile
Silver Limestone Look 3D Matte Porcelain Tile
Borgogna 3D Matte Porcelain Tile
Slate 48x48 Cement Look Porcelain Tile
Fior de Bosco Marble Look Porcelain Tile
Venica Red Stone Look Porcelain Tile
Almond Hammered Limestone Look Matte Porcelain Tile
Honey Slats 24x48 Wood Look Porcelain Tile
Ivory Marble Look Matte Porcelain Tile
Nuvola Pearl 24x48 Marble Look Porcelain Tile
Pearl Hammered Limestone Look Matte Porcelain Tile
Montblack Matte Marble Look Porcelain Tile
Ash Cement Look Matte Porcelain Tile
Sand 48x48 Cement Look Porcelain Tile
Paonazzo Matte Marble Look Porcelain Tile
Grey Cement Look Porcelain Tile
Breccia Grey 3D Stone Look Porcelain Tile
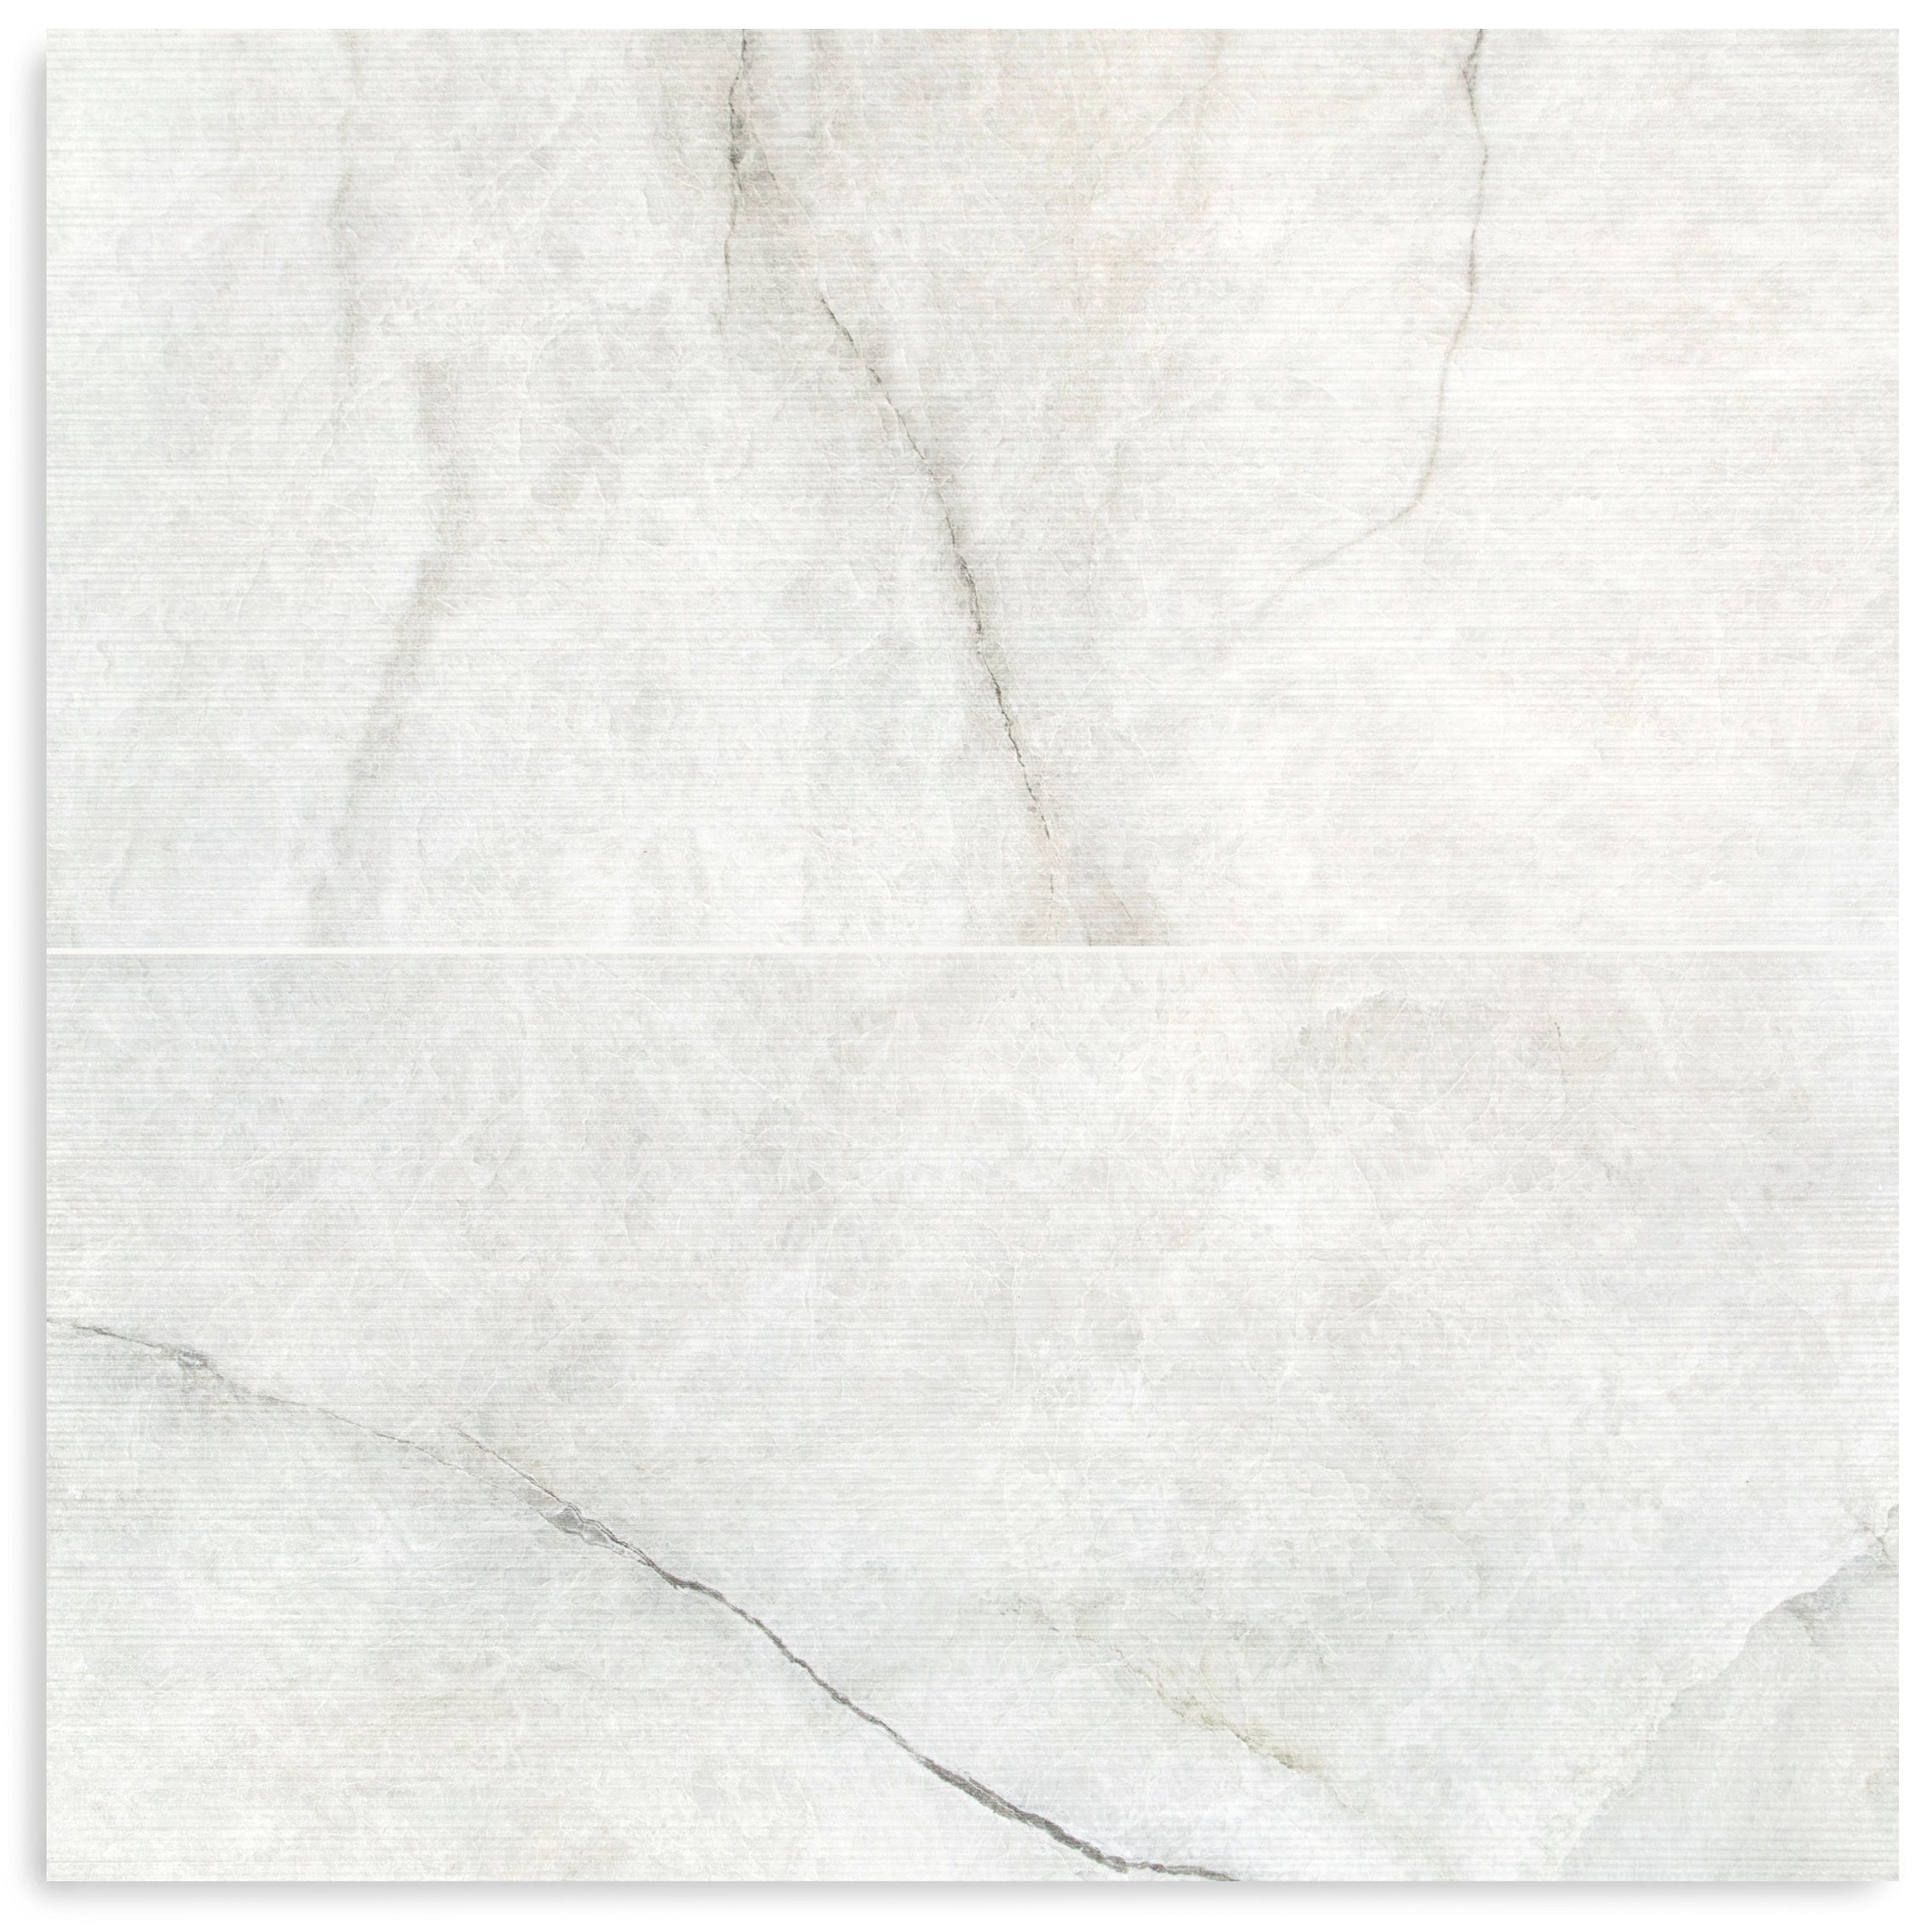
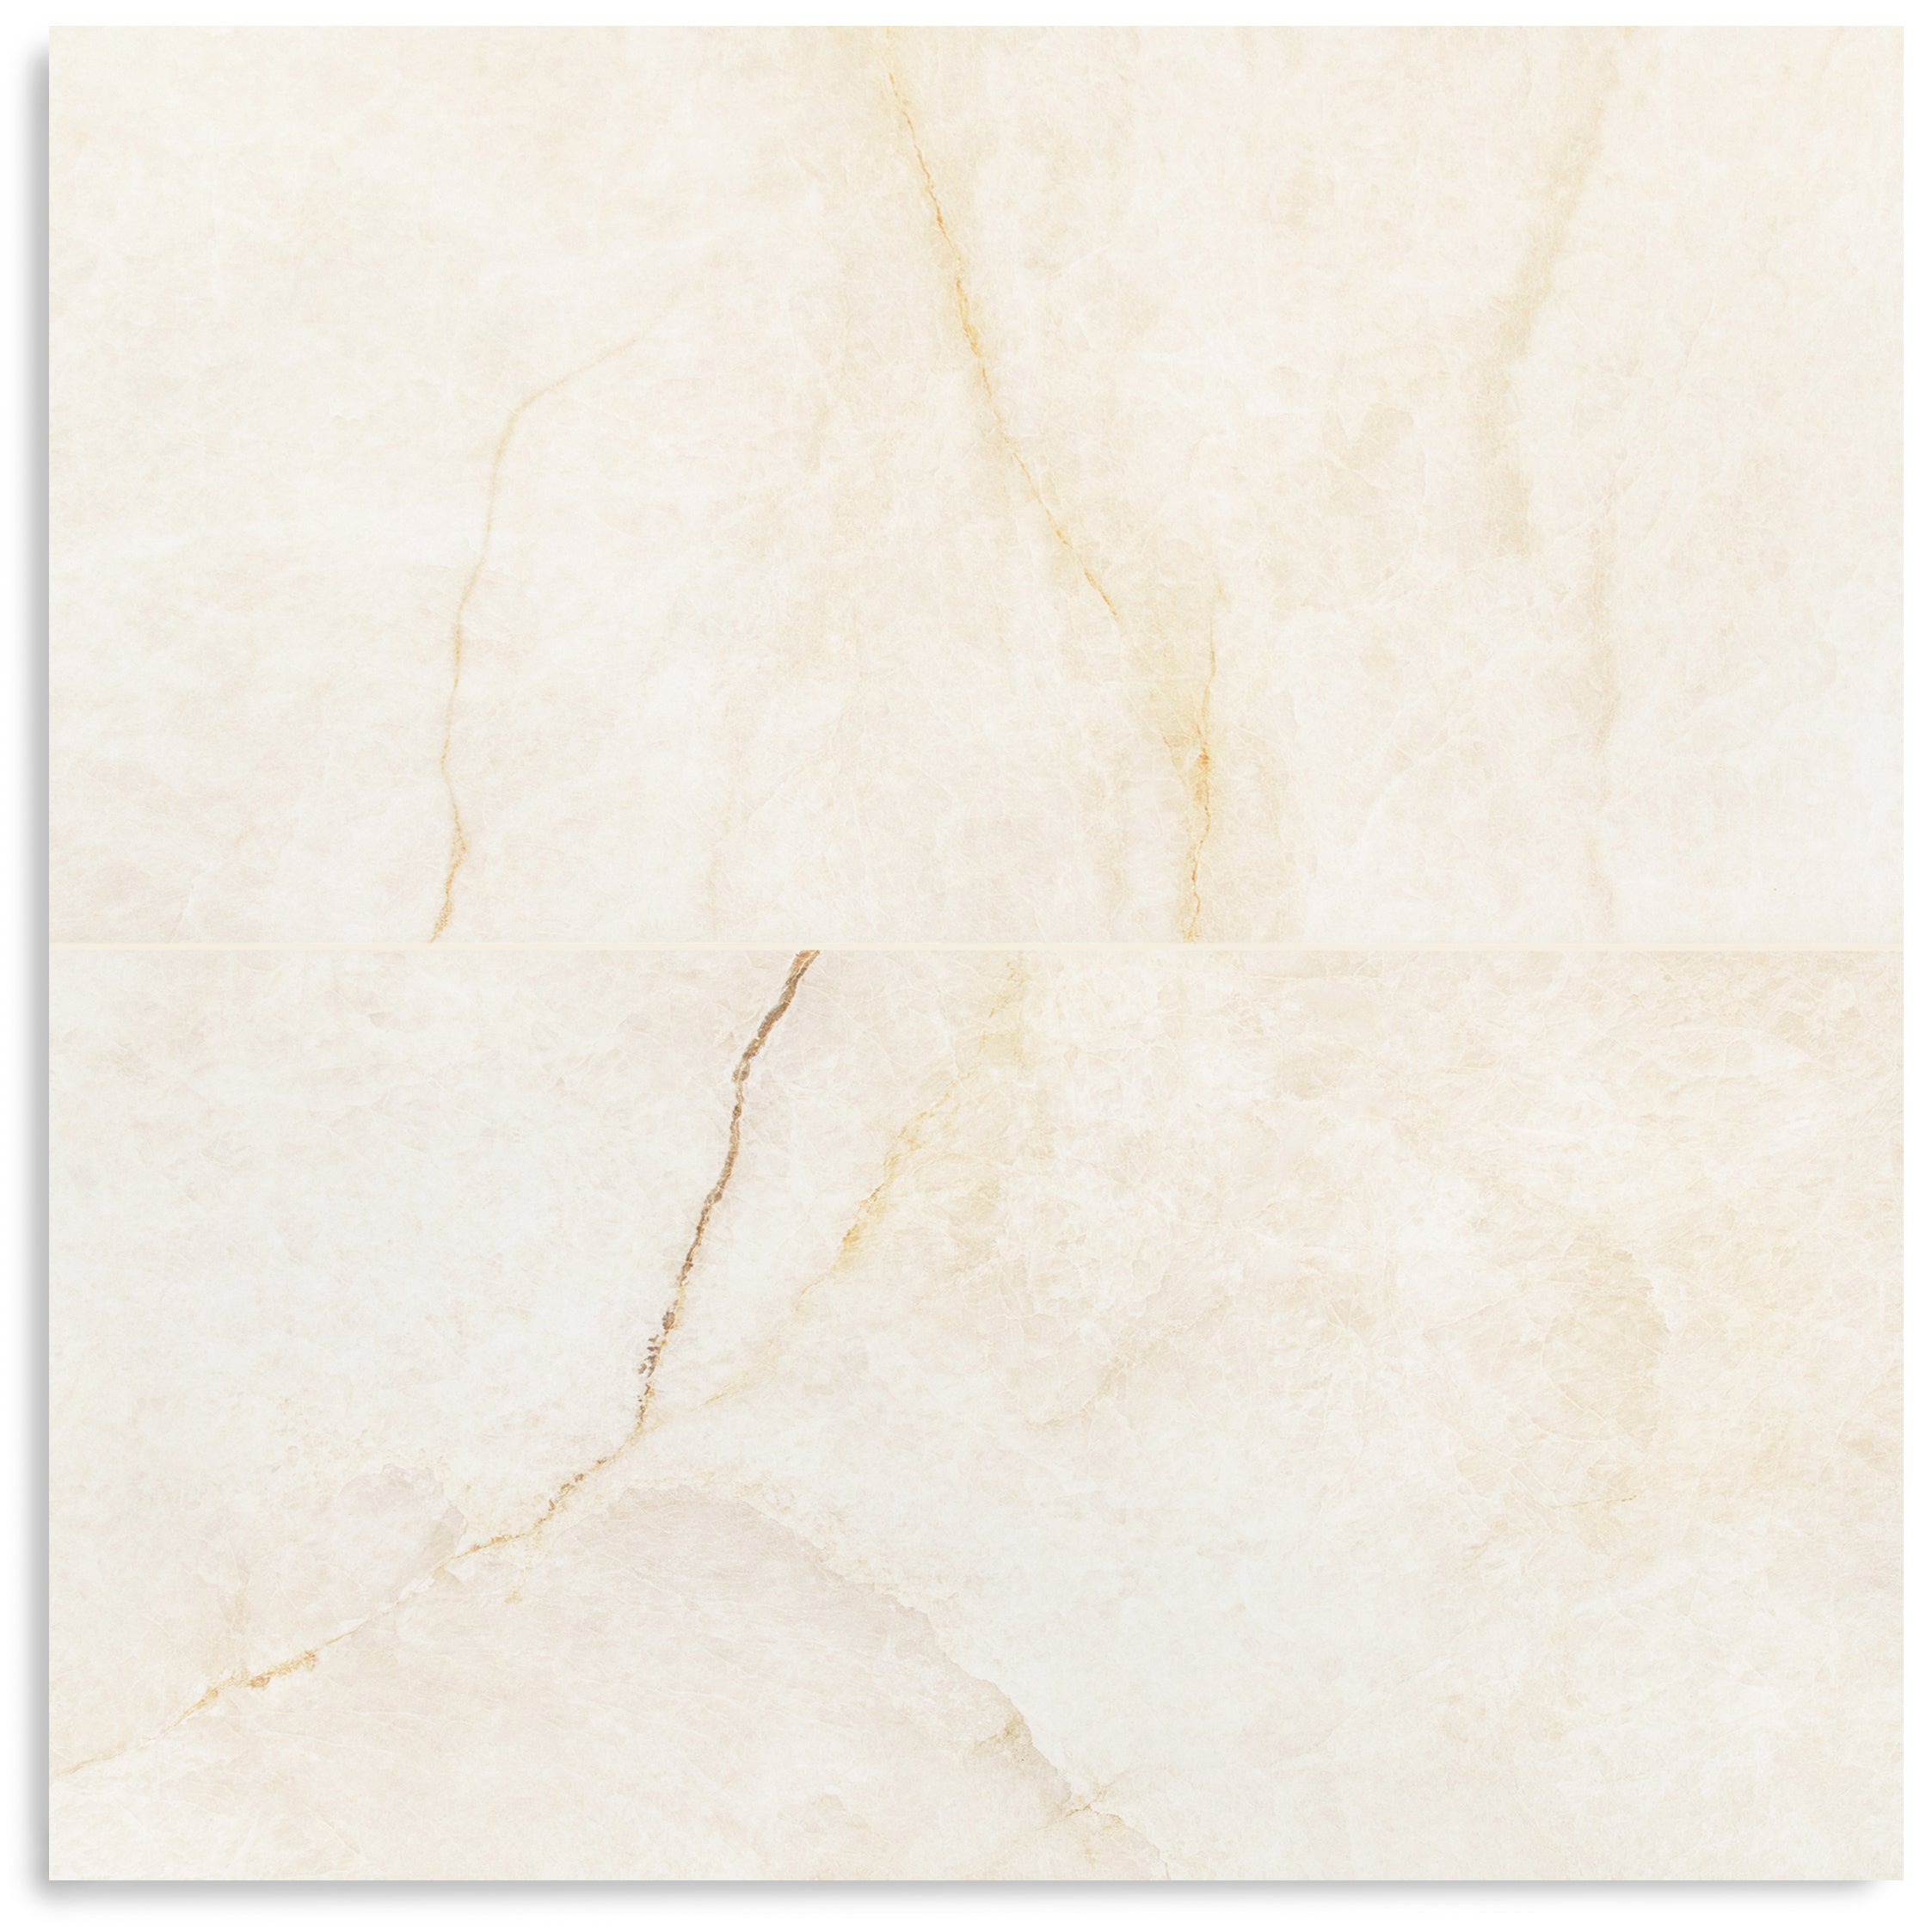
Nuvola Gold 24x48 Marble Look Porcelain Tile
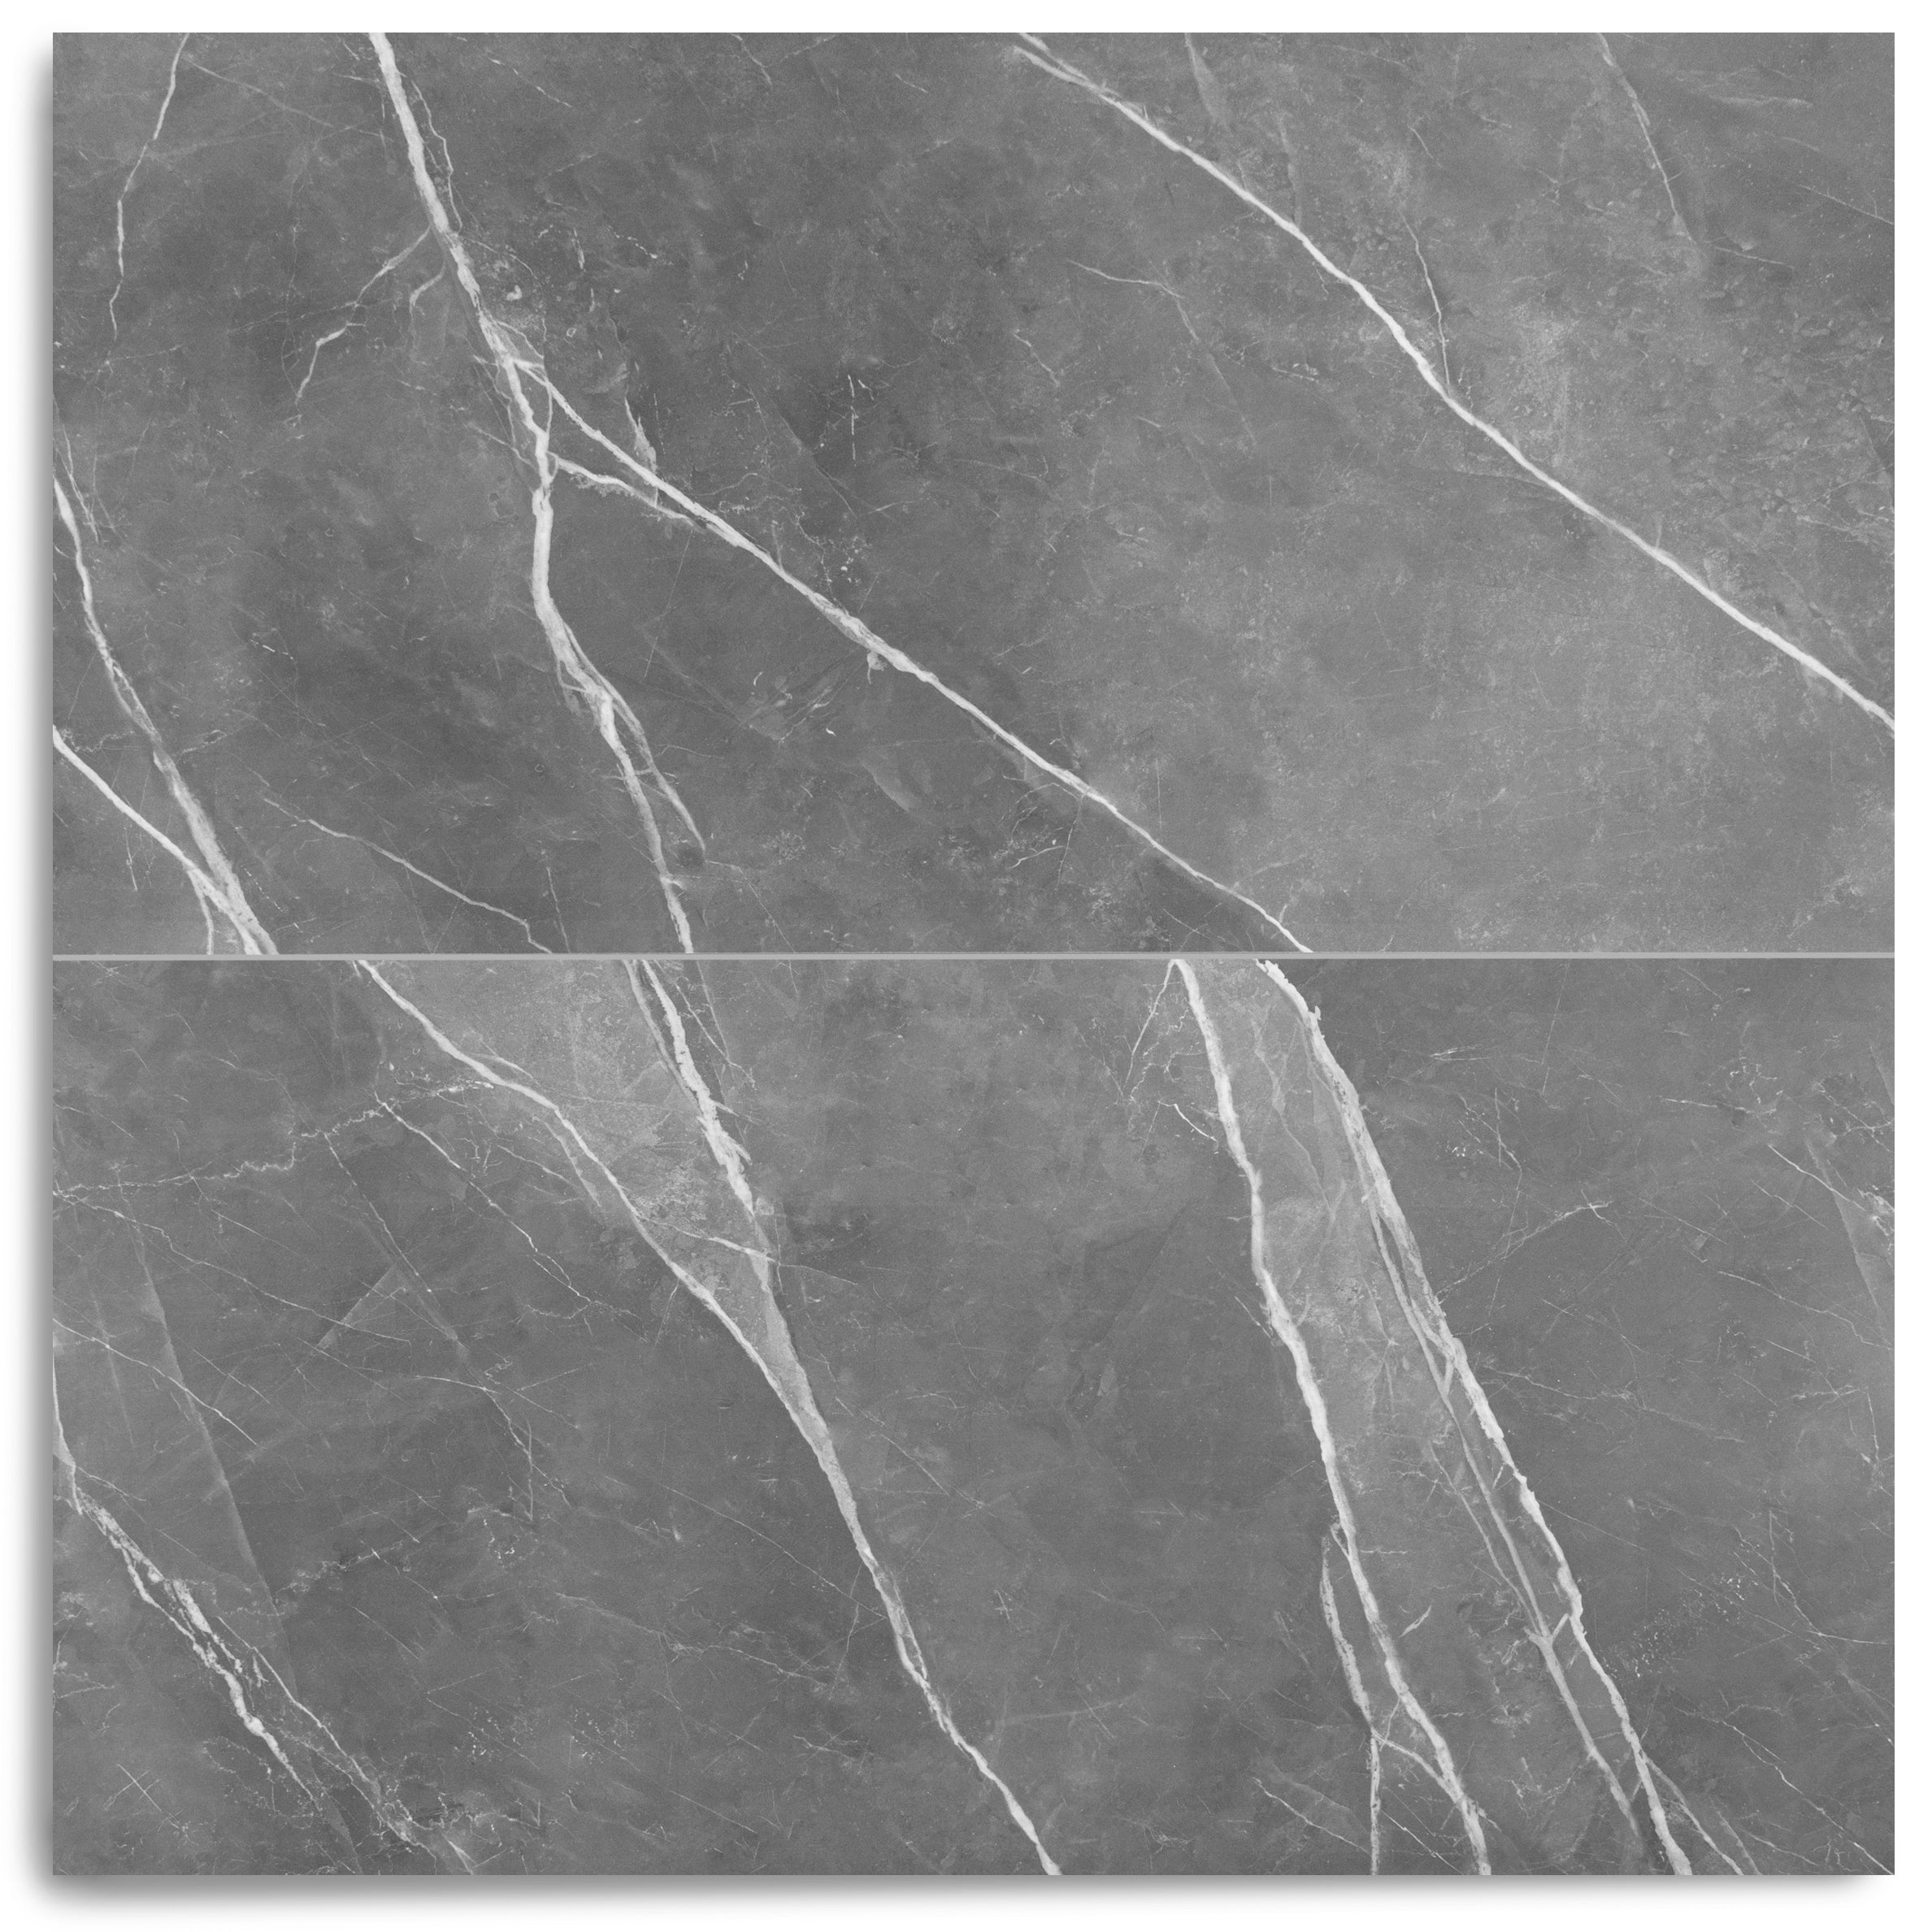
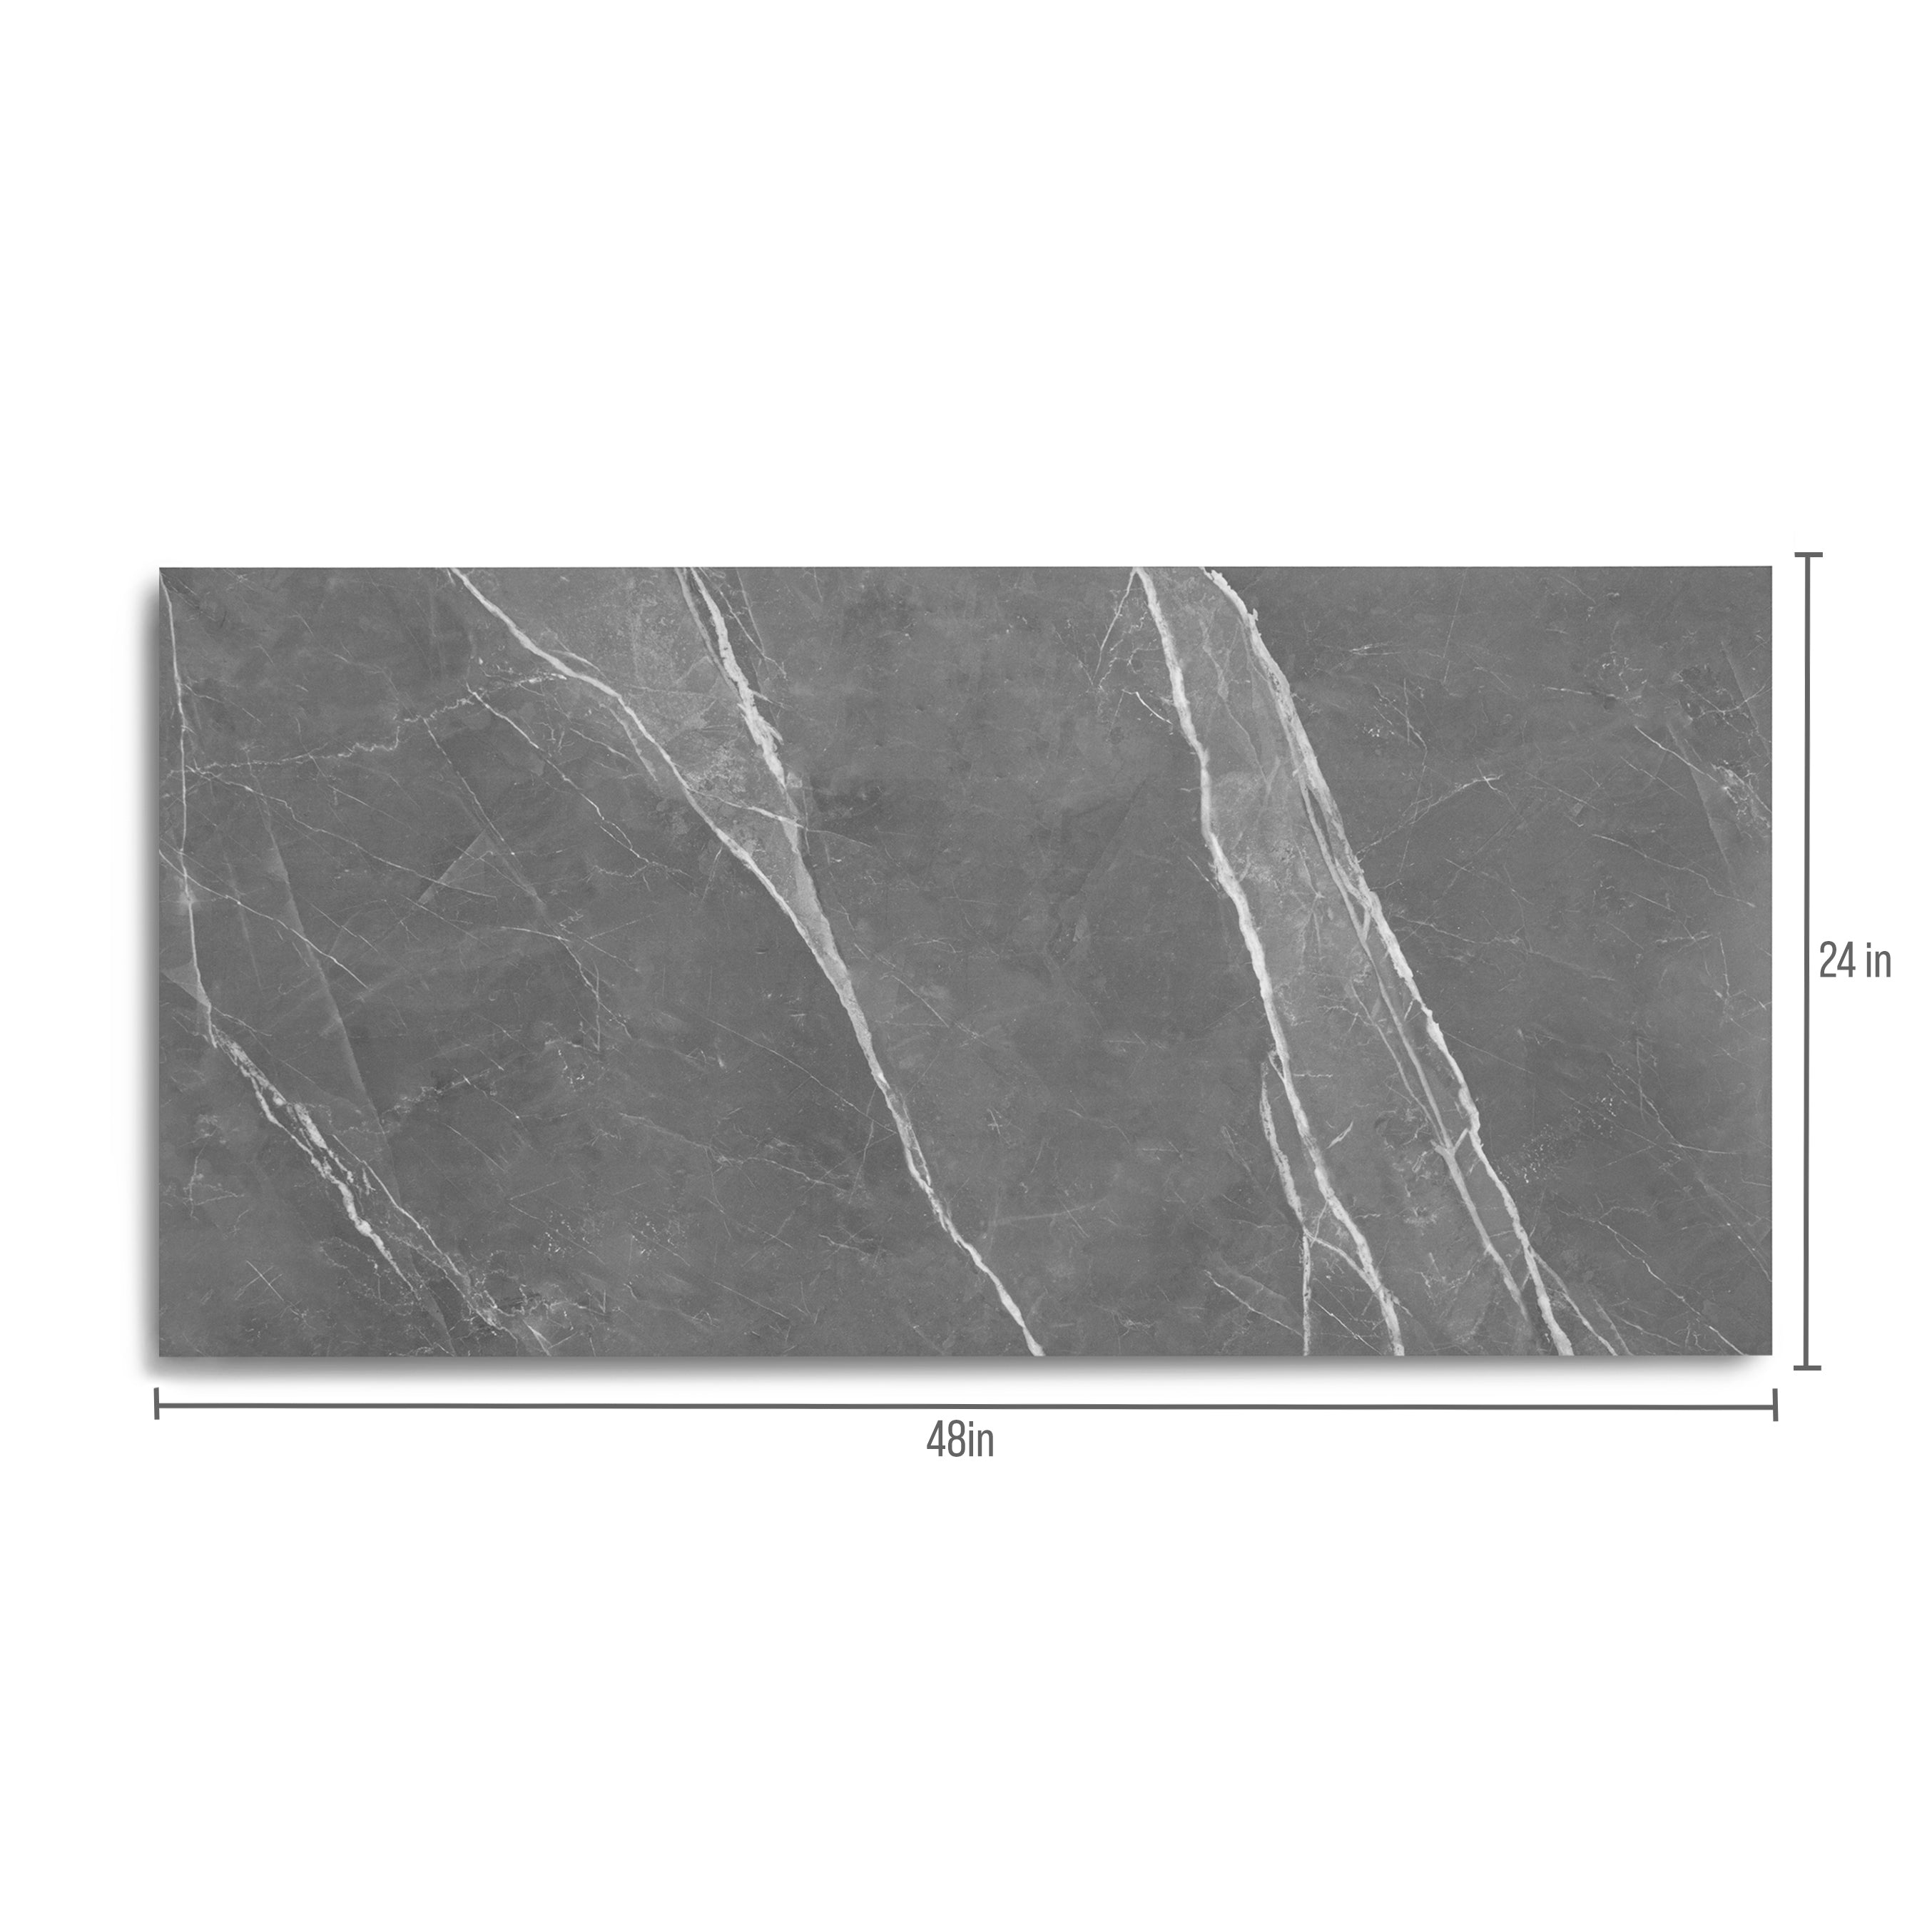
Royal Grey Satin Marble Look Porcelain Tile
Honey Black Slats 24x48 Wood Look Porcelain Tile
Travertino Moka Stone Look Porcelain Tile
Amazzonite Matte Marble Look Porcelain Tile
Travertino 3D Matte Porcelain Tile
Breccia Capraia 3D Mable Look Porcelain Tile
White Paradise Marble Look Porcelain Tile
Borgogna 3D Matte Porcelain Tile
Van Gogh 3D Marble Look Porcelain Tile
Fior de Bosco Marble Look Porcelain Tile
Venica Red Stone Look Porcelain Tile
Slate 48x48 Cement Look Porcelain Tile
Paonazzo Matte Marble Look Porcelain Tile
Sand 48x48 Cement Look Porcelain Tile
Breccia Grey 3D Stone Look Porcelain Tile
Honey 48x48 Cement Look Porcelain Tile
White & Ecru Octagon Zellige Mosaic
Cotto Deco Terracotta Look Matte Porcelain Tile
Thassos, Carrara, Bardiglio Gingham Marble Mosaic
Cream Limestone Look 3D Matte Porcelain Tile
Chiaro Deco Terracotta Look Matte Porcelain Tile
White & Ecru 2x2 Zellige Checkerboard Mosaic
White & Black Octagon Zellige Mosaic
Rosso Verona Tumbled Marble Tile
Murano Honed Italian Terrazzo Tile
Beige Limestone Look 3D Matte Porcelain Tile
Travertino Moka Stone Look Porcelain Tile
Apple 12x24 3D Glossy Porcelain Tile
Unglazed & White Octagon Zellige Mosaic
White Multi-Color Matte Porcelain Tile
Carrara Bardiglio Tumbled Stone Checkerboard
Cream 12x24 3D Gloss Porcelain Tile
Navy 12x24 3D Gloss Porcelain Tile
White & Oxblood 2x2 Zellige Checkerboard Mosaic
Rosso Verona 1x1 Hand Chipped Marble Mosaic
Natura Terracotta Look Matte Porcelain Tile
Almond Cement Look Matte Porcelain Tile
Bianco Carrara Honed Marble Tile
Travertino 3D Matte Porcelain Tile
Bianco Carrara Octagon w/ Nero Marquina Dot Mosaic
Amazzonite Matte Marble Look Porcelain Tile
White & Ecru Octagon Zellige Mosaic
Cotto Deco Terracotta Look Matte Porcelain Tile
Thassos, Carrara, Bardiglio Gingham Marble Mosaic
Cream Limestone Look 3D Matte Porcelain Tile
Chiaro Deco Terracotta Look Matte Porcelain Tile
Cotto Terracotta Look Matte Porcelain Tile
White & Ecru 2x2 Zellige Checkerboard Mosaic
White & Black Octagon Zellige Mosaic
Rosso Verona Tumbled Marble Tile
Murano Honed Italian Terrazzo Tile
Travertino Moka Stone Look Porcelain Tile
Beige Limestone Look 3D Matte Porcelain Tile
Apple 12x24 3D Glossy Porcelain Tile
Unglazed & White Octagon Zellige Mosaic
White Multi-Color Matte Porcelain Tile
Cream 12x24 3D Gloss Porcelain Tile
Carrara Bardiglio Tumbled Stone Checkerboard
Navy 12x24 3D Gloss Porcelain Tile
White & Oxblood 2x2 Zellige Checkerboard Mosaic
Rosso Verona 1x1 Hand Chipped Marble Mosaic
Natura Terracotta Look Matte Porcelain Tile
Bianco Carrara Octagon w/ Nero Marquina Dot Mosaic
Amazzonite Matte Marble Look Porcelain Tile
White & Ecru Octagon Zellige Mosaic
Cotto Deco Terracotta Look Matte Porcelain Tile
Thassos, Carrara, Bardiglio Gingham Marble Mosaic
Cream Limestone Look 3D Matte Porcelain Tile
Chiaro Deco Terracotta Look Matte Porcelain Tile
White & Ecru 2x2 Zellige Checkerboard Mosaic
White & Black Octagon Zellige Mosaic
Murano Honed Italian Terrazzo Tile
Rosso Verona Tumbled Marble Tile
Beige Limestone Look 3D Matte Porcelain Tile
Apple 12x24 3D Glossy Porcelain Tile
Unglazed & White Octagon Zellige Mosaic
White Multi-Color Matte Porcelain Tile
Carrara Bardiglio Tumbled Stone Checkerboard
White & Oxblood 2x2 Zellige Checkerboard Mosaic
Natura Terracotta Look Matte Porcelain Tile
Travertino 3D Matte Porcelain Tile
Almond Cement Look Matte Porcelain Tile
Cream 2x2 Forma Porcelain Mosaic
Star & Cross Classic Terracotta Tile
Calacatta Honed Italian Terrazzo Tile


Cotto 2x2 Forma Porcelain Mosaic


Pink 2x2 Forma Porcelain Mosaic

Almond 2x2 Cement Look Porcelain Tile Mosaic



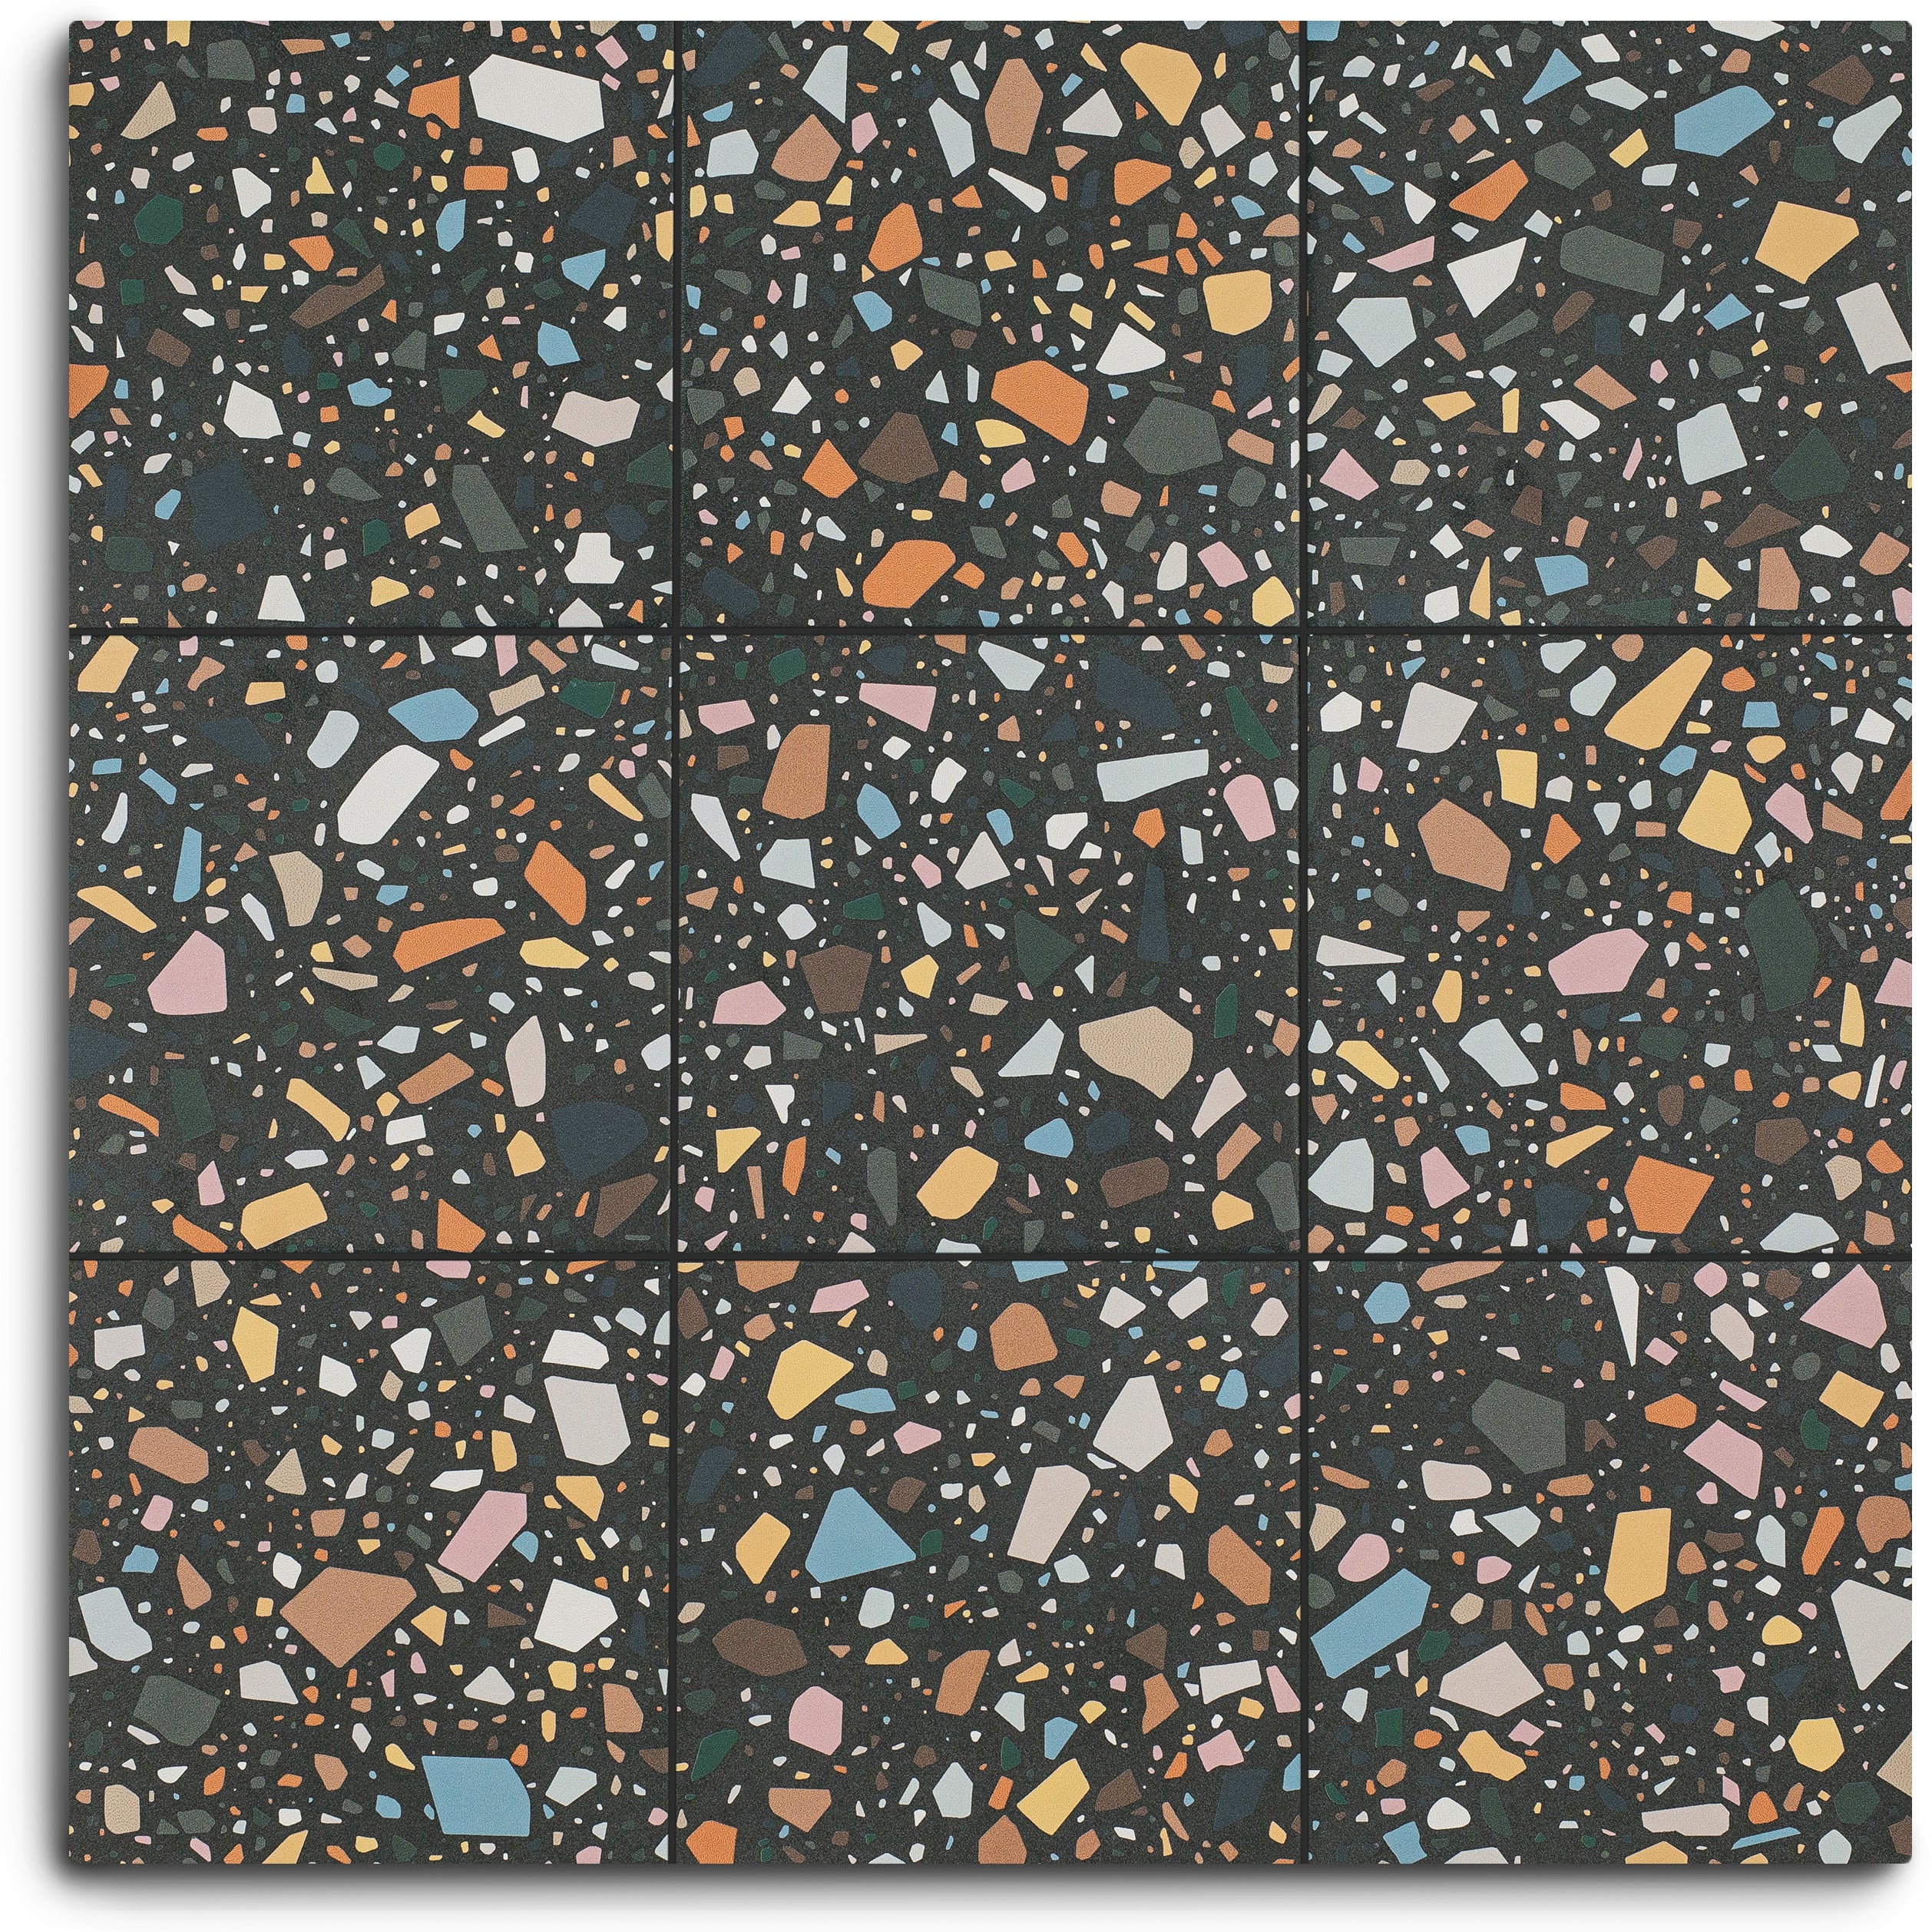

Black Multi-Color Matte Porcelain Tile
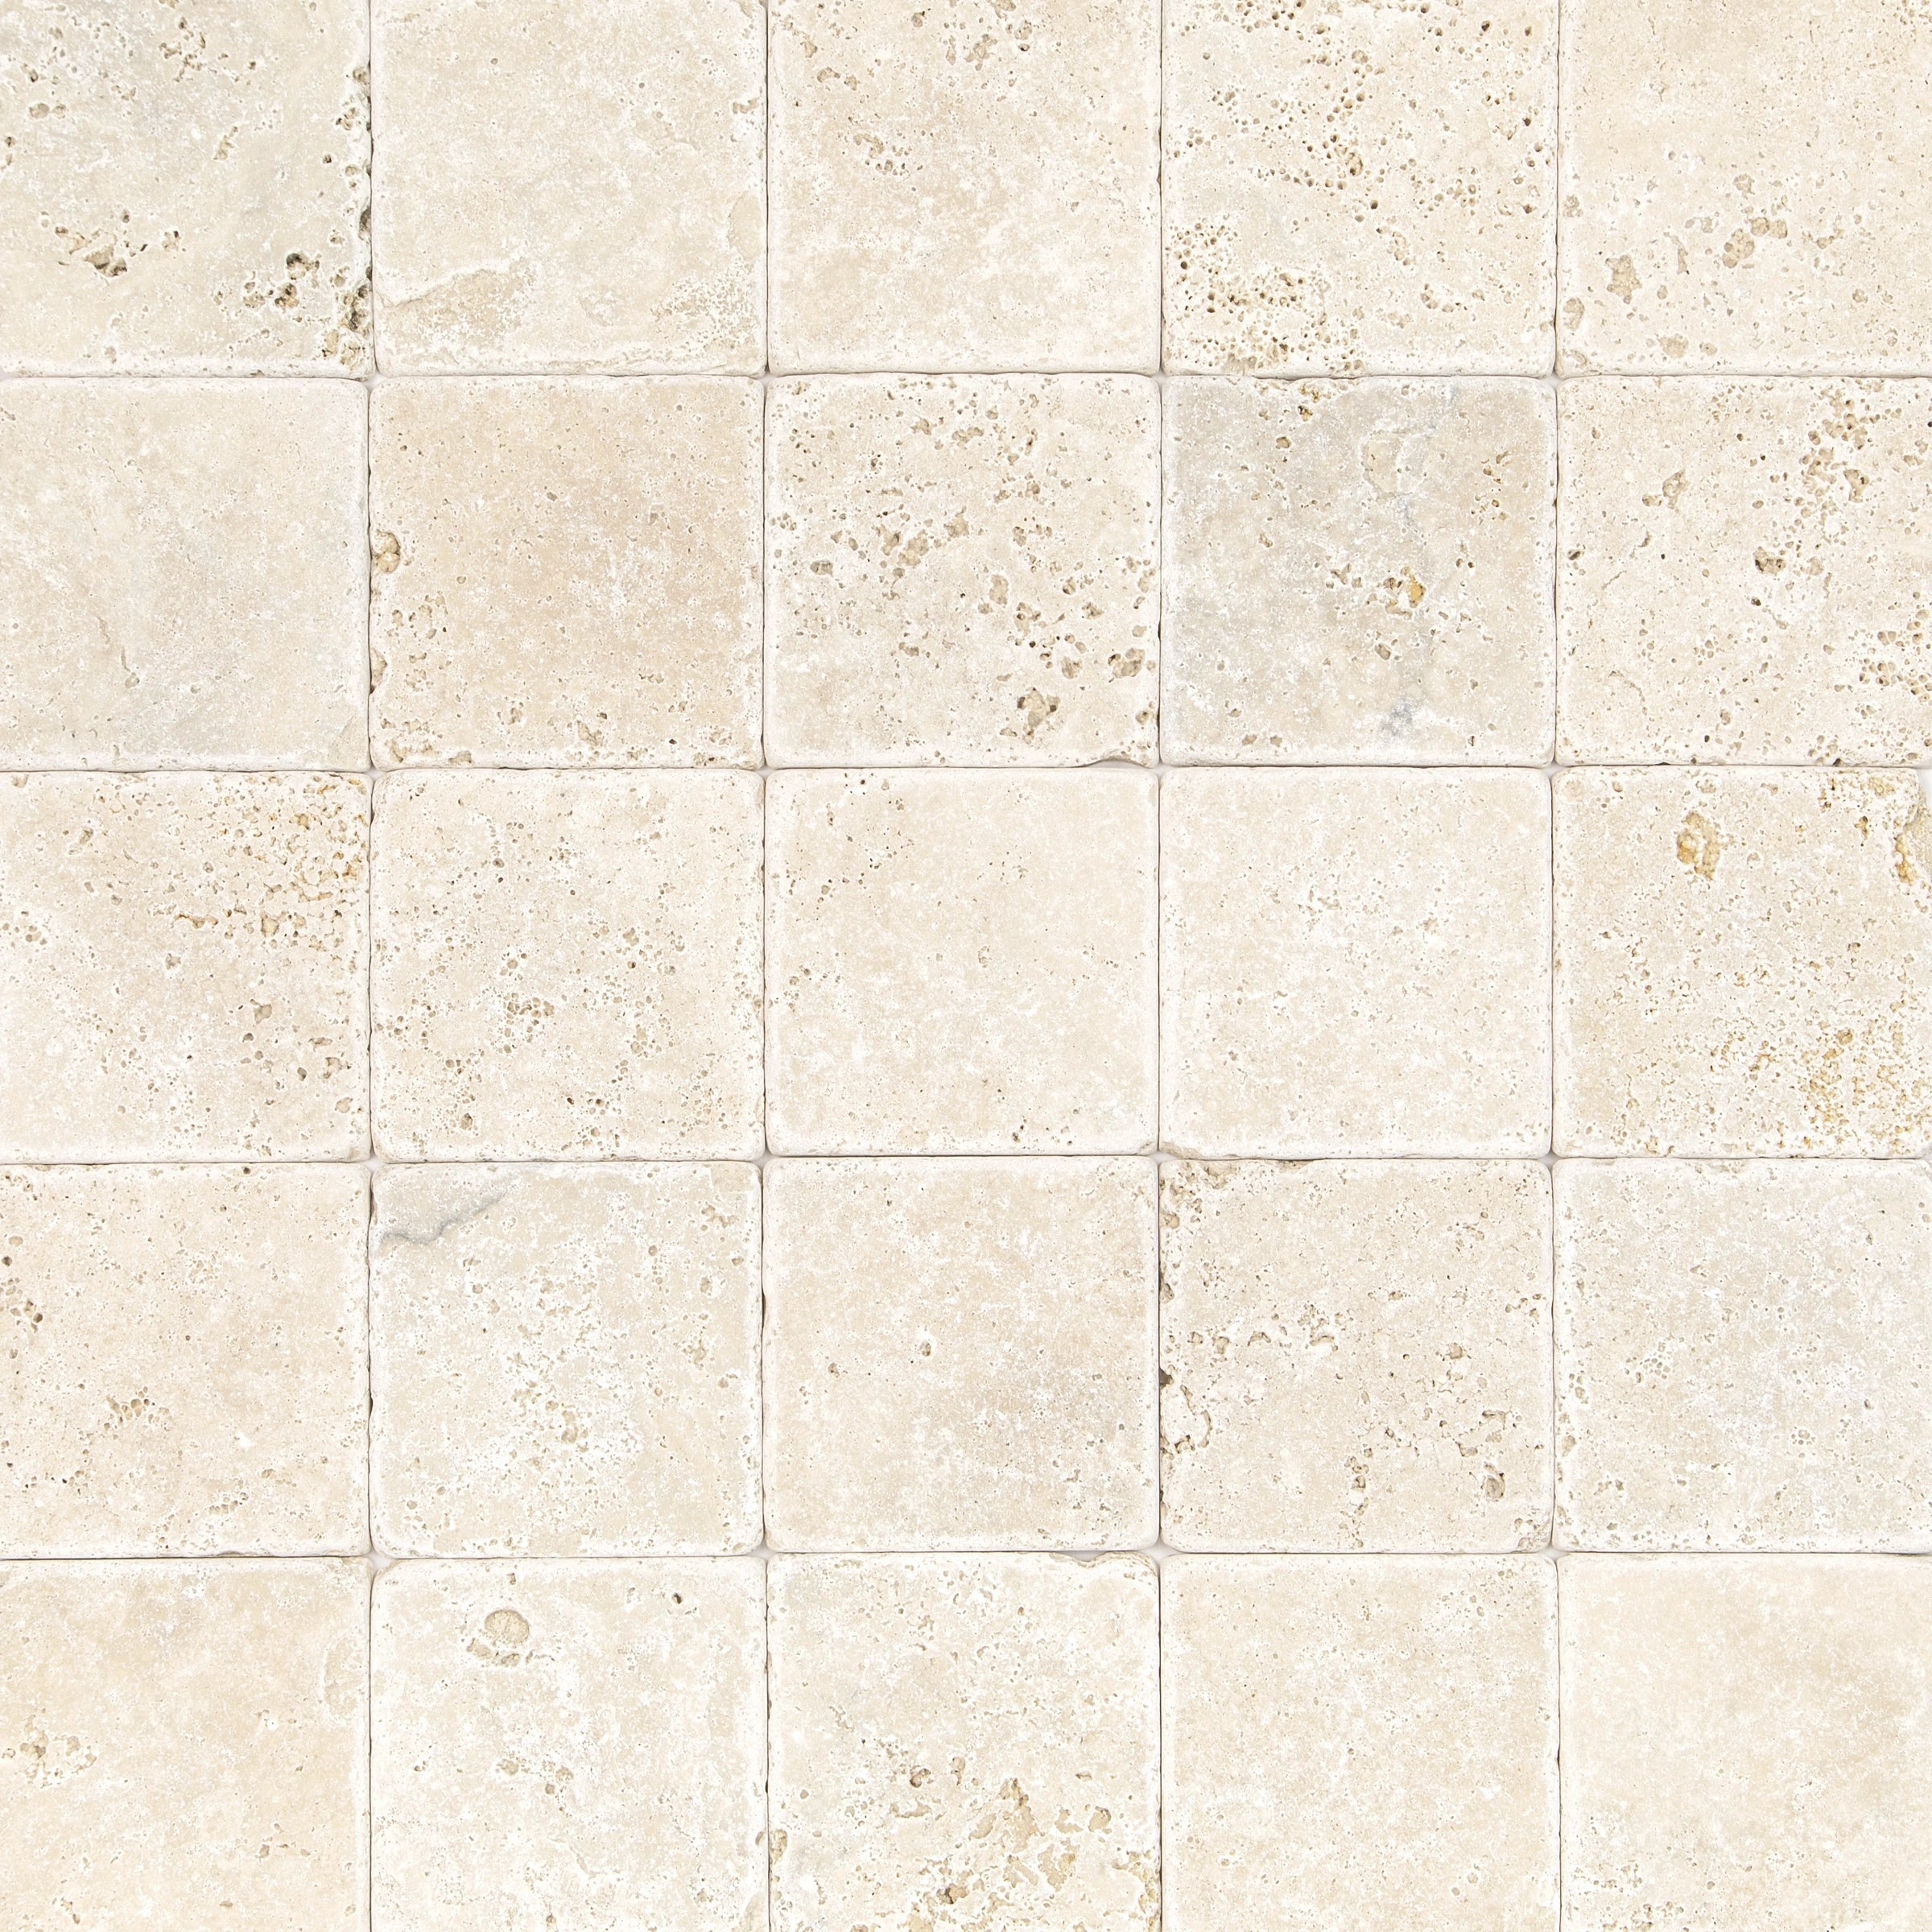
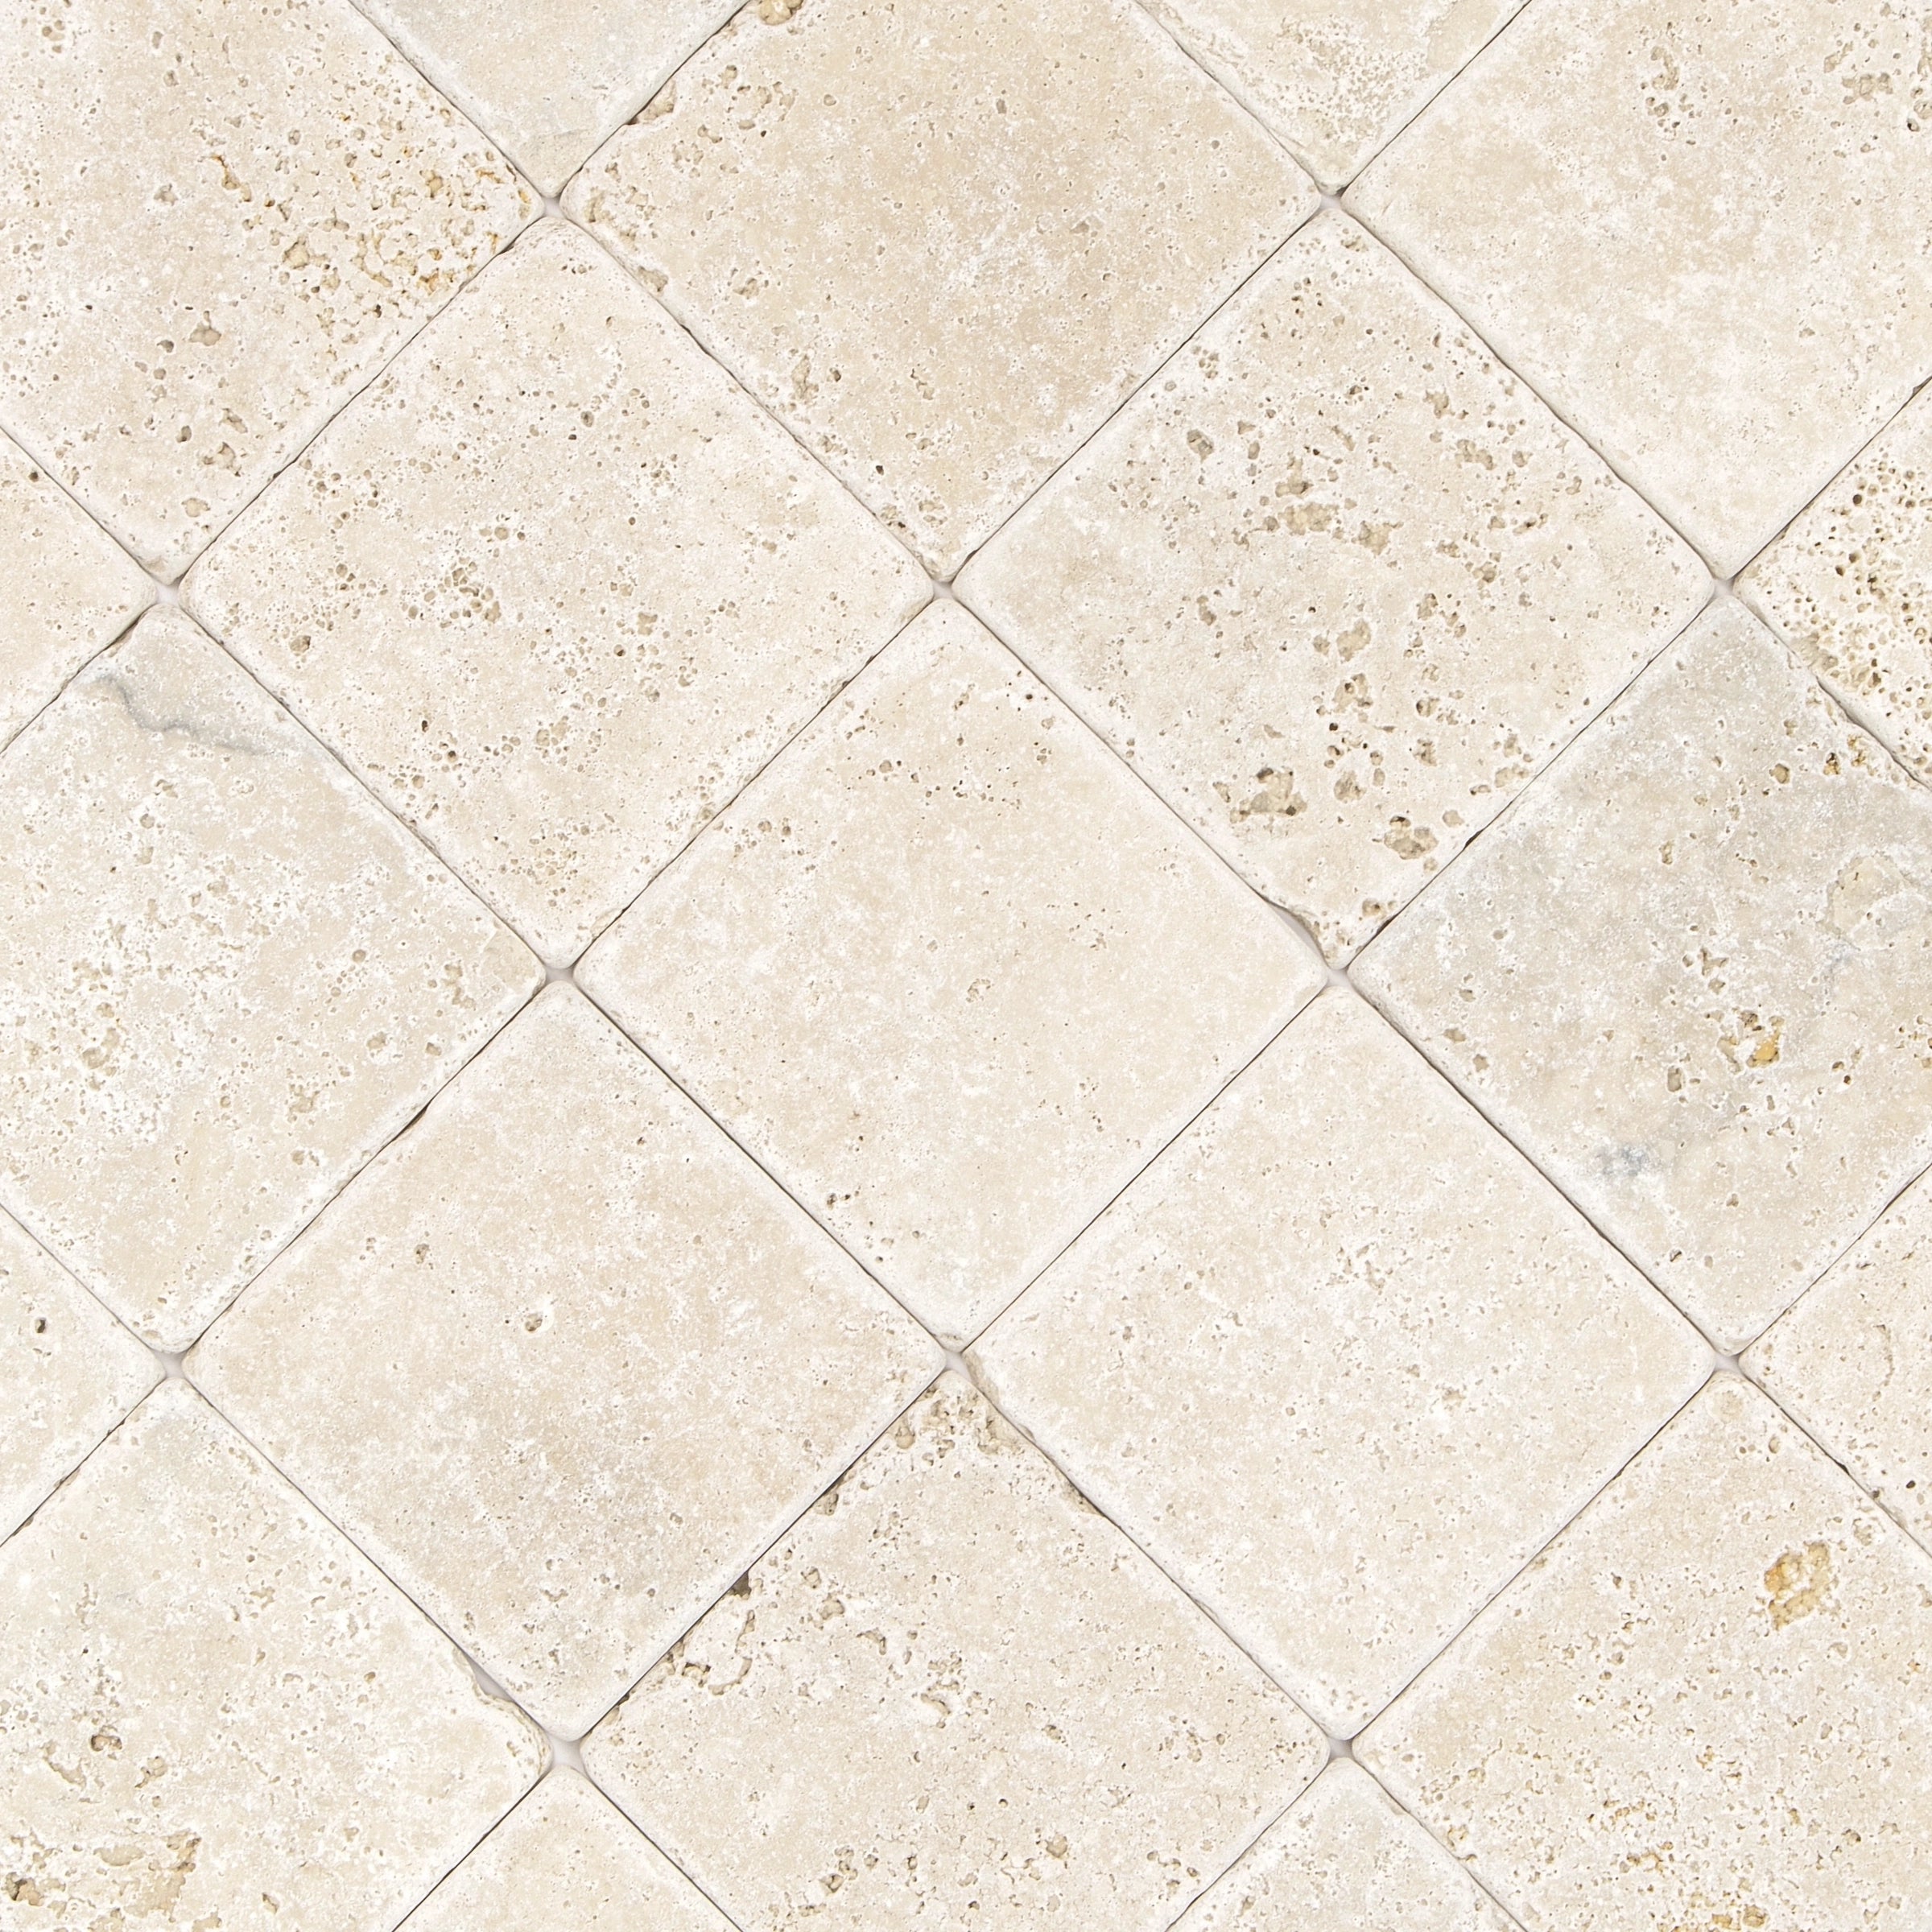
Travertino Chiaro Tumbled Stone Tile
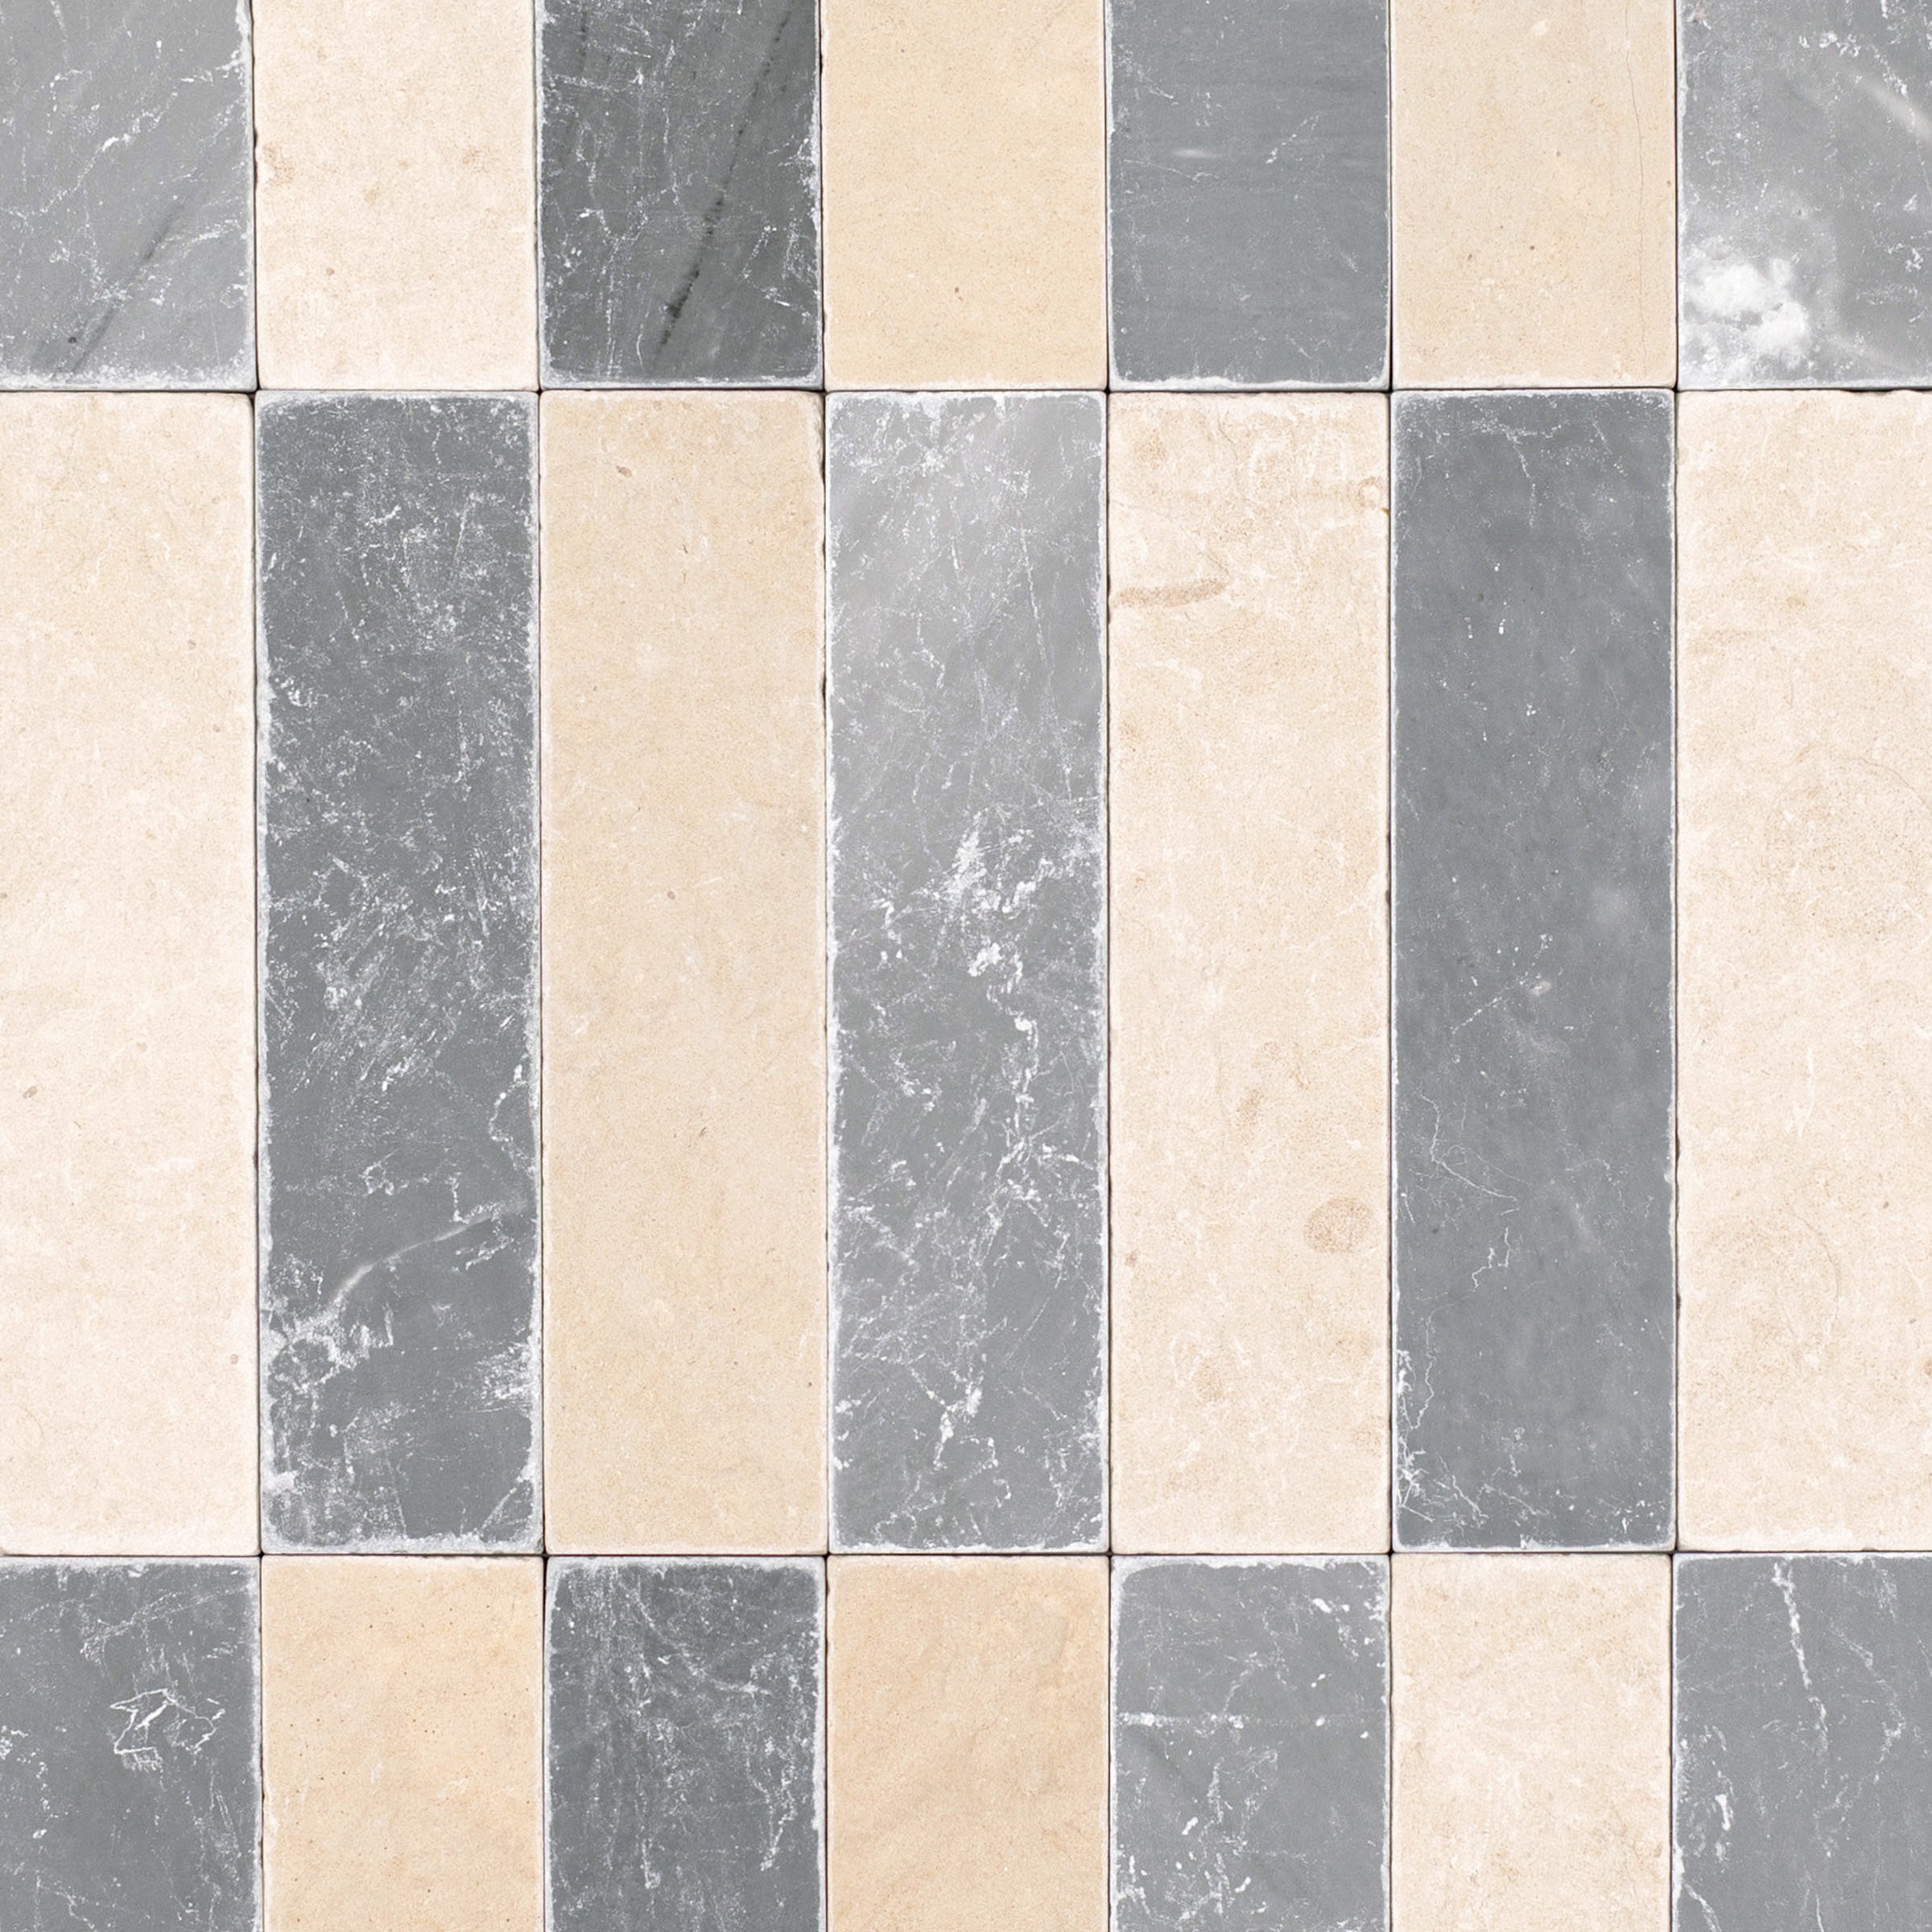
Bardiglio Desert Tea Tumbled Stone Checker Stripe

Crema Terracotta Look Matte Porcelain Tile




Cream Limestone Look 3D Matte Porcelain Tile
Murano Honed Italian Terrazzo Tile
Beige Limestone Look 3D Matte Porcelain Tile
Travertino Moka Stone Look Porcelain Tile
Cream 12x24 3D Gloss Porcelain Tile
Travertino 3D Matte Porcelain Tile
Almond Cement Look Matte Porcelain Tile
Calacatta Honed Italian Terrazzo Tile
Breccia Capraia 3D Mable Look Porcelain Tile
Spider Gold Matte Marble Look Porcelain Tile
Taj Matte Marble Look Porcelain Tile
Borgogna 3D Matte Porcelain Tile
Pearl 24x24 Cheppo Look Matte Porcelain Tile
Almond Hammered Limestone Look Matte Porcelain Tile
Ivory Marble Look Matte Porcelain Tile
Pearl Hammered Limestone Look Matte Porcelain Tile
Nuvola Pearl 24x48 Marble Look Porcelain Tile
Sand 48x48 Cement Look Porcelain Tile
Paonazzo Matte Marble Look Porcelain Tile


Nude 12x24 3D Gloss Porcelain Tile
Chiaro Terracotta Look Matte Porcelain Tile
Breccia Grey 3D Stone Look Porcelain Tile
Pearl Slate Look Porcelain Tile
Nuvola Gold 24x48 Marble Look Porcelain Tile
Honey 48x48 Cement Look Porcelain Tile
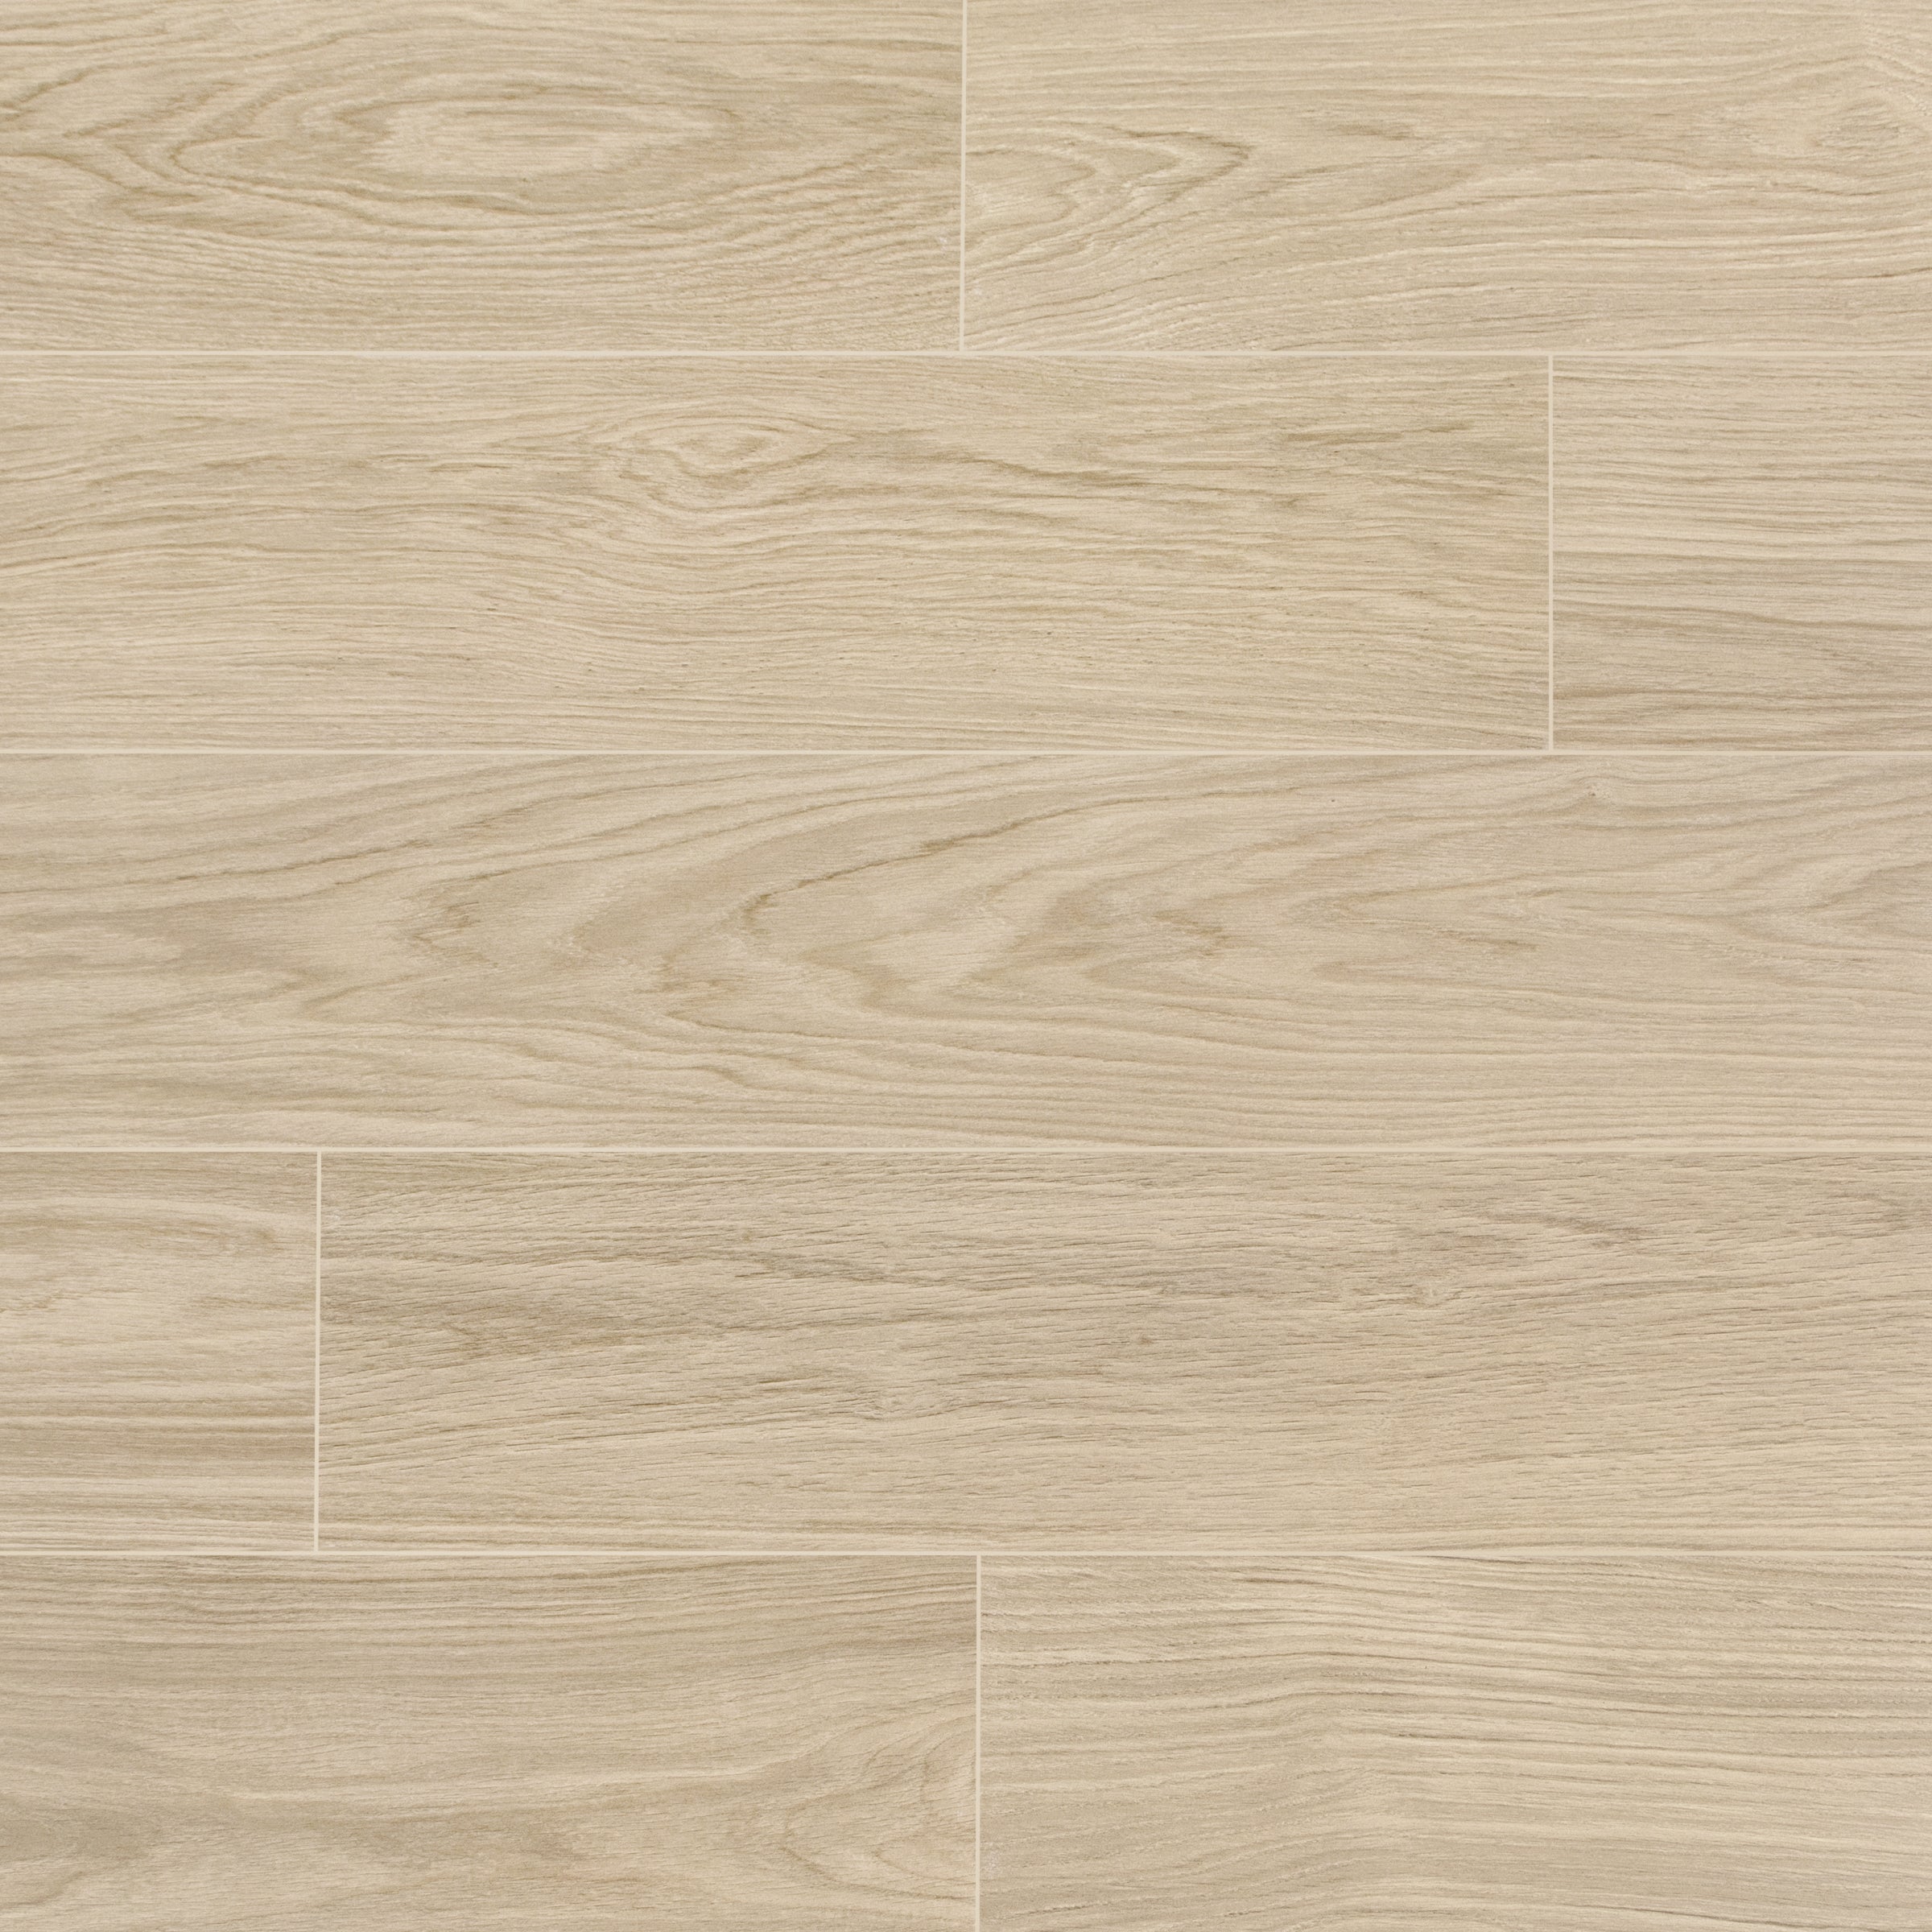
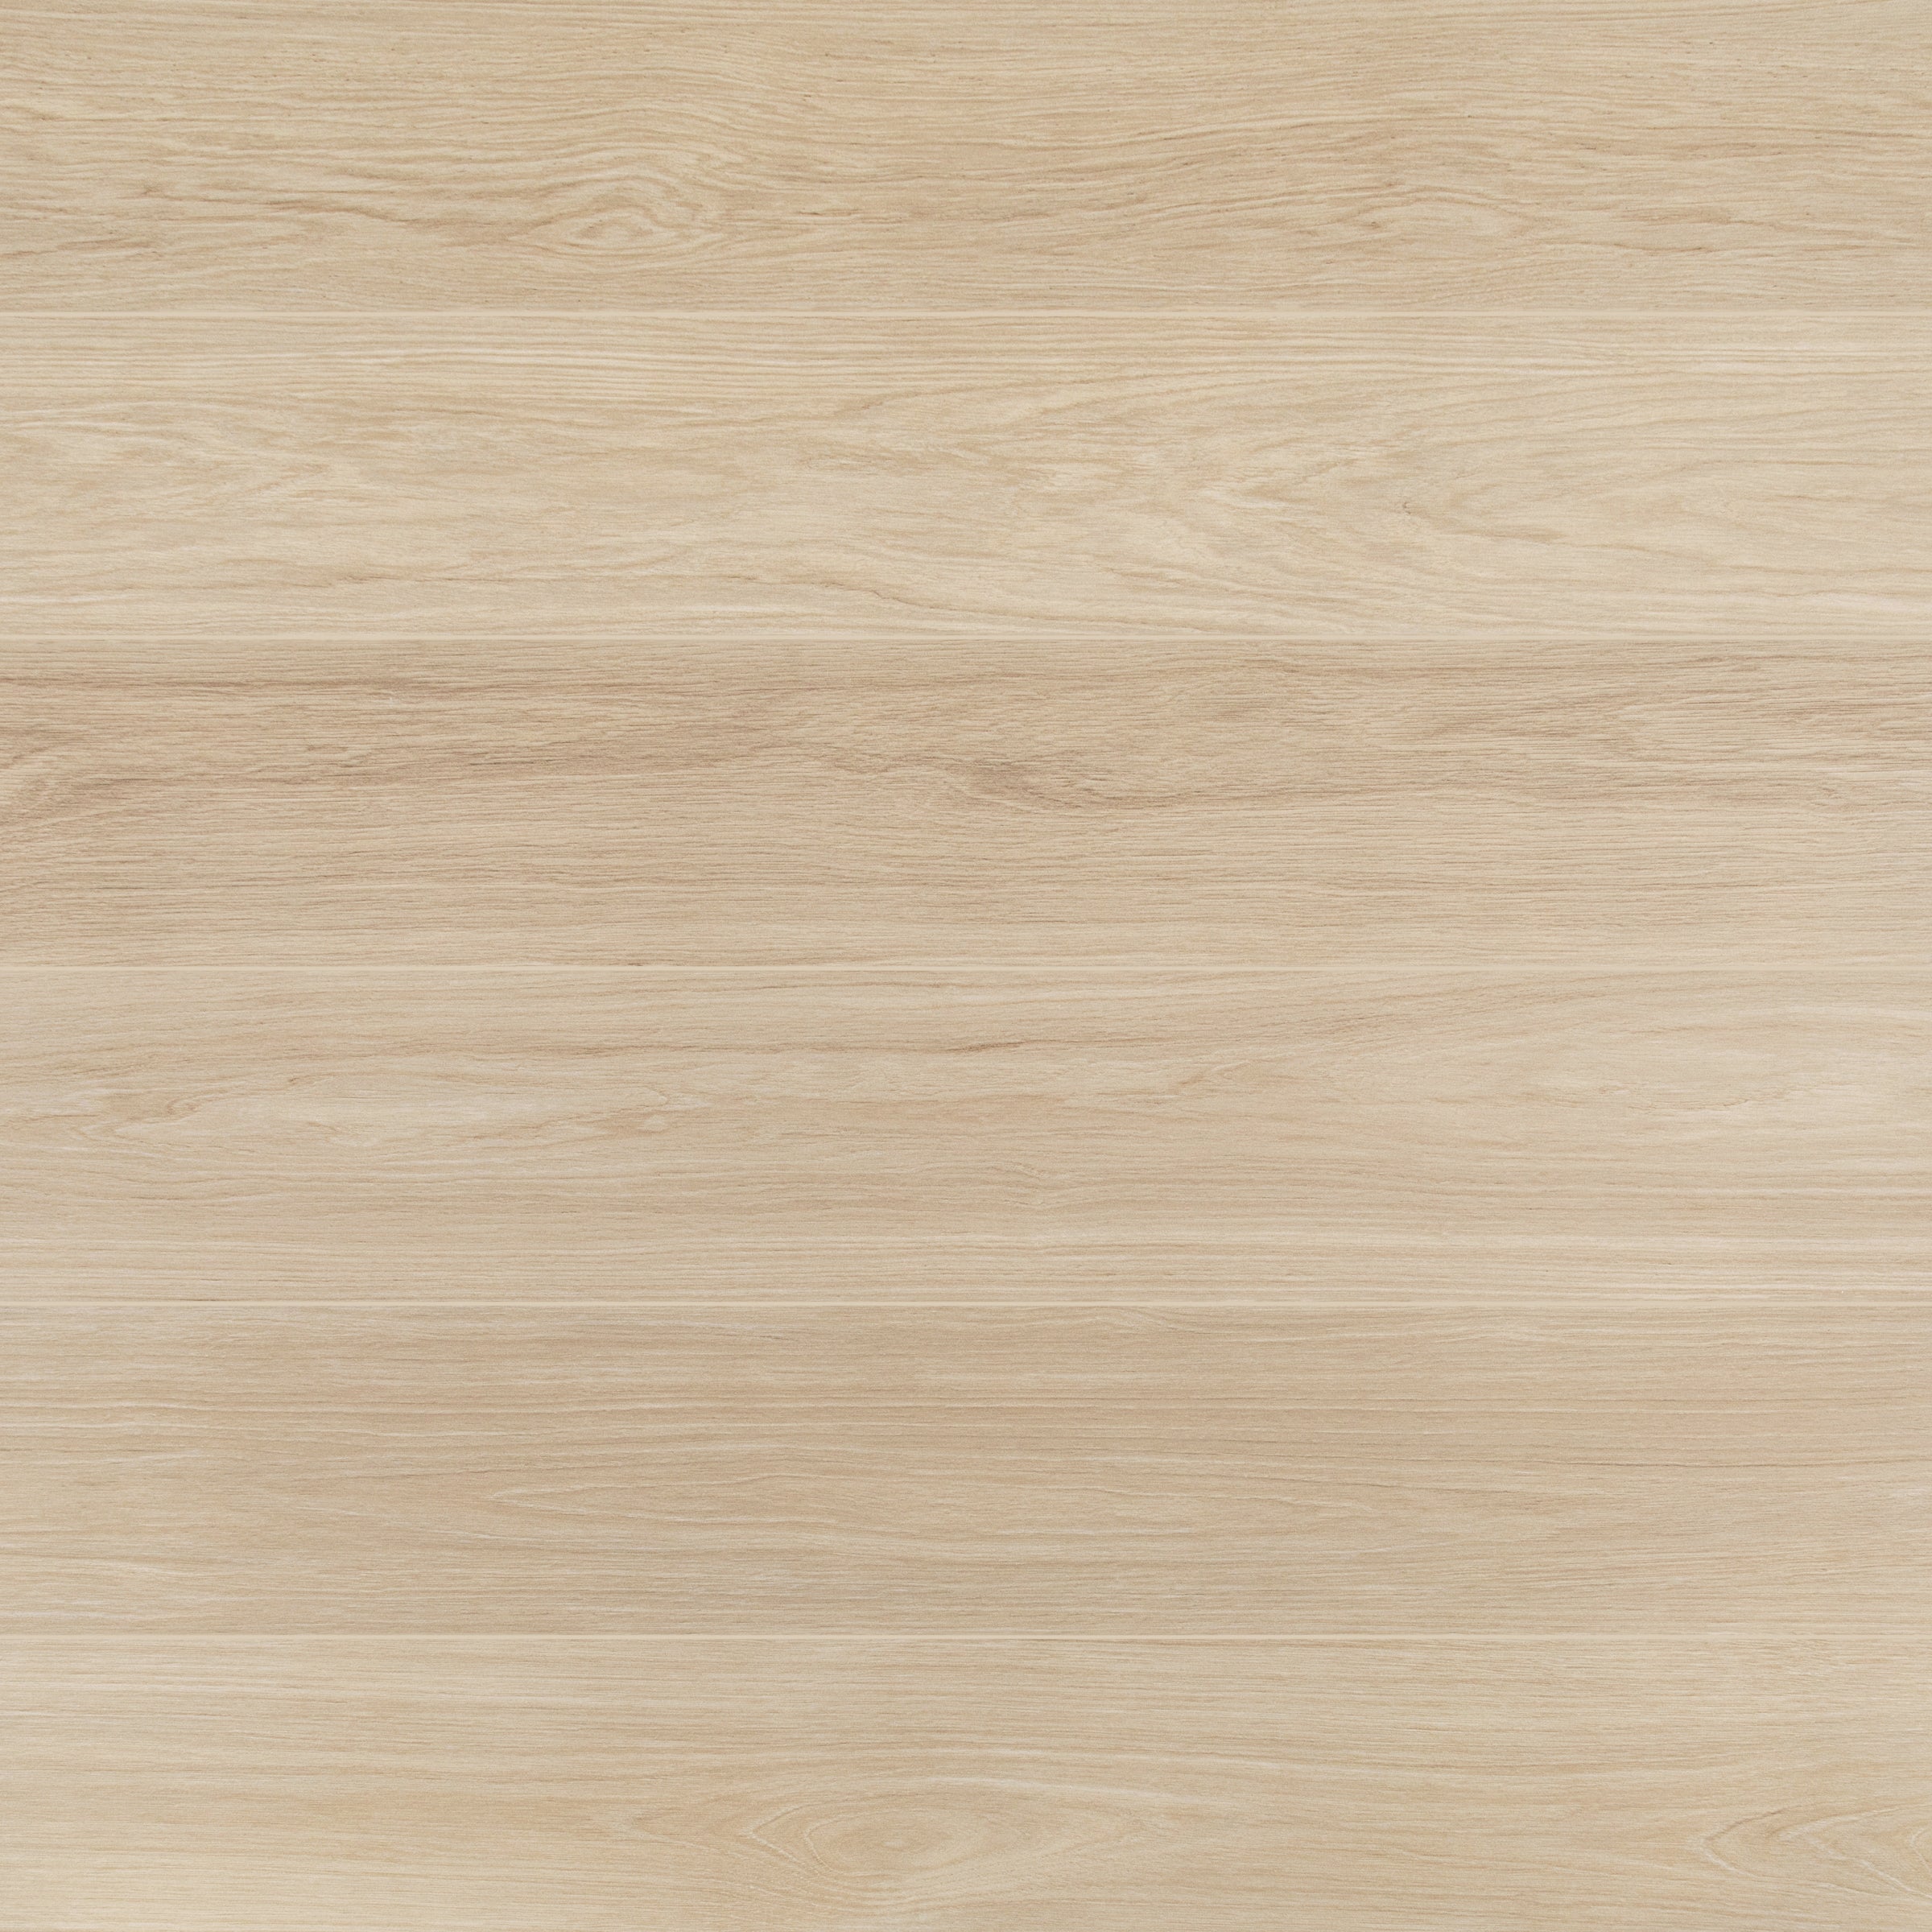
Ecru 8x48 Wood Look Porcelain Tile
Cream Limestone Look 3D Matte Porcelain Tile
Murano Honed Italian Terrazzo Tile
Travertino Moka Stone Look Porcelain Tile
Beige Limestone Look 3D Matte Porcelain Tile
Cream 12x24 3D Gloss Porcelain Tile
Almond Cement Look Matte Porcelain Tile
Travertino 3D Matte Porcelain Tile
Breccia Capraia 3D Mable Look Porcelain Tile
Calacatta Honed Italian Terrazzo Tile
Taj Matte Marble Look Porcelain Tile
Spider Gold Matte Marble Look Porcelain Tile
White Paradise Marble Look Porcelain Tile
Silver Limestone Look 3D Matte Porcelain Tile
Borgogna 3D Matte Porcelain Tile
Fior de Bosco Marble Look Porcelain Tile
Almond Hammered Limestone Look Matte Porcelain Tile
Honey Slats 24x48 Wood Look Porcelain Tile
Pearl 24x24 Cheppo Look Matte Porcelain Tile
Torcello Honed Italian Terrazzo Tile
Ivory Marble Look Matte Porcelain Tile
Nuvola Pearl 24x48 Marble Look Porcelain Tile
Paonazzo Matte Marble Look Porcelain Tile
Nude 12x24 3D Gloss Porcelain Tile
Sand 48x48 Cement Look Porcelain Tile
Chiaro Terracotta Look Matte Porcelain Tile
Breccia Grey 3D Stone Look Porcelain Tile
Nuvola Gold 24x48 Marble Look Porcelain Tile
Honey Black Slats 24x48 Wood Look Porcelain Tile
Honey 48x48 Cement Look Porcelain Tile
Ecru 8x48 Wood Look Porcelain Tile
Pearl Slate Look Porcelain Tile