


NOTIFY ME WHEN AVAILABLE
We'll notify you as soon as this product or sample is back in stock / available.
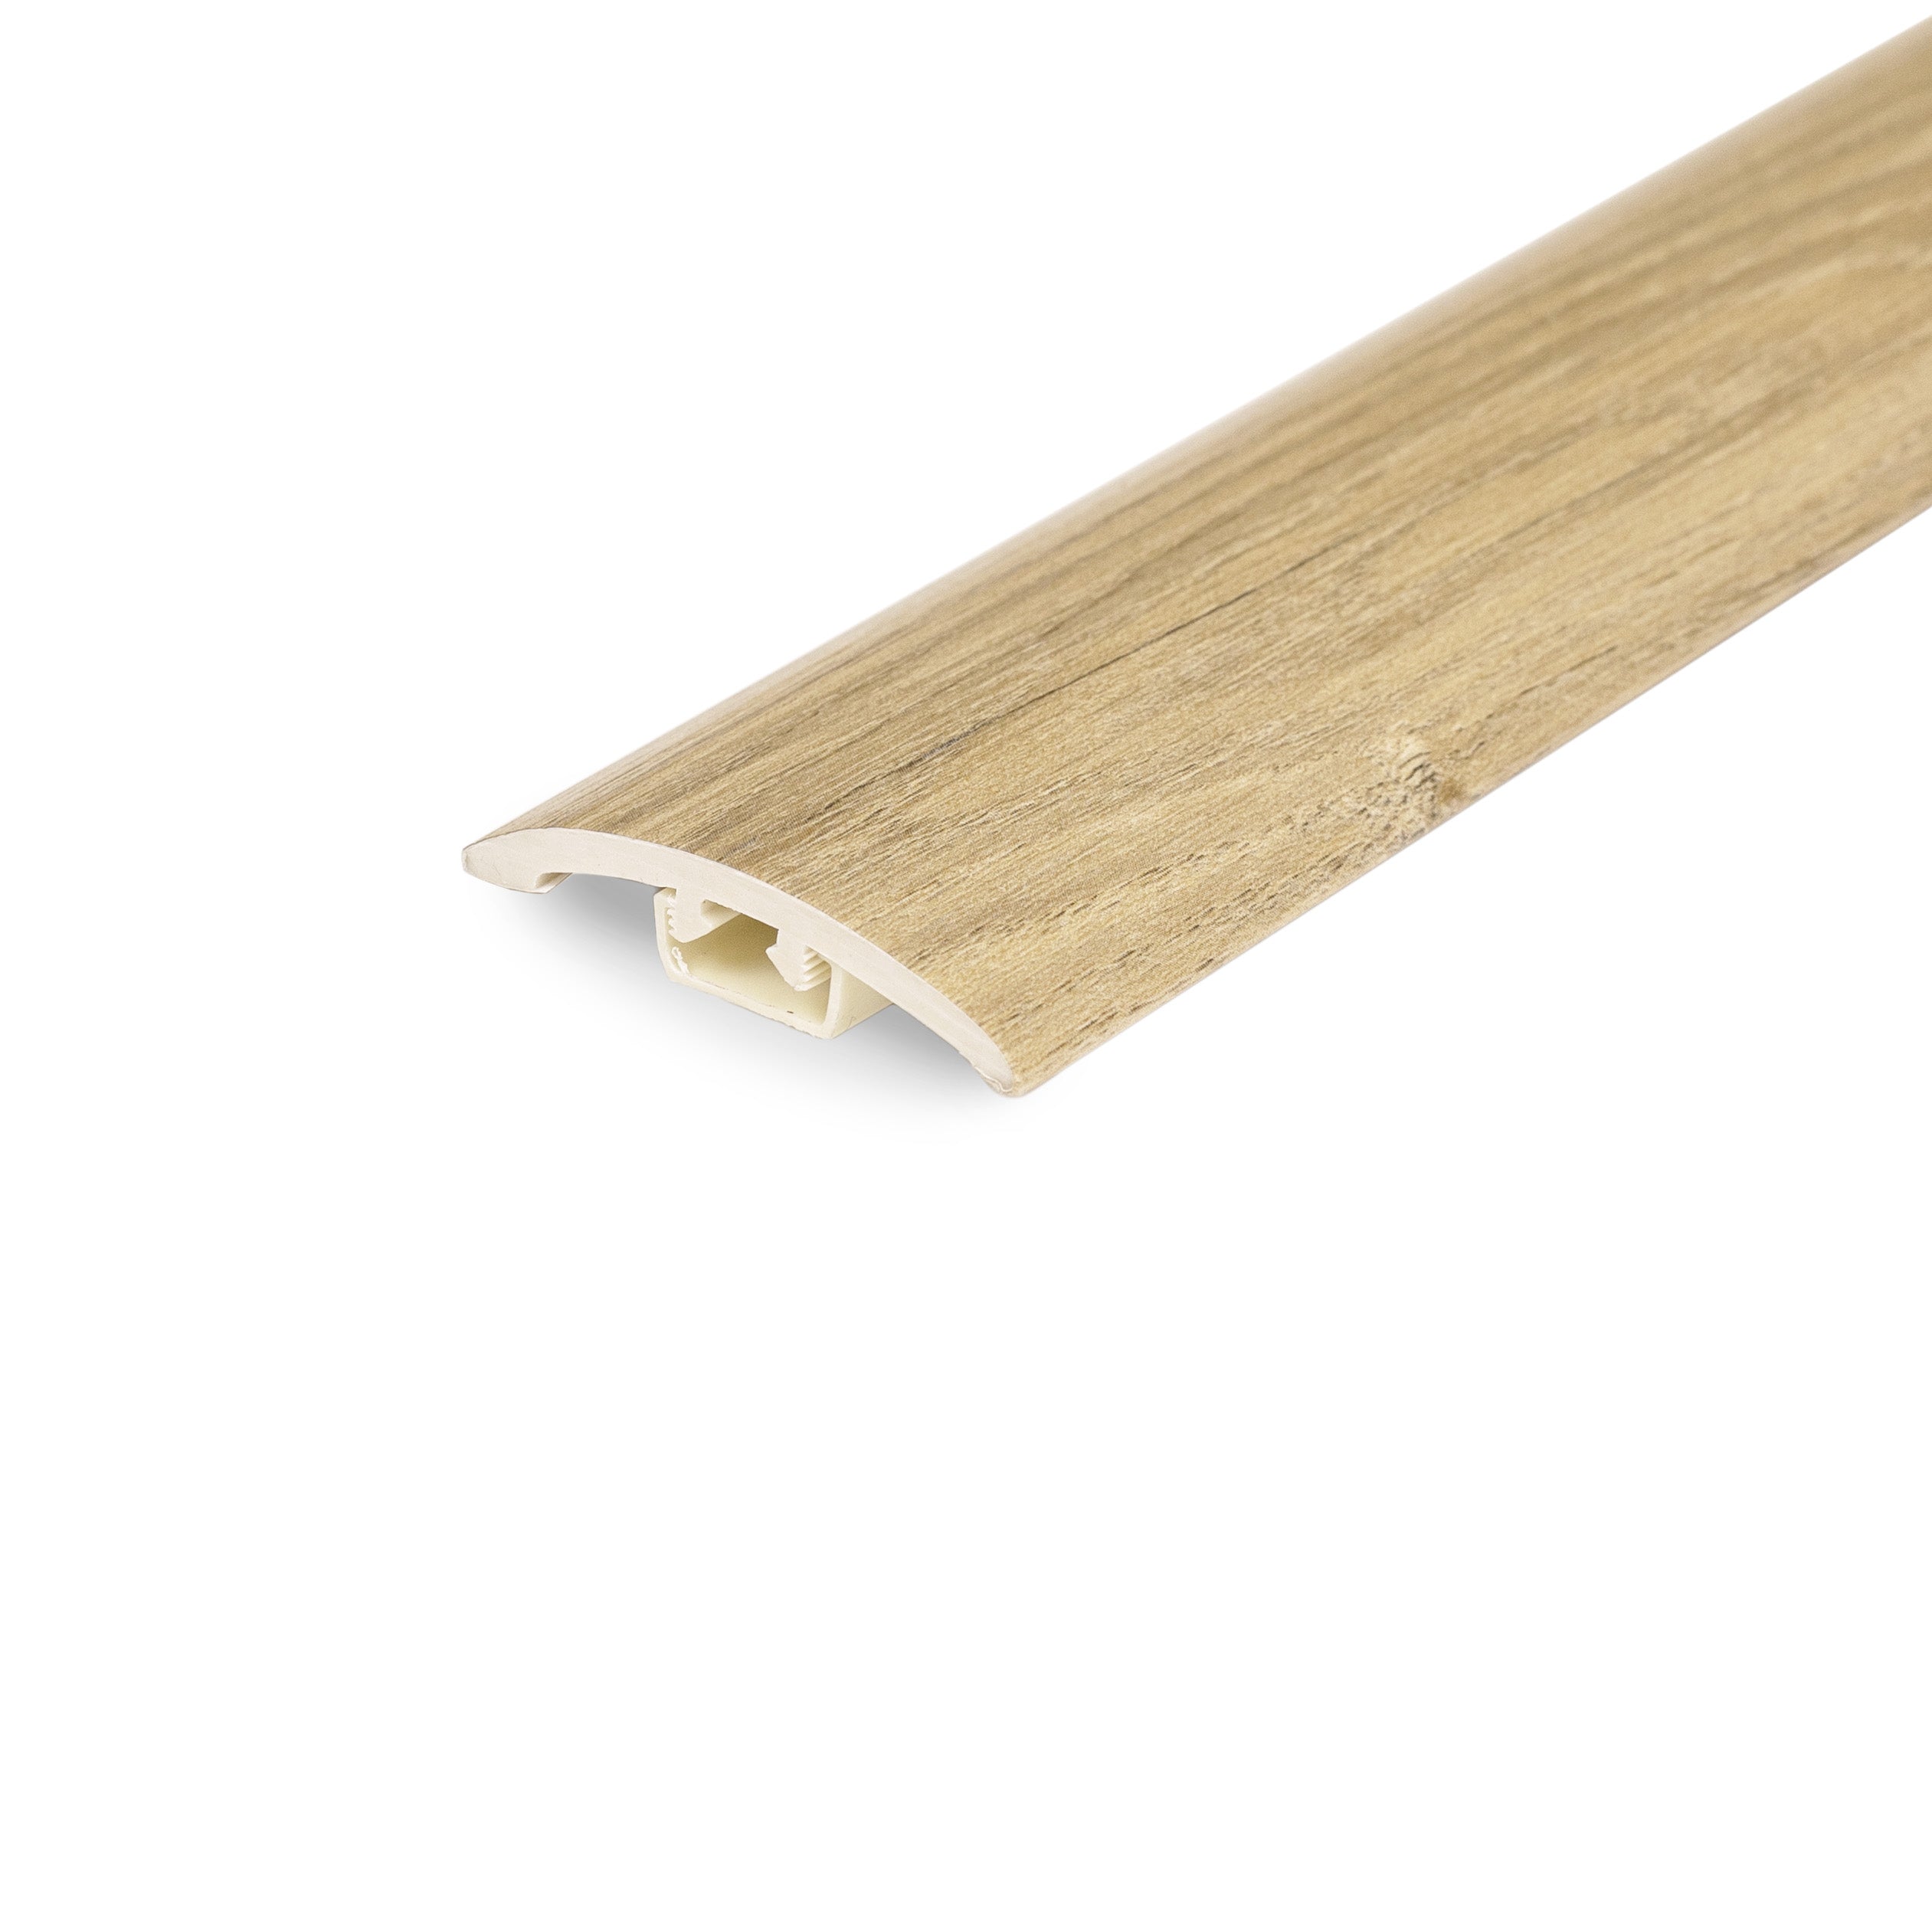
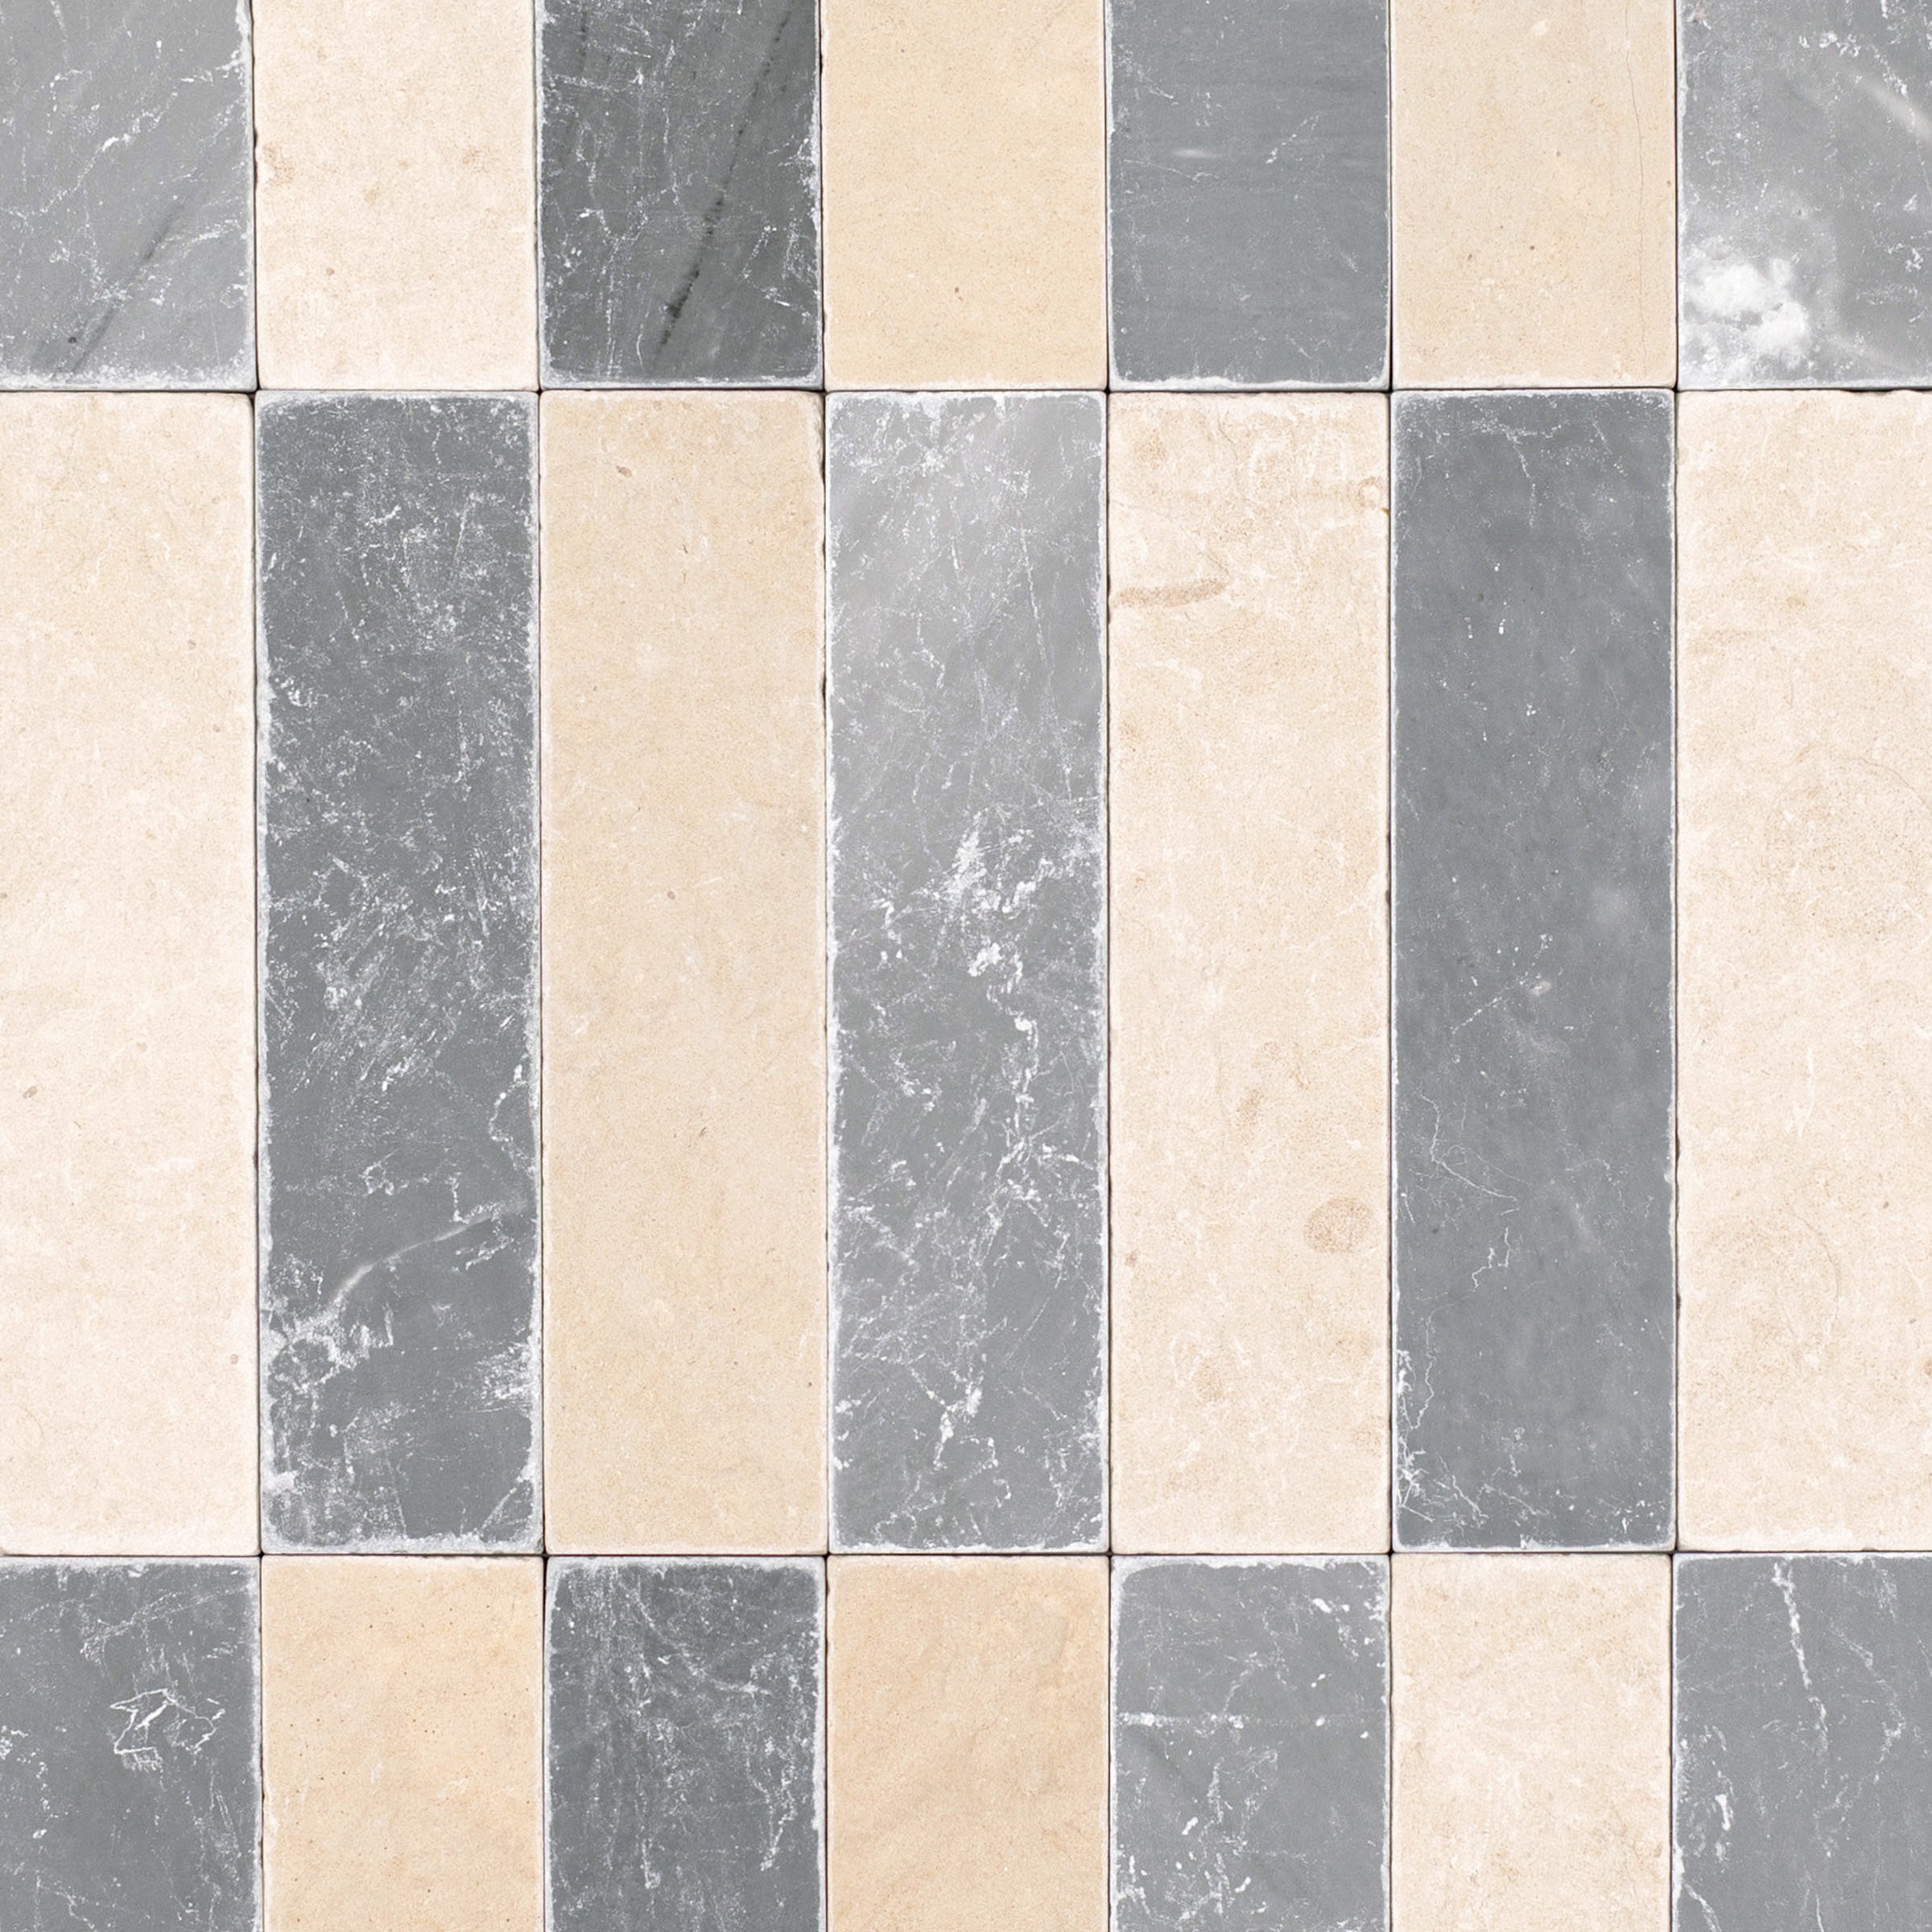
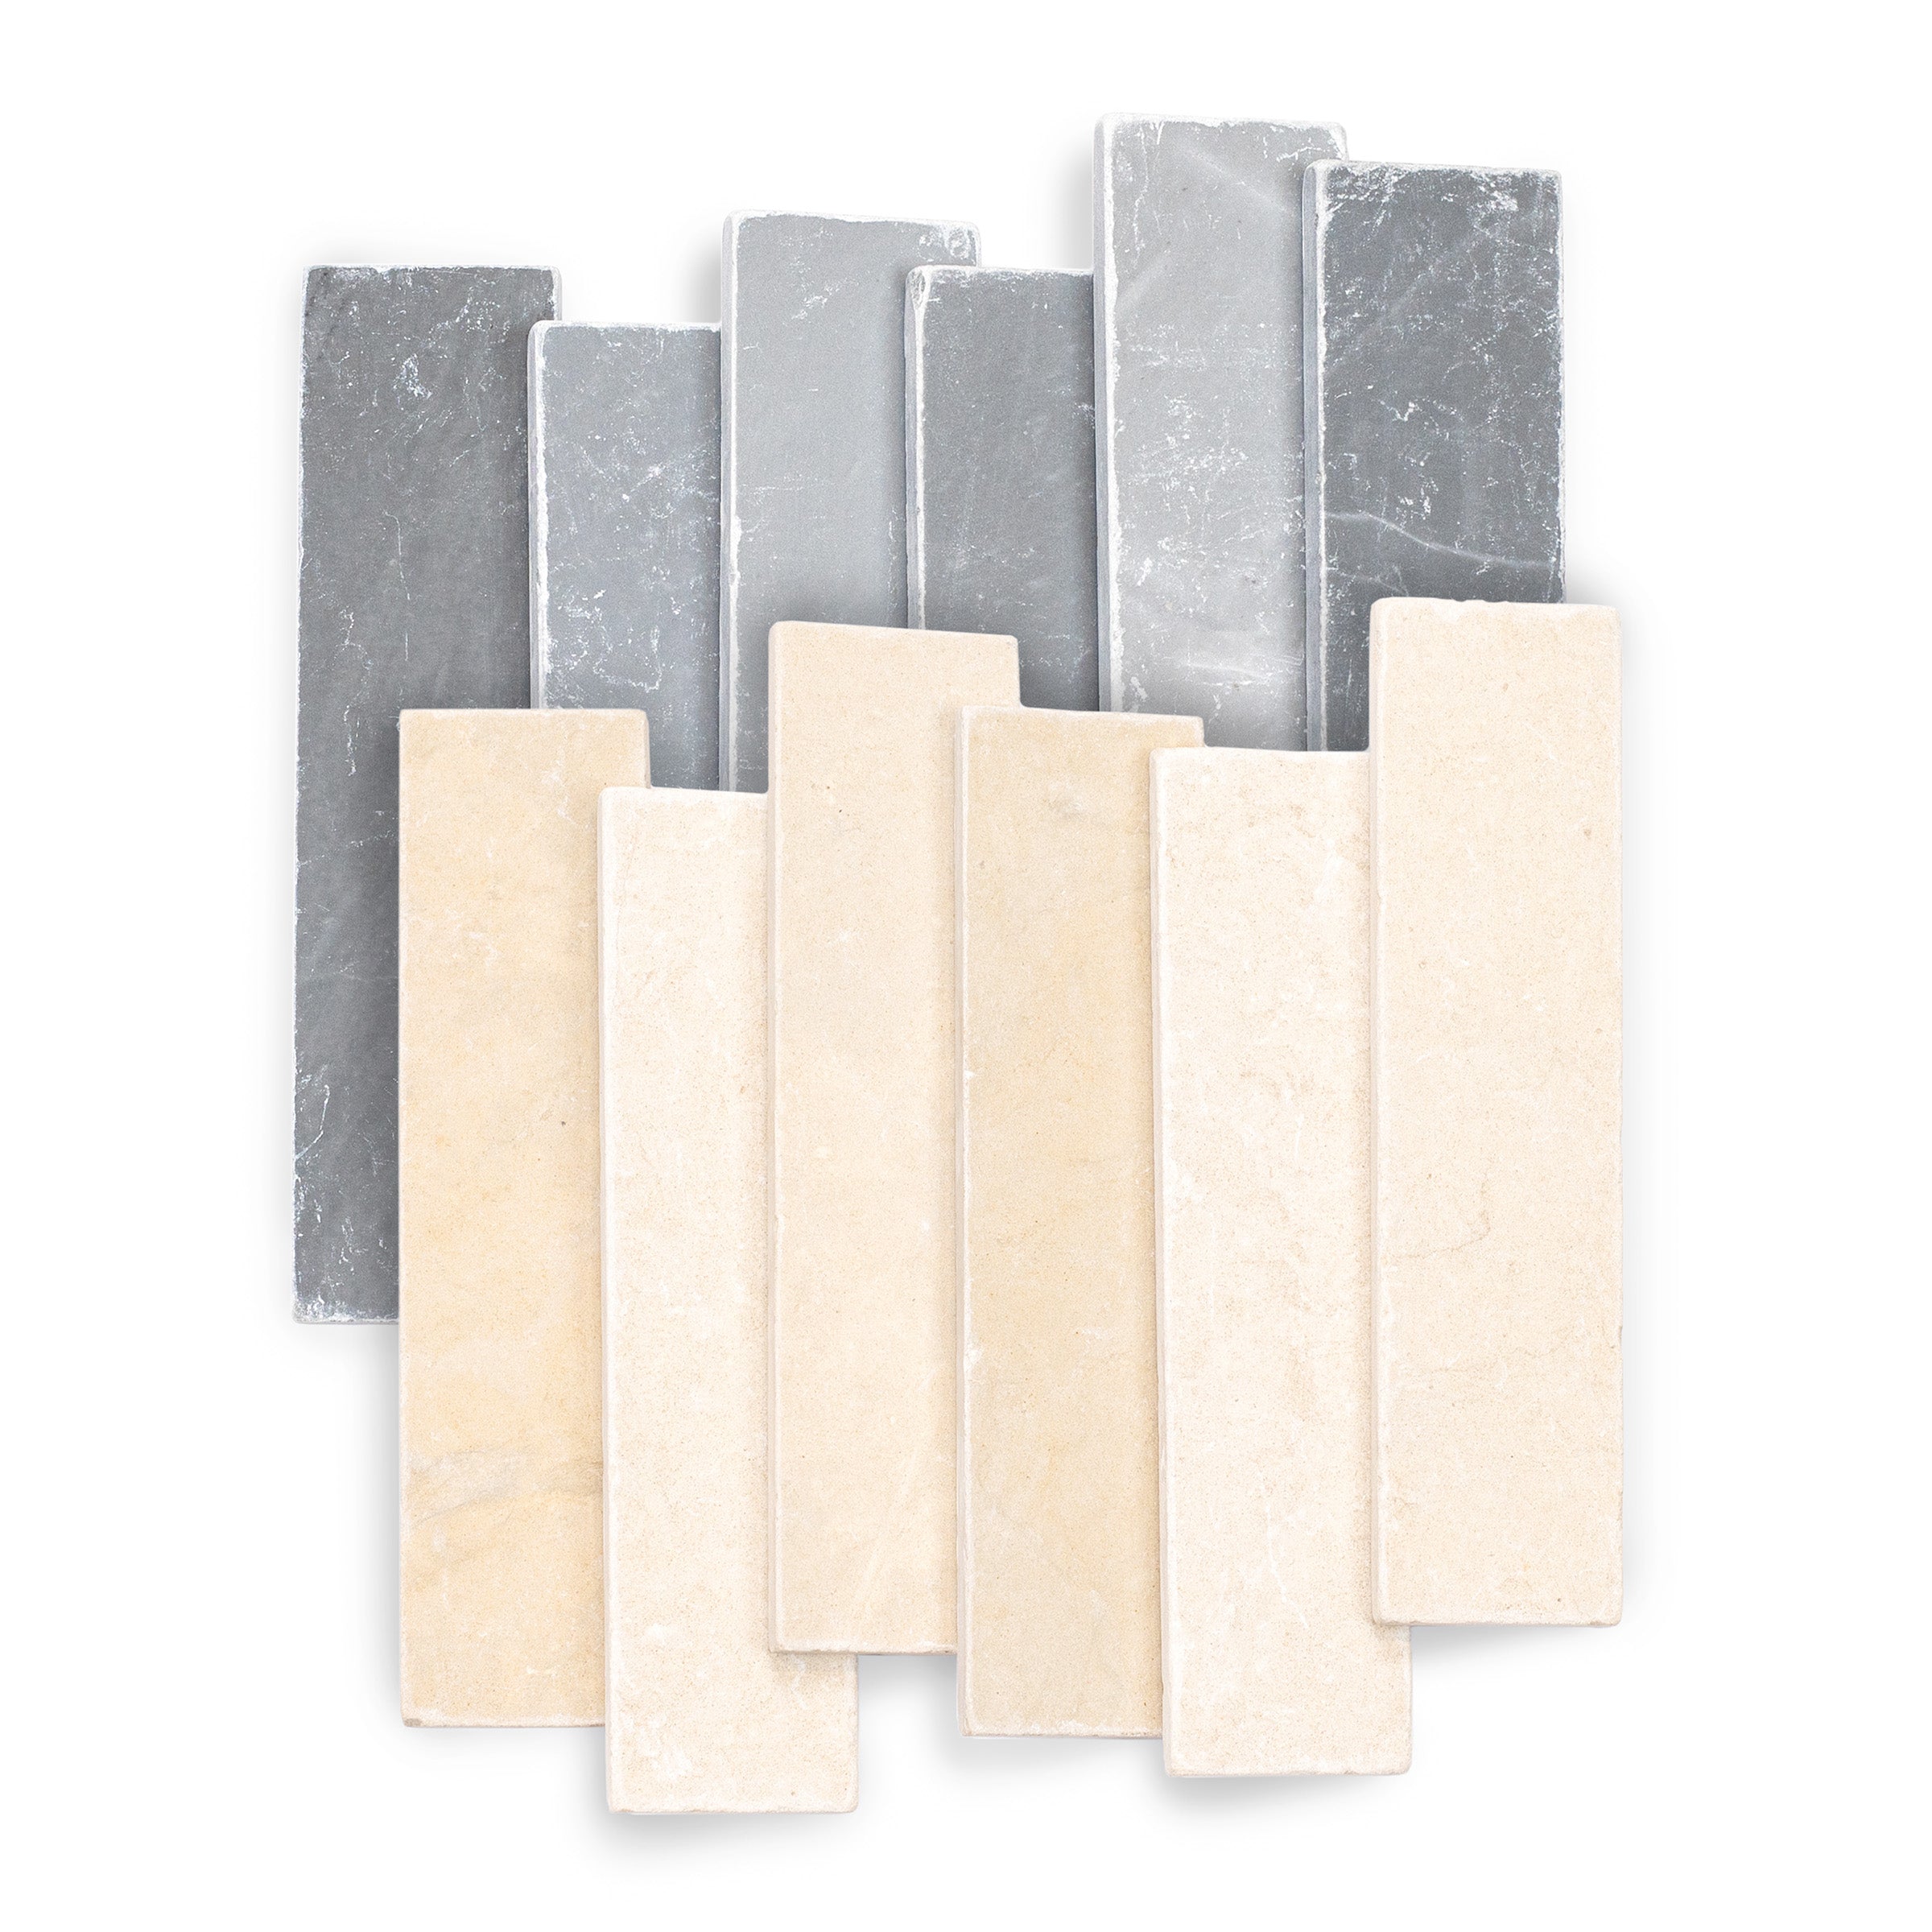
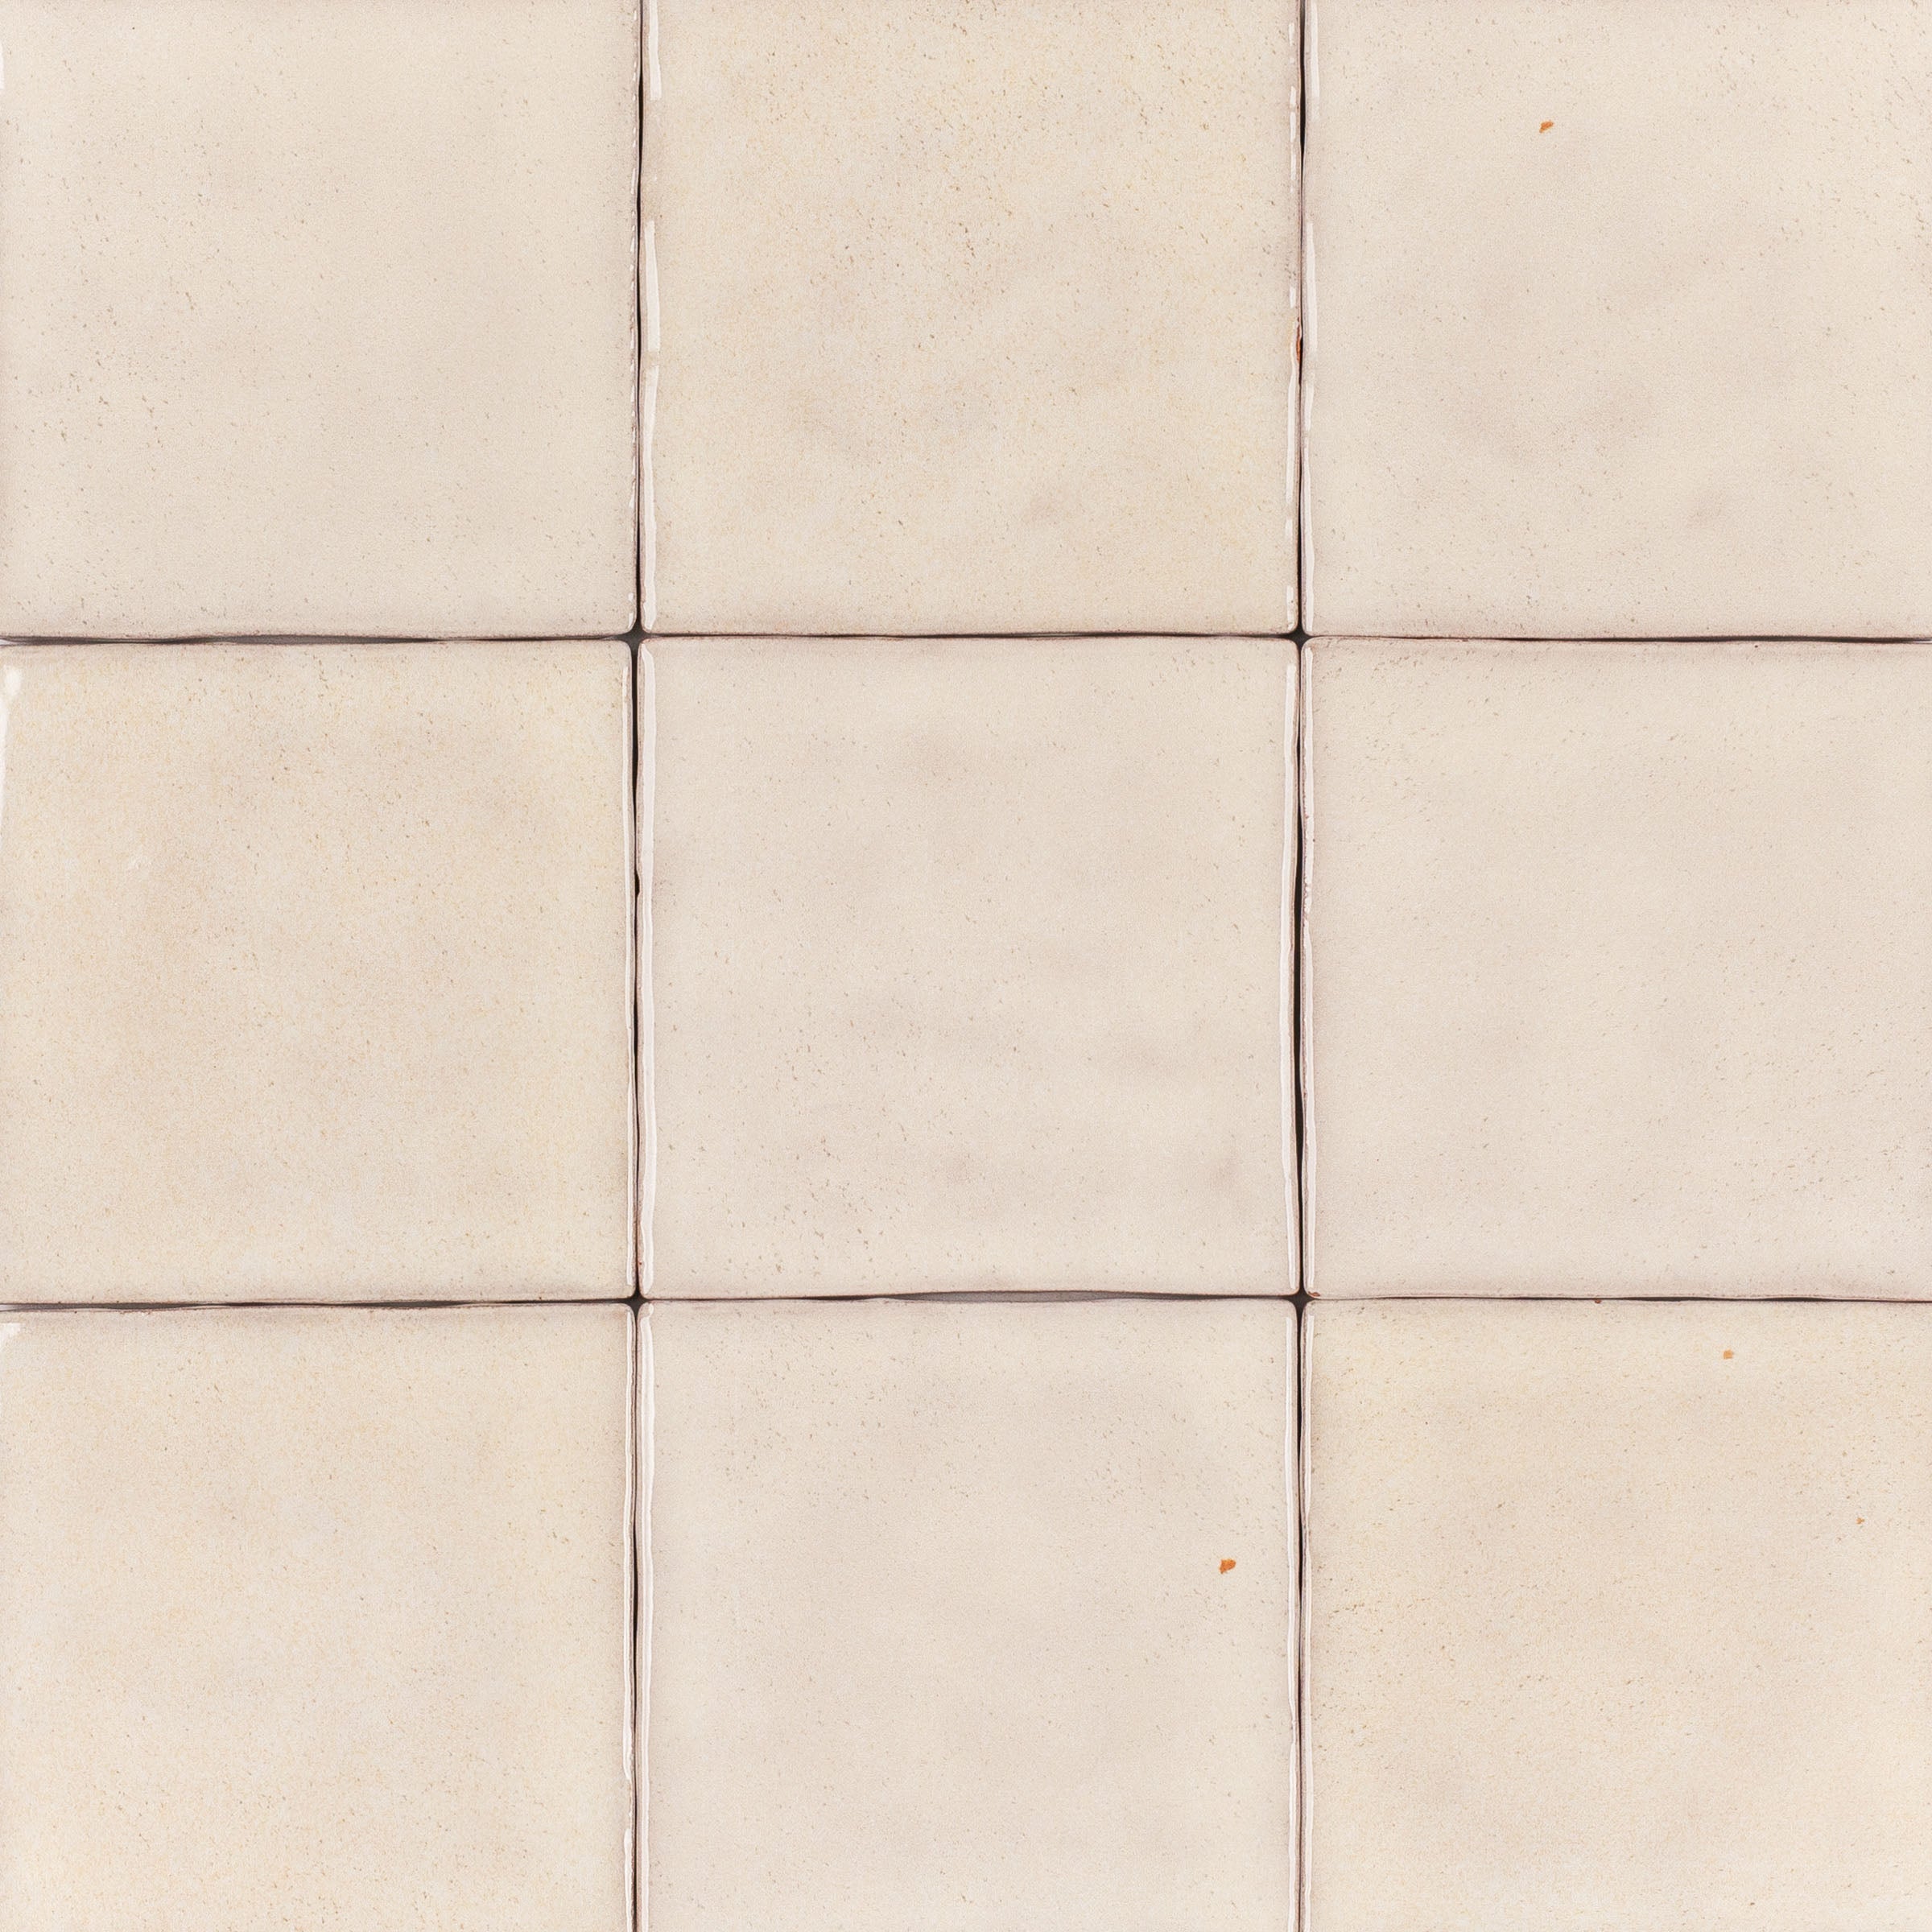
Pair It With


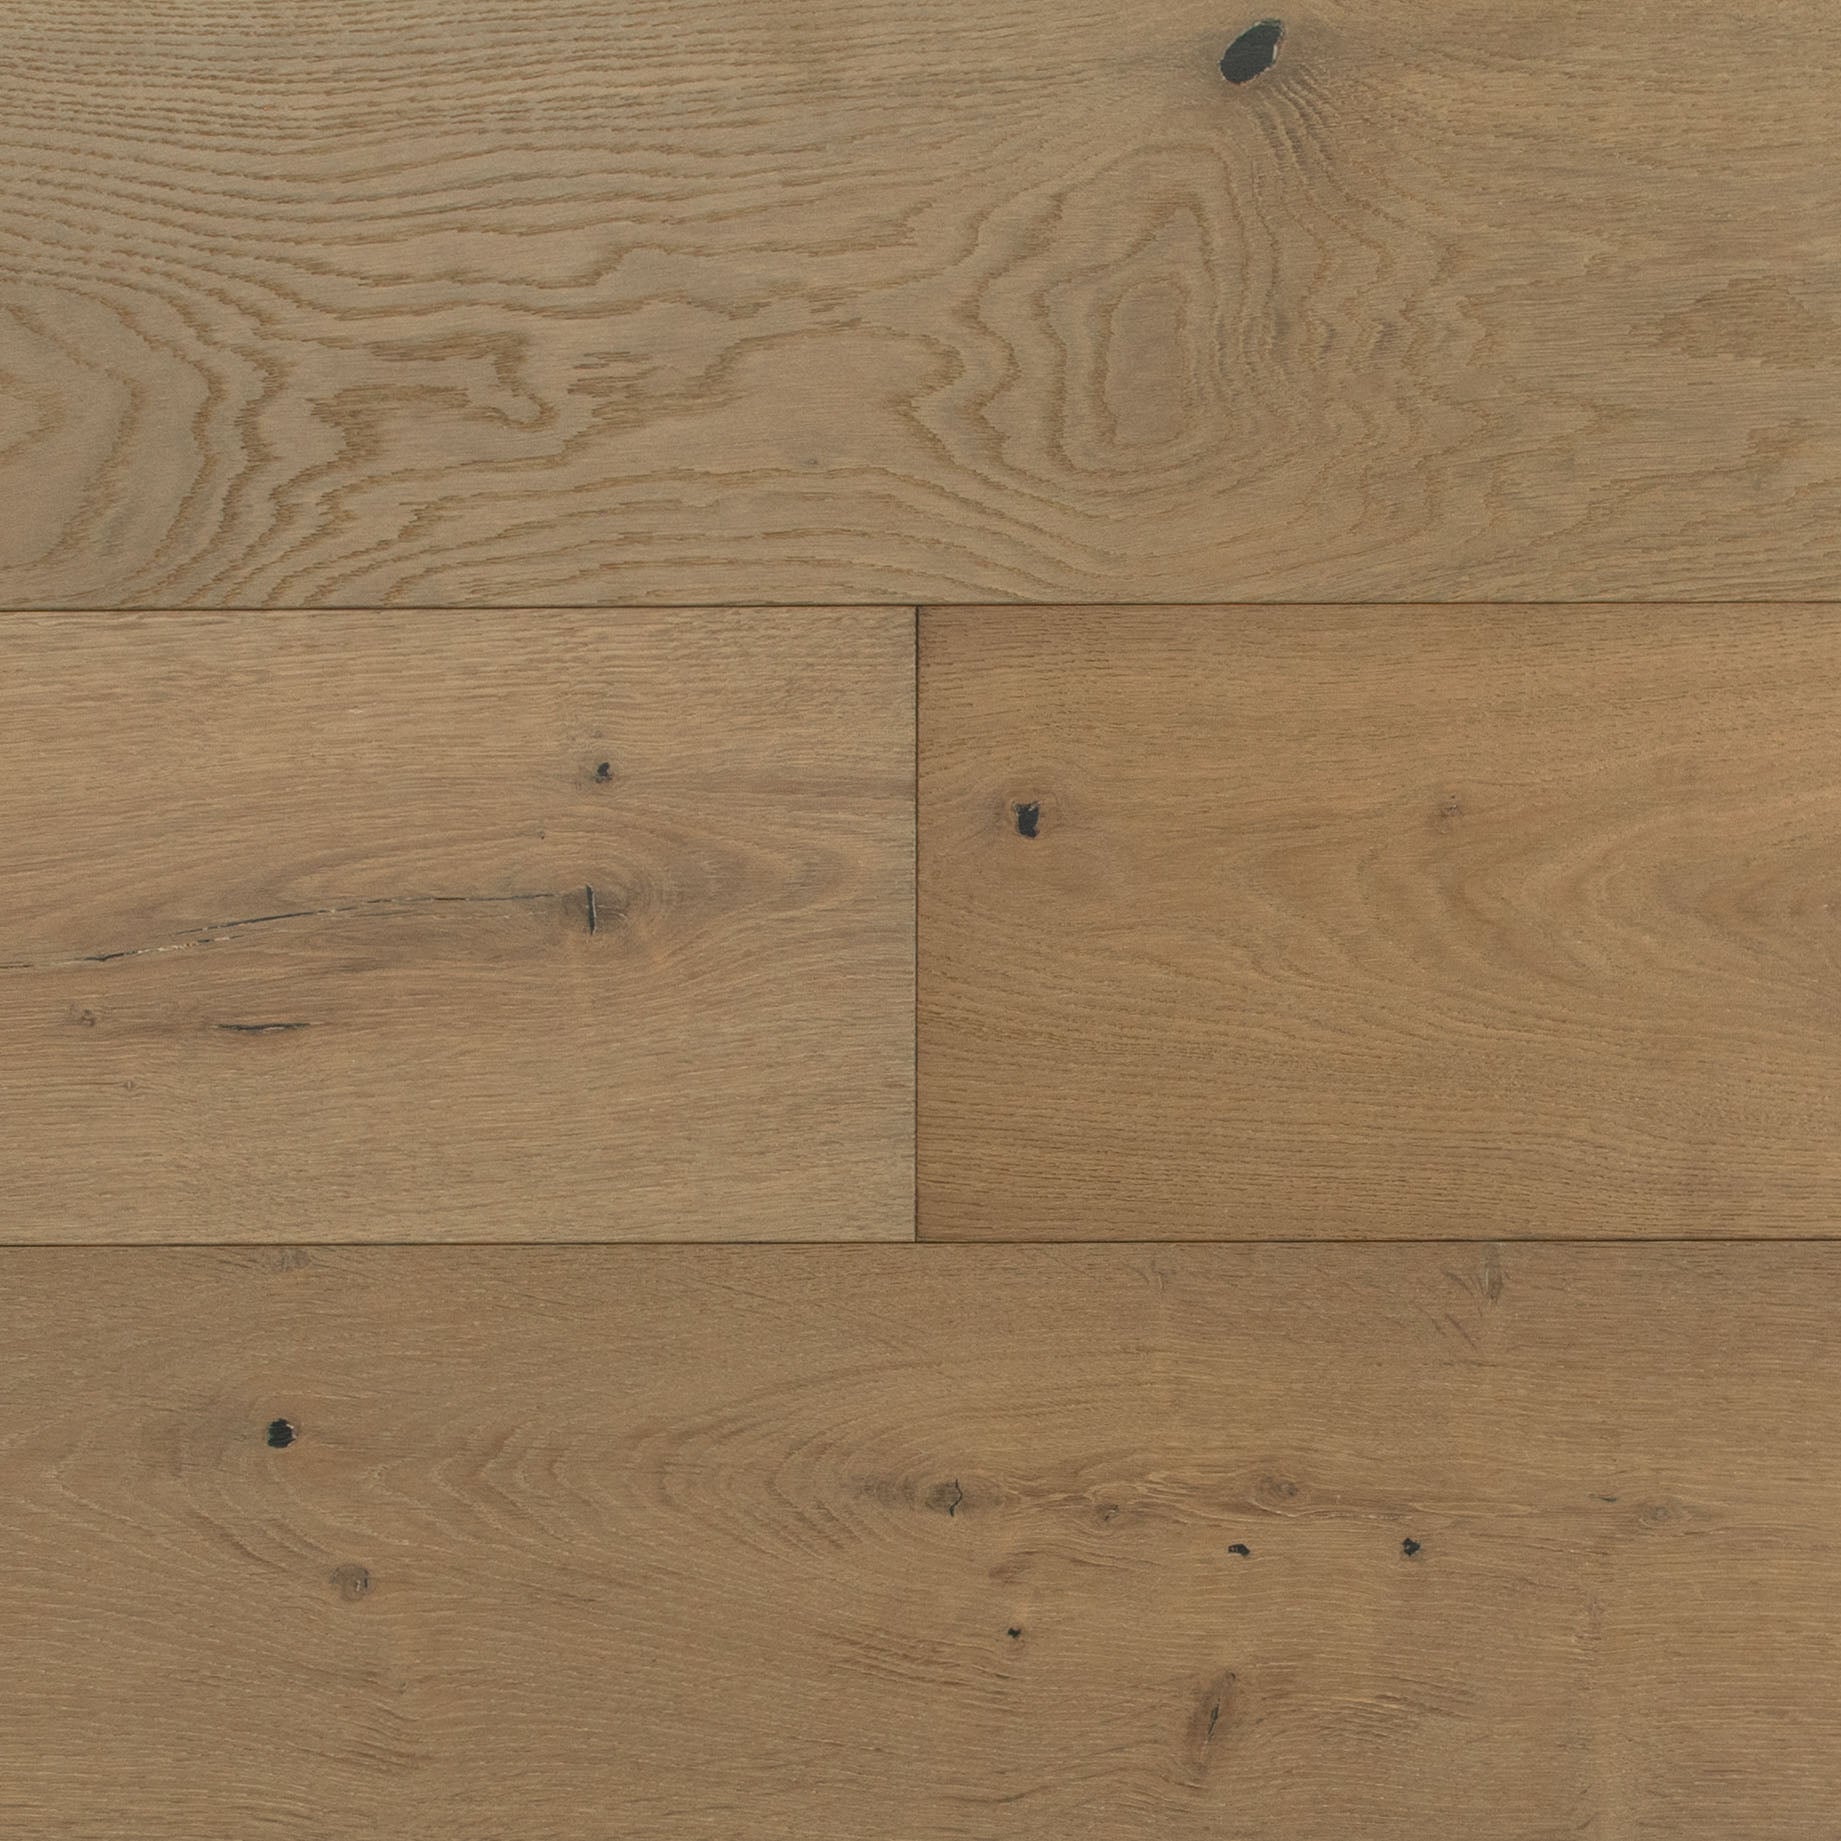
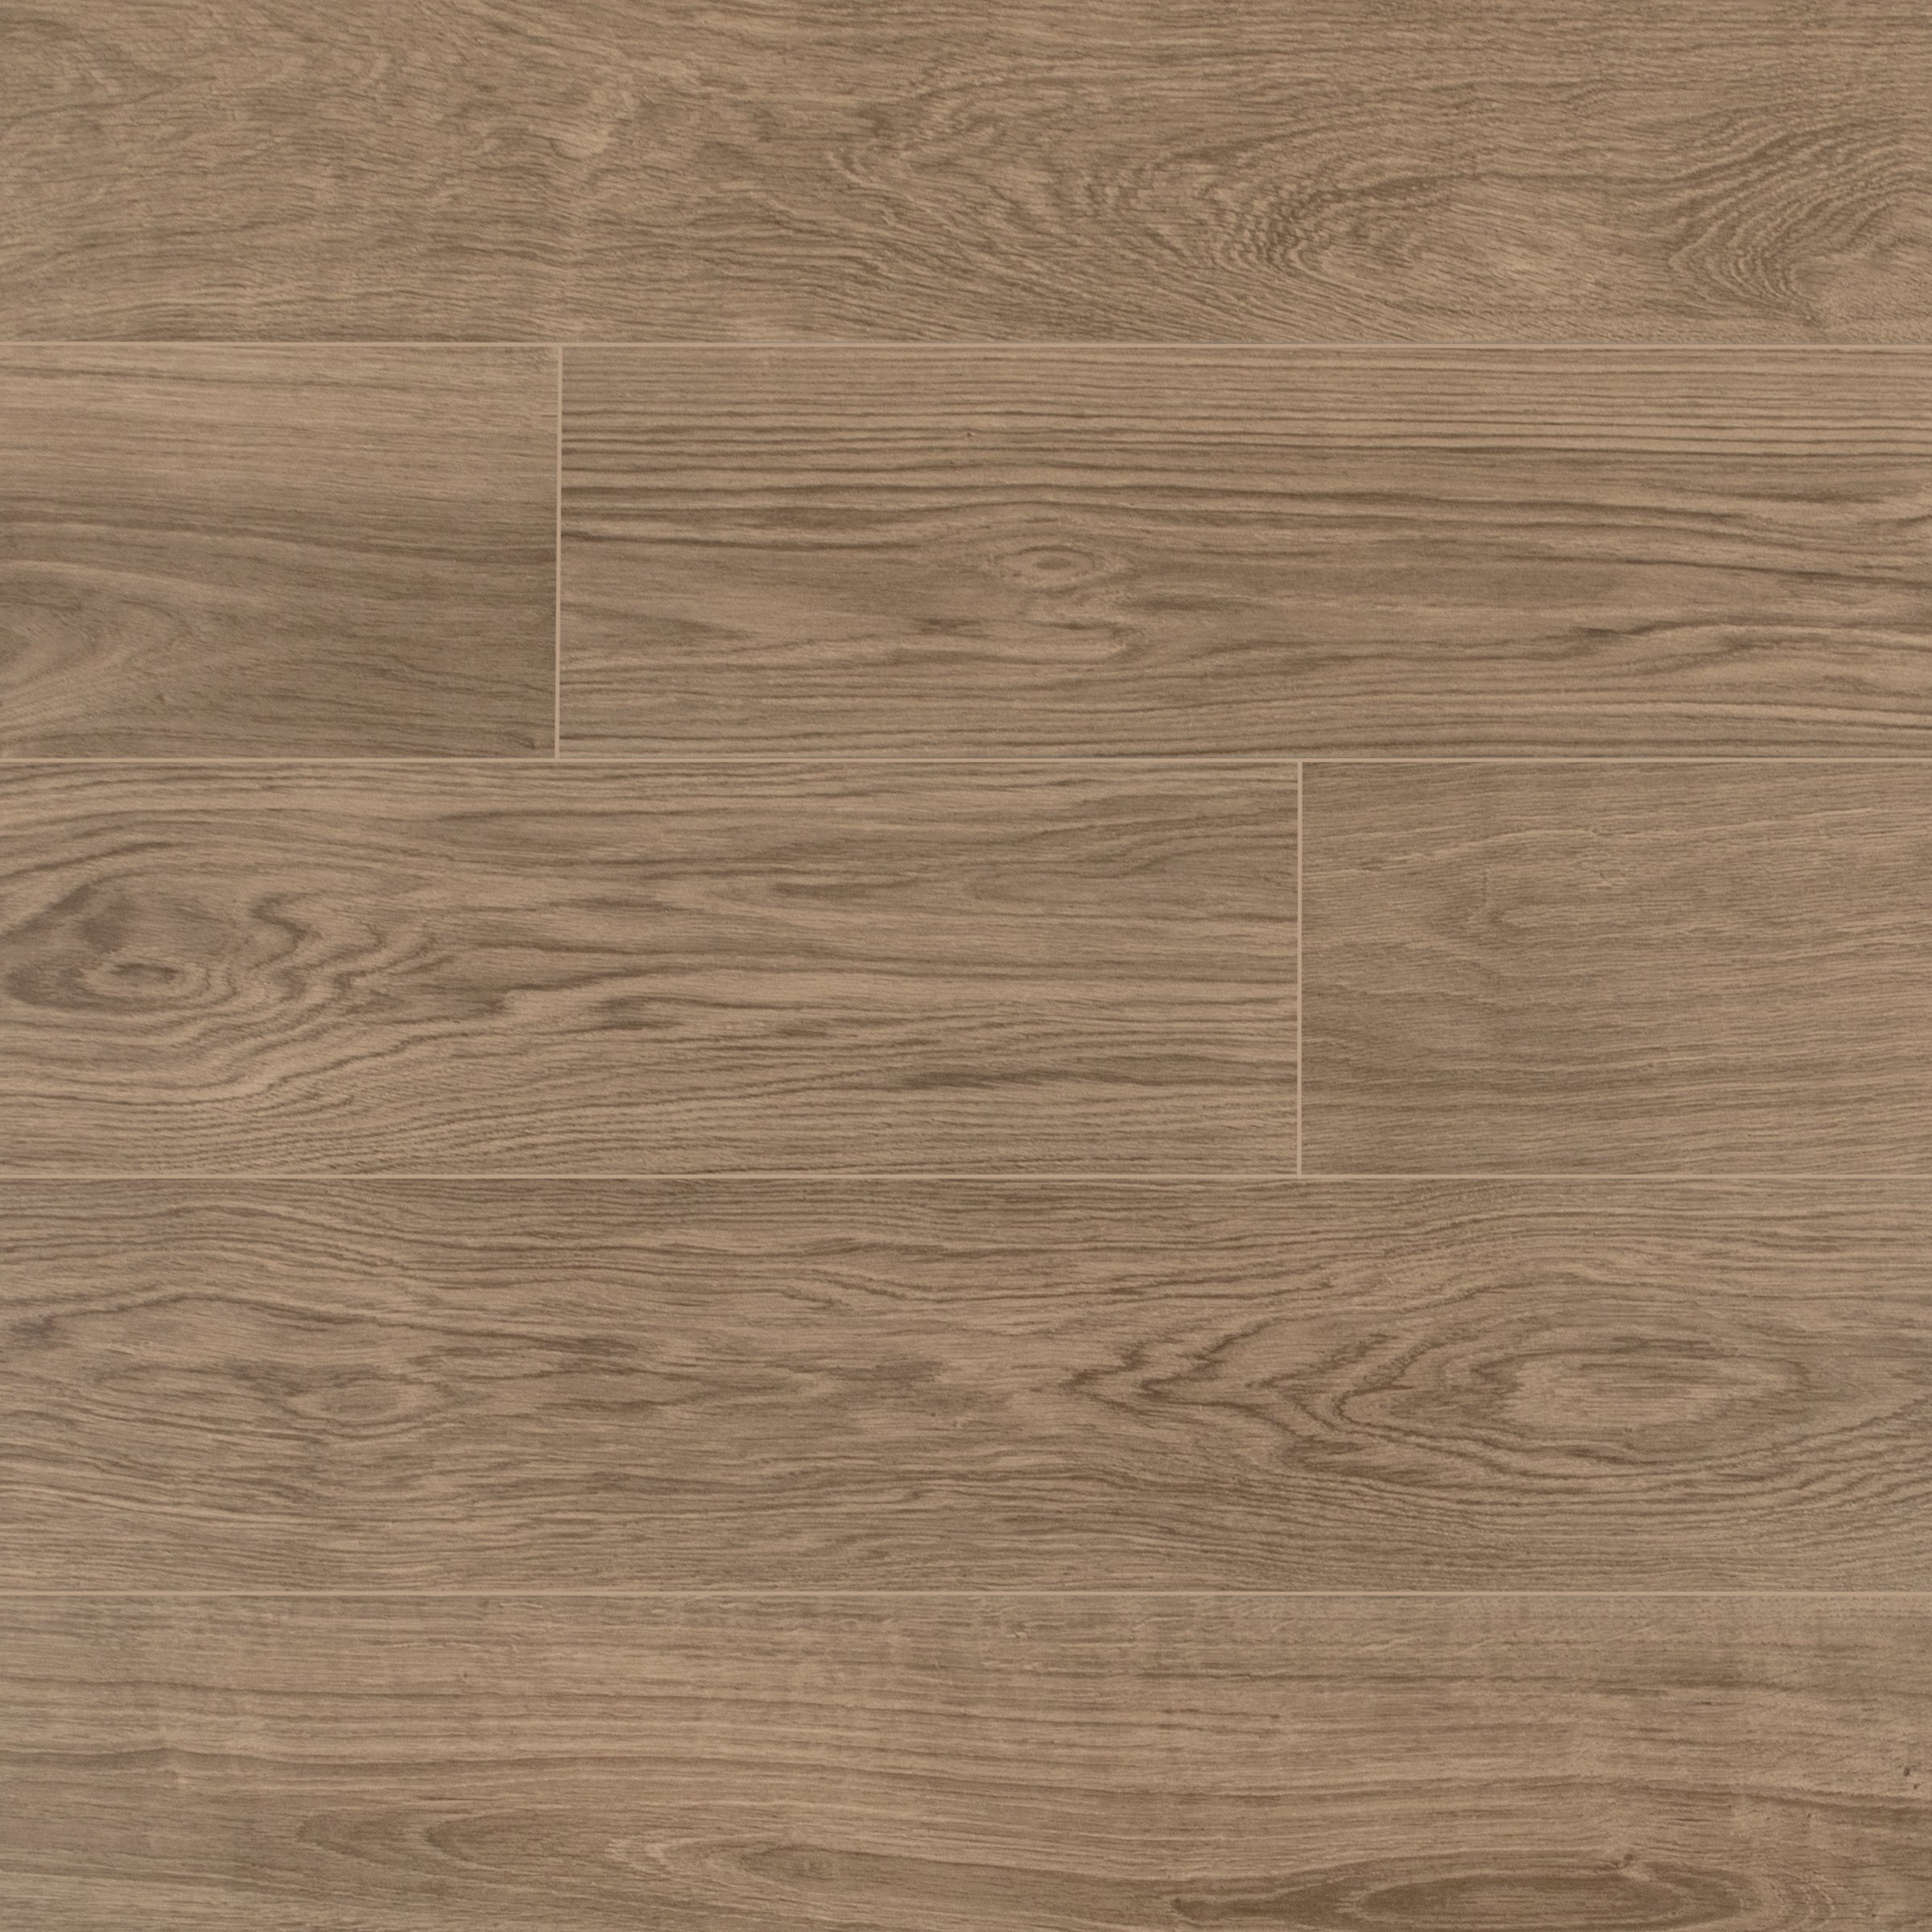
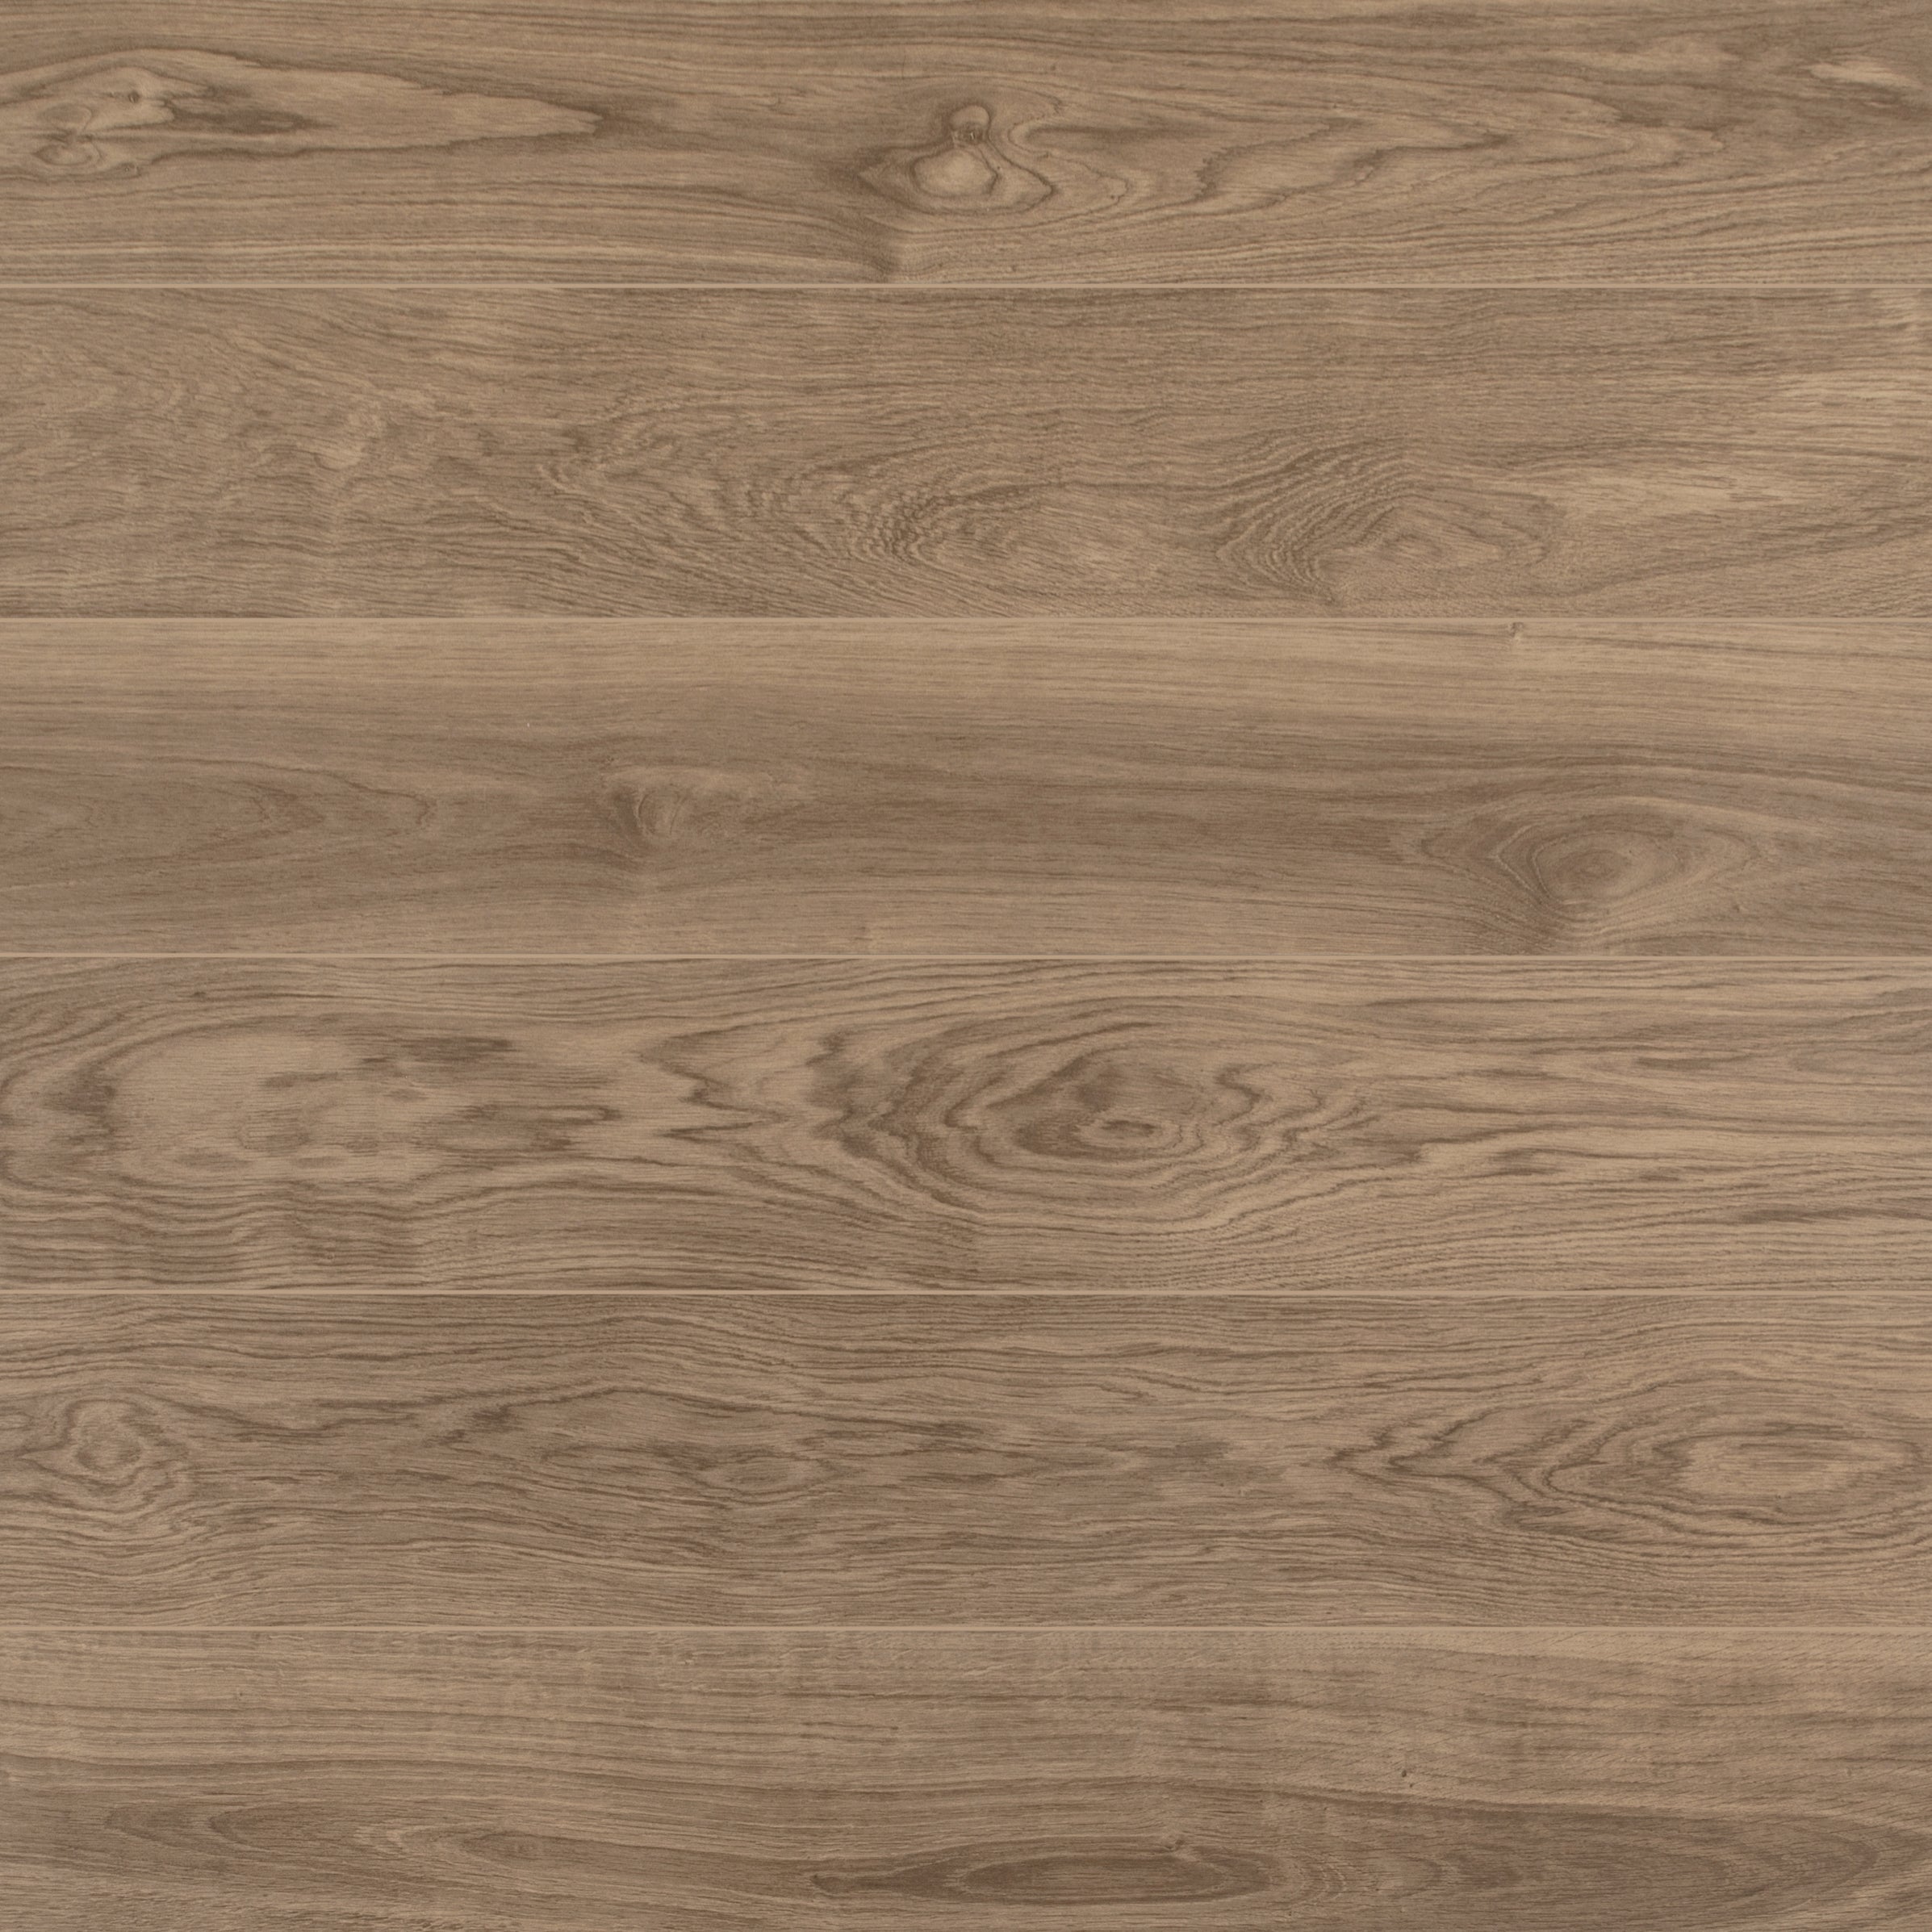
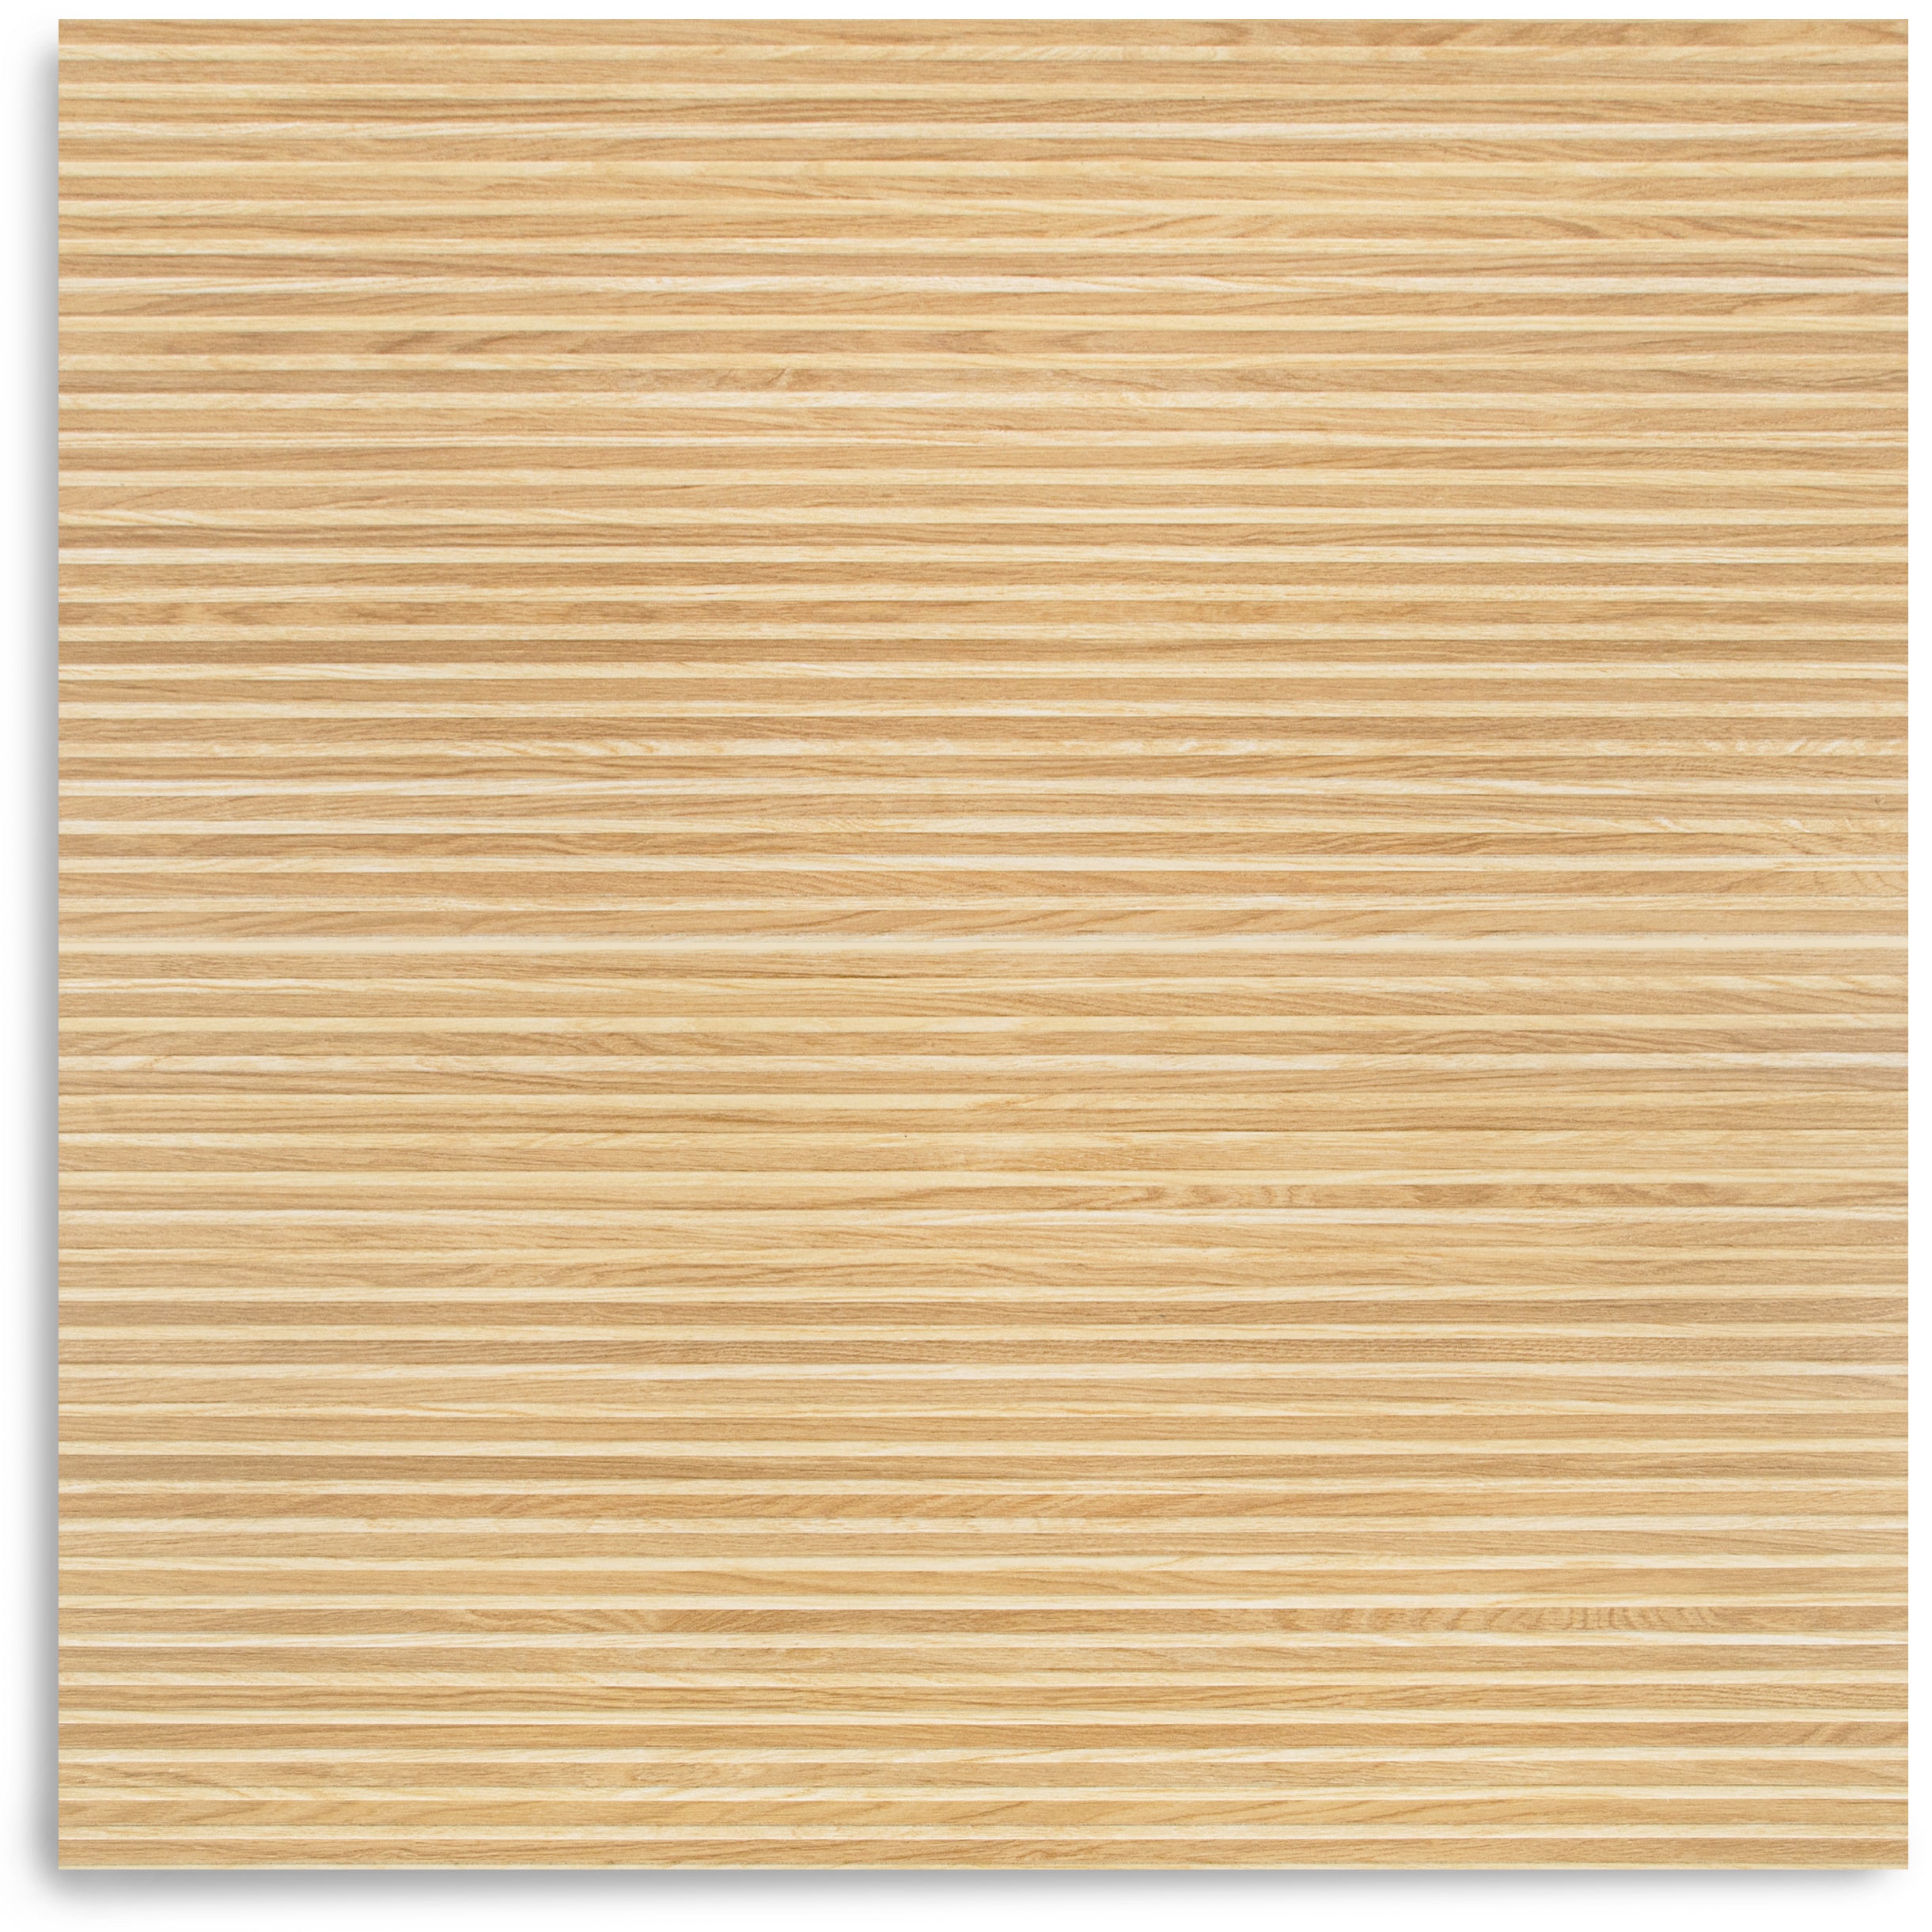
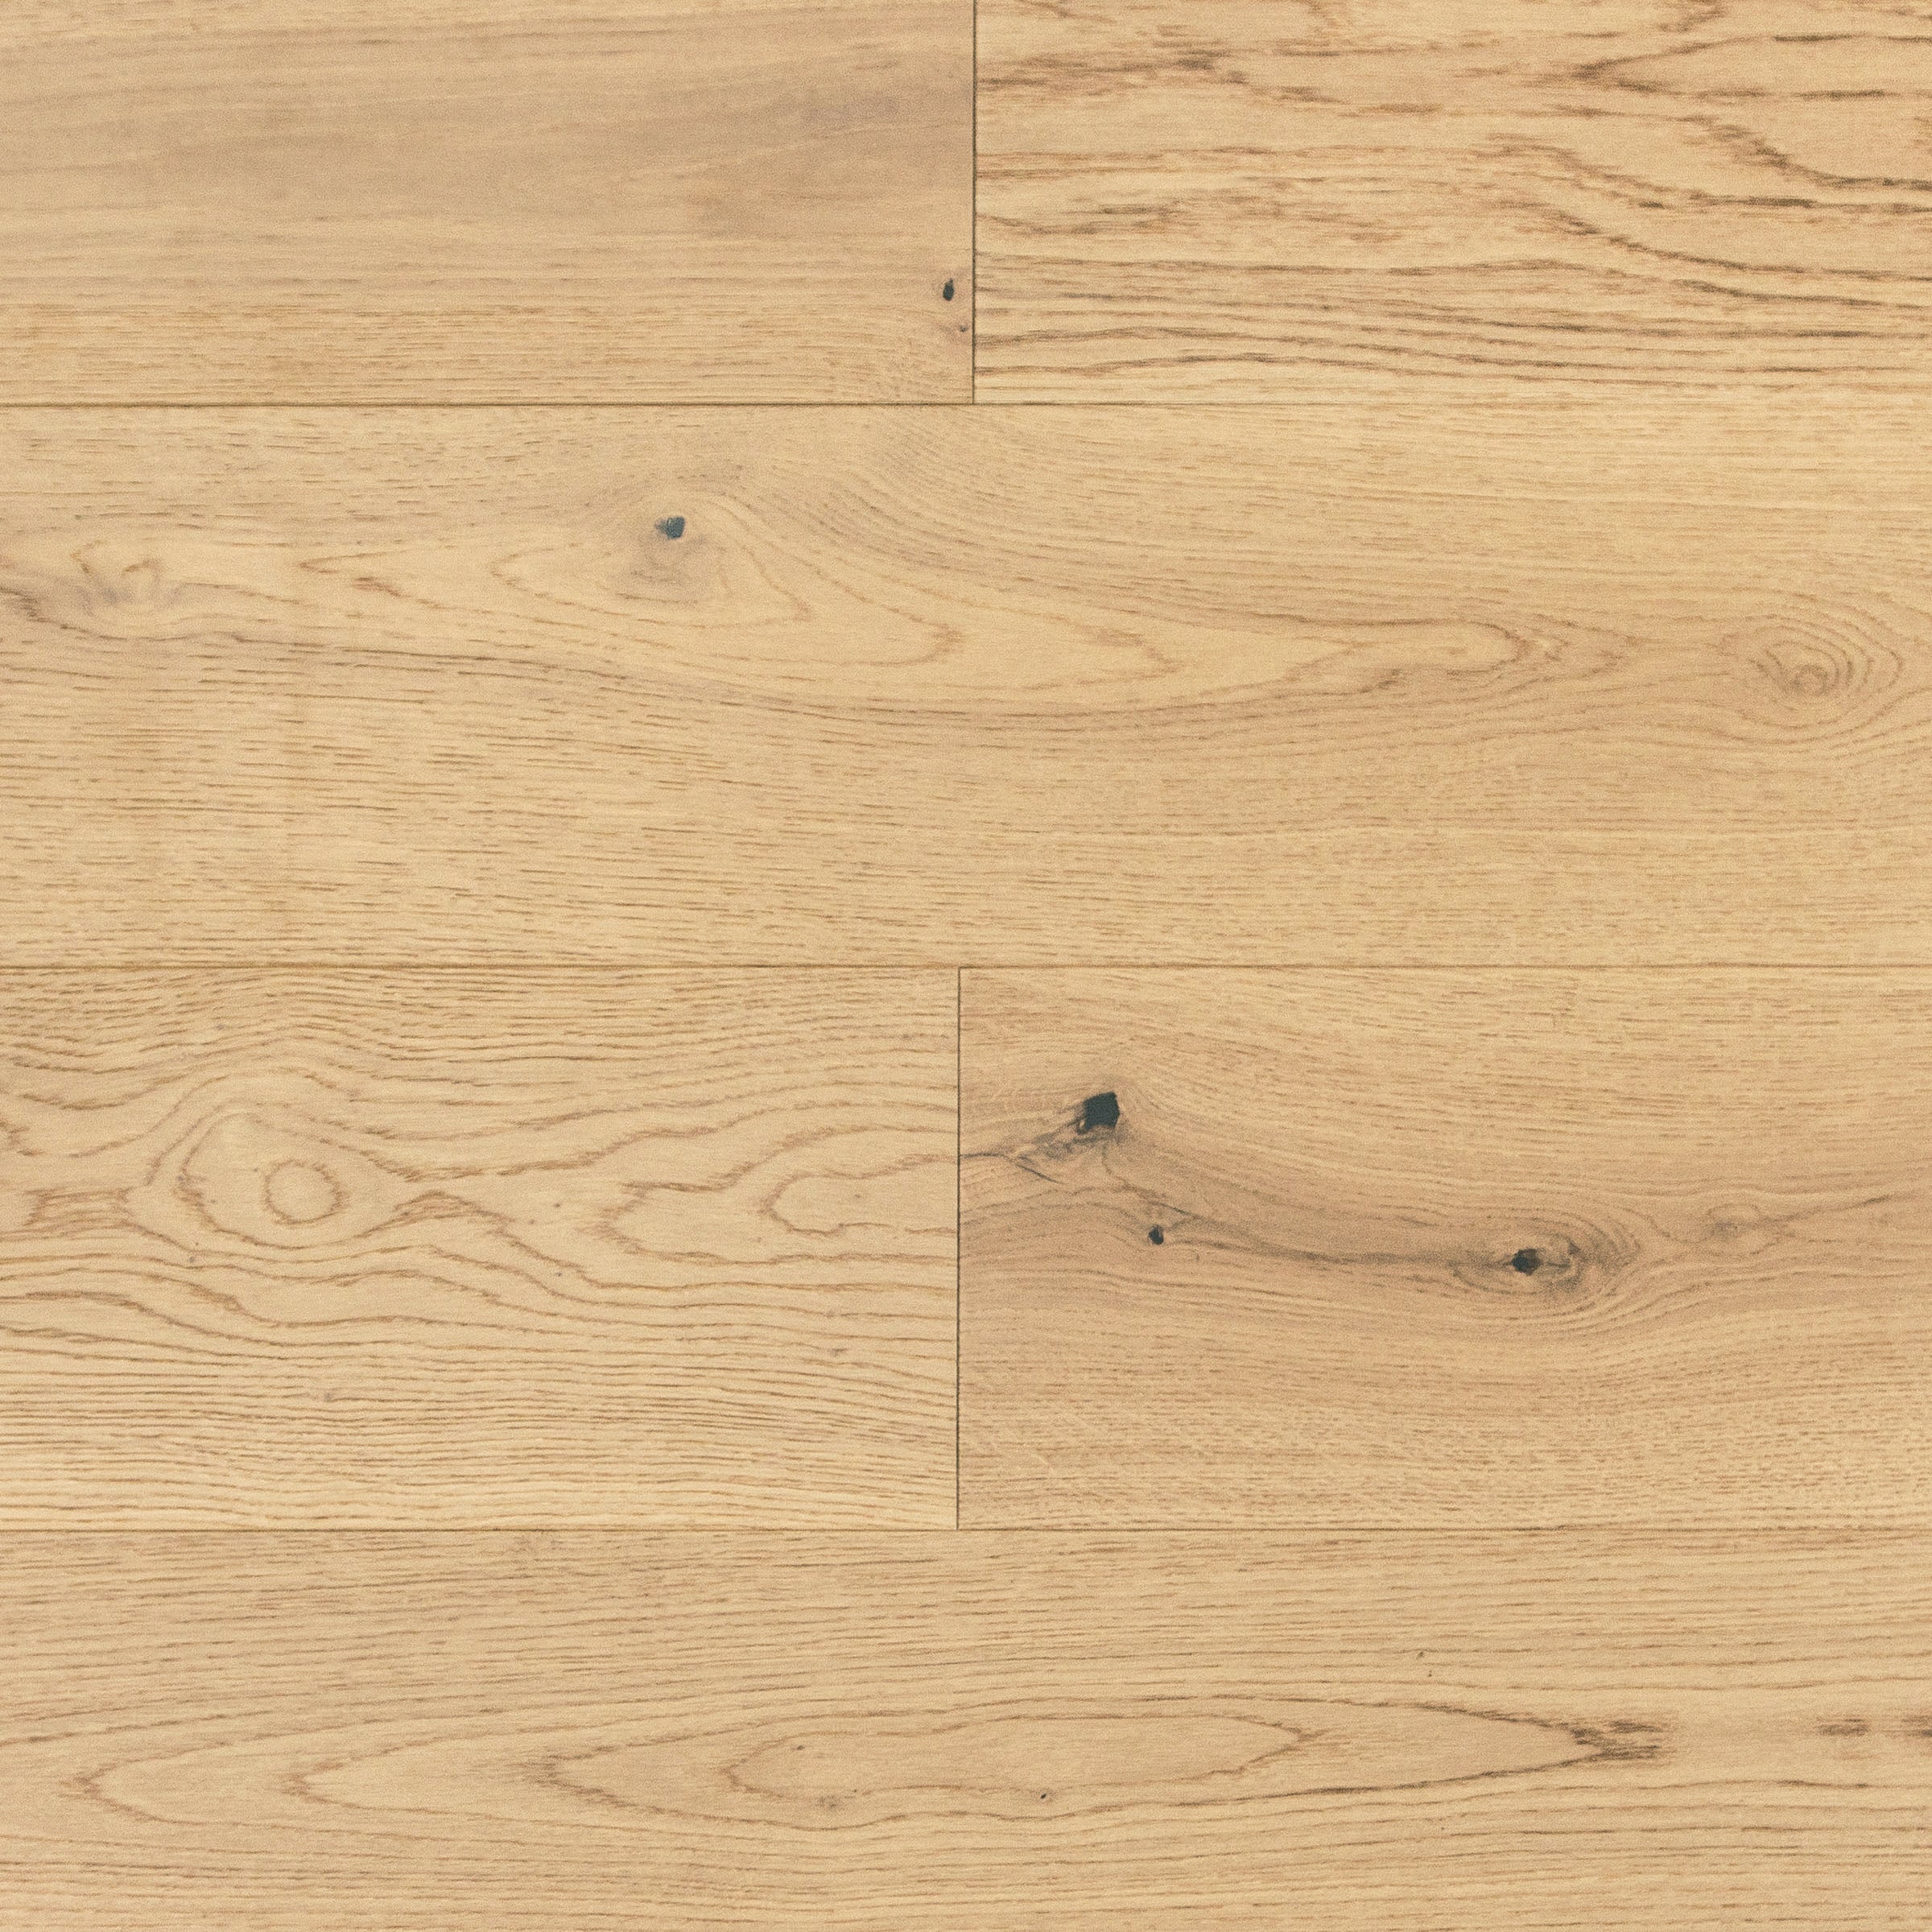
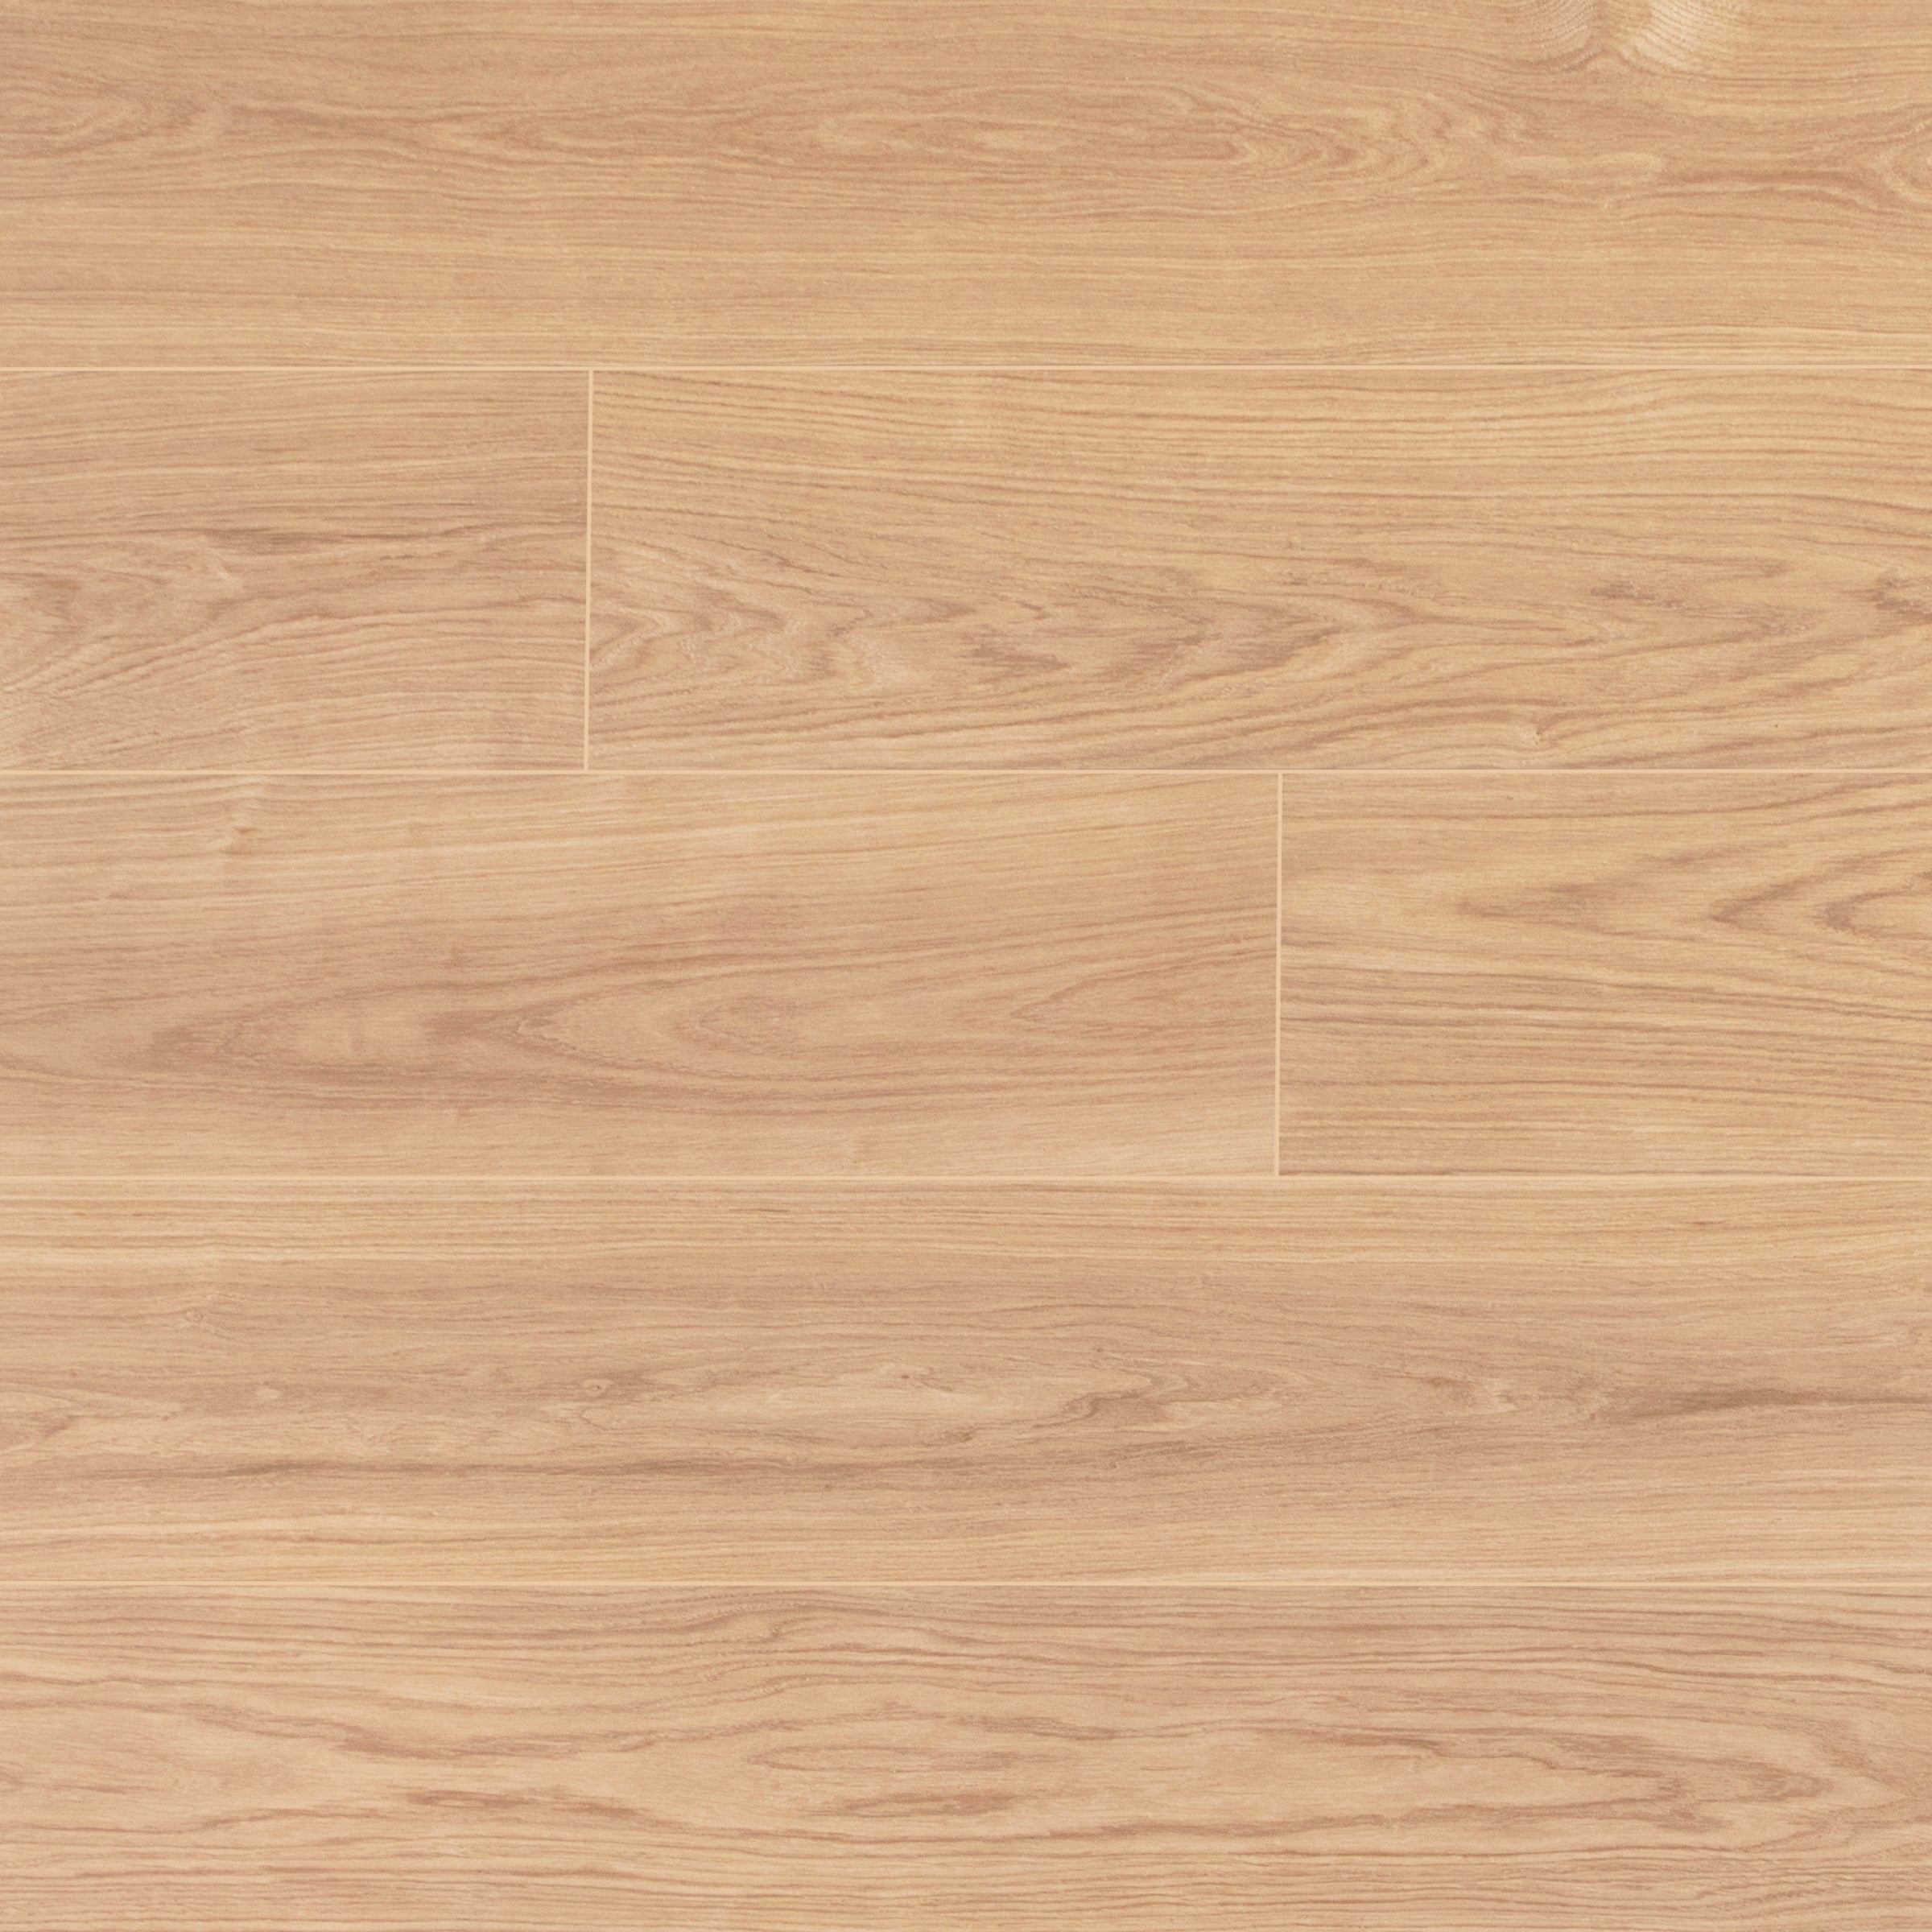
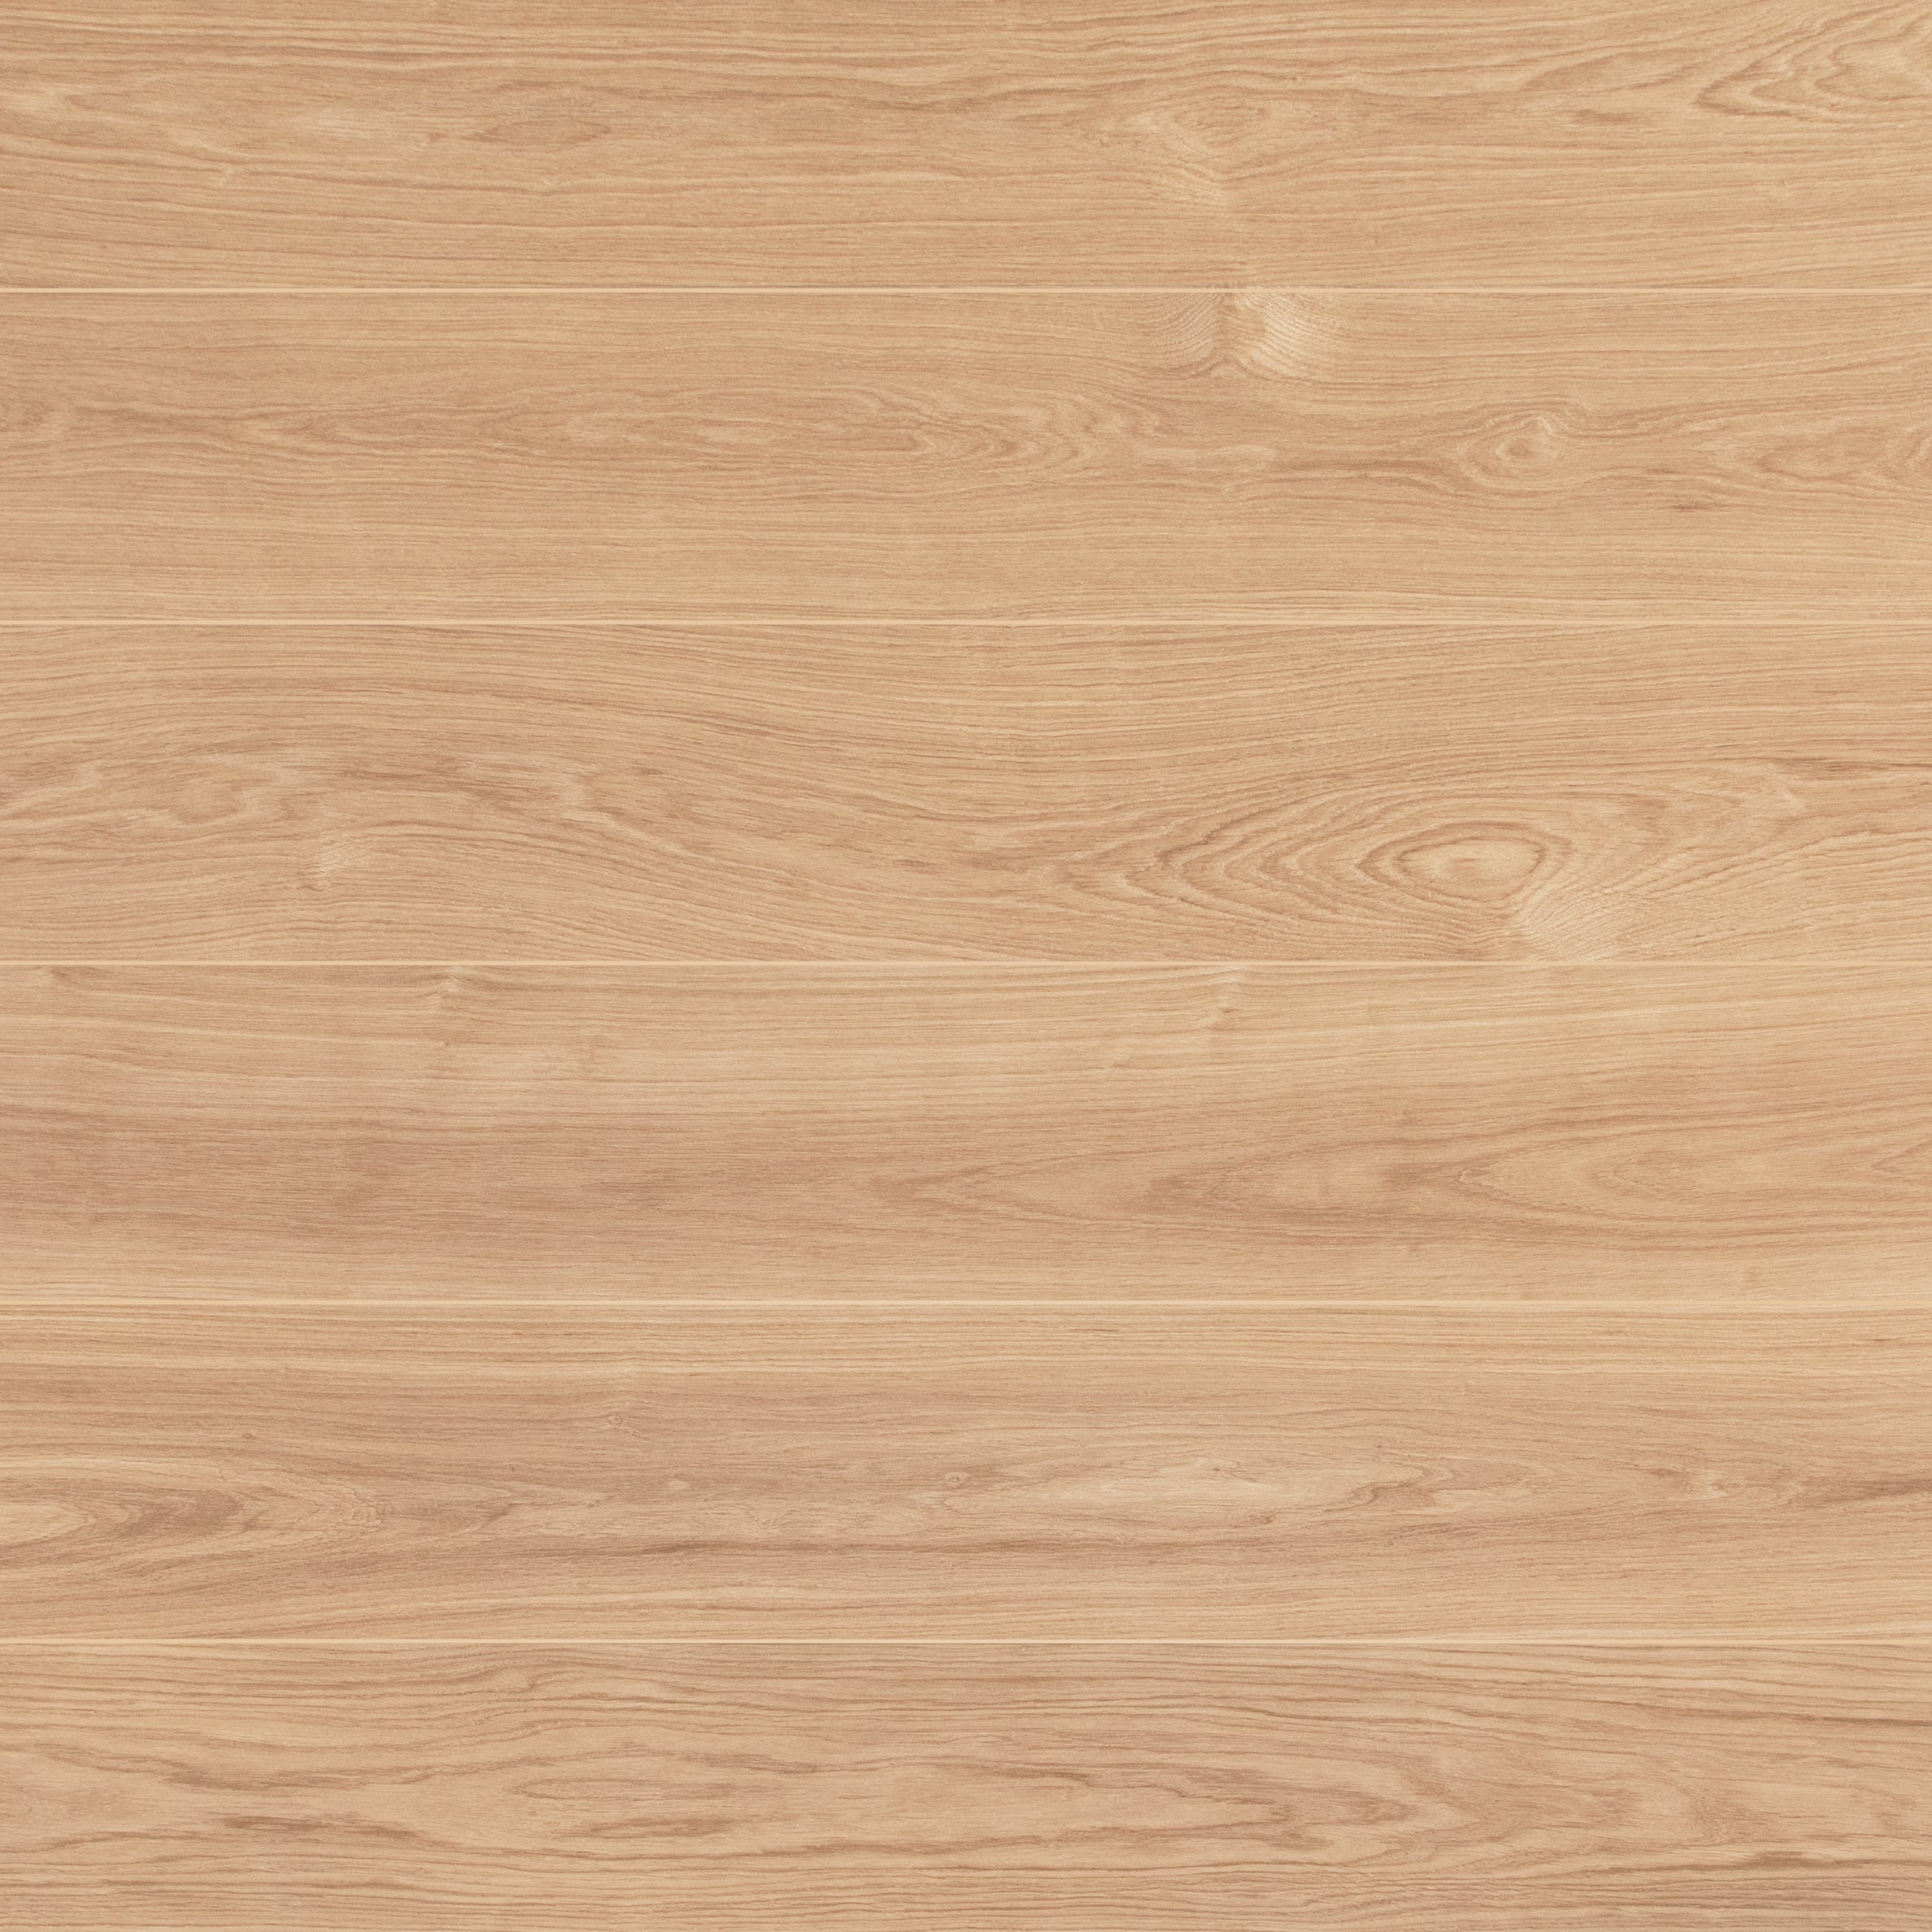
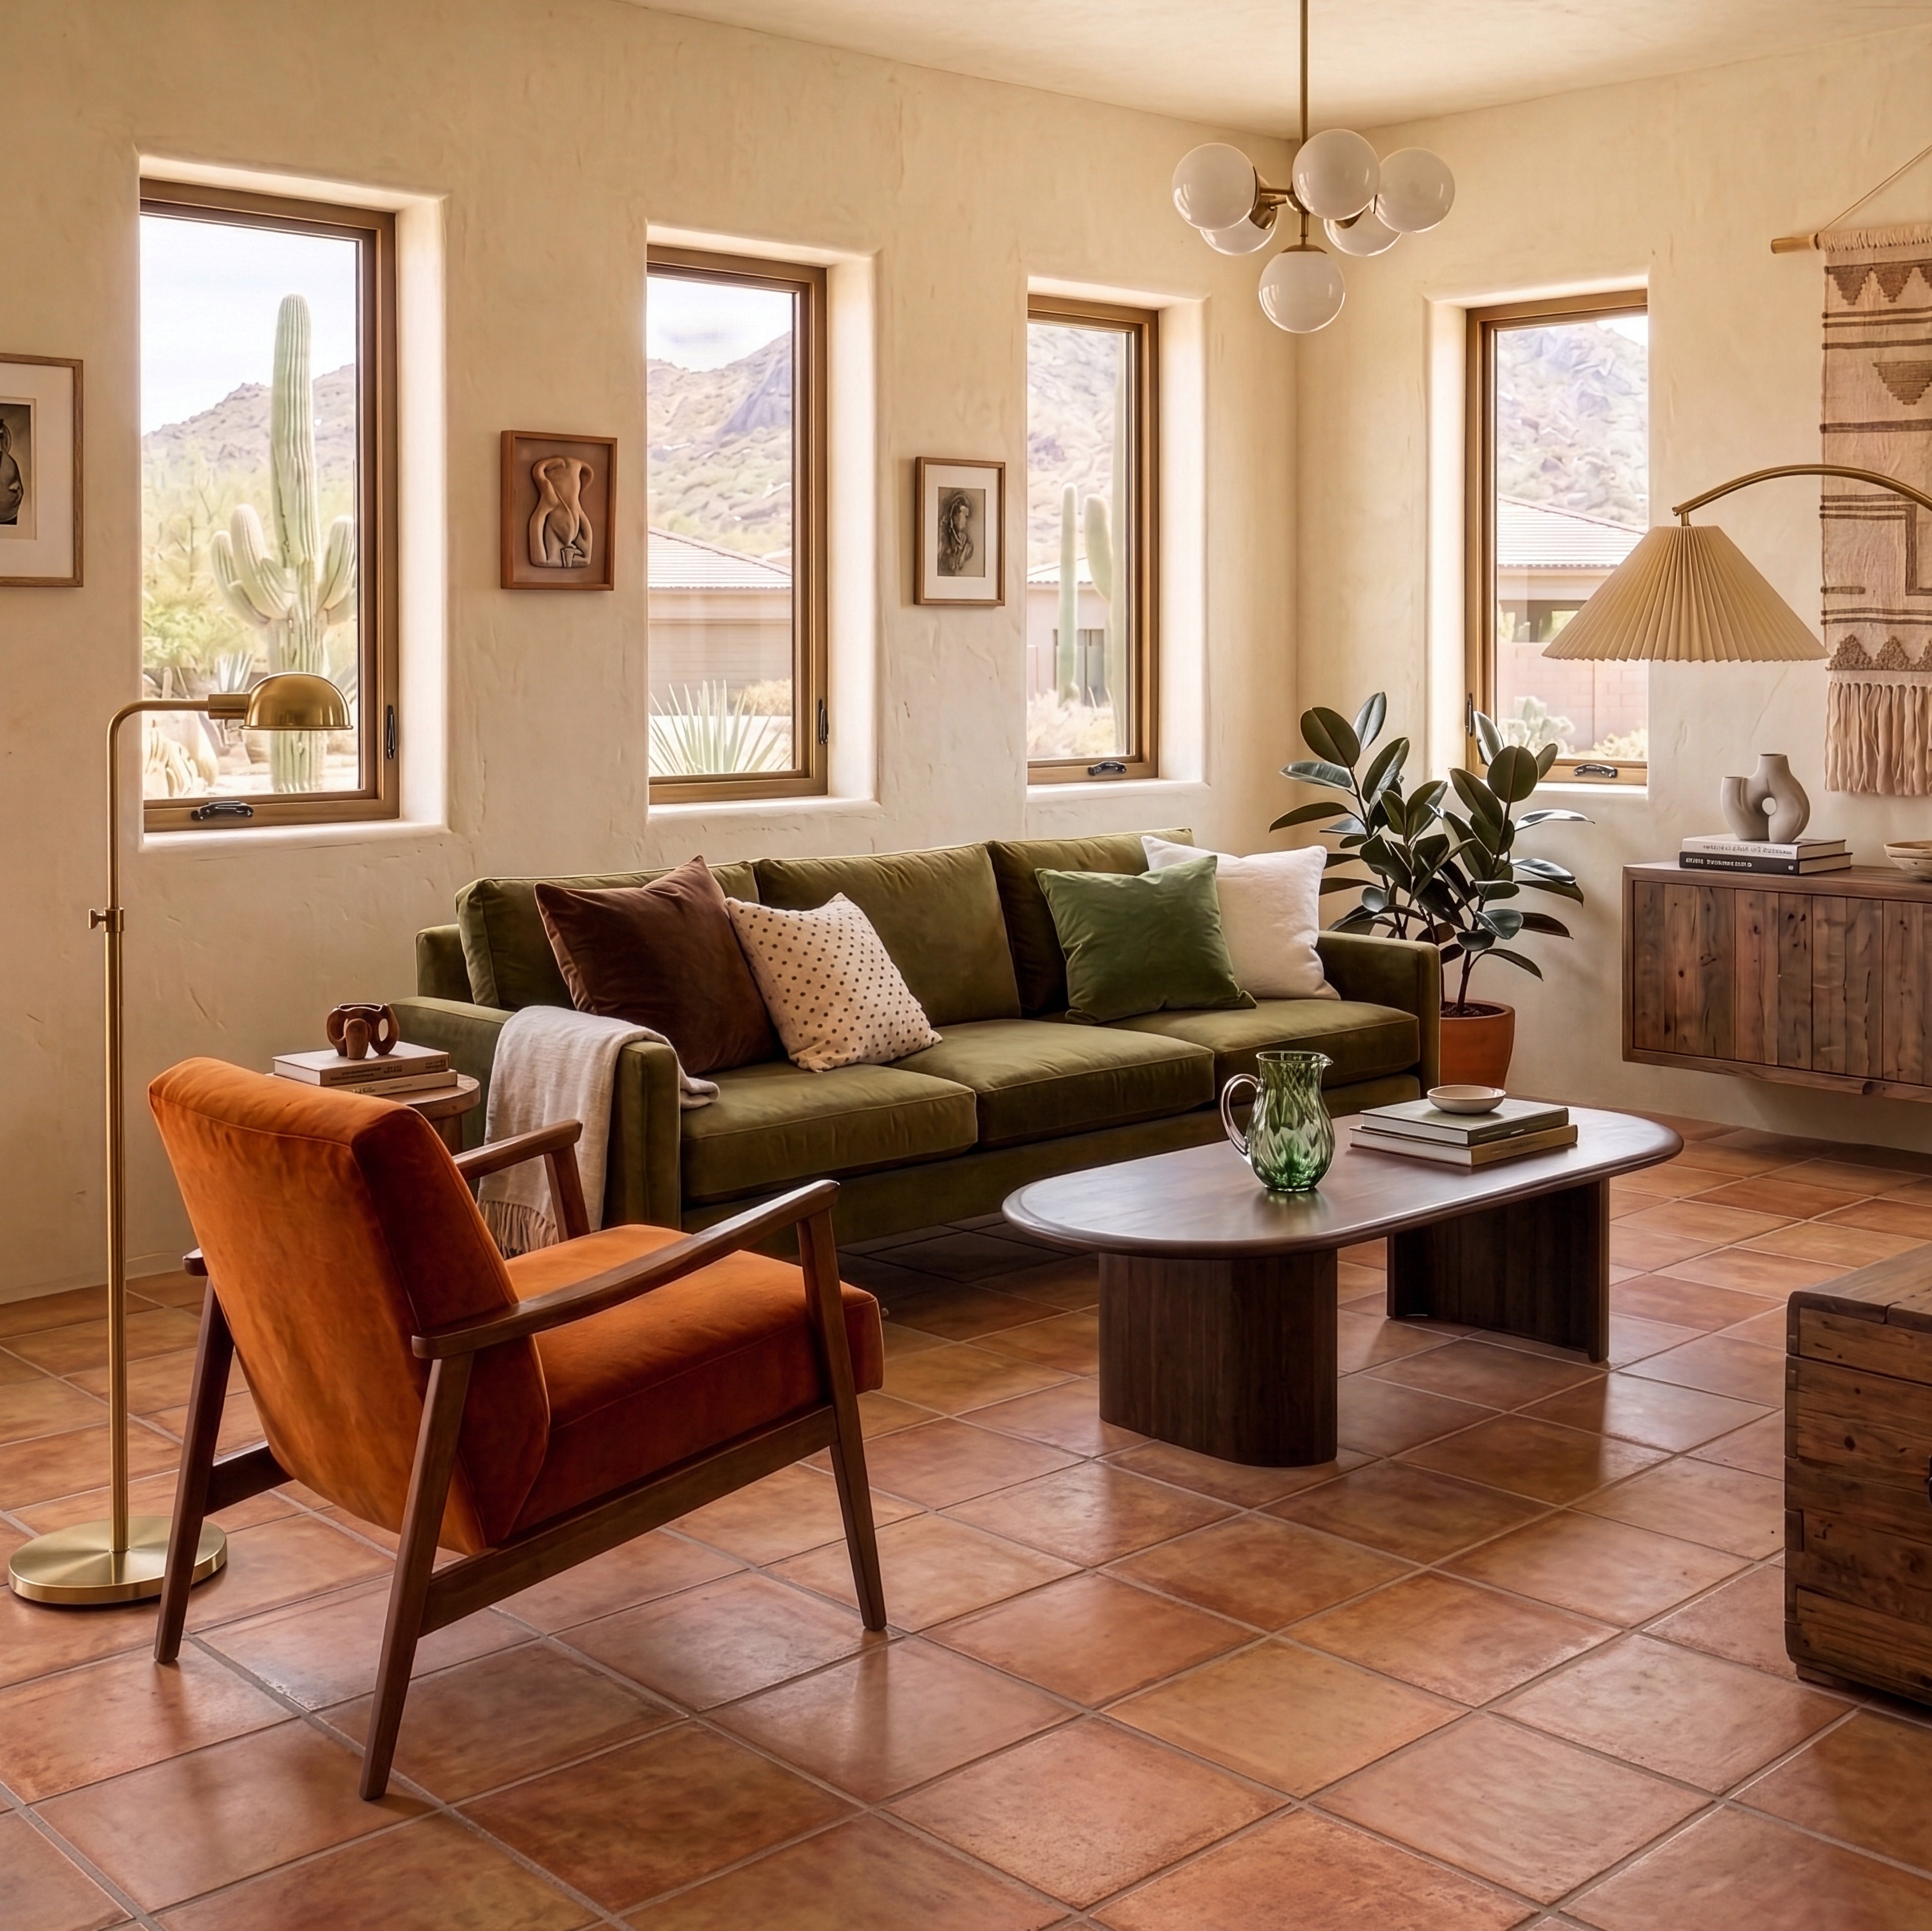
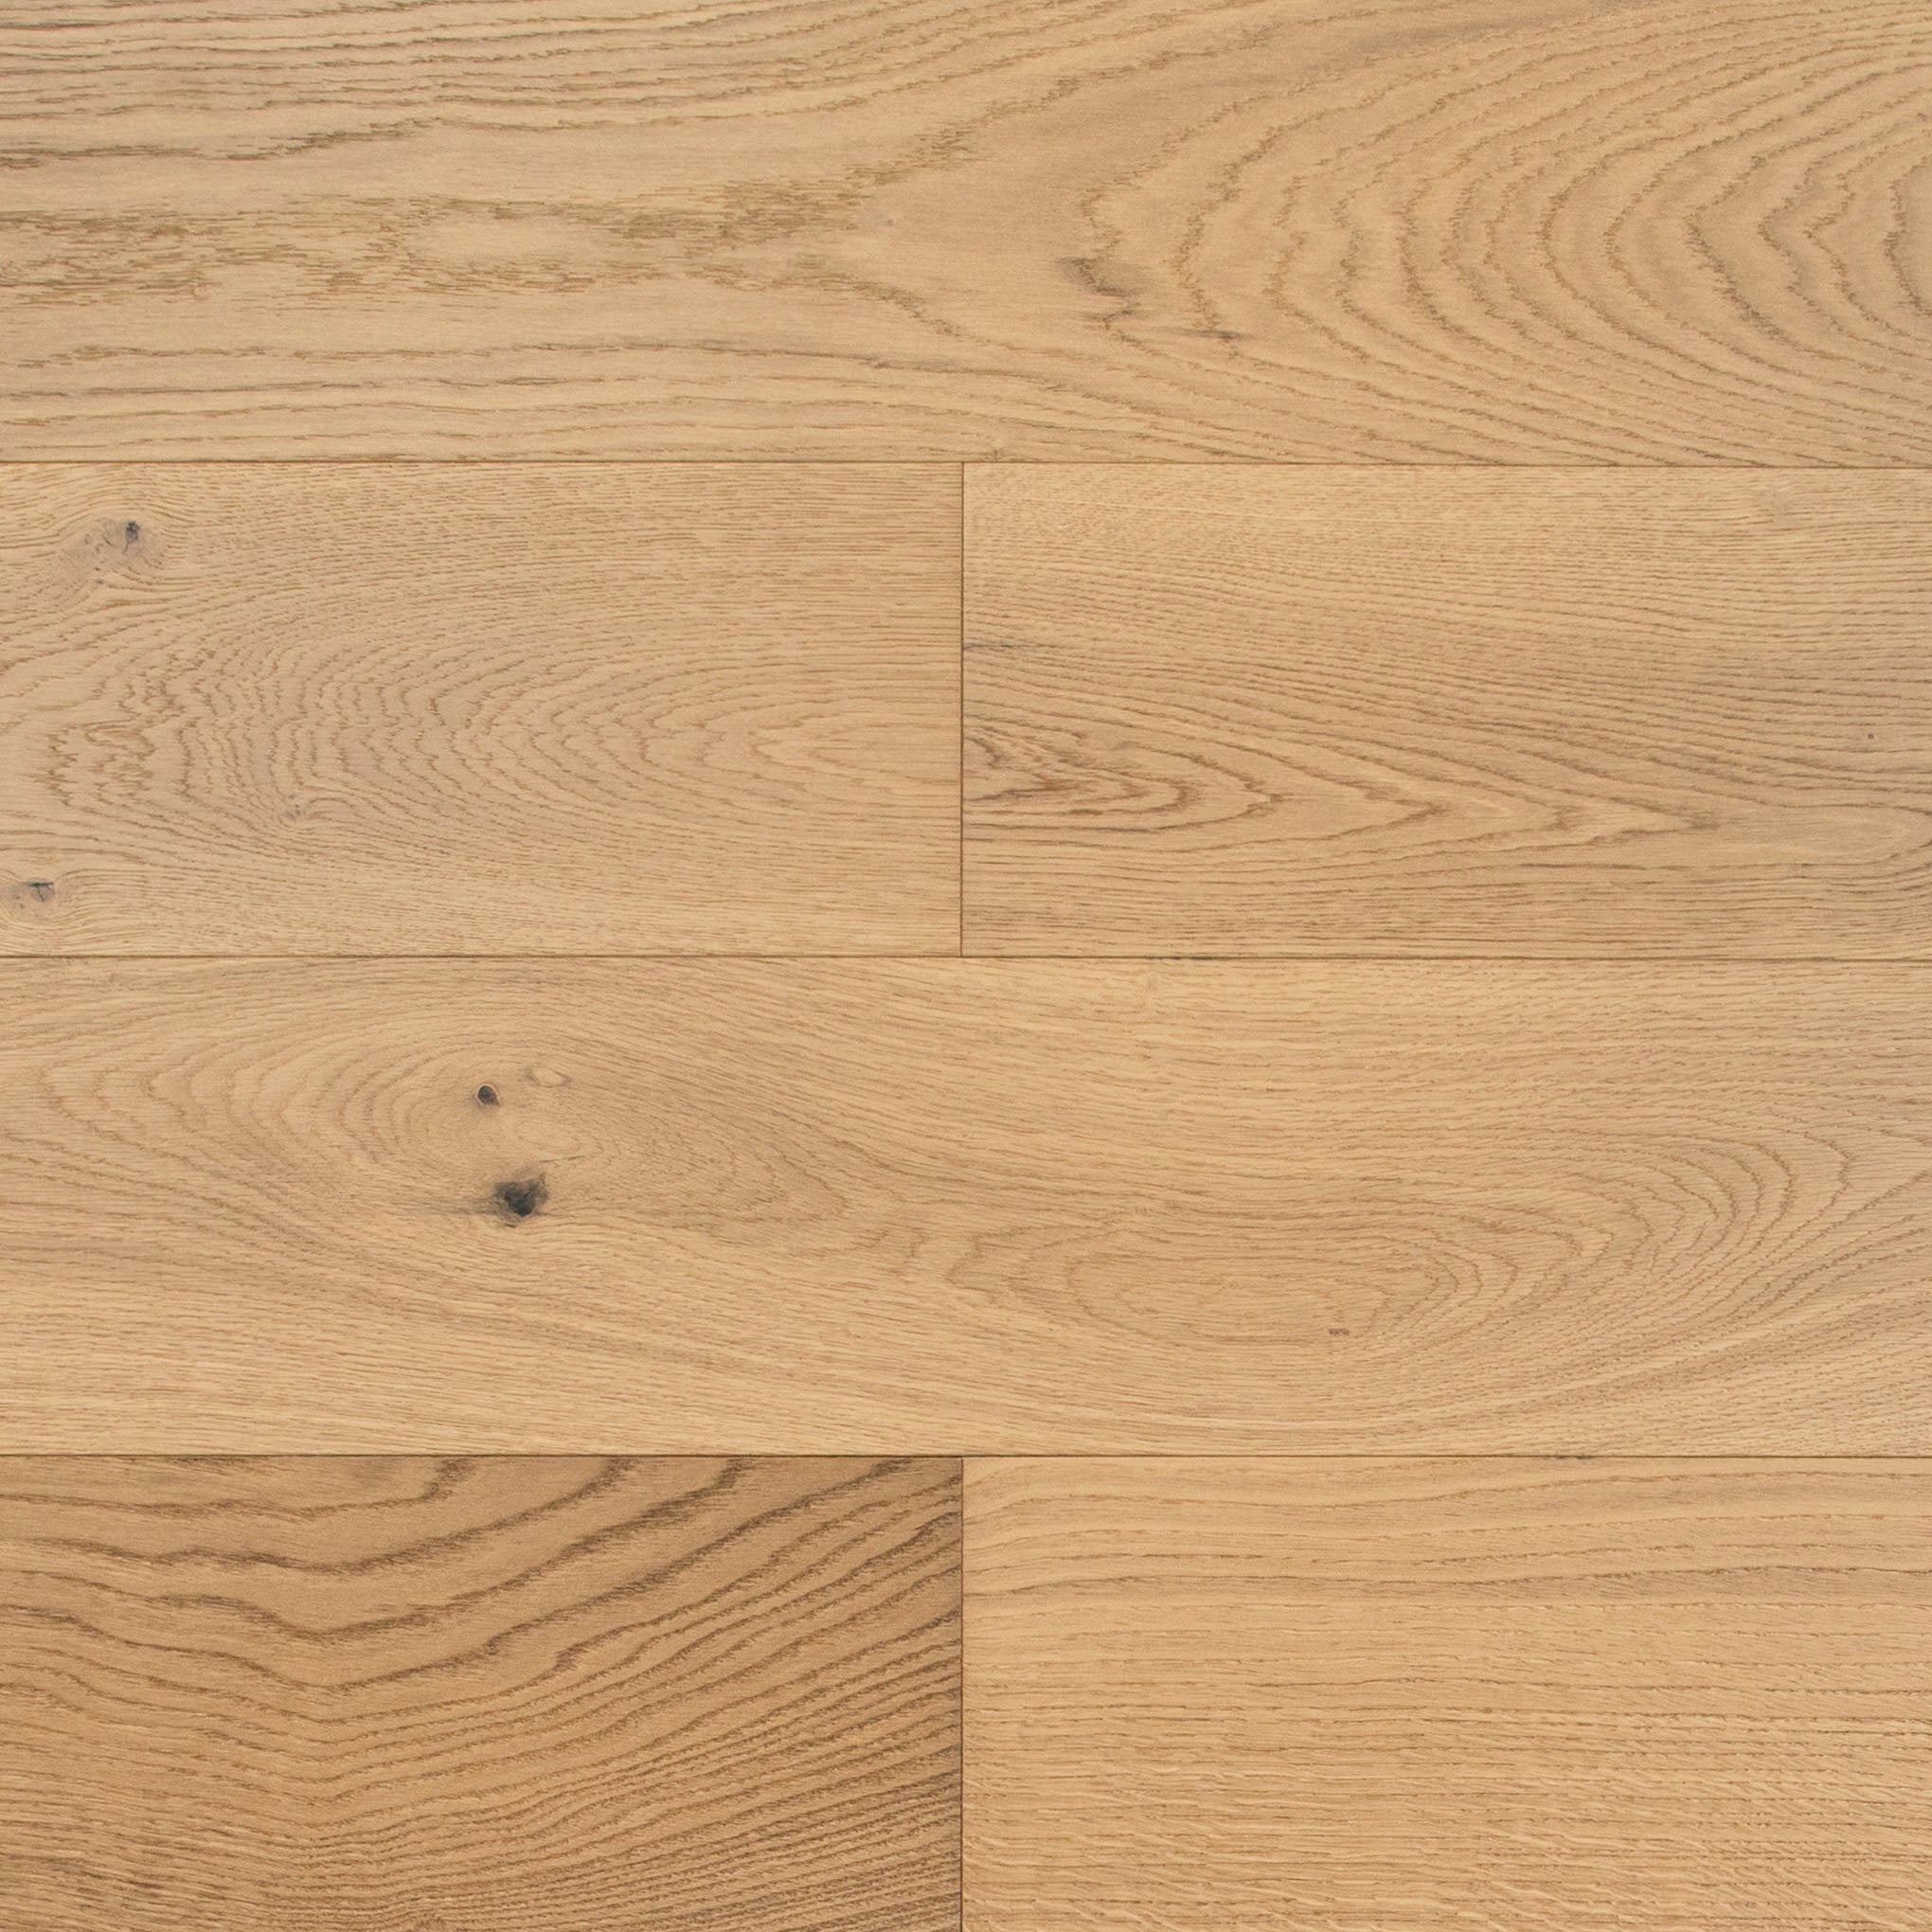
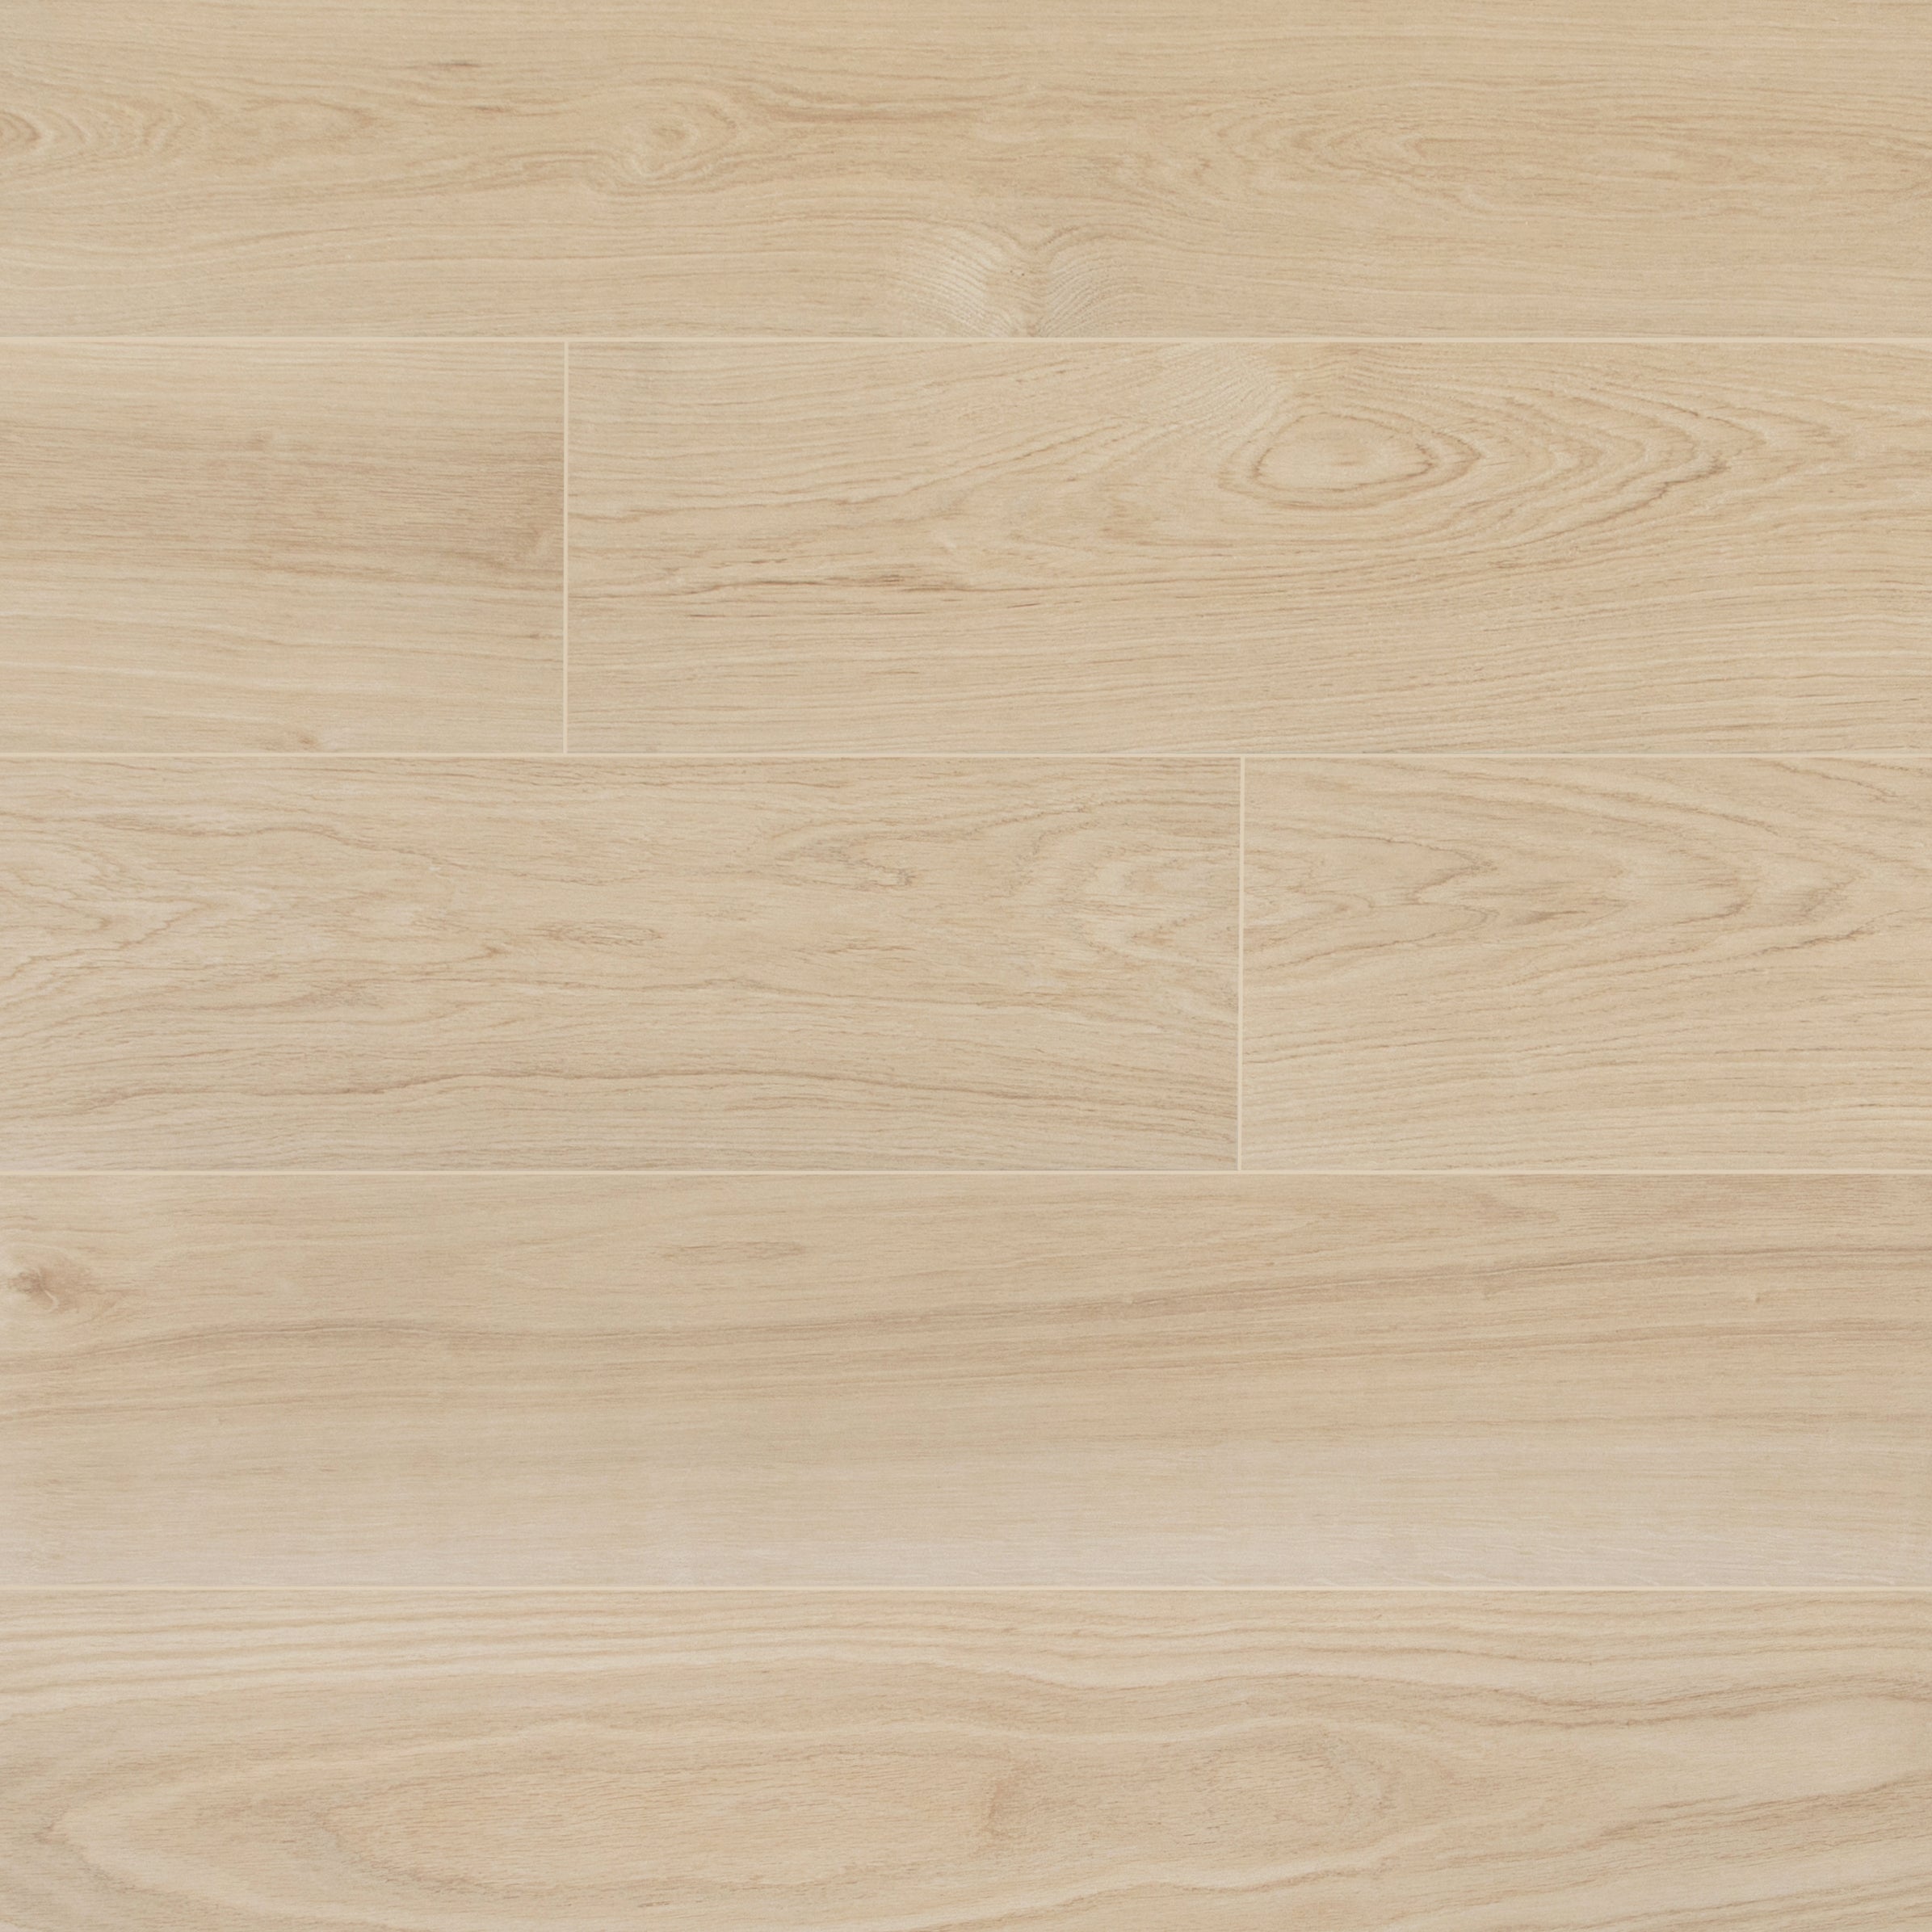
Warm & Grounded
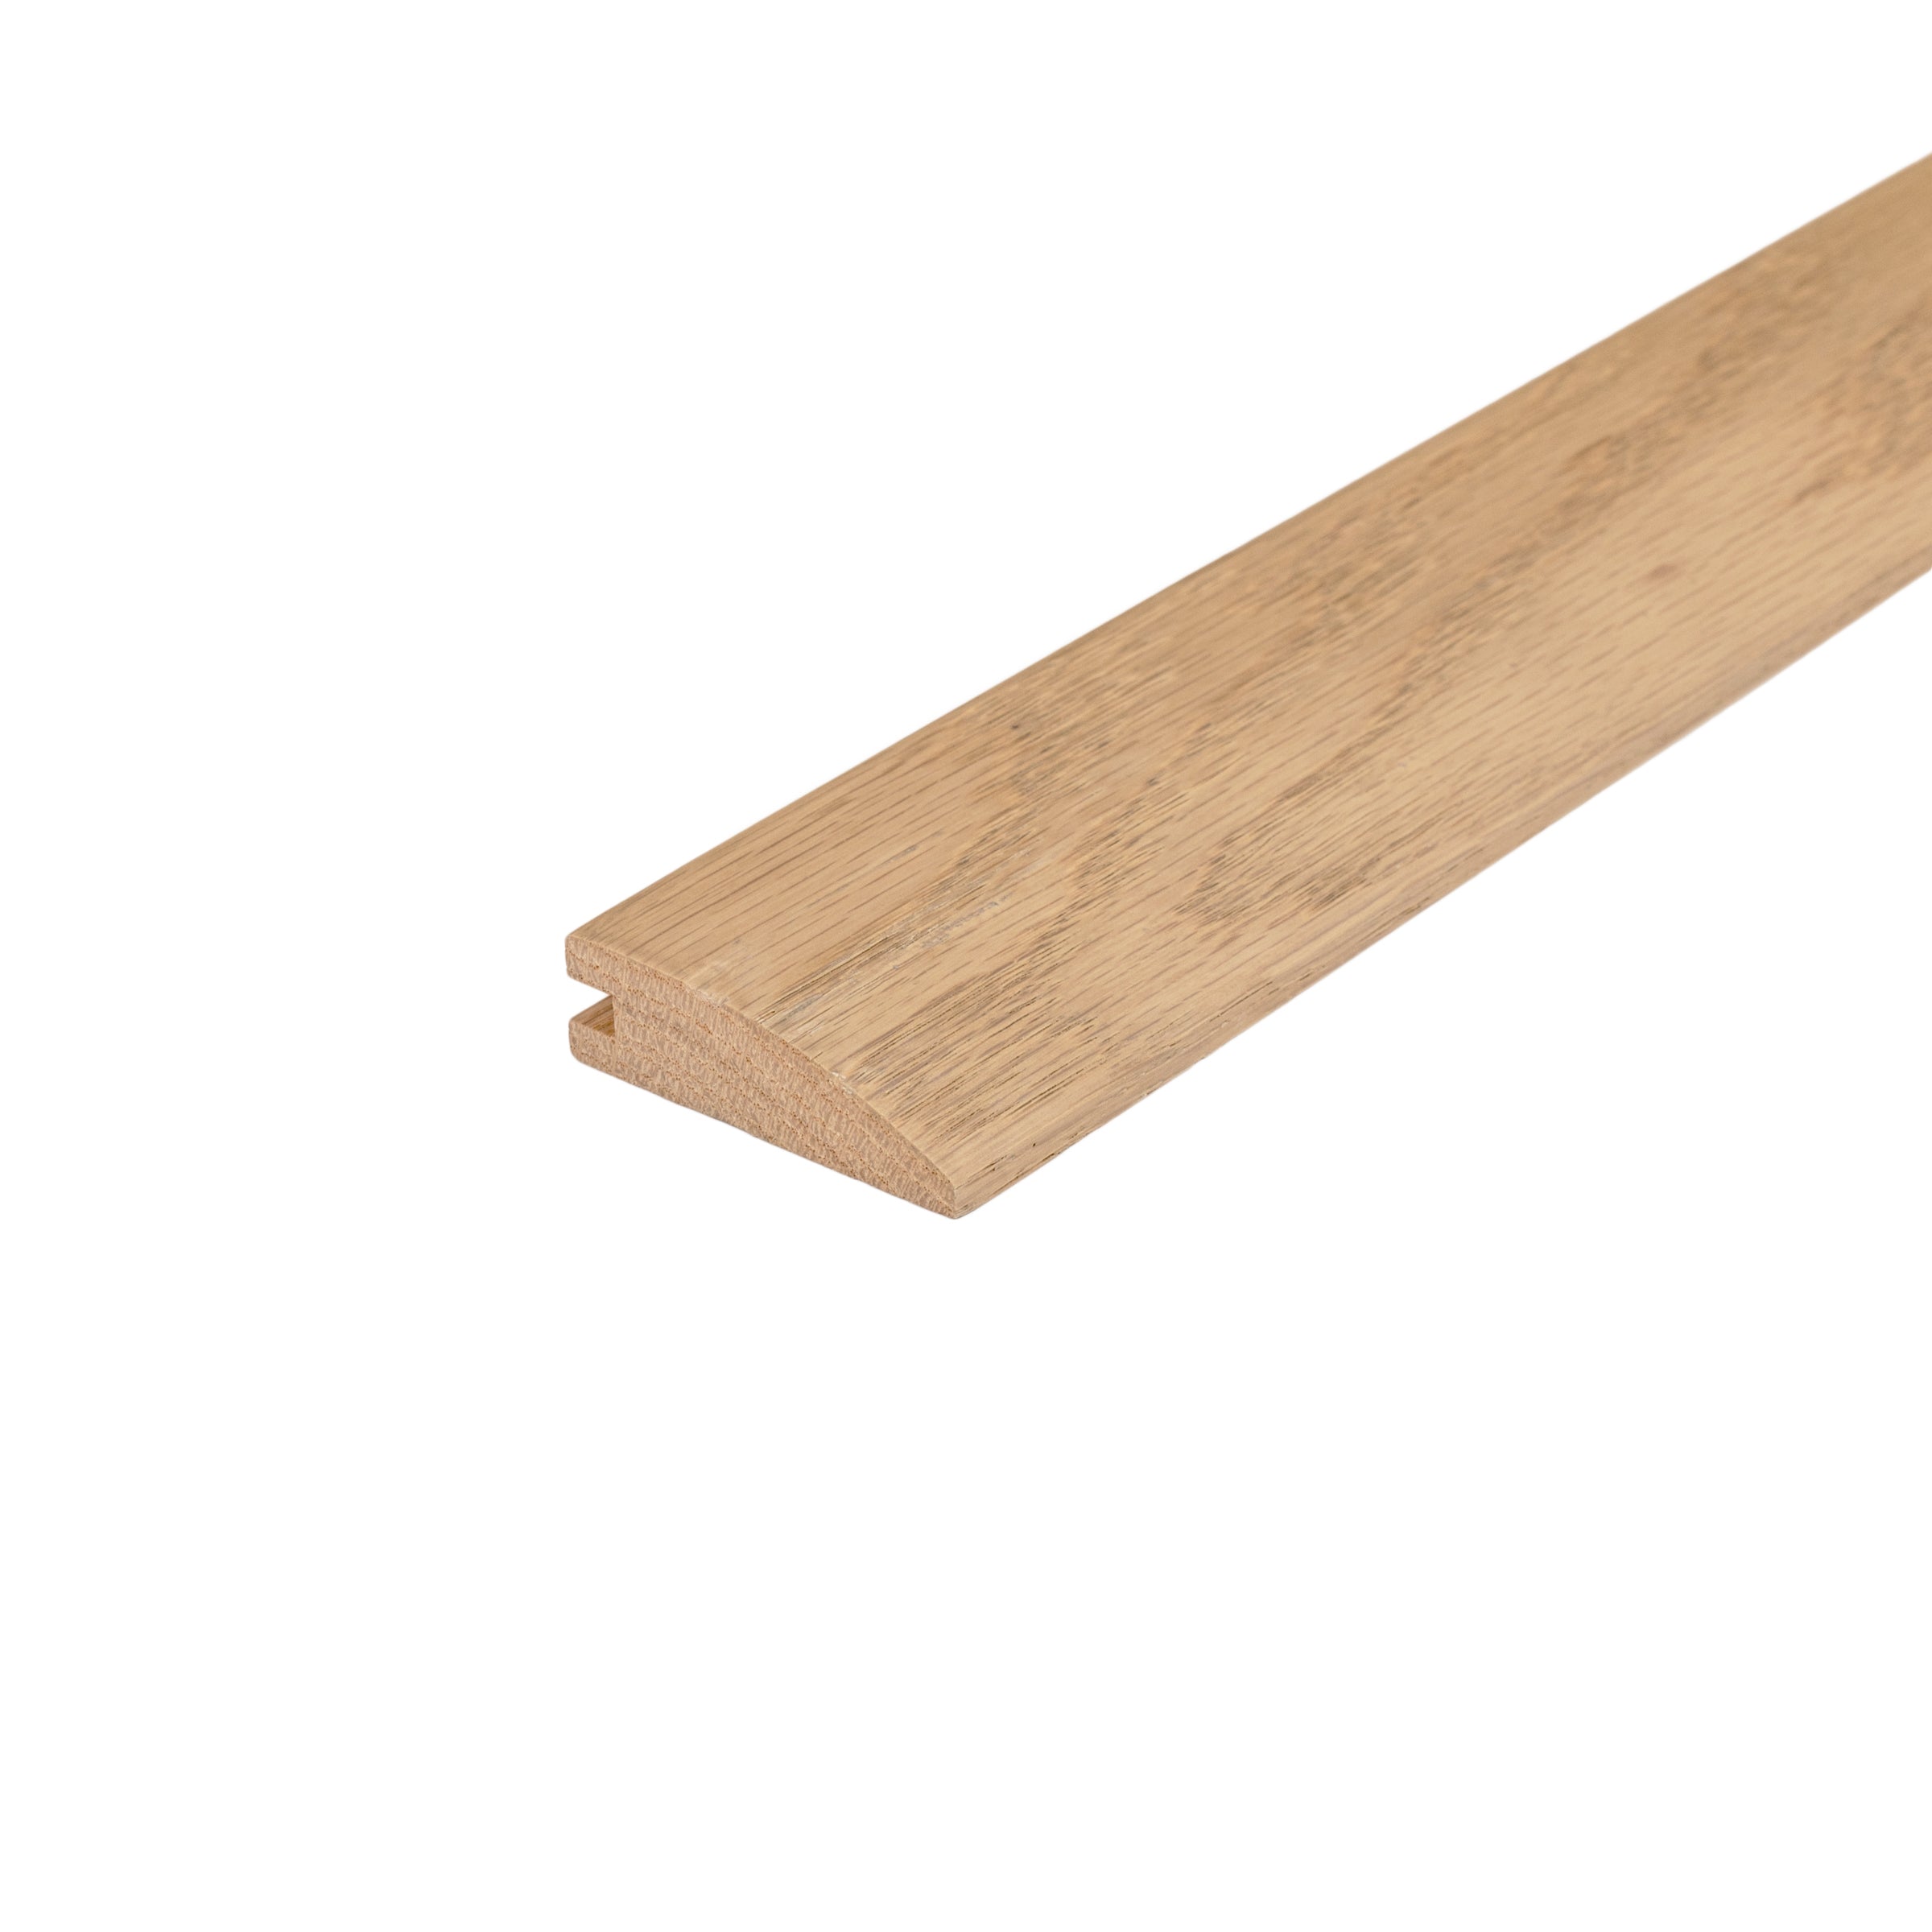
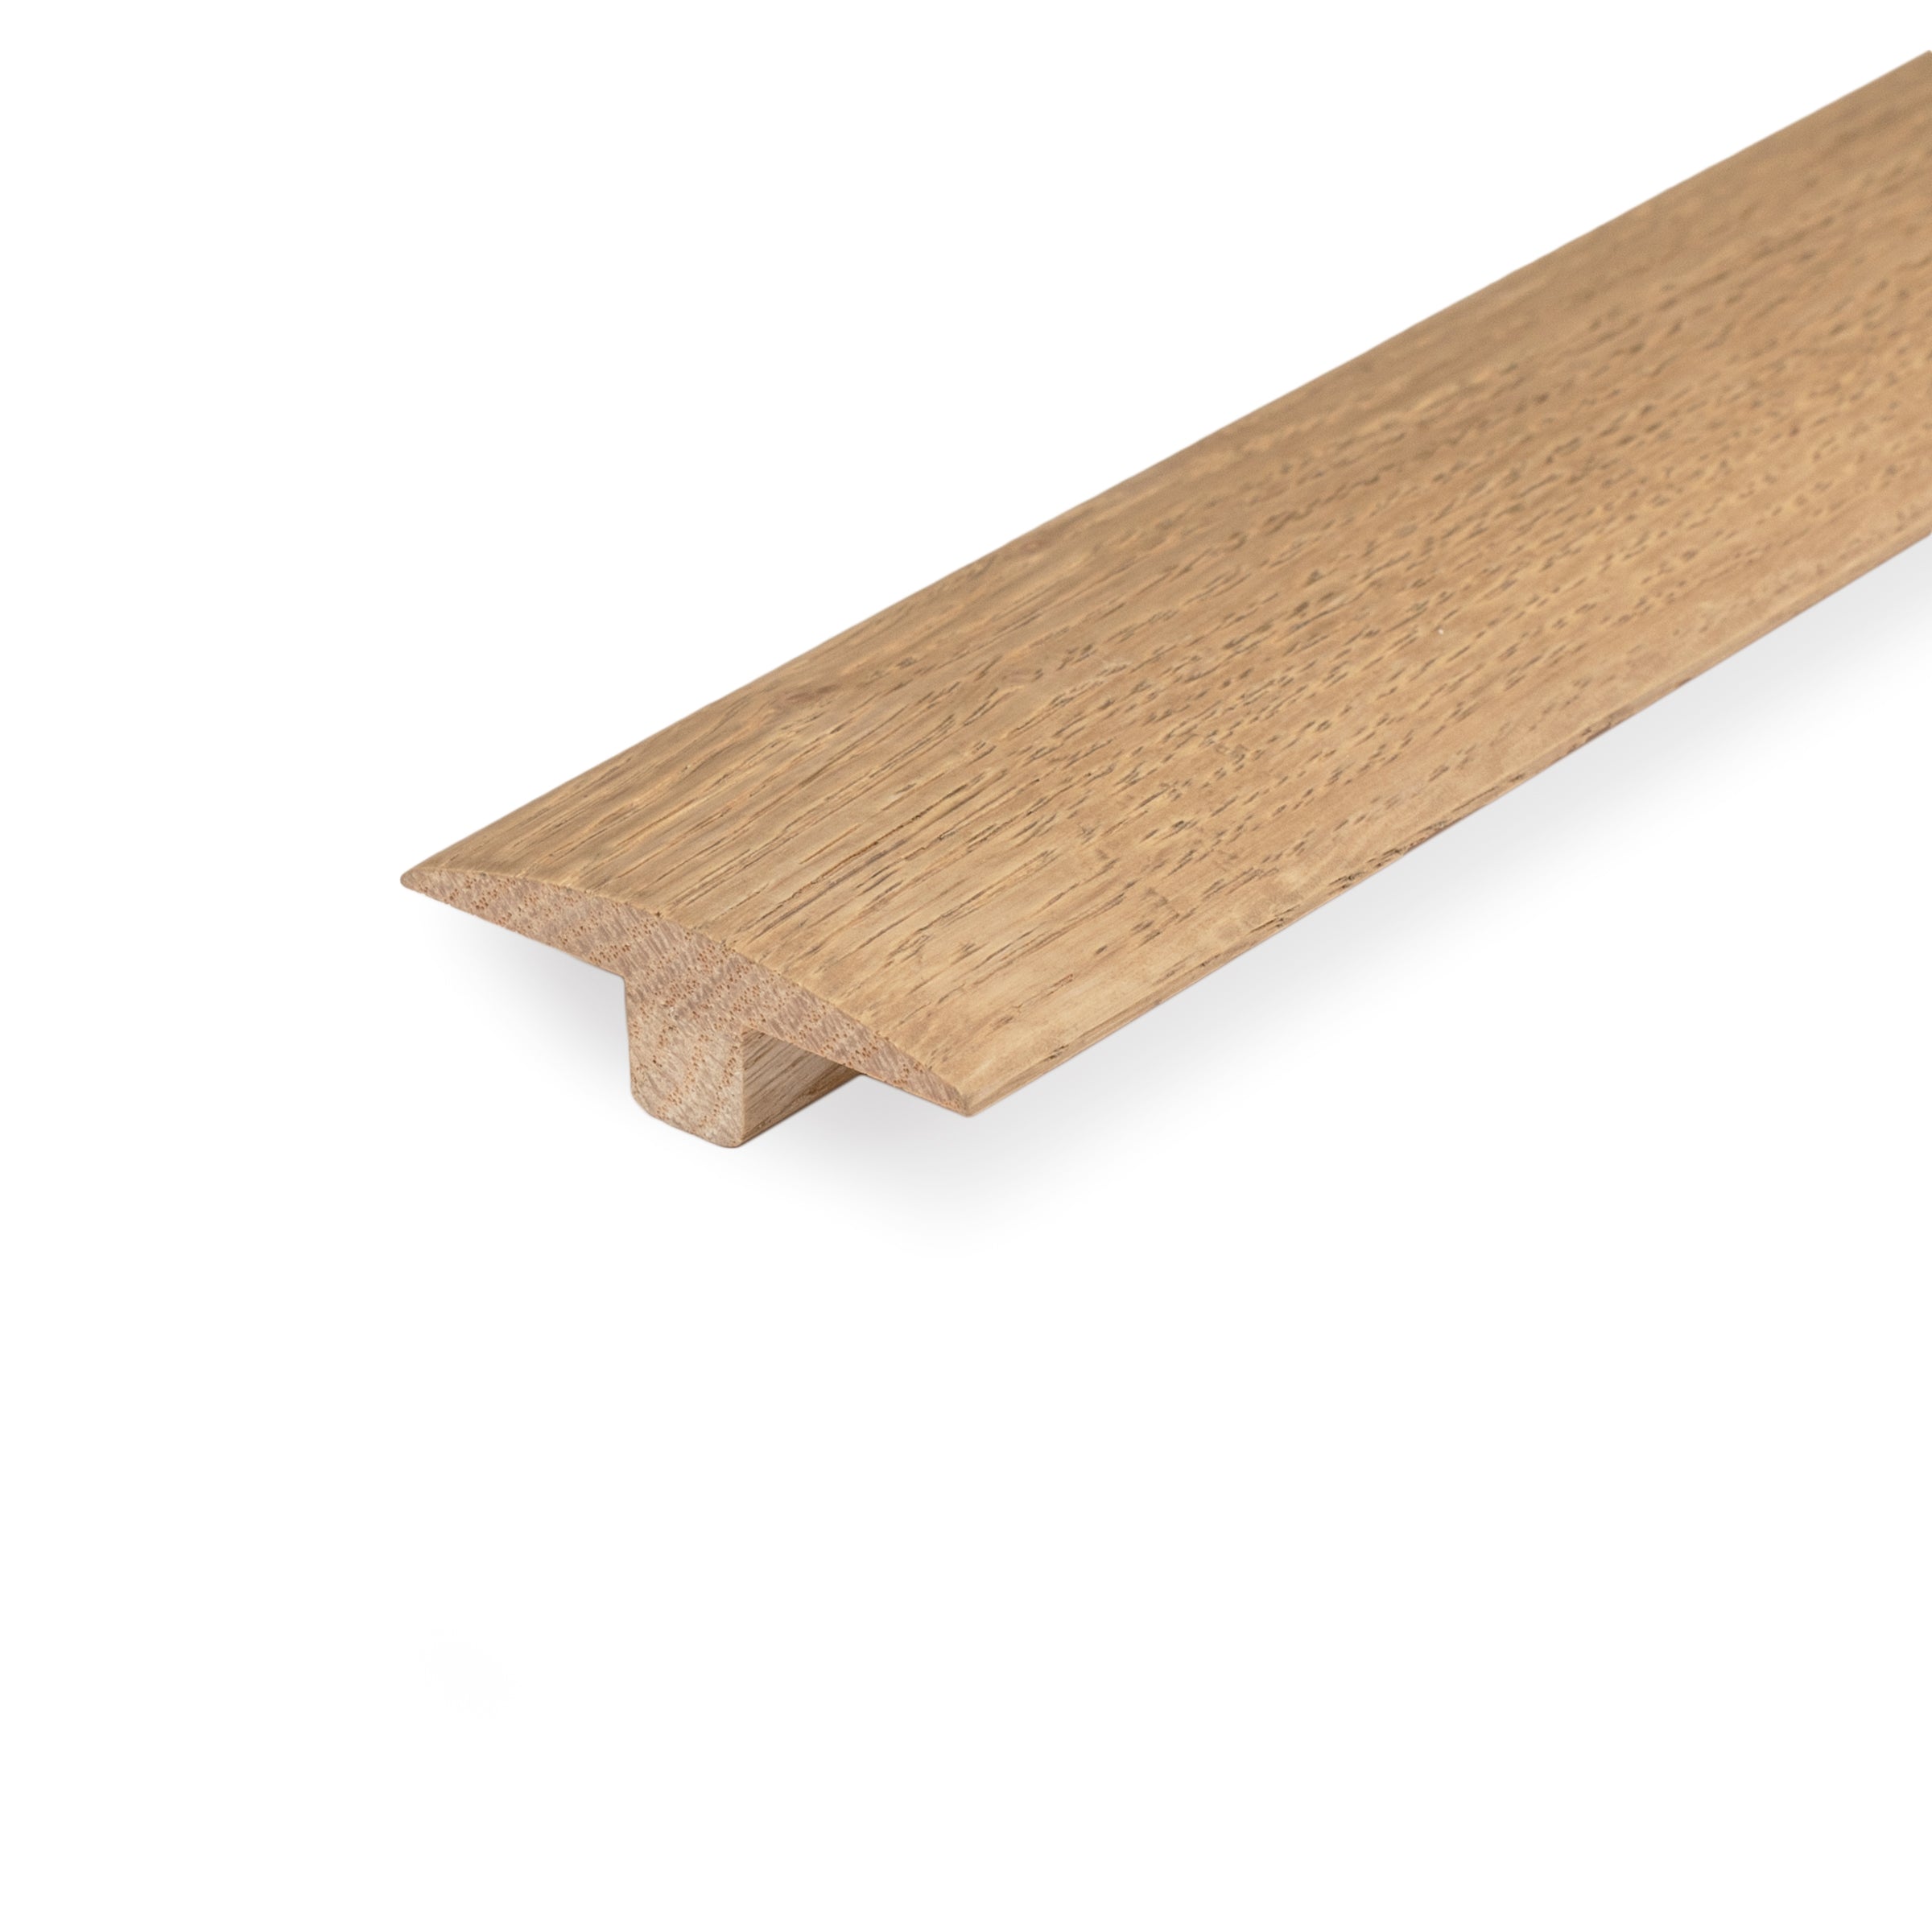
This character-grade European oak strikes the perfect balance—warm enough to feel inviting, neutral enough to work with everything. A rich toffee-brown tone with subtle amber undertones creates a timeless foundation, while scattered knots, natural checks, and expressive grain patterns give each plank its own story. The wire brush texture enhances the wood's organic character, softening the surface while bringing out the depth of the grain.
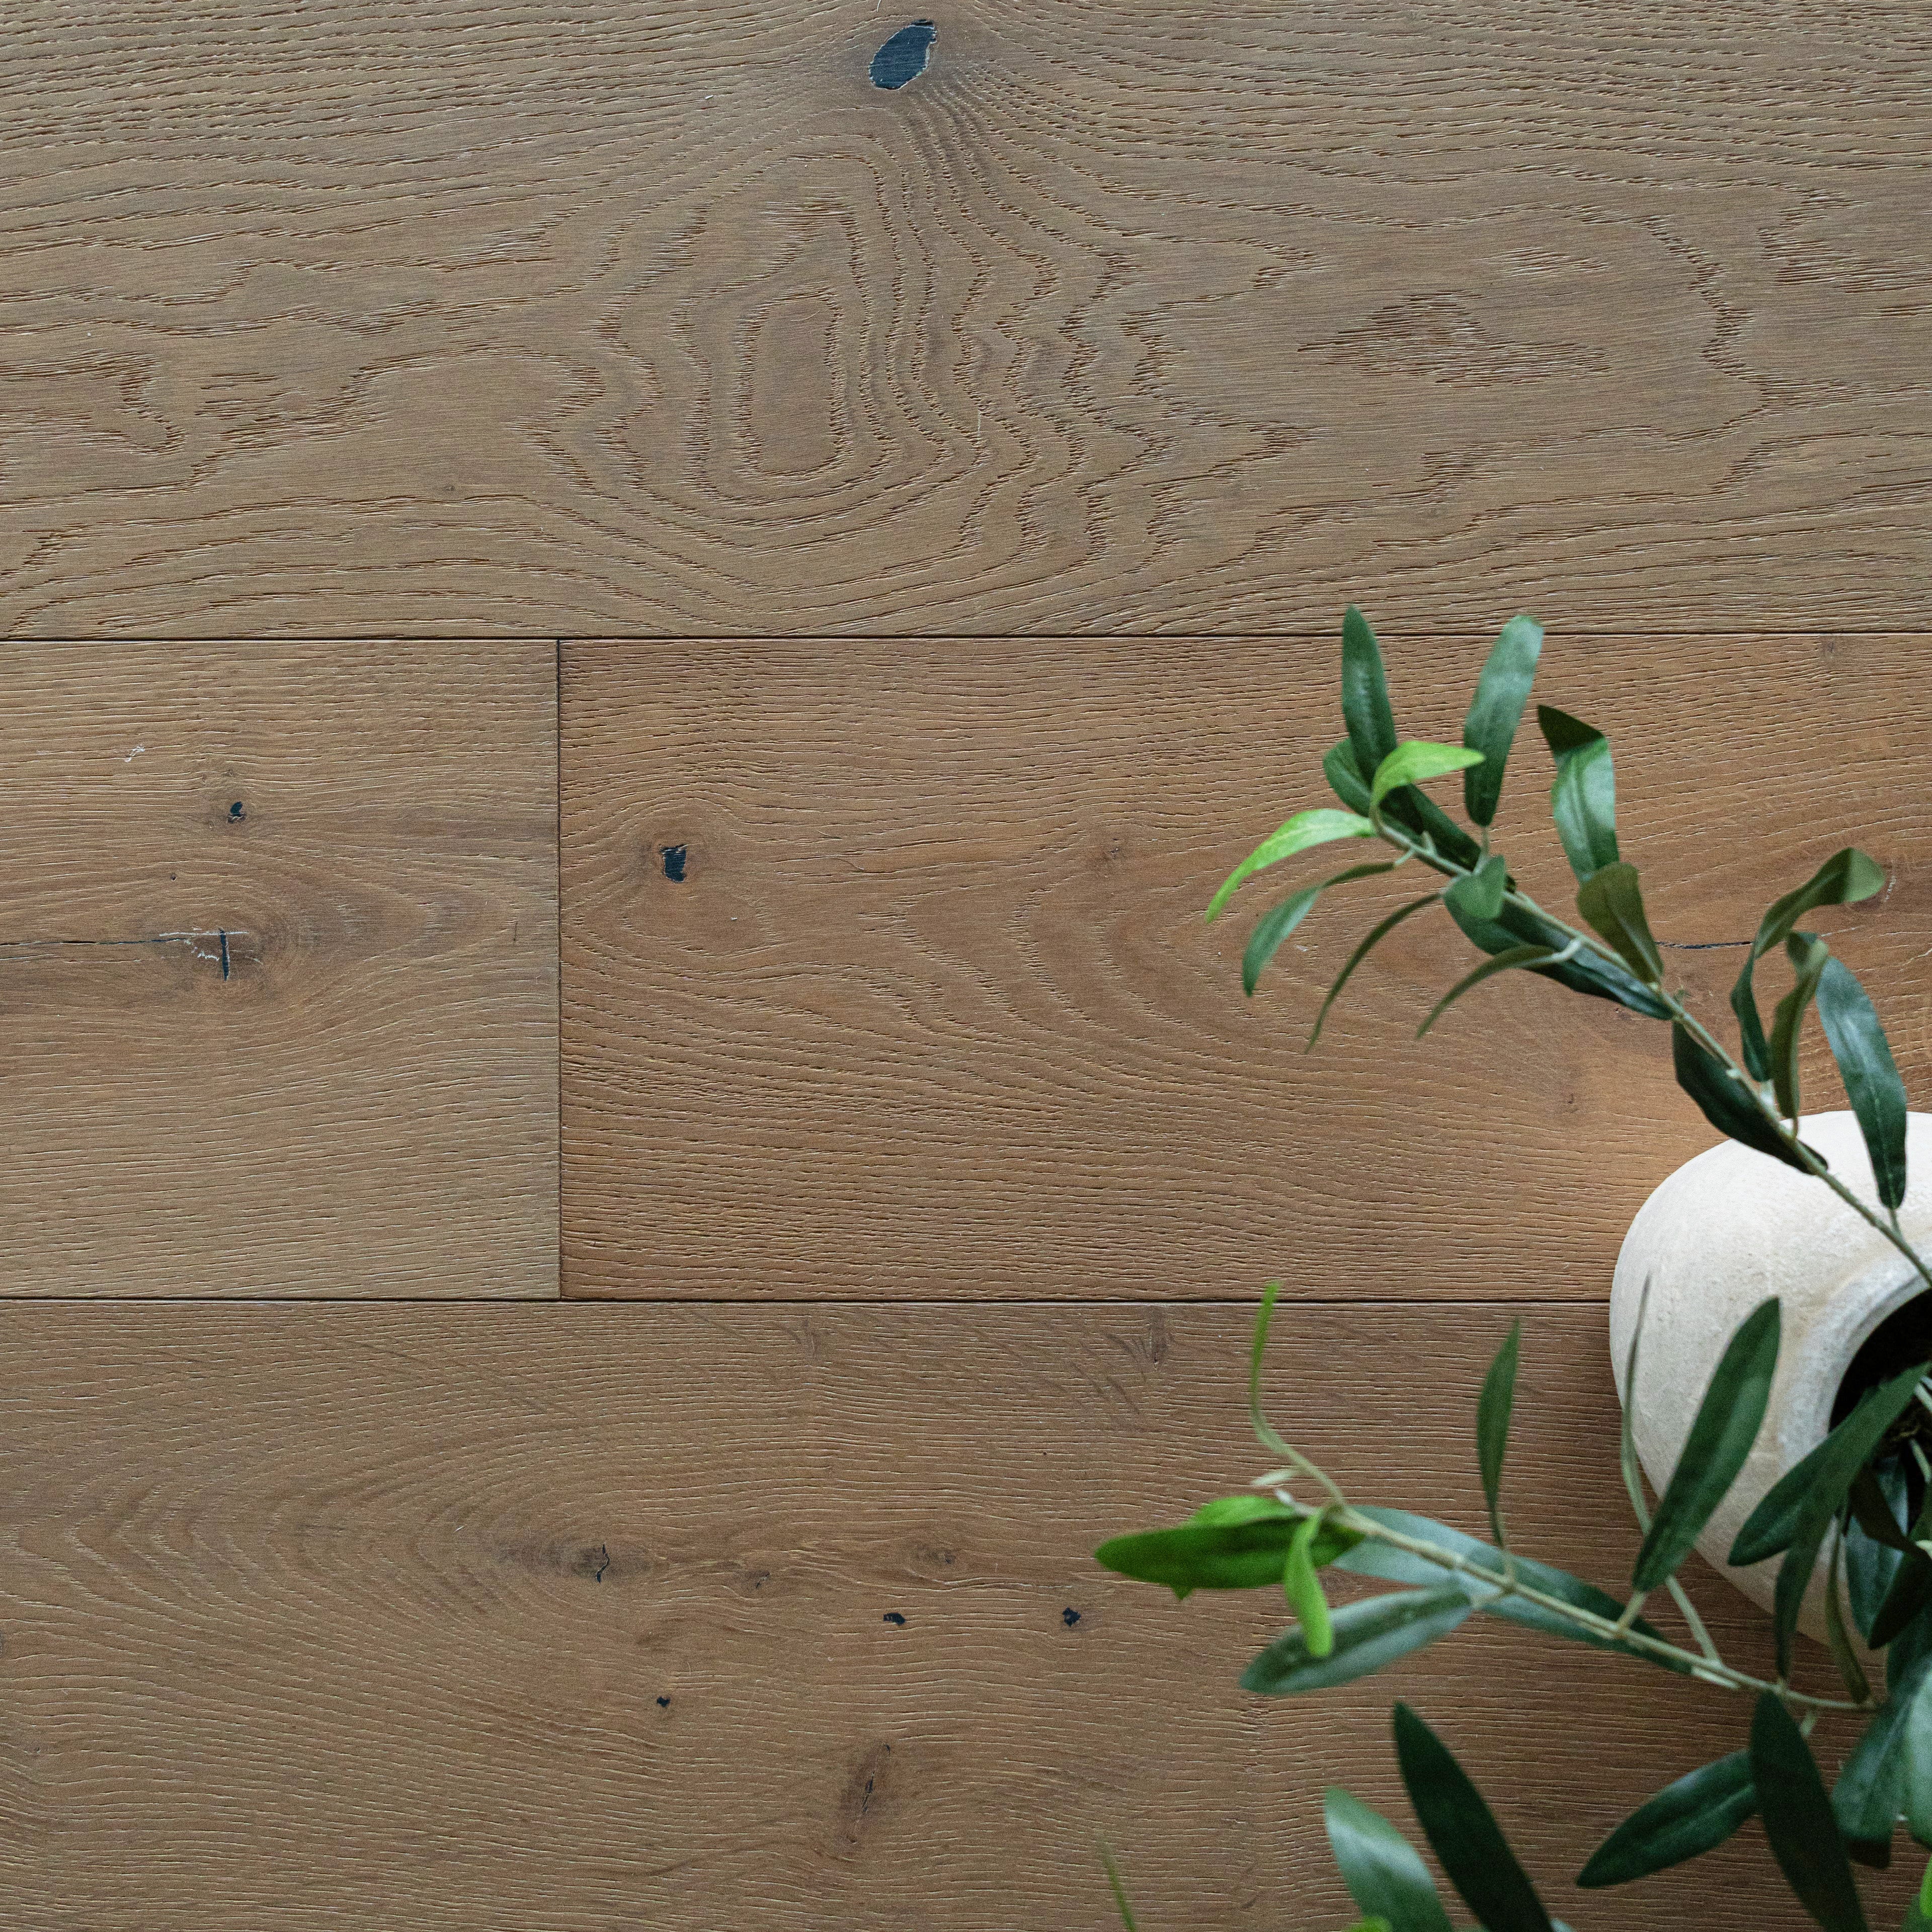
Built to Last
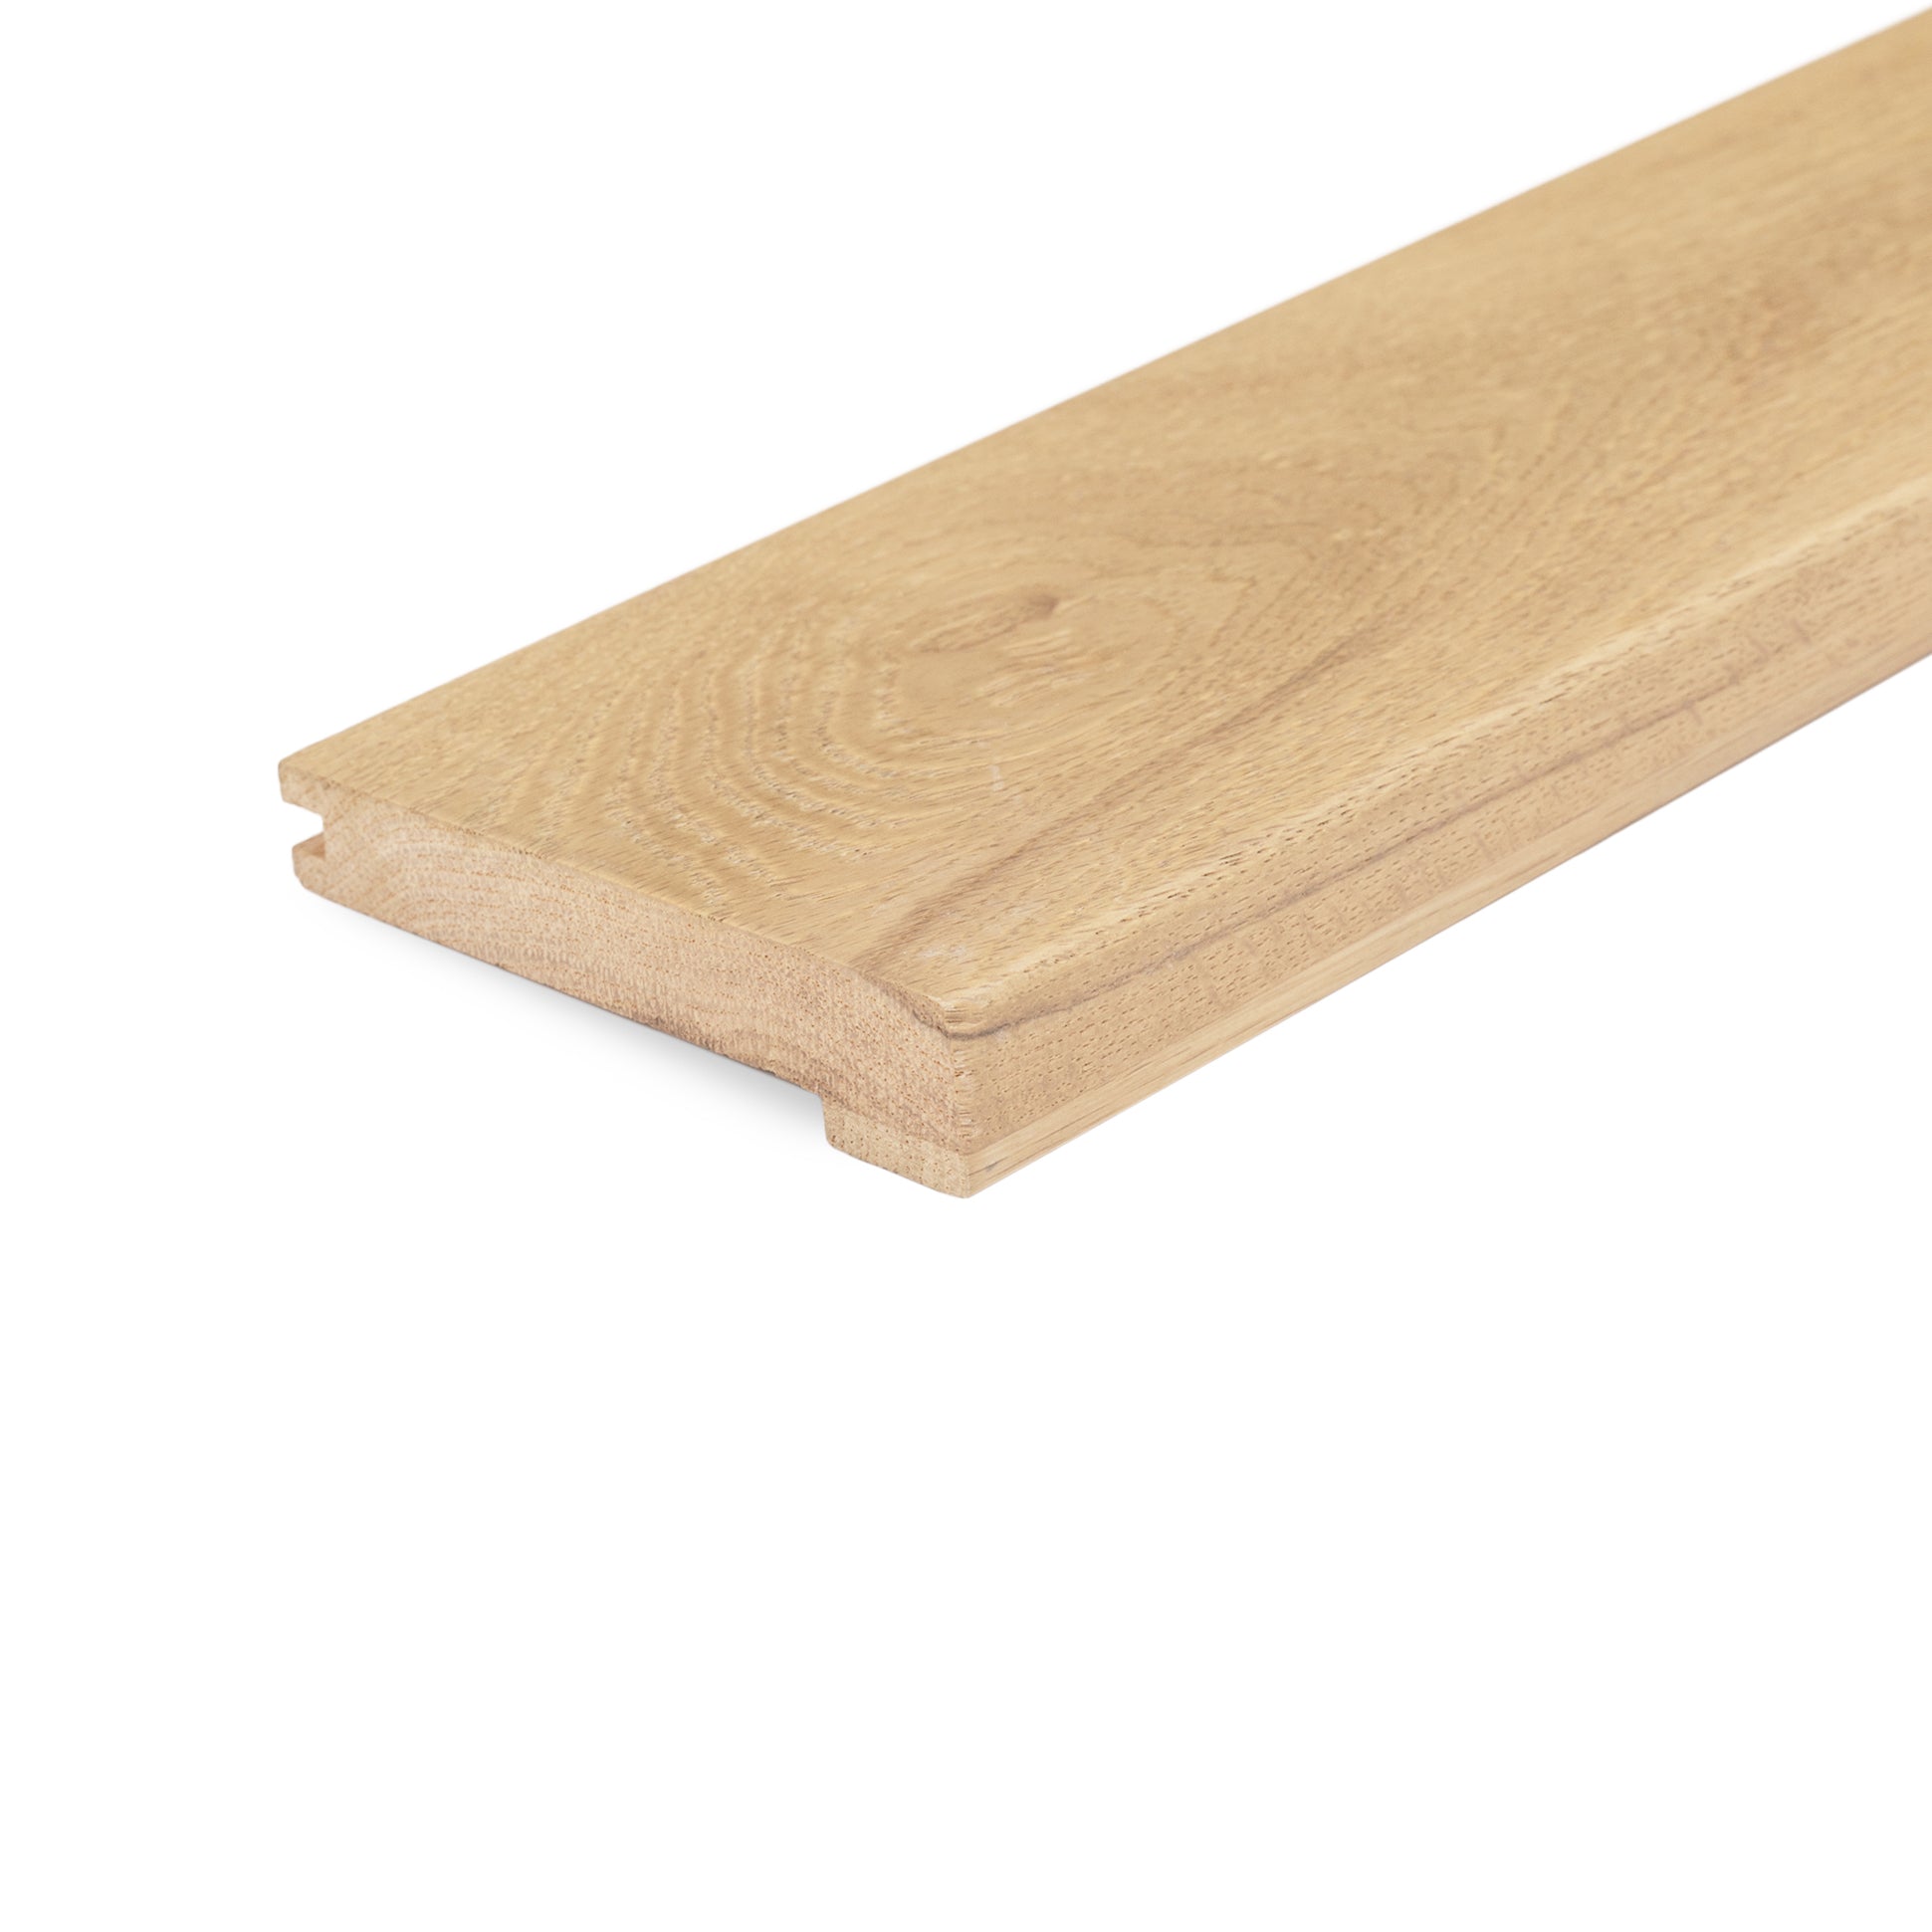
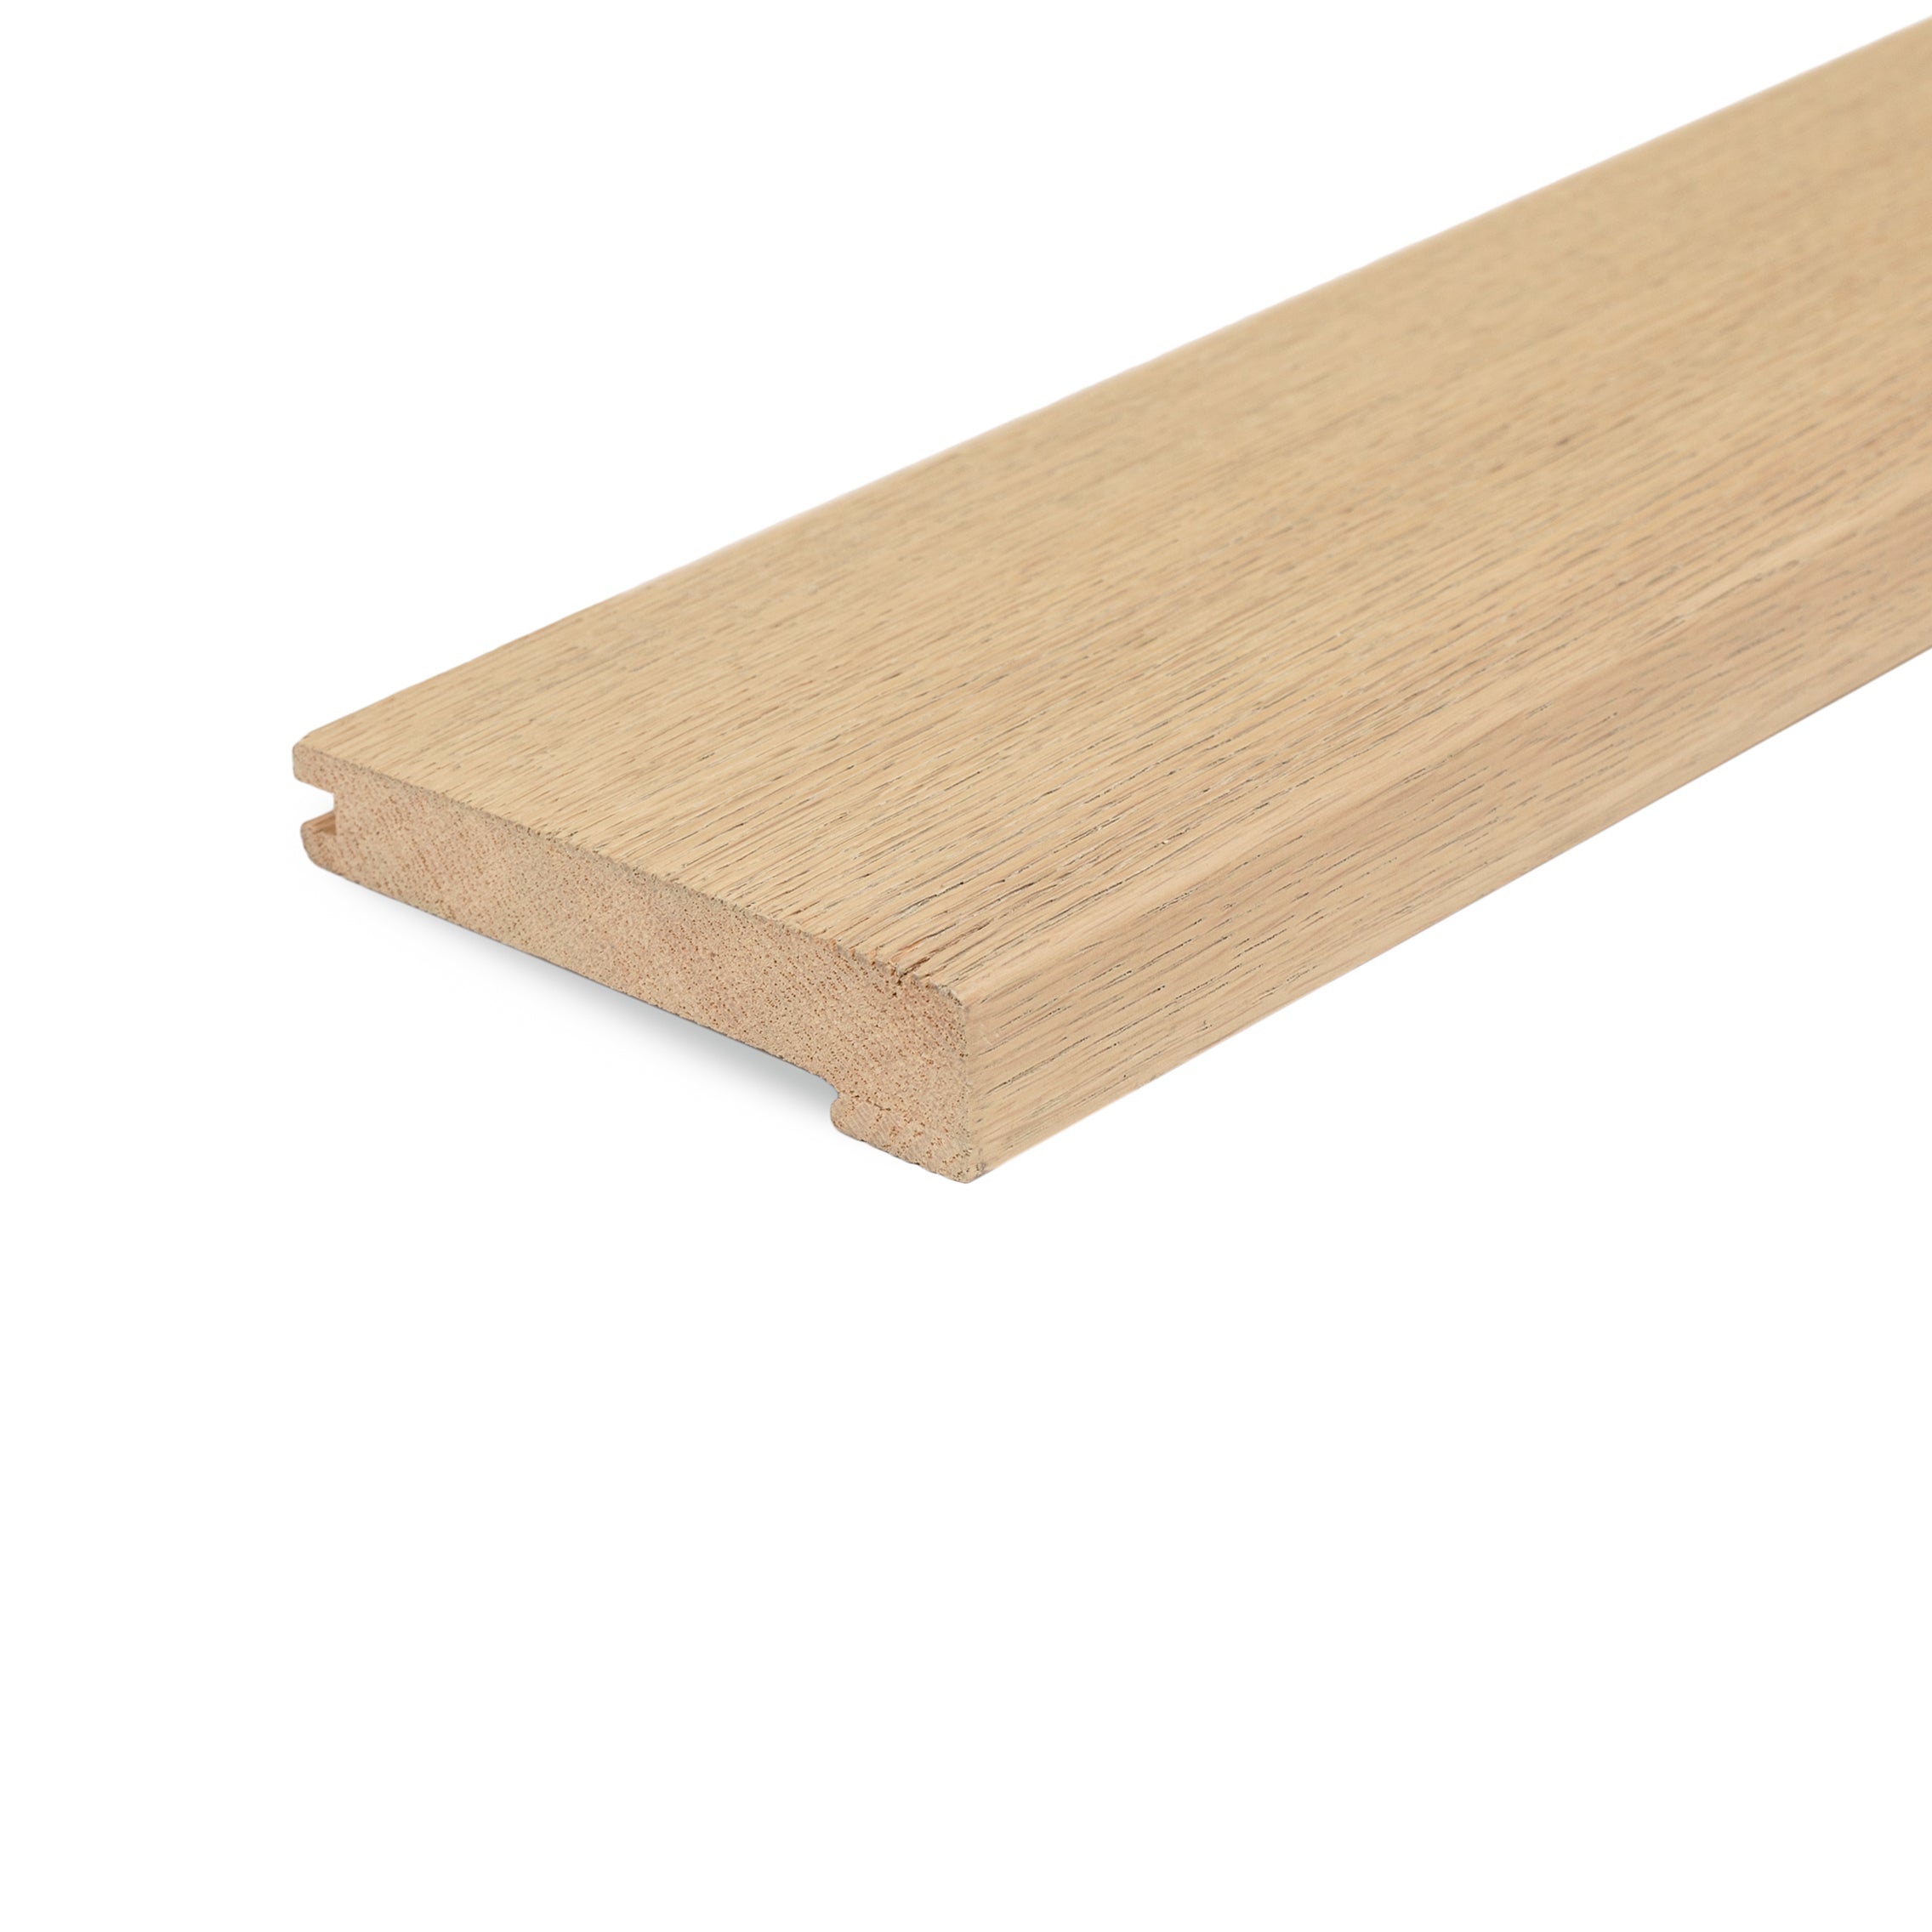
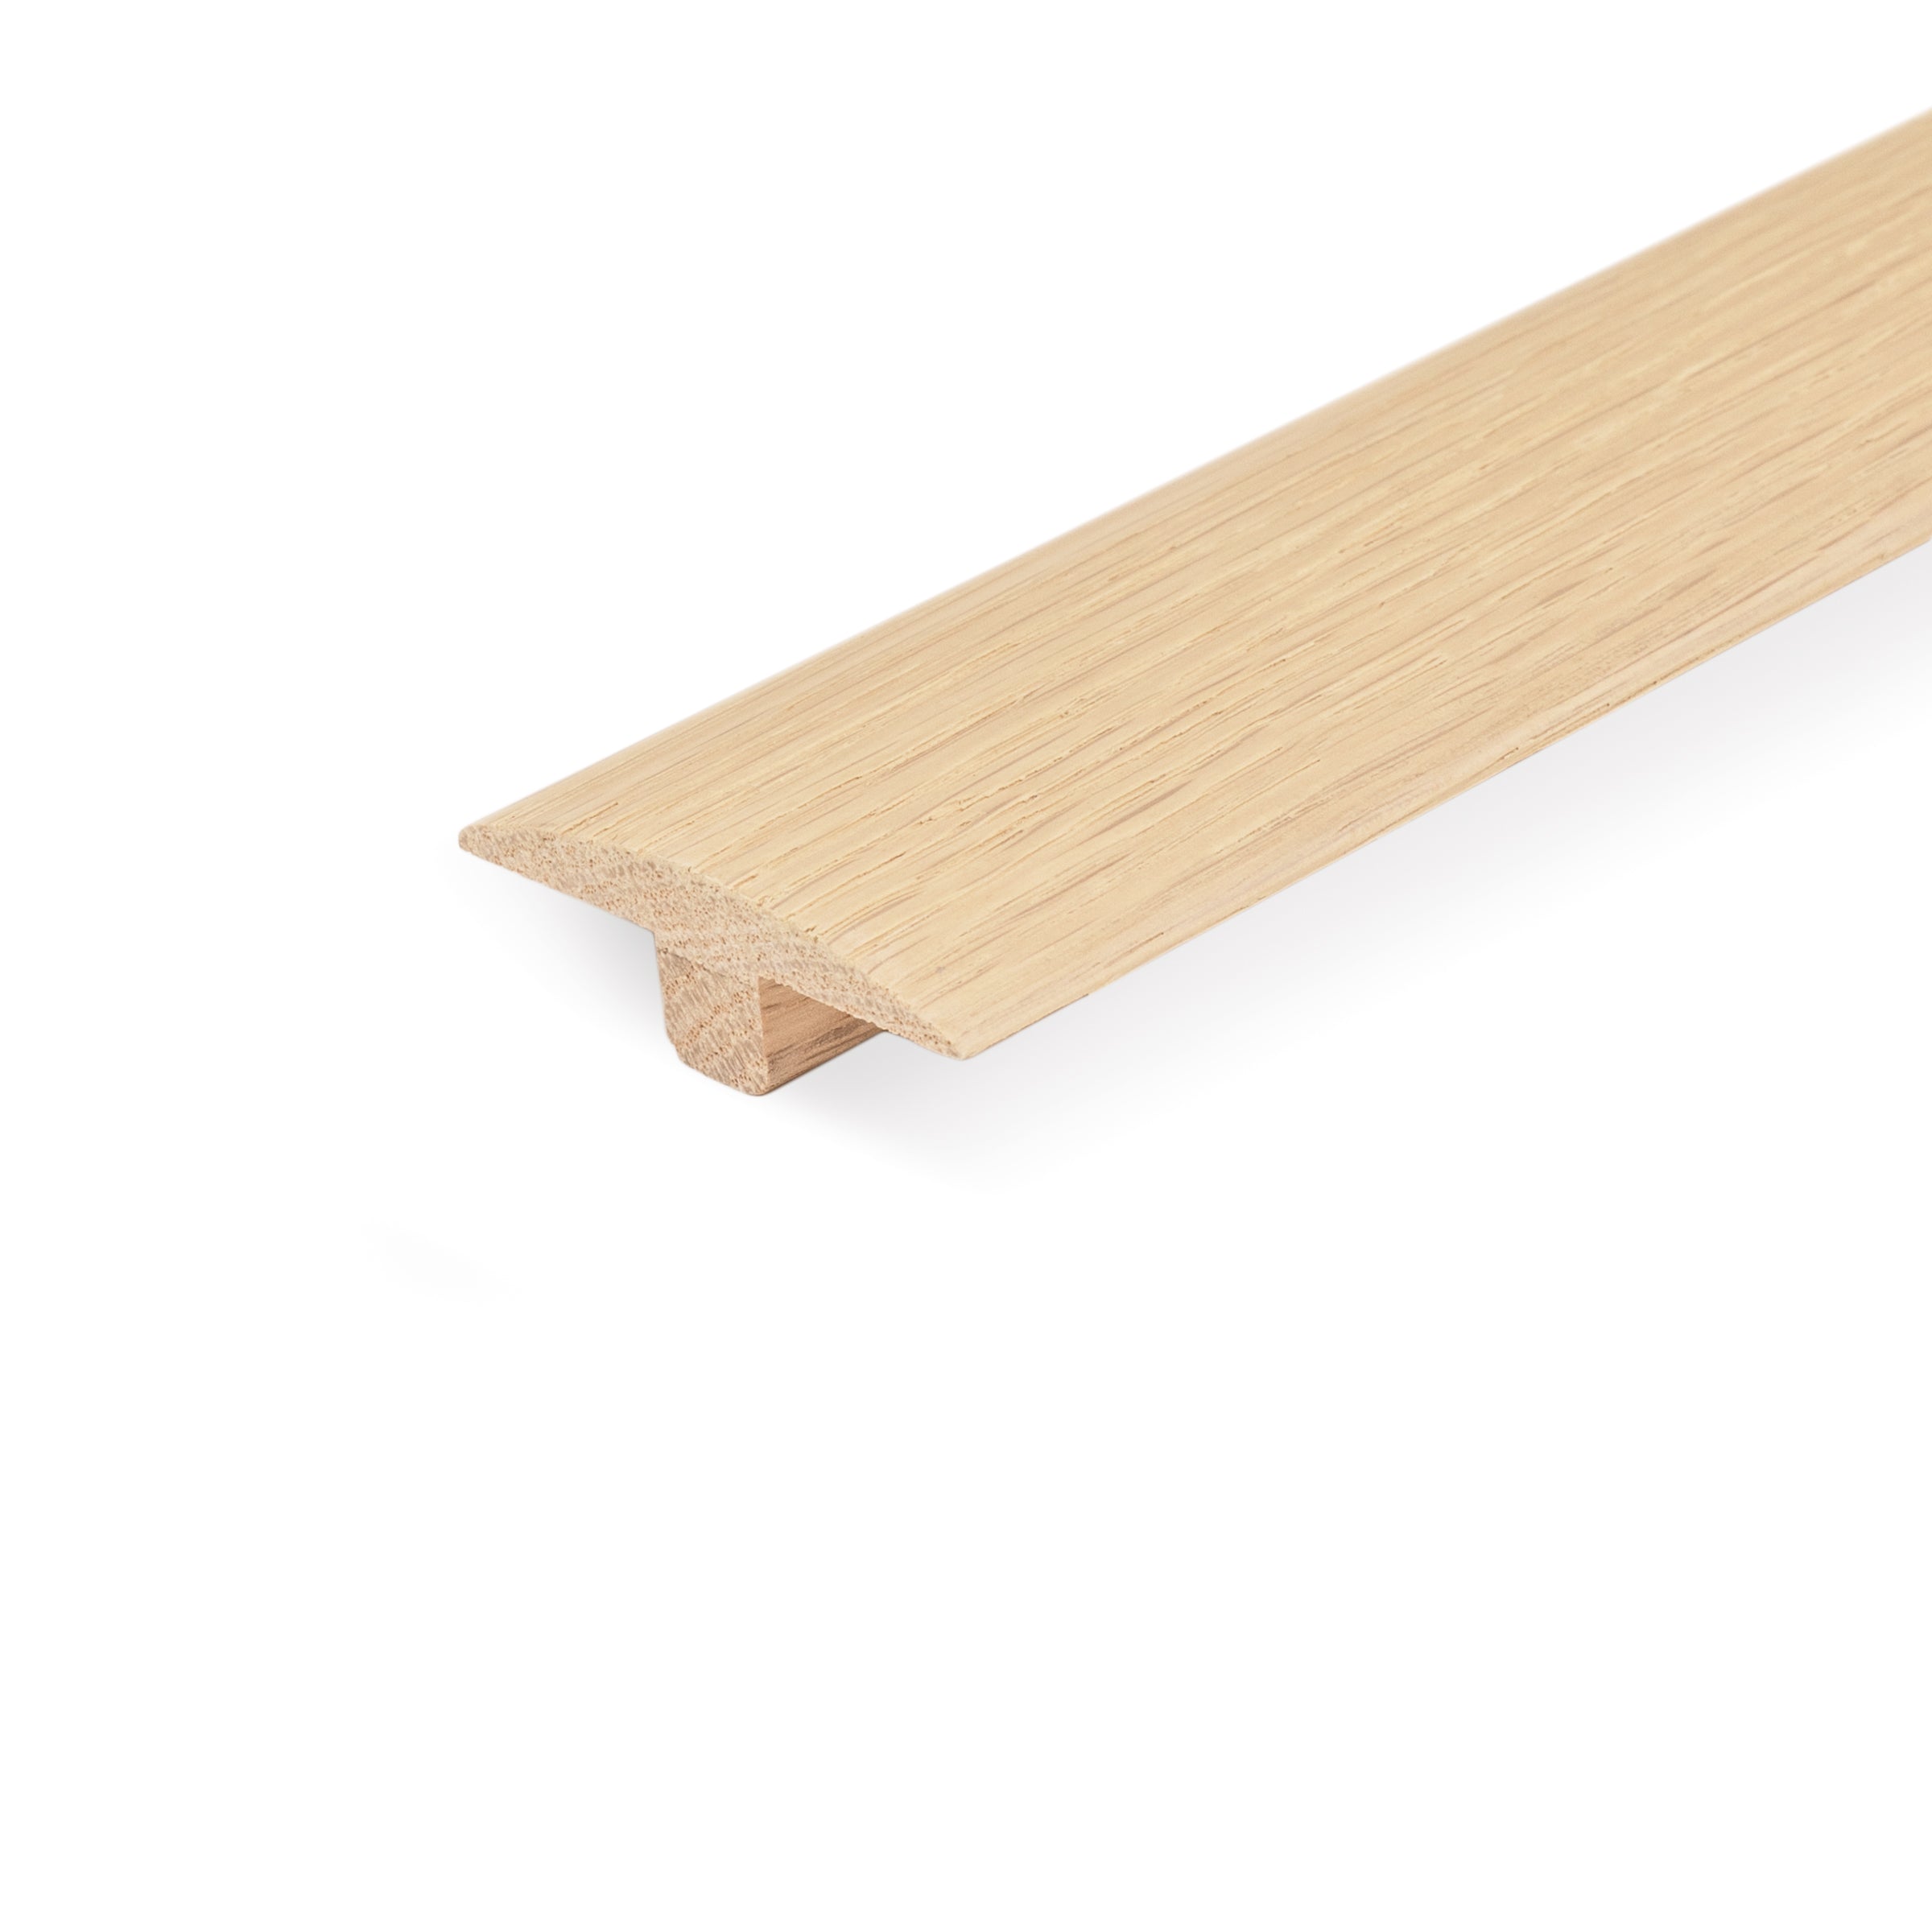
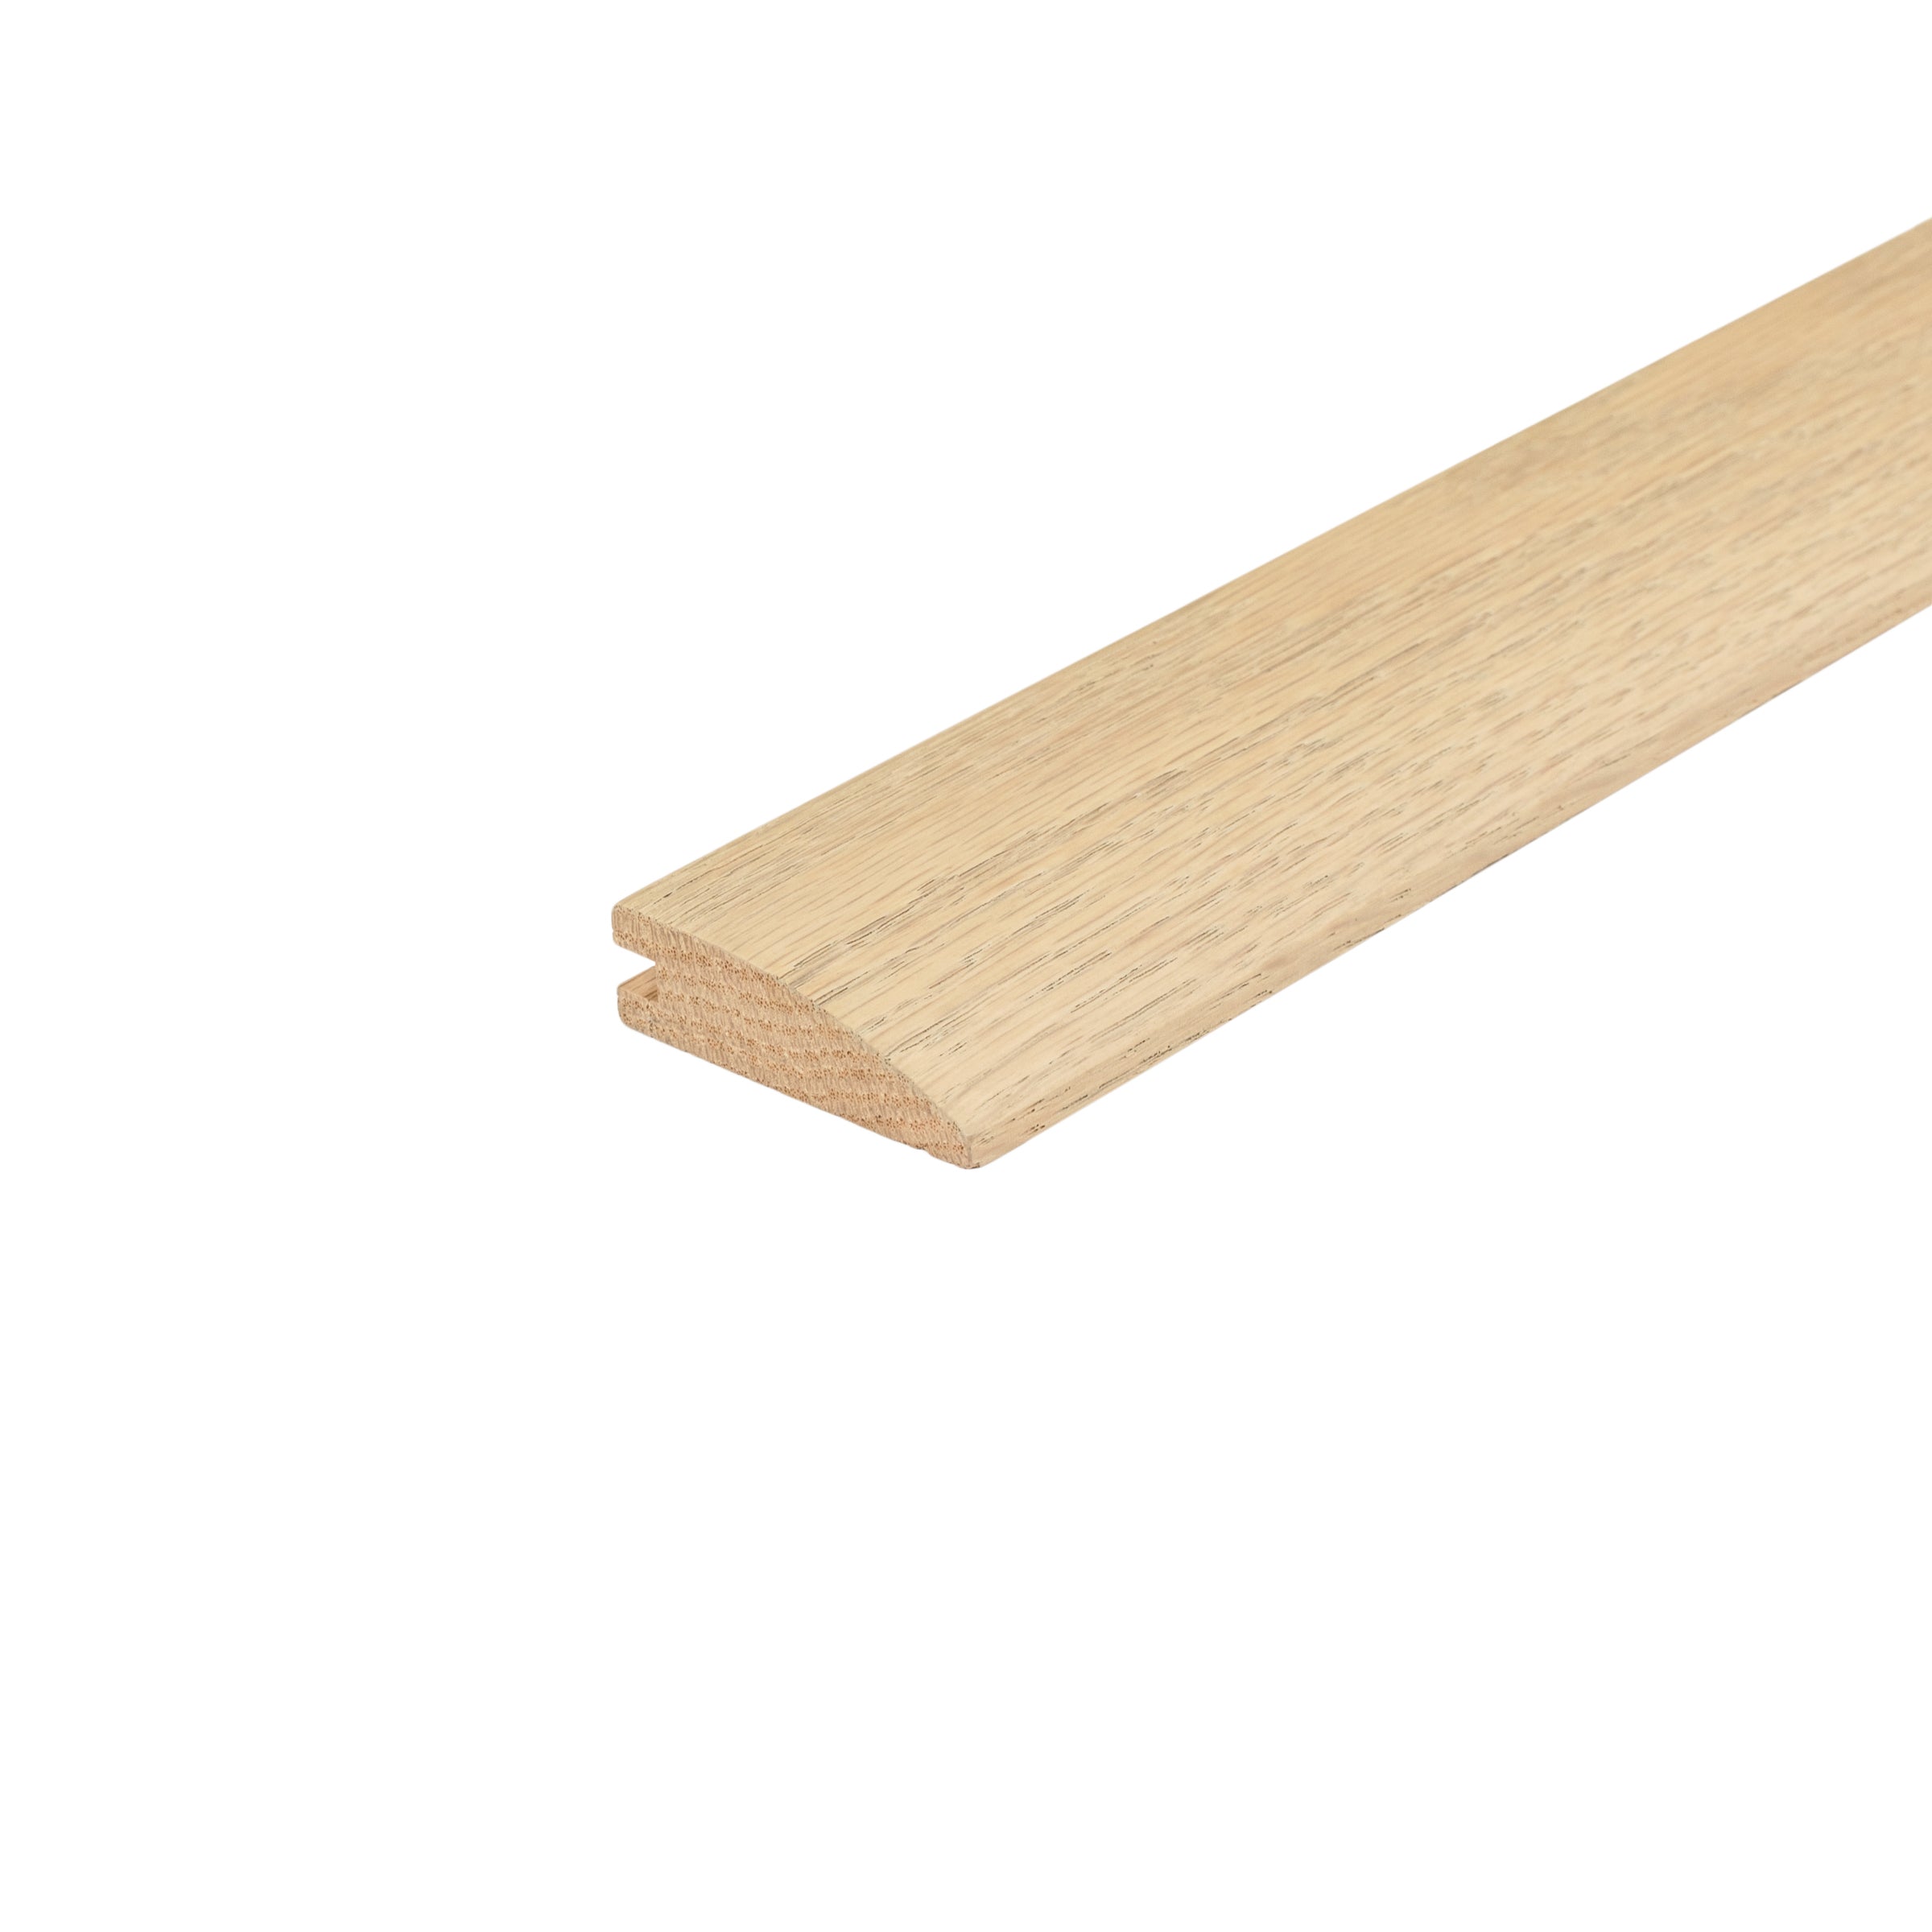
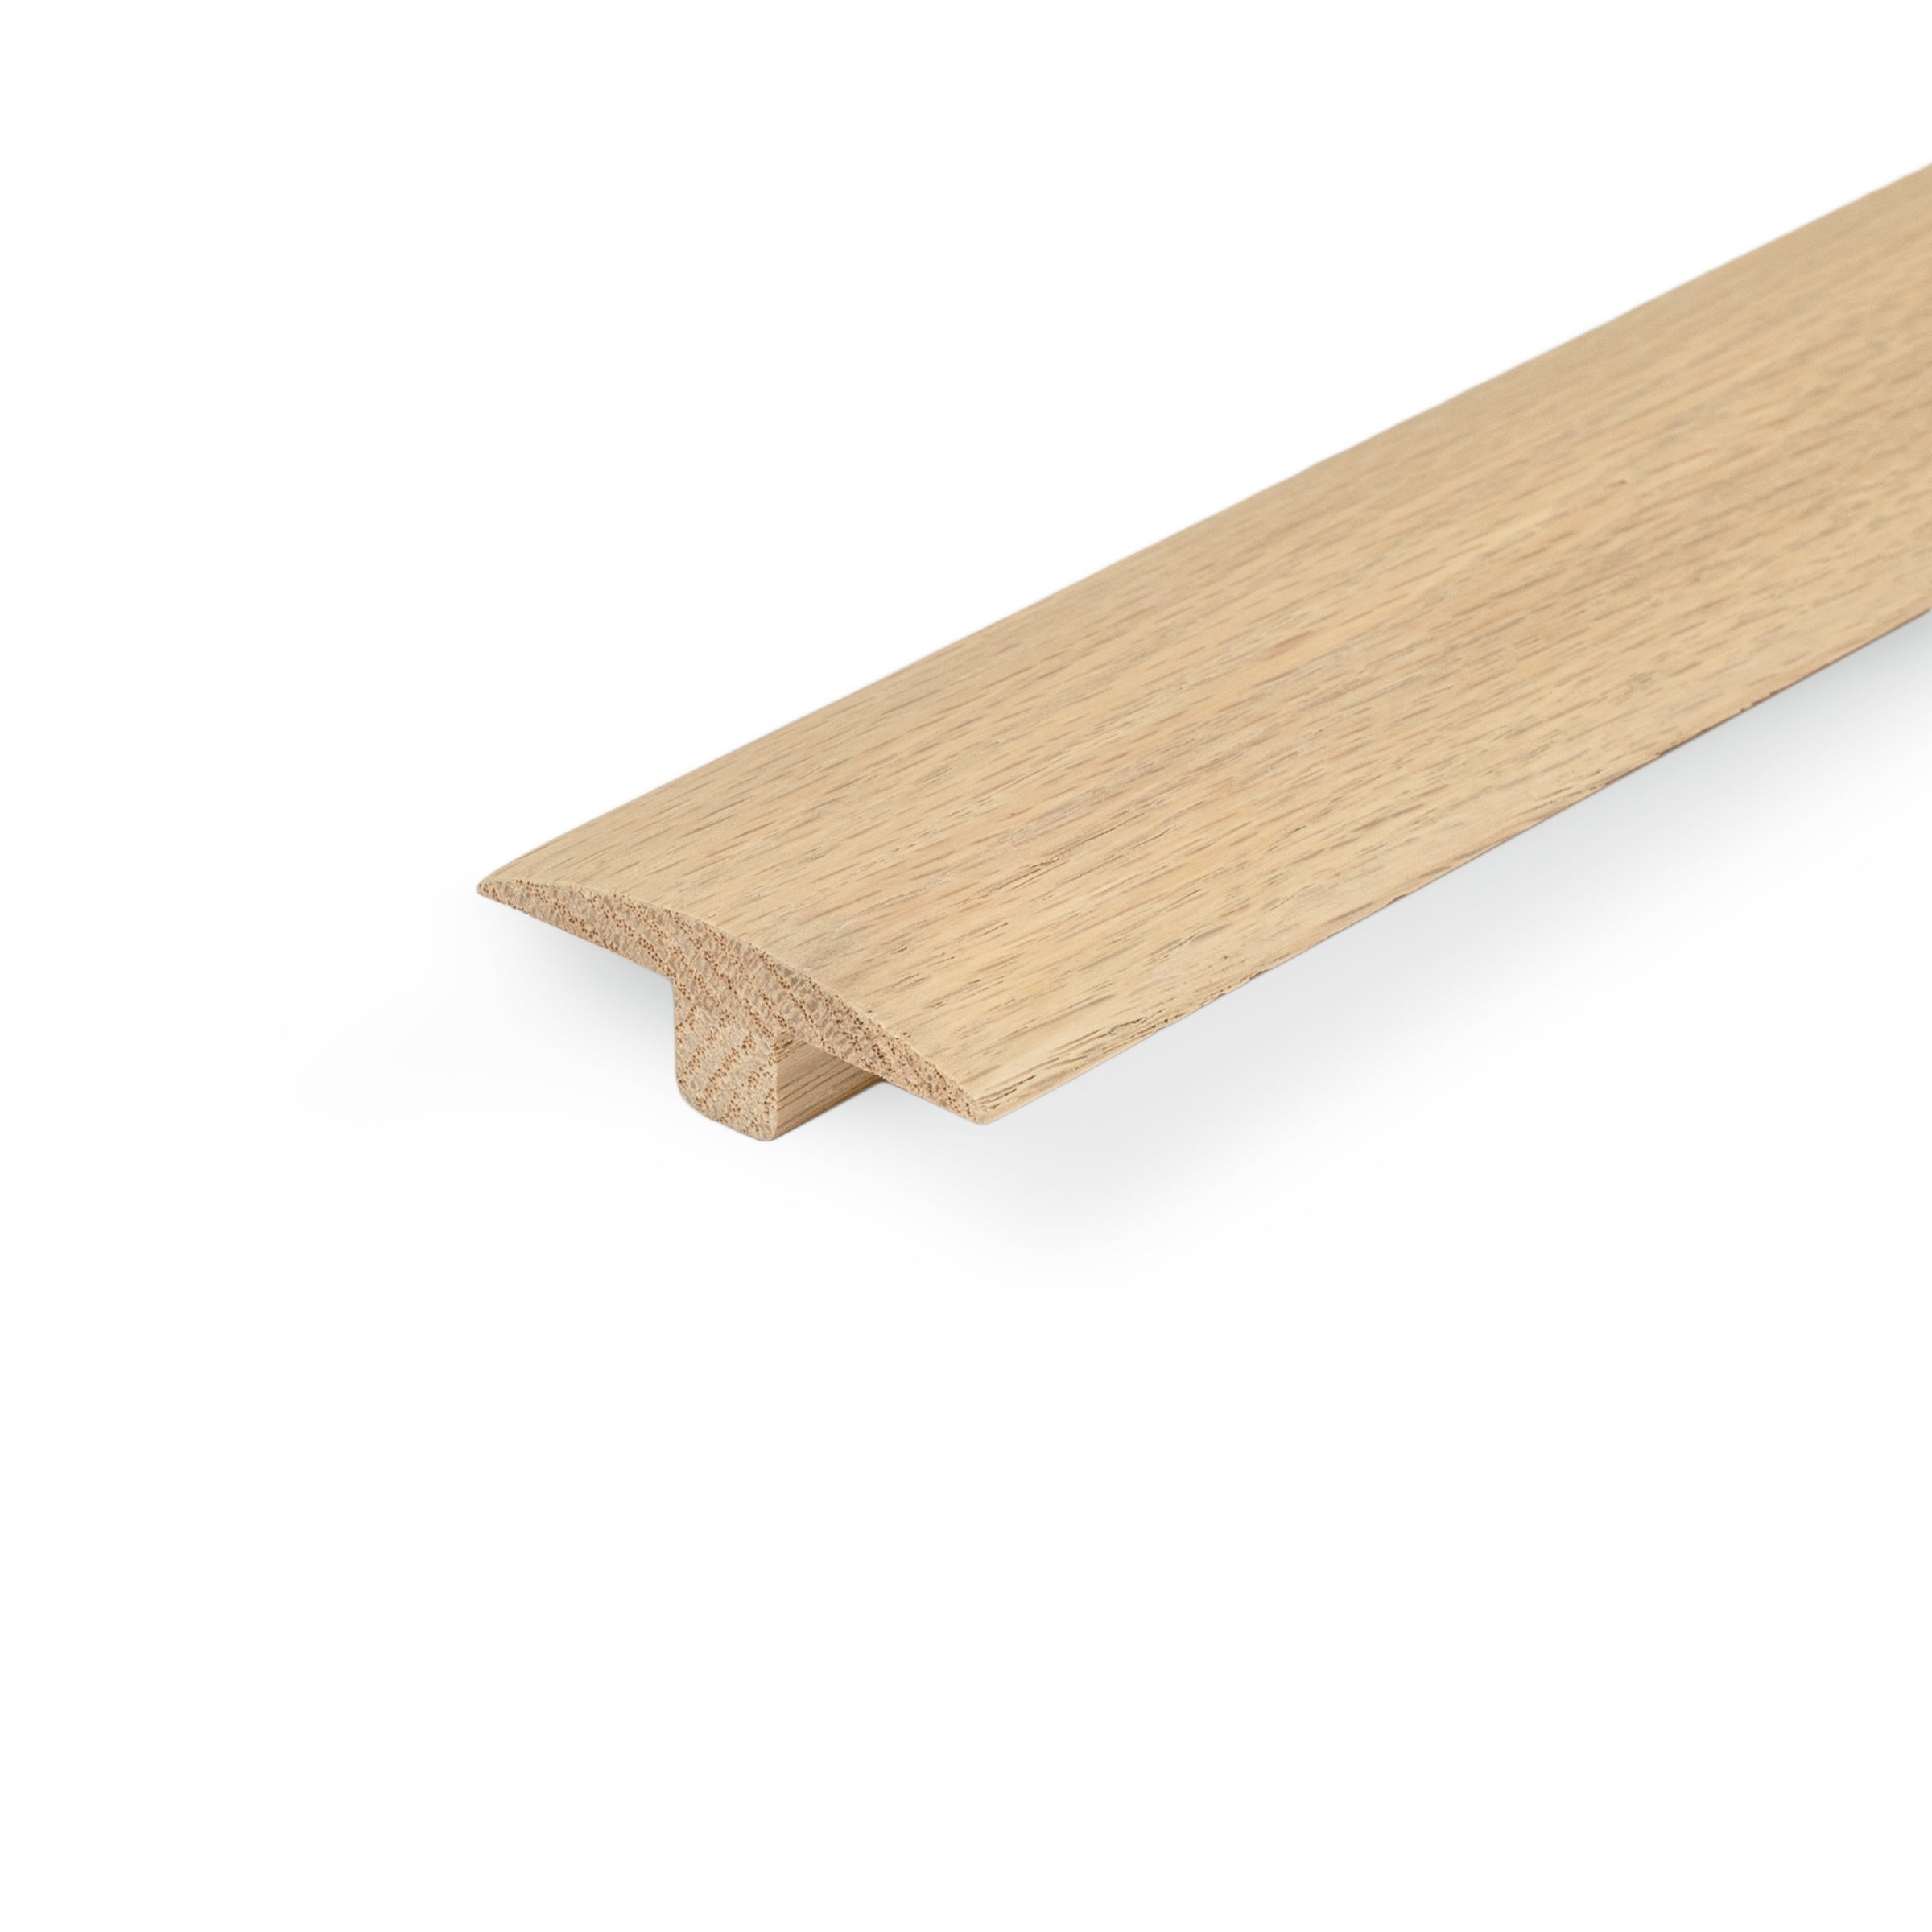
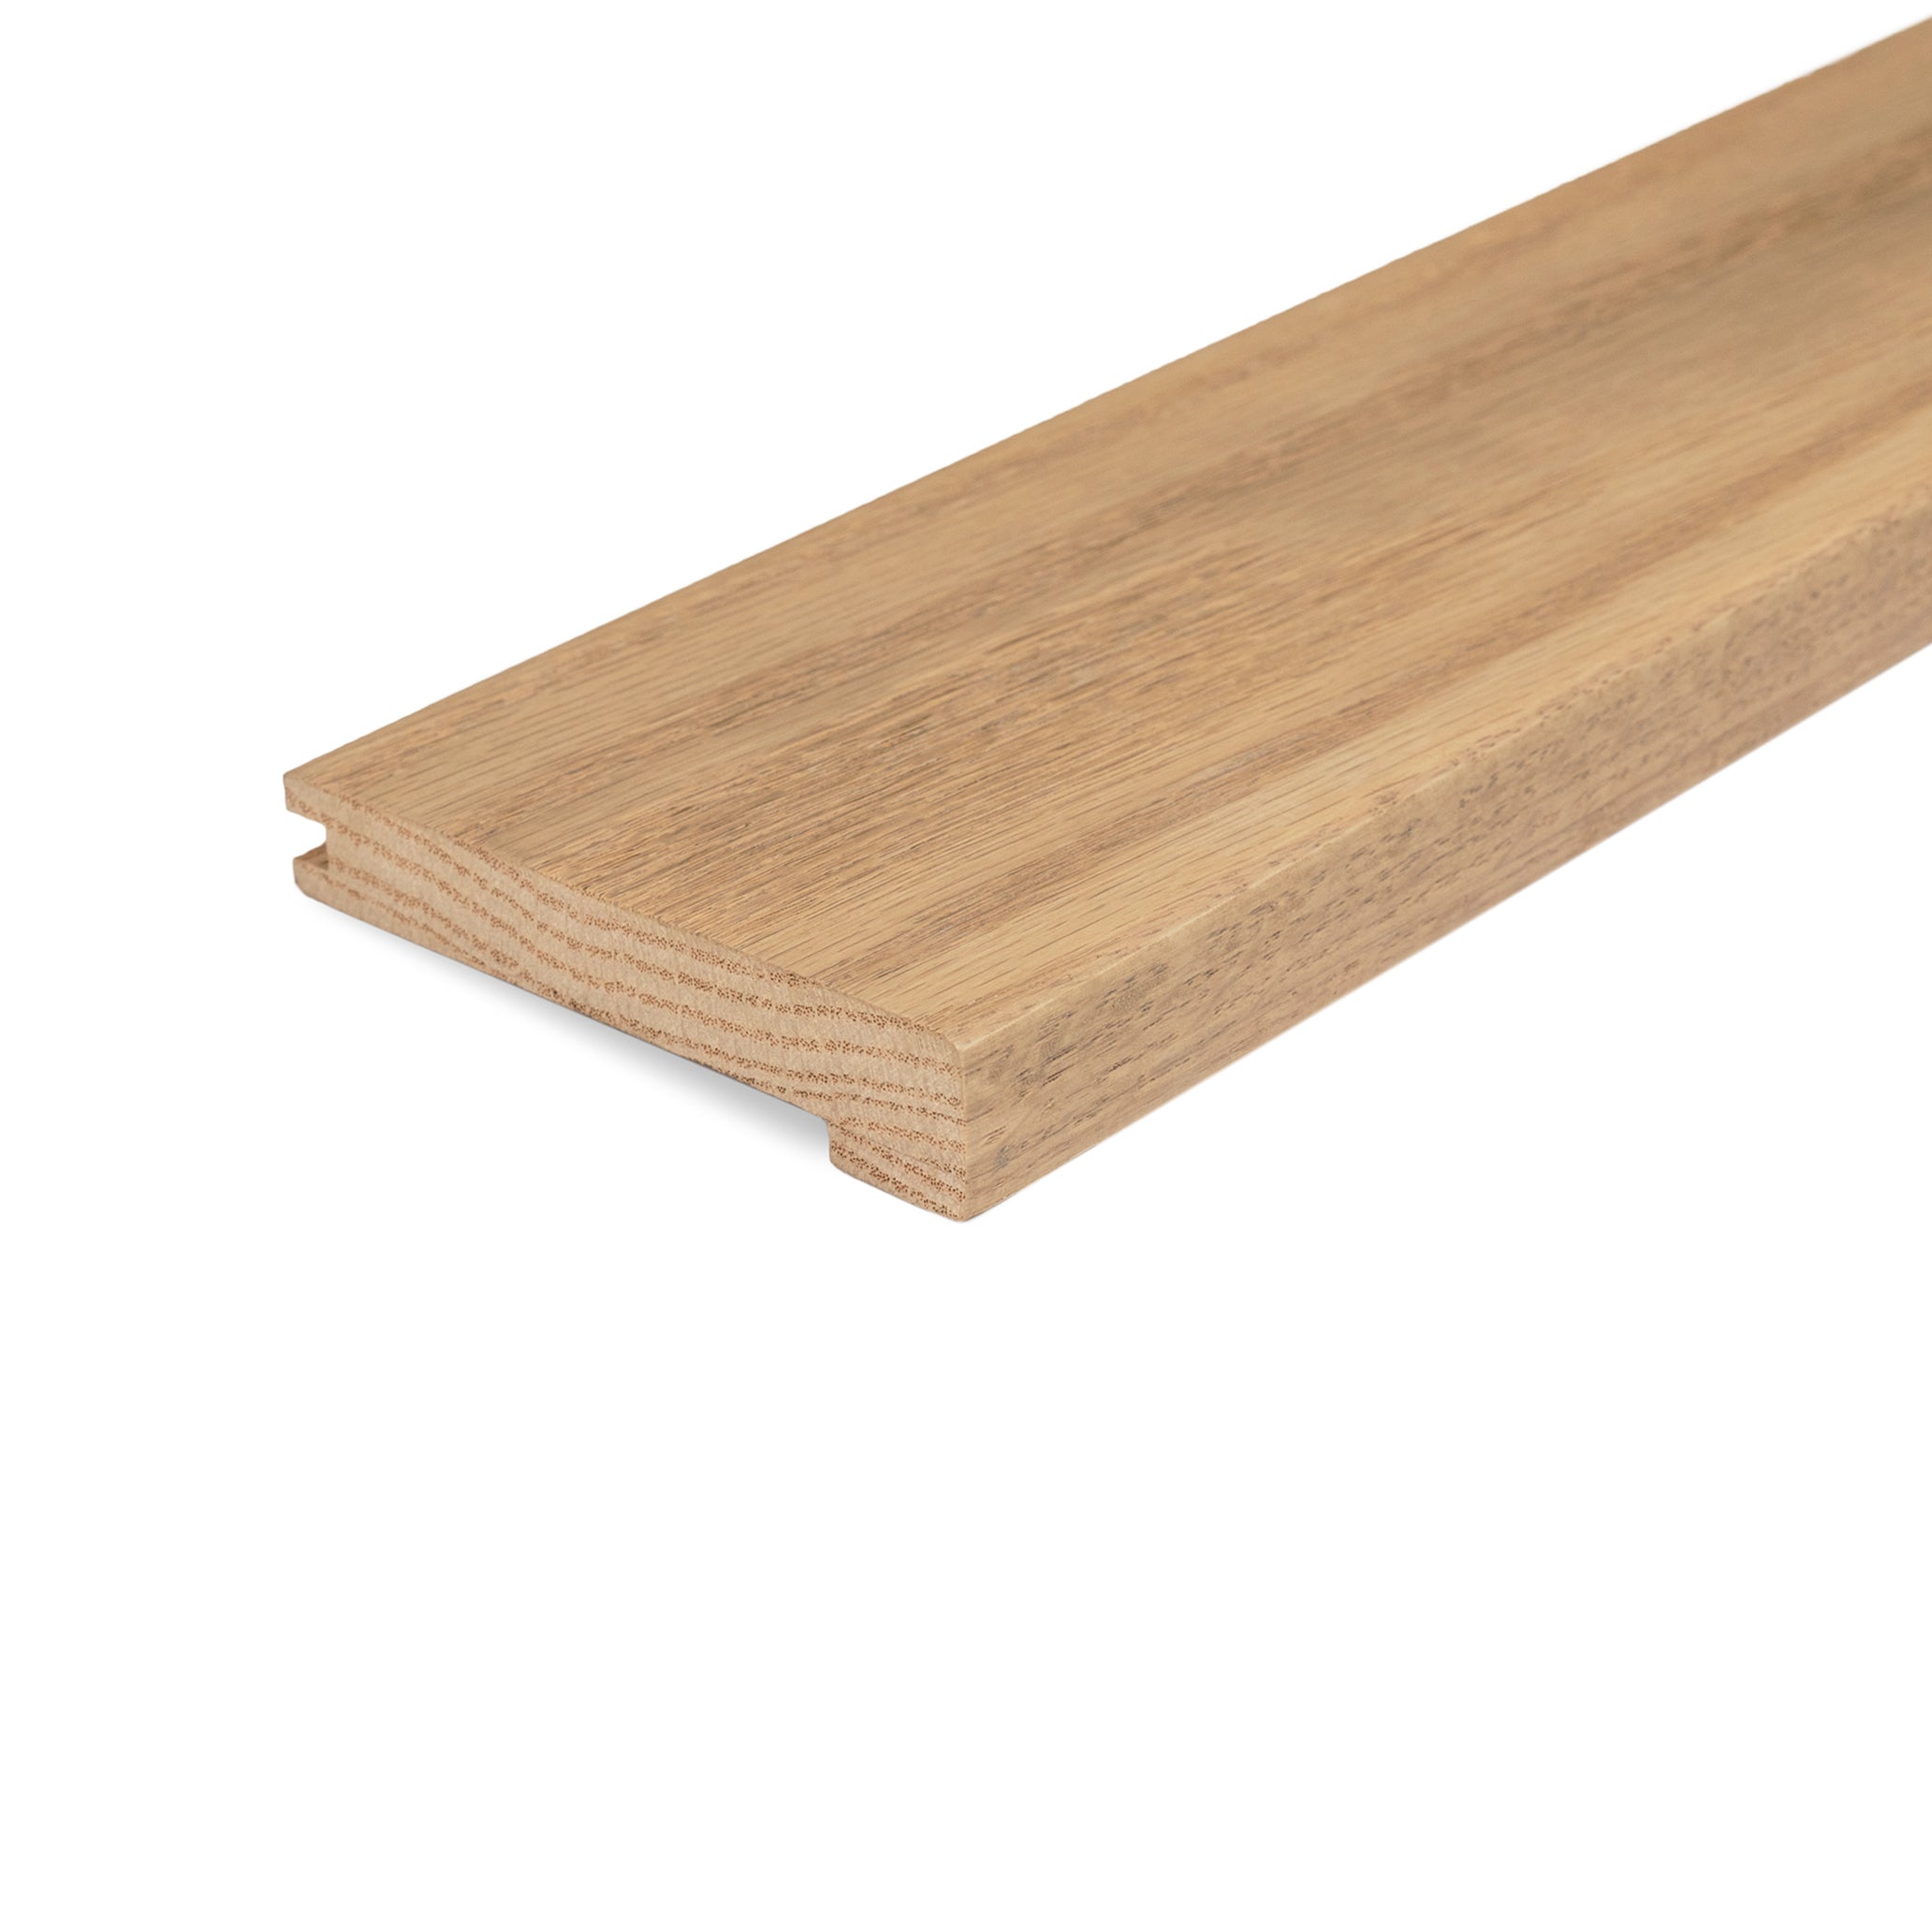
Wide 9.5-inch planks in generous 86-inch lengths create a seamless, expansive feel with fewer seams and a more dramatic presentation. At 3/4-inch total thickness with a substantial 4mm European oak veneer, this floor can be refinished multiple times over its lifetime—offering the longevity of solid hardwood with the dimensional stability of engineered construction. Tongue and groove edges ensure tight, secure installation.
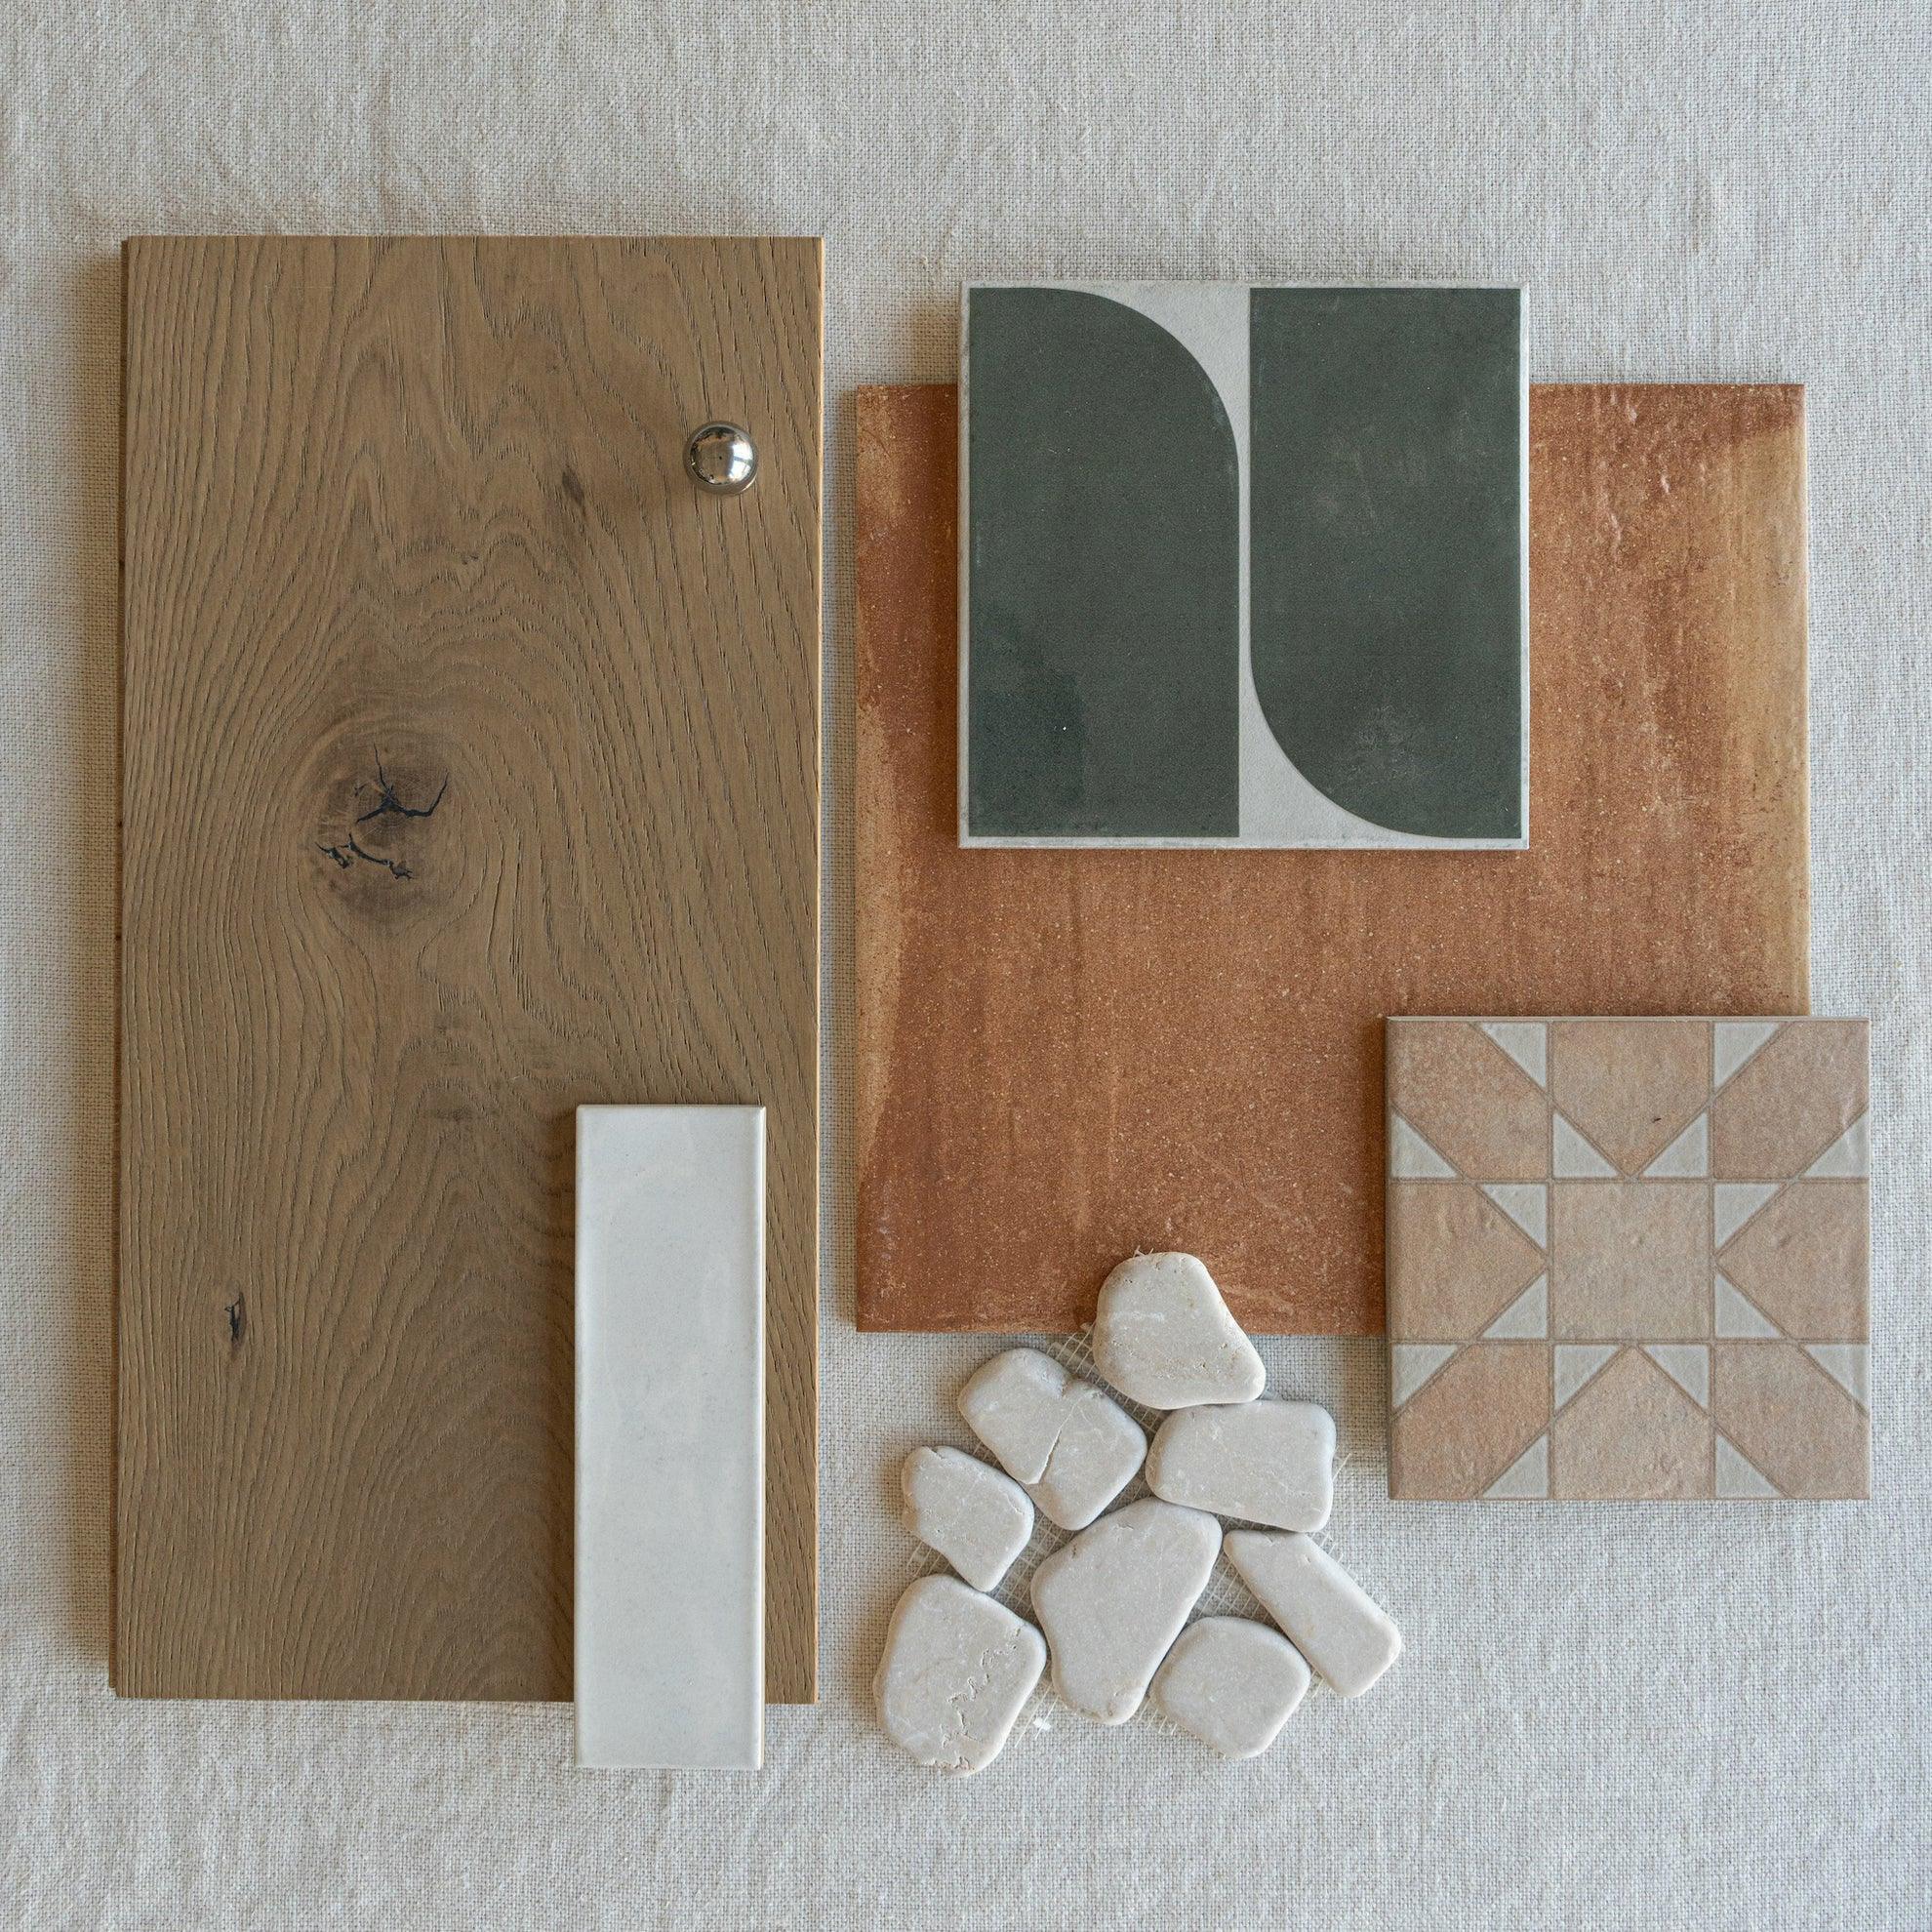
Style It With
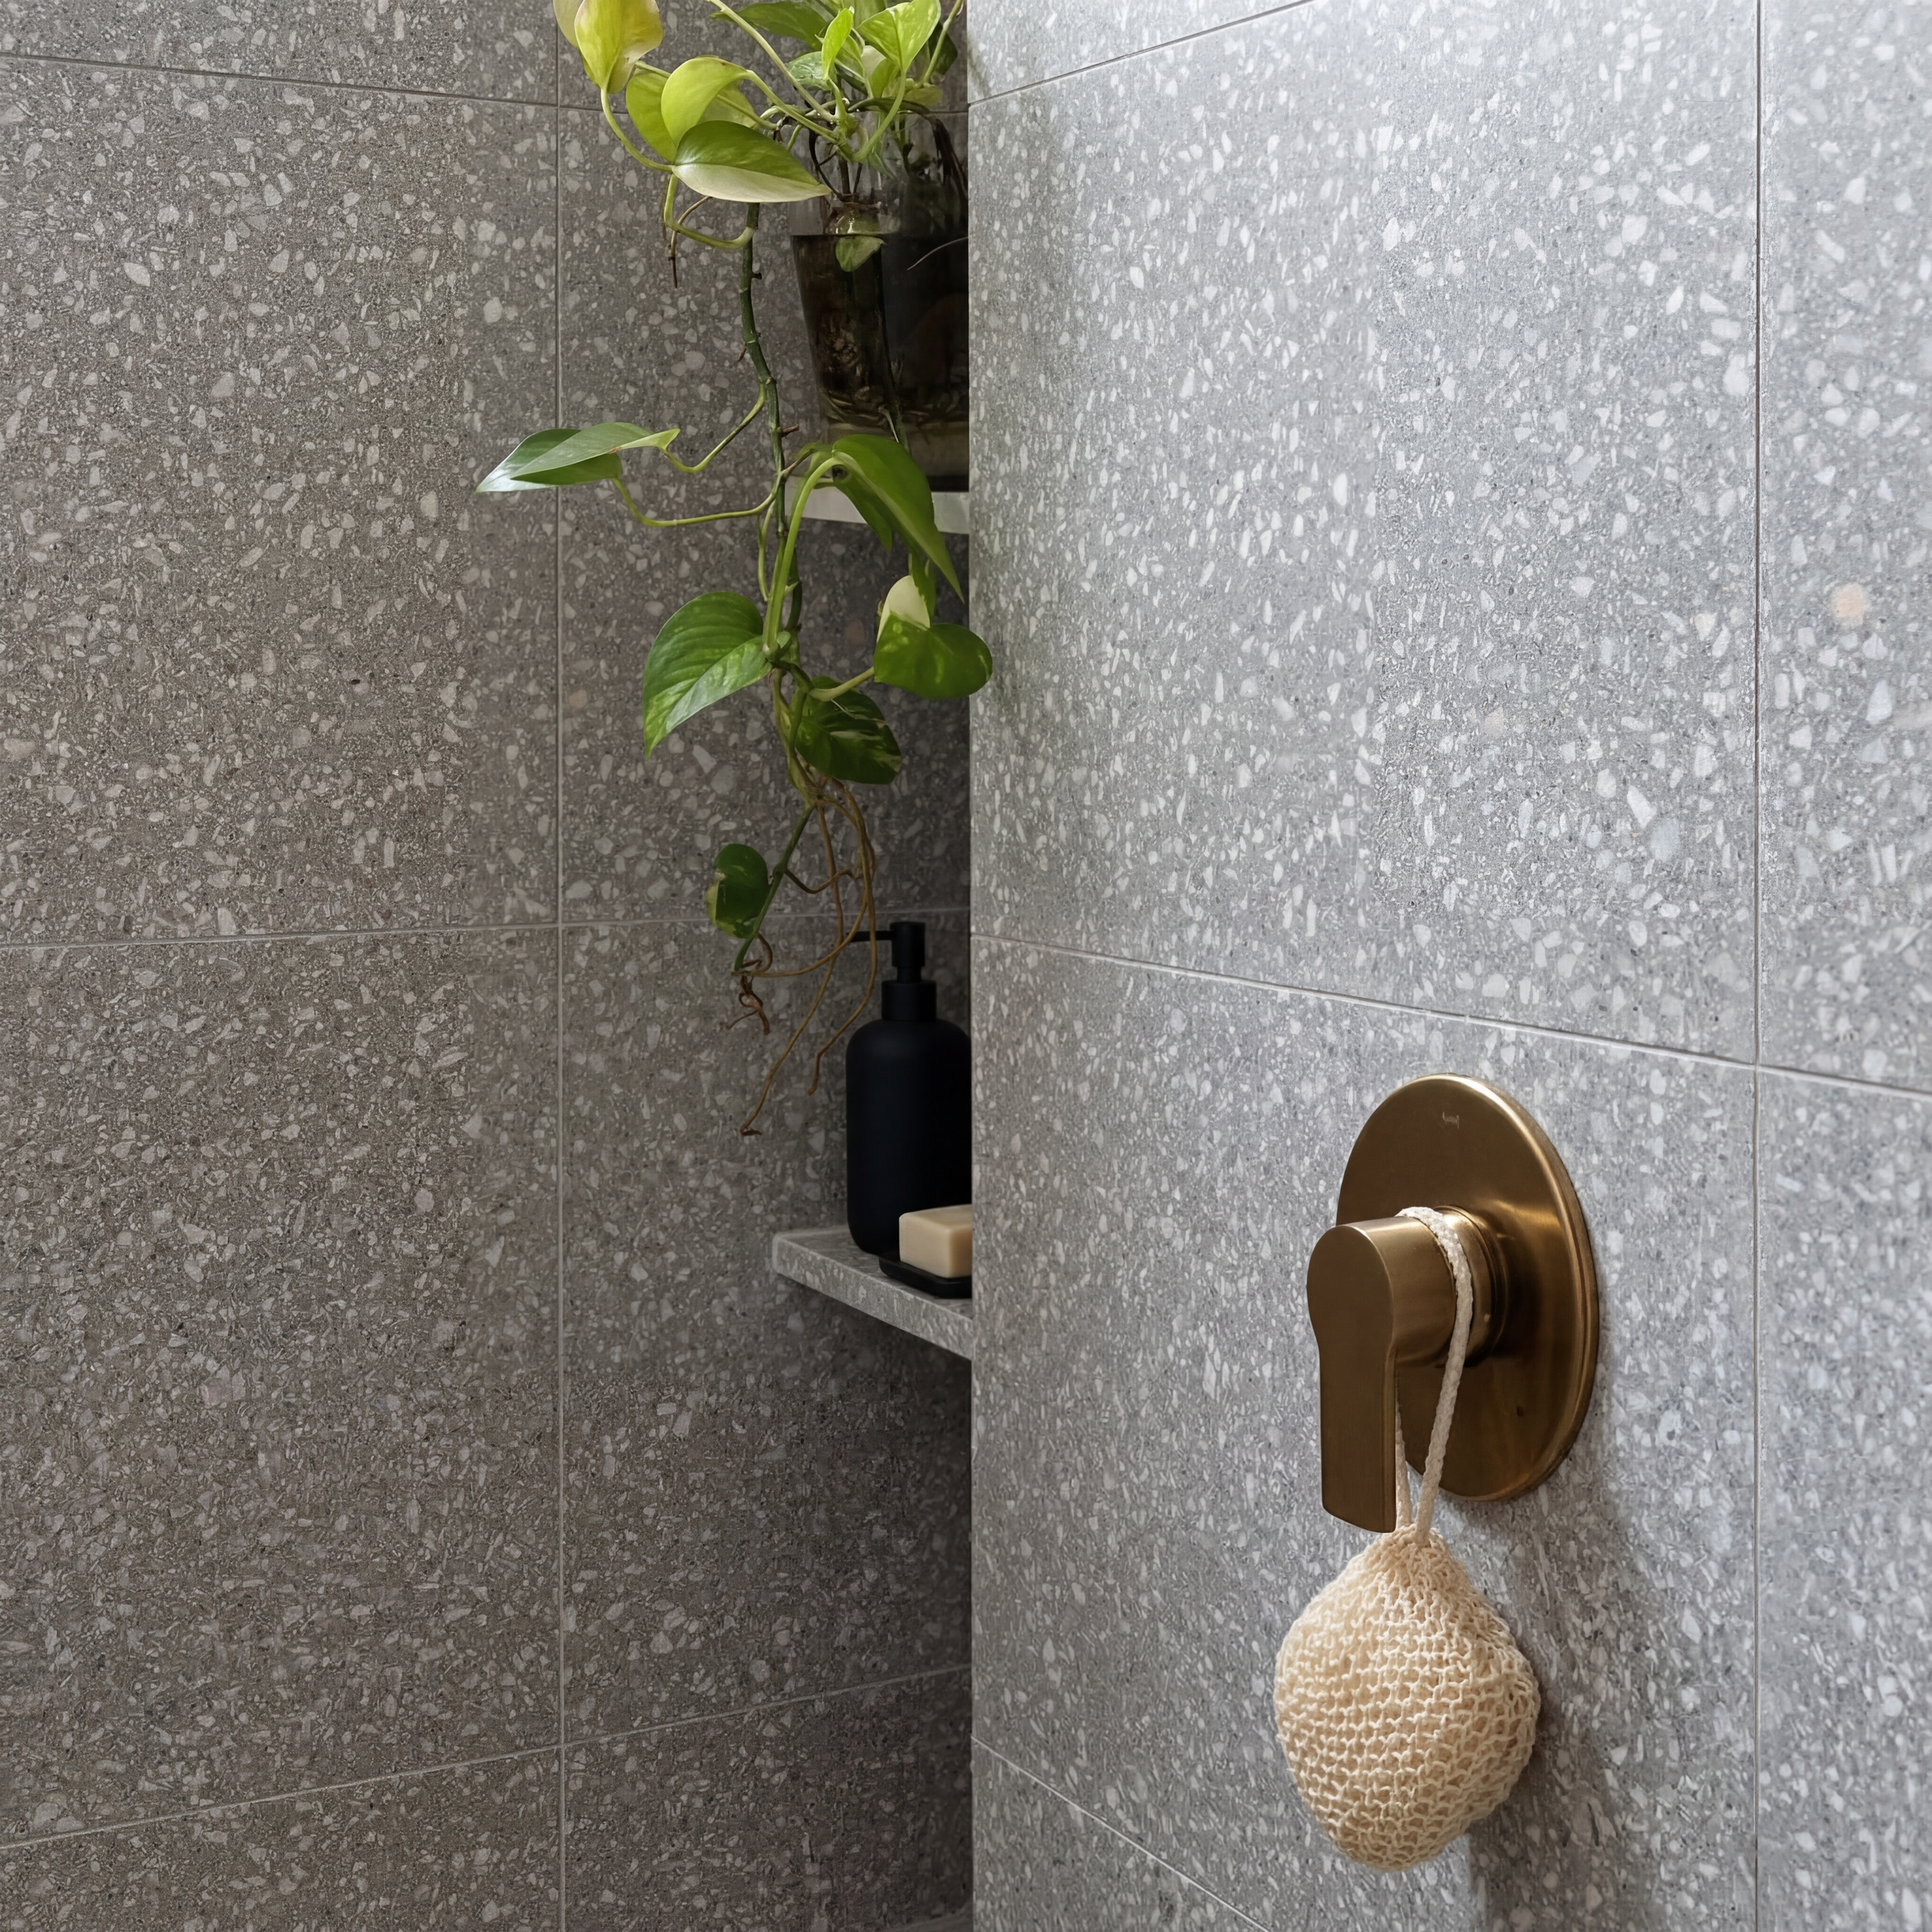
This is the workhorse of the collection—it plays well with virtually any palette. Pair with warm whites, soft greys, or rich navies; it works equally well with modern minimalism or layered traditional interiors. Complement with leather, linen, and natural stone for an organic feel, or contrast with crisp white cabinetry and matte black hardware for something more contemporary. A true all-rounder for any room in the house.
Where to Install
FLOORS
No. 14 Engineered Wood Flooring showcases European white oak in a warm, natural character grade with a matte wire brush finish that brings out every knot, grain sweep, and tonal shift in the wood. This is a premium format plank, measuring 9.5 inches wide and 86 inches long, creating a dramatic, wide plank look that makes any room feel more spacious and intentional. Built with a thick 4mm veneer layer as part of a 3/4 inch total thickness, this is one of the most substantial engineered floors available, offering the heft and refinement of solid hardwood with superior structural stability. The tongue and groove edge profile locks each plank into place for a seamless, professional installation. FloorScore and Greenguard Gold certified for healthier indoor air quality and backed by a 25 year residential warranty, No. 14 is designed for homeowners who want a bold, wide plank floor with real character and lasting durability.
Details
Width
7.5"
Length
75"
Thickness
5/8"
Veneer Layer
3mm
VOC Certification
Floorscore, Green Guard Gold
Hardness Rating
3
Material
European White Oak
Gloss Level
Matte
Surface
Wire Brush
Edge
Micro-Bevel
Finish Type
Urethane
Refinish Times
2
Country of Origin
Cambodia
Install Type
Nail, Glue, Glue & Nail
Where to Install
Below and Above Grade
Acclimation Time
48-72 hrs
Radiant Heat Compatible
Yes
Packaging
Planks per Box
6
SF Box
23.31
Weight Box
49.86
Boxes per Pallet
50
SF Pallet
1165.74
Weight Pallet
2581
Gradient bar
Engineered Wood Flooring Installation Guide
ENGINEERED HARDWOOD INSTALLATION GUIDE
ENGINEERED HARDWOOD INSTALLATION GUIDE FOR TONGUE AND GROOVE FLOORING PRODUCTS
Reno Source
www.therenosource.com
IMPORTANT READ BEFORE YOU BEGIN
Failure to follow these instructions may result in installation problems and will void the product warranty. It is the responsibility of the owner, purchaser, and installer to read, understand, and follow all requirements before beginning installation.
-
OVERVIEW
This guide covers all requirements for a successful engineered hardwood flooring installation including site preparation, subfloor requirements, installation procedures for glue down and floating methods, care and maintenance, and warranty information. Engineered hardwood is a dimensionally stable flooring option designed to perform across a wide range of environments when properly installed. Planning and preparation are critical to long term performance and appearance.
Health and Safety
Cutting, sawing, sanding, and machining engineered hardwood produces airborne dust that may cause eye, nasal, respiratory, and skin irritation. Use dust collectors on all power tools. Wear a NIOSH approved dust mask or respirator. Wear safety glasses and gloves. Avoid dust contact with eyes, nose, and skin.
Asbestos and Silica Hazard
Existing resilient flooring, backing, lining felt, or adhesives may contain asbestos fibers or crystalline silica. Do not grind, chip, sand, drill, saw, or pulverize these materials. Inhalation is a known cancer and respiratory hazard. If the material composition is unknown, assume it contains asbestos and contact a qualified professional.
Acclimation and Storage
Acclimate flooring for a minimum of three days in the rooms where it will be installed. Keep boxes sealed in original packaging with straps intact. Store indoors on a flat elevated surface at temperatures between sixty and eighty five degrees Fahrenheit and relative humidity between thirty five and fifty percent. Do not store outdoors or in unheated environments. Protect flooring from direct sunlight, excessive heat or cold, and high humidity.
Materials Allowance
Allow five to ten percent extra material for cuts, waste, grading, and defects. For diagonal or specialty patterns, allow an additional ten percent.
Pre Installation Checklist
Inspect every plank before installation and confirm color, finish, milling, and grade. Once installed, boards are considered accepted. Verify environmental conditions meet requirements. For new construction, all windows and doors must be installed and walls and subfloors completely dry. Flooring should be installed as the final stage. Verify subfloor is dry, sound, flat, and compliant. Read all product specific documents including warranty terms. If the product is not acceptable, do not install it. Contact Reno Source immediately. The warranty does not cover visible defects after installation. Engineered hardwood is manufactured with up to five percent allowable natural or manufacturing defects.
-
TOOLS AND MATERIALS
Measuring and Layout
Tape measure, chalk line, ten foot straightedge, moisture meter.
Cutting
Table saw, miter saw, jig saw, circular saw, or hand saw.
Installation
Rubber mallet, pull bar, tapping block, wooden shims three eighths inch.
Cleanup and Finish
Shop vacuum, broom, dustpan, soft cloths, adhesive cleaner.
Safety
NIOSH approved dust mask or respirator, safety glasses, gloves.
Materials
Wood putty, transition moldings, baseboards, quarter rounds.
-
STEP BY STEP INSTALLATION
Step 1 Subfloor Preparation
A properly prepared subfloor is critical. Follow NWFA subfloor guidelines in addition to these requirements. The subfloor must be flat within one quarter inch over ten feet. Sand high spots and fill low areas with self leveling compound. The surface must be clean, smooth, and free of debris, oil, grease, paint, and sealants. Countersink all fasteners and secure loose panels. Repair or replace damaged areas.
Concrete Subfloors
Concrete must have a minimum compressive strength of three thousand PSI. Do not install over sealed, painted, or burnished concrete without mechanical abrasion. A vapor barrier is required for all on grade and below grade installations. Basement installations are not recommended. If installed, a moisture barrier is mandatory and the basement must have an operational sump pump.
Wood Subfloors
Plywood is the preferred subfloor material and must be minimum CDX grade exposure one. Recommended thickness is three quarter inch with three eighth inch underlayment. Panels must be installed perpendicular to joists with staggered seams and one eighth inch expansion gaps. Joist spacing exceeding nineteen point two inches requires increased subfloor thickness.
Existing Flooring
Existing hardwood floors should be installed perpendicular when possible and abraded for glue down installations. Wide plank floors over six inches require underlayment. Tile, stone, and terrazzo surfaces must be cleaned, repaired, and abraded. Open grout joints and damaged areas must be filled and adhesive bond tested.
Moisture Testing
Concrete calcium chloride tests must not exceed three pounds per one thousand square feet per twenty four hours. Relative humidity probe readings must be below seventy five percent. Wood subfloor moisture content must be below thirteen percent. The moisture difference between subfloor and flooring must not exceed four percent.
Step 2 Installation Method Selection
Glue Down Installation
Glue down installation bonds flooring directly to the subfloor using approved adhesives and provides excellent stability. Only approved adhesives may be used or the warranty will be void. Follow adhesive manufacturer instructions at all times.
Floating Installation
Floating floors lock together over an underpad. Use appropriate acoustic padding for upper floors and combination pads with moisture barriers for slabs and basements. Confirm sound requirements with condominium associations when applicable.
Radiant Heat
Confirm system compatibility prior to installation. Surface temperatures must not exceed eighty five degrees Fahrenheit. Temperature changes must be gradual. Relative humidity must be maintained between forty and fifty five percent year round.
Step 3 Wall Door and Transition Preparation
Remove all trim, baseboards, and quarter rounds and label for reinstallation. Undercut door casings to allow flooring to slide underneath. Leave adequate expansion space for seasonal movement.
Step 4 Install the Floor
Establish a starting line by measuring plank width and adding three eighths inch. Mark the floor and snap a chalk line parallel to the starting wall. Maintain a three eighths inch expansion gap. Use the longest boards for the first rows. Install left to right ensuring tight joints. Use shims along the wall. Tape rows every four to five courses and remove after adhesive cures. Work in manageable sections and verify adhesive transfer frequently. Clean adhesive immediately if bleed through occurs.
Step 5 Finish Up
Remove all shims. Sweep and vacuum the floor. Inspect for adhesive residue and clean thoroughly. Restrict traffic for twenty four hours. Do not place furniture during this period. Lift furniture into place and apply felt pads to all legs.
-
TIPS AND WARNINGS
Maintain required humidity levels year round. Expansion and contraction are normal characteristics. Failure to maintain humidity will void the warranty. For multi day installations, only spread adhesive where boards will be placed that day and clean thoroughly at the end of each day.
-
CARE AND MAINTENANCE
Vacuum regularly using a hard floor setting. Clean with a manufacturer approved hardwood cleaner and microfiber mop. Never use wet mops, water, or steam cleaners. Wipe spills immediately. Avoid abrasive cleaners, ammonia, wax based products, acrylic finishes, acidic solutions, oil soaps, detergents, chlorine, bleach, or solvents. Protect floors with rugs, mats, and felt pads. Trim pet nails regularly. Avoid sliding or rolling furniture. Sunlight will naturally darken flooring over time. This is not a defect.
-
WARRANTY AND CONTACT INFORMATION
This product carries a limited twenty five year residential warranty and five year light commercial warranty. Coverage applies to manufacturing defects when installed and maintained per this guide. Exclusions include gloss changes, noise, improper humidity control, color variation, light exposure changes, as is or clearance products, damage from misuse, and labor costs.
To file a claim, contact the original supplier. If unresolved, submit a written claim to Reno Source with proof of purchase, installation documentation, and requested information.
Reno Source
Finish Materials
Based in the USA
www.therenosource.com
help@therenosource.com
From the same collection


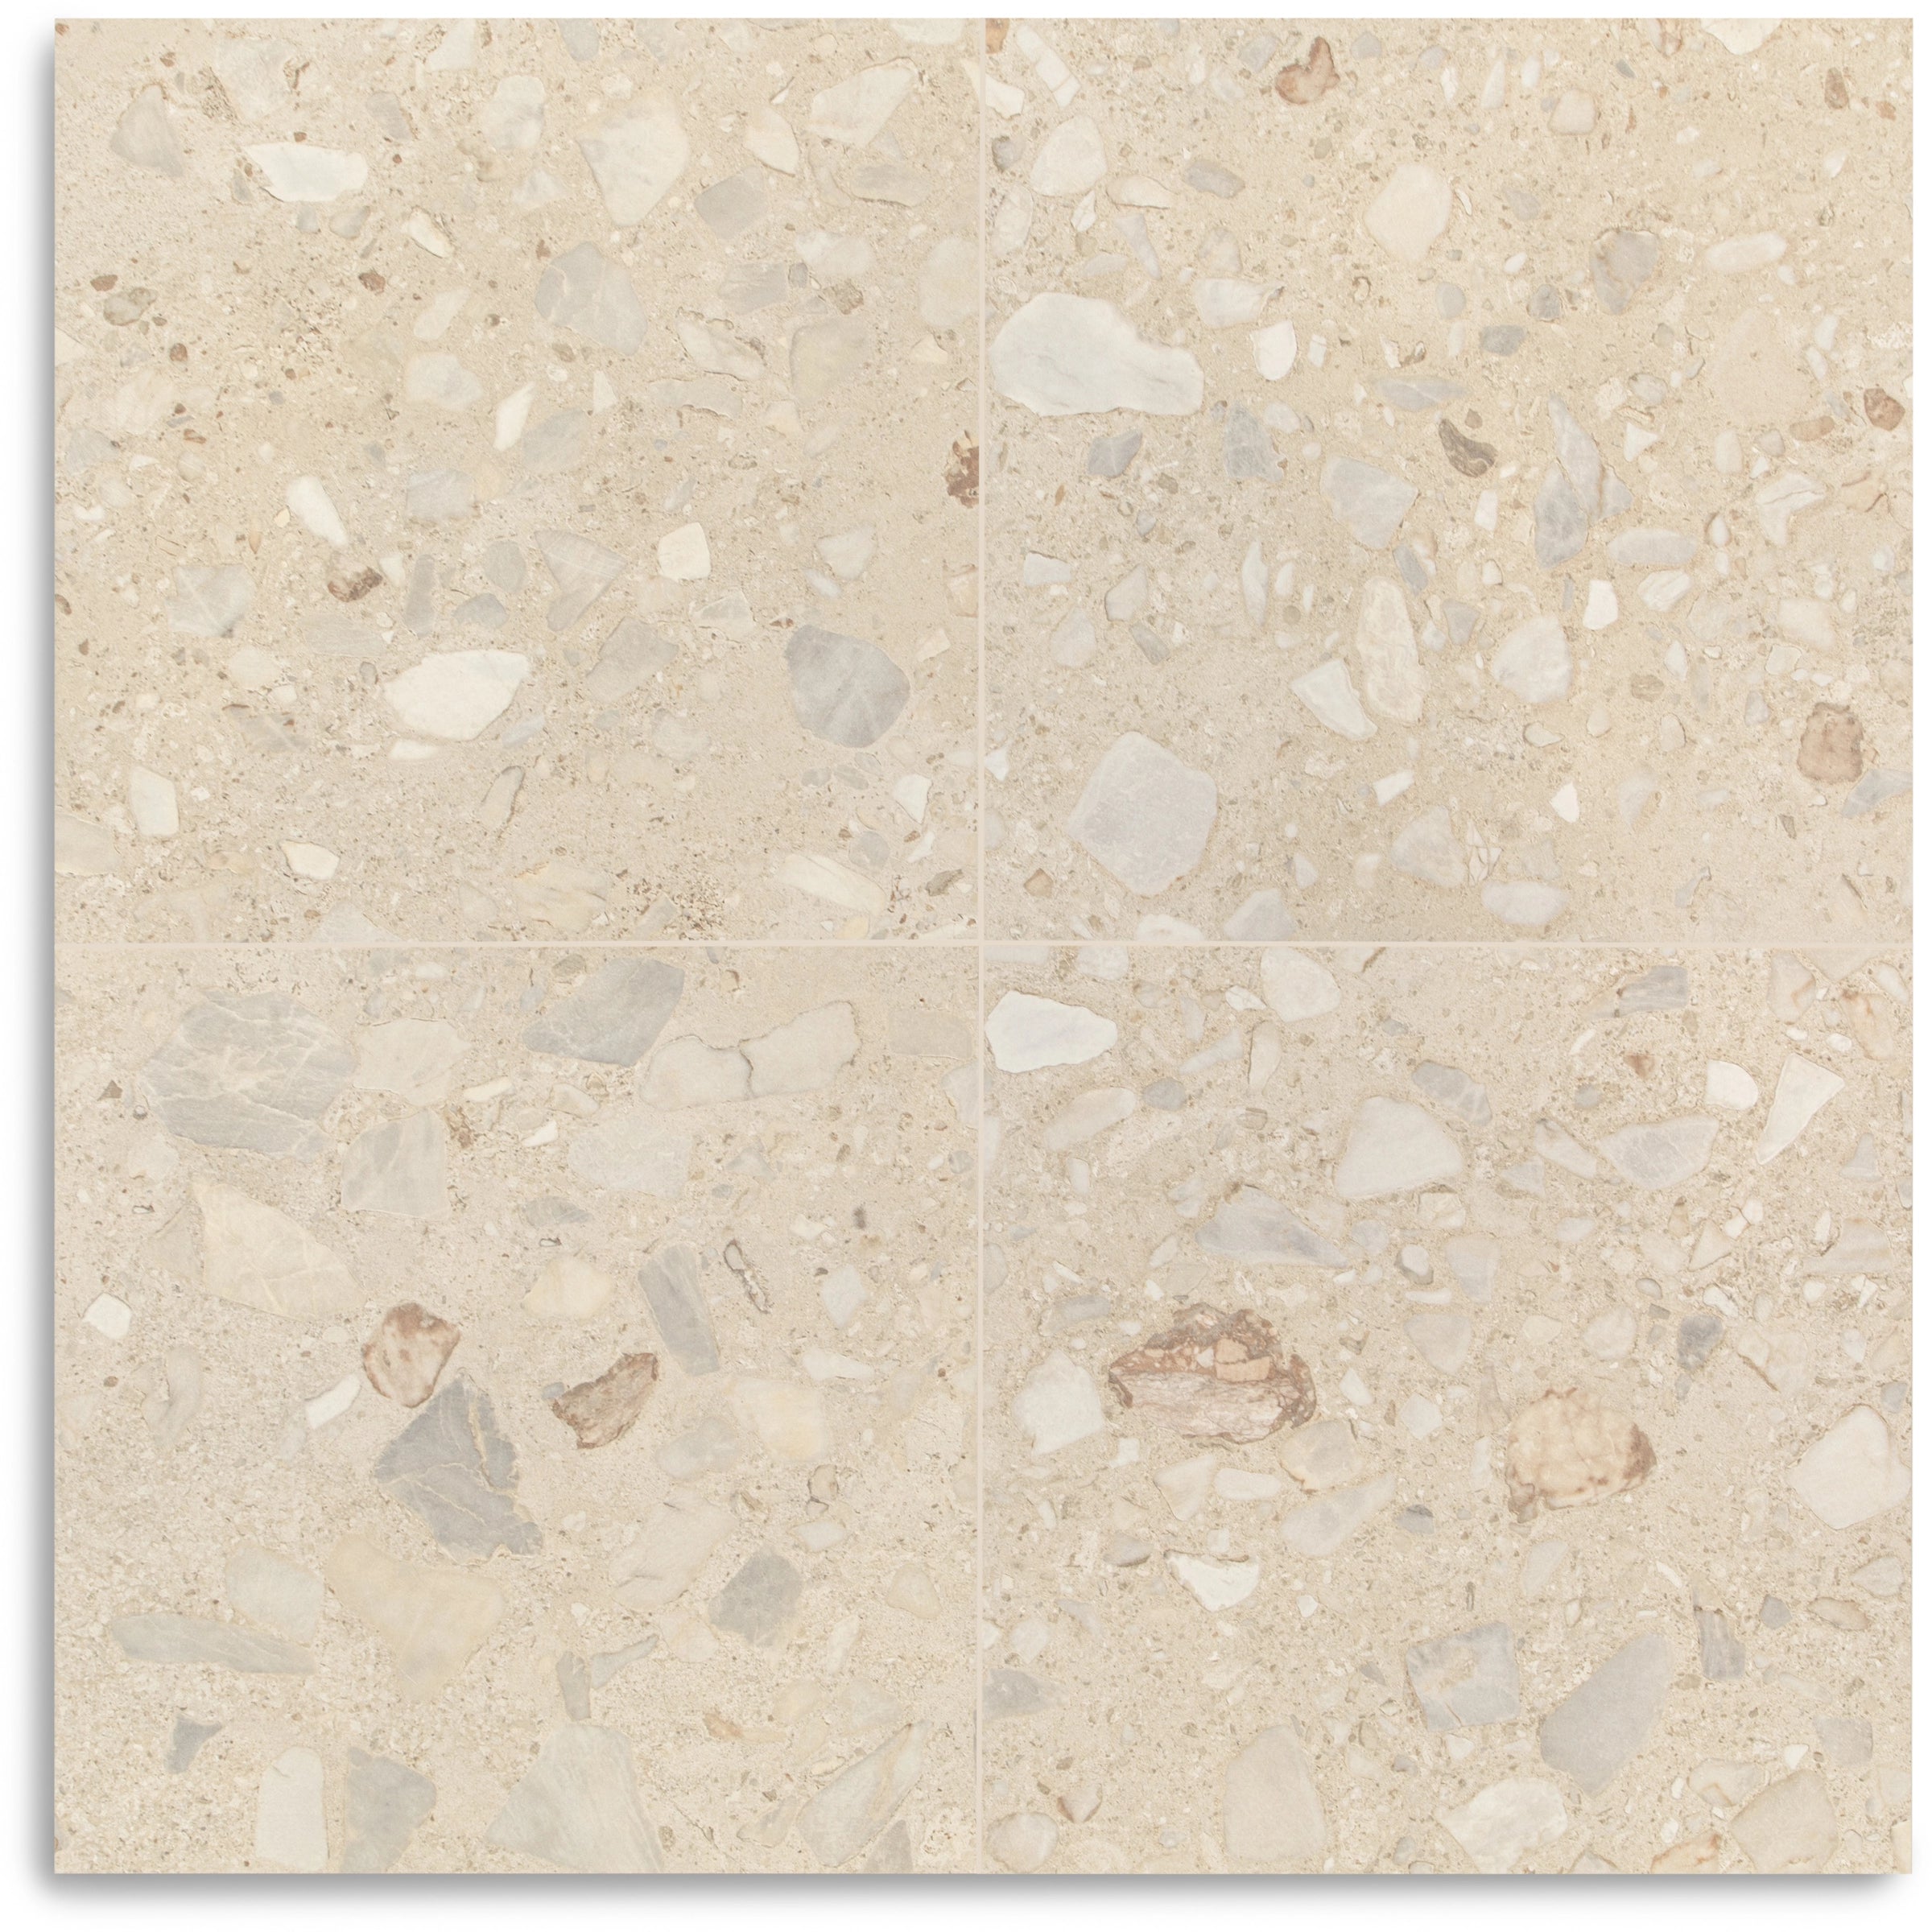
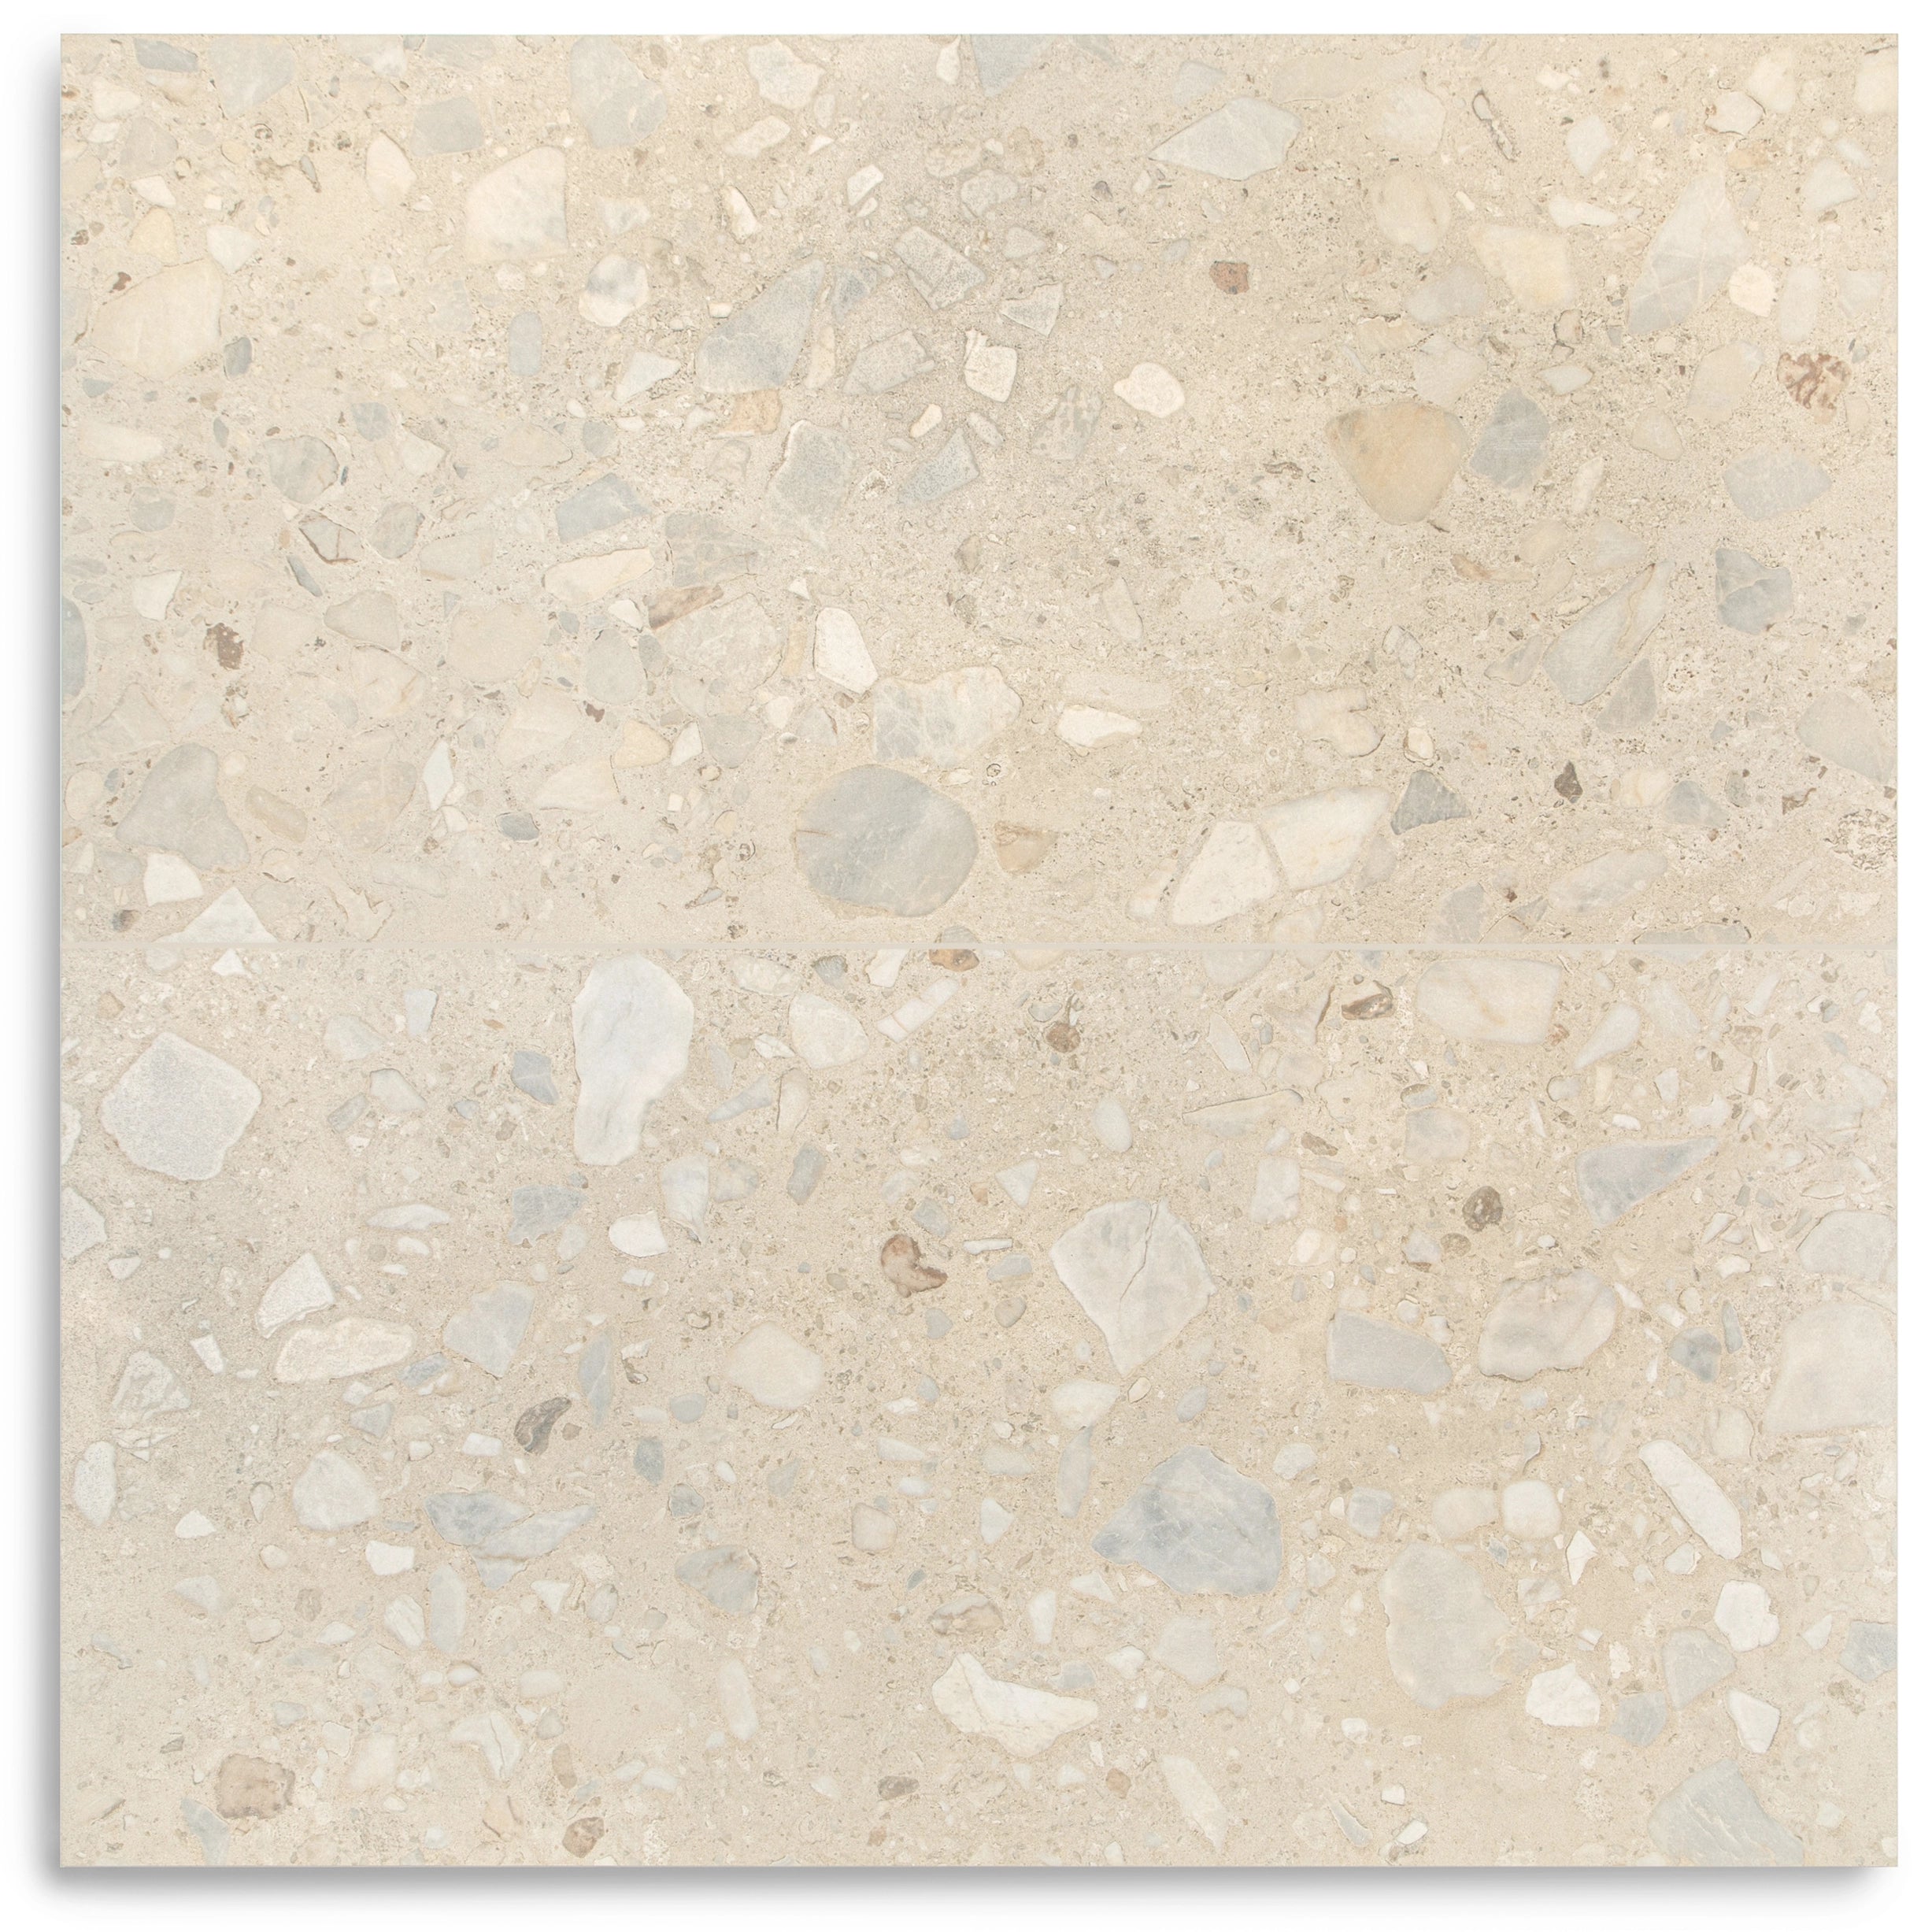
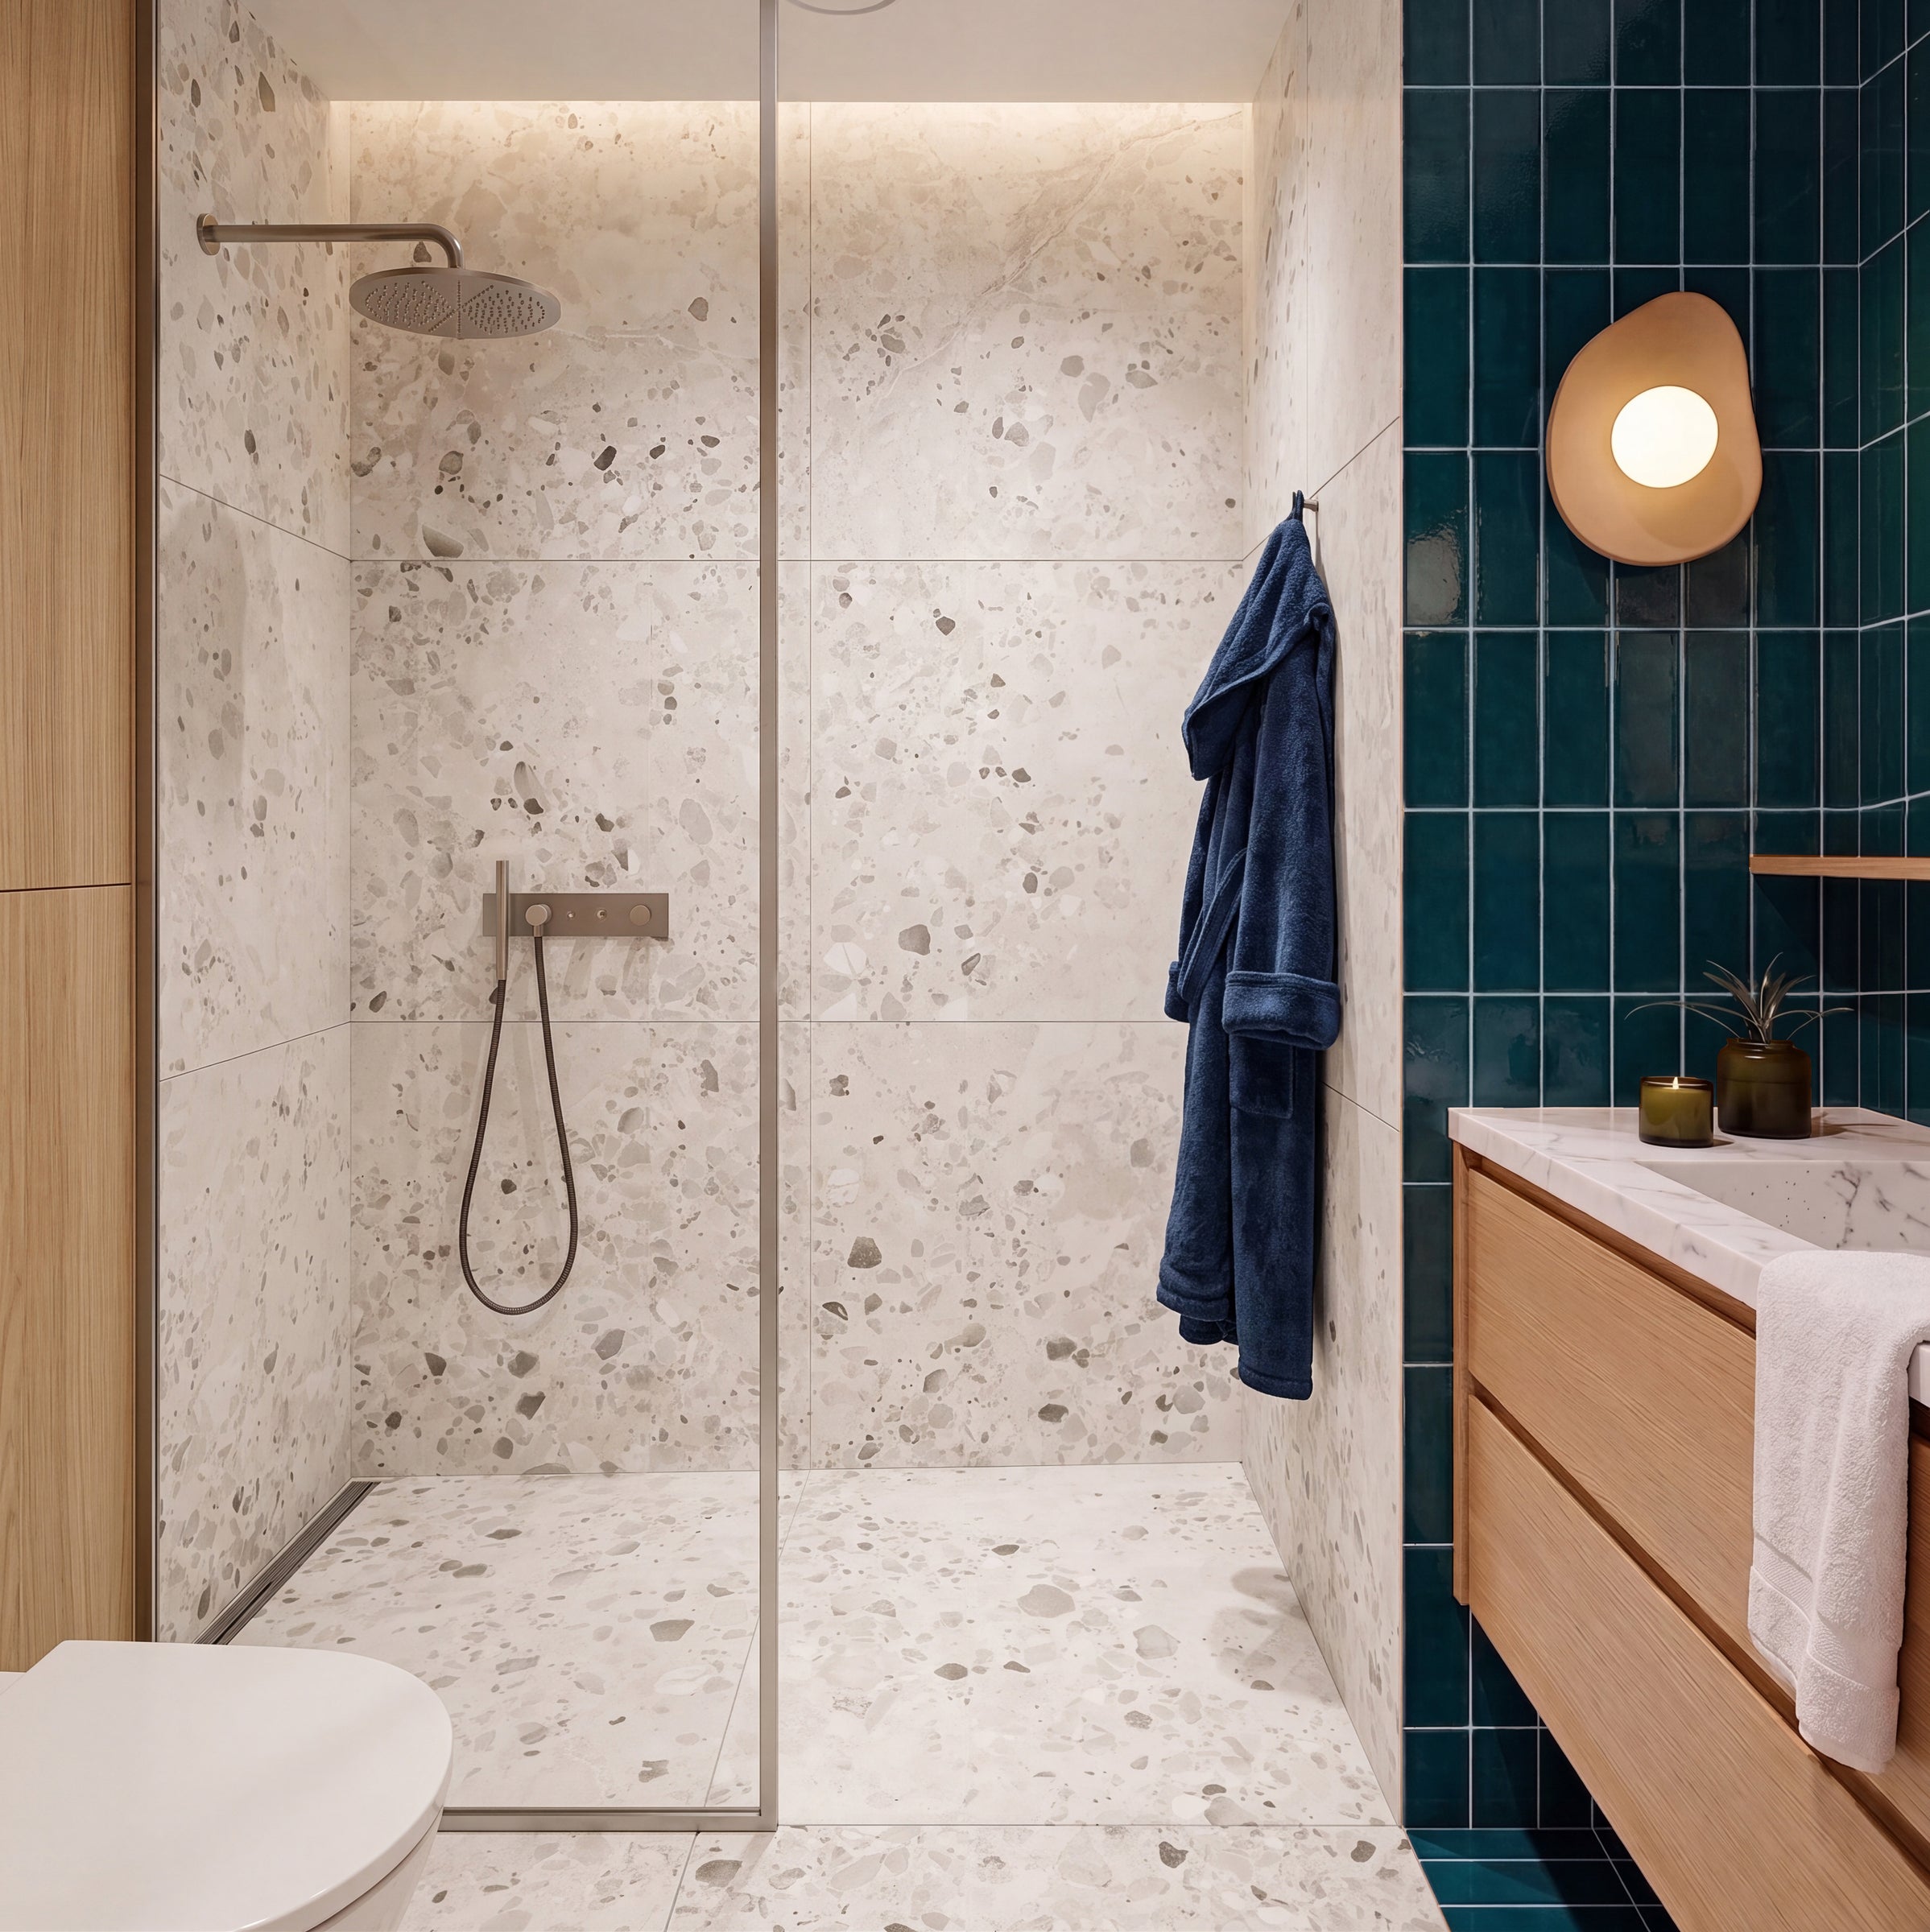
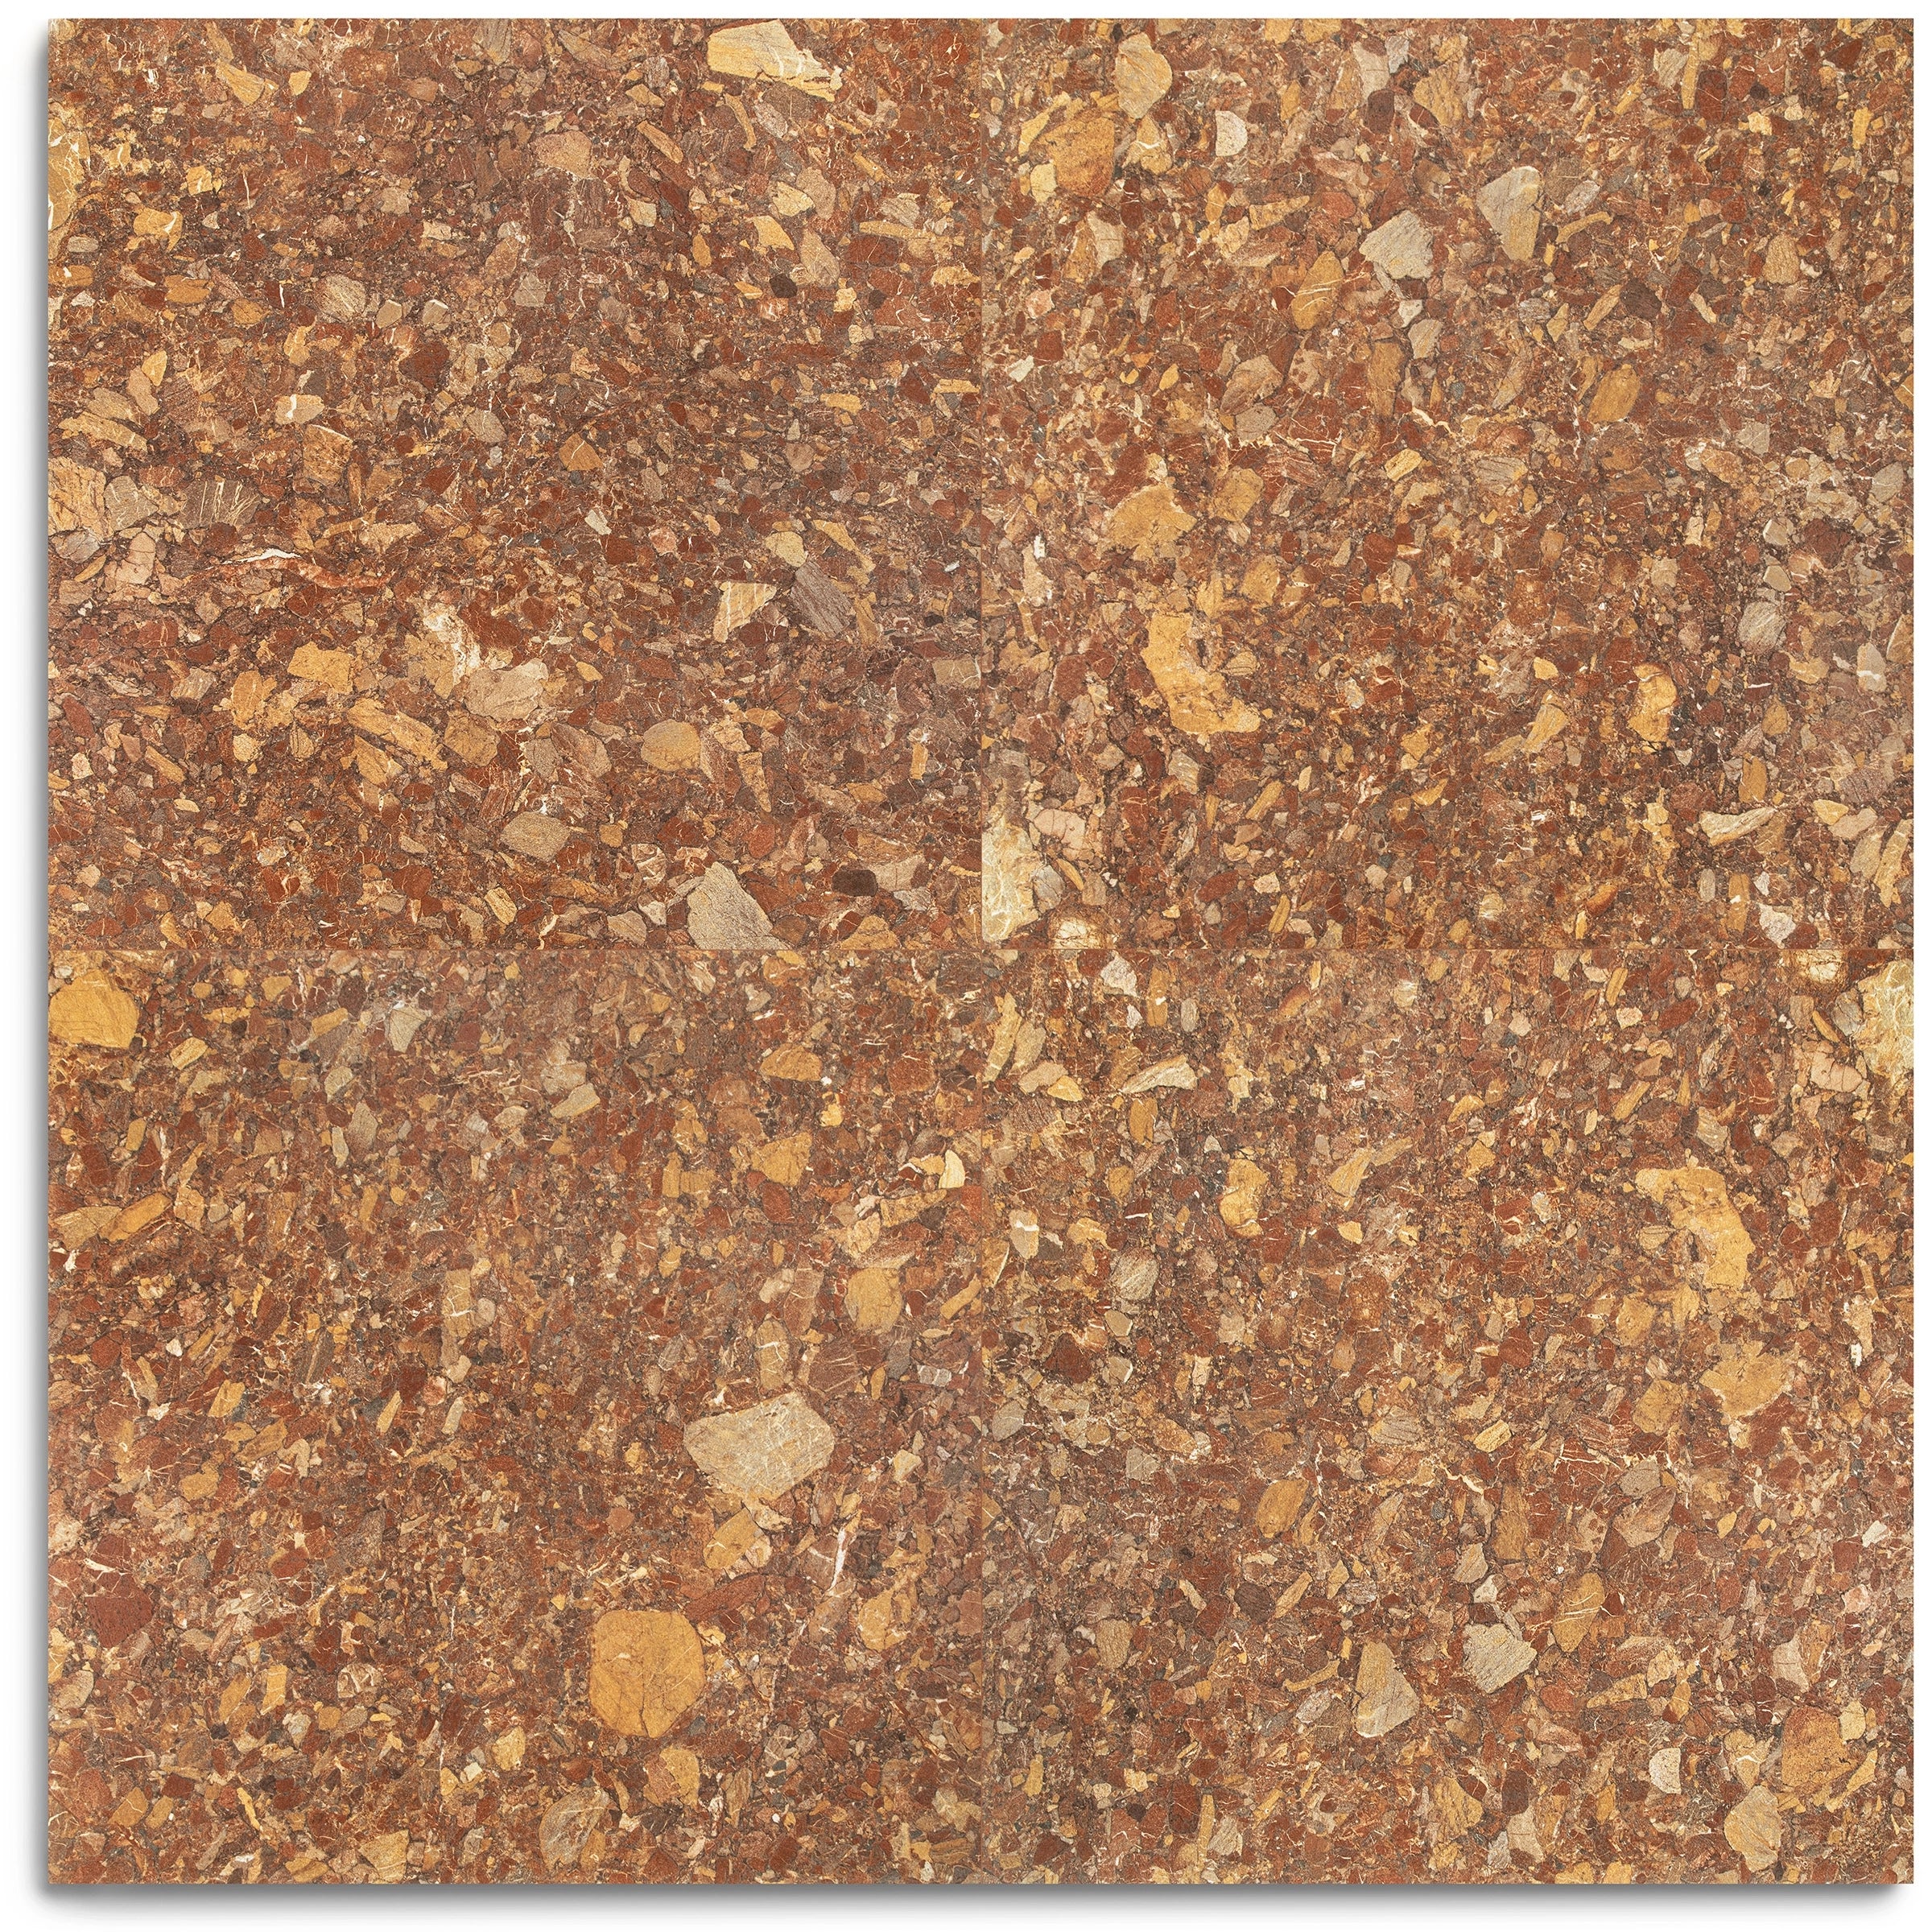
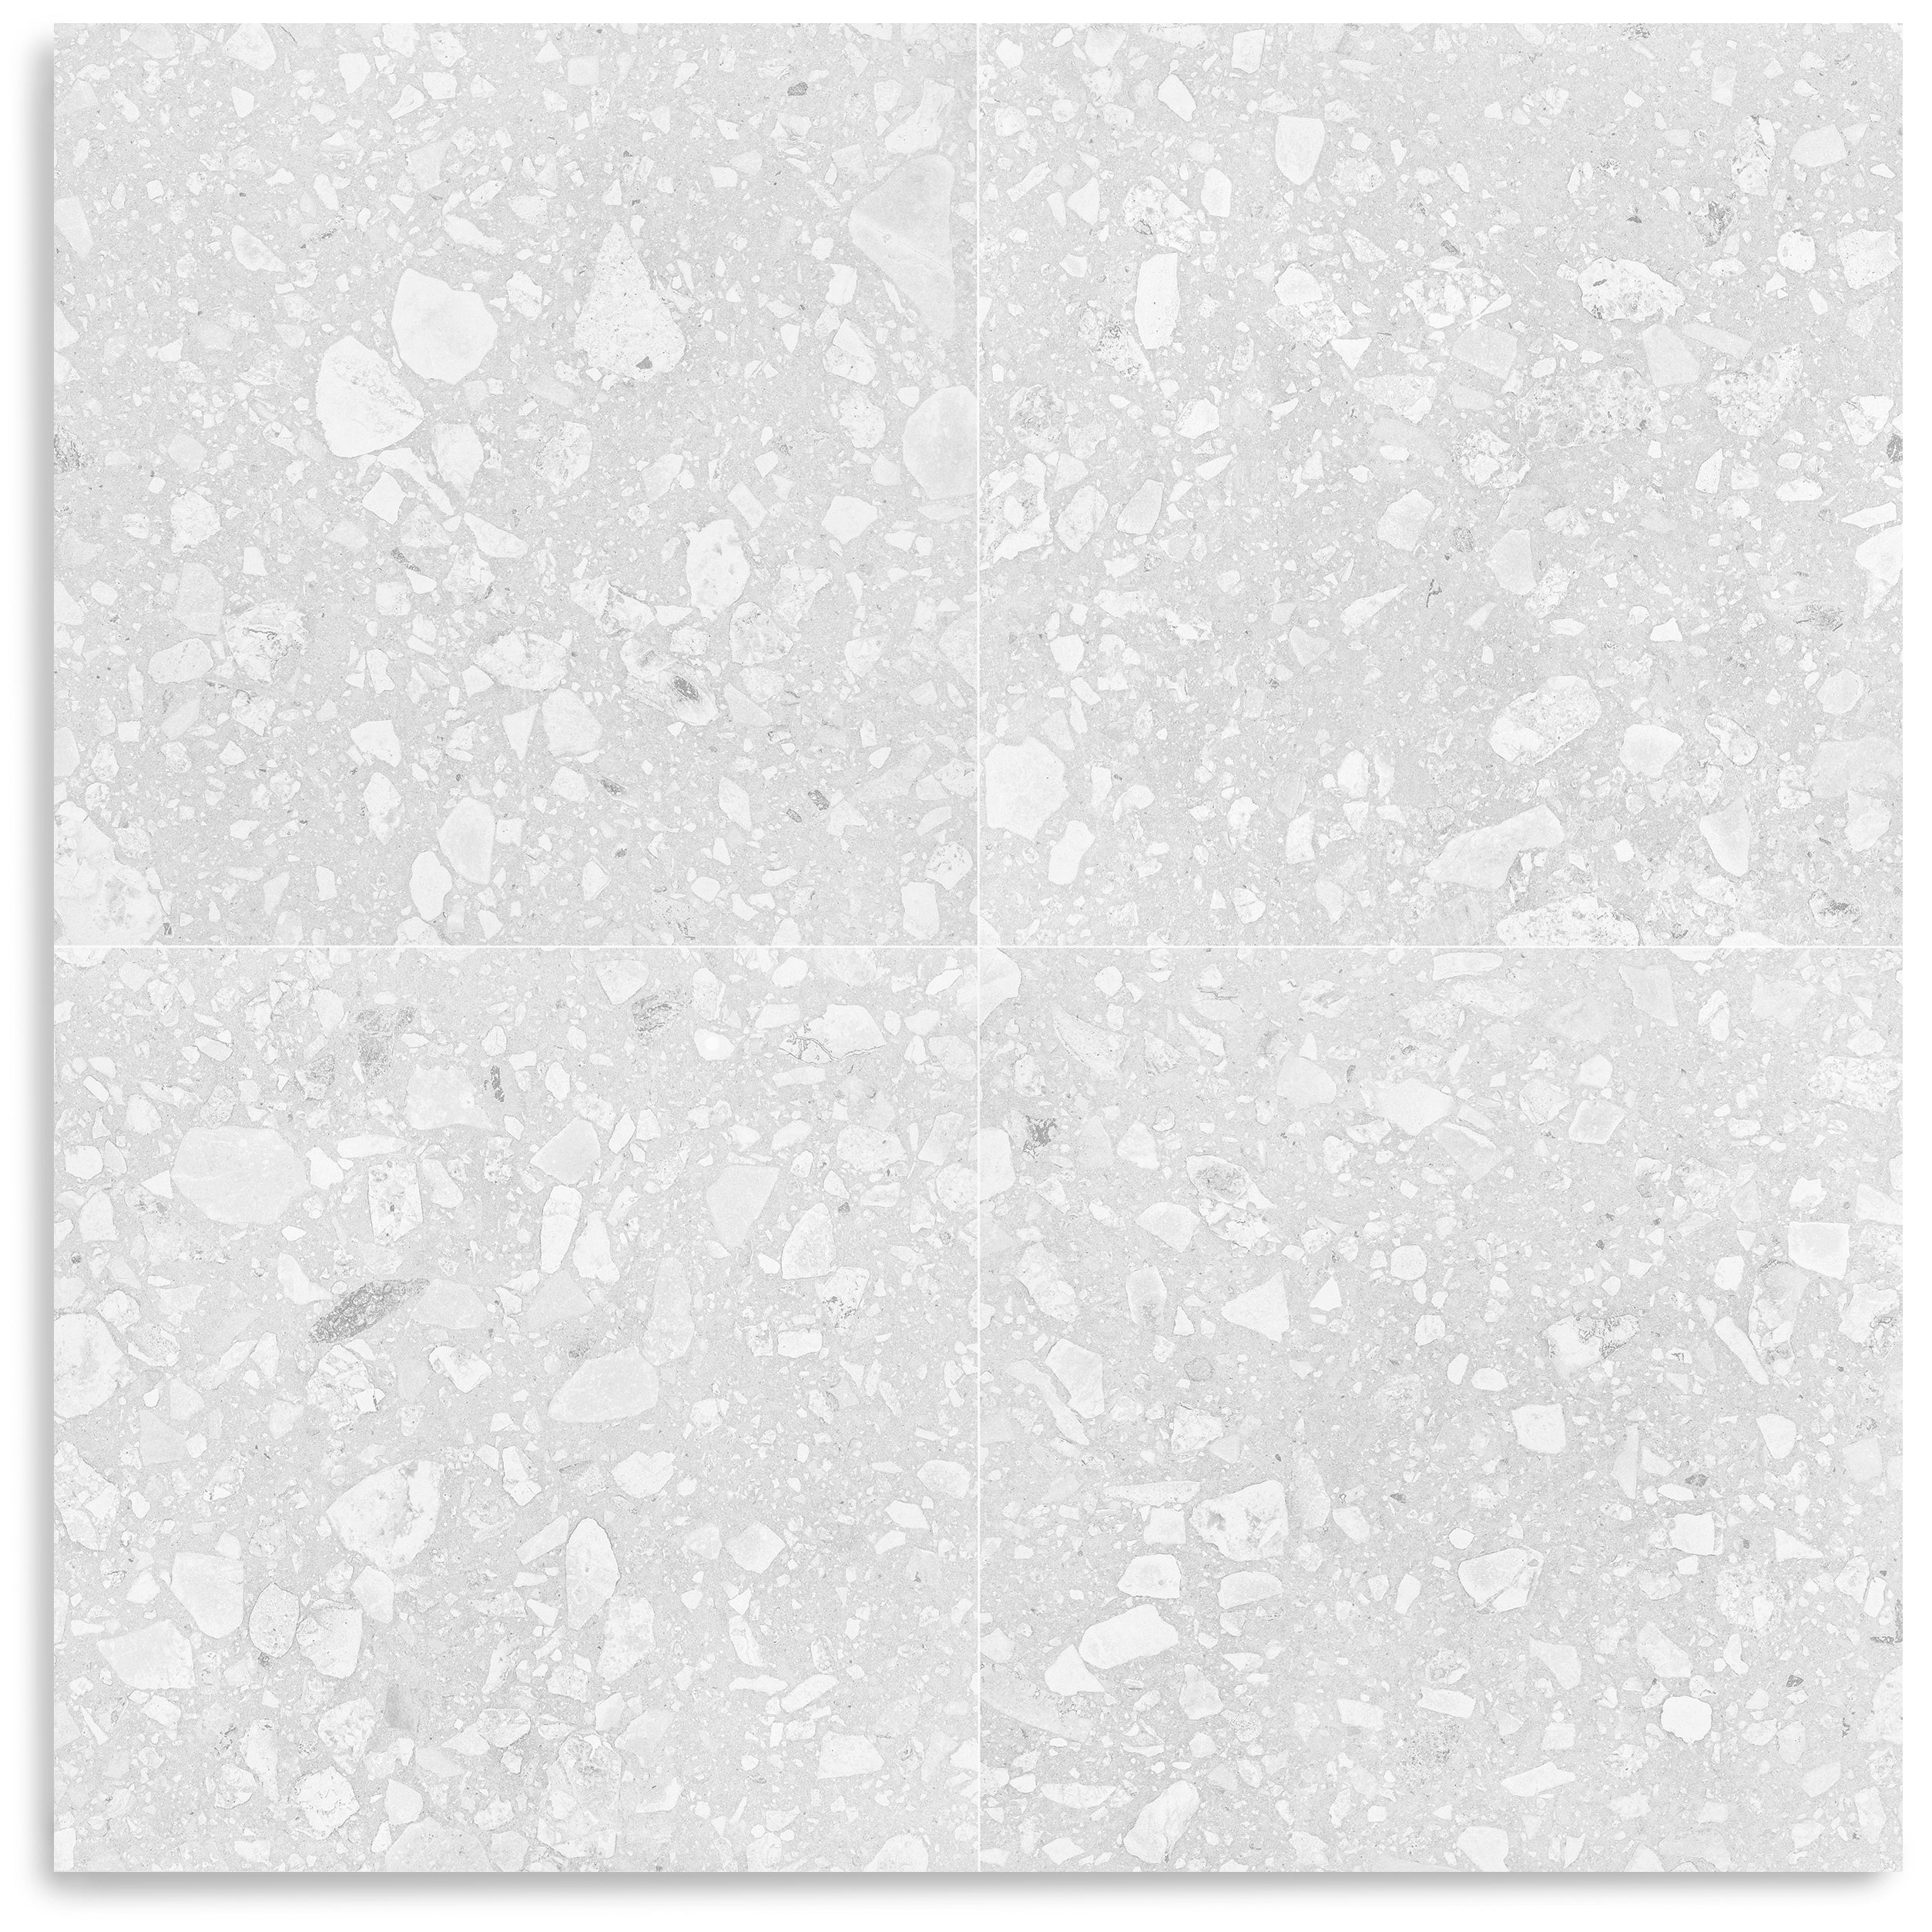
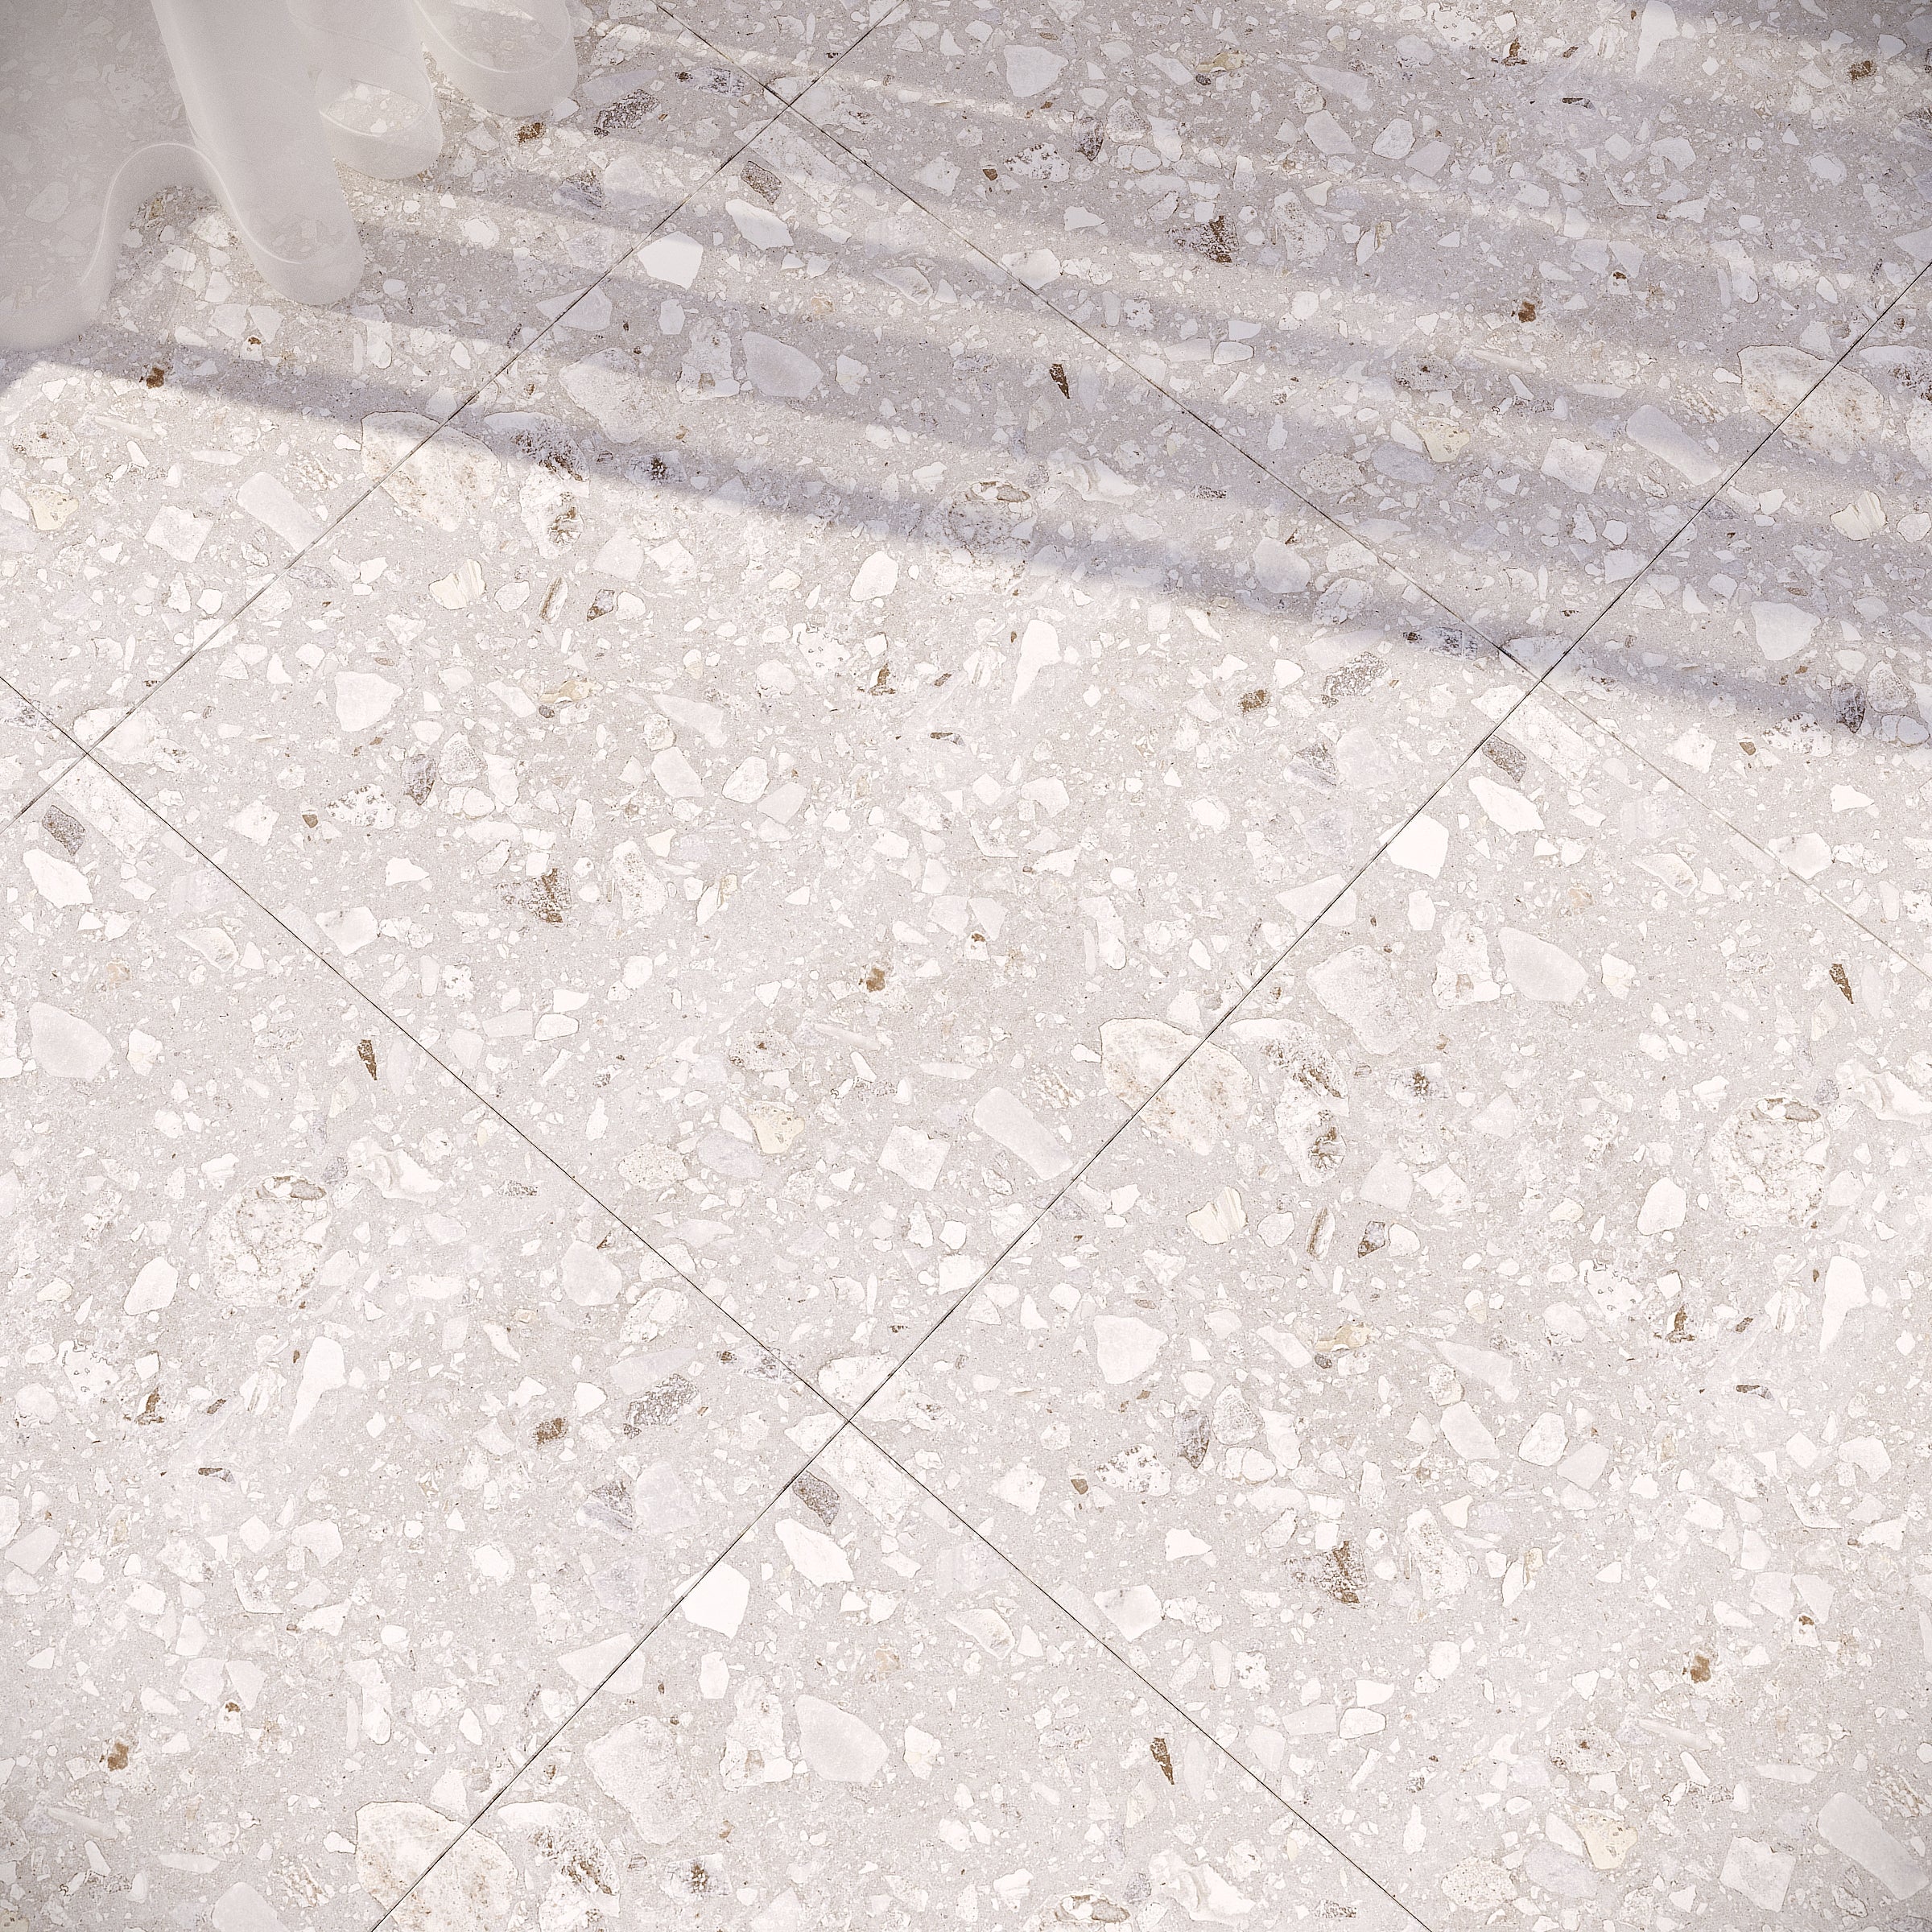
Murano Honed Italian Terrazzo Tile

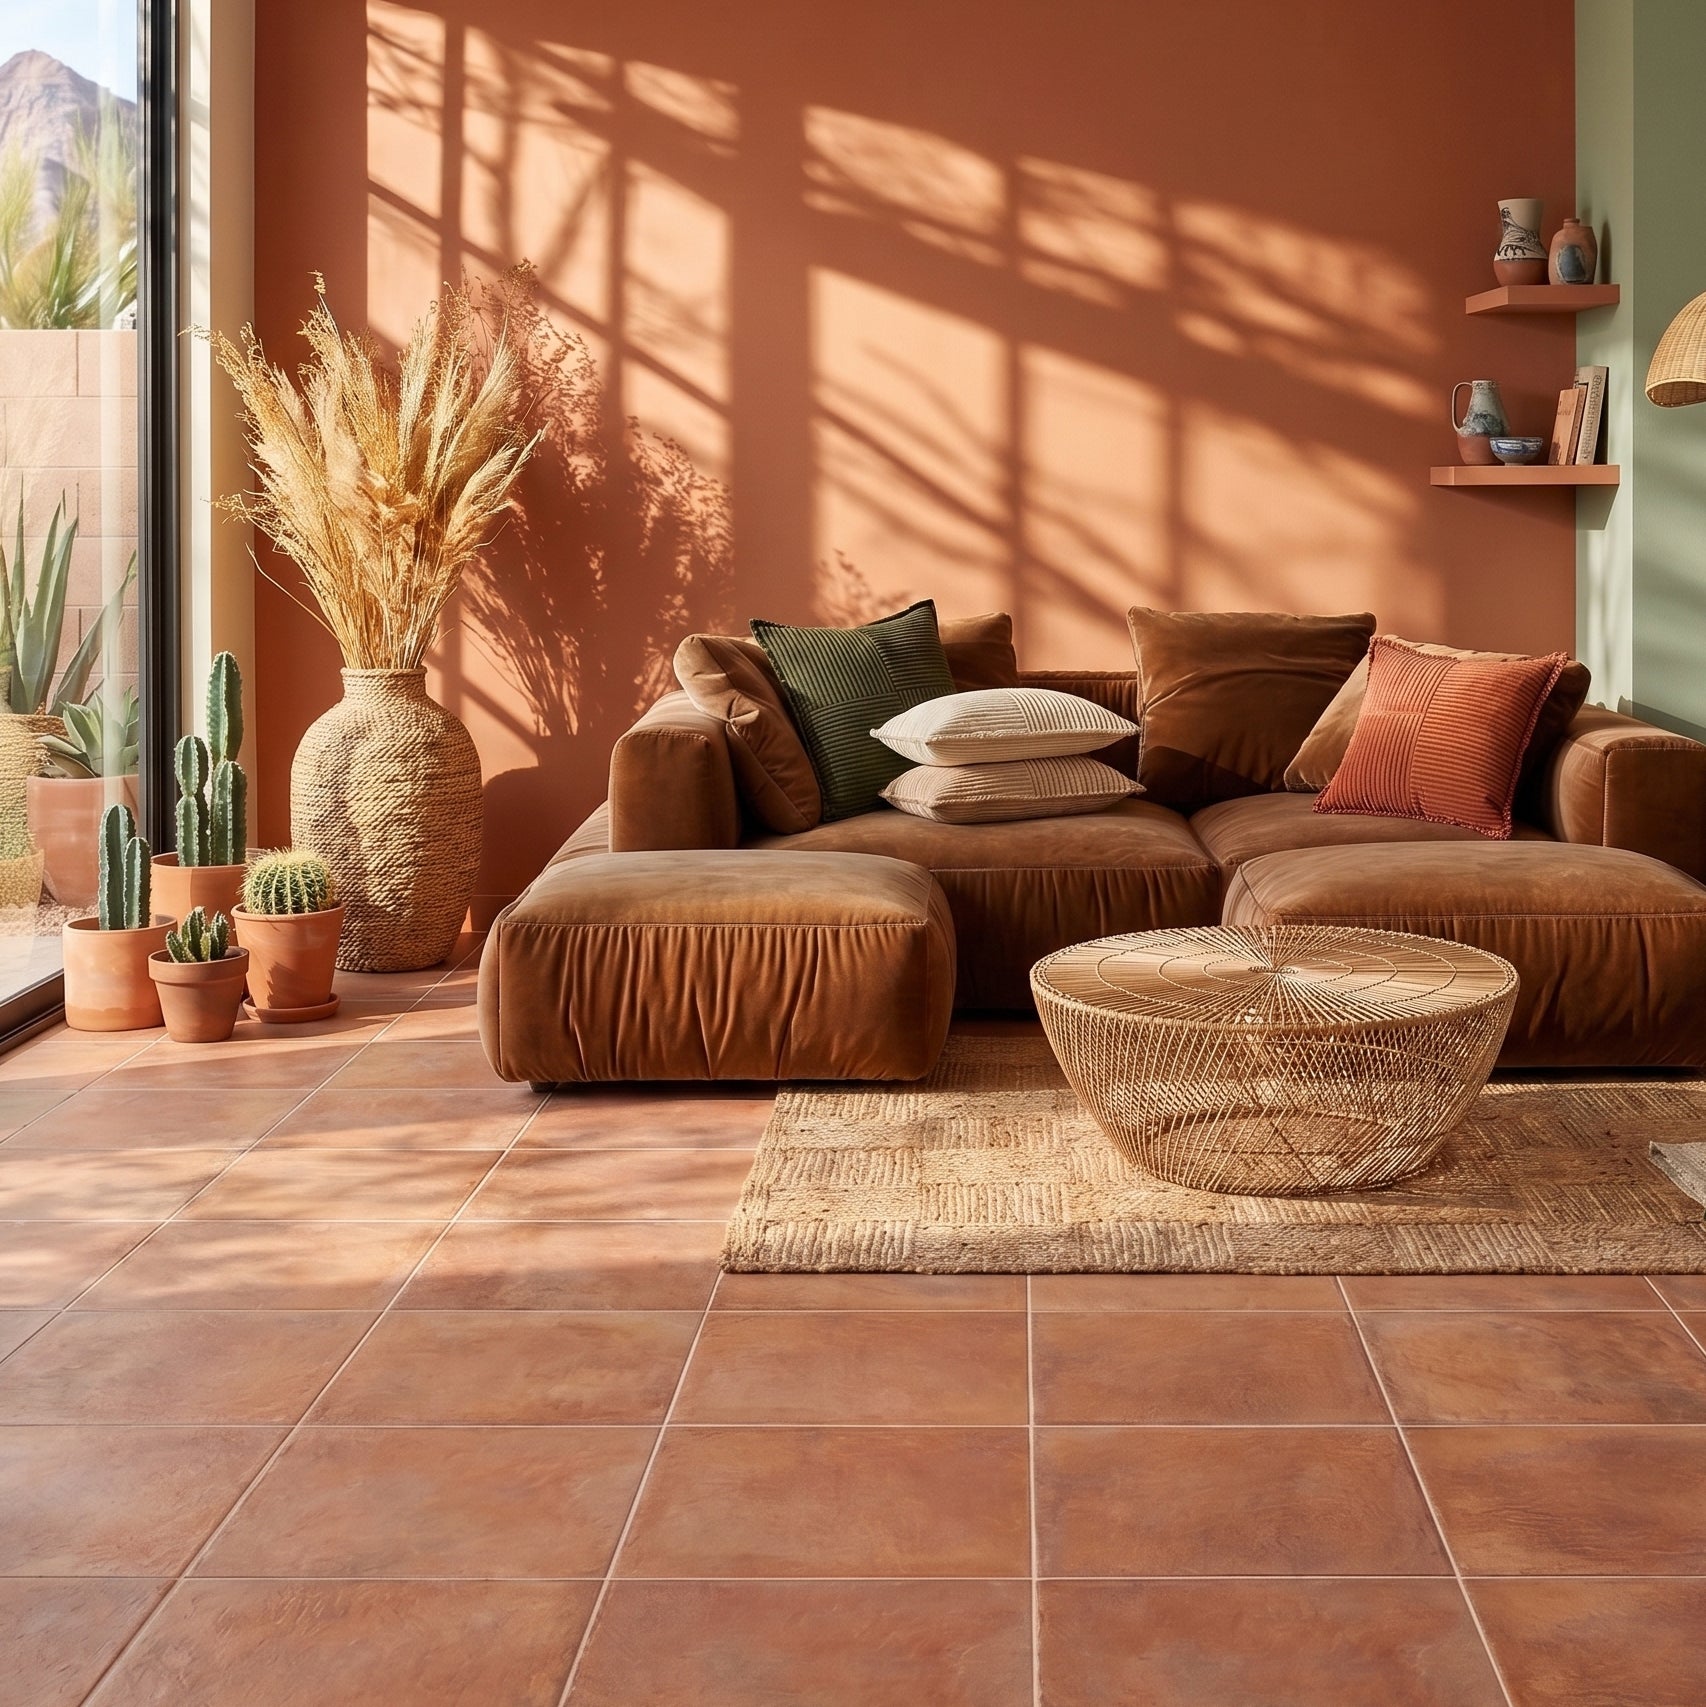
Cotto Terracotta Look Matte Porcelain Tile
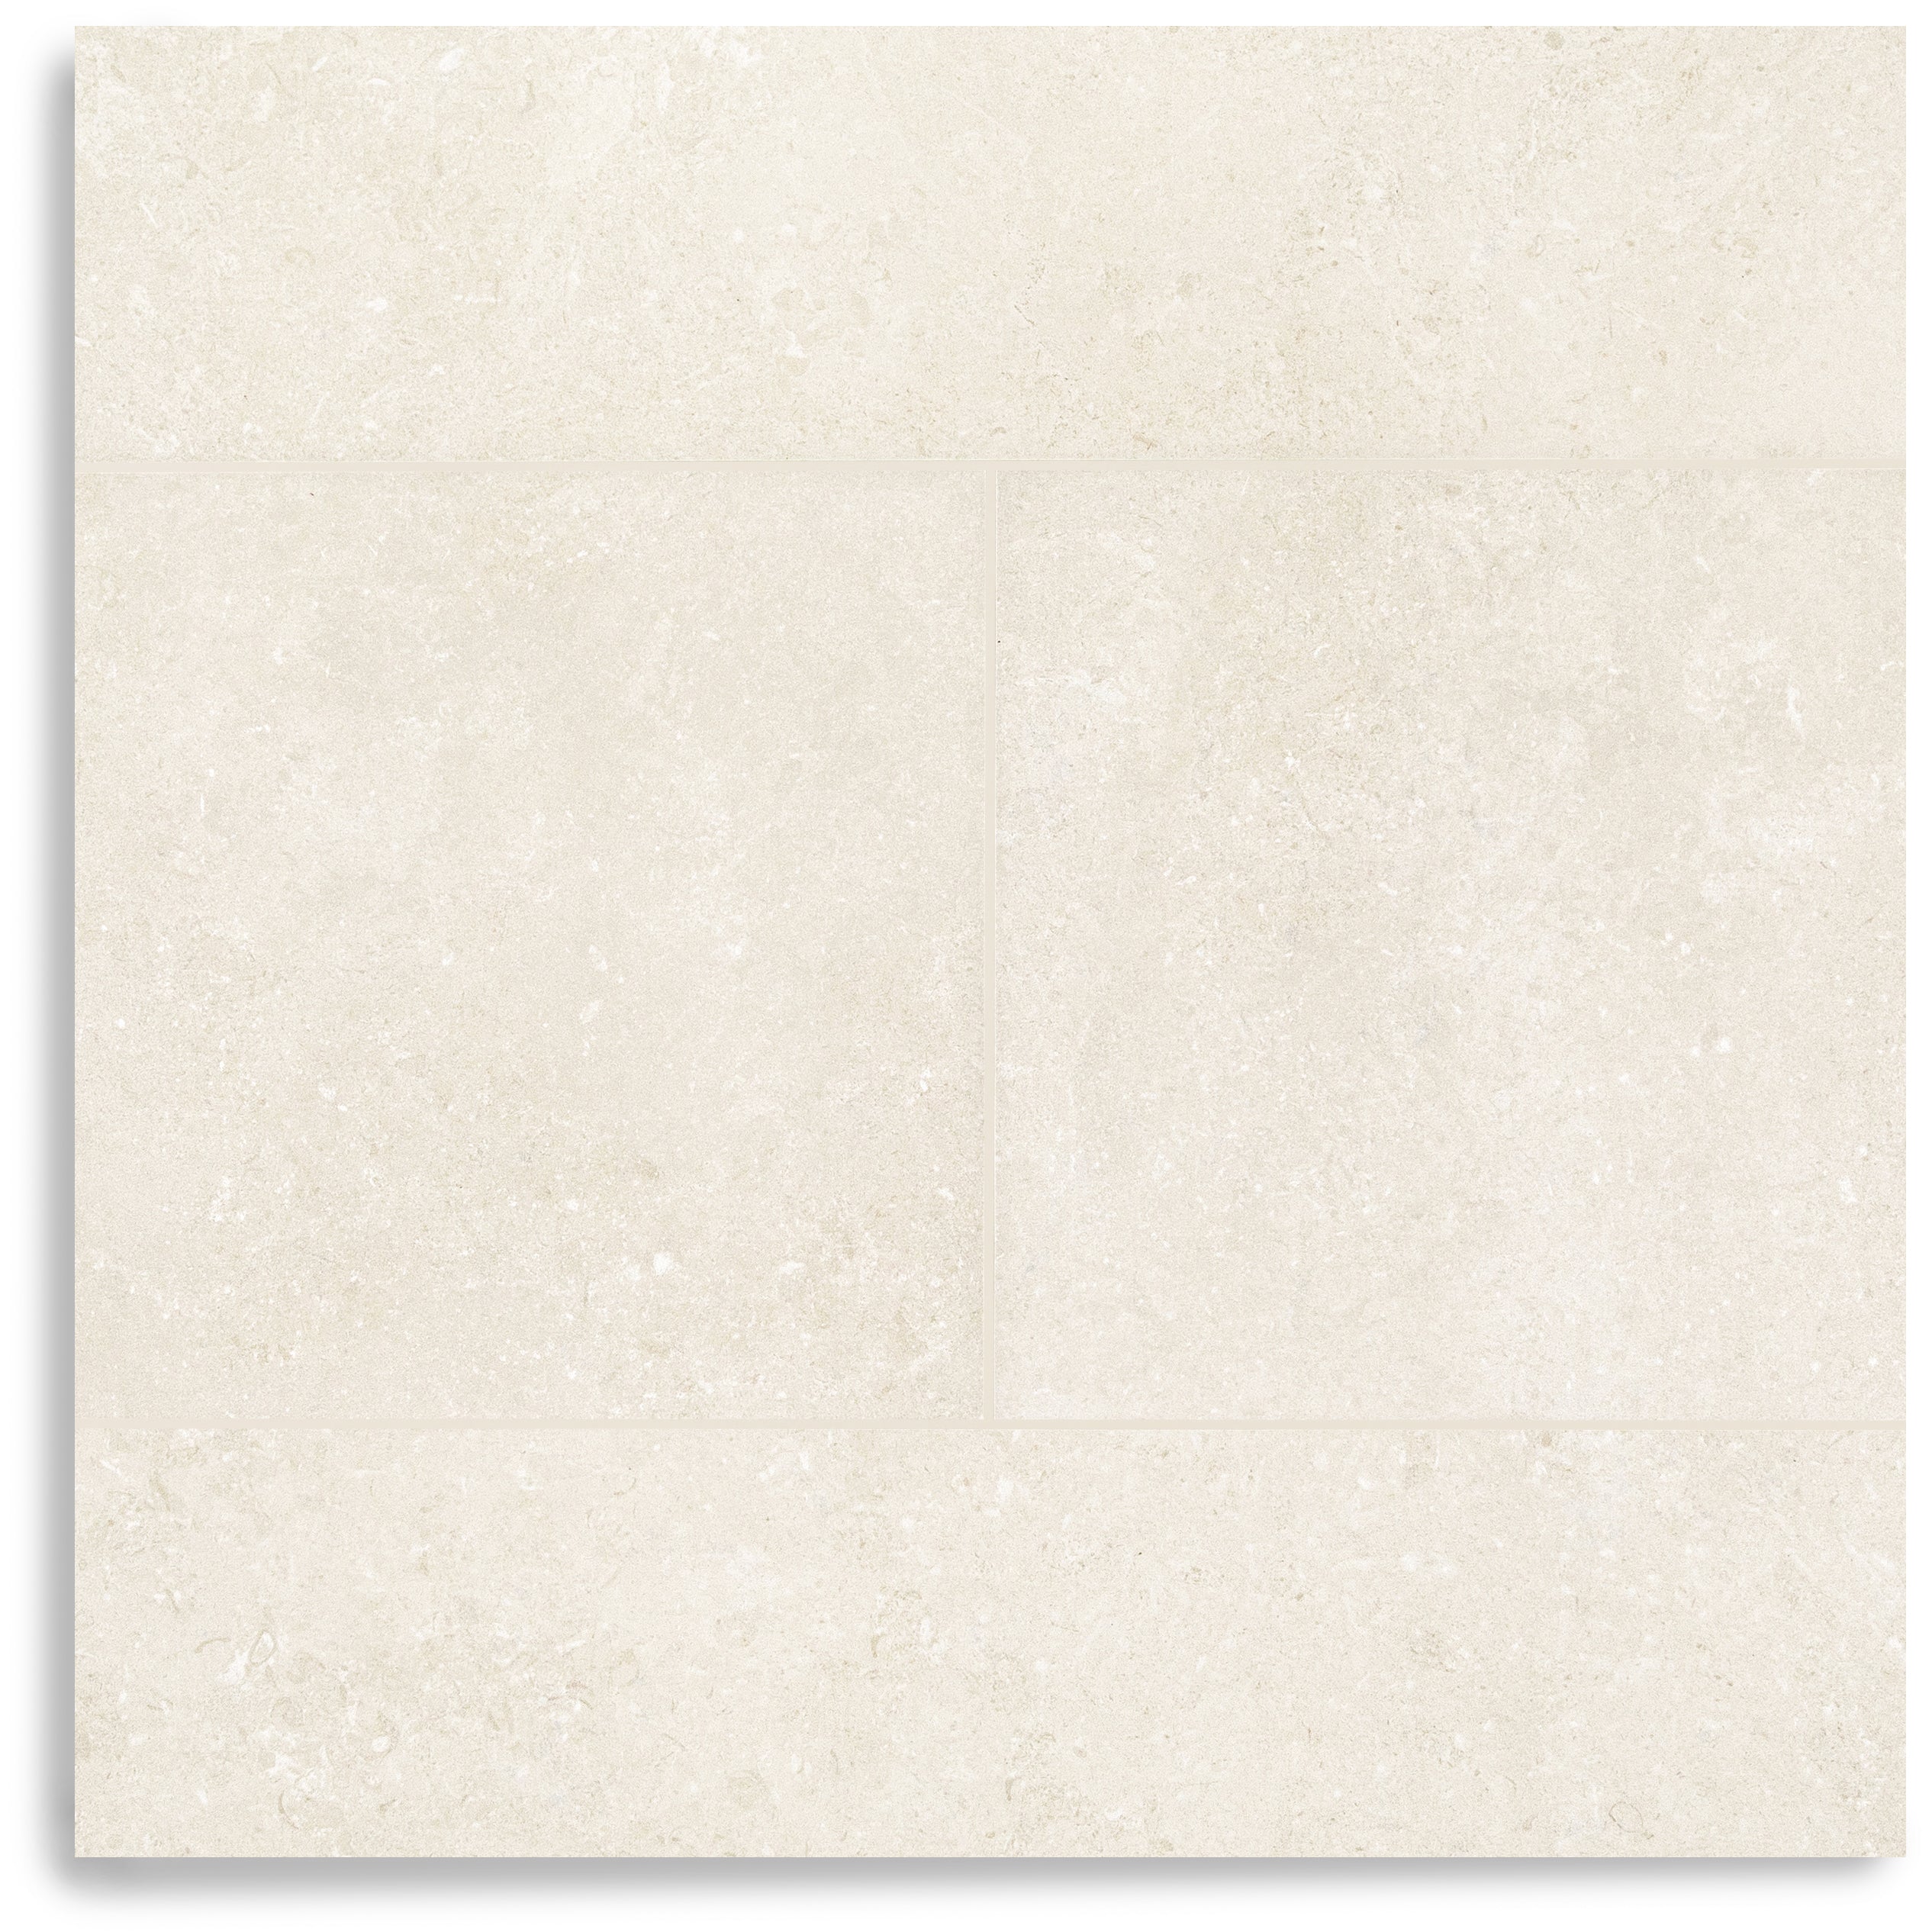
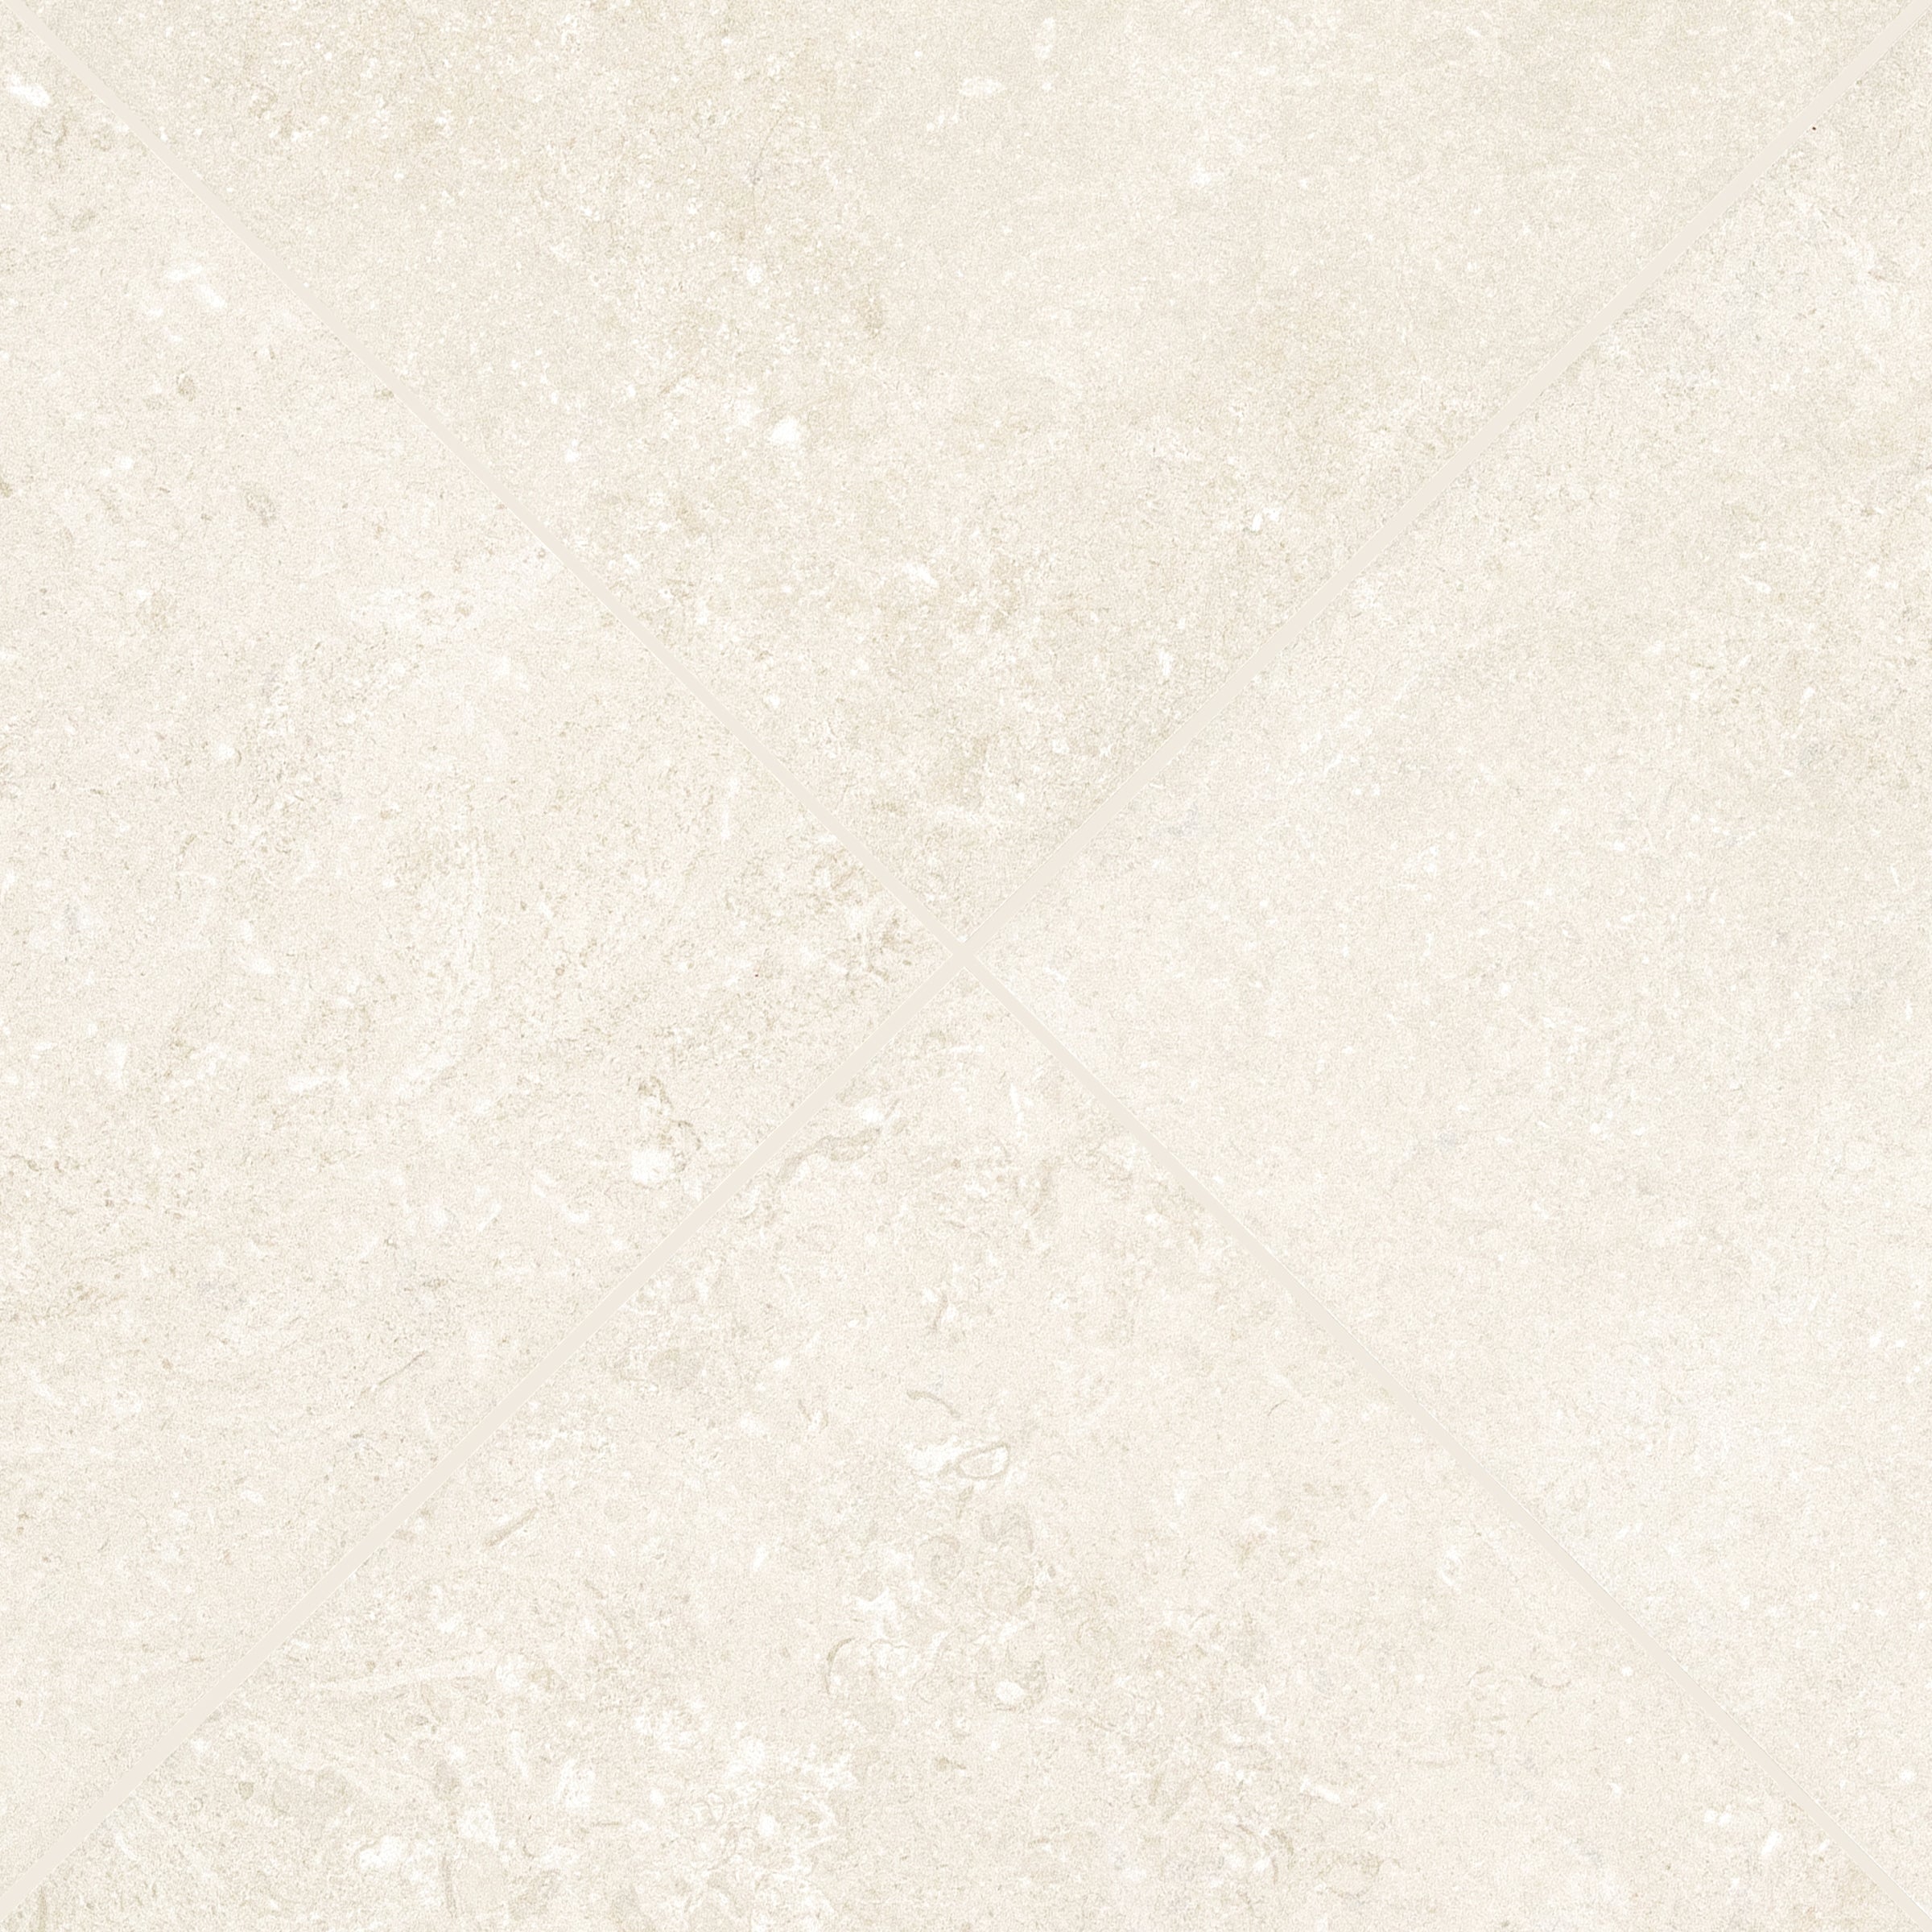
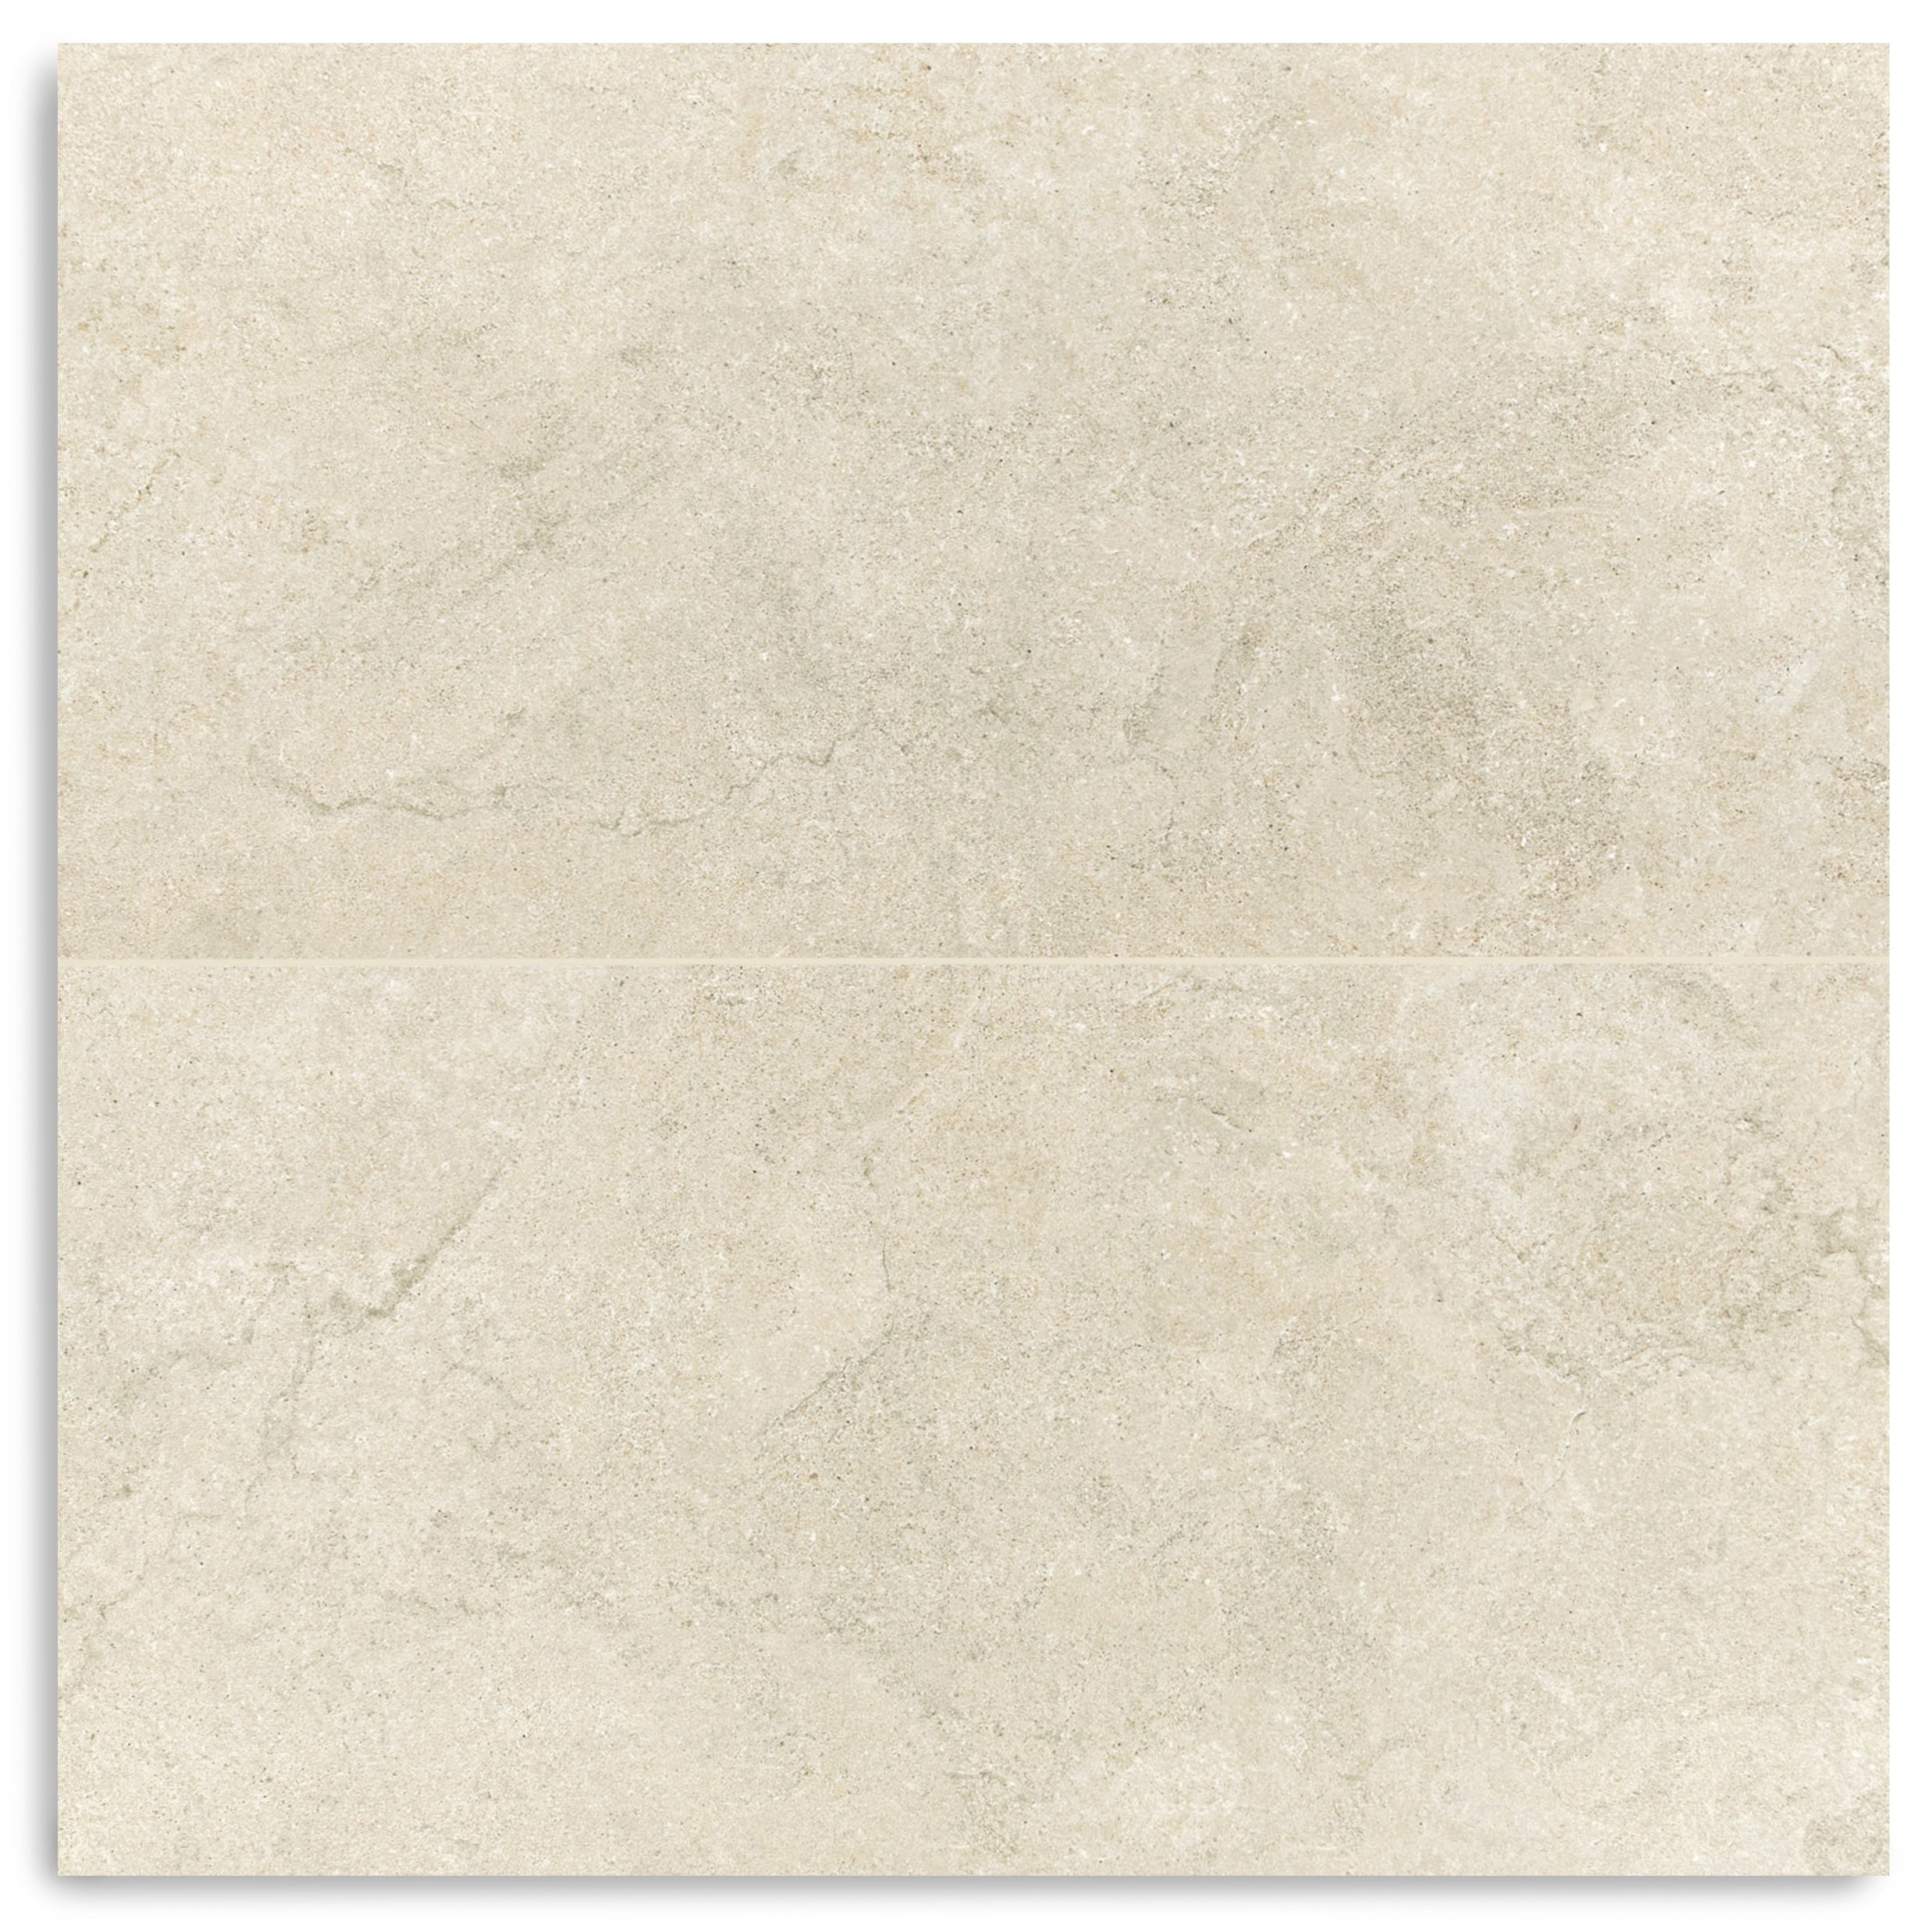
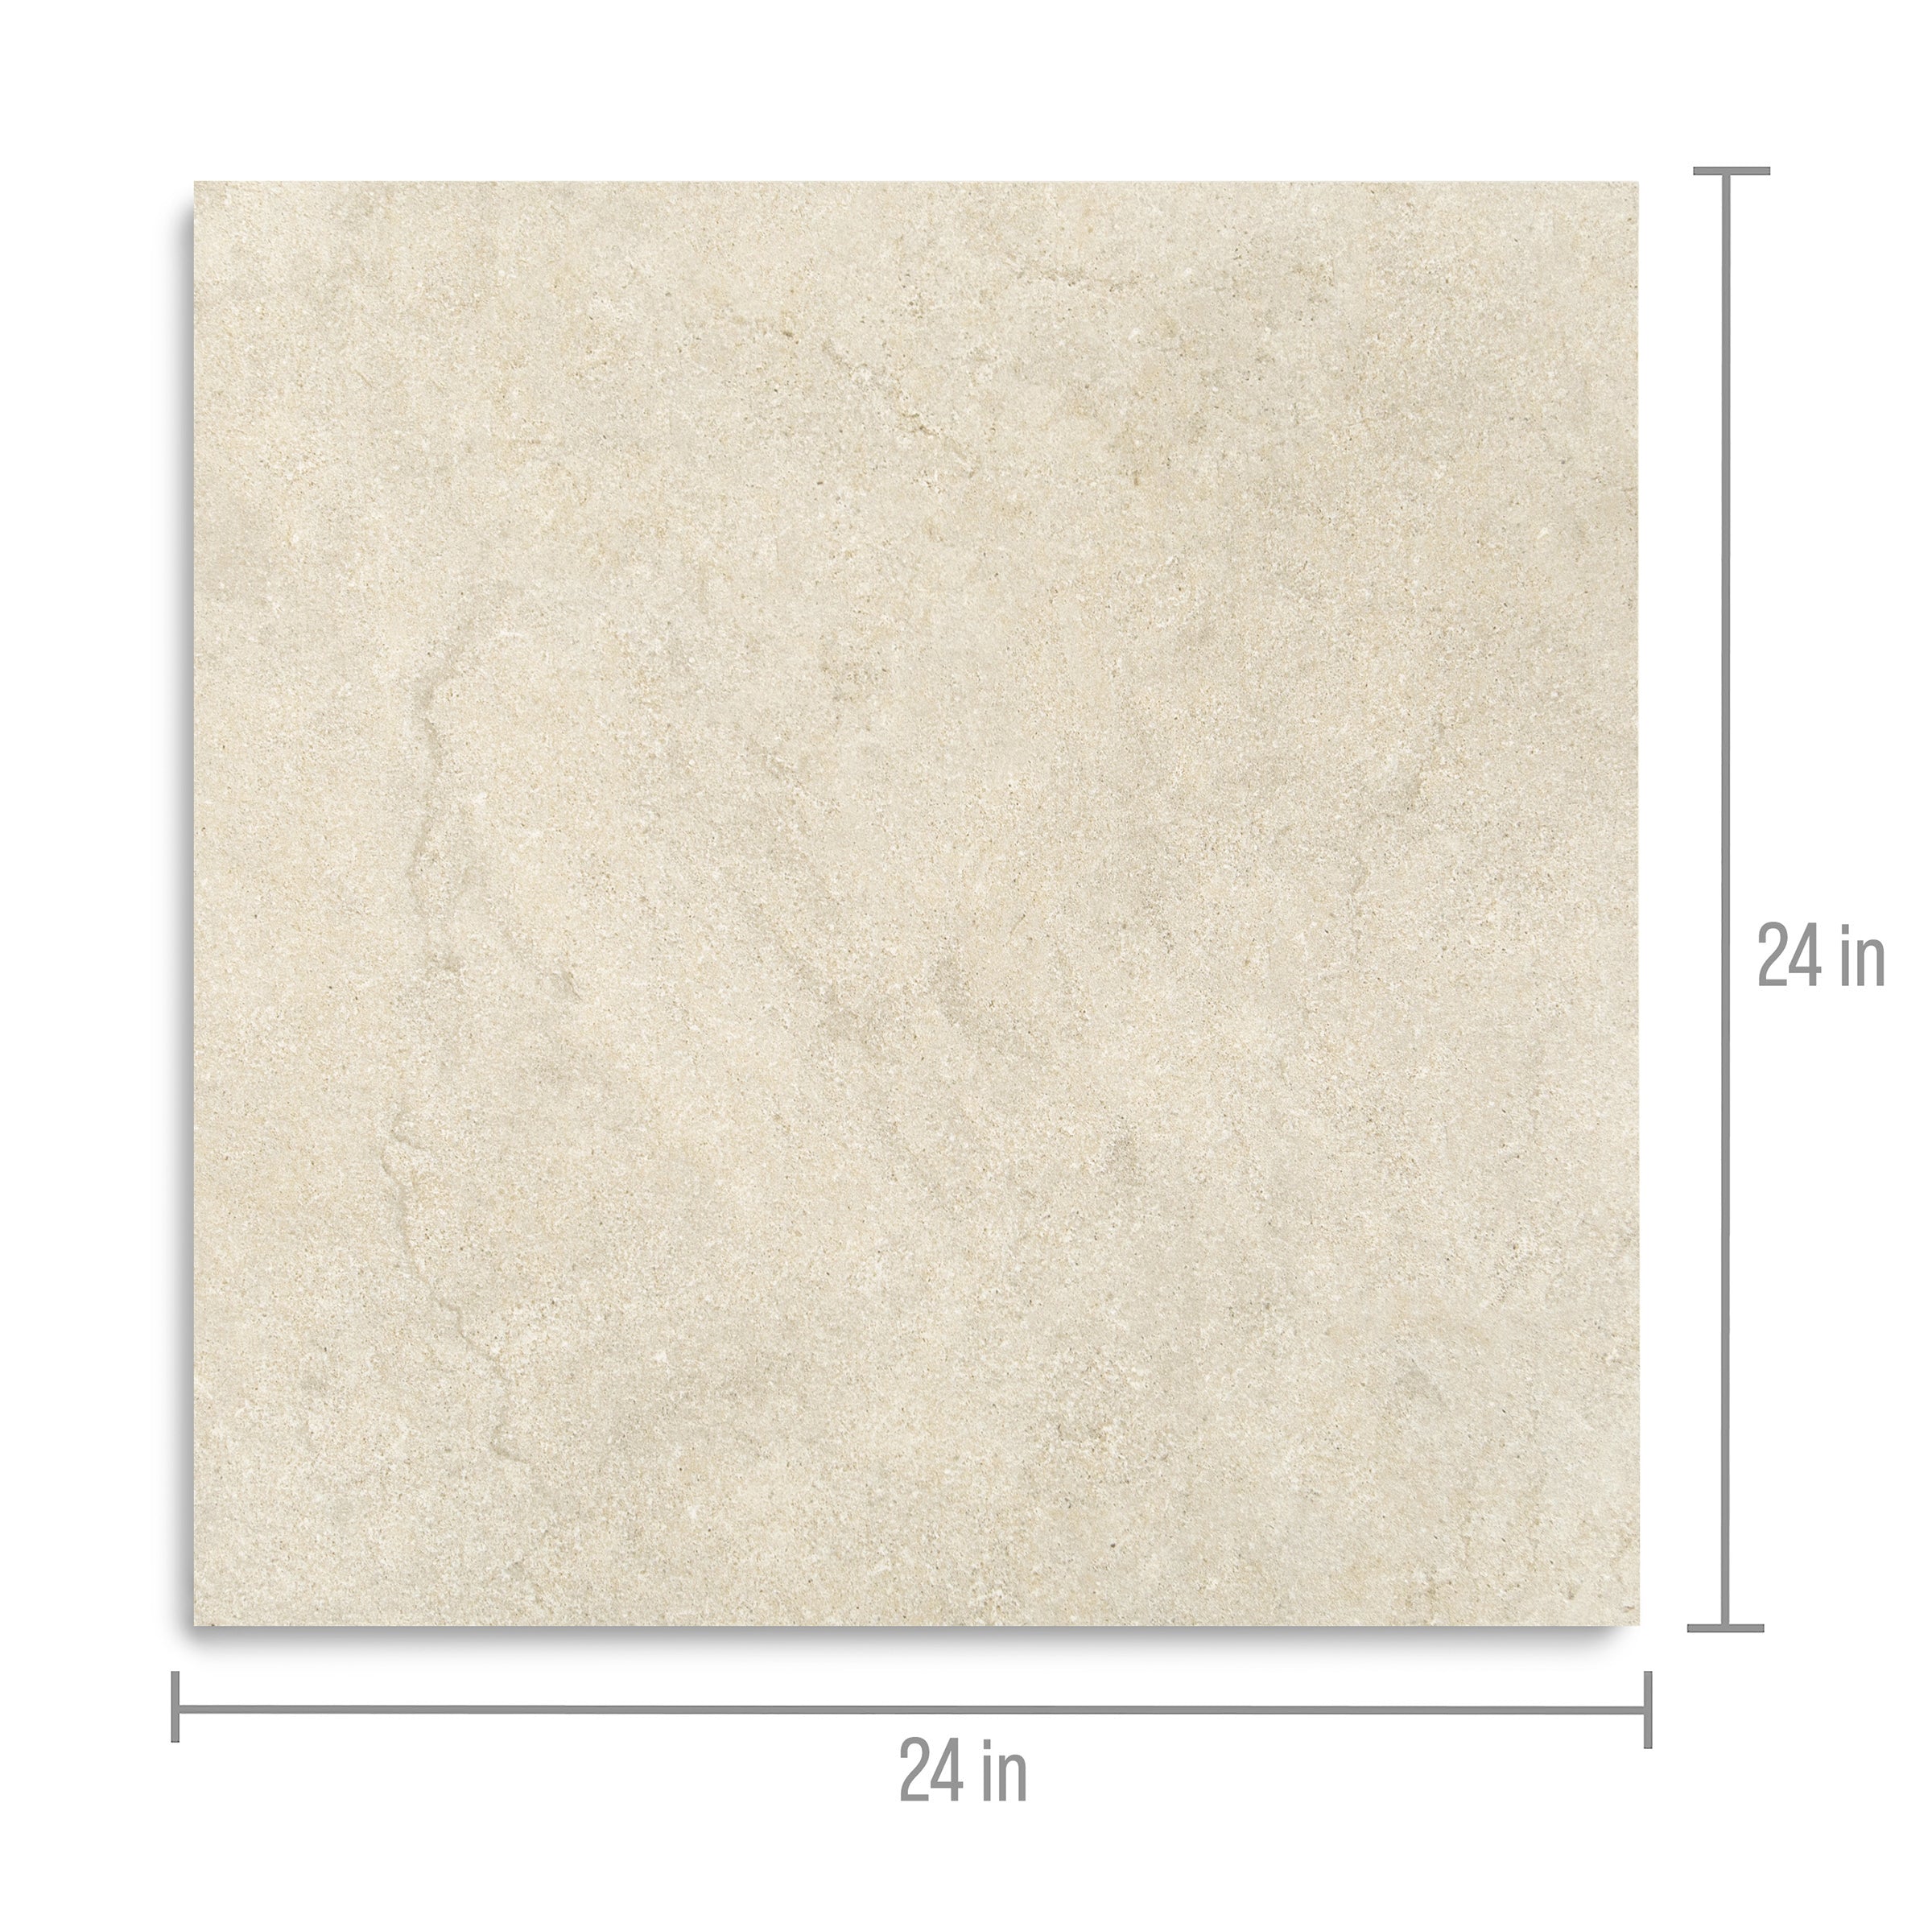
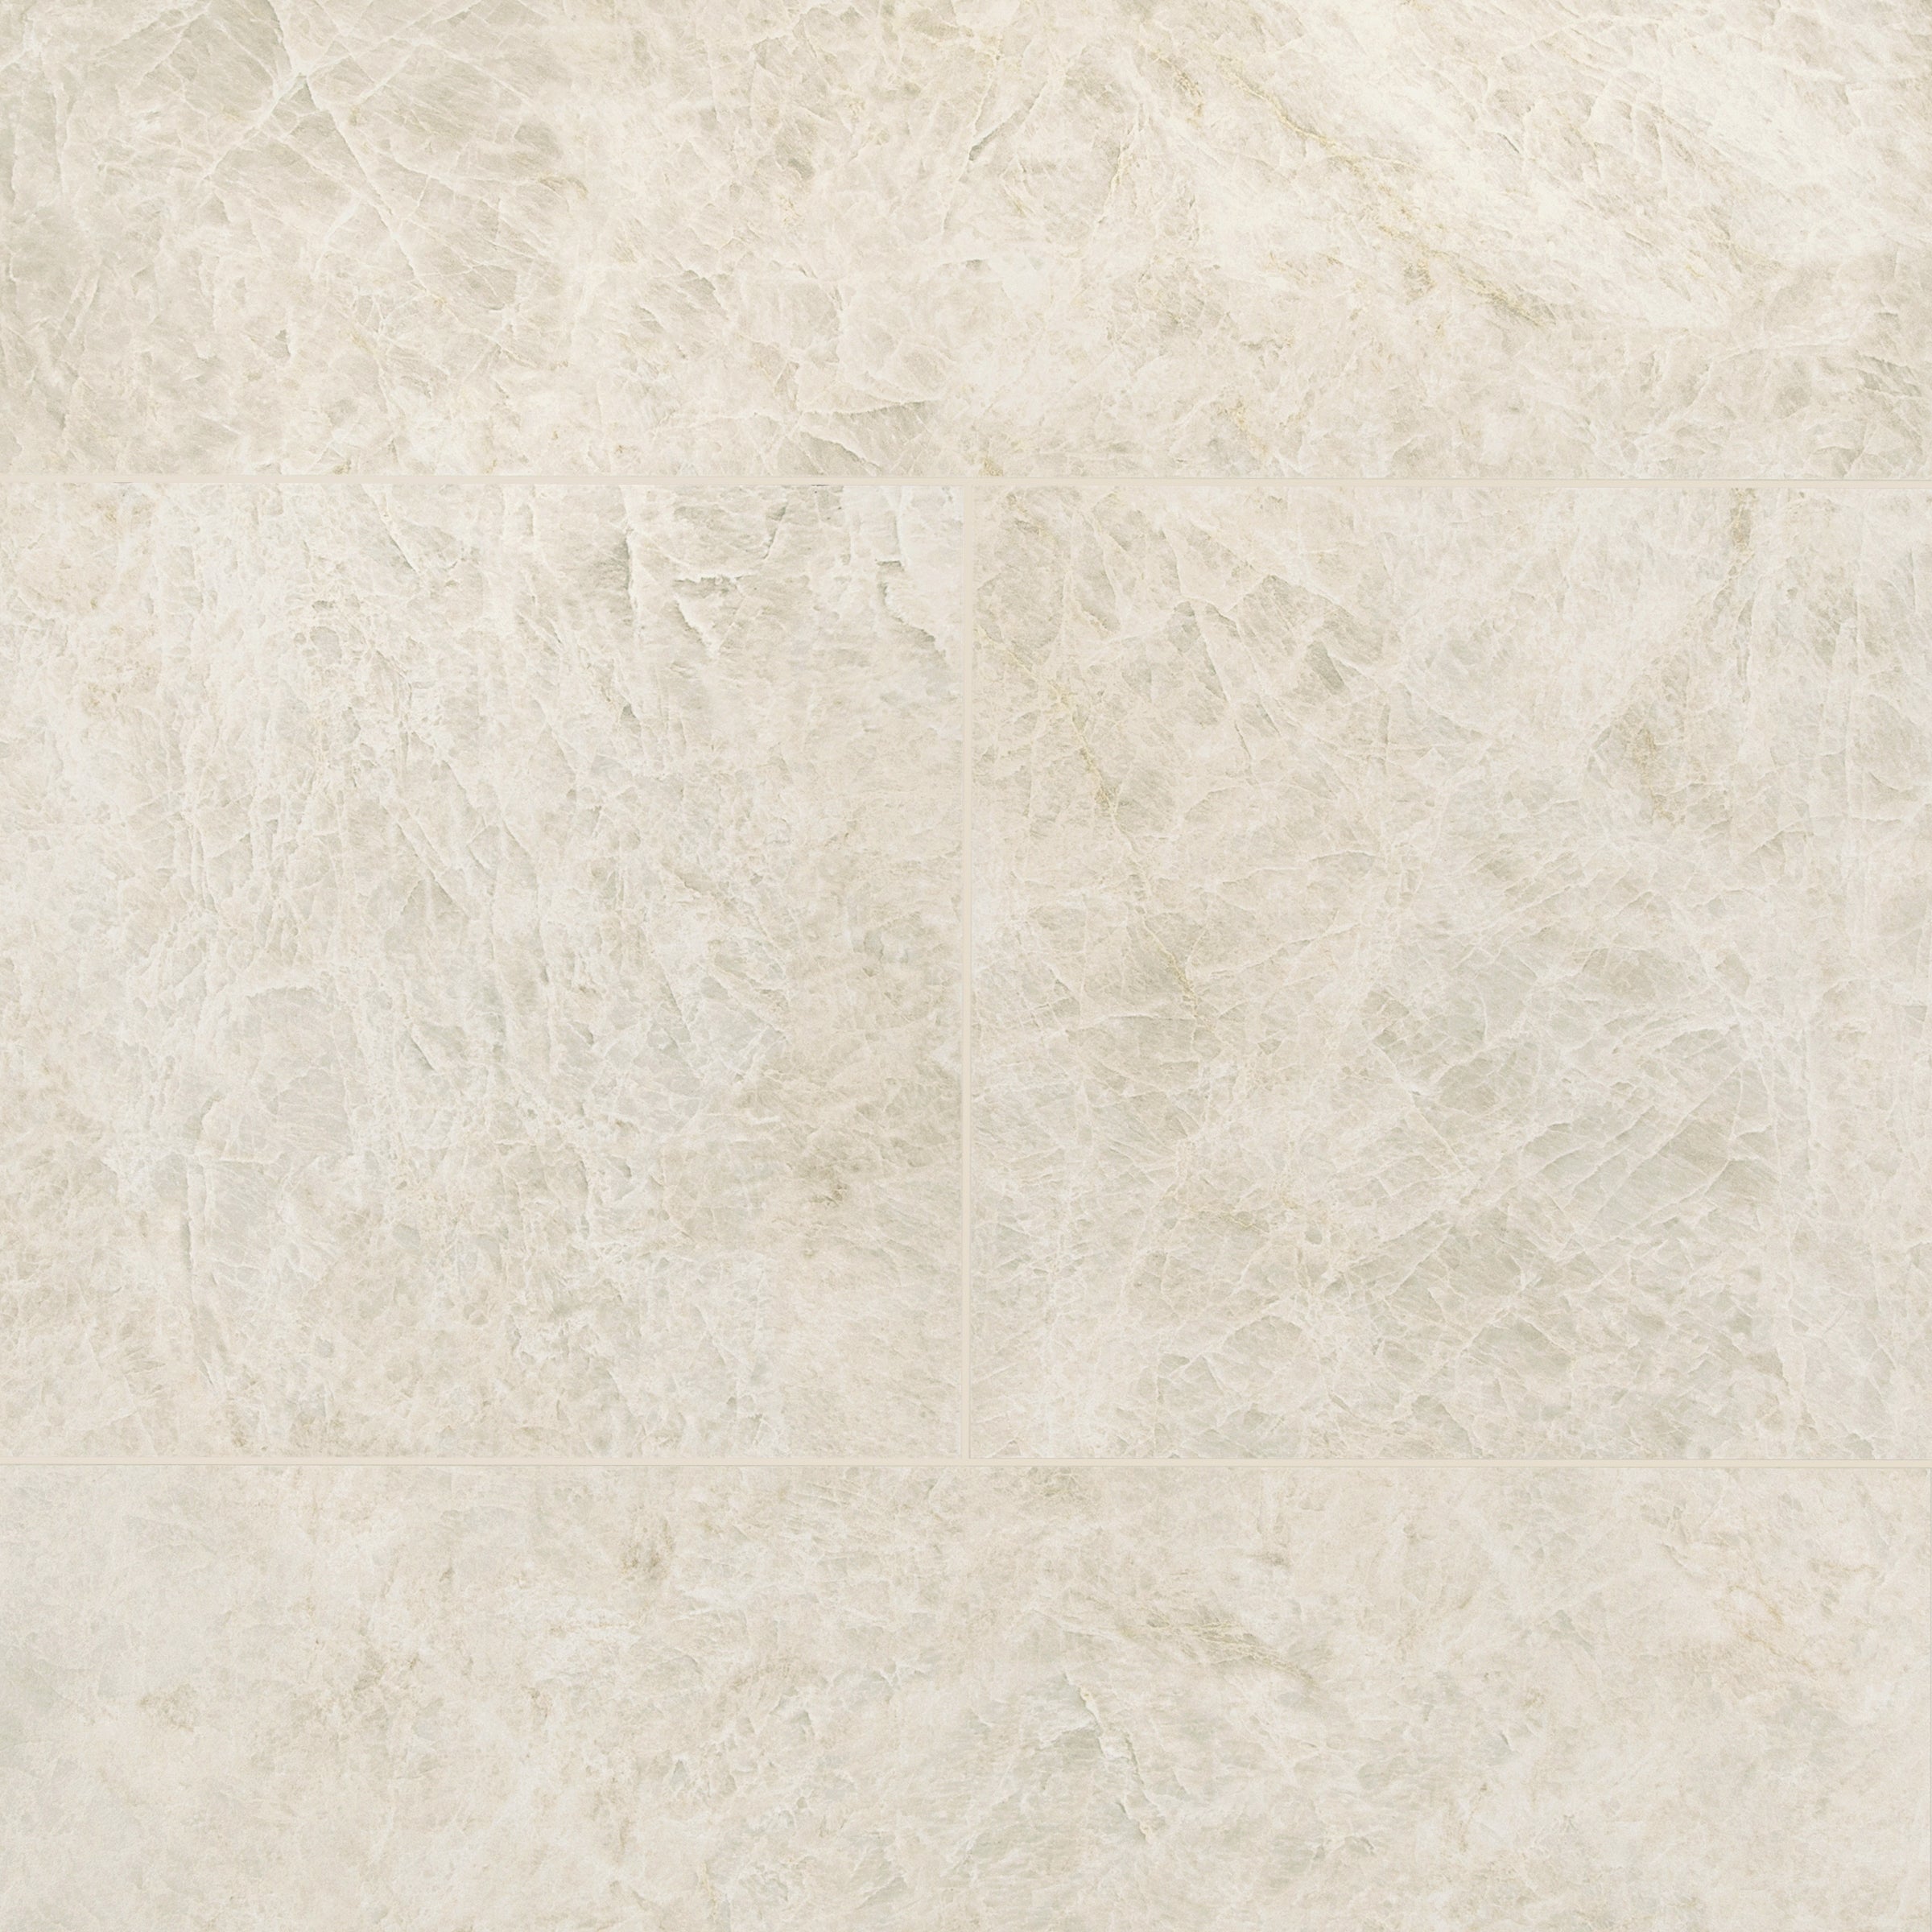
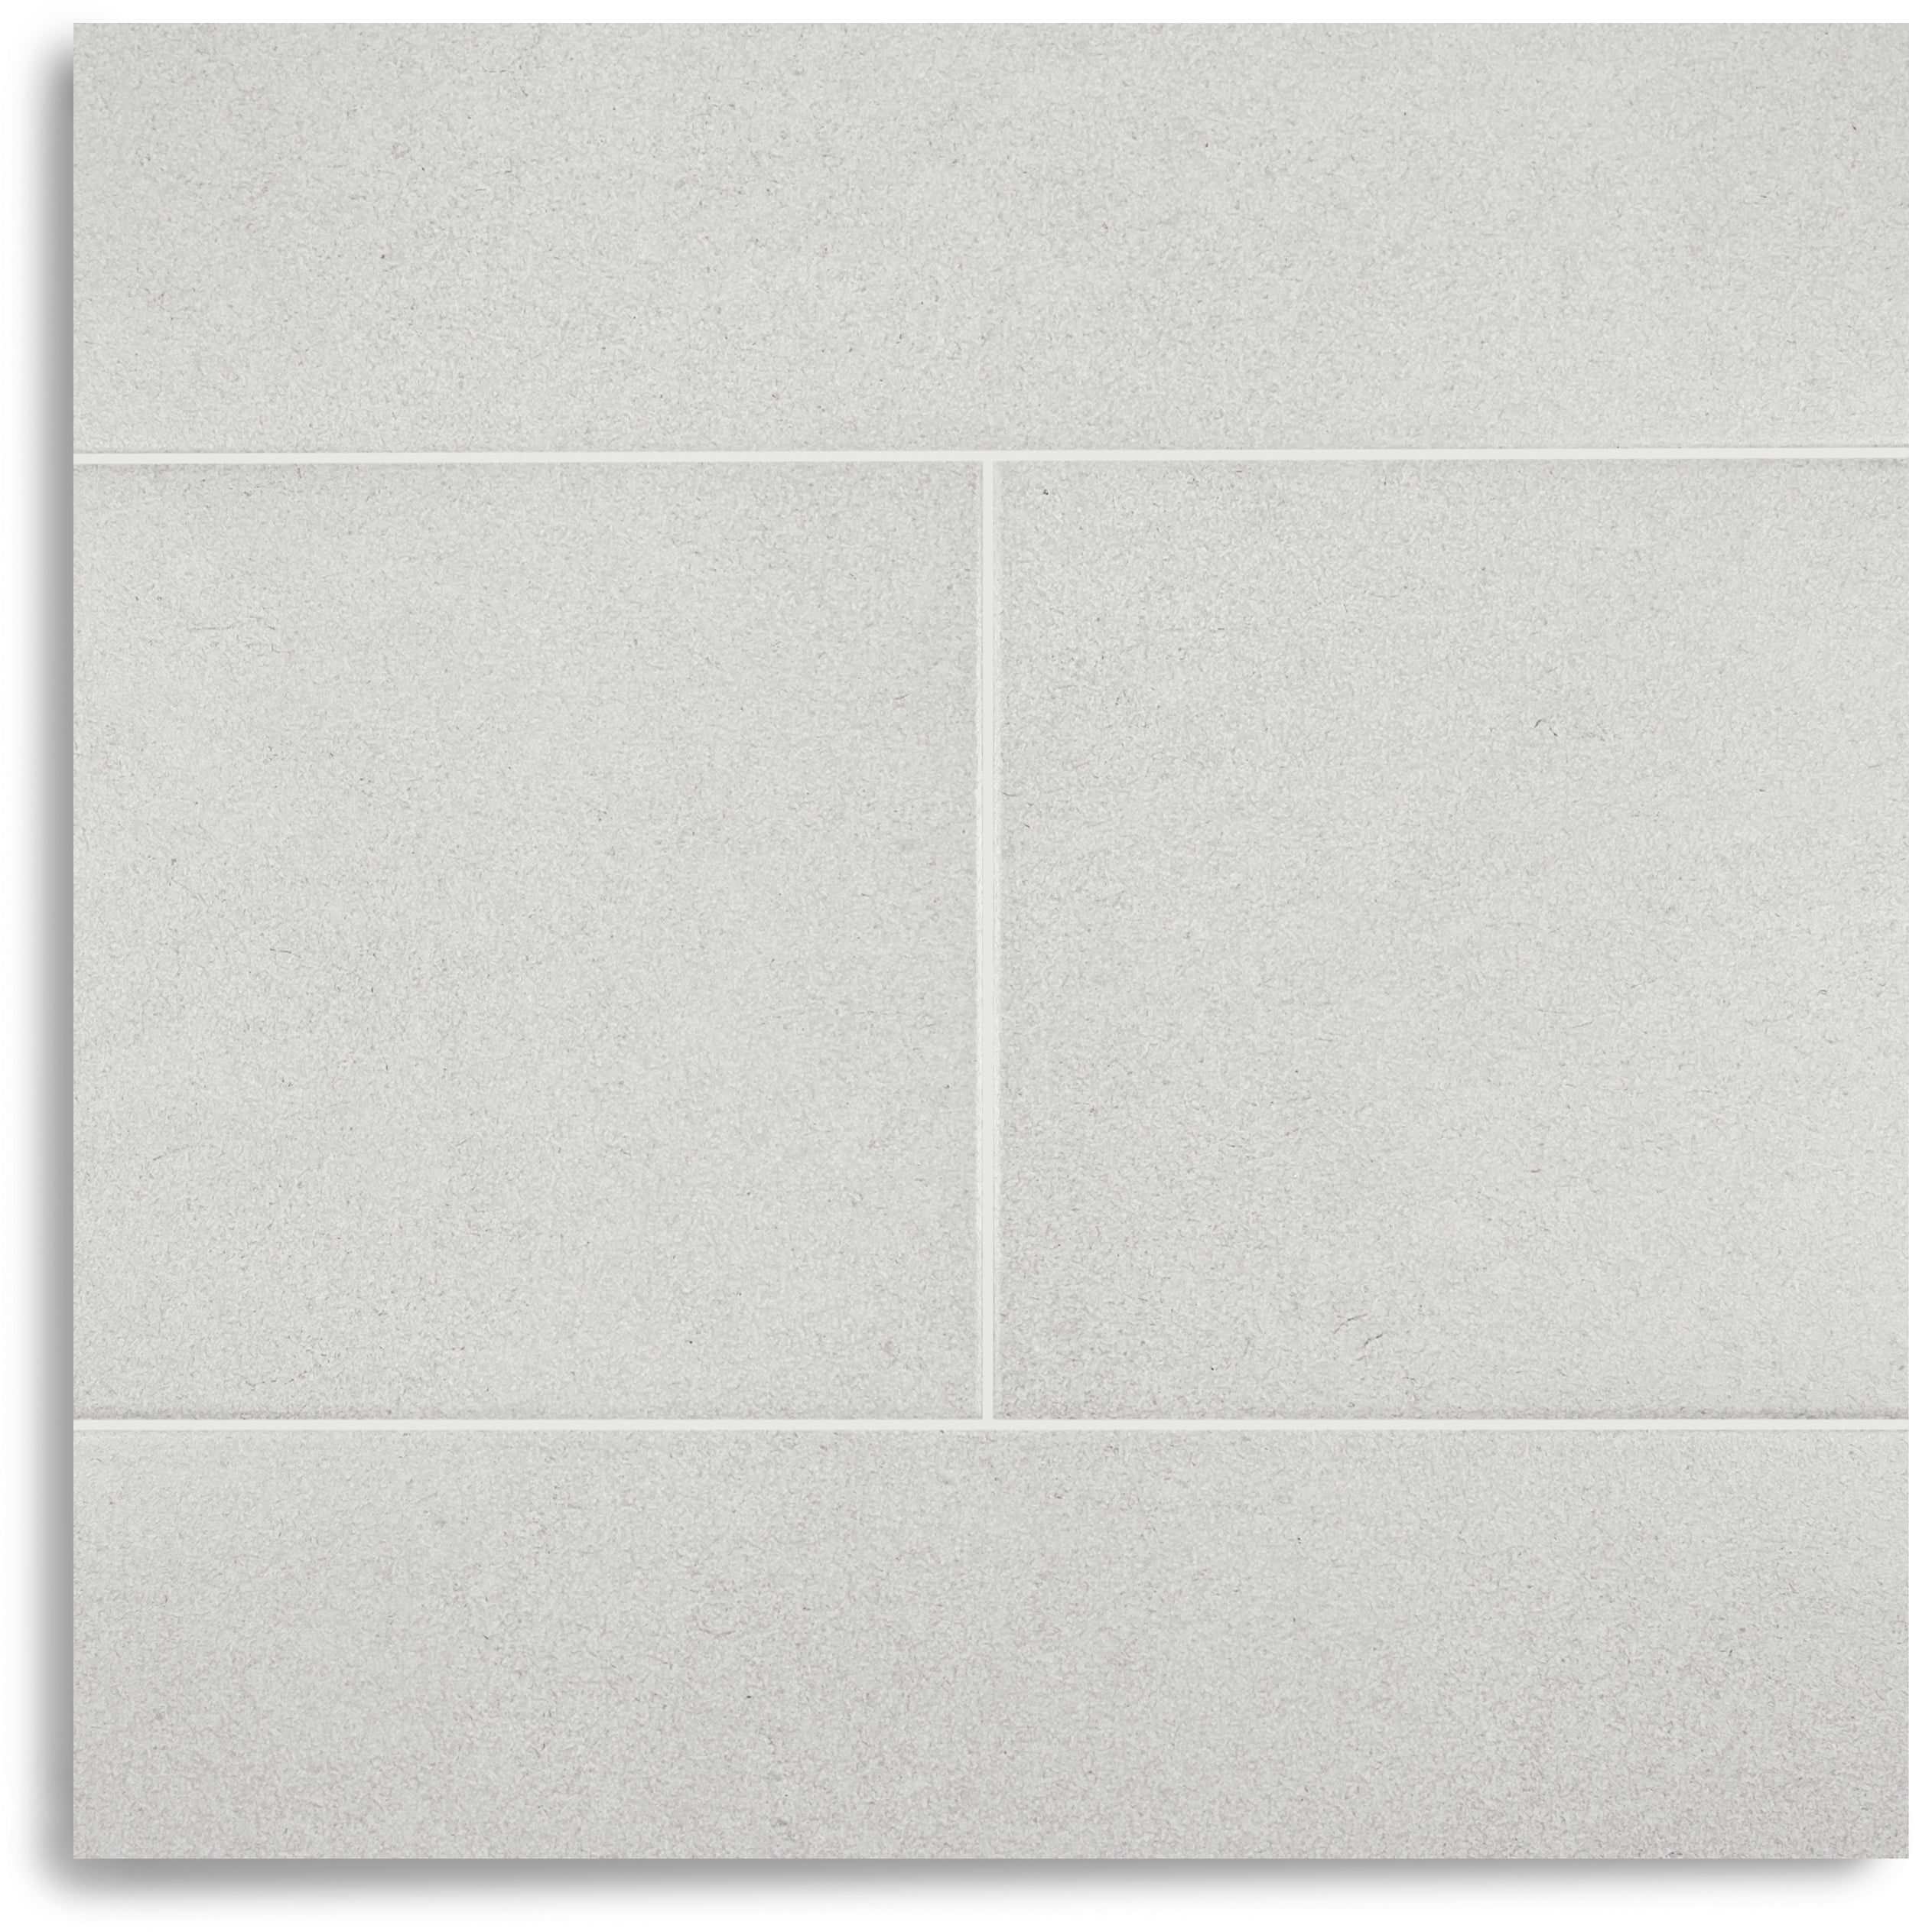
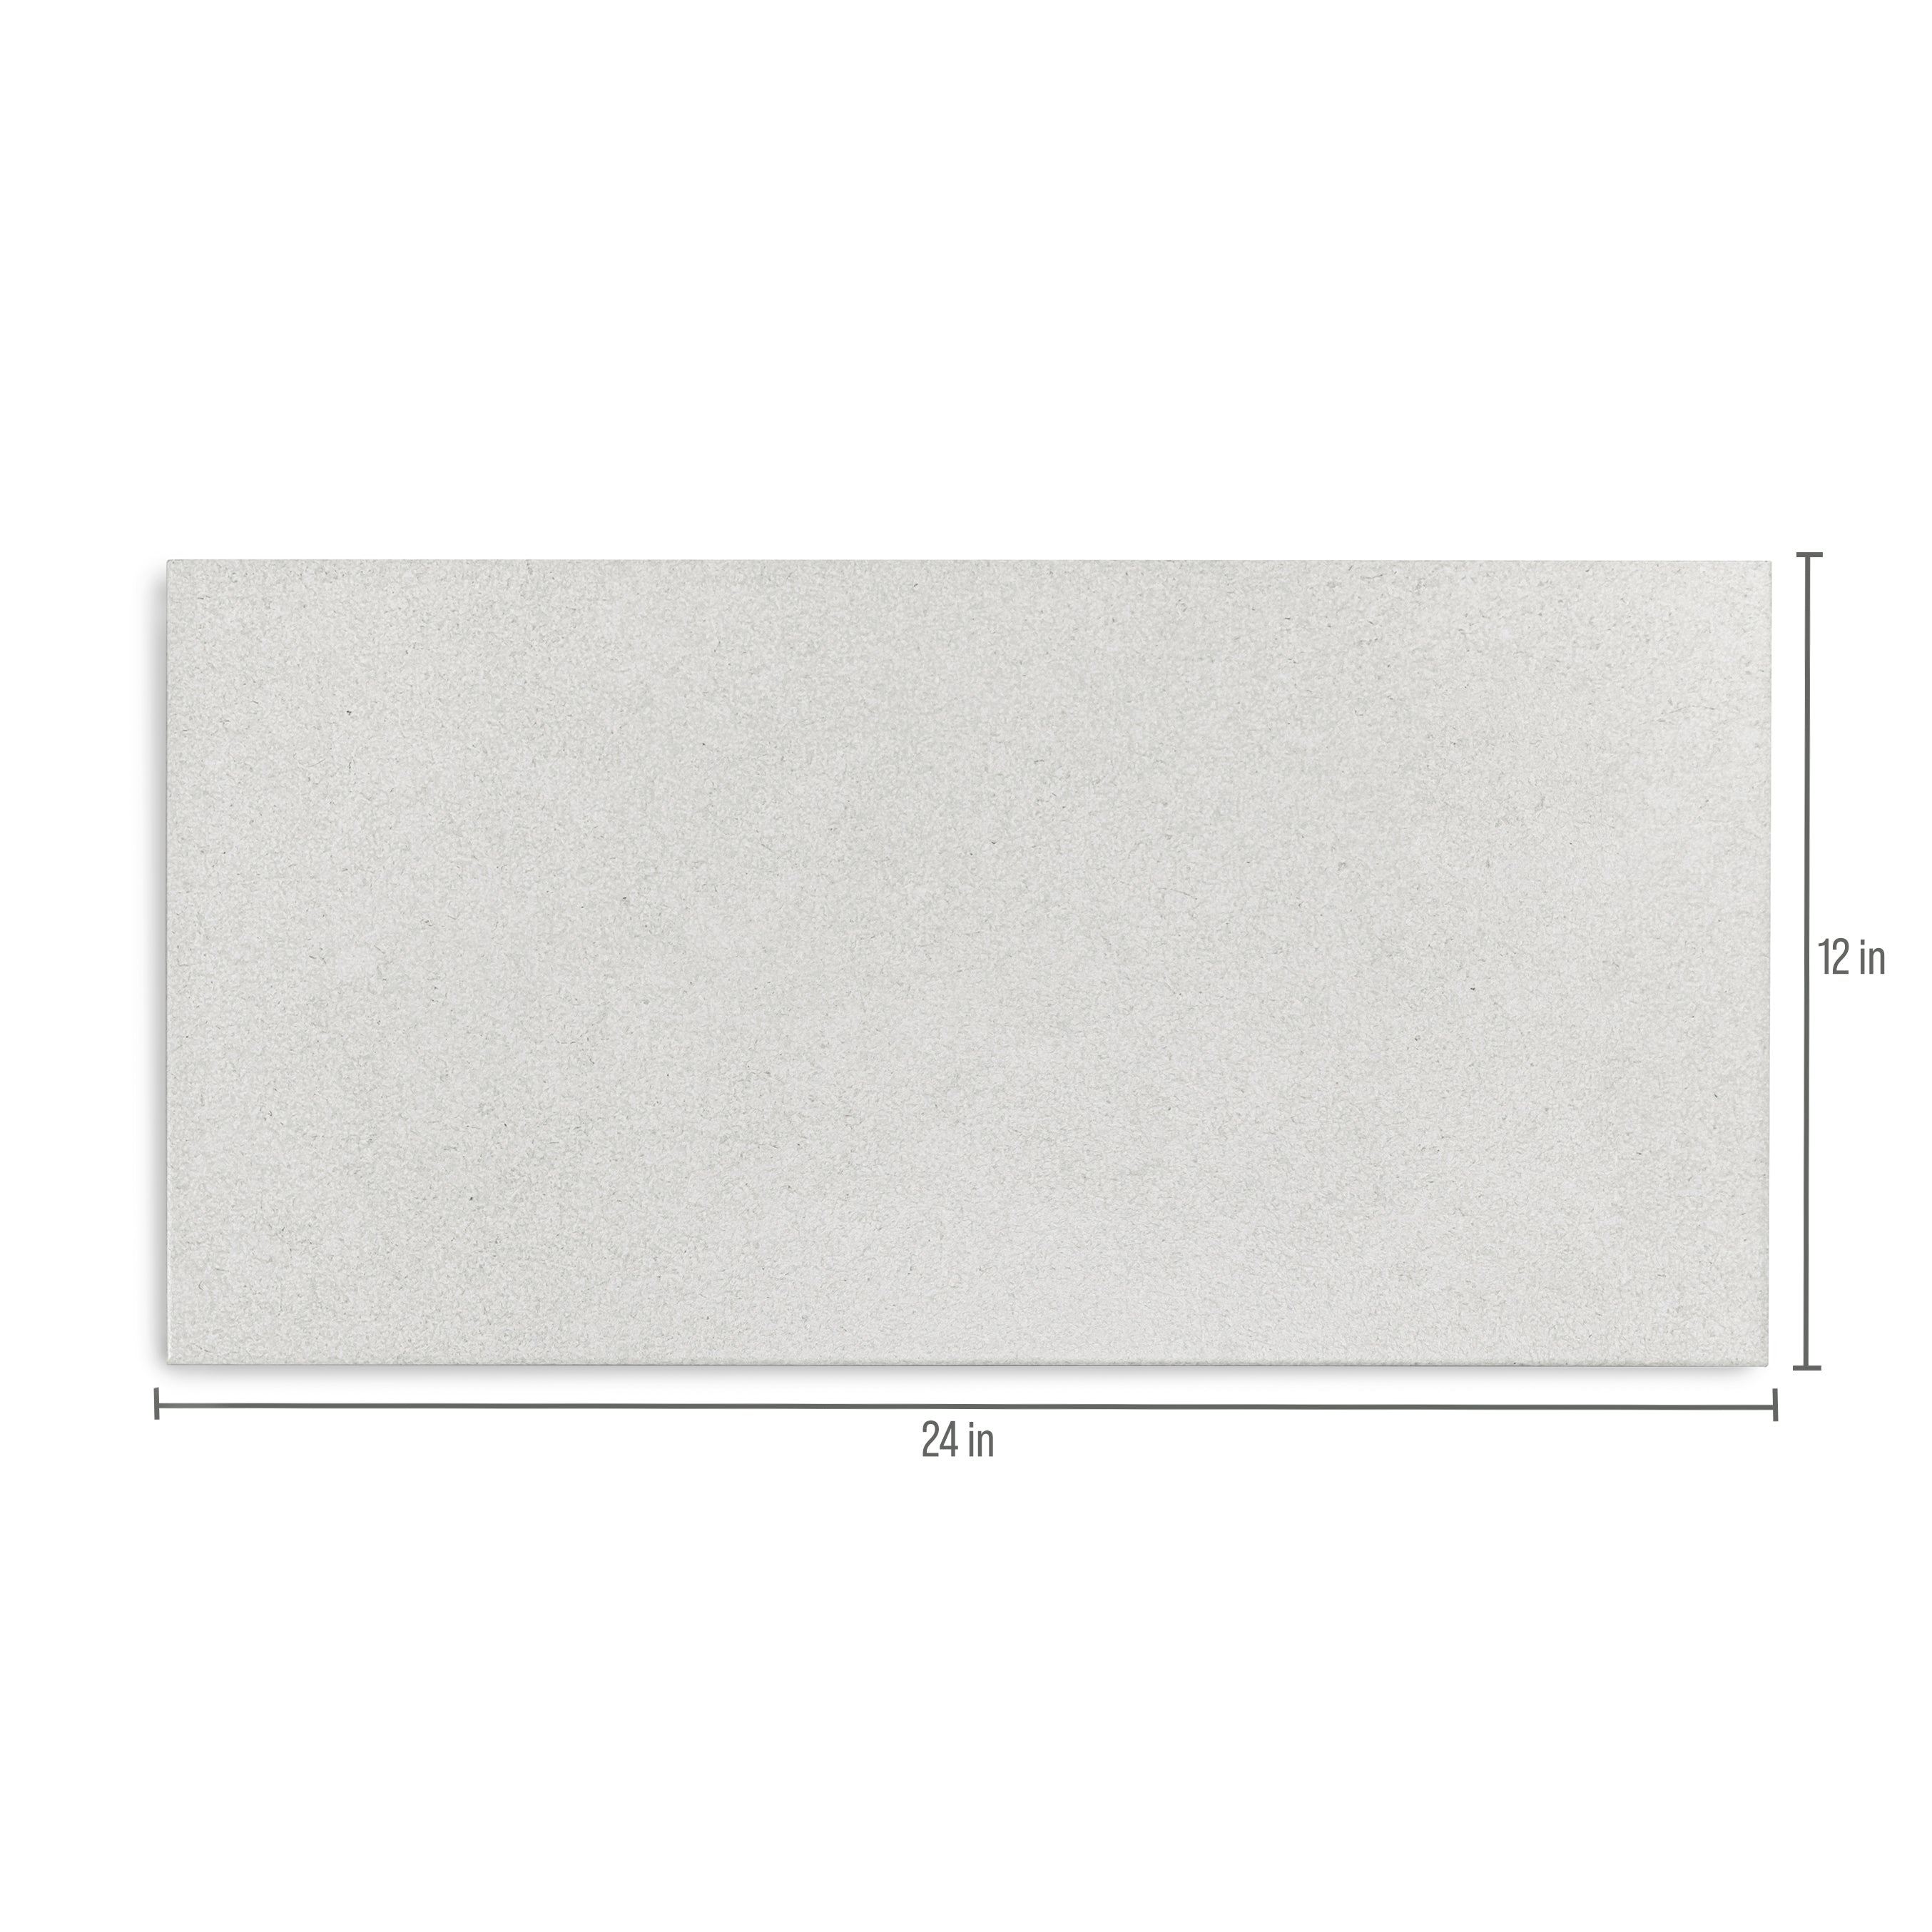
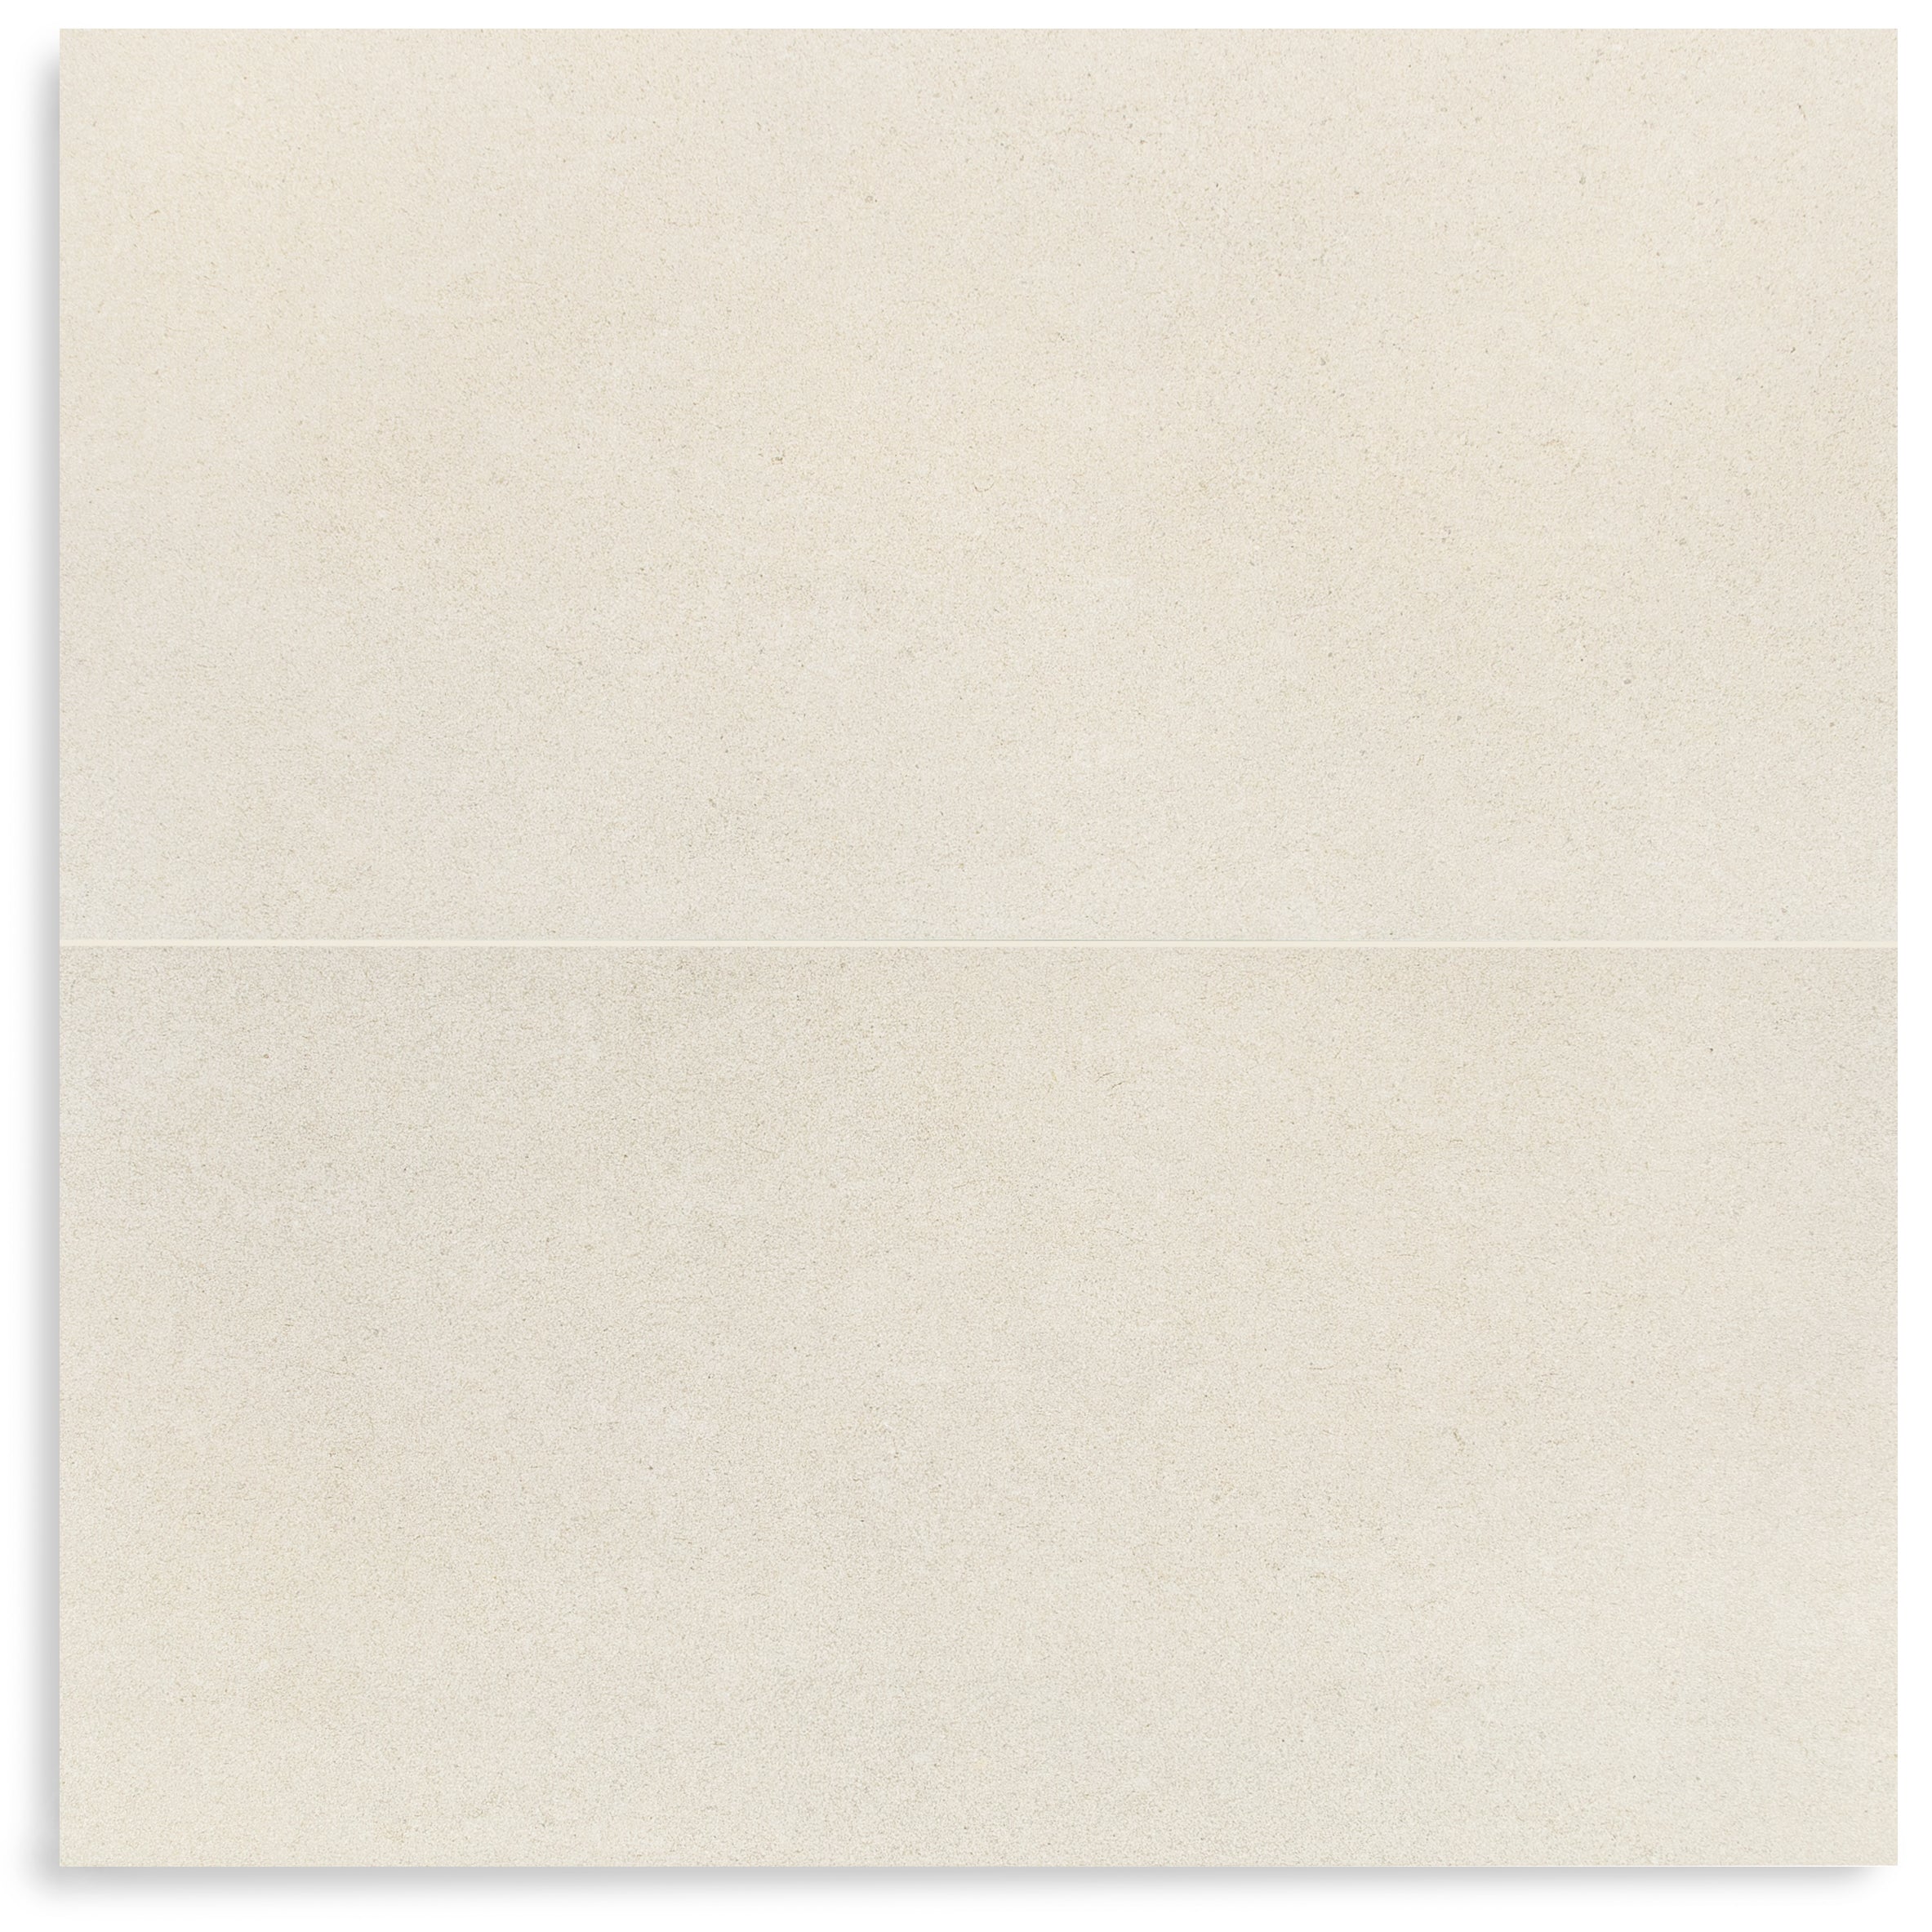
Cream Limestone Look 3D Matte Porcelain Tile
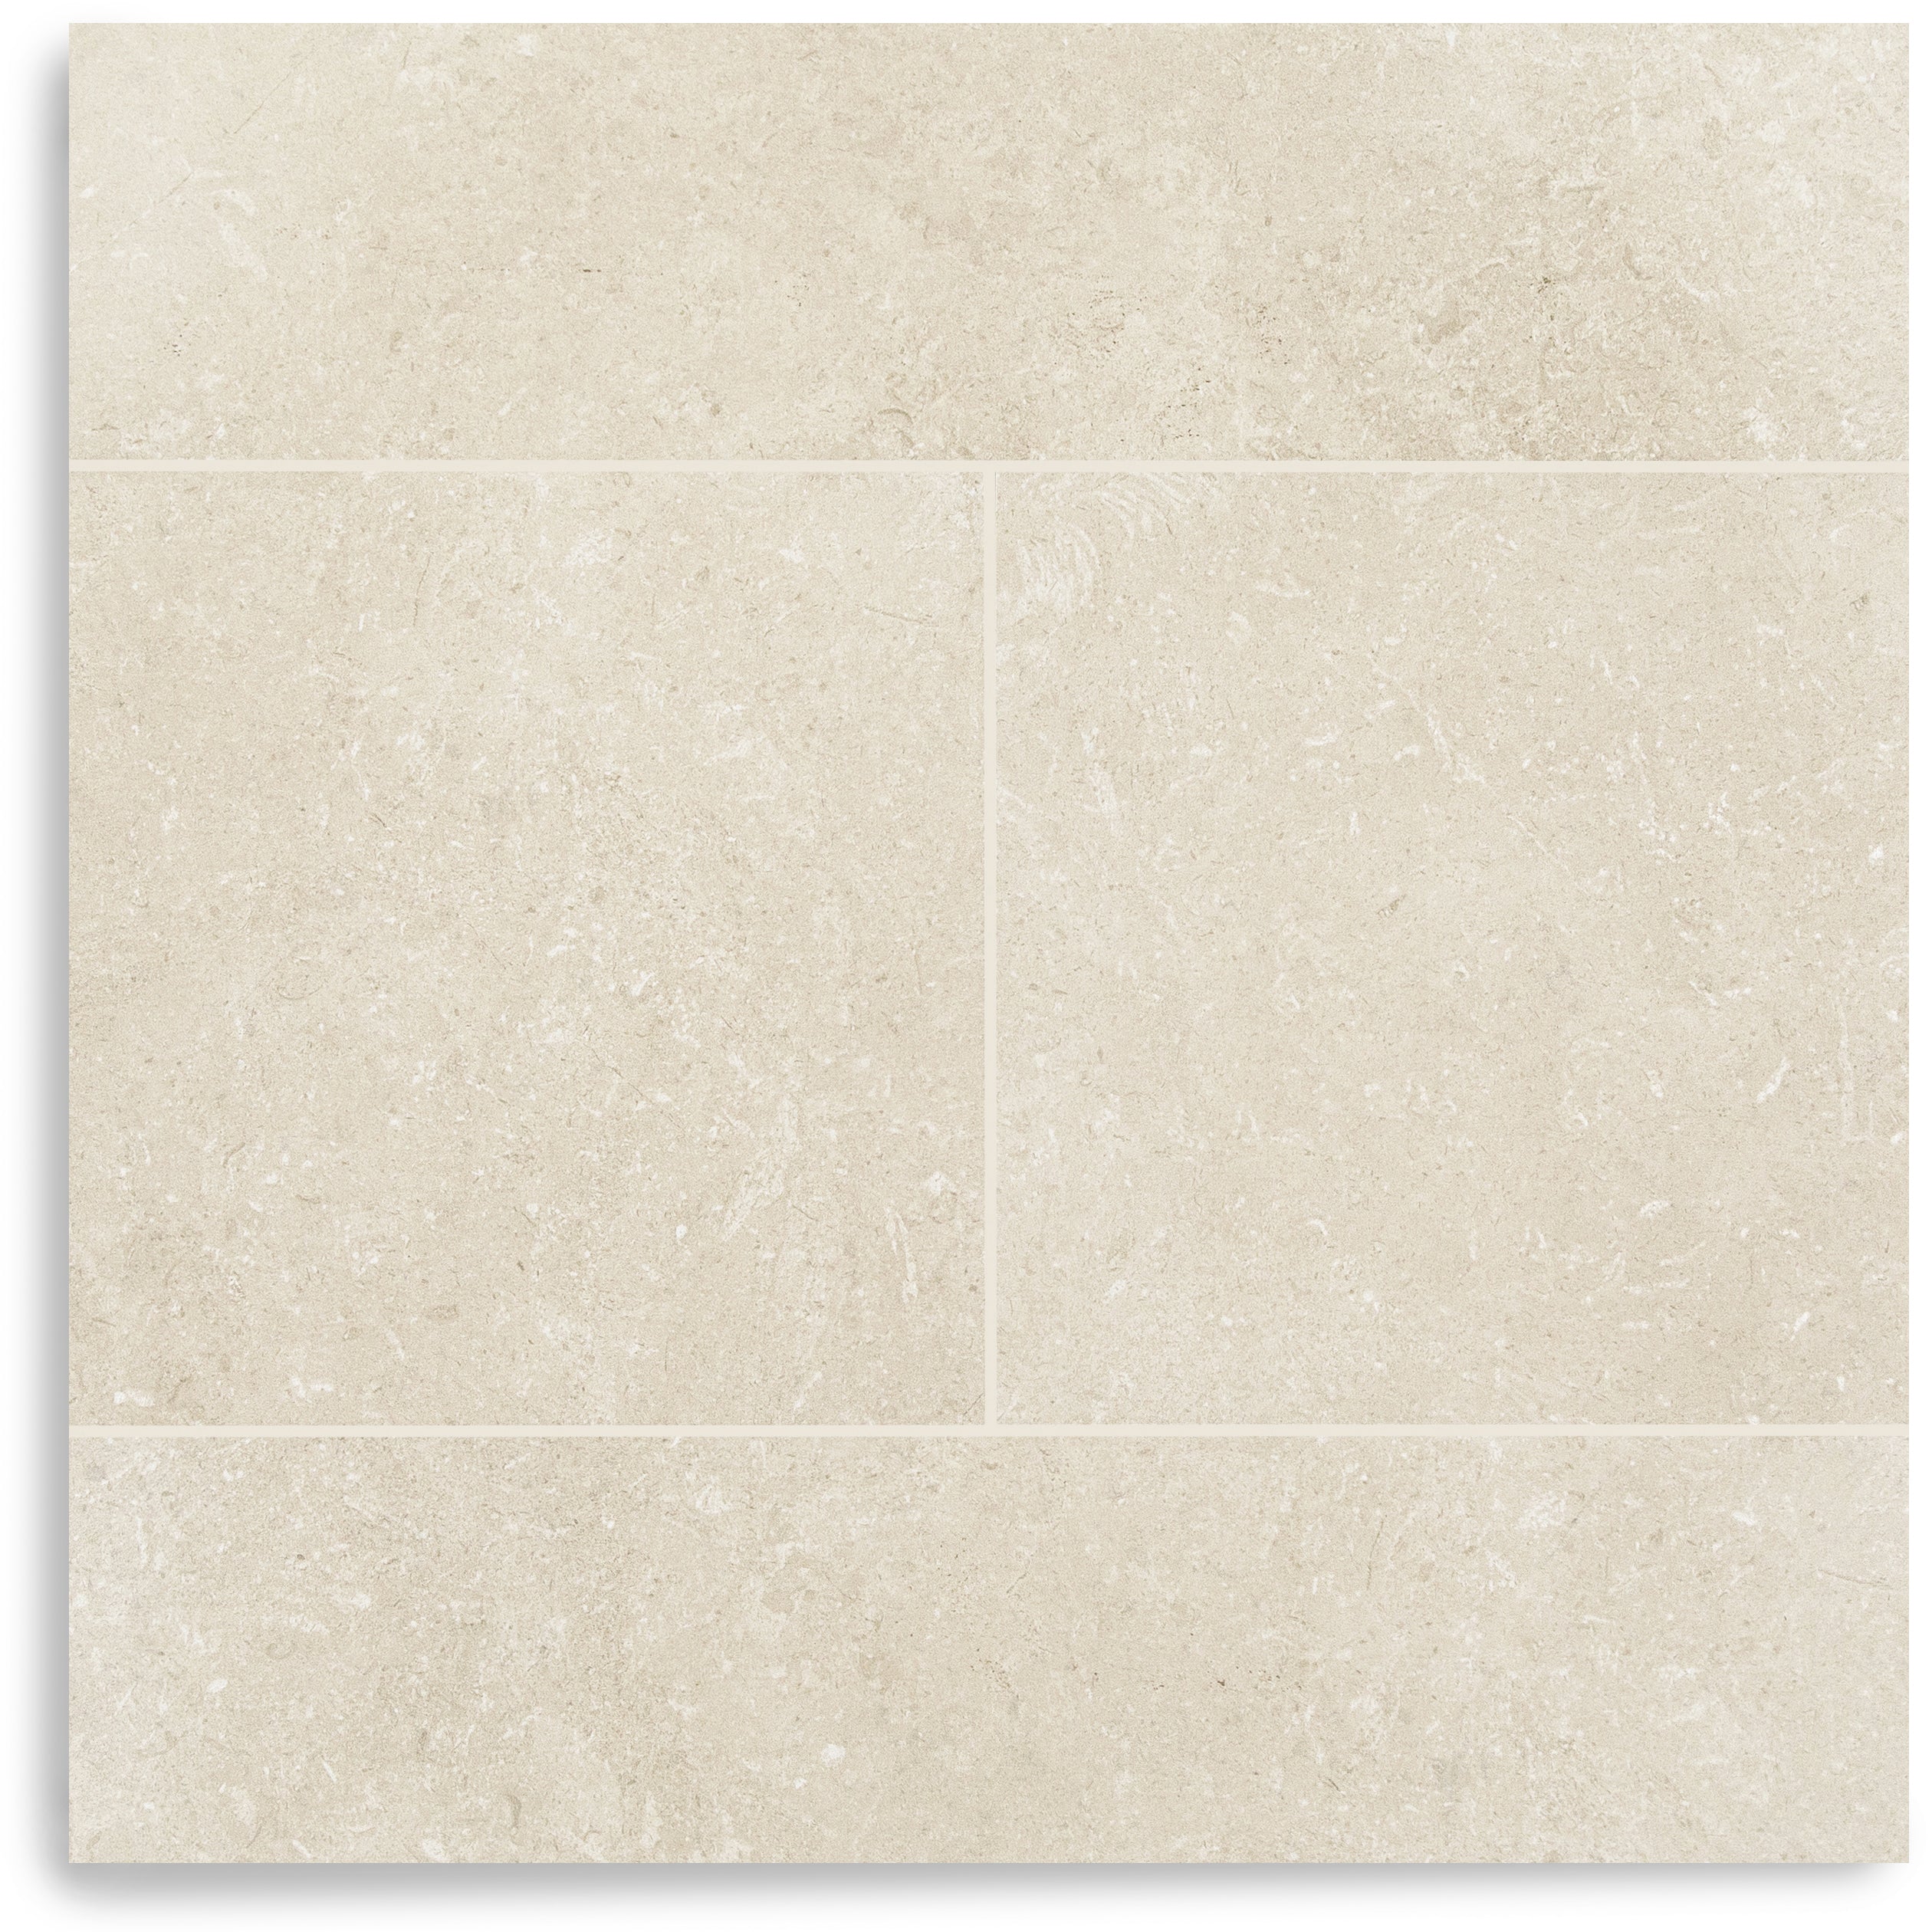
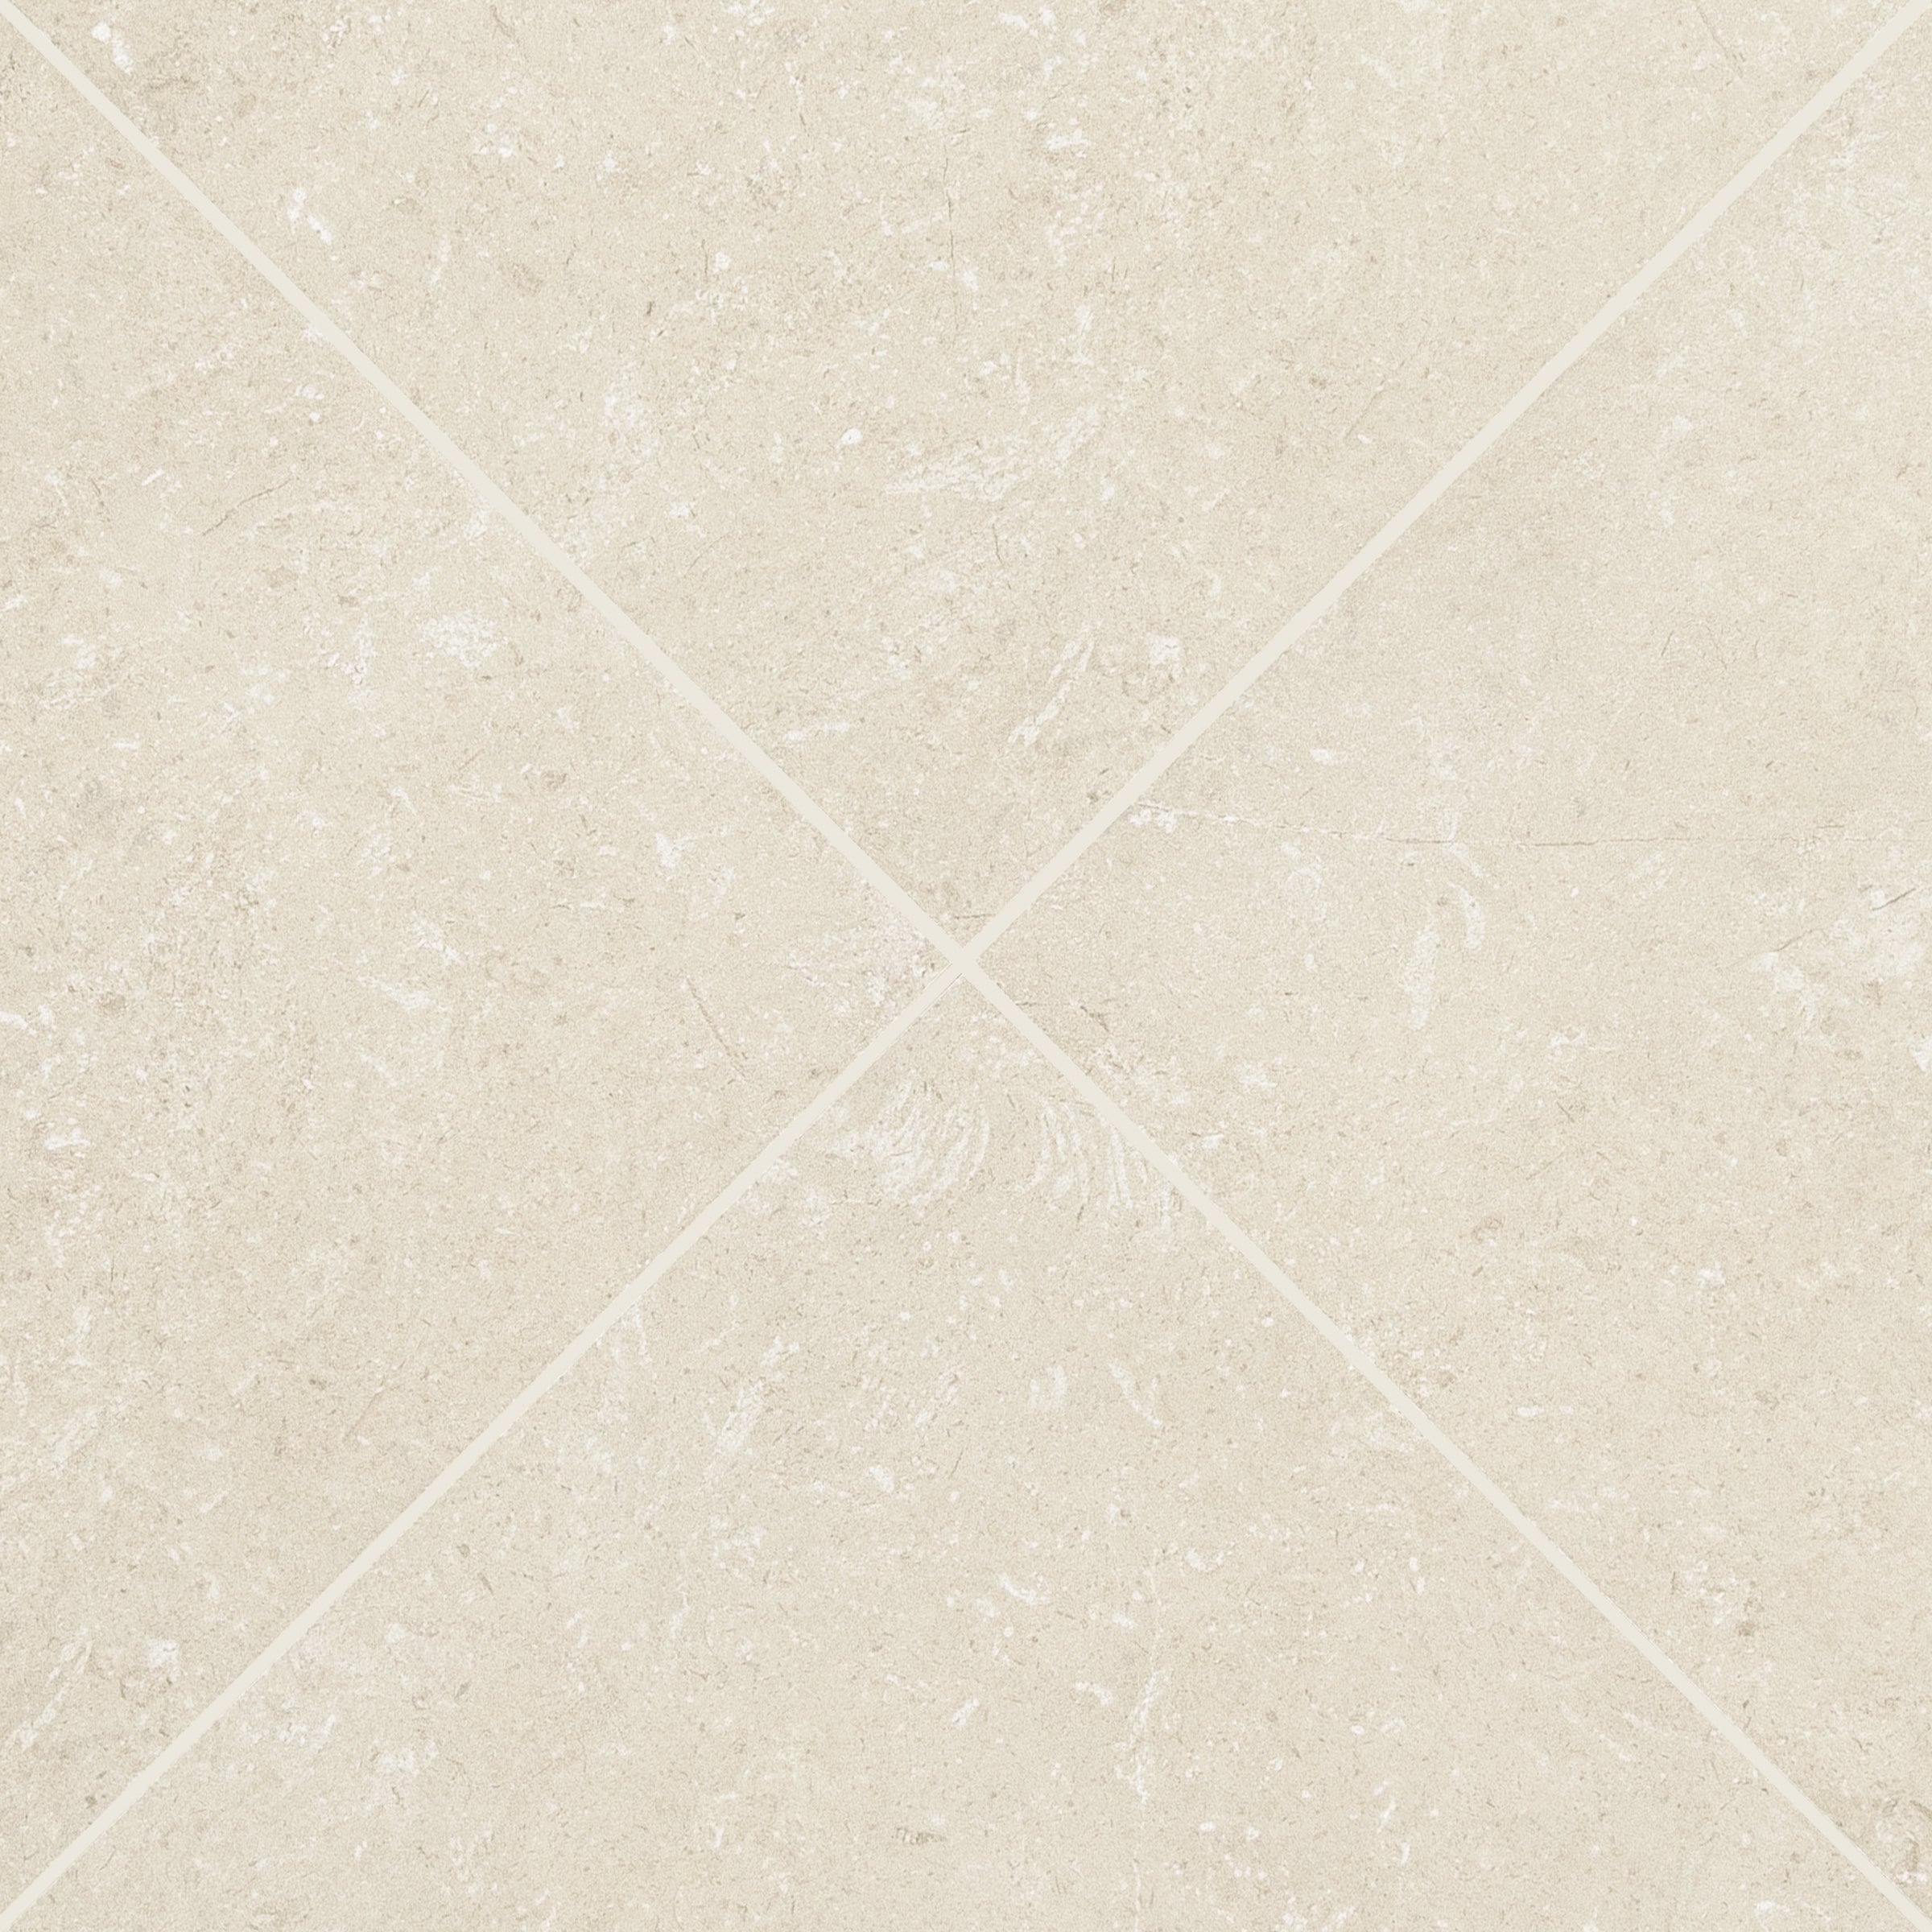
Beige Limestone Look 3D Matte Porcelain Tile


Apple 12x24 3D Glossy Porcelain Tile
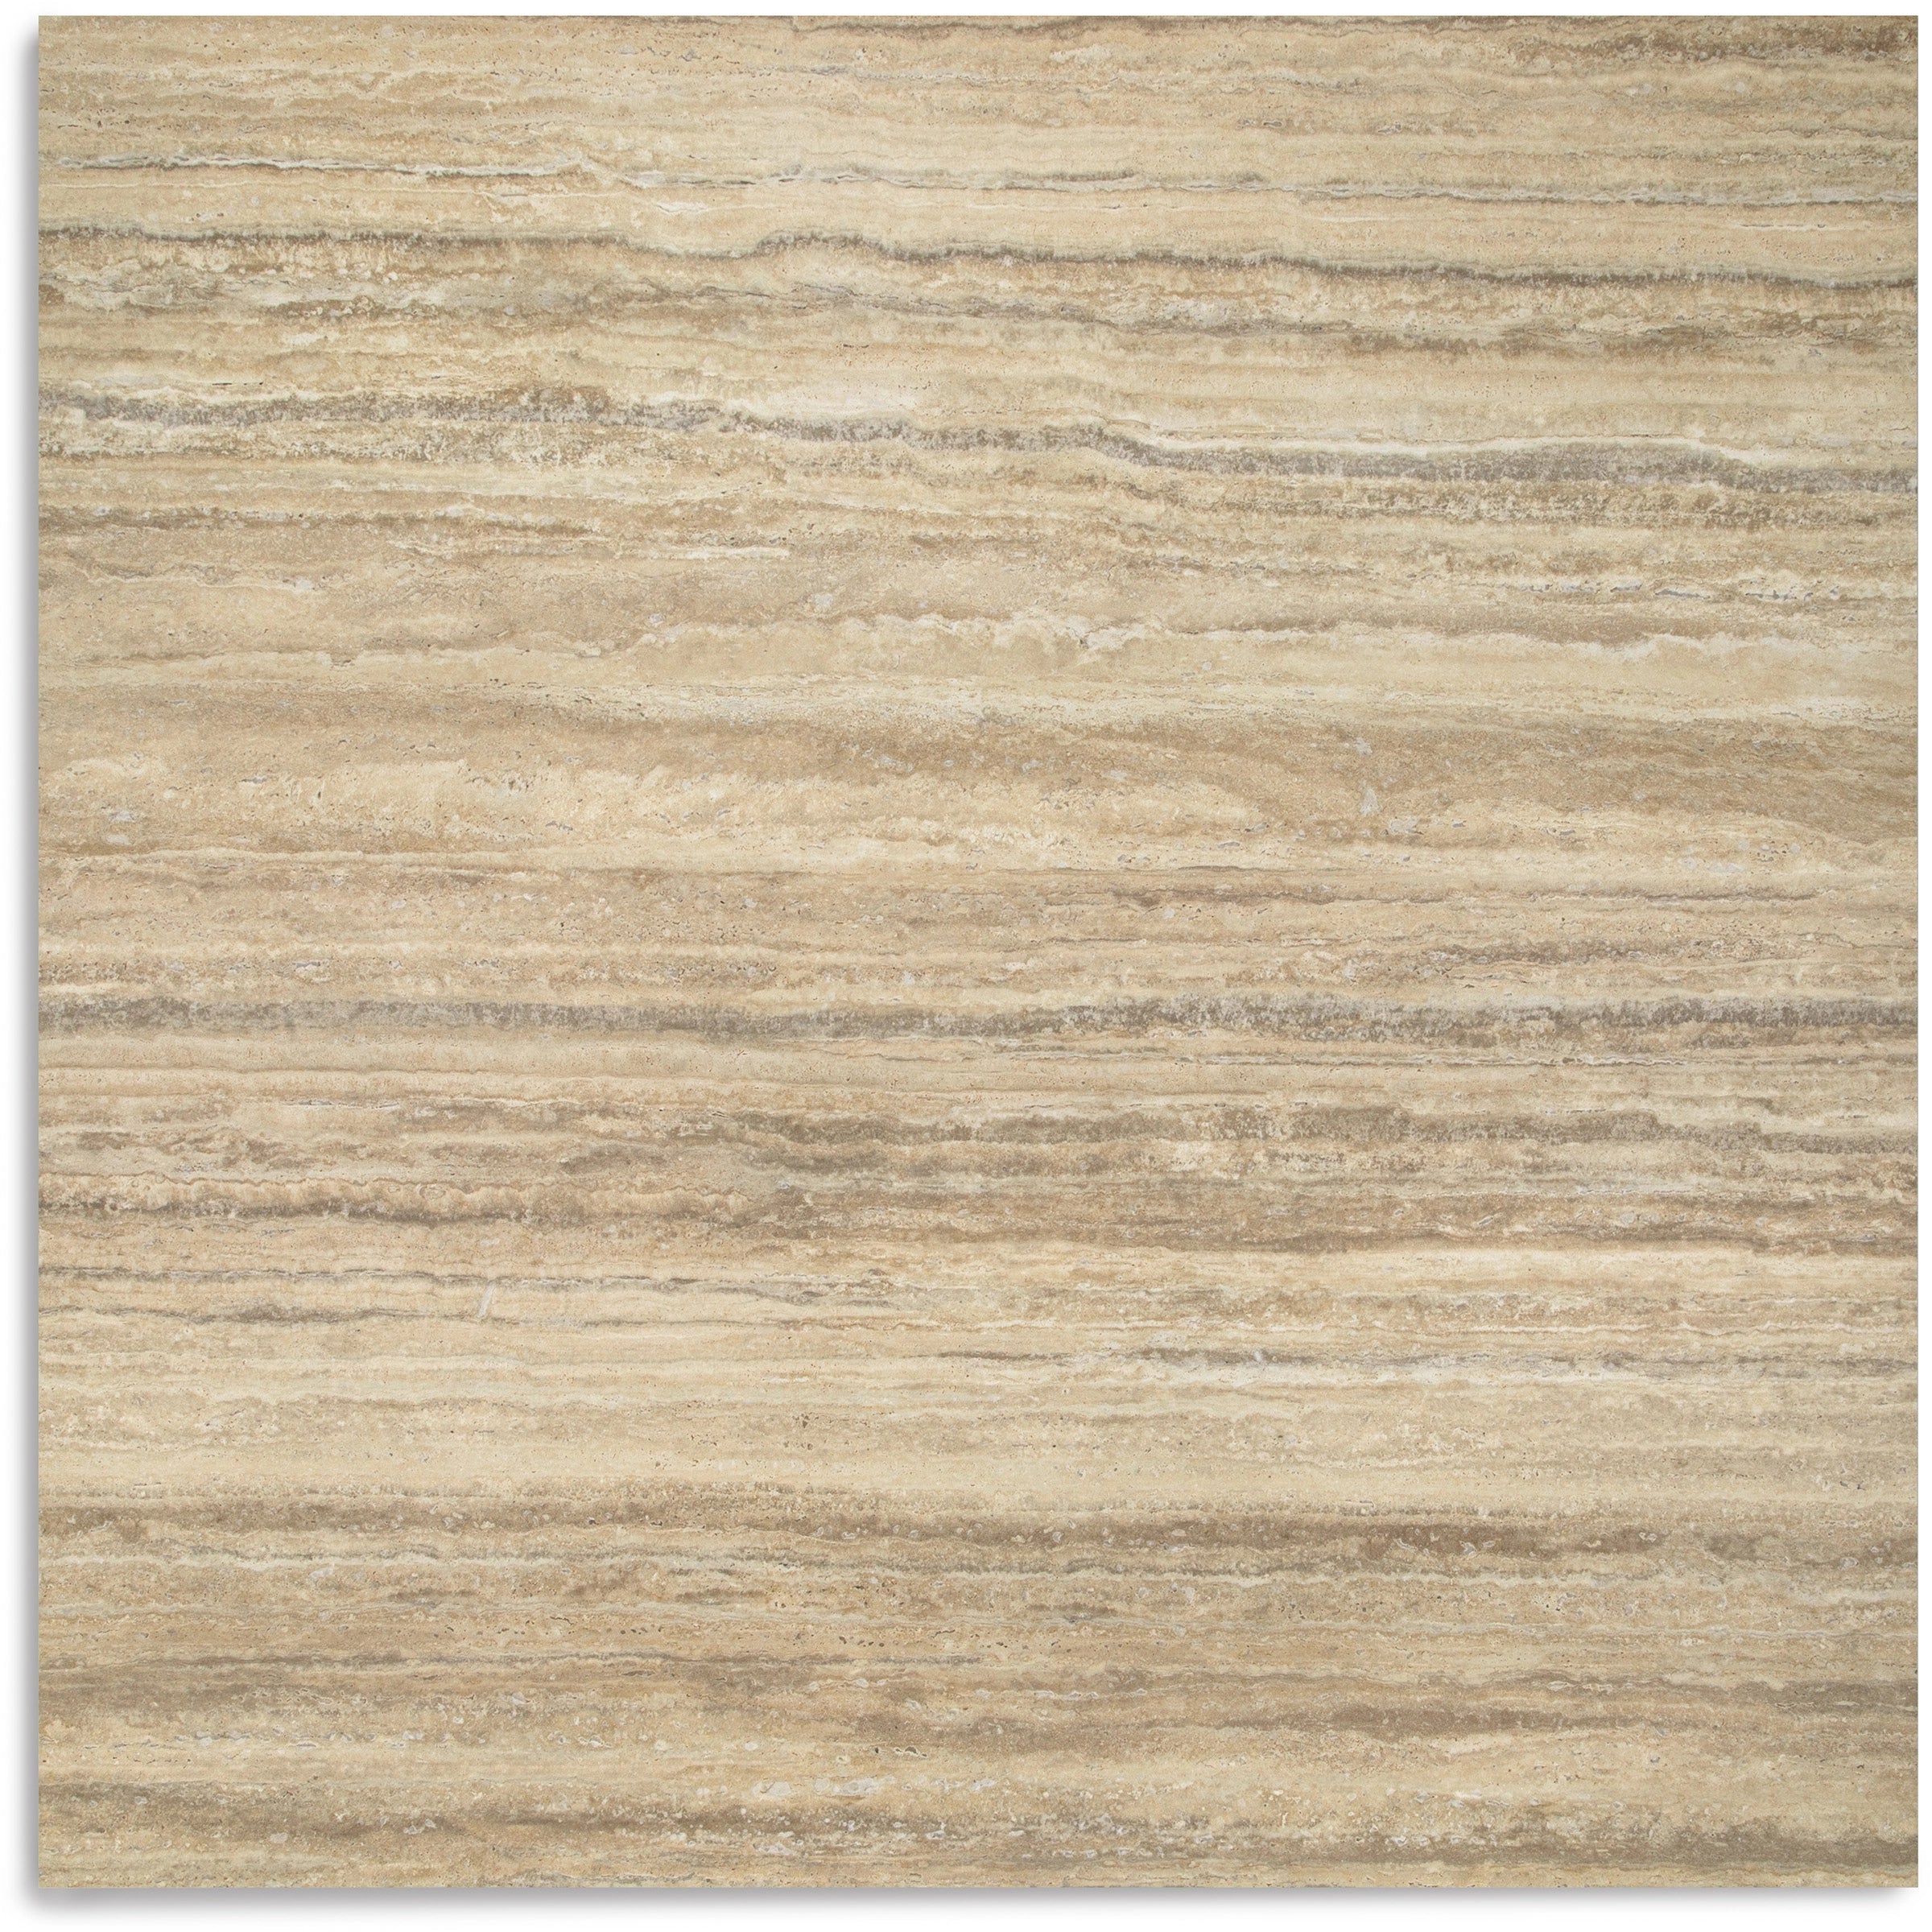
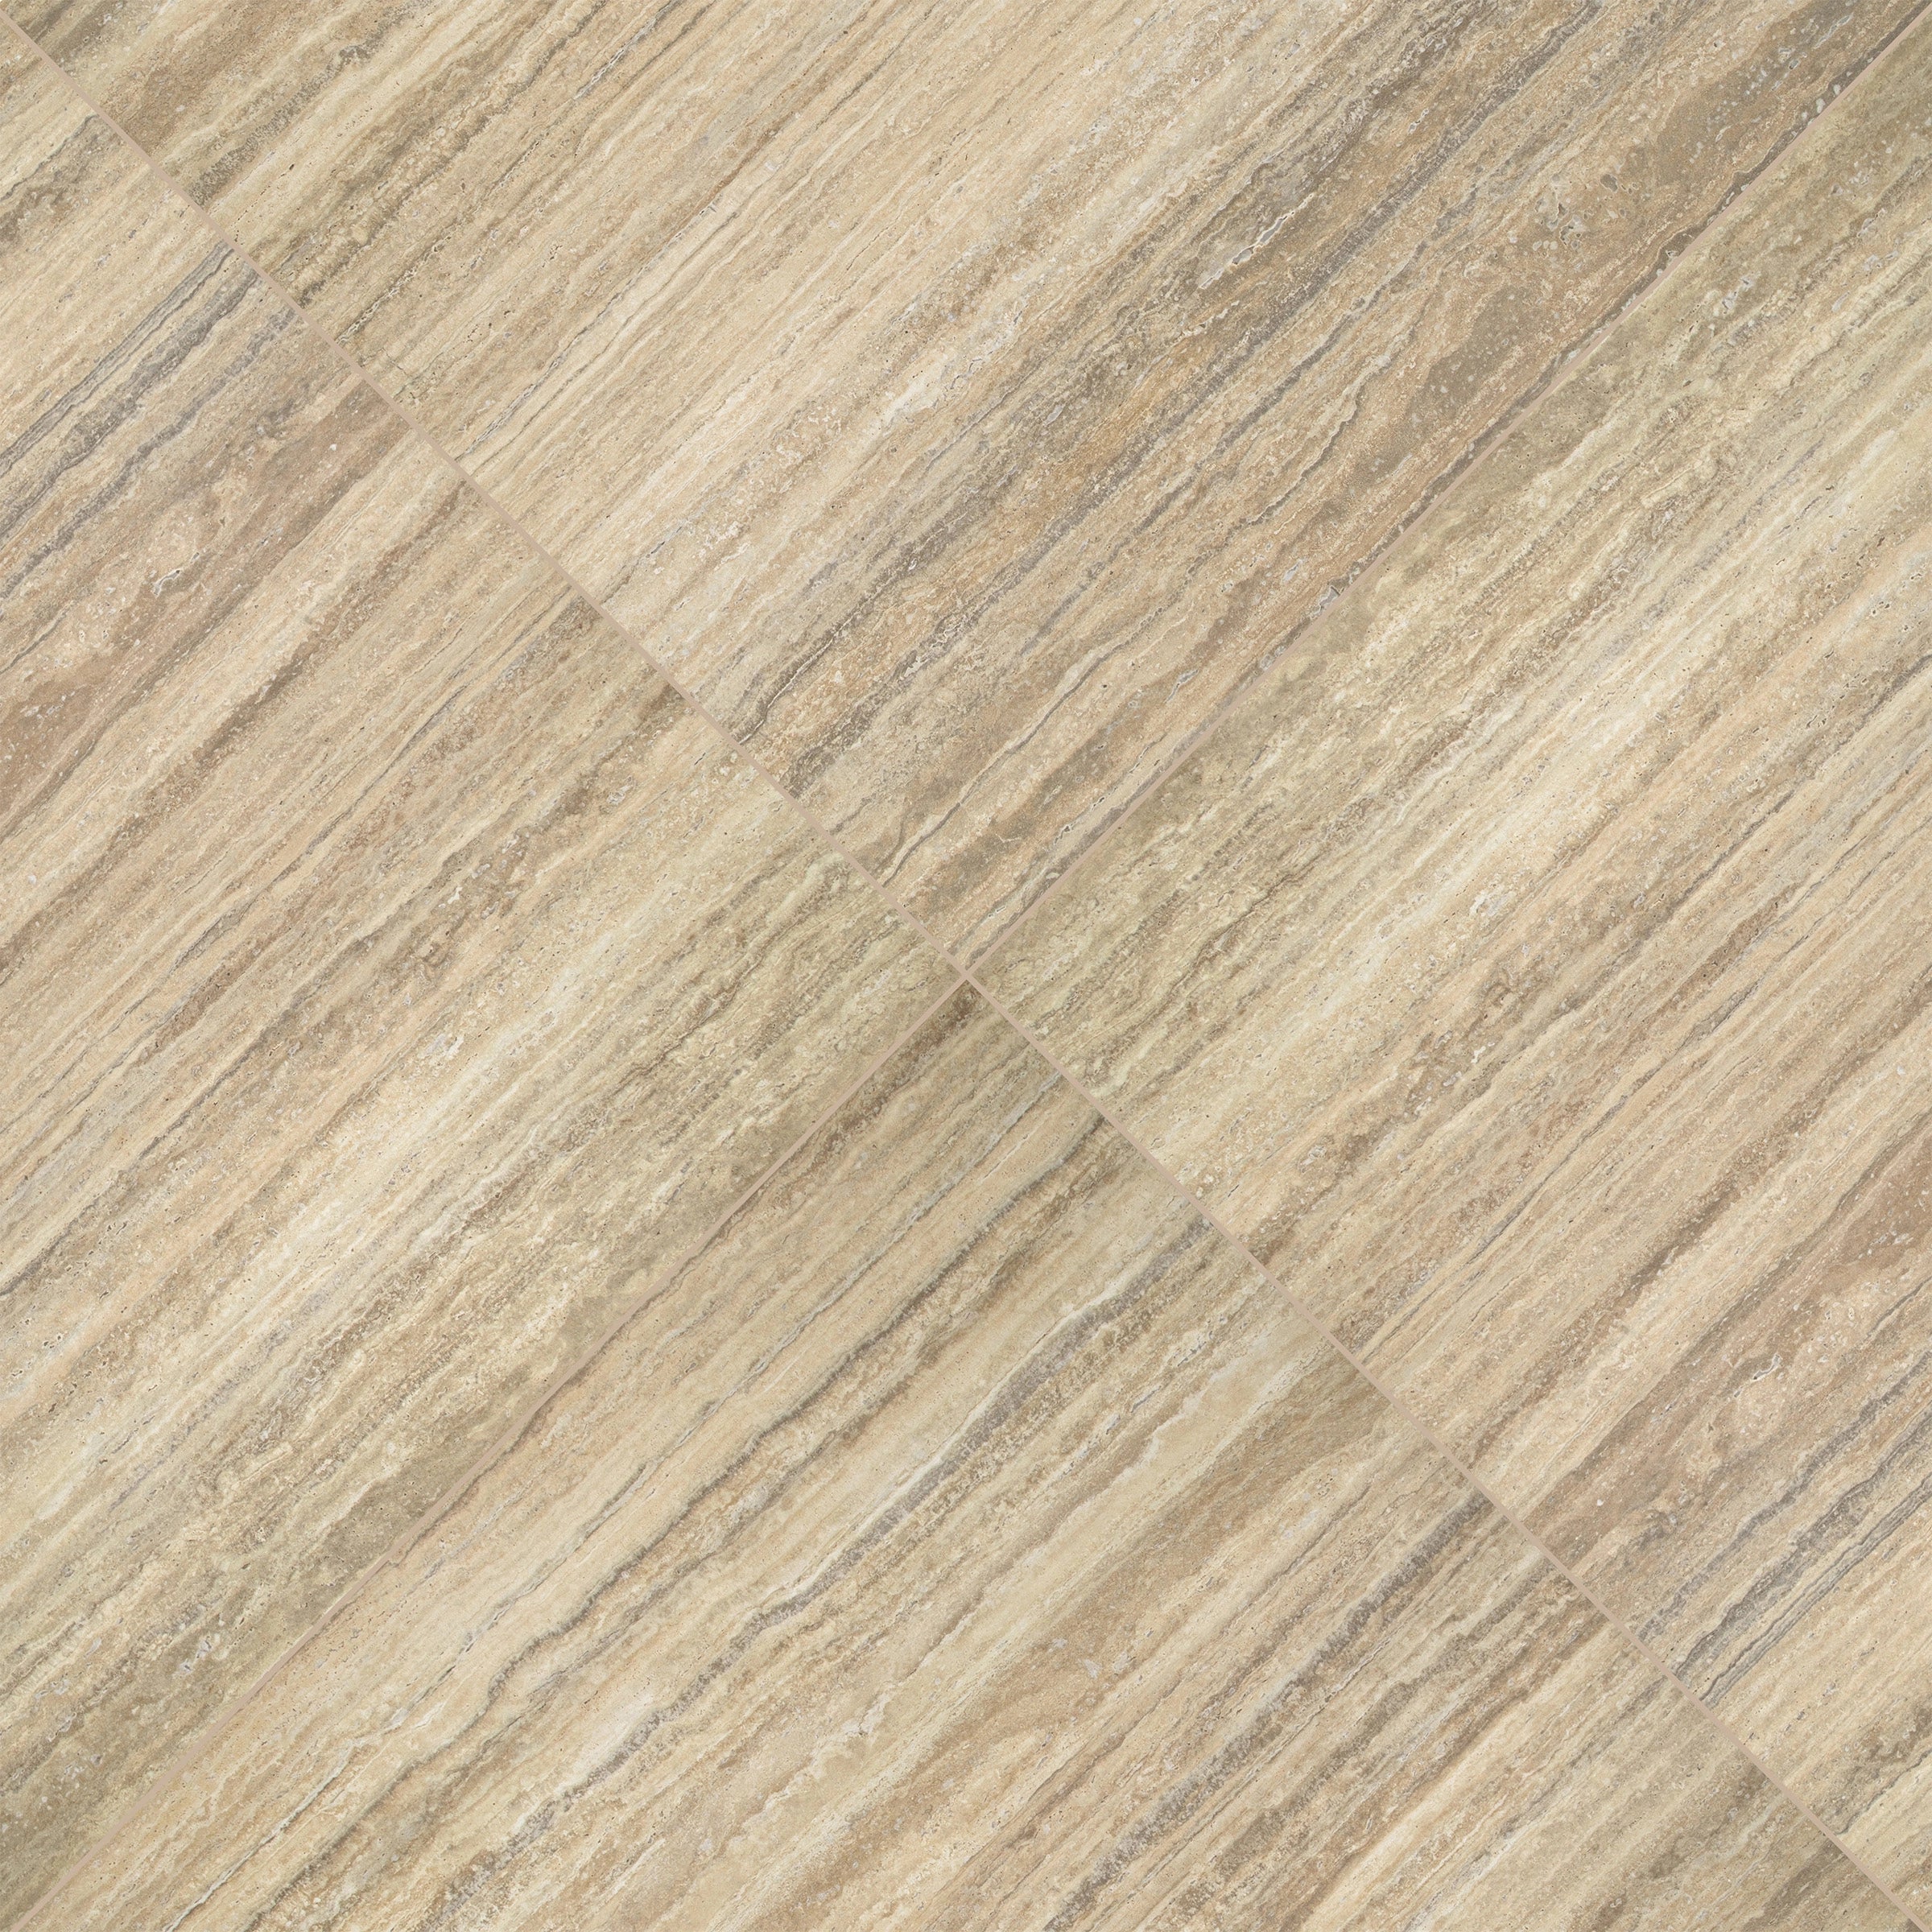
Travertino Moka Stone Look Porcelain Tile
Travertino 3D Matte Porcelain Tile
Amazzonite Matte Marble Look Porcelain Tile


Cream 12x24 3D Gloss Porcelain Tile

Spider Gold Matte Marble Look Porcelain Tile


Navy 12x24 3D Gloss Porcelain Tile
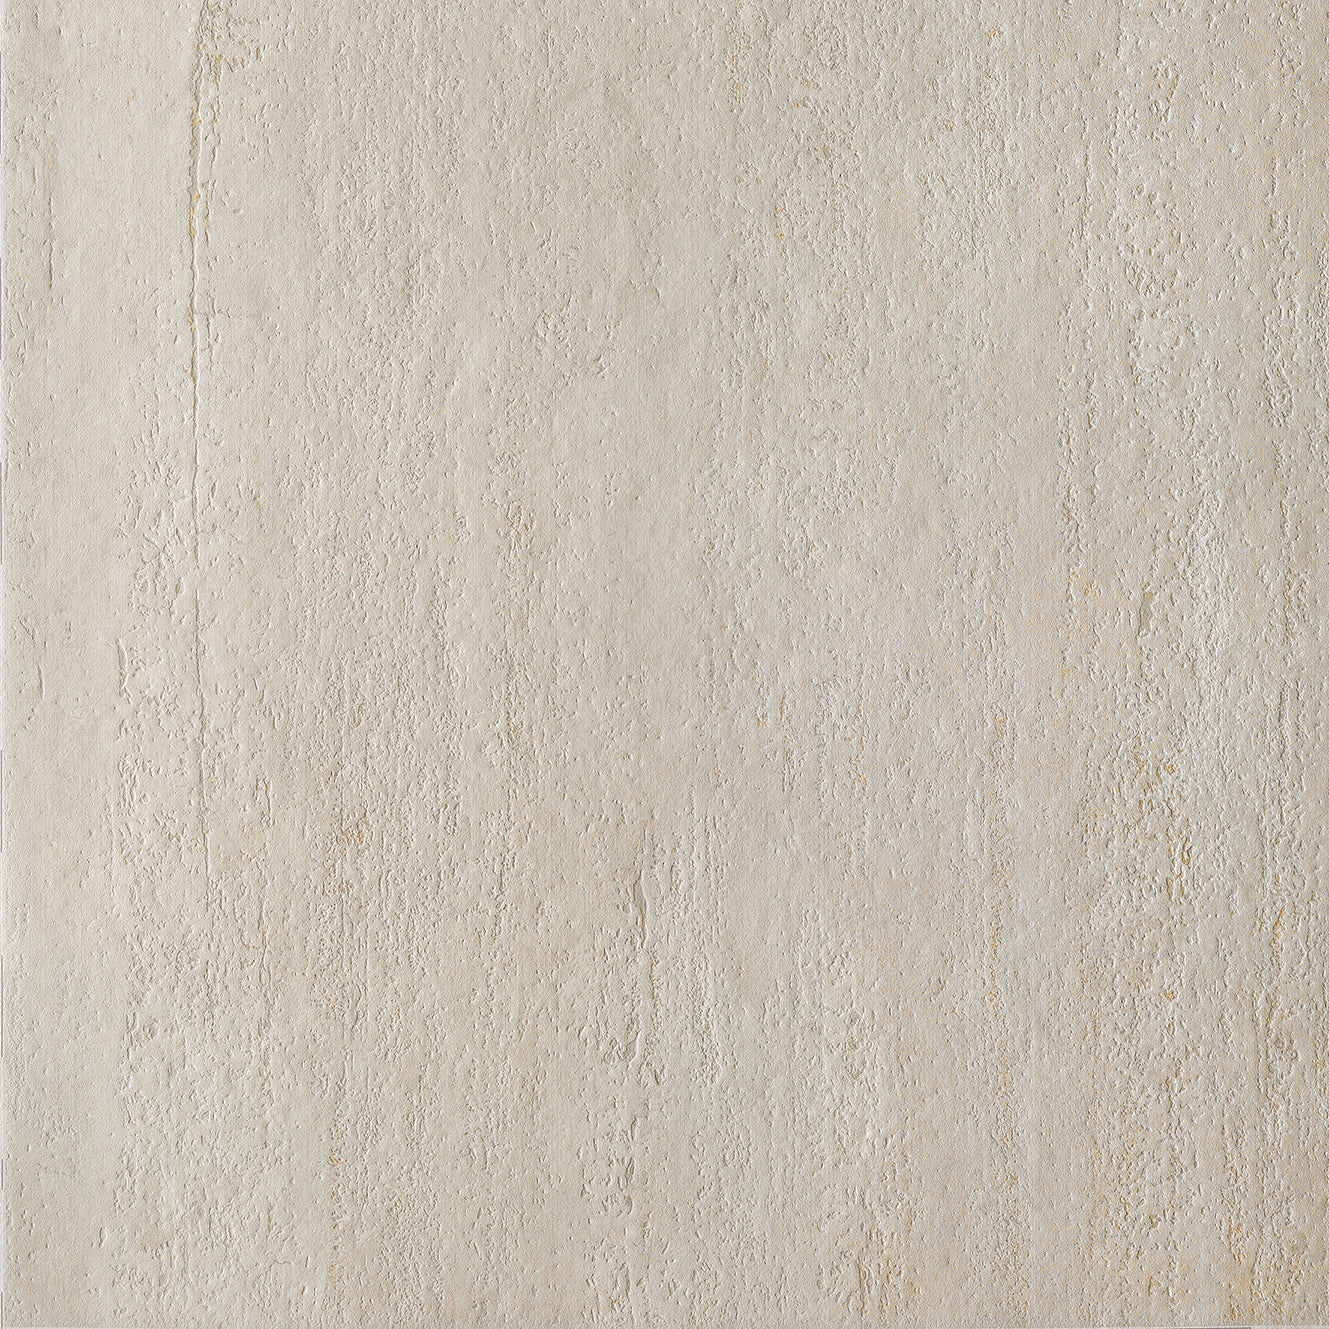
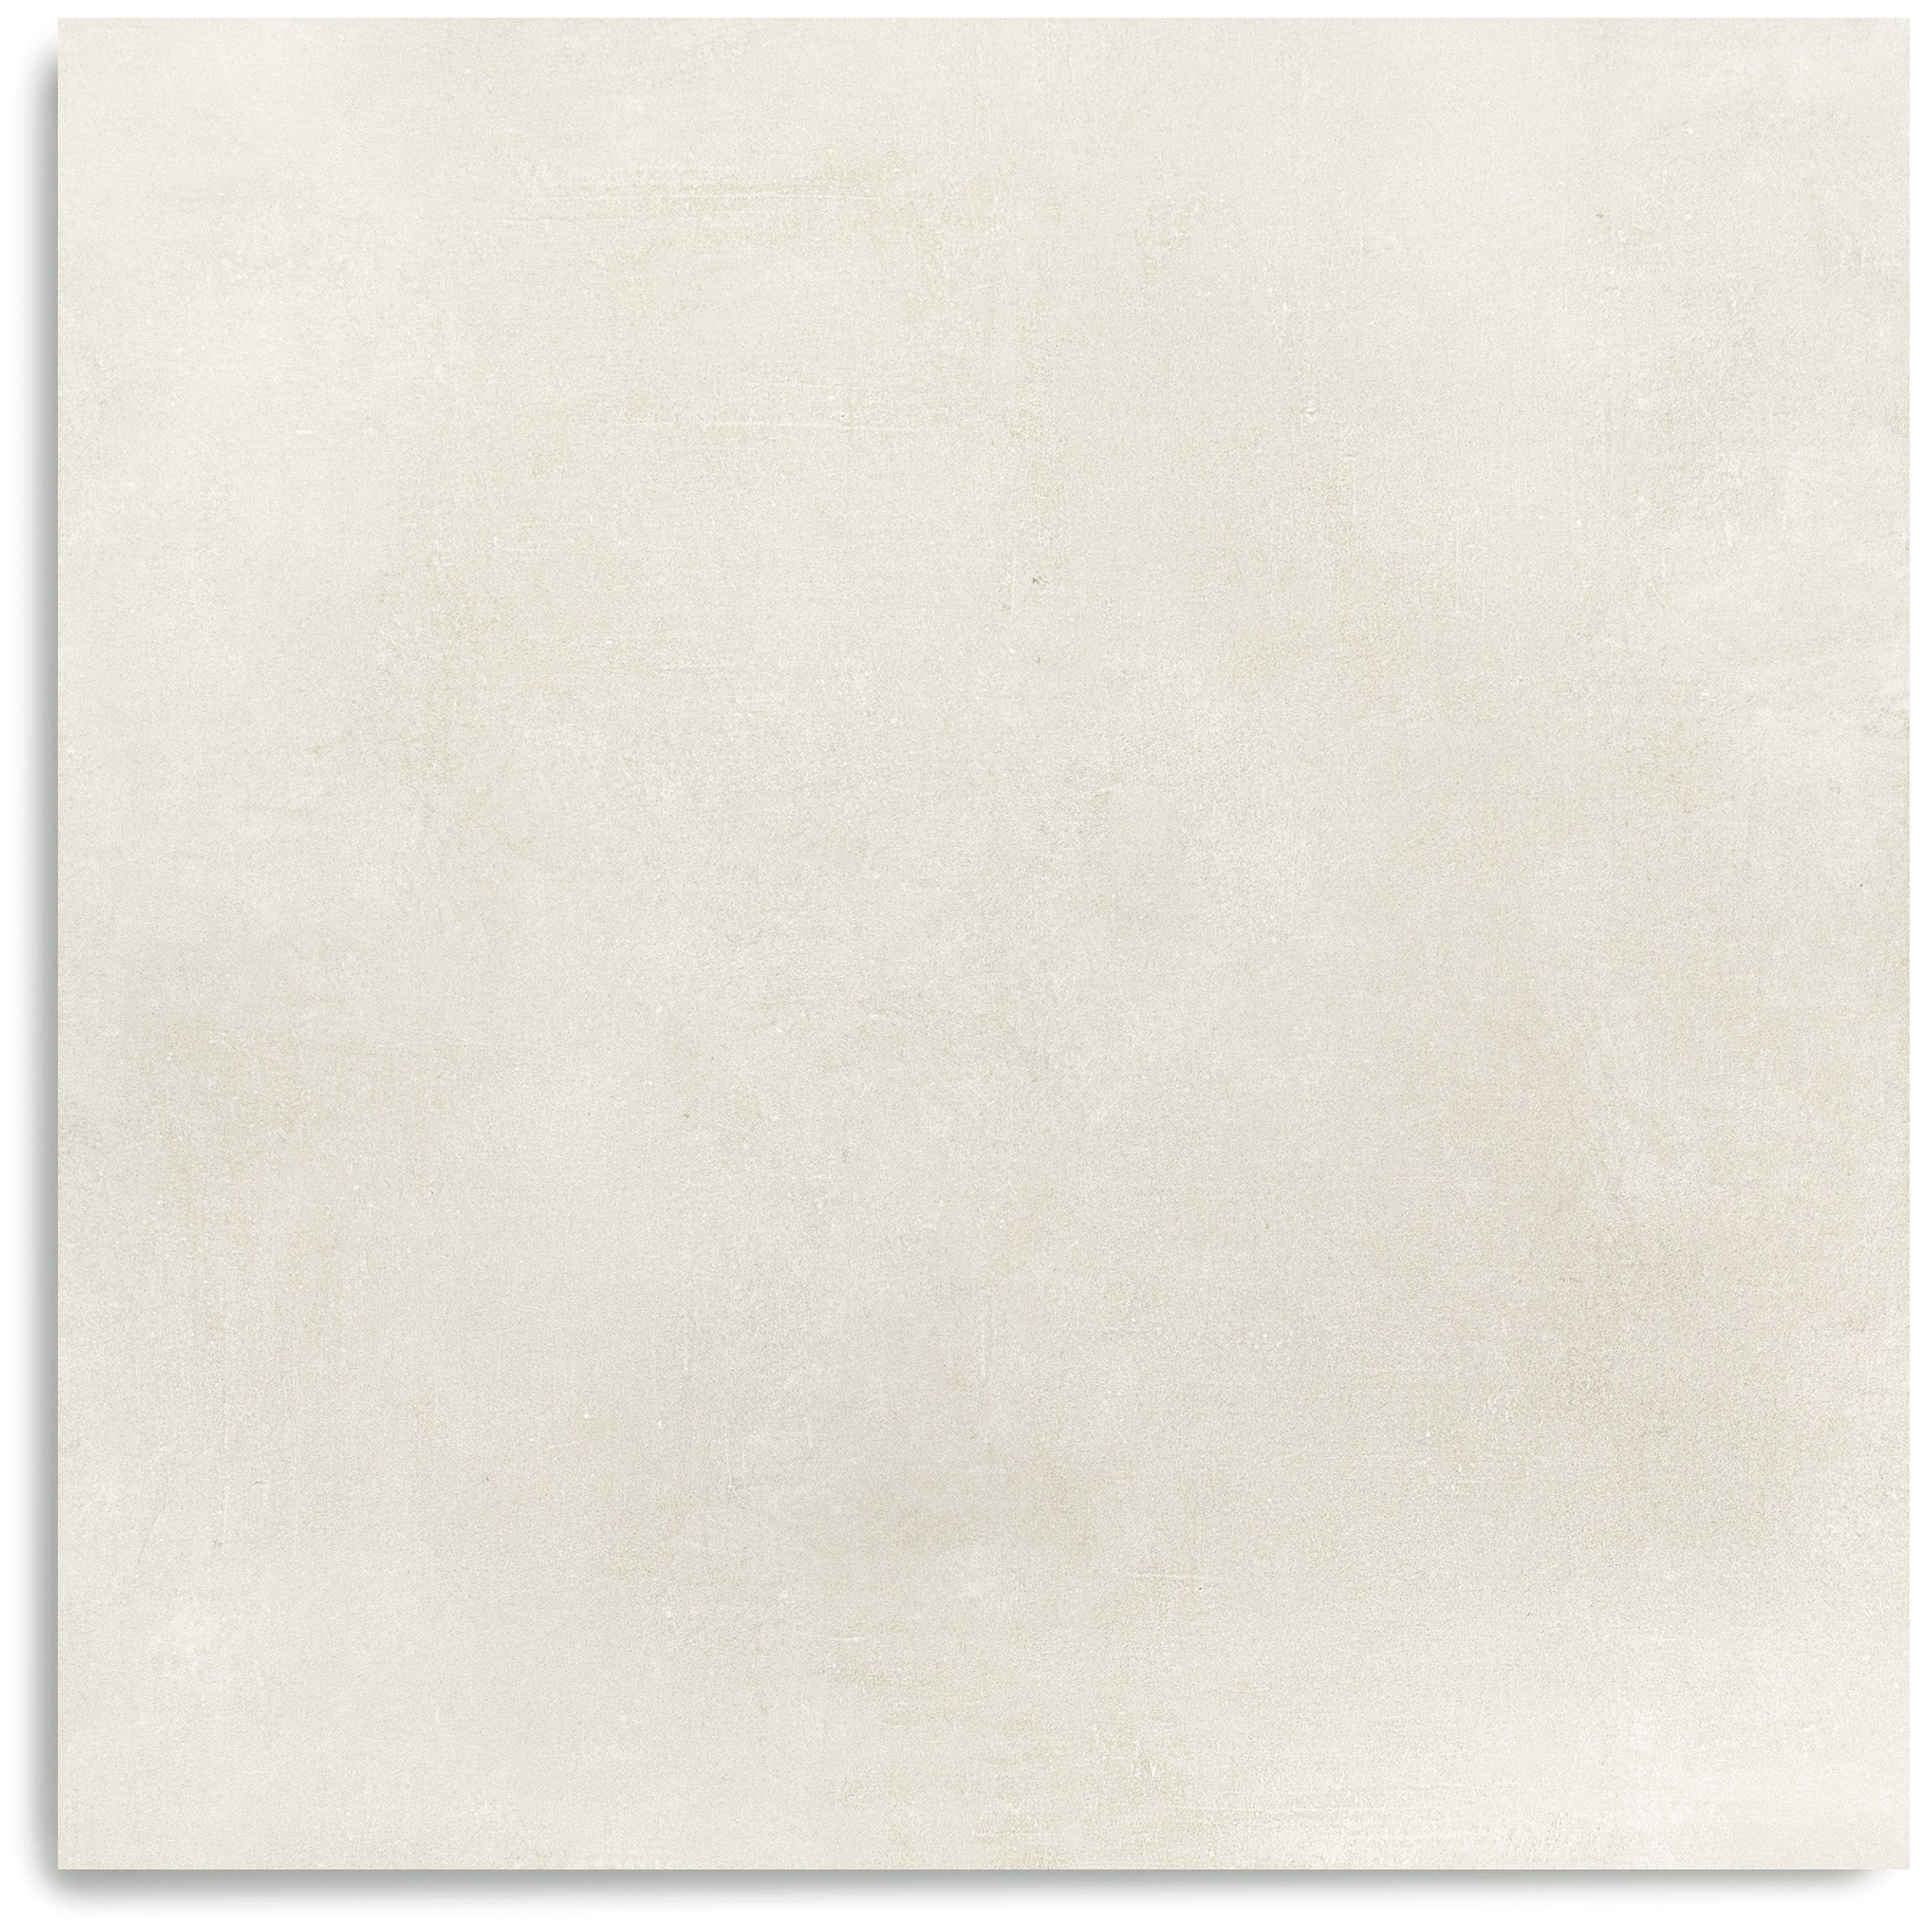
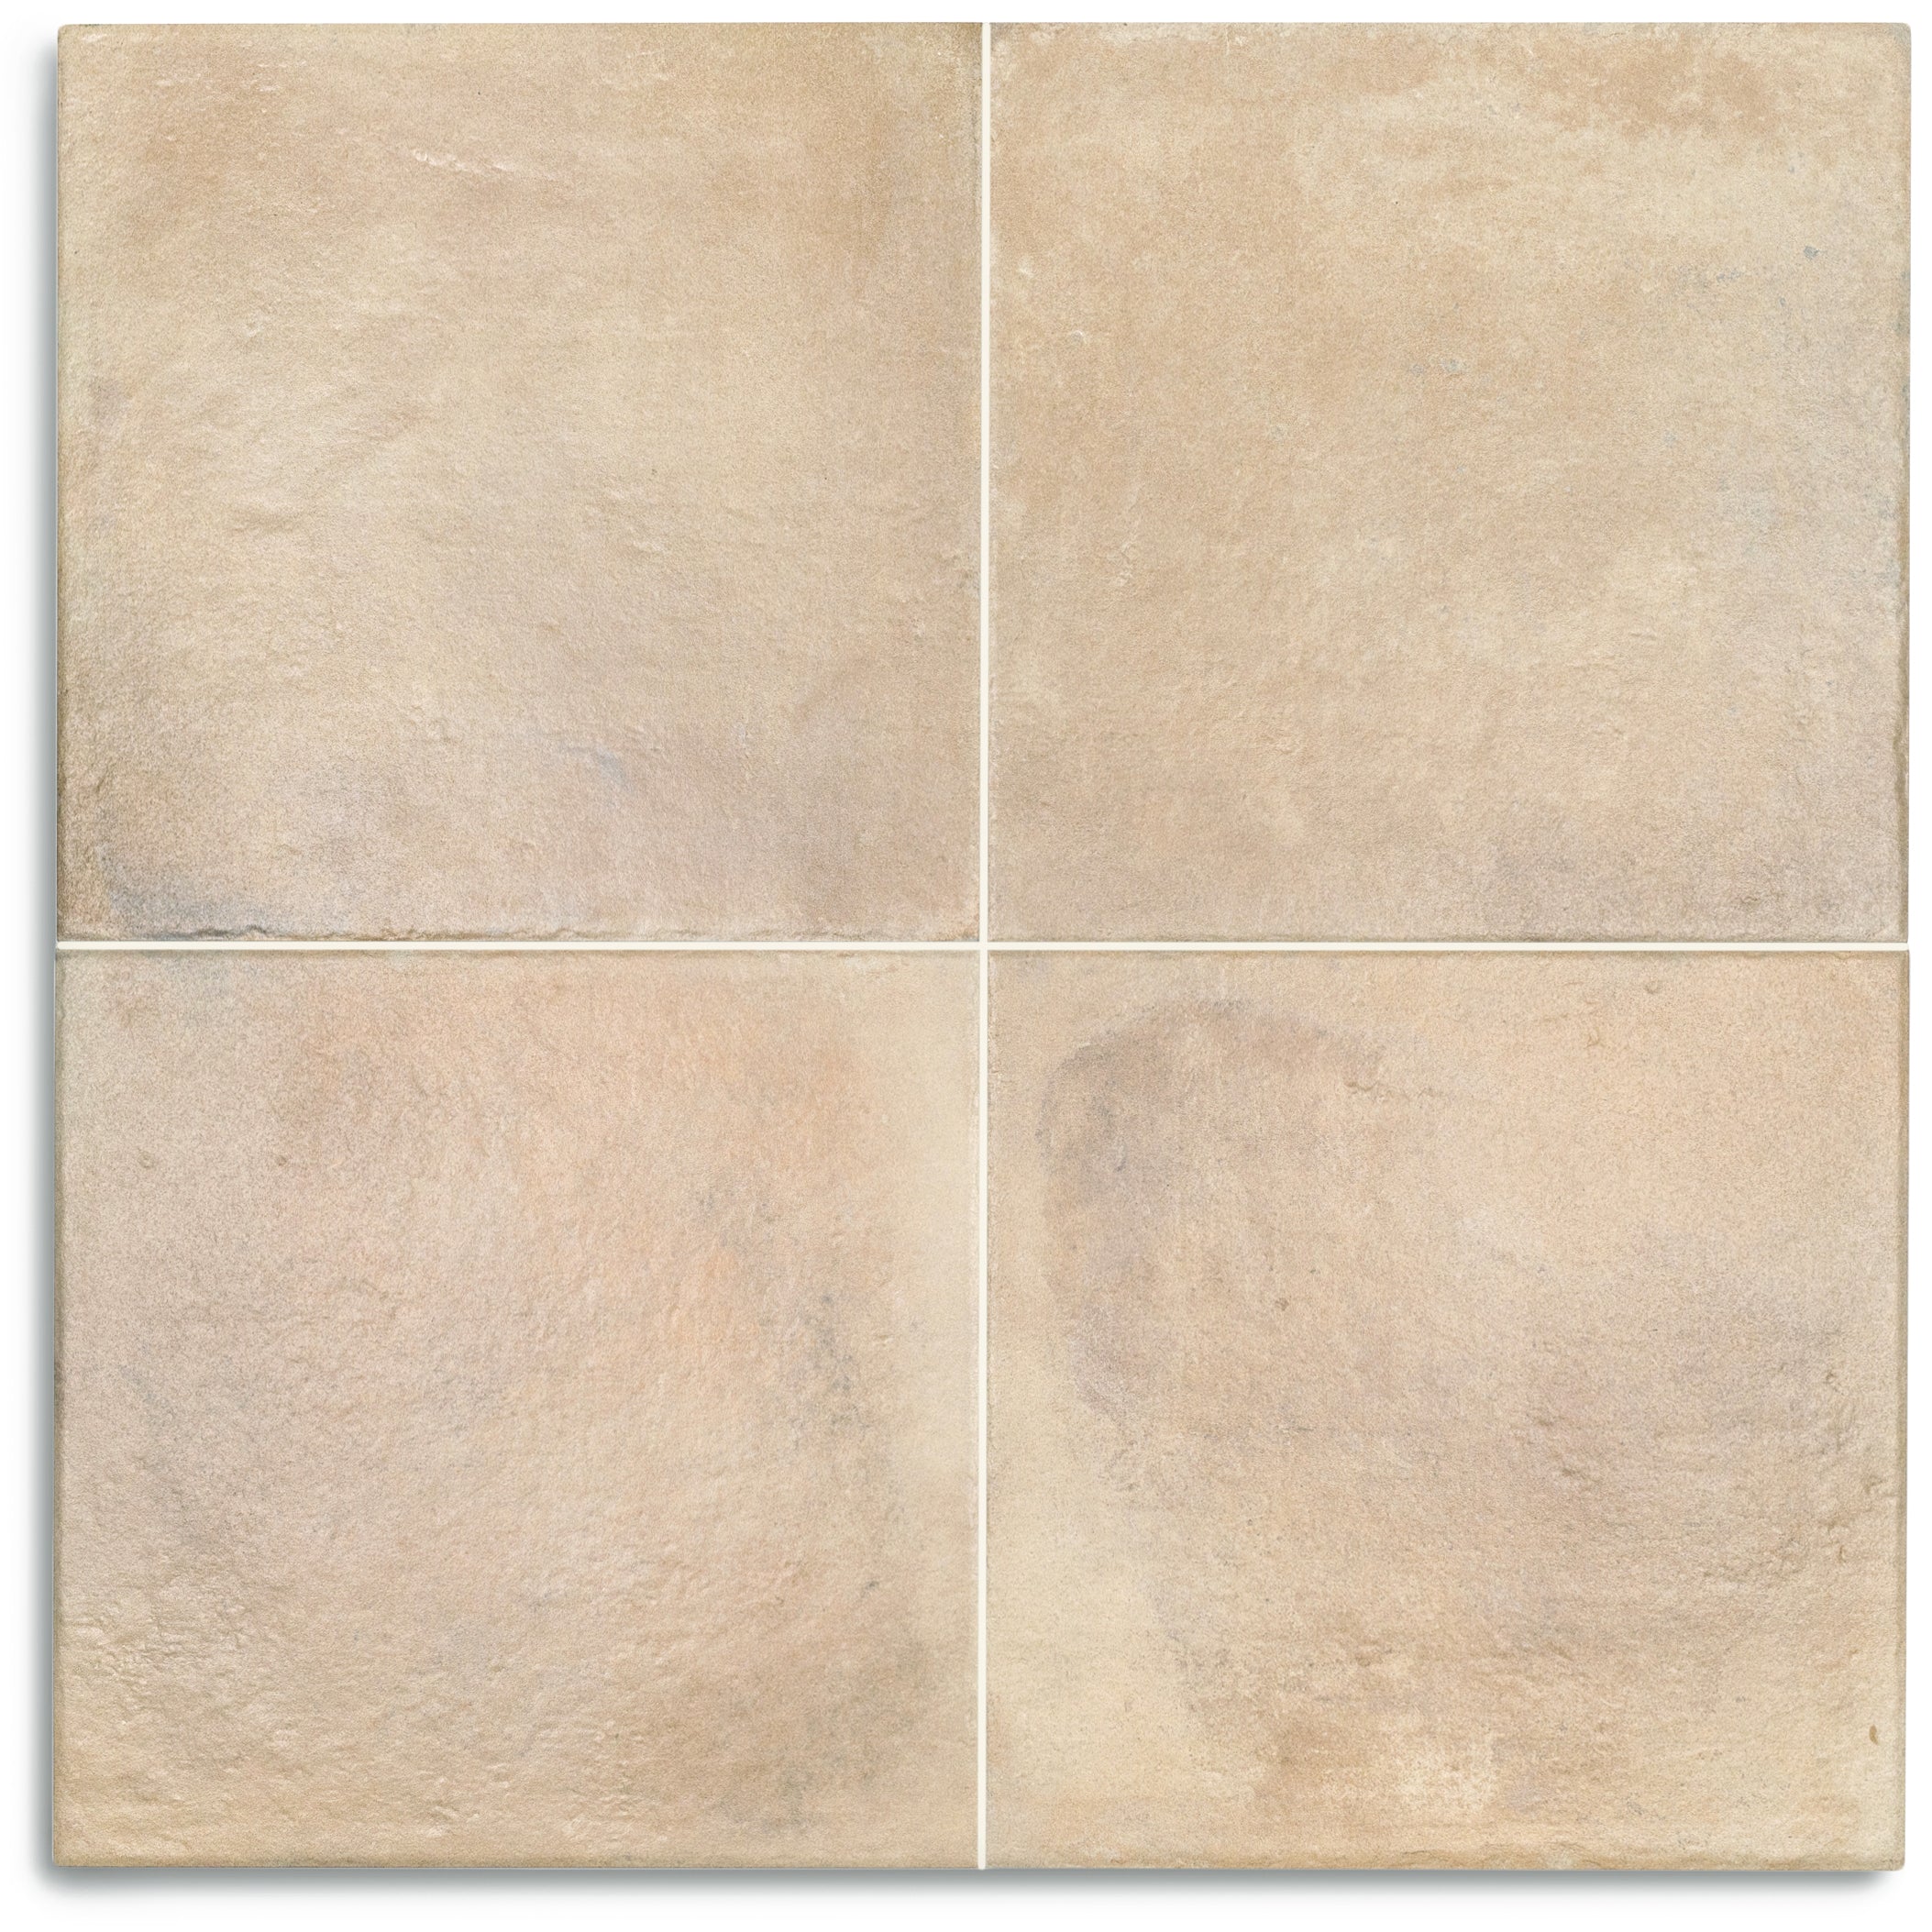
Almond Cement Look Matte Porcelain Tile
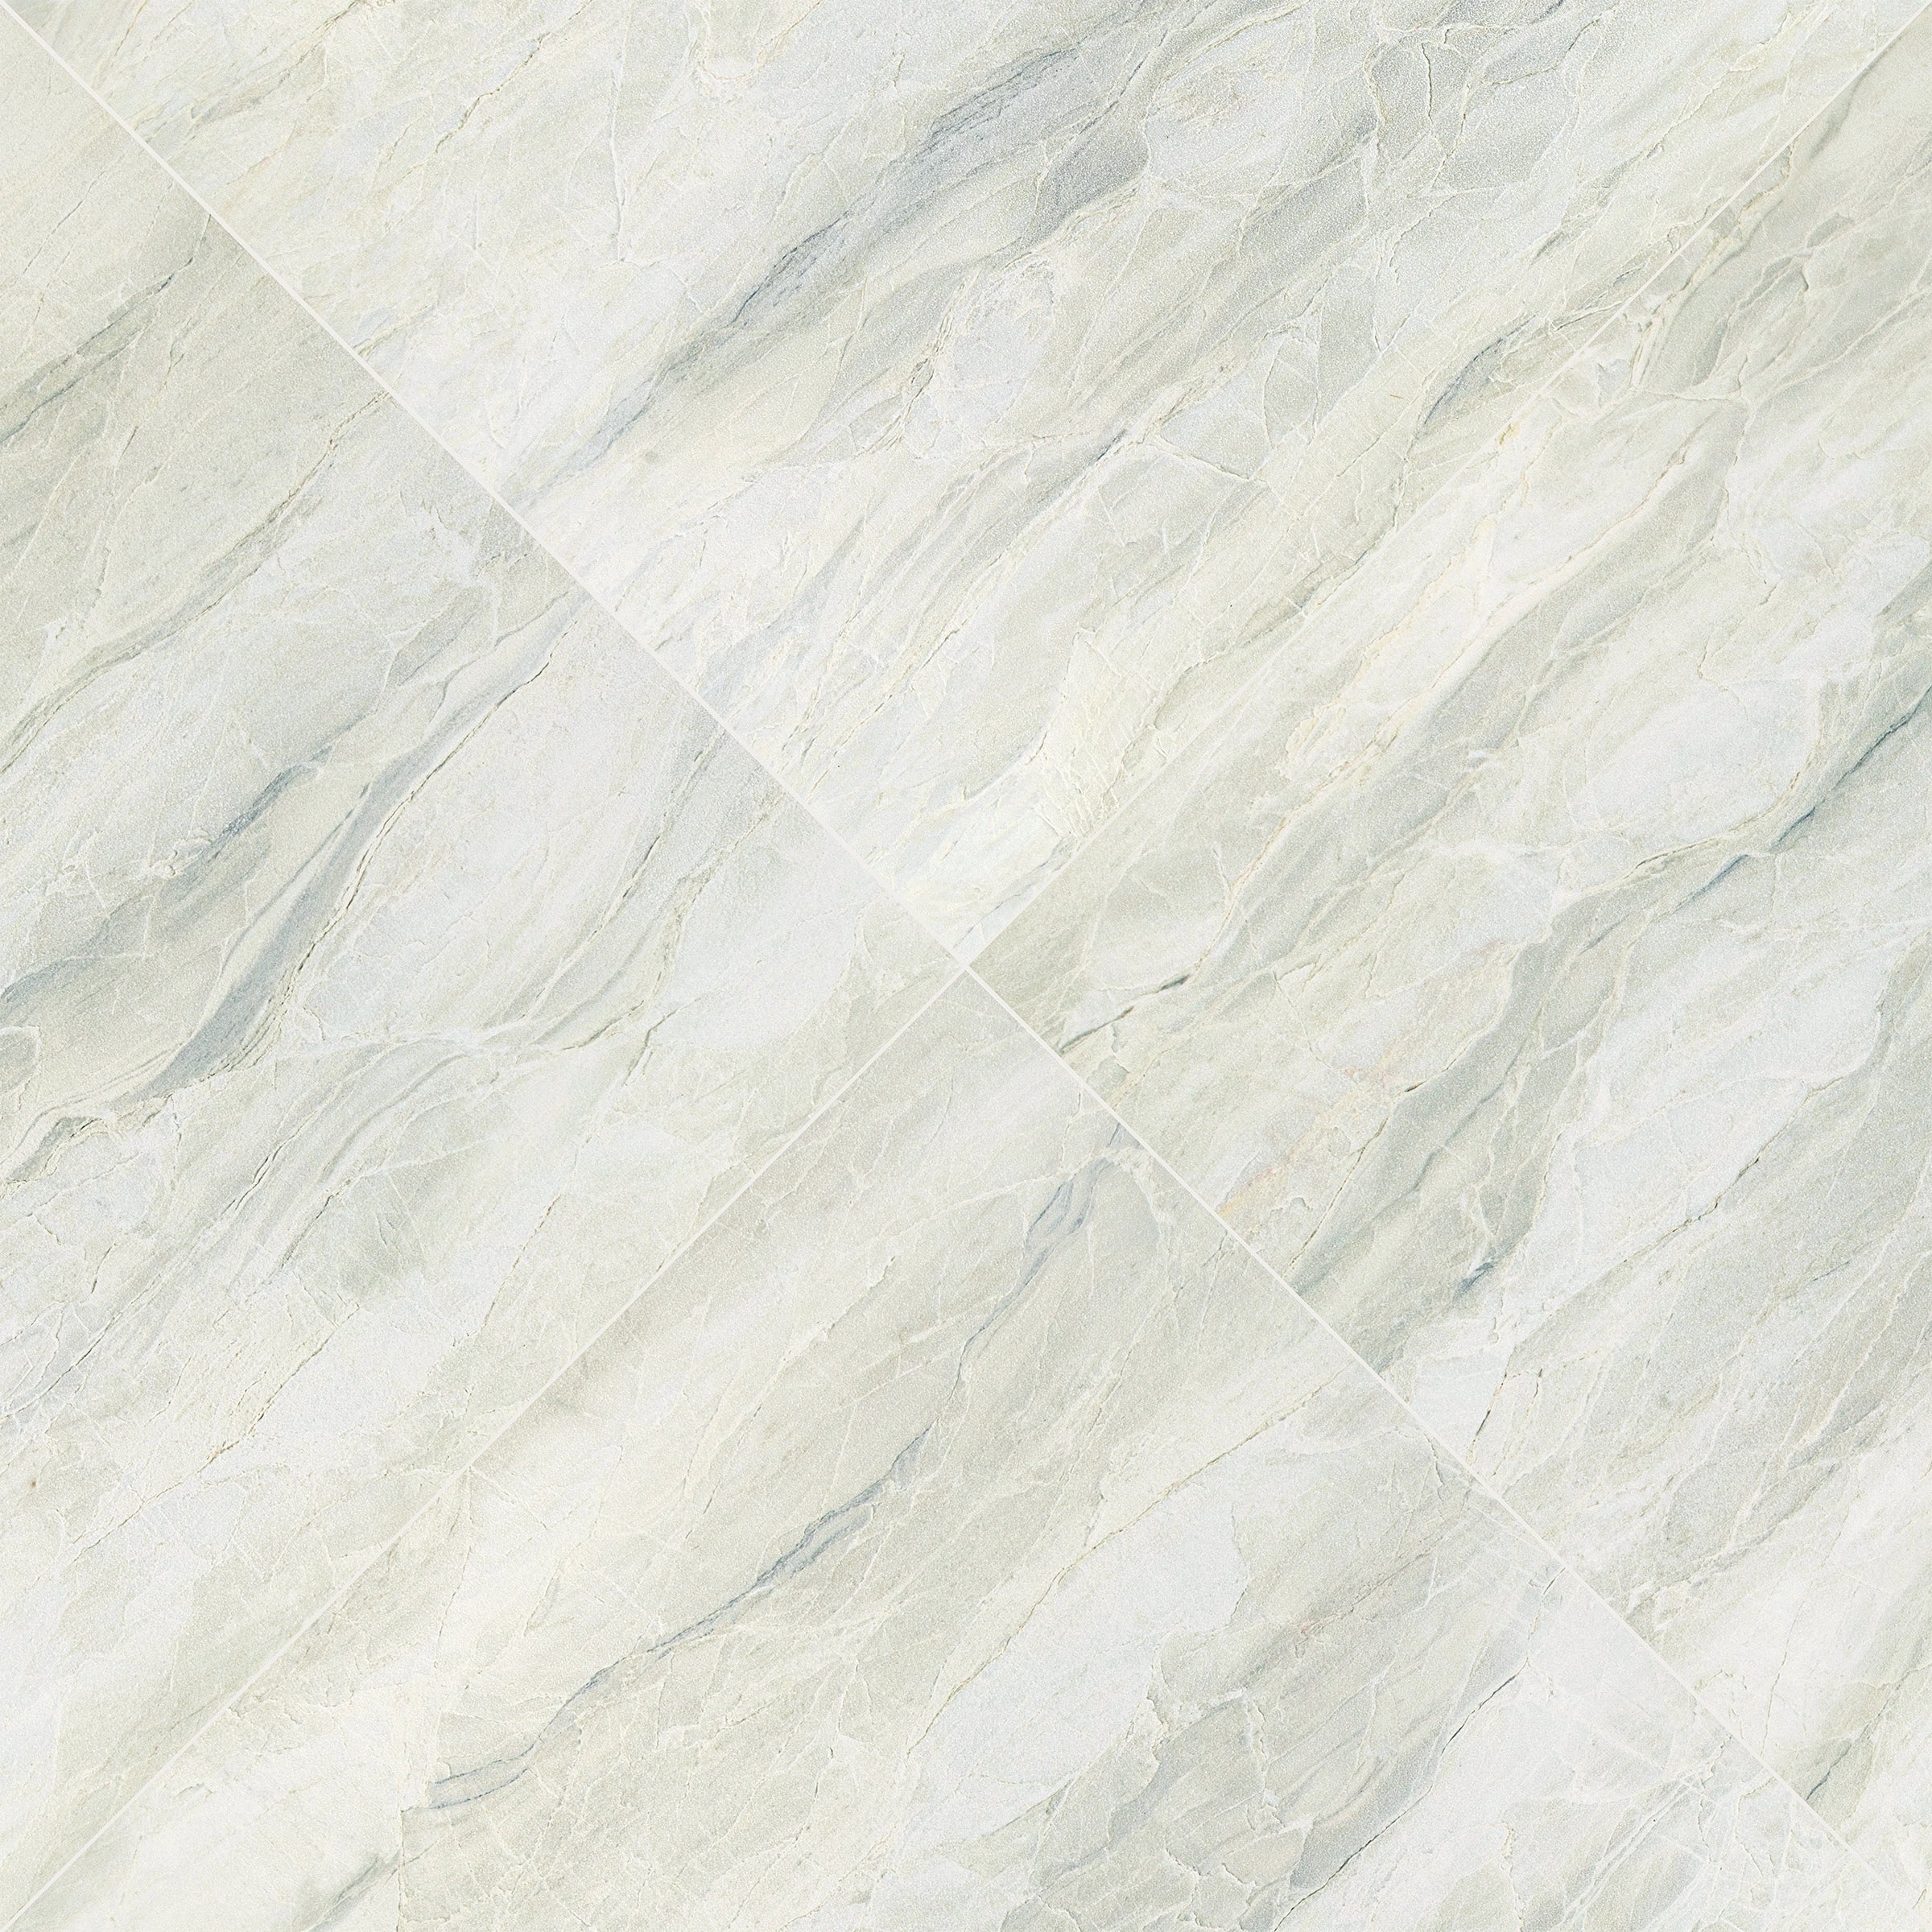
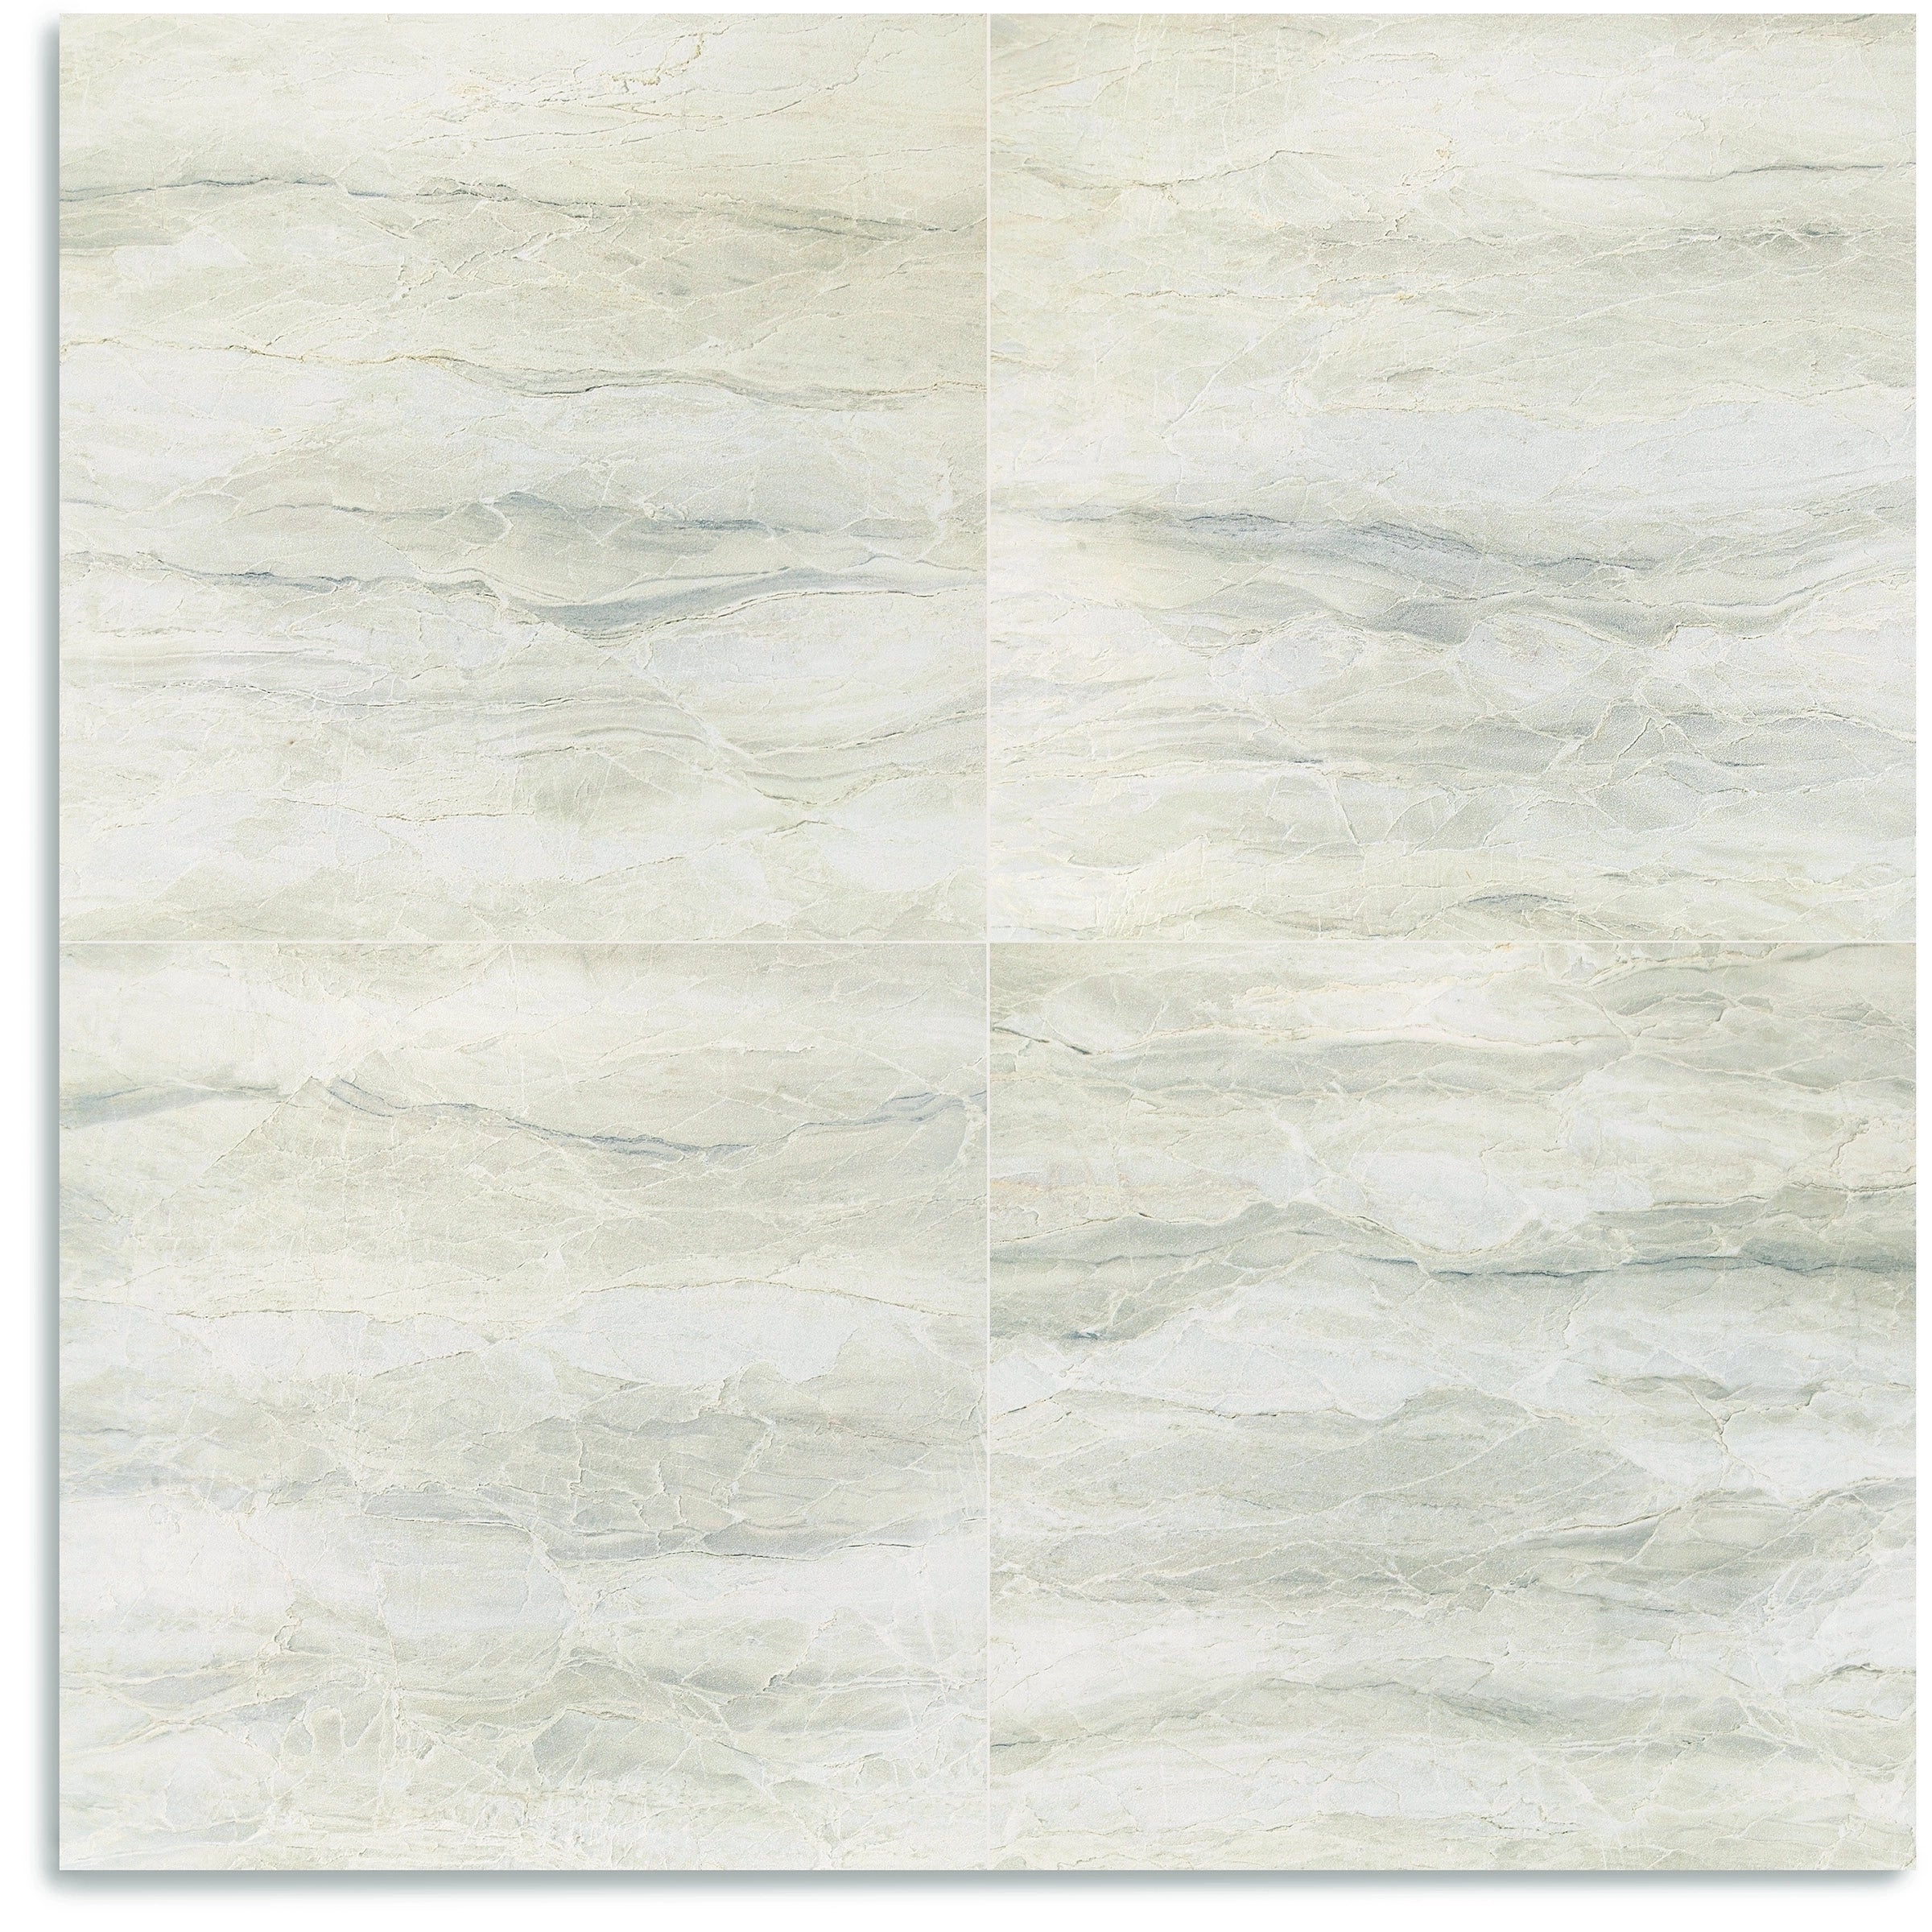
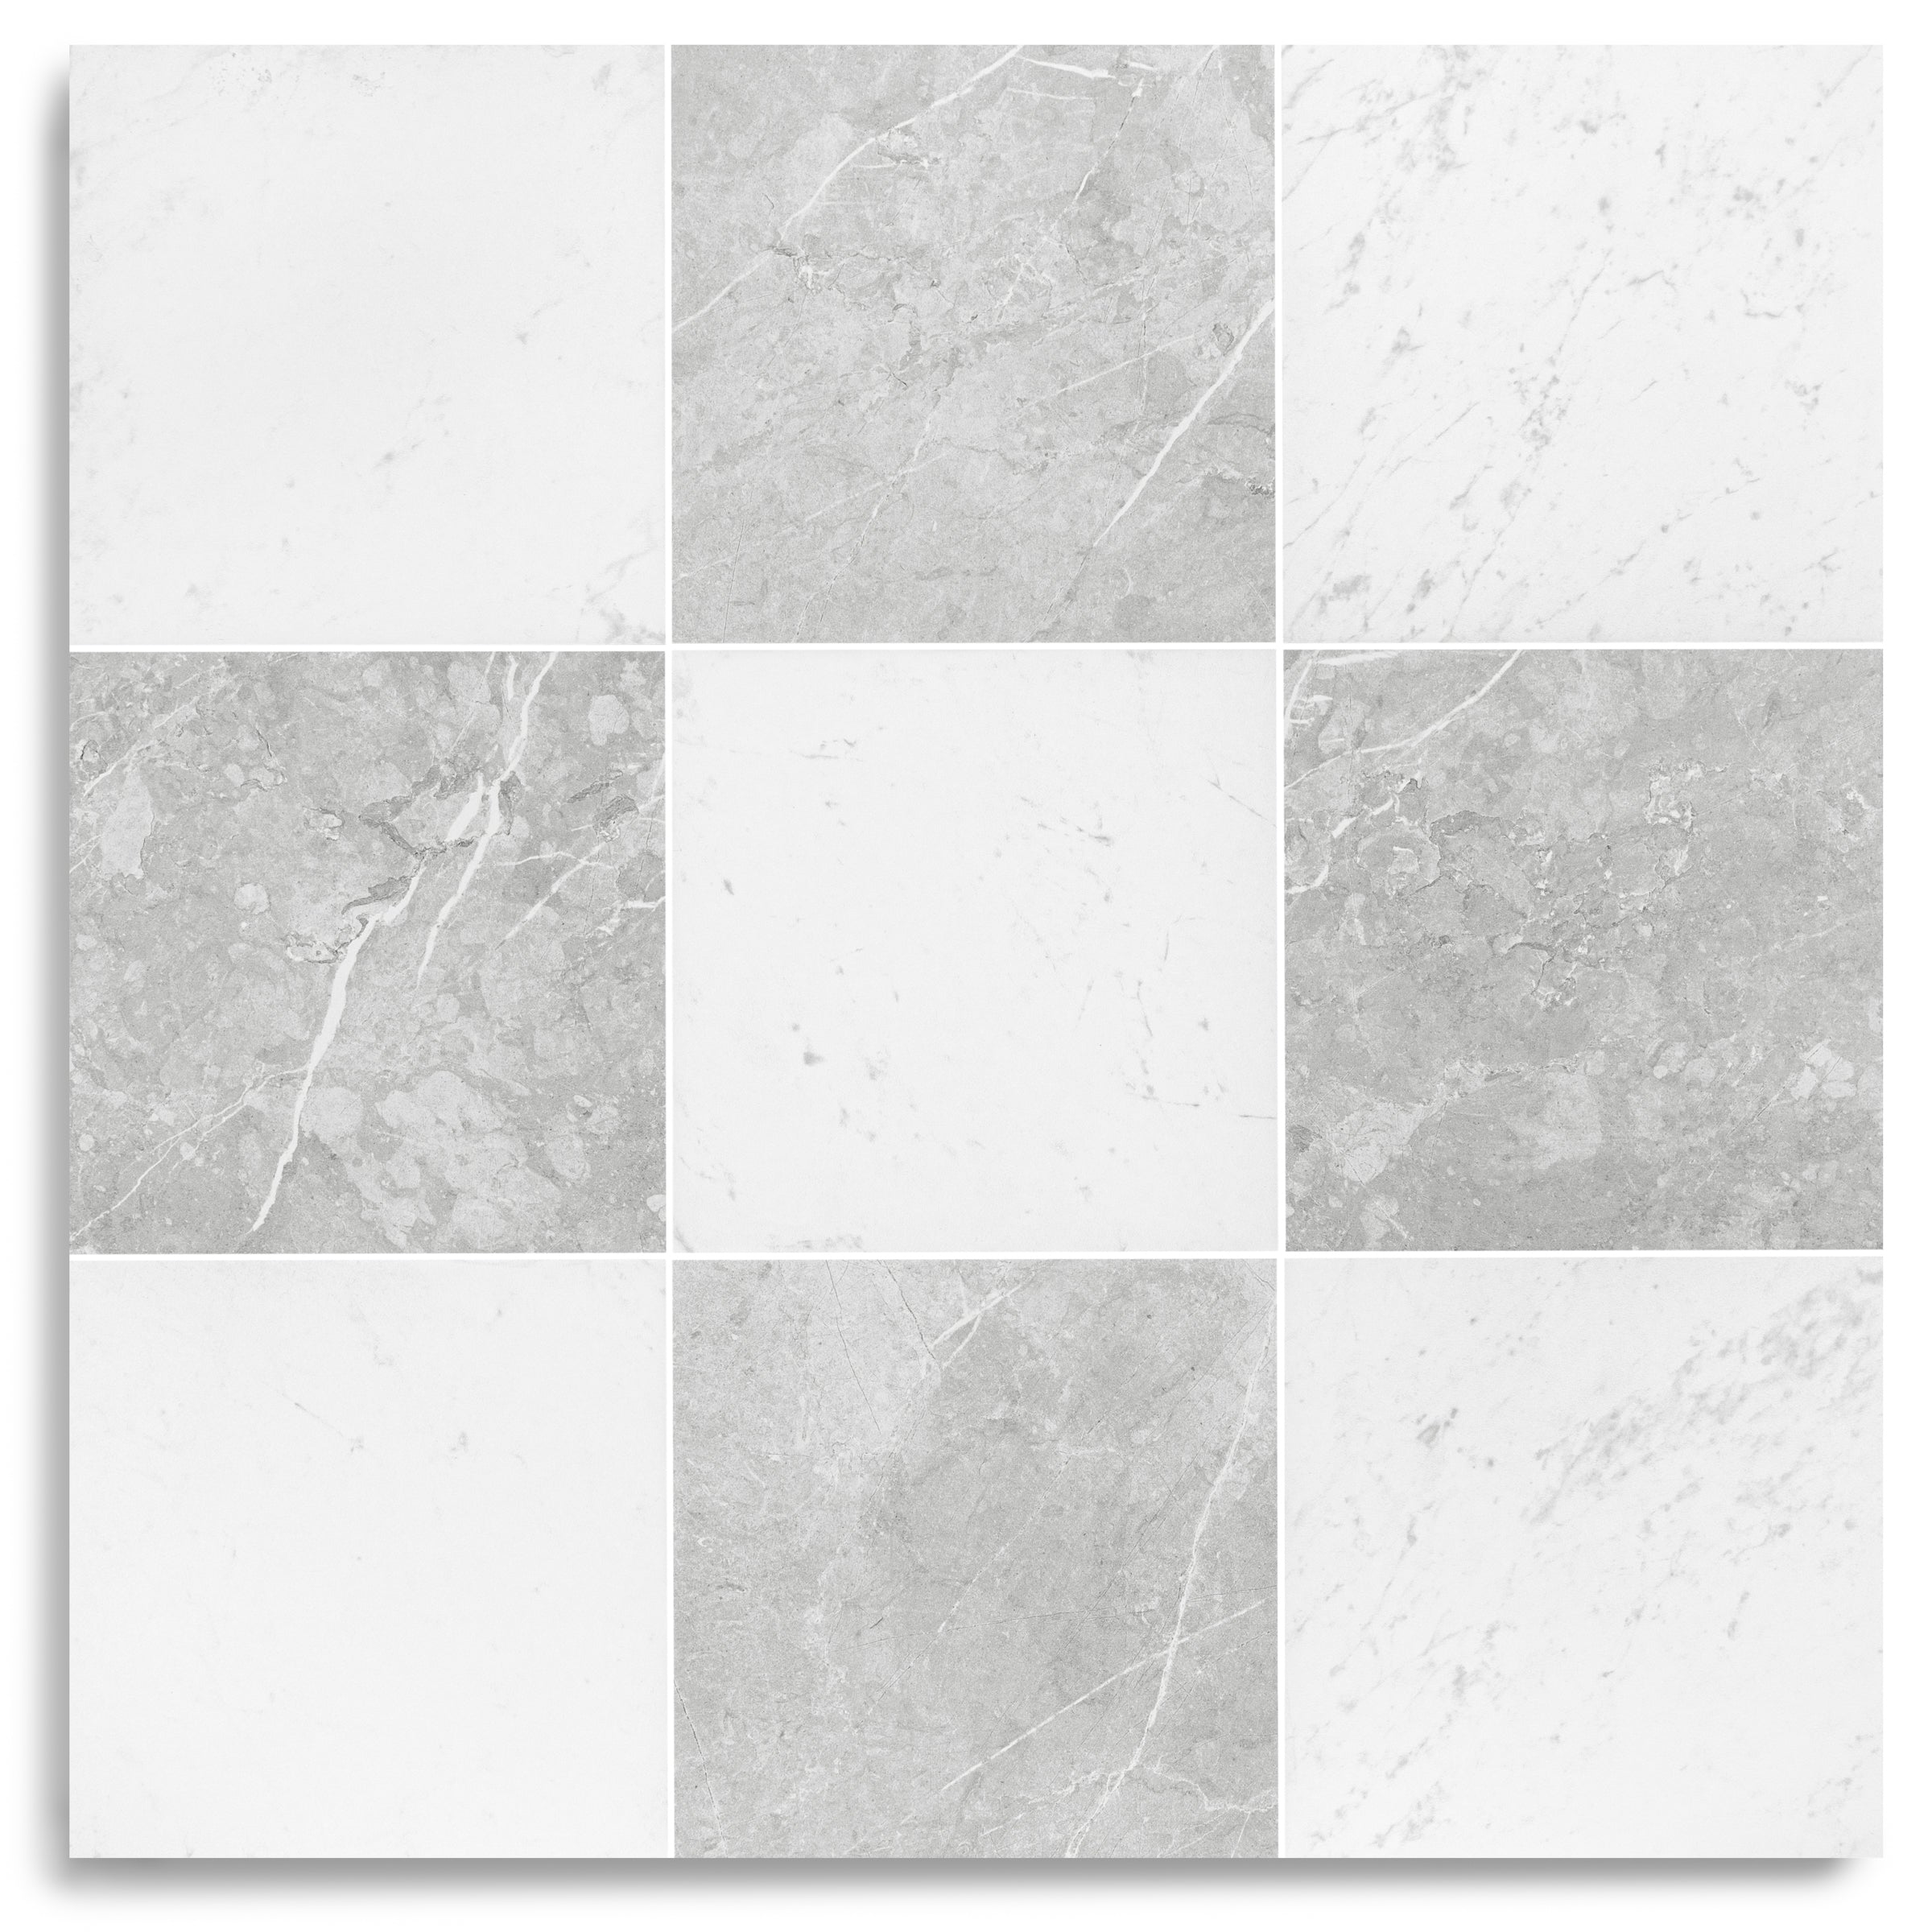
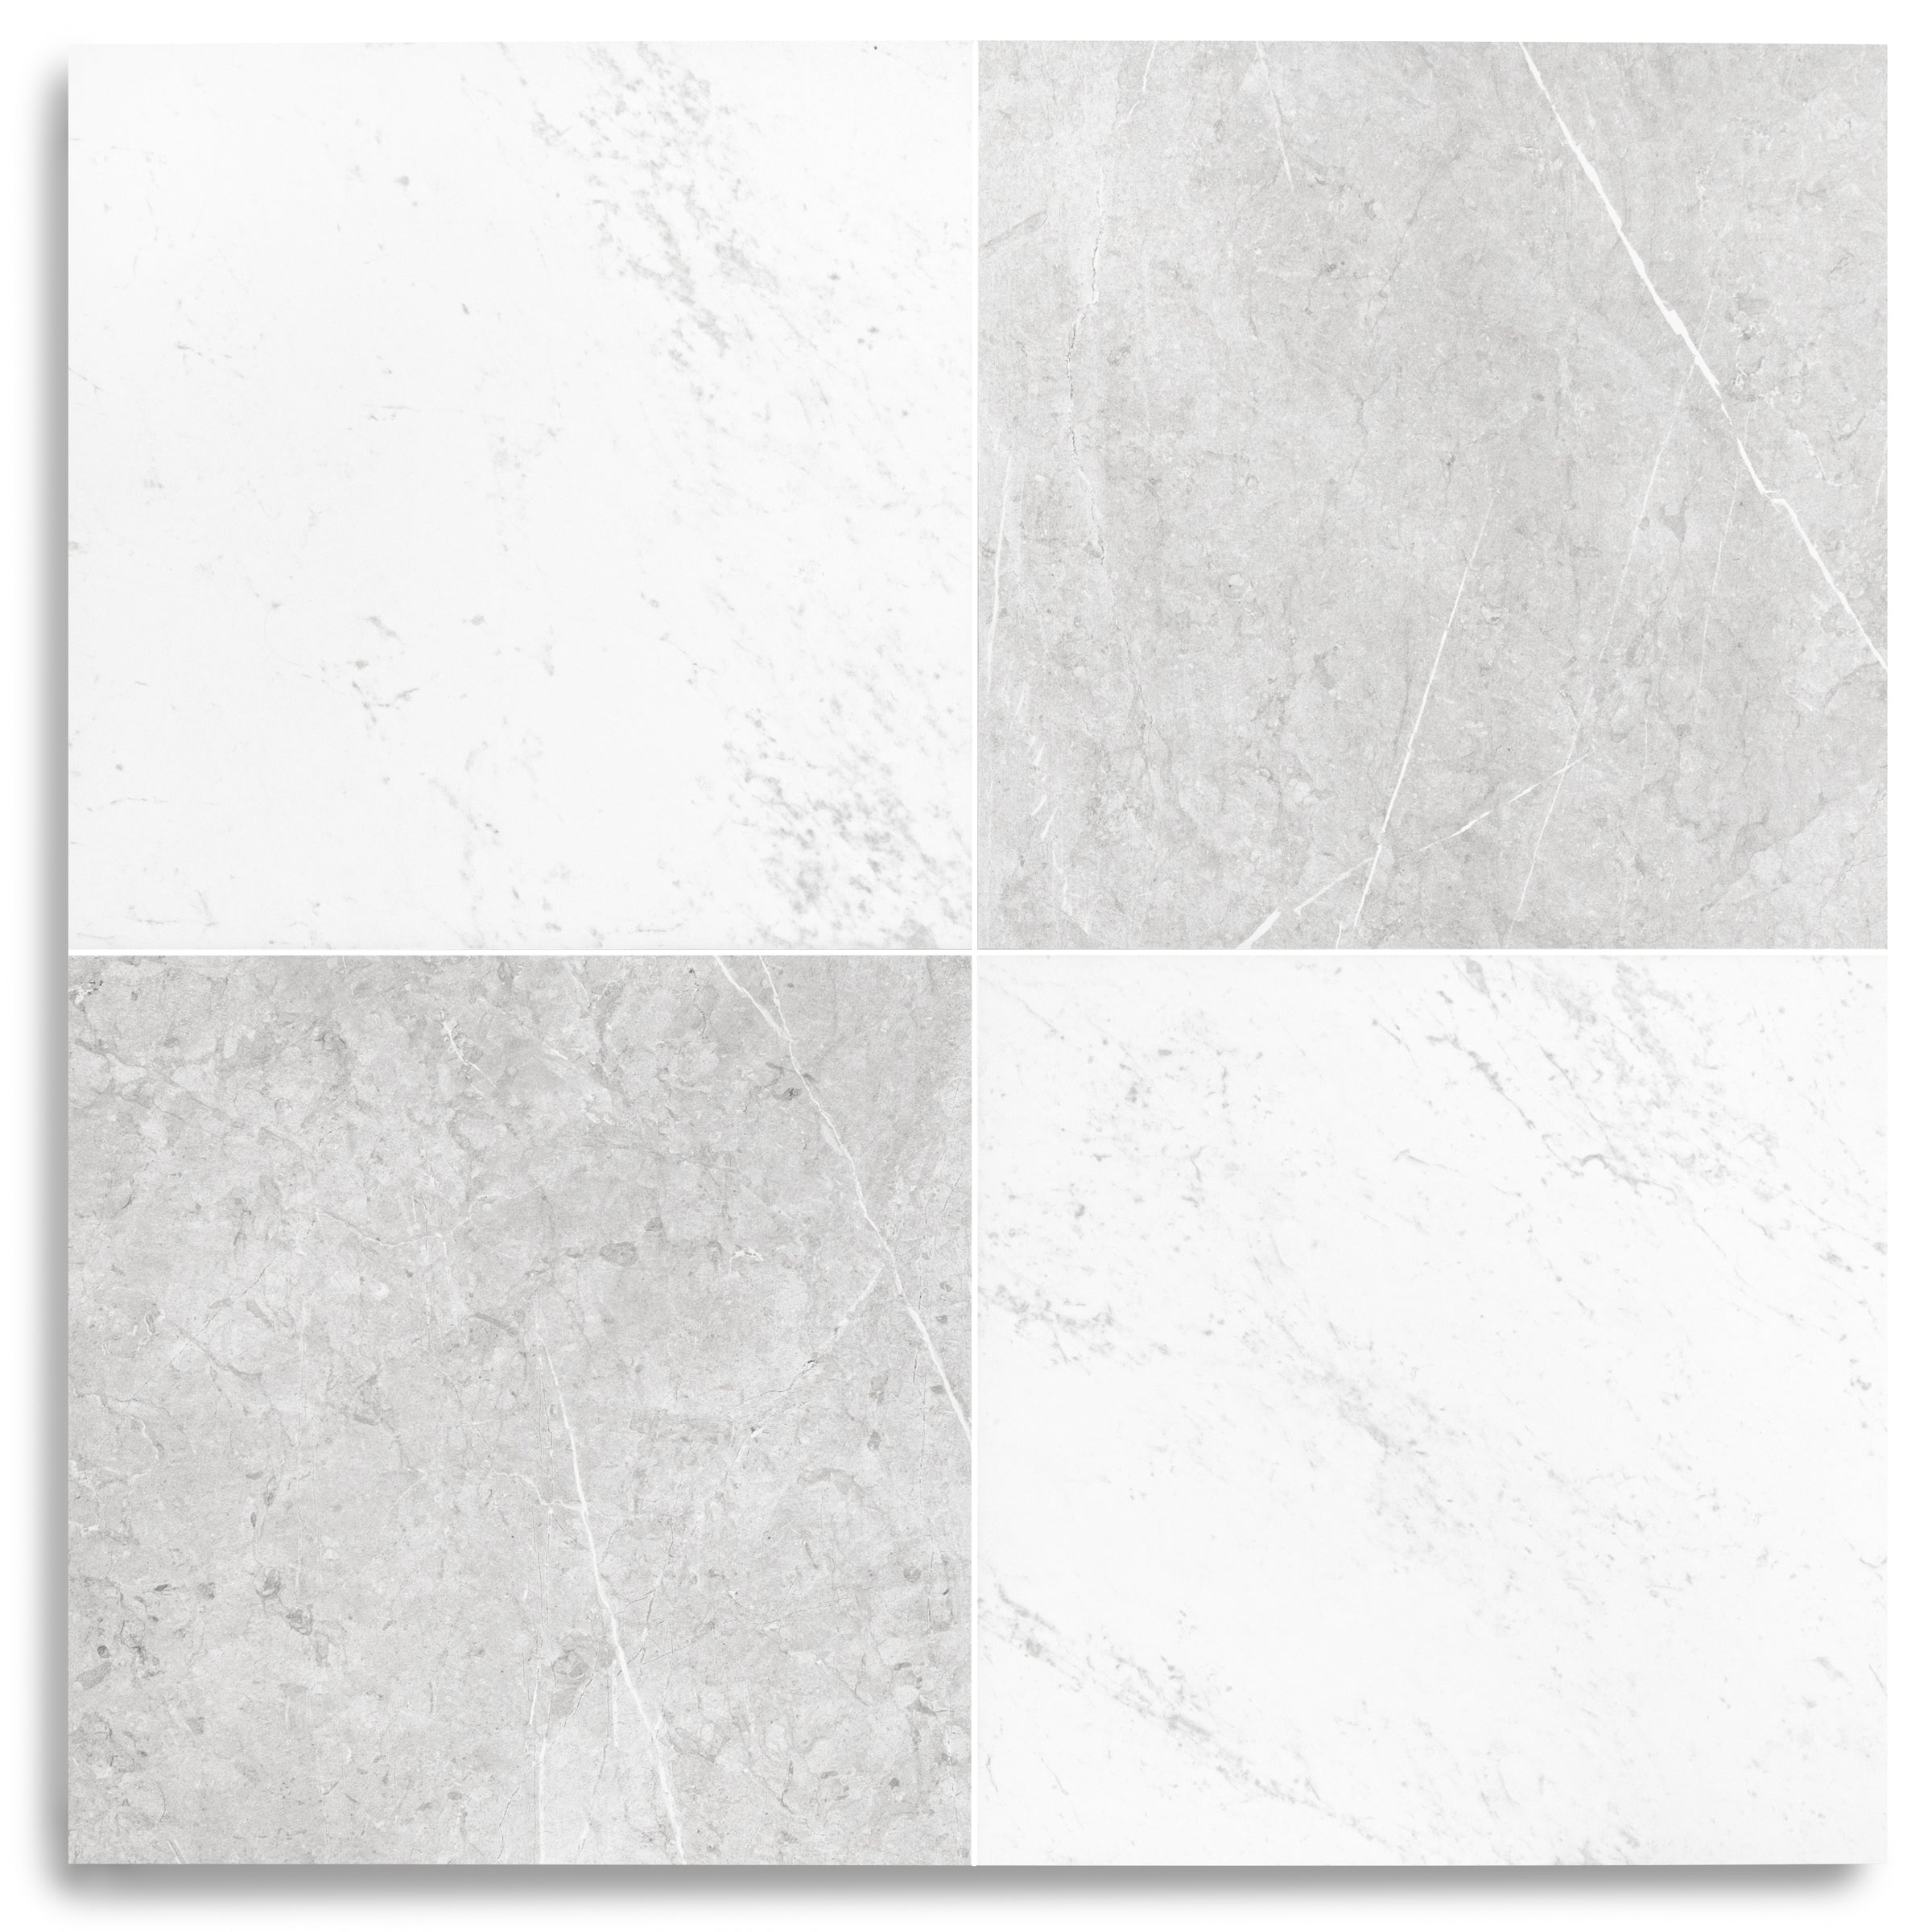
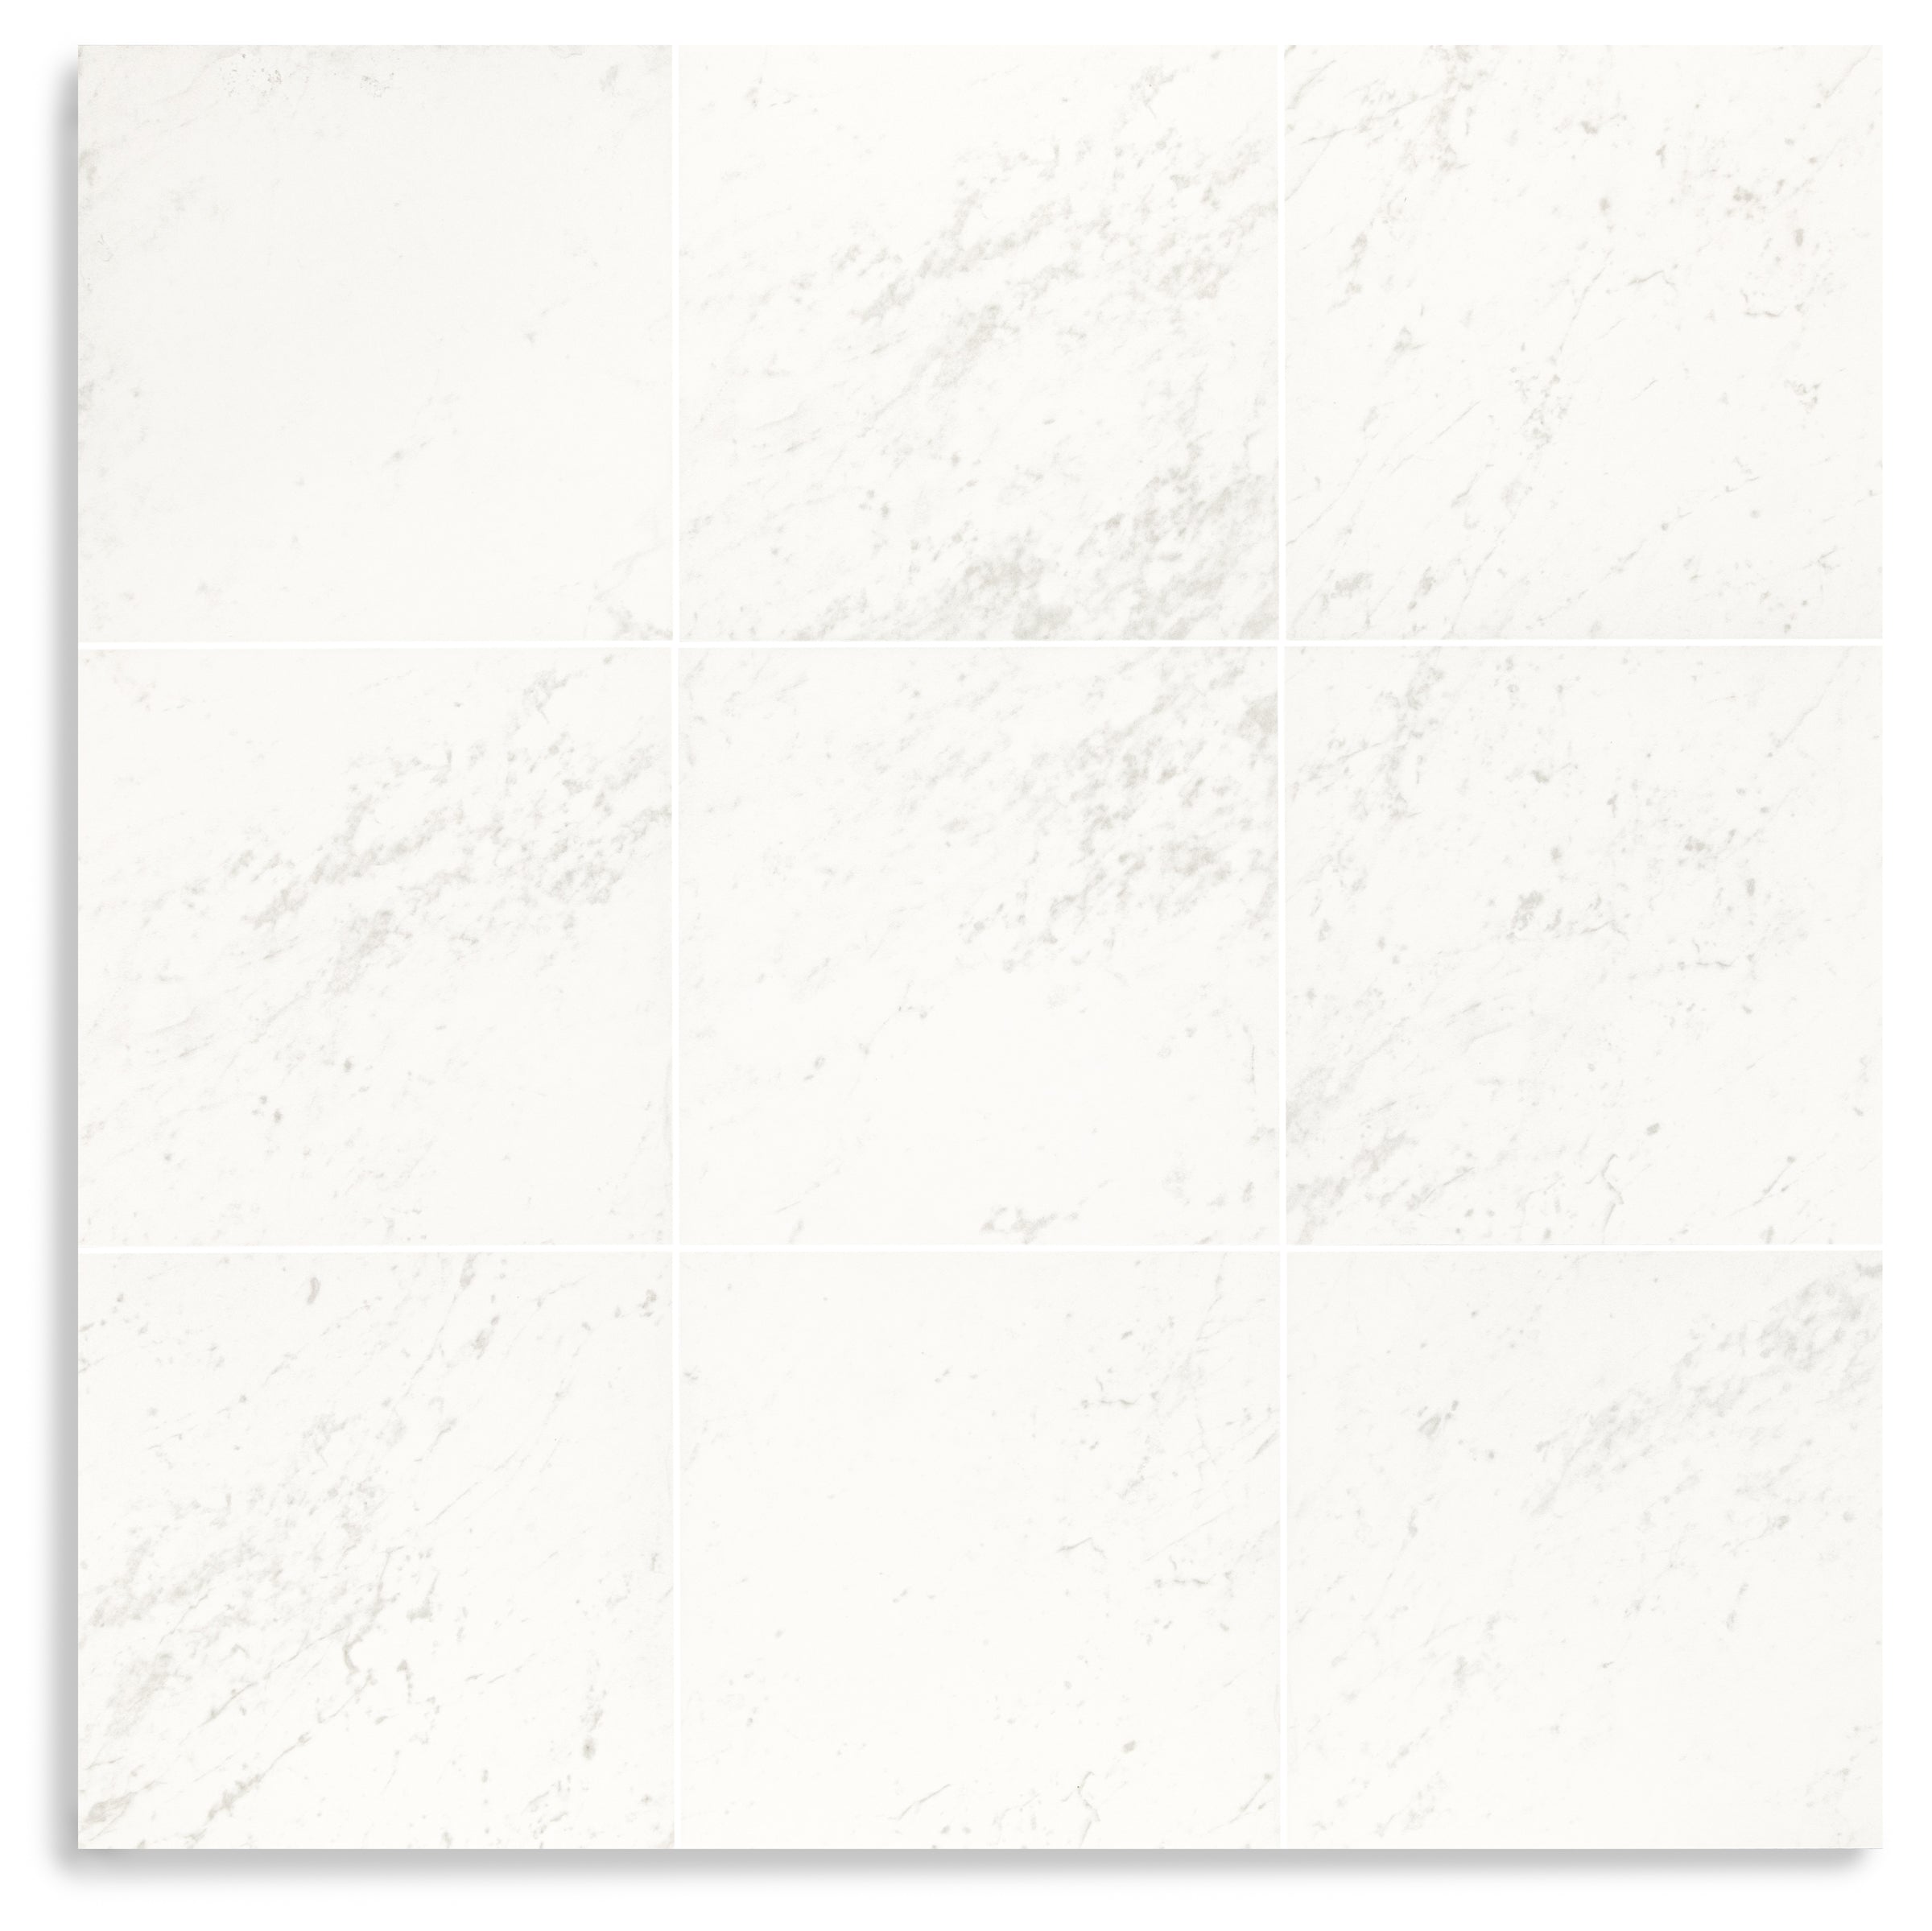
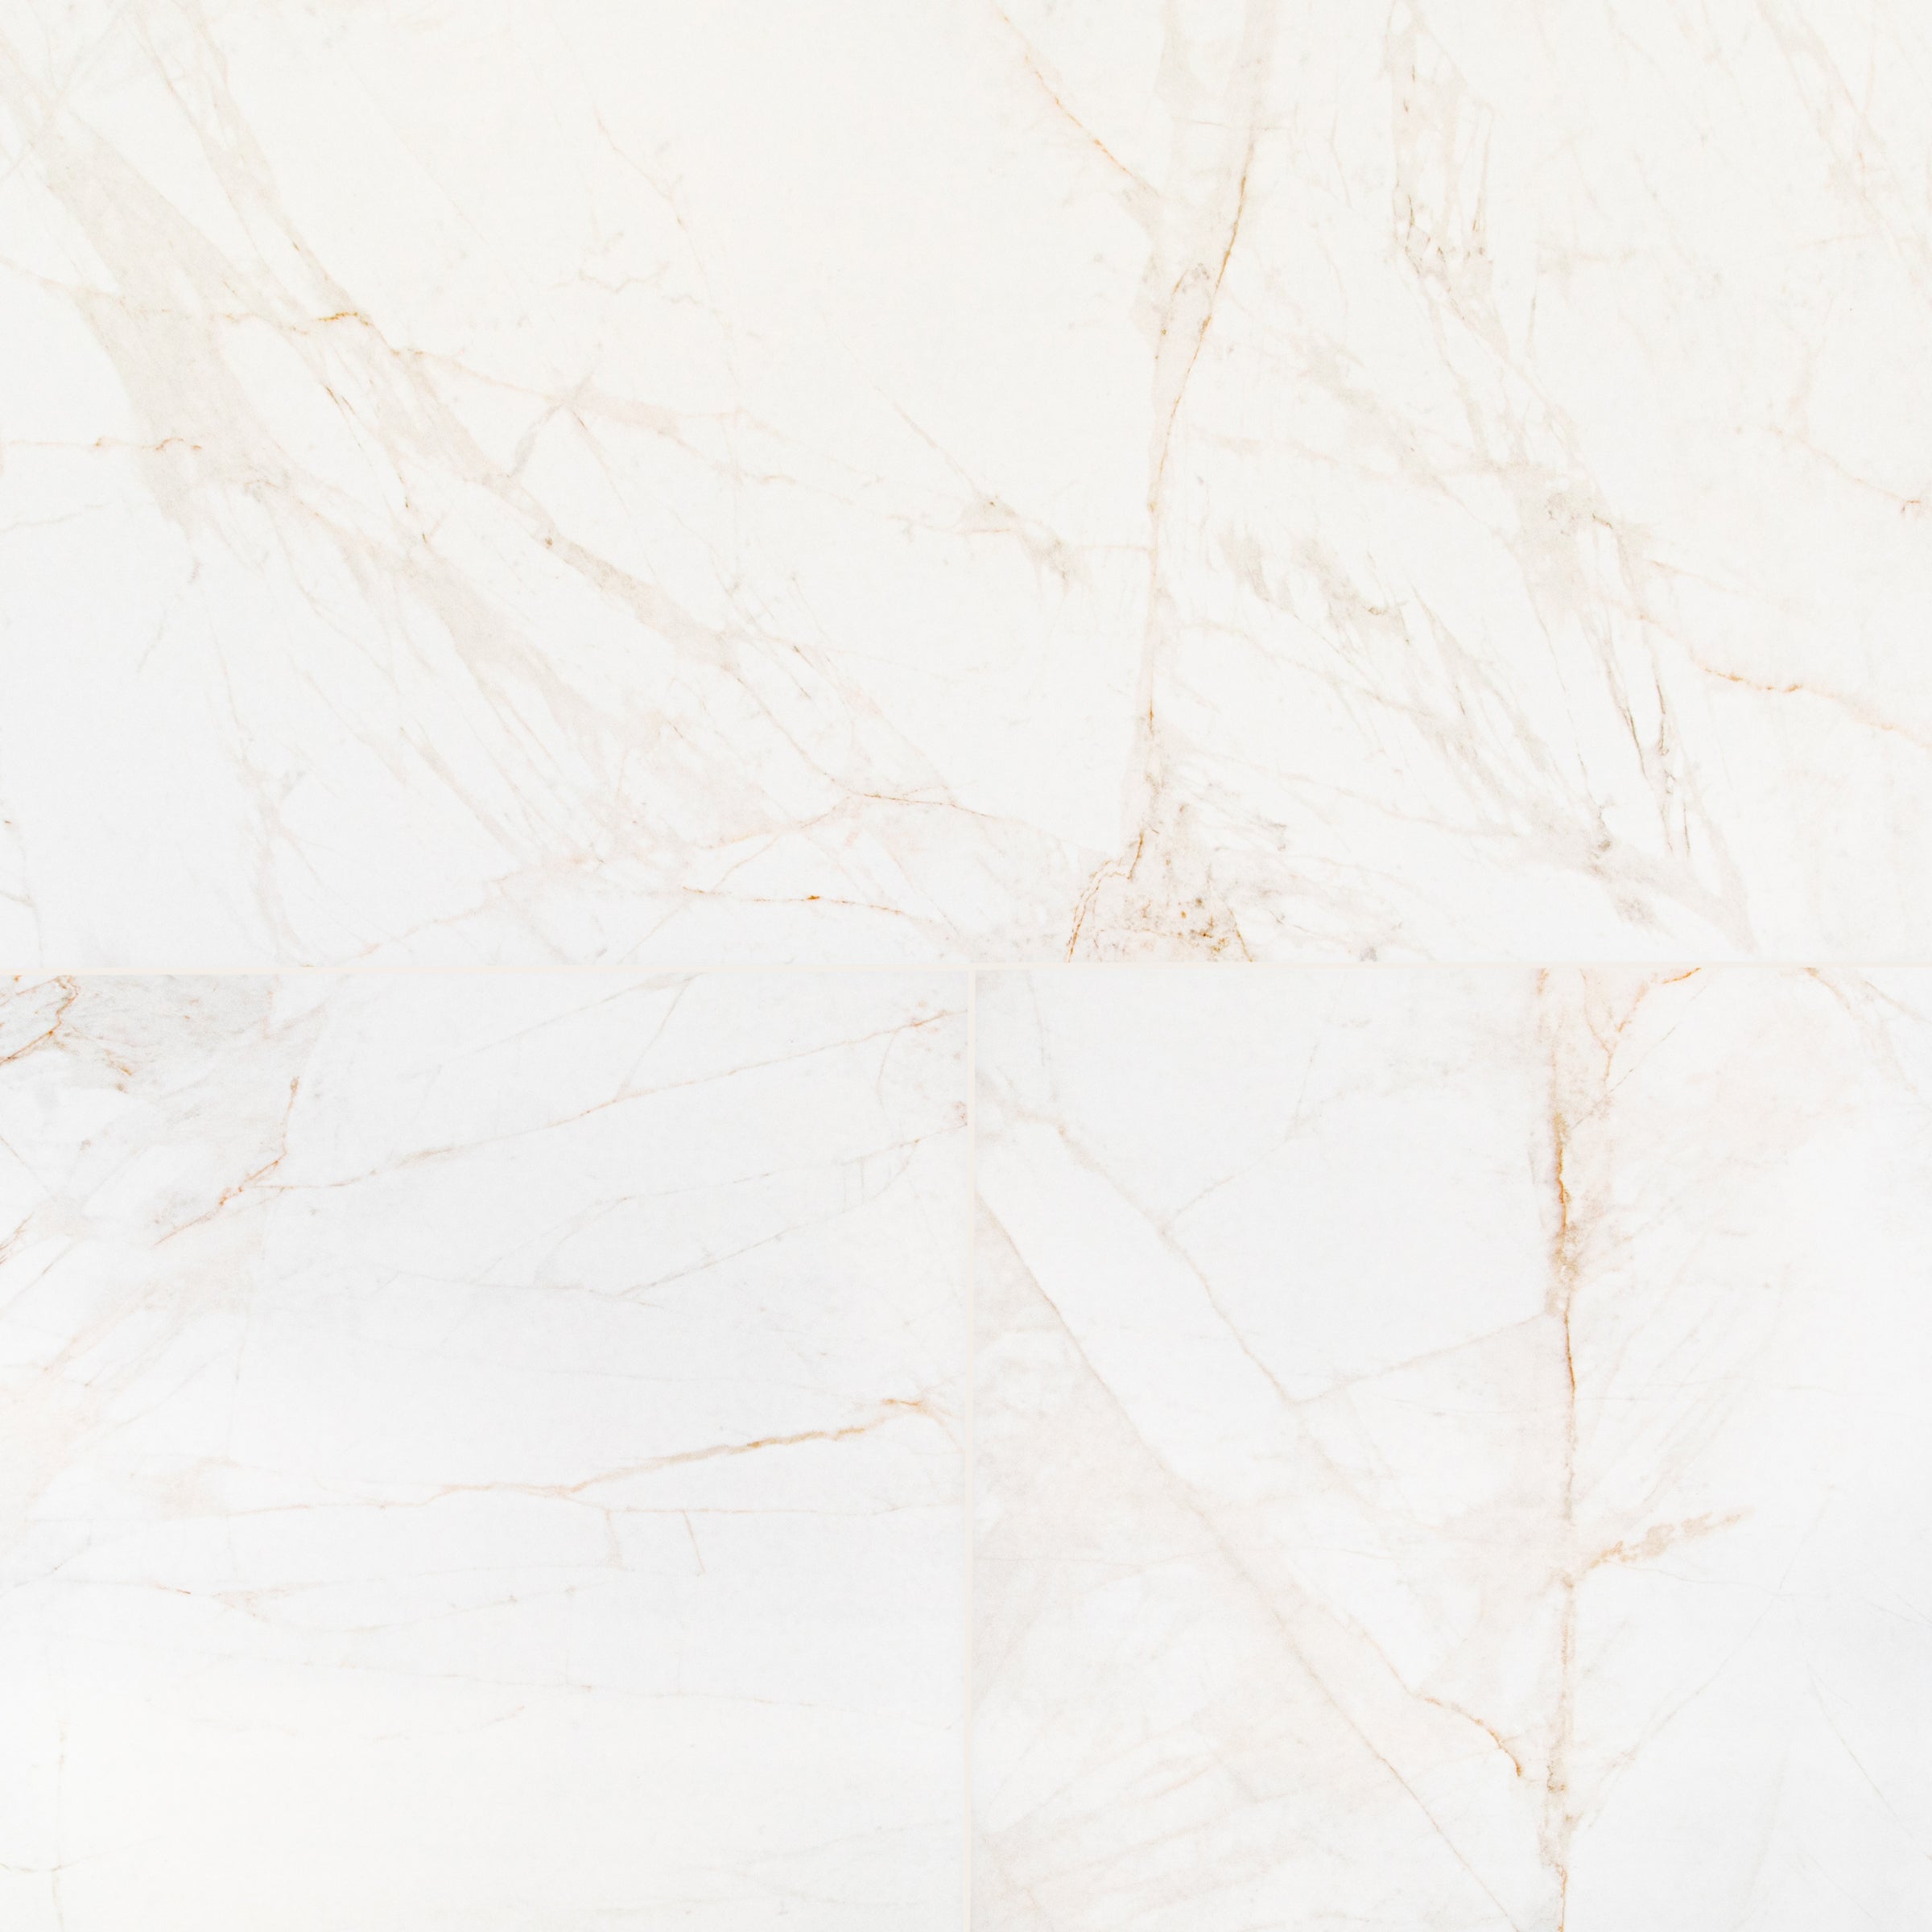
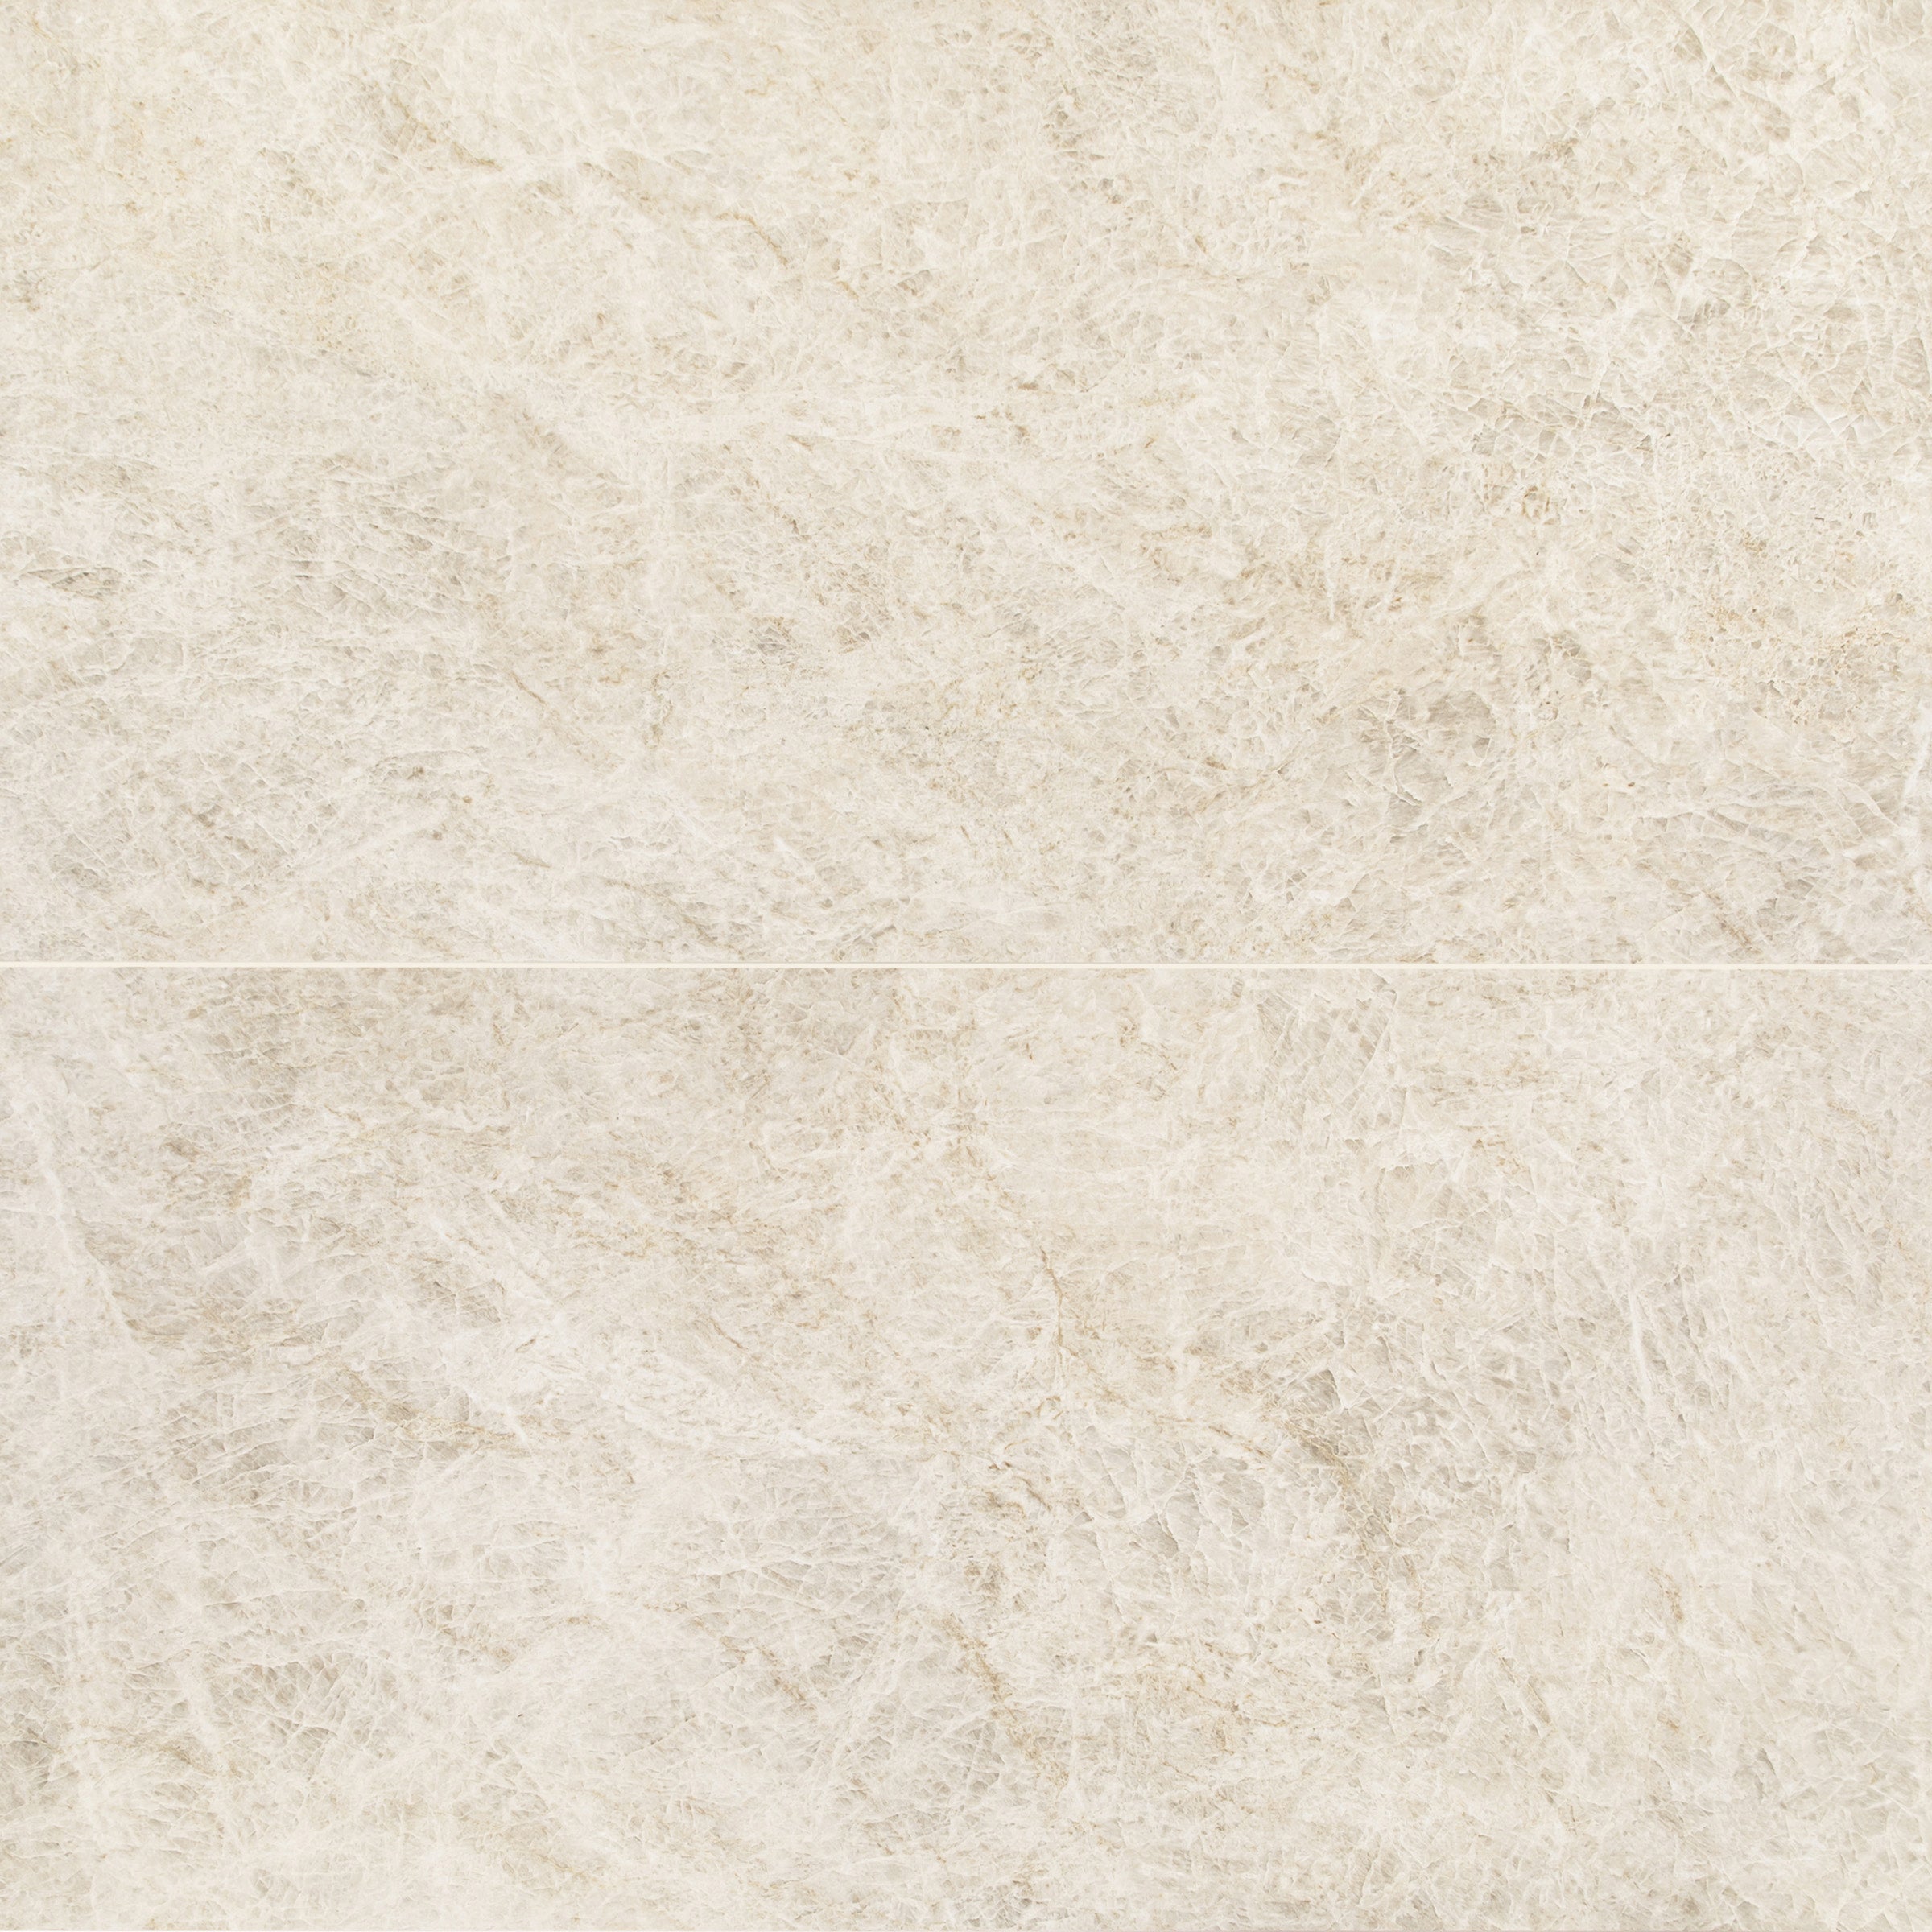
White Paradise Marble Look Porcelain Tile

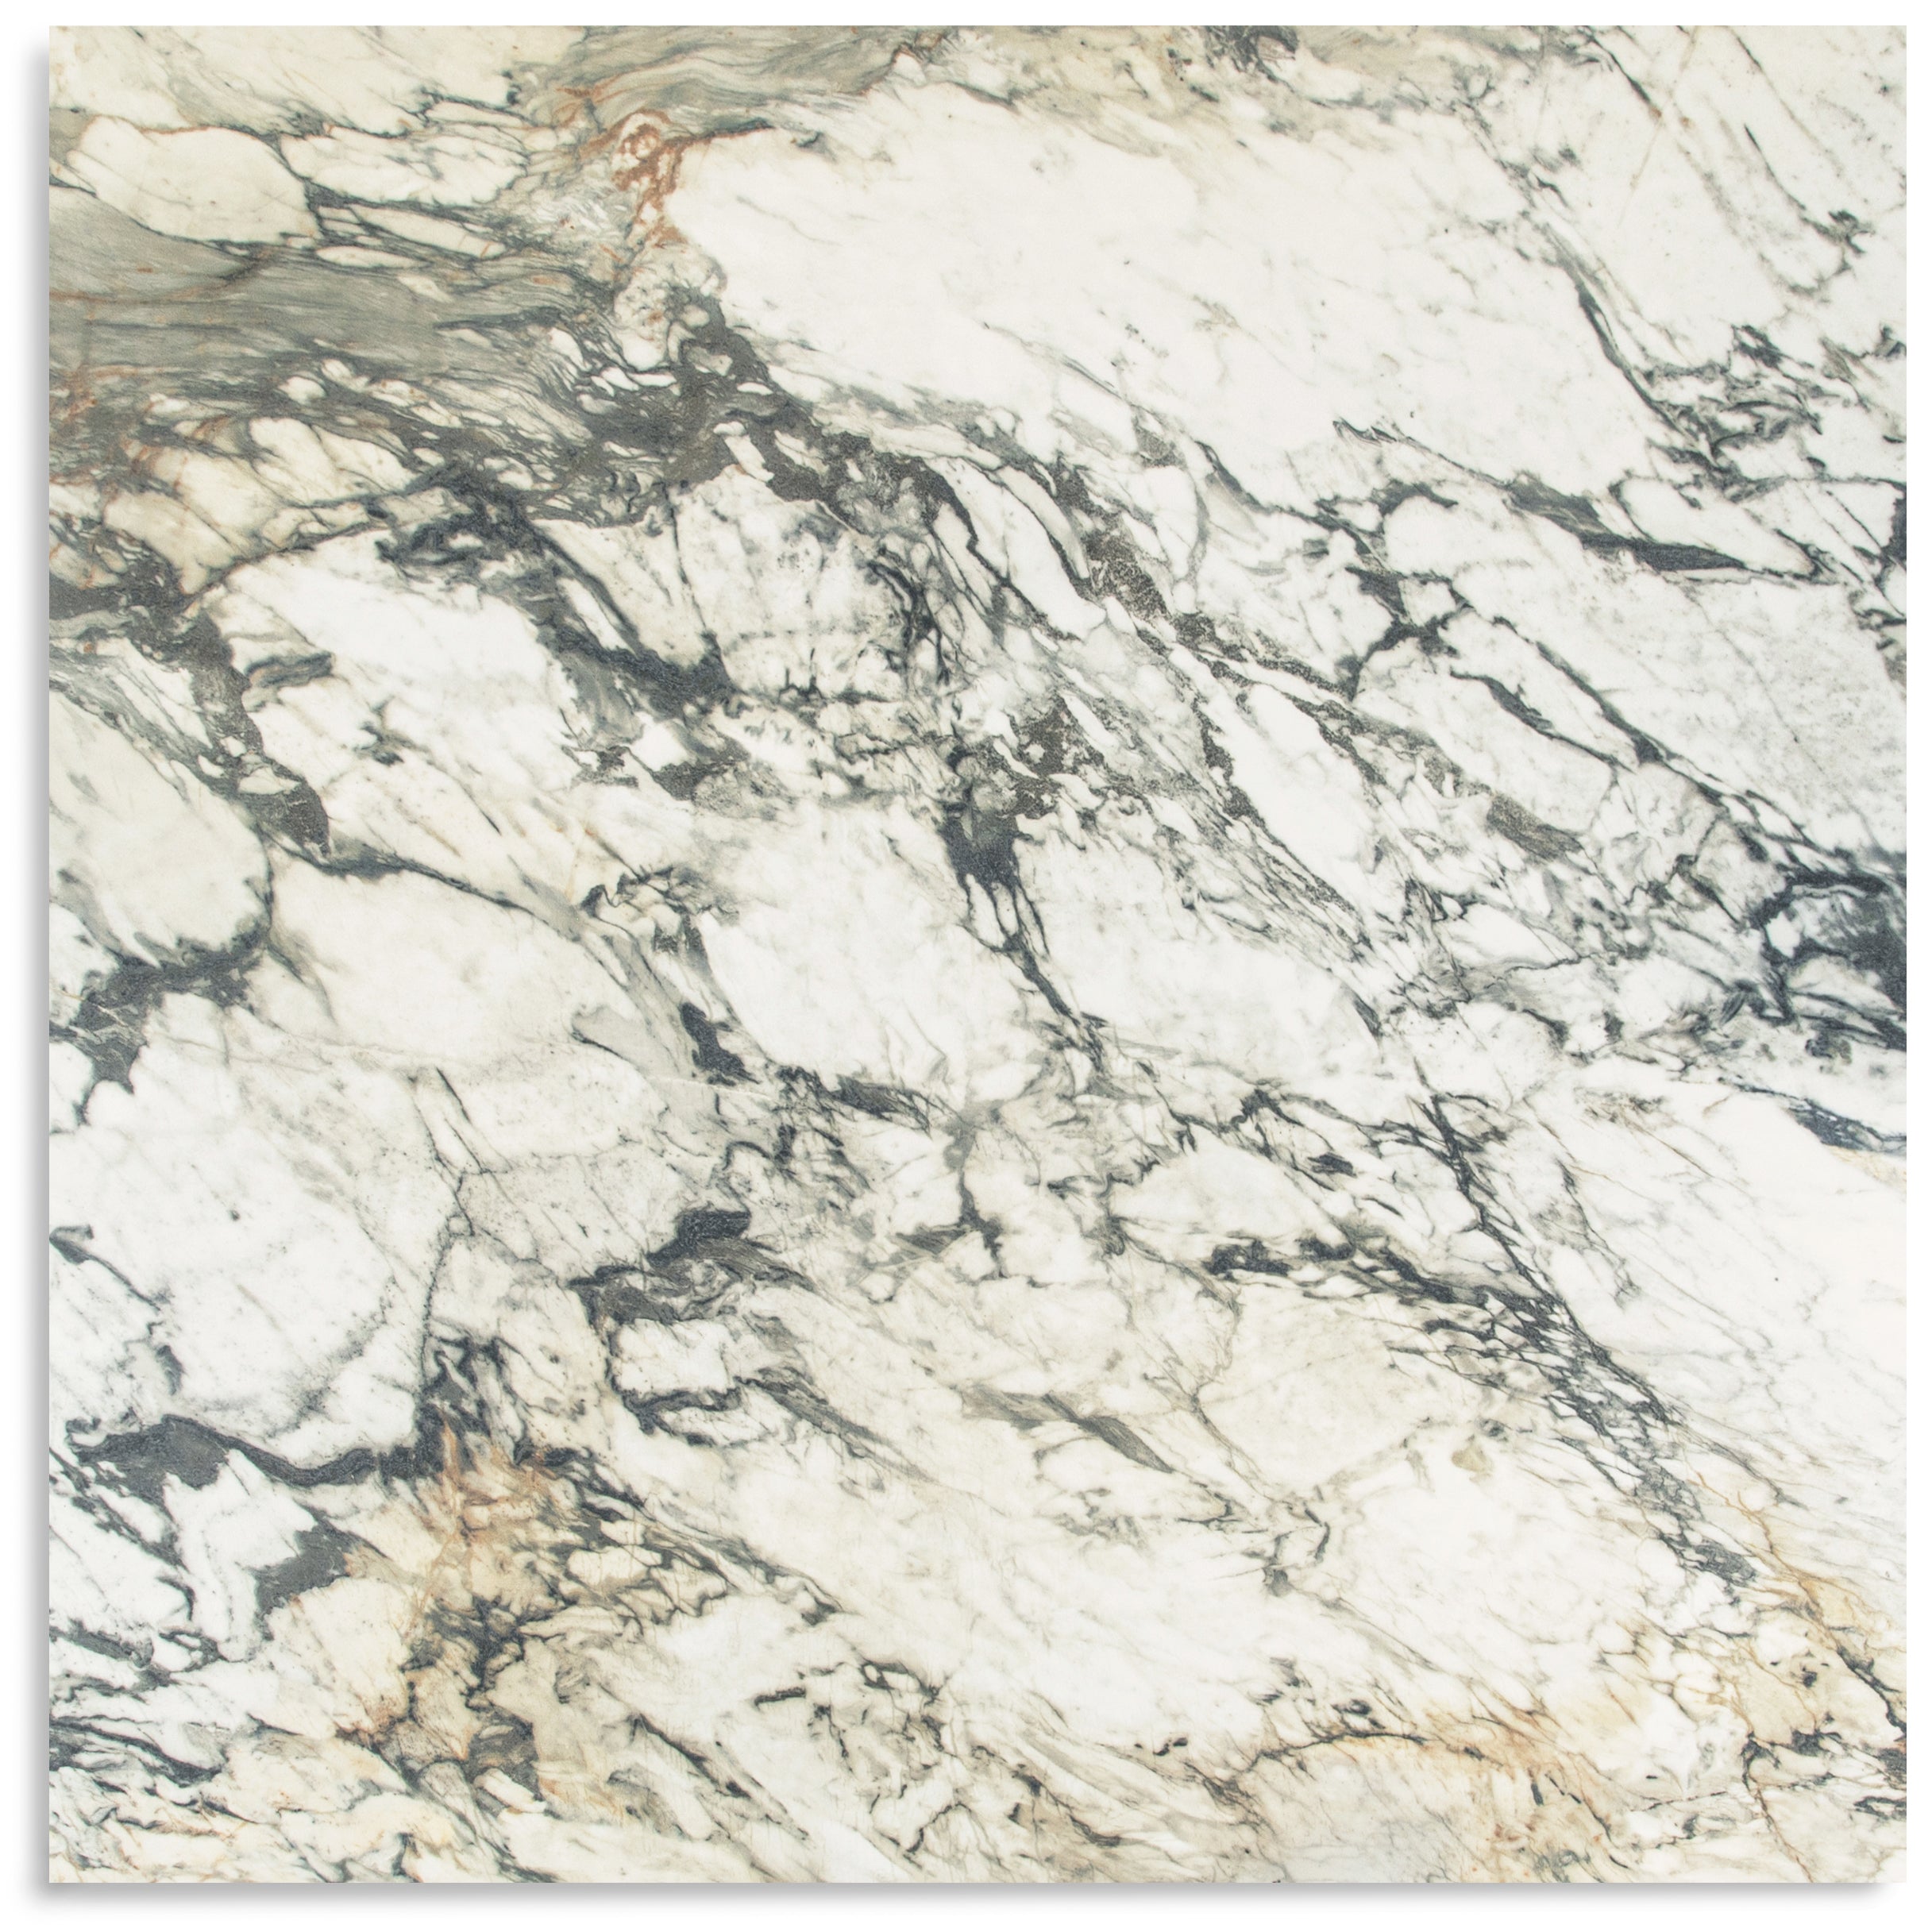
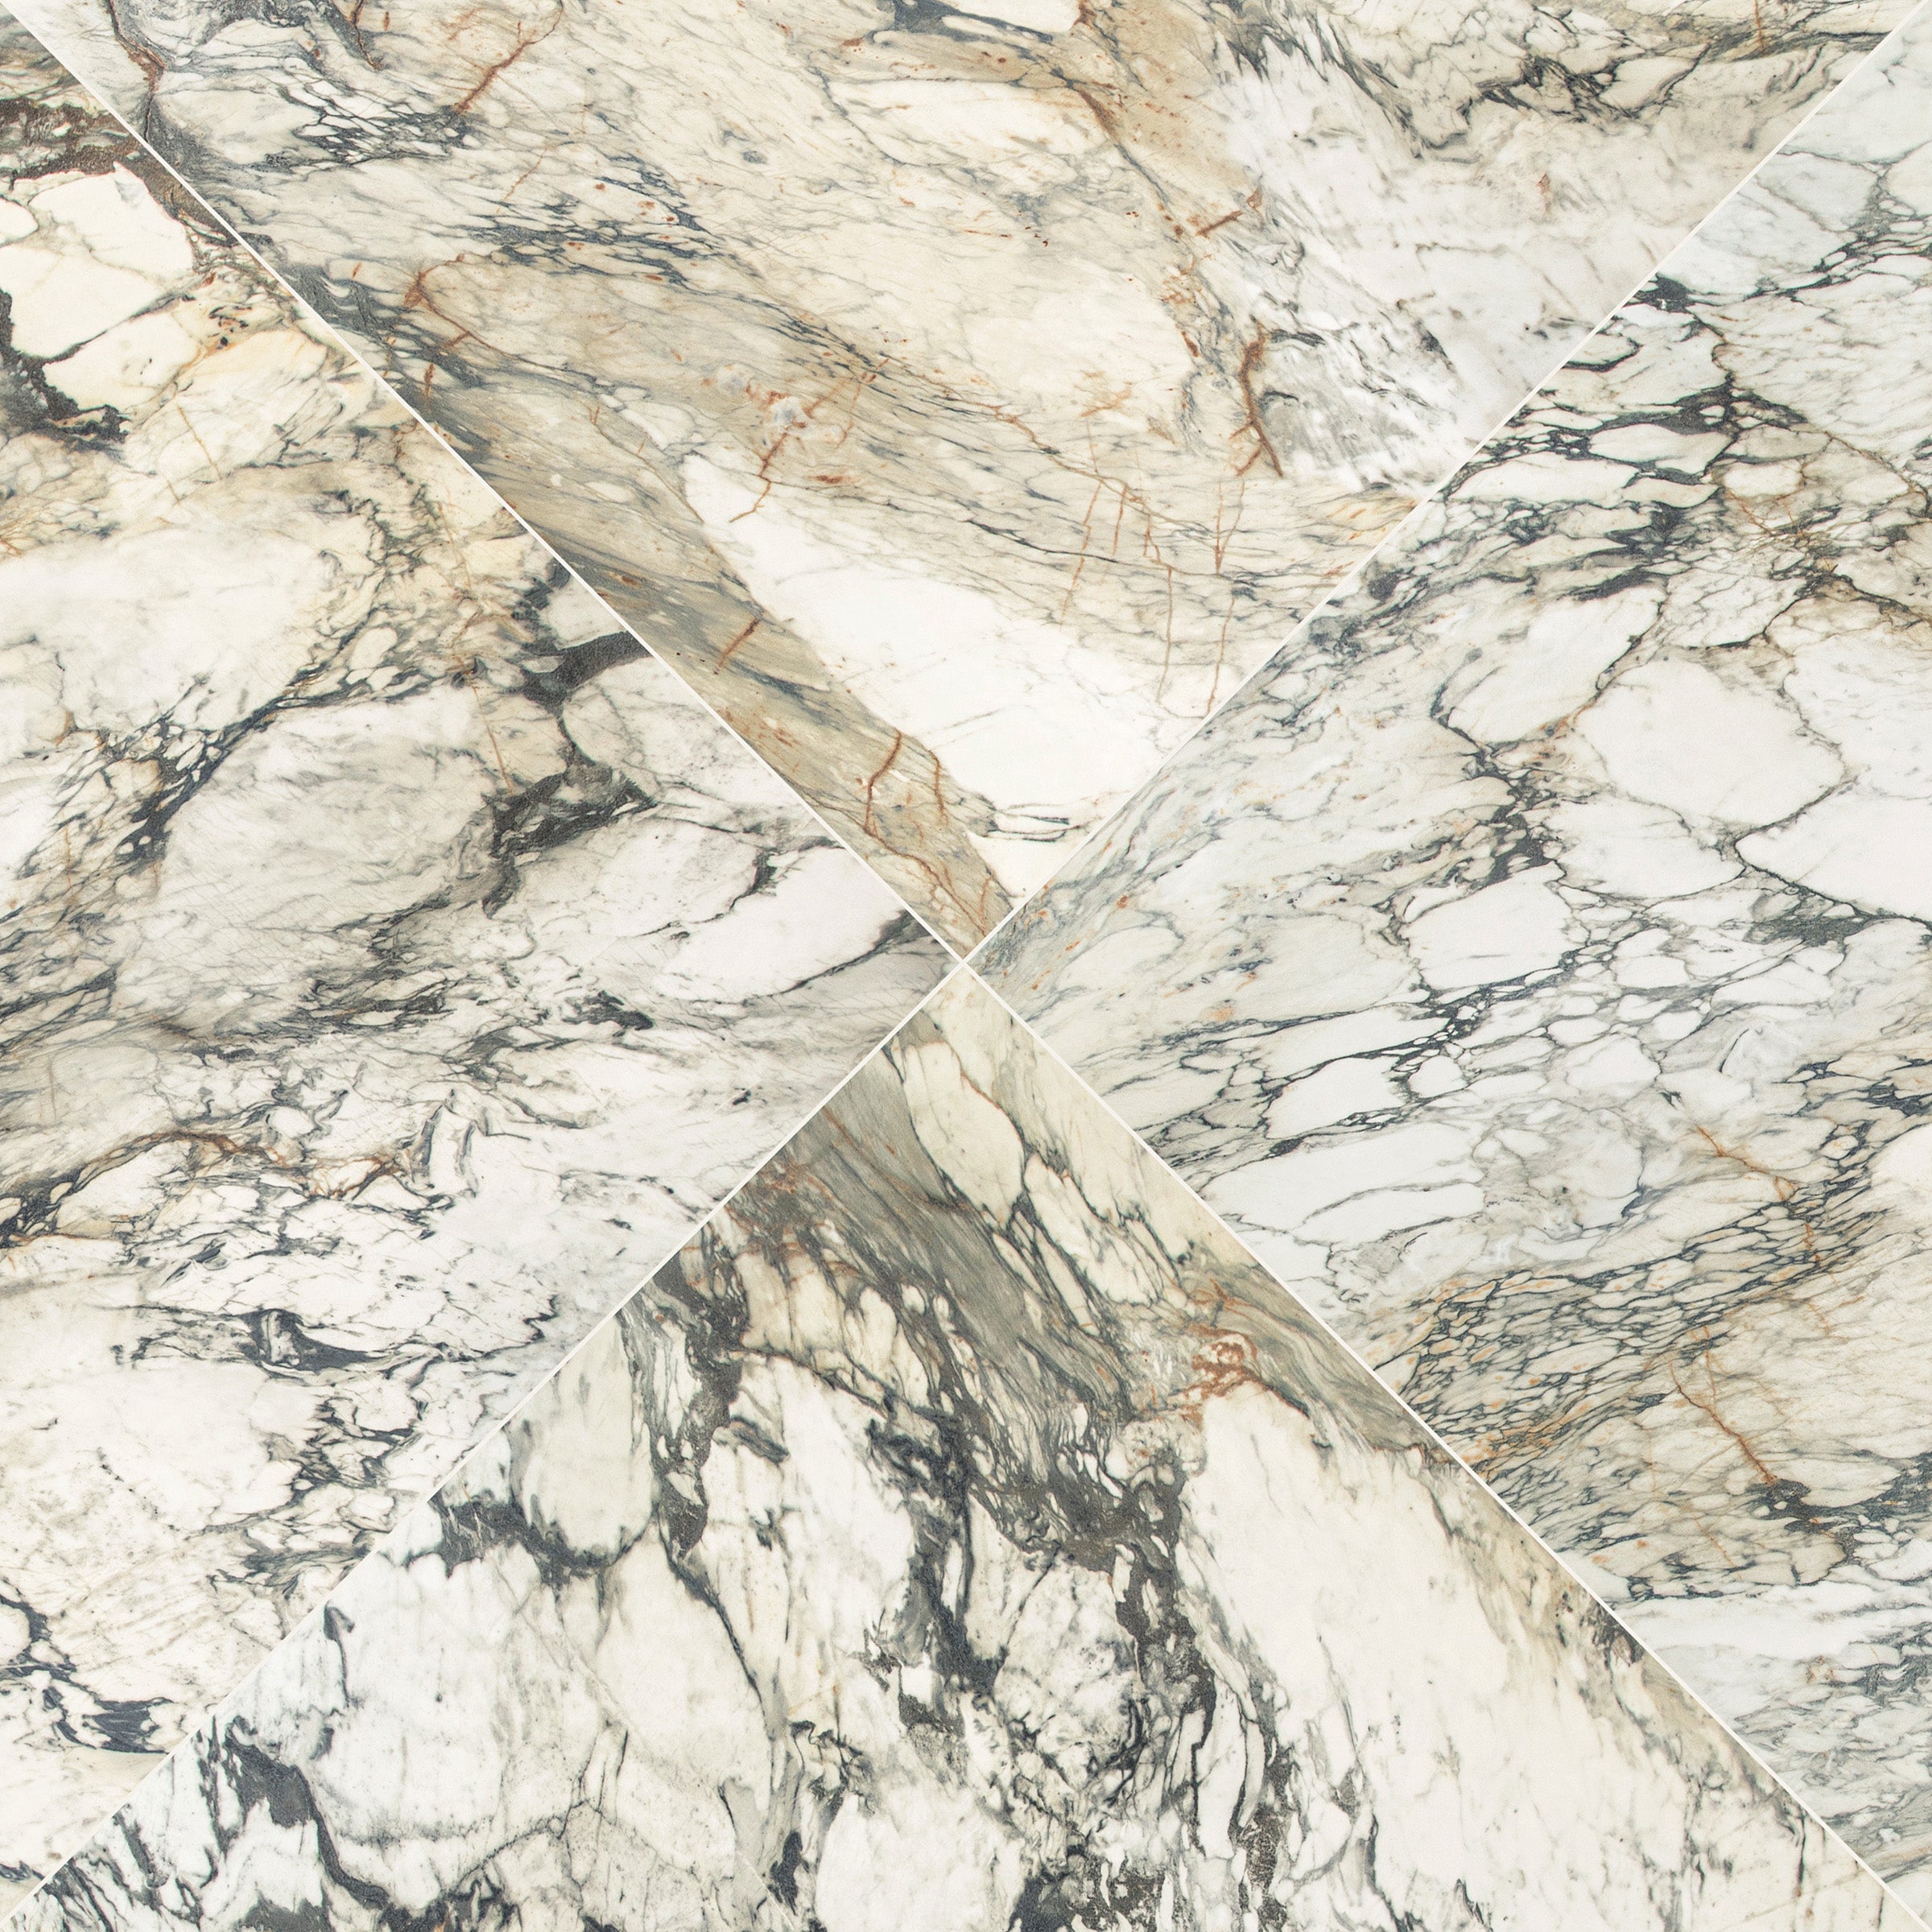
Breccia Capraia 3D Mable Look Porcelain Tile
Borgogna 3D Matte Porcelain Tile

Calacatta Honed Italian Terrazzo Tile


Burano Honed Italian Terrazzo Tile

Fior de Bosco Marble Look Porcelain Tile


Nut 9.5x60 Wood Look Porcelain Tile
Silver Limestone Look 3D Matte Porcelain Tile
Honey Slats 24x48 Wood Look Porcelain Tile
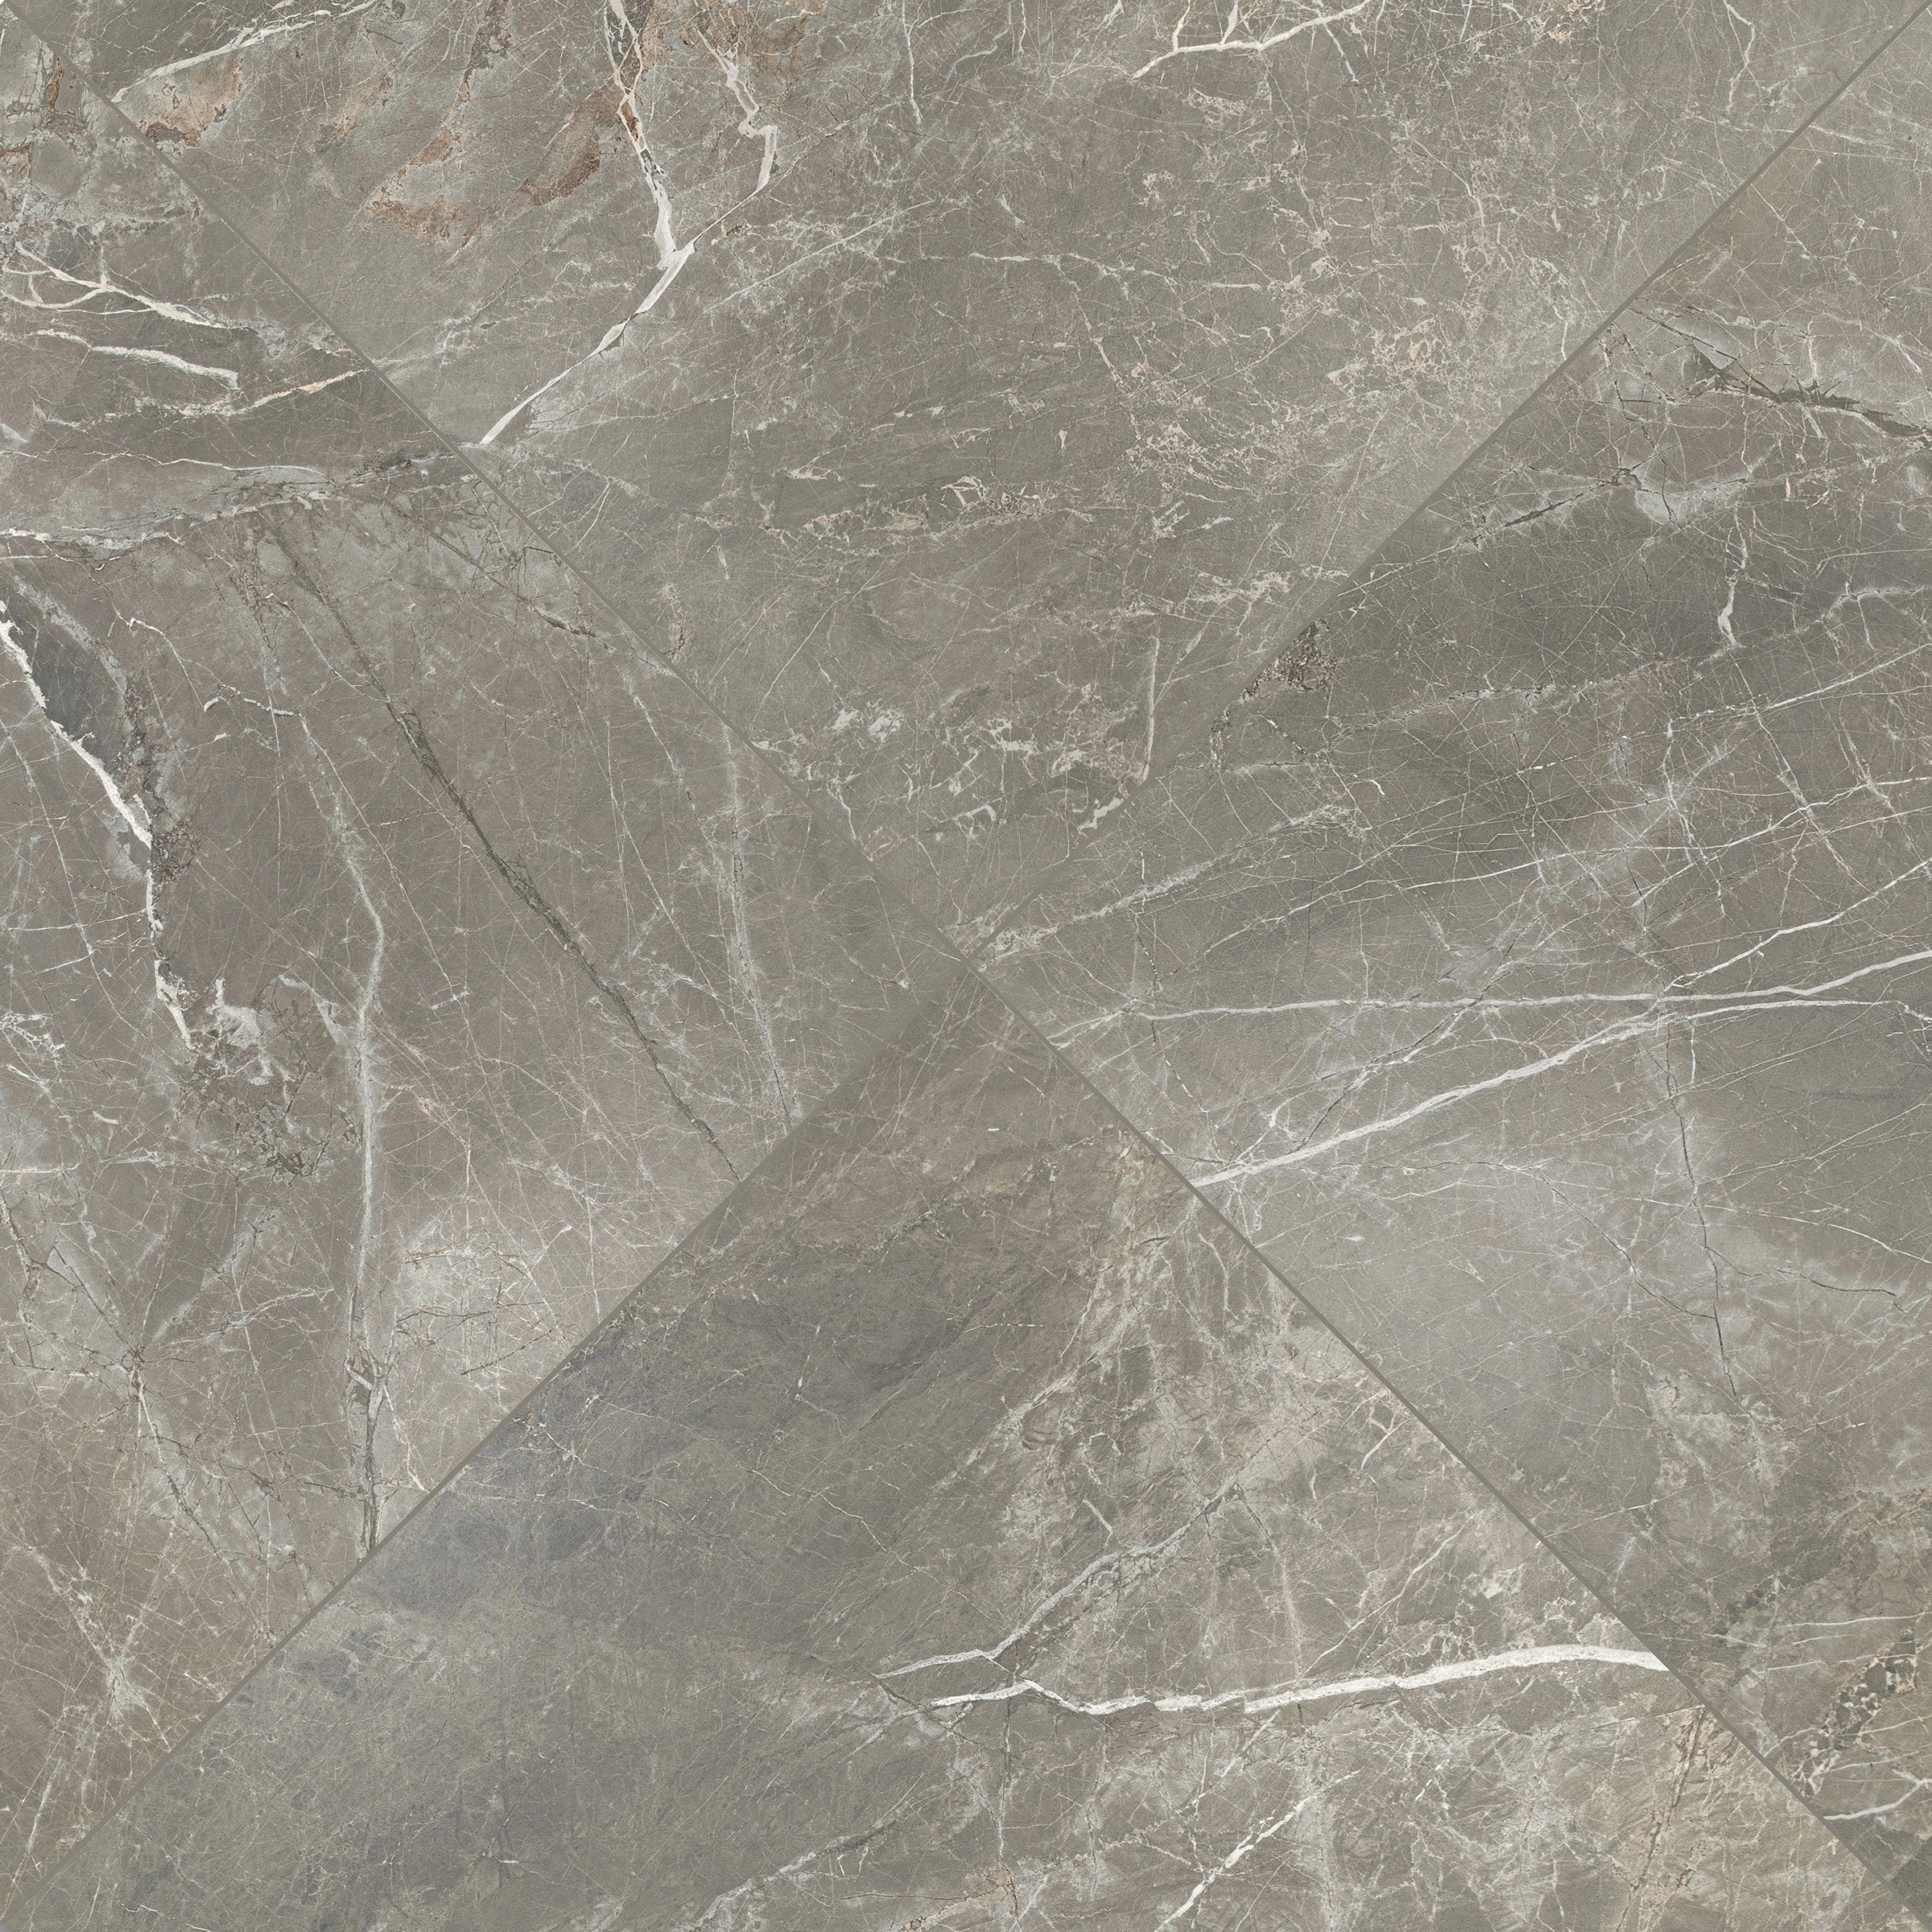
Taj Matte Marble Look Porcelain Tile
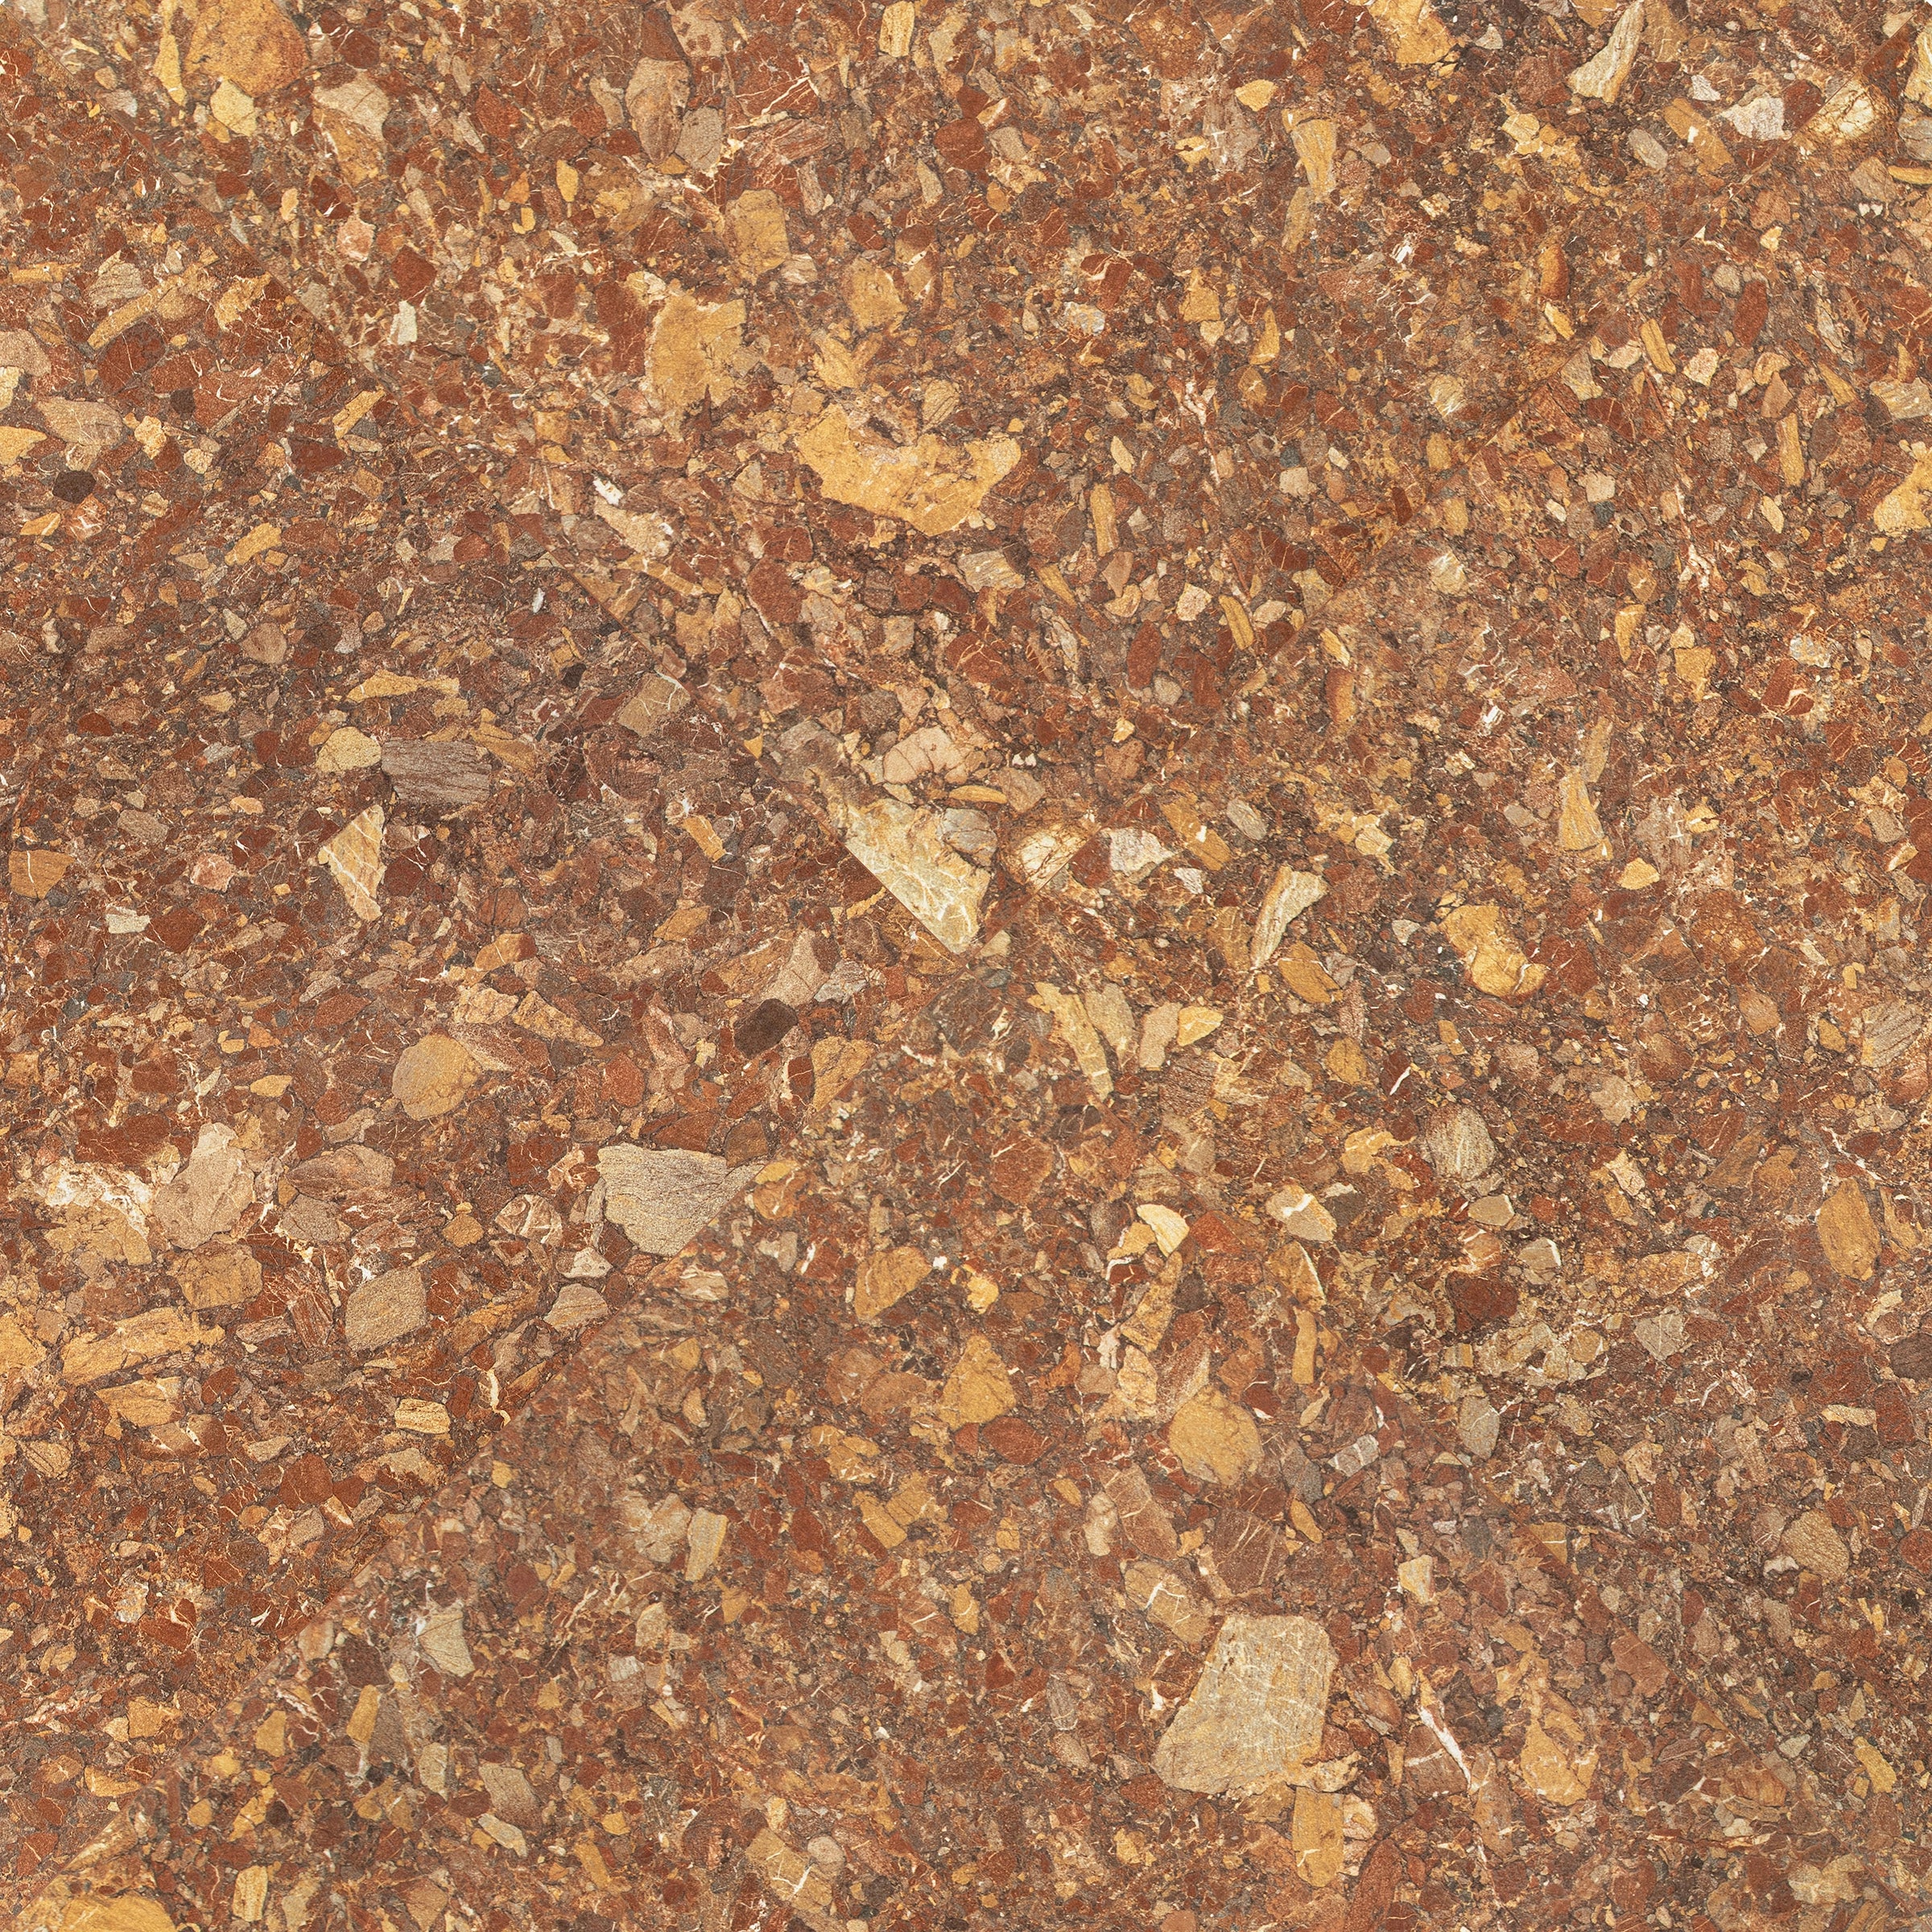
Venica Red Stone Look Porcelain Tile
Pearl Hammered Limestone Look Matte Porcelain Tile
Almond Hammered Limestone Look Matte Porcelain Tile
Slate 48x48 Cement Look Porcelain Tile


No. 6 Engineered Wood Flooring


No. 2 Engineered Wood Flooring


No. 12 Engineered Wood Flooring

No. 10 Engineered Wood Flooring
Montblack Matte Marble Look Porcelain Tile
Ivory Marble Look Matte Porcelain Tile


Nude 12x24 3D Gloss Porcelain Tile


Ash Cement Look Matte Porcelain Tile


Grey Cement Look Porcelain Tile
Sand 48x48 Cement Look Porcelain Tile
Honey 9.5x60 Wood Look Porcelain Tile
Pearl 24x24 Cheppo Look Matte Porcelain Tile
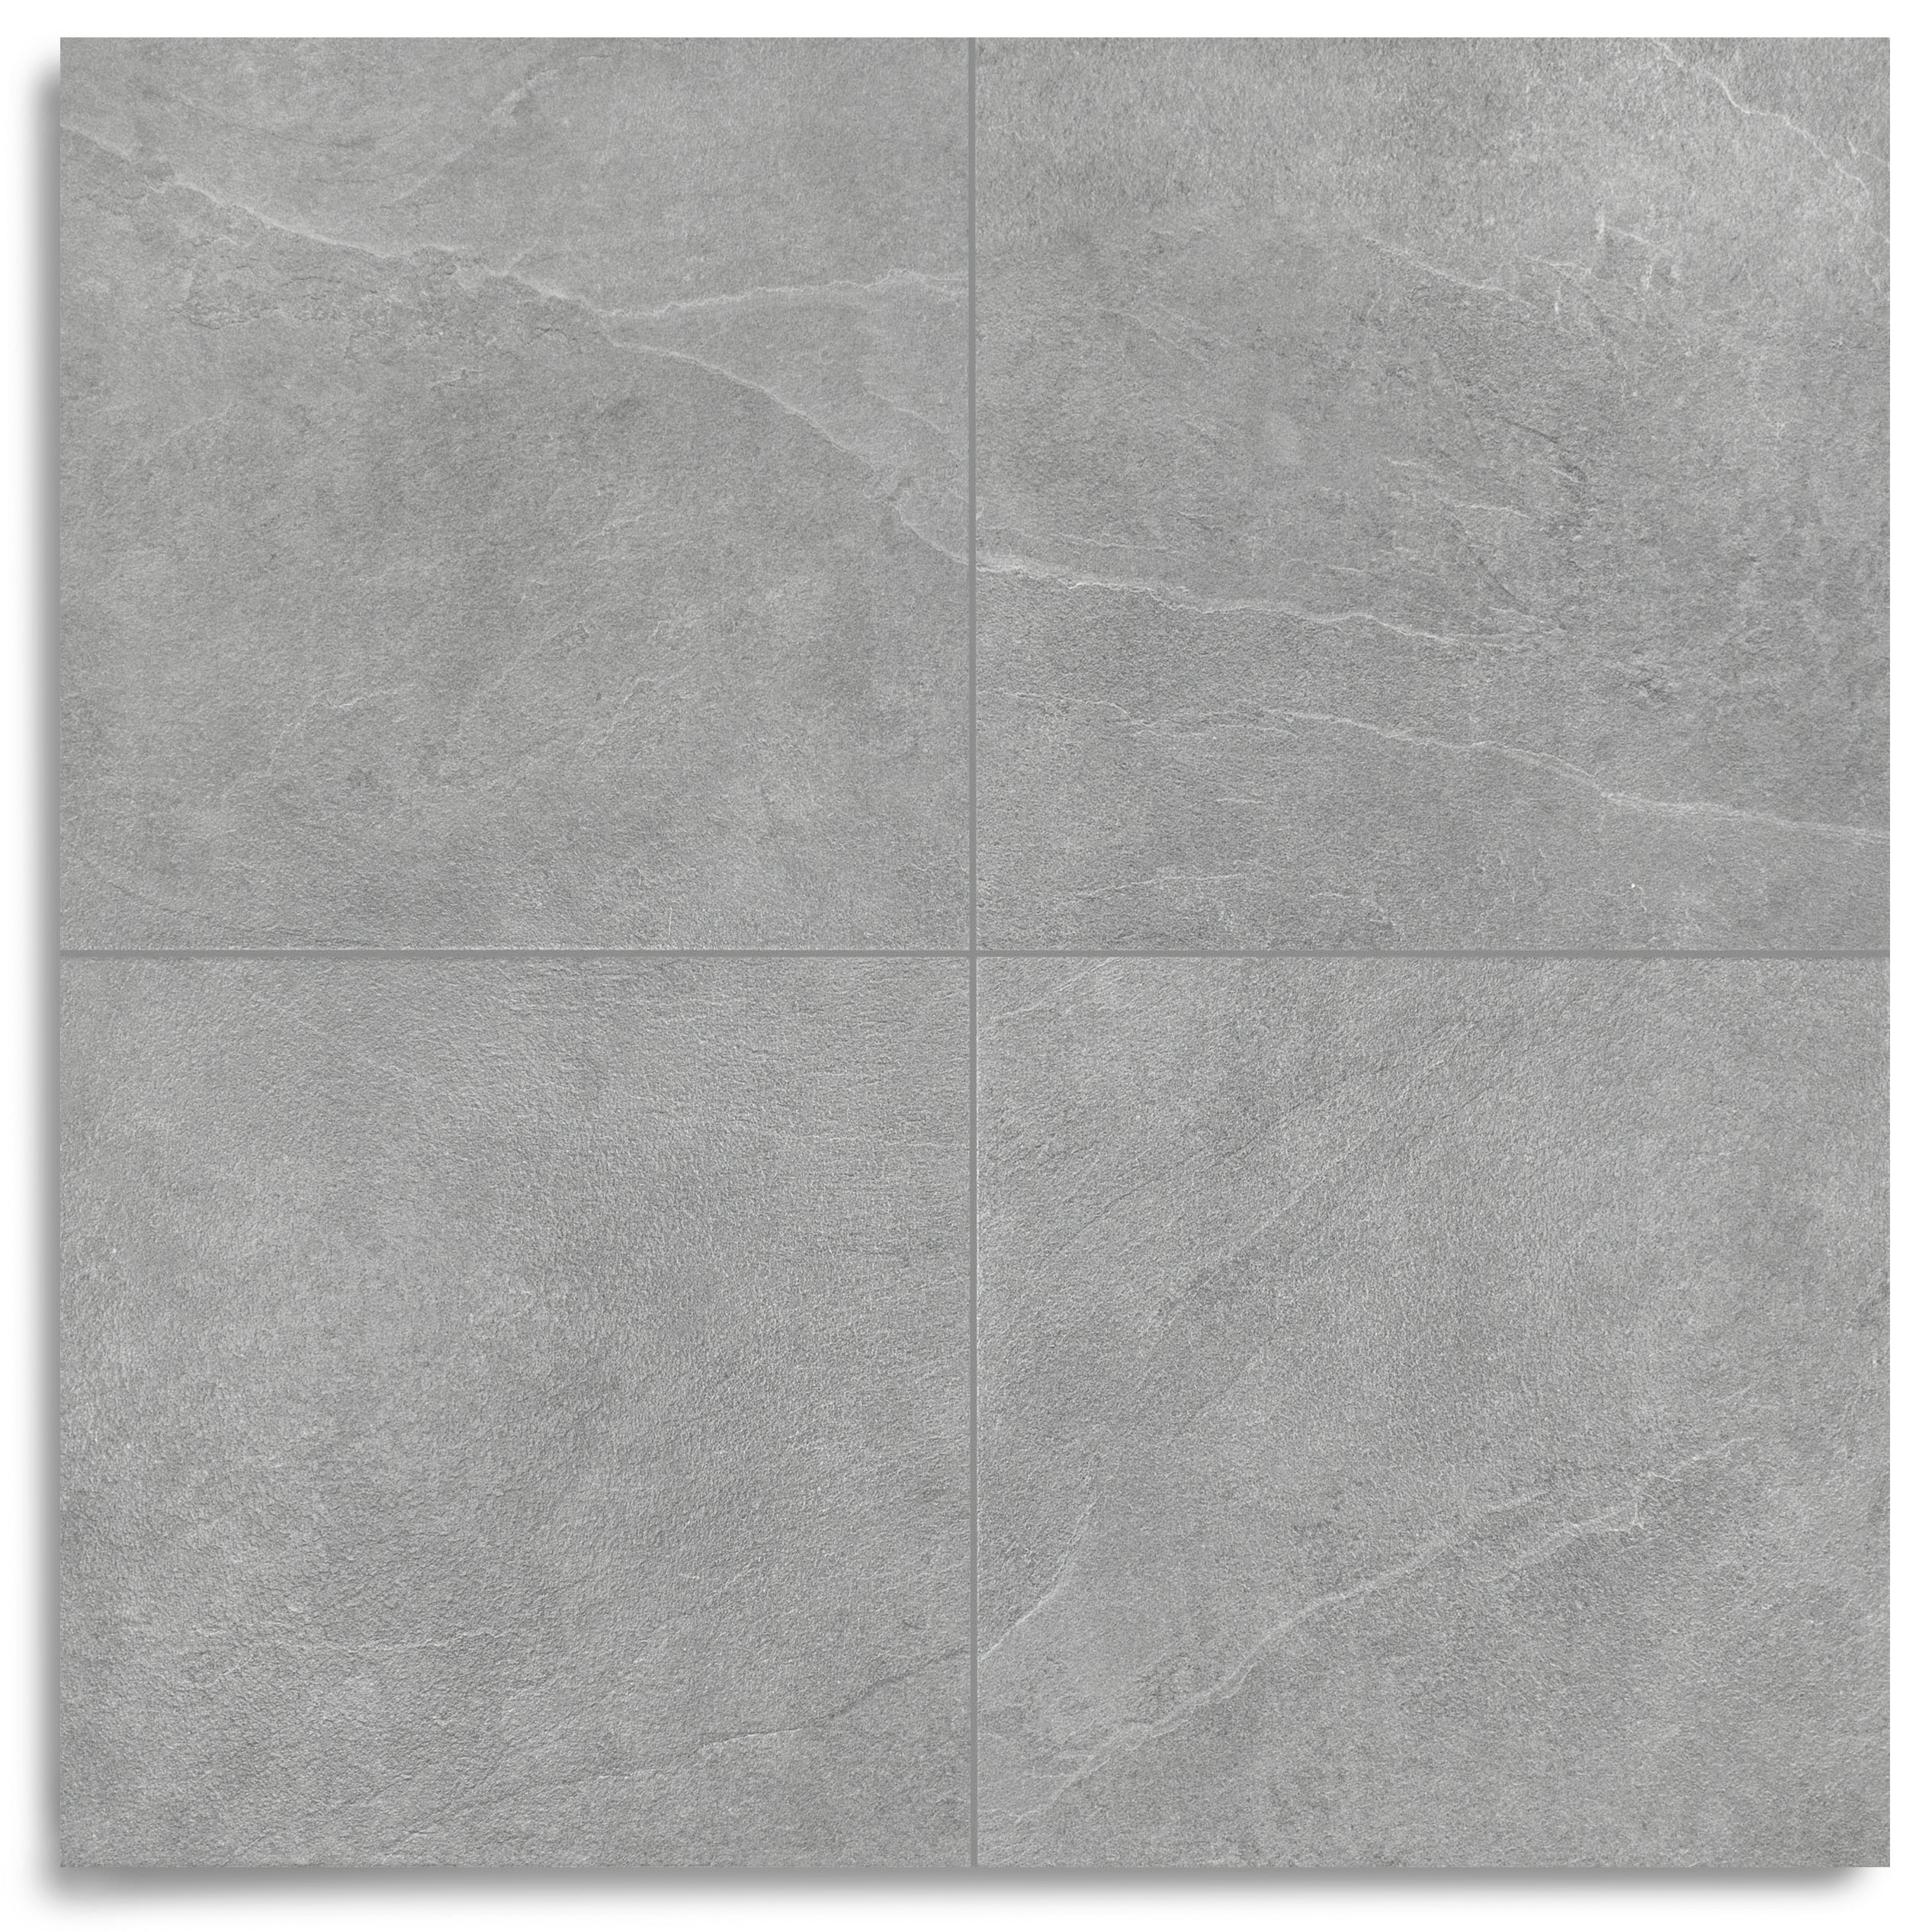
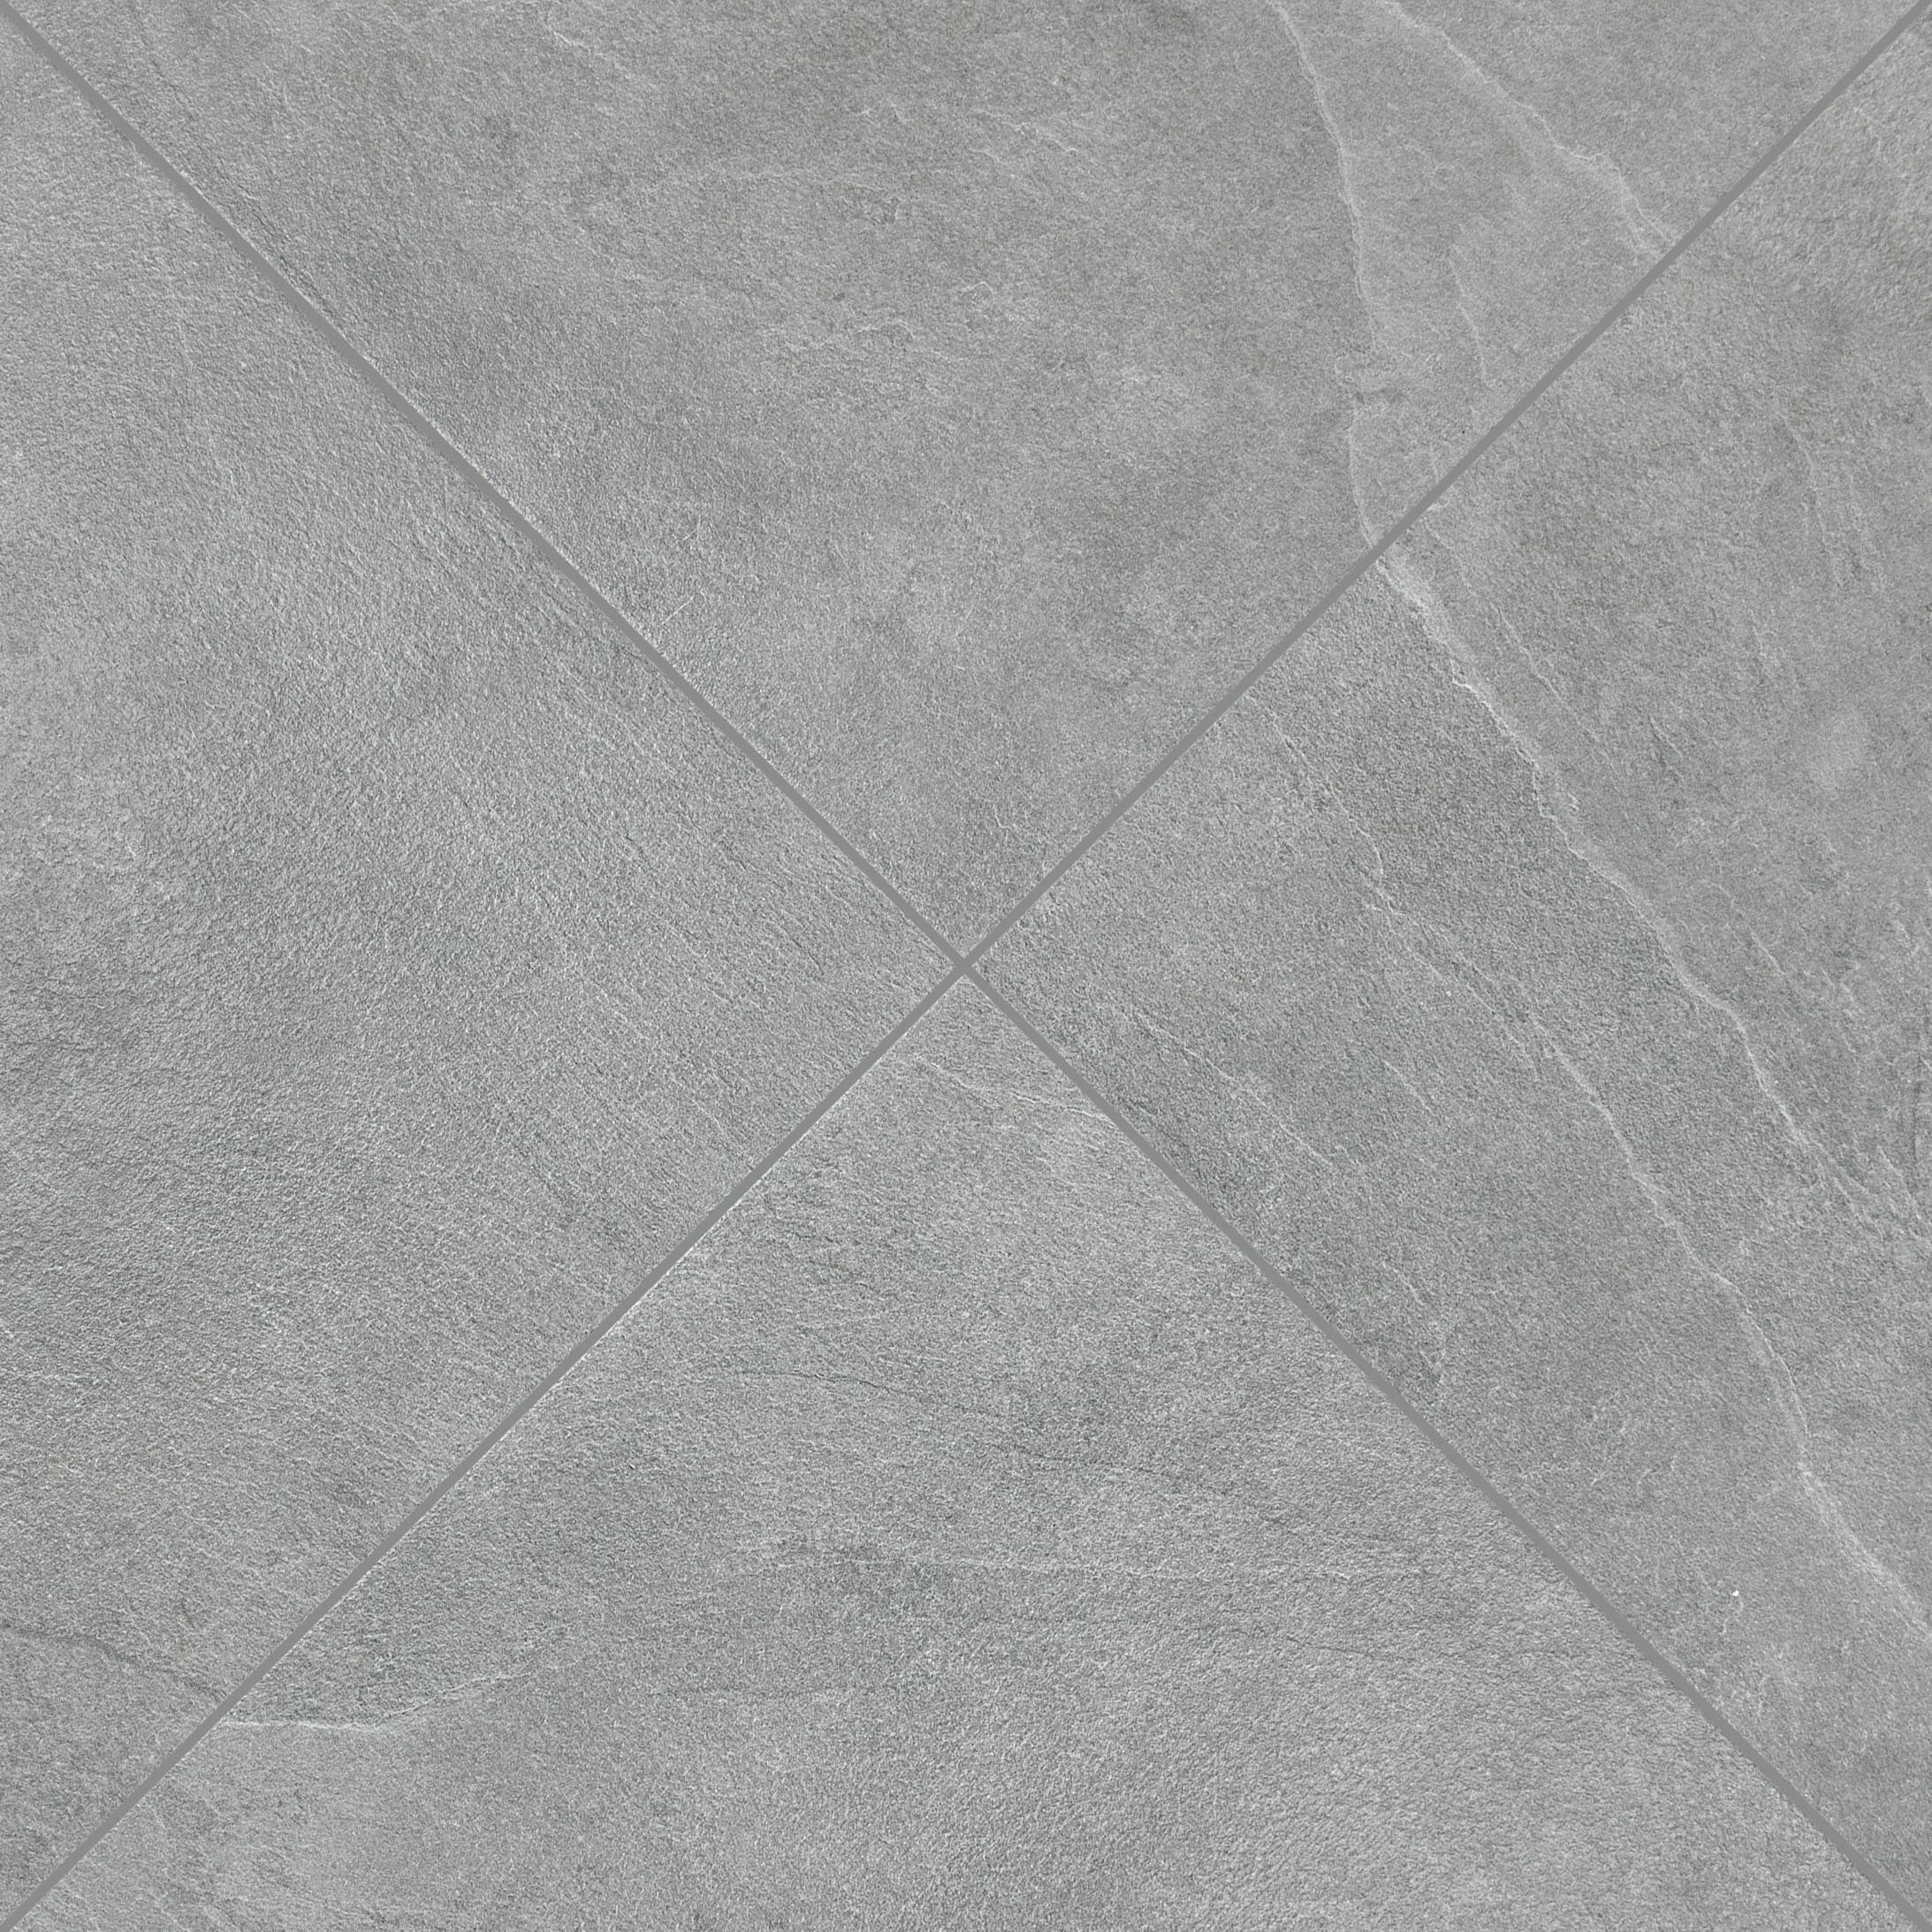
Grey Slate Look Porcelain Tile

Chiaro Terracotta Look Matte Porcelain Tile

Torcello Honed Italian Terrazzo Tile

Murano Honed Italian Terrazzo Tile
Cotto Terracotta Look Matte Porcelain Tile
Cream Limestone Look 3D Matte Porcelain Tile
Beige Limestone Look 3D Matte Porcelain Tile
Apple 12x24 3D Glossy Porcelain Tile
Travertino Moka Stone Look Porcelain Tile
Travertino 3D Matte Porcelain Tile
Amazzonite Matte Marble Look Porcelain Tile
Cream 12x24 3D Gloss Porcelain Tile
Spider Gold Matte Marble Look Porcelain Tile
Navy 12x24 3D Gloss Porcelain Tile
Almond Cement Look Matte Porcelain Tile
White Paradise Marble Look Porcelain Tile
Breccia Capraia 3D Mable Look Porcelain Tile
Borgogna 3D Matte Porcelain Tile
Calacatta Honed Italian Terrazzo Tile
Fior de Bosco Marble Look Porcelain Tile
Nut 9.5x60 Wood Look Porcelain Tile
Silver Limestone Look 3D Matte Porcelain Tile
Honey Slats 24x48 Wood Look Porcelain Tile
Taj Matte Marble Look Porcelain Tile
Venica Red Stone Look Porcelain Tile


No. 5 9x60 Rigid Core Vinyl Flooring


No. 13 9x60 Rigid Core Vinyl Flooring
Pearl Hammered Limestone Look Matte Porcelain Tile
Almond Hammered Limestone Look Matte Porcelain Tile
Slate 48x48 Cement Look Porcelain Tile
No. 6 Engineered Wood Flooring
No. 2 Engineered Wood Flooring
No. 12 Engineered Wood Flooring
No. 10 Engineered Wood Flooring


No. 3 9x60 Rigid Core Vinyl Flooring


No. 9 9x60 Rigid Core Vinyl Flooring


No. 11 9x60 Rigid Core Vinyl Flooring


No. 15 9x60 Rigid Core Vinyl Flooring
Montblack Matte Marble Look Porcelain Tile
Ivory Marble Look Matte Porcelain Tile
Nude 12x24 3D Gloss Porcelain Tile
Ash Cement Look Matte Porcelain Tile


White & Ecru Octagon Zellige Mosaic

Cotto Deco Terracotta Look Matte Porcelain Tile
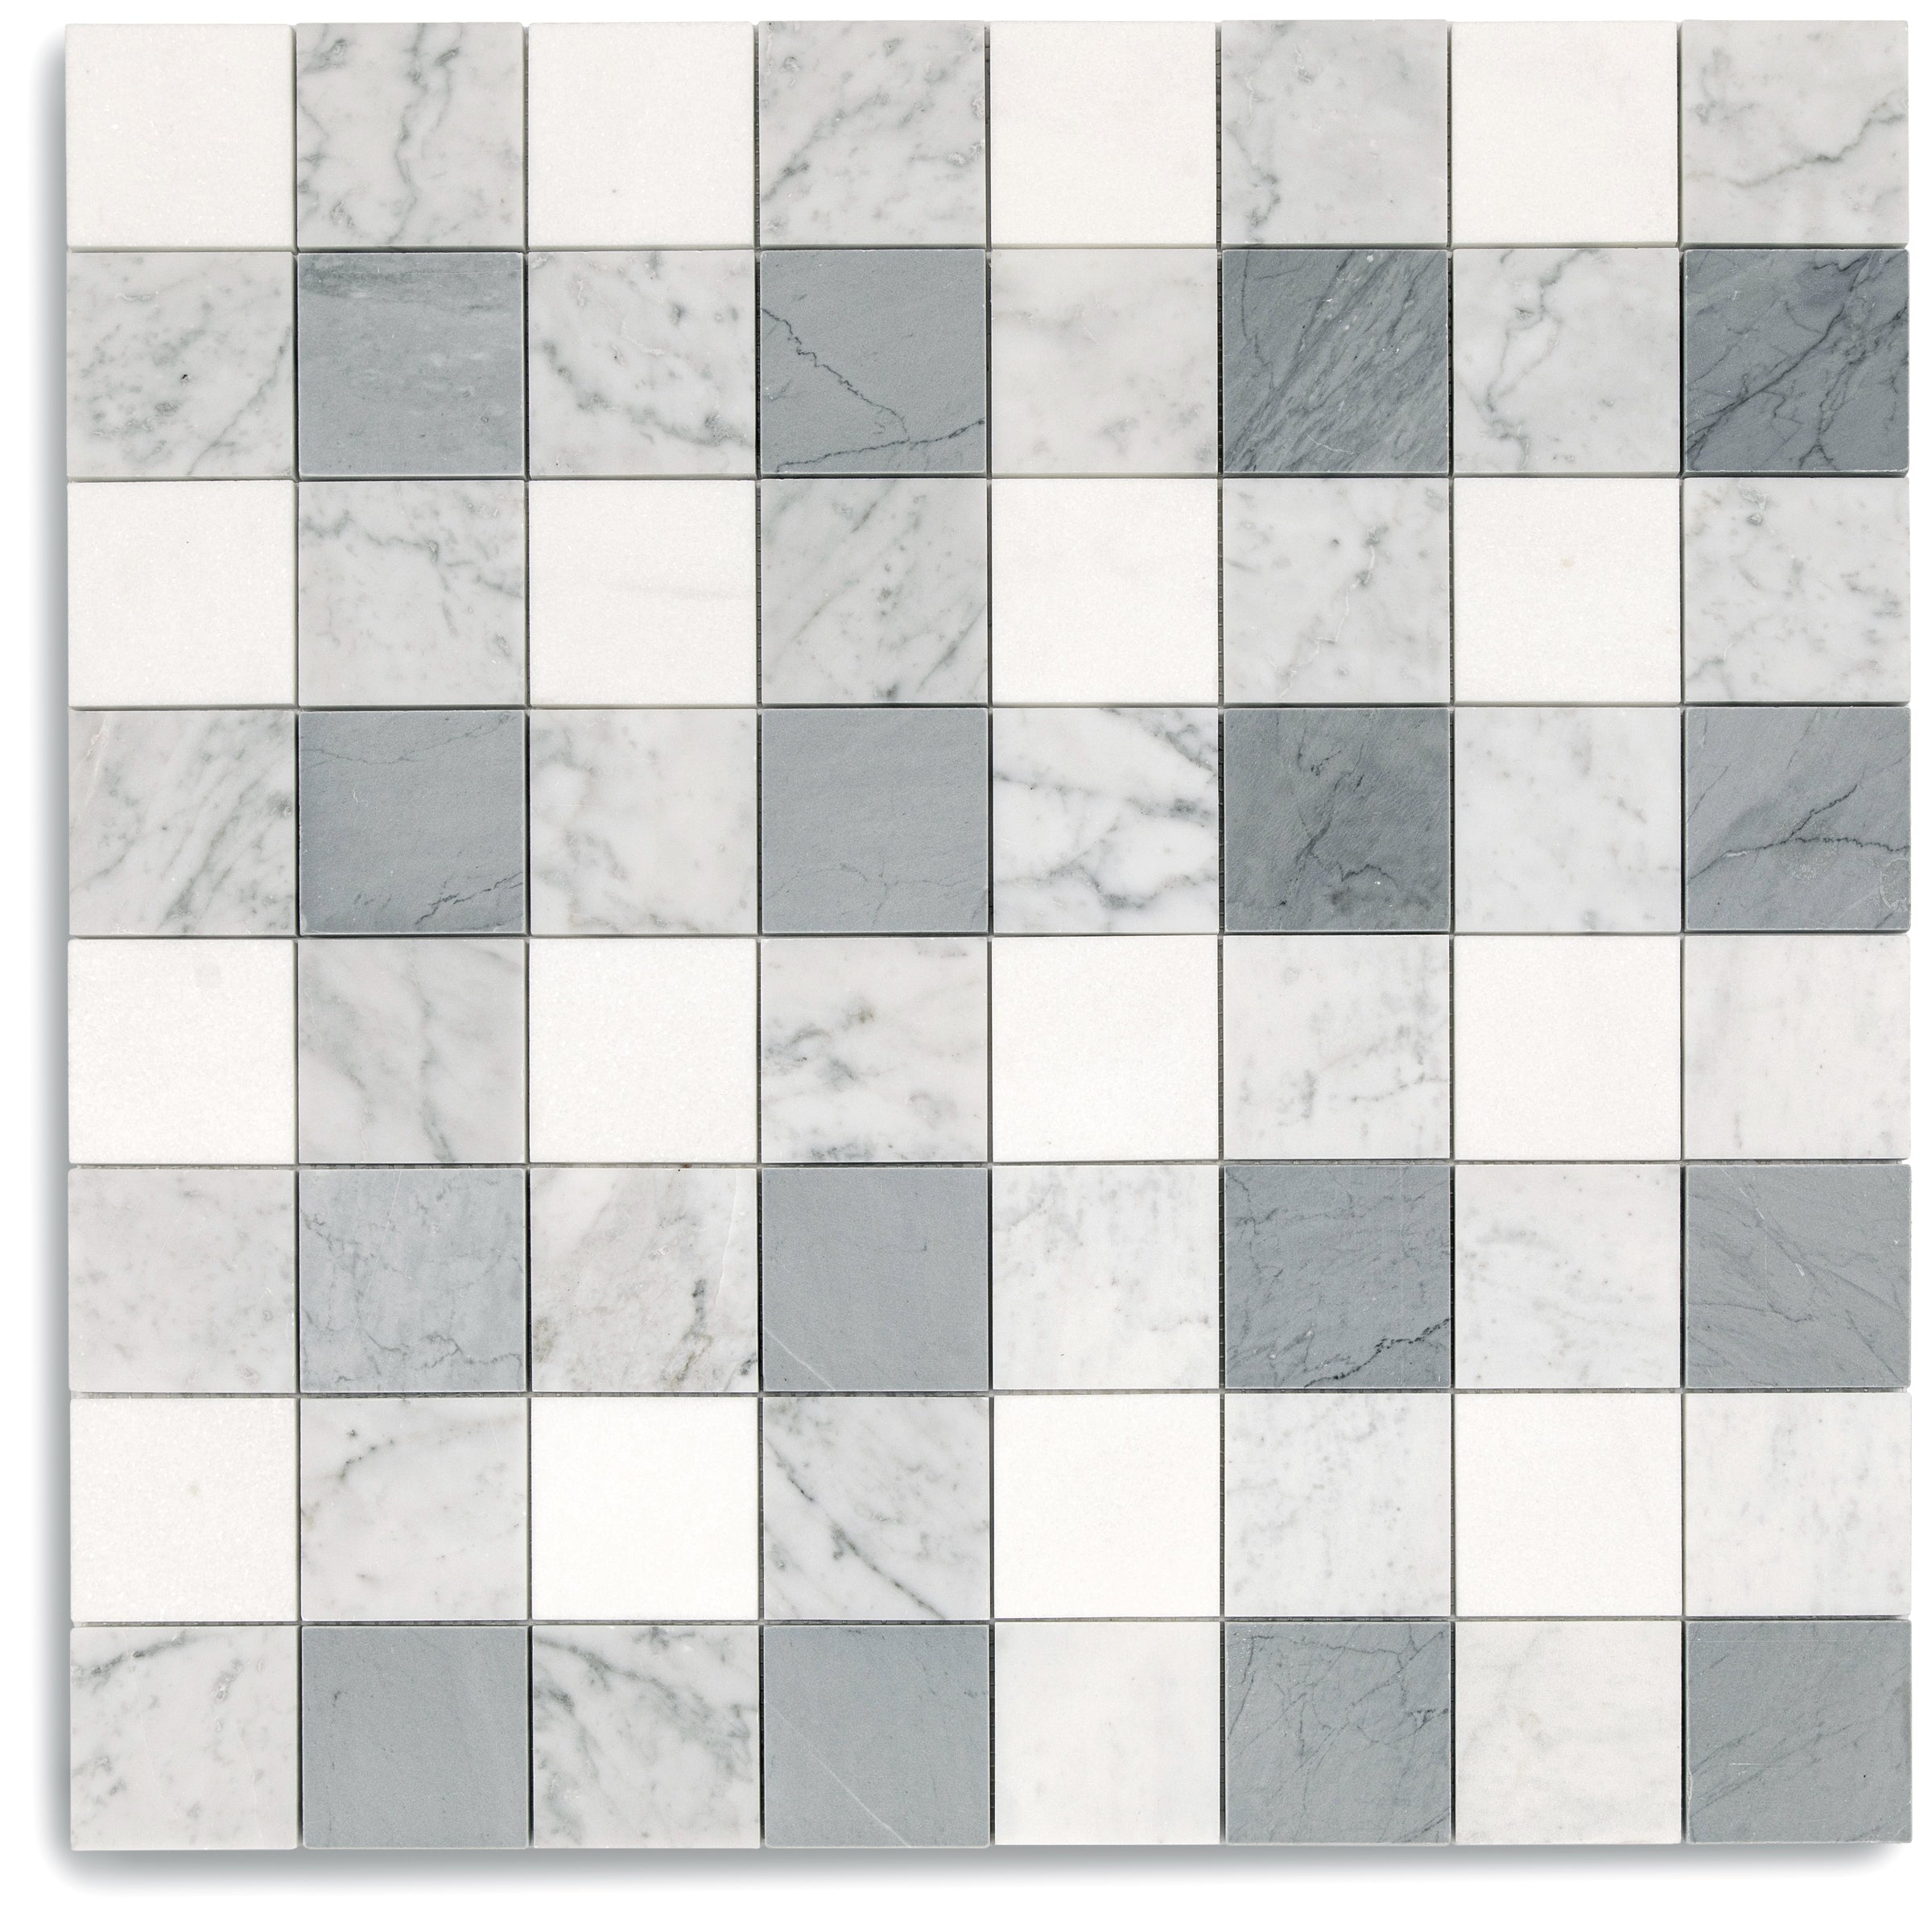
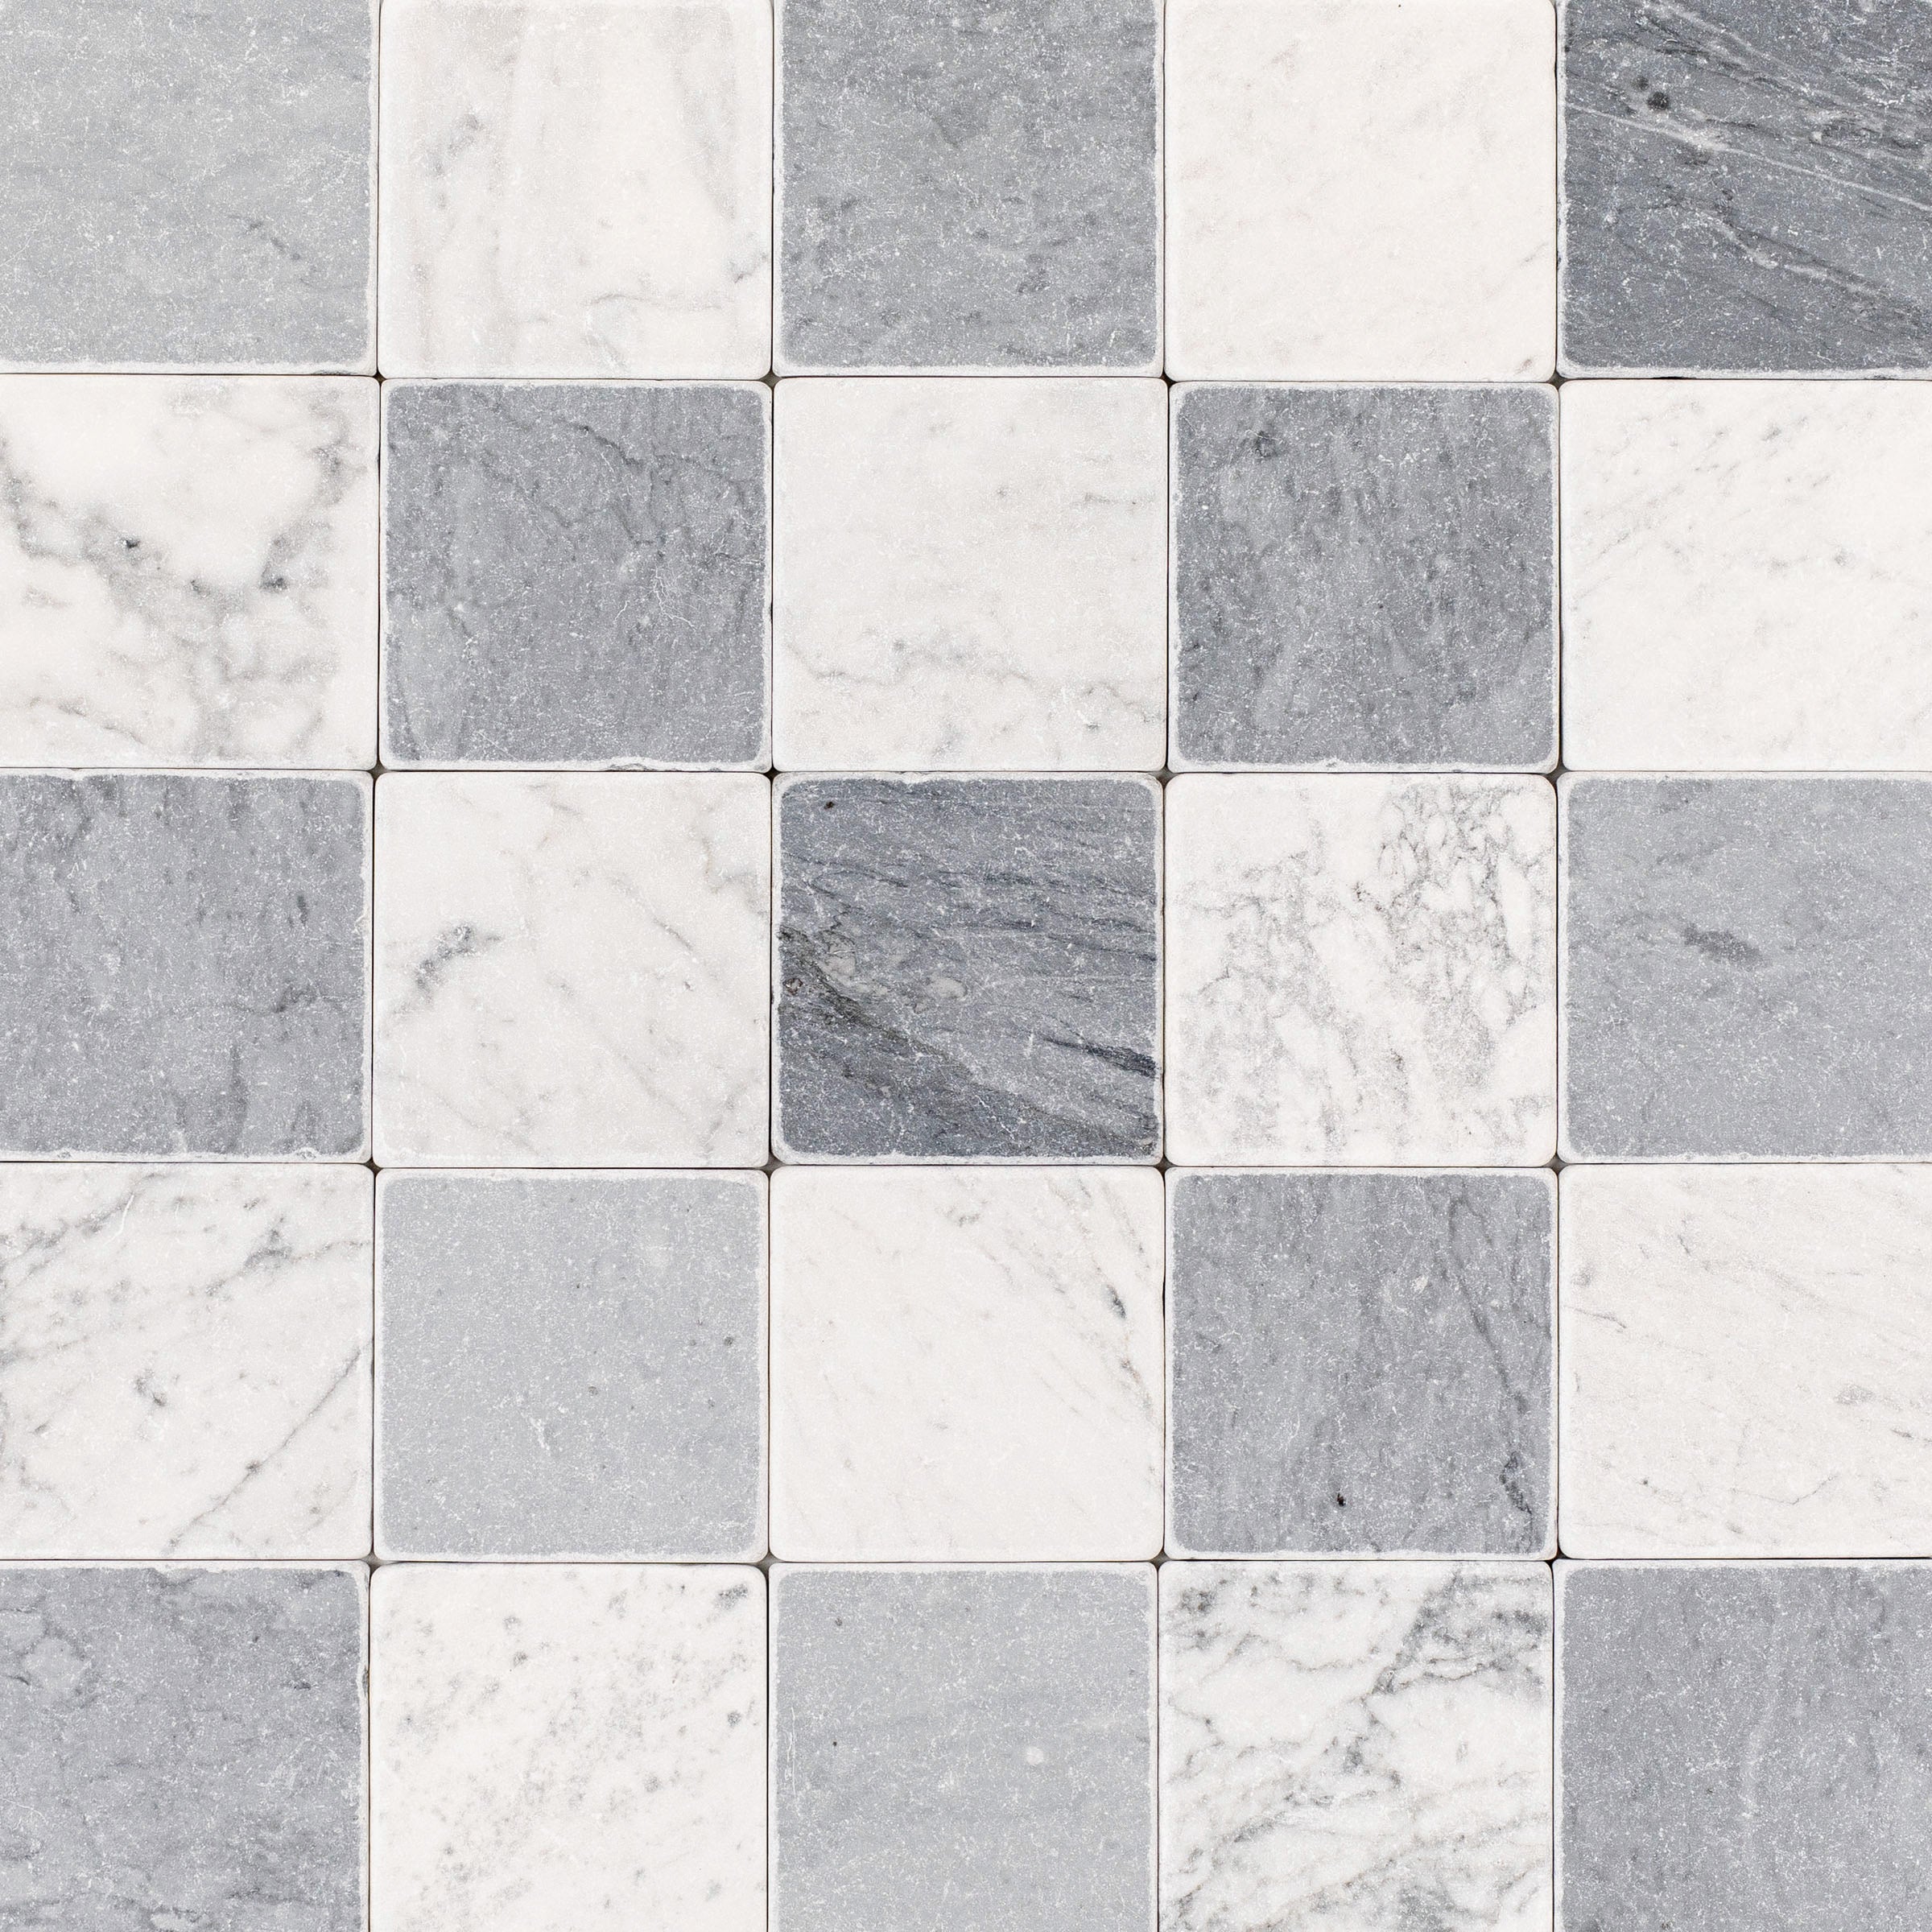
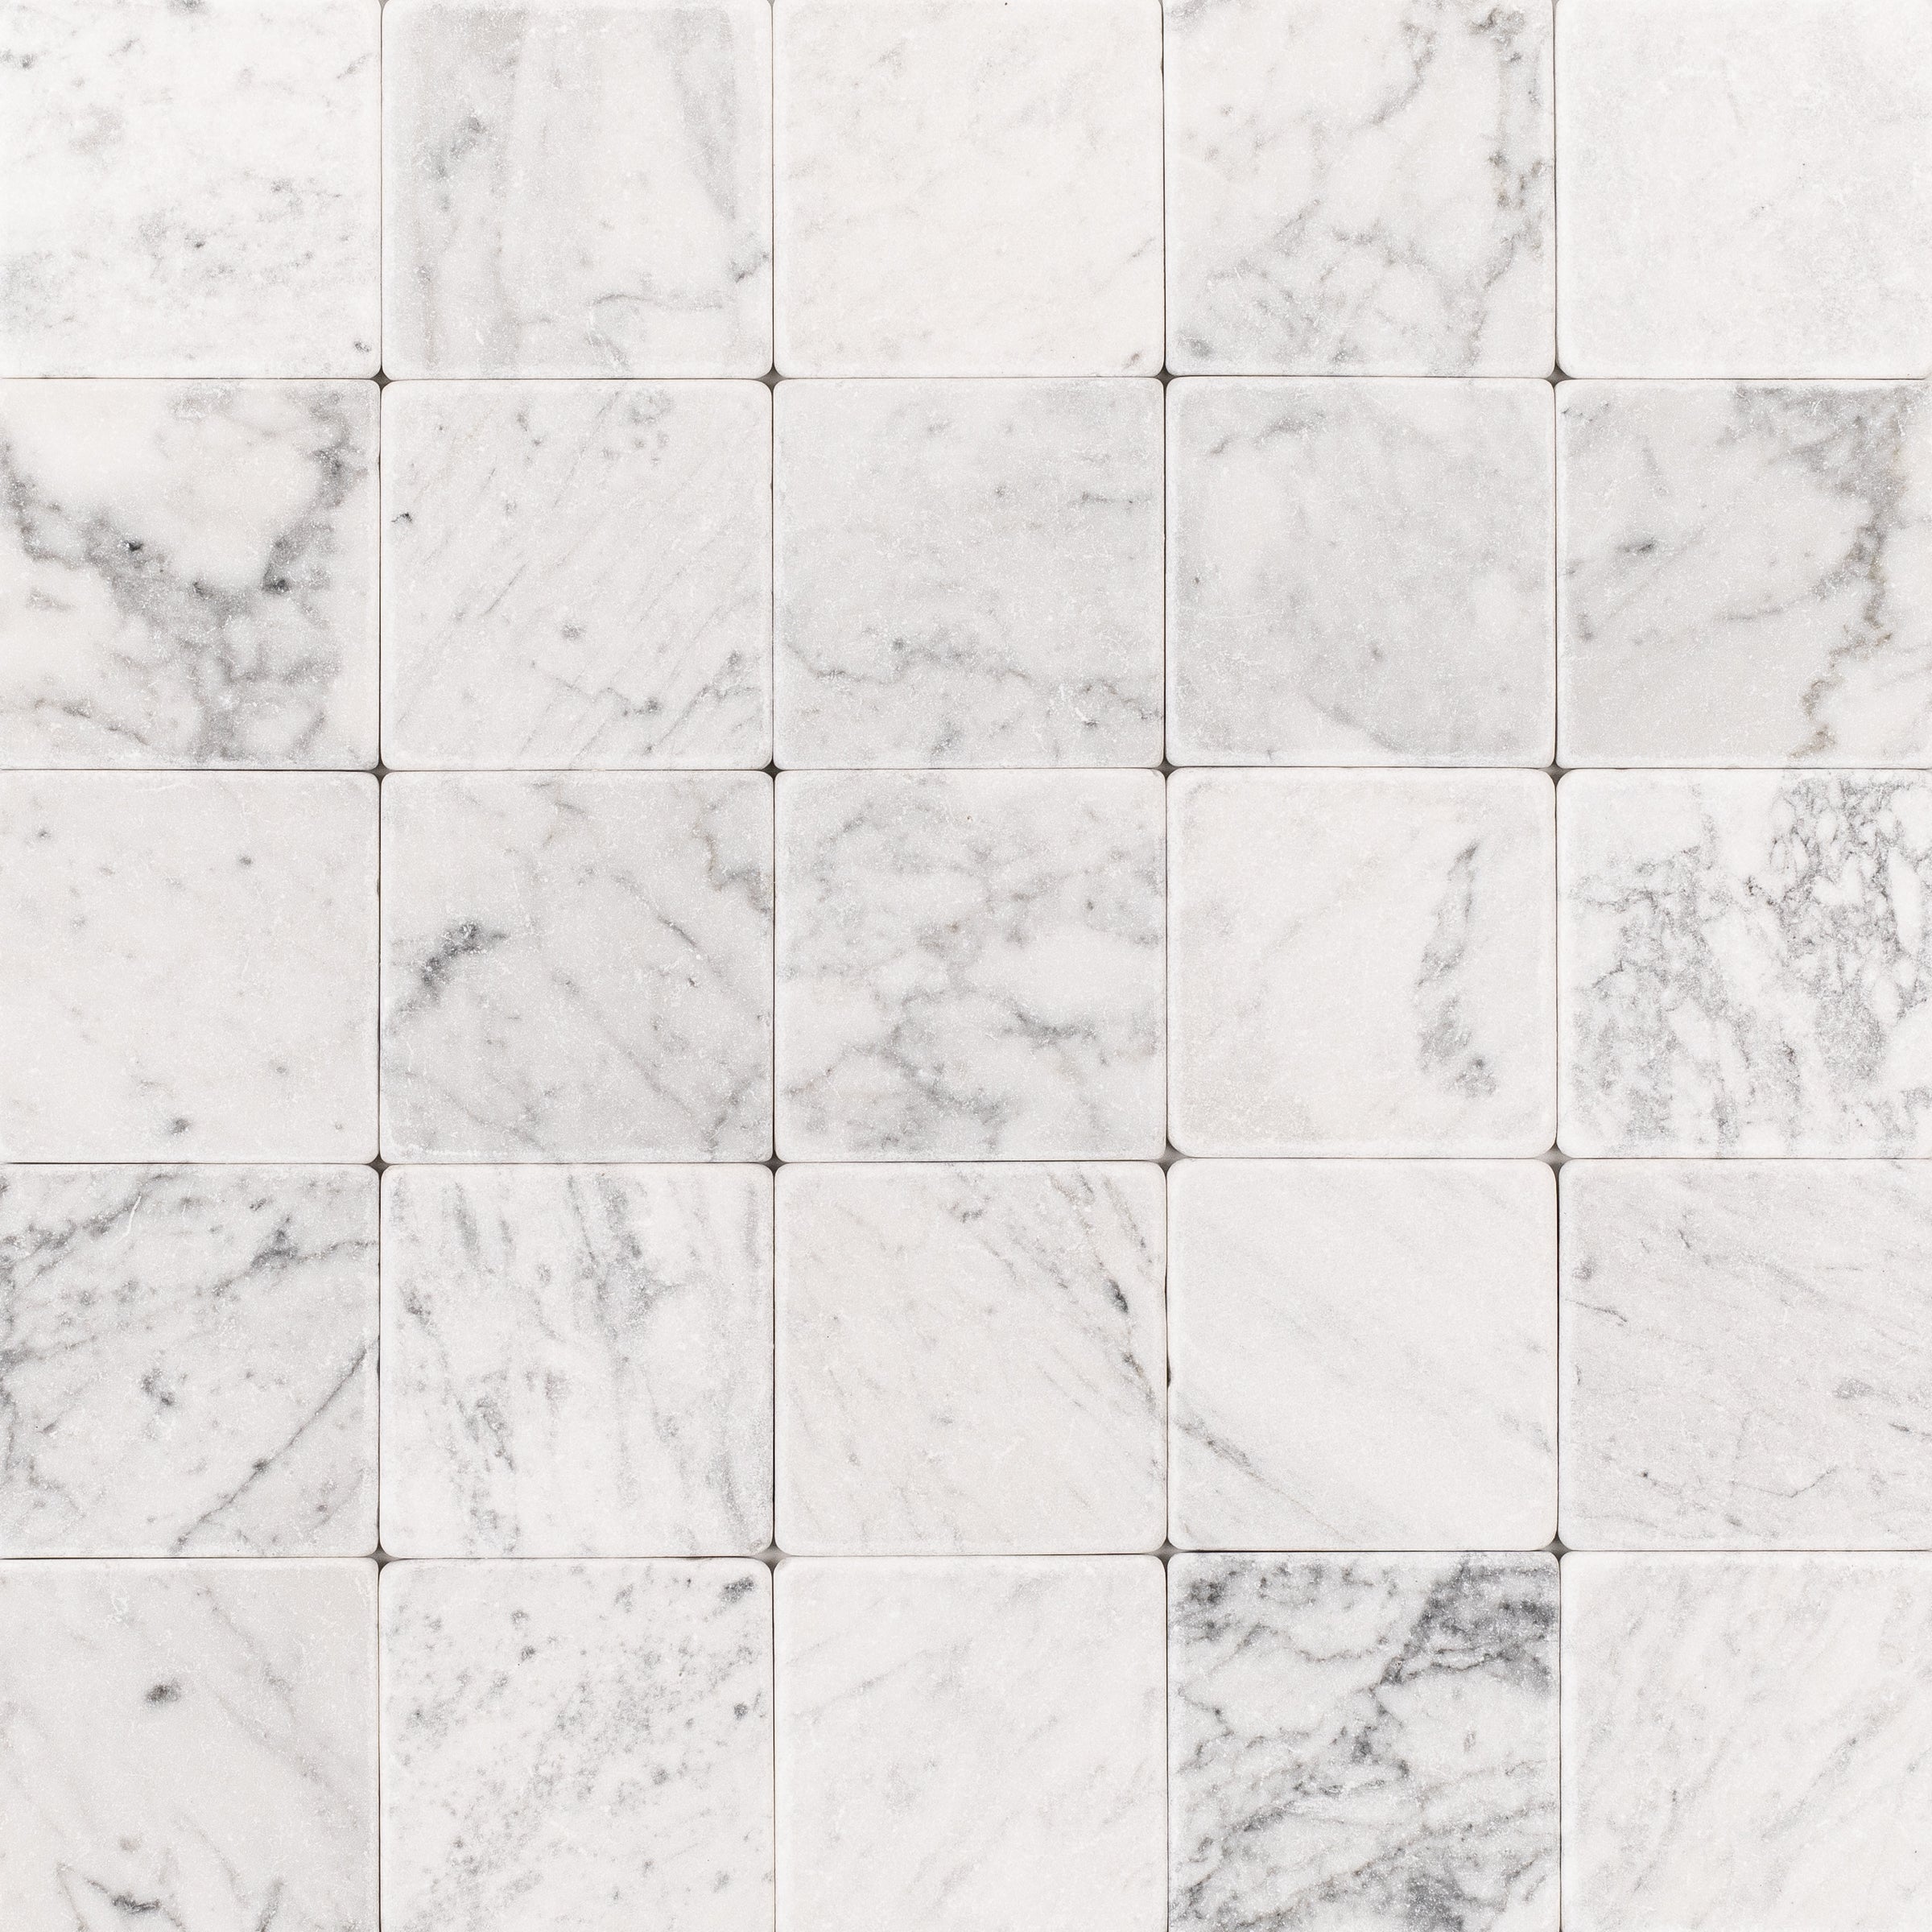
Thassos, Carrara, Bardiglio Gingham Marble Mosaic


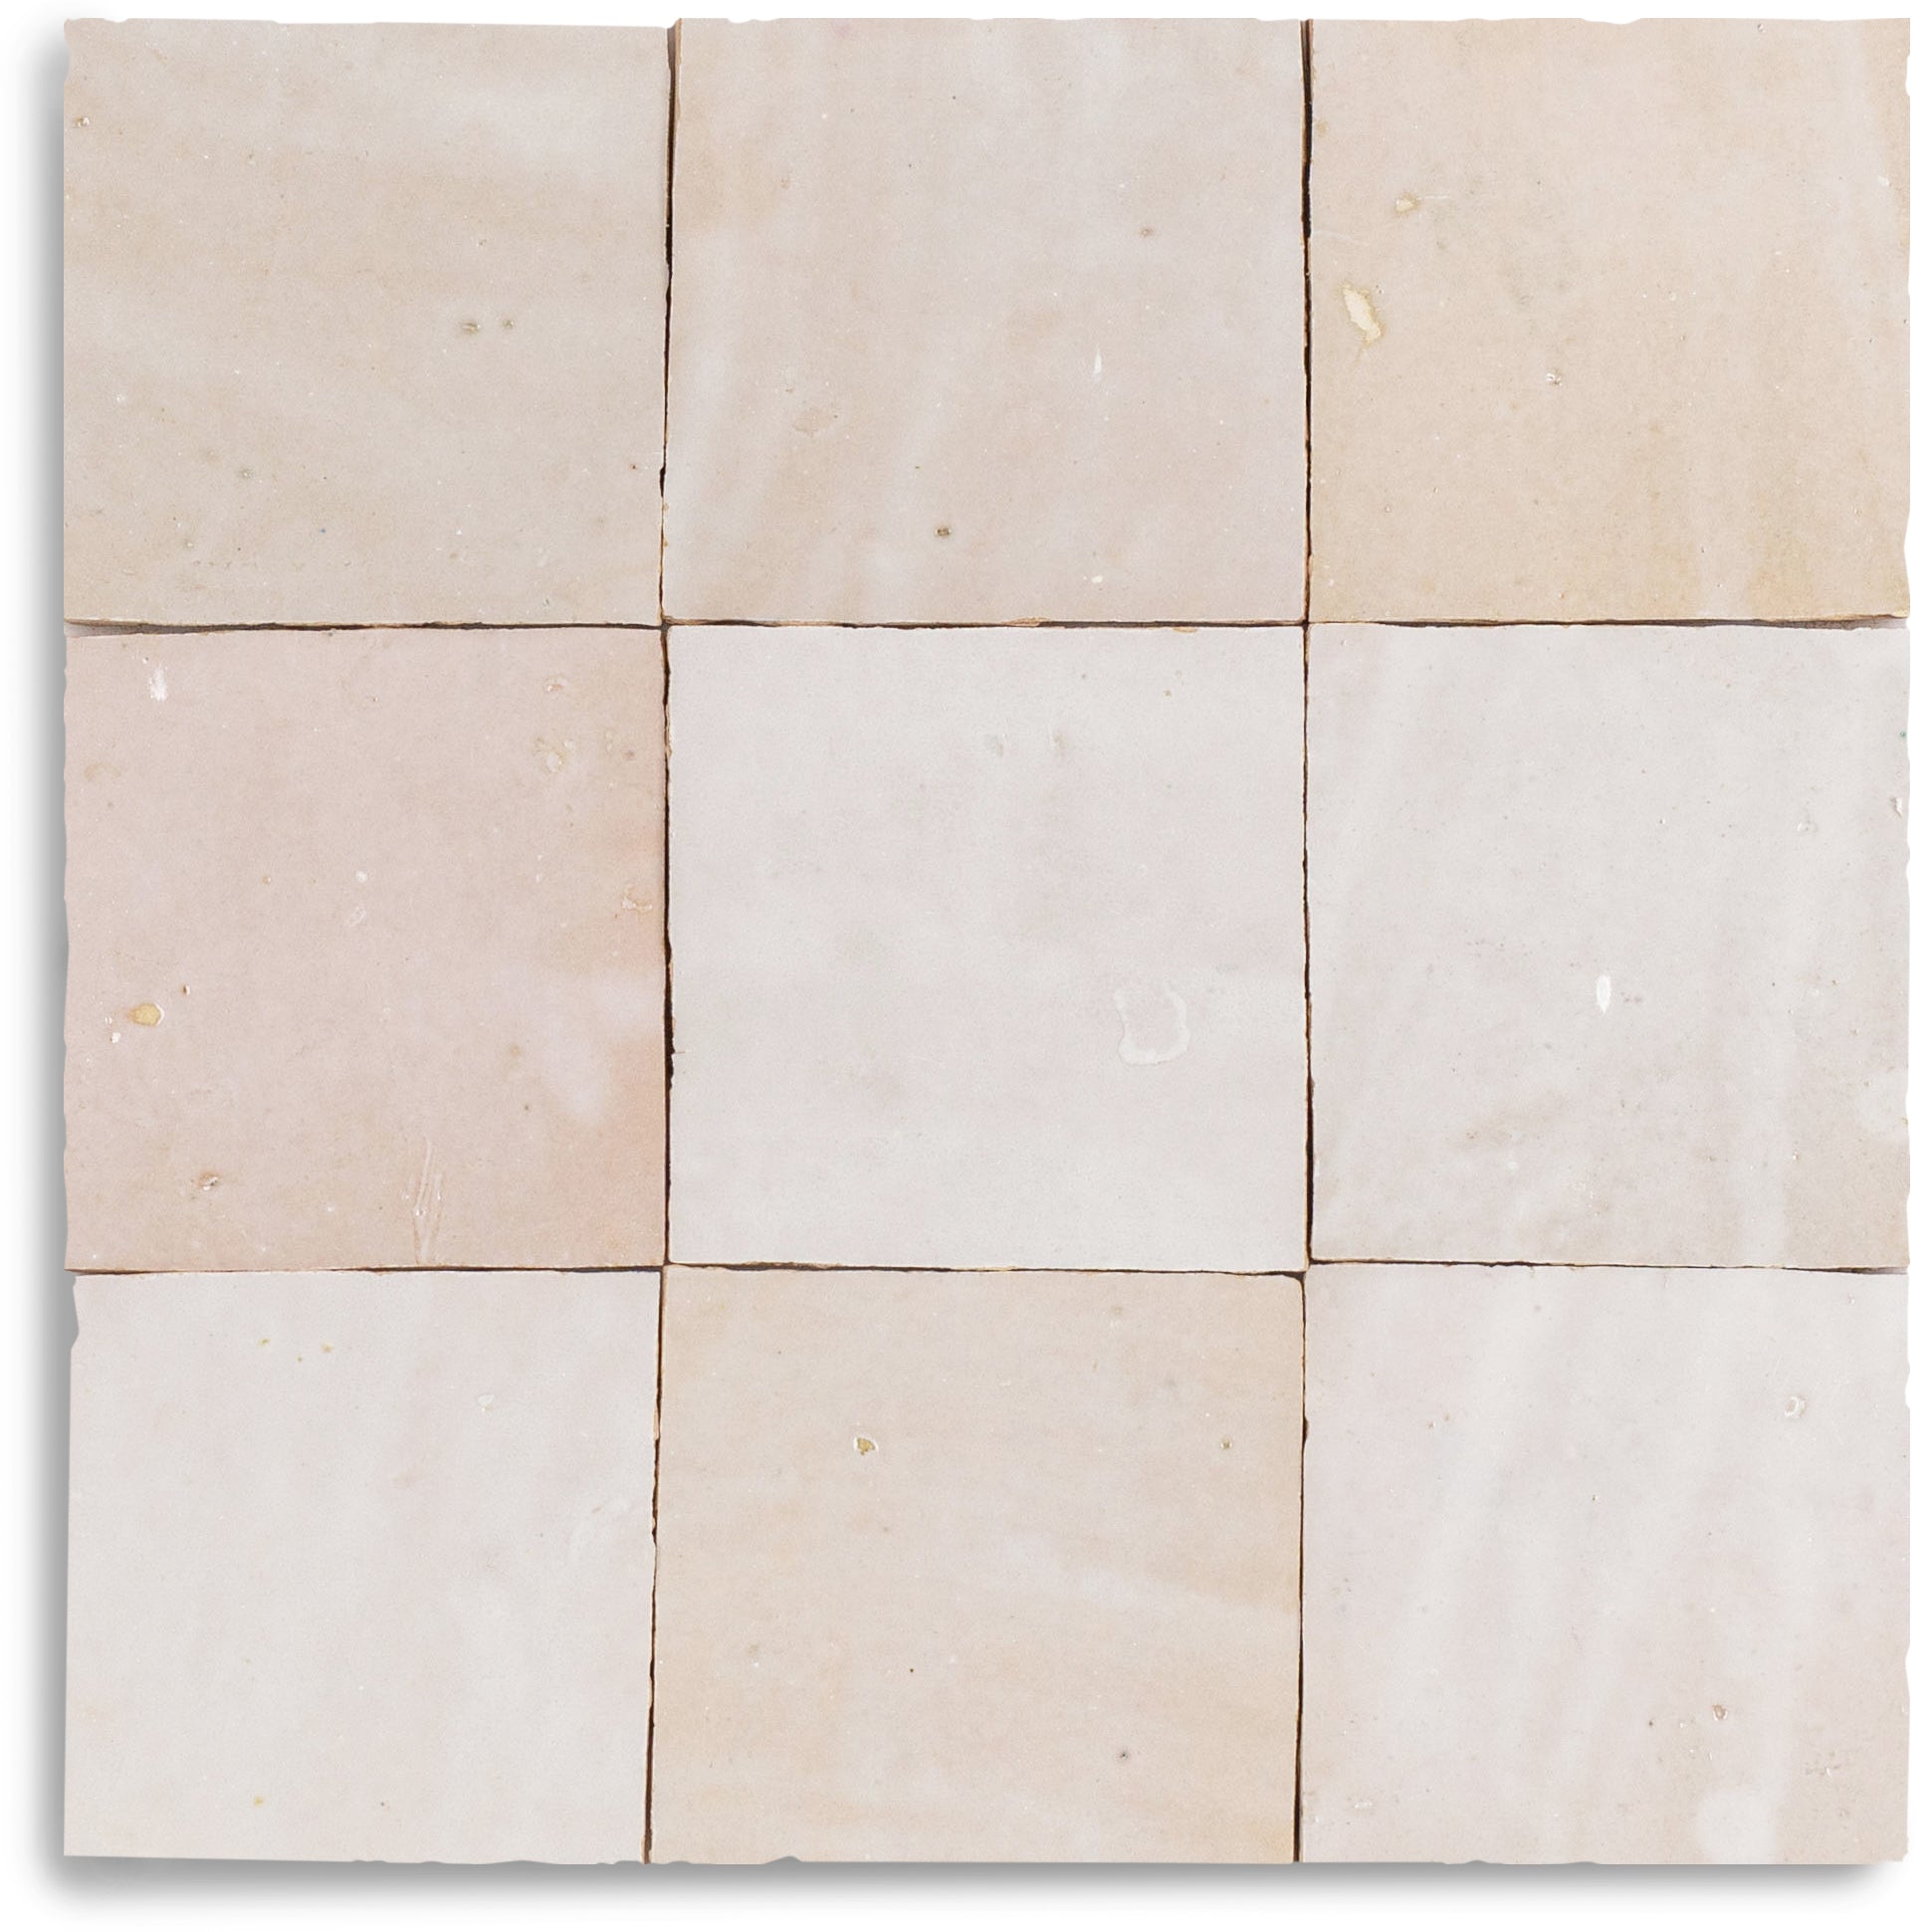
White & Ecru 2x2 Zellige Checkerboard Mosaic


Unglazed & White Octagon Zellige Mosaic
Murano Honed Italian Terrazzo Tile


Cotto Terracotta Look Matte Porcelain Tile

Carrara Bardiglio Tumbled Stone Checkerboard

Chiaro Deco Terracotta Look Matte Porcelain Tile


Cream Limestone Look 3D Matte Porcelain Tile


White & Black Octagon Zellige Mosaic
Beige Limestone Look 3D Matte Porcelain Tile
Apple 12x24 3D Glossy Porcelain Tile

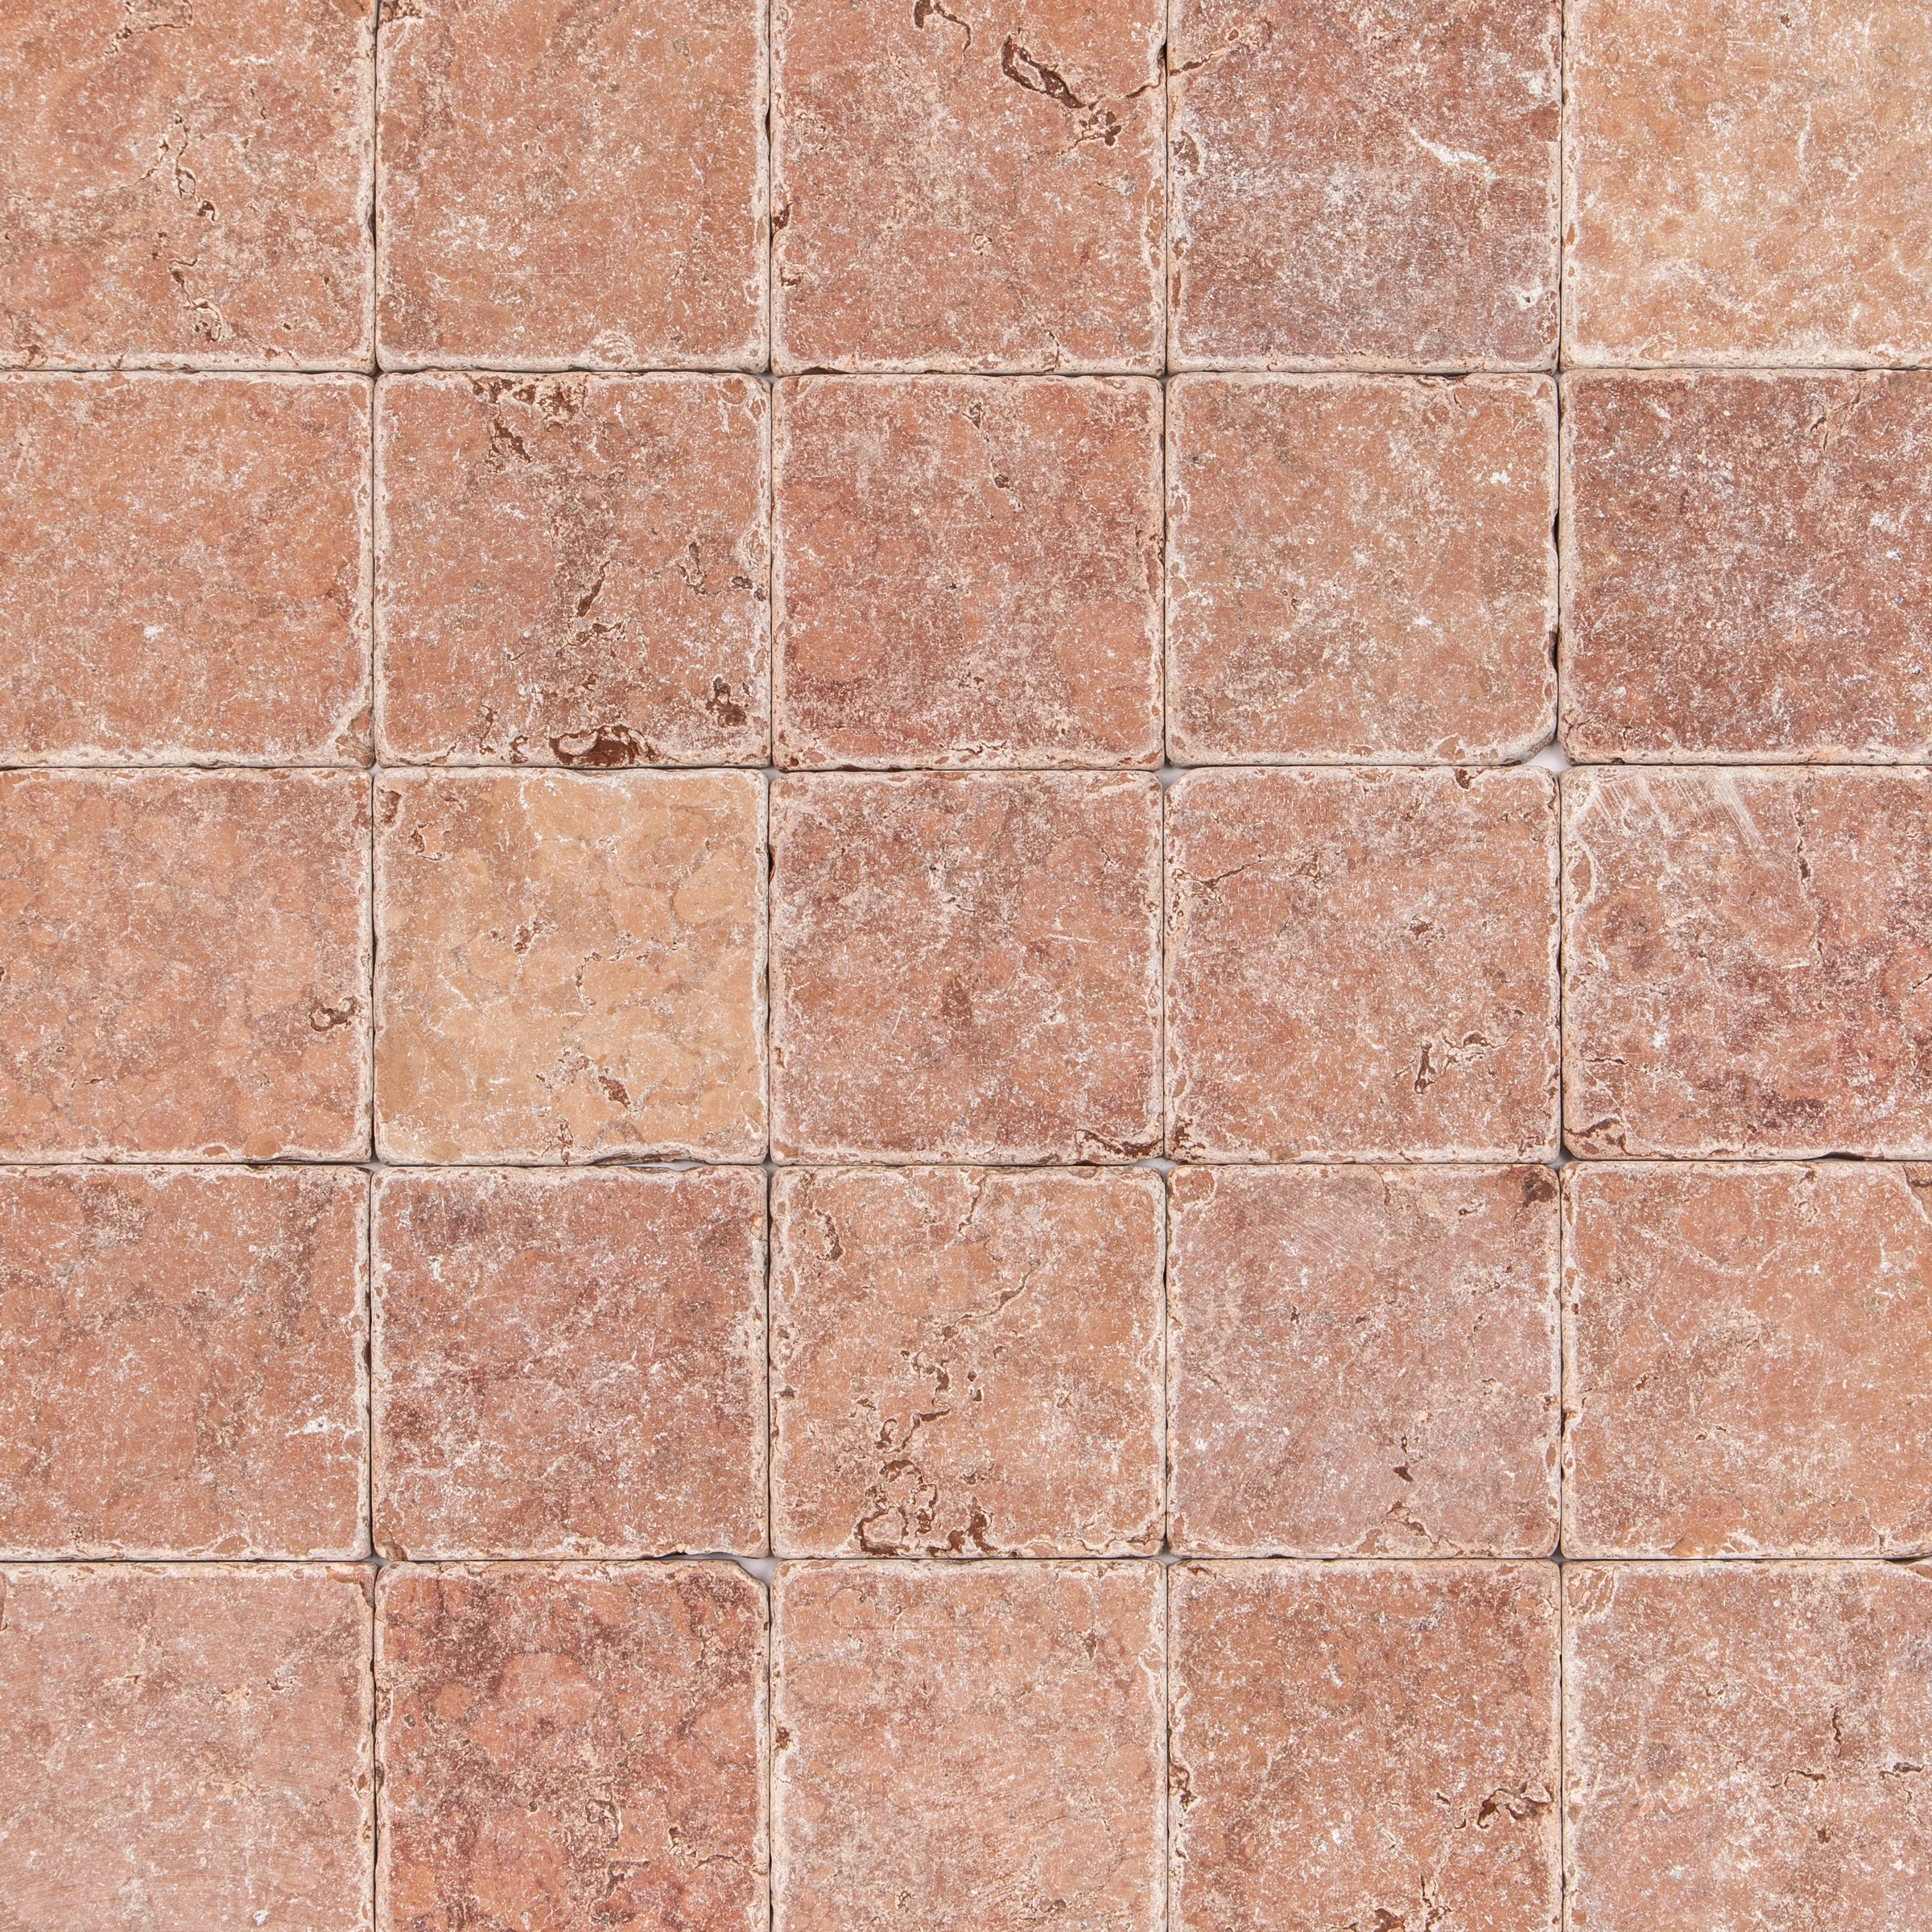
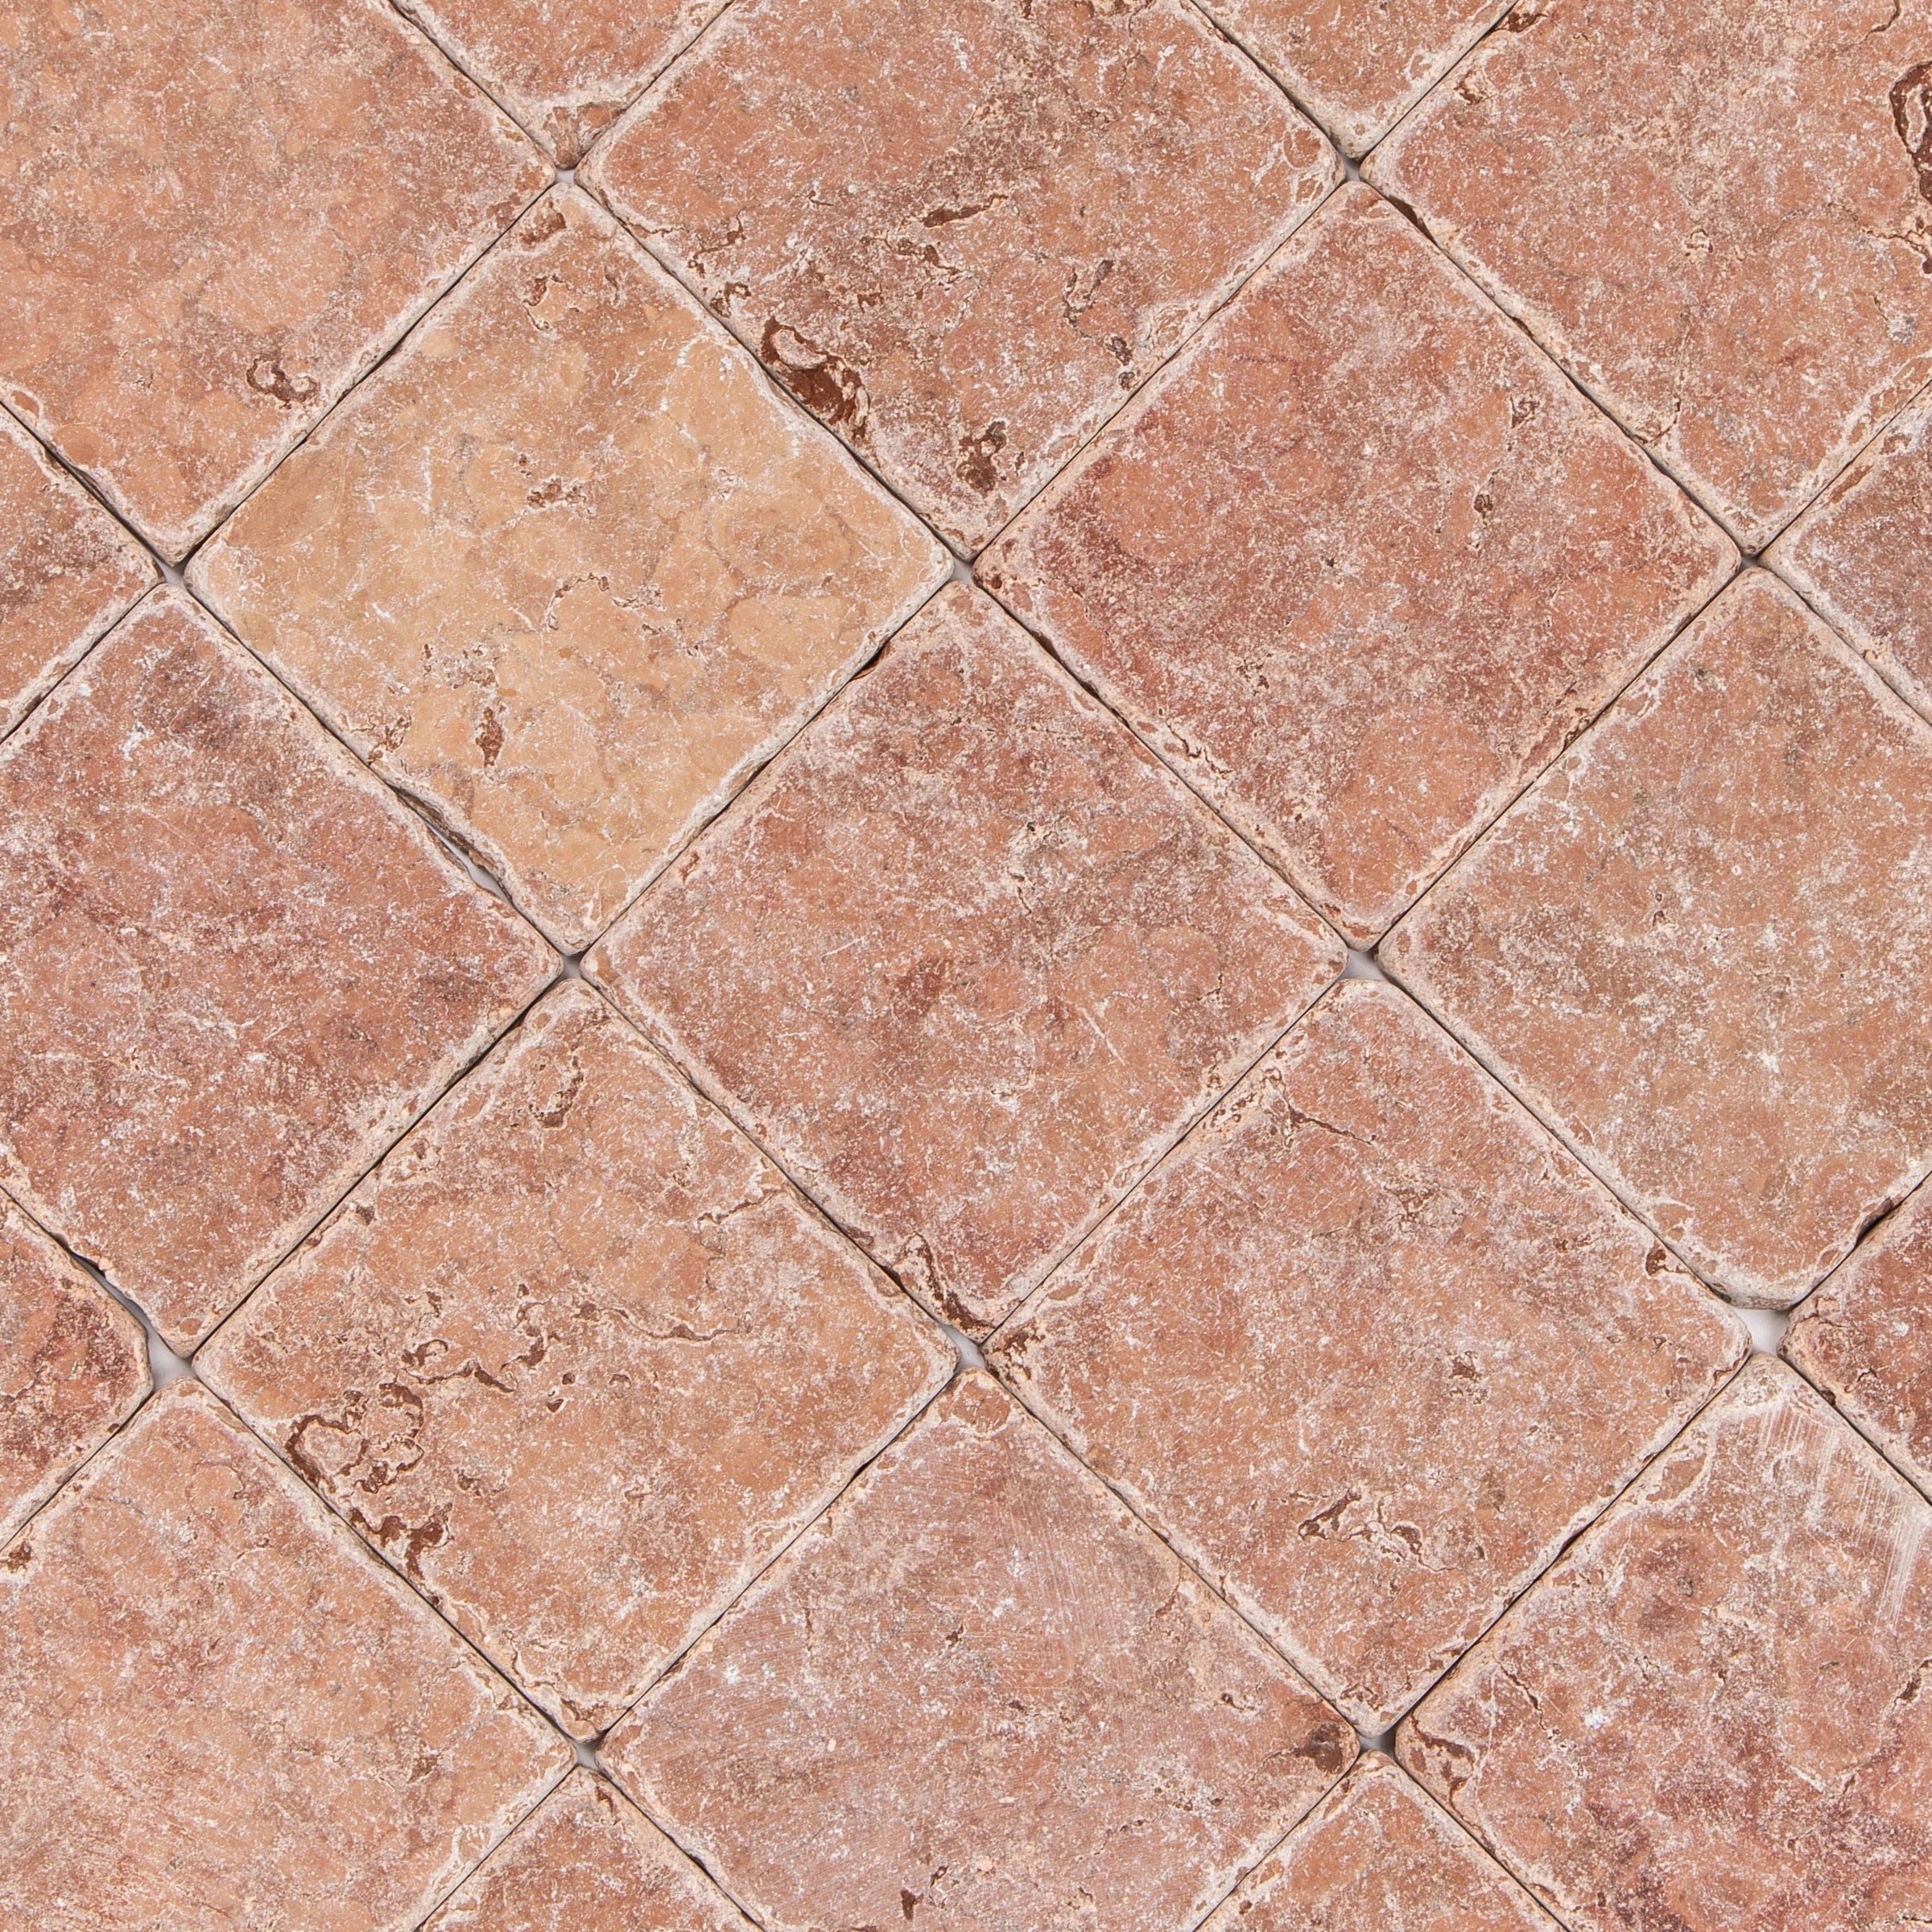
Rosso Verona Tumbled Marble Tile


Travertino Moka Stone Look Porcelain Tile
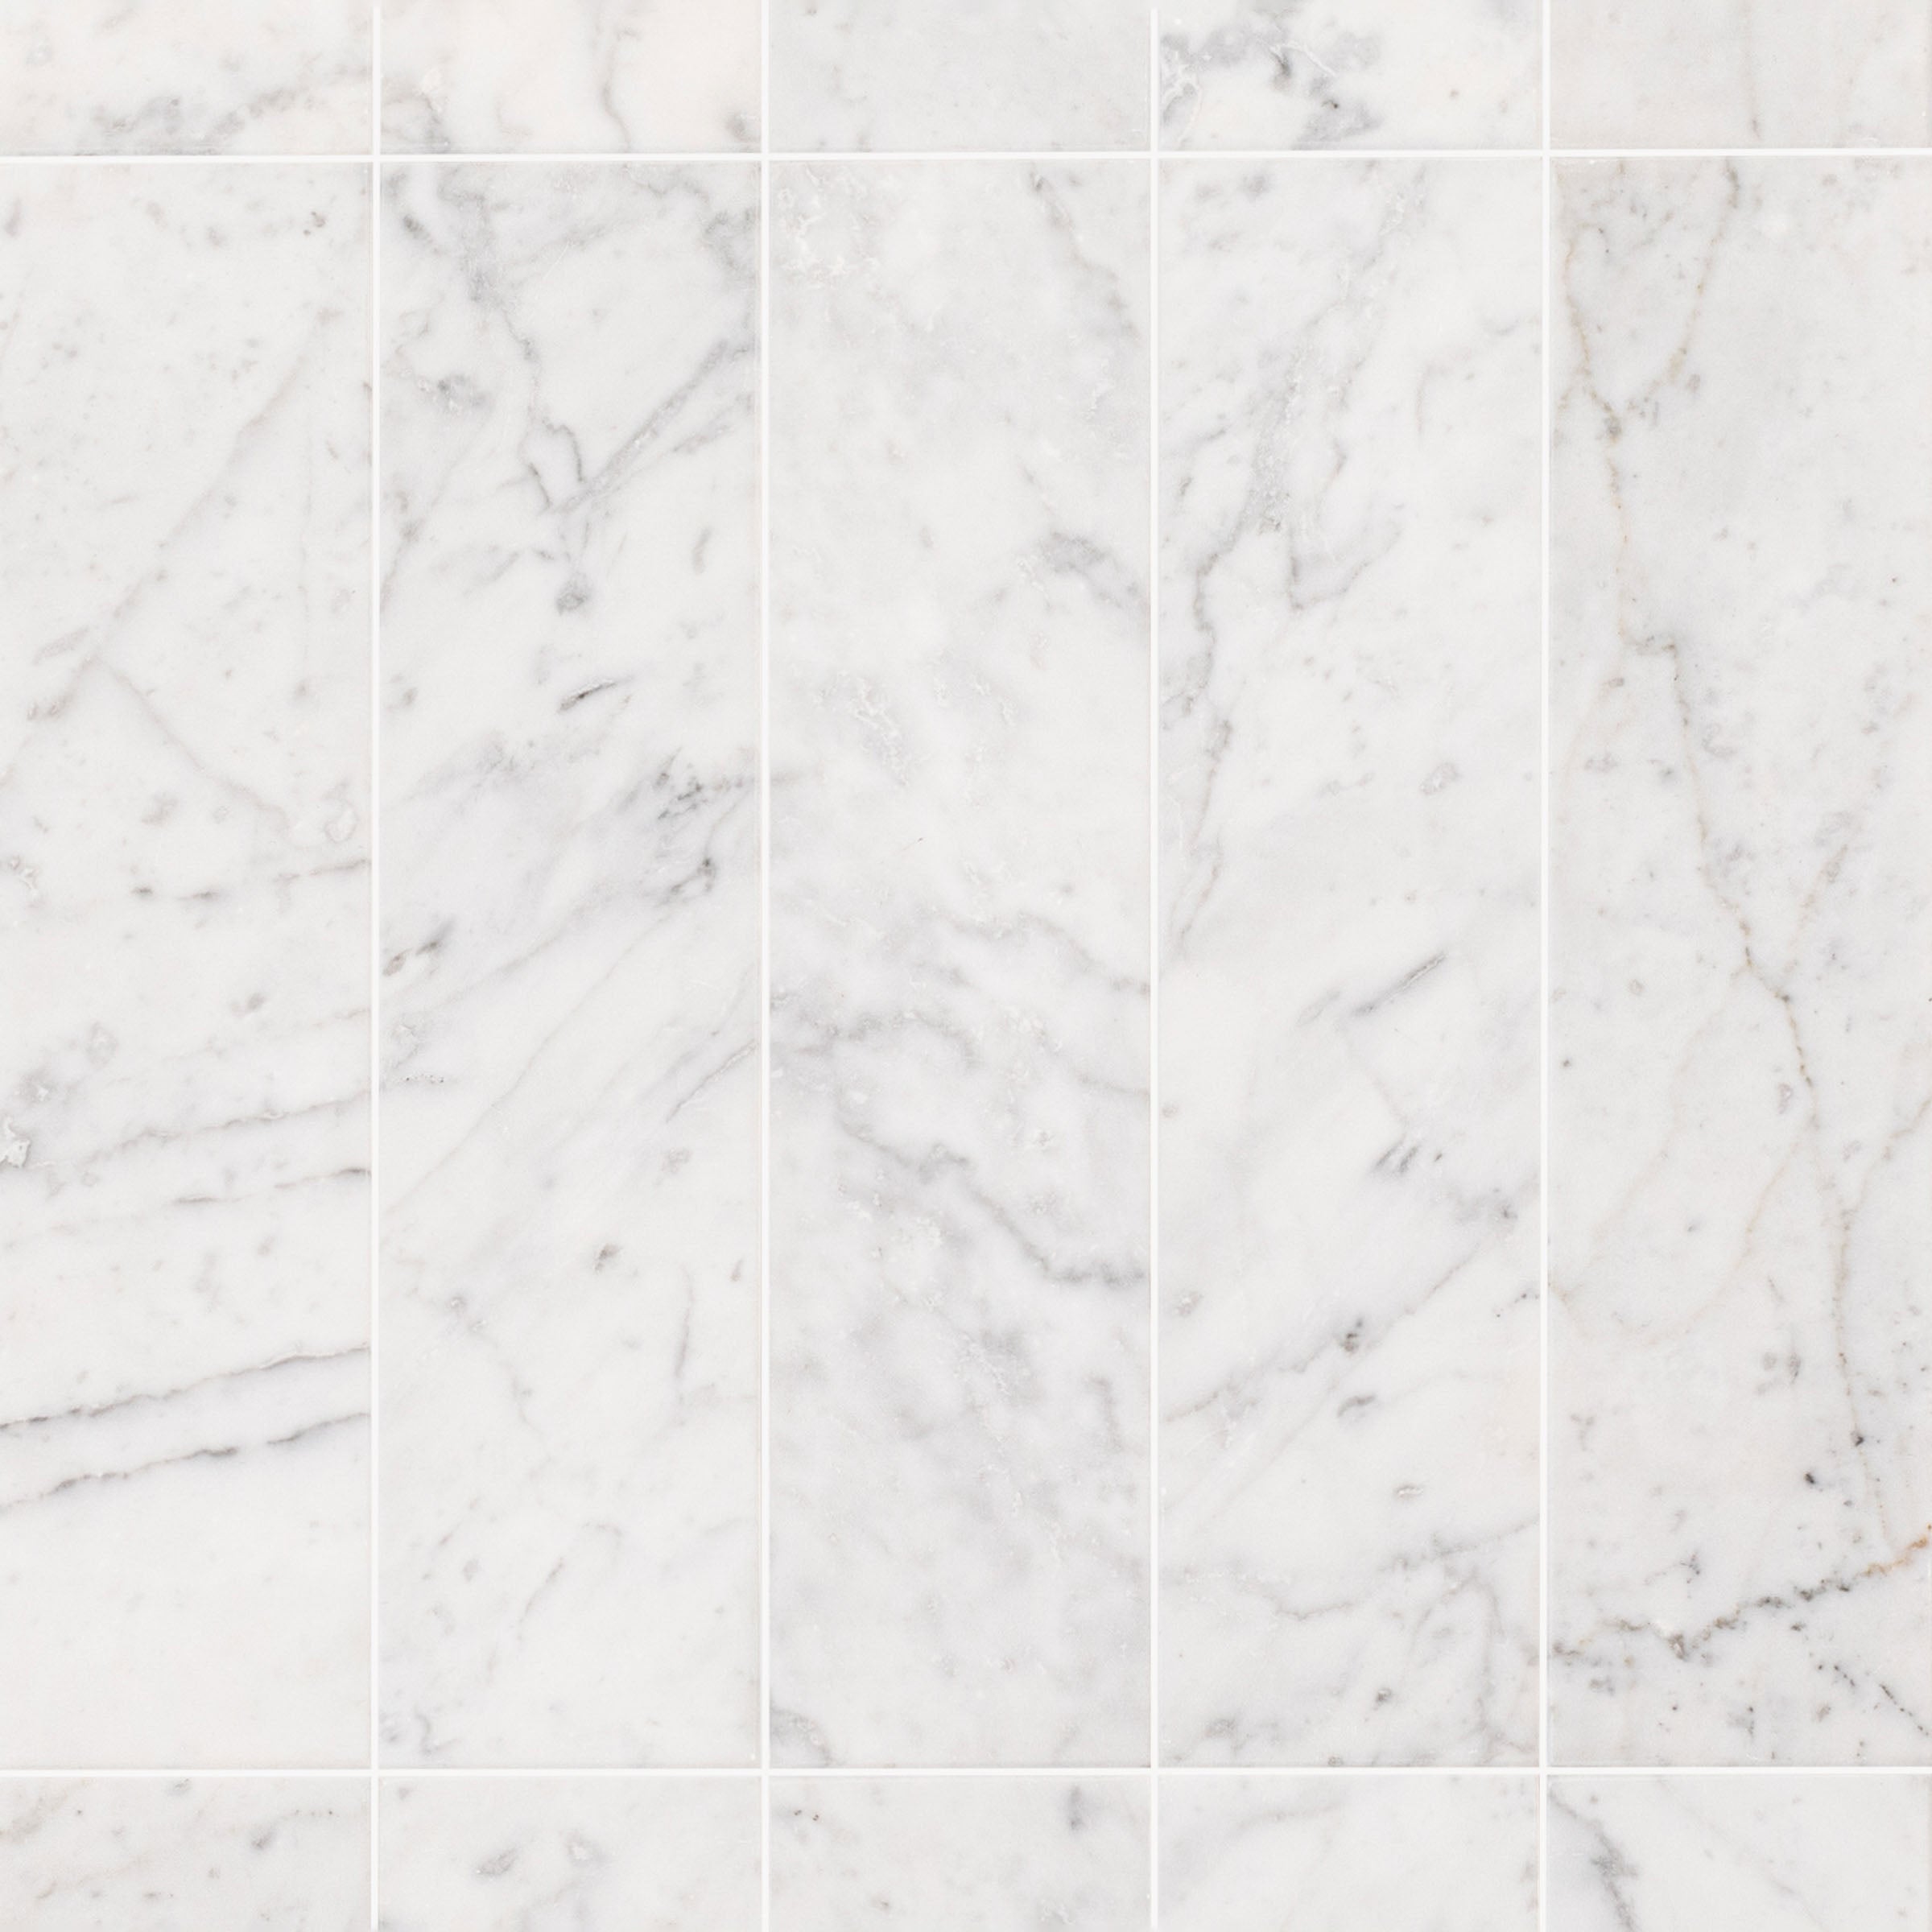
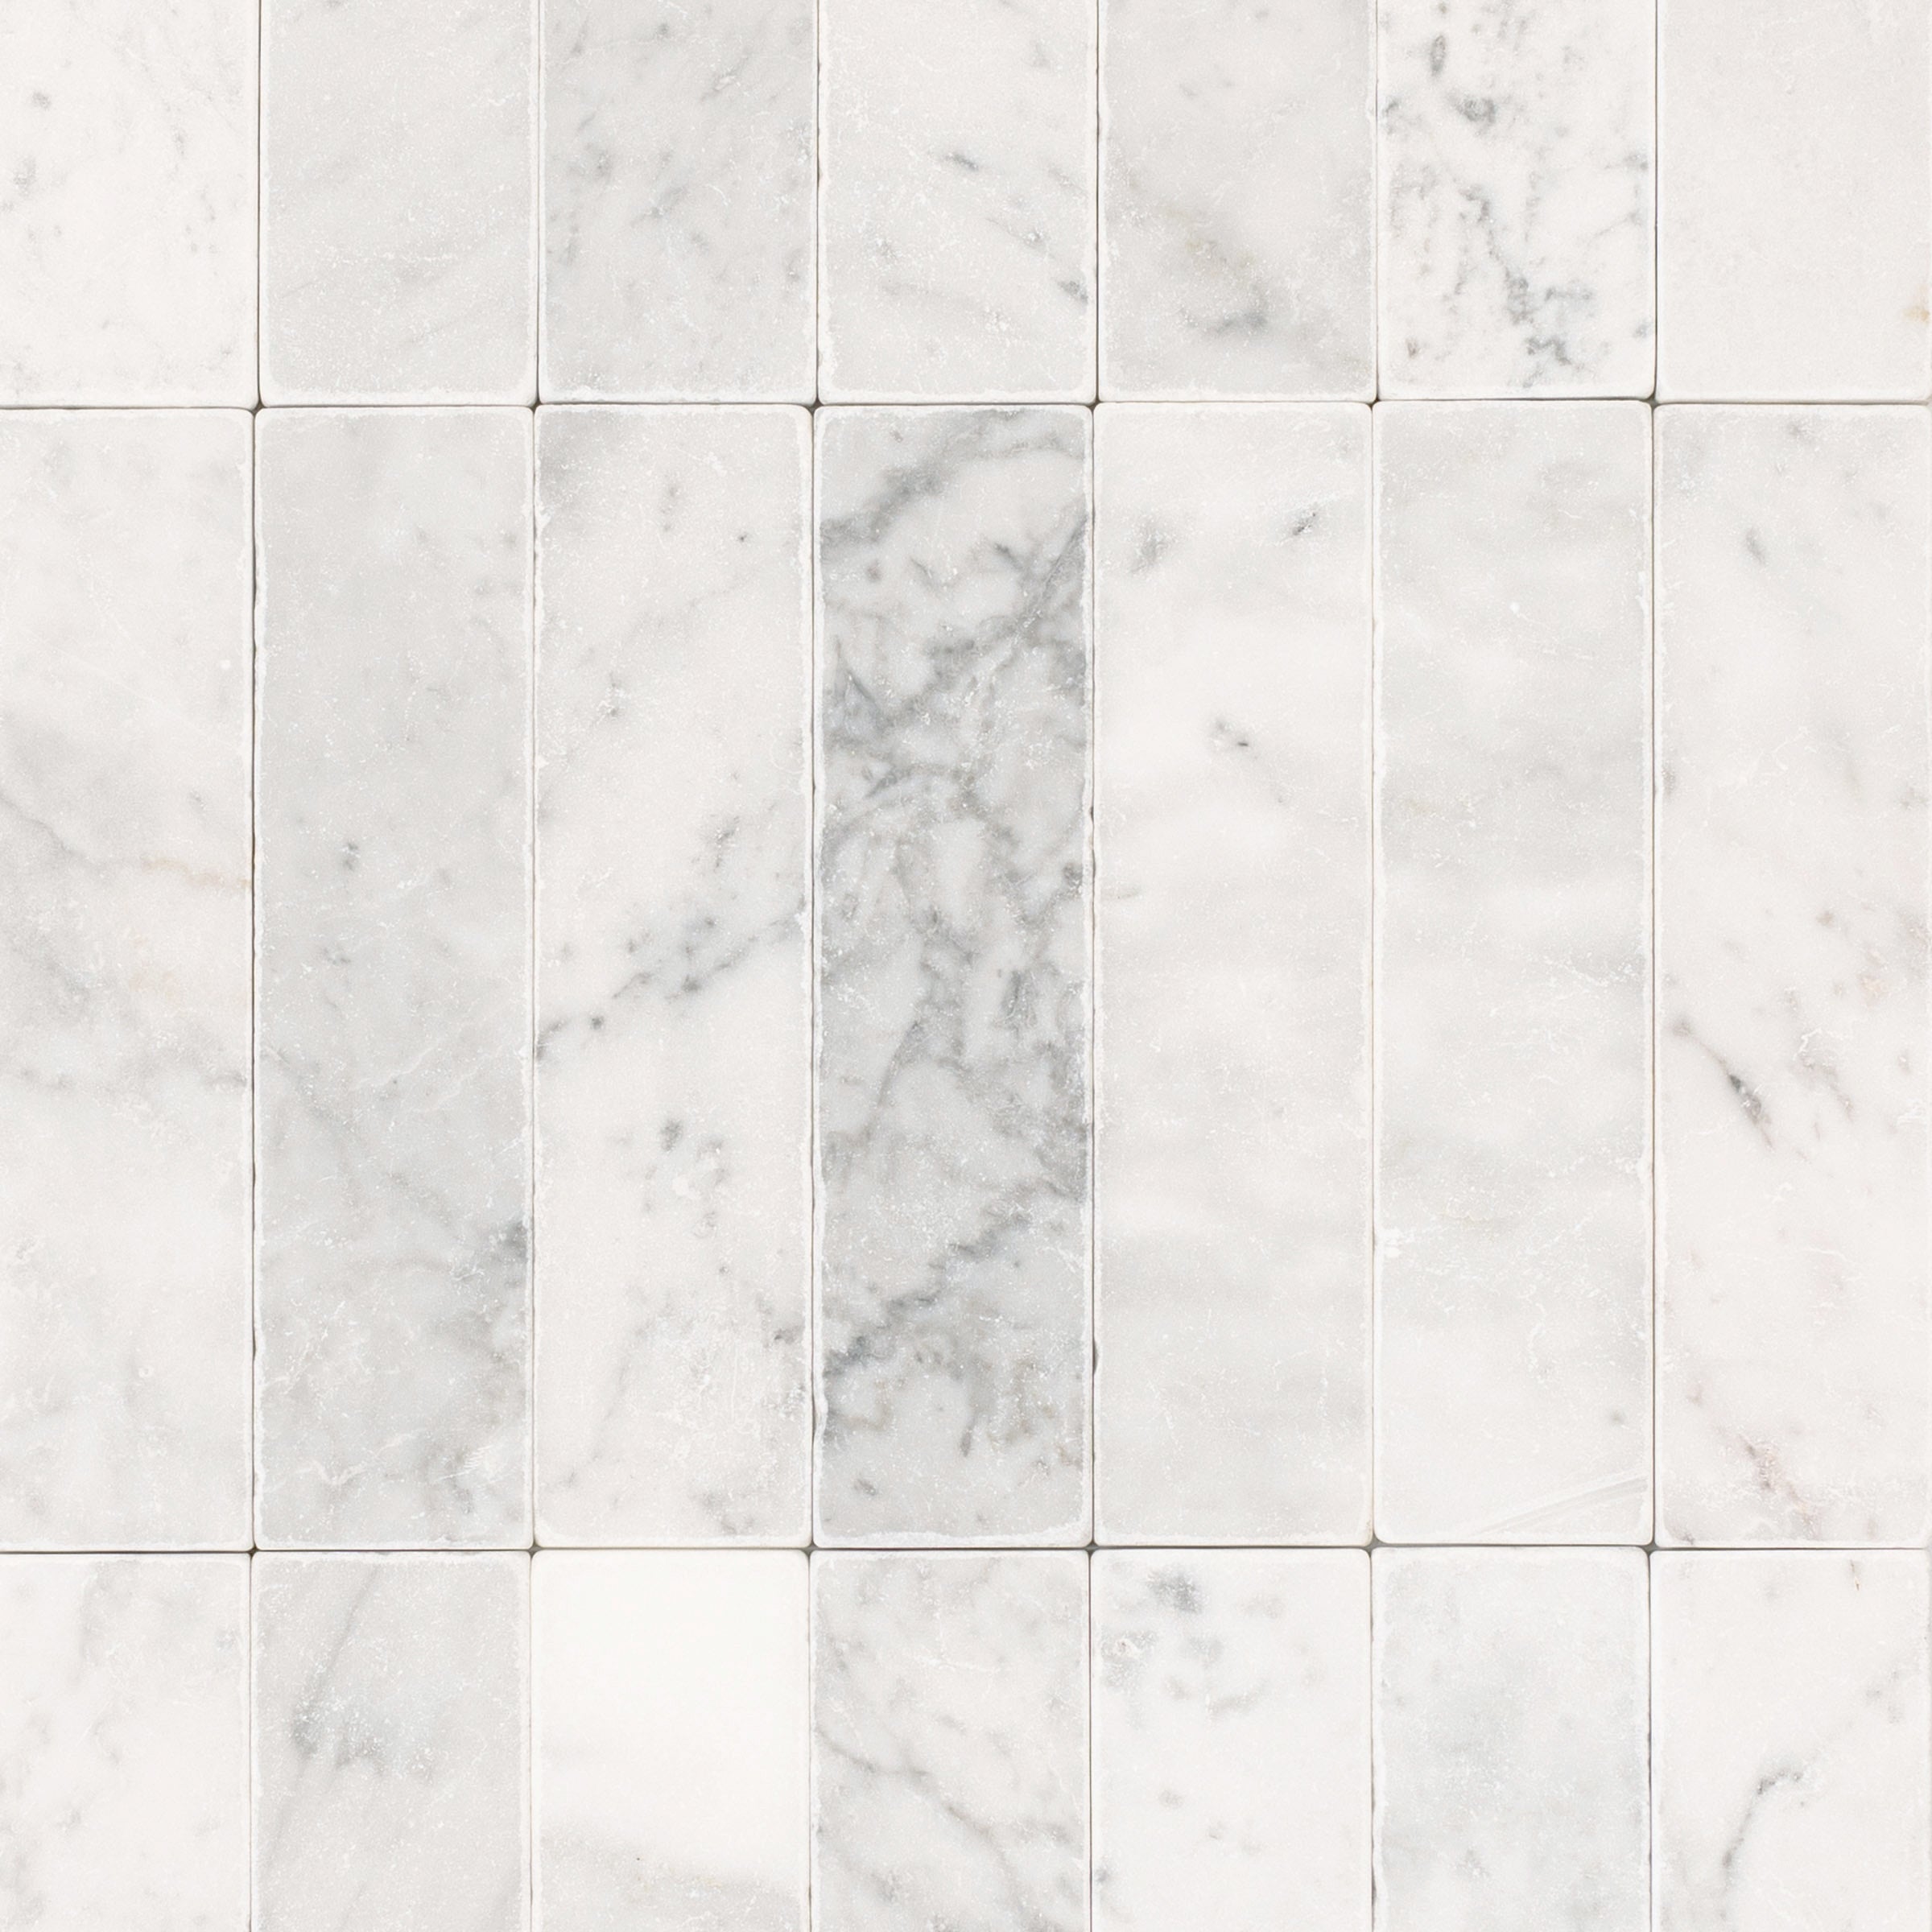
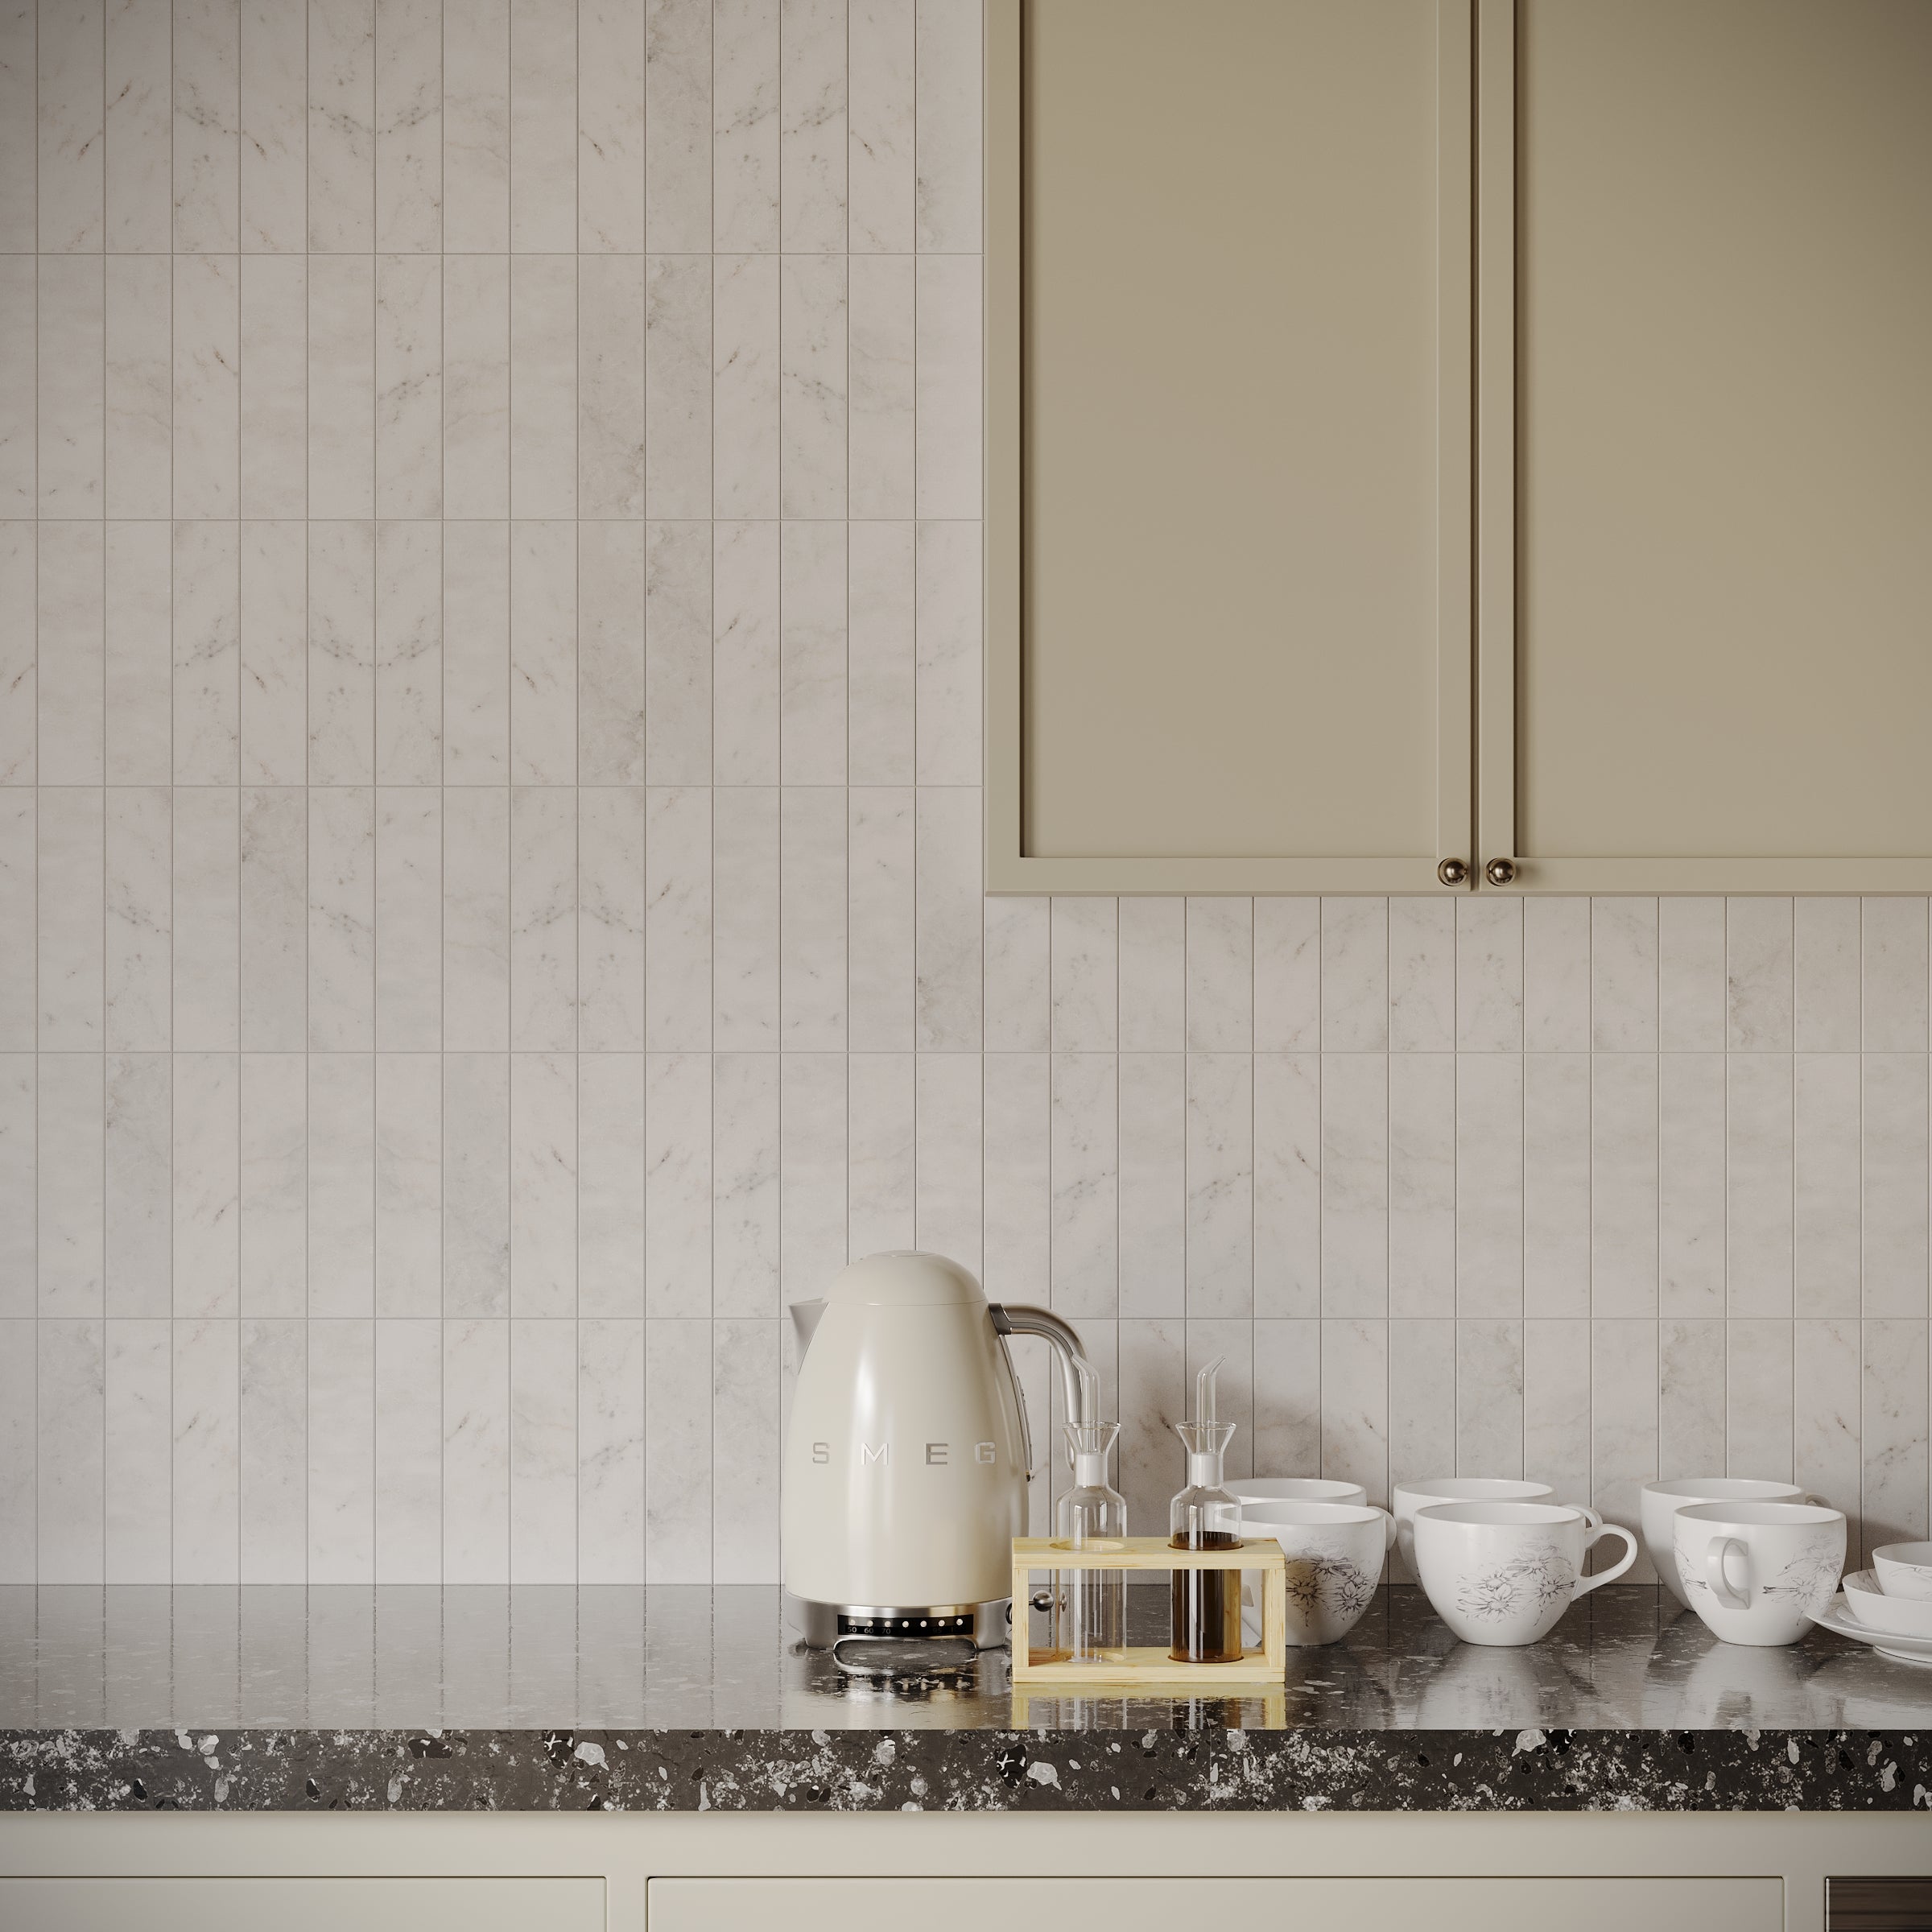
Bianco Carrara Honed Marble Tile
Travertino 3D Matte Porcelain Tile

Amazzonite Matte Marble Look Porcelain Tile
Cream 12x24 3D Gloss Porcelain Tile

Natura Terracotta Look Matte Porcelain Tile

White Multi-Color Matte Porcelain Tile


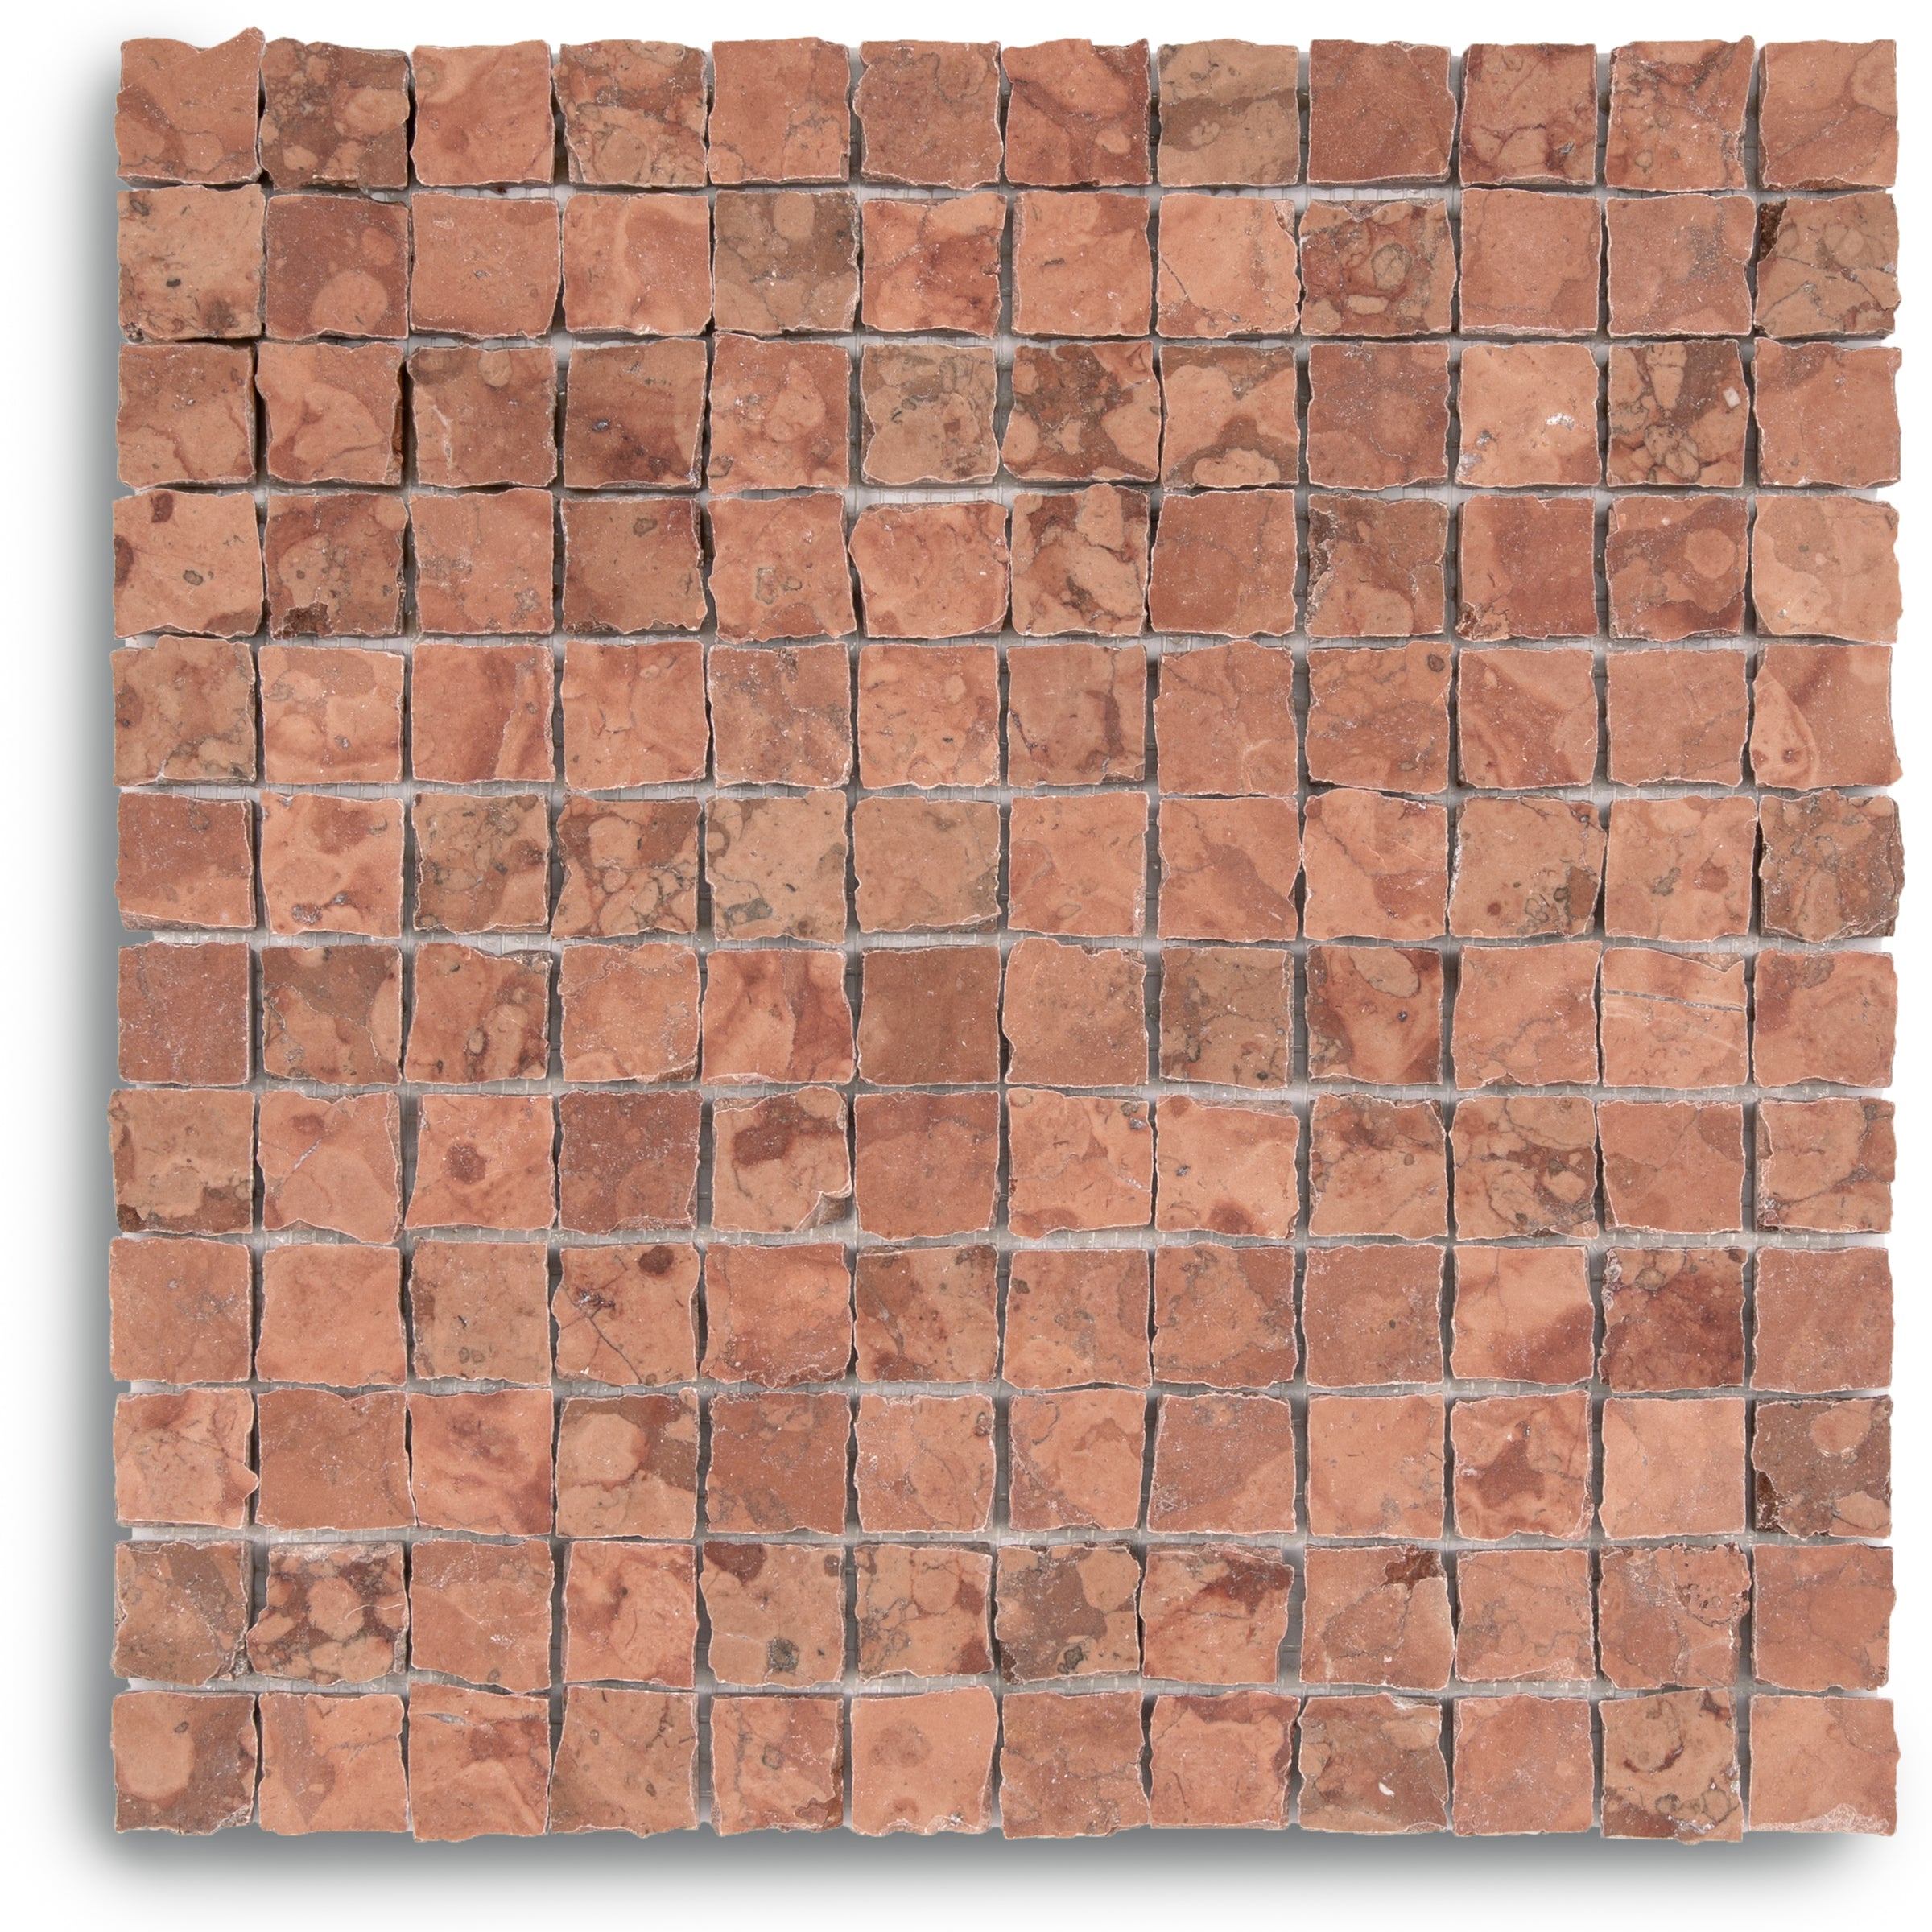
Rosso Verona 1x1 Hand Chipped Marble Mosaic


Navy 12x24 3D Gloss Porcelain Tile
Almond Cement Look Matte Porcelain Tile


Cream 2x2 Forma Porcelain Mosaic
No. 2 Engineered Wood Flooring


No. 4 Engineered Wood Flooring
No. 6 Engineered Wood Flooring

No. 8 Engineered Wood Flooring
No. 10 Engineered Wood Flooring
No. 12 Engineered Wood Flooring


No. 16 Engineered Wood Flooring


No. 18 Engineered Wood Flooring


No. 20 Engineered Wood Flooring


No. 22 Engineered Wood Flooring


No. 24 Engineered Wood Flooring


No. 26 Engineered Wood Flooring


No. 28 Engineered Wood Flooring


No. 2 Engineered Wood Flooring
No. 4 Engineered Wood Flooring
No. 6 Engineered Wood Flooring
No. 8 Engineered Wood Flooring
No. 10 Engineered Wood Flooring
No. 12 Engineered Wood Flooring
No. 16 Engineered Wood Flooring
No. 18 Engineered Wood Flooring
No. 20 Engineered Wood Flooring
No. 22 Engineered Wood Flooring
No. 28 Engineered Wood Flooring
No. 24 Engineered Wood Flooring
No. 26 Engineered Wood Flooring
White & Ecru Octagon Zellige Mosaic
Thassos, Carrara, Bardiglio Gingham Marble Mosaic
Cotto Deco Terracotta Look Matte Porcelain Tile
White & Ecru 2x2 Zellige Checkerboard Mosaic
Unglazed & White Octagon Zellige Mosaic
Murano Honed Italian Terrazzo Tile
Cotto Terracotta Look Matte Porcelain Tile


Carrara Bardiglio Tumbled Stone Checkerboard
Chiaro Deco Terracotta Look Matte Porcelain Tile
Cream Limestone Look 3D Matte Porcelain Tile
White & Black Octagon Zellige Mosaic


Beige Limestone Look 3D Matte Porcelain Tile
Apple 12x24 3D Glossy Porcelain Tile
Rosso Verona Tumbled Marble Tile
Bianco Carrara Honed Marble Tile
Travertino Moka Stone Look Porcelain Tile
Travertino 3D Matte Porcelain Tile
Cream 12x24 3D Gloss Porcelain Tile
Natura Terracotta Look Matte Porcelain Tile
Rosso Verona 1x1 Hand Chipped Marble Mosaic
Amazzonite Matte Marble Look Porcelain Tile
White Multi-Color Matte Porcelain Tile
Navy 12x24 3D Gloss Porcelain Tile
Bianco Carrara Octagon w/ Nero Marquina Dot Mosaic
White & Ecru Octagon Zellige Mosaic
Thassos, Carrara, Bardiglio Gingham Marble Mosaic
Cotto Deco Terracotta Look Matte Porcelain Tile
White & Ecru 2x2 Zellige Checkerboard Mosaic
Unglazed & White Octagon Zellige Mosaic
Murano Honed Italian Terrazzo Tile
Cotto Terracotta Look Matte Porcelain Tile
Carrara Bardiglio Tumbled Stone Checkerboard
Chiaro Deco Terracotta Look Matte Porcelain Tile
Cream Limestone Look 3D Matte Porcelain Tile
White & Black Octagon Zellige Mosaic
Beige Limestone Look 3D Matte Porcelain Tile
Rosso Verona Tumbled Marble Tile
Travertino Moka Stone Look Porcelain Tile
Bianco Carrara Honed Marble Tile
Travertino 3D Matte Porcelain Tile
Rosso Verona 1x1 Hand Chipped Marble Mosaic
Amazzonite Matte Marble Look Porcelain Tile
White Multi-Color Matte Porcelain Tile
Natura Terracotta Look Matte Porcelain Tile
Spider Gold Matte Marble Look Porcelain Tile
Cream 2x2 Forma Porcelain Mosaic


Cotto 2x2 Forma Porcelain Mosaic
Bianco Carrara Octagon w/ Nero Marquina Dot Mosaic
Almond Cement Look Matte Porcelain Tile


White Paradise Marble Look Porcelain Tile

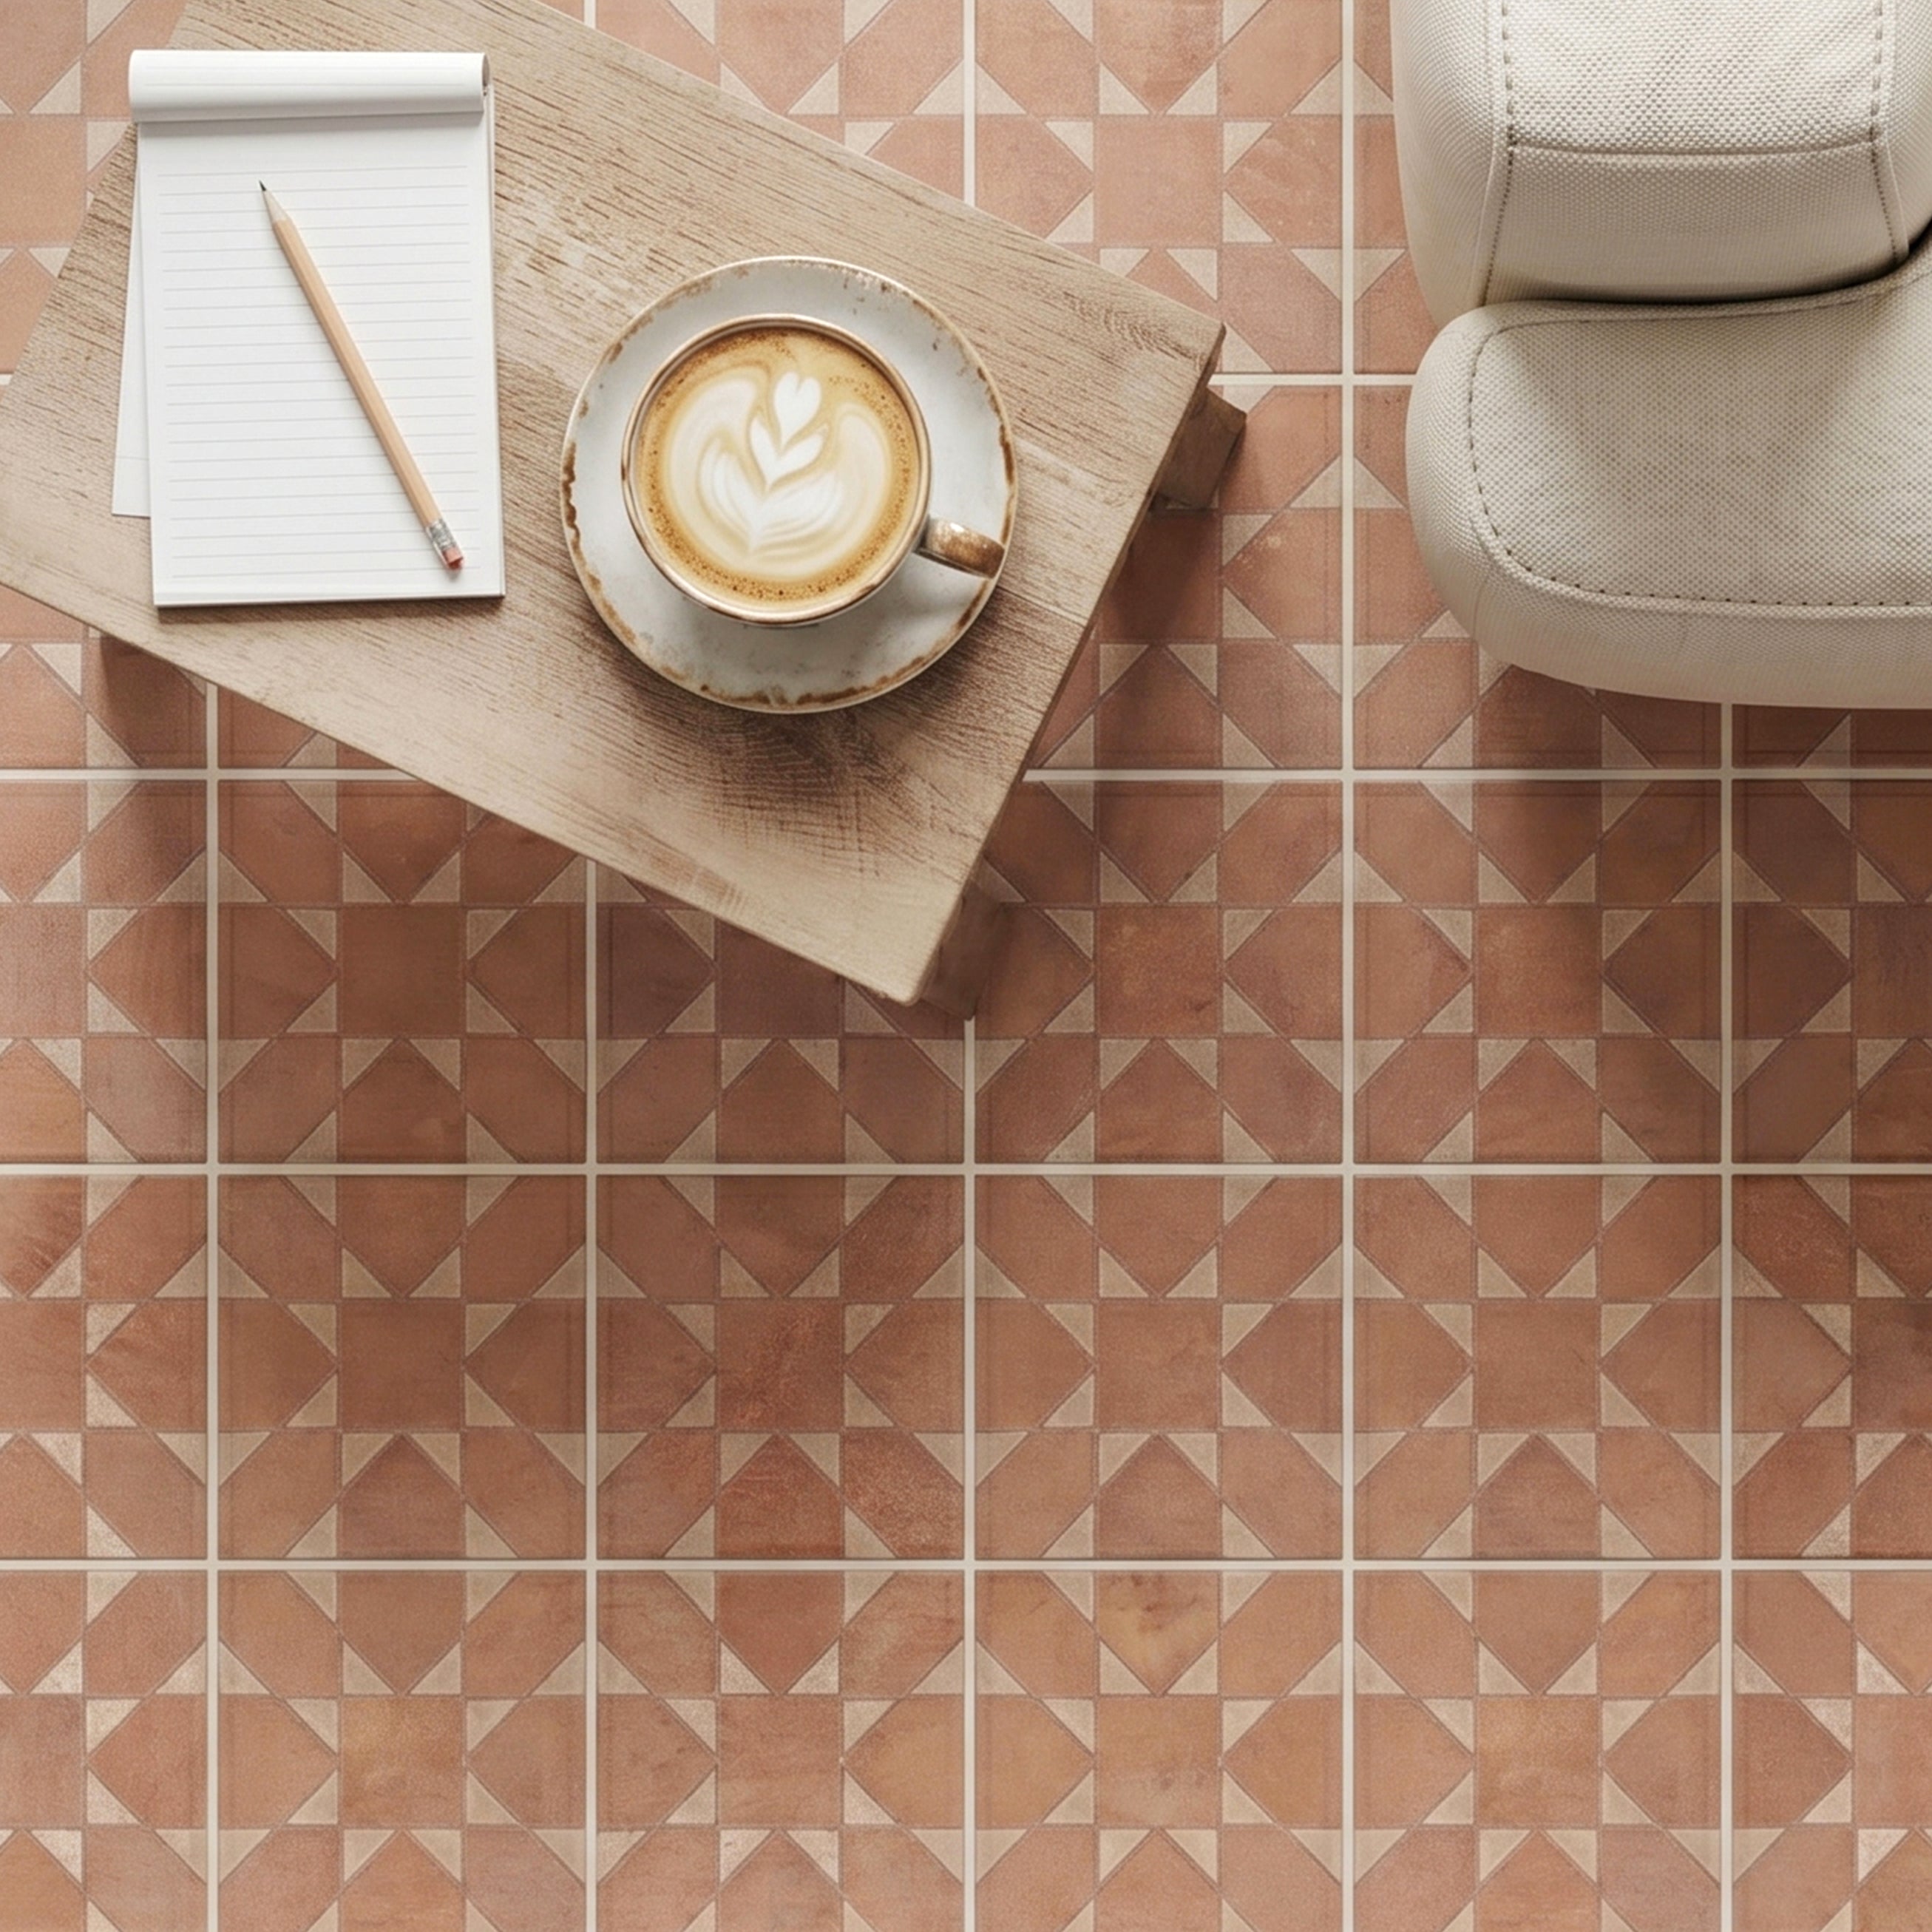
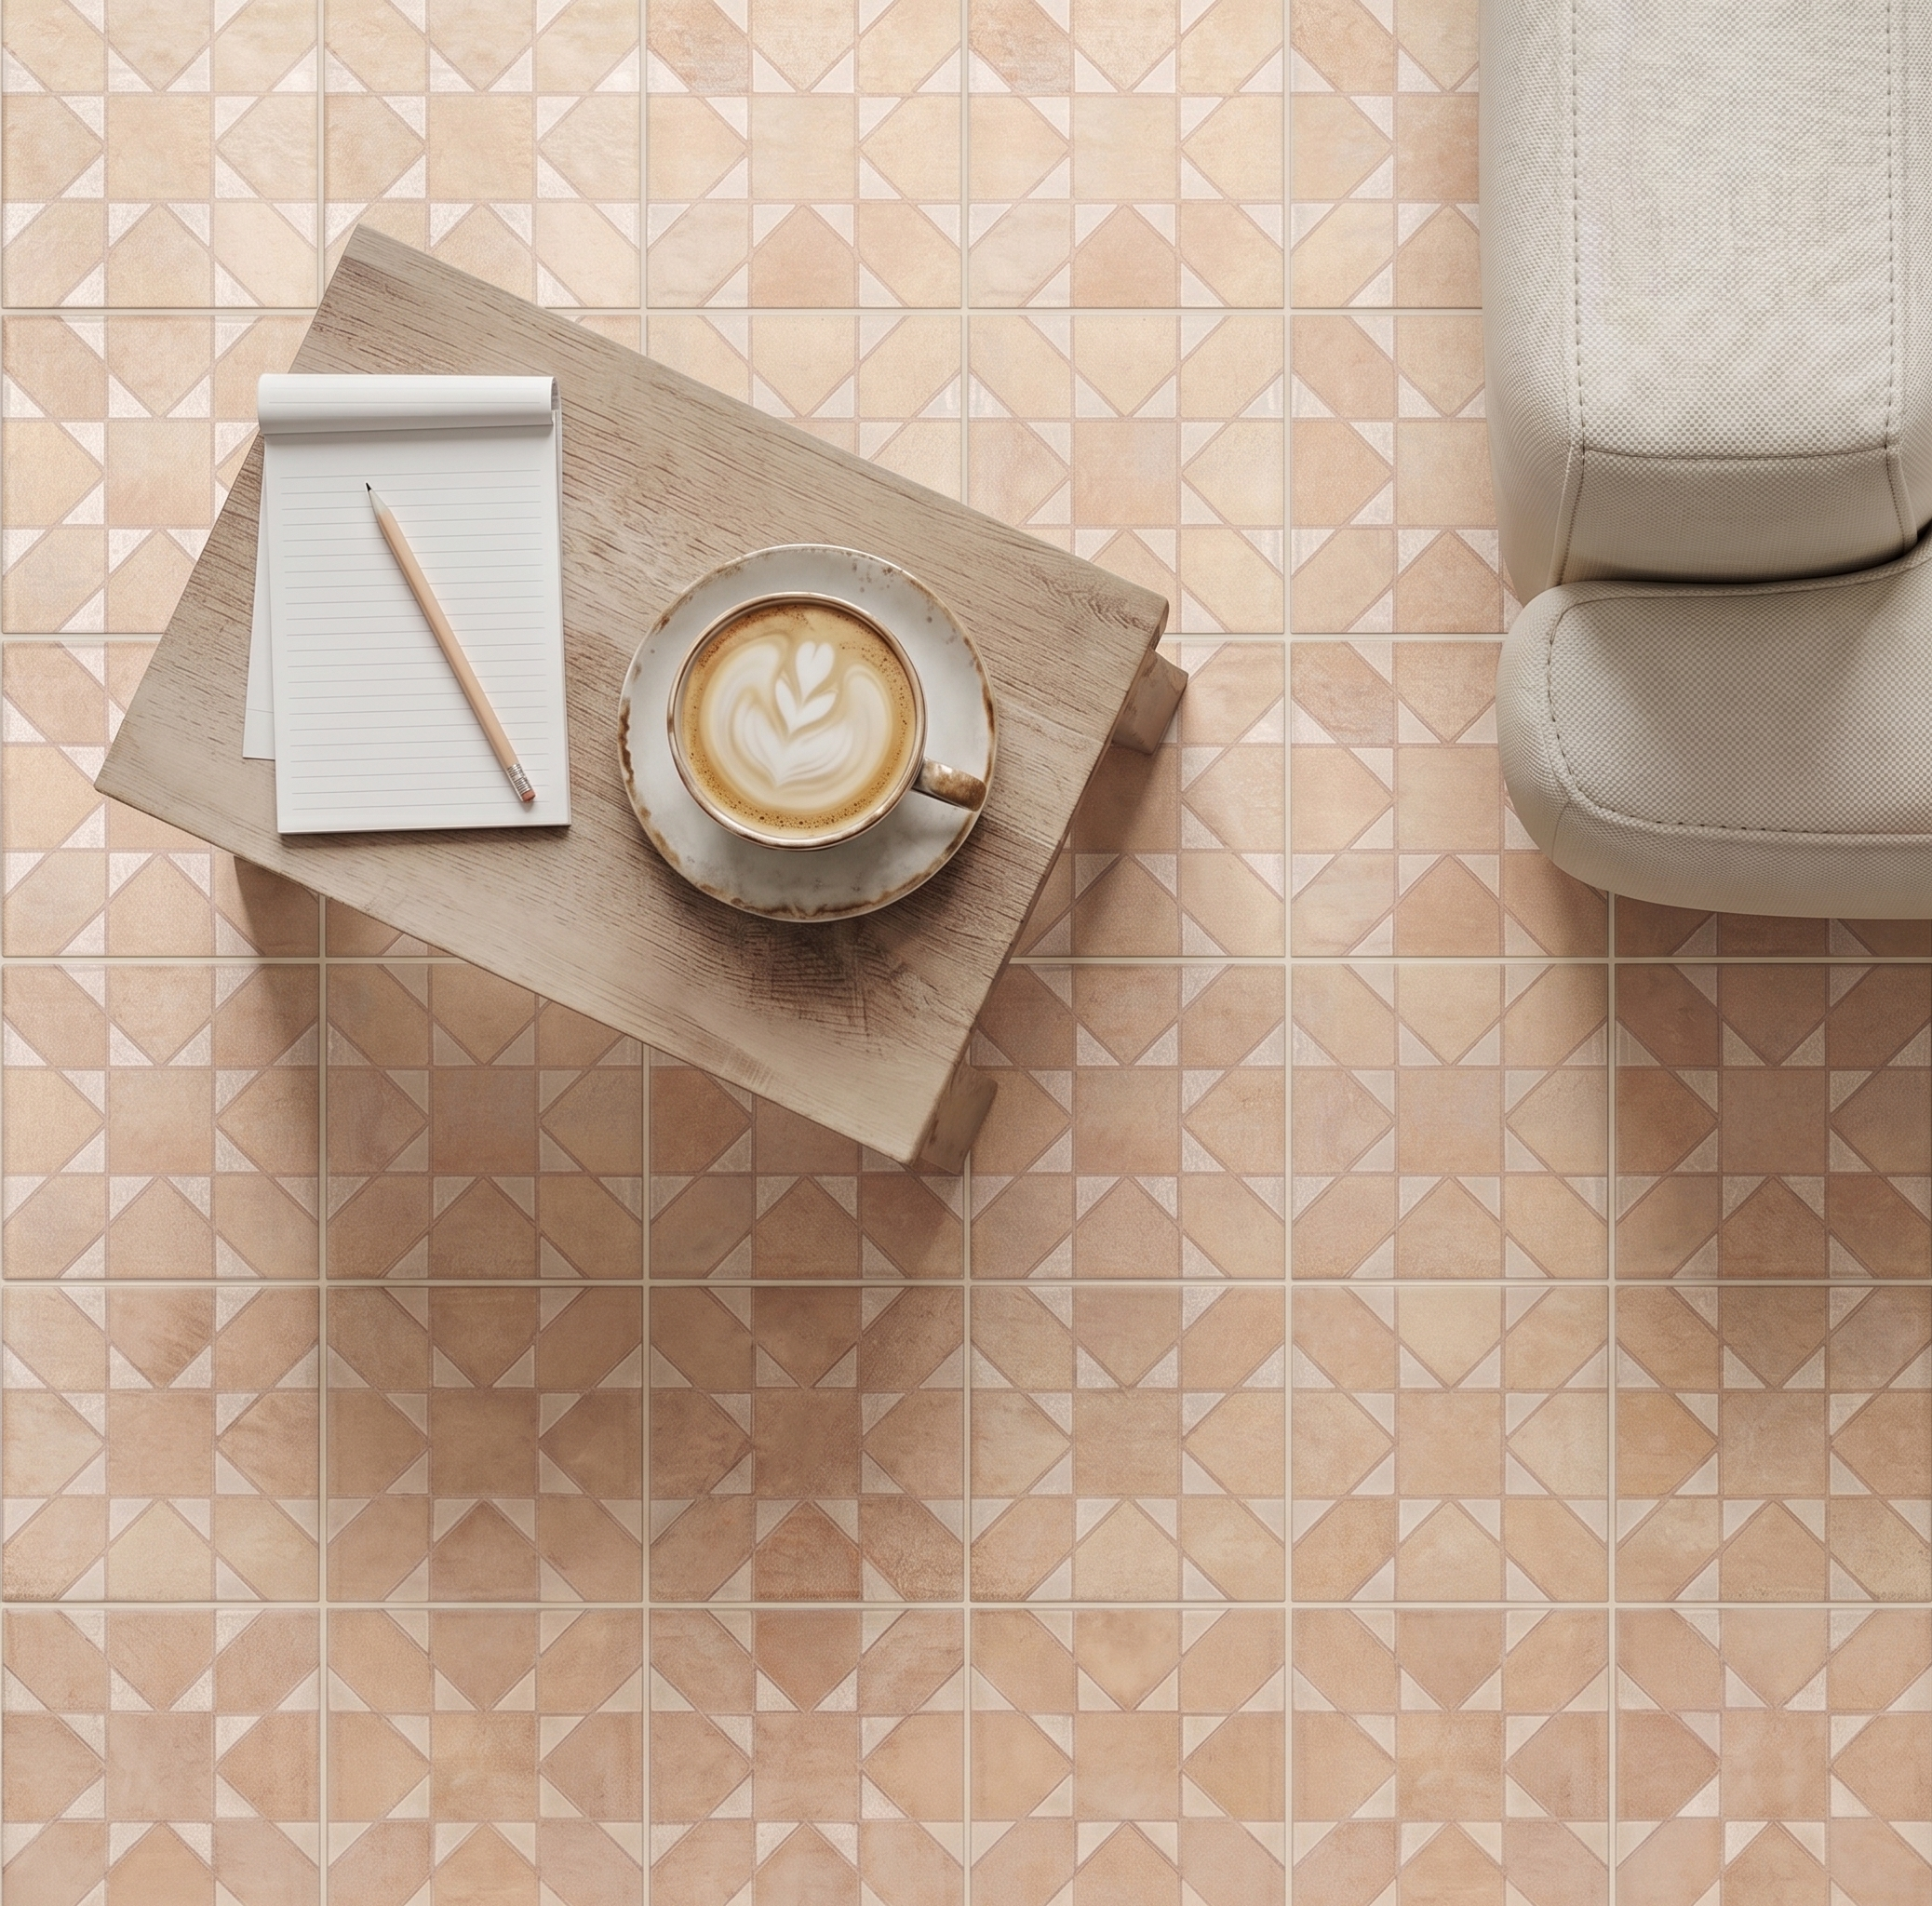
Star & Cross Classic Terracotta Tile
Bardiglio Desert Tea Tumbled Stone Checker Stripe
Breccia Capraia 3D Mable Look Porcelain Tile
No. 28 Engineered Wood Flooring
No. 26 Engineered Wood Flooring
No. 24 Engineered Wood Flooring
No. 22 Engineered Wood Flooring
No. 20 Engineered Wood Flooring
No. 18 Engineered Wood Flooring
No. 16 Engineered Wood Flooring
Nut 9.5x60 Wood Look Porcelain Tile
Honey 9.5x60 Wood Look Porcelain Tile
No. 28 Engineered Wood Flooring
No. 26 Engineered Wood Flooring
No. 24 Engineered Wood Flooring
No. 22 Engineered Wood Flooring
No. 20 Engineered Wood Flooring
No. 18 Engineered Wood Flooring
No. 16 Engineered Wood Flooring
Ecru 9.5x60 Wood Look Porcelain Tile
No. 13 9x60 Rigid Core Vinyl Flooring
No. 12 Engineered Wood Flooring
No. 11 9x60 Rigid Core Vinyl Flooring
No. 26 Engineered Wood Flooring
No. 18 Engineered Wood Flooring
White & Ecru Octagon Zellige Mosaic
Thassos, Carrara, Bardiglio Gingham Marble Mosaic
Cotto Deco Terracotta Look Matte Porcelain Tile
White & Ecru 2x2 Zellige Checkerboard Mosaic
Unglazed & White Octagon Zellige Mosaic
Murano Honed Italian Terrazzo Tile
Carrara Bardiglio Tumbled Stone Checkerboard
Chiaro Deco Terracotta Look Matte Porcelain Tile
Cream Limestone Look 3D Matte Porcelain Tile
White & Black Octagon Zellige Mosaic
Beige Limestone Look 3D Matte Porcelain Tile
Apple 12x24 3D Glossy Porcelain Tile
Rosso Verona Tumbled Marble Tile
Travertino Moka Stone Look Porcelain Tile
Travertino 3D Matte Porcelain Tile
Rosso Verona 1x1 Hand Chipped Marble Mosaic
Amazzonite Matte Marble Look Porcelain Tile
Cream 12x24 3D Gloss Porcelain Tile
Natura Terracotta Look Matte Porcelain Tile
White Multi-Color Matte Porcelain Tile
Bianco Carrara Octagon w/ Nero Marquina Dot Mosaic
Cream 2x2 Forma Porcelain Mosaic
Cotto 2x2 Forma Porcelain Mosaic

Navy 12x24 3D Gloss Porcelain Tile
White Paradise Marble Look Porcelain Tile
White & Ecru Octagon Zellige Mosaic
Thassos, Carrara, Bardiglio Gingham Marble Mosaic
Cotto Deco Terracotta Look Matte Porcelain Tile
White & Ecru 2x2 Zellige Checkerboard Mosaic
Unglazed & White Octagon Zellige Mosaic
Murano Honed Italian Terrazzo Tile
Cotto Terracotta Look Matte Porcelain Tile
Carrara Bardiglio Tumbled Stone Checkerboard
Chiaro Deco Terracotta Look Matte Porcelain Tile
Cream Limestone Look 3D Matte Porcelain Tile
White & Black Octagon Zellige Mosaic
Beige Limestone Look 3D Matte Porcelain Tile
Apple 12x24 3D Glossy Porcelain Tile
Rosso Verona Tumbled Marble Tile
Travertino Moka Stone Look Porcelain Tile
Bianco Carrara Honed Marble Tile
Travertino 3D Matte Porcelain Tile
Rosso Verona 1x1 Hand Chipped Marble Mosaic
Amazzonite Matte Marble Look Porcelain Tile
Cream 12x24 3D Gloss Porcelain Tile
Natura Terracotta Look Matte Porcelain Tile
White Multi-Color Matte Porcelain Tile
Bianco Carrara Octagon w/ Nero Marquina Dot Mosaic
Navy 12x24 3D Gloss Porcelain Tile
Almond Cement Look Matte Porcelain Tile
White & Ecru Octagon Zellige Mosaic
Thassos, Carrara, Bardiglio Gingham Marble Mosaic
Cotto Deco Terracotta Look Matte Porcelain Tile
White & Ecru 2x2 Zellige Checkerboard Mosaic
Unglazed & White Octagon Zellige Mosaic
Murano Honed Italian Terrazzo Tile
Carrara Bardiglio Tumbled Stone Checkerboard
Chiaro Deco Terracotta Look Matte Porcelain Tile
Cream Limestone Look 3D Matte Porcelain Tile
White & Black Octagon Zellige Mosaic
Beige Limestone Look 3D Matte Porcelain Tile
Apple 12x24 3D Glossy Porcelain Tile
Rosso Verona Tumbled Marble Tile
Bianco Carrara Honed Marble Tile
Travertino 3D Matte Porcelain Tile
Travertino Moka Stone Look Porcelain Tile
Rosso Verona 1x1 Hand Chipped Marble Mosaic
Amazzonite Matte Marble Look Porcelain Tile
Cream 12x24 3D Gloss Porcelain Tile
Natura Terracotta Look Matte Porcelain Tile
White Multi-Color Matte Porcelain Tile
Almond Cement Look Matte Porcelain Tile
Bianco Carrara Octagon w/ Nero Marquina Dot Mosaic
Navy 12x24 3D Gloss Porcelain Tile
White & Ecru Octagon Zellige Mosaic
Thassos, Carrara, Bardiglio Gingham Marble Mosaic
Cotto Deco Terracotta Look Matte Porcelain Tile
White & Ecru 2x2 Zellige Checkerboard Mosaic
Unglazed & White Octagon Zellige Mosaic
Murano Honed Italian Terrazzo Tile
Cotto Terracotta Look Matte Porcelain Tile
Chiaro Deco Terracotta Look Matte Porcelain Tile
Carrara Bardiglio Tumbled Stone Checkerboard
Cream Limestone Look 3D Matte Porcelain Tile
White & Black Octagon Zellige Mosaic
Beige Limestone Look 3D Matte Porcelain Tile
Apple 12x24 3D Glossy Porcelain Tile
Rosso Verona Tumbled Marble Tile
Travertino Moka Stone Look Porcelain Tile
Bianco Carrara Honed Marble Tile
Travertino 3D Matte Porcelain Tile
Rosso Verona 1x1 Hand Chipped Marble Mosaic
Amazzonite Matte Marble Look Porcelain Tile
Cream 12x24 3D Gloss Porcelain Tile
Natura Terracotta Look Matte Porcelain Tile
White Multi-Color Matte Porcelain Tile
Bianco Carrara Octagon w/ Nero Marquina Dot Mosaic
Navy 12x24 3D Gloss Porcelain Tile